Tag Archives: sweetened condensed milk

Tres Leches Layer Cake

Posted on


Tres Leches Cake!!!!

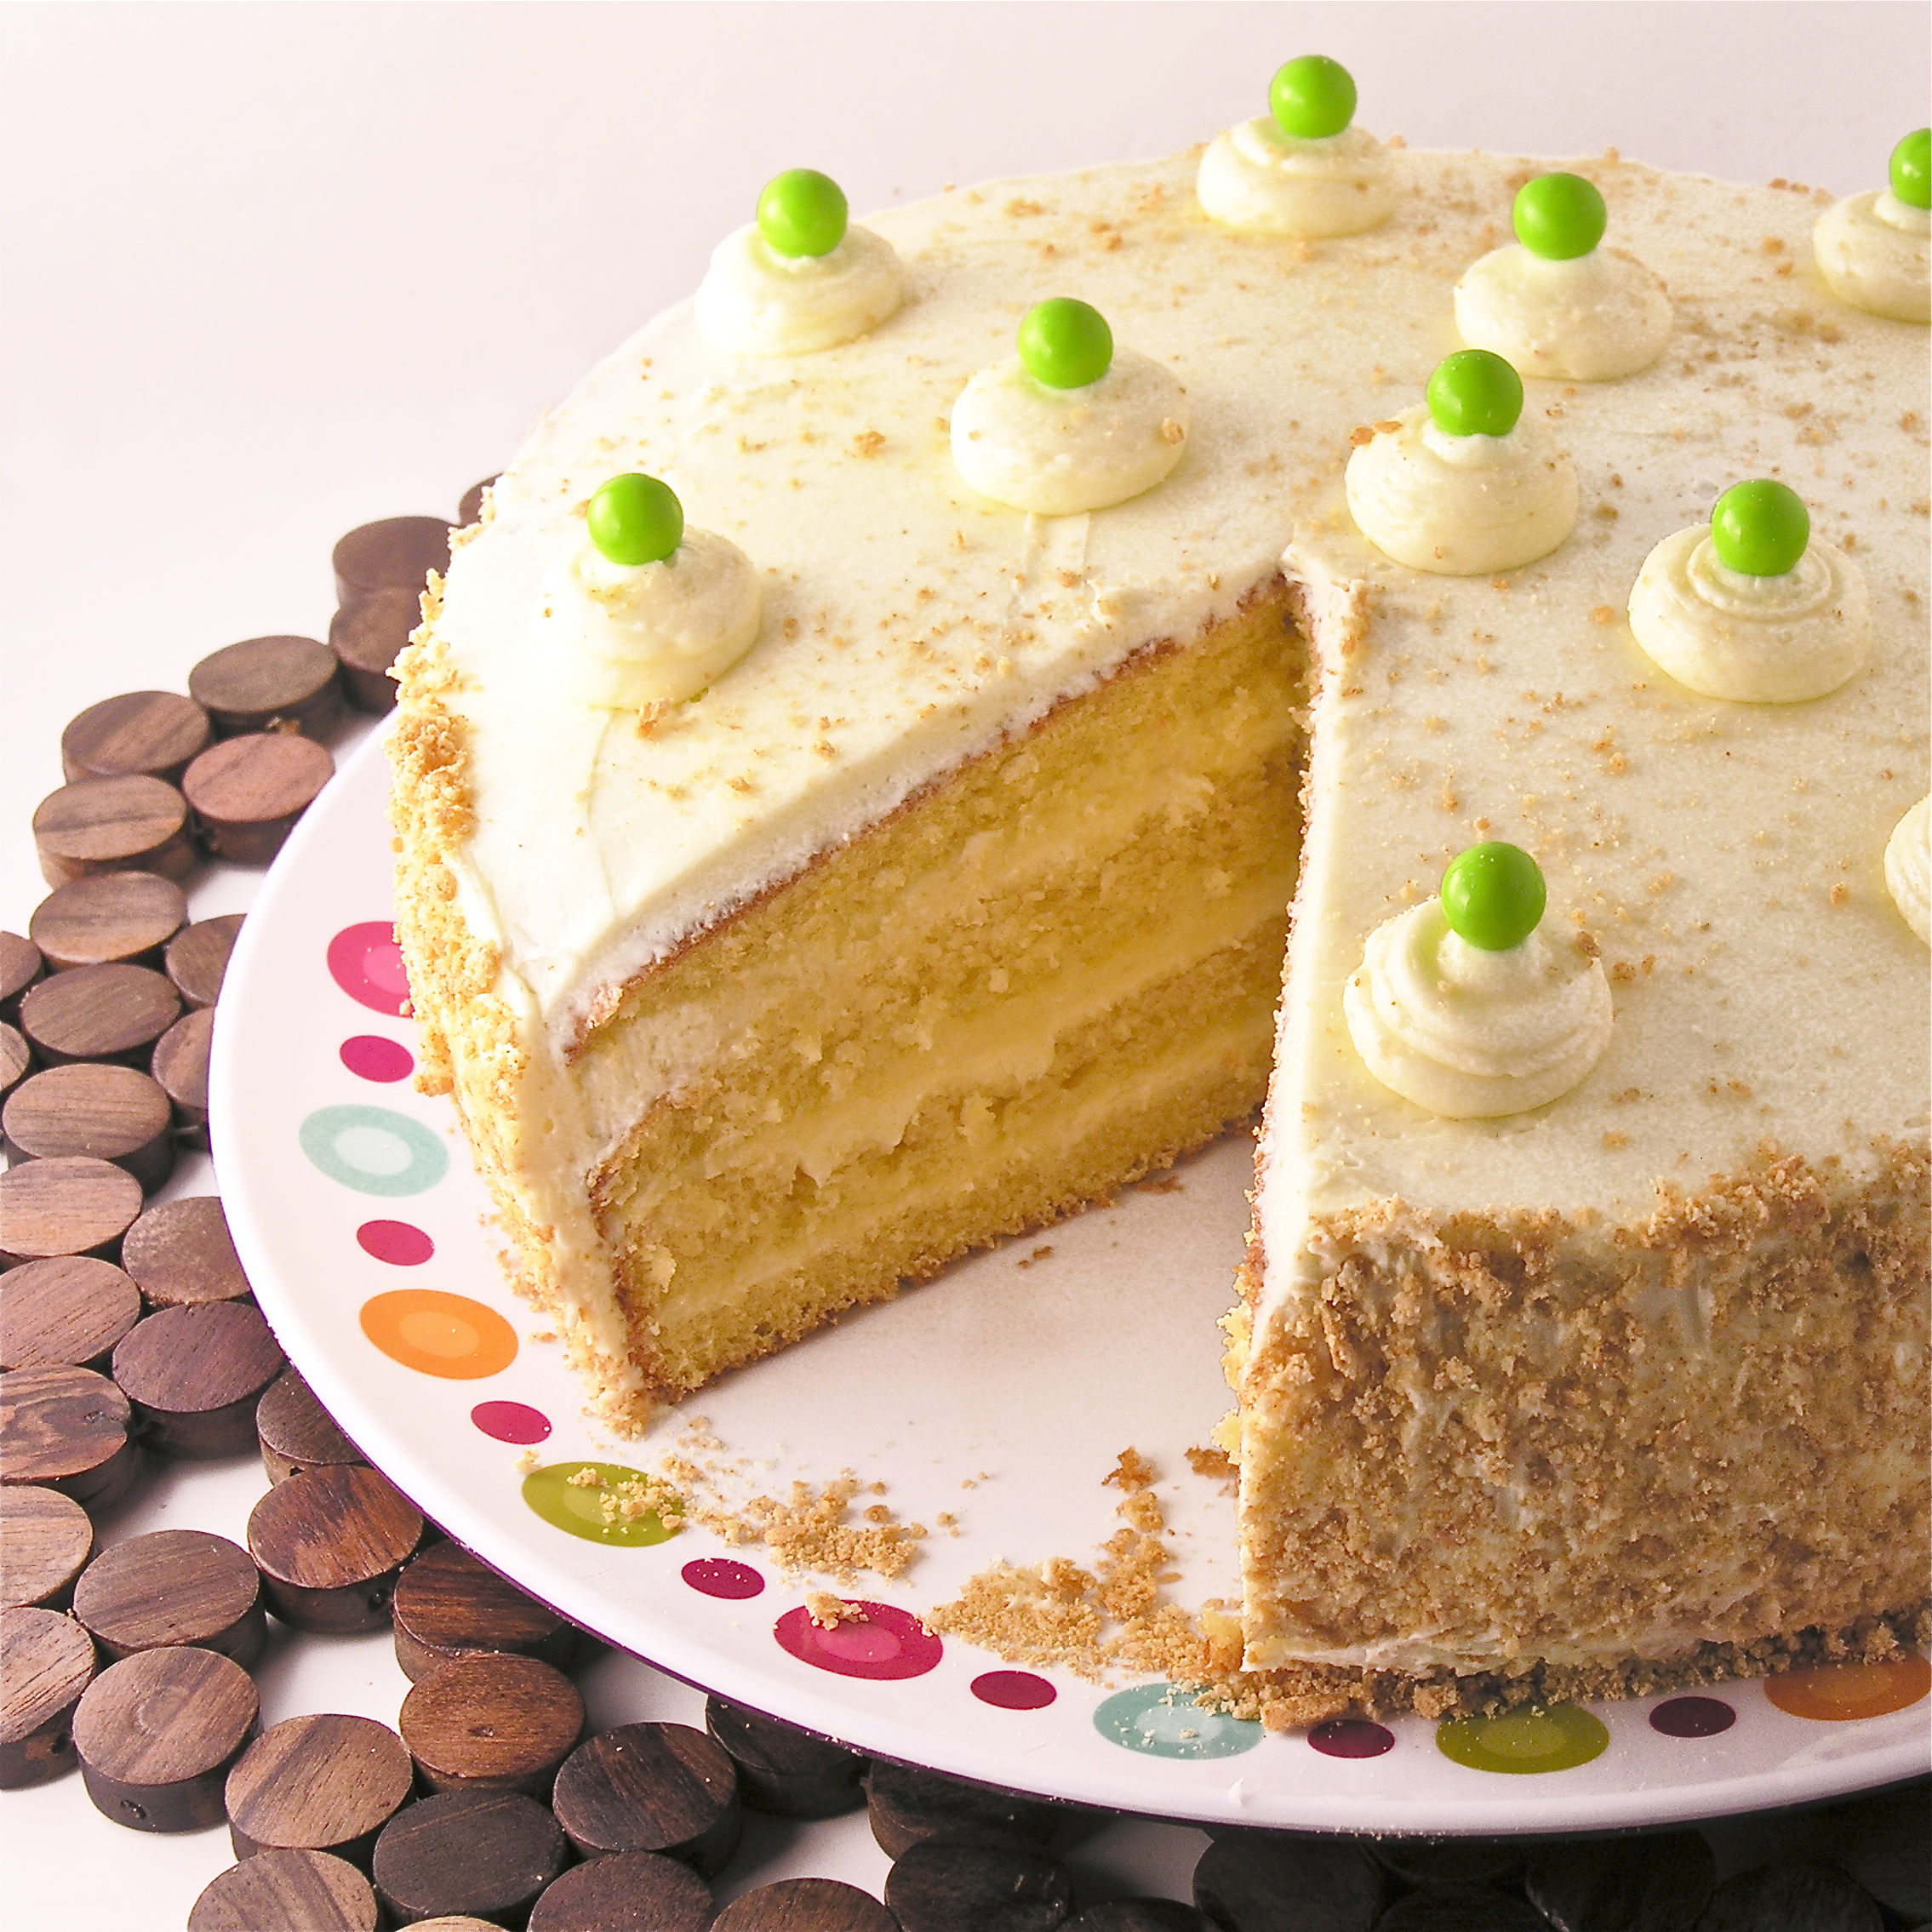
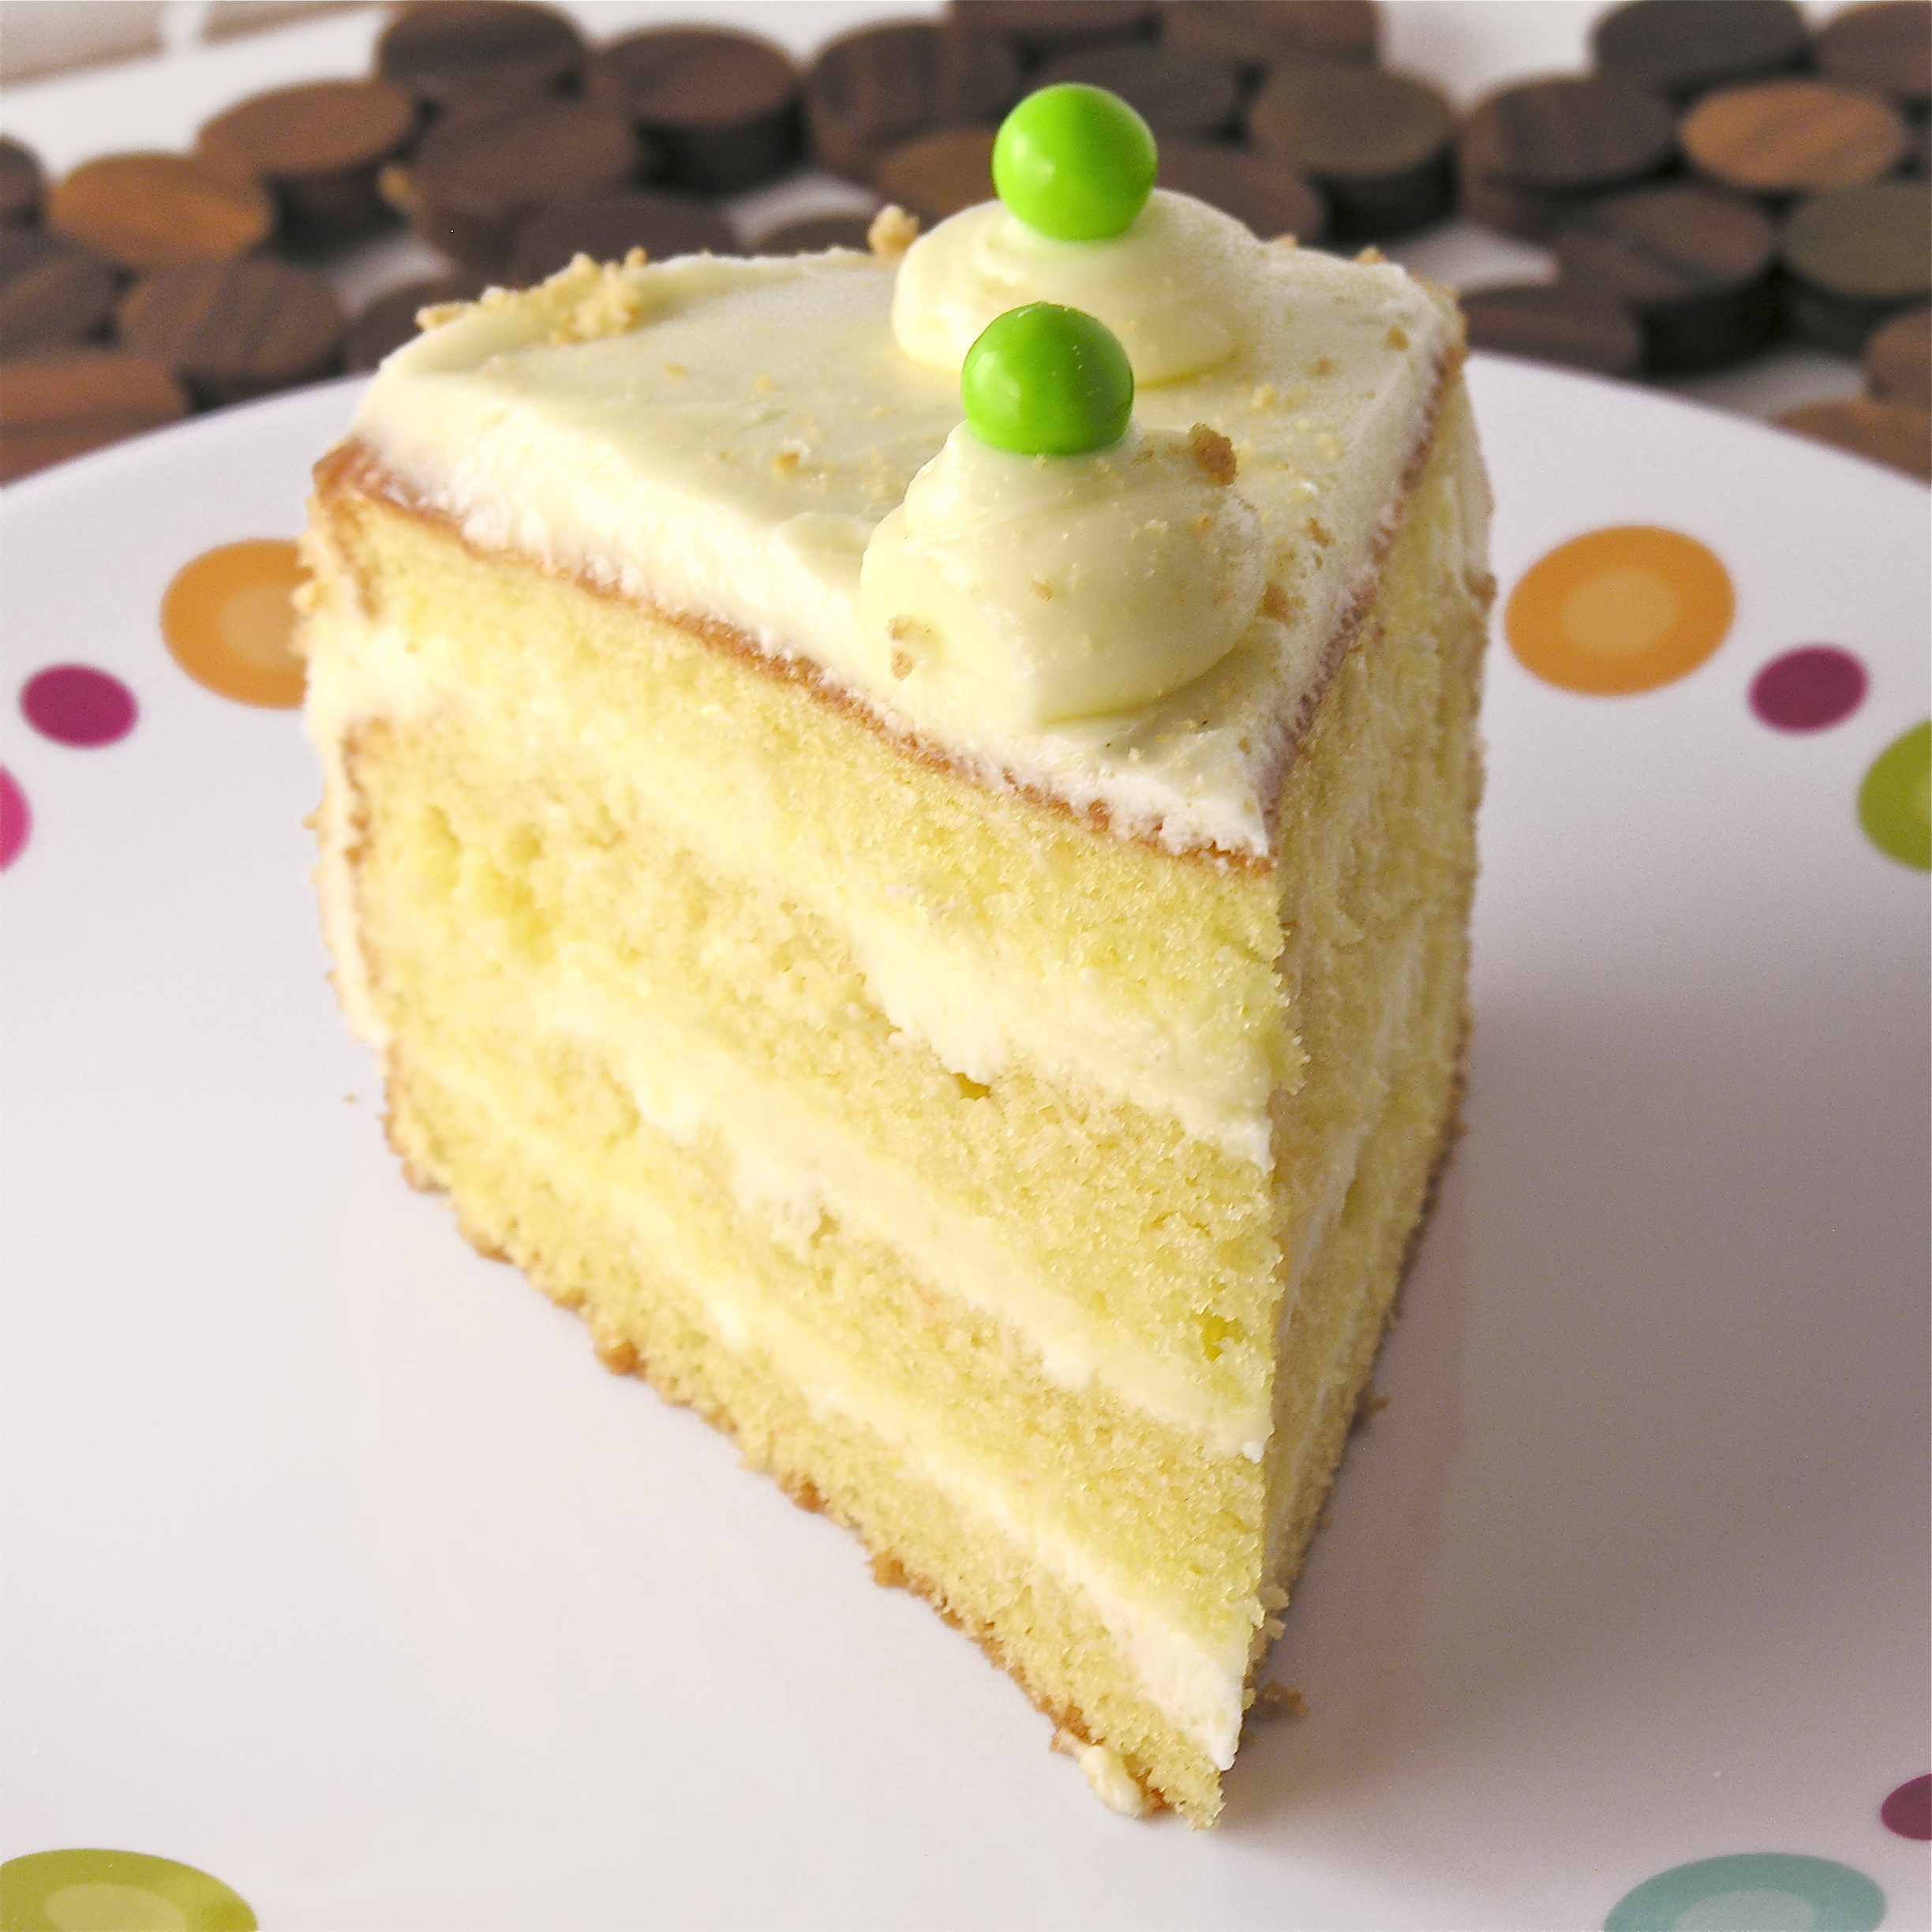
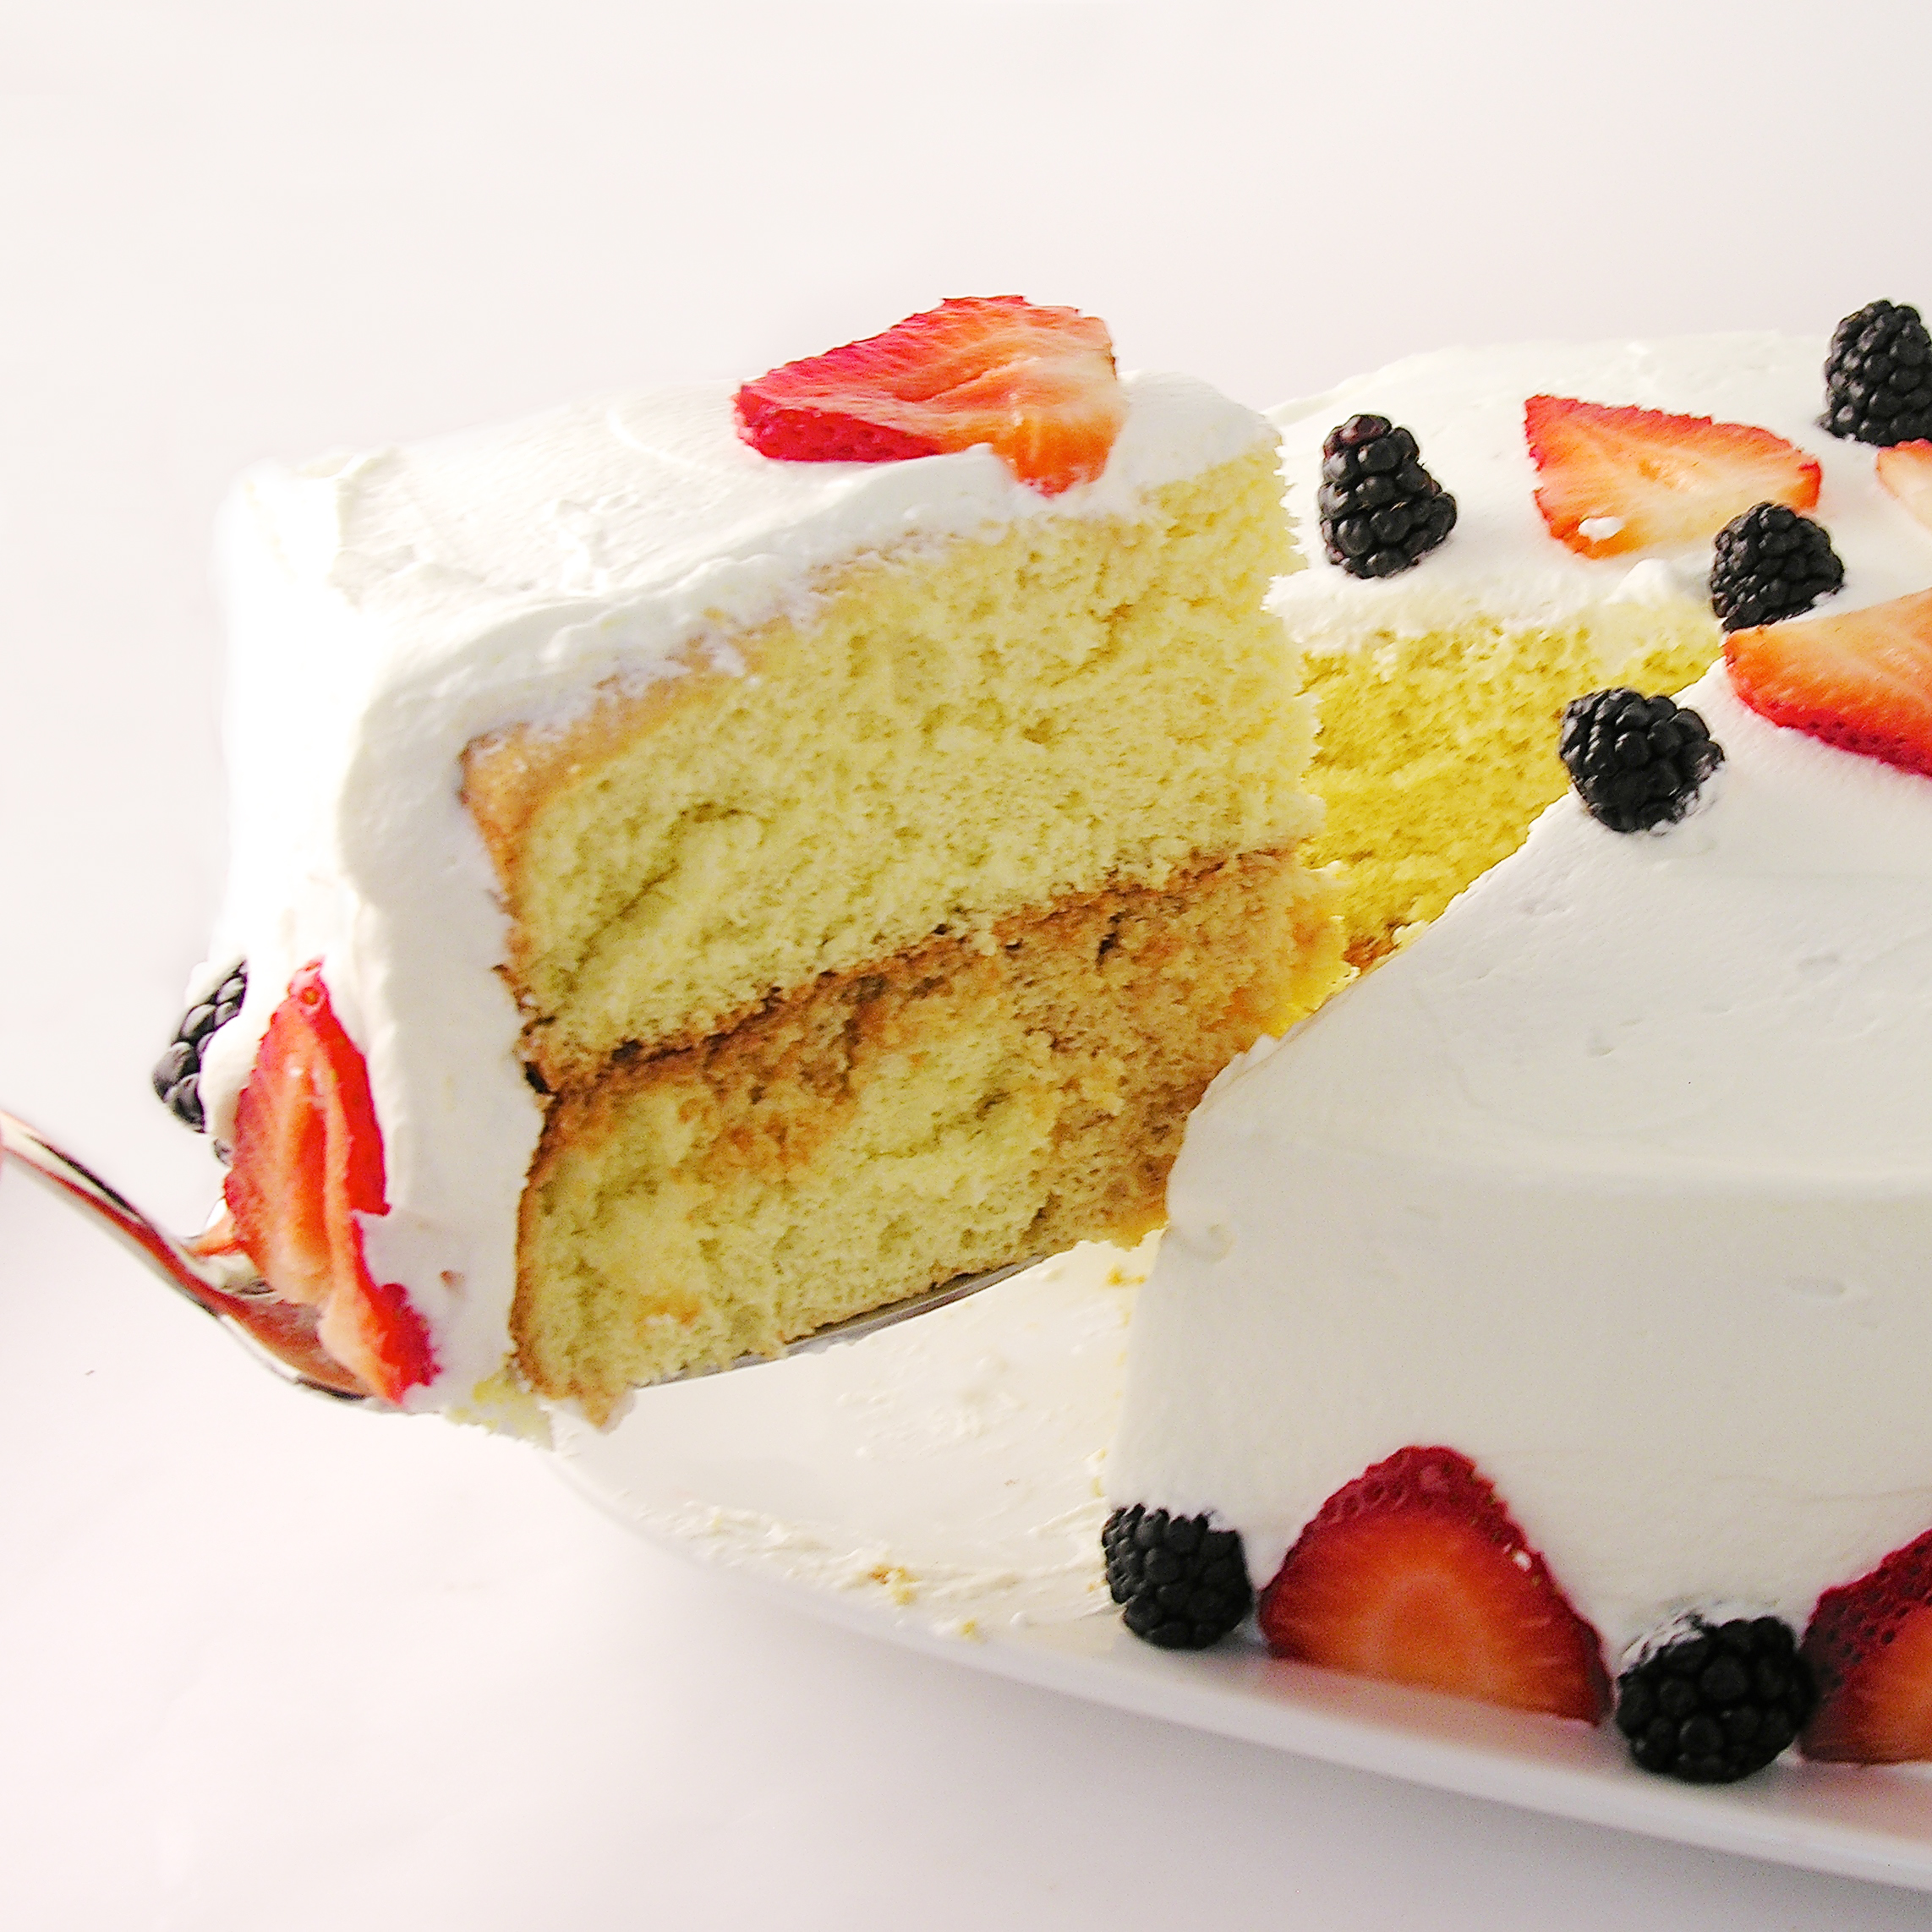
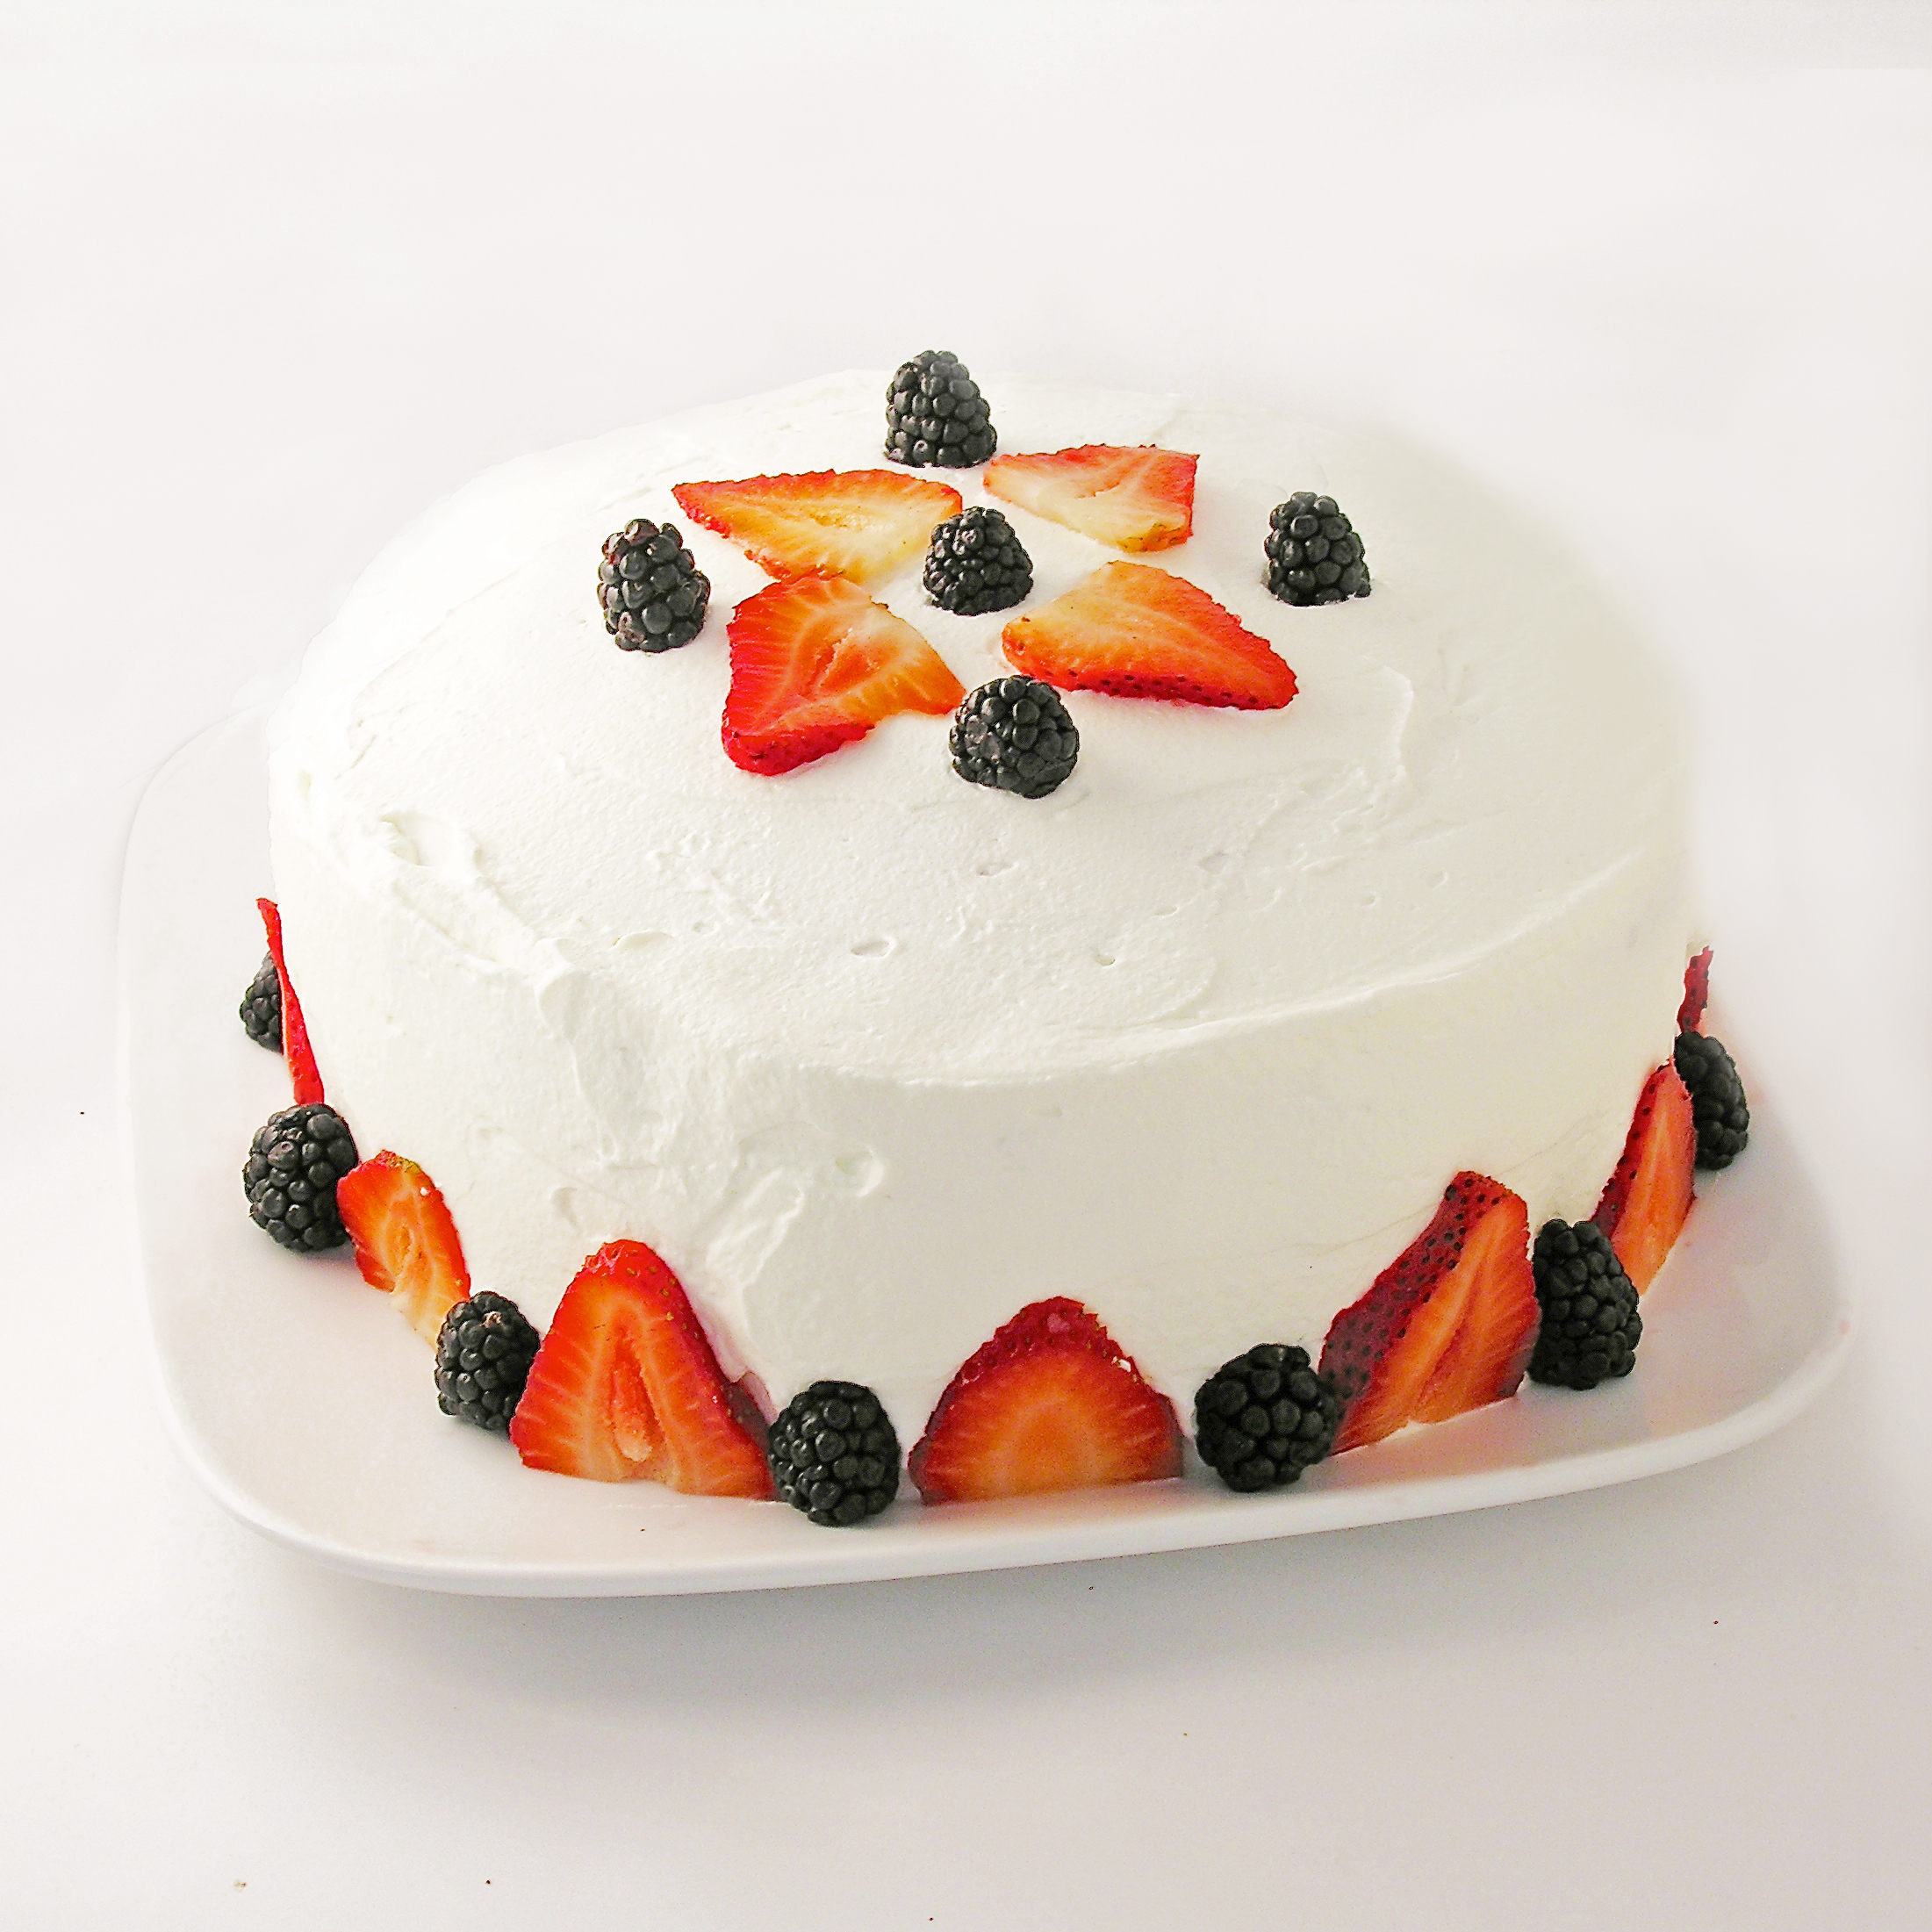
This traditional sponge cake is soaked in a vanilla 3-milk sauce and layered with dulce de leche.  Topped with whipped cream and fresh fruit, it is a light and refreshing dessert.

It’s nearly Cinco de Mayo time!  I first tried Tres Leches cake in Mexico.  I had taken a group from our church down to a tiny village in Sinaloa.  We had spent the week building, painting, doing electrical work and laying cement.  It was my birthday while I was there, and some of the ladies from the church made me a HUGE tres leches cake.  It was DELICIOUS!  When I asked for the recipe, they all looked at me funny and said- it’s tres leches cake..? (like everyone knows how to make that!!!)

Tres Leche Cake in MexicoSince then, I’ve tried this cake at other places in Mexico and in the states.  I’ve noticed that there are two kinds:  The firm, sweet and moist kind, and the dripping with milk kind.  I really don’t like the dripping with milk kind…that consistency is really gross to me- and cake should never be gross!

I researched lots of recipes, and discovered that there are two varieties: a butter based sponge cake and an egg based sponge cake.  The egg based one is the one I liked.  It soaks up all that yummy sauce and stays firm, while the other just sits in a puddle of sauce…YUCK!

Tres Leches Cake!!!!All of that said, this is an egg based recipe that I found on a lovely blog called Pati’s Mexican Table.  My research paid off- this was a FABULOUS cake!  Here’s the recipe: (printable version)

INGREDIENTS

Cake

  • 9 eggs, separated
  • 1 cup sugar
  • 1 tablespoon vanilla extract
  • 2 cups all purpose flour

Vanilla Sauce:

  • 1 (14oz) can sweetened condensed milk (I used La Lechera brand)
  • 1 (12oz) can evaporated milk
  • 1/2 cup heavy cream
  • 1 tablespoon vanilla extract

Topping/filling

  • 2 cups heavy whipping cream
  • 1/4 cup confectioners’ sugar
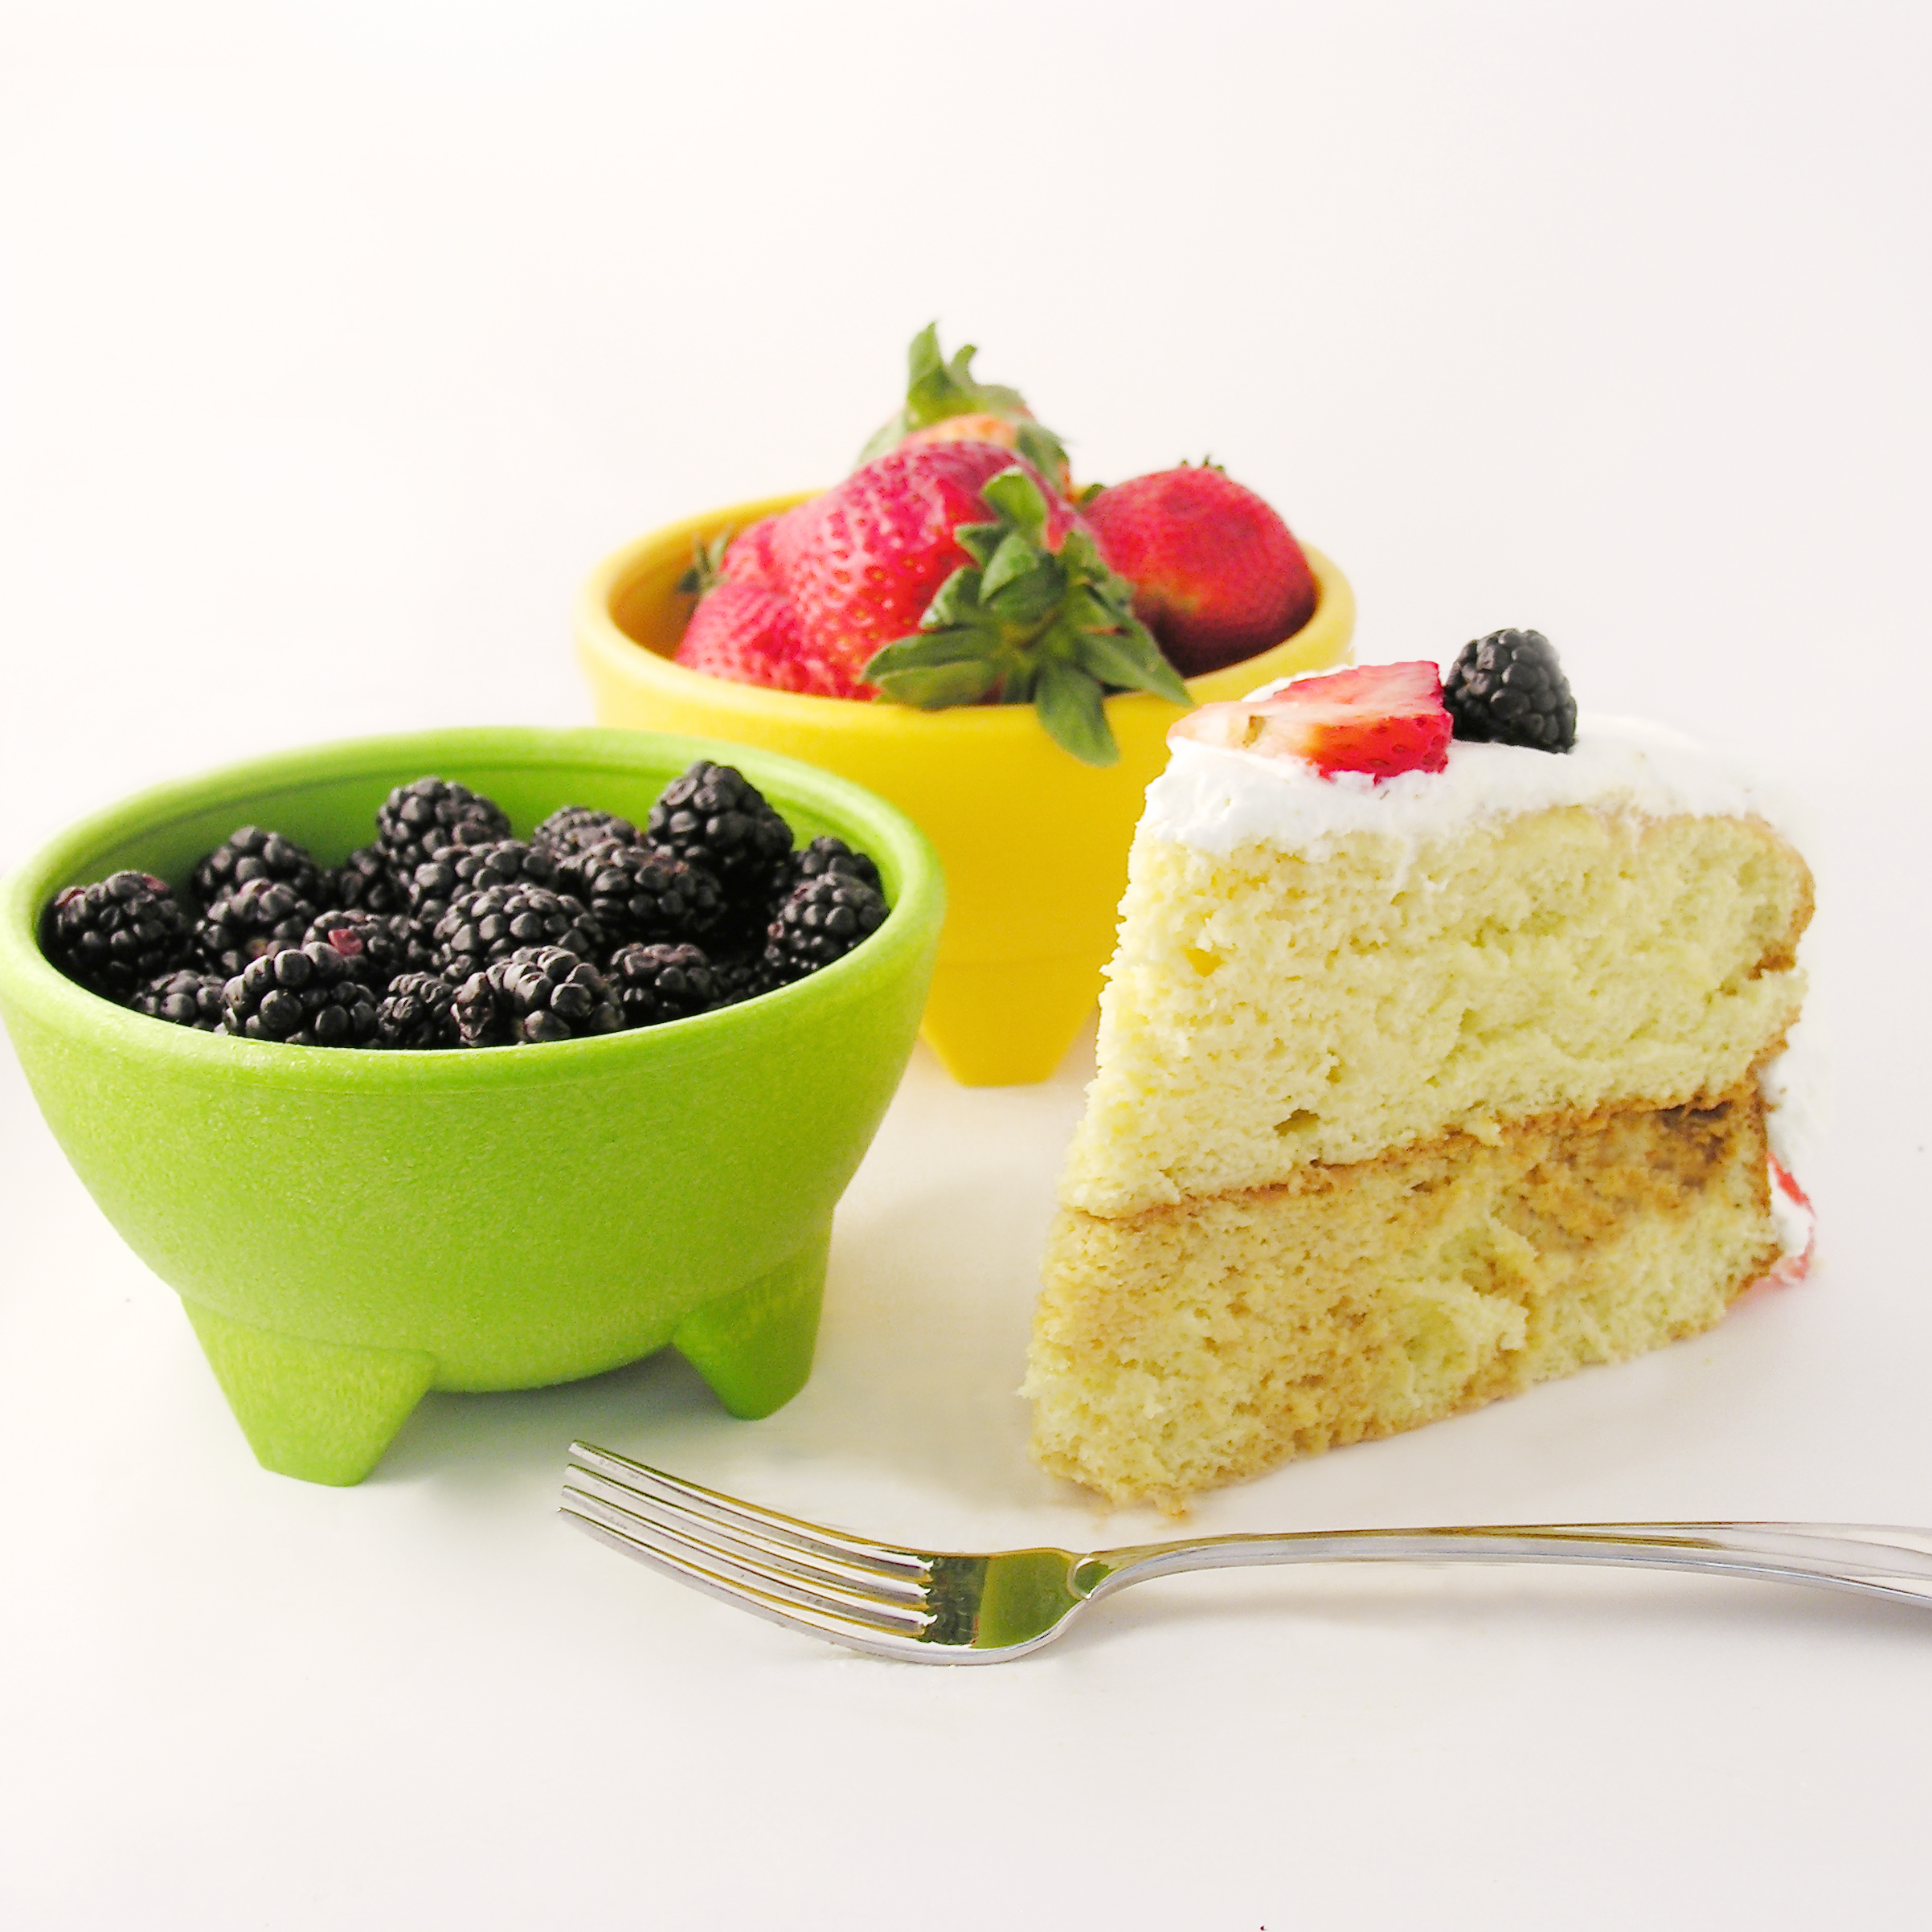
  • fresh fruit for garnish
  • 1 (13.4 oz) can of La Lechera Dulce de Leche (or make your own here)

DIRECTIONS:

  • Preheat oven to 360F degrees and spray two 8 or 9 inch cake pans with non-stick spray.  Cut a circle out of parchment paper to place in the bottom of each pan to help these cakes come out of the pan cleanly.
  • Divide eggs into 2 bowls.  Put the egg whites into a large mixing bowl and the yolks into a medium bowl.
  • Beat the egg whites on medium-high until they form soft peaks.  Add sugar and beat on high until they form stiff peaks (this will take 4-5 minutes, depending on your mixer).
  • Beat the egg yolks on high for 5 to 6 minutes until they increase in volume and turn a creamy yellow.
  • Beat the vanilla into the egg yolks until combined.
  • Add the yolks to the whites and use a spatula or large spoon to gently fold them together.
  • Add flour and gently mix until completely combined.
  • Divide batter evenly between the 2 pans and bake for 20-25 minutes.  The tops should be golden and when a toothpick is inserted in the center, it should come out clean.
  • Cool completely, run a small knife around the edges and tip cakes over on a plate.  Remove parchment paper.
  • Make sauce by combining the 3 milks (condensed, evaporated and cream) together with the vanilla.
  • Poke (lots!) of holes in the top of each cake with a fork and carefully pour sauce over the top, dividing it evenly between the 2 cakes.
  • Place one cake on a serving plate, spread dulce de leche caramel over the top, stack second cake on top.
  • Make frosting by beating together the whipping cream and powdered sugar, until stiff peaks form.
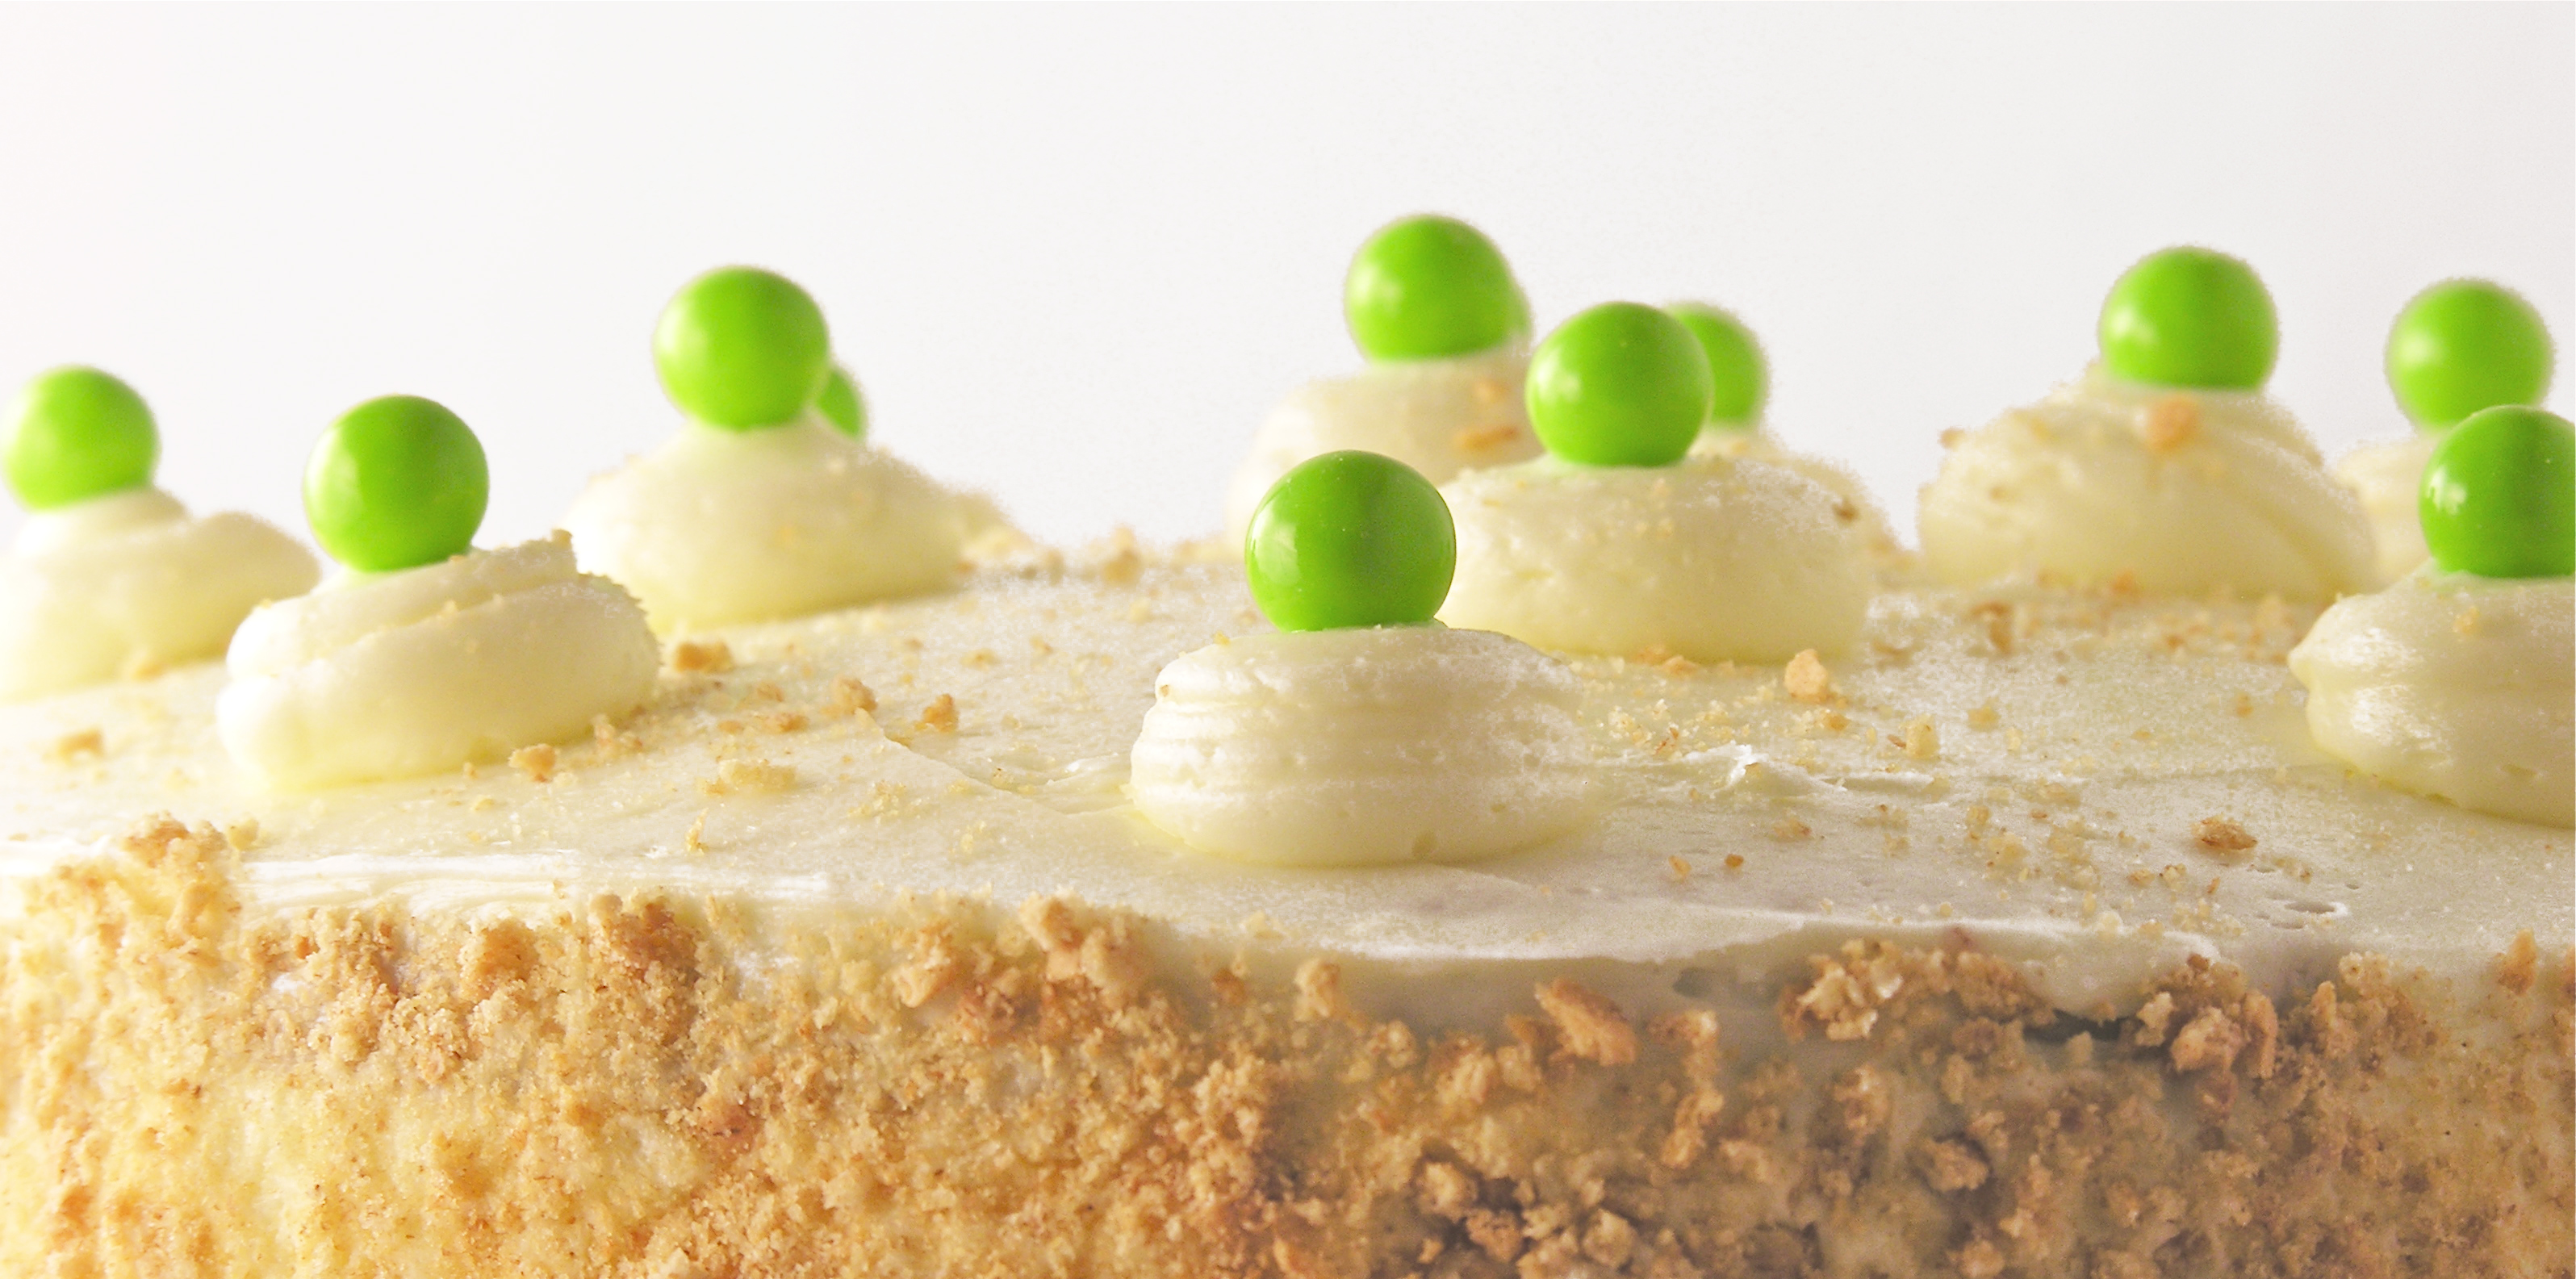
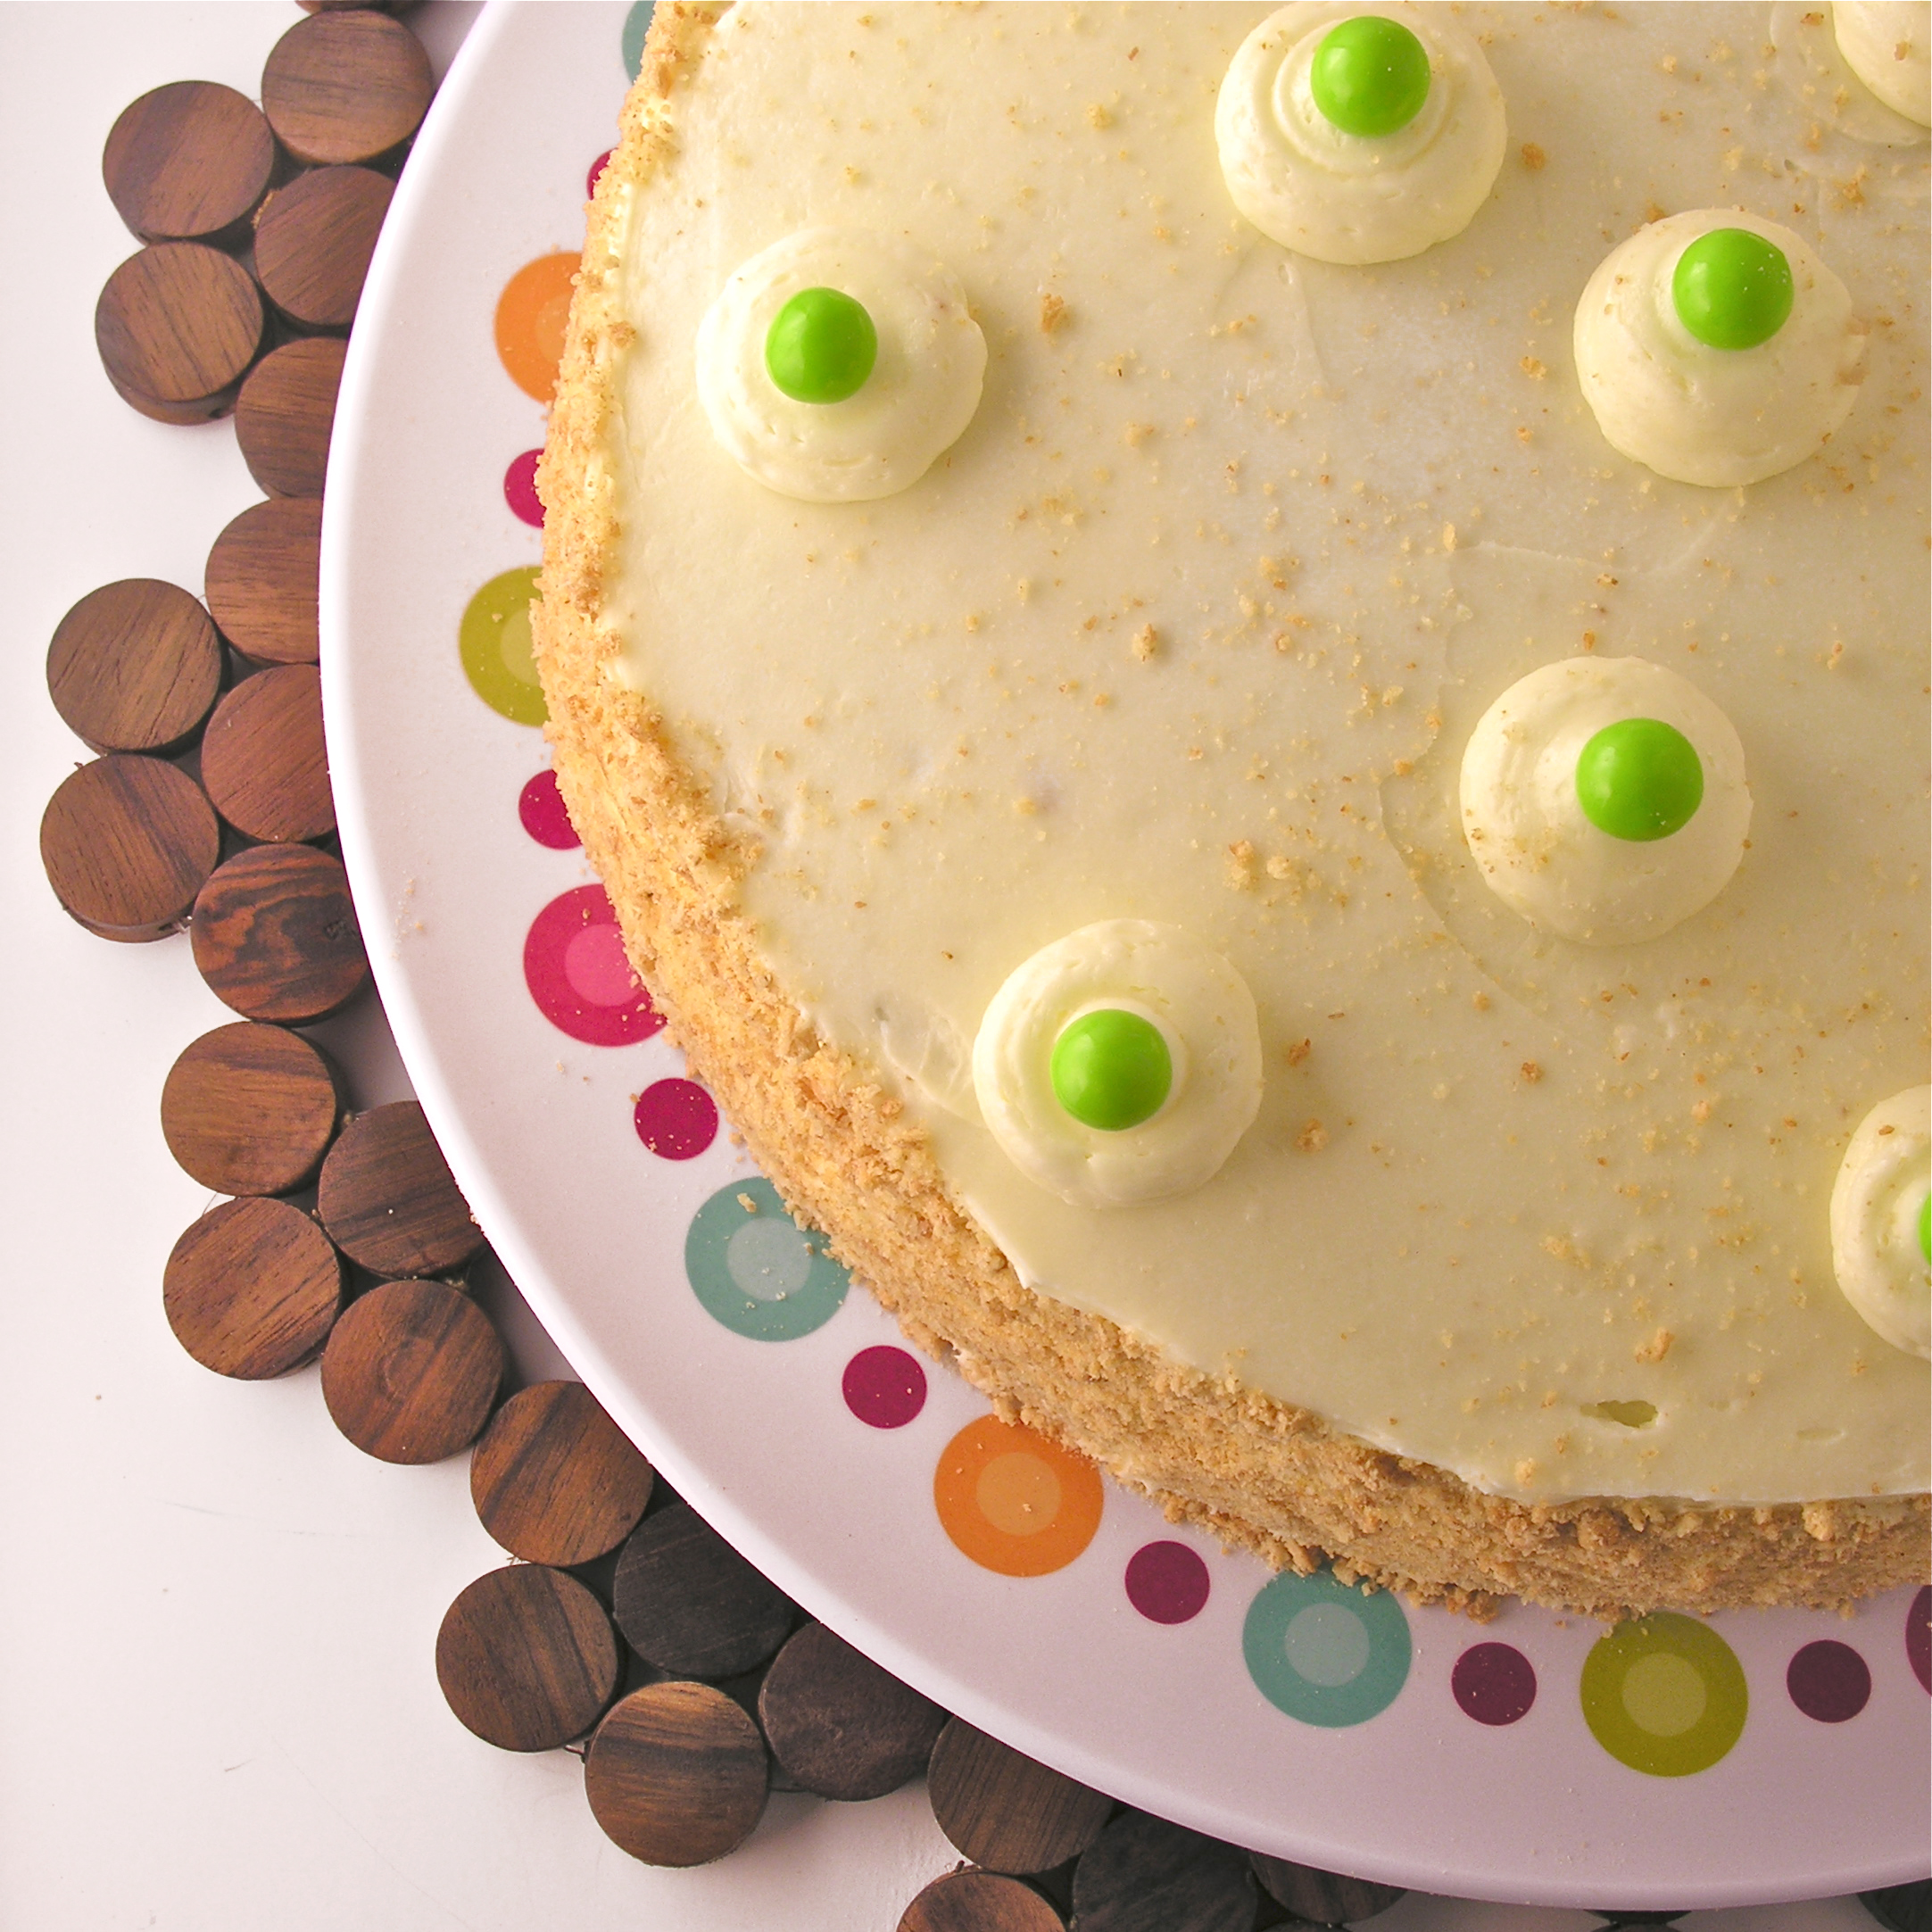
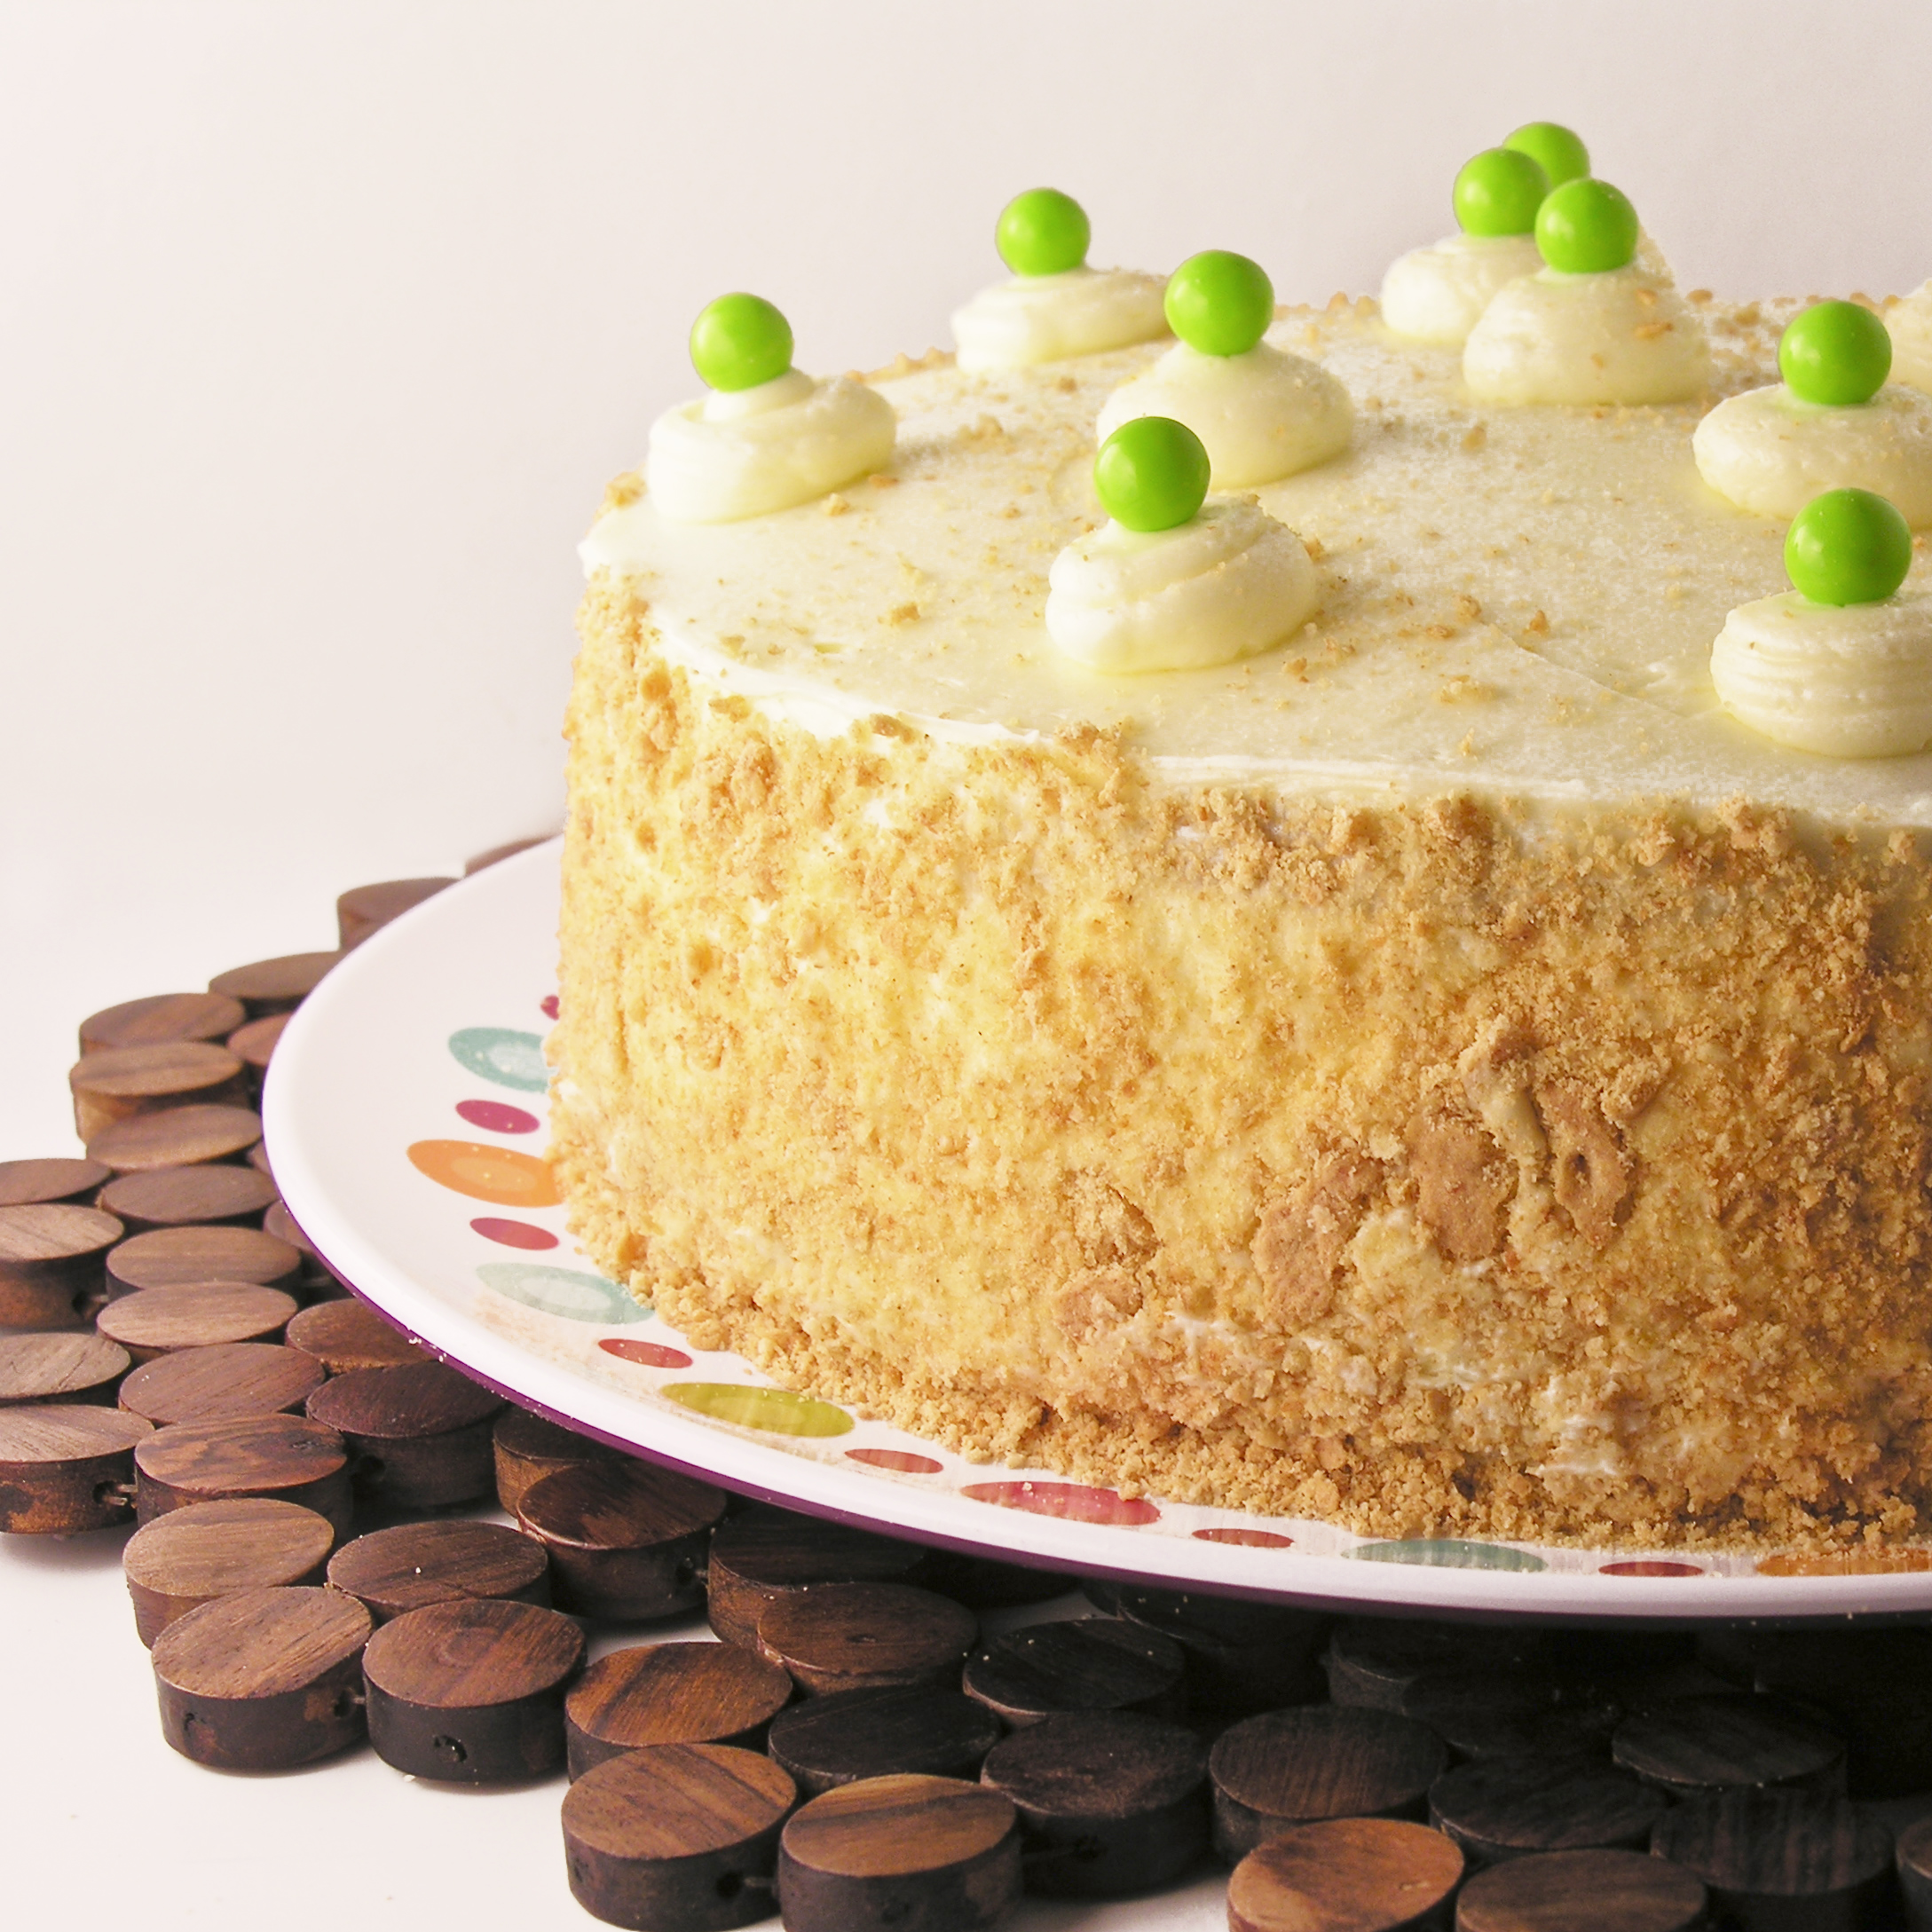
  • Frost cake and serve with fresh fruit. Refrigerate until serving.

Tres Leches Cake with caramel and fruit
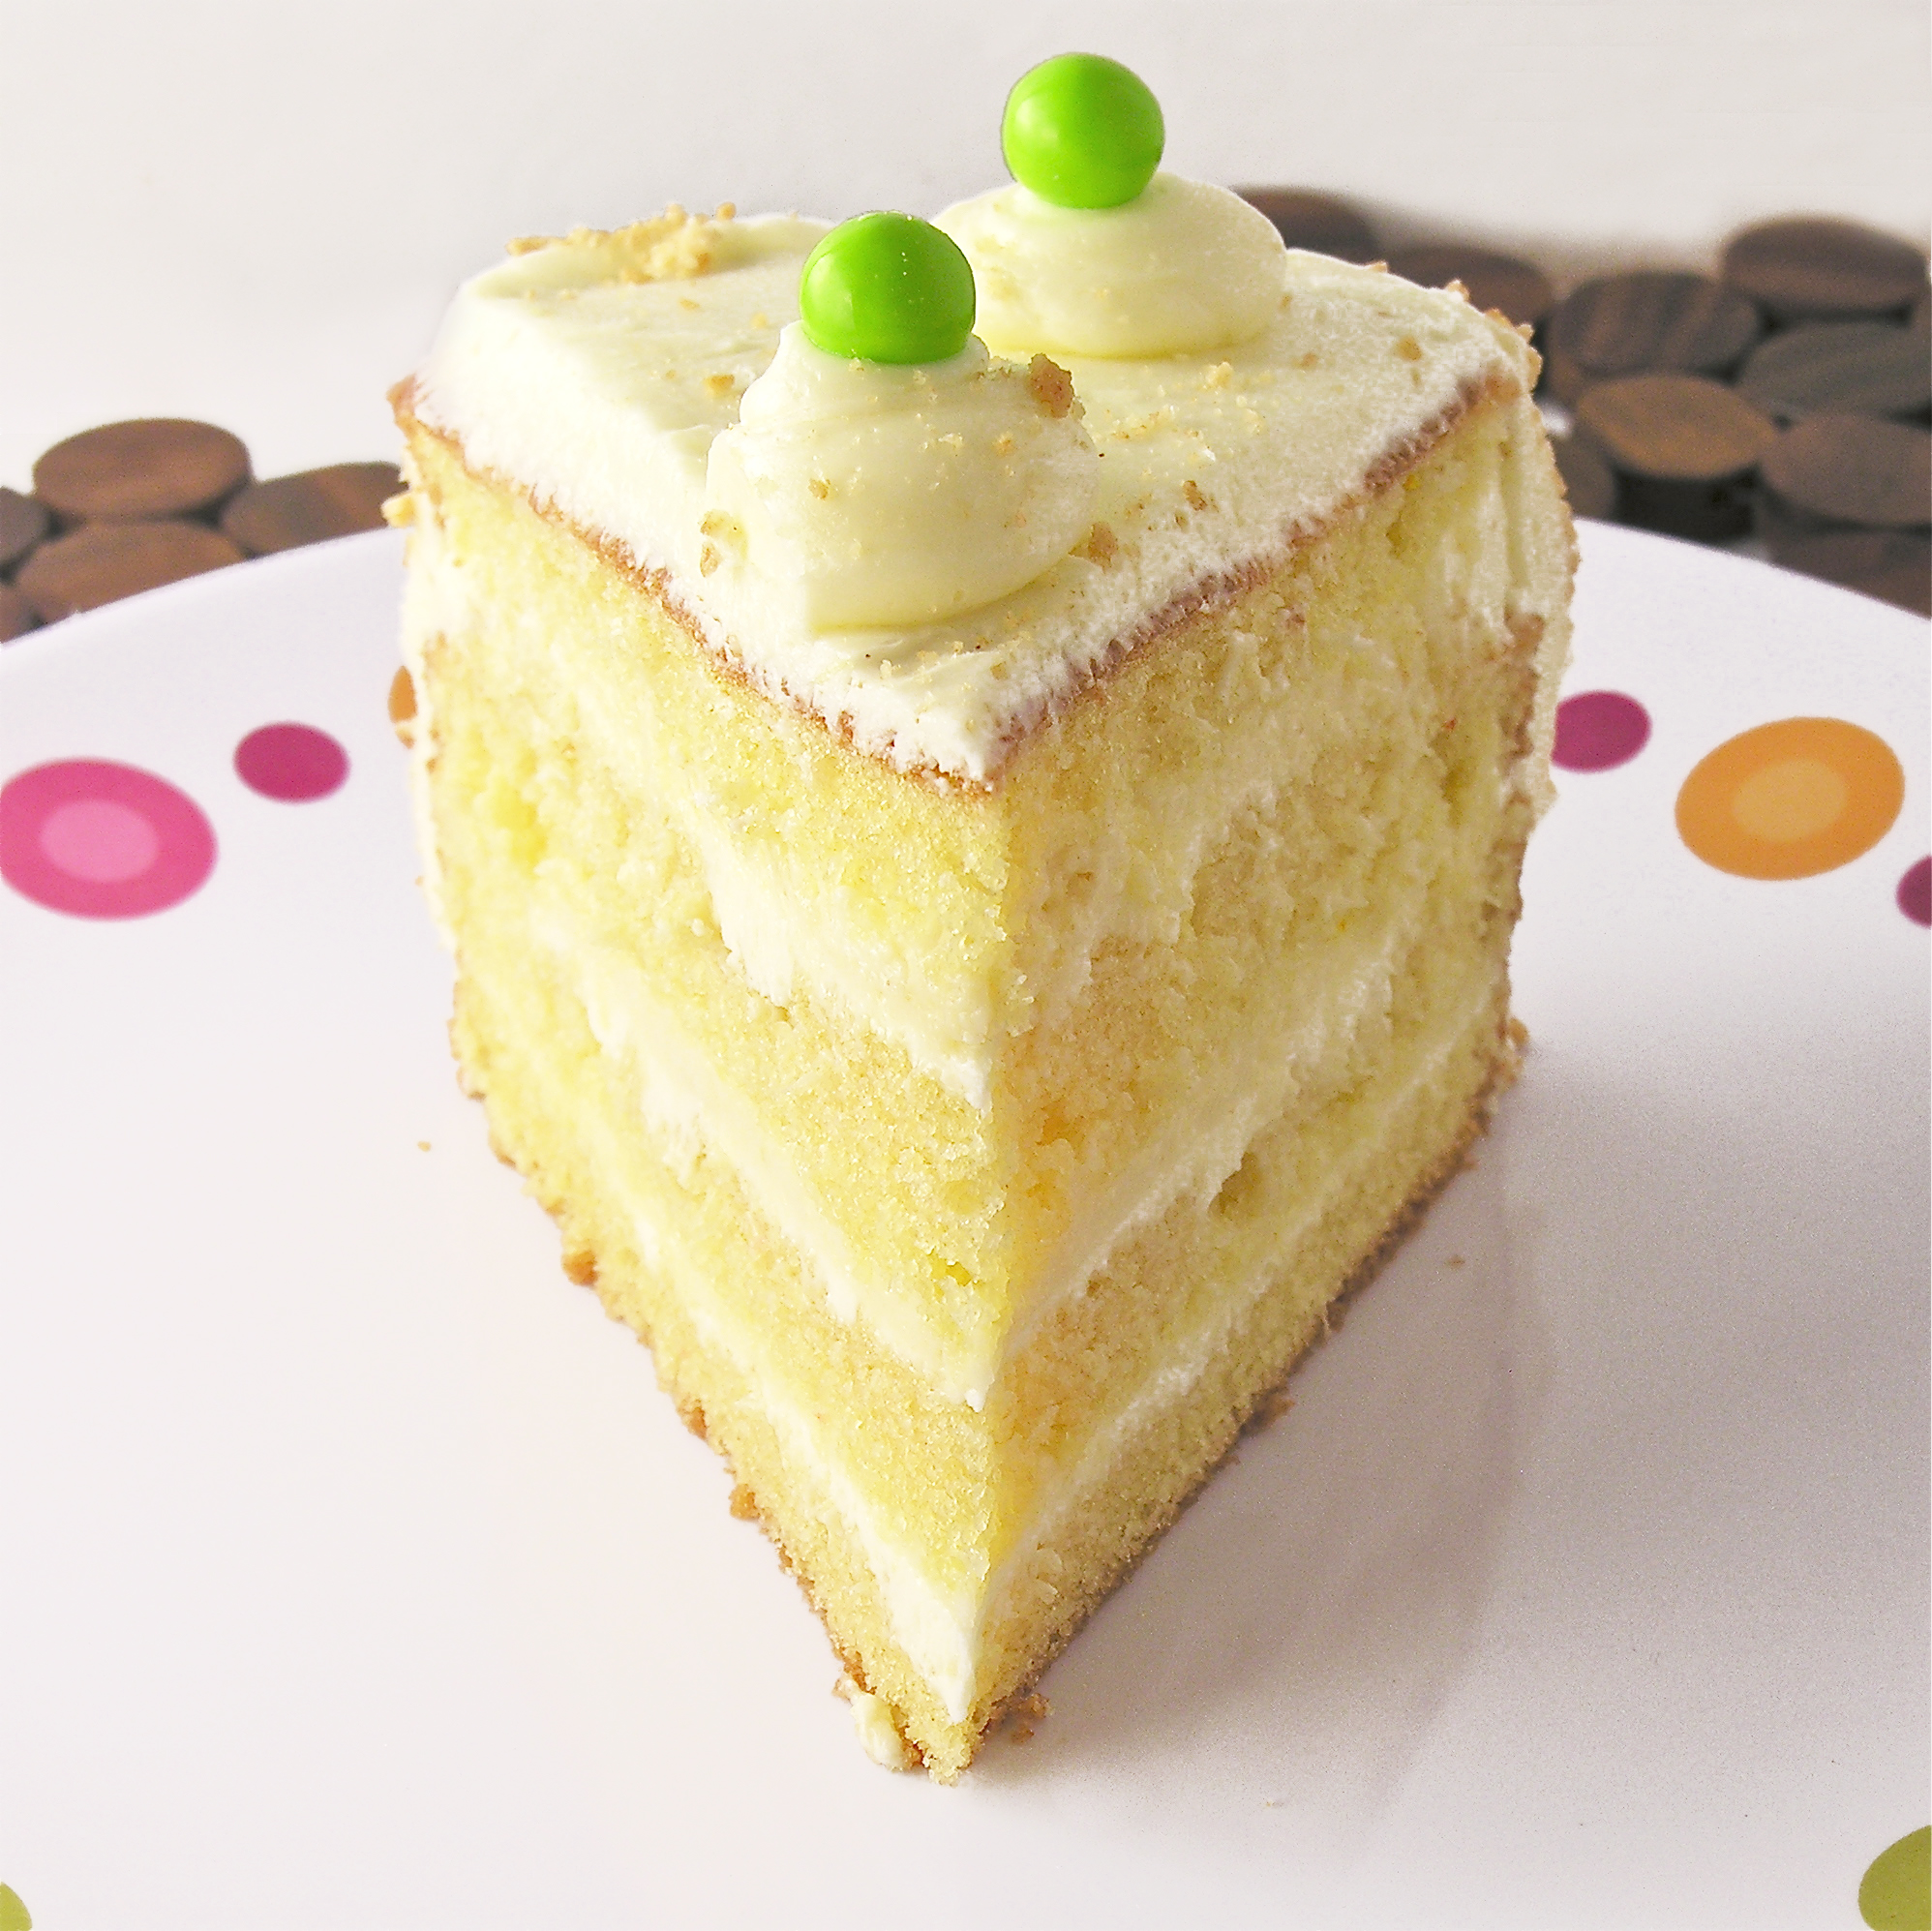
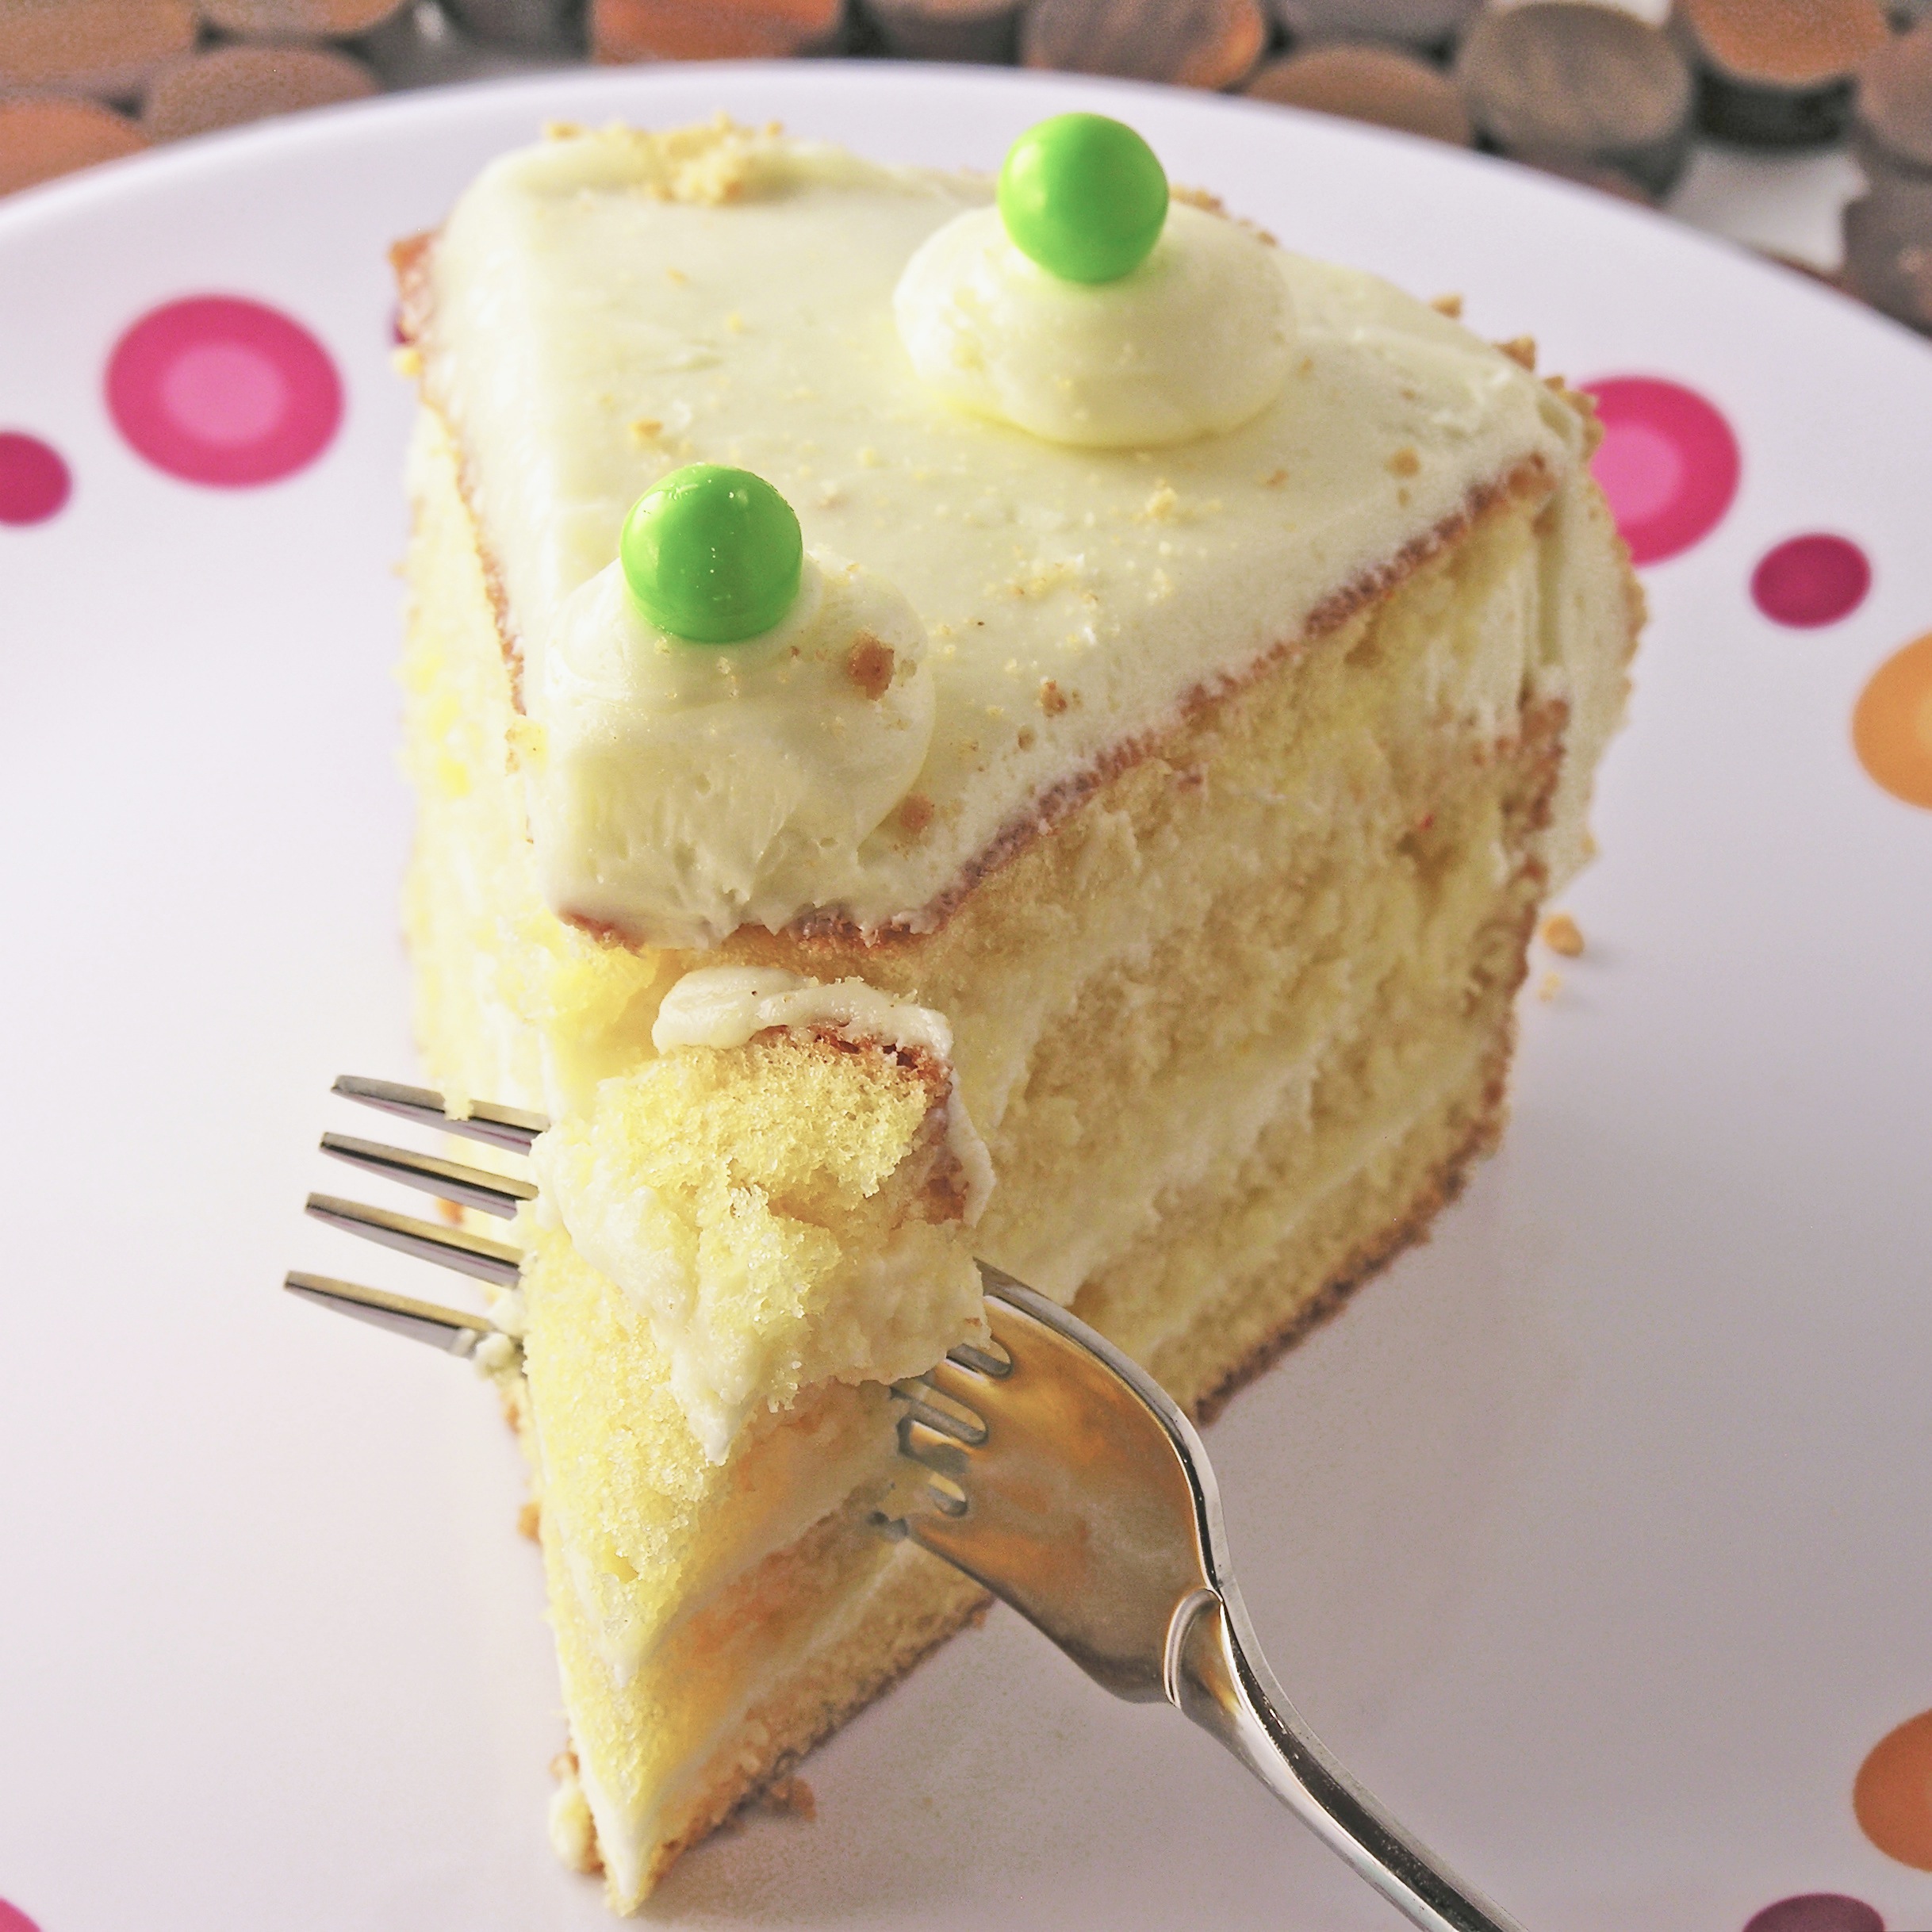
My thoughts:  I was so pleased with how yummy this cake was.  The sponge cake is very firm and easy to work with, even when it’s soaked with sauce.  You can make this in a 9×13 inch pan too- I just wanted the tall layer cake look~ and that caramel in the middle?  Oh my… take a look at my pictures- it partially soaks in to that bottom layer and gives it a rich caramel flavor.  I think you all are going to love this cake!!  I hope you get a chance to try it!!!  Enjoy!!!!  ~r

Tres Leches Cake!!!!Other cinco de Mayo recipe ideas:

Alfajores-- yummy dulce de leche filling!Confetti Cake Filled with CandyCreamy Mango Pops!Mexican Chocolate Milk

Key Lime Layer Cake

Posted on

Key Lime Cake

Moist cake layered with buttercream and tart key lime filling.  A perfect summer treat!

Key lime pie is one of my favorite desserts.  It’s just so refreshing and fun!  Whenever I am pondering the question of what dessert to try in a restaurant I am always caught between chocolate and anything key lime.

I’ve already done a few key lime recipes here on Easybaked, but never a cake.  Until today…..

Key Lime Cake

The key lime filling is tart, but the sweet buttercream layered with it makes each bite a refreshing treat!

Here’s how to make it: (printable recipe)

INGREDIENTS:

  • One boxed yellow cake mix (with eggs, oil and water to make according to package)
  • 1 cup of key lime juice
  • 1 can (14 oz) of sweetened condensed milk
  • 1 egg
  • 2 sticks (8 oz.) of salted butter
  • 2 sticks (8 oz.) of unsalted butter
  • 3 cups of powdered sugar
  • 2 teaspoons of clear vanilla
  • 1/4 cup crushed graham crackers

DIRECTIONS:    (make filling 1st to save time)

Cake:

  • Make cake mix according to package and bake in two 8 or 9 inch round pans.
  • Turn cakes out of pans onto a cooling rack and cool completely.

Filling:

  • In a medium mixing bowl blend together key lime juice, sweetened condensed milk and egg until combined.
  • Pour into a small casserole dish and bake at 325F degrees for 15-20 minutes until center is set.
  • Cool completely (I make this 1st and place it in the fridge while I make the cake and frosting)

Frosting:

  • In a large mixing bowl, add softened butters, powdered sugar and vanilla.
  • Beat on high for several minutes until frosting is light and very fluffy.

Putting the cake together:

  • Trim the tops of cakes to make them flat using a large serrated knife.
  • Cut each cake into 2 layers using the same serrated knife.
  • Place 1st layer on a serving plate and lightly layer with frosting.
  • Spread 1/3 of the cooled key lime filling over layer
  • Place 2nd layer on top and repeat until last layer has been placed on top.
  • Frost entire cake (top and sides) with buttercream frosting.
  • Crush a few graham crackers and gently press the crumbs along the sides of the cake.
  • Decorate as desired.  I used little dollops of extra frosting and little lime green chocolates.

Key lime cake!!!(Aren’t they cute?!?)

Key Lime Cake!!

Key Lime Cake!!

Key Lime Cake!! 

My thoughts:  I love this cake so much!  It’s not only one of my favorite flavors, but it’s pretty and it holds together so well and cuts beautifully!  If you love key lime like I do, this is the cake for you!  I hope you get a chance to try it!!!    Enjoy!  ~r

Key Lime Cake!!!

Other layer cake recipes you might enjoy:

Strawberry layer cakePeanut Butter Cup Layer CakeStrawberry-Lemonade Layer CakeMedovnik in Prague

Dulce de Leche Caramel Sauce

This creamy sweet caramel sauce couldn’t be easier to make.  Ingredients?  One can of Sweetened Condensed Milk and a very brave spirit…..


I had heard from several people about the “boil a can of condensed milk to make caramel” idea, and I knew someday I would try it.  That “someday” arrived when I was asked to bring a birthday cheesecake for my brother this weekend.  He likes PLAIN cheesecake.  For those of you who have followed easybaked for awhile, you know I don’t do “plain” anything.  I take plain and add peanut butter, chocolate, glazes, ganache, frosting, candy….nothing plain.  But for my wonderful brother John….I present:  a plain white cheesecake…..

so…..plain.  In case you are wondering, this recipe is the basis for almost all of my cheesecakes, and you can click on one of the following pictures to get the recipe using white chocolate (plus fun toppings!!!!) Using other chip flavors gives you chocolate, peanut butter, cinnamon or even butterscotch cheesecakes.

In any case, I made the plain cheesecake, but I wanted a fun topping sauce to serve with it.  Dulce de Leche.  Now, I don’t know about you, but in my mind boiling a can of any sort sounds like a disaster….so I looked up the technique- just to be sure I did it right and didn’t explode anything.

I found a cute blog called Not Without Salt that gave instructions….scary instructions….and I quote:

“In a large pan, completely submerge the can of sweetened condensed milk in water. Make sure it is covered by at least one inch of water and remains covered throughout the entire process – this is VERY important otherwise it could explode. Cover the pan with a lid and bring to a boil. Reduce heat and simmer for three hours. Continually check to make sure the can is completely covered with water.”

Yes, it could explode.  Needless to say, I obsessively checked my water level for 3 hours.  I never needed to add any…but I imagined lovely dulce de leche covering my ceiling and walls and I obsessed.

After 3 hours of fear, I took the pan off the stove and had a debate with my friend Danielle about if I should leave it in the hot water to cool…or take it out…?  I took it out.  And I set it outside on my sunporch to cool- or explode.

It cooled beautifully and when I opened the can….oh my.

I love it.  I would do this again in a heartbeat— it is SO good.  I’m so excited to serve it with my cheesecake in a few hours.  It would be good over ice cream or apples…so many possibilities.  ENJOY!!! (and be very careful that your water doesn’t evaporate!!)    ~r

Happy Birthday!!!

Dulce de Leche in your coffee???


Other recipes you might enjoy: Click on the image to be taken to the recipe.


Shop Amazon – Cyber Monday Deals Week

Caramel Fudge Brownies

Posted on

Layers of brownie, soft caramel and fudge make this dessert irresistible!!!
If these brownies look familiar to you, it is because they are the very same recipe as my Mint Creme Brownies but with a thick layer of caramel instead of the mint creme.  I love these brownies because they hold together so well and are so chocolatey and rich- the sky is the limit as far as different toppings you could layer on top of them, but here’s a recipe for caramel:
INGREDIENTS:
BROWNIE:

  • 1c. butter
  • 2c. sugar
  • 3 eggs
  • 2 tsp. vanilla
  • 1/2c. cocoa
  • 1/2tsp. salt
  • 2 c. flour
  • 1c. milk
  • 1 c. chopped pecans (optional)

CARAMEL:

  • 32 Kraft caramels (unwrapped)
  • 1/2c. butter
  • 1 (14 oz.) can of sweetened condensed milk.

FUDGE GLAZE:

  • 12oz. semi-sweet chocolate chips
  • 12 T. butter (do not substitute margarine here!)

DIRECTIONS:
BROWNIE:

  • Preheat oven to 350.
  • Cream butter and sugar together. 
  • Beat in eggs, cocoa, vanilla and salt.
  • Add flour and milk (alternating them and mixing well in between).
  • Spread evenly in greased jelly roll pan.
  • Bake at 350 degrees for 15 minutes or until done in center and just starting to pull away from sides.
  • Cool.  

CARAMEL:

  • Place unwrapped caramels, butter and sweetened condensed milk into a saucepan and heat until completely melted.
  • Stir this constantly to prevent scorching (about 6-8 minutes).
  • Gently pour over cooled brownies and spread to edges.
  • Put entire pan in freezer while you make the glaze (10-15 min) to allow the caramel to harden a little.

FUDGE GLAZE:

  • Melt butter and chocolate together in the microwave in 30 second increments, stirring in between until completely melted and smooth.
  • Pour over cooled caramel and gently spread evenly over top
  • Chill until top layer is hard and cut into bars.

My thoughts:  The mint creme brownies are one of my favorite desserts— add caramel instead and these are just soft gooey sweet amazingness.  If you want a harder caramel layer just store these in the fridge until you serve them.  Softer caramel?  Leave at room temperature and serve with a fork!   I wish I didn’t have a plate of them left in my kitchen….they are calling me….do you hear them??   Enjoy!!! r-

Creamy Coconut Cheesecake

Posted on

Chewy layers of coconut covered in dark chocolate cheesecake make this dessert irresistible!

A few months ago I made coconut macaroons– yum. I love coconut. I kept thinking that the macaroons would be good with chocolate. I used Nestle’s new Dark Chocolate Morsels in a Triple chocolate cheesecake a few weeks ago and decided then and there that the dark chocolate cheesecake would be perfect with the coconut macaroons. I didn’t get too creative with this recipe- I just used the coconut macaroon recipe and spread it in the bottom and used the dark chocolate cheesecake recipe over the top—-fingers crossed and YUM! It worked wonderfully!

This recipe is not hard, but it is going to take you some time, so you will want to make it ahead.

INGREDIENTS:

  • Oreos (2 to 2 1/2 cups, finely crushed)
  • 1/4 c. butter (melted)
  • 2 egg whites (beaten until soft peaks form)
  • one (14oz.) bag of sweetened shredded coconut
  • one can of sweetened condensed milk
  • 2 (8oz.) packages of Philadelphia Cream Cheese (softened)
  • 1/2c. sugar
  • 3 eggs
  • 2 c. Nestle Dark Chocolate Morsels (melted)
  • 1 c. whipping cream
  • 3 t. vanilla

DIRECTIONS:

  • Finely crush Oreos and mix with melted butter. Press into bottom of a 9-Inch Round Springform Pan.
  • In a medium bowl combine egg whites, coconut and sweetened condensed milk. Press this macaroon mixture gently over the top of the crust (if you are too vigorous in spreading this it will pull up your Oreo crust).
  • In a large bowl, cream together cream cheese and sugar.
  • Add eggs one at a time, beating with mixer between each egg.
  • Add remaining ingredients and beat until smooth.
  • Pour over coconut layer.
  • Set springform pan on a cookie sheet and allow batter to settle at room temperature for 30 minutes (this will help prevent cracks). Preheat your oven to 325 degrees at this time.
  • Bake cheesecake at 325 degrees for 1 hour. At one hour, turn oven off, crack open the oven door and allow cheesecake to sit in oven for another 30 minutes.
  • Remove cheesecake from oven and cool at room temp for 30 minutes.
  • Carefully run a sharp knife around the edge of the springform pan to loosen the edges (I found that this cheesecake tended to stick on the edges just a little because of all that gooey coconut- you might want to try a little parchment paper on the sides and bottom to make it easier.)
  • Remove edges of pan and allow cheesecake to set until it is room temperature.
  • Refrigerate overnight before serving.
  • Serve with some whipped cream or sprinkle with coconut….yum!

My thoughts: They have a cheesecake at The Cheesecake Factory called Coconut Cream Pie Cheesecake and I LOVE it. Originally I thought I would try to copy it exactly, but the chocolate cheesecake is SO much better than vanilla. I didn’t top this cheesecake with any fancy chocolate or drizzles because it is already SO rich…but you certainly could top this with a ganache- or even a caramel sauce. (Especially if your top cracks a bit and you want to hide that). All of my other cheesecake recipes have toppings on them if you need some topping inspiration 🙂 Enjoy! -r

Leche de Chocolate (Mexican Chocolate Milk!)

Posted on

Cold, creamy and sweet- this is chocolate milk like you’ve never had it before.  Say hello to one of my favorite treats from the beautiful country of Mexico!

For several years I’ve led mission trips from our church down to a tiny town in Sinaloa, Mexico.  We spend 10 days or so doing Bible school with the kids of the town, helping to build a church and training facility and just helping out around the town- painting, cleaning etc.  We have met the most wonderful people and made friendships I will never forget.  The food—authentic Mexican–is literally the best I’ve had in ANY country I’ve visited.  I, of course, had my nose in the kitchen often- asking questions, watching them make tortillas from scratch and pluck feathers from chickens.  I do hope to feature some of the recipes they shared with me here someday, but tonight I was craving chocolate milk, and the best chocolate milk I’ve ever had was in a tiny restaurant in Mazatlan, MX.  It was a hot day of touring and we’d just climbed a HUGE hill up to the lighthouse in Mazatlan.  We stumbled on this restaurant and stayed because it had air conditioning.  For some reason, chocolate milk sounded good– and the rest is history!

My friend Jennifer and I enjoying chocolate milk in Mexico

I knew the ingredients because I asked our waiter, but the proportions were up to me.  I will give you the amounts I use- but feel free to adjust them to your liking. Add more or less of anything to adjust the sweetness or the flavor.  This is how I like it:

INGREDIENTS:

  • 4 c. milk
  • 1c. ice cubes
  • 1/3 c. Hershey’s Chocolate Syrup
  • 1/2 of a (14oz.) can of sweetened condensed milk
  • 1 t. cinnamon
  • 1t. vanilla

DIRECTIONS:

  • Place all ingredients in a blender and blend until smooth.
  • Pour into fun glasses (mine were a gift, but I found more like them here: Tall Irish Coffee Glass)
  • Serve cold and frothy!
  • ENJOY!!!!

My thoughts:  My 1st sip of this made me smile and I had to just close my eyes and remember all the wonderful people I met on these trips to Mexico.  Isn’t it fun when a taste brings back happy memories?  I hope that this easy recipe becomes a favorite in your family!  Enjoy! -r

Coconut Macaroons

Chewy coconut cookies with a crisp toasted edge.  Wow your friends with these yummy (gluten free!) coconut macaroons!!

INGREDIENTS:

  • 2 egg whites
  • 1 bag (14oz) of sweetened coconut
  • 1 can of sweetened condensed milk
  • 1 T. vanilla

DIRECTIONS:

  • Combine vanilla and condensed milk in a large bowl. 
  • Add coconut and blend well.
  • In a medium bowl, beat egg whites until they form soft peaks and add a pinch of salt.
  • Add egg whites to coconut mixture and fold them in.
  • Spoon mixture onto a parchment papered cookie sheet.
  • Bake at 350 degrees for 25-30 minutes (check for browned tops– you can see mine got a little over-done!)
  • Cool and enjoy!!

My thoughts: I made these with my friend Brie today- she can’t have gluten and these are blissfully free of it and soooo good.  I’ve been making these for many years and they are the best coconut macaroons I’ve ever tried.  Enjoy!!!! r-