It’s the last day of 2011. This year I started a blog (!!) and met all of you– what a fun year!
Easybaked began in March at the urging of many friends…. since then I have become a fan of many of your blogs and marveled at your creative recipes, beautiful photos and funny stories.
It is also my birthday this week, and in pursuit of the perfect birthday dessert I decided to take a trip down memory lane through some of my favorite recipes, photos and blogs this year.
Here we go: my best from 2012:
Greg from Rufus’ Food and Spirits Guide has encouraged me from almost day one of starting this blog- although we’ve never met, its been fun to share blogs! Here’s one of his posts that I tried and loved: Butterfinger Cookies!

Aimee from Clever Muffin cracks me up! When I met her she was living in London (so cool) and now she has moved back to Australia (even cooler!) Her yummy muffin recipes are great- but her sense of humor is even better– this is a blog worth following for sure!! Here’s her Chocolate Chip Yogurt Muffins:

Christine from Angry Cherry is from Canada– and she’s a pastry chef in training (jealous!) she makes beautiful things with ingredients I’ve never heard of, but I love how adventurous she is in pursuing her dreams. Red Wine Truffle Cake from her:

Since I’m addicted to photography these days, I am drawn to blogs with jaw-dropping photography. My favorite is Bravetart (plus, WHAT a fun name!) The recipes are from Stella, a pastry chef and the photography is done by a variety of friends who are professional food photographers (dream…..!) I just stare at the photographs and try to understand the angles and lighting….I really need to take a class. In any case, here is her version of Red Velvet Cake (please come to my house and make this for my birthday….!)

My favorite cake decorators are the Davis sisters (and mom). They have taken a hobby and turned it into a serious business and FUN blog- Happily Ever After Cakes!! I am amazed by how many different types of cakes and cupcakes they are willing to try. Here’s one of my favorites (I want to live on this cake!) a day at the beach (yes…this is a CAKE!)

I’m sneaking a favorite non-food blog into the lineup: this blog is one of my favorite sources of inspiration and encouragement. A good friend of mine is a chaplain with the military. He’s deployed right now and shares his thoughts on a blog called Devos by Chaps….love it!
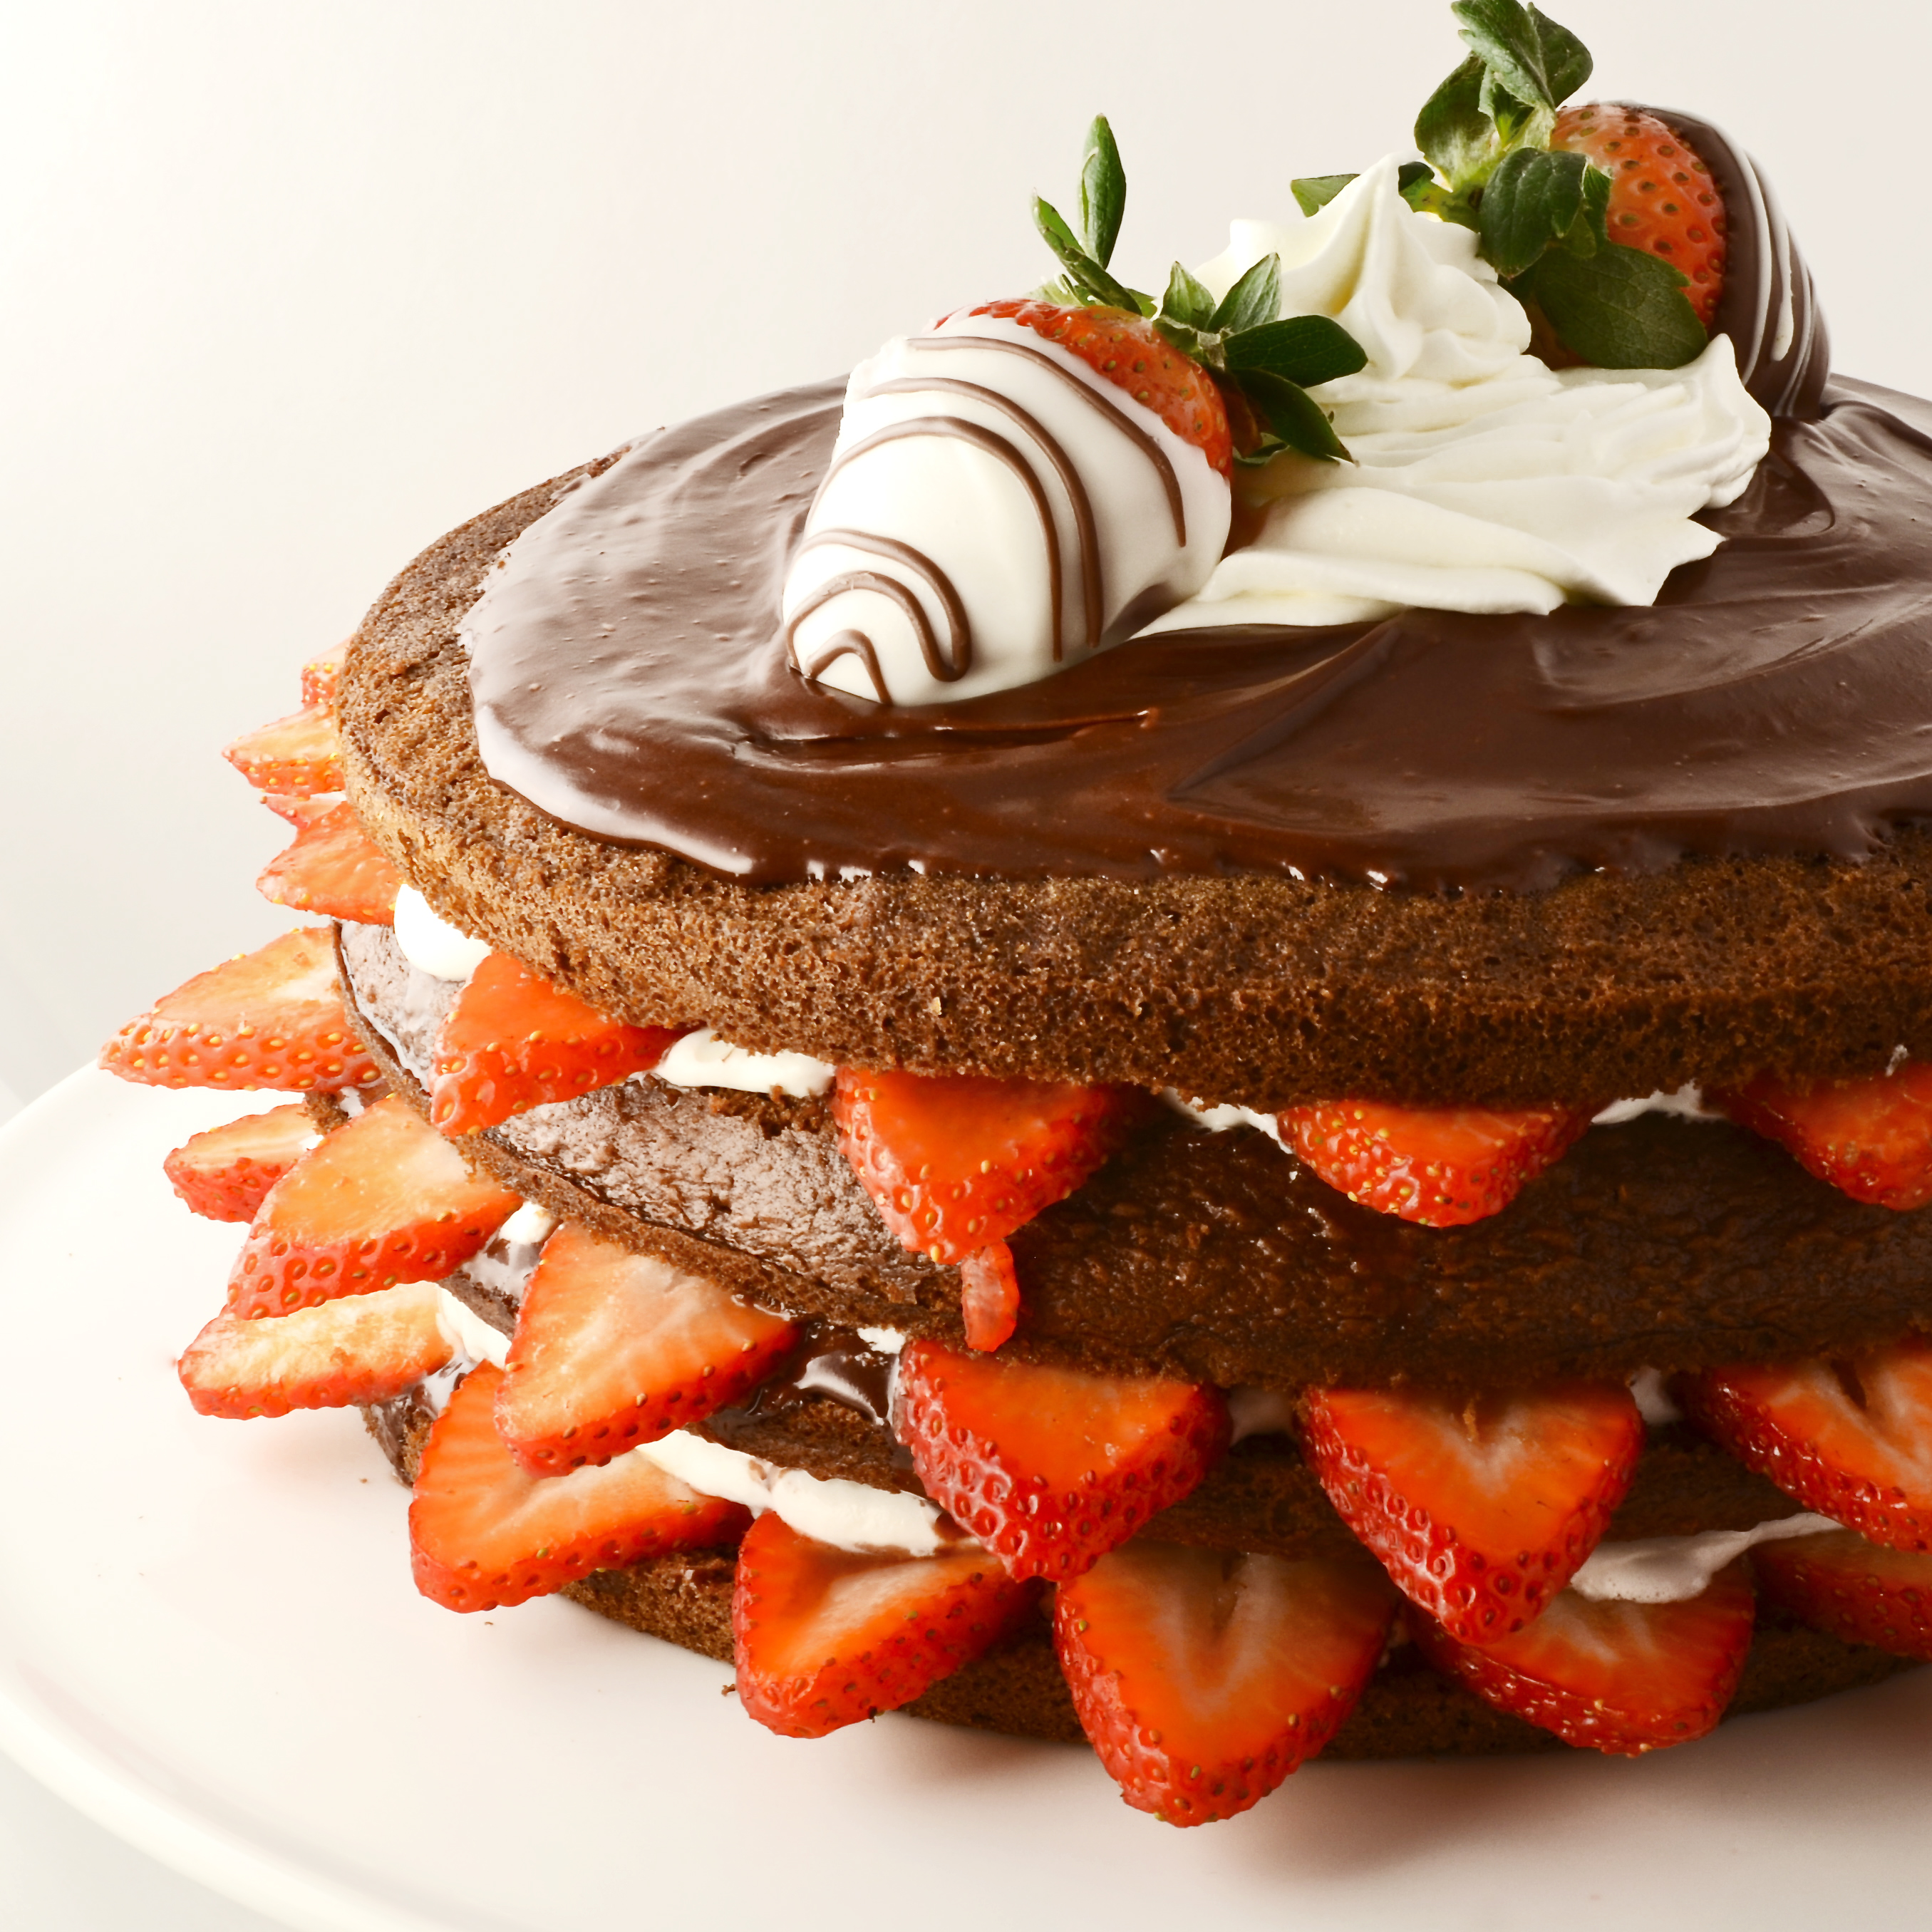
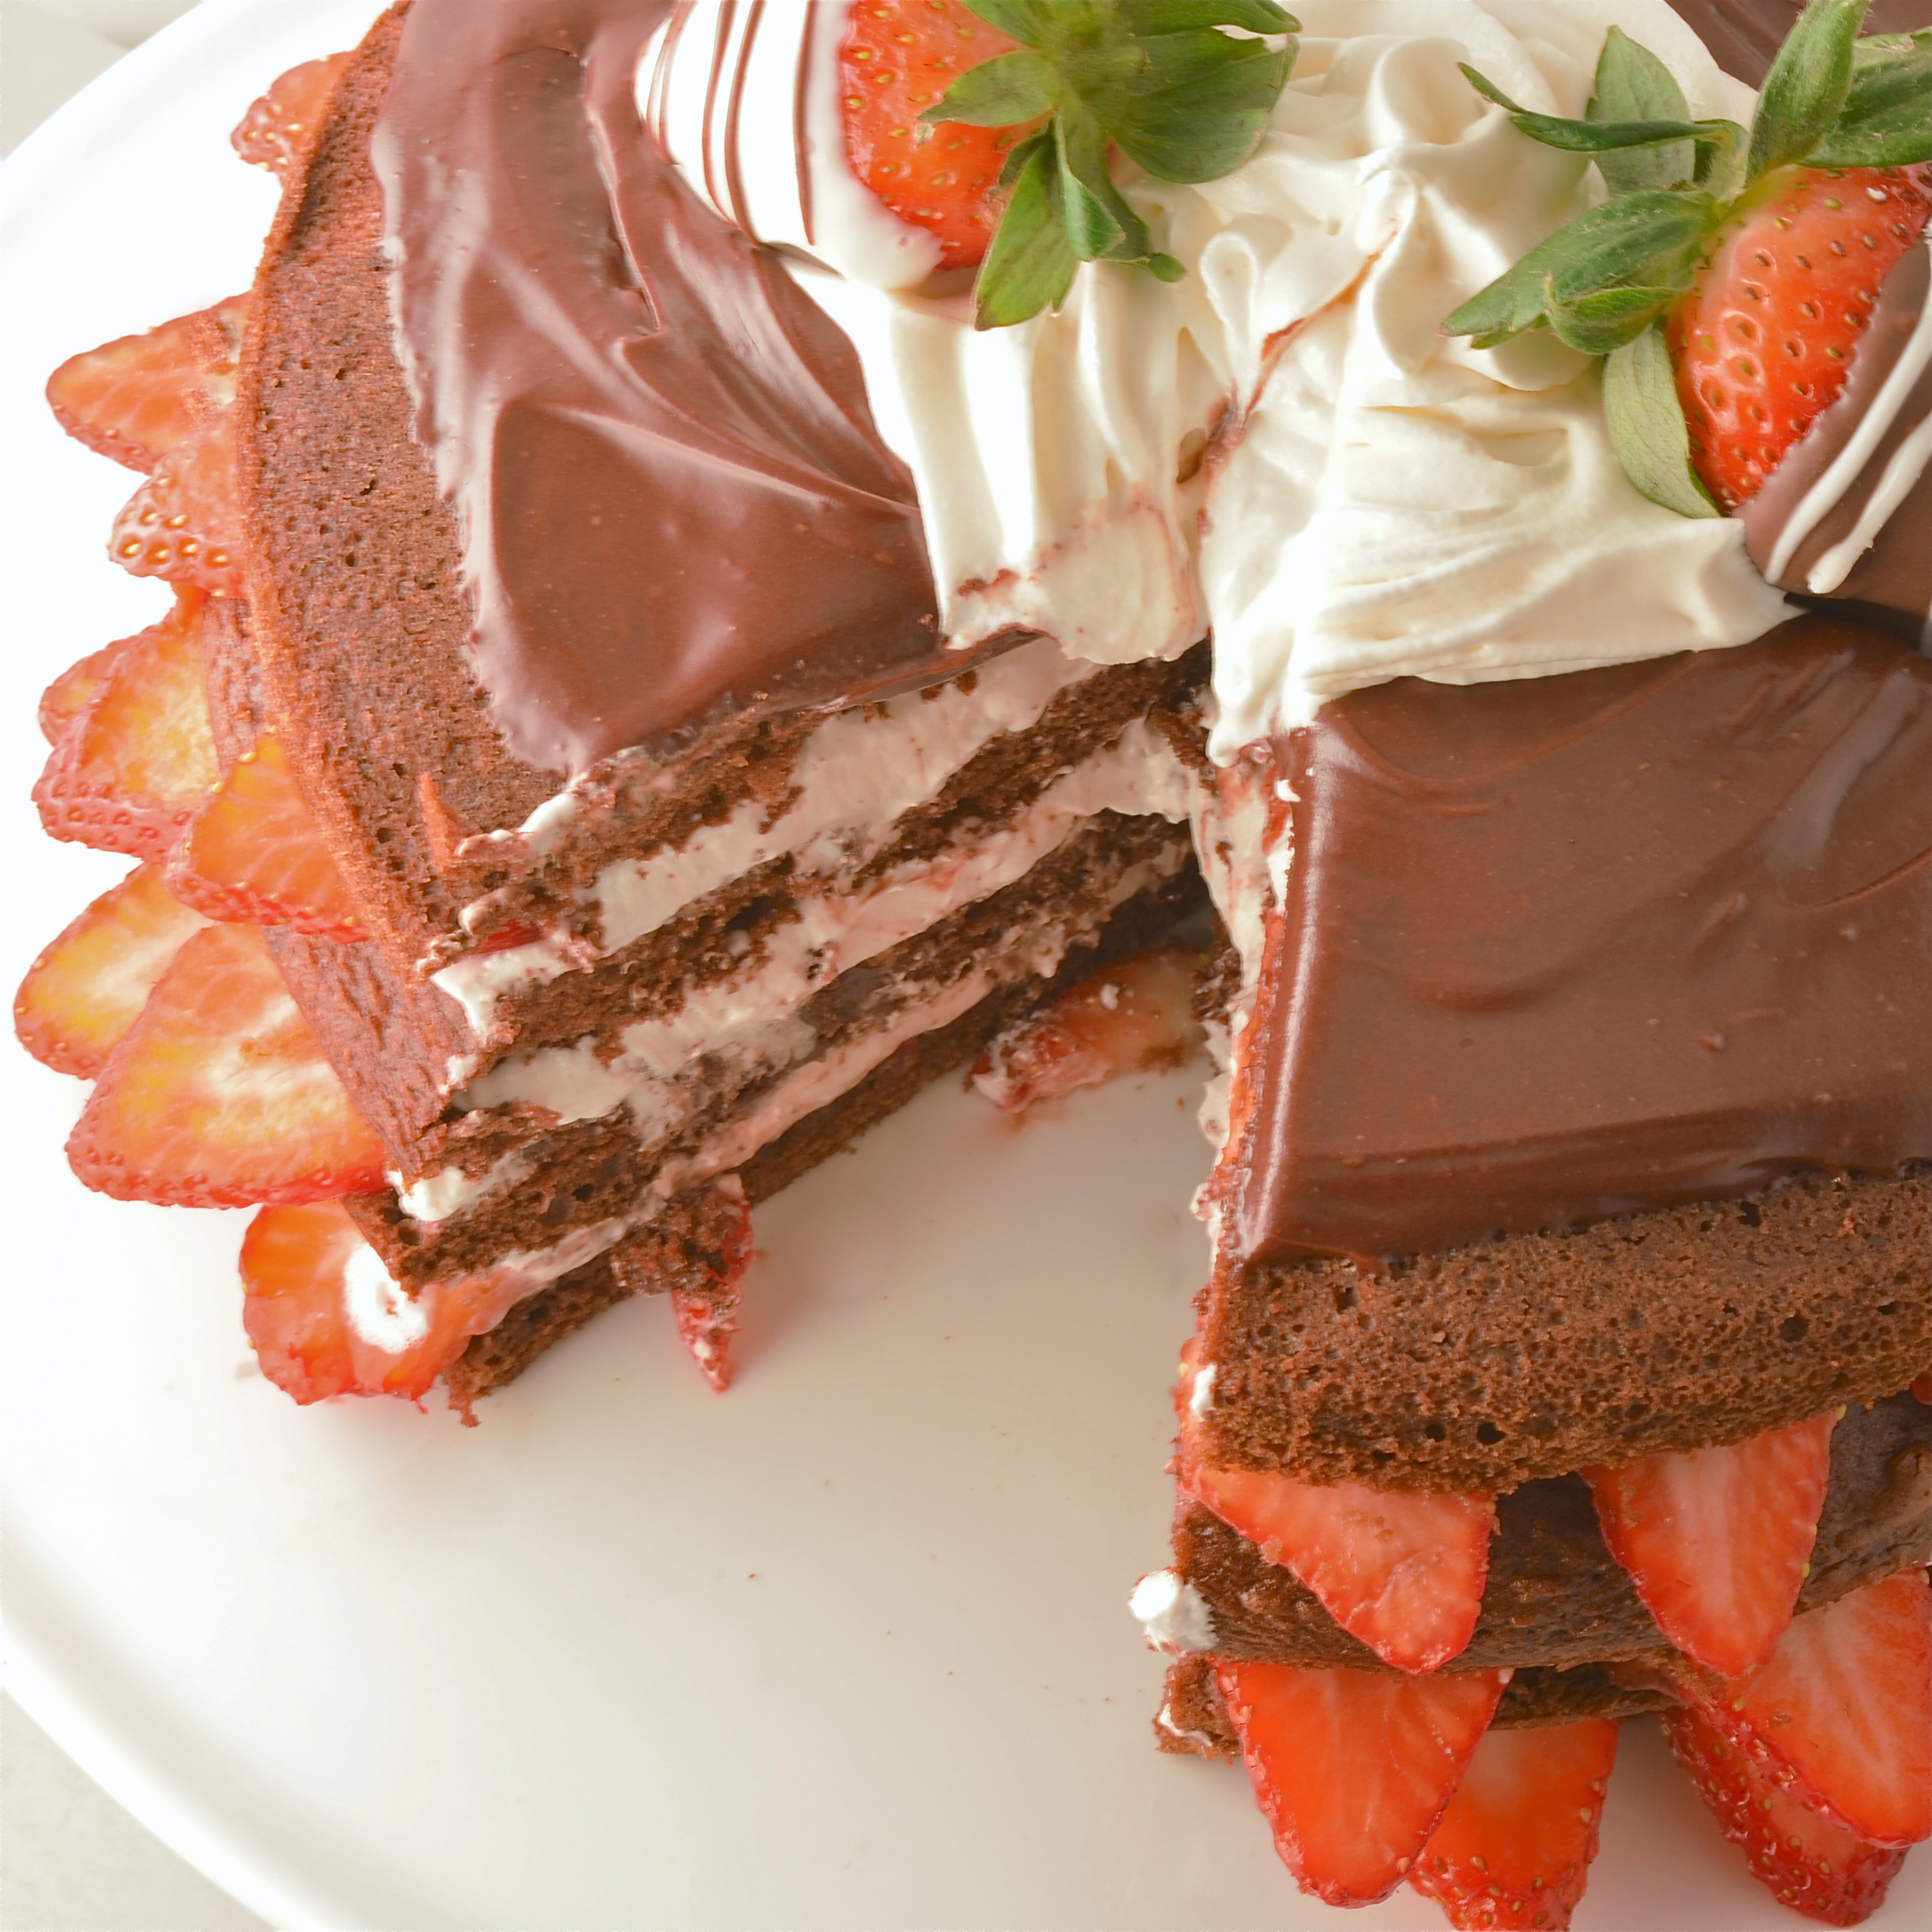
Last, but certainly not least is the cake I would choose to have on my birthday if someone else would make it…Its from The Art of Dessert and I think the picture speaks for itself…wow. Let me present: Chocolate Wasted Cake:

so….birthday cake….
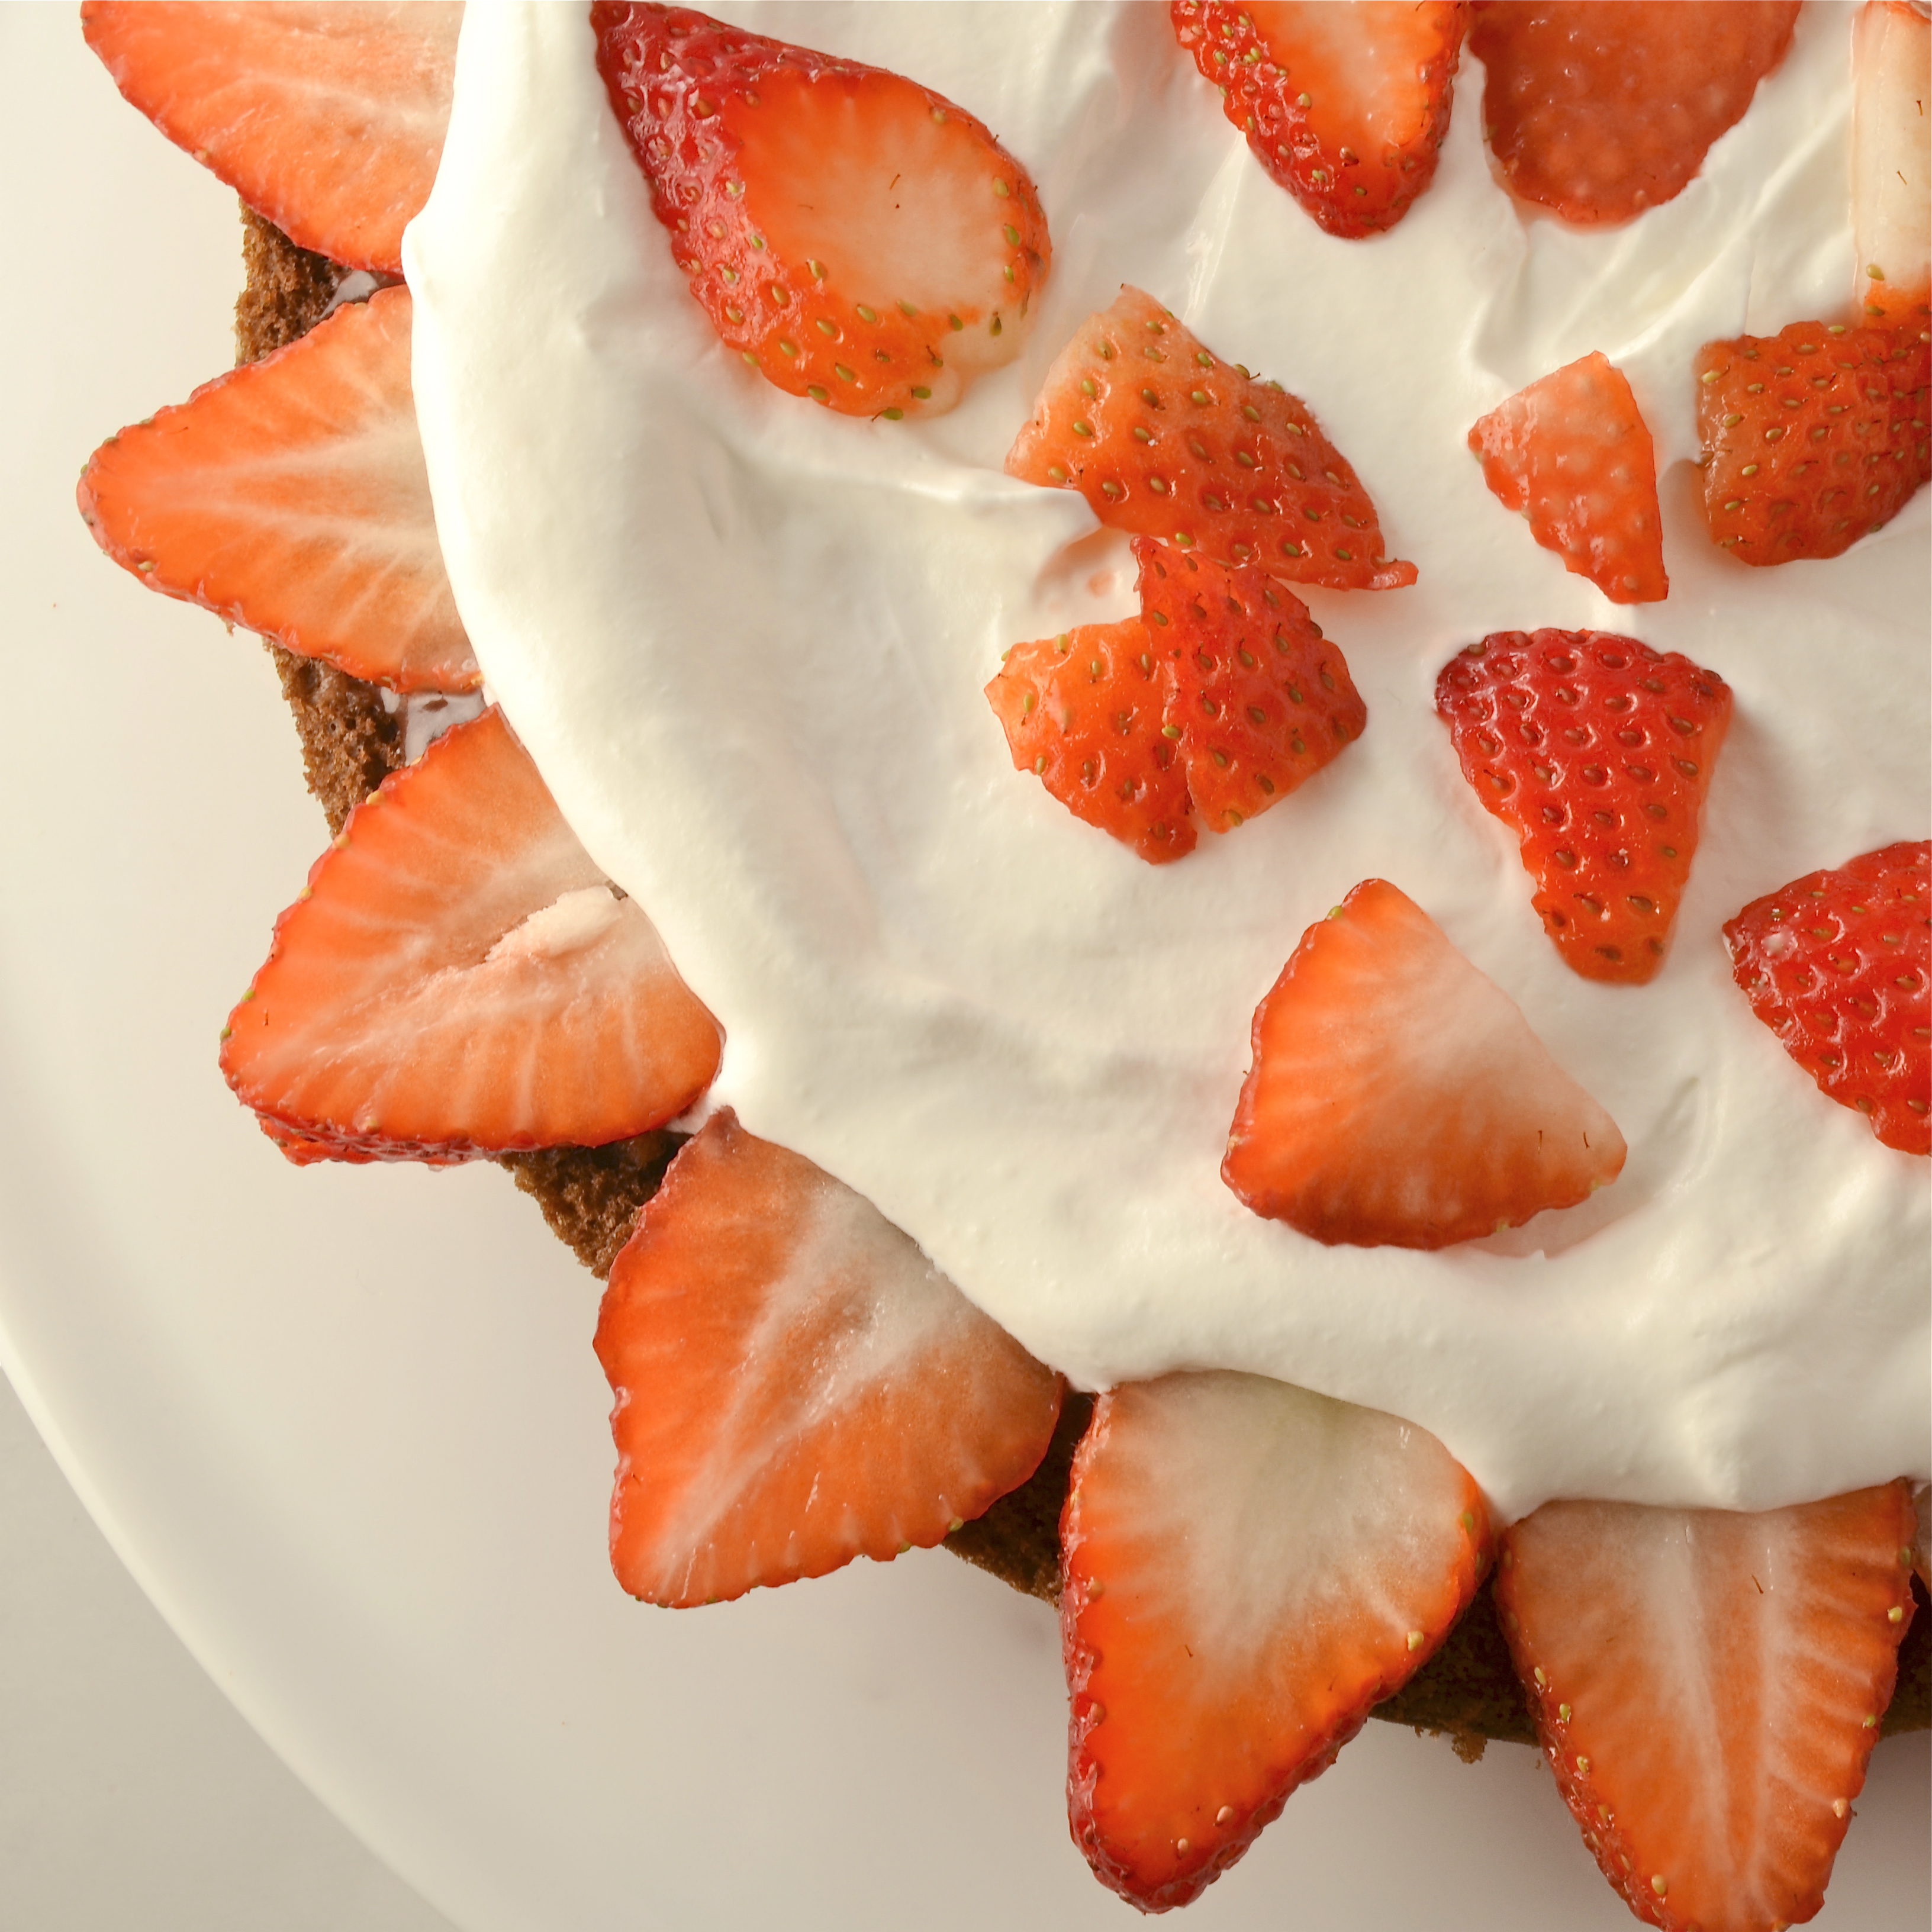
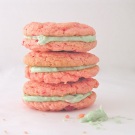
I also went through the archive of all the recipes created on easybaked this year. The one recipe I couldn’t get out of my head (I think because I wish it was summer out!) was Strawberry Lemonade Layer Cake. A summer cake for a cold January birthday— perfect! I tweaked the frosting recipe just a bit to make it thicker so that it would be more of a frosting than just a filling…and I LOVE it!! Its light, whipped, very spreadable and tart with lemon — perfect!

Here’s the recipe (tweaked) or if you want the original just click here.
INGREDIENTS:
- One box of strawberry cake mix (plus oil, water and eggs as directed on box)
- 2- 8oz. packages of Philadelphia Cream Cheese (softened to room temp.)
- 1 packet (0.23oz.) of Kool-Aid Lemonade
- Yellow food coloring (as desired for color)
- 1- 7oz. container Jet-Puffed Marshmallow Creme
- 1/3 c. powdered sugar
- 8 oz. Cool Whip Topping
- Rainbow sugar crystals
DIRECTIONS:
- Make cake according to box and bake in 2- 9 inch round cake pans as directed. Turn finished cakes over on cake racks and allow to cool completely.
- Cream together cream cheese, lemonade and yellow food coloring until smooth.
- Beat marshmallow creme and powdered sugar in and then fold in Cool Whip until completely smooth.
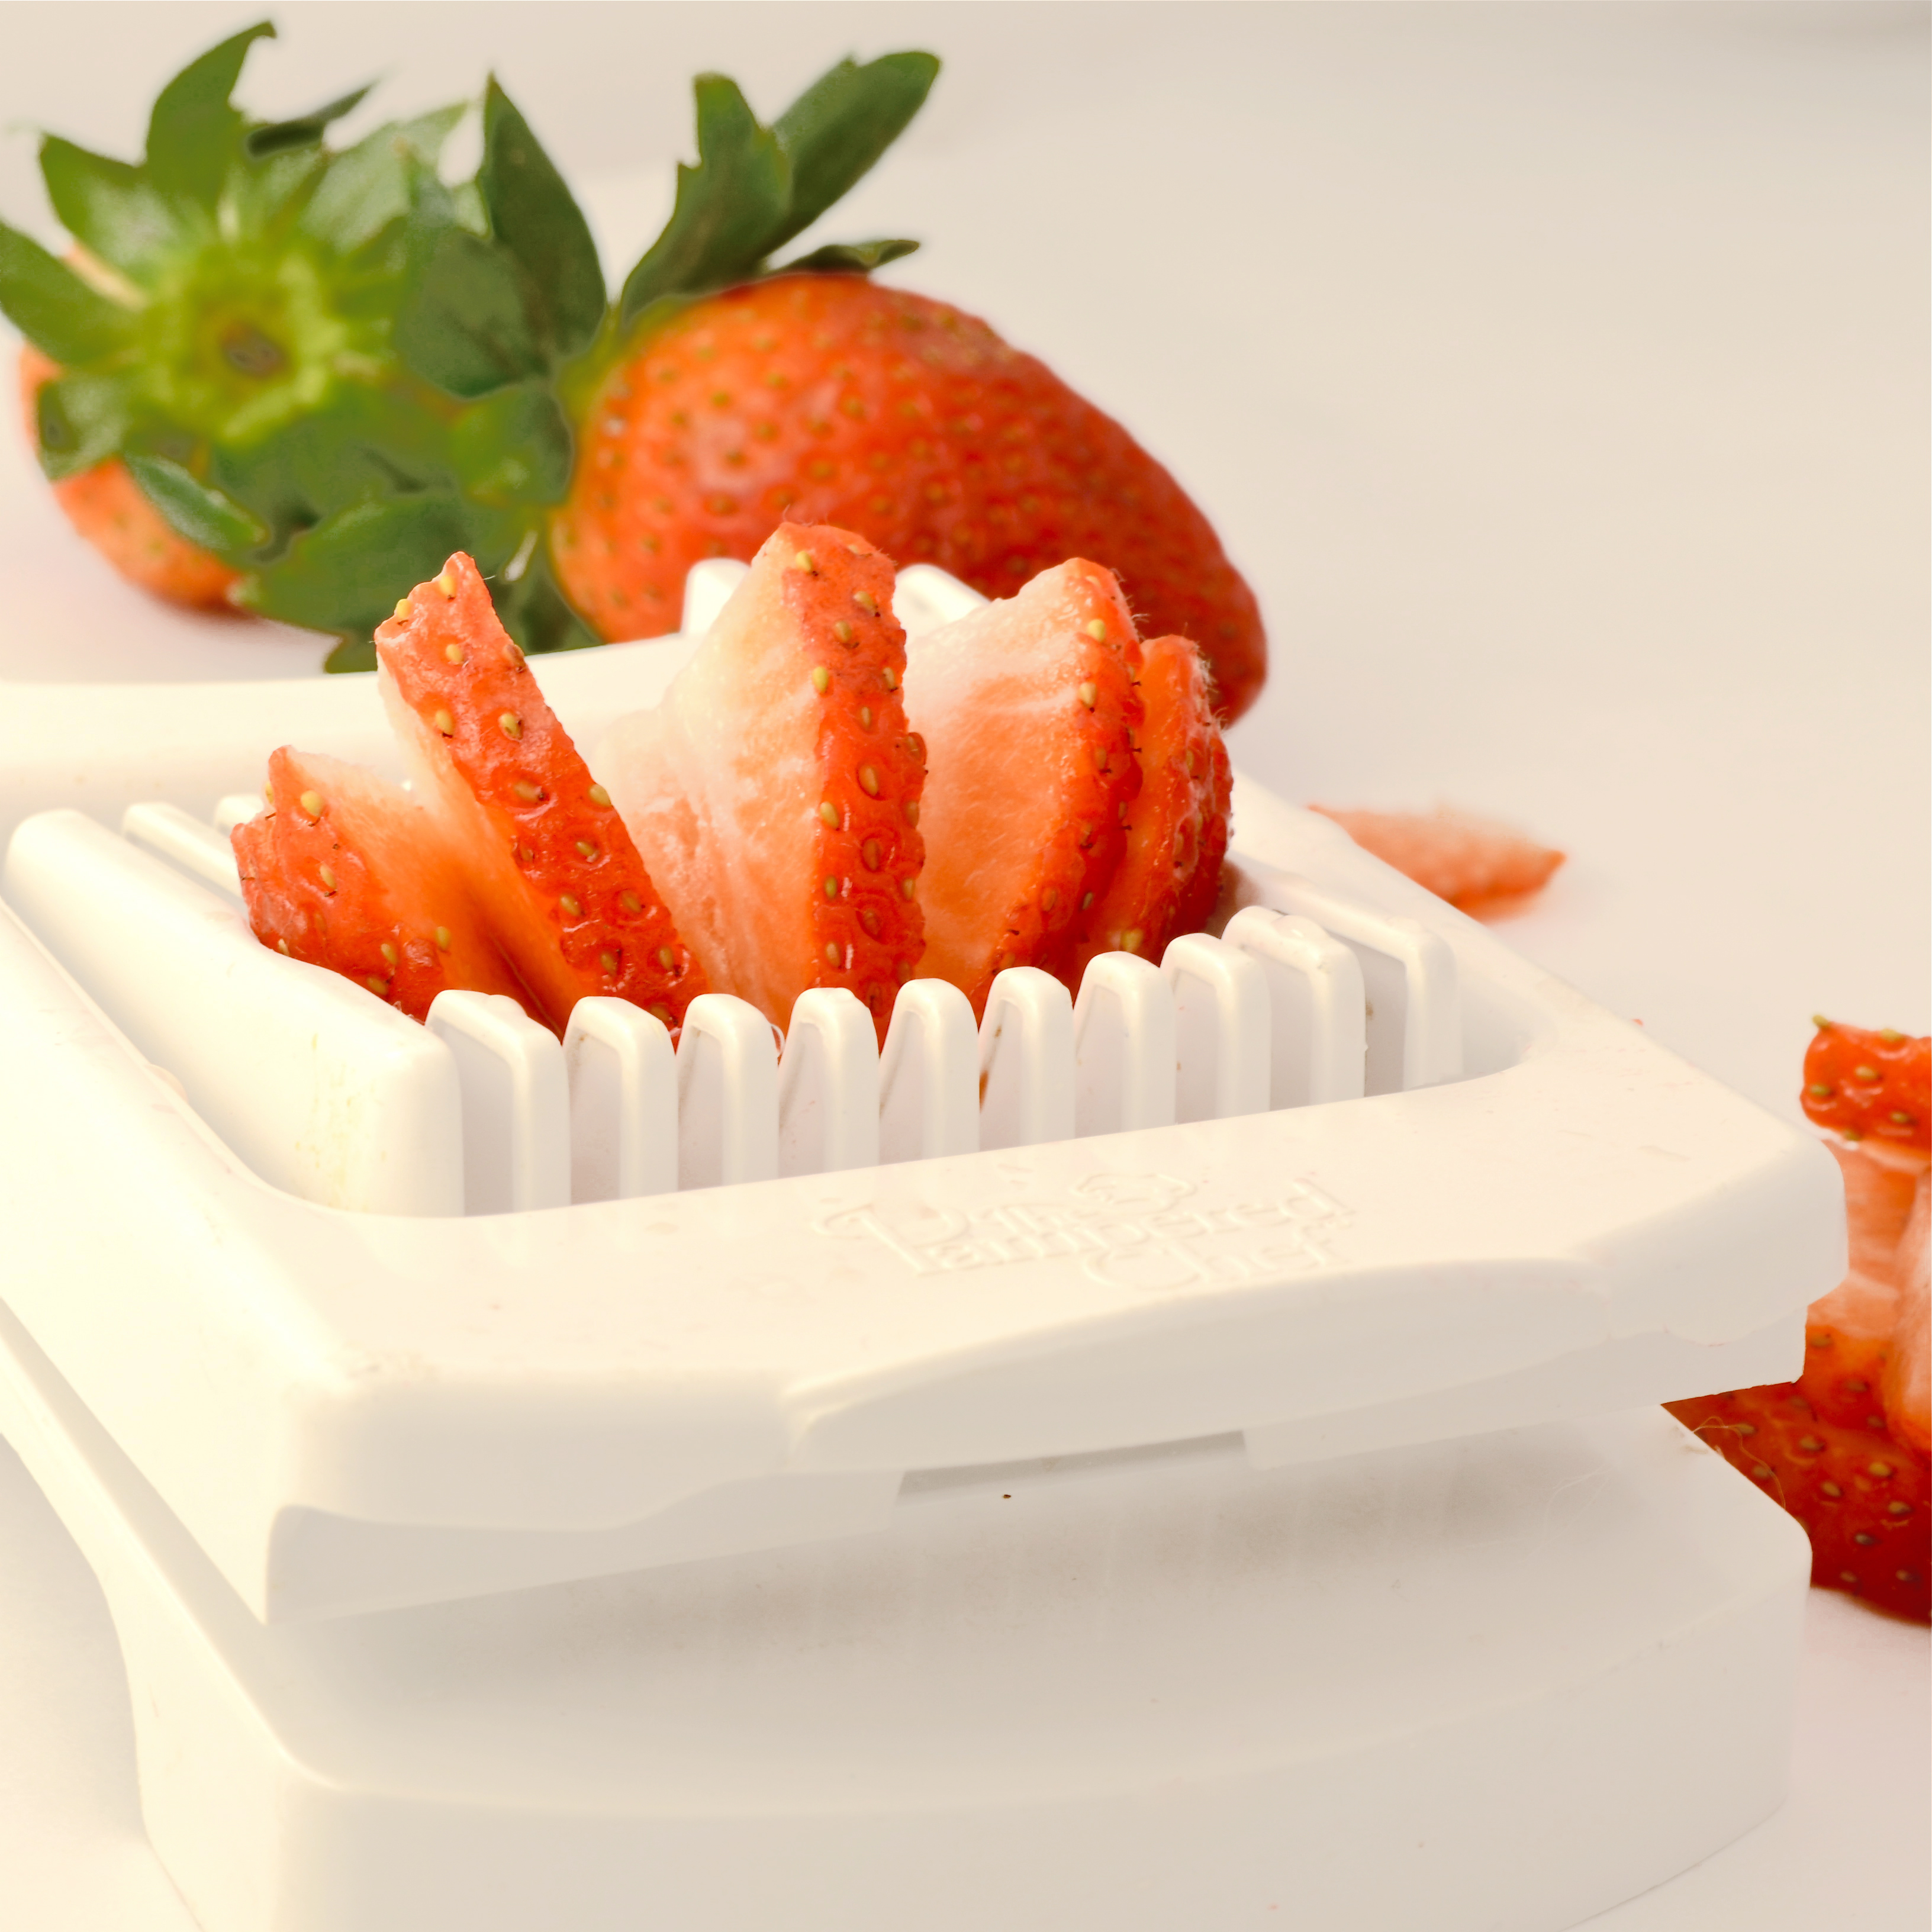
- Cut each cake layer in half.
- Alternating layers of cake with layers of frosting, assemble cake.
- Cover top and sides with frosting.
- Refrigerate and serve chilled. Sprinkle with colored sugar just before serving.
A light and refreshing dessert after all the heavy holiday treats– perfect!

Thanks for sharing all of your fun recipes and stories with me this year— looking forward to sharing 2012 together!
Happy New Year!
 Other favorite desserts on Easybaked~ just click the picture to get the recipe!


 Day #5 is here, along with our final revisited and recreated recipe. I’ve really enjoyed remembering these recipes with all of you. I hope you have found one to try for this upcoming holiday weekend!
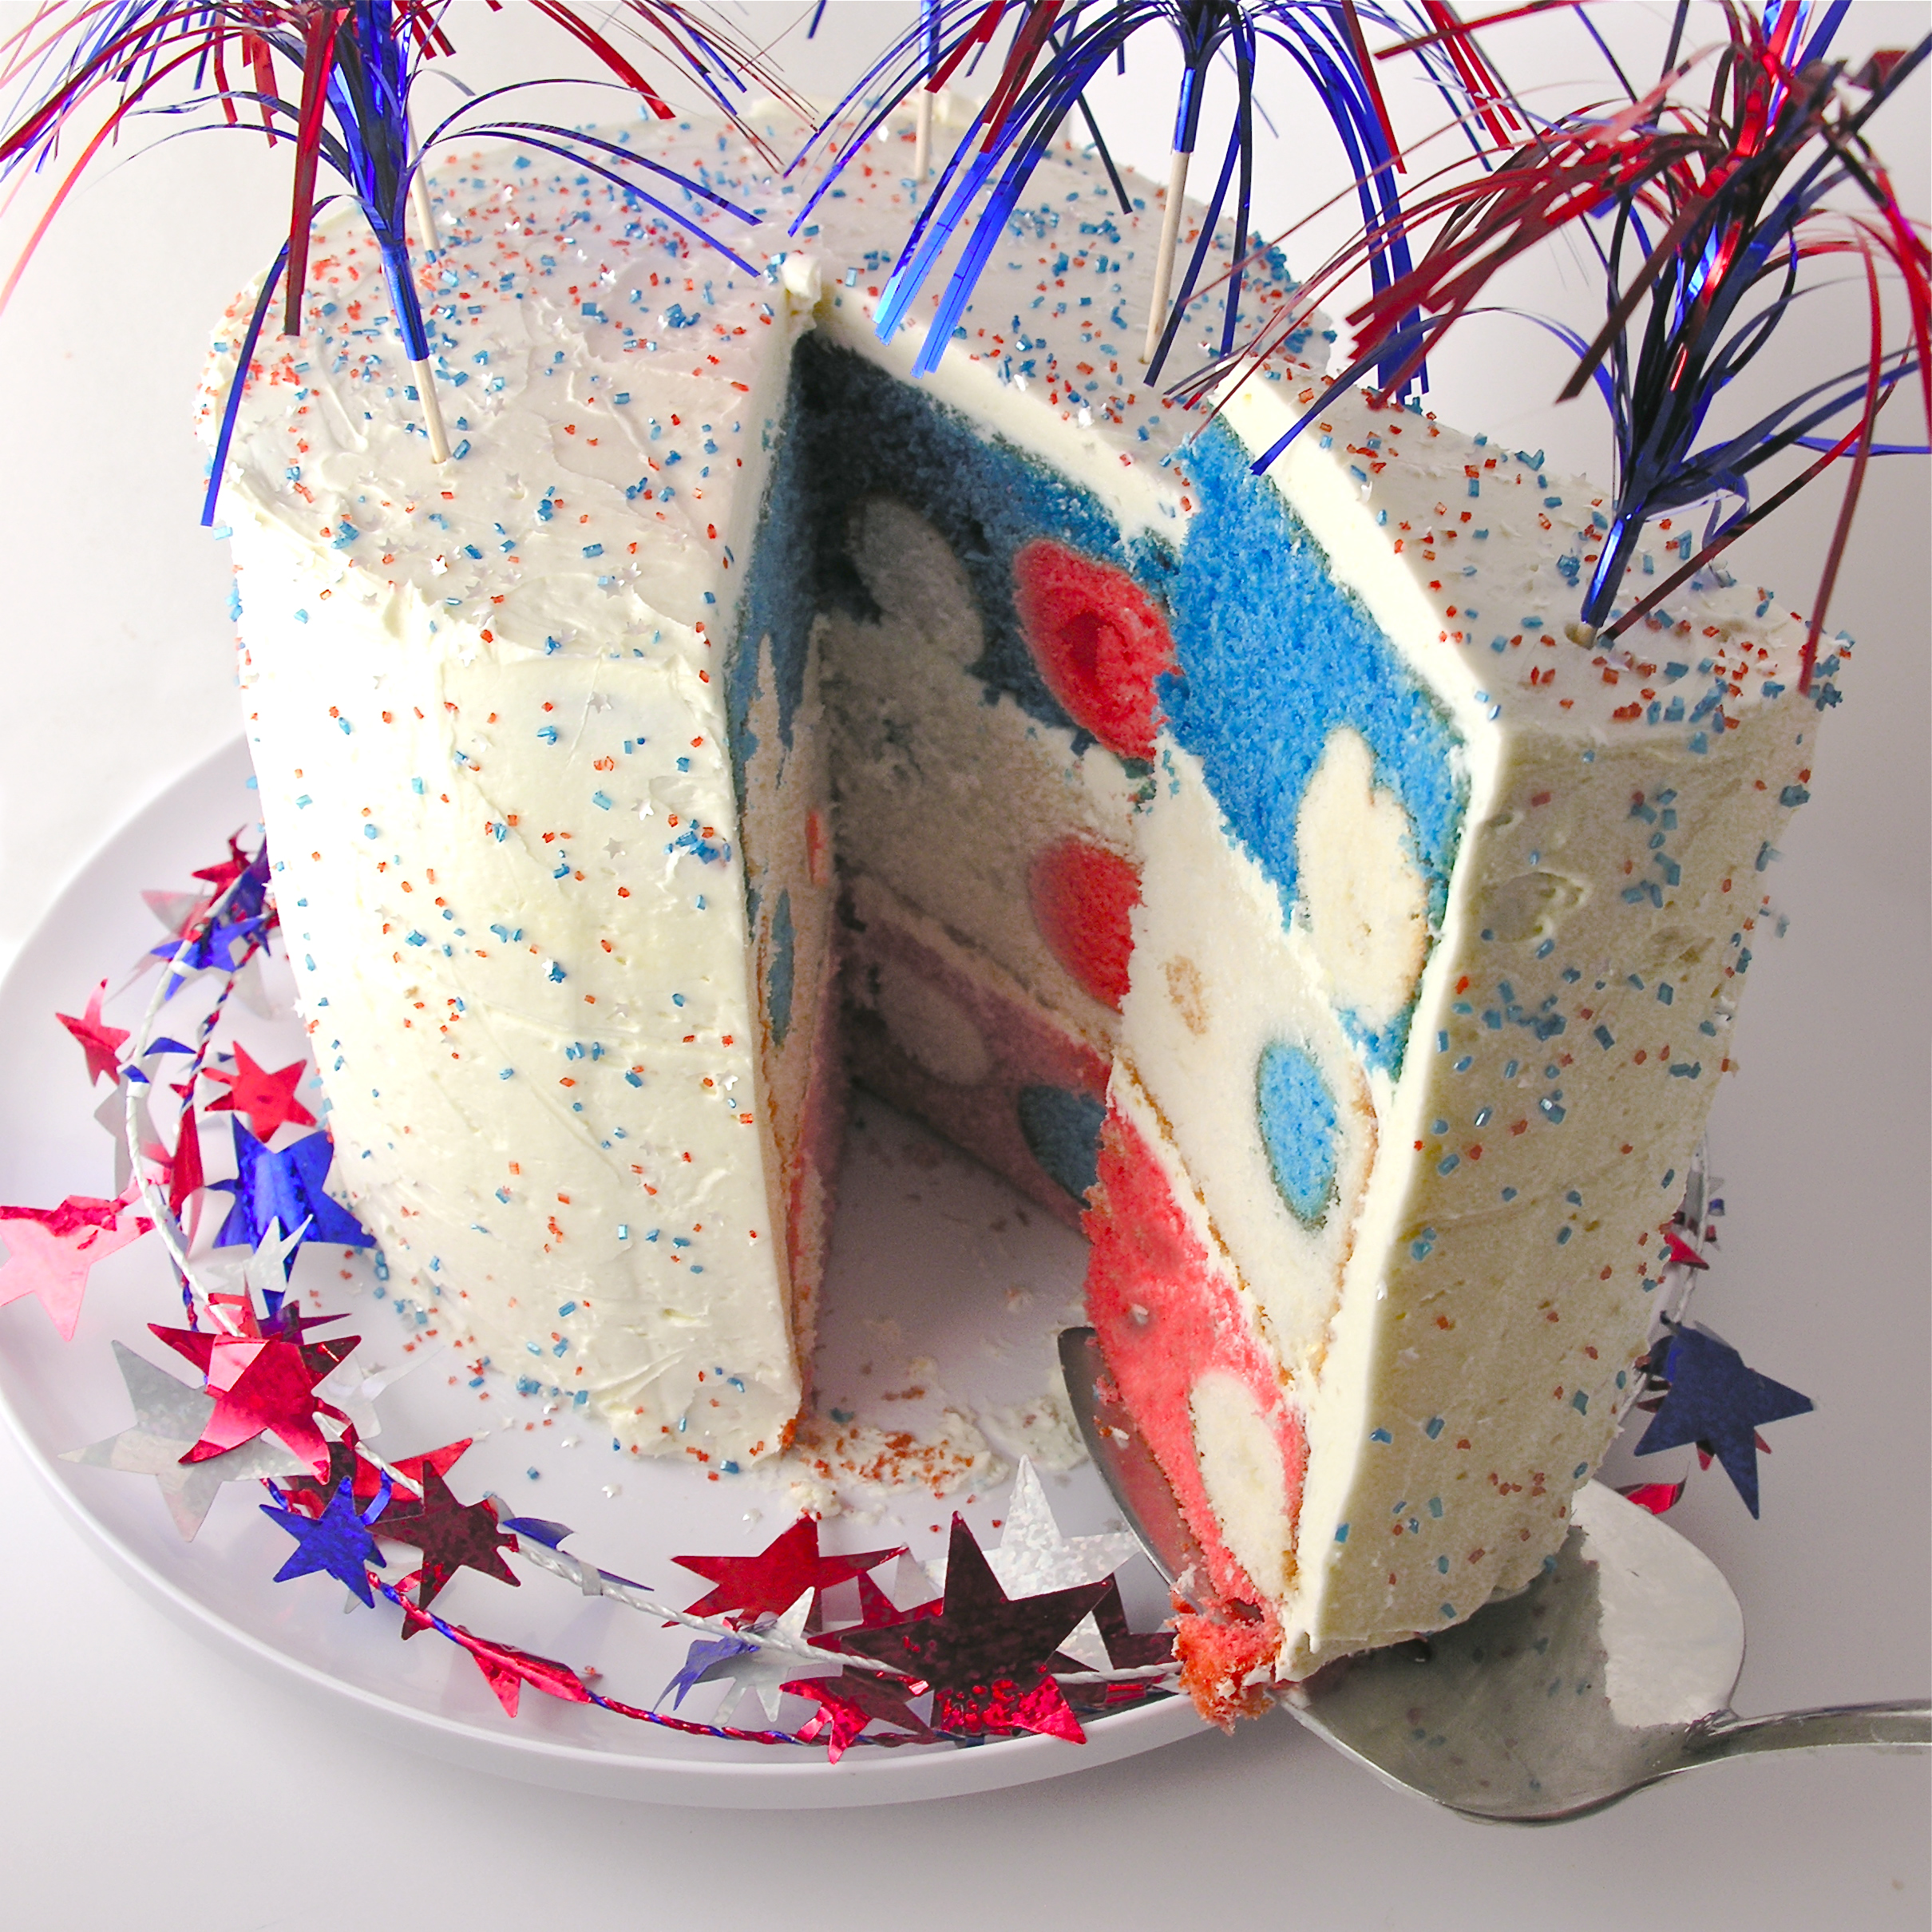
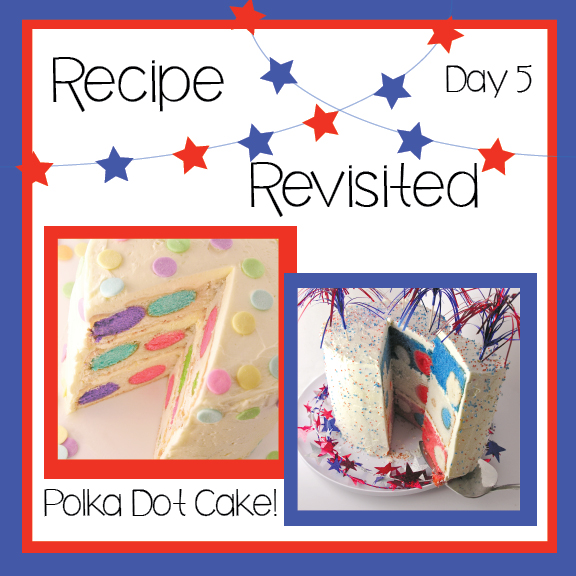 This recipe was published recently, in January of 2013. It is so incredibly fun to make. I’ve made it 5 times now and each time I do, I love it more. You can color the cake layers, you can color the polka dots…endless fun possibilities!
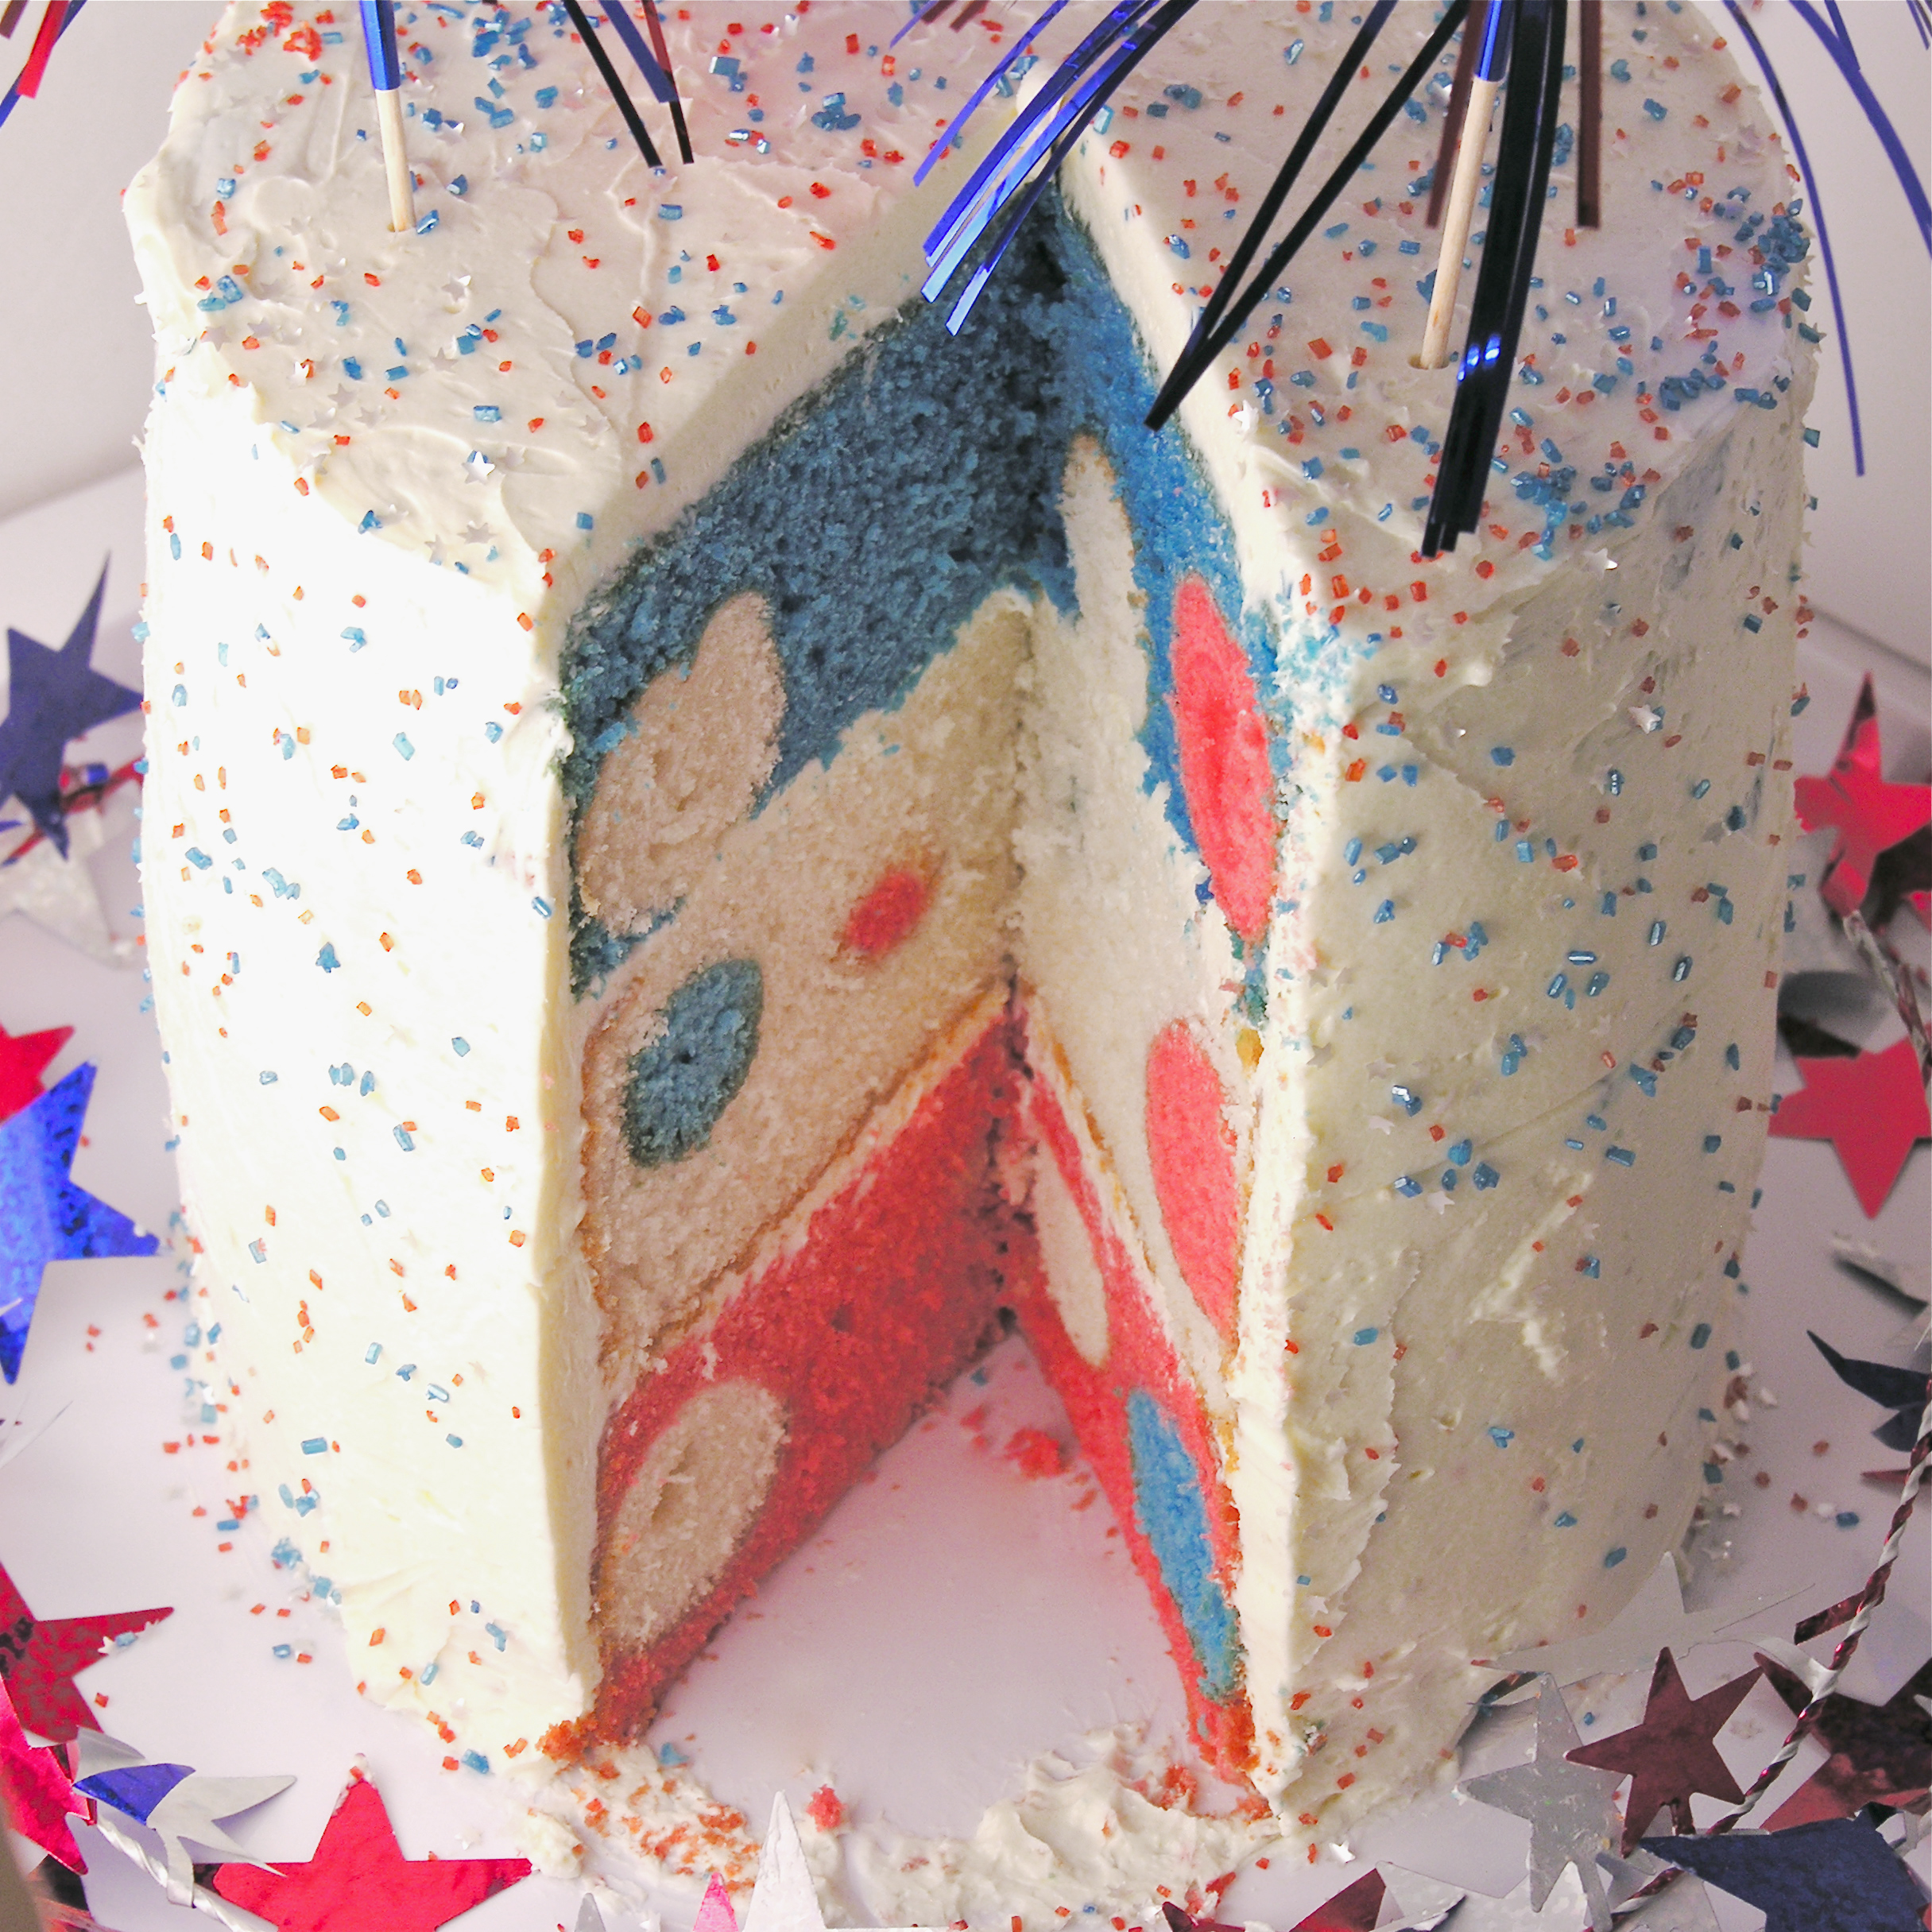

 Thank you so much for joining me this week for a trip down memory lane. I hope it was as fun for you as it was for me.