Tag Archives: thanksgiving dessert

Gingerbread Turkey Cookies

Posted on

Turkey Cookie4-1These no-bake turkey cookies have a blast of ginger, vanilla and chocolate in each bite. Plus aren’t they cute? And not a single piece of candy corn in sight!

Turkey Cookie1-1I set out on a mission this week. To create a cute turkey cookie without using candy corn. Because candy corn is gross, in my opinion, and it seems to be the staple of all things “turkey” in the baked goods realm. I knew I wanted to use Anna’s Swedish Thin Cookies as my base, because they have that beautiful scalloped edge, and they are DELICIOUS. They come in ginger, orange, almond and (maybe?) mint- I haven’t seen the mint recently, so maybe not. And- before you think you won’t be able to find them, they are at most Walgreens, Walmarts, and (of course!) at Amazon- you maybe haven’t ever noticed them before.

So one Anna’s cookie, one mini Nilla Wafer, a little colored chocolate, candy eyes, and voila! An adorable and tasty turkey cookie- just in time for Thanksgiving!

I also want to say- once you get your chocolates melted, these go together fast. They are a super quick way to make people smile over the holidays.

Turkey Cookie5-1Want some instructions? (Printable version here)

Ingredients: (makes about 32 turkey cookies)

  • One box of Anna’s Swedish Thins in whatever flavor you like best
  • One box of mini Nilla Wafers
  • One bag of Wiltons Candy Melts in dark chocolate
  • 1/4 bag of Wilton’s candy melts in blue, white and orange
  • 3 small zip-top bags
  • Toothpicks
  • Just a few Wilton’s candy melts in red.
  • Candy eyeballs (2 for each cookie)

Directions:

  • Unwrap Anna’s cookies and Nilla wafers and place in small bowls for easy reach.
  • Lay a piece of parchment paper on your countertop.
  • Place dark chocolate candy melts in a large bowl, and blue, white and orange melts each in their own smaller bowls.
  • Melt all candy melts (except red) in the microwave (30 second increments, stirring between, until melted and smooth).
  • Carefully spoon the blue, white, and red melts into individual zip-top bags, zip them shut, and clip a small corner off the bottom of the bag with scissors. 
  • Place these warm bags of melts on a warm plate, and cover with a warm towel (to prevent them from hardening up while you use them). 
  • Place one Ginger Thin in the dark chocolate melts- top down. Turn it over with a fork (covering both sides with chocolate), and then lift it up on the fork and tap the fork against a side of the bowl to allow excess chocolate to drip off cookie. Slide covered cookie off fork and onto parchment paper. 
  • Pipe a line of white melts around the top edge of the cookie- almost in a circle. Then pipe a blue line inside the white, and an orange inside of that.

Turkey Cookie6-1 Turkey Cookie7-1

  • Use a toothpick to pull the lines of color to the lower center of the cookie, pulling in along the lines of the cookie’s scalloped edge. 
  • Place a mini Nilla Wafer on the bottom center of cookie.

Note: Only do one to two cookies at a time. You want the dark chocolate on the cookie to still be soft when you pull your lines of color in. If your dark chocolate in the bowl begins to cool and harden, just pop it back in the microwave for 30 seconds.

Turkey Cookie8-1 Turkey Cookie9-1

  • After all cookies are decorated and all have a Nilla Wafer placed, glue eyes on by using a little of the left-over white melts and a toothpick. Dab a little of the melts on the back of an eye and then press it onto the Nilla Wafer. 
  • Add a few red melts to your orange ones and re-melt for the beaks. Use a toothpick to draw little beaks on each bird. 
  • Enjoy!

Turkey Cookie3-1My thoughts: Sometimes the way I “see” a potential idea in my head just doesn’t work when I make it, but these are even more cute (and they were much easier) than I expected. If you want a fun little edible craft to add to your Thanksgiving table, these really are so perfect! I hope you get a chance to make them! ~r

Turkey Cookie2-1
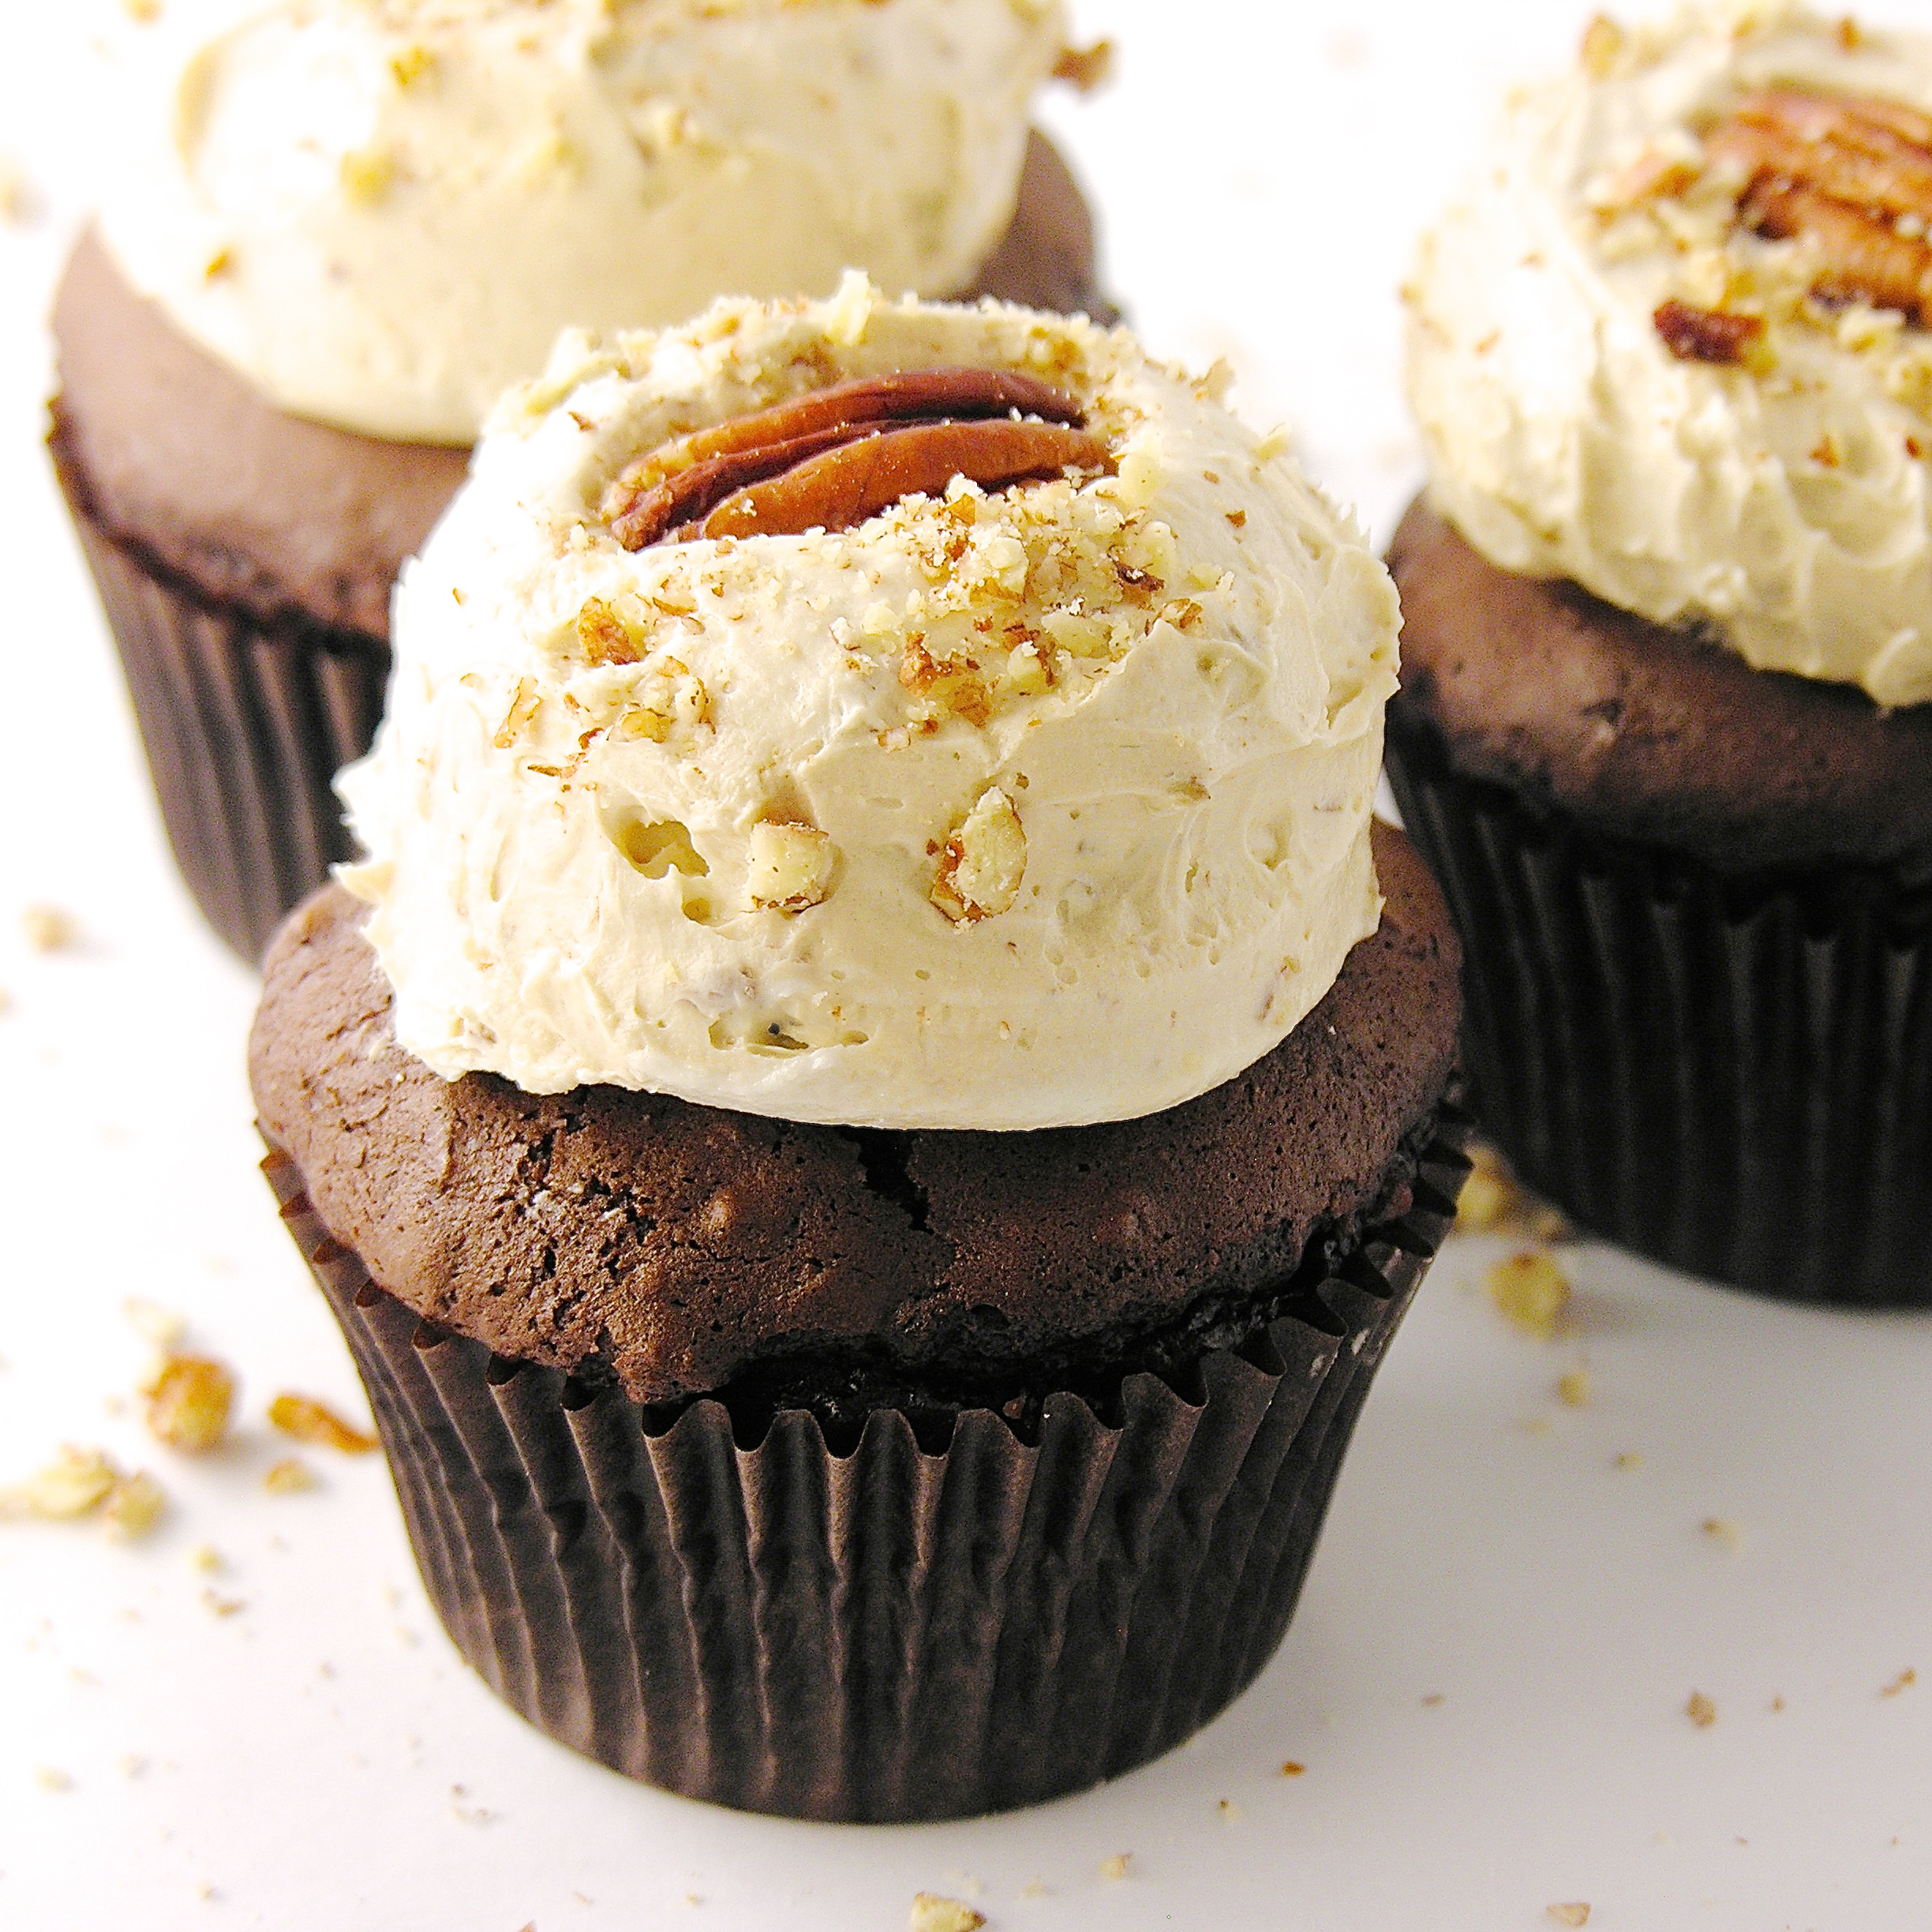
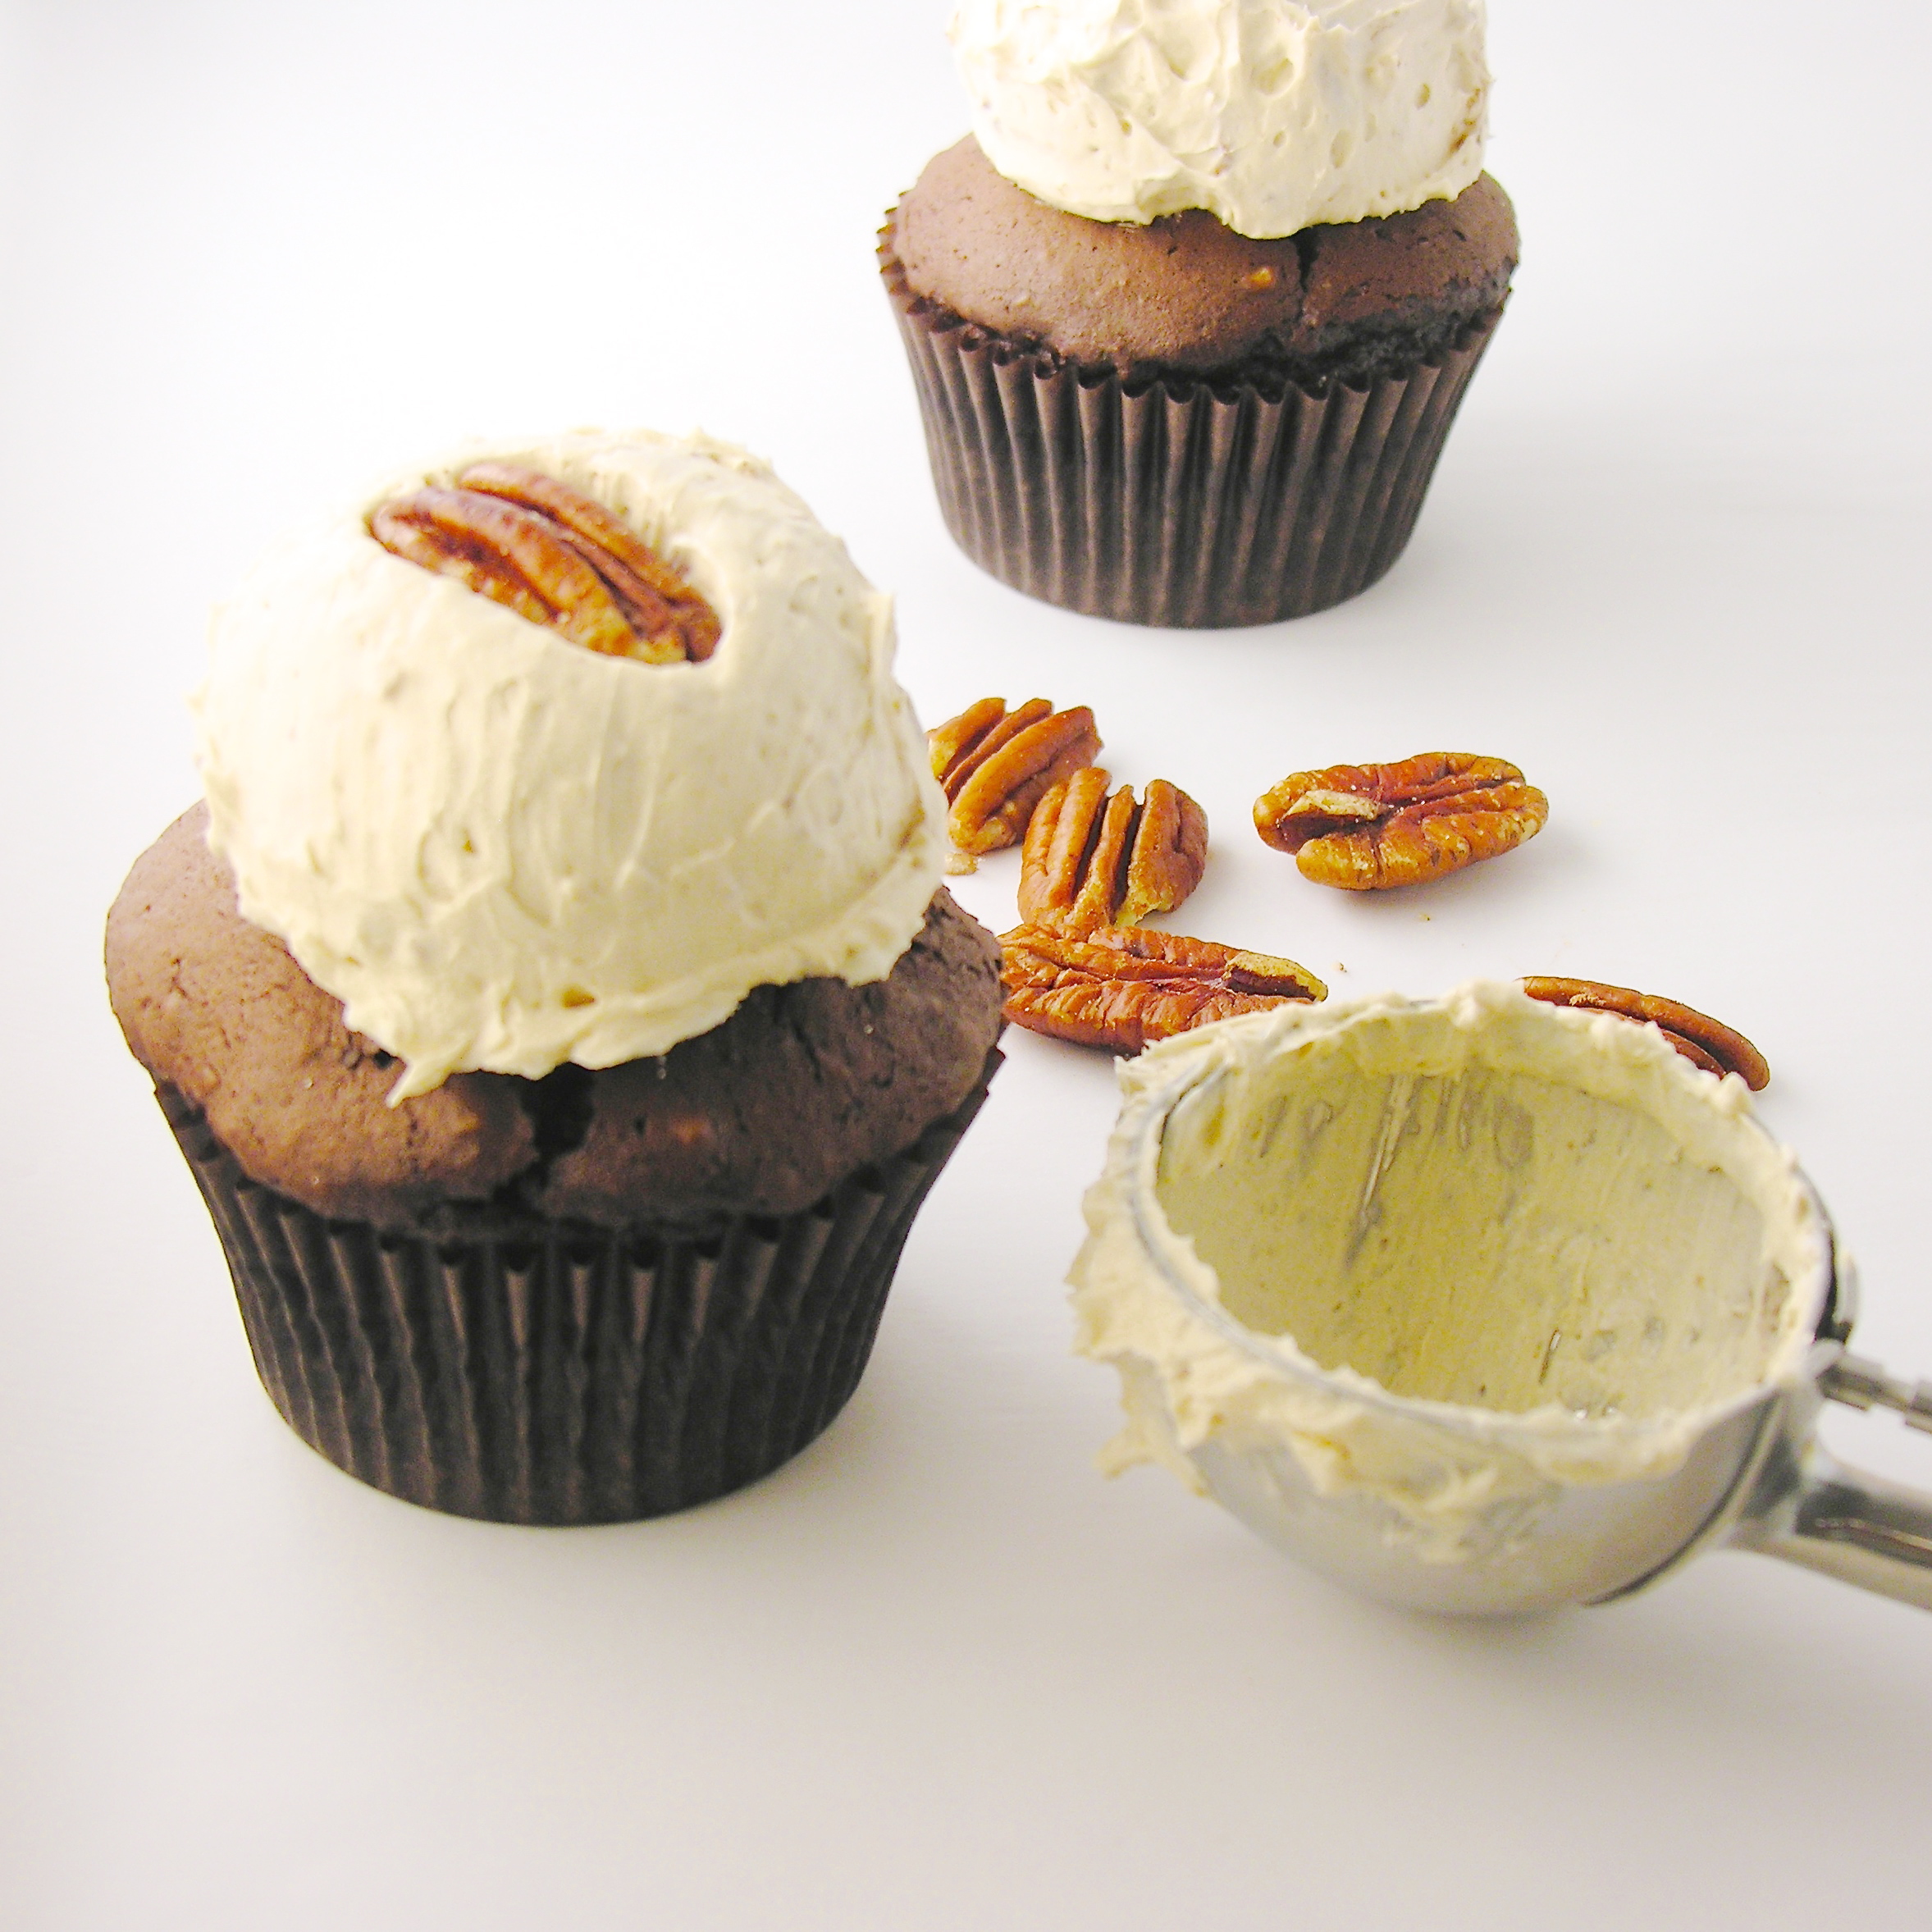
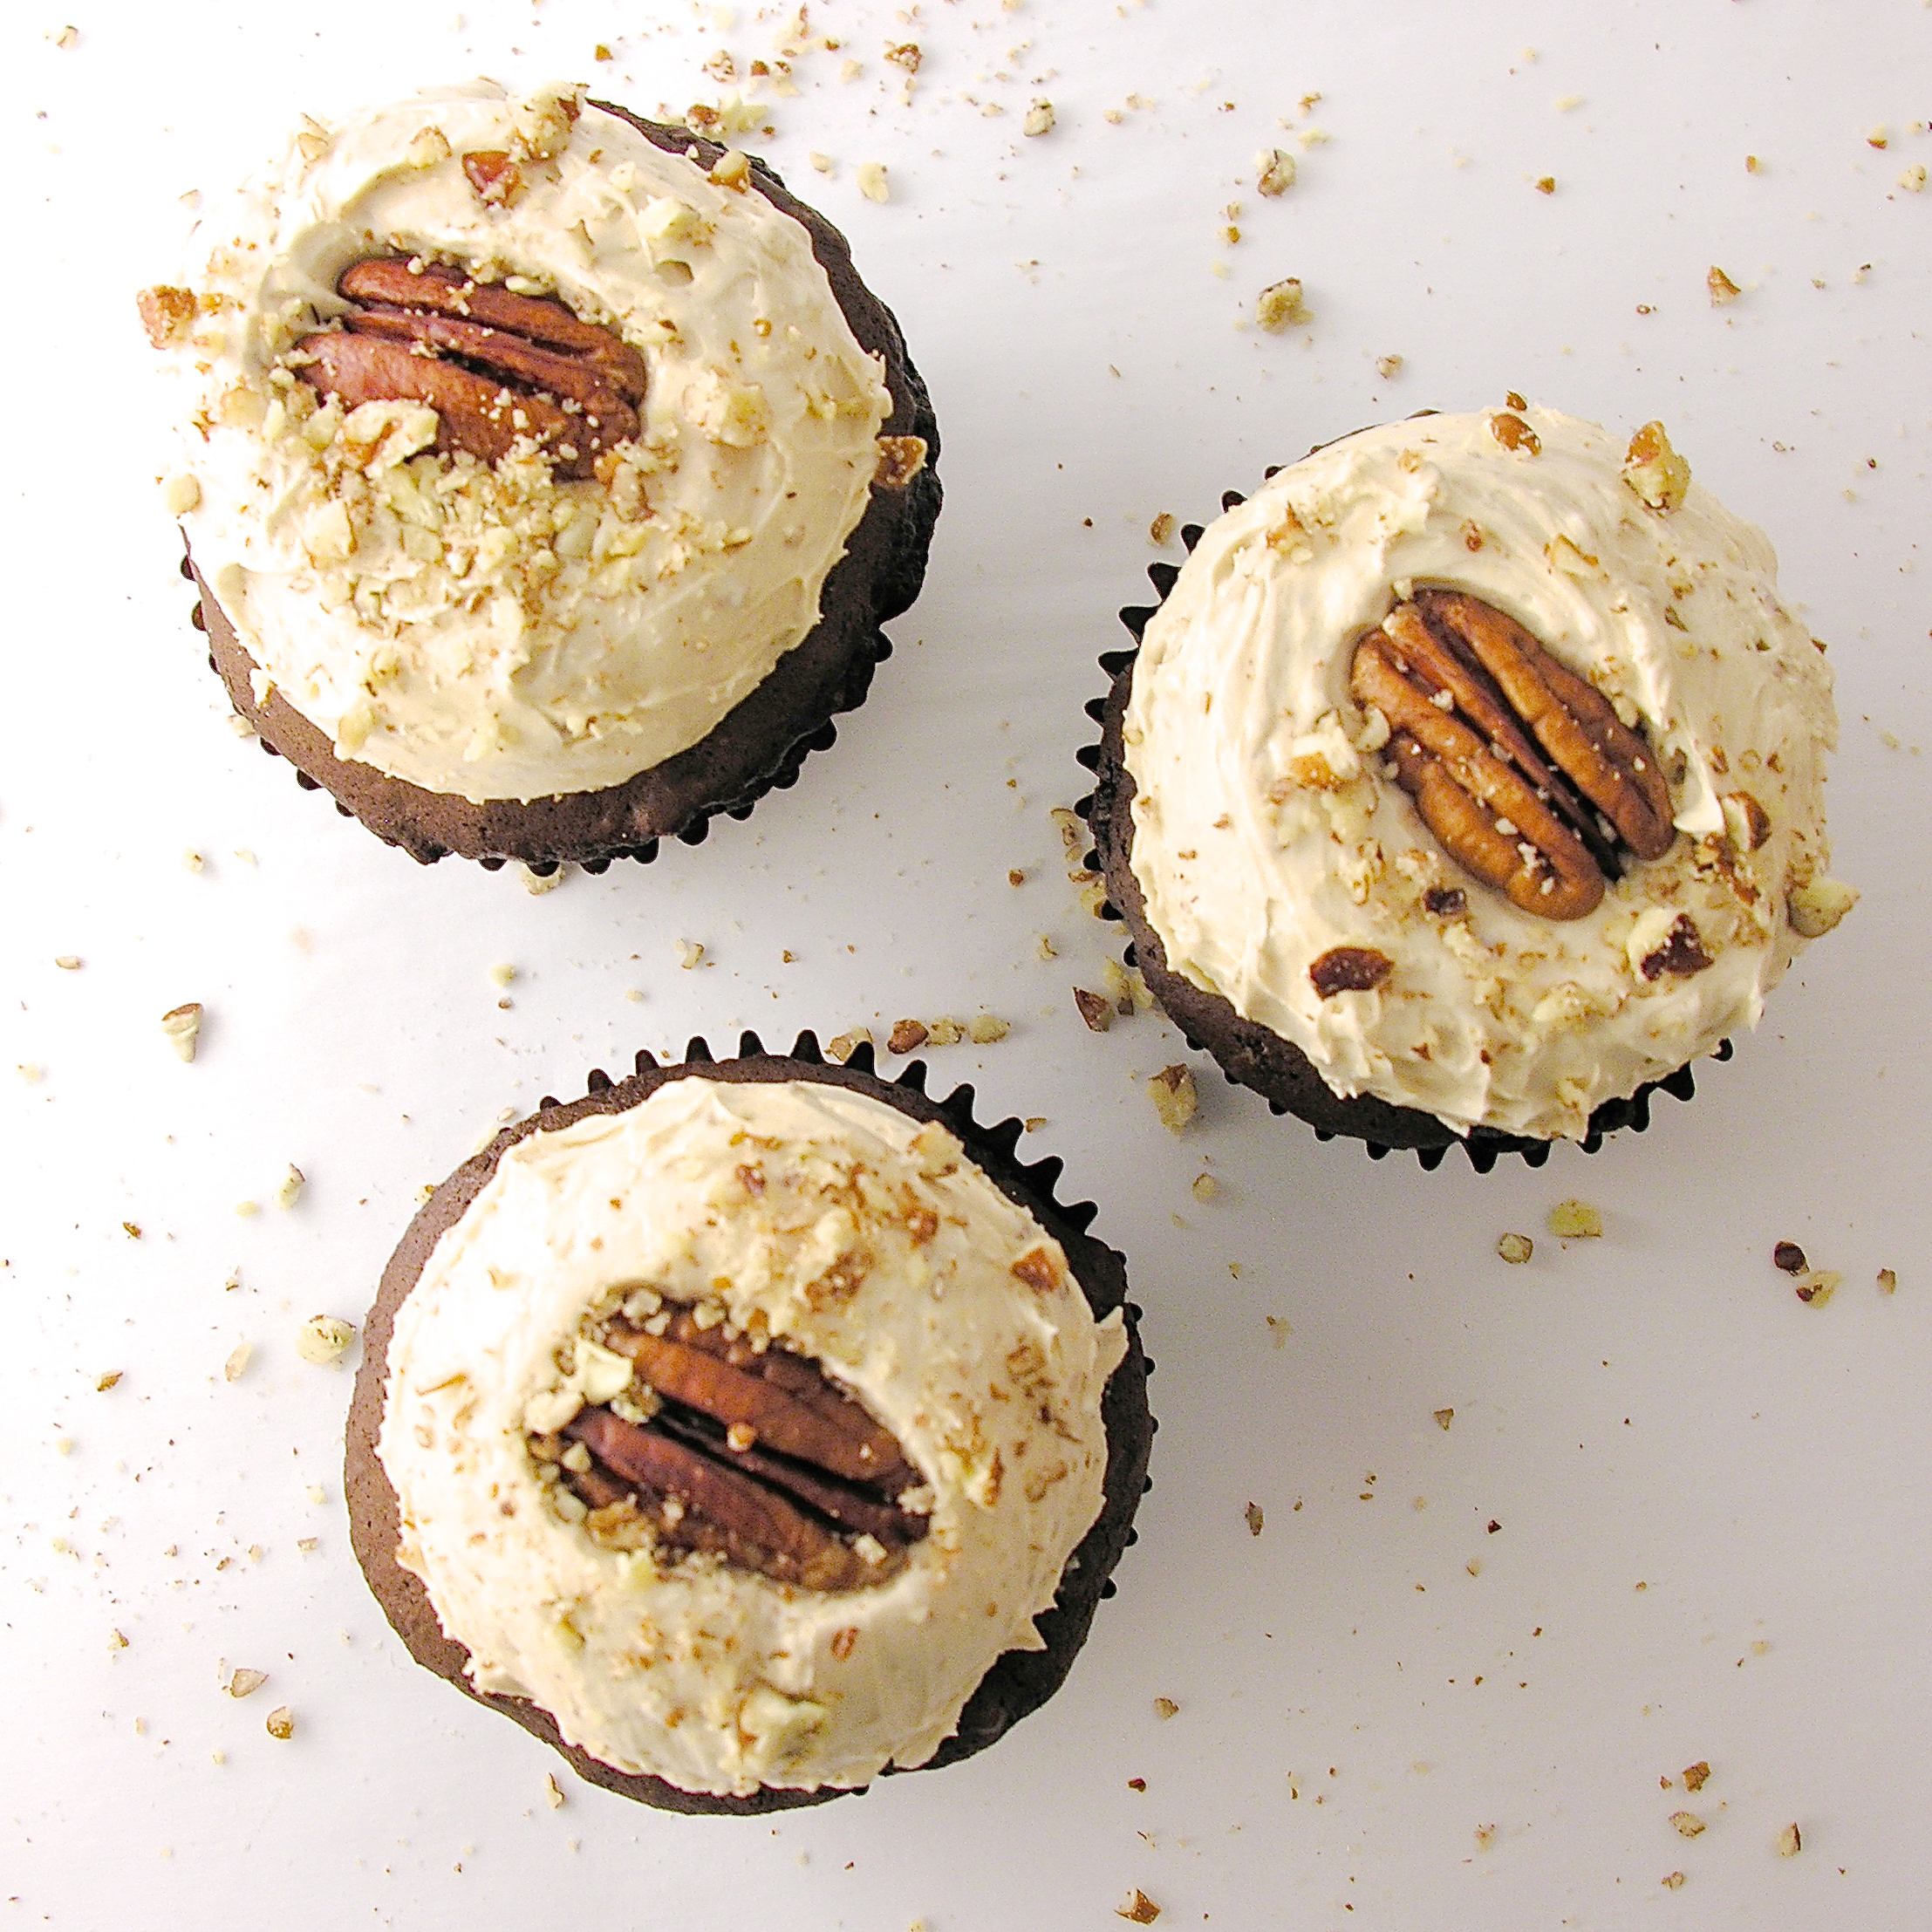
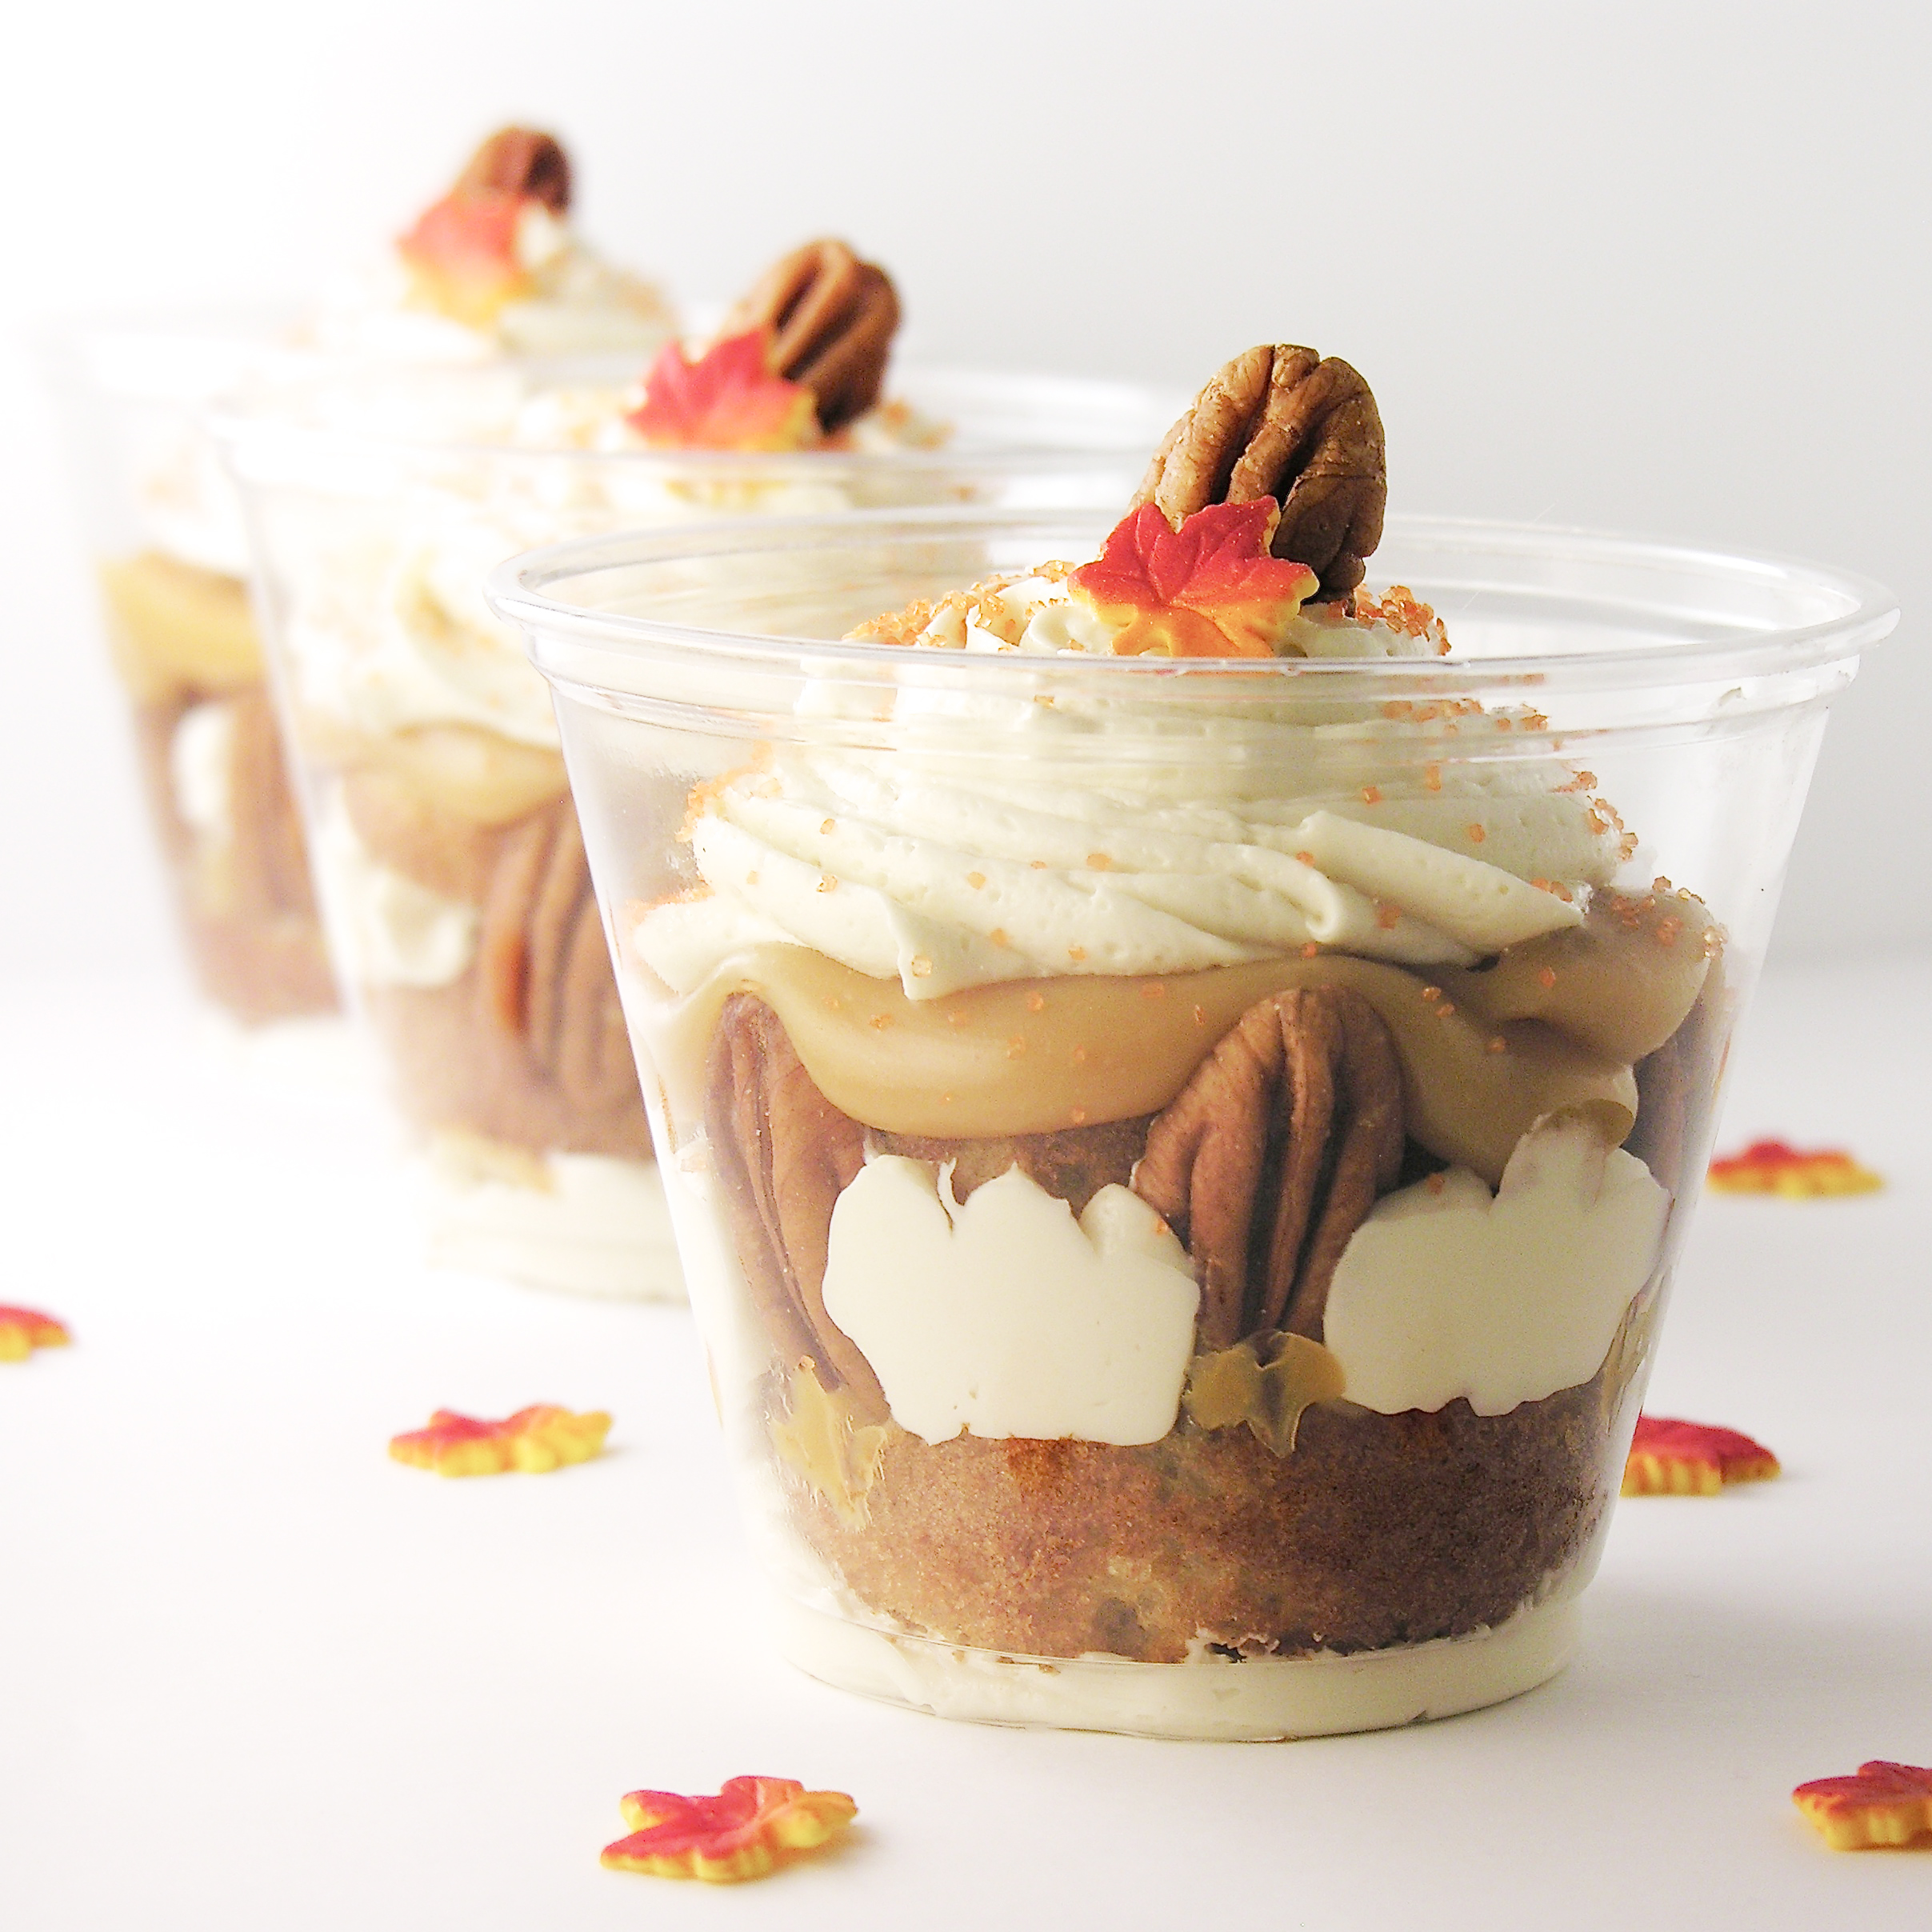
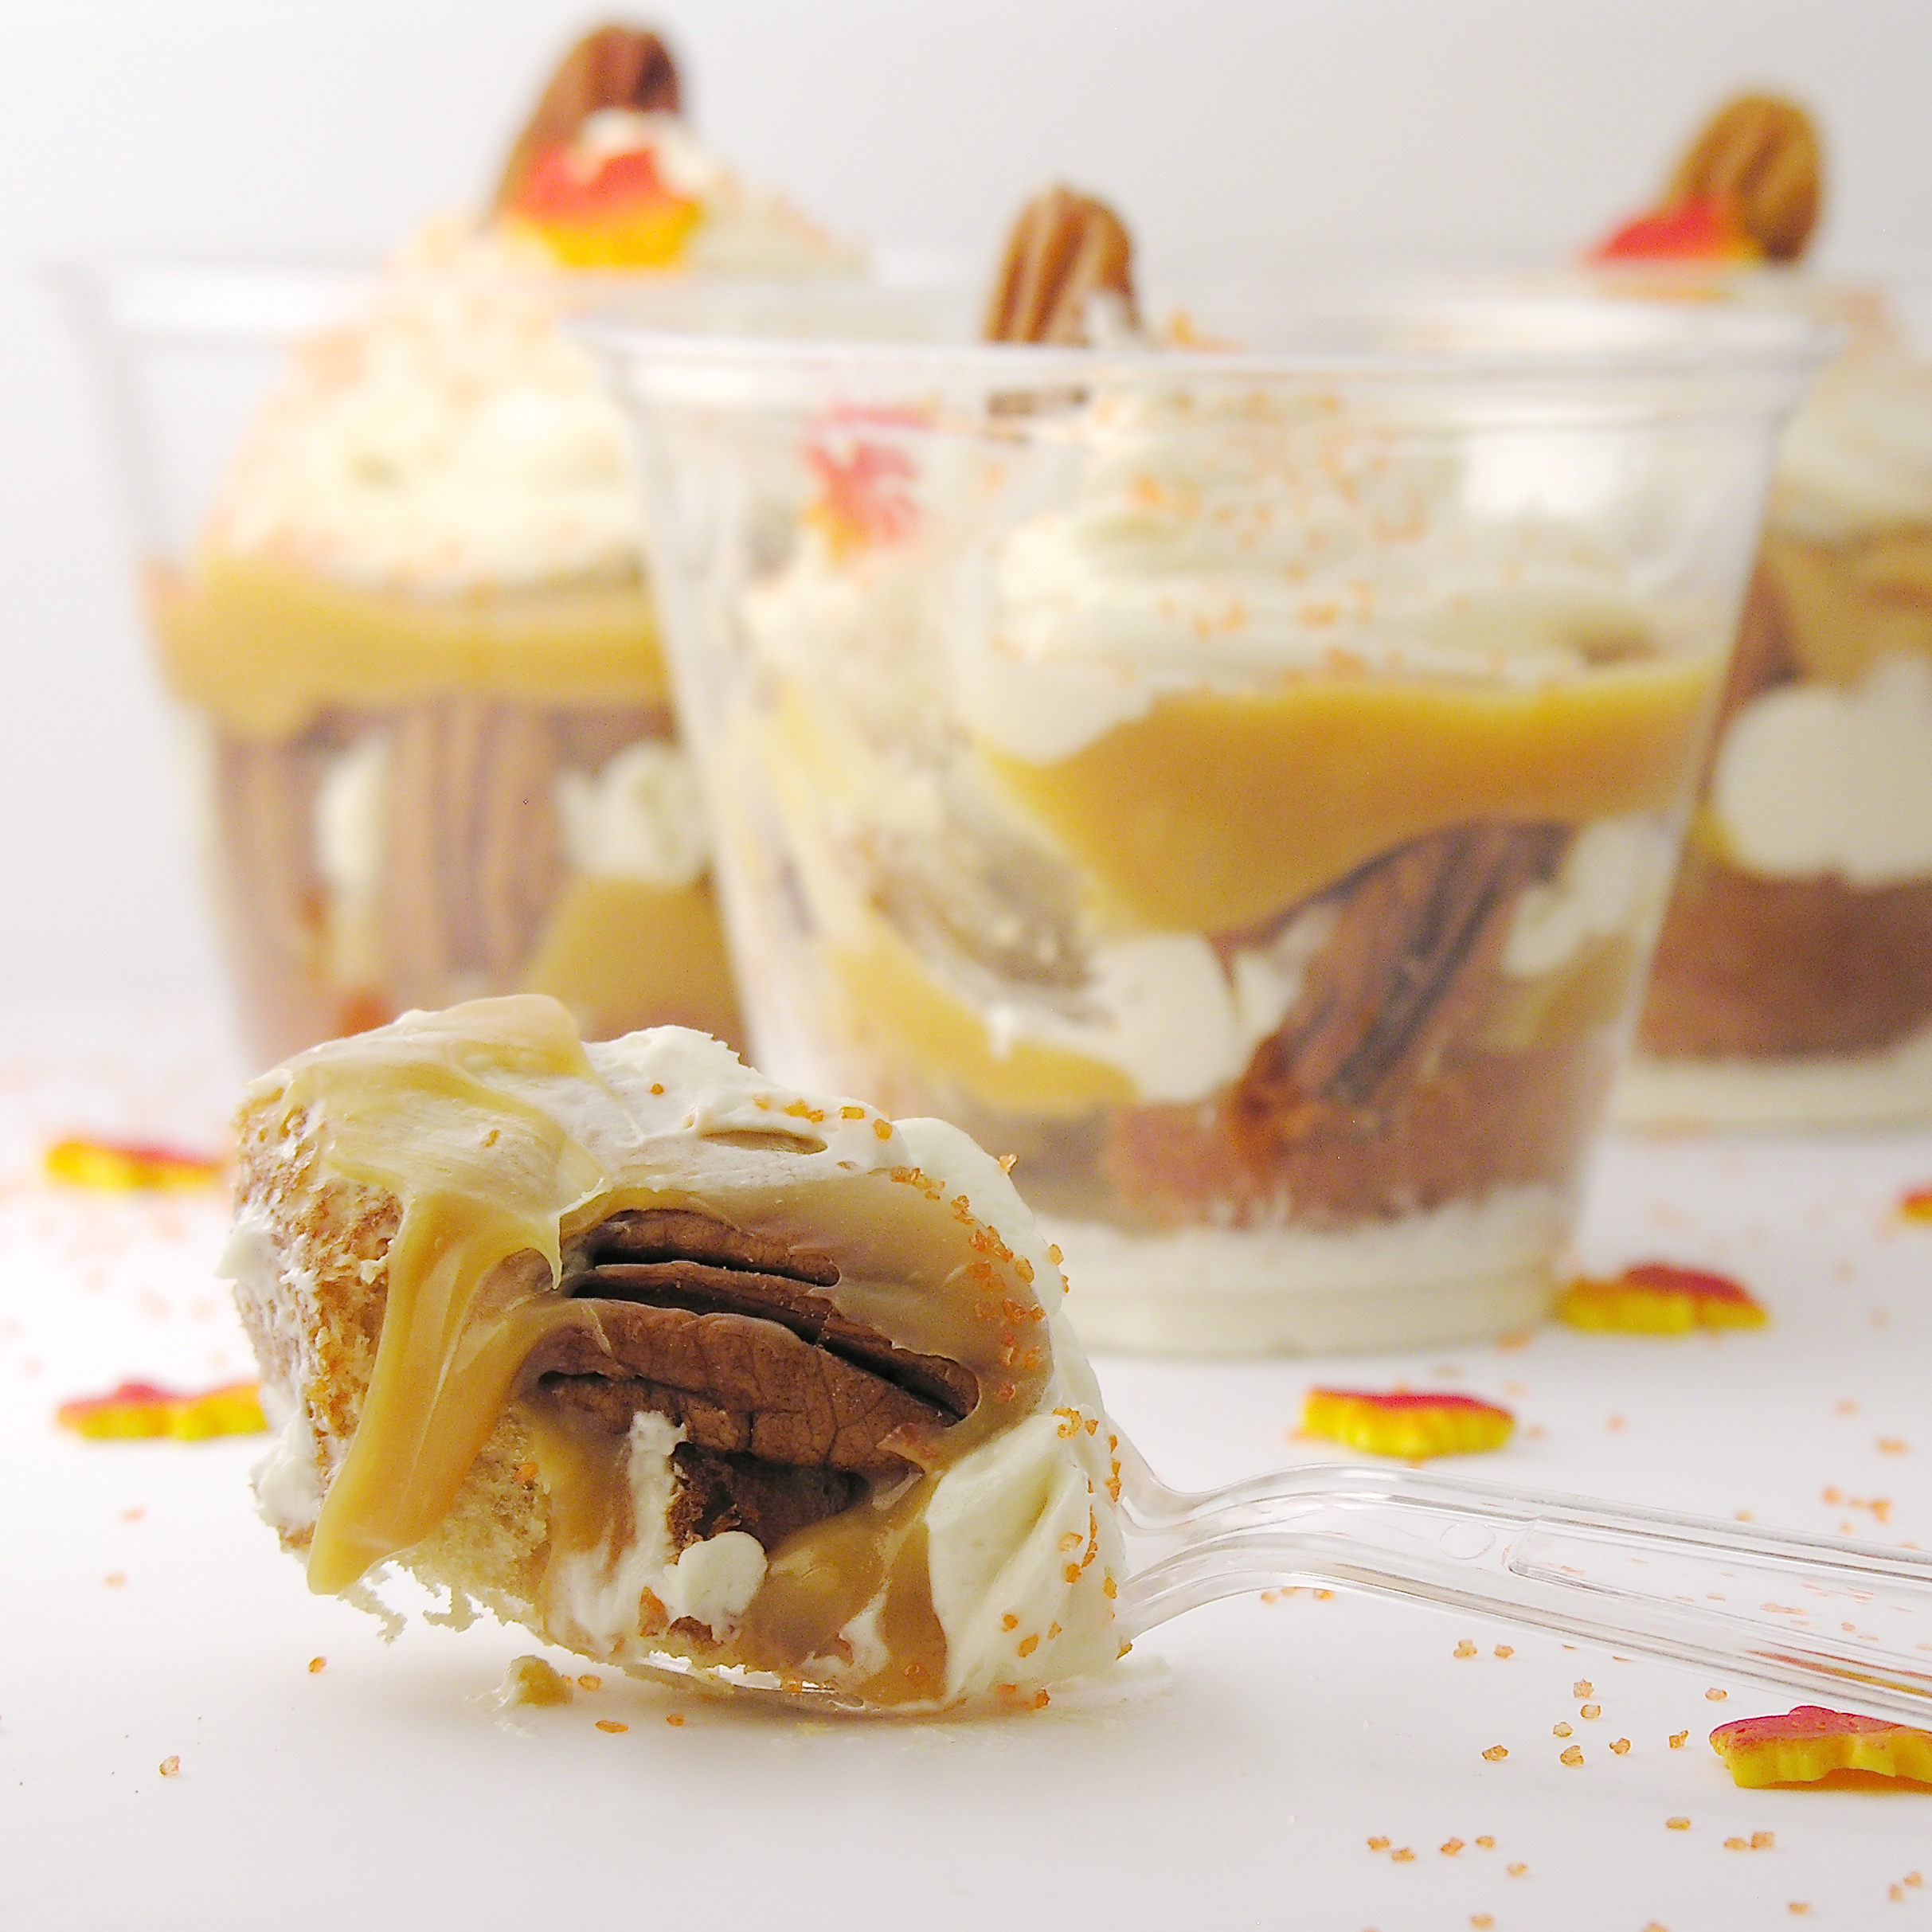
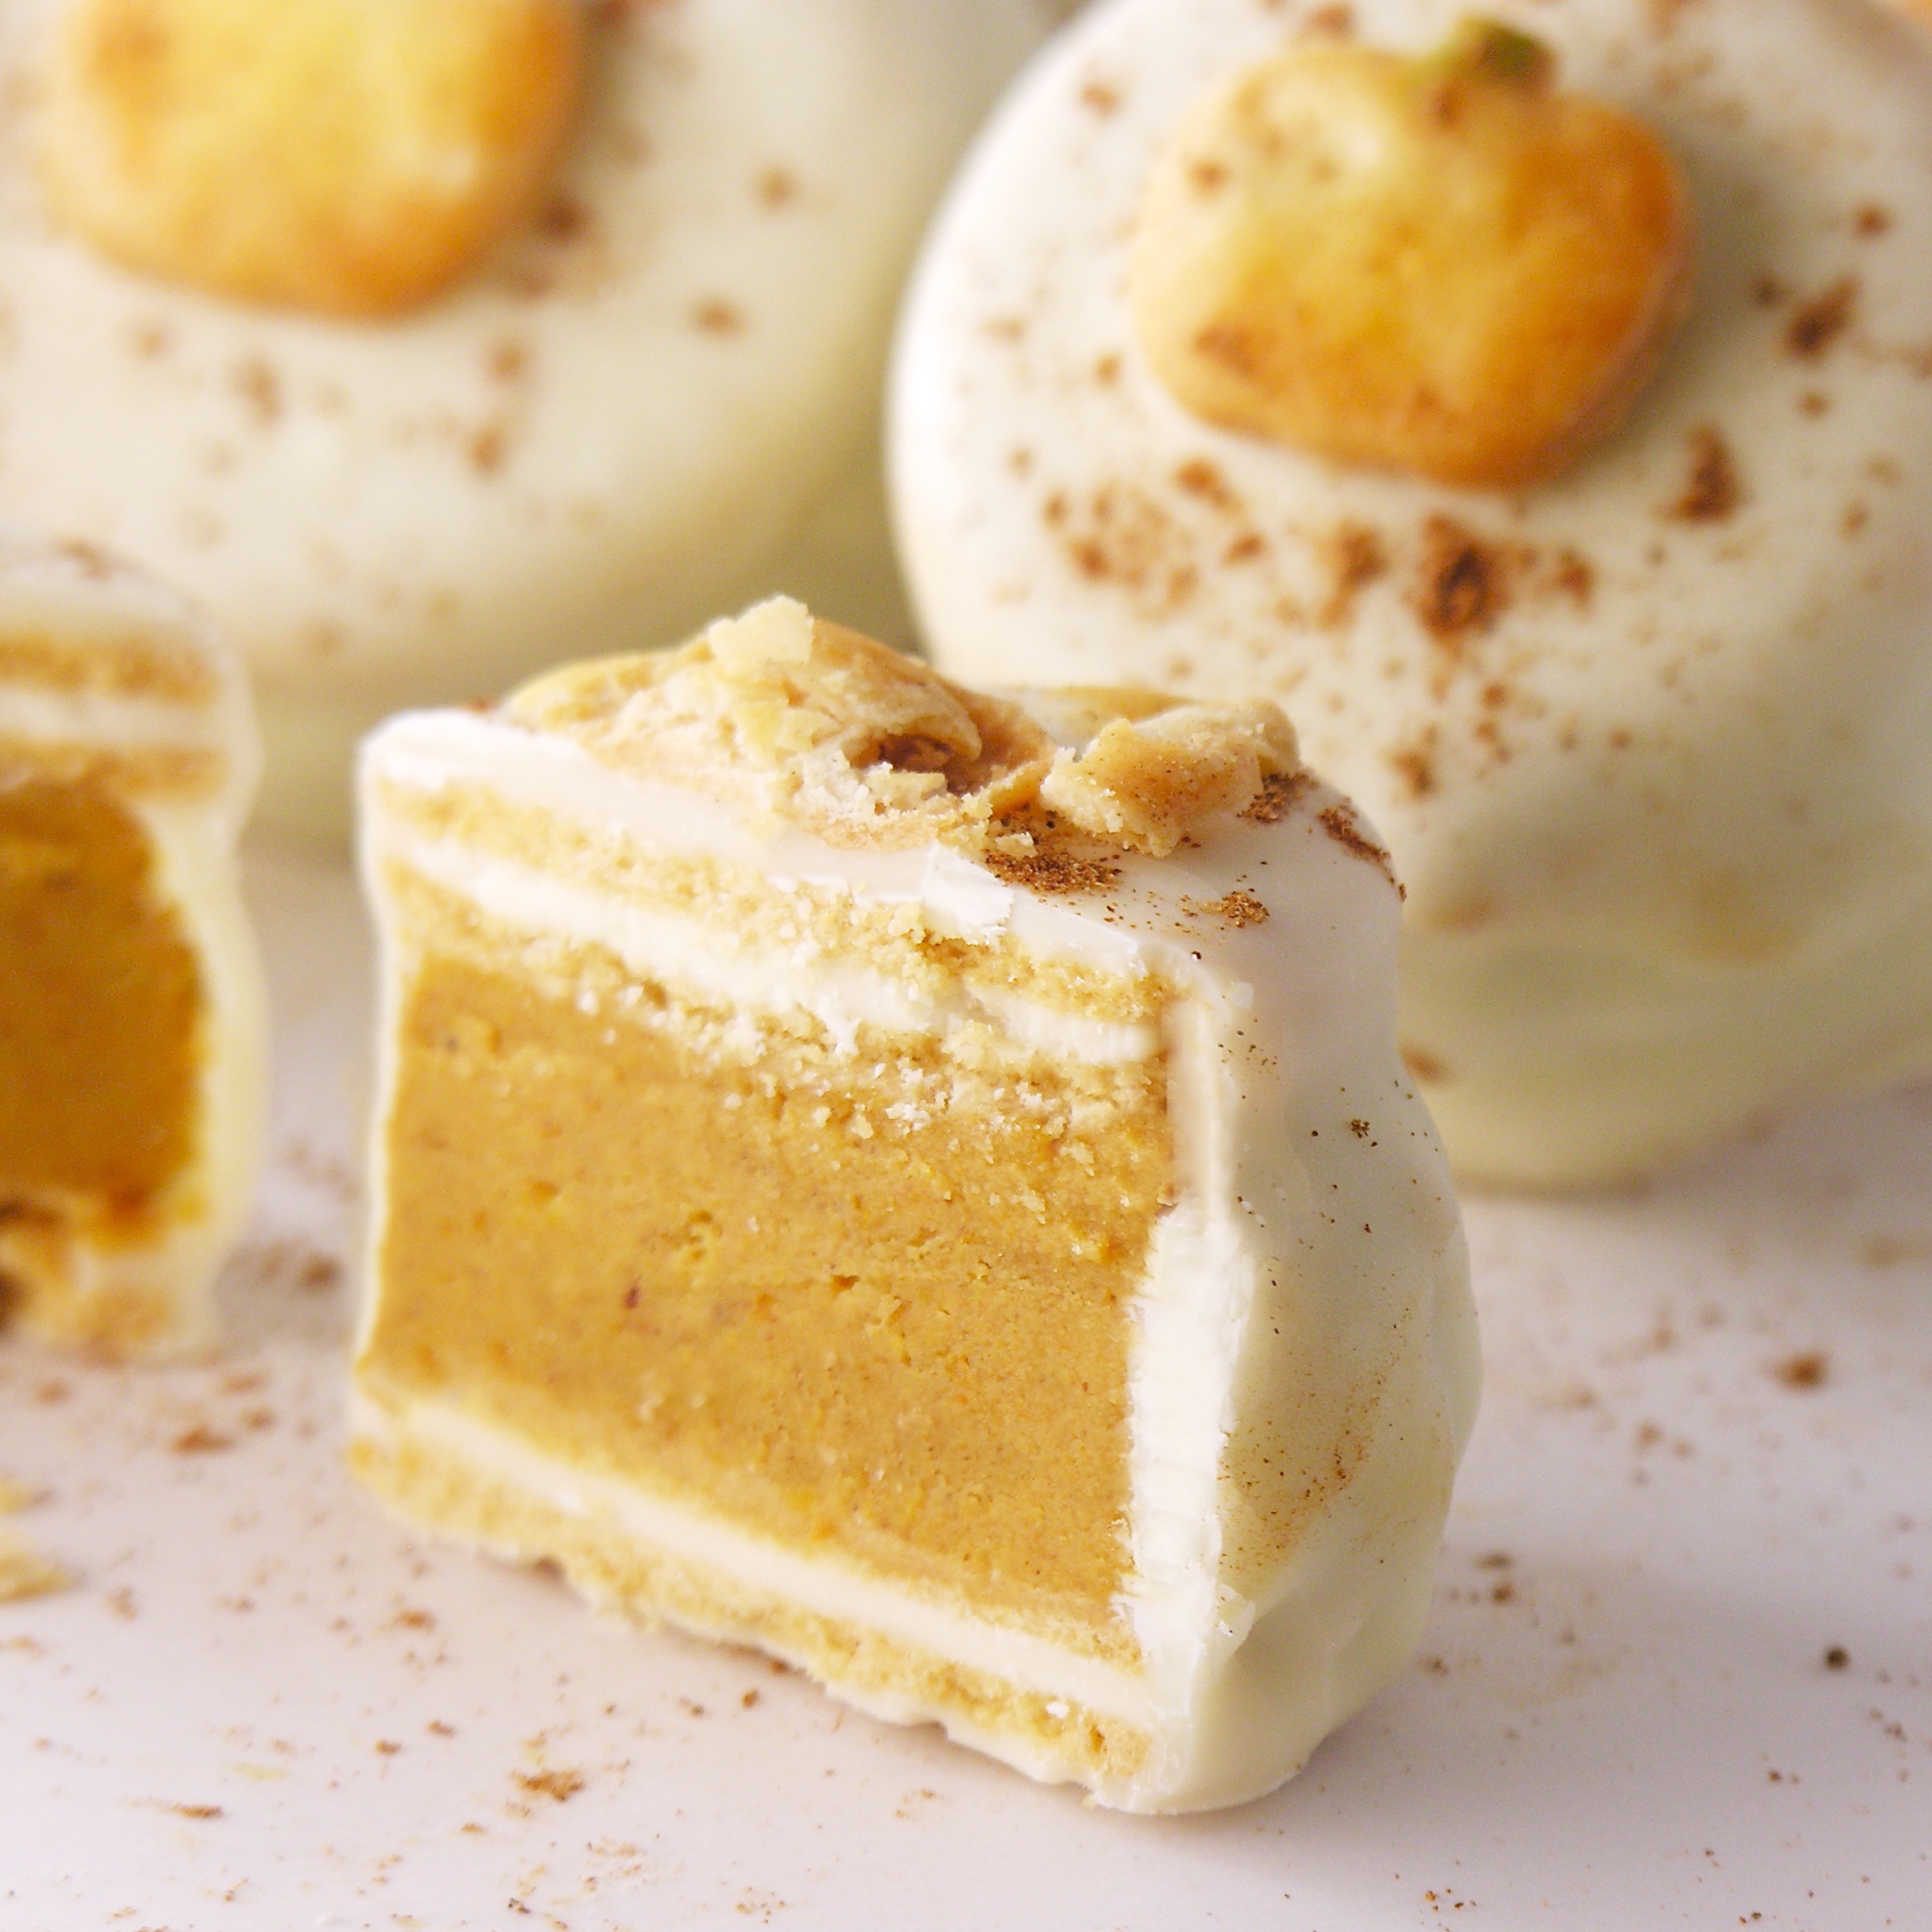
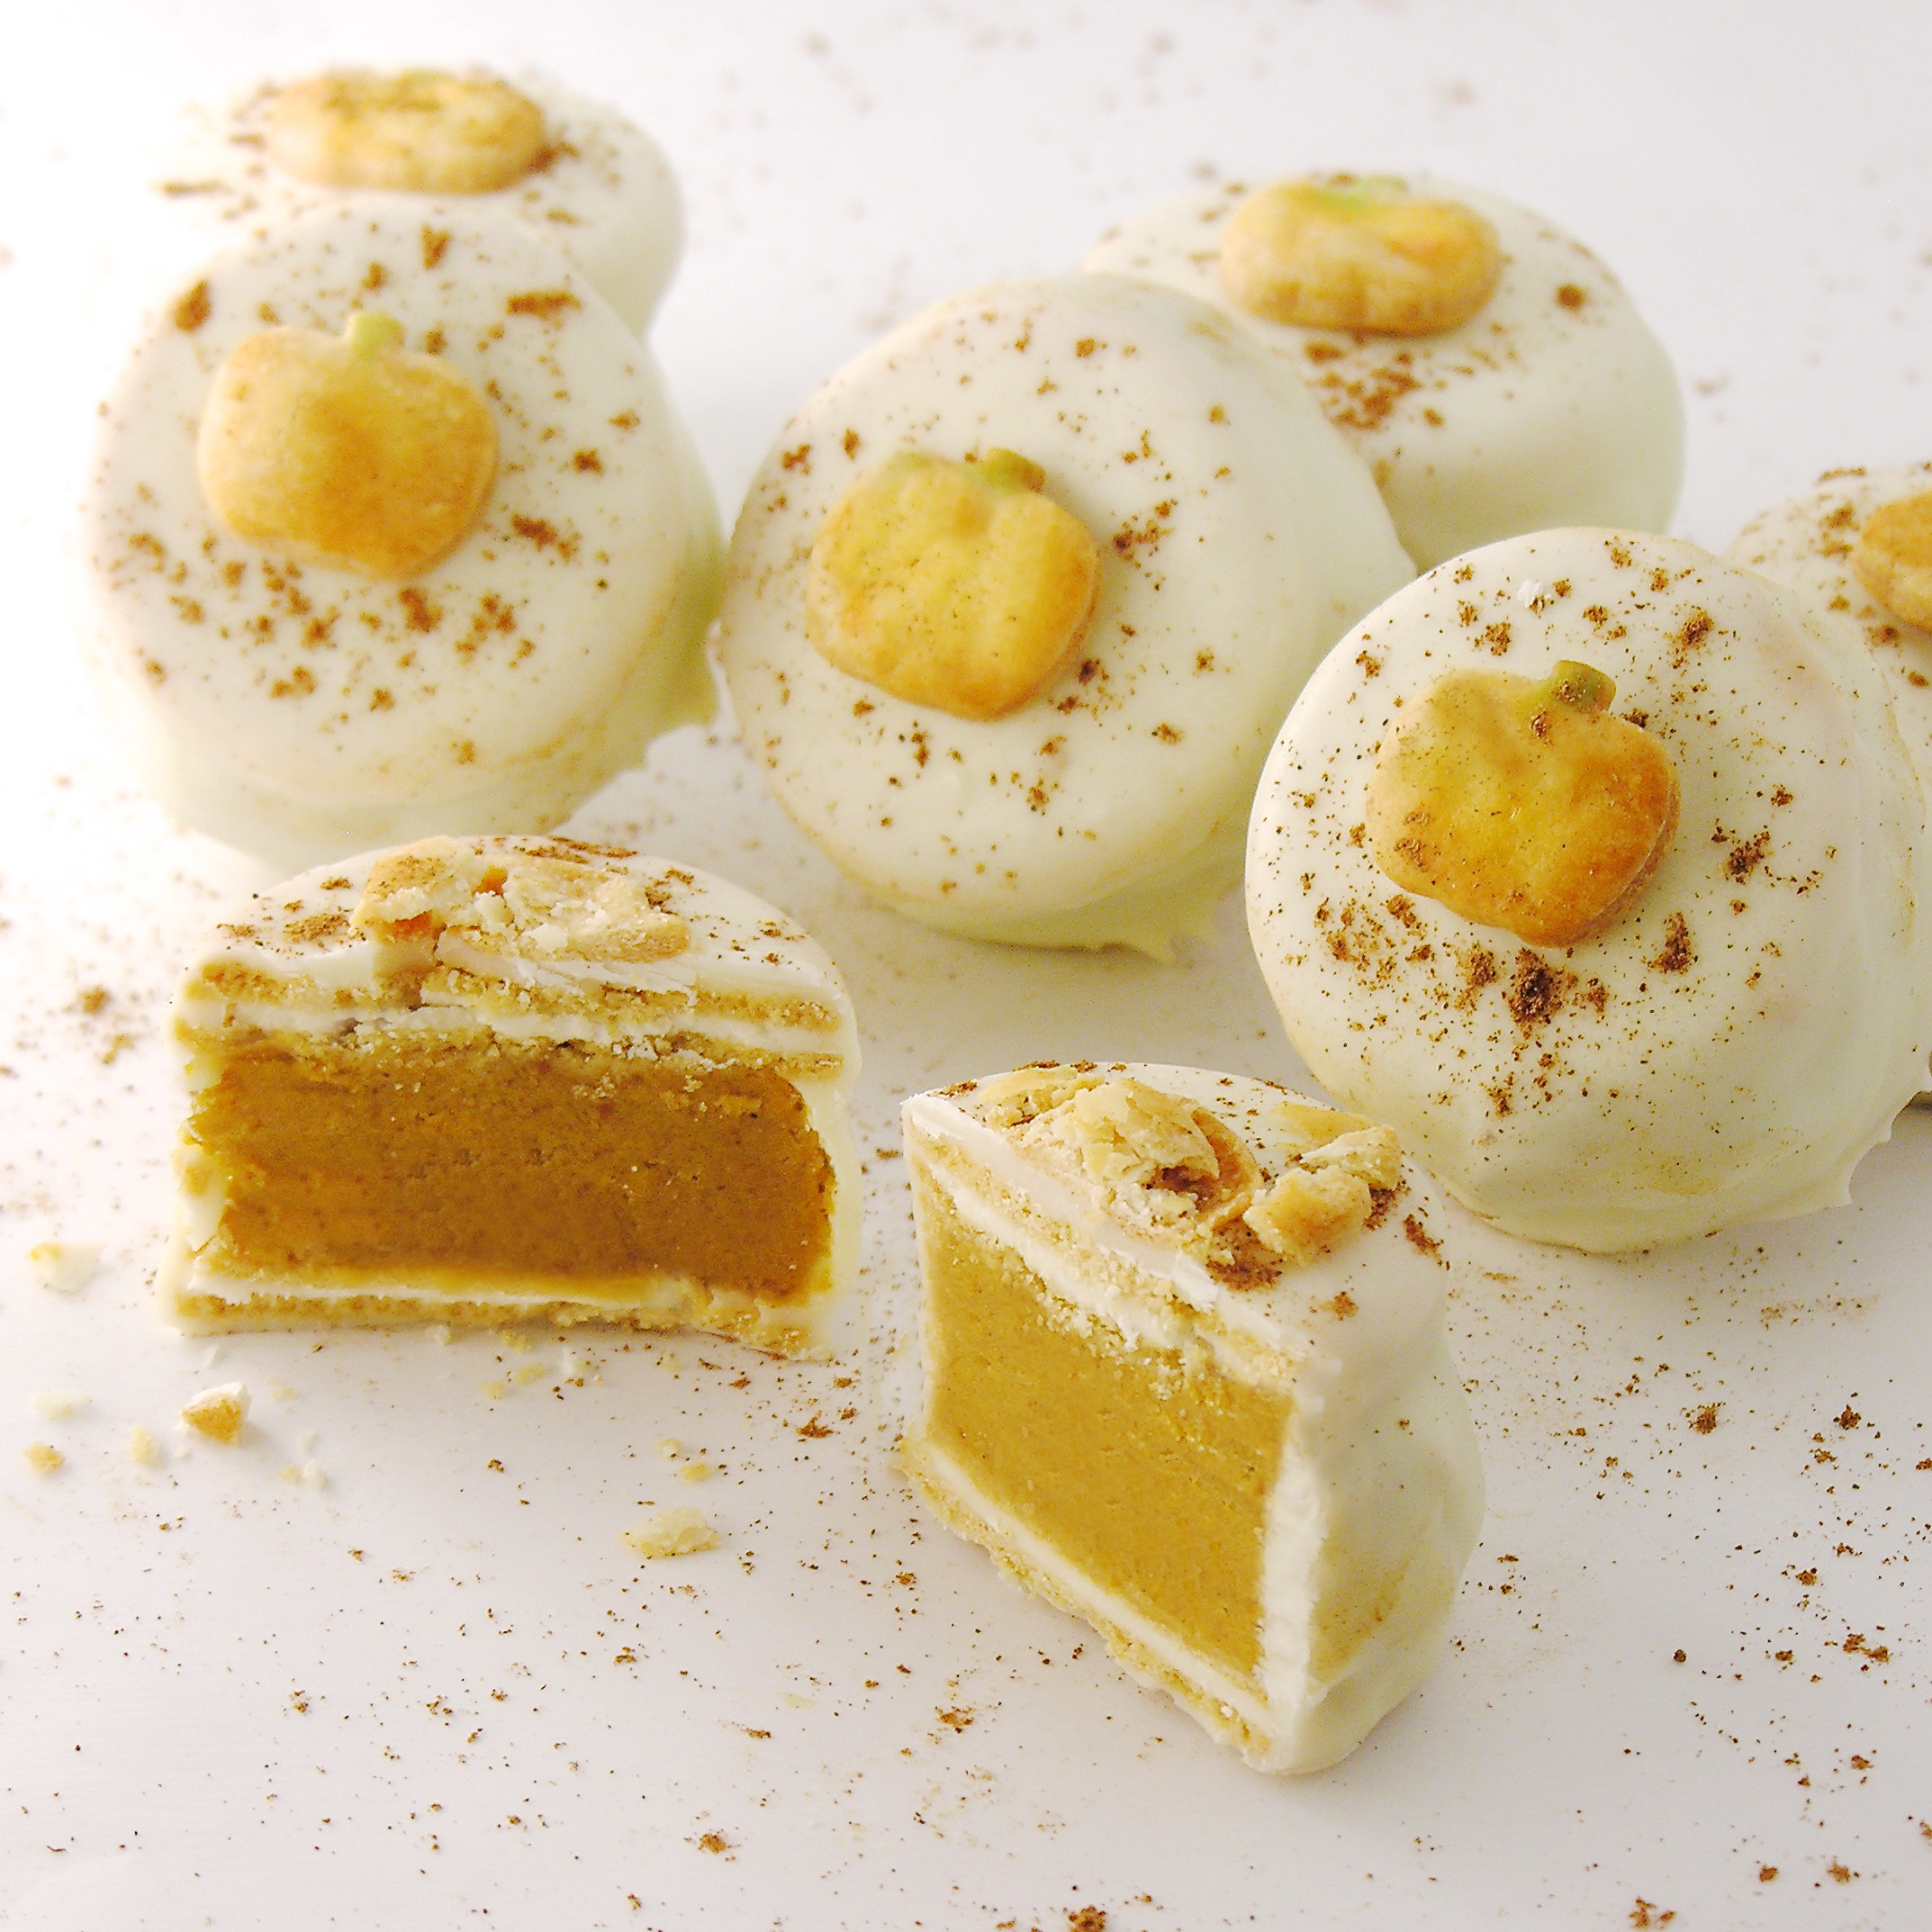
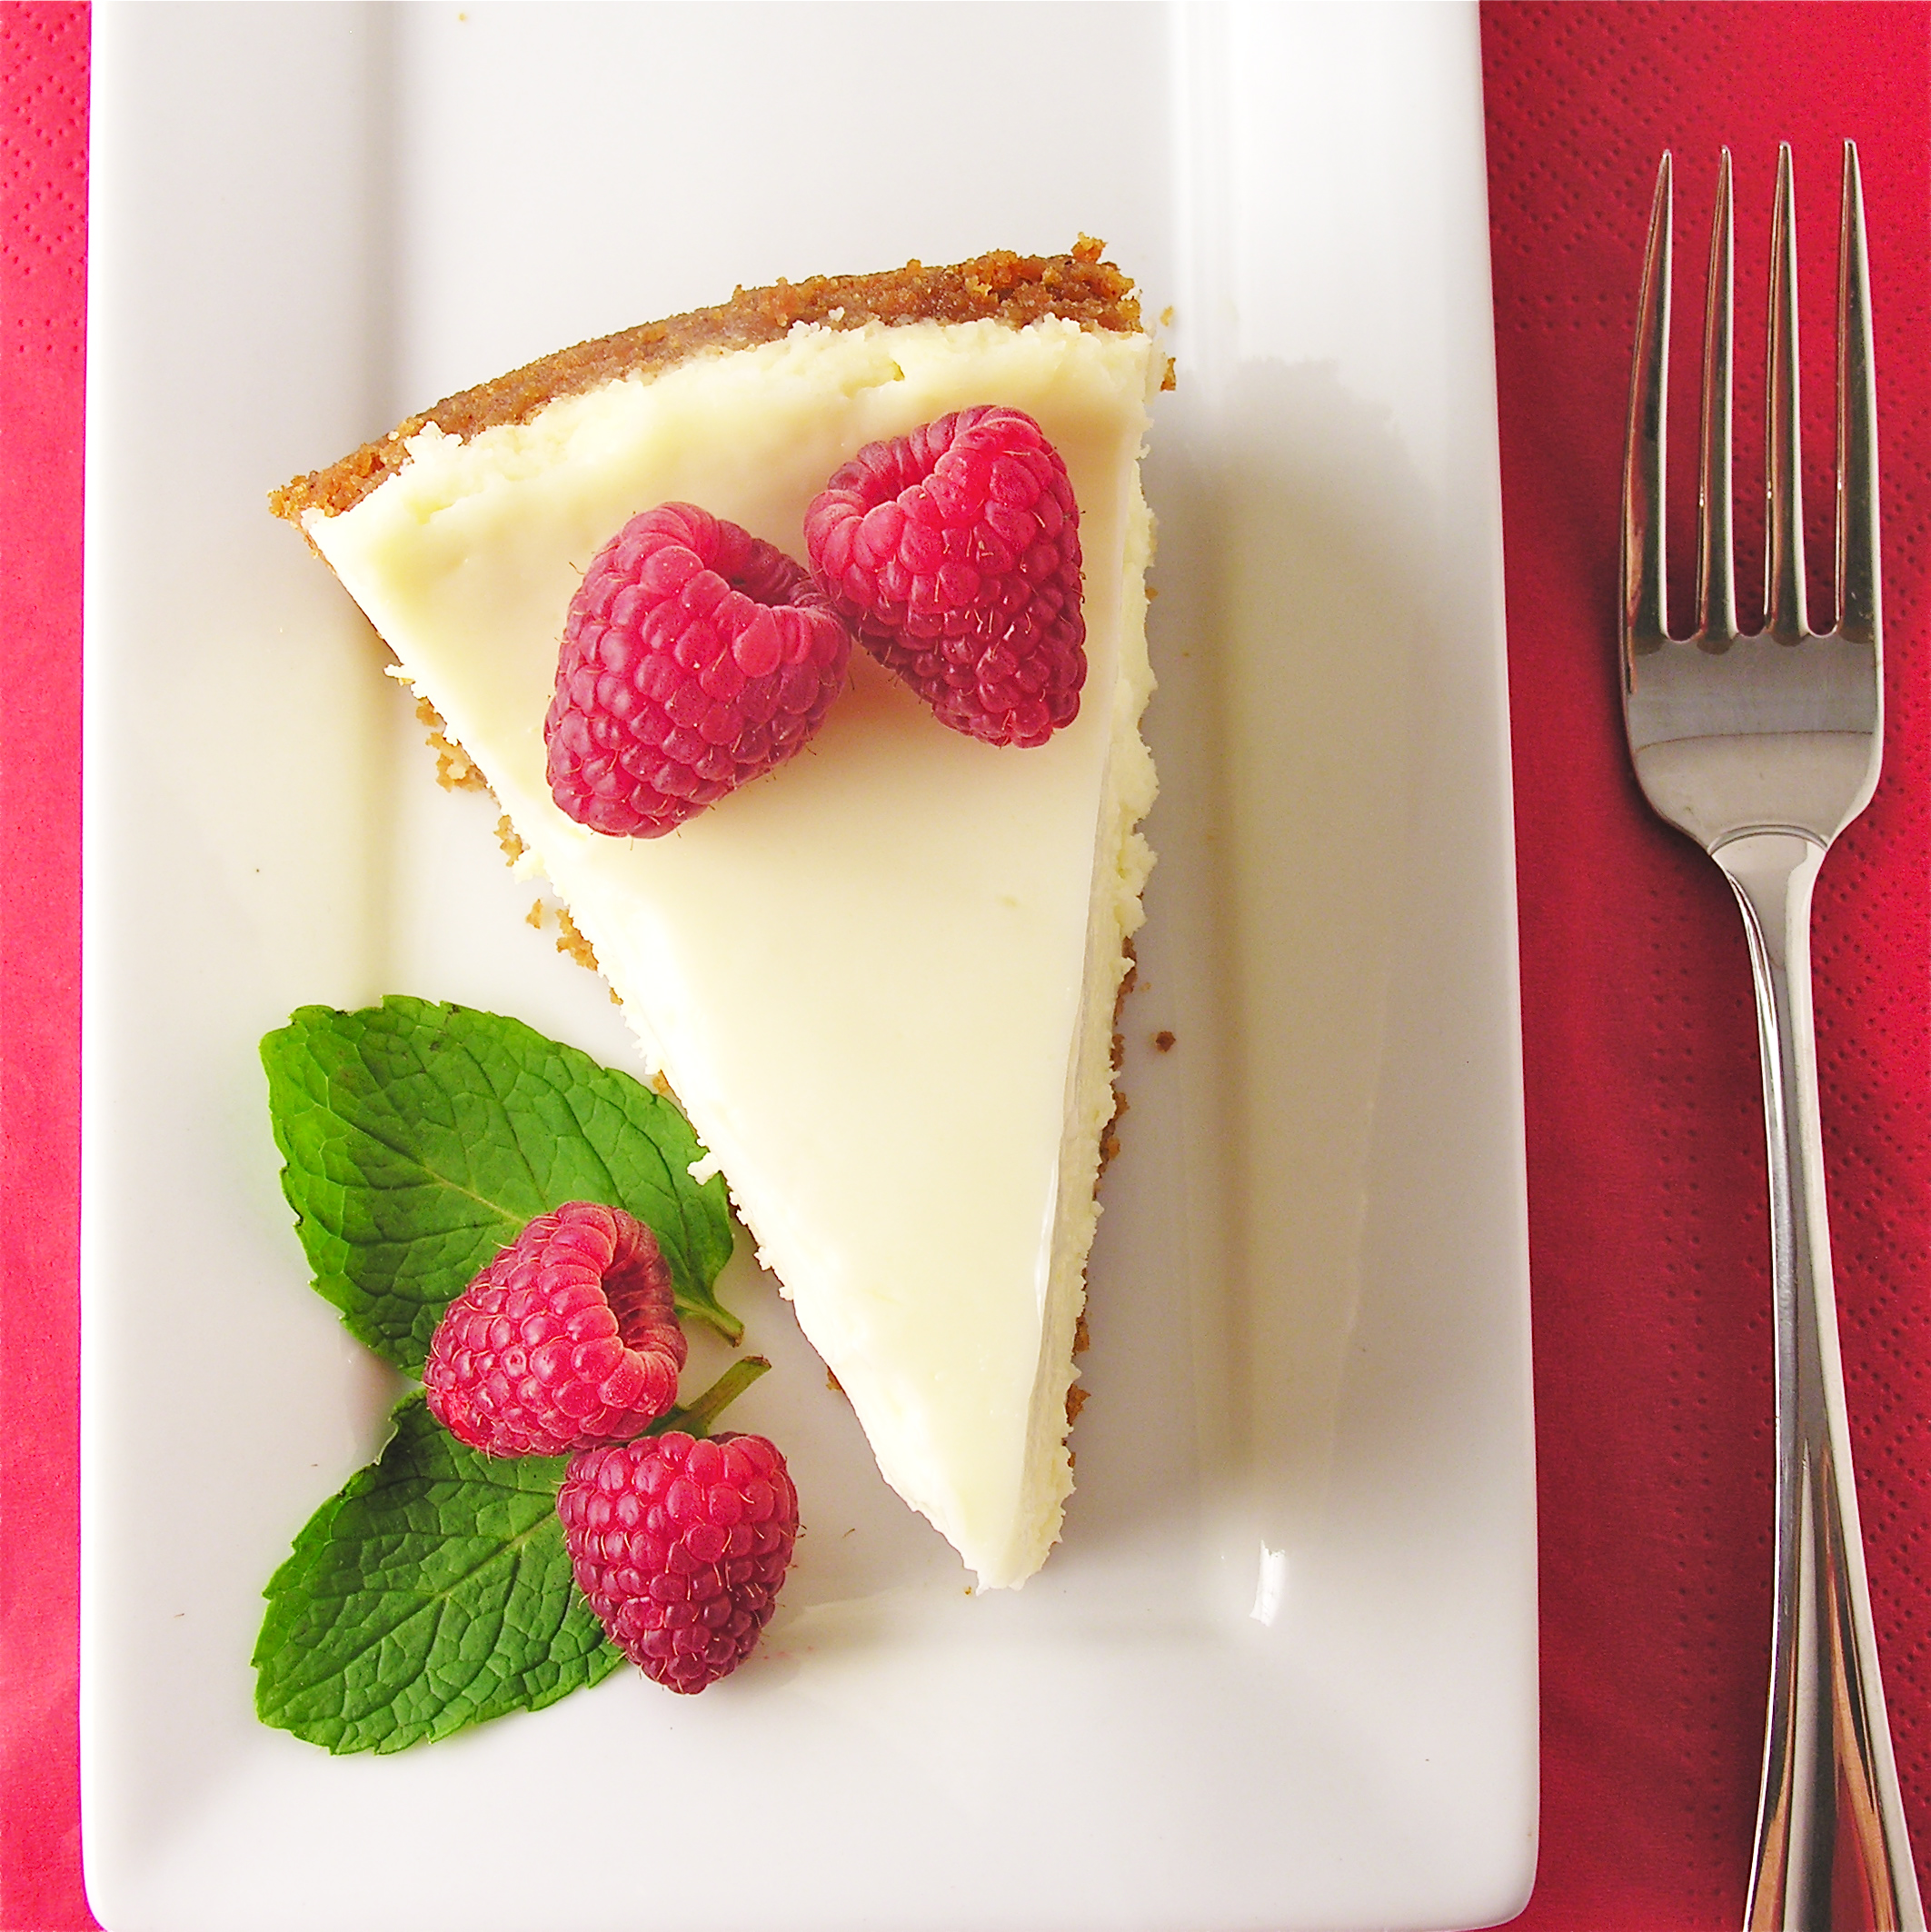
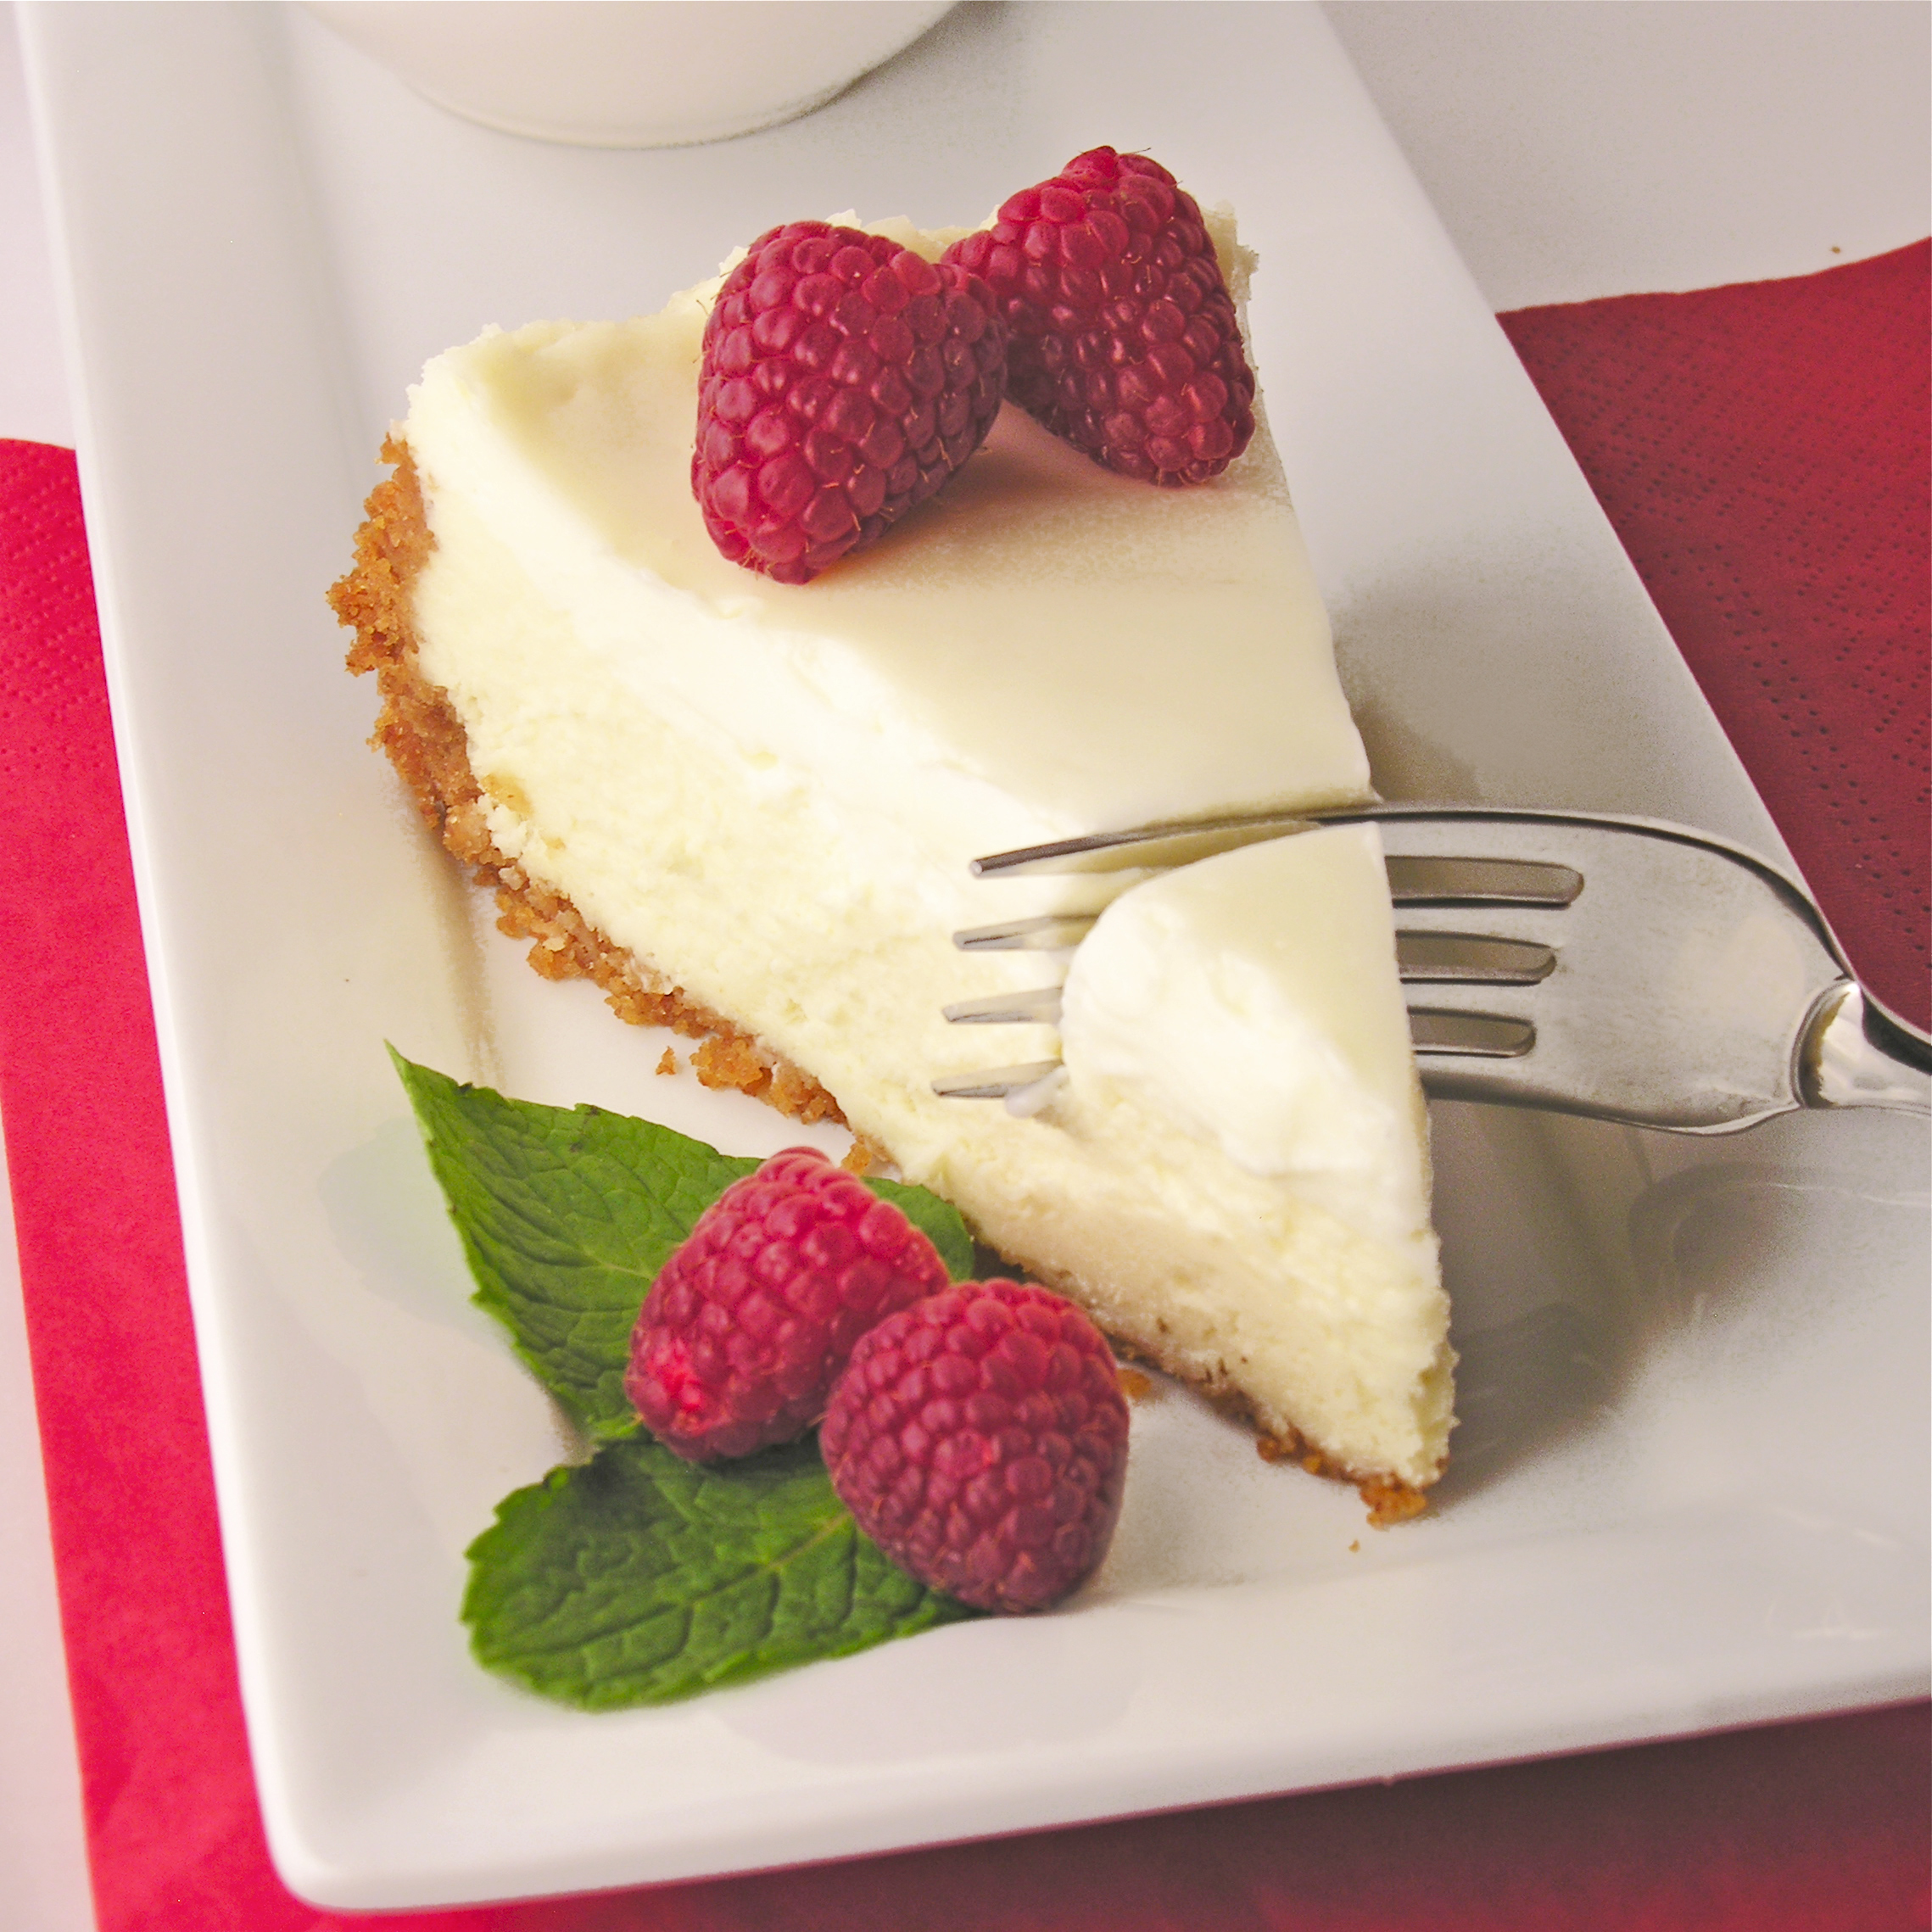
Want a few more fun recipes for Turkey Day??? Here you go! (just click on a photo to see the recipe)

teepee1 pumpkin-pie-cutouts1 pumpkin-oreo4 acorn-square-wm

Maple Pecan Cupcakes

Posted on

maple-pecan-cupcakes

These rich, dense chocolate cupcakes are topped with a light whipped maple pecan frosting that is out-of-this-world delicious! 

I know. Maple pecan things are a dessert for the fall- not early summer! I just couldn’t resist. Maple and pecan are two of my favorite flavors together! I thought about saving this post for November and I couldn’t make myself wait to share it with you because it is just that good! These are delicious. So if you can’t bring yourself to make them, pin the recipe for later- but pin it. You will want this one someday!!! Promise.

Here is how we made these (printable recipe here)

INGREDIENTS: (makes 24 cupcakes)

  • One boxed chocolate cake mix plus oil and eggs to make according to box
  • Milk- enough to replace the water required by boxed mix.
  • 1 (3.9 oz.) box of chocolate pudding (instant)
  • 3 cups chopped pecans (divided)
  • 24 pecan halves
  • 2 sticks salted butter (softened)
  • 2 sticks unsalted butter (softened)
  • 3 cups of powdered sugar
  • 3 teaspoons of maple extract or flavoring

DIRECTIONS:

  • Preheat oven to 350F degrees
  • Mix 1 and 1/2 cups of chopped pecans with dry cake mix.
  • Add eggs and oil according to package, and add milk instead of water- in the same amount as listed on package.
  • Add box of instant chocolate pudding.
  • Beat on high for 2 minutes until smooth.
  • Scoop evenly between 24 cupcake liners placed in muffin tins and bake according to package- until a toothpick inserted into the center of a cupcake comes out clean.
  • Gently remove from tins and allow cupcakes to cool on countertop.
  • Make frosting by placing butters, powdered sugar and maple flavoring in a large mixing bowl.
  • Beat on high until light and very fluffy (2 to 3 minutes).
  • Fold in one cup of chopped pecans (this leaves 1/2 cup for sprinkling on top!)
  • Use a cookie scoop to place a dome of frosting on each cooled cupcake. Press a pecan half on top and sprinkle with a bit of chopped pecans. 

  • Store in a loosely sealed container for up to 3 or 4 days. Refrigerate to keep a day or two longer.
  • Enjoy!

My thoughts: You are going to love these! If you want to simplify, just make the boxed cake mix as-is plus nuts. The milk and pudding make the cupcakes more dense, rich and moist- but you could skip adding these extra ingredients to save time. It’s that frosting… even my friends who aren’t big frosting lovers were licking this stuff off the top of these cupcakes. Yum. Hope you get a chance to try them- now- this fall- whenever!! 🙂 Enjoy! ~r

Other maple and/or pecan recipes to try! (click on a photo to see instructions)


Caramel Pecan Cup of Cake!

caramel-pecan-cupcakes

Take a plain cupcake and turn it into a layered work of art this Thanksgiving!

Everyone loves those beautiful layered trifle desserts. This recipe creates individual layered desserts. Aren’t they fun?? I used butter pecan cupcakes with yummy caramel sauce, pecans and homemade butter cream frosting. They were delicious! You can use this idea with literally ANY combination of flavors though! Get all the flavors of a “filled” cupcake- but SO much easier to assemble!

caramel-pecan-cupcakes

Plus, you can wrap them up in cello bags with pretty fall ribbon and ties for an elegant holiday dessert!

caramel-pecan-cupcakes

Can you tell that I enjoyed taking pictures of these!?!  Here is how we made them (printable recipe here):

INGREDIENTS: (Makes 24 cups of cake!)

Cake:

  • One boxed cake mix (plus oil, water and eggs to make according to package). I used Betty Crocker’s Butter Pecan cake mix. It was AMAZING!!!!!!!

Caramel sauce:

  • 32 unwrapped Kraft caramels
  • 1 can (14 oz) sweetened condensed milk
  • 1/2 cup (1 stick) butter, softened

Buttercream:

  • 4 sticks of butter (softened)
  • 3 cups of powdered sugar
  • 1 teaspoon of vanilla
  • You will also need 4-5 pecan halves per cup- and small clear Solo cups!

DIRECTIONS:

  • Make cake mix according to package and bake in 24 cupcake tins as directed by box (spray the pans with non-stick spray if you don’t use liners!). Cool.
  • Make caramel sauce by placing caramels, butter (1 stick) and sweetened condensed milk into a saucepan.
  • Melt over stove, stirring constantly, until caramels are entirely melted and smooth. 
  • Cool and place in a zip-top bag.
  • Make buttercream by placing 4 sticks of softened butter, powdered sugar and vanilla in a large mixing bowl. 
  • Use hand mixer to beat on high for 2-3 minutes until light and fluffy. 
  • Place frosting in a zip-top bag that has been fitted with a decorating tip. Set aside.
  • To assemble, cut a cupcake in half. Pipe a little bit of frosting into bottom of cup and press cupcake bottom in cup.
  • Clip a corner off the bag of caramel and pipe along edge of cup on top of cupcake bottom. 

caramel-pecan-cupcakescaramel-pecan-cupcakes

  • Press pecans into caramel along edges
  • Pipe a little frosting between pecans (only use a little- mine had a touch too much icing in the middle- you could even skip this step and just have frosting on the bottom and top)
  • Place top of cupcake on, pipe a little more caramel on top of cupcake, and pipe a swirl of frosting on top. 
  • Add a pecan and decorate as desired. I used cute icing leaves by Wilton that I found at Michael’s.

caramel-pecan-cupcakescaramel-pecan-cupcake

  • You’ll want to wrap these up or put them in an air-tight container to keep them fresh. I chose cello bags and ribbon ties- and they made me smile 🙂 These stay fresh for 3-4 days when covered.

caramel-pecan-cupcakes

My thoughts: These got RAVE reviews. Personally, I thought they were a little sweet and I wished I had used less frosting (plus I ran out of frosting with 3 to go!) so use a little less than pictured (or make a little more…if you really like frosting!!) One of my friends HIGHLY recommended crumbled bacon as a layer in these 🙂 The GREAT news is that you literally can add anything you want to make these into your family’s favorite dessert!  Enjoy!!  ~r

caramel-pecan-cupcakes

Other yummy pecan and/or caramel treats here on Easybaked! (click on a photo to see the recipe)

Praline Cupcakes1Turtle Bundt CakeMarshmallow Turtle Pops!Turtle Cheesecake

Pumpkin-stuffed Oreos

pumpkin stuffed oreos

Why have plain old pumpkin pie, when you can have these Oreos- filled with pumpkin and dipped in white chocolate?!?

Admission: I don’t like pumpkin pie. I never have and probably never will. I don’t like pumpkin spice anything either. The best way to ruin a Starbucks drink is to add pumpkin spice. Ew.

So I made these for you. All of you lovers of pumpkin out there! I also distributed these to as many pumpkin-addicted friends as possible, to get their thoughts. They LOVED them. I like that they are cute. Cute is always good.

pumpkin filled oreo

Like that photo, pumpkin people??? 🙂 I bet you do…. If you love pumpkin pie- you will go crazy over these fun little cookies!

Here is how we made them (printable recipe here)

INGREDIENTS: (makes about 20 cookies- but see notes at end of recipe)

  • 1 (15 oz) can of pumpkin
  • 1 (14 oz) can of sweetened condensed milk
  • 3 eggs 
  • 1 1/2 teaspoons of pumpkin spice seasoning
  • 1/2 teaspoon salt
  • 1 refrigerated pie crust
  • 1-2 boxes of Oreo Thins in vanilla (see notes)
  • 1-2 bags of Wilton’s Candy Melts in white (see notes)

DIRECTIONS:

  • Preheat oven to 375F degrees.
  • Place pumpkin, condensed milk, TWO eggs (save one), pumpkin spice, and salt into a medium mixing bowl and blend well using a whisk.
  • Pour into a baking dish (a pie plate works perfectly!)
  • Bake at 375 for 45-50 minutes- until a toothpick inserted into the center comes out clean. 
  • Remove from oven, spoon into a clean mixing bowl and blend until fairly smooth (it’s pumpkin, so it won’t be creamy smooth- but without big lumps).
  • Freeze for 30 minutes- until chilled through.
  • While baking /freezing pumpkin, make pie crust toppers.
  • Unroll pie crust and use a small cookie cutter to cut shapes out. Place these on a parchment paper-covered cookie sheet.
  • Separate remaining egg and keep just the white. Use a brush to coat top of each pie piece with egg-white. (I added a bit of orange and green food coloring in separate bowls to give them a hint of color- but this is optional!)
  • Bake at 375F for 7-8 minutes. Keep an eye on them! Mine got a little too brown.  I just popped these in while my pumpkin was still baking. Cool on counter.
  • Place 1/2 of Oreo Thins on a small cookie sheet. 
  • Scoop cooled pumpkin on top of each and gently press second Oreo on top.

pumpkin pie cookiesimg_0116

  • Freeze for at least 30 minutes (until pumpkin in the center is fairly hard).
  • Melt Candy Melts in a bowl the microwave in 30 second increments, stirring until smooth.
  • Set a pumpkin-stuffed Oreo into candy melts and spoon over the top and sides. 
  • Remove using a fork. Tap against edge of bowl to drain excess away and gently slide onto parchment paper. 
  • Before candy hardens, place a pie piece on top and sprinkle with a little pumpkin spice seasoning. 
  • Allow candy to fully harden ( a couple of hours).
  • Serve in a pie plate- or bag them up in cute cello bags with ribbon. 
  • Enjoy!

Pumpkin pie oreos

My thoughts: Honestly, these take a little time. You bake a pie and then turn it into cookies. Everyone loved the HUGE amount of pie filling in each cookie- but if you haven’t done much dipping in chocolate before, I highly recommend you get a second box of Oreo Thins and put less in between each cookie. The hardest part of this process was coating such a tall cookie in white chocolate. If I made these again I would use less pumpkin filling to make that easier. If you do this, you will need a second bag of candy melts as well.

pumpkin-oreo3

See… half that amount would still be enough! Once these were hardened, I placed them in little cello bags and tied them with ribbon. They were still yummy (to my pumpkin loving friends) several days later. Because of the moist pumpkin filling, I recommend you serve these fairly soon after making them though. Within a few days. Enjoy!!!  ~r

Pumpkin filled oreos

Other fun recipes for Thanksgiving! (click on a photo to see the recipe)

Pecan Pie CupcakesTepee CupcakesHoney cut-out cookiesPeanut butter cup cheesecake

Fall Marshmallow Cakes

Posted on

marshmallow cake

These delicious little chocolate cakes are filled with creamy sweet marshmallow, and decorated to make everyone at your fall table smile!

I’ve been craving HoHos lately. Do they even still make those? Seems like Hostess went out of business awhile back…? Anyway- or those Little Debbie Swiss Cake Rolls. Both of those desserts remind me of high school lunches. My friends and I would sit at lunch, peel them apart in layers, and talk about boys and such while we ate them.

Anyway… so I started thinking about a way to do a grown-up version of these flavors. My friend Angie gave me SUCH a fun pan- it makes little cakes with a cavity in the center that holds filling. See what I mean HERE. I’ve used these pans before here on Easybaked and they seemed perfect for this idea. Instead of topping cake with cake—- I topped each cake with a thick layer of chocolate glaze that was decorated with chocolate transfers.

I love how they turned out! This was my 1st time using transfers, and they are a little fussy- but the wow factor….!!!!!

marshmallow cake

Mmmm……!! So there is some special equipment to make these exactly like I did (cake pans, silicone molds to make the top chocolate layer). If you hate to purchase the pans and chocolate mold, make these as cupcakes. Fill them with marshmallow and pour the glaze over the top. Or make this as a layer cake maybe- with the marshmallow in the middle and the glaze drizzled over the top?

However you choose to make it, the flavors are wonderful together!

Here’s how we put these together. (Printable recipe here)

Ingredients (makes 8 mini cakes)

Cake:

  • 1 chocolate cake mix (plus water, oil and eggs to make according to package)

Filling:

  • 2 cups marshmallow creme
  • 1/2 cup butter, softened
  • 1/4 cup powdered sugar

Topping:

  • 2 cups chocolate chips
  • 12 tablespoons of butter
  • 1 large (12″x16″) chocolate transfer sheet (here is where I got mine)

Directions:

  • Start with the chocolate toppers. To add a chocolate transfer on top, cut 8 circles in a 4 inch diameter. I traced the pans with a marker and the cut the transfer just inside the line. Place the smooth side down and the rough side up inside a 4 inch silicone cake mold (I got mine here, in the medium size).
  • Place chocolate chips and 12 tablespoons of butter into a microwave safe dish and melt in 30 second increments, stirring between until smooth.
  • Gently spoon chocolate over the top of each transfer until it is covered completely. 
  • Freeze for about 20 minutes- until completely hard.
  • Gently peel away the silicone mold, leaving the chocolate. Keep this chocolate in the freezer until use.

chocolate transferschocolate transfers

  • Repeat process (re-melt chocolate glaze if needed) until you have 8 toppers in the freezer.
  • Make cake according to mix and bake in 4 pans as directed on box. Only fill the pans 1/2 full, or they will overflow. And grease the pans generously!!! My 1st batch stuck a little.
  • You will need to bake two batches to get your 8 cakes. Cool completely.
  • Make filling by beating together the marshmallow creme and the butter until smooth and light (about 2 minutes).
  • Slowly add the powdered sugar, beating on low until it is fully mixed in, and then increasing to high and beating until light and fluffy (another 2 minutes or so).
  • Place filling into a zip top bag and zip it tightly closed. Clip a corner off and squeeze filling into each open cake cavity. 
  • Gently set a chocolate topper over the filling, pressing it lightly against the filling. As the topper warms to room temperature, it will soften and stick more firmly to the cake. 
  • Gently peel away the plastic from the top of the transfer.


marshmallow cakemarshmallow cake

  • Keep at room temperature until serving. Kept covered, these can be stored for two to three days.
  • Enjoy!

marshmallow-cake

My thoughts: If you don’t mind the extra equipment and a little bit of time, these are positively the most elegant and delicious little cakes! I had so much fun serving these as individual desserts- and everyone loved them. If what you are aiming for is extra special- this is your dessert. If you need your chocolate fix right now? Get those Little Debbies!!! 😉 ~r

Other fall treats here on Easybaked:

Pecan Pie CupcakesPumpkin Pie Cutout cookies!Honey cookies cut into leaf shapes!Acorn Candy

Salted Caramel Tart

Salted Caramel Tart3

A dense, dark chocolate tart covered in creamy, salted caramel sauce. Salty, sweet, and rich dessert flavors!!!!

This recipe is a combination of some of my favorite elements from other desserts. The chocolate tart is the perfect base for just about any topping. You can adjust it from dark to milk chocolate just by swapping out the type of chocolate you add. The caramel sauce is my go-to sauce for so many recipes. It’s not from-scratch, but it is honestly better (and soooo much easier)!

Salted Caramel Tart

That caramel layer does firm up after being chilled- but I wanted to cut into this right away- so these pictures show it in all of the gooey happiness that happens just after baking. Yum!

Here’s how we made this tart: (printable recipe here)

INGREDIENTS:

  • One refrigerated pie crust
  • 1 10 oz. bag of dark chocolate chips
  • 5 egg yolks
  • 5 tablespoons heavy whipping cream
  • 2 teaspoons of vanilla
  • 5 tablespoons of powdered sugar
  • 32 Kraft Caramels (unwrapped)
  • 1 can (14oz) of sweetened condensed milk
  • 1 stick (1/2 cup) of butter
  • 1 tablespoon salt (to taste)

DIRECTIONS:

  • Preheat oven to 350 degrees.
  • Spray a 9 inch tart pan with cooking spray and line with pie crust.  Poke holes into bottom with fork and set on a cookie sheet.
  • Melt dark chocolate chips.  Allow them to cool to room temperature.
  • In a separate bowl combine eggs, cream, vanilla and powdered sugar.
  • Add cream mixture to chocolate and blend well.  Pour into crust and bake for 20 – 25 minutes until center is set.
  • While tart is baking, make caramel sauce by placing caramels, condensed milk and butter into a medium saucepan.
  • Heat over medium/high heat, stirring constantly, until melted and smooth (about 6 minutes).
  • Allow caramel to cool in pan a bit, and add salt, mixing well to combine.
  • Once tart has been removed from the oven and allowed to cool, pour caramel over the top until entire crust is filled (YUM!!!)

Salted Caramel Tart

  • Chill, and drizzle with a little chocolate sauce- if you want- for decoration 🙂
  • Remove sides from pan, serve and enjoy!!!!

Salted Caramel Tart!

My thoughts: Straight up delicious. The sweet caramel has a little bite of salt and that dark chocolate tart is the perfect balance to the sweet. I love the textures of this dessert. The chocolate is so dense and creamy, and the caramel is so soft. This is just “one of those” desserts. The kind you think about long after the last bite. This tart was given away last weekend to friends, and these pictures are killing me… I wish I had another piece right now…! Enjoy this one, friends!!!  ~r

Salted Caramel Tart!

More caramel happiness here at Easybaked: (click on a photo to see the recipe)

Caramel Ritz CookiesCaramel Gelato!!!Alfajores-- yummy dulce de leche filling!Marshmallow Turtle Pops!

Tepee Cupcakes!

Posted on

Tepee CupcakesThese adorable little tepees are filled with yummy chocolate cake and are sure to make everyone smile at YOUR Thanksgiving feast!

Since I spent 8 months on the Navajo Nation and learned to love their culture and traditions, I thought I’d skip the Pilgrim themes and go straight for the Indians this Thanksgiving. My first trip out to the reservation I wondered if Tepees were even used by the Navajo. They are- but only for special ceremonies. The Navajo traditionally lived in round or multi-sided structures called hogans.

AZ-92DSC_0815

Here is a picture of a ceremonial tepee and of my friend Rod by his family’s hogan.

I had quite a time making these cute little desserts, but I hope that my experimenting will help you make this perfectly the 1st time! They really aren’t difficult once you figure out what the best system is! I will give you my recipe 1st (that’s what you’re here for, right??) But after the recipe I will share my trials and tribulations in the process!

Teepee4

Here’s how to make these cute little treats: (printable recipe)

INGREDIENTS:

  • 24 pointed ice cream cones
  • One boxed cake mix in chocolate (or any flavor you like!), plus water, oil and eggs to make according to box.
  • One bag (12 oz) of Wilton Candy Melts in dark chocolate.
  • Leaf sprinkles (at least one to two cups of them)
  • Straight pretzel sticks
  • DIRECTIONS:
    Cover the entire top of a large springform pan with aluminum foil, wrapping it around several times.
  • Use a small knife or scissors to make a tiny slit in the center.
  • Push the pointed tip of one ice cream cone through the slit until the tip rests on the inside bottom of the pan.
  • Repeat this with the rest of the cones (depending on the size of your pan you may need to bake these in two batches).

Baking pointed cones

  • Preheat oven to 350F degrees.
  • Make cake mix according to box, and spoon or pipe into cones, filling them about 2/3 full.
  • Bake at 350F degrees for about 15-20 minutes.
  • Allow them to cool before removing.

Ice cream cone cupcakes

  • Use a knife to cut the points off of each cone. I scored around the edge with the knife and then just snapped the tip off with my fingers.
  • Trim off tops of cupcakes to make a flat “bottom”
  • Melt candy melts in microwave in 30 second increments, stirring in between, until melted and smooth.
  • Dip the flat end of the cone into the chocolate, coating it completely.
  • Dip chocolate into a bowl filled with leaf sprinkles.
  • Set coated cone on parchment paper to harden up.
  • Place remaining chocolate into a small zip-top bag and clip a corner.
  • Pipe a bit of chocolate on the top of each tepee and then stick 3 pretzel sticks into the top.
  • After chocolate has hardened up, serve and enjoy!!!

Teepee cupcakeTeepee CupcakeTeepee Cupcake

Teepee cupcakesThe story behind the cupcakes:

These are the result of much experimenting. I saw a picture of tepee cupcakes on Pinterest and was intrigued by this idea, but I couldn’t imagine how you would bake cake batter into a pointed cup…? So I googled the idea and discovered that nobody really has any very good ideas for this…? I wondered if I could maybe cut the top point off 1st, stick the bottom into something like cookie dough and pipe batter in to bake upside down? I tried this with the following result:

Recipe fail!These really made the most beautiful exploding volcano-type effect in the oven. It was very entertaining, although not what I was hoping for!

Many sites recommended poking the cones into disposable tin foil pans, but they all said to watch them closely because they tip…and to be careful of the hot cake batter when righting them. Oh my. Not my sort of recipe. Sounds like one big mess in my oven!

Eventually I tried the foil and springform pan idea and it was not only easy but very sturdy. Nothing tipped even a tiny bit!

Teepee Cupcakes

My thoughts: YUM! These are just delicious and fairly easy to make once you know how to get those cupcakes baked. My only advice: make sure you cut enough off the top that all three of those pretzels fit into the opening. A few of mine were too tight, and I had to use the chocolate melts to cement them in place. I hope you have fun making these! I certainly did!  Enjoy!! ~r

Other fun fall recipes here on Easybaked (click on a photo to see the recipe):

Caramel Pecan CookiesPeanut butter Acorn Cookies!Honey cut-out cookiesPumpkin Pie Dip!

Classic Cheesecake with Sour Cream Topping

Posted on

Classic Cheesecake with Sour Cream Topping
Creamy classic vanilla cheesecake with a sweet and light sour cream topping.

This is the best cheesecake I’ve ever made.  That’s saying a lot because I’ve made many, many cheesecakes.

In case you missed last week’s post, Easybaked is featuring family “tried and true” recipes during the month of November.  This week our star baker is my Aunt Vonda.  She is the queen of desserts in our family and literally everything she makes is scrumptious!  This cheesecake is one of my very favorite family desserts.  I’ve wanted the recipe for years and once I finally got to make it for myself I was even more impressed.  Not only is is delicious….it is actually easier to make than most cheesecakes I’ve tried….and oh, SO good.

Vonda's Cheesecake3
This is the cheesecake for a cheesecake purist.  No crazy toppings or fillings- just plain cheesecake.  Usually I’m not a huge fan of plain cheesecake, but the flavor and texture of this one is incredible.

Vonda's Cheesecake5
Want the recipe?

Here you go: (printable version)

INGREDIENTS:

Crust:
  • 1 1/4 cups Honeymaid graham cracker crumbs
  • 5 tablespoons butter, melted
  • 3 tablespoons sugar 
Filling: 
  • 3/4 cup sugar
  • 3 (8 oz.) Philadelphia cream cheese bars (must be the Philadelphia brand)~ softened to room temperature.
  • 2 eggs
  • 1 teaspoon vanilla
  • 1 teaspoon lemon juice
  • pinch of salt
Topping: 
  • 1 pint (2 cups) sour cream
  • 1/2 cup sugar
  • 1 tsp. vanilla
  • pinch of salt
DIRECTIONS:
  • Preheat oven to 350F degrees.
  • In a medium bowl, combine crust ingredients together until well combined.
  • Press into a 9″ spring form pan, pressing crumbs into bottom and about 1 1/2″ up sides of pan.    
  • For the filling, combine the sugar and softened cream cheese in a large mixing bowl and beat together until smooth.
  • Add the eggs, one at a time, beating between each addition.
  • Add the vanilla, lemon juice and salt and beat until smooth and creamy.
  • Pour into crust.
  • Bake at 350F degrees for 35-45 minutes.
  • While cheesecake is baking, make topping by simply mixing together all of the topping ingredients.
  • After 35-45 minutes of baking, remove cheesecake from oven and turn oven down to 325F degrees.
  • Pour topping over hot cheesecake, gently spreading to edges.
  • Return cheesecake to oven and bake for an additional 12-15 minutes.
  • Remove cheesecake from oven and leave sides on pan while allowing cheesecake to cool to room temperature.  
  • Refrigerate several hours (or overnight)
  • Remove edges of spring form pan before serving and serve with fresh fruit, pie filling or a chocolate or caramel sauce.
  • Enjoy!!!!

Creamy classic cheesecake
My thoughts:  Well, you already know how much I love this cheesecake because I’ve gone on and on about it.  This is a must-try recipe.  You will love it.  A huge thanks to my Aunt Vonda for sharing her recipe with us!!!  Yum!!!  ~r

Creamy cheesecake with sour cream topping
Other cheesecake recipes we love here at Easybaked:
Cinnamon Roll Cheesecake!!Triple Chocolate Cheesecake 3Peanut butter cup cheesecakeTurtle Cheesecake

Fall Acorn Cupcakes

Posted on


A rich vegan cupcake recipe topped with vanilla buttercream and a cute little candy acorn.

INGREDIENTS: (makes about 24 cupcakes)

  • 3 cups of flour
  • 2 cups of sugar
  • 1/2 cup of cocoa
  • 1 teaspoon salt
  • 2 teaspoons baking soda
  • 2 tablespoons of vinegar
  • 1 teaspoon vanilla
  • 3/4 cups oil
  • 2 c. water

For acorns:

DIRECTIONS:

  • Add dry cupcake ingredients together and mix to remove lumps.
  • Add liquids and mix until smooth
  • Divide equally into cupcake liners in muffin tins.
  • Bake at 350F degrees for 20-25 minutes.
  • Allow cupcakes to cool completely and frost with your favorite buttercream recipe (click here for mine) tinted with fall food coloring.
  • Make acorns by melting candy melts in the microwave in 30 second increments, stirring between.  Dip unwrapped hershey kiss in chocolate and attach to bottom of cookie.  Dip butterscotch/peanut butter chip in chocolate and attach to top of cookie.  (Click HERE for more details on making these)
  • When hardened, gently place one acorn on the top of each cupcake.


My thoughts:  Ever since I posted these cute little acorns last fall I’ve wanted to put them on cupcakes!!  This was that day.  The vegan cupcake recipe is SO yummy.  The buttercream frosting isn’t vegan, but you can drizzle your cupcakes with a bit of powdered sugar glaze to keep them a treat for your vegan friends.  You can use the cupcake recipe to make a yummy bundt cake too– and that is PERFECT with a light sugar glaze on top.  I use this cake/cupcake recipe all the time- it is very moist and flavorful.  Enjoy!!!~r

Other recipes you might enjoy (click on the image to be taken to the recipe):

Pumpkin Pie Dip

Try a new twist on the pumpkin pie this Thanksgiving: crisp squares of pie crust ready to dunk in a creamy pumpkin pie dip!  This is the perfect Thanksgiving party dessert recipe!!!

INGREDIENTS:

  • 2 refrigerated pie crusts
  • 1 box (8oz.) Philadelphia Cream Cheese (softened)
  • 1/3 cup of brown sugar
  • 1 cup of canned pumpkin
  • 1/2 t. pumpkin pie spice
  • 1 tub of Cool Whip
  • Cinnamon and granulated sugar – enough to dust crust squares.

DIRECTIONS:

  • Preheat oven to 350 degrees.
  • Unroll pie crusts on a cutting board and using a knife or pizza cutter slice into squares.

  • Place pieces of crust on a cookie sheet, spray with cooking spray and dust with sugar and cinnamon.
  • Bake at 350 degrees for 20-22 minutes- until light brown and toasted.
  • Remove from oven and cool.
  • Place softened cream cheese in a bowl and cream it with the brown sugar until smooth.
  • Add pumpkin and pumpkin pie spice and mix with a mixer on medium until smooth and creamy.
  • Fold in 1/2 tub of Cool Whip.
  • Place in a serving dish and top with remaining Cool- Whip.  Dust with cinnamon.
  • Serve dip with crispy cinnamon crust squares– YUM!


My thoughts:  Again, pumpkin is not a flavor I enjoy– I did taste test this though, and went back for seconds!  This was a HUGE hit both times I served it and I had so many people ask for the recipe I decided to post this earlier than intended so I don’t get mobbed.  If you want to try a unique twist on the traditional pumpkin pie, this is it!  Make a practice round before Thanksgiving and try it out on your friends– they will love you!  ENJOY!!!  r-