Tag Archives: cupcakes

Coconut Caramel Cupcakes

Posted on

Caramel Coconut Cupcakes
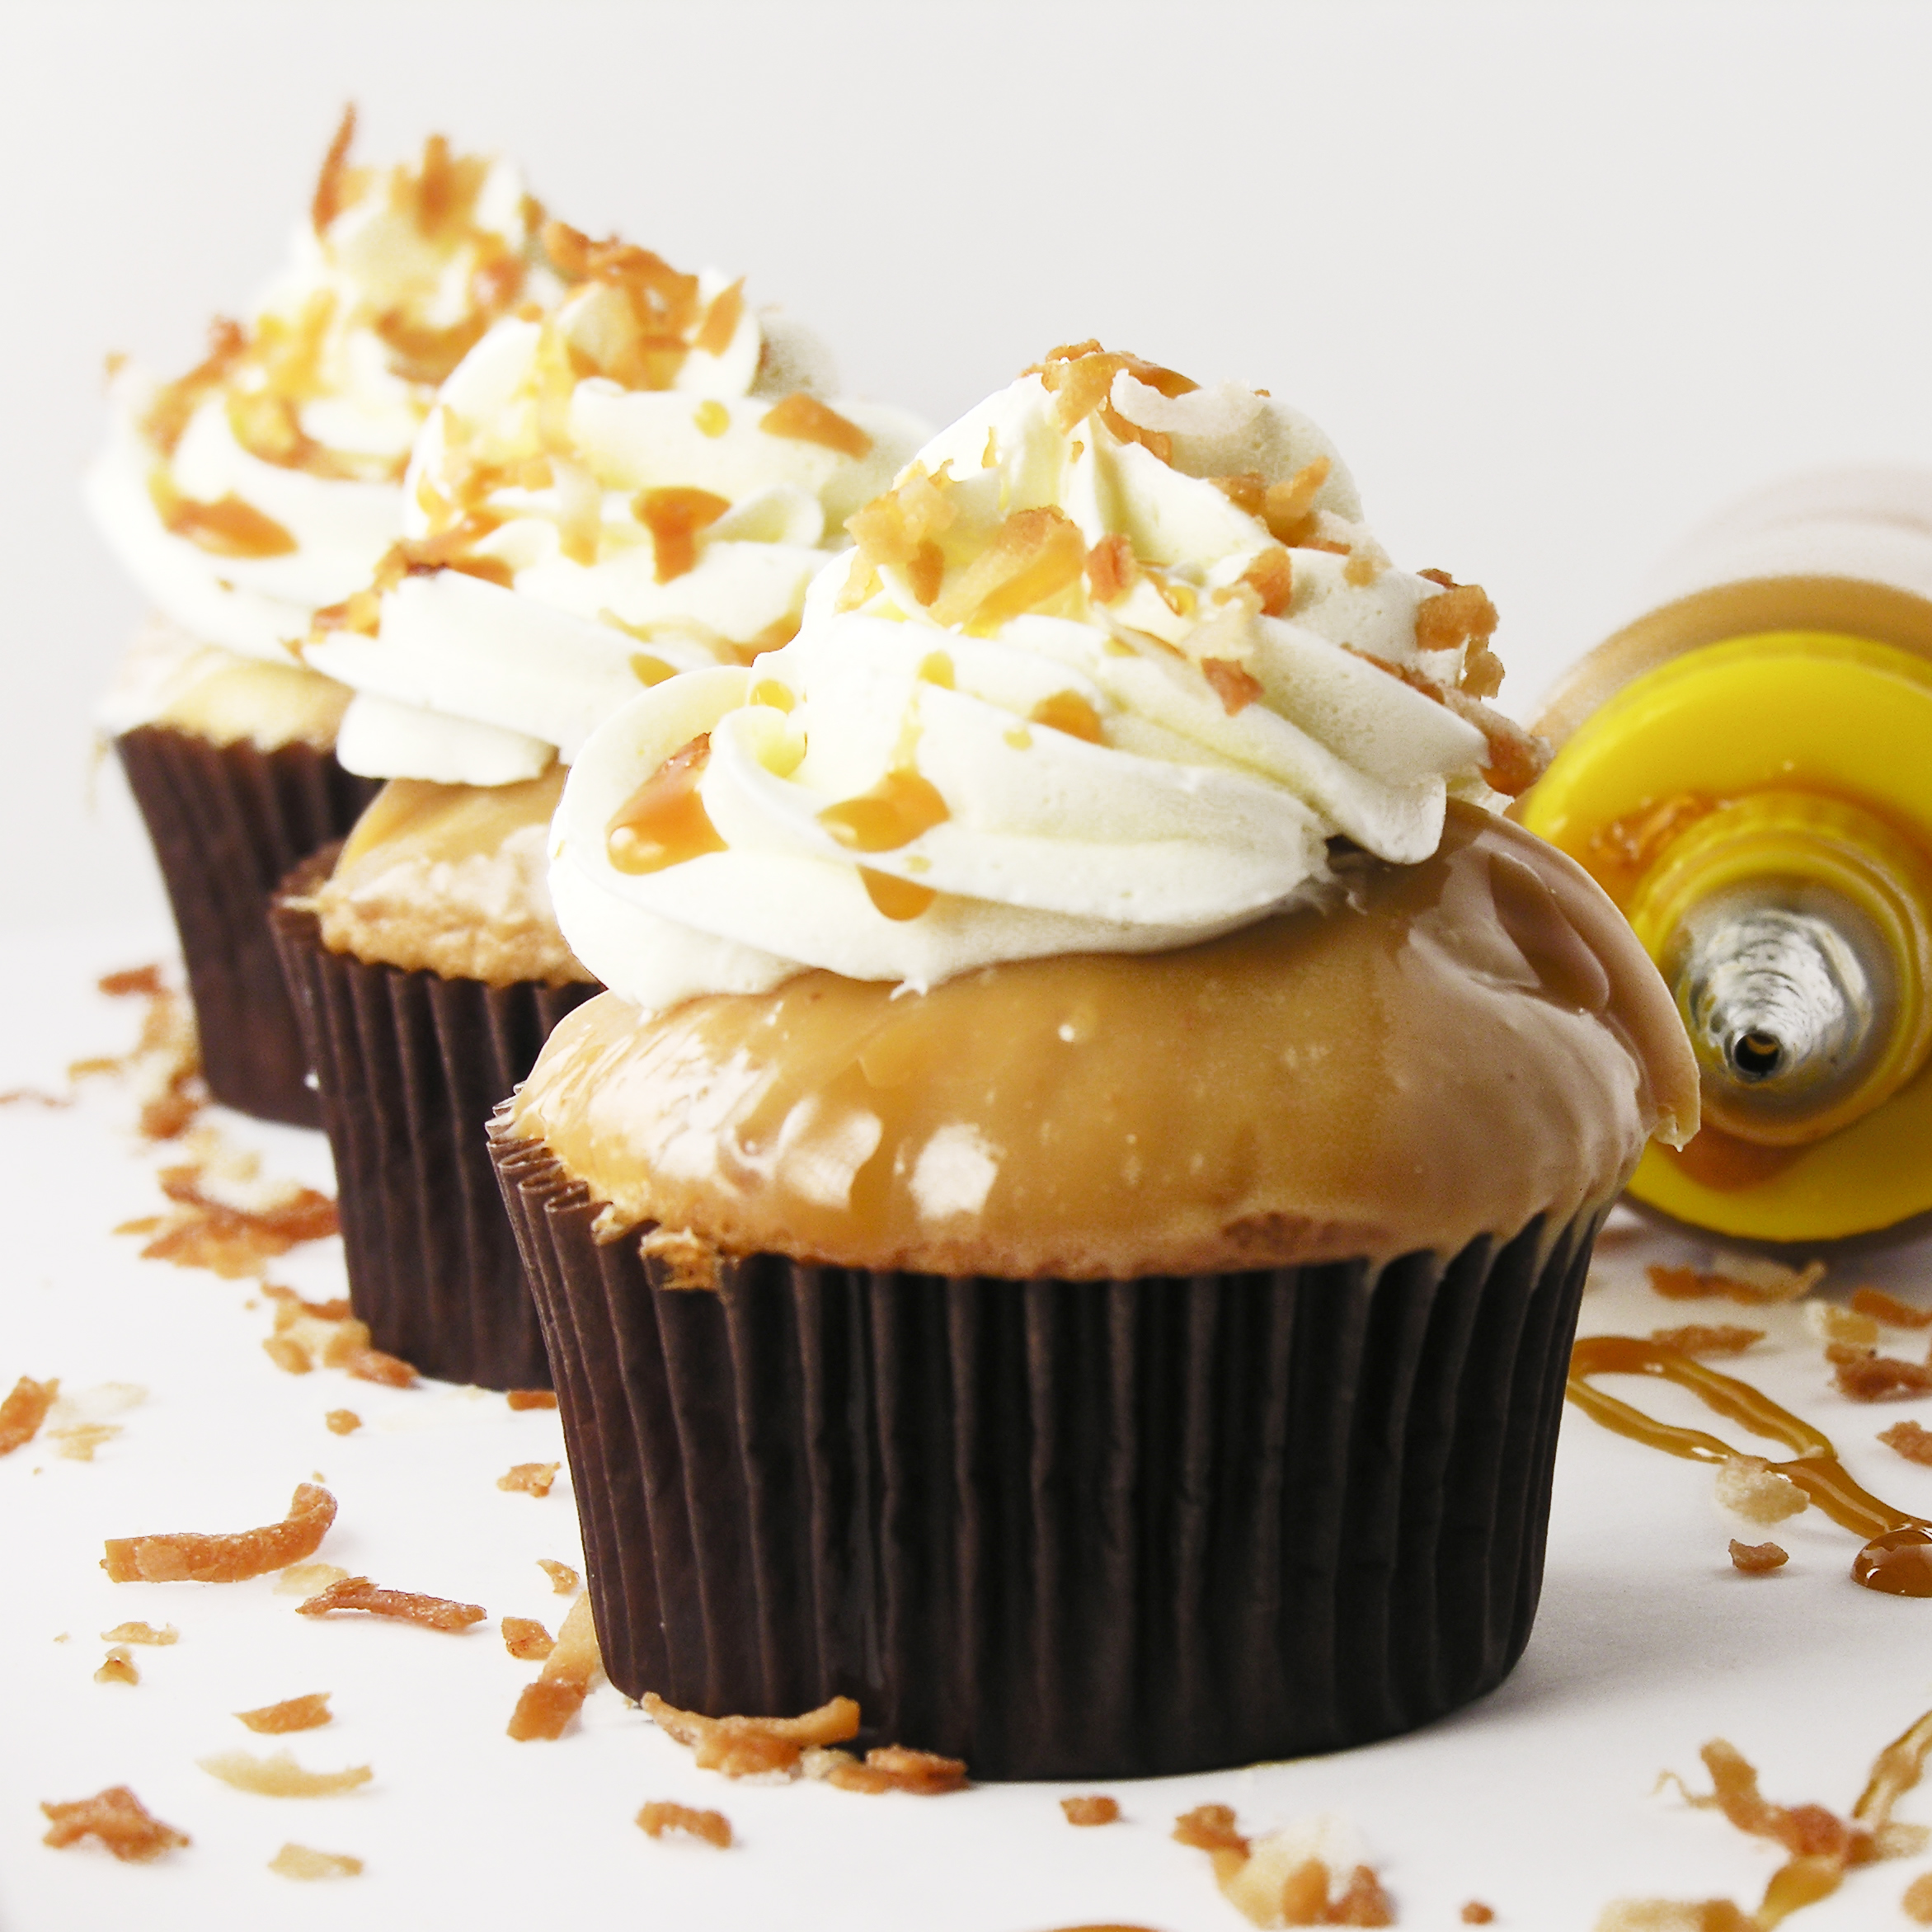
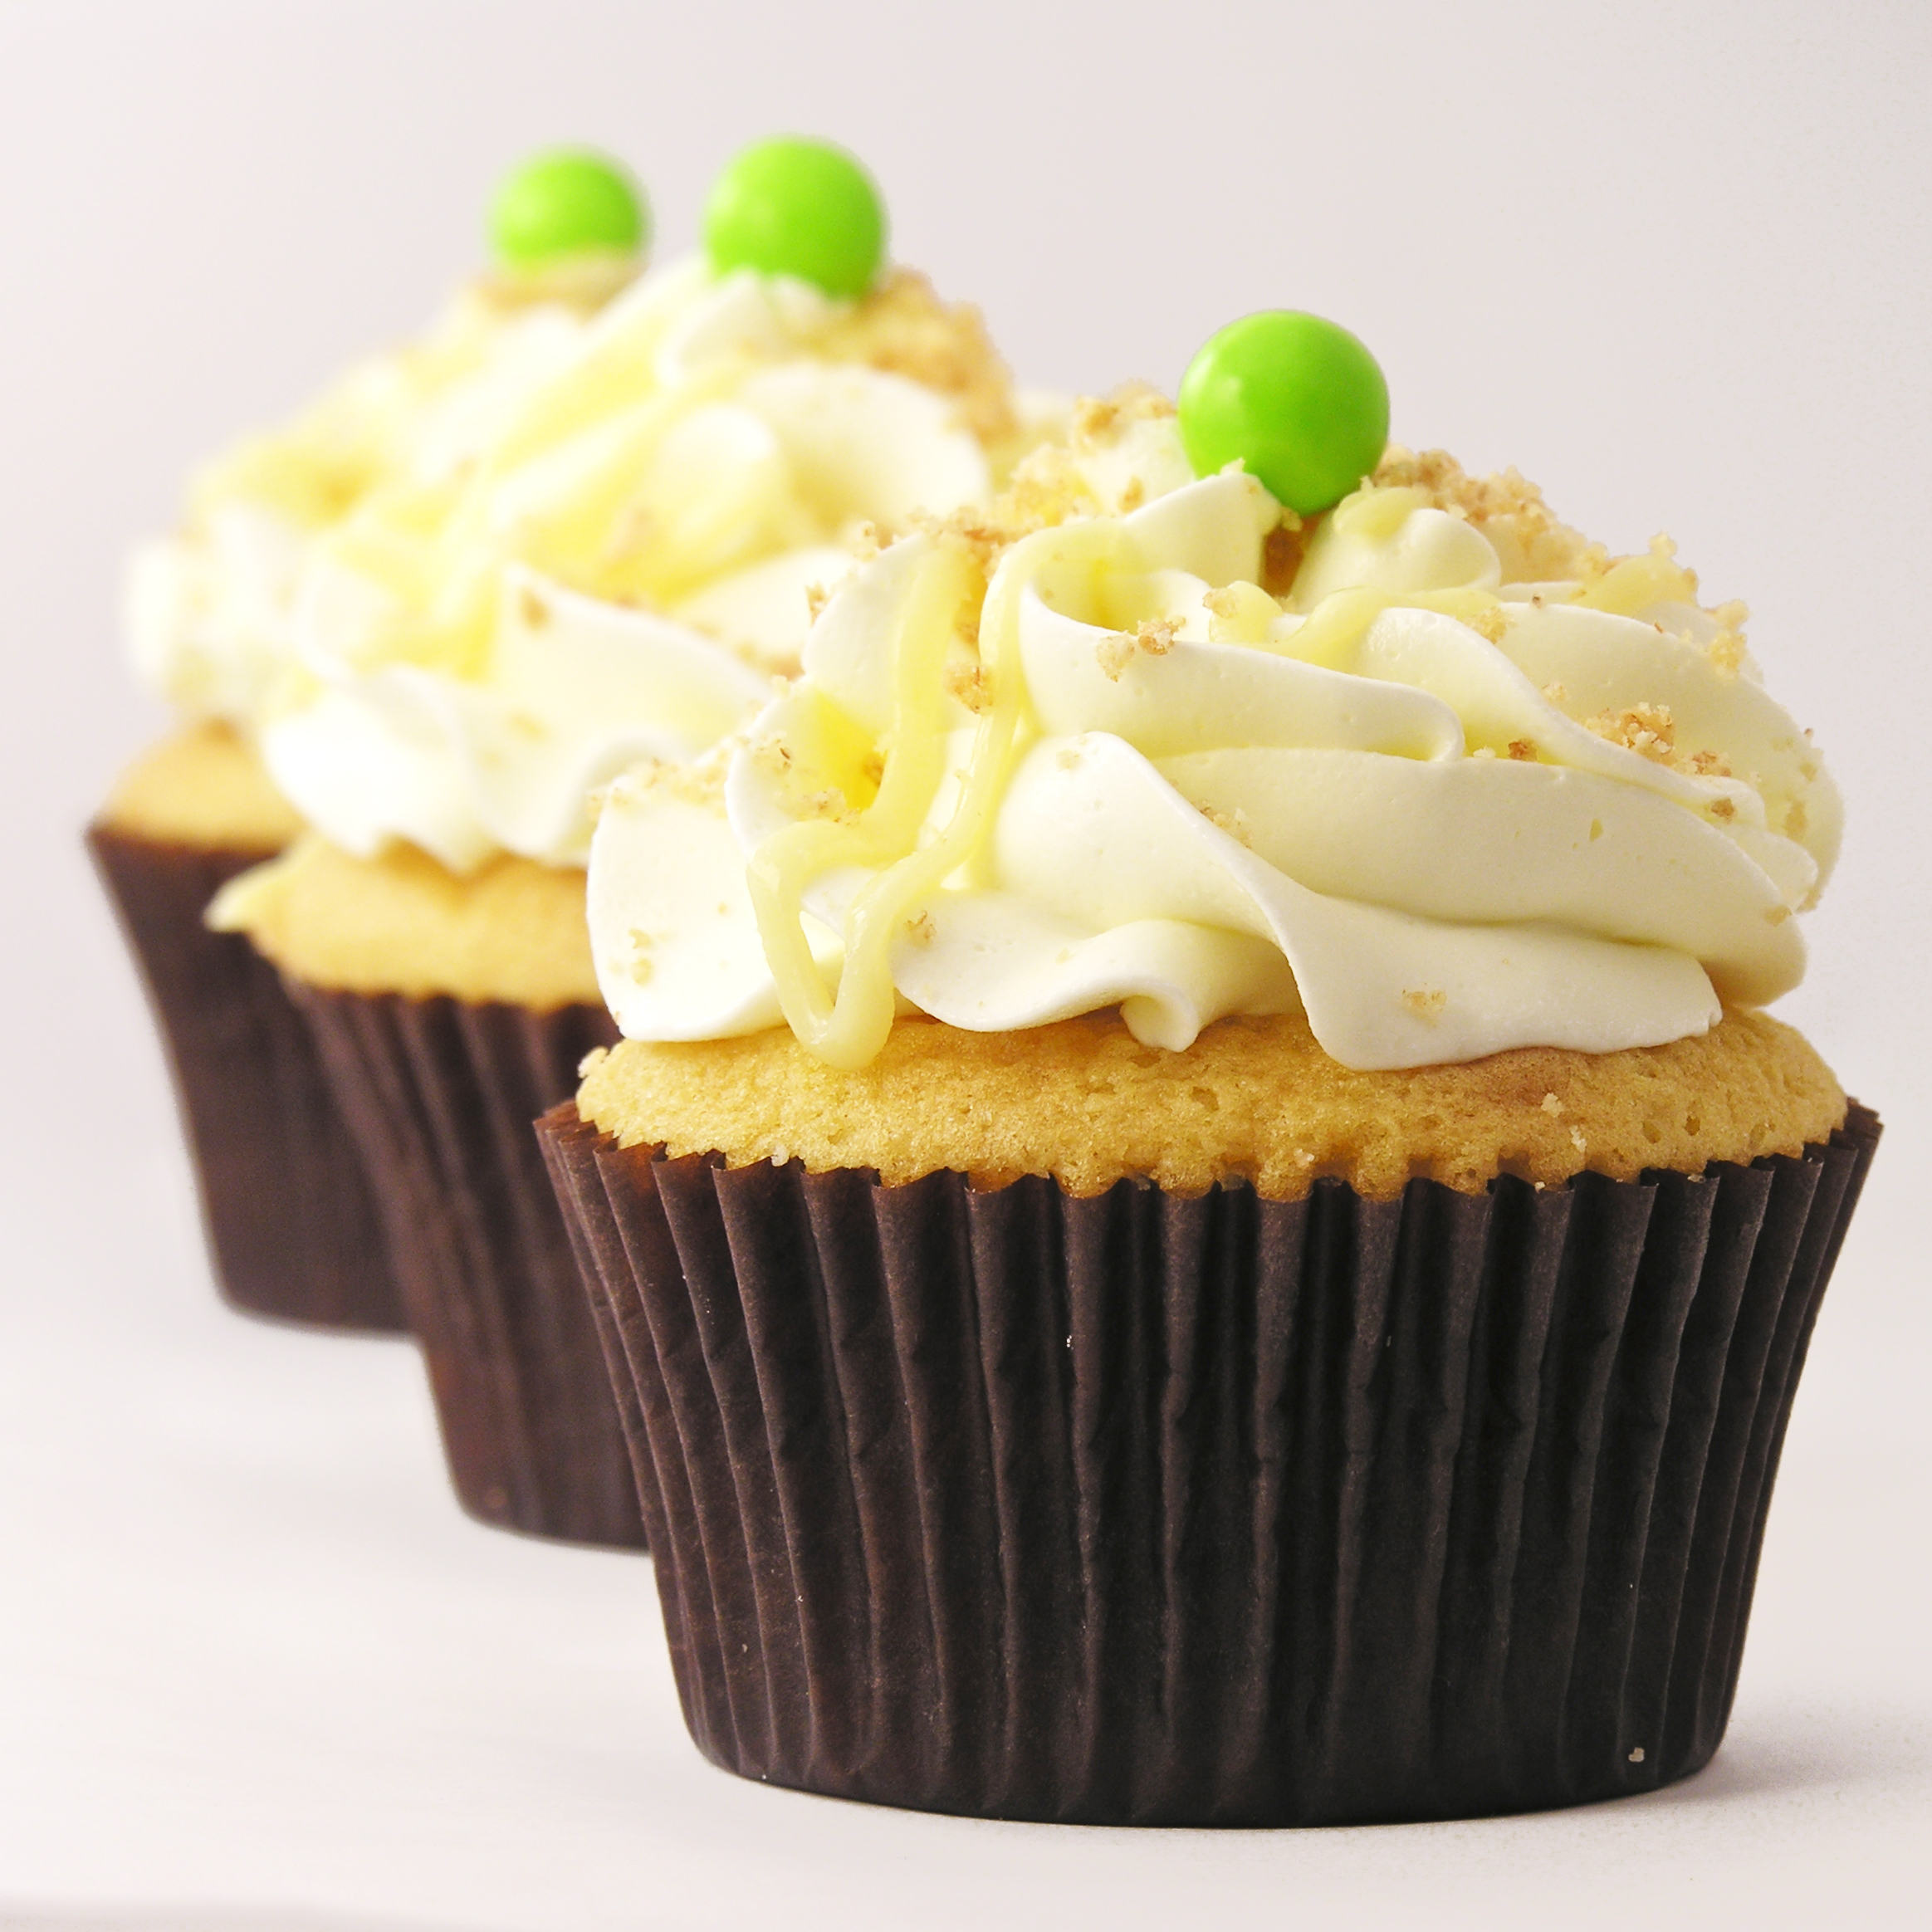
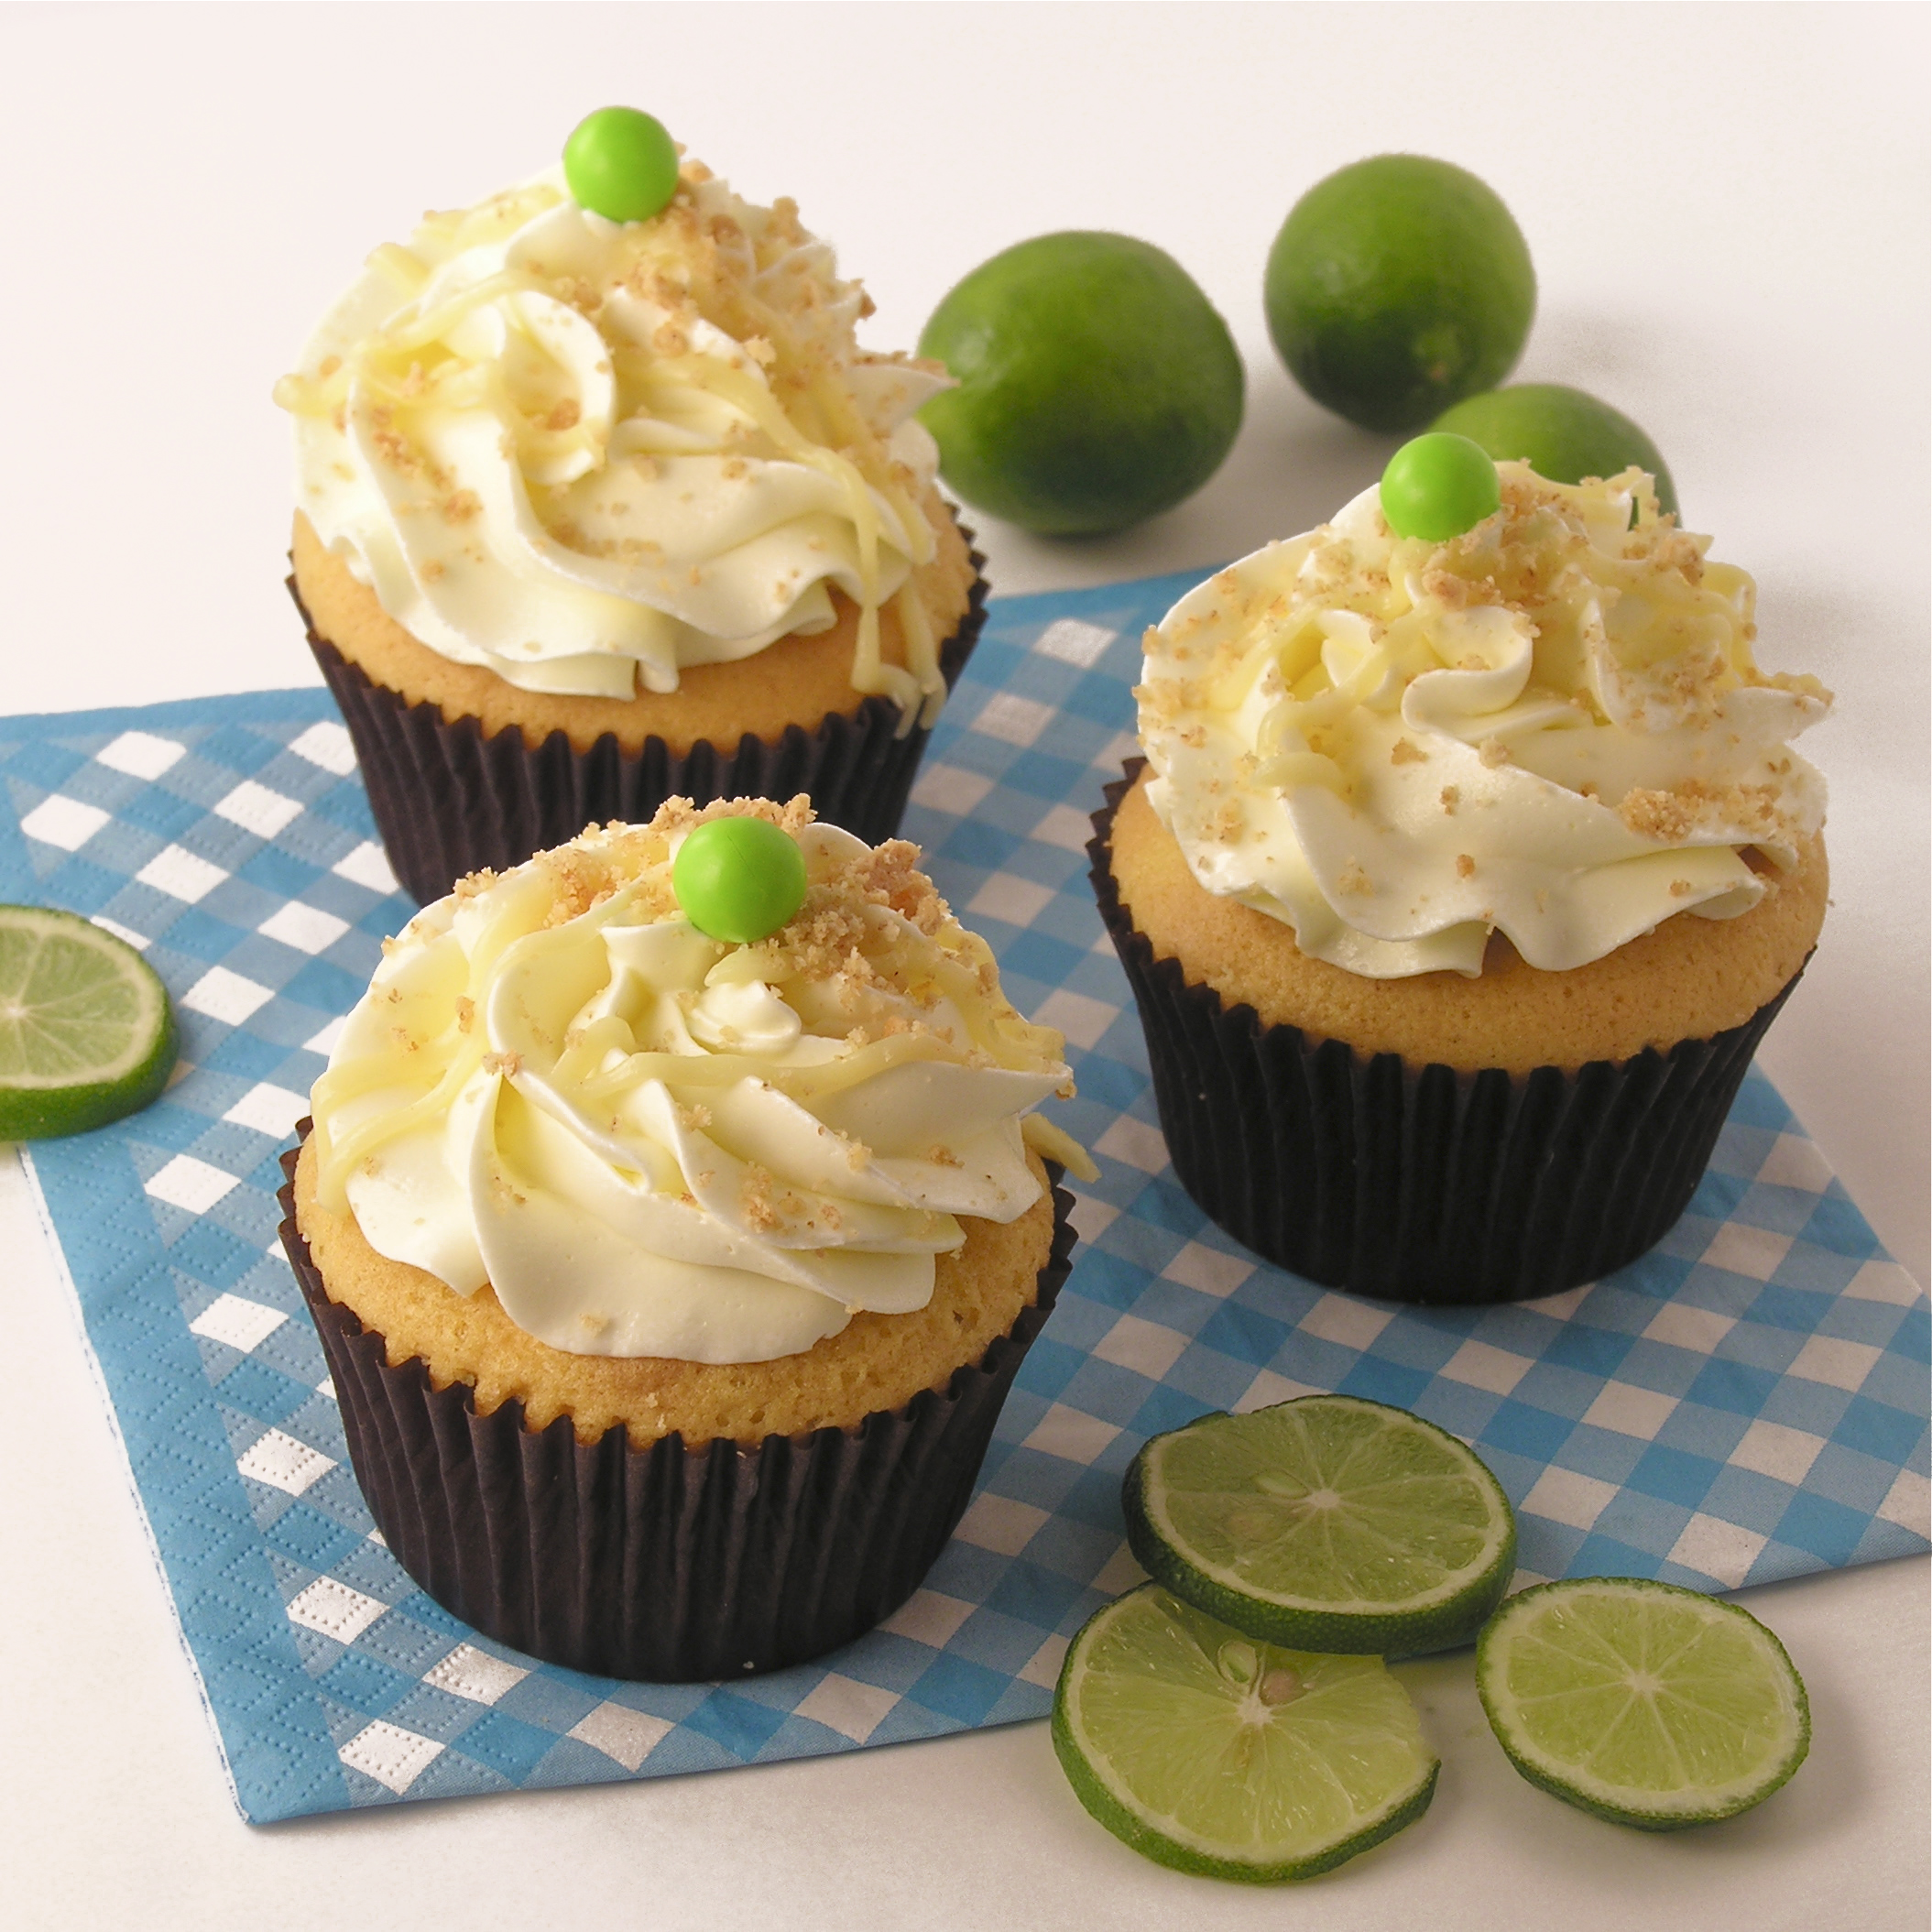
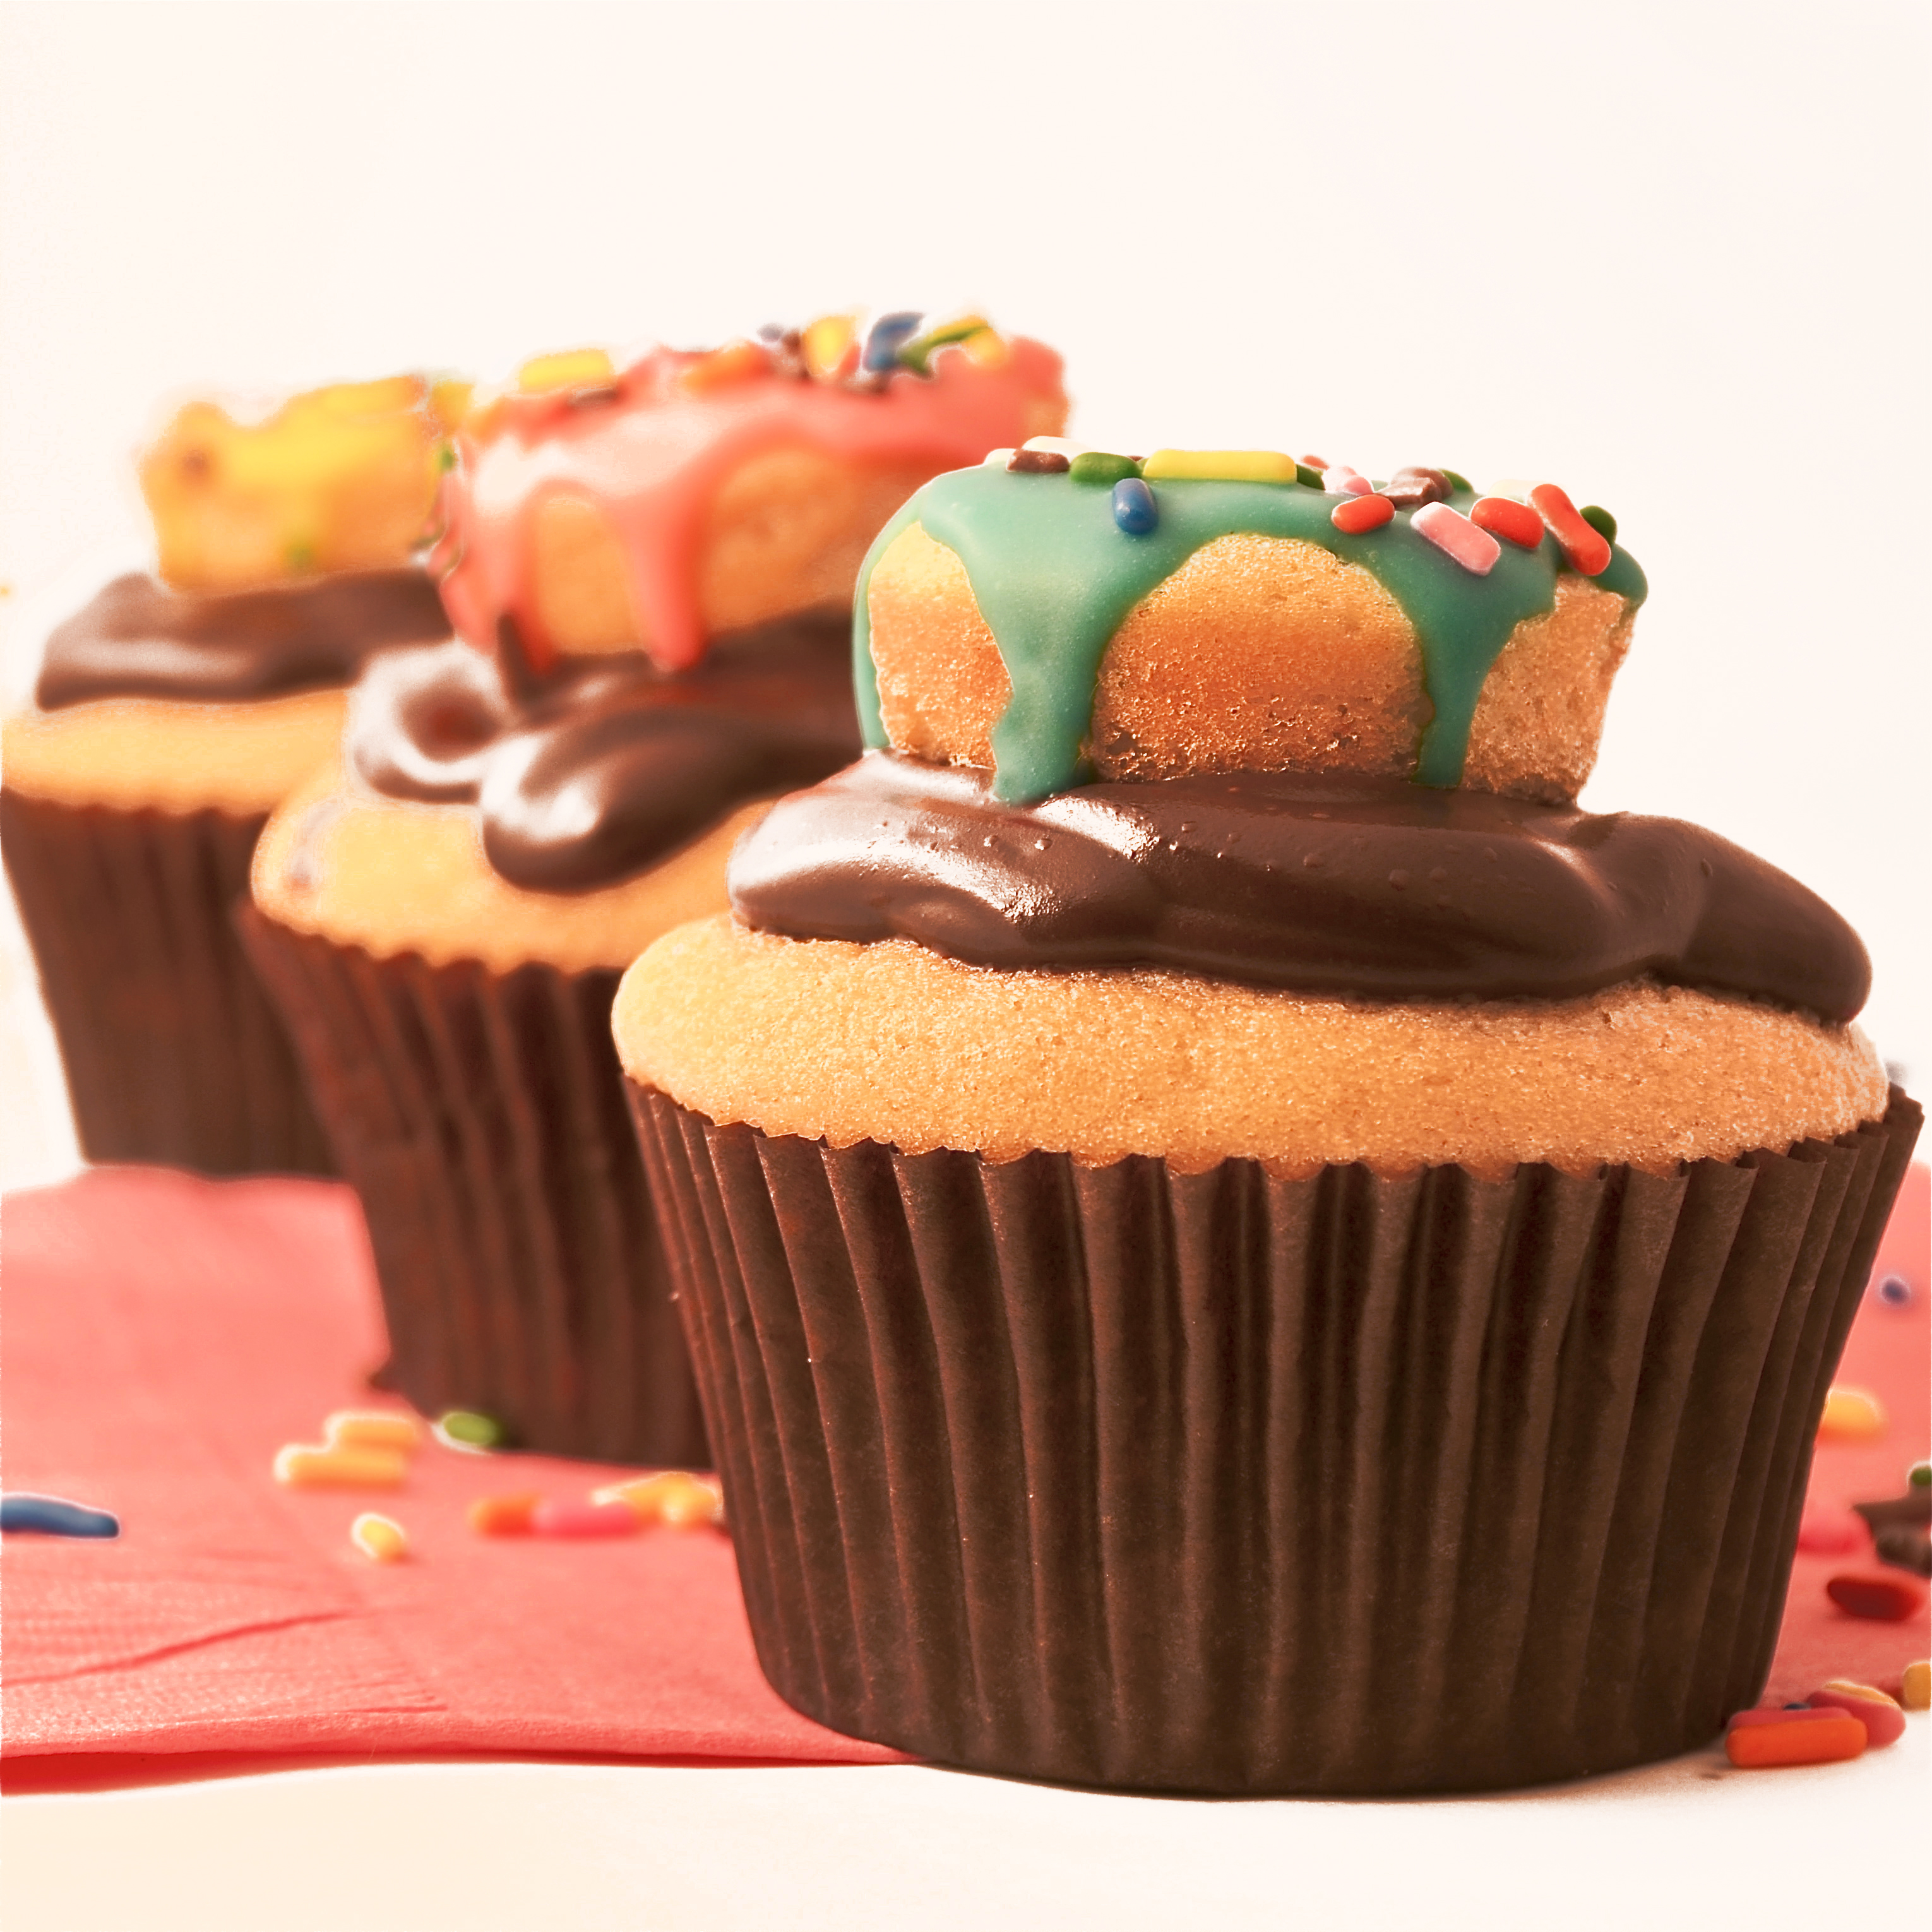
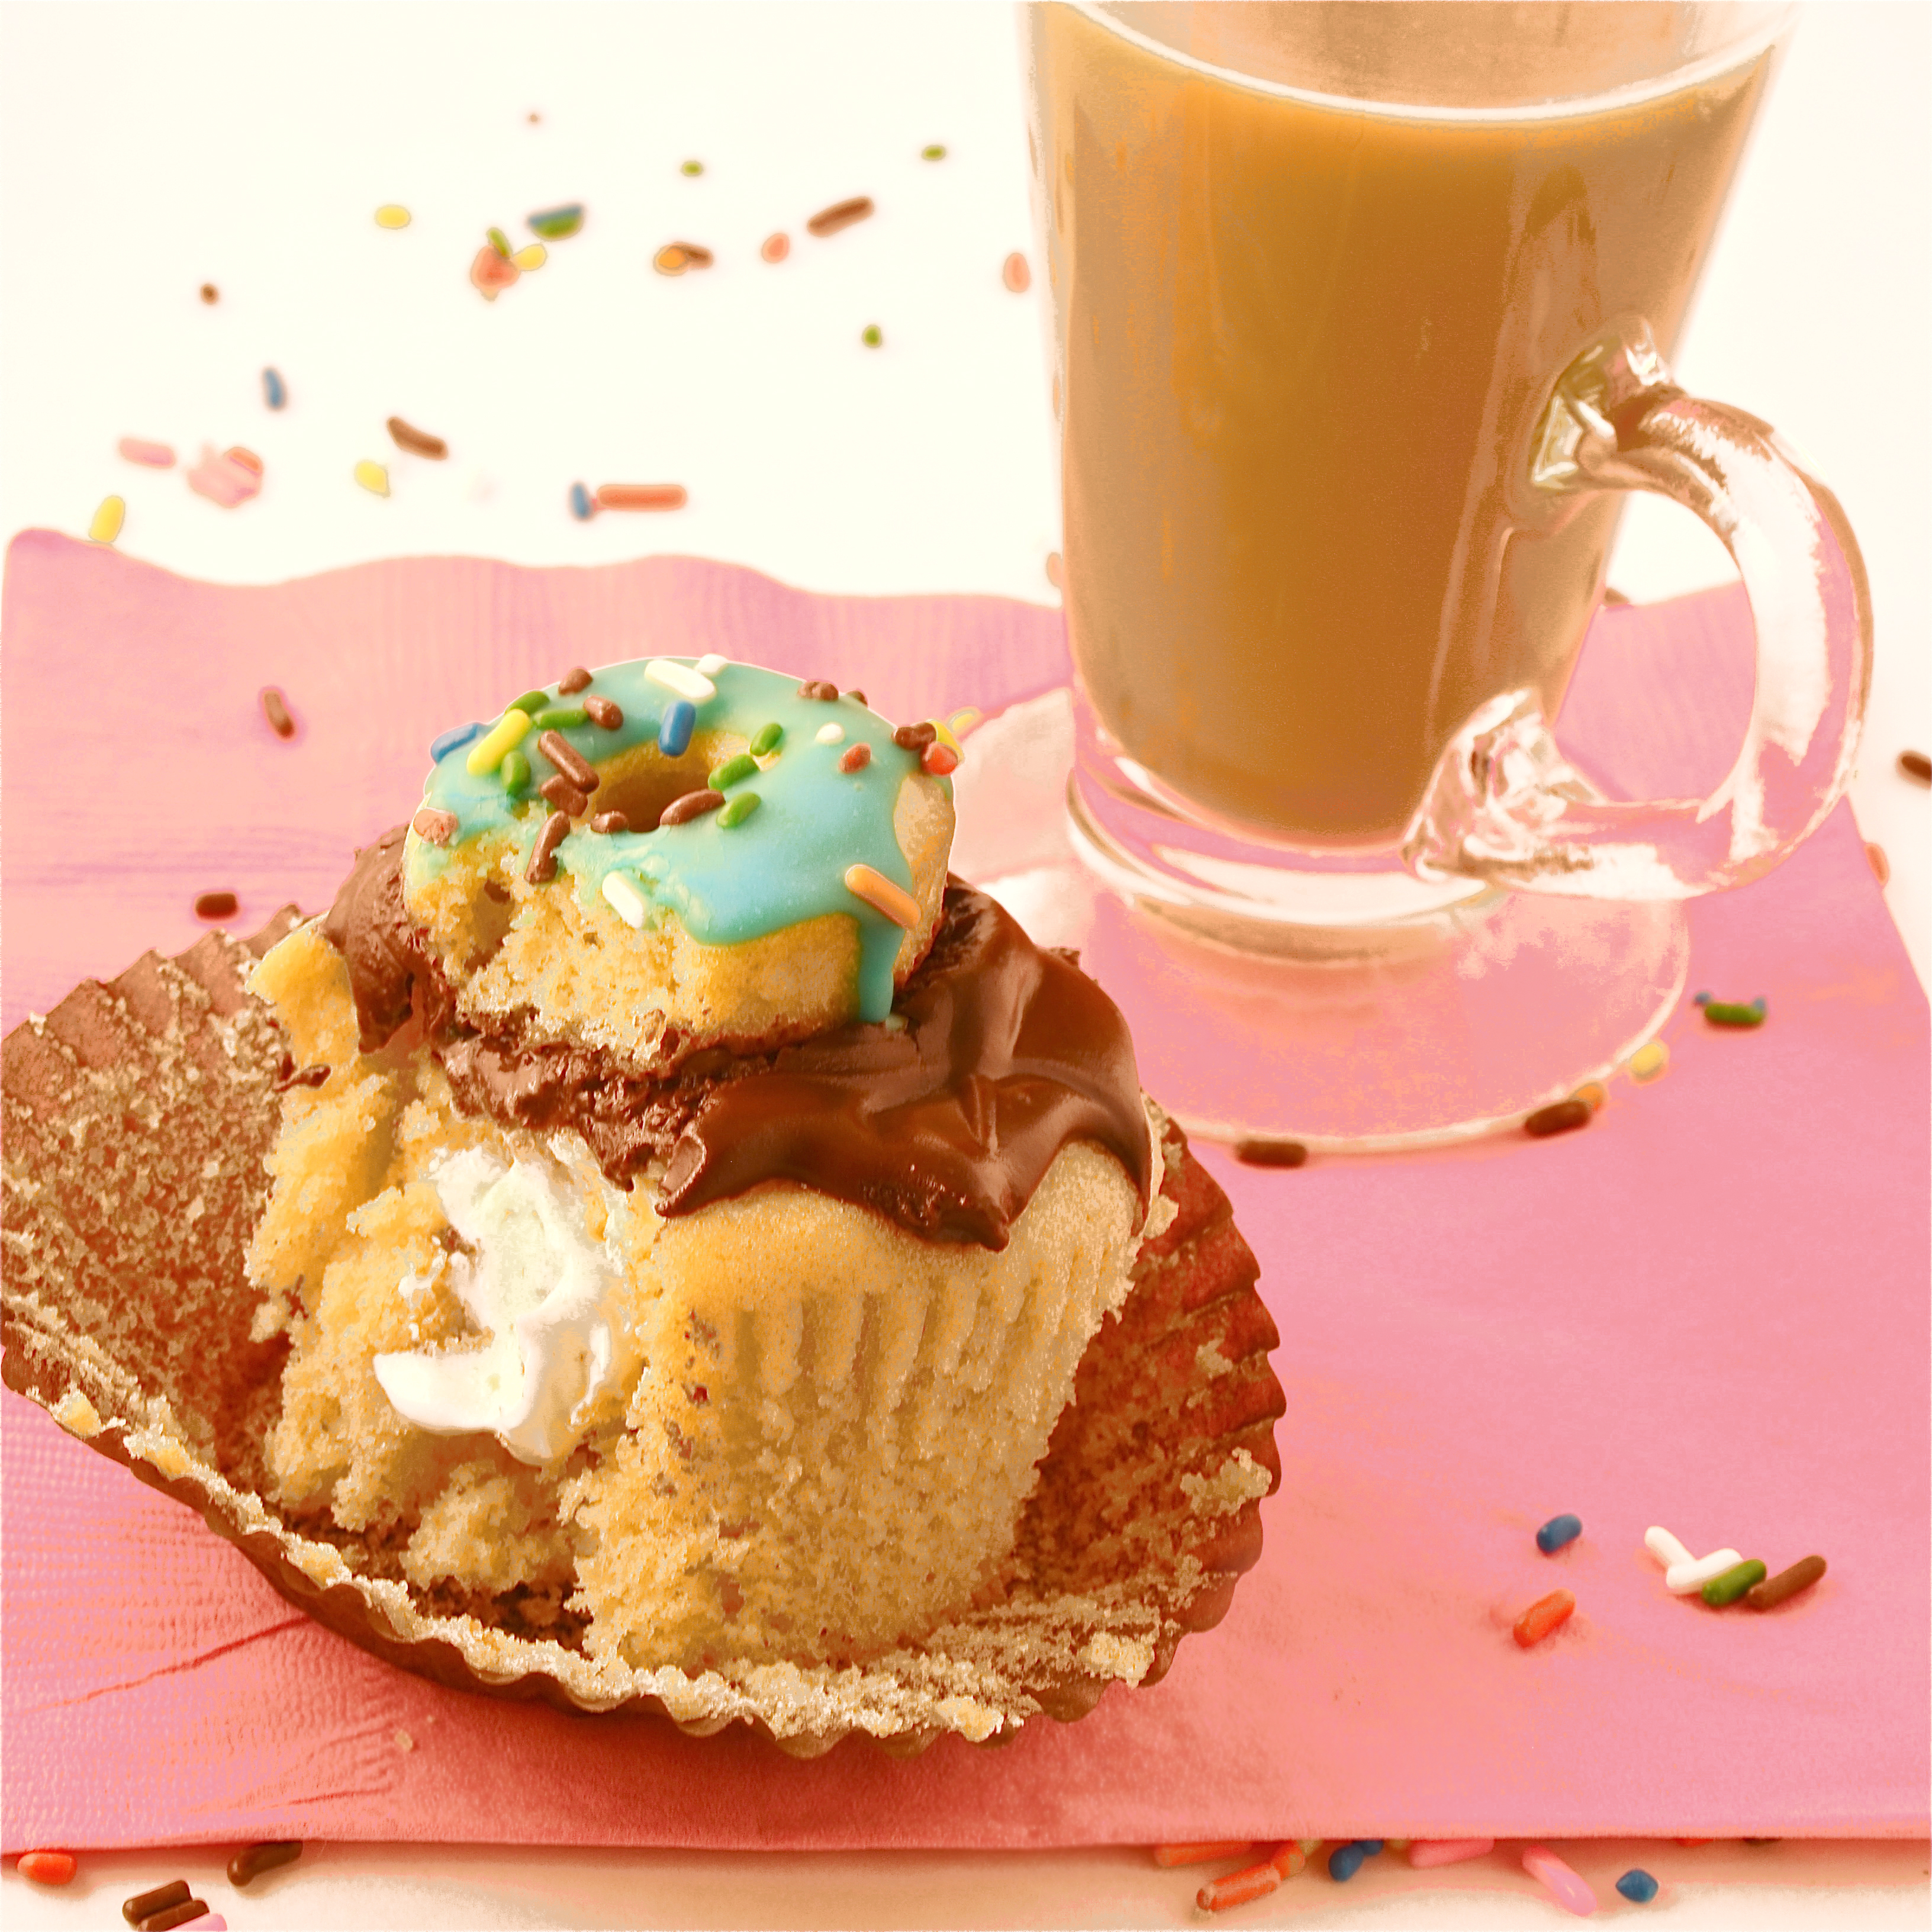
Half-n-half coconut and caramel cupcakes topped with coconut buttercream and melted caramel sauce…yum…!

I was in the baking aisle of my grocery store the other day (of course!) and I saw these:

Cupcake Divider
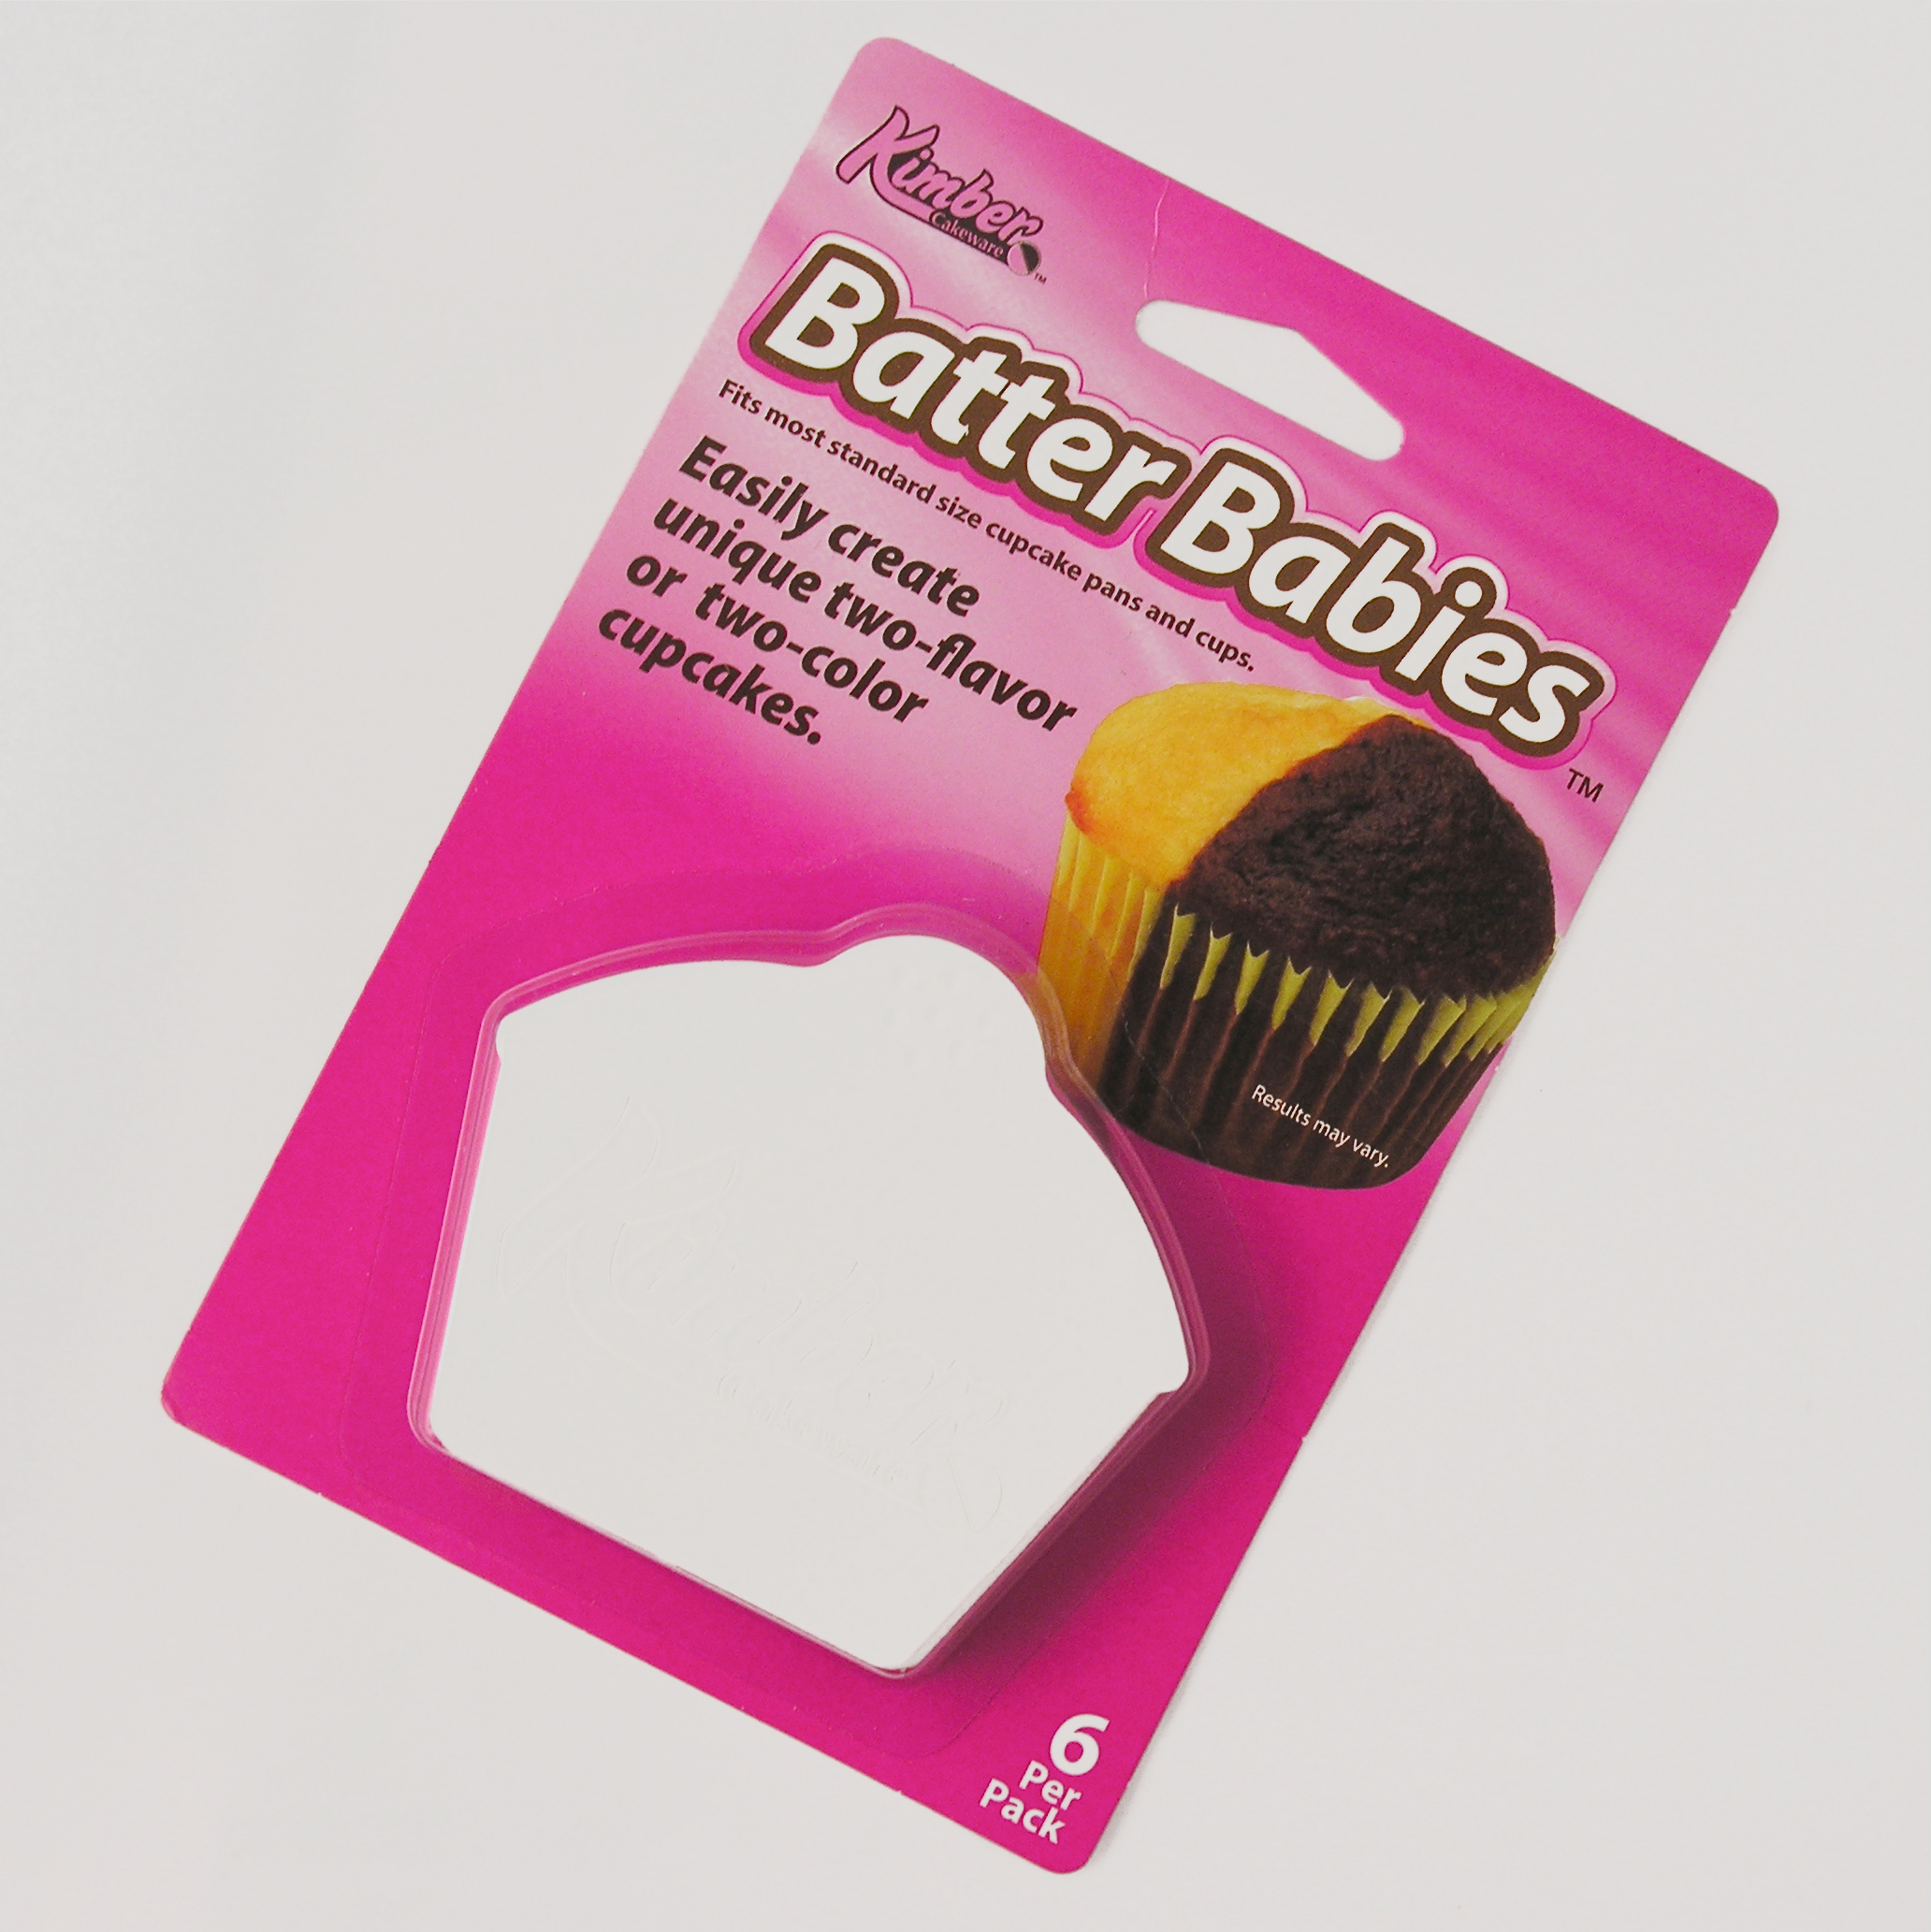
I was understandably intrigued….two flavors in one cupcake….?  This has to be better than just one lonely flavor…..?  Plus they weren’t very expensive.  I had to try them!  So I stood in front of the cake mixes pondering the possibilities… caramel sounded good…but with what?  Coconut!!!  Like those yummy Girl Scout cookies….

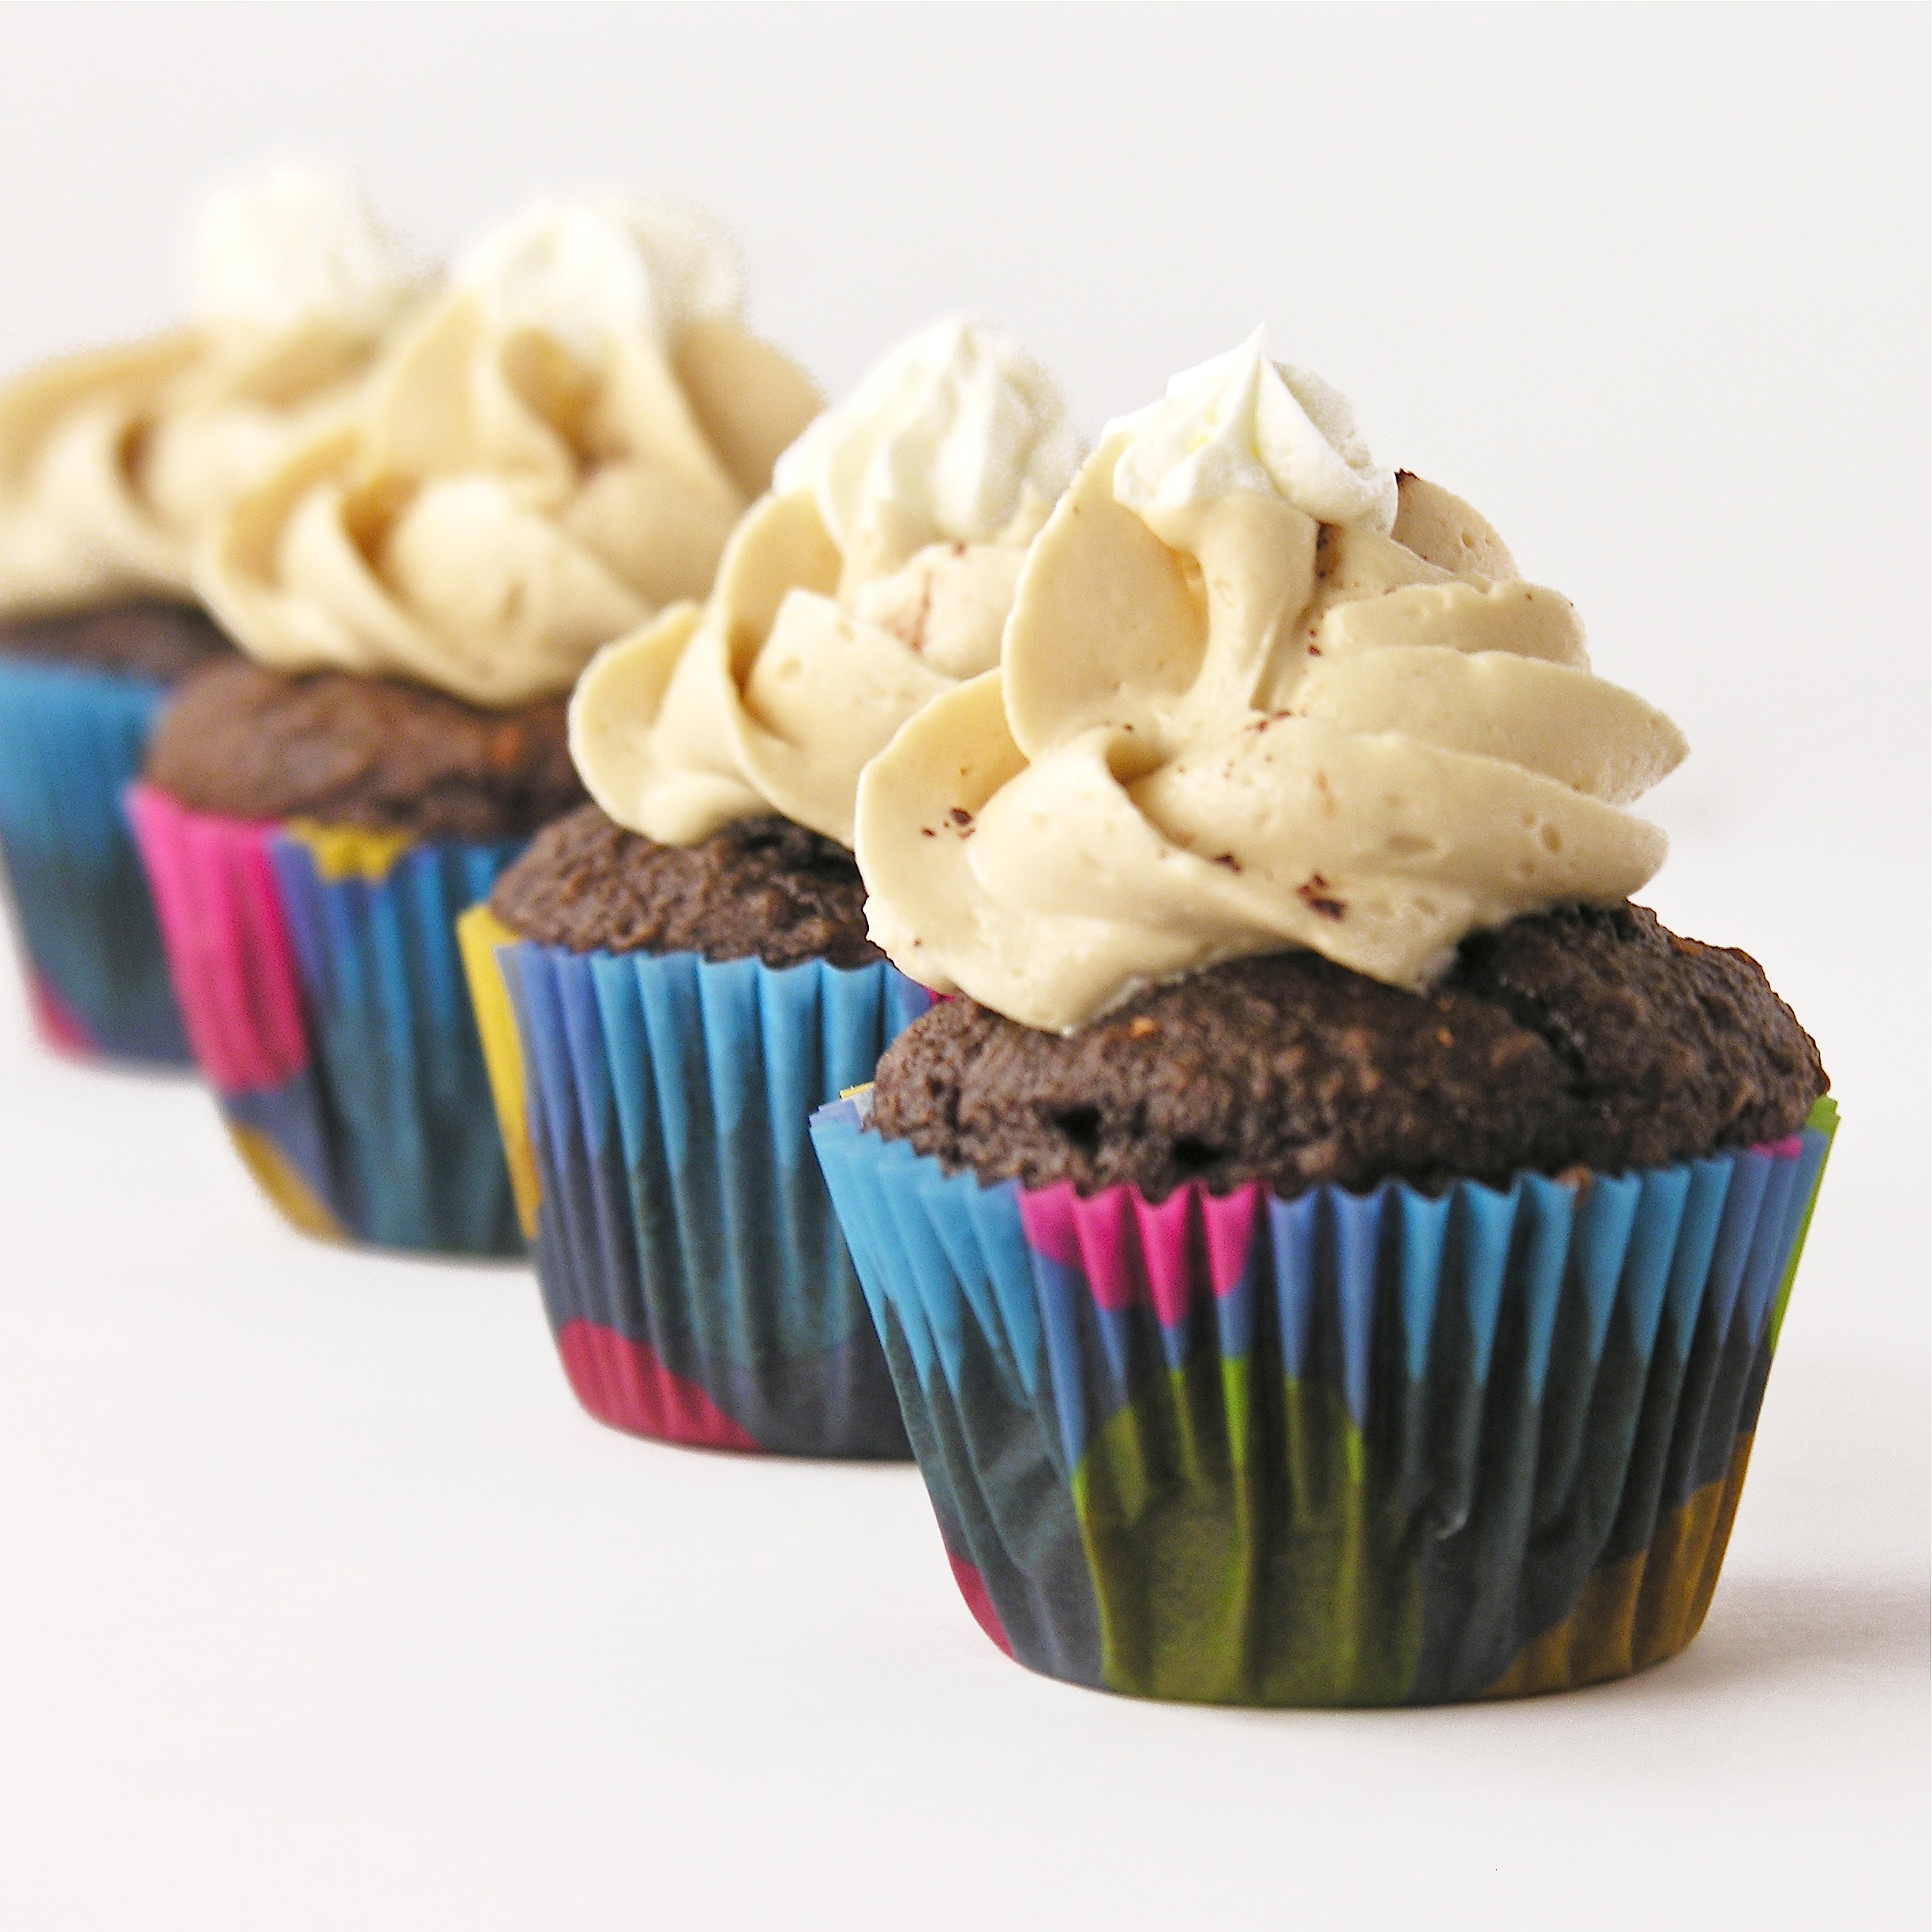
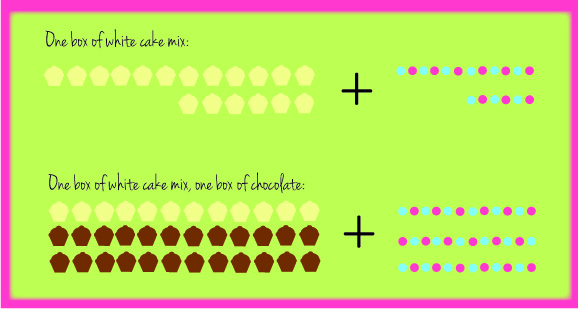
I grabbed two cake mixes, some caramels and some coconut.  Ready to go.  Note the two cake mixes.  If you want two flavors you need two mixes, which means that this recipe makes a TON of cupcakes.  48 to be exact.  I made 24 full size cupcakes and then used the rest of the batter making minis for a different recipe idea.  You could make the full 48 and freeze half without the toppings too- just thaw and frost when you need them!

Here’s the recipe.  Makes and frosts 48 cupcakes. (printer-friendly recipe)

INGREDIENTS:

  • 1 boxed caramel cake mix (with water, oil and eggs to make according to package)
  • 1 boxed white cake mix (with water, oil and eggs to make according to package)
  • 1 cup shredded coconut (divided)
  • 4 teaspoons of coconut flavoring (divided)
  • 32 Kraft caramel candies (unwrapped)
  • 1 (14 oz) can of sweetened condensed milk
  • 2 1/2 sticks (1 1/4 cups) salted butter (divided)
  • 2 sticks (1 cup) unsalted butter
  • 3 cups powdered sugar

DIRECTIONS:

  • Preheat oven to 350F degrees.
  • Make both cake mixes according to box instructions
  • Add 3/4 cup of shredded coconut to the white cake mix along with 2 teaspoons of the coconut flavoring.  Mix well.
  • Place the rest of the shredded coconut on a small cookie sheet in oven for 10-12 minutes until toasted and browned.  Set aside to cool and use for topping at the end.
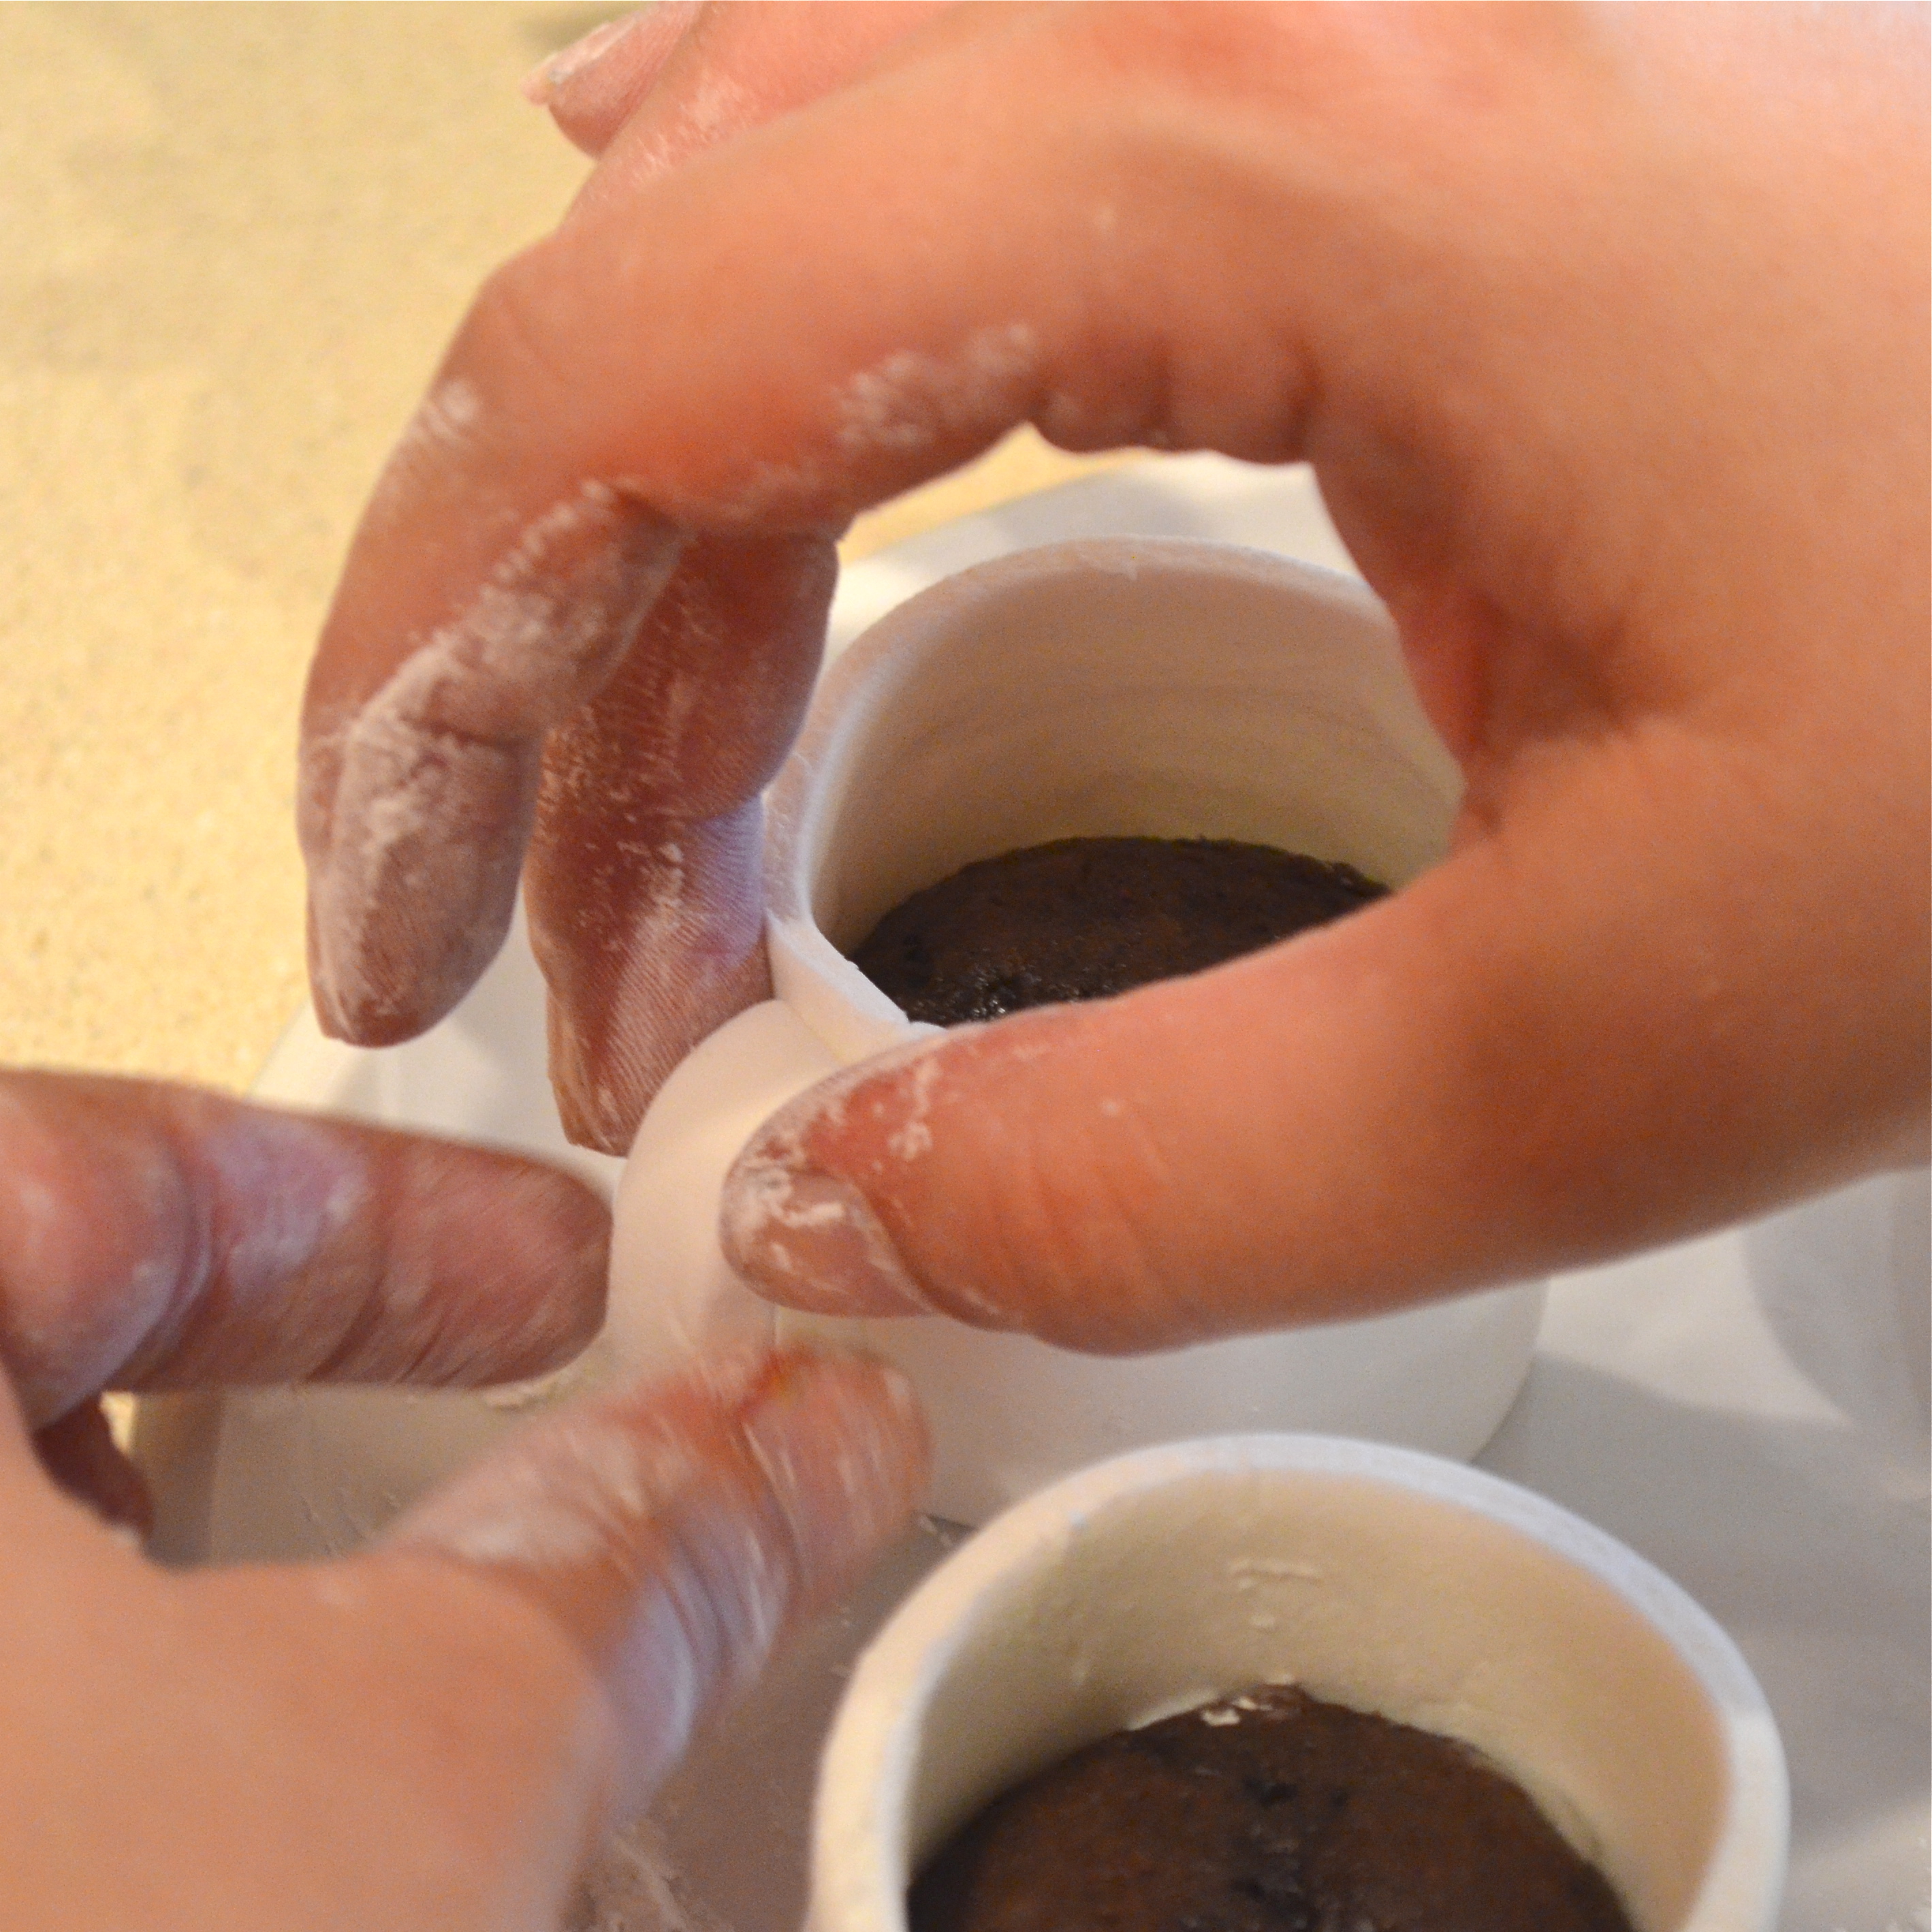
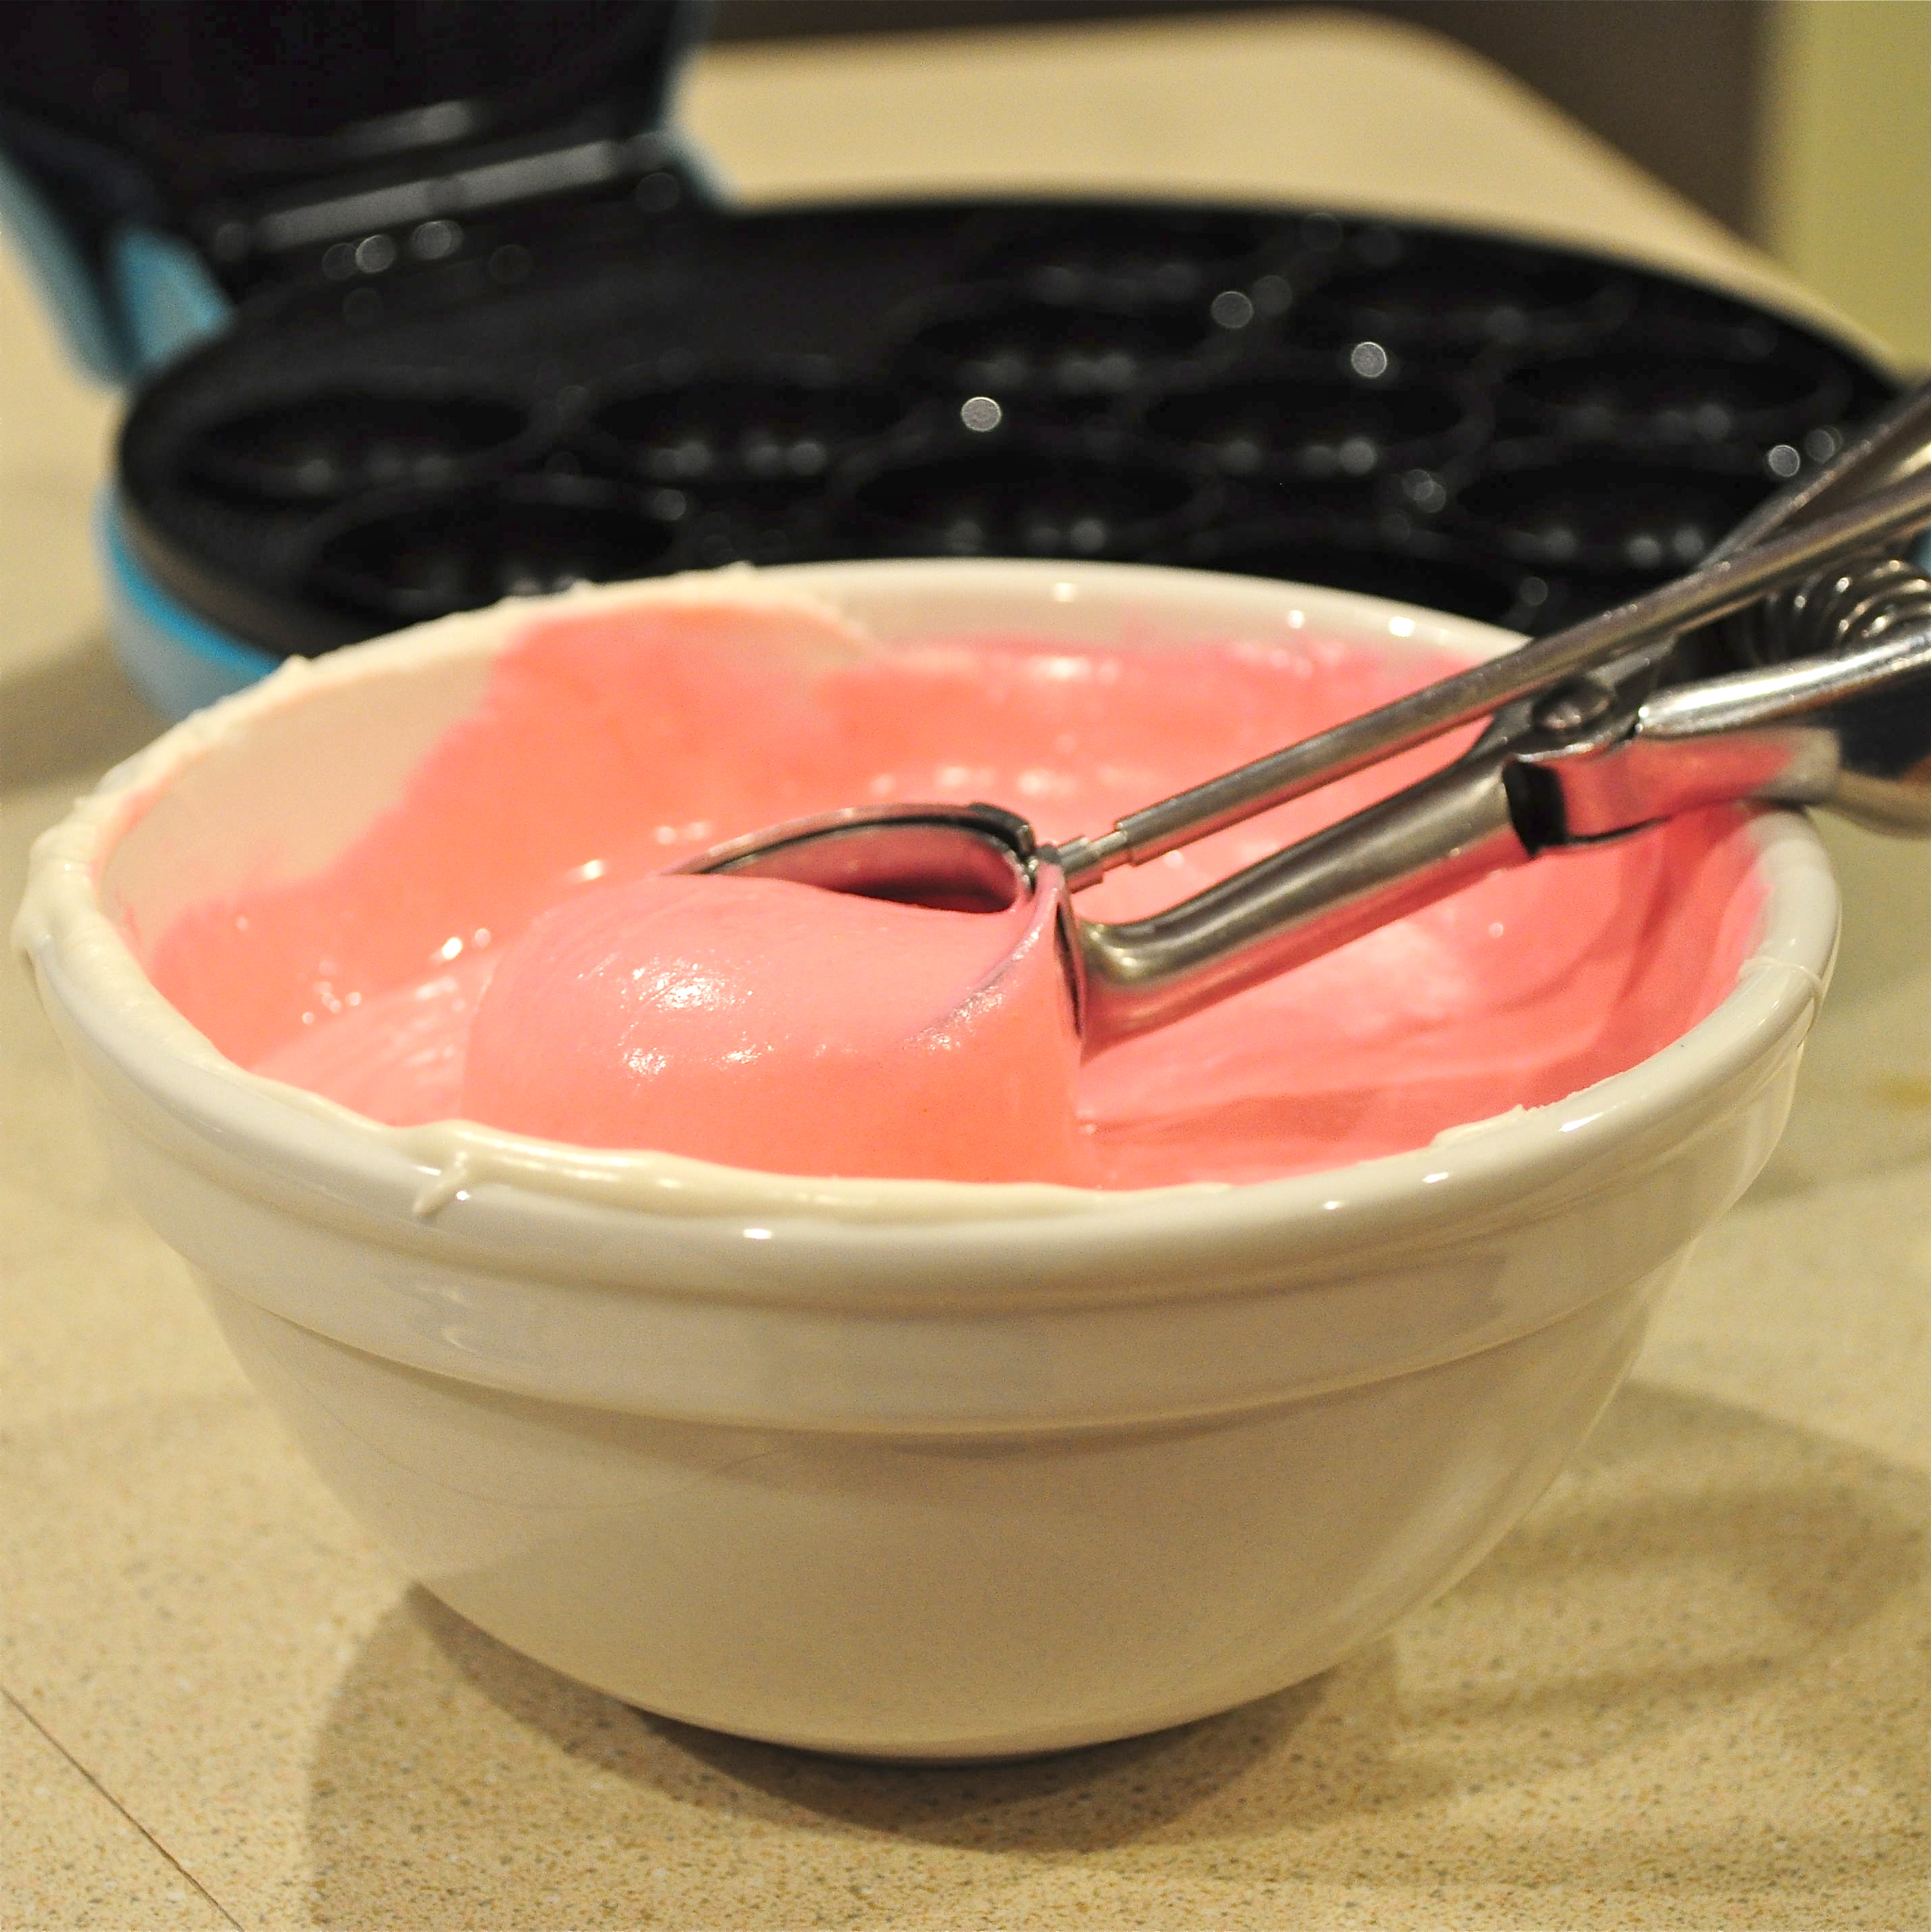
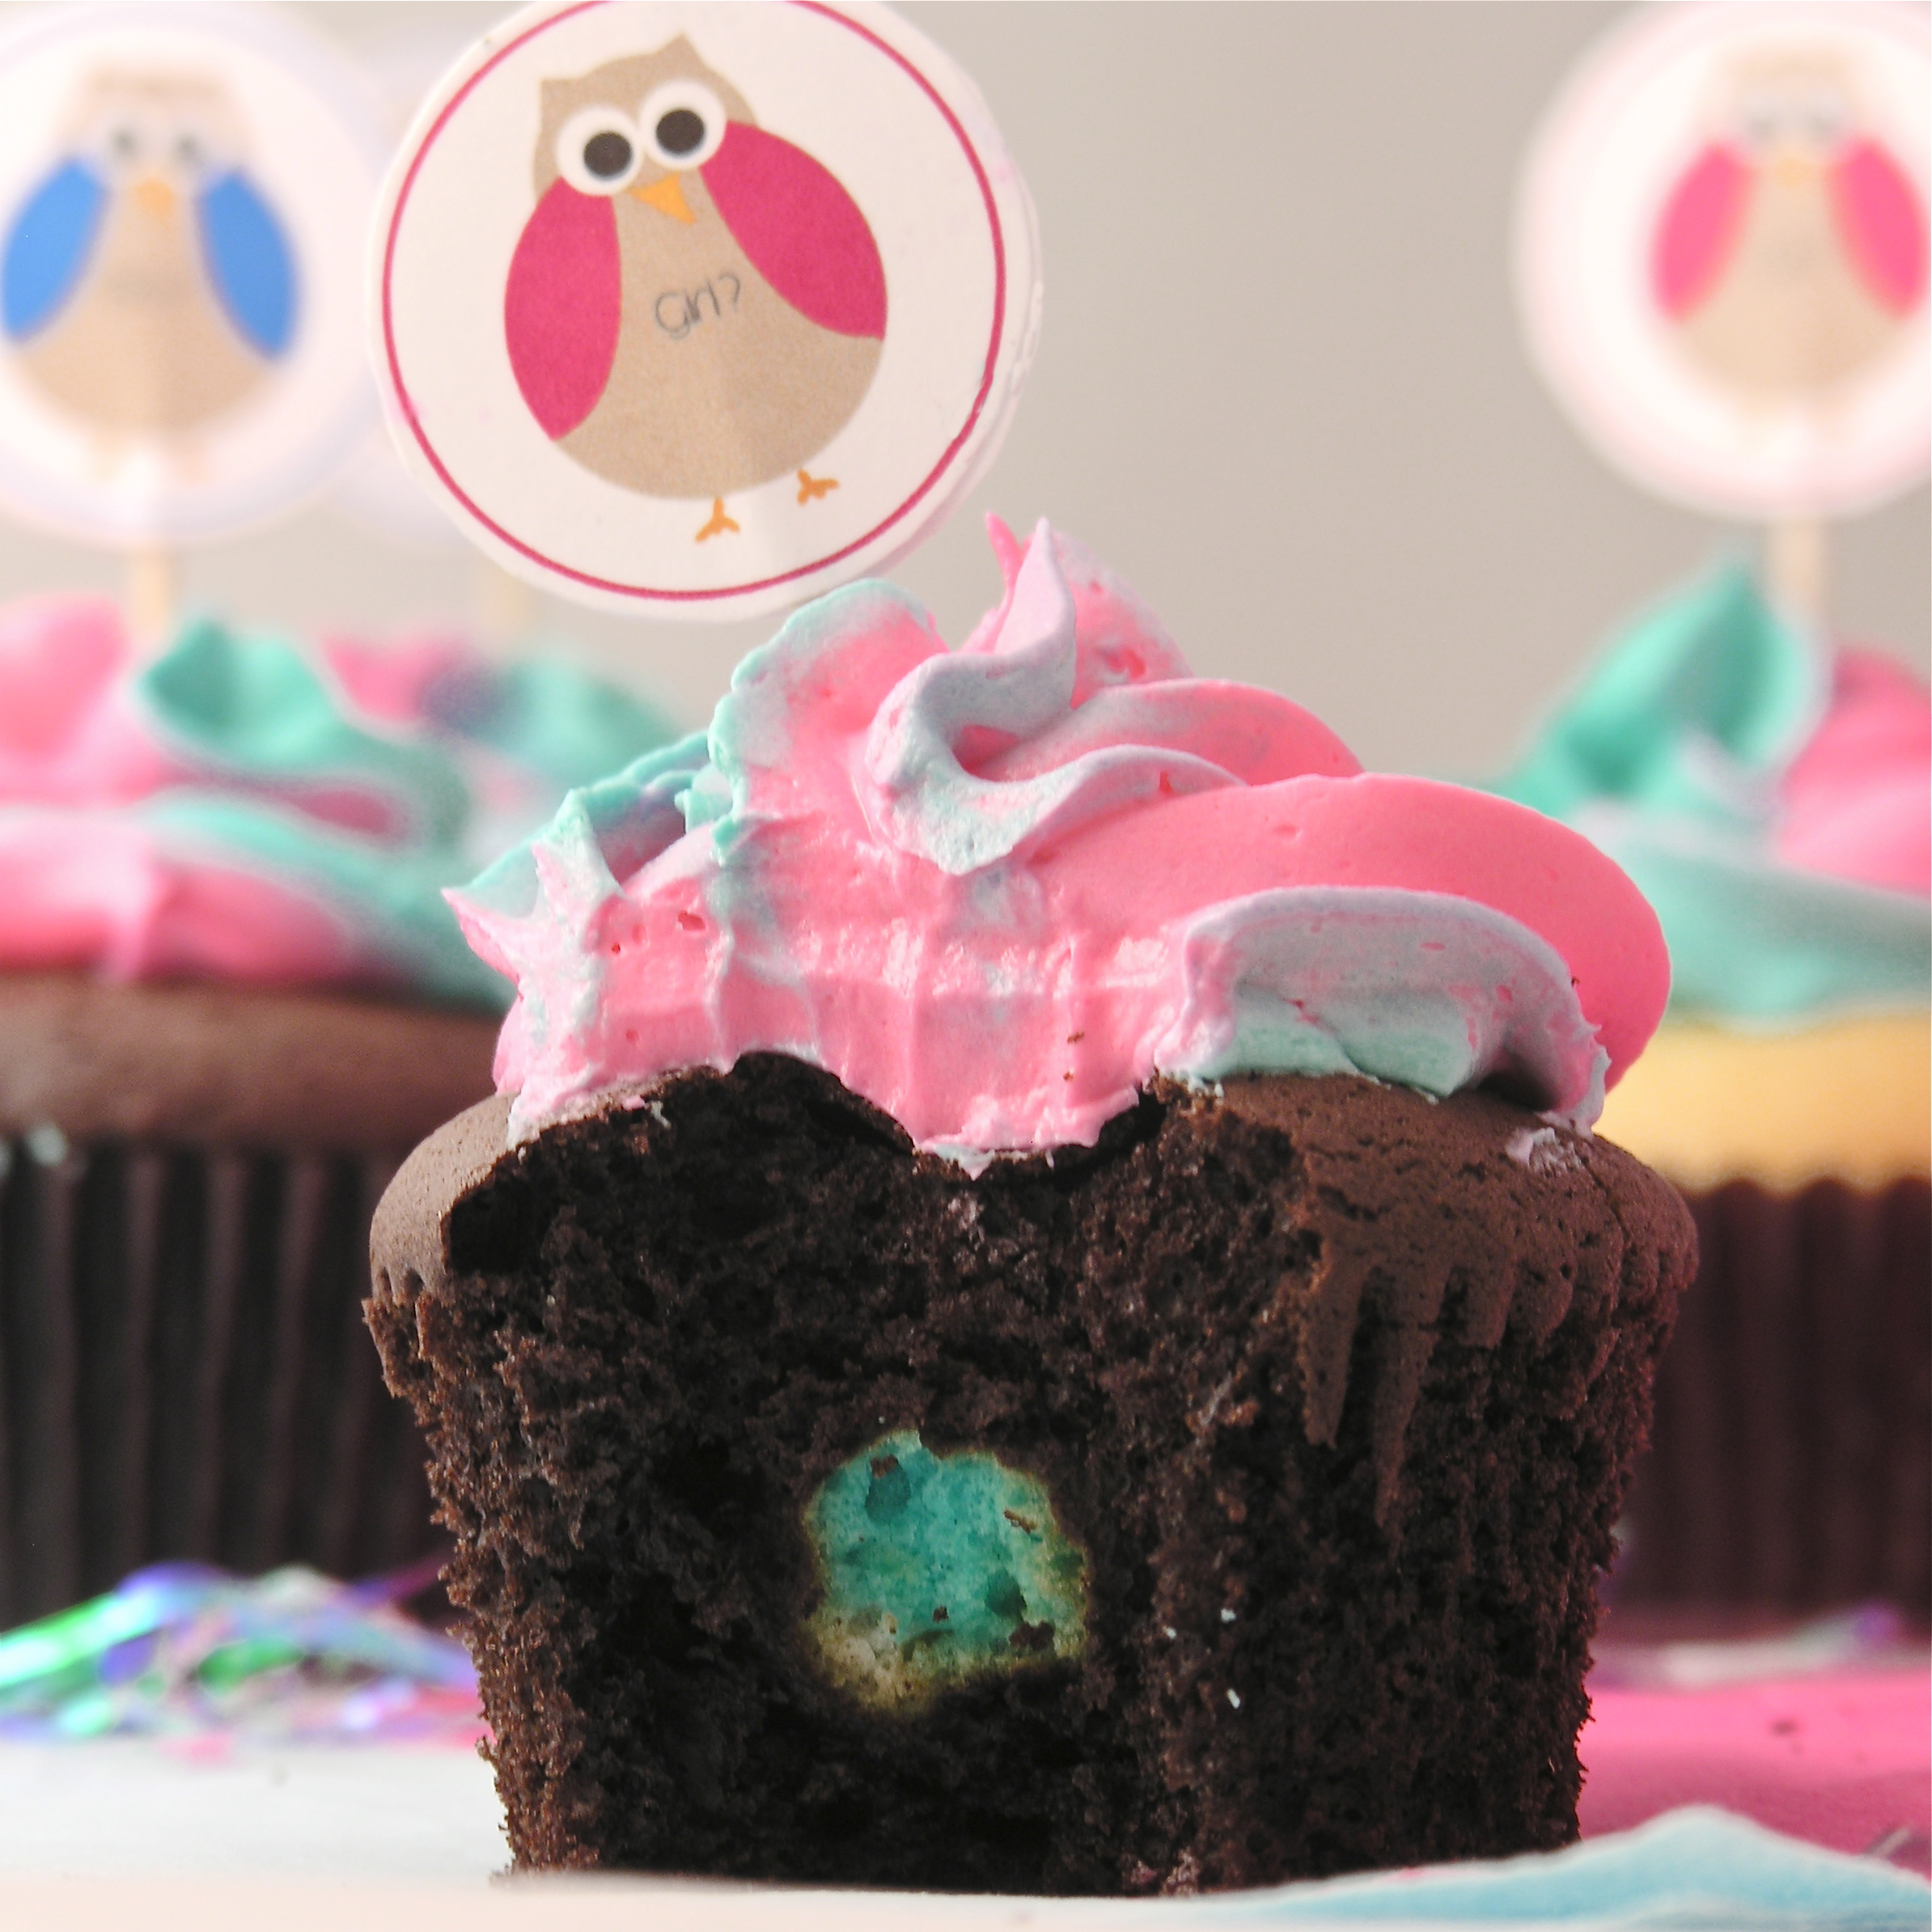
  • Place cupcake liners in a cupcake pan and set batter dividers into center of cups. (get 12….I got 6 and it took longer than I wanted it to!!)
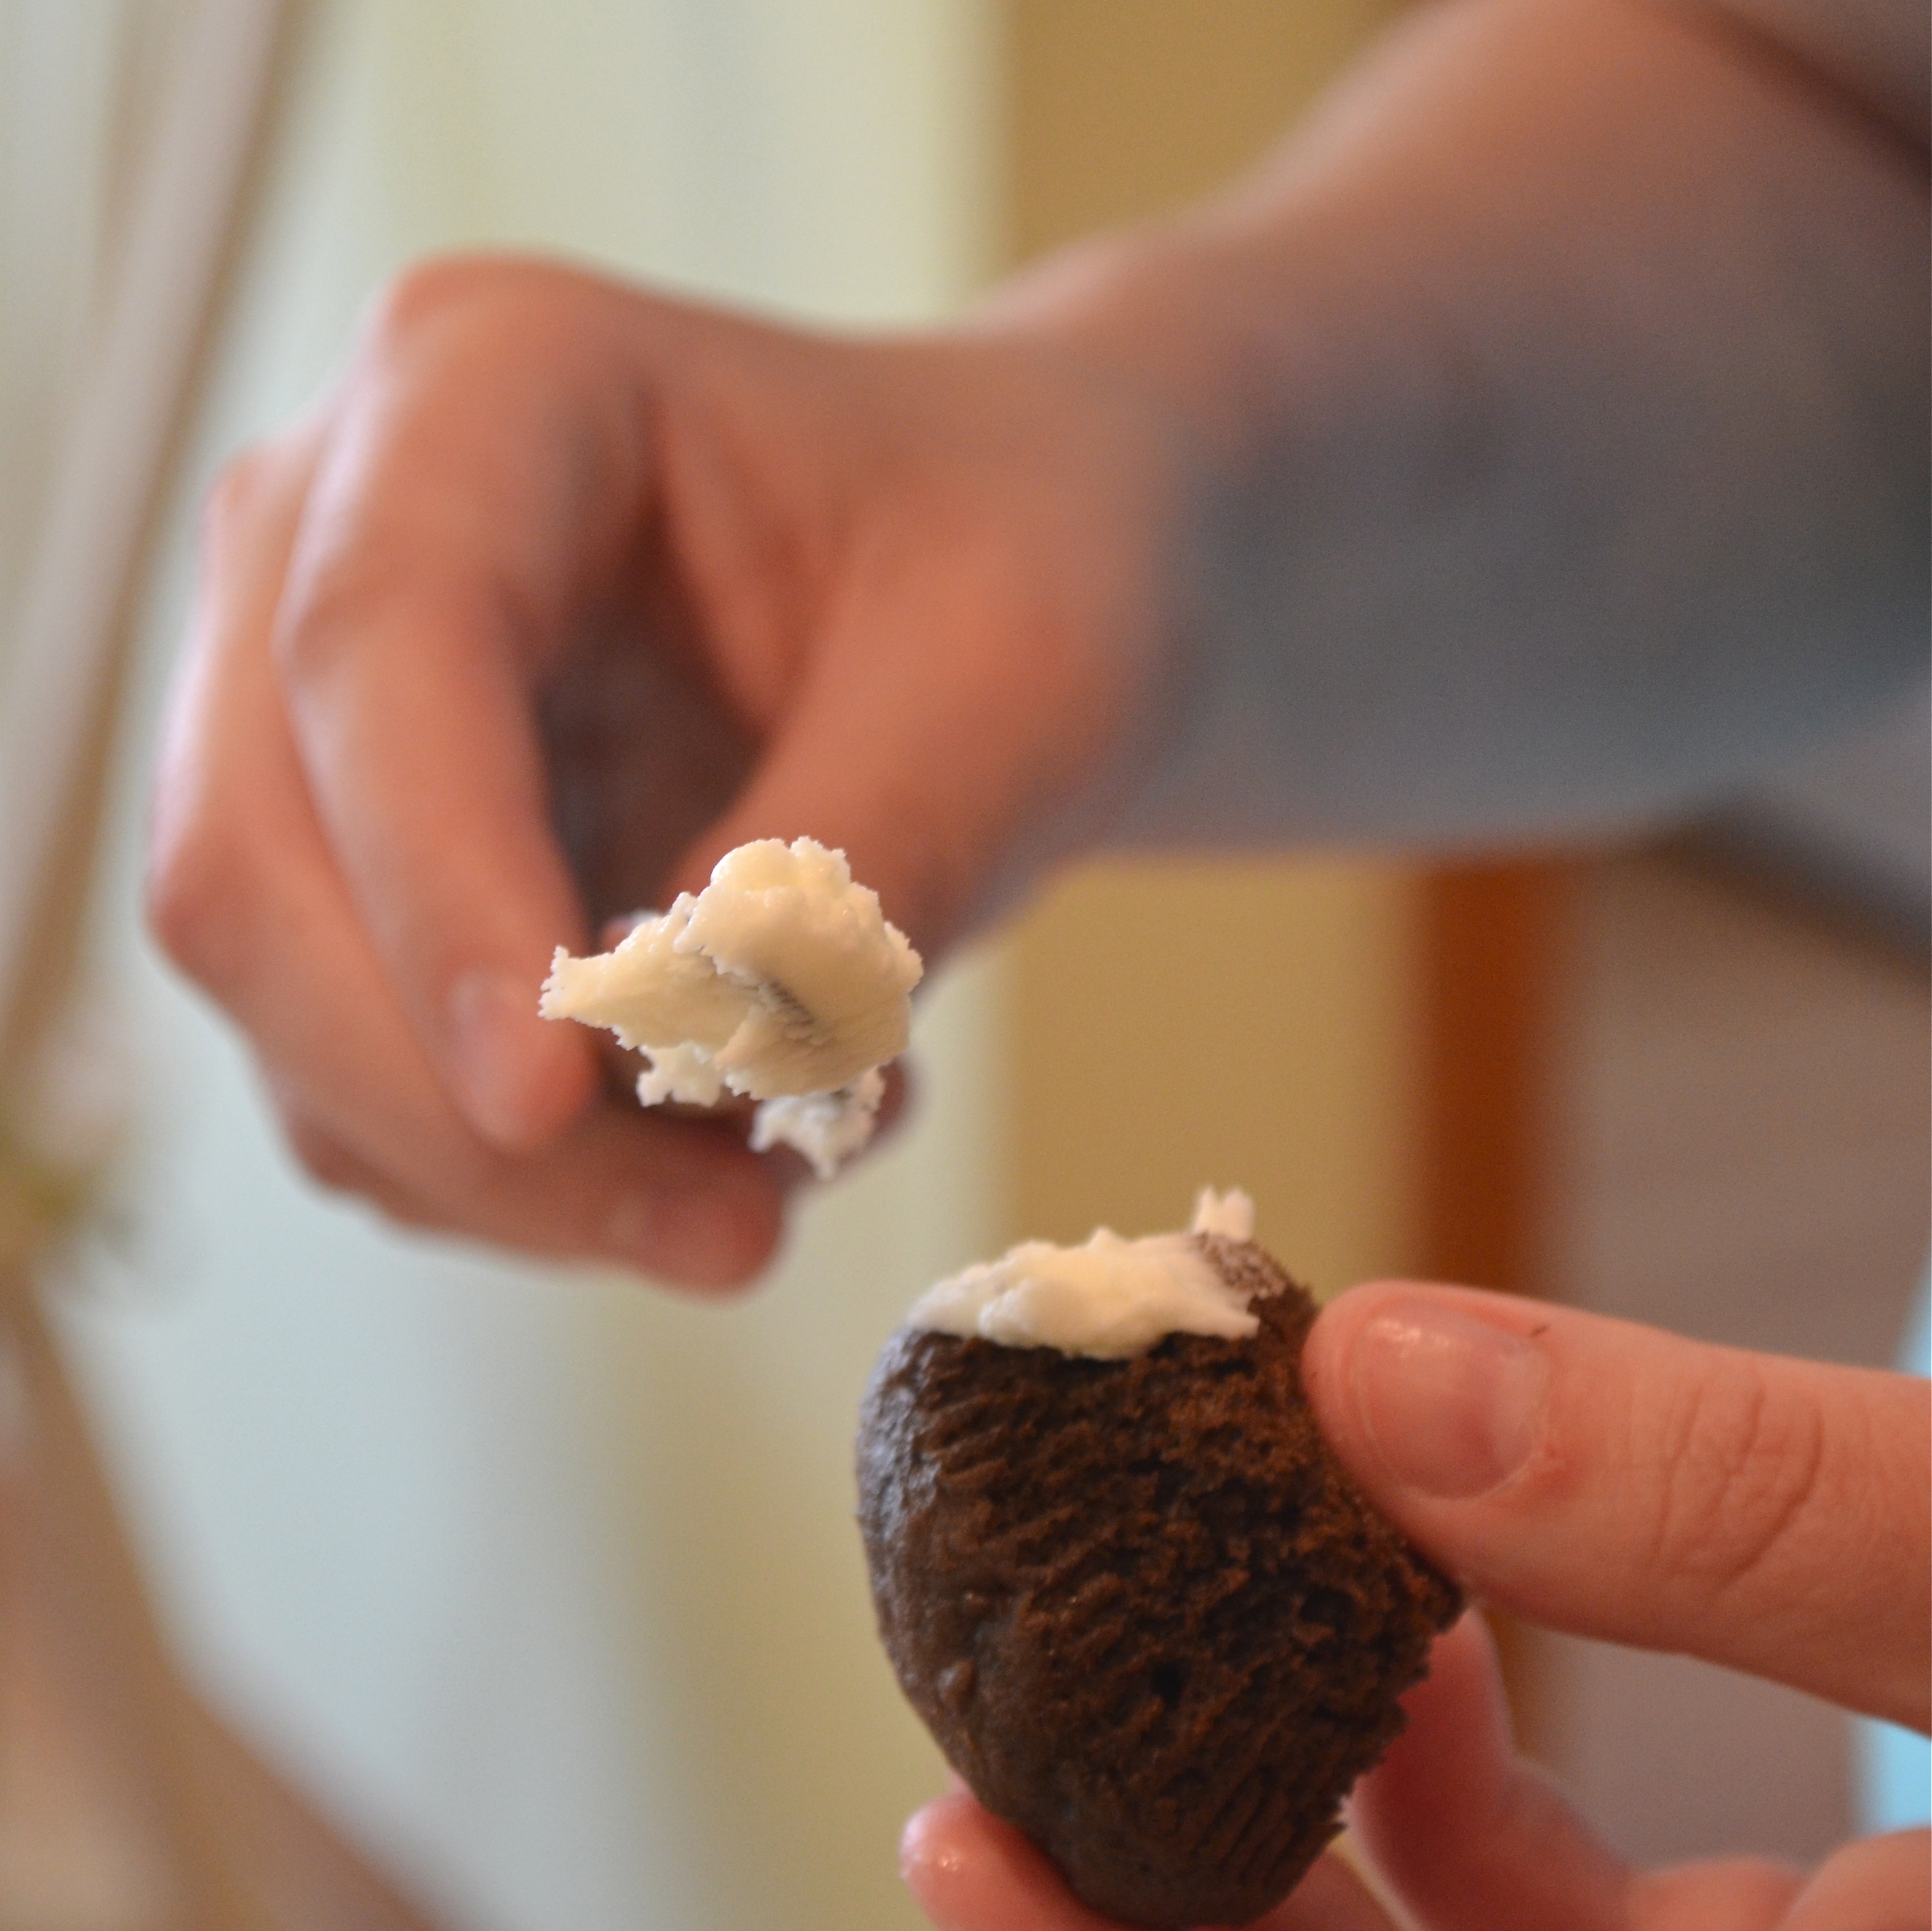
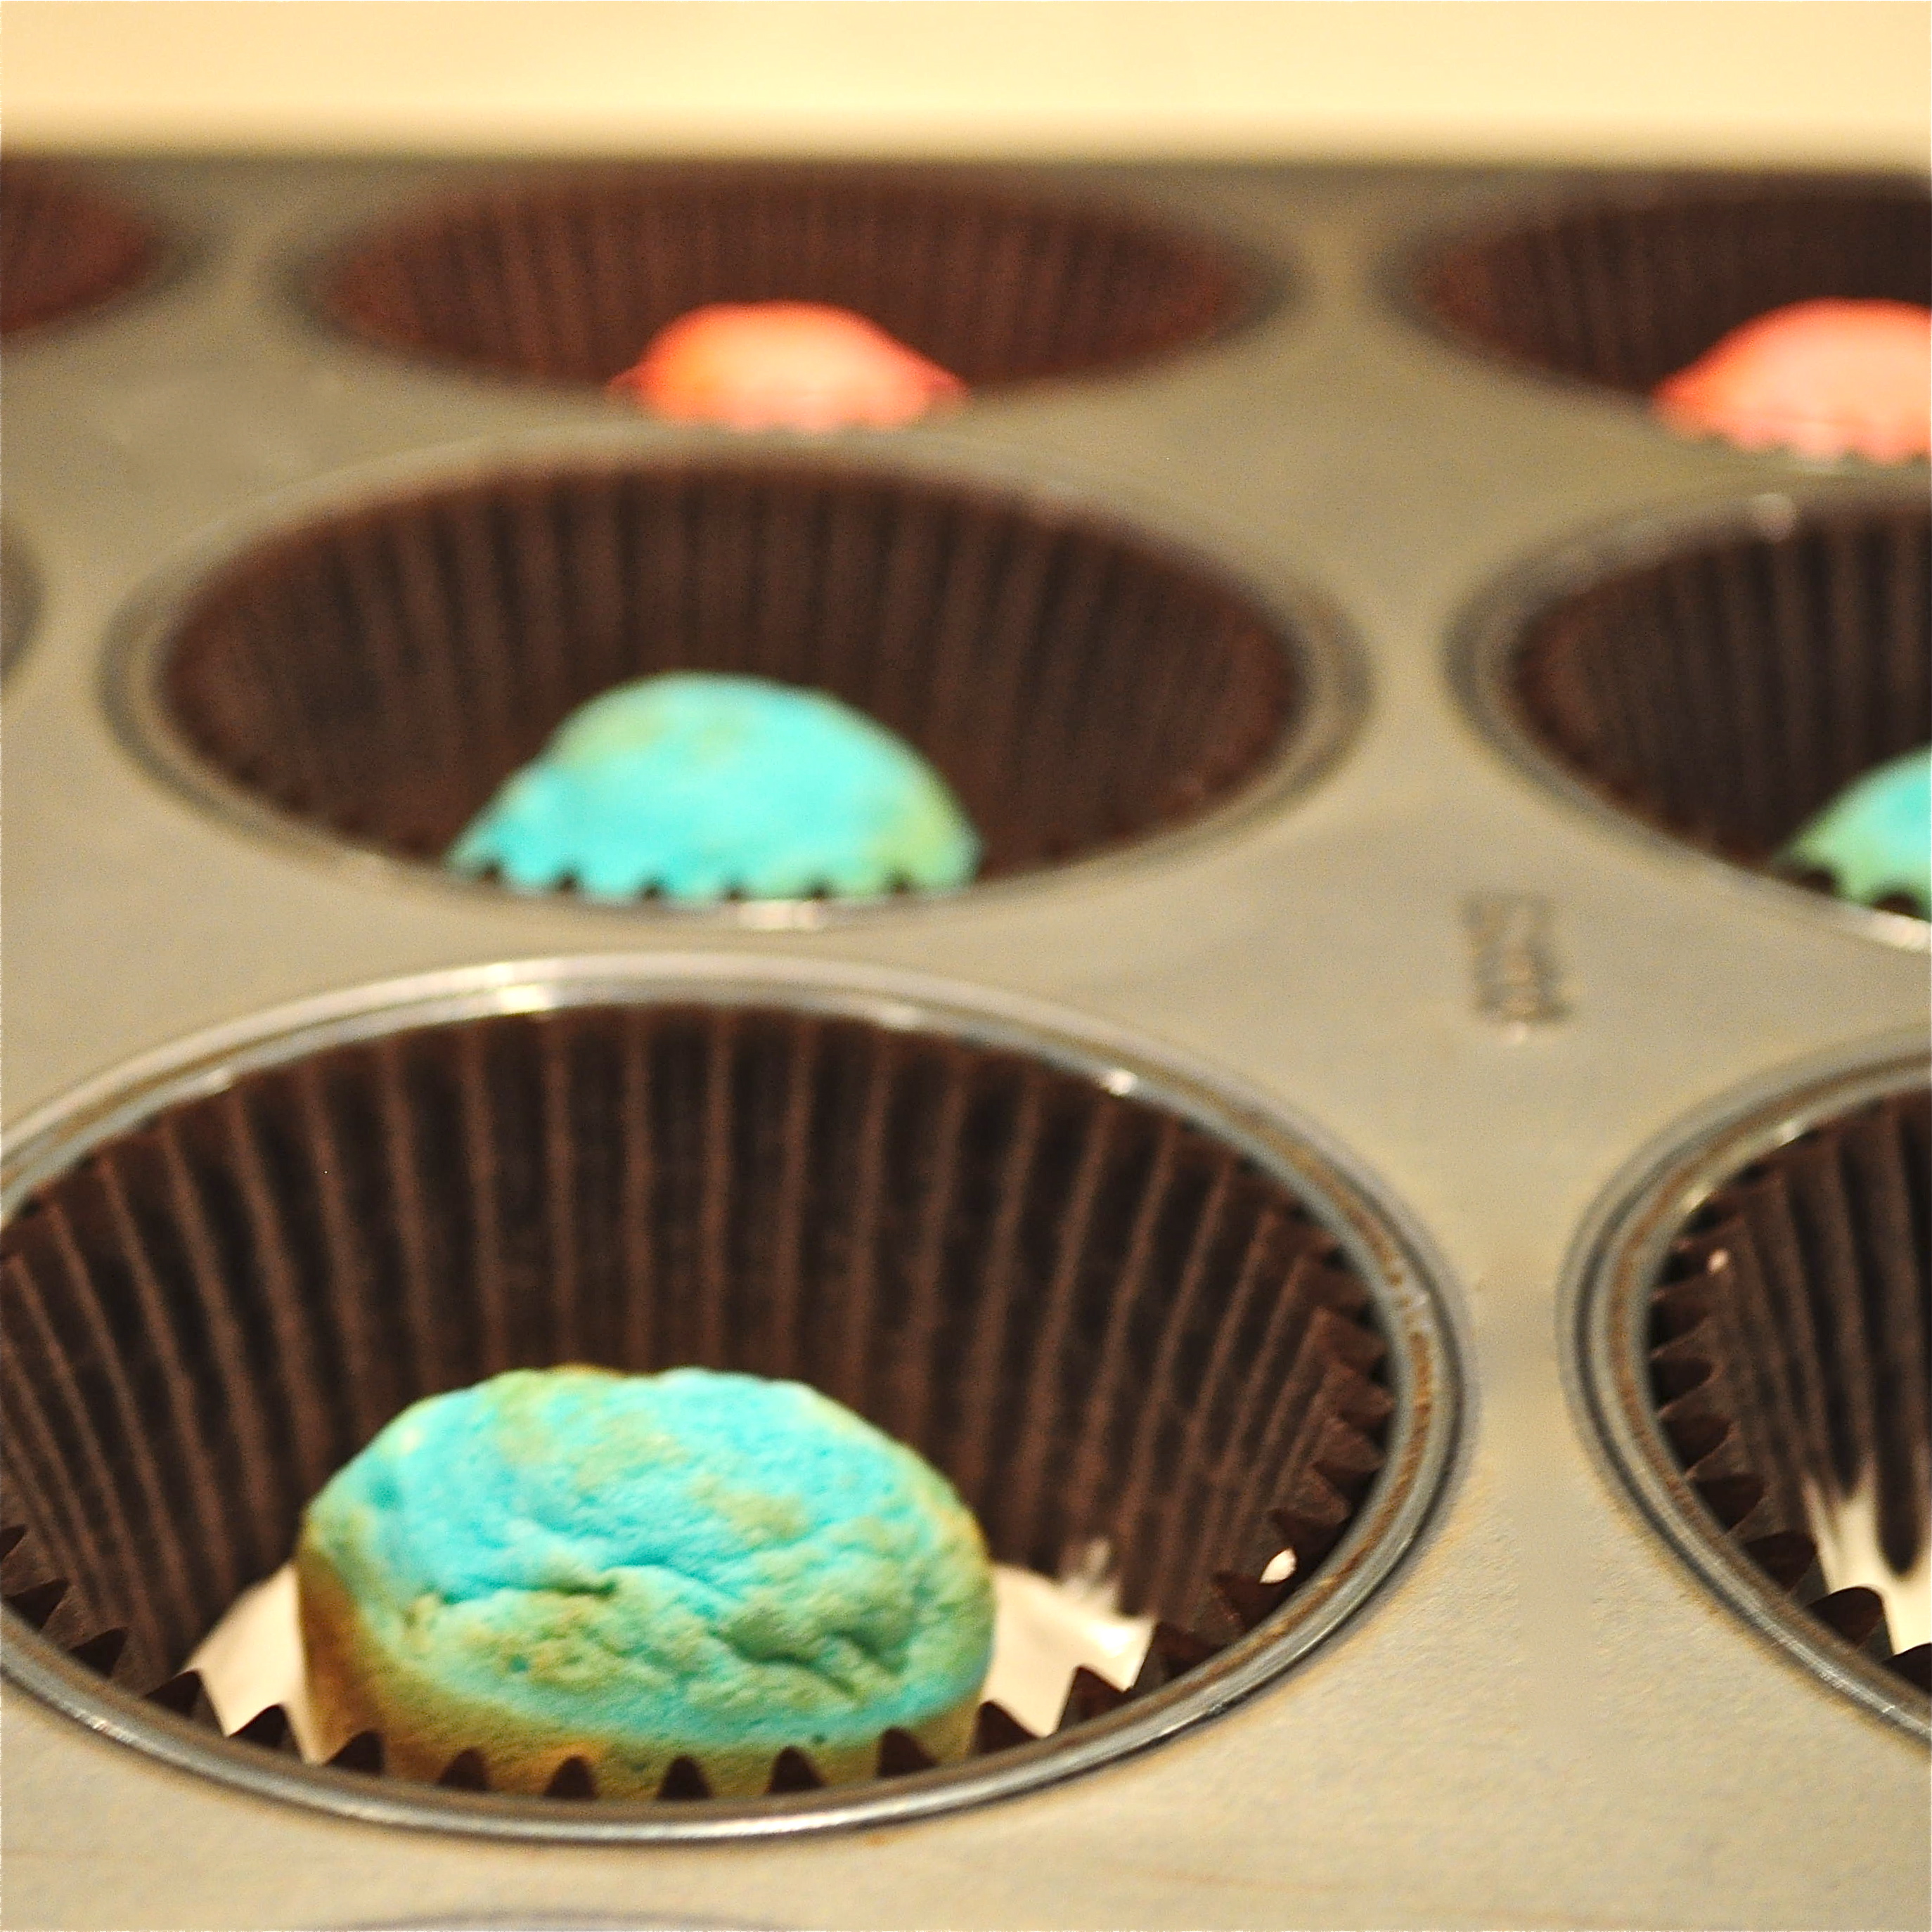
  • Gently spoon batter on each side of divider and tap pan to settle batter into bottom of cup.

Cupcake batter divider!

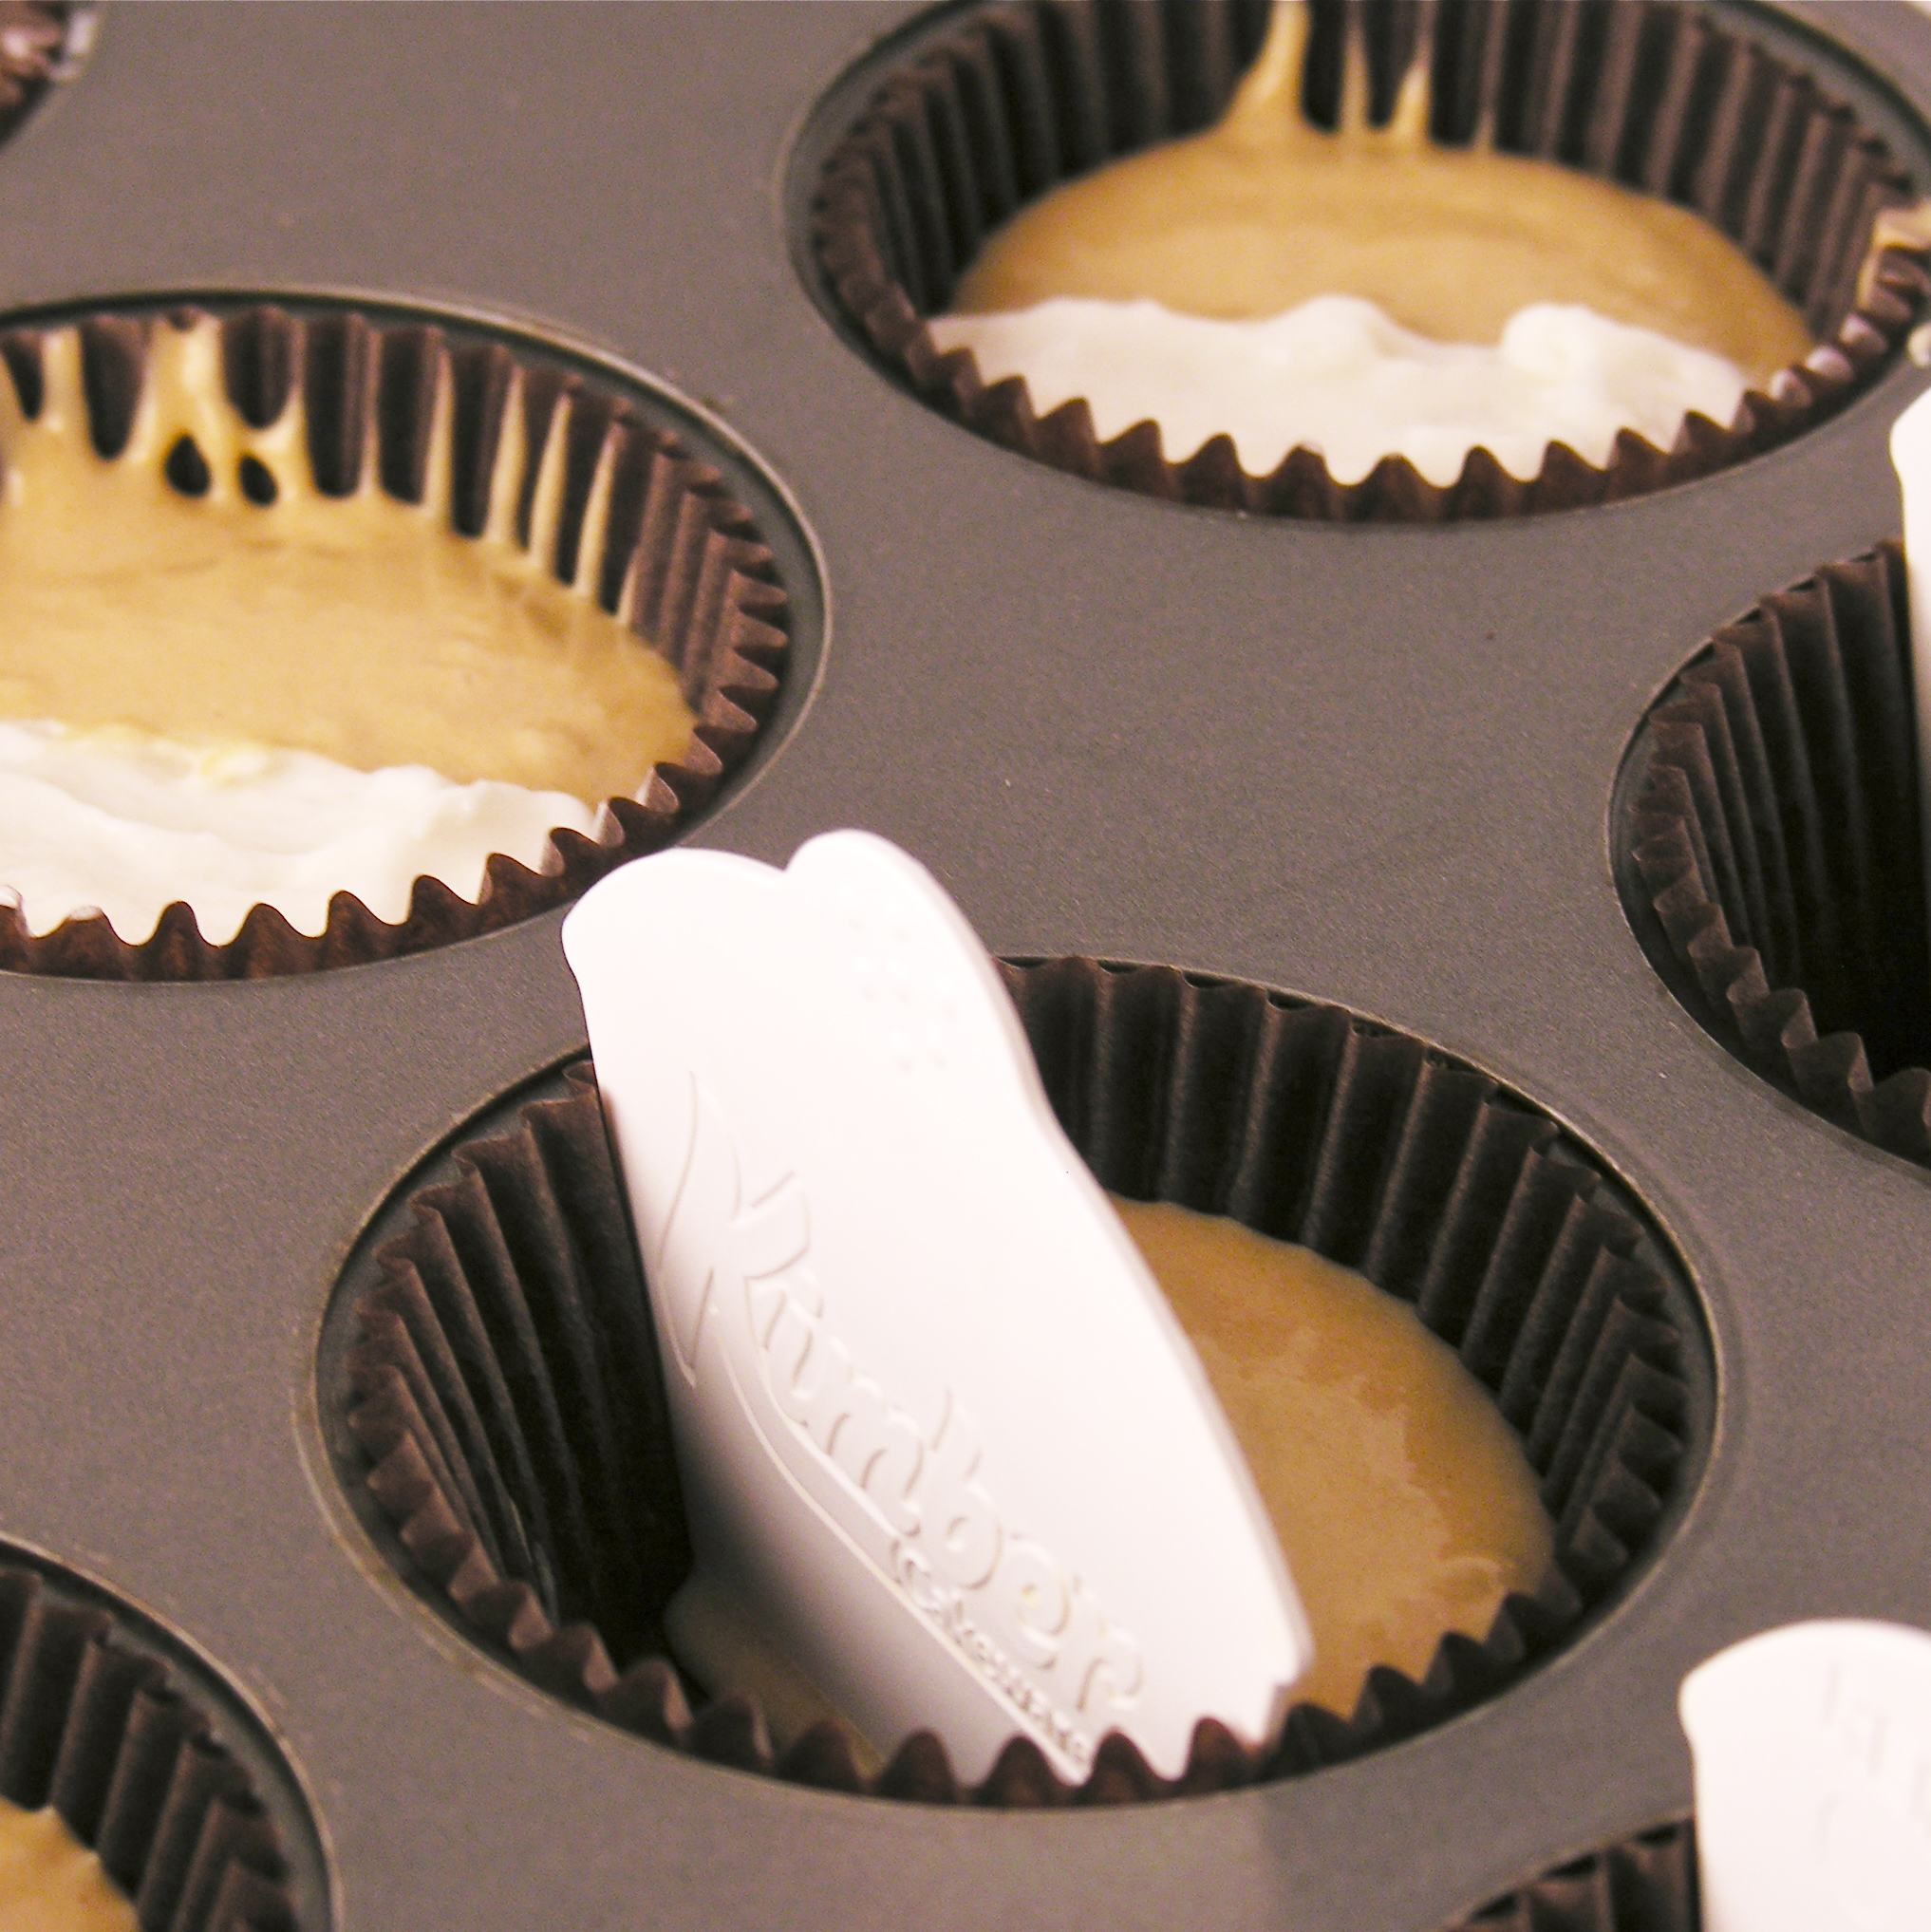
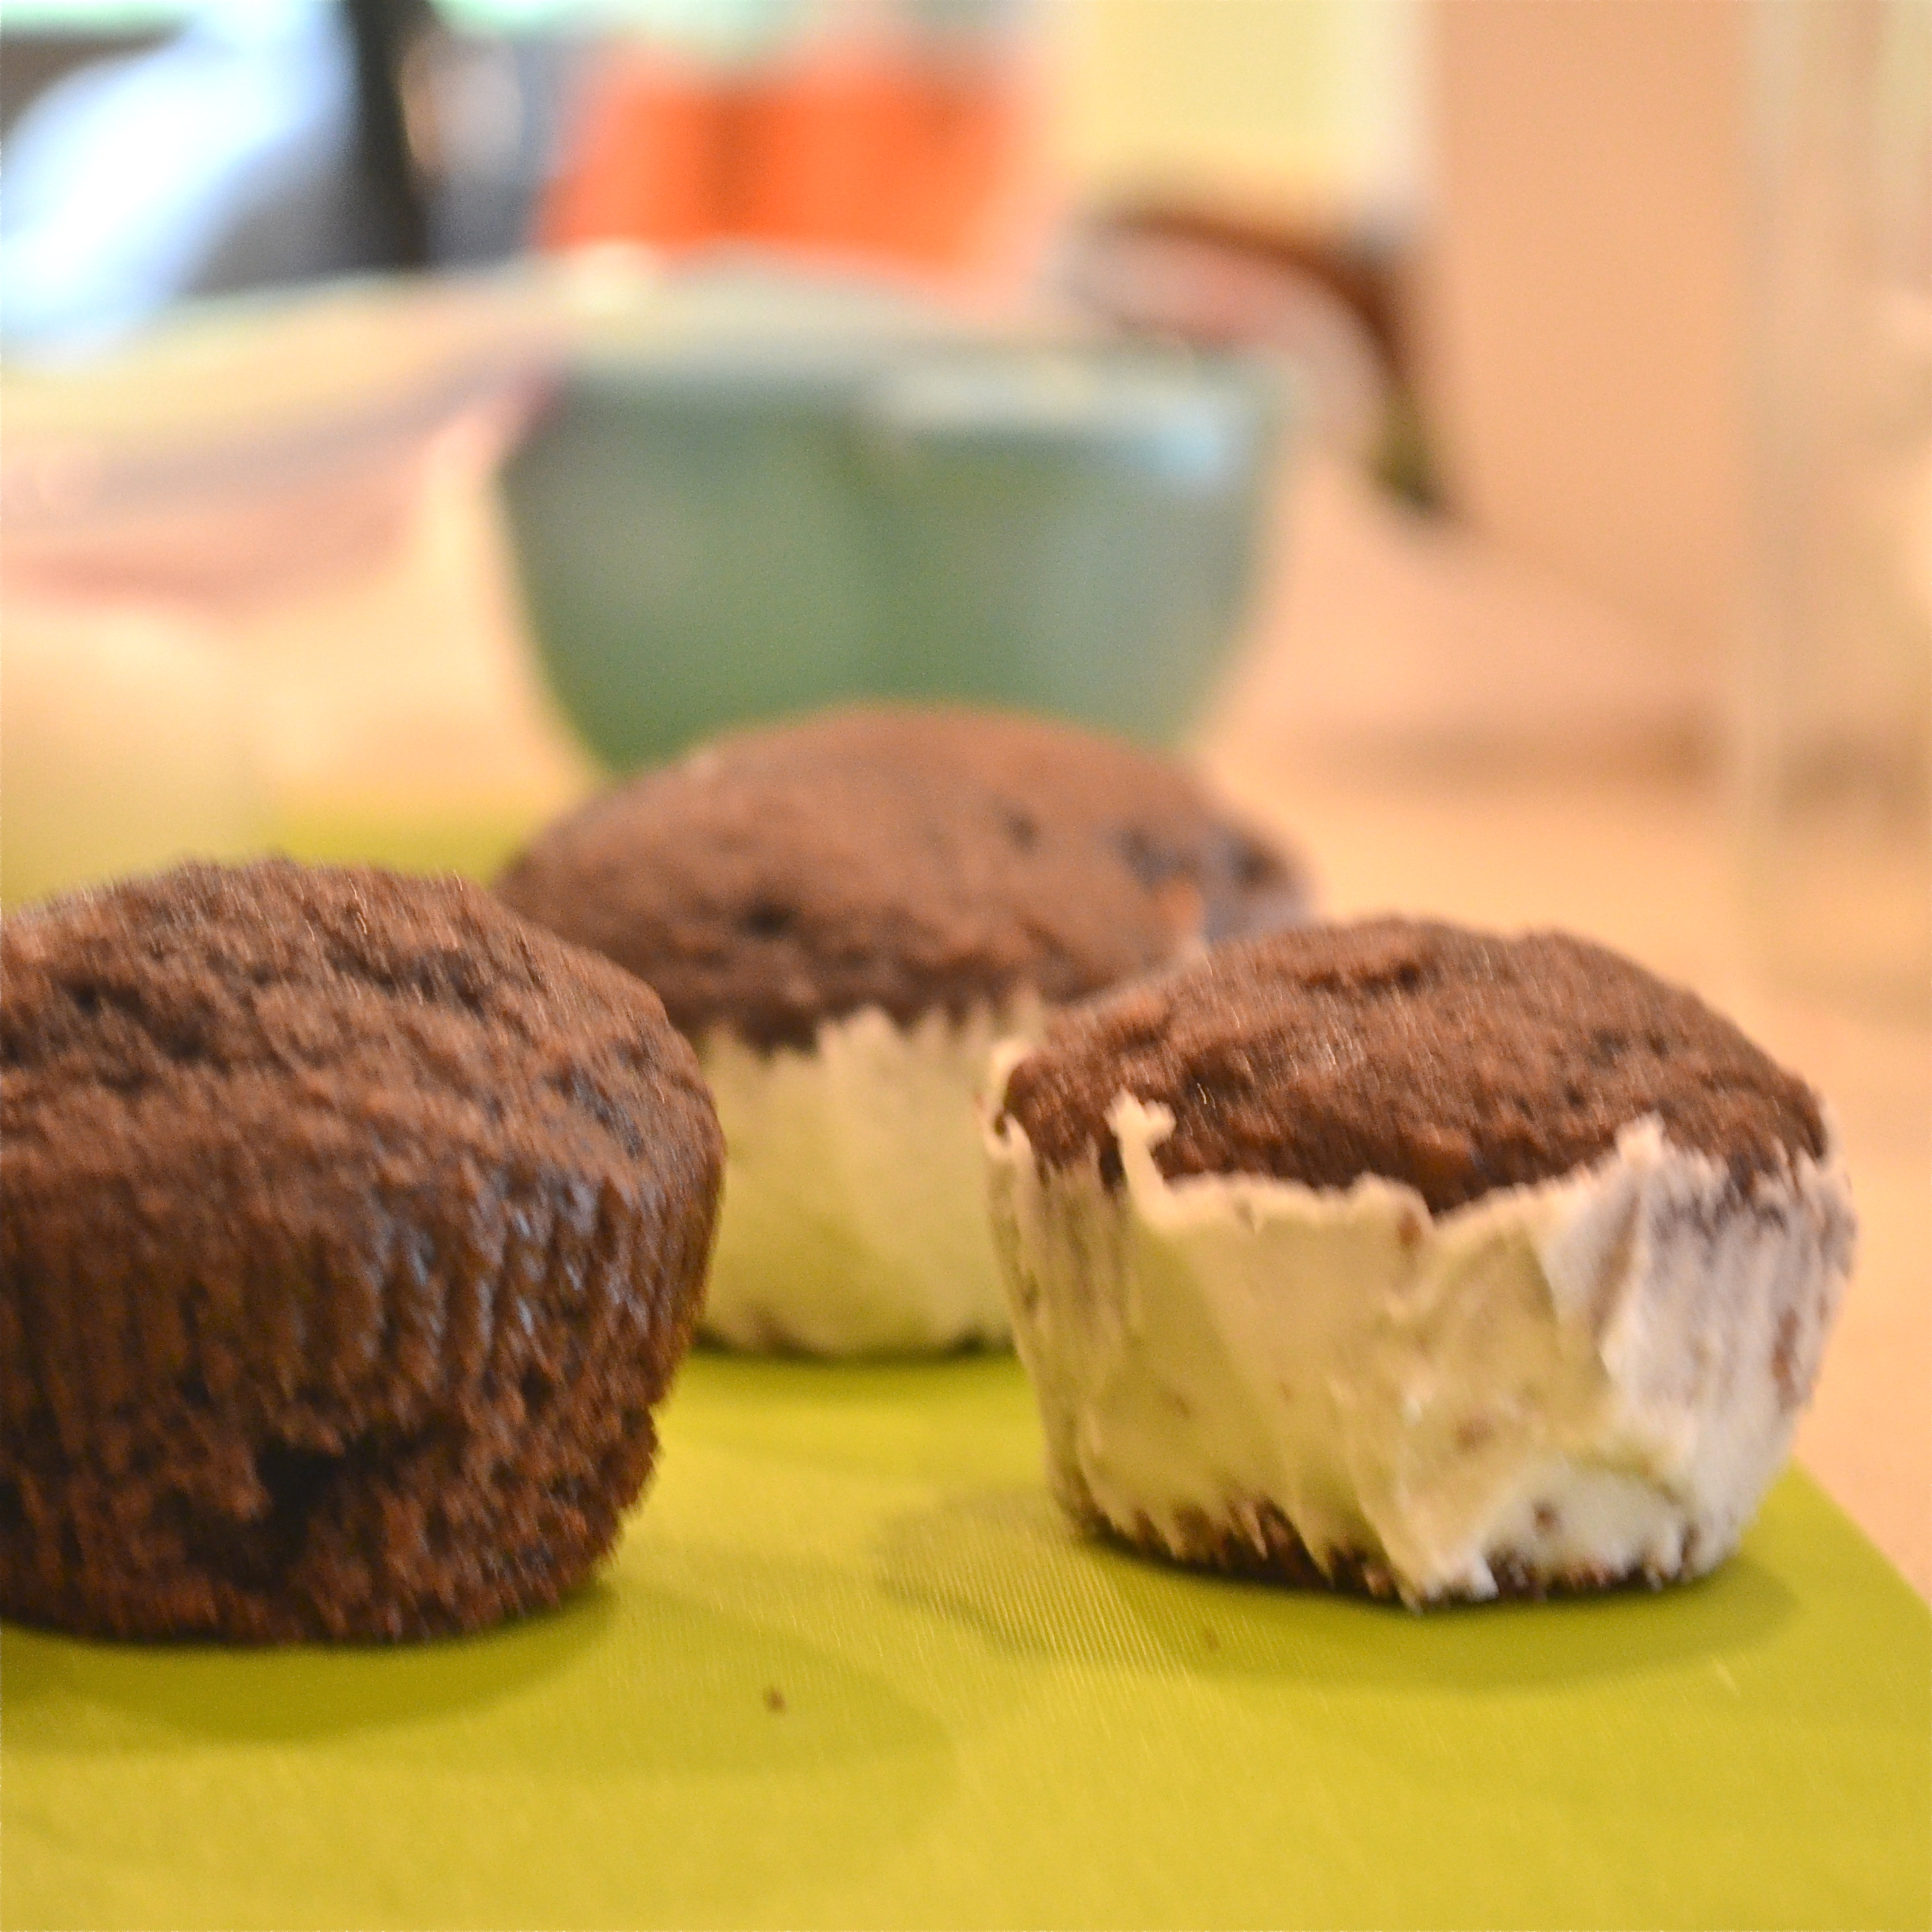
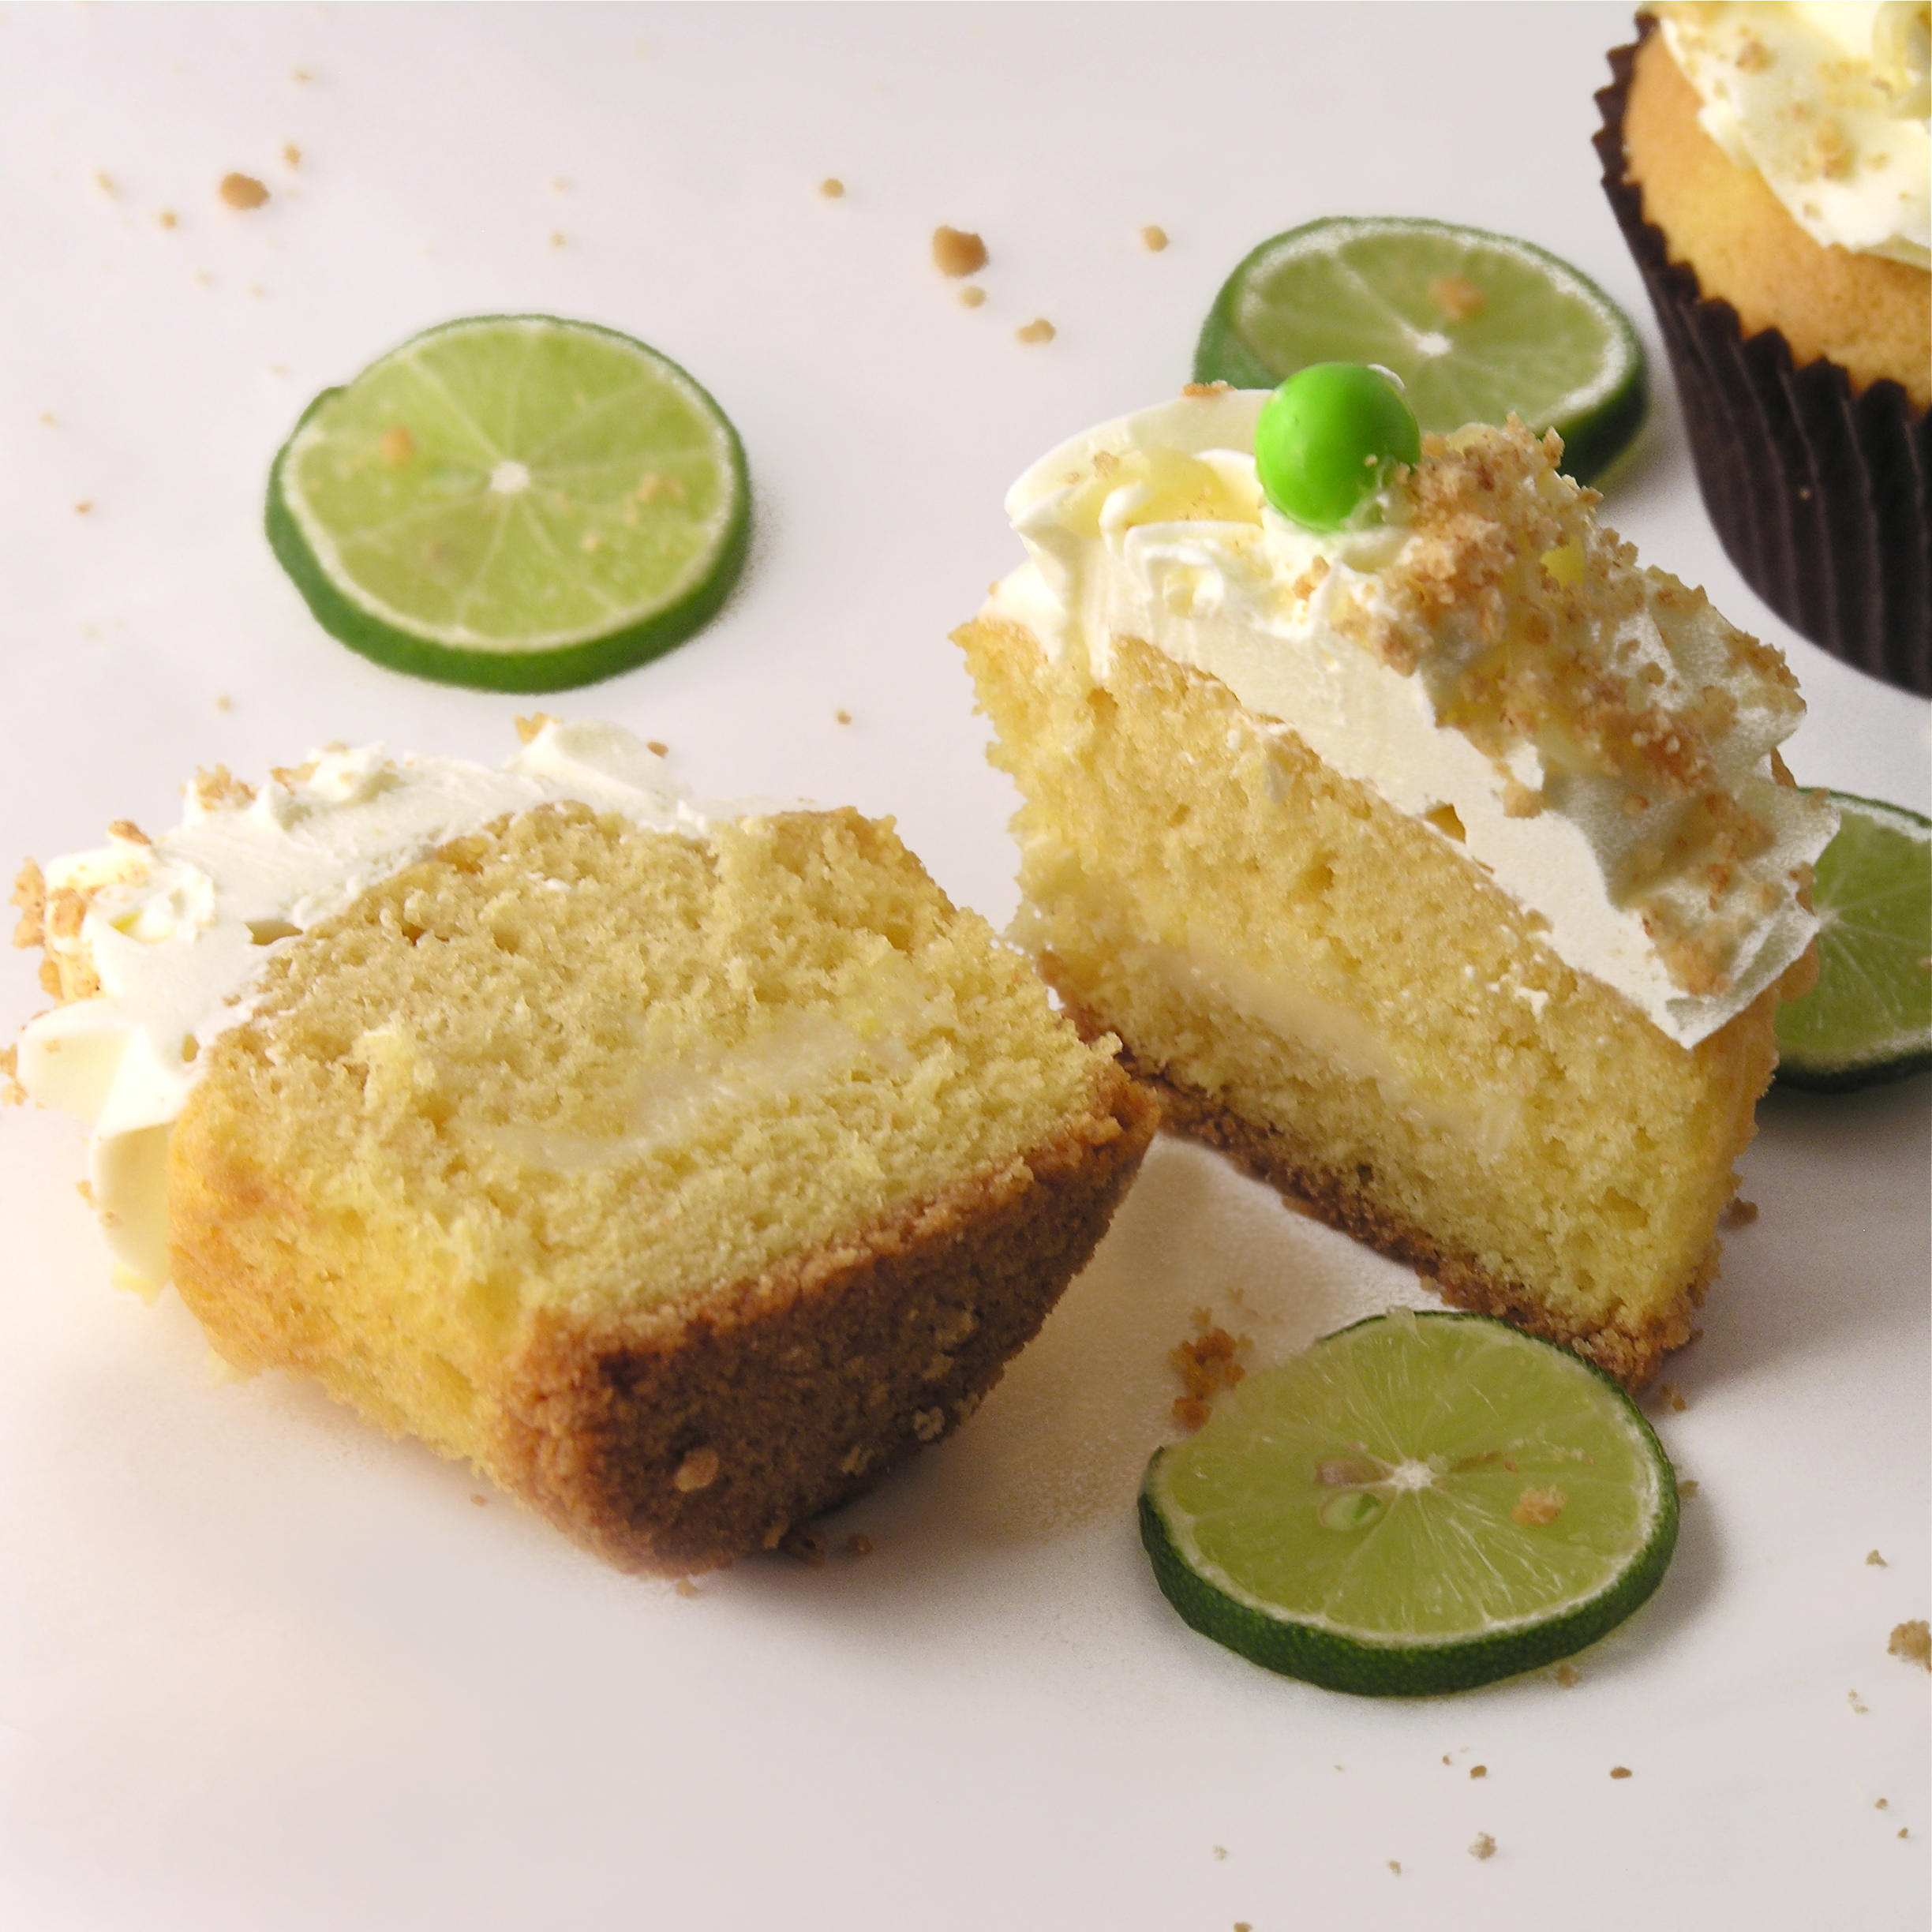
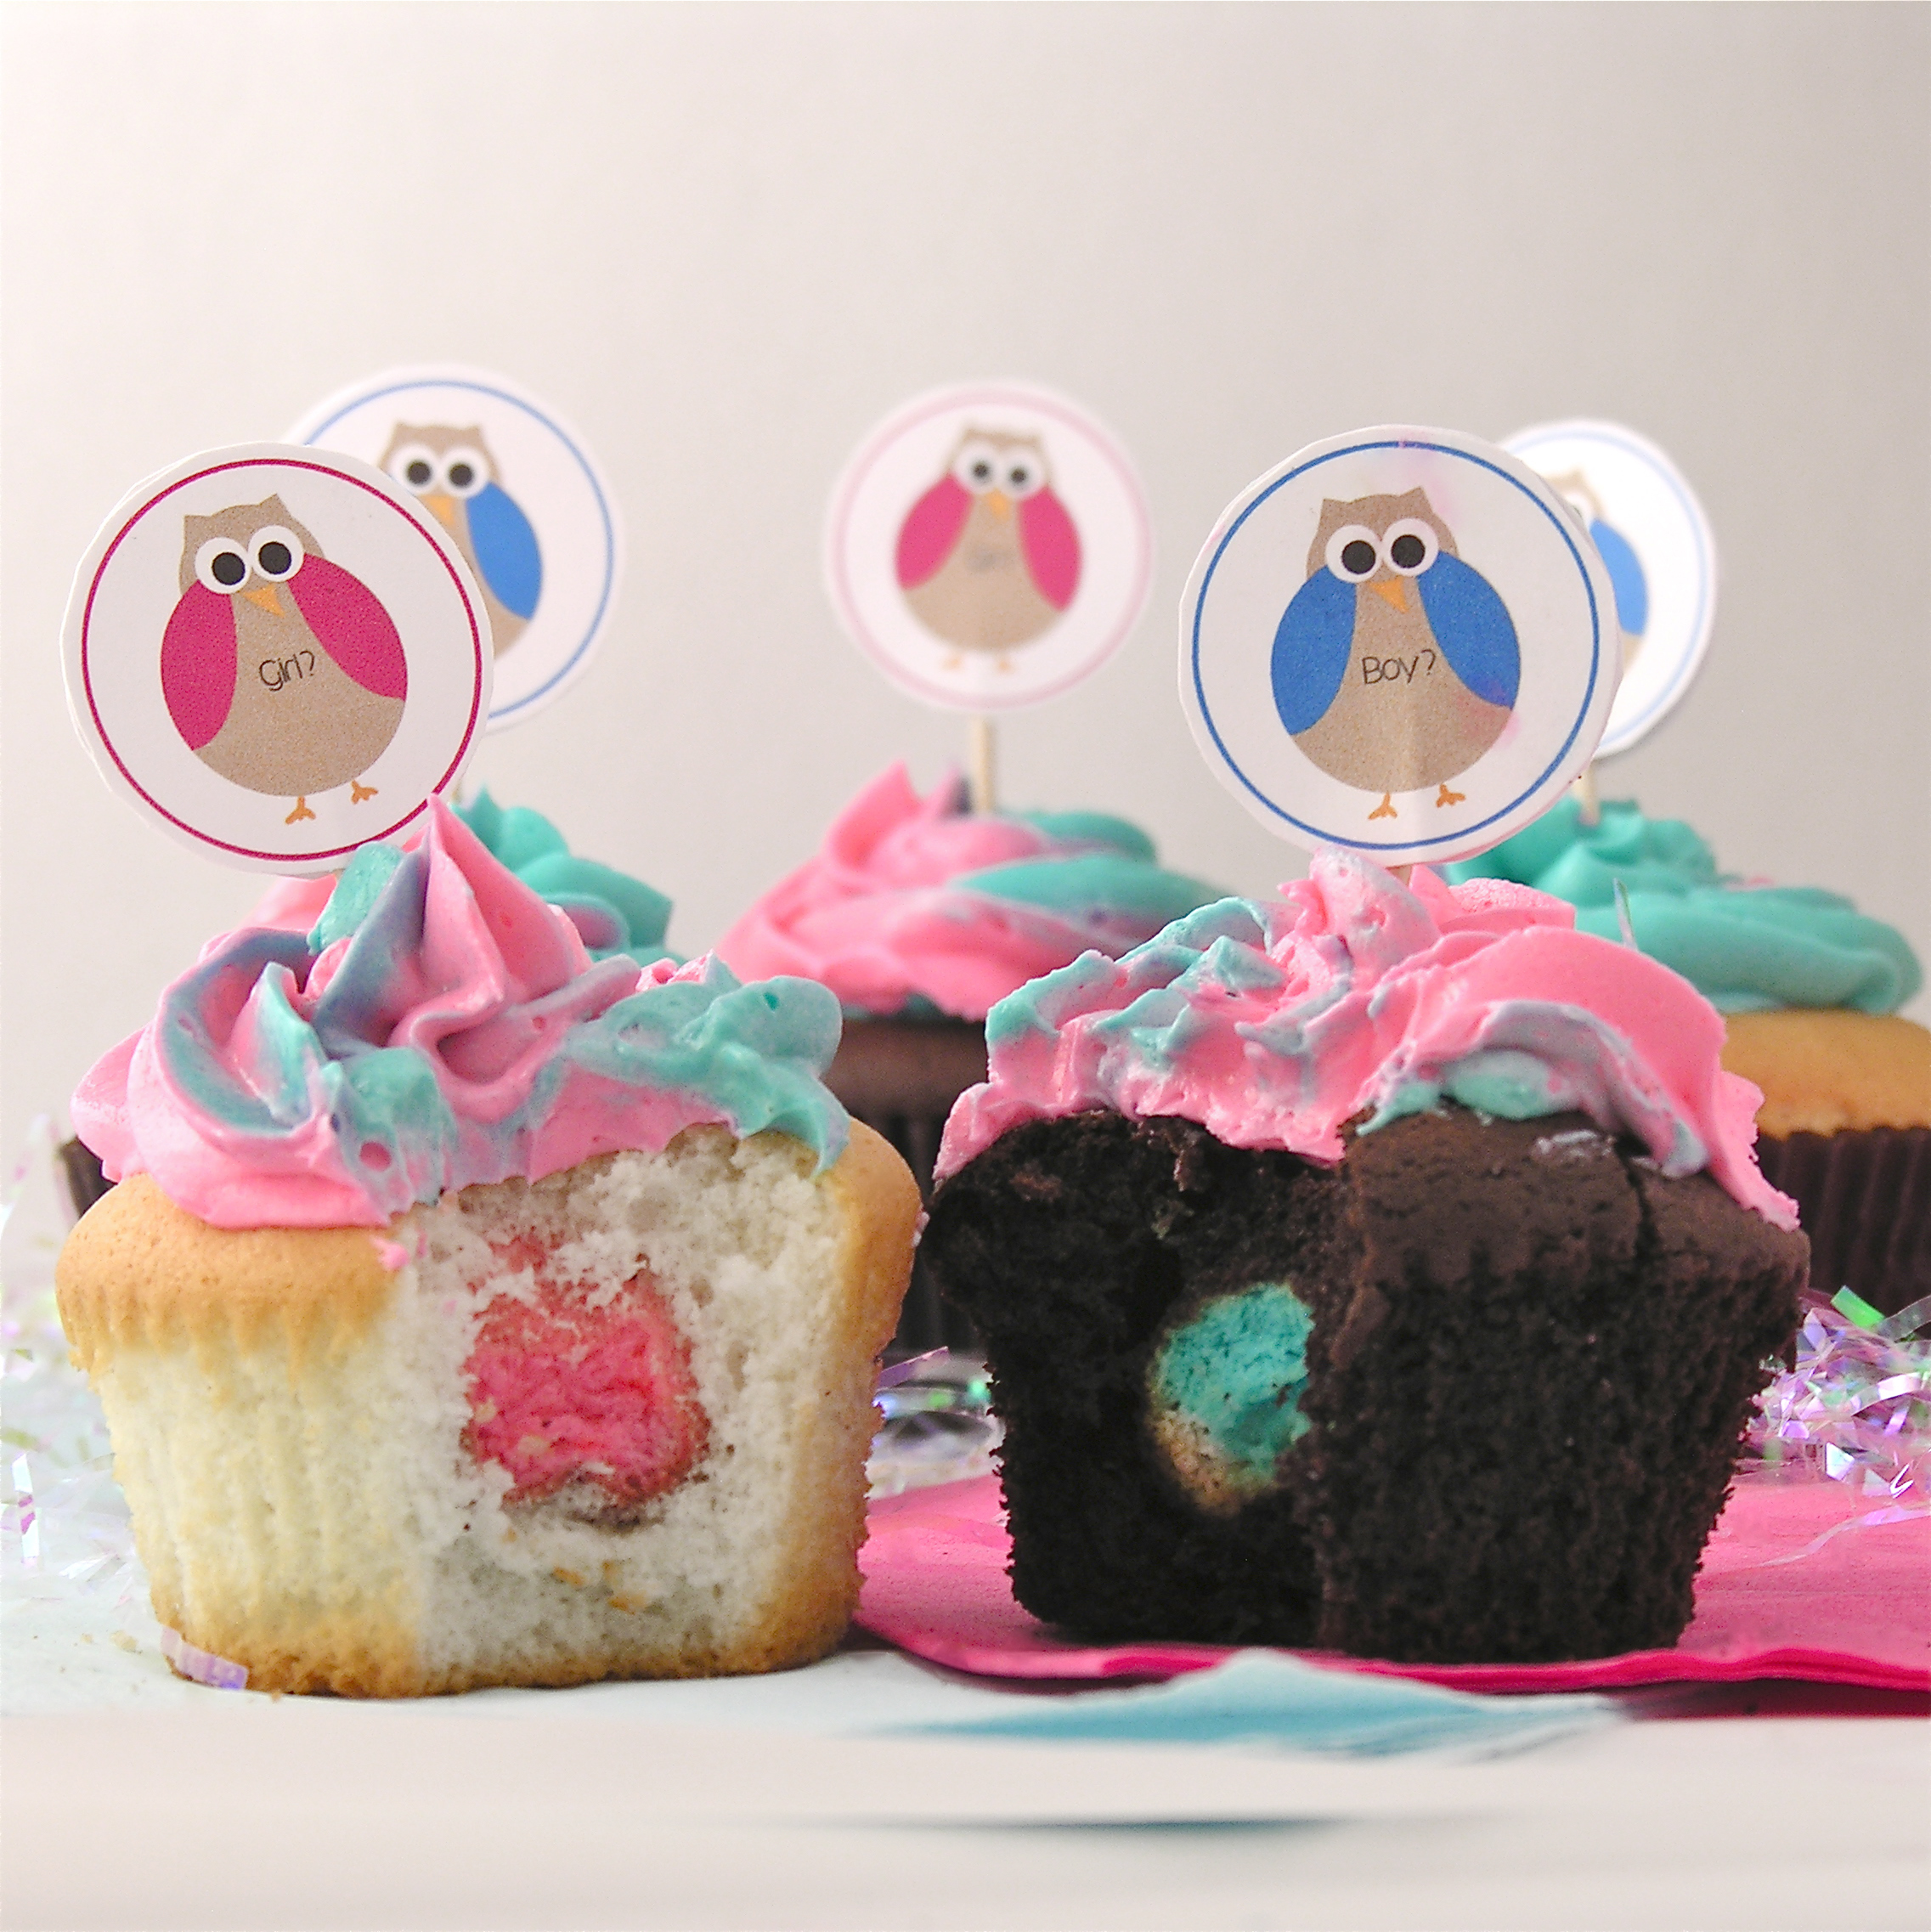
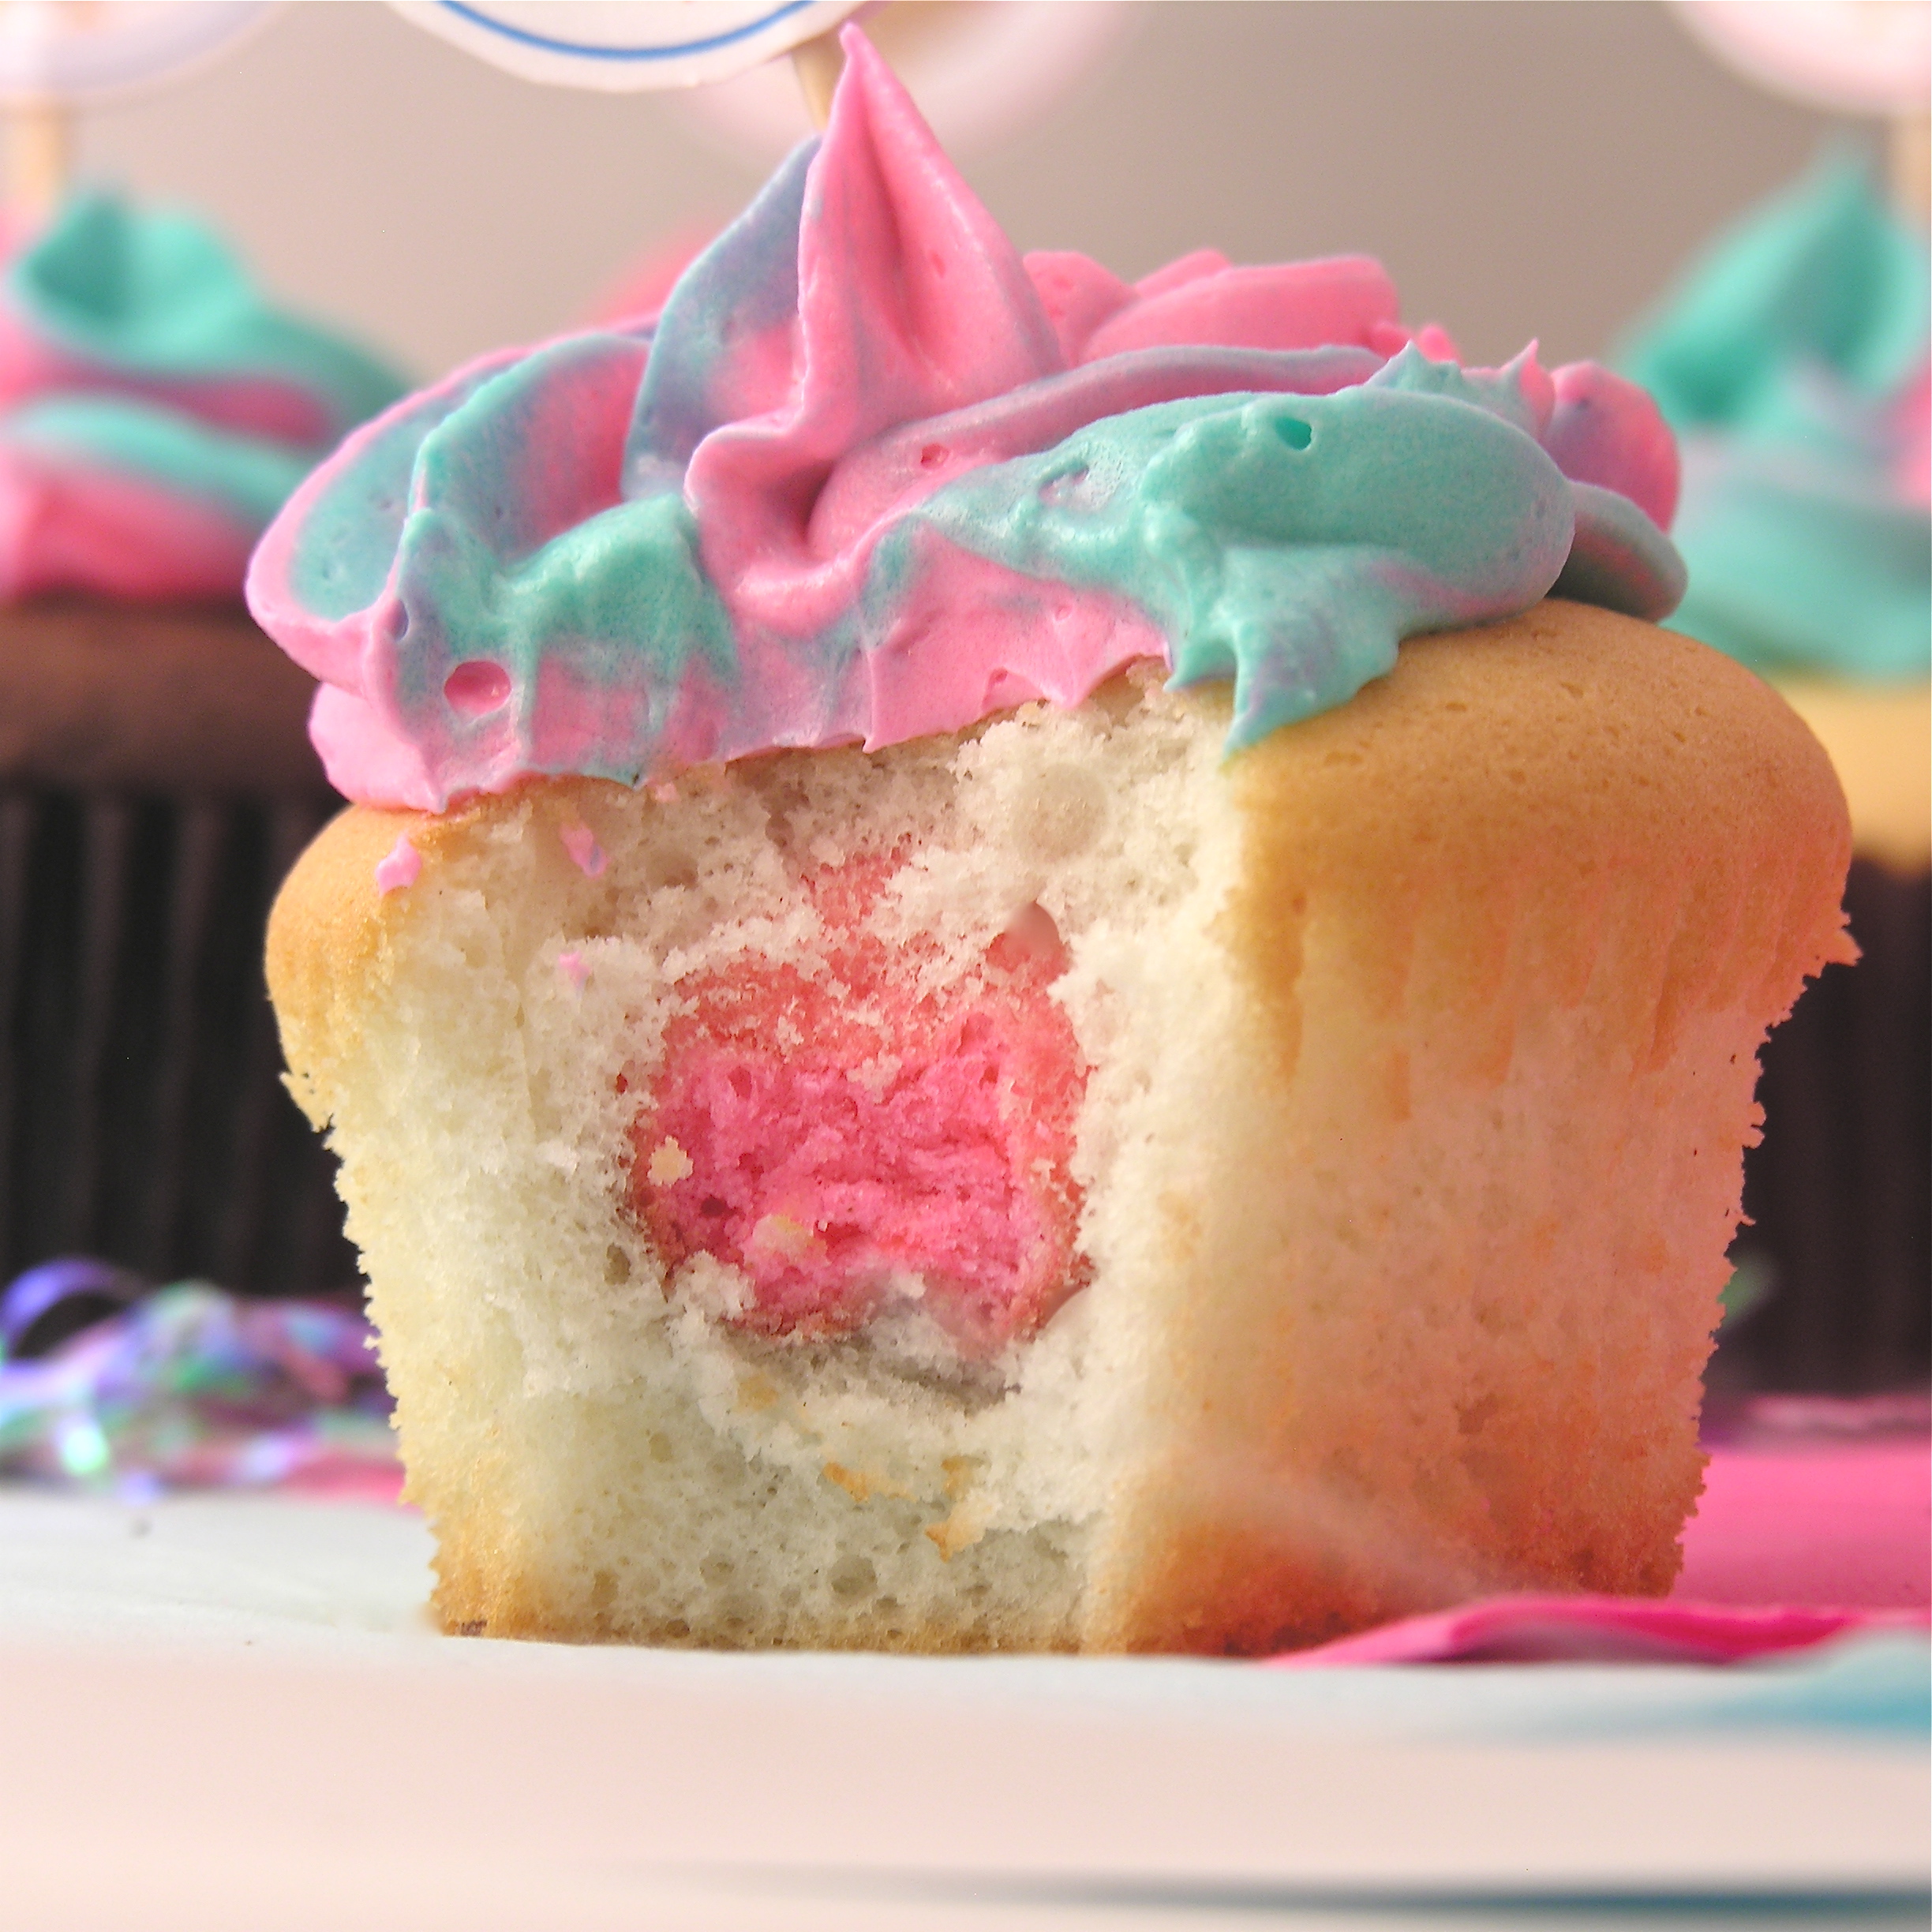
  • Once batter is evenly spooned in on both sides, just pull divider straight up and out, leaving a half caramel/ half coconut cupcake!  (so fun!!!)
  • Bake at 350F degrees according to times on boxed mix, until a toothpick inserted in the center comes out clean.

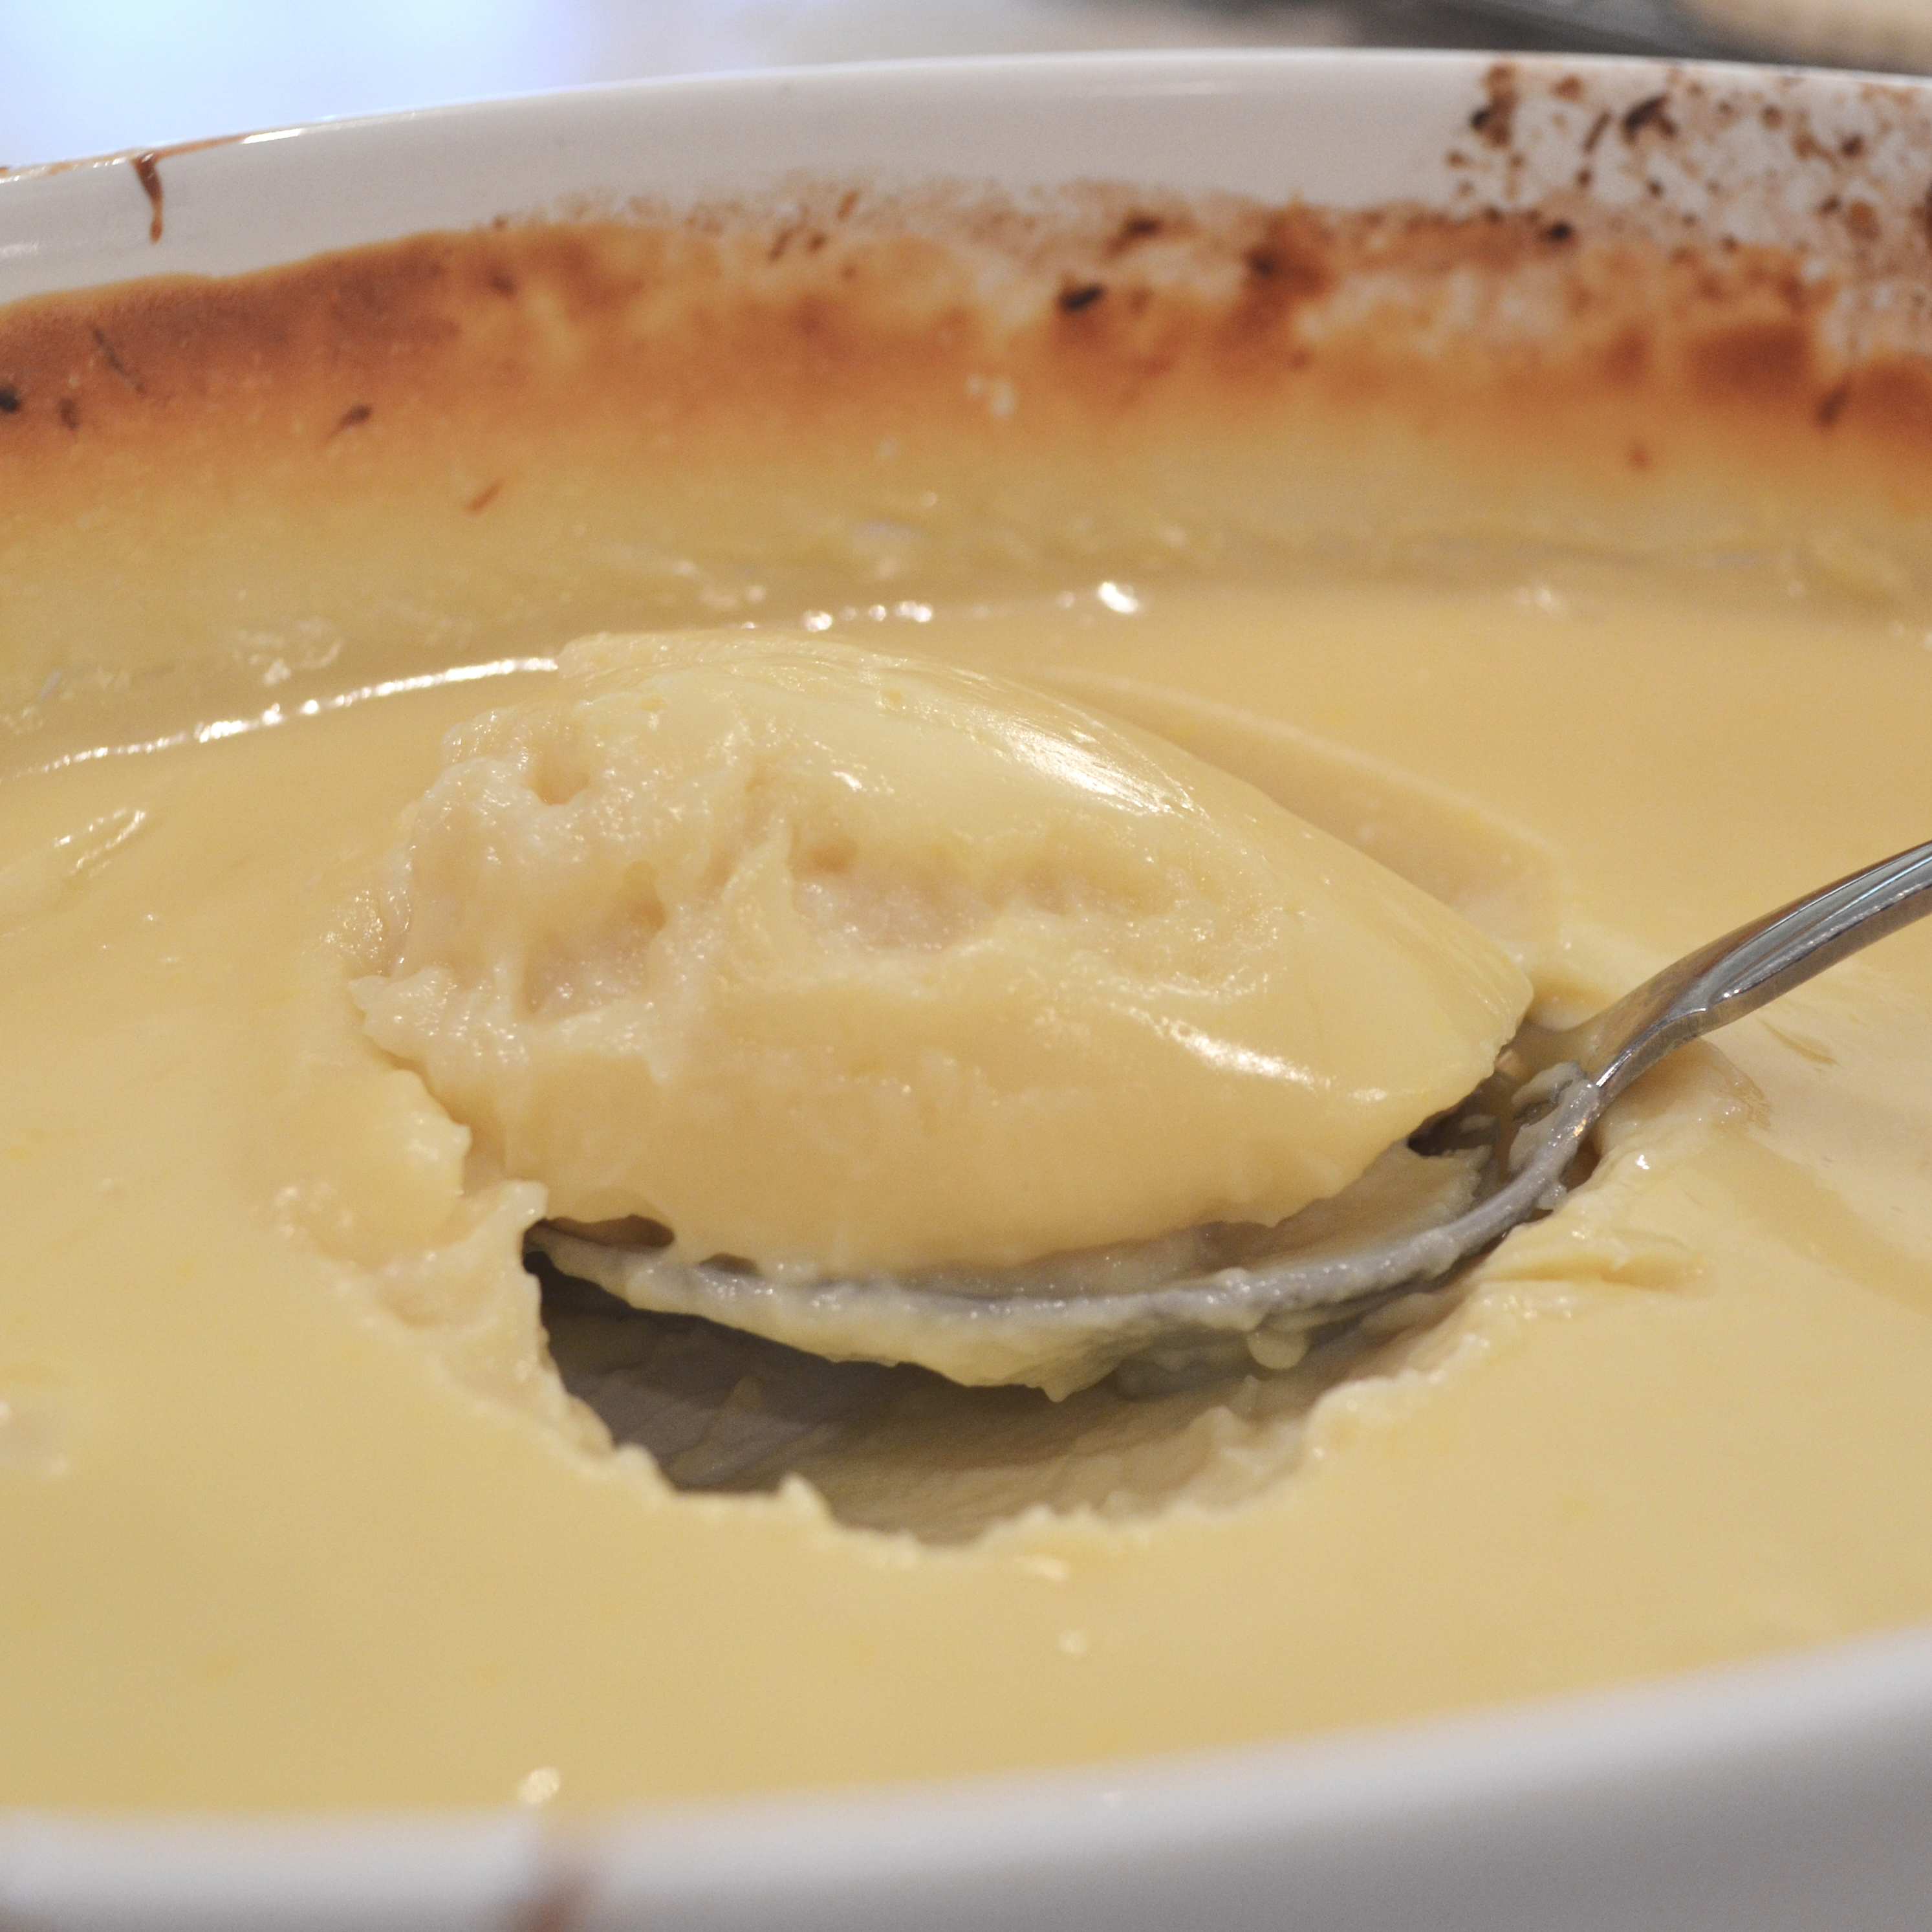
While cupcakes are baking, make your caramel sauce:

  • Place 32 Kraft caramels, sweetened condensed milk and 1/4 c. (1/2 stick) of salted butter into a saucepan and heat it on high, stirring constantly, until melted and smooth (takes about 5-6 minutes).  Set aside.
  • Make buttercream frosting by adding 2 sticks of salted butter, 2 sticks of unsalted butter, powdered sugar and remaining 2 teaspoons of coconut flavoring to a large mixing bowl and beating it until it is light and fluffy.
  • Cool cupcakes completely.
  • Mix caramel sauce (reheat a bit if it has started to harden) and dip the tops of each cupcake in the sauce.

Dipping cupcakes in caramel

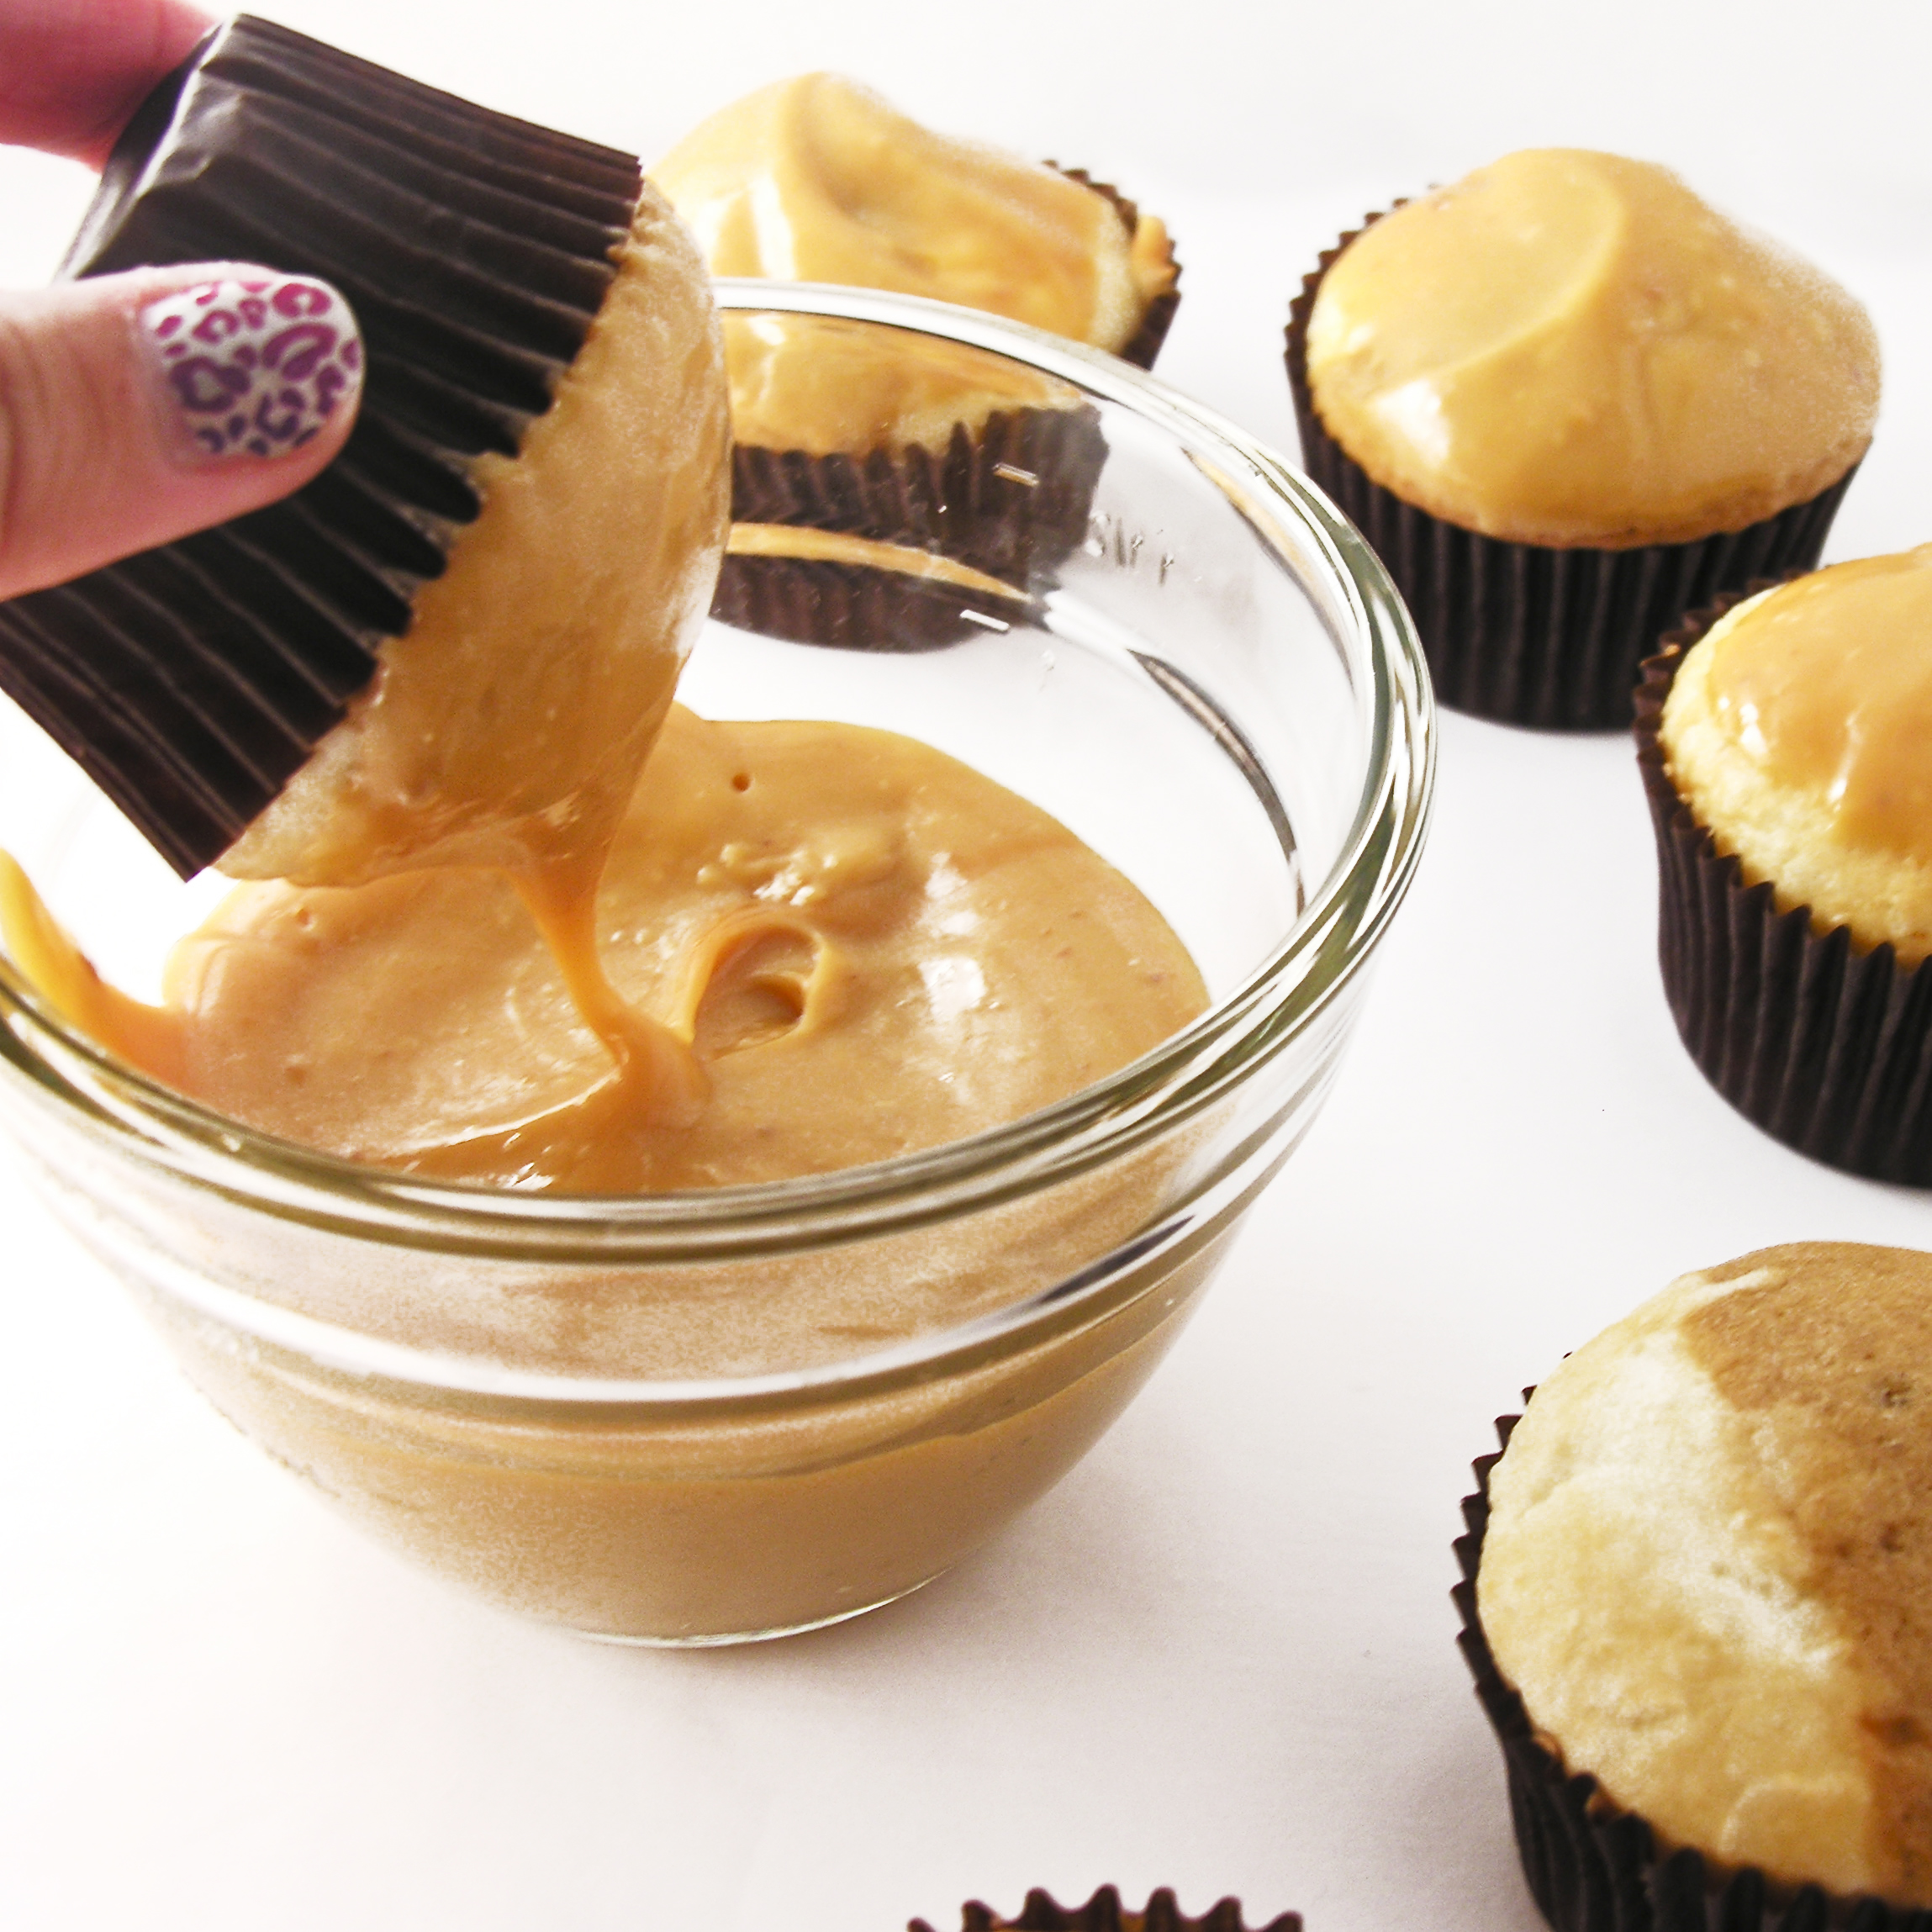
  • Allow caramel sauce to harden and cool completely (or it will melt your buttercream!)
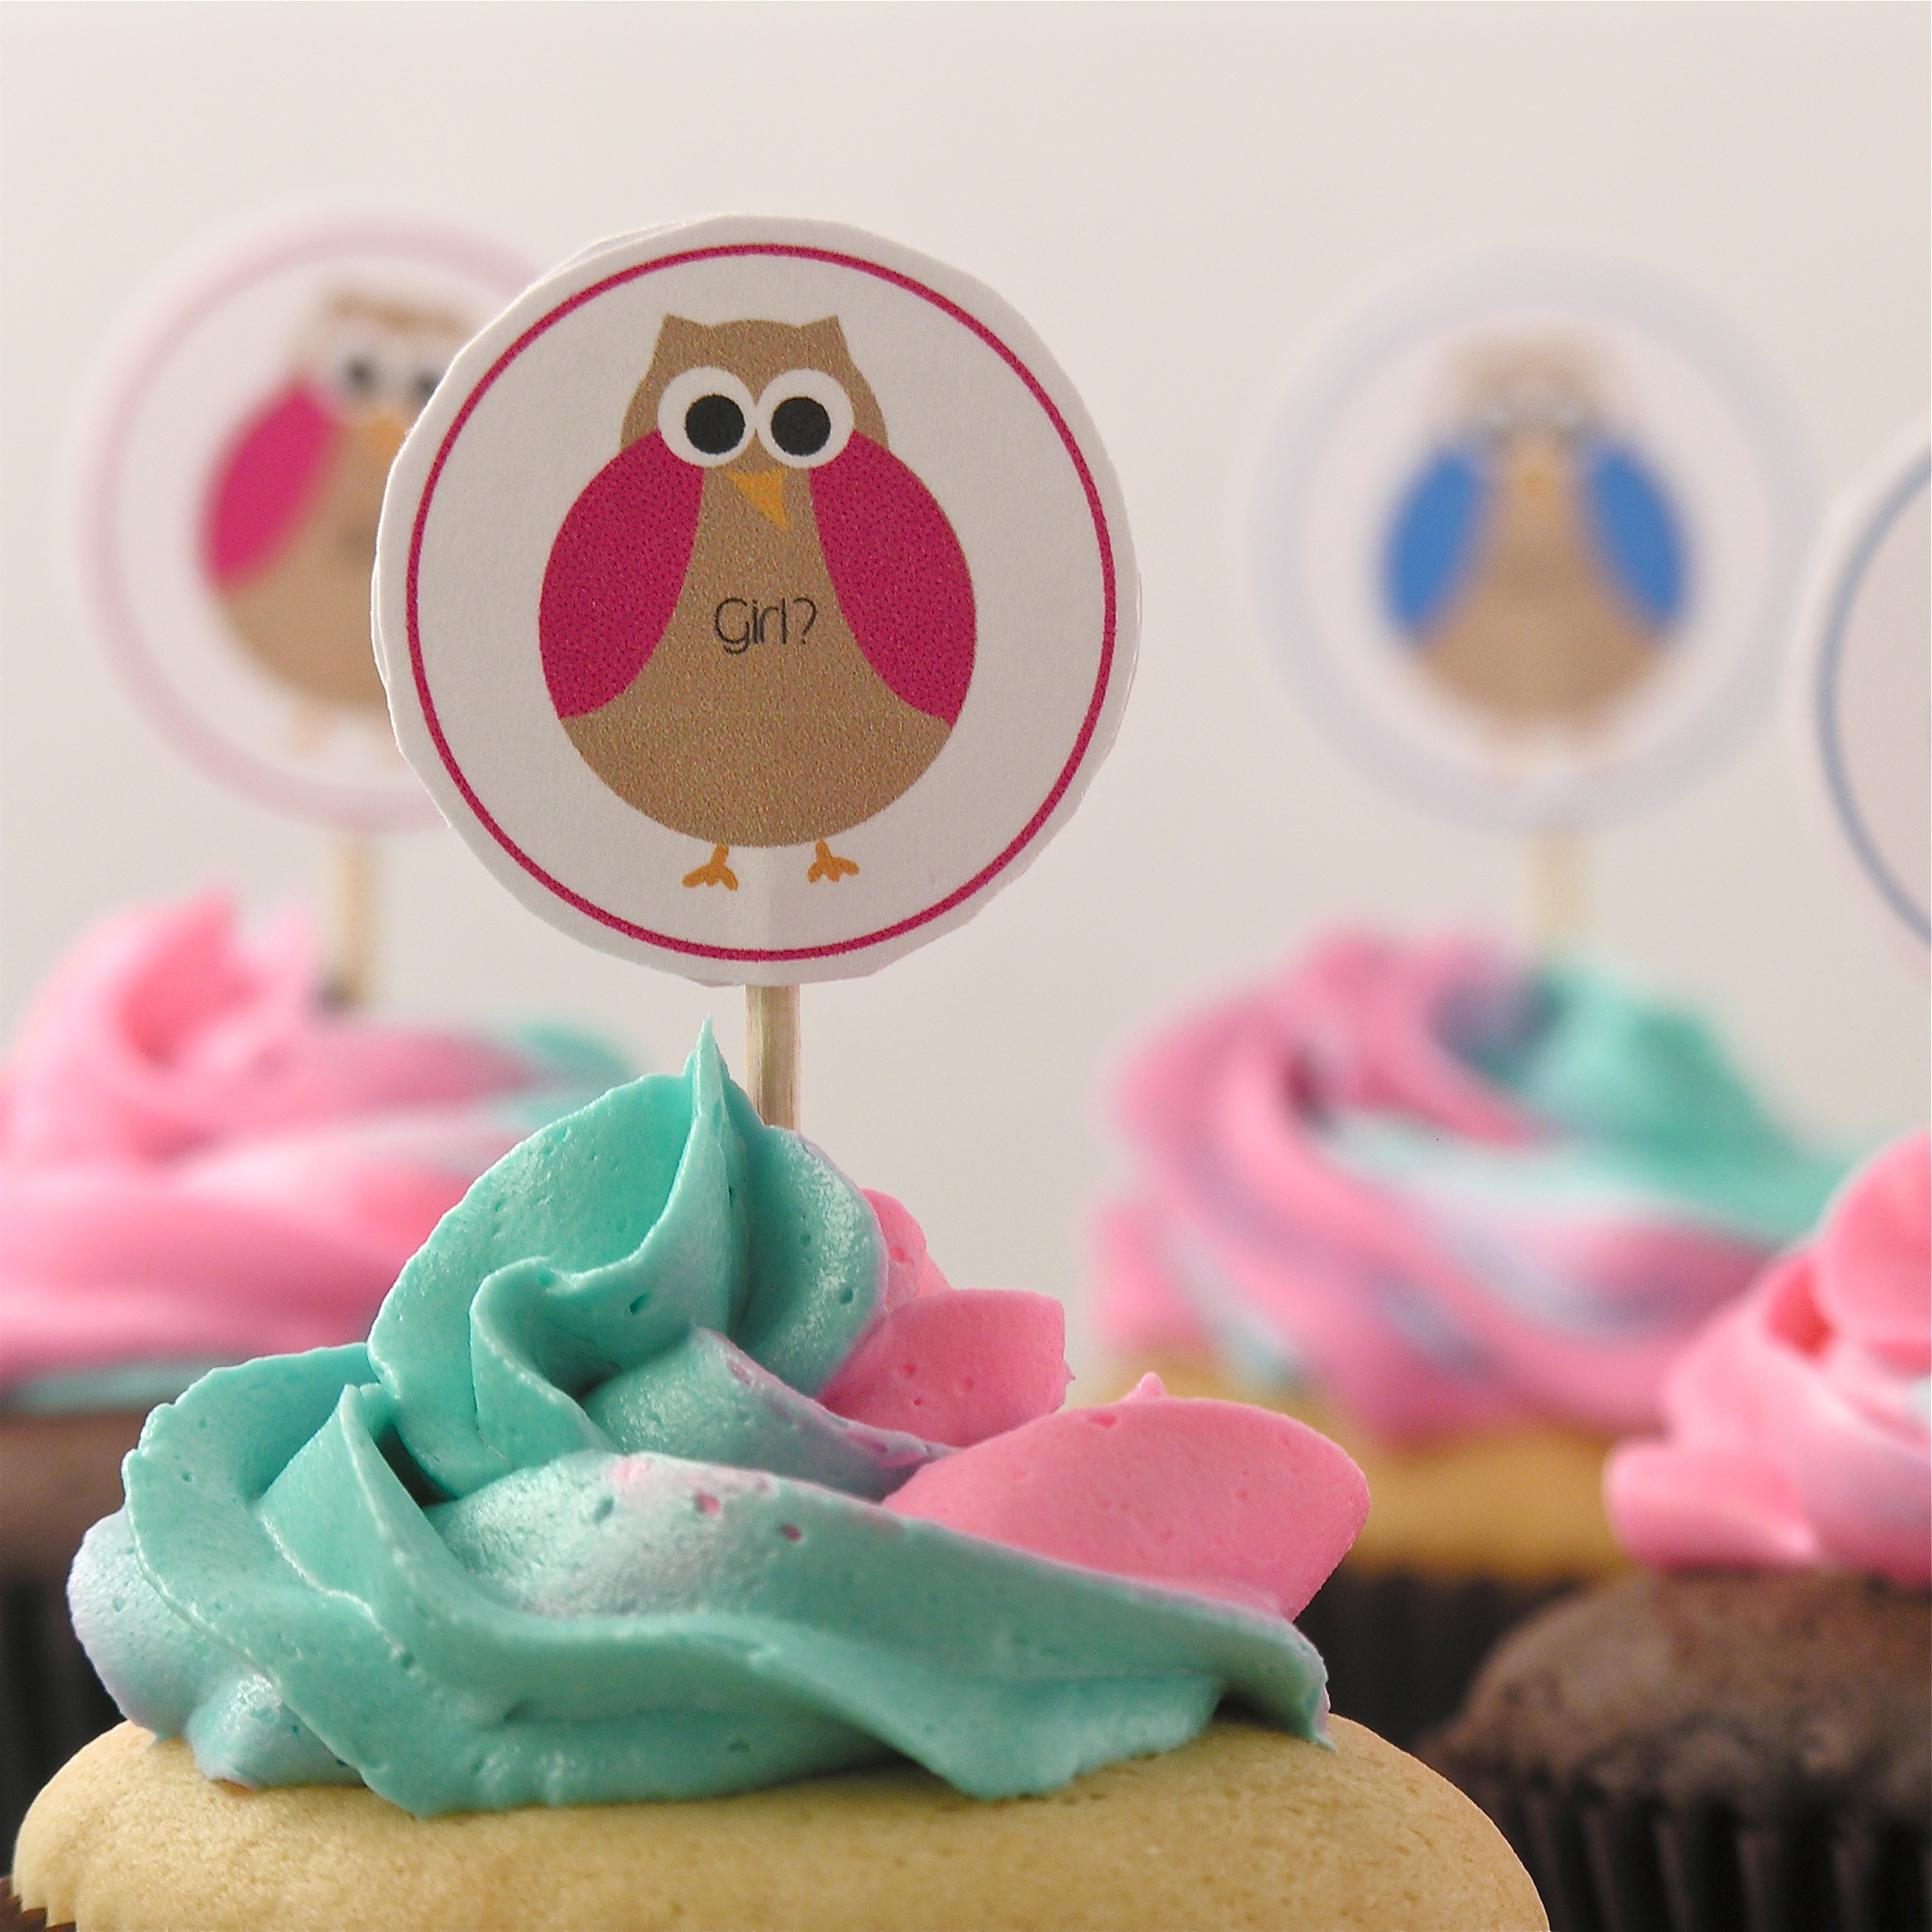
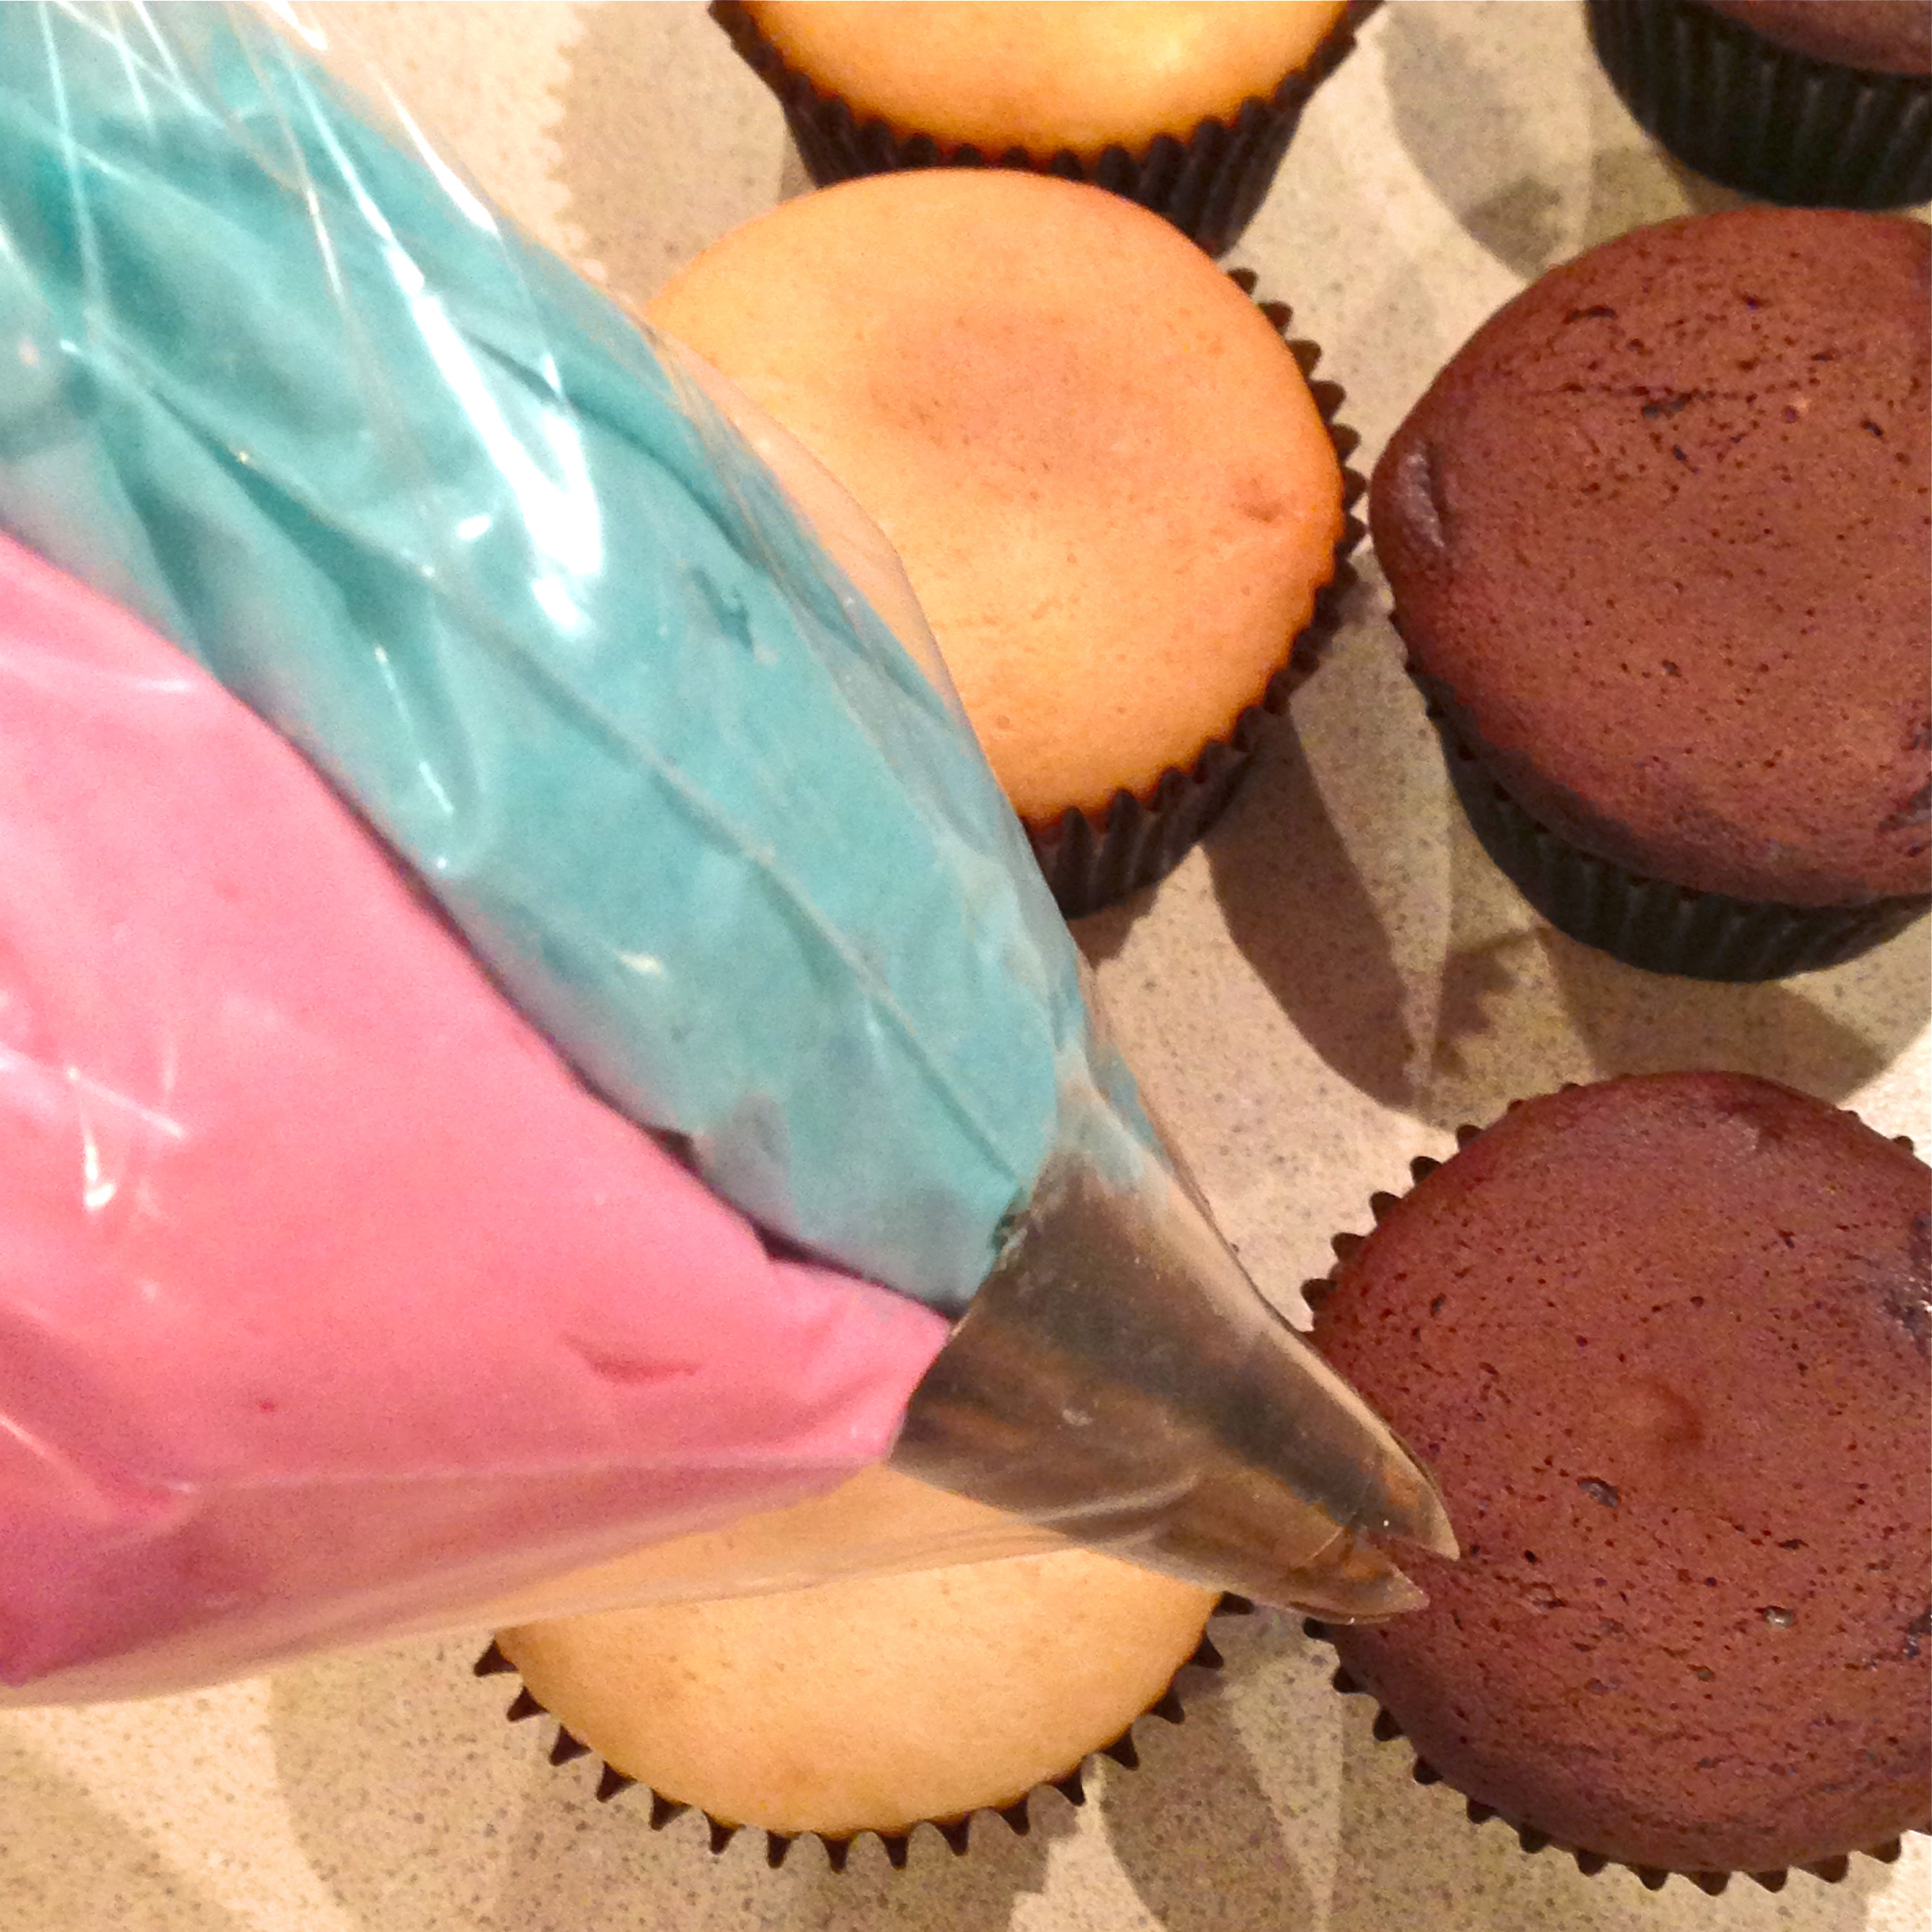
  • Place coconut buttercream in a large zip top bag that has been fitted with a piping tip in one corner.
  • Pipe frosting over top of each cupcake.
  • Sprinkle toasted coconut on top.
  • Drizzle with any remaining caramel sauce you have left….and enjoy!!!


Coconut Caramel Cupcakes!
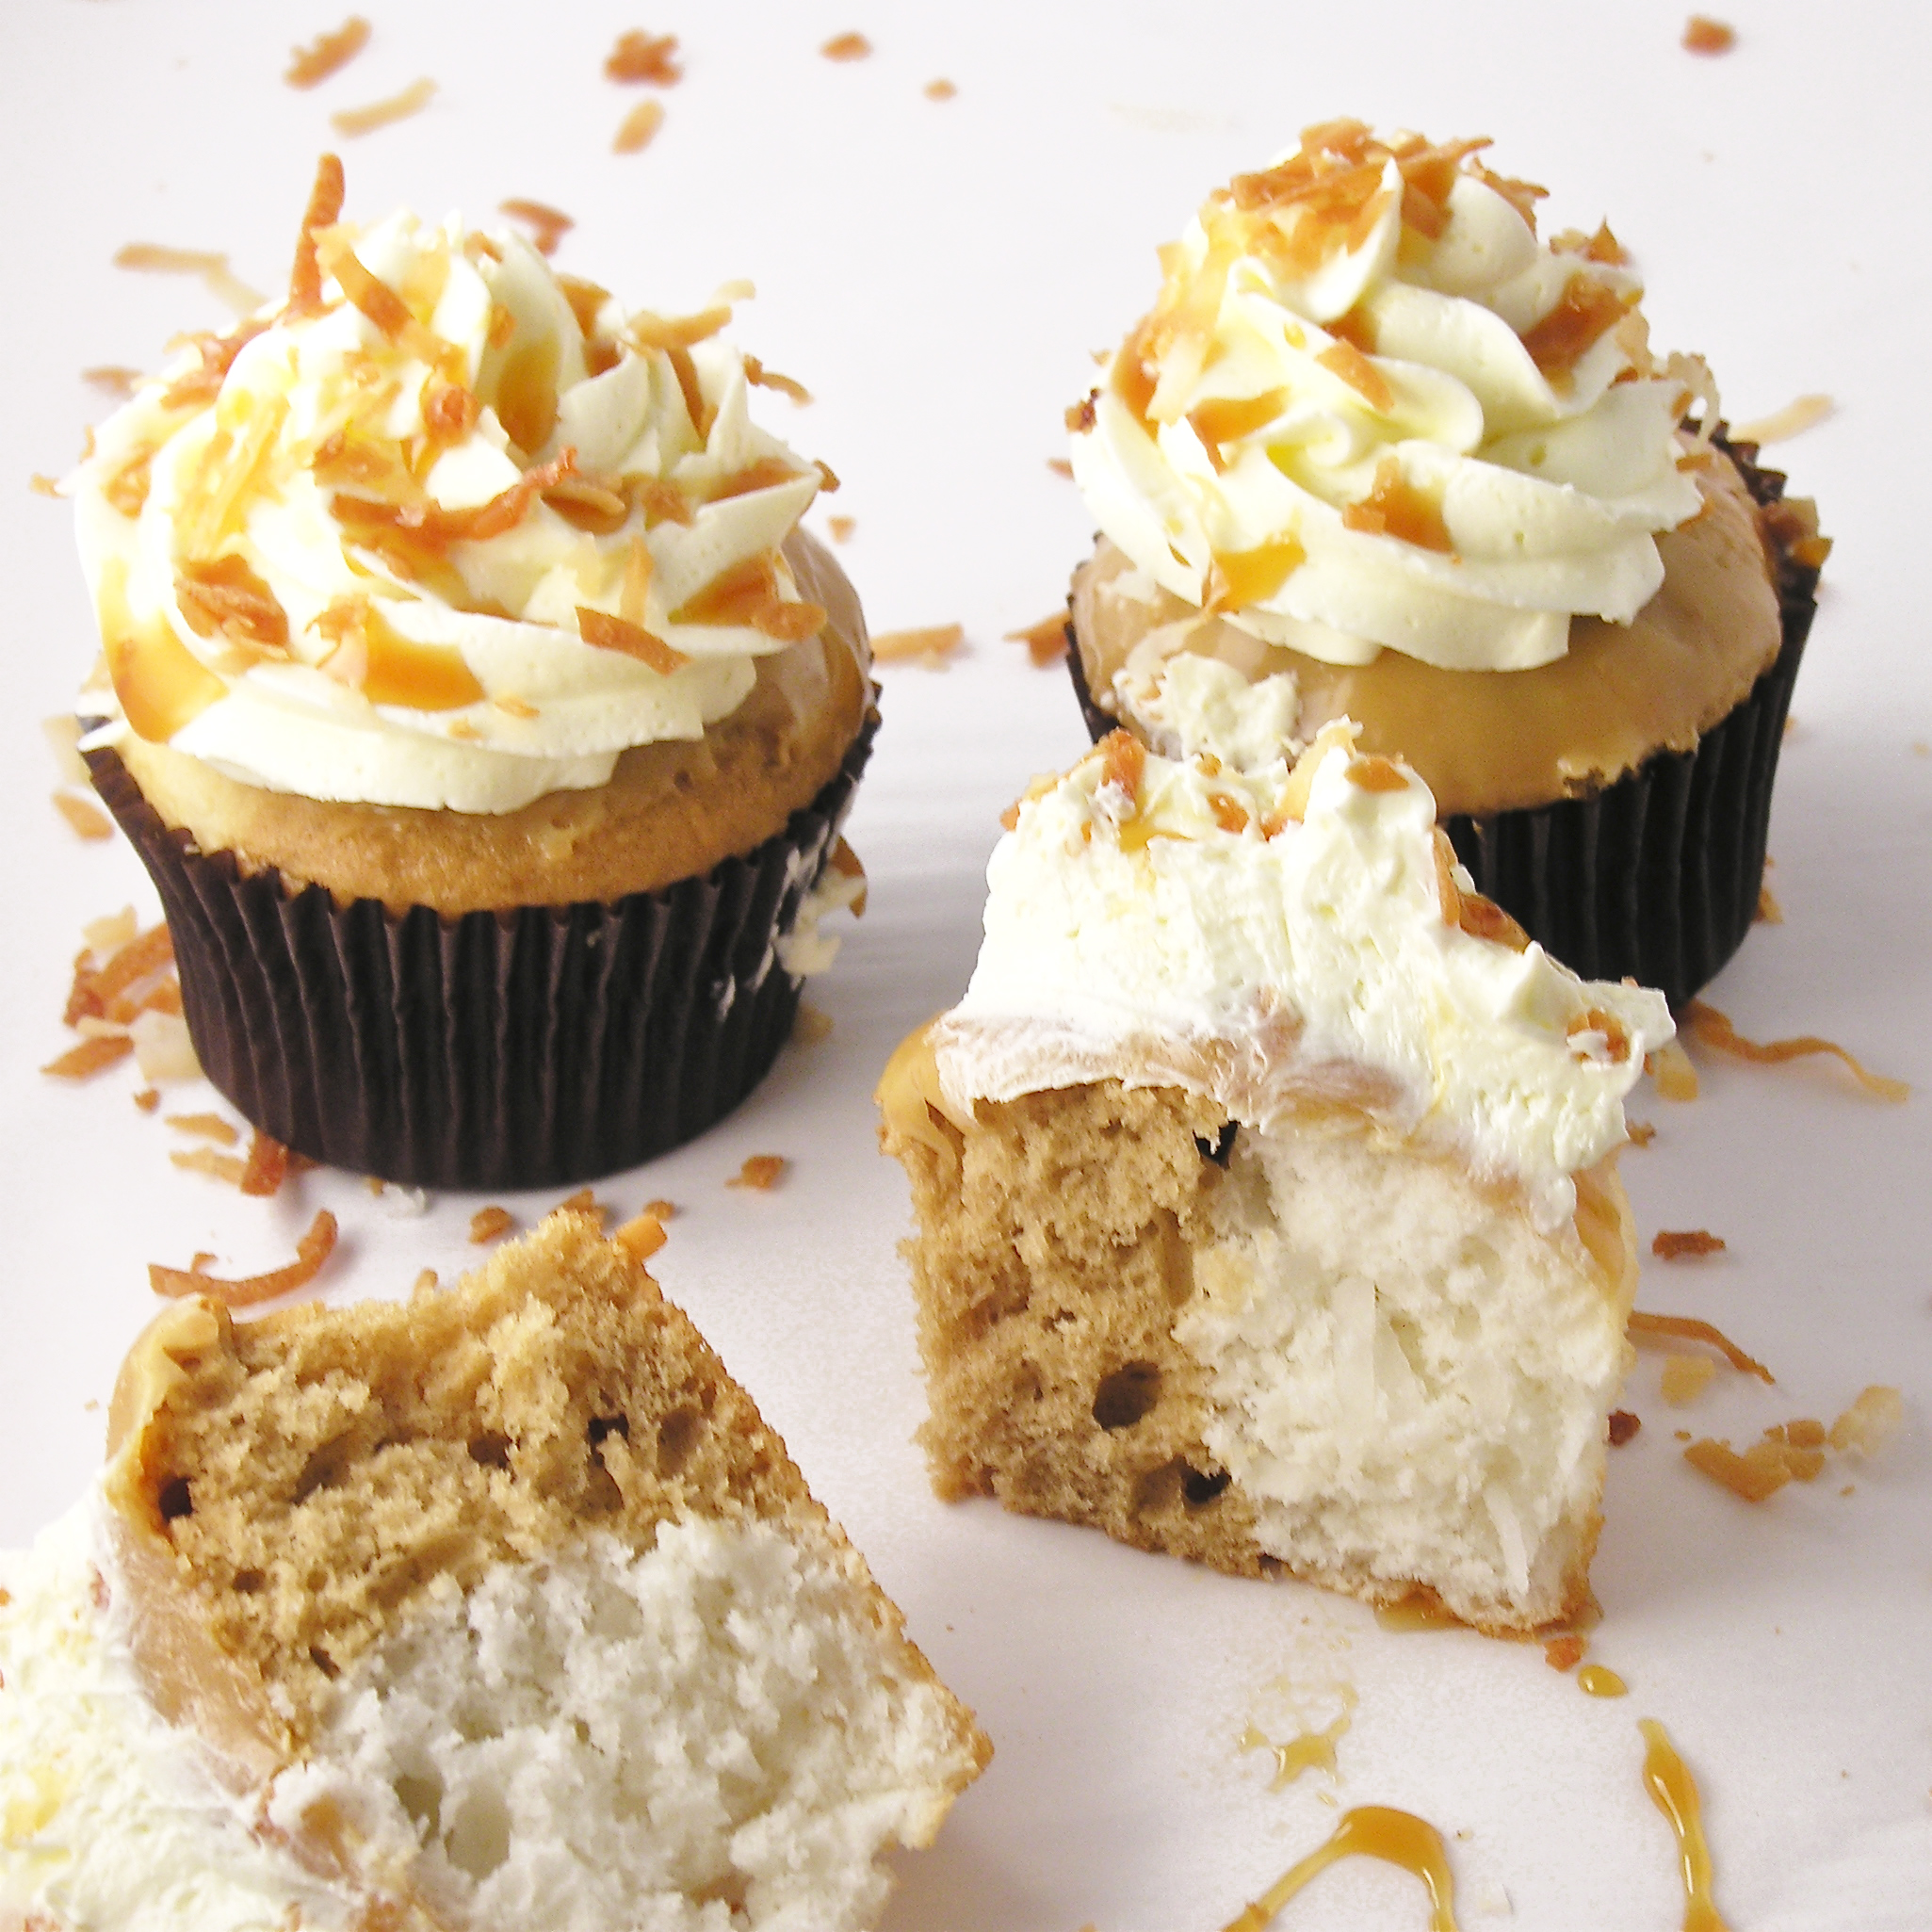
My thoughts:  Loved these cupcakes…so flavorful and fun!  The two-flavor center got lots of “wow”s and that caramel topping…yum….!  I would get 12 of the batter dividers.  It was just inconvenient to need to wash and dry them half way through.  I’m excited to try other color and flavor combinations now.  Super fun for school colors or sports team cupcakes (go Packers!!).  Hope you are inspired to try these.  I think you will really love them!  Enjoy!!!! ~r

Coconut Caramel Cupcakes

You might also enjoy:

Butter beer cupcakesMint Creme Brownie CupsBubble Gum Cupcakes!Dark Chocolate Ganache Cupcakes

Mocha Cupcakes (in edible coffee cups!)

Posted on

Mocha cupcakes in edible fondant mug

Rich chocolate cupcakes and mocha buttercream nestled in an edible marshmallow mug…how much fun is that??

The past two posts have been full of my adventures with my friend Megan from Happily Ever After Cakes.  We made chocolate cut-out cookie pops decorated with royal icing and fondant-covered cupcakes decorated with fun ladybugs and caterpillars.  This is the third and final project from that weekend and I just love how it turned out!

This project starts with easy mini mocha cupcakes with mocha buttercream frosting.  You can stop there and they are just wonderfully yummy –even without the mug!

The mug uses my new-found love of marshmallow fondant to add a little “wow” factor to the cupcakes.

Let’s start with the cupcakes: (printer friendly recipe)

Mocha Cupcakes with ButtercreamINGREDIENTS: (makes and frosts 48 mini cupcakes)

  • One box of chocolate cake mix (plus eggs, oil and water to make according to box)
  • 3 Tablespoons of instant coffee granules (divided)
  • 2 sticks (1 cup) of salted butter- softened to room temperature
  • 2 sticks (1 cup) of unsalted butter- softened to room temperature
  • 3 cups of powdered sugar
  • 2 Tablespoons of vanilla

DIRECTIONS:

  • Preheat oven to 350F degrees
  • Make cake according to box, but add 2 Tablespoons of coffee granules to the water required by cake mix first.
  • Allow granules to dissolve and then add to cake mix with eggs and oil according to box.
  • Place mini cupcake liners into mini cupcake pan and spoon batter into liners.
  • Bake for about 12 minutes until centers are firm.
  • Cool completely
  • Make buttercream by placing vanilla and remaining 1 Tablespoon of instant coffee into a small bowl to dissolve.
  • Add butters and powdered sugar to a large bowl and beat on high until light and fluffy.
  • Remove a small bit of this vanilla-free icing to garnish the tops of cupcakes and set aside.
  • Add vanilla/coffee mixture and beat again until well- combined.
  • To make plain cupcakes, just pipe coffee frosting on top of cooled mini cupcakes and then pipe a tiny bit of the white frosting at the tip of the cupcake.
  • Sprinkle with cocoa powder if desired.

Yum.

To make the cupcakes into little edible mugs, you will need to make fondant and a thick buttercream ahead of time. My previous post goes into great detail on making fondant and buttercream icing.  Click here to see the entire process.

If you’d like to print the recipes for these two things:

Printer friendly recipe for thick buttercream icing

Printer friendly recipe for marshmallow fondant

Once you’ve made both of these items, assembling the little mugs is fairly easy:

  • Unwrap the mini cupcakes you wish to use in mugs.
  • Spread thick buttercream icing around the sides of each cupcake.
  • Roll fondant out  fairly thick and trim into rectangles that wrap around mini cupcake and touch without overlapping. (You’ll need to grab a cupcake and experiment until you know how long and high to make these)
  • Also cut small strips of fondant to use as mug handles.
  • Wrap sides of mug around the frosted edge of each mini cupcake and seal the edges by brushing with a bit of water and holding together.
  • Attach the handle over the sealed edge with a bit of water.

Spread buttercream over sides of mini cupcakeCupcakes ready to be covered in fondantWrap fondant around mini cupcakeAdd handle over seam, using water to attach it.

  • Set mugs on a plate or dish with a lipped edge to hold the handle in place until it sets.
  • Once handle is dried in place, pipe mocha frosting on top of cupcake to fill mug in.
  • Spread frosting flat and pipe a tiny bit of the white frosting on top.
  • Sprinkle with cocoa powder if desired.

Allow handle to harden in place.Pipe frosting into top of mug

Megan (more artistic than I!) decorated some mugs to personalize them for us.  She used decorating brushes with gel food coloring to paint the cups….aren’t they cute????

Edible mug cupcakes!!!My thoughts:  These are really yummy cupcakes- even without the mugs.  The mugs are a little time consuming, but if you want something REALLY unique and fun they are both!  The marshmallow fondant got rave reviews from our friends– they loved it and ate the entire mug with the cupcake.  

When you bite in, it is quite the surprise….so fun!!!!  Enjoy!!!

Edible mug cupcakes
You might also enjoy:

Nutter Butter Flip FlopsBlack Bottom Peanut Butter CookiesRaspberry Lemonade TrufflesFudgy bonbon cookies

Key Lime Cupcakes

Posted on

Key Lime Cupcakes!

These cupcakes are filled with a sweet key lime filling and topped with key lime buttercream…what could be better than that?  Oh, how about a graham cracker crust on the bottom of the cupcake?  This dessert is as close to key lime pie as you can get…without it being a pie!  (printer friendly recipe)

INGREDIENTS: (makes 24 cupcakes)

Filling:

  • 1 cup key lime juice (a labor of love….!)
  • 1 can (14 oz.) sweetened condensed milk
  • 1 egg

DSC_0009

Cupcakes:

  • 2 cups of graham crackers (finely crushed)
  • 3 Tablespoons of butter (melted)
  • 1 boxed yellow cake mix (plus water, oil and eggs to make according to package)

Frosting:

  • 2 sticks (8 oz) salted butter (at room temp)
  • 2 sticks (8 oz) unsalted butter (at room temp)
  • 3 cups of powdered sugar
  • 2 teaspoons vanilla
  • 2 Tablespoons of key lime juice

DIRECTIONS:

Filling:

  • Mix together key lime juice, sweetened condensed milk and egg and pour into a small casserole.
  • Bake at 325F degrees for 15-20 minutes (until center is set)
  • Cool completely.

Cupcakes:

  • Mix crushed graham crackers with melted butter.
  • Spoon about 1 teaspoon of this mixture into 24 cupcake liners in muffin tins (you’ll have a little left to garnish with at the end)
  • Press crumbs firmly into bottom of cup (I find my Mini Tart Shaper to be very useful for this)
  • Make cake mix according to box, and divide batter equally between the 24 cupcake liners.
  • Bake according to directions on box
  • Remove from oven and cool completely.
  • Core cupcakes (I love my Cupcake Plunger– it is so quick to use and saves the core to place back on top of the filling- to see a picture of how it works, click here).
  • Spoon cooled  filling into a zip top bag and clip a corner off.

Spoon Key Lime Filling into a zip top bag!

  • Pipe filling evenly into each cupcake, saving about 1/4 of a cup of filling to drizzle on the top at the end.
  • Place top of core back in place (you can trim some of the bottom off to make room for the filling if you need to)

Frosting:

  • Place butter, powdered sugar, vanilla and 2 Tablespoons of key lime juice into a large bowl.
  • Using a mixer, beat on high until light and fluffy.
  • Pipe frosting on top of cupcakes and drizzle remaining filling on top.
  • Sprinkle with remaining graham crust crumbs and ENJOY!!!!

Key Lime Cupcakes!

My thoughts:  I created these for a graduation party.  The challenge was to create a key lime cupcake for someone who LOVES key lime pie.  Key lime pie is one of my favorite desserts, so it was a fun task.  These were a big hit.  I love the balance between the tart center and the sweet cupcake and frosting.  

It’s spring~ you NEED a key lime cupcake!!!

Key Lime Cupcakes!!

You might also like:

Chocolate molten lava cupcakesCaramel Fudge Brownies!!Sweet Lime TartsTriple Chocolate Cheesecake 3

Cream-filled Doughnut Cupcakes

Posted on

Doughnut Cupcakes

These cream-filled, chocolate glazed, doughnut-flavored cupcakes combine two favorites into one incredible dessert!  Use a fun mini-doughnut pan to make adorable decorations to top these yummy cupcakes!

Doughnut Cupcakes!

Ingredients: (makes 16- 18 cupcakes)

Cupcakes:

  • 1/2 c. butter, softened
  • 1/2 c. sugar
  • 1/2 c. brown sugar (packed)
  • 2 t. vanilla
  • 2 eggs
  • 2 1/3 c. flour
  • 2 1/2 t. baking powder
  • 1/2 t. baking soda
  • 1/2 t. salt
  • 1 c. milk

Cream filling:

  • 1 stick (4 oz) butter
  • 3/4 c. powdered sugar
  • 1 t. vanilla

Chocolate glaze:

  • 1 c. dark chocolate chips
  • 6 T. butter

Directions:

  • Preheat oven to 350F degrees
  • In a large mixing bowl, combine butter, both sugars and vanilla.  Beat on medium until combined.
  • Add eggs, one at a time, beating in between.
  • In a medium bowl combine flour, powder, soda and salt and blend.
  • Add flour mixture and milk, alternating between the two and beating well in between.
  • When batter is complete, scoop about 1 c. of batter into a large zip-top bag.
  • Clip corner and pipe into a Wilton Mini Doughnut Pan– fill each doughnut opening a little less than 1/2 full.
  • Bake mini doughnuts for about 5-6 minutes and cool on a rack.
  • Decorate them as desired (cinnamon, powdered sugar…I used a simple powdered sugar/milk glaze with food coloring and sprinkles)
  • Scoop remaining batter into cupcake liners in a cupcake tin, filling them about 2/3 full.
  • Bake at 350F degrees for about 18-20 minutes (test them when they come out, the centers took a little time to bake all through)
  • Cool cupcakes and core them (I use a Cupcake Plunger so that I have nice little circles to set back on top of the filling when I’m done.)
  • Make filling:  Place butter, powdered sugar and vanilla in a medium mixing bowl and beat on high until light and fluffy.
  • Place filling in a zip top bag and pipe evenly into each cupcake.  Place the cut-out top of the cupcake back on.
  • Make glaze by melting the chocolate chips and butter together in the microwave in 30 second increments stirring until smooth and shiny.
  • Cool just a little (so its easy to handle) and spoon or pipe onto top of each cupcake.
  • Before the glaze hardens, place a mini doughnut on top for decoration…so much fun!!!!!
  • Enjoy!

Creme-filled Doughnut Cupcakes!

My thoughts:  These cupcakes are a little work with the filling and the topping (and notice, dear fans, that I did NOT use a cake mix for these!!)  The extra effort really pays off in how good these cupcakes are.  Oh my.  Like doughnuts in cupcake form…perfect!  Enjoy!!!  ~r

Doughnut cupcakes!!

Try some of Easybaked’s other cupcake ideas.  Click on an image to get the recipe:

Cookie Dough CupcakesPile of Cupcakes!Rich Chocolate Ganache Mini Cupcakesblackberry cream cupcake


Gender Reveal (Surprise!) Cupcakes

Posted on

Gender reveal cupcakes!!!These cupcakes hold a secret—- is it a boy, or is it a girl?  The latest trend of having a gender reveal party is SO much fun when the gender is revealed with a yummy dessert!  Plus, I’ve included free printable cupcake toppers to go along with your party theme!

Gender reveal Cupcakes

A few weeks ago, Easybaked featured  a Polka Dot Cake using a Cake pop maker.  It was so much fun that I couldn’t help but think of other ways to use the idea.  These cupcakes are just wonderful– when you bite in the color is seamless- you can’t even tell that the cake pop was baked ahead.  Want to know how to do this?

Here we go:

INGREDIENTS:

  • 1 white cake mix (for about 18 cupcakes) or 1 white/ one chocolate for a combo and about 36 cupcakes
  • The oil, eggs and water required by your boxed mix(es)
  • Gel food coloring
  • Frosting (I used my buttercream recipe ~double it if you add the second cake mix)

This little chart should help you see how many cupcakes are made with just the white mix and how many are made when you use both a white and chocolate mix (I’m bad with math…I need visuals!!):

Gender reveal cupcakes

DIRECTIONS:

  • Plug in/heat up your cake pop maker
  • Make white cake mix according to box.
  • Take about 3/4 cup (1 1/4 cup for the double batch!) of batter and place it into a smaller bowl.
  • Color the batter using color gel (I like Wilton brand of Gel food coloring because they always come out bright.  Try Aqua or Pink.)
  • Follow the directions on your cake pop maker to use the colored batter to make cake balls.  Helpful hints:  work fast and use a small cookie scoop to evenly spoon batter into cups, and check them- I burnt my 1st batch following the directions!  You should have enough batter to have a practice round and adjust.

Color batter with gelsScoop batter into cake pop maker

  • While cake balls cool, spoon small amounts of your remaining white cake mix into 12-18 cupcake liners in a cupcake tin. (start with 12 and see how much batter you have left for the rest).
  • Spread the batter out along the bottom so you have a thin layer in each liner.
  • Set a cooled cake ball in the center of each liner and carefully scoop batter over the top (I found a medium cookie scoop to make this job MUCH easier!)

    Set cake ball into center of cupcake...Scoop batter over top of cake ball.

  • After your 12 are filled, continue on until you have used up all of your cake batter.
  • Bake at 350F degrees for about 20 minutes.
  • (If you are making the double batch, make your chocolate cake mix while the white cupcakes bake.  Set these up with the cake balls hidden inside the batter and bake for the same amount of time.)
  • Remove from tins immediately and cool on the counter.  Frost and decorate as desired.

Gender reveal cupcakes- two tone frostingPiping two tone icing colors!

Do you see how I piped the two-tone icing colors?  I’m sure there must be a better method than this…I am so not a cake decorator.  It turned out ok- but it was a little fussy to keep equal pressure on both colors at the same time.

The toppers are easy and inexpensive to make.  Simply click here to get a free pdf file of the owl toppers.  Print them on a heavy card stock paper, cut them out and use double sided tape to stick them back to back around a toothpick (one boy owl and one girl, back to back).

It's a boy!!!

It’s a boy!!!

My thoughts:  I love how the final cupcake is….just a cupcake.  It isn’t anything fancy or cream-filled…just a cupcake with a surprise.  These would be fun cupcakes for any party- you could even incorporate them in a game—whoever gets the (__color___) cupcake gets a prize!  I hope these make their way into a party of yours soon!  Enjoy!!! ~r

It's a girl!!!

It’s a girl!!!

Want some other shower ideas from easybaked?  Click on the image to be taken to the recipe.

Gender Reveal CupcakeRaspberry Confetti KissesGender reveal cookiesKool-Aid Truffles!!

A big pile of cupcakes!

Pile of Cupcakes!Make everyone smile with a stack of three colorful cupcakes!  Made with peanut butter cups, these mini-cupcake decorations are SO yummy with the chocolate cupcake they top.  The occasions you could serve these at are endless.  What a fun New Year’s Eve party treat, or birthdays?  What about a Dr. Seuss themed party?  SO much fun!!!!  Here’s how to put them together:

INGREDIENTS:

  • One boxed dark chocolate cake mix (with oil, water and eggs to make according to box)
  • 2 sticks (8 oz) salted butter (softened)
  • 2 sticks (8 oz) unsalted butter (softened)
  • 3 cups of powdered sugar
  • 2 tsp clear vanilla
  • 24 Reese’s miniature peanut butter cups (unwrapped)
  • 24 Reese’s minis peanut butter cups
  • Wilton Icing Colors
  • sprinkles, jimmies to decorate cupcakes

DIRECTIONS:

  • Make cupcakes according to the box.  I used brown cupcake liners to match the chocolate on the peanut butter cup toppers.
  • Cool cupcakes completely.
  • Make butter cream frosting by combining butters, powdered sugar and vanilla in a large mixing bowl.
  • Beat on high until frosting is light and fluffy.
  • Divide frostings into bowls and color using icing gels.  I made 5 colors, but you can do however many you want.
  • Pipe frostings on top of cupcakes and (using a smaller tip) pipe frosting on top of the two sizes of peanut butter cups.  (I clipped both corners of a zip top bag and put the large tip in one and the small in the other.  I piped the large cupcakes 1st and then squeezed the remaining frosting into the other corner and piped the frosting on the Reese’s cups.)
  • Gently stack the tiny cupcake on the medium and the medium on the full-size. (this buttercream recipe worked GREAT for these- it is nice and firm and hardens just a bit as it sets.  I didn’t lose even ONE topping!)
  • Decorate with sugars and jimmies as desired I used Red Sixlets Candy  for the large cupcakes and they looked so cute- like cherries!


Dr. Seuss Cupcakes!Aren’t they fun?  I just couldn’t stop taking pictures!

Fun Birthday Cupcakes!My thoughts: Goodness these cupcakes made me happy.  My friend Danielle and I made them together and we both kept saying, “Ah! They are so CUTE!”  My neighbors and coworkers were the recipients of these treats and the smiles when they saw them made my day!  I love easy ideas that are high on the “WOW” factor.  To give credit where it is due, my friend Megan from Happily Ever After Cakes pointed this idea out to me on Edible Crafts.  They had only used one cupcake topper, but I love it so much with two!!  Enjoy!!!!!!  ~r

Cupcake toppers

Need some ideas for your upcoming New Years Eve Party?  Try these fun treats!  Click on the image to be taken to the recipe:

Raspberry Confetti KissesConfetti CupsStrawberry Lemonade Birthday Cake!Cotton Candy Fizz

A collection of mini cupcakes and a fundraiser for FUSION!

This post is a mid-week collection of cupcake recipes and a celebration for my friend Josh who is a missionary in Slovakia.  Those of you who have followed my blog for awhile will remember my lack of recipe posts for several weeks every summer because I travel to Slovakia to work with a mission organization called Josiah Venture.  This organization helps local churches reach teenagers with the message of God’s love for them.  Two of the ways they do this is through English camps (Americans going and teaching English–which is how I’ve been a part) and also through teaching music at camps.  My friend Josh heads up the music portion of this ministry in Slovakia.  After camps, he is able to go into schools and start clubs that teach music theory and also various instruments.  Many of the kids he works with come from really difficult home situations and they call Fusion “family”.

Easybaked was able to come alongside Josh for a fundraiser for Fusion this past weekend.  He hosted a coffeehouse and we helped provide (800!) mini-cupcakes in 8 different flavors.  It was such a great time to hear about what God is doing in Slovakia though Josh and Josiah Venture, and a lot of support was raised to help him in his work.

I rarely stray from simply sharing my recipes here, but I just had to give a shout-out to Josh and his hard work with these teens.  If you’d like to know more about him just click here.  You’ll be taken to his home page with Josiah Venture and also connected with his blog.

Thanks for giving your life here up to serve God far from home Josh!!!!!

Now cupcakes……

800 would have been impossible to do alone I think (how do bakeries manage?!?) So I enlisted 7 friends to help.  We had a training session in making butter cream and piping it and WOW—they did such a great job!!!!

These were our practice cupcakes….which we promptly ate up!

The night of the event we brought all of our unfrosted cupcakes to the venue and piped and decorated there– it ended up being a lot of fun to do them all together:

!

The eight flavors of cupcakes came either directly from the pages of easybaked- or they were inspired by a recipe here.  Since we are racing toward the holiday season, I thought I’d share each of the recipes with you in a unique way– with free printable recipe cards.  That way you can make them and share the recipe with your friends and family!  Fun!!

Click on the photo to be taken directly to the easybaked recipe that inspired the mini-cupcake.  Click on the words “recipe cards” under each photo to get a pdf that you can print and share.

Red Raspberry Minis — recipe card               Andes Mint Minis  — recipe card

Caramel Apple Minis — recipe card       Cinnamon Roll Minis — recipe card

Strawberry Lemonade — recipe card       Bubble Gum Minis– recipe card

Chocolate Ganache Minis–recipe card     Wedding Cake Minis —recipe card

The very last recipe wasn’t inspired by any recipe in particular, so if you click on the photo you will simply get….a photo.  Sorry about that!  My apologies also for the photography ~ my iphone did all of the work on this post 🙂

I hope you enjoy this collection of cupcake recipes and cards~ and thank you for allowing me to share a little bit of my heart with you in this post!  Back soon– in the meantime….enjoy!  ~r

Caramel Apple Cupcakes (with Halloween MISfortune cookies!)

Posted on

Caramel cupcakes dipped in gooey caramel cream and topped with tangy green apple frosting~ yum!  Add a caramel MISfortune cookie on top to celebrate Halloween with some laughs.

INGREDIENTS:

  • One box of Duncan Hines Caramel cake mix (plus water, oil and eggs to make according to box)
  • One bag (14 oz) Kraft Caramels
  • 1/2c. sweetened condensed milk
  • 1/4c. butter or margarine
  • 1 stick (4oz) salted butter
  • 1 stick (4 oz) unsalted butter
  • 2 c. powdered sugar
  • 2 t. clear vanilla flavoring
  • 1 packet of Crystal Light drink mix- Appletini flavor

DIRECTIONS:

  • Preheat oven to 350F degrees.
  • Make cake mix according to box and divide into 24 cupcake liners in a cupcake tin.
  • Bake according to box. Remove from oven and cool completely.
  • In a small saucepan, combine 16 unwrapped Caramels, 1/2c. sweetened condensed milk and 1/4 c. butter.
  • Melt (stirring constantly) until creamy and smooth.
  • Pour warm caramel into a small bowl.  Dip tops of cooled cupcakes into caramel to coat the top.  Stir caramel occasionally to keep it smooth.  (I had to spoon the remaining caramel onto the last few cucpcakes instead of dipping them)

  • Allow caramel to cool completely.
  • Make frosting by adding butters, powdered sugar, vanilla and Crystal Light drink mix together in a mixing bowl.  Beat together on low until combined and then beat on high until light and fluffy.  **note: the apple flavor in the drink mix is strong and tart– I LOVED it, but you might want to add it a little at a time and taste as you go to decide how strong a flavor you want.**
  • Pipe frosting over the caramel on each cupcake and enjoy!!!

To add fun little misfortune cookies on the top for Halloween party: 

  • Unwrap the rest of your Kraft Caramels and place about 15 in a large ziplock bag.  Microwave for about 15 seconds to soften them, remove them from the bag and knead them into a ball.
  • Place the ball back in the bag and using a rolling pin, roll the caramel out flat and thin.

  • Carefully remove the flattened caramel from the bag and use a round cookie or fondant cutter to cut circles out of the caramel.

  • Slide a funny misfortune in the center and fold into a fortune cookie shape (fold lightly in half and then pull the corners back and together).

Need ideas for MISfortunes?  Print a free PDF of my favorites here

  • Place each MISfortune cookie on a cupcake and enjoy!

To give credit where it is due: this GENIUS idea of using Kraft Caramels to make fortune cookies came from a wonderful book called  What’s New, Cupcake?  I was browsing the  cookbook aisle a few weeks ago and came across this book- it is AMAZING.  If you click on the title it will take you to Amazon and you can see pictures of some of the cupcakes other people have made using this book…..amazing creativity!

My thoughts:  These are such a unique cupcake– the tart green apple frosting is the perfect balance to the sweet caramel and the misfortune cookies just make everyone laugh. The frosting is a tart and strong green apple flavor- a little like Jolly Rancher candies.  You can add less drink mix to tone it down if you’d like- just add a little at a time and taste as you go.  I loved it exactly the way it turned out!

 I want to apologize ahead of time to my international fans.  I’m pretty sure you are going to have a hard time finding caramel cake mix and almost positive you won’t be able to get your hands on the Appletini drink mix.  A homemade caramel cake would work, and any powdered drink mix with a green apple flavor..?  As I said- my apologies!!!  

I hope you really enjoy surprising people with these unique cupcakes!!  ~r

Dark Chocolate Ganache Cupcakes

Dark chocolate cupcakes topped with ganache and vanilla buttercream– so rich and smooth because they are flour-less (lets hear it for my gluten-free friends!!)!!!  YUM!

Ingredients: (makes about 40 mini cupcakes)

Cupcakes:

  • 1 1/2 cups of dark chocolate chips
  • 1 stick (4 oz.) salted butter
  • 2 T. cocoa powder
  • 4 egg yolks
  • 6 egg whites
  • pinch of salt
  • 1/2 c. sugar

Ganache:

  • 1/2 c. dark chocolate chips
  • 1/4 c. heavy whipping cream

Frosting:

  • 1 stick (4 oz.) salted butter (room temp)
  • 1 stick (4 oz.) unsalted butter (room temp)
  • 1 1/2 c. powdered sugar
  • 2 t. clear vanilla flavoring

DIRECTIONS:

  • Preheat oven to 350 degrees
  • In a microwave safe bowl, melt chocolate with butter in 30 second increments, stirring between until smooth and creamy.
  • Whisk cocoa powder into melted chocolate.
  • Add egg YOLKS and whisk until smooth.  Set aside.
  • Add a pinch of salt to the egg whites and whisk until foamy.
  • Add sugar gradually to egg whites while beating on high until medium peaks form.
  • Add 1/3 of egg whites to chocolate and mix well- until completely combined and smooth.
  • Add remainder of egg whites and fold in gently until completely incorporated.
  • Spoon batter into mini-cupcake liners in tins and bake at 350 degrees for 10-12 minutes.
  • Remove from oven and cool completely. (Cupcakes will rise high in oven and as they cool they will sink and even become a little concave— perfect spot for our yummy ganache to sit!!)
  • To make the ganache, heat chips and whipping cream in the microwave in 30 second increments, stirring in between, until completely melted and smooth.
  • Gently spoon or pipe ganache into the concave top of each cupcake until all ganache is used up.
  • Allow ganache to cool and harden (place in fridge to speed this process up)
  • Make frosting by combining remaining room temperature butters with powdered sugar and vanilla and beating on high until light and fluffy.
  • Pipe frosting on tops of each cupcake, covering the ganache.
  • Decorate as desired.

My thoughts: Usually, I use a cake mix for my cupcakes and focus on the fillings and frostings for that “wow” factor.  The wow factor in these is definitely the cupcakes themselves….wow.  I tried cupcakes made with a flour-less recipe this past weekend in Chicago at Molly’s cupcakes.  (AMAZING!)  I just had to try making them for myself and the reason I made them mini is because they are SO rich and heavy.  A full-size cupcake would be too much.  These cupcakes are definitely worth the extra effort!  The tiny hearts on top I just made on wax paper using Wilton’s candy melts. Click here for some photos of how to pipe designs in chocolate.  Enjoy!!!  -r

Lemon Lime Cupcakes

Refreshing lime cupcakes topped with lemon butter cream- SO easy and fun!!

I just can’t say goodbye to those summer flavors and colors….I know I should be sharing my apple and pumpkin recipes with you, but these just make me so happy!!  The tart and the sweet….lime green and yellow….if you are missing summer already these are the perfect remedy this weekend!

INGREDIENTS:

  • One boxed white cake mix
  • Oil, eggs and water to make mix according to box
  • 1 small box(3 oz) of lime jello
  • 2 sticks of salted butter
  • 2 sticks of unsalted butter
  • 3 c. powdered sugar
  • 3 t. lemon extract
  • 1 t. vanilla extract
  • Yellow food coloring (to desired shade)

DIRECTIONS:

  • Make cake according to directions on box, but add lime jello before mixing.
  • Pour into 24 lined cupcake tins and bake according to package.
  • Cool cupcakes completely.
  • Make frosting by combining butters (softened), powdered sugar, lemon and vanilla extracts and coloring in a large bowl and beating on high until light and fluffy.
  • Pipe frosting onto cupcakes (watch this video for techniques)
  • Decorate as desired.  I topped with heart sprinkles and sour fruit heart candies, but I thought it might be fun to top with course salt and a cute straw and call them Margarita cupcakes!  Be creative!


My thoughts:  These are so easy.  Because they use Jell-O, the flavor possibilities are incredible.  Raspberry and Lemon?  Peach?  If you want a really easy twist on a plain cupcake these are your recipe!  Enjoy!!!  ~r