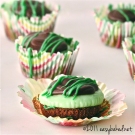
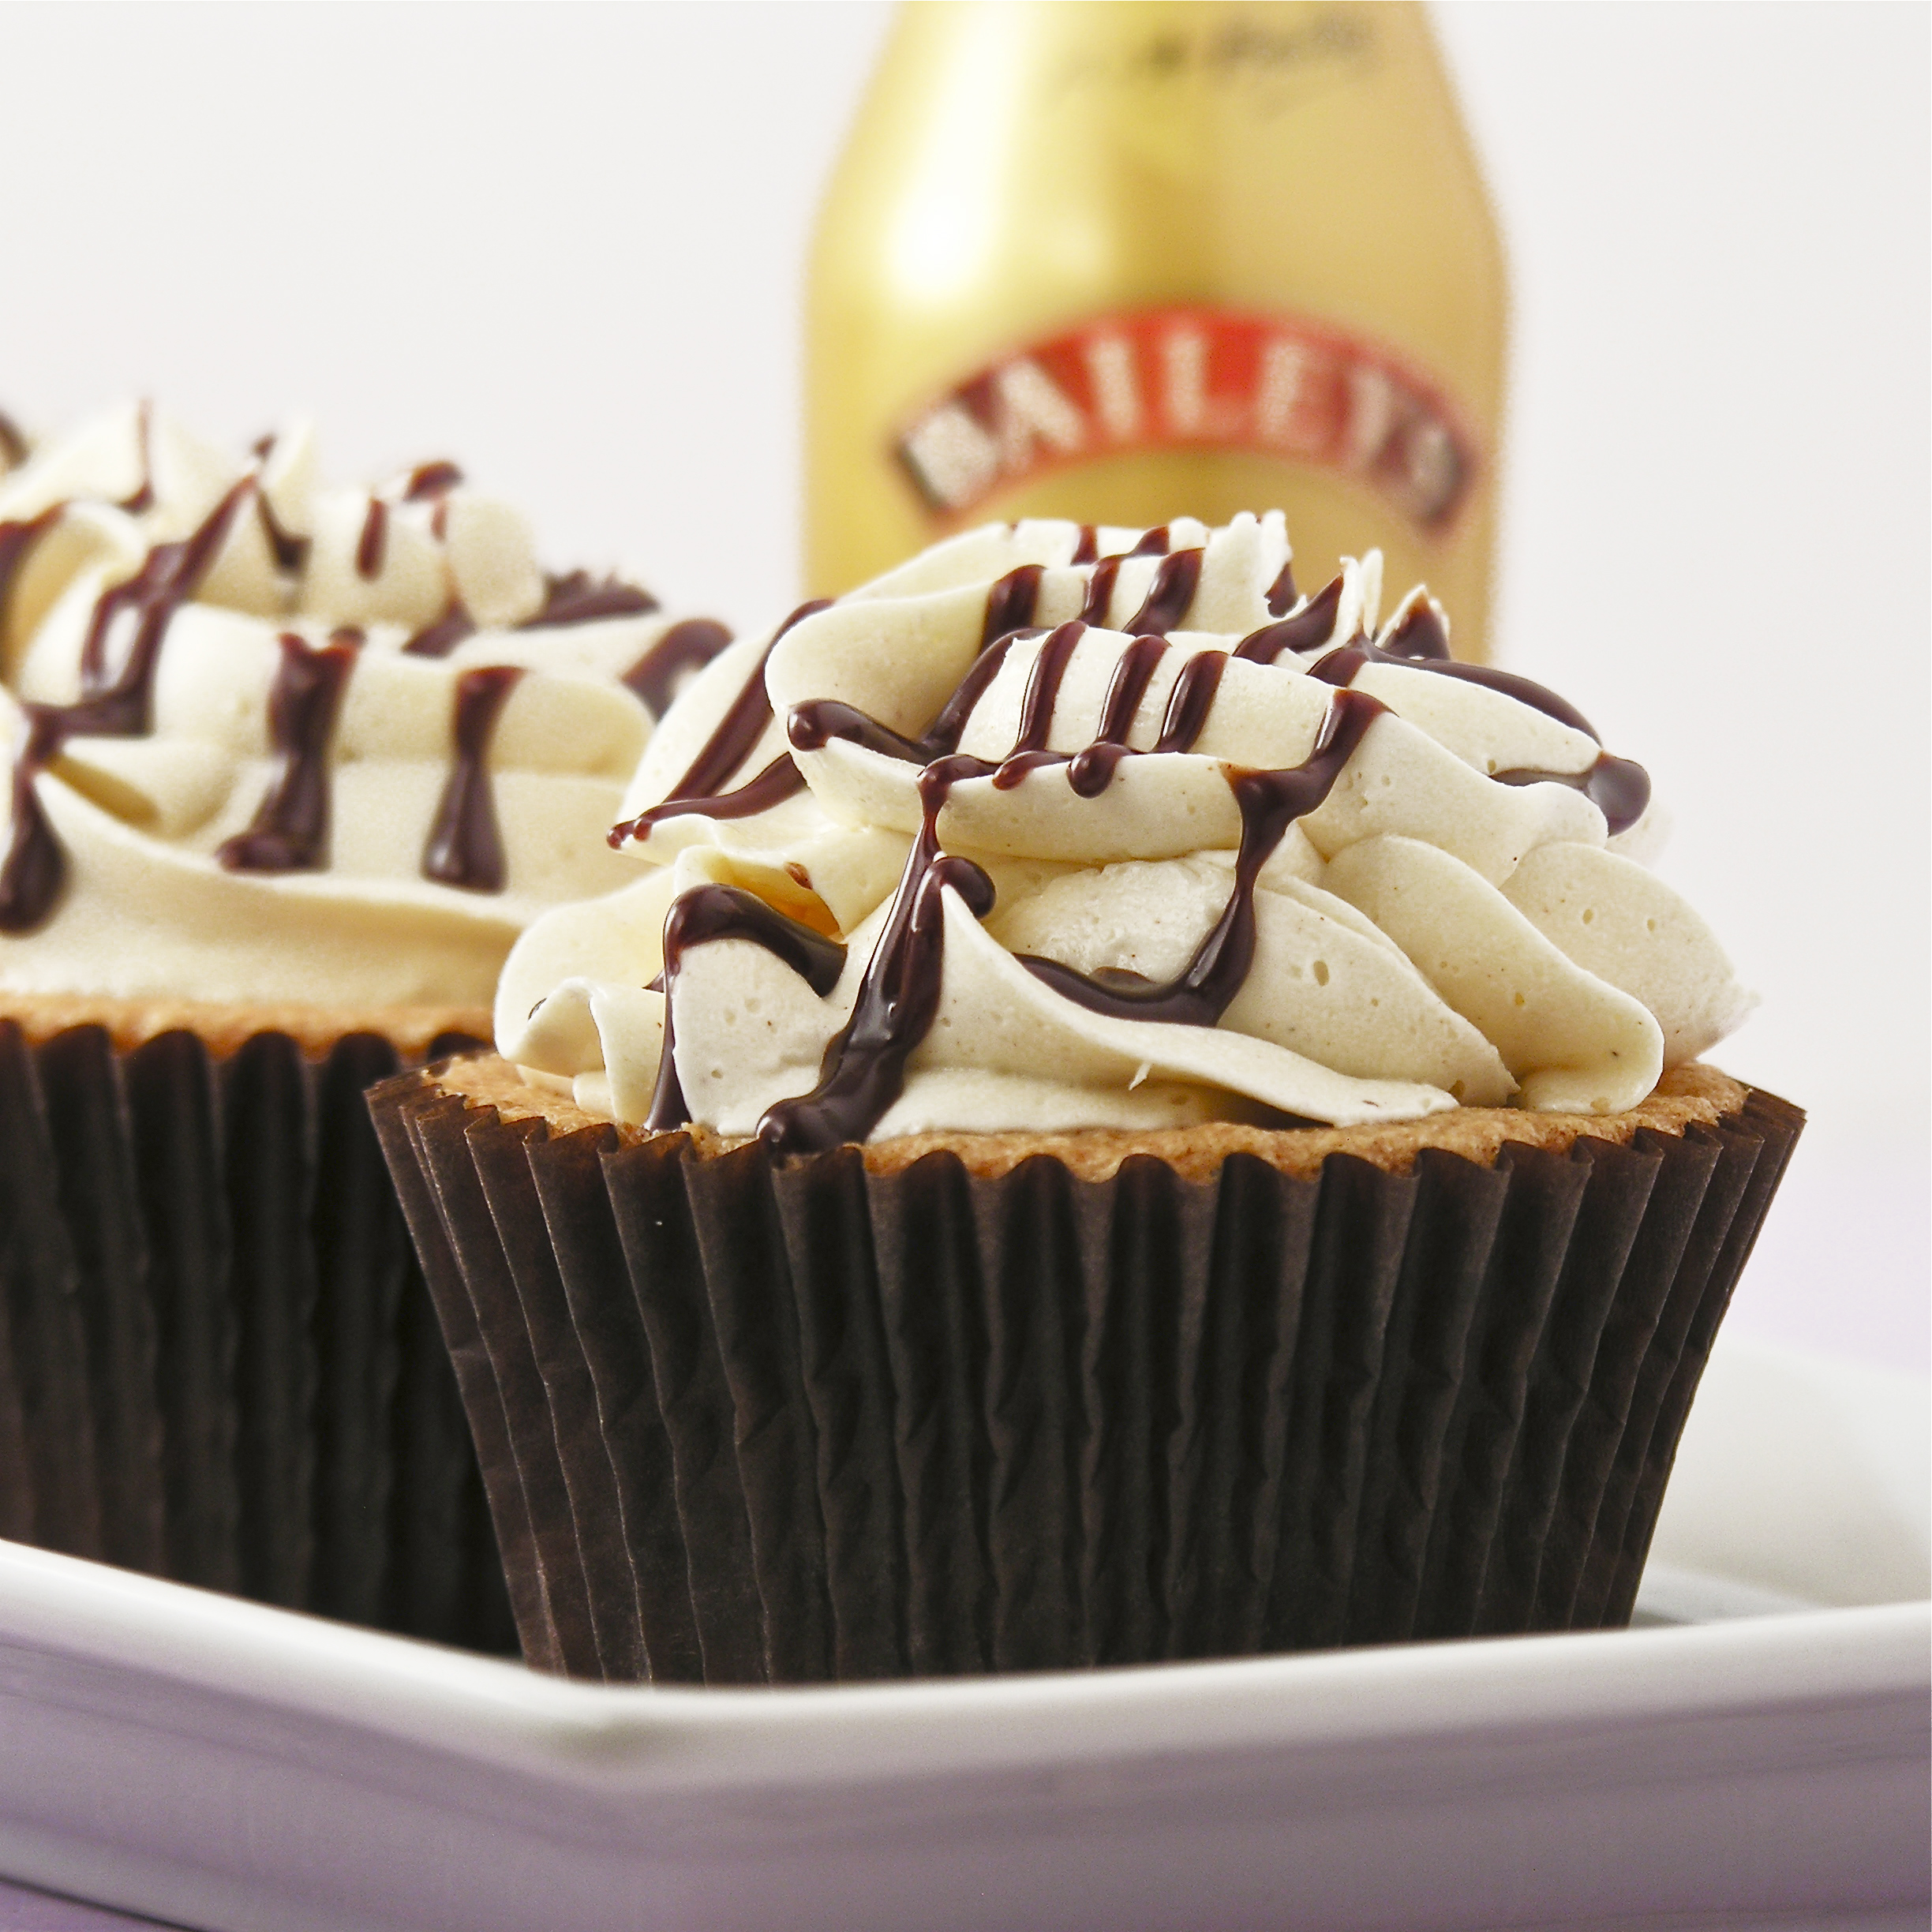
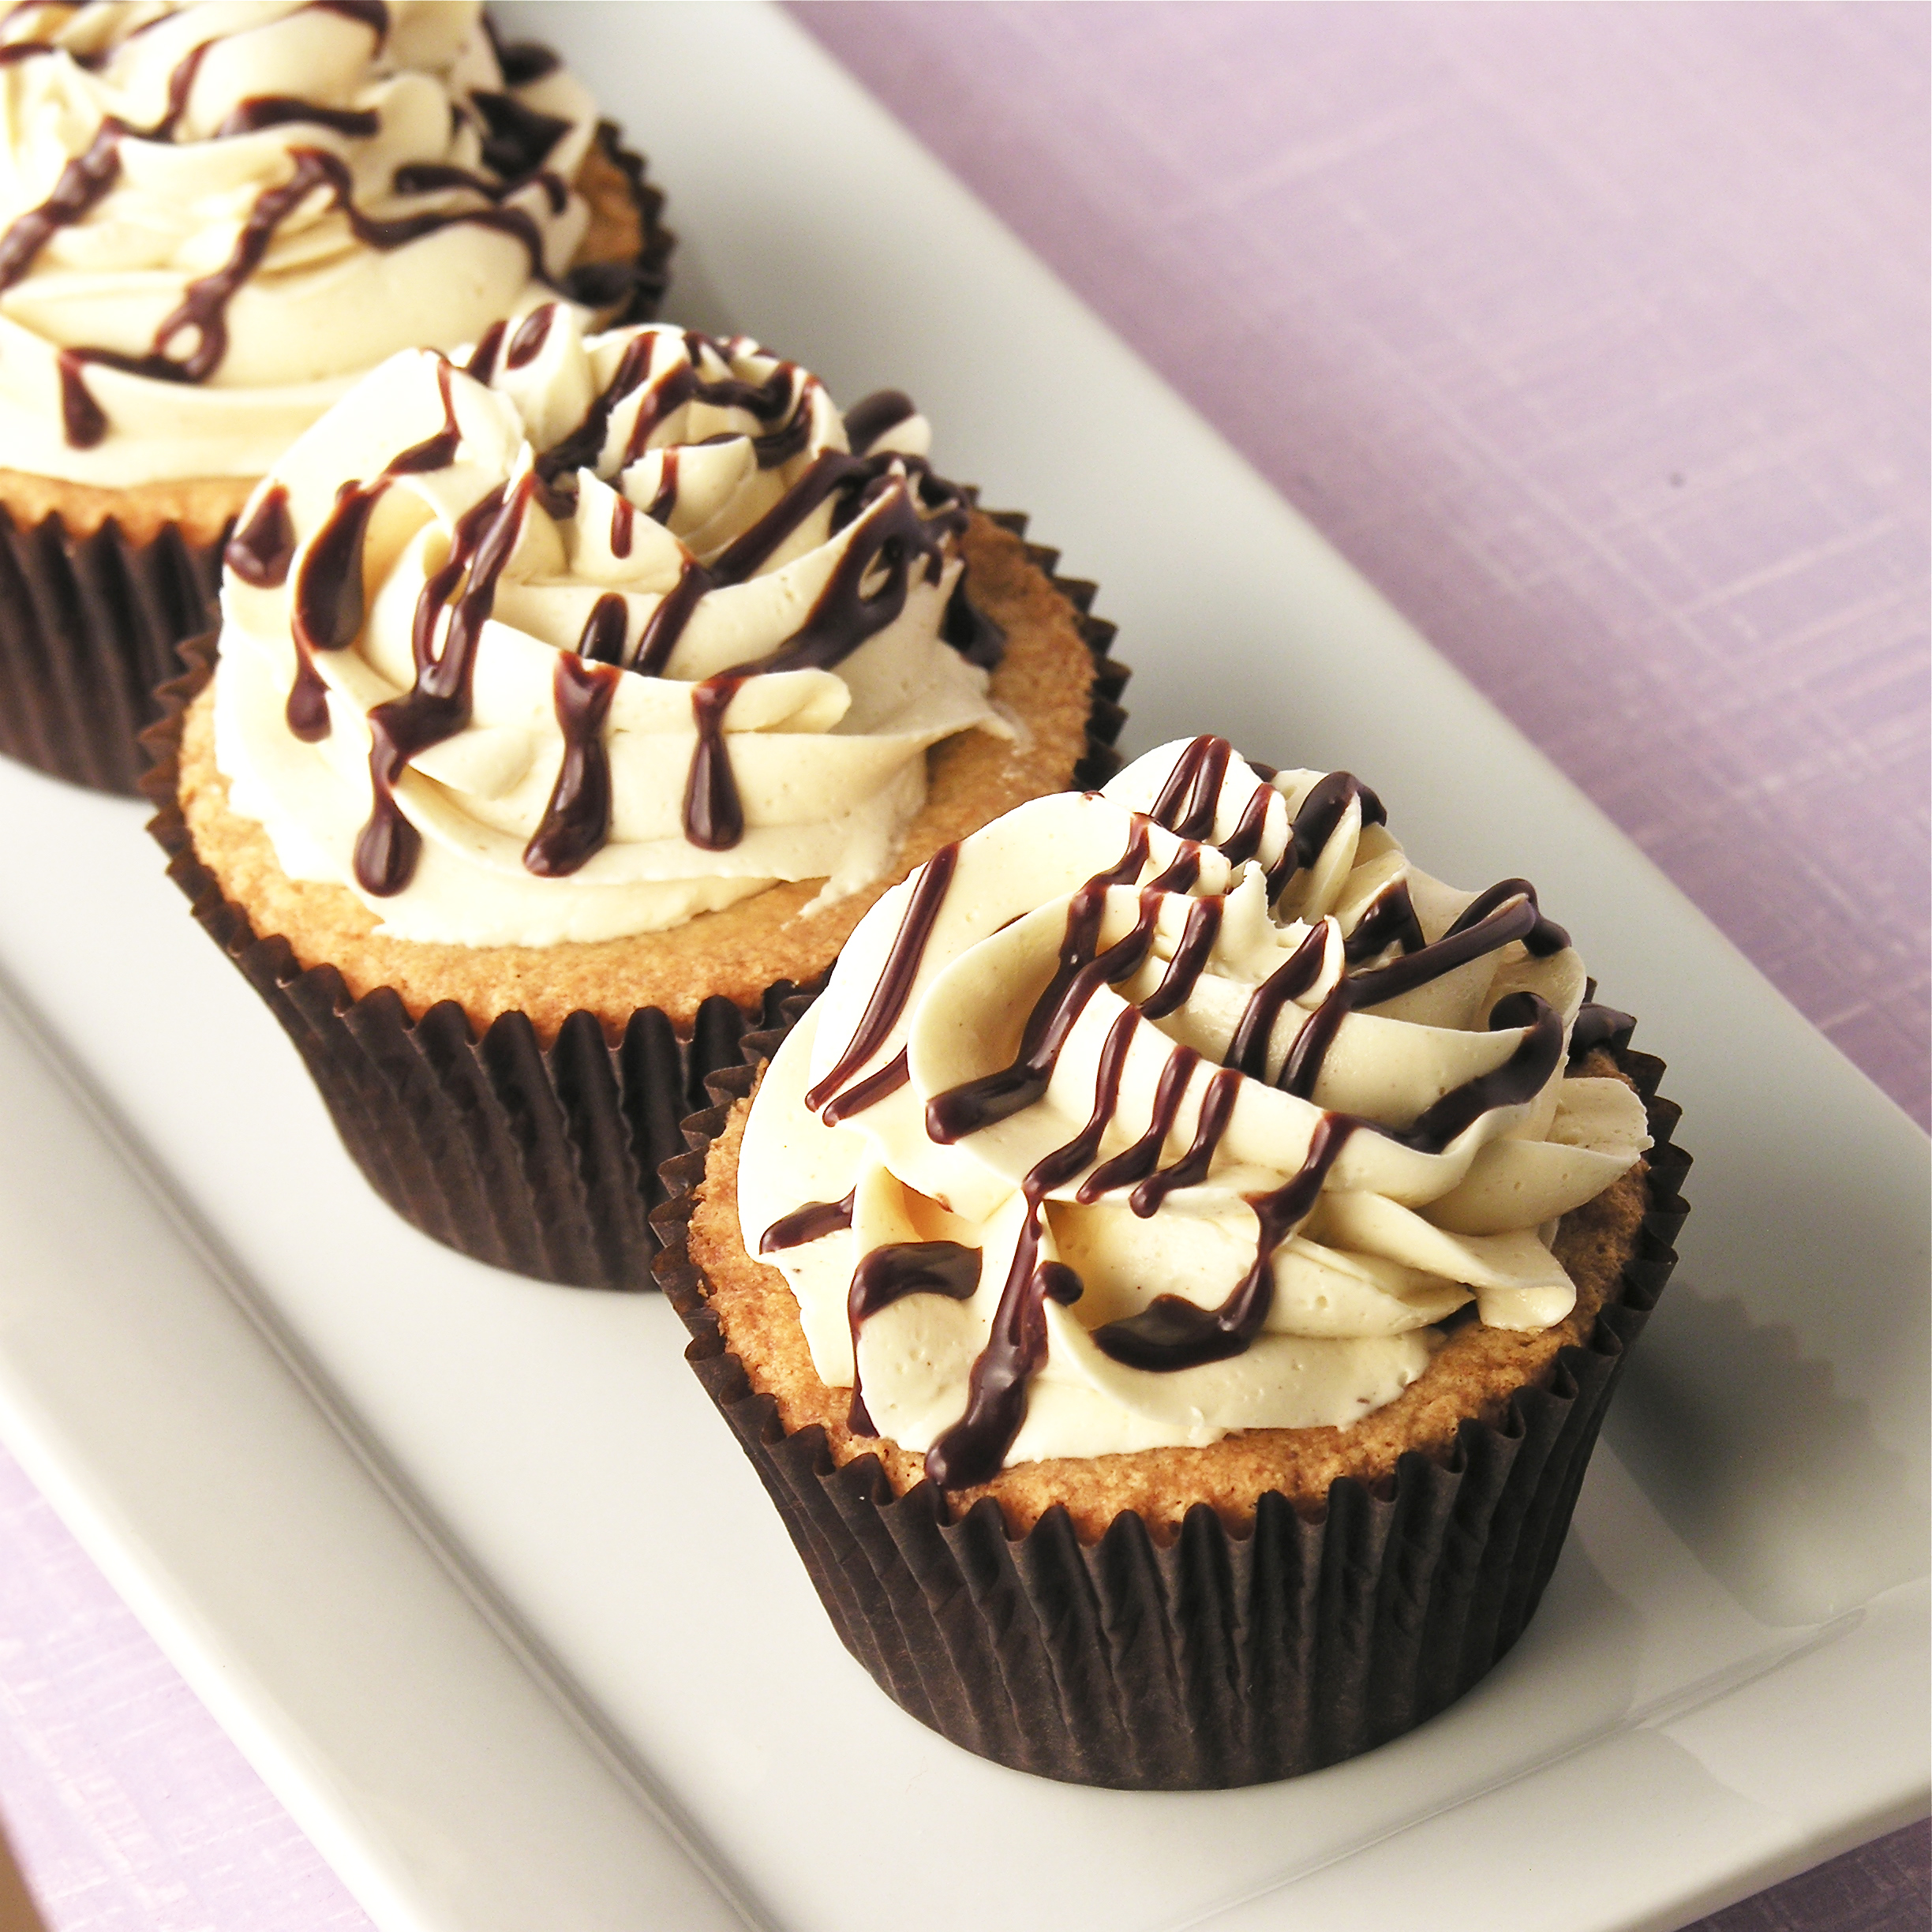
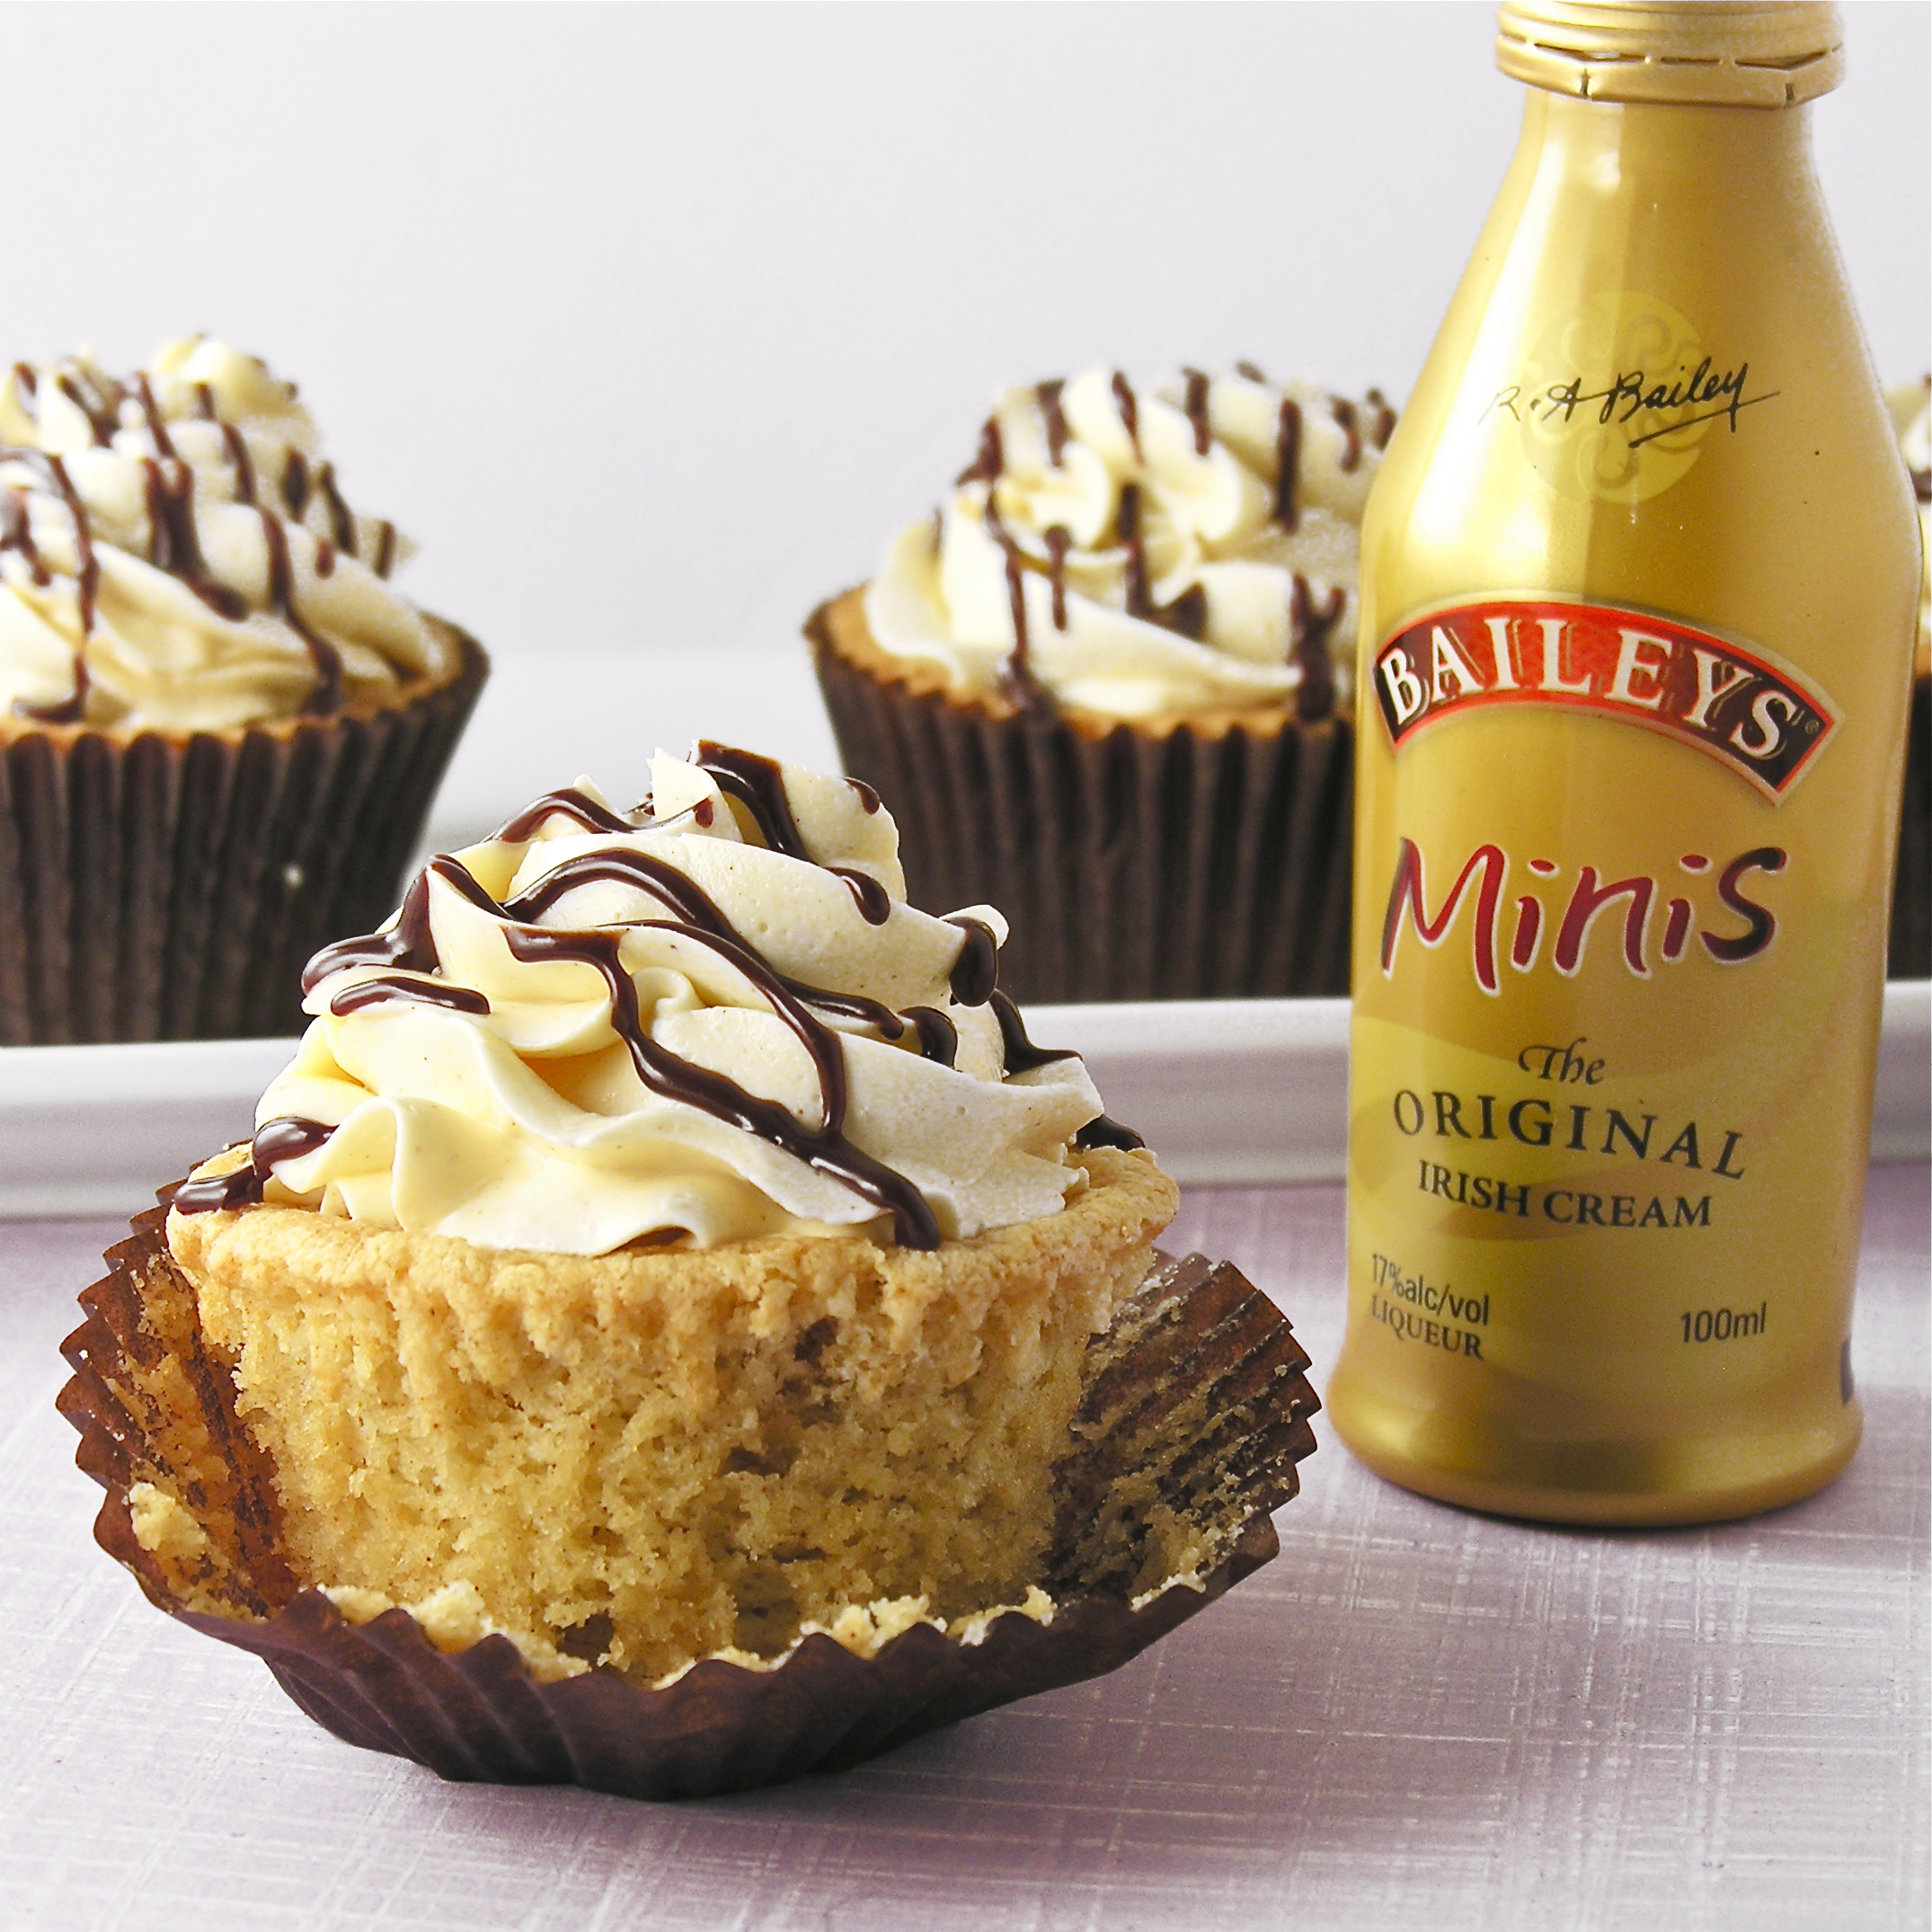
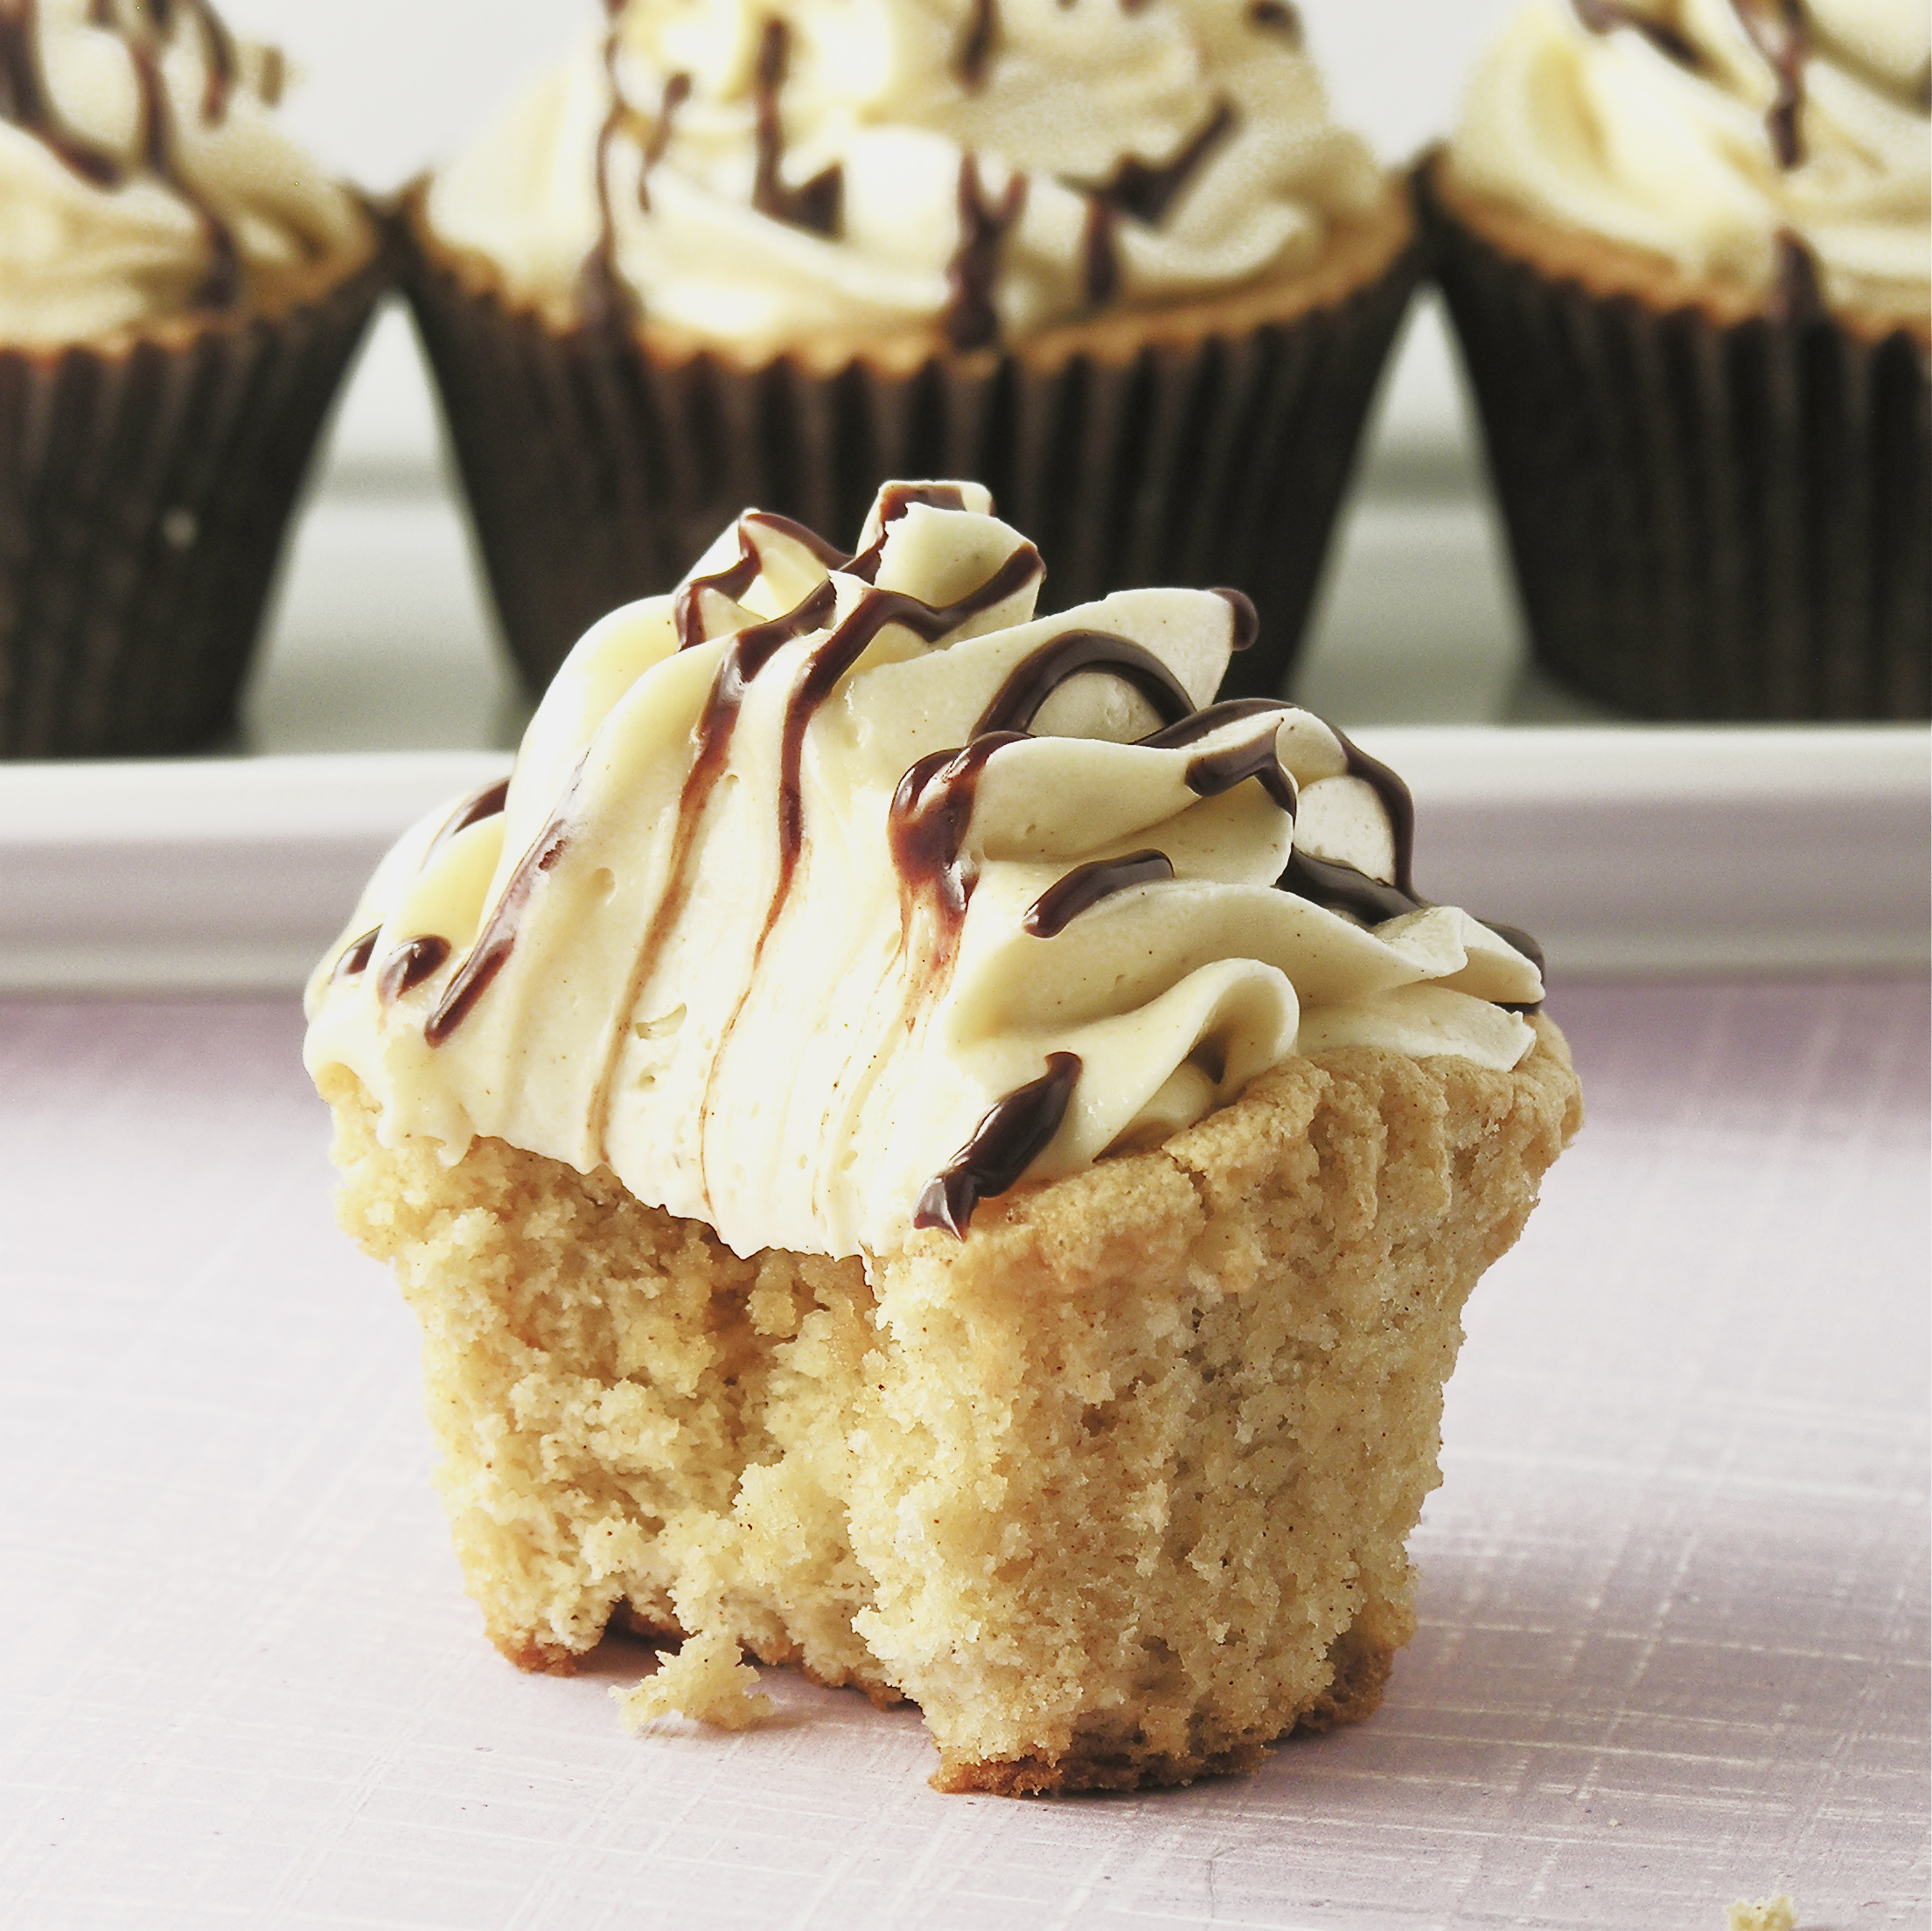
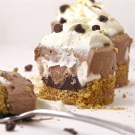
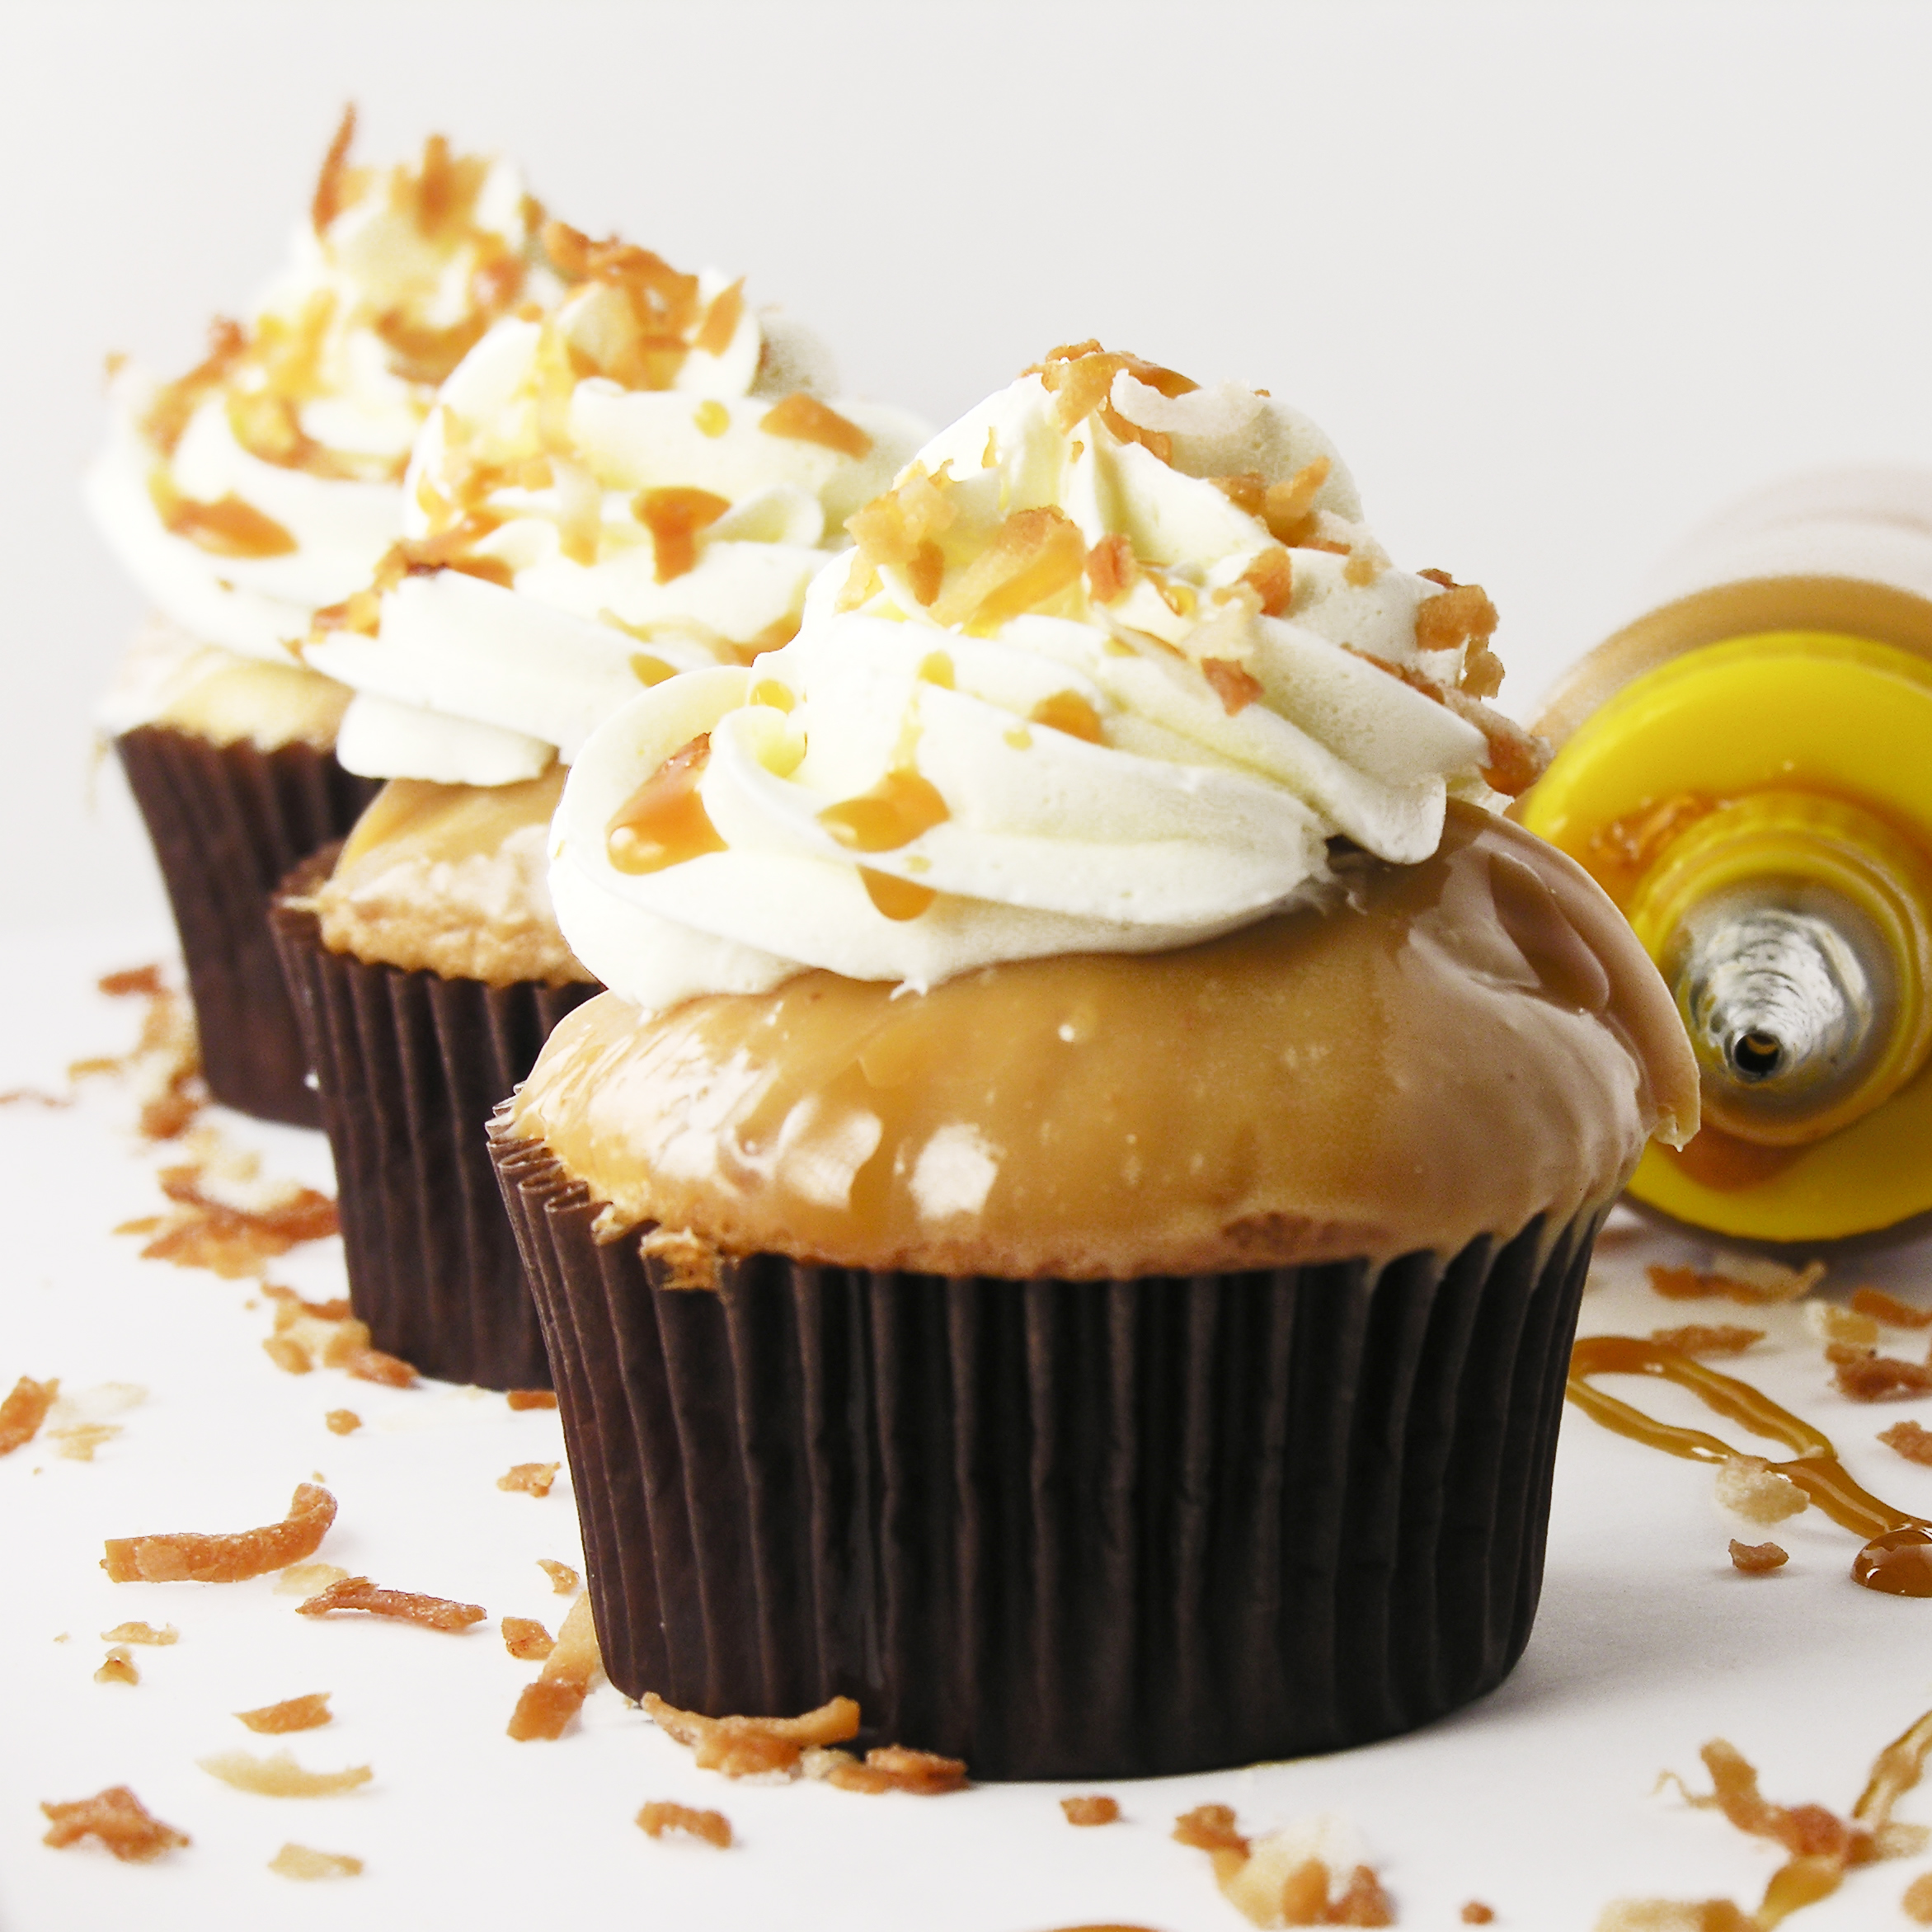
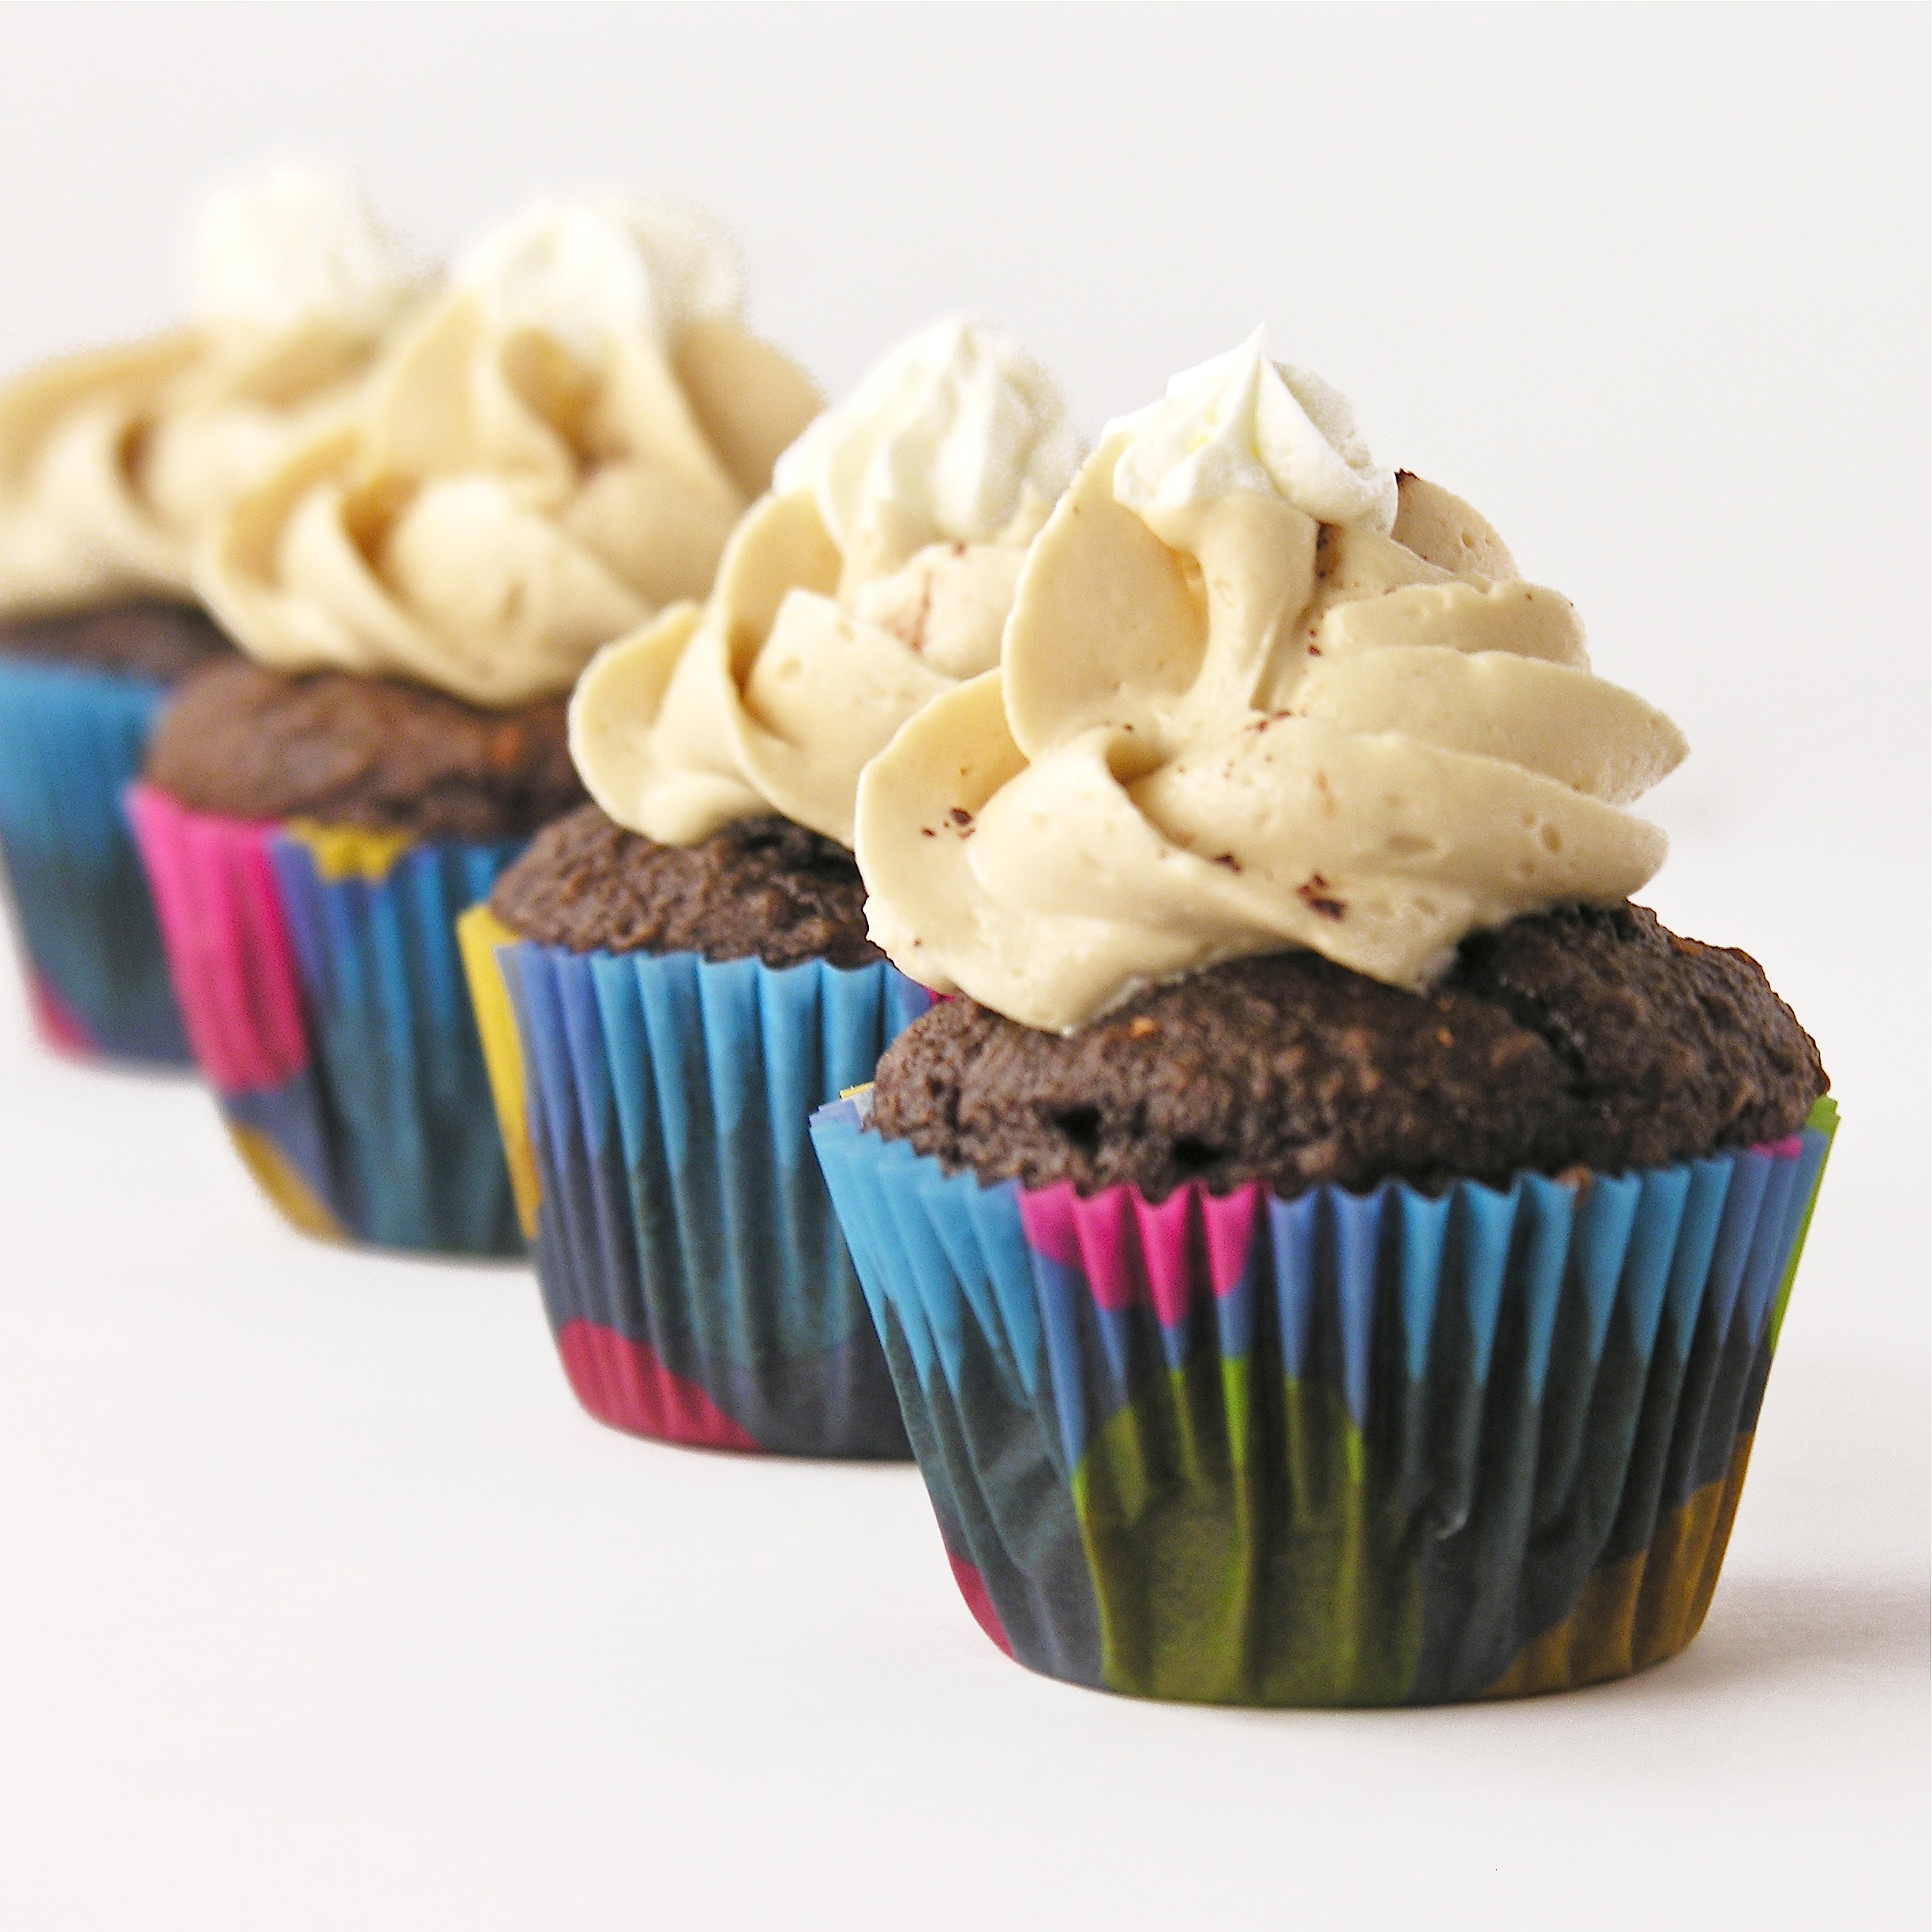
These amazing cupcakes are made with Baileys Irish cream and topped with a Baileys buttercream frosting. They are incredibly good–and the way I came across this recipe is quite the story!
Have you watched the TV show that’s out right now called The American Baking Competition? The one with all of the challenges each week– breads, cakes, pies…? I love it. Aaaaand…I auditioned for it last fall. I’m actually not one of those “I wanna be on TV” people, but I am one of those “that sounds like a crazy fun adventure, let’s do it!” people. In 2002, my coworkers dared me to audition for The Weakest Link game show and they picked me– I’d never actually seen the show which made things a little awkward at first…lol! So auditioning for a cooking show? Why not??
I know you are dying to know how these cupcakes are made, so I will save my story-telling for later, but long story short– I met a ton of wonderful bakers at the audition and one of them was Lauren Shilt. She brought these Baileys cupcakes to her audition and gave me an extra. I fell in love with this cupcake! It is so dense and moist and rich….so I begged for the recipe and Lauren kindly obliged.

Here you have it… Baileys Cupcakes: (printer friendly recipe)
INGREDIENTS: (makes 30-36 cupcakes)
Cupcakes:
- 2 1/2 cups cake flour
- 3 teaspoons of baking powder
- 1/2 teaspoon of salt
- 1 teaspoon of cinnamon
- 1 1/2 cups granulated sugar (use super fine sugar, if you can find it!)
- 3/4 cups unsalted butter room temp.
- 3 eggs room temp.
- 3 teaspoons of vanilla
- 1 cup Bailey’s Irish Cream (separated, 1/2 cup for the cakes, 1/2 cup to pour over the cakes after they have been baked)
Buttercream Frosting:
- 2 sticks (1 cup) salted butter, room temp.
- 2 sticks (1 cup) unsalted butter, room temp.
- 3 cups of powdered sugar
- 1 tsp cinnamon
- 1/4 to 1/2 cup Baileys Irish Cream-enough to get the frosting to the desired flavor and consistency.
For the Chocolate Ganache to drizzle over the top:
- 1/2 cup of heavy cream
- 1/4 cup of semi sweet chocolate chips (or if using a bar, chopped)
- 3 tablespoons Baileys Irish Cream
(I used 1/4c. heavy cream and 1/2c. semi-sweet chips plus 3 teaspoons of Baileys for mine, and I made it at the end since it was thick enough to use as soon as it cooled a bit. It’s just how I always do ganache and I needed to save time.)
DIRECTIONS:
Make the Ganache first (unless you use my recipe)
- In a saucepan bring the cream to simmer over med heat
- Remove from heat and whisk in chocolate until it is melted and incorporated
- Whisk in the Baileys Irish Cream
- Refrigerate until it has a good consistency to drizzle over the top
Cupcakes:
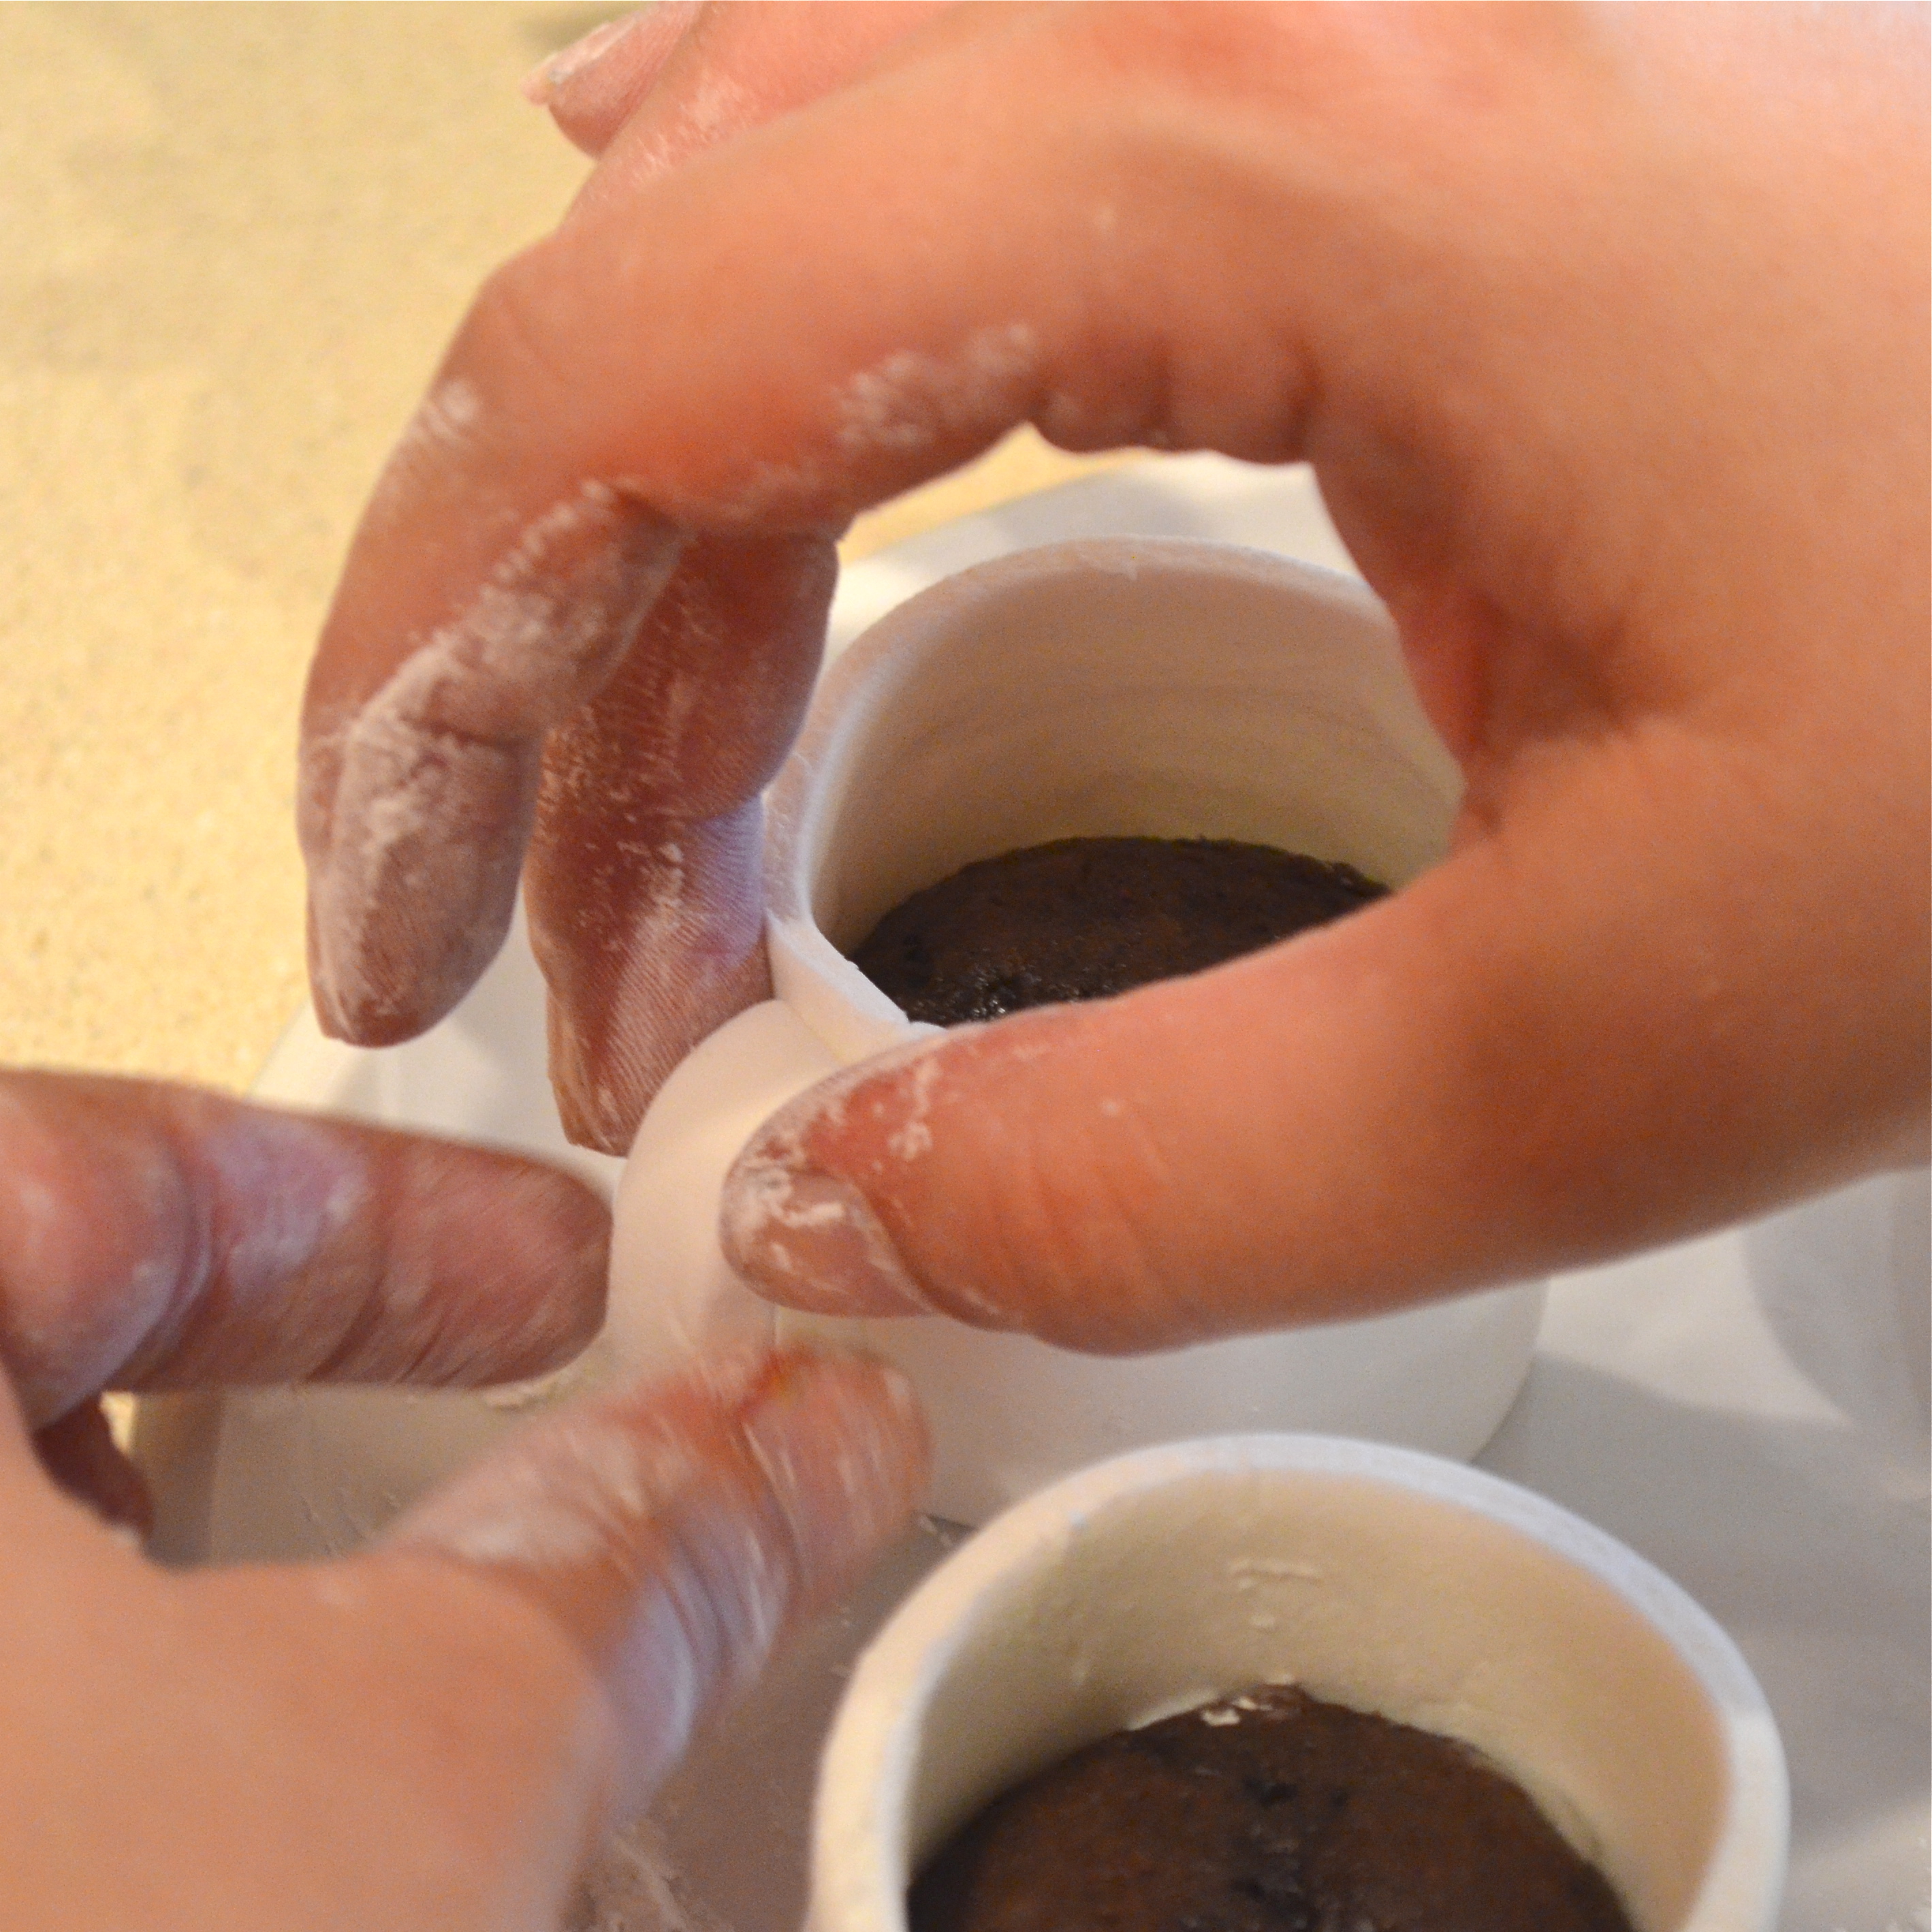
- Preheat the oven to 350 degrees. Line the muffin tins with 36 cupcake liners (my batch only made 30)
- In a large bowl mix together the dry ingredients: flour, baking powder, salt, and cinnamon
- In a large bowl, use a mixer to cream together the sugar and butter for about 3 minutes until light and fluffy.
- Add eggs once at a time until incorporated and then mix in vanilla.
- Add flour mixture in 3 additions, alternating with the Bailey’s Irish Cream, starting and ending with the flour mixture.
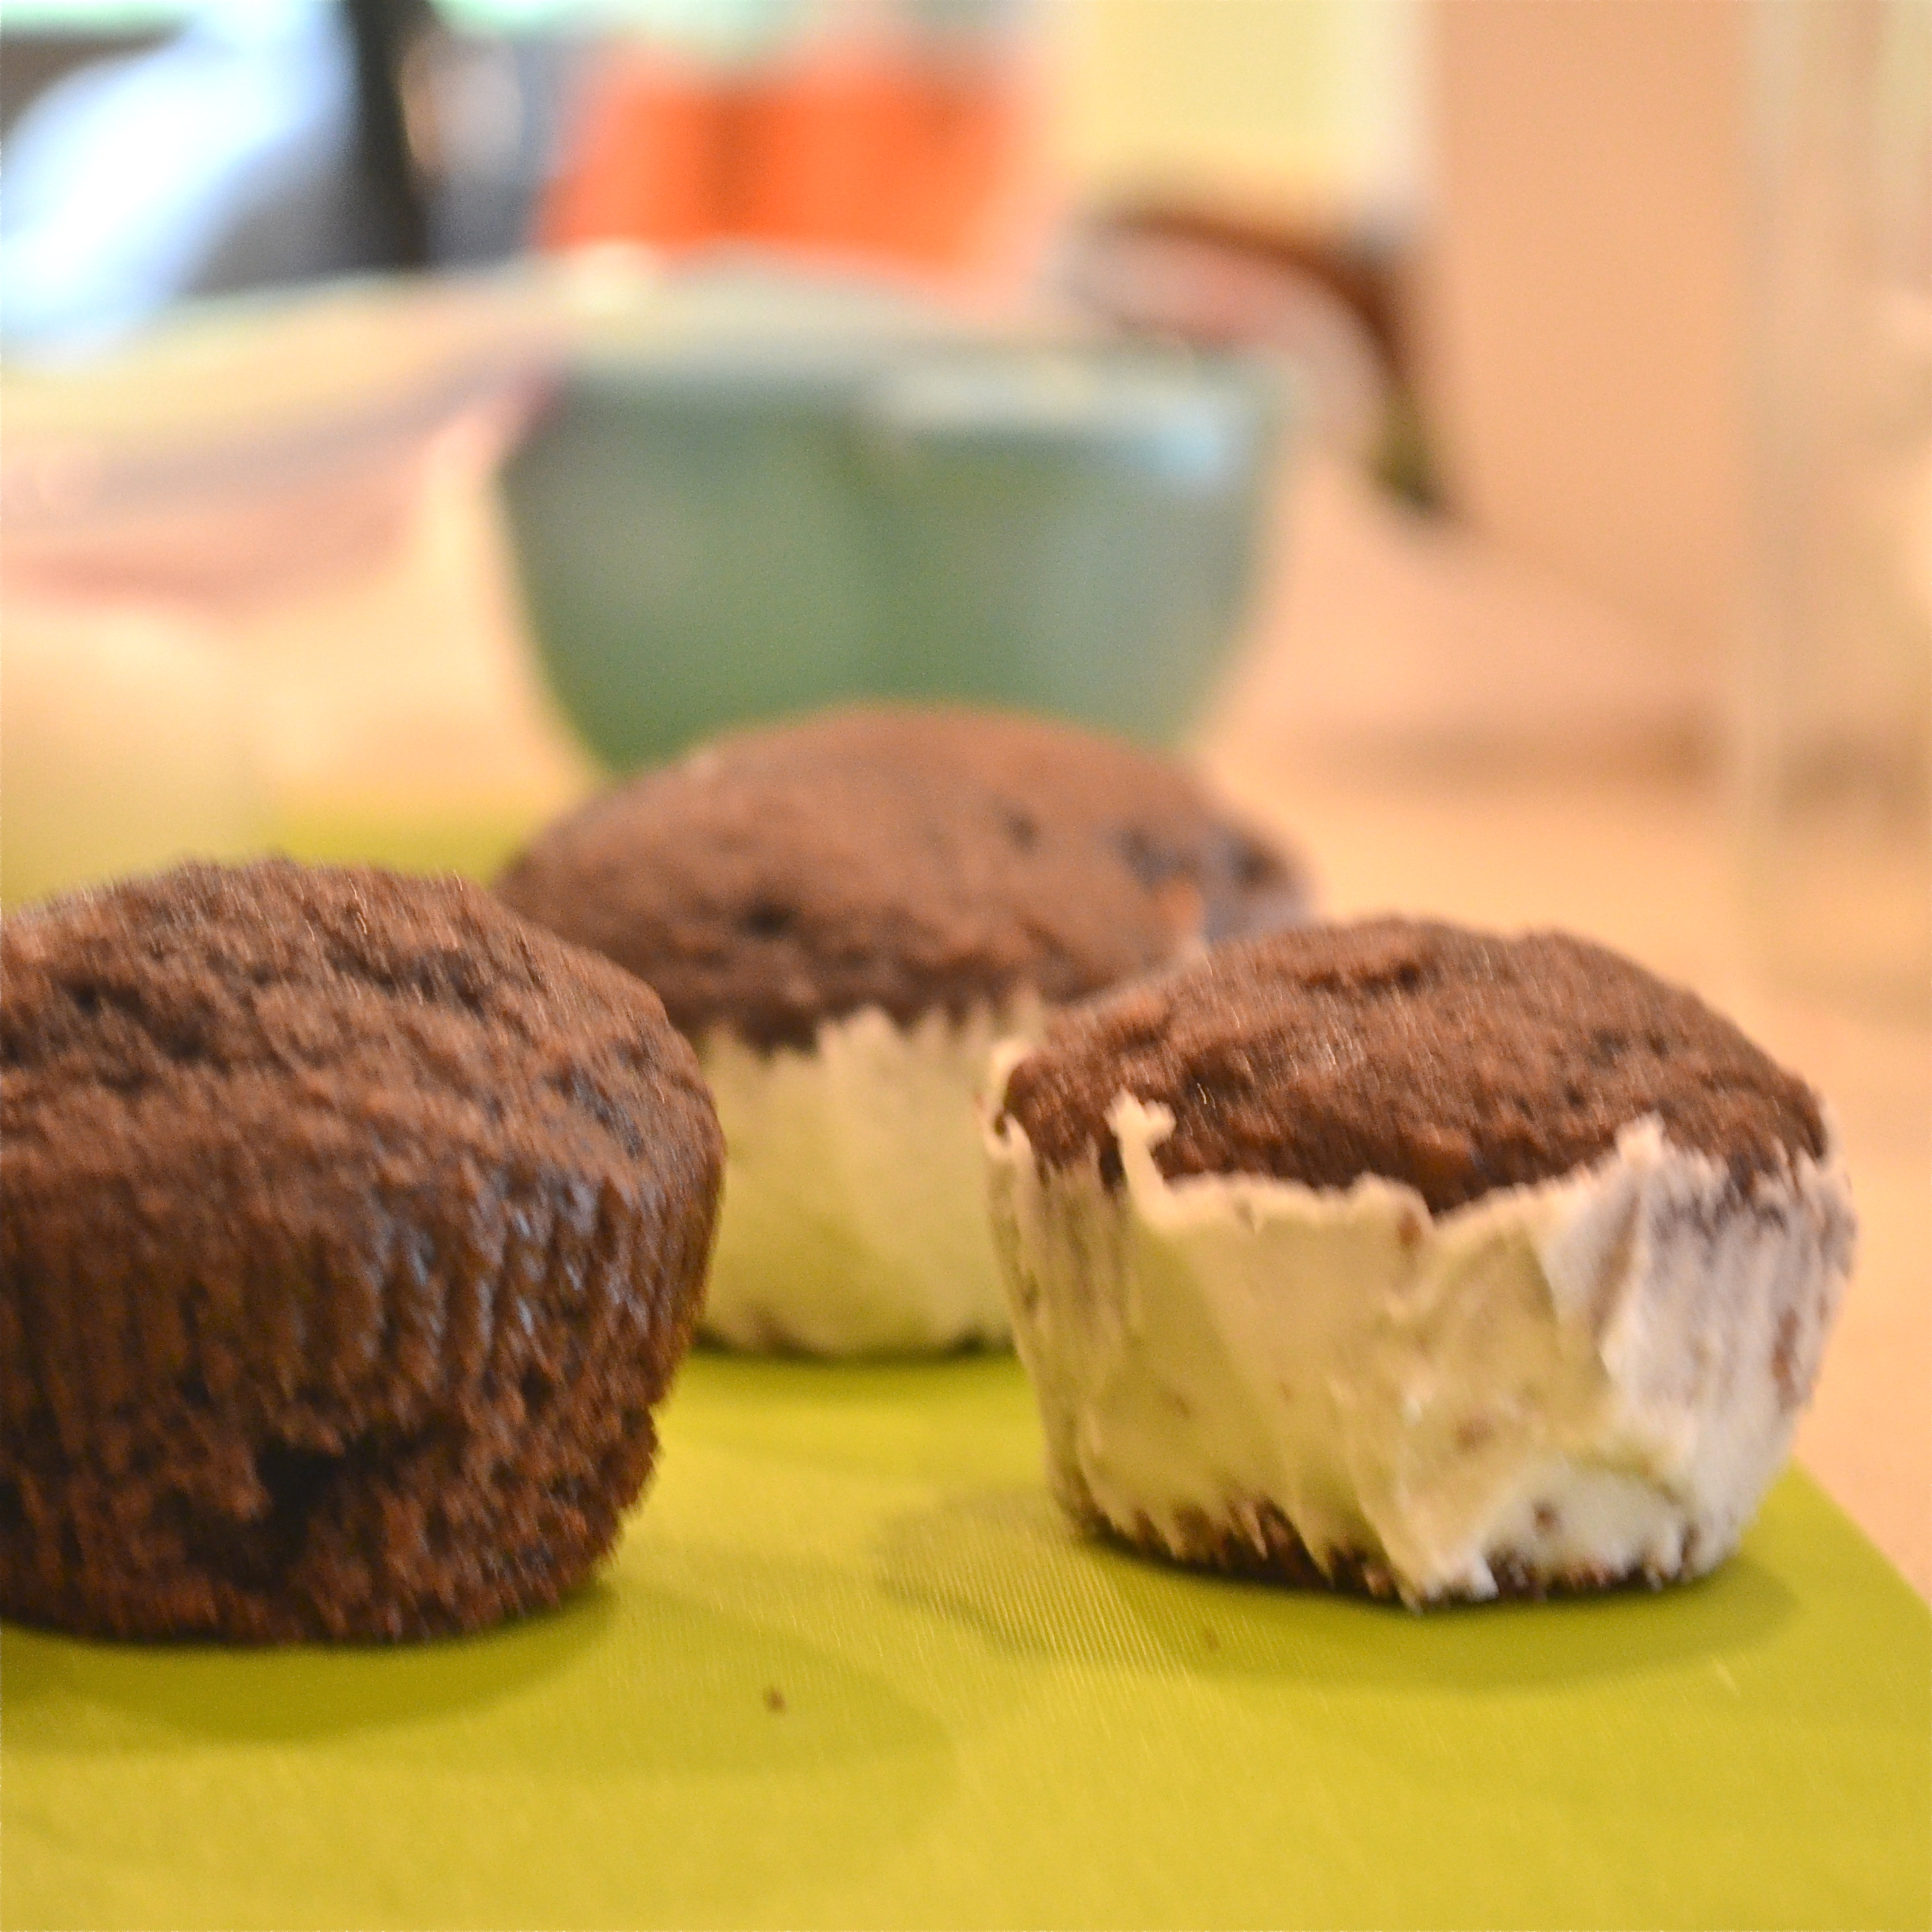
- Fill cupcake liners about 2/3 full and bake for 17-20 min. (mine were slightly over-baked at 17 min, so check often!)
- Cool in pan for a few minutes
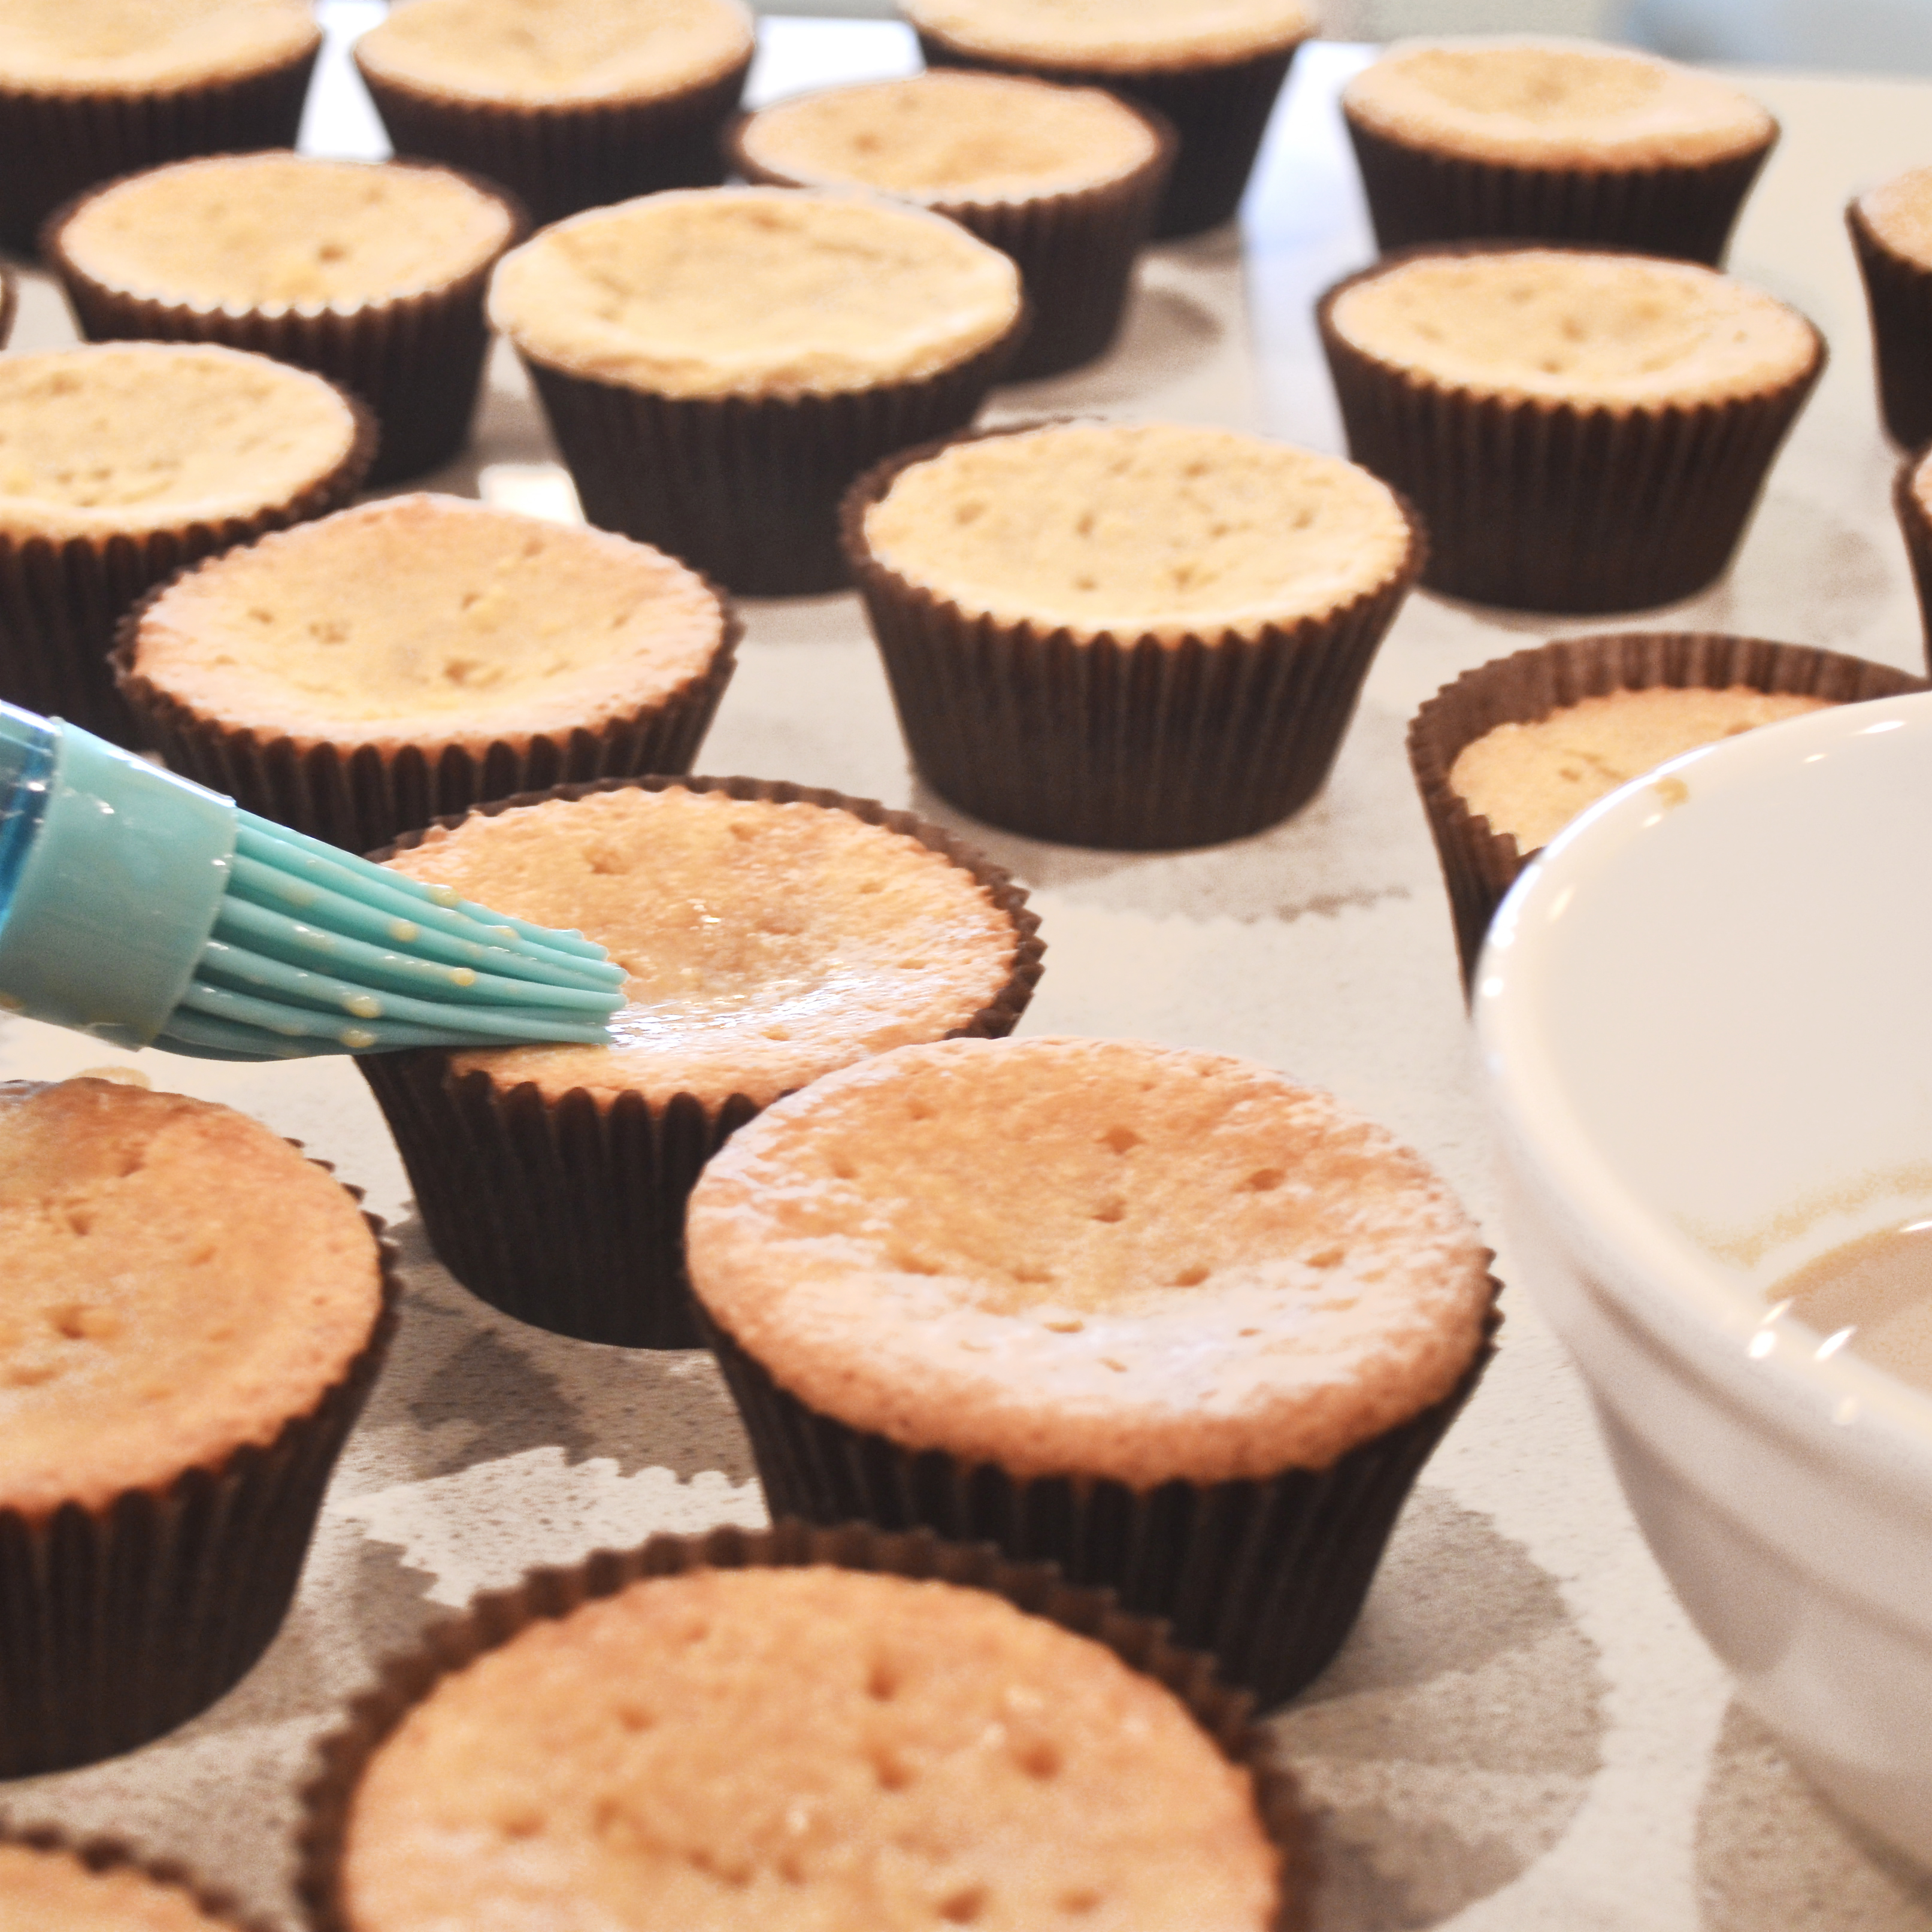
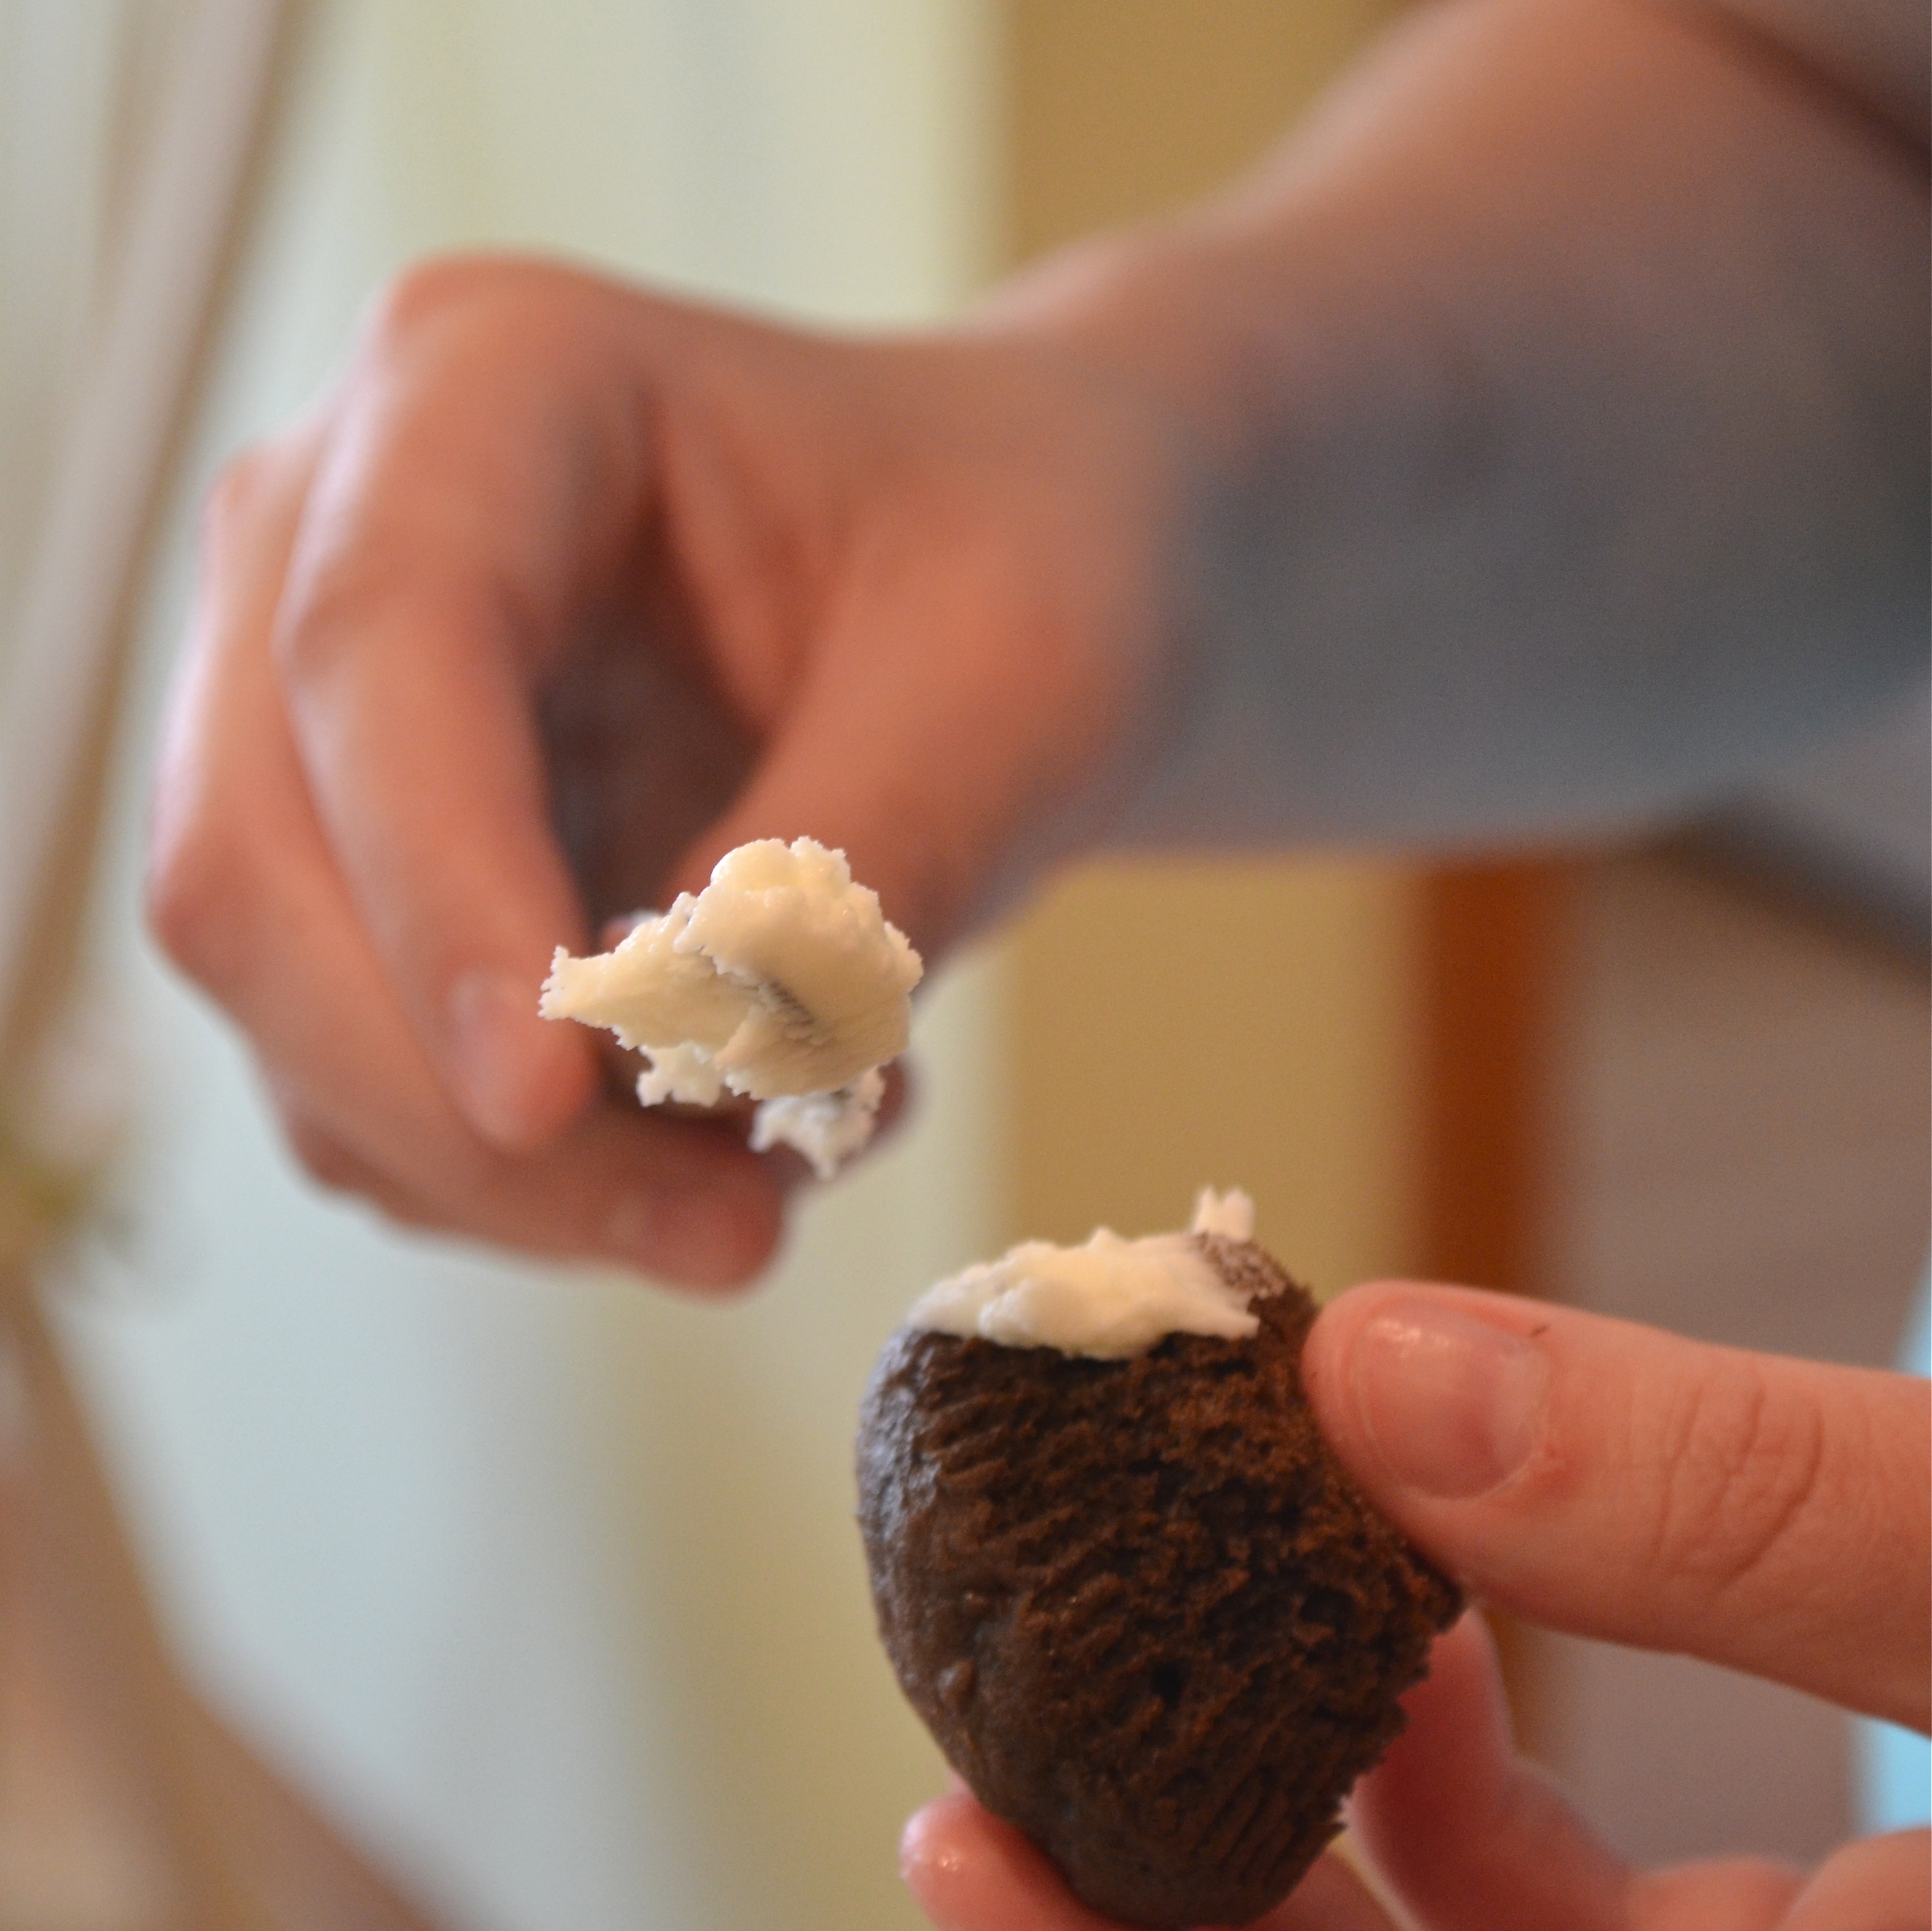
- Using a toothpick poke holes in the tops of the cupcakes and using a pastry brush, brush the additional 1/2 cup of baileys over the cupcakes.


Baileys Buttercream Frosting:
- Place butters, powdered sugar and cinnamon in a large bowl.
- Beat on high until light and fluffy.
- Add Baileys Irish Cream a bit at a time until buttercream is desired flavor and consistency.
- Frost cooled cupcakes using a pastry bag, then drizzle with Bailey’s Ganache.

My thoughts: You are simply going to love these cupcakes. I’ve had 4 people (so far!) tell me that these are their favorite cupcake I’ve ever made. They are SO good!!!!! Plus, (be very proud of me!) they are not a cake mix! 😉
Ok. Story time.
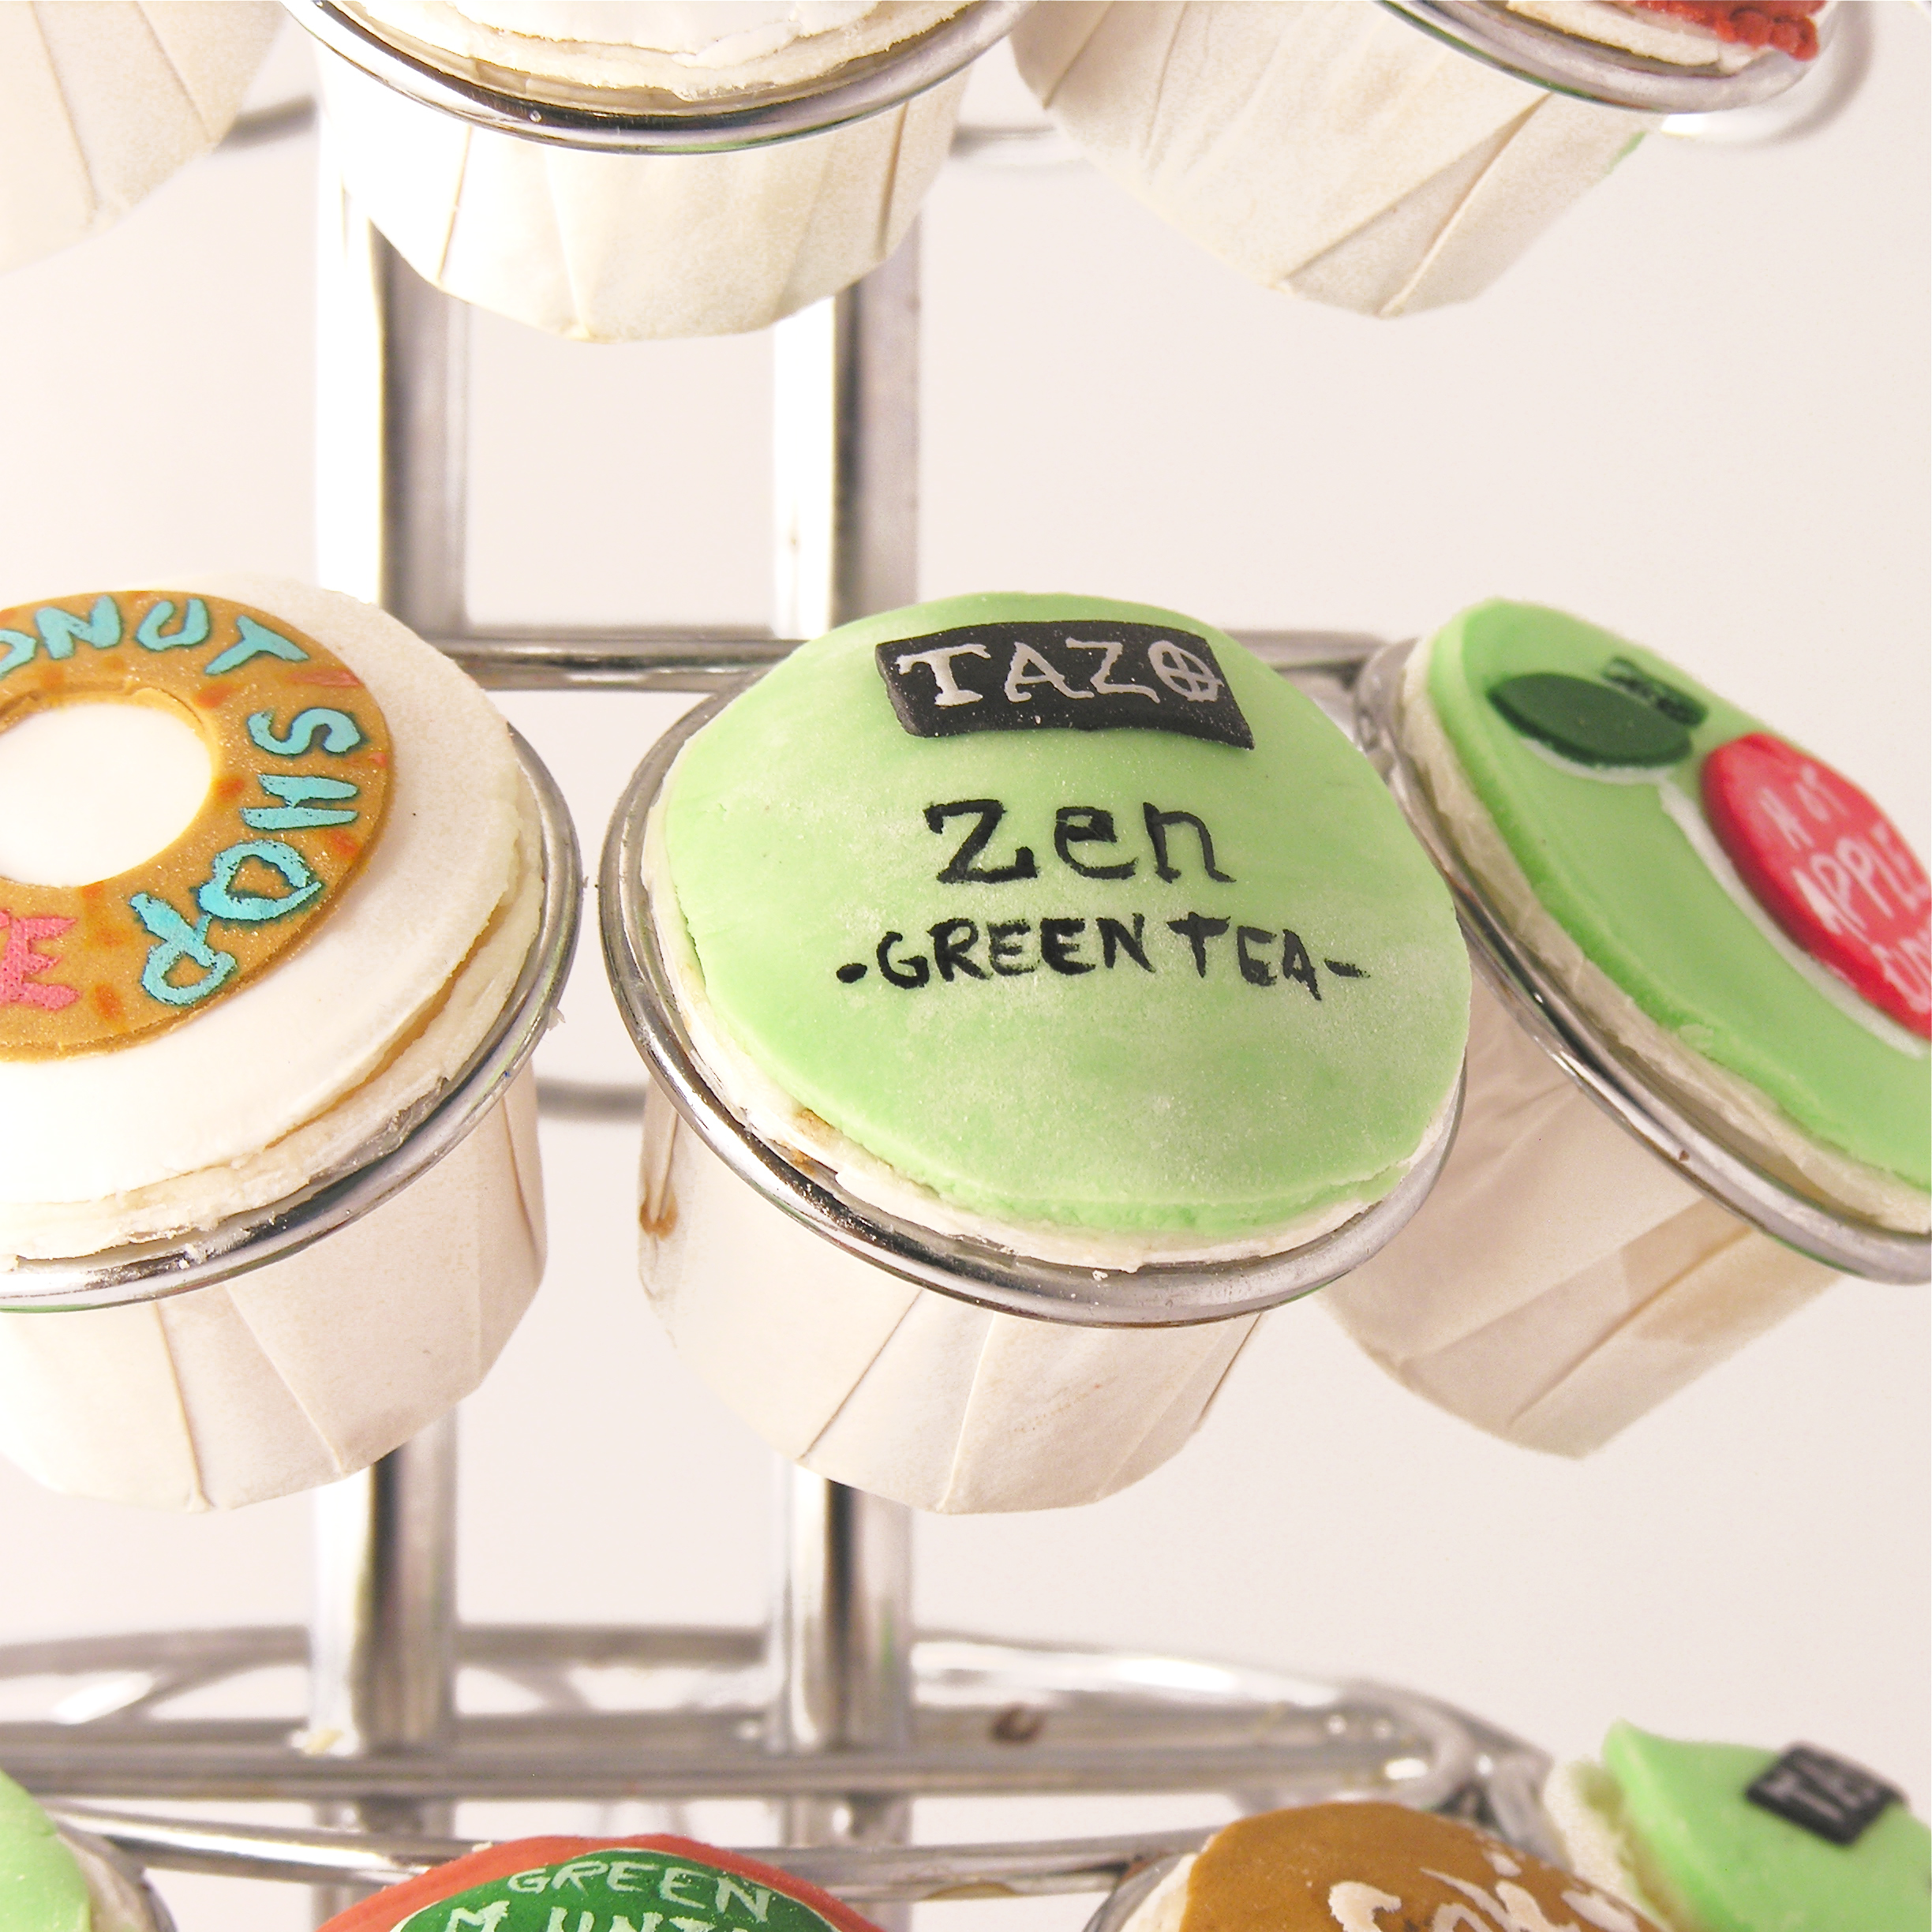
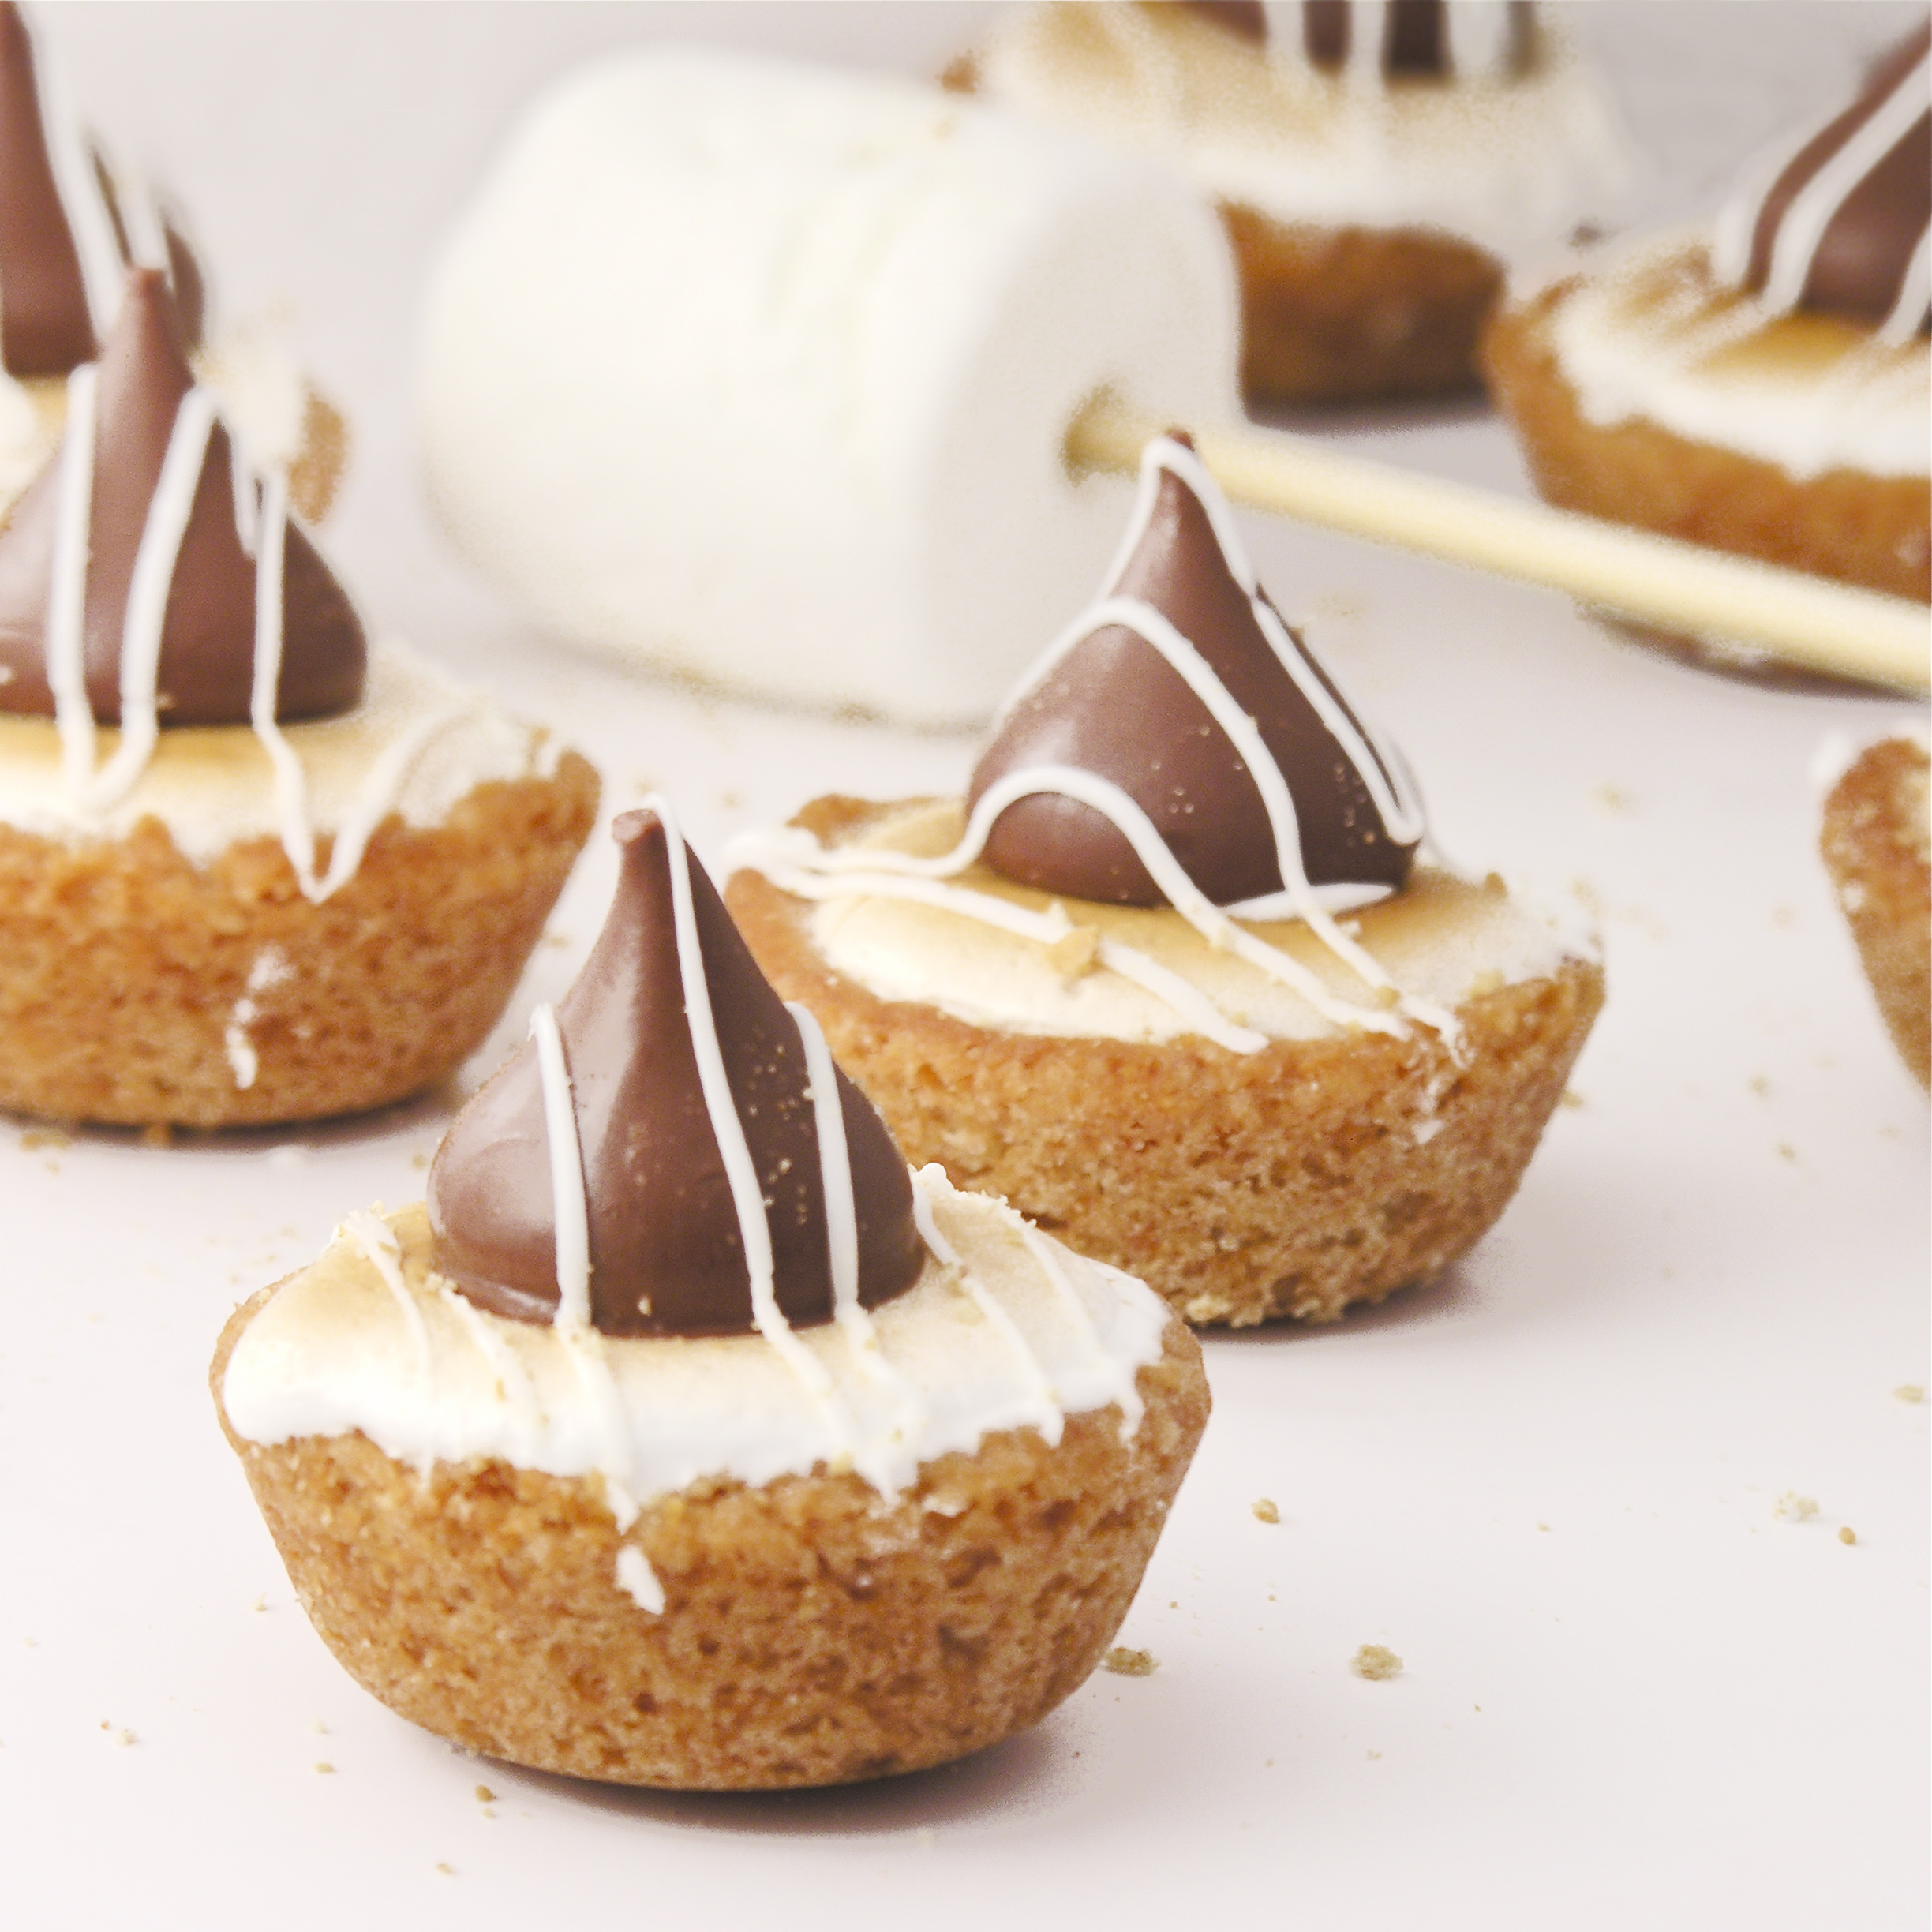
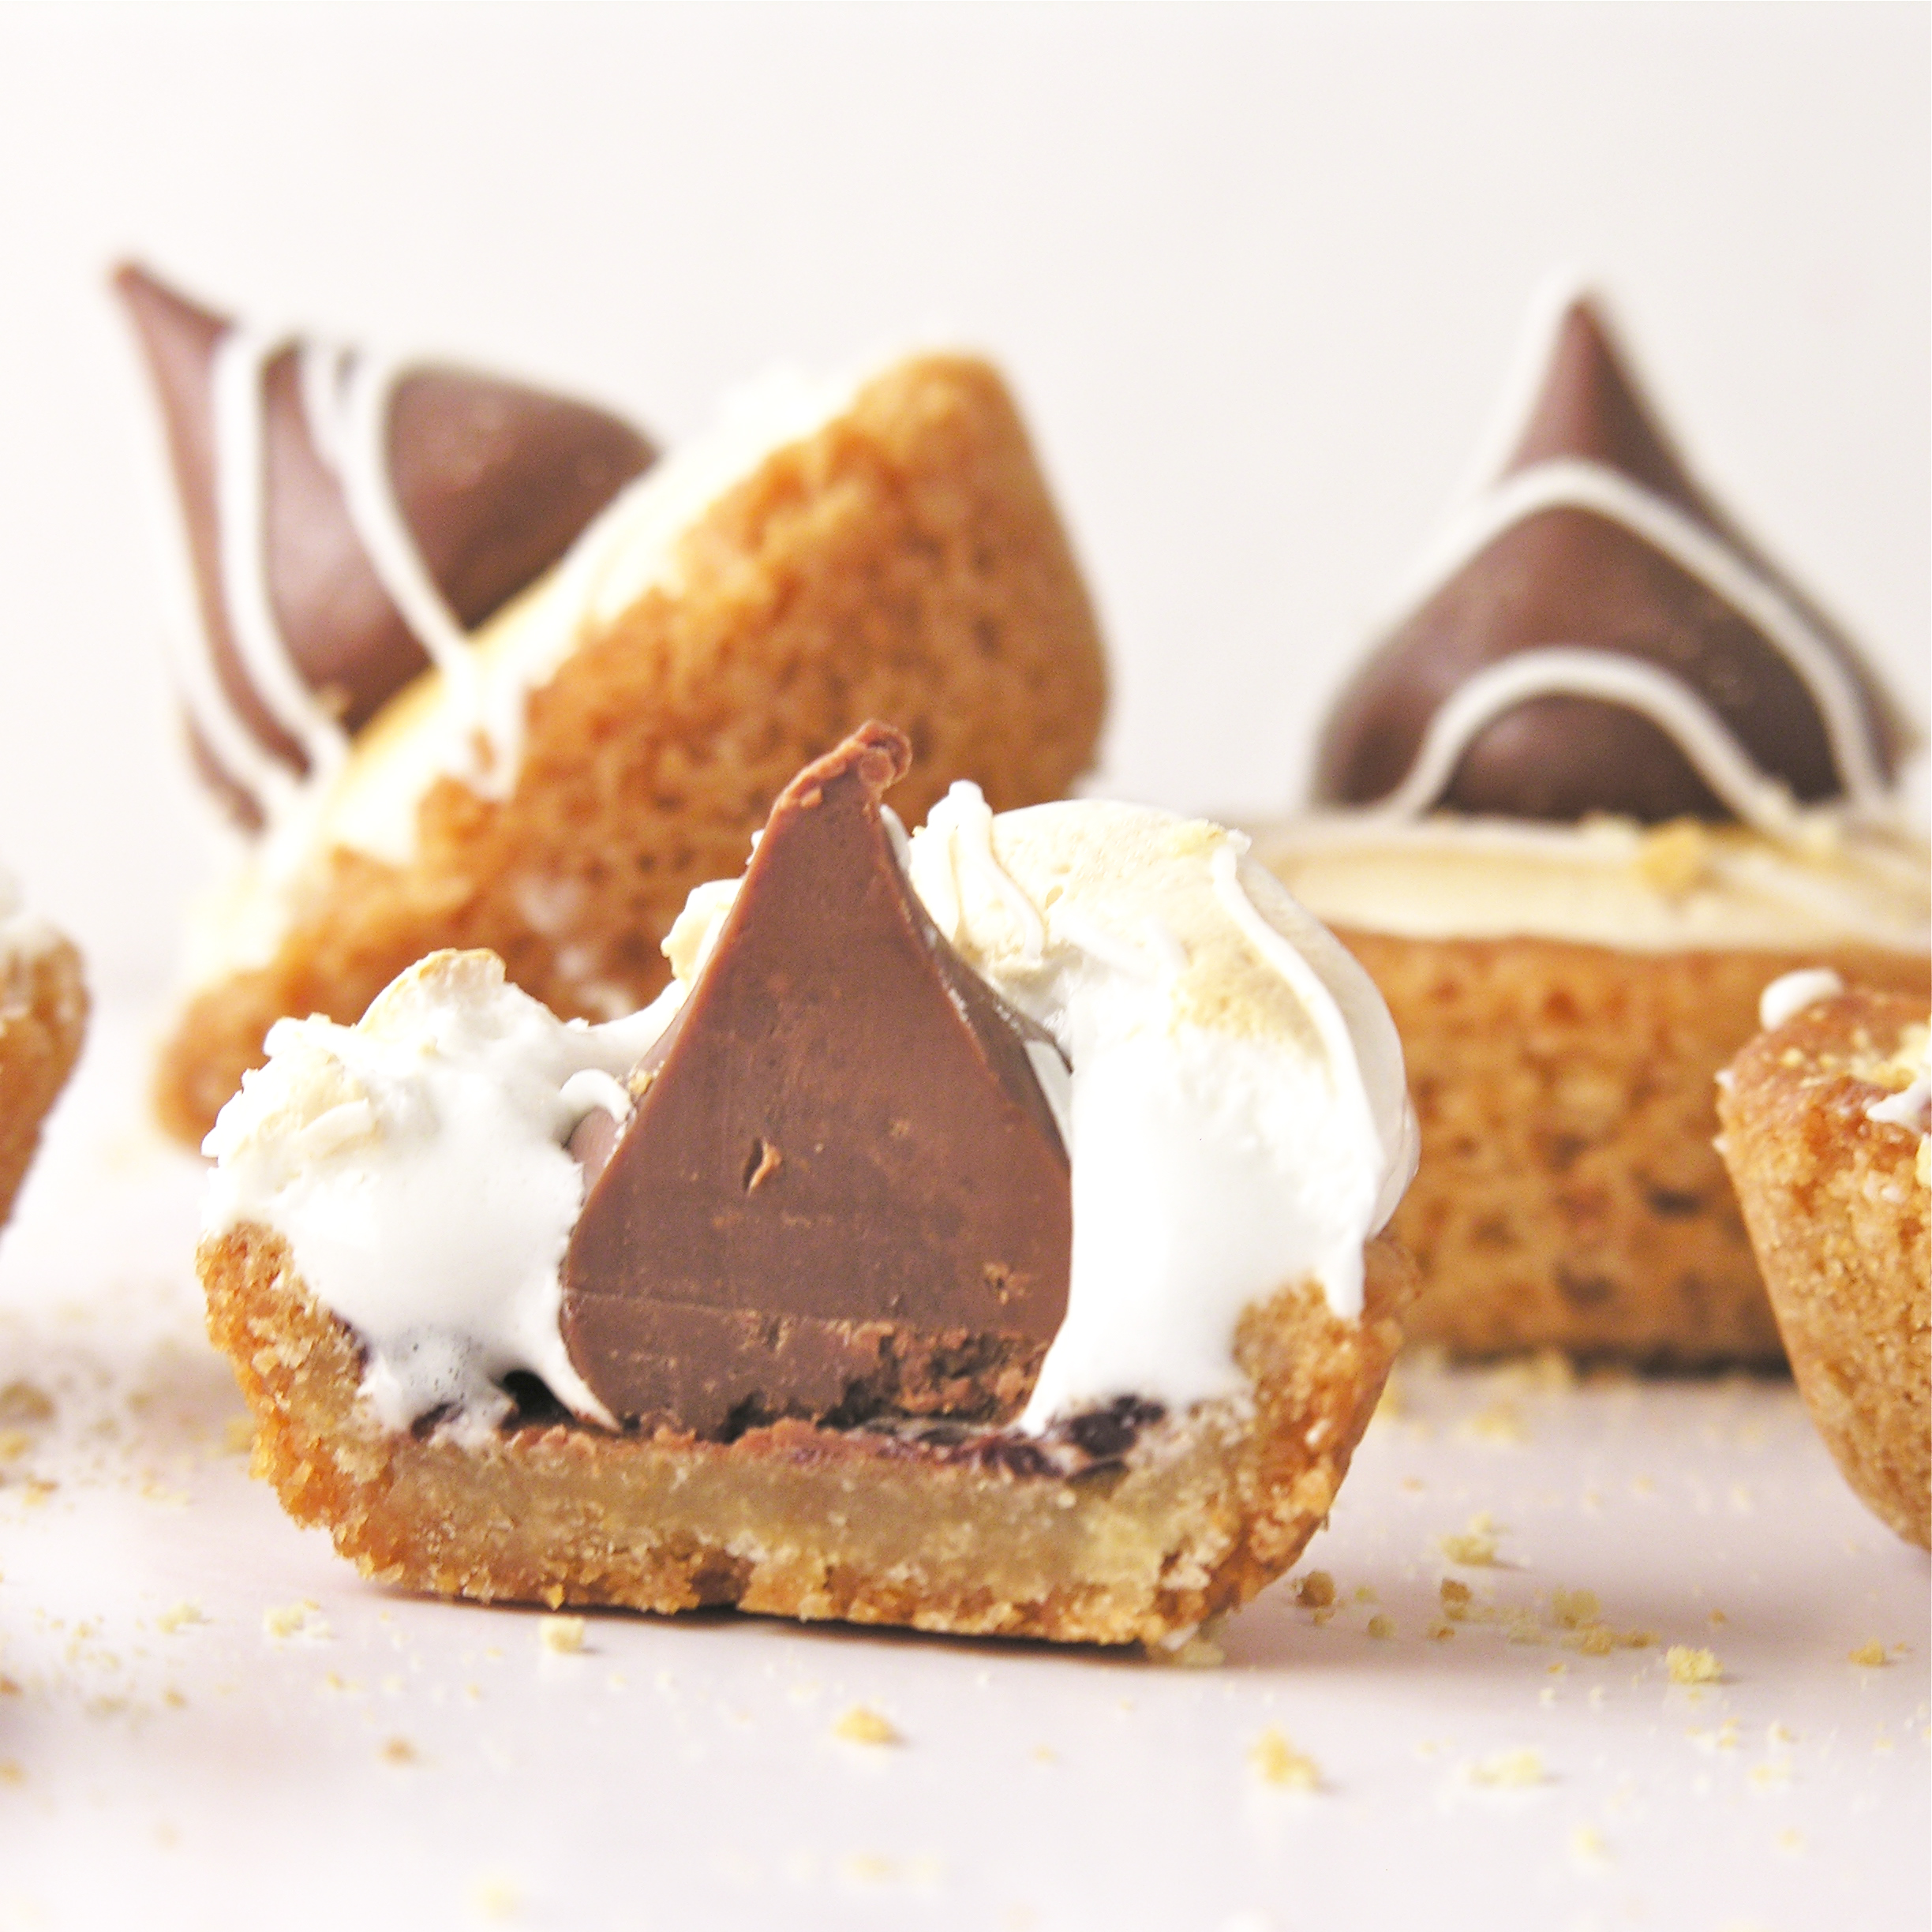
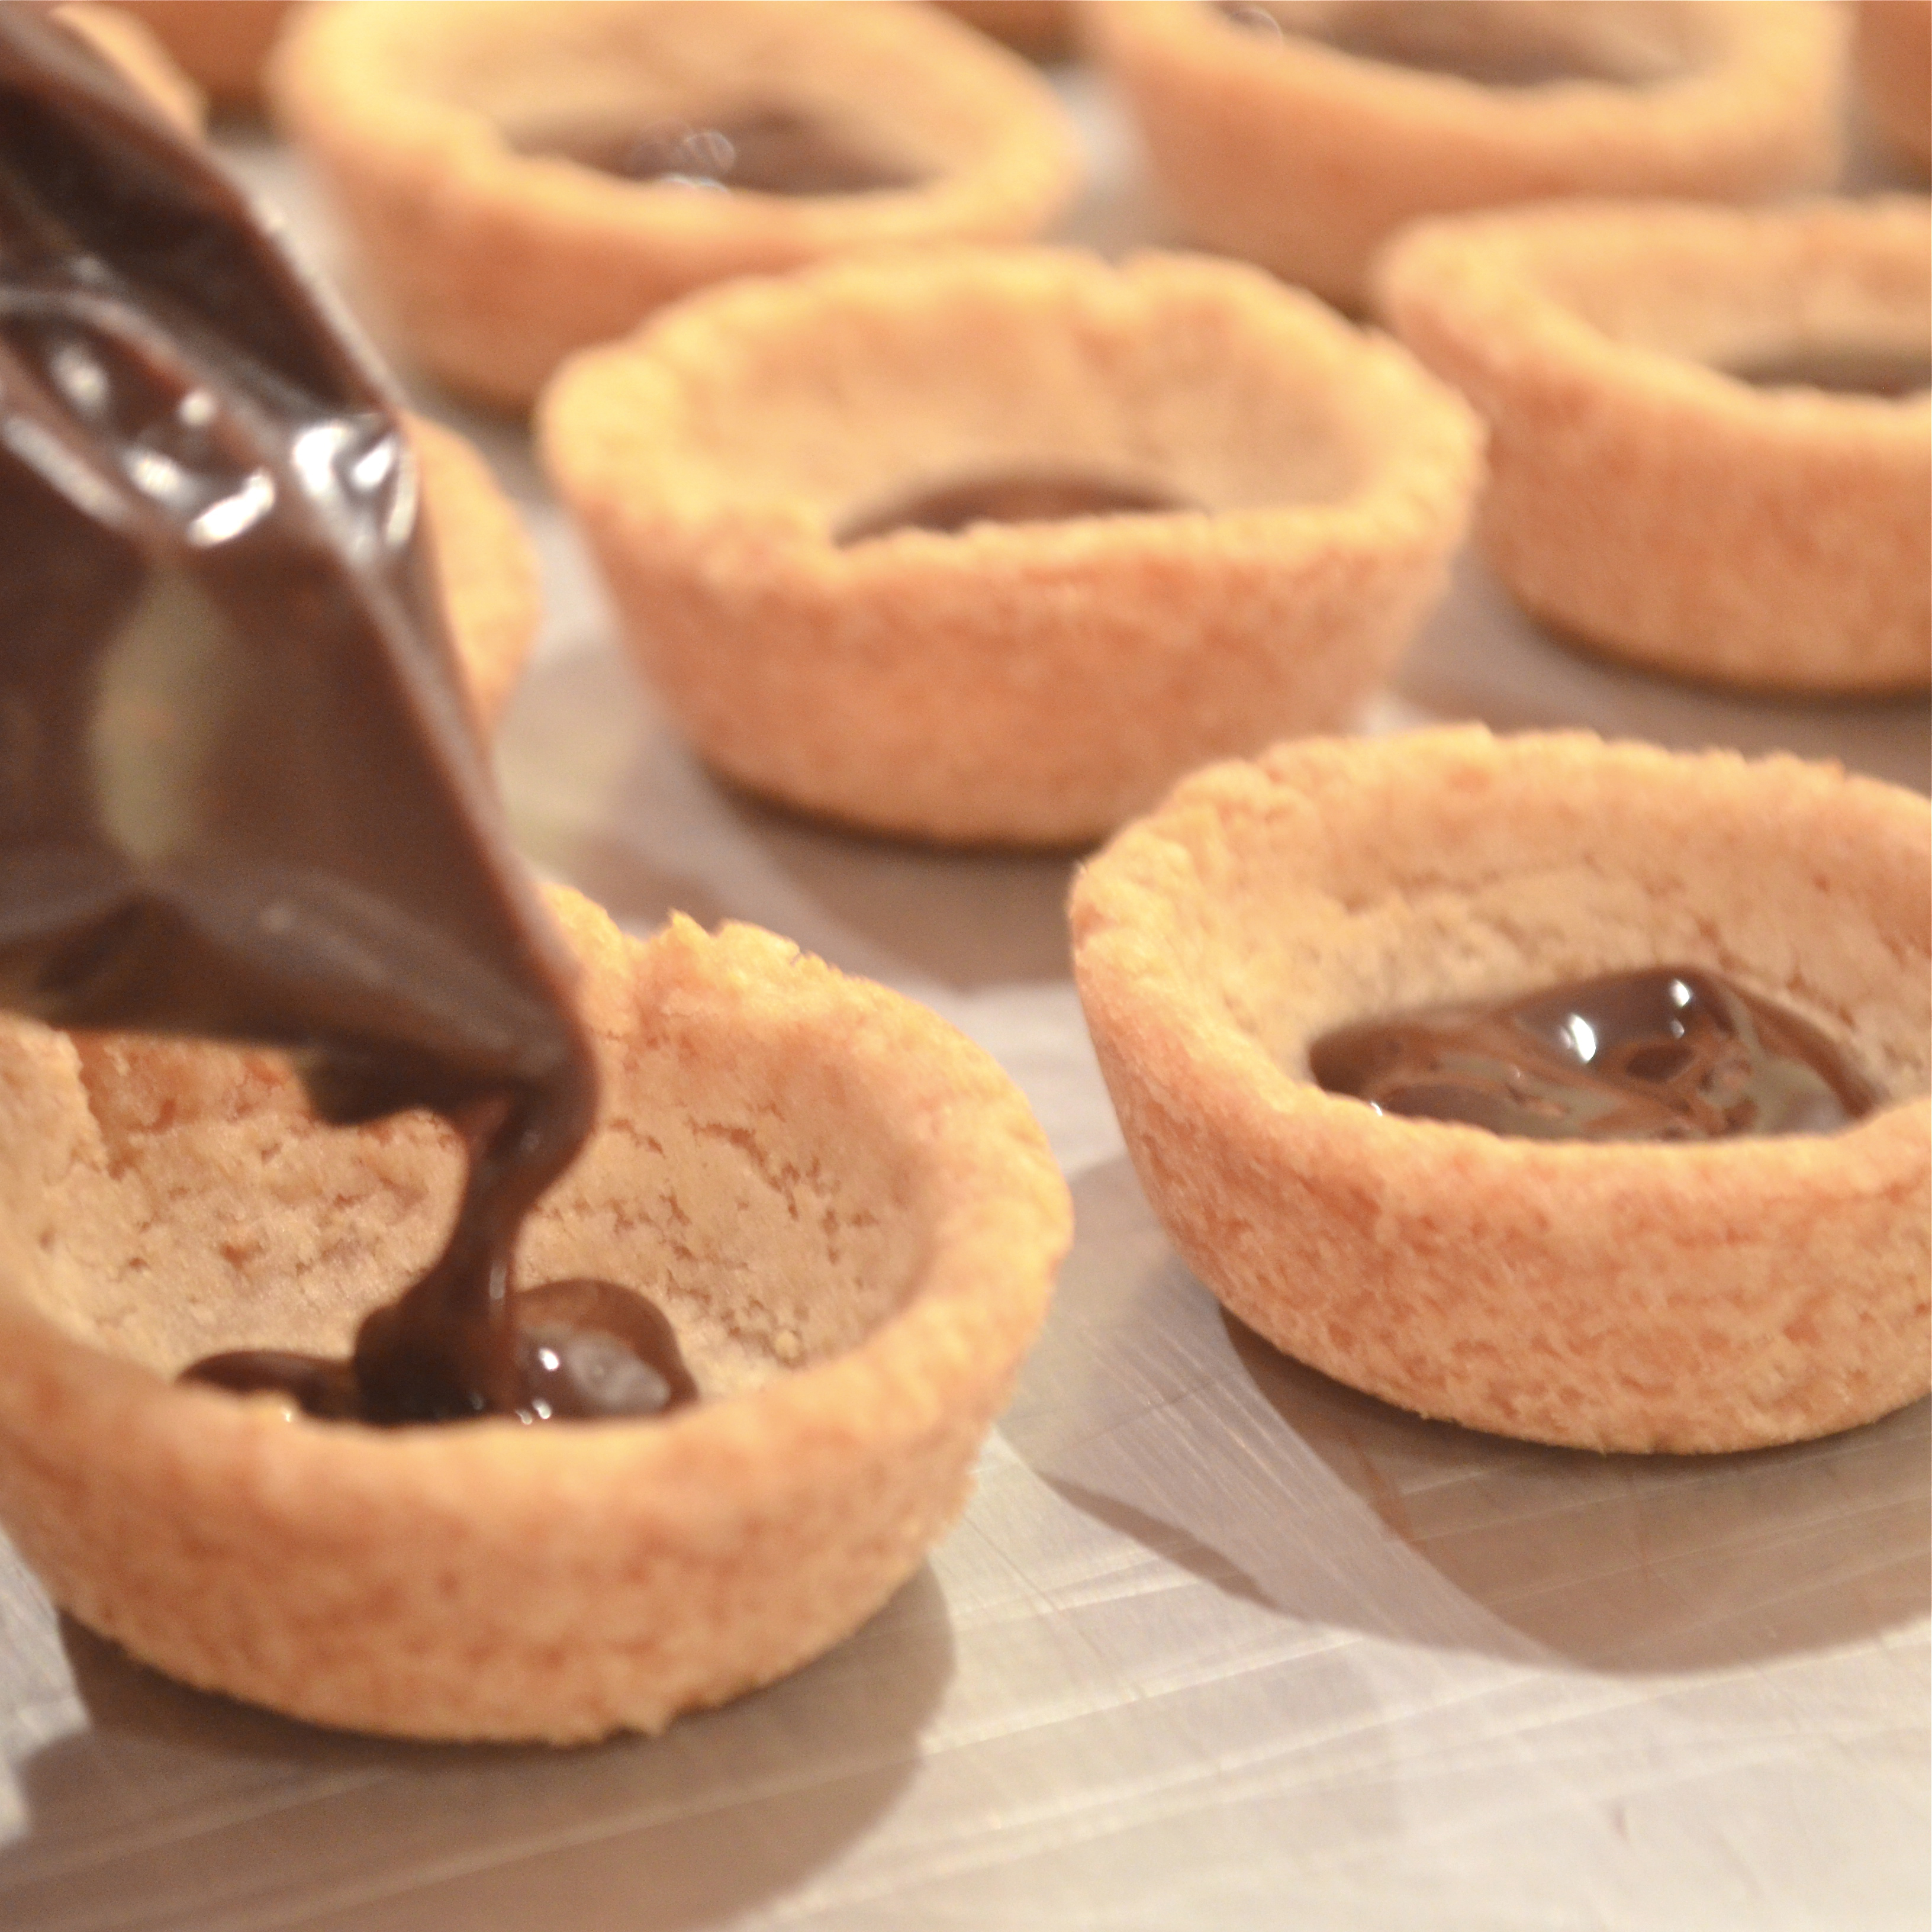
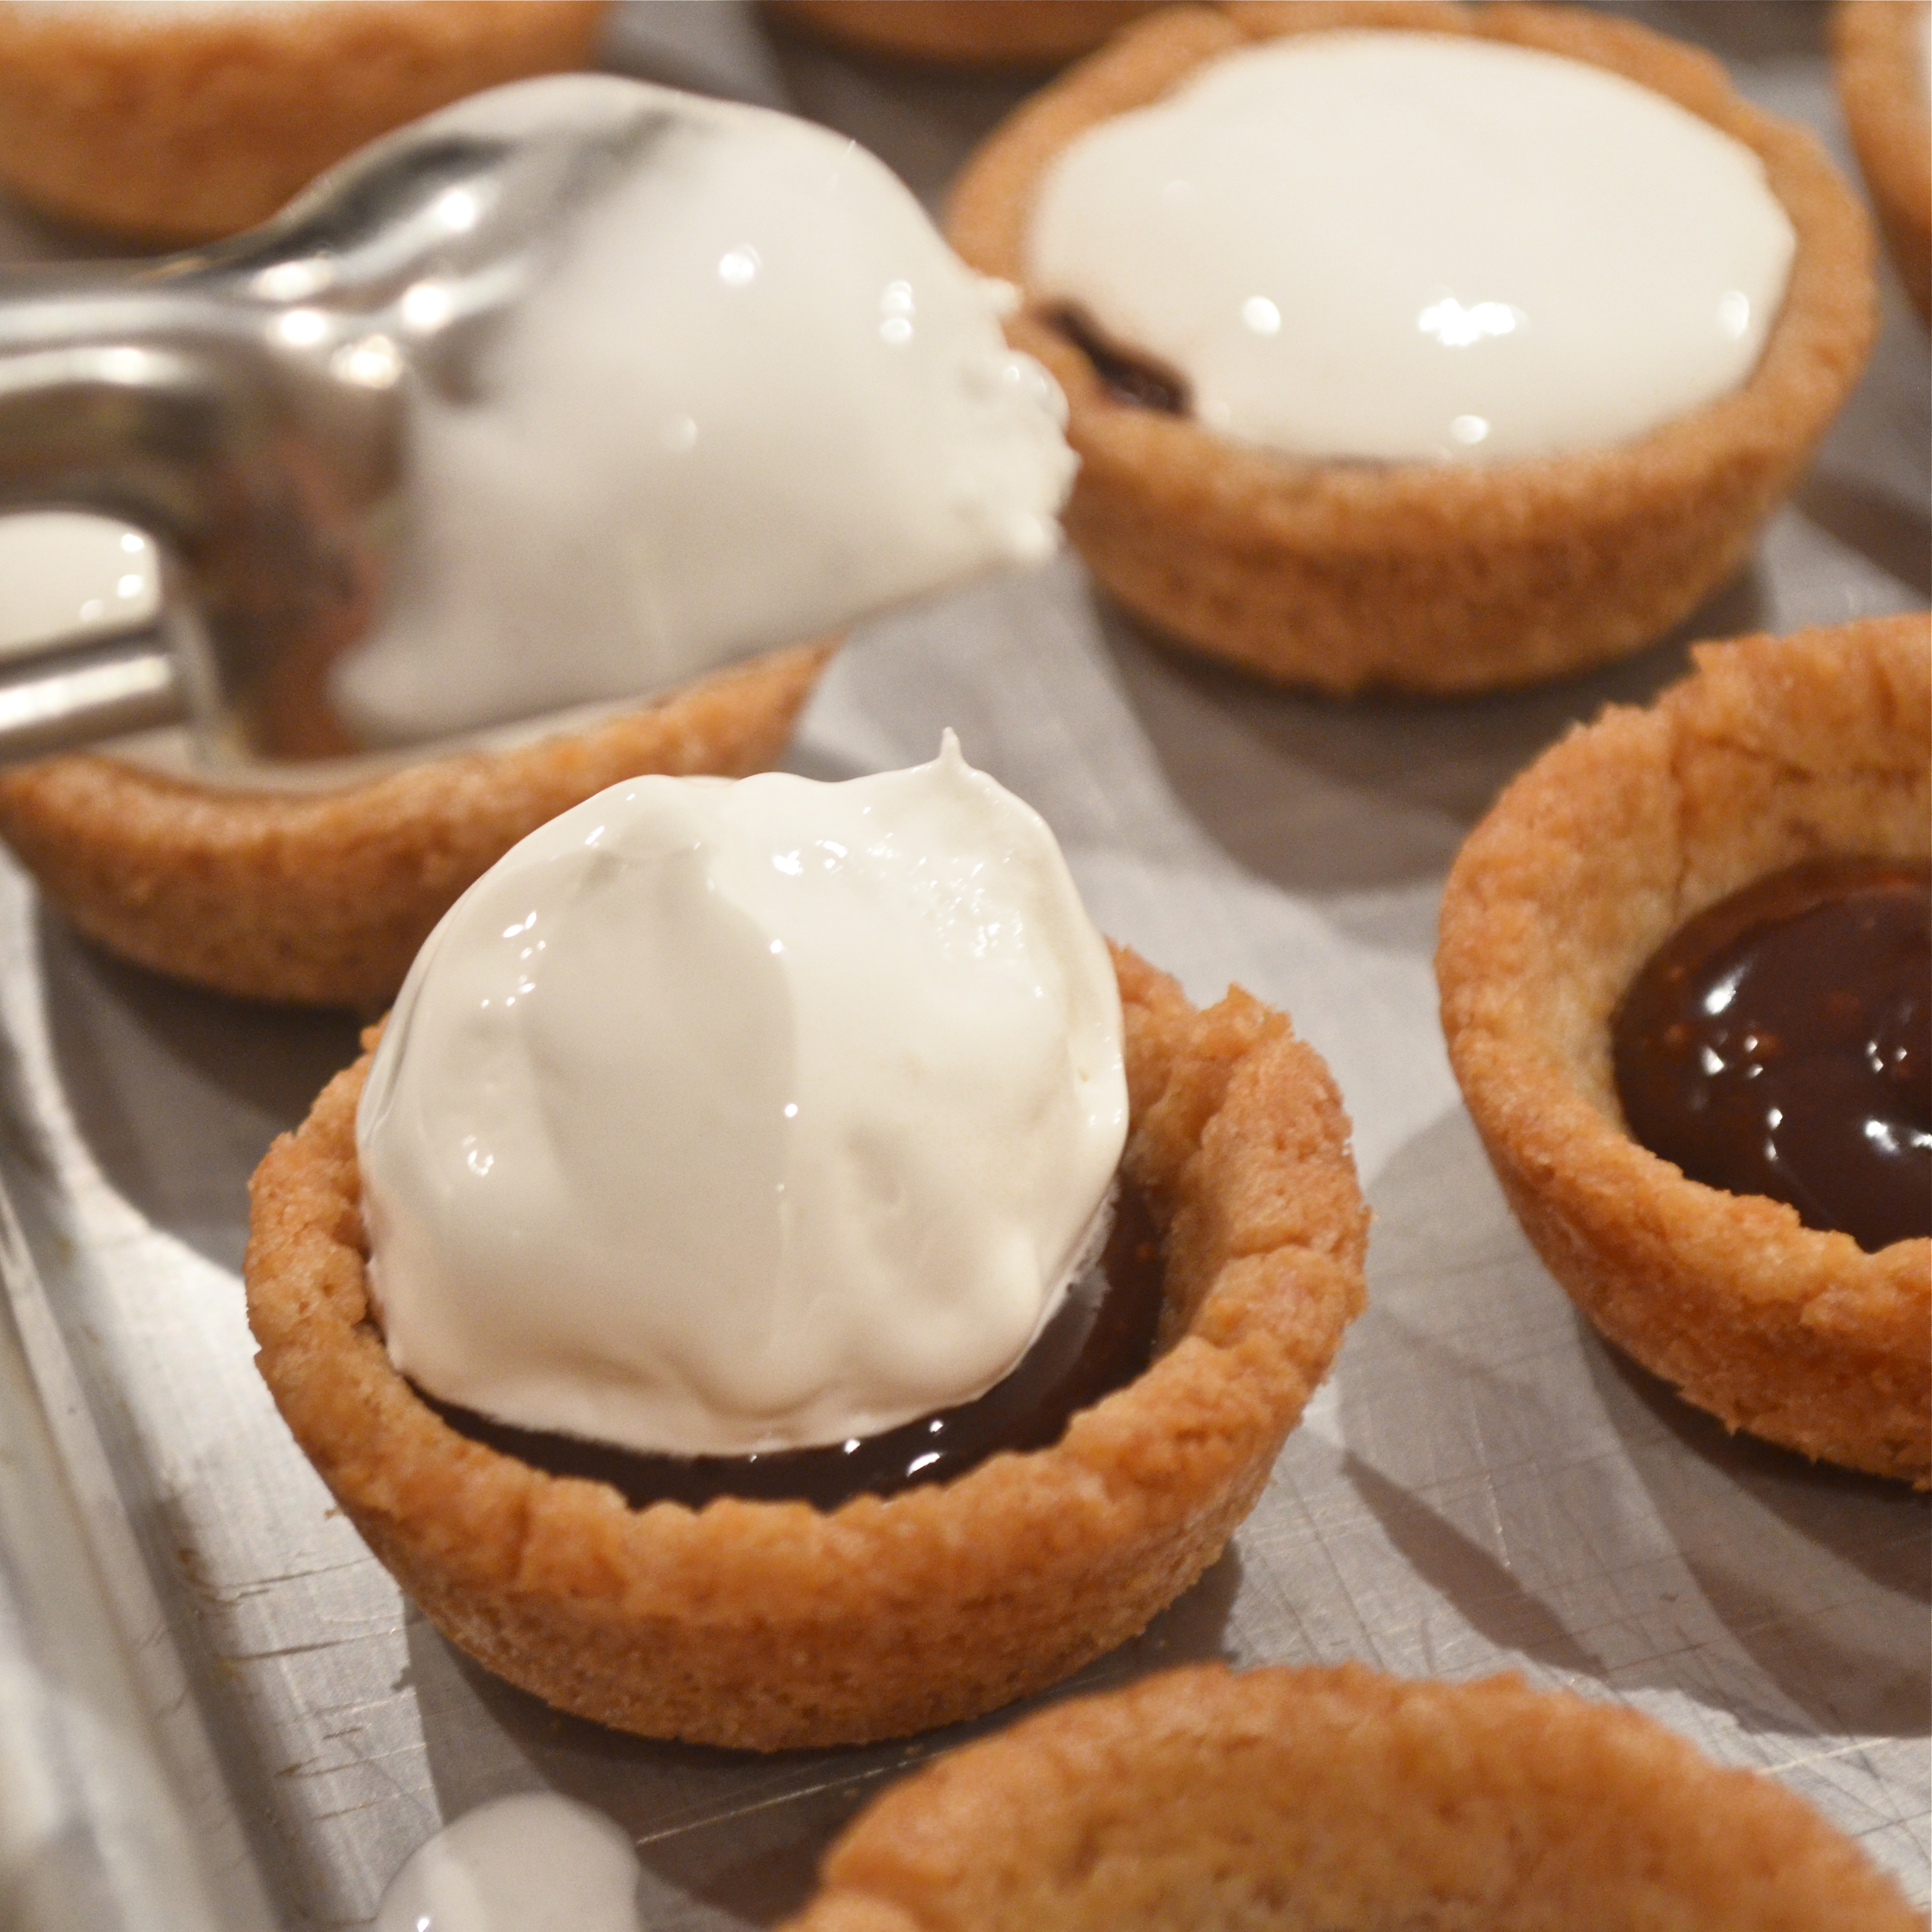
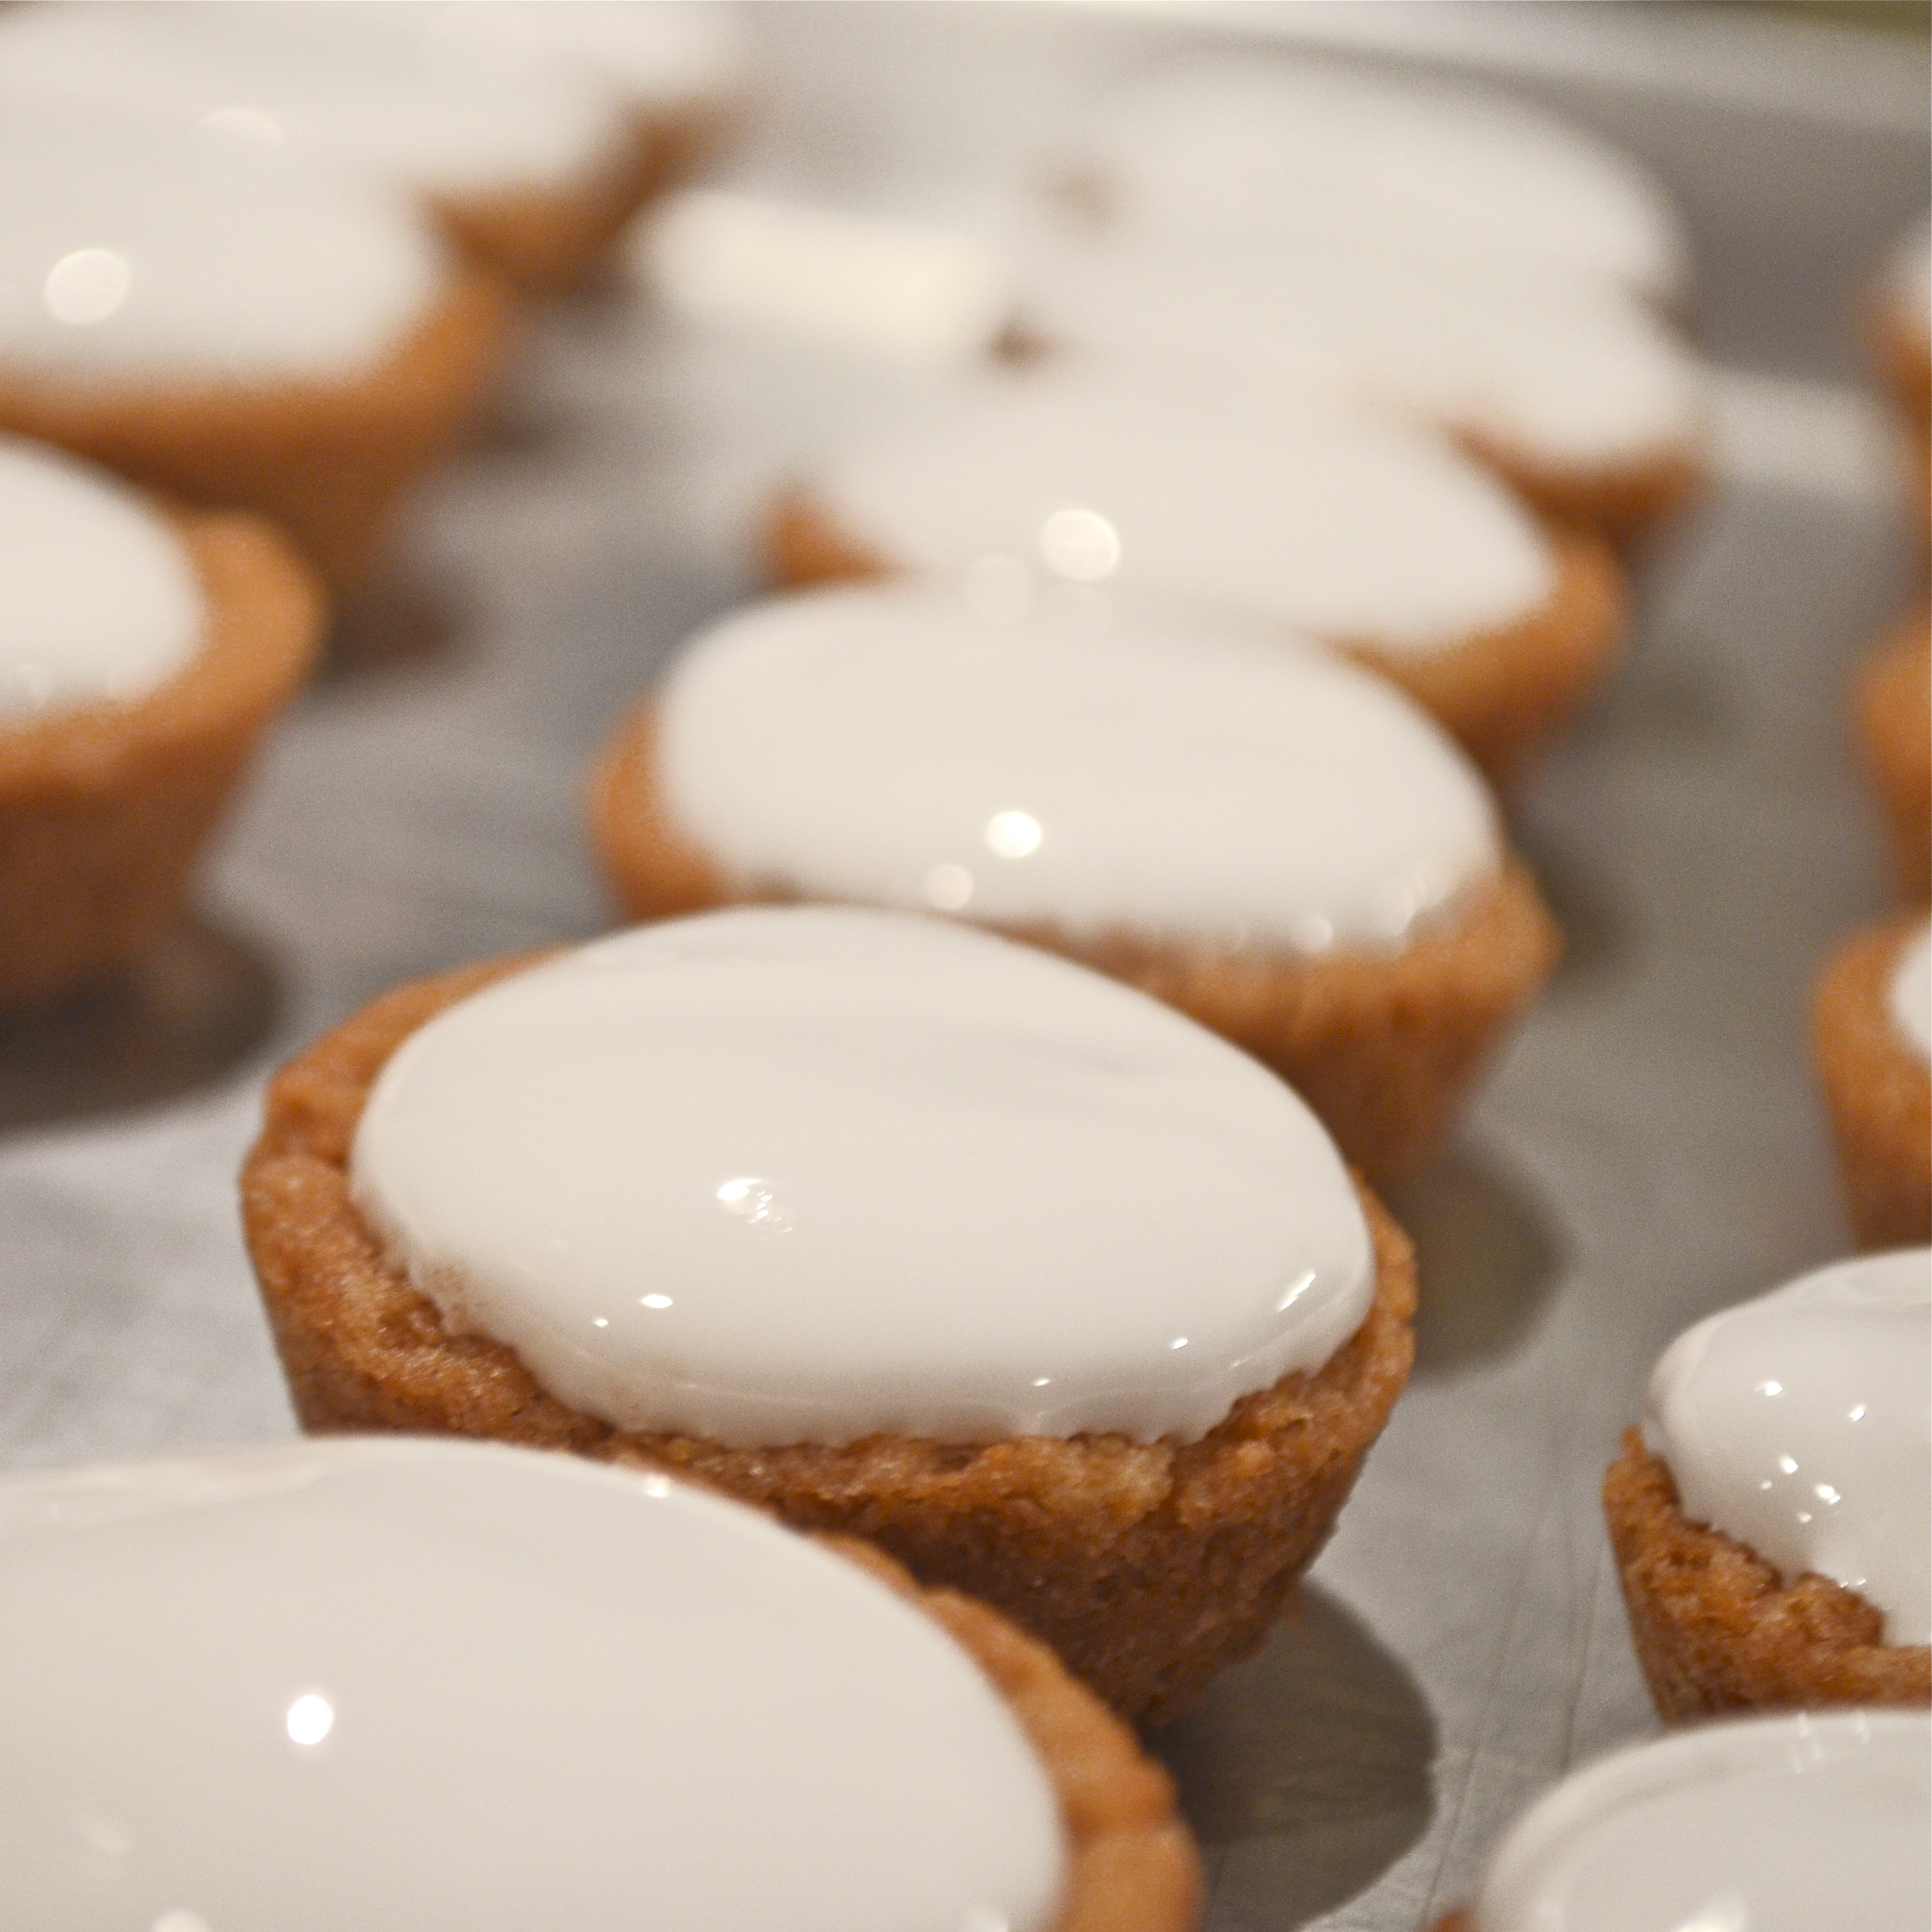
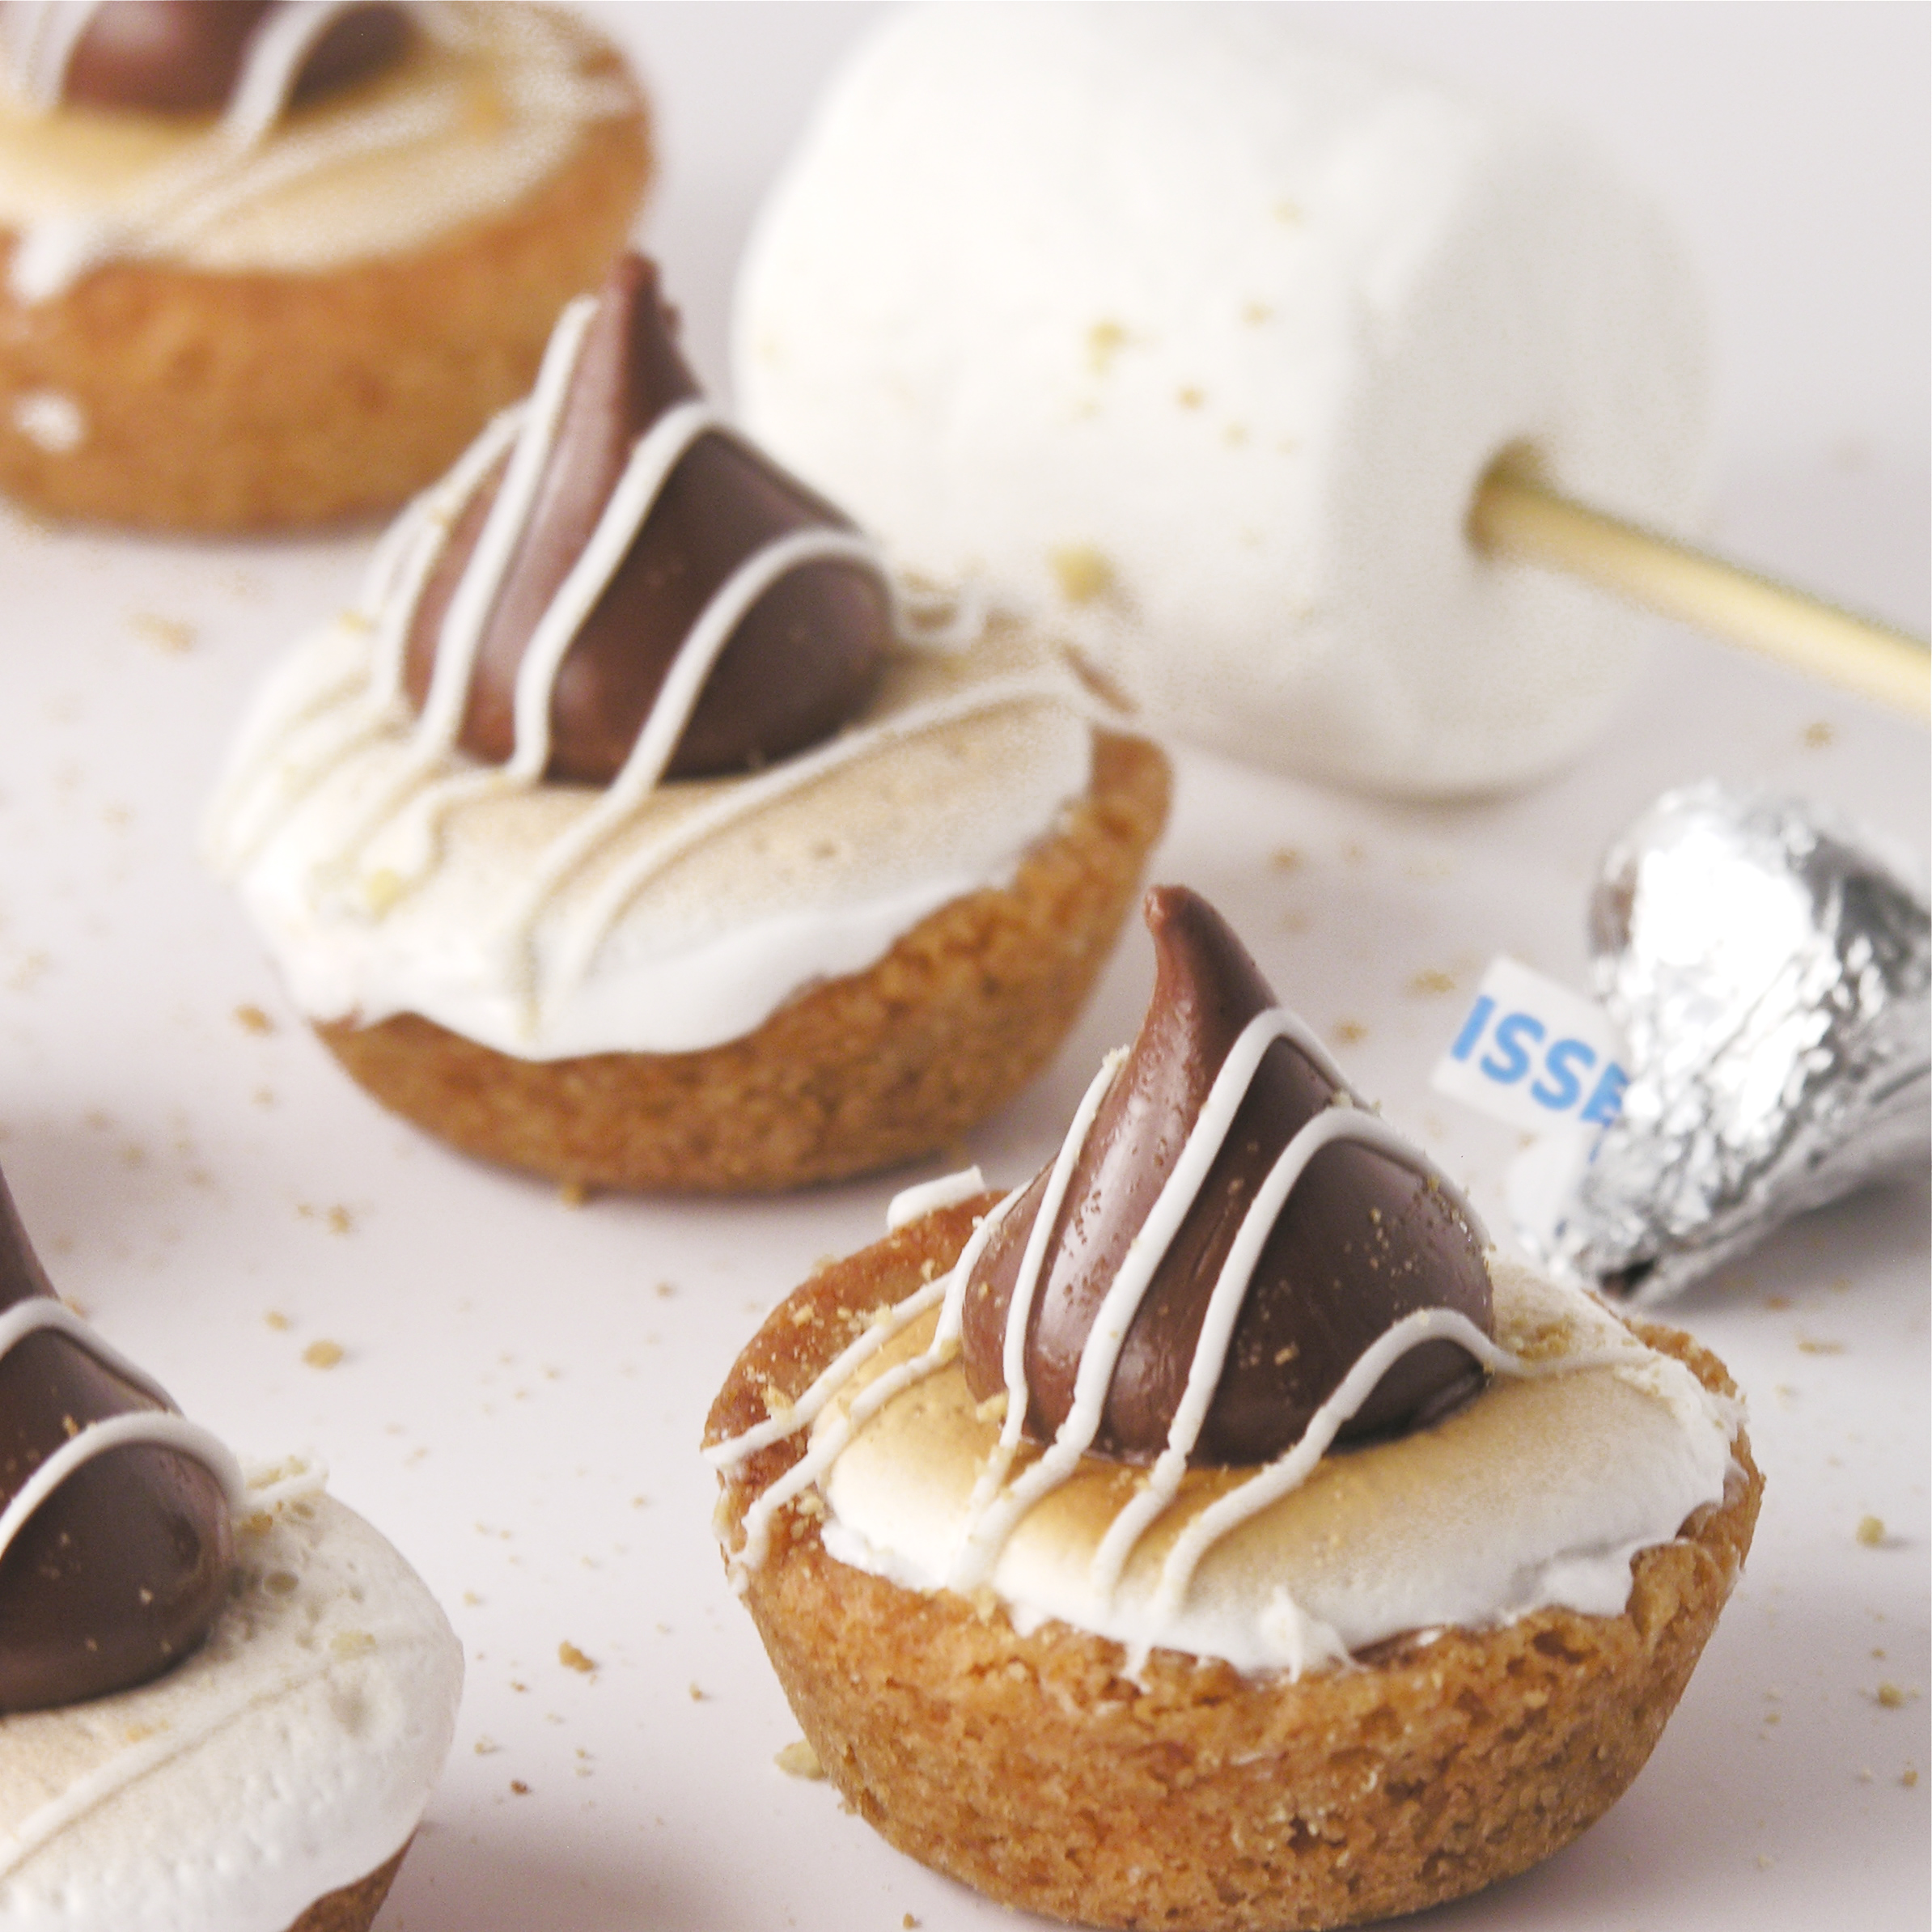
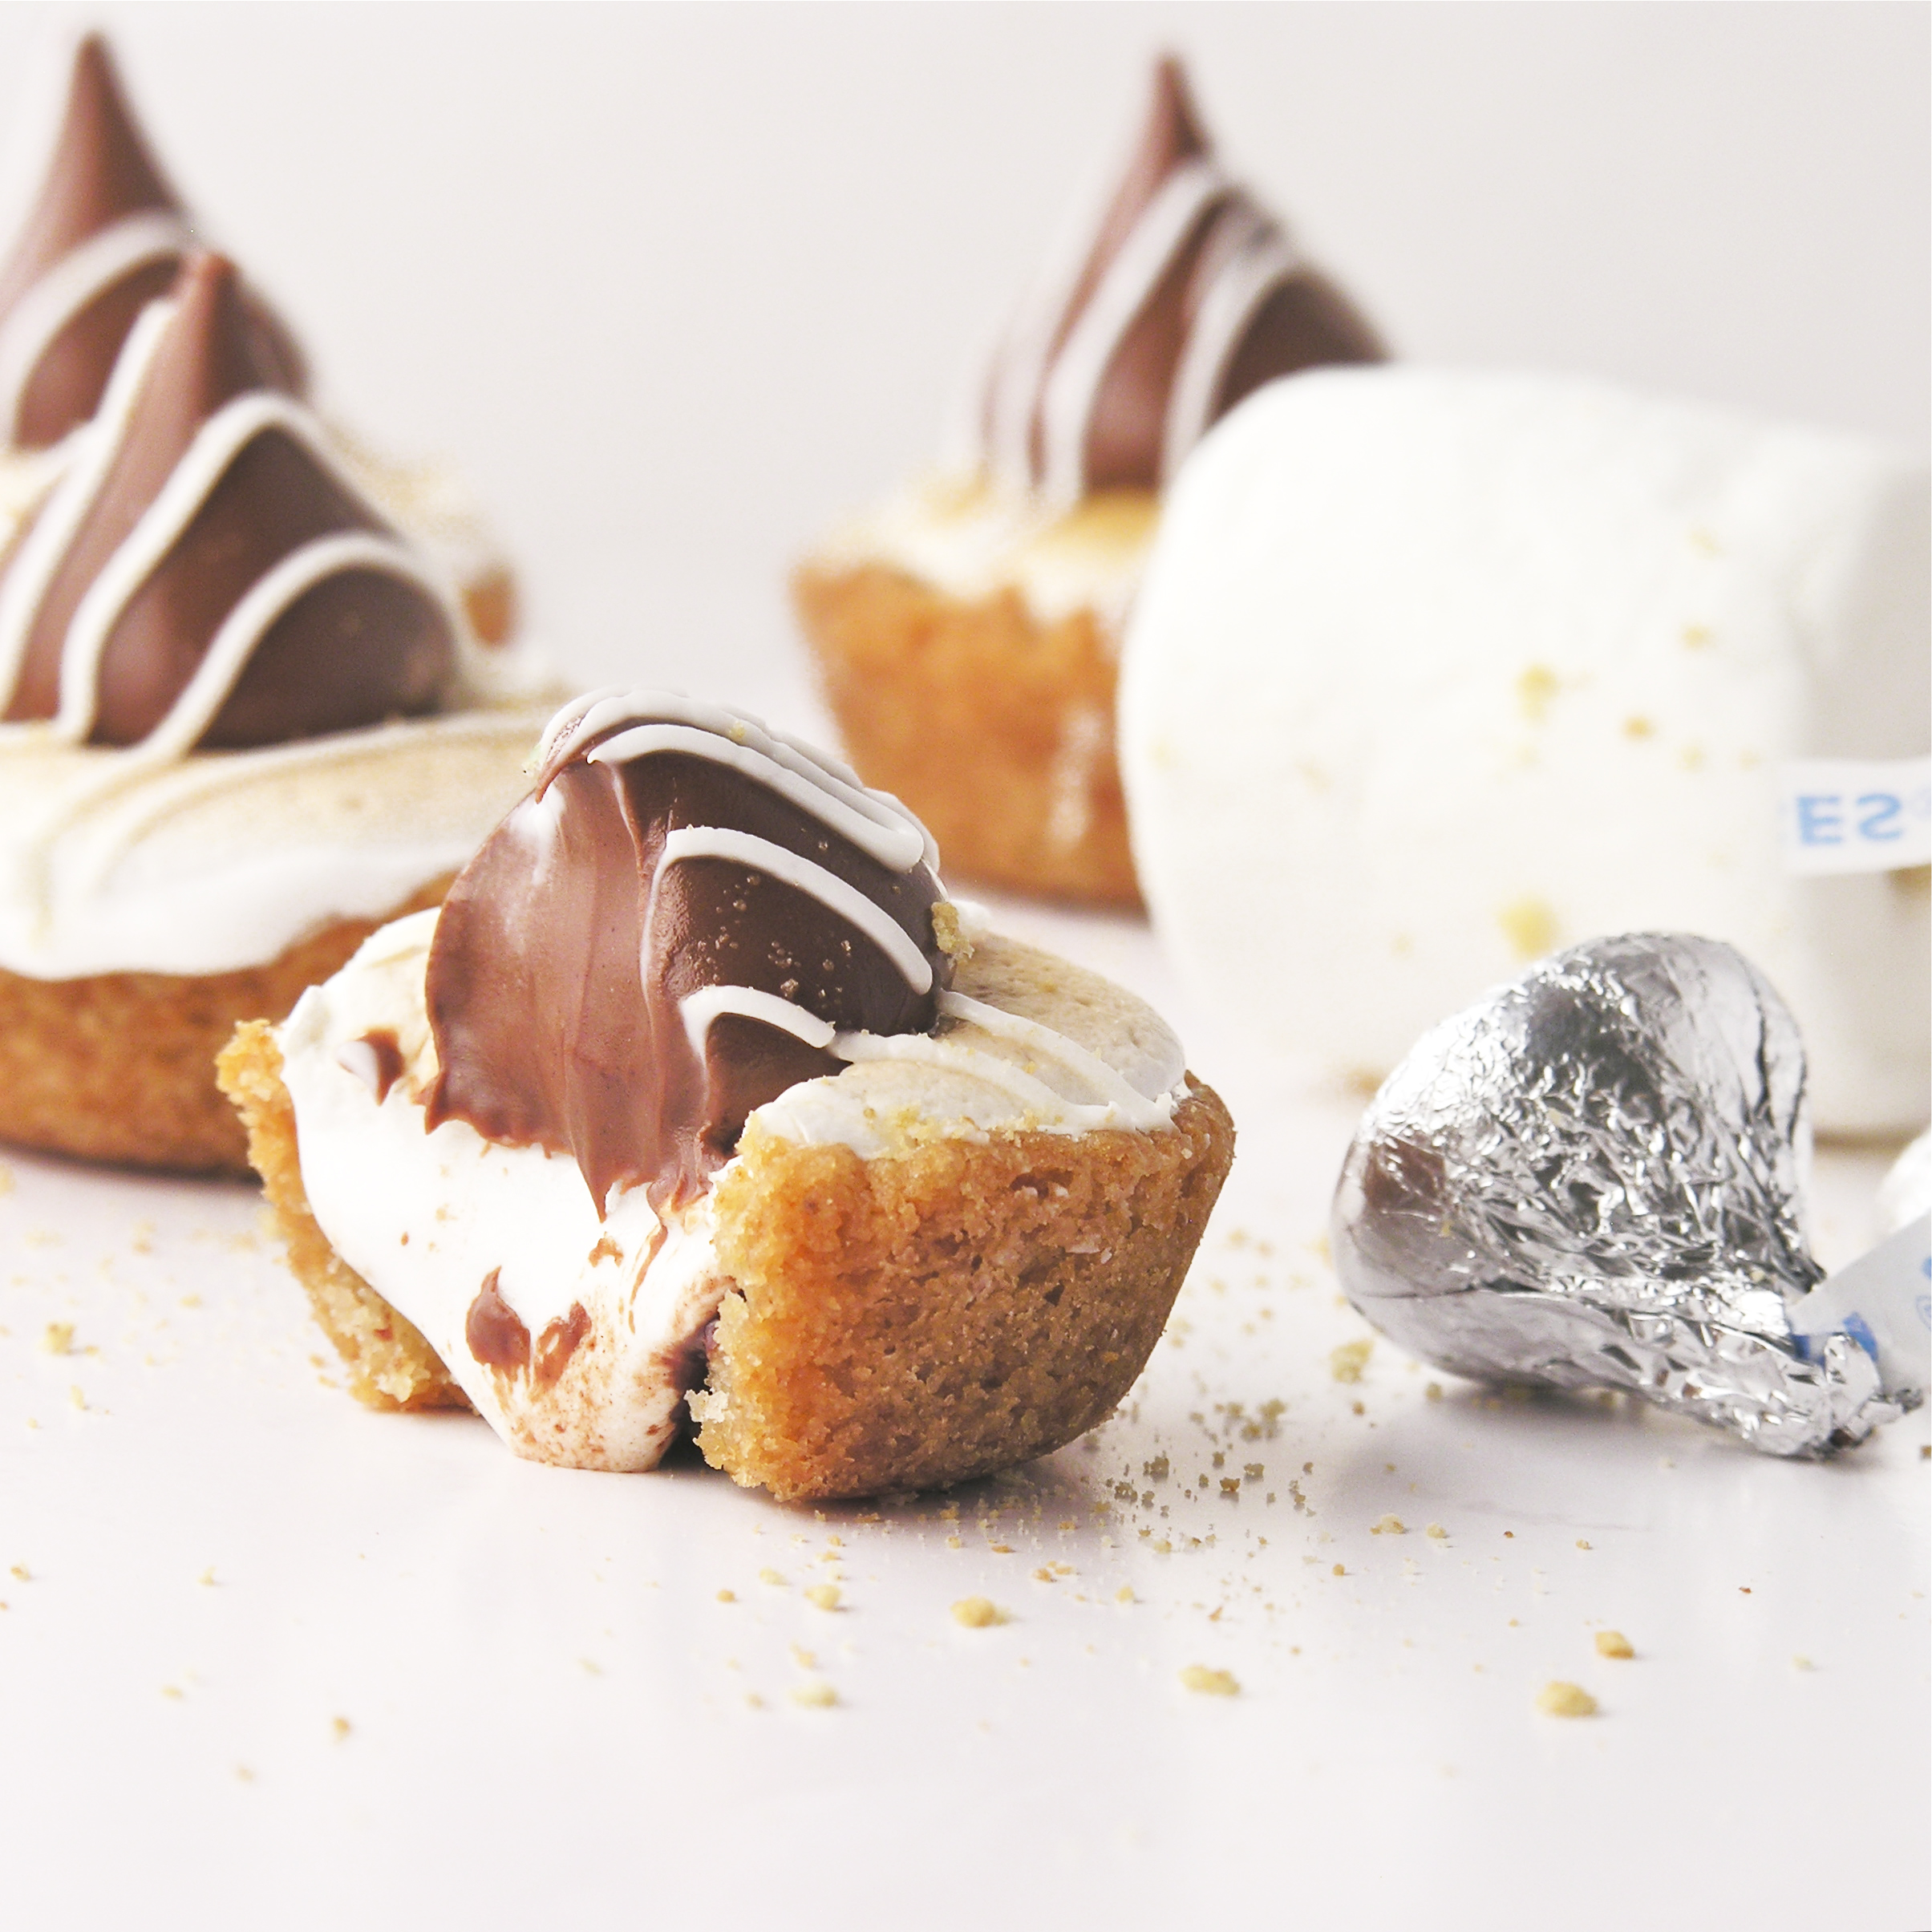
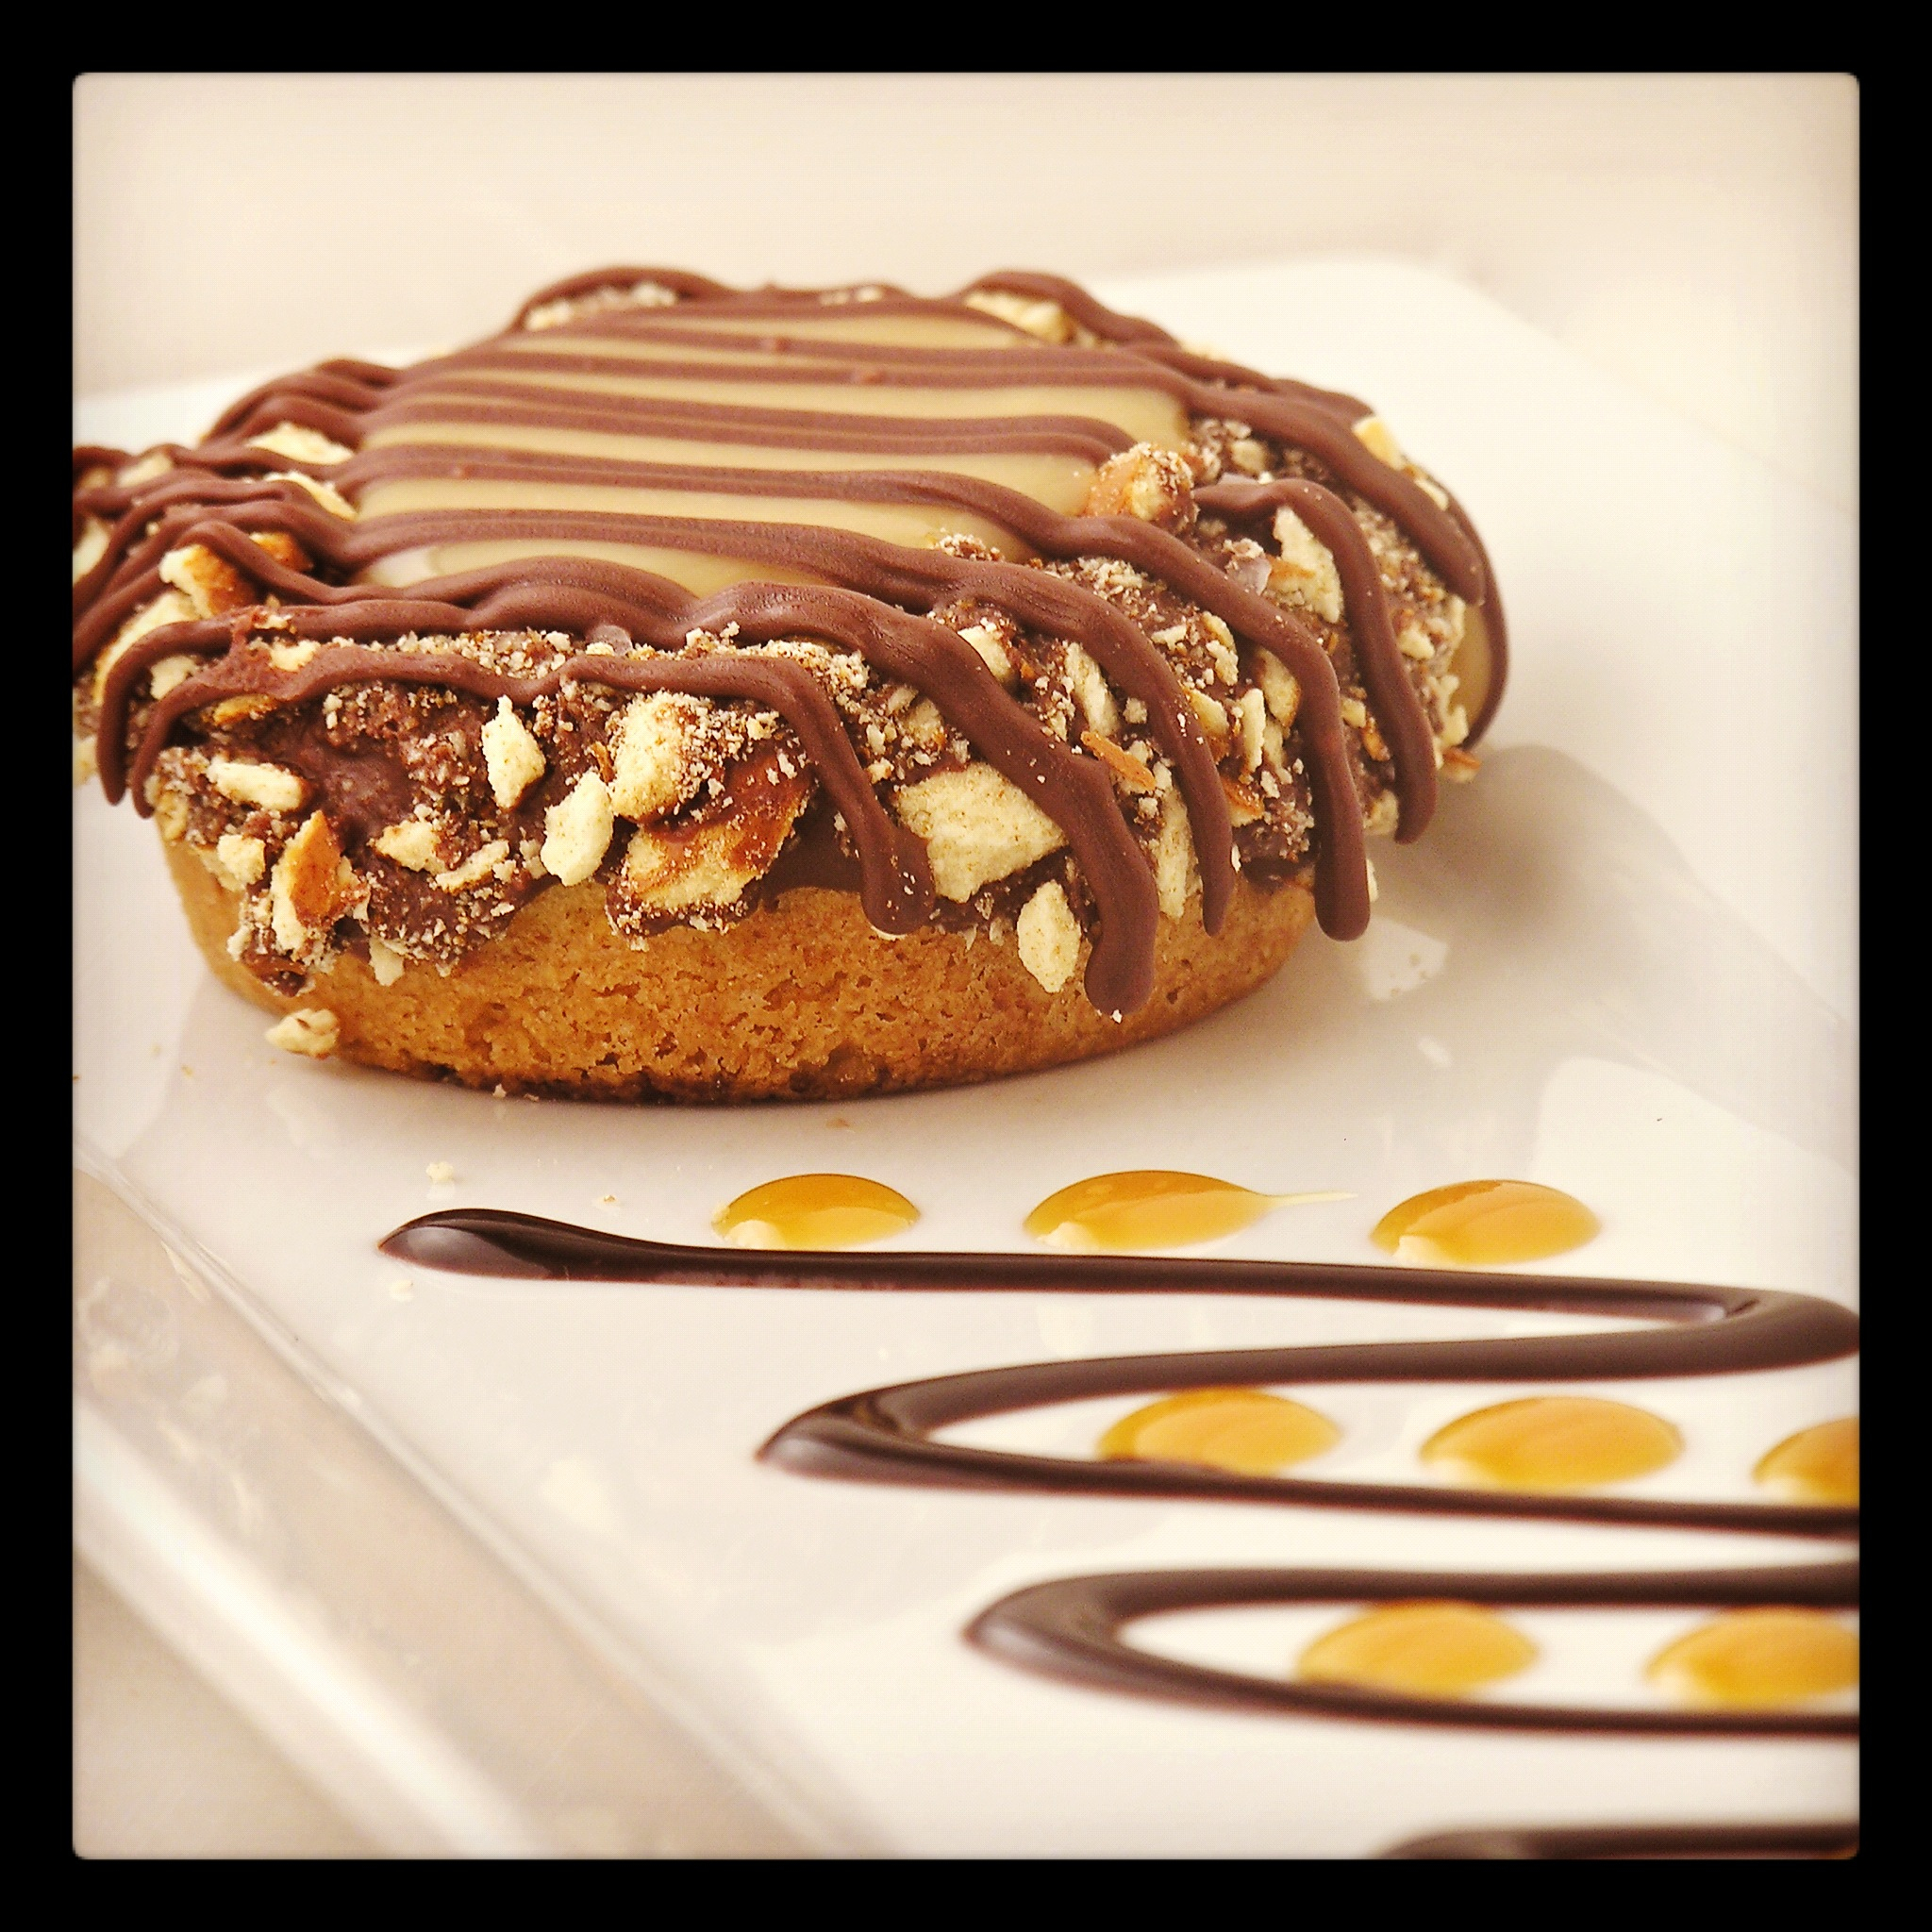
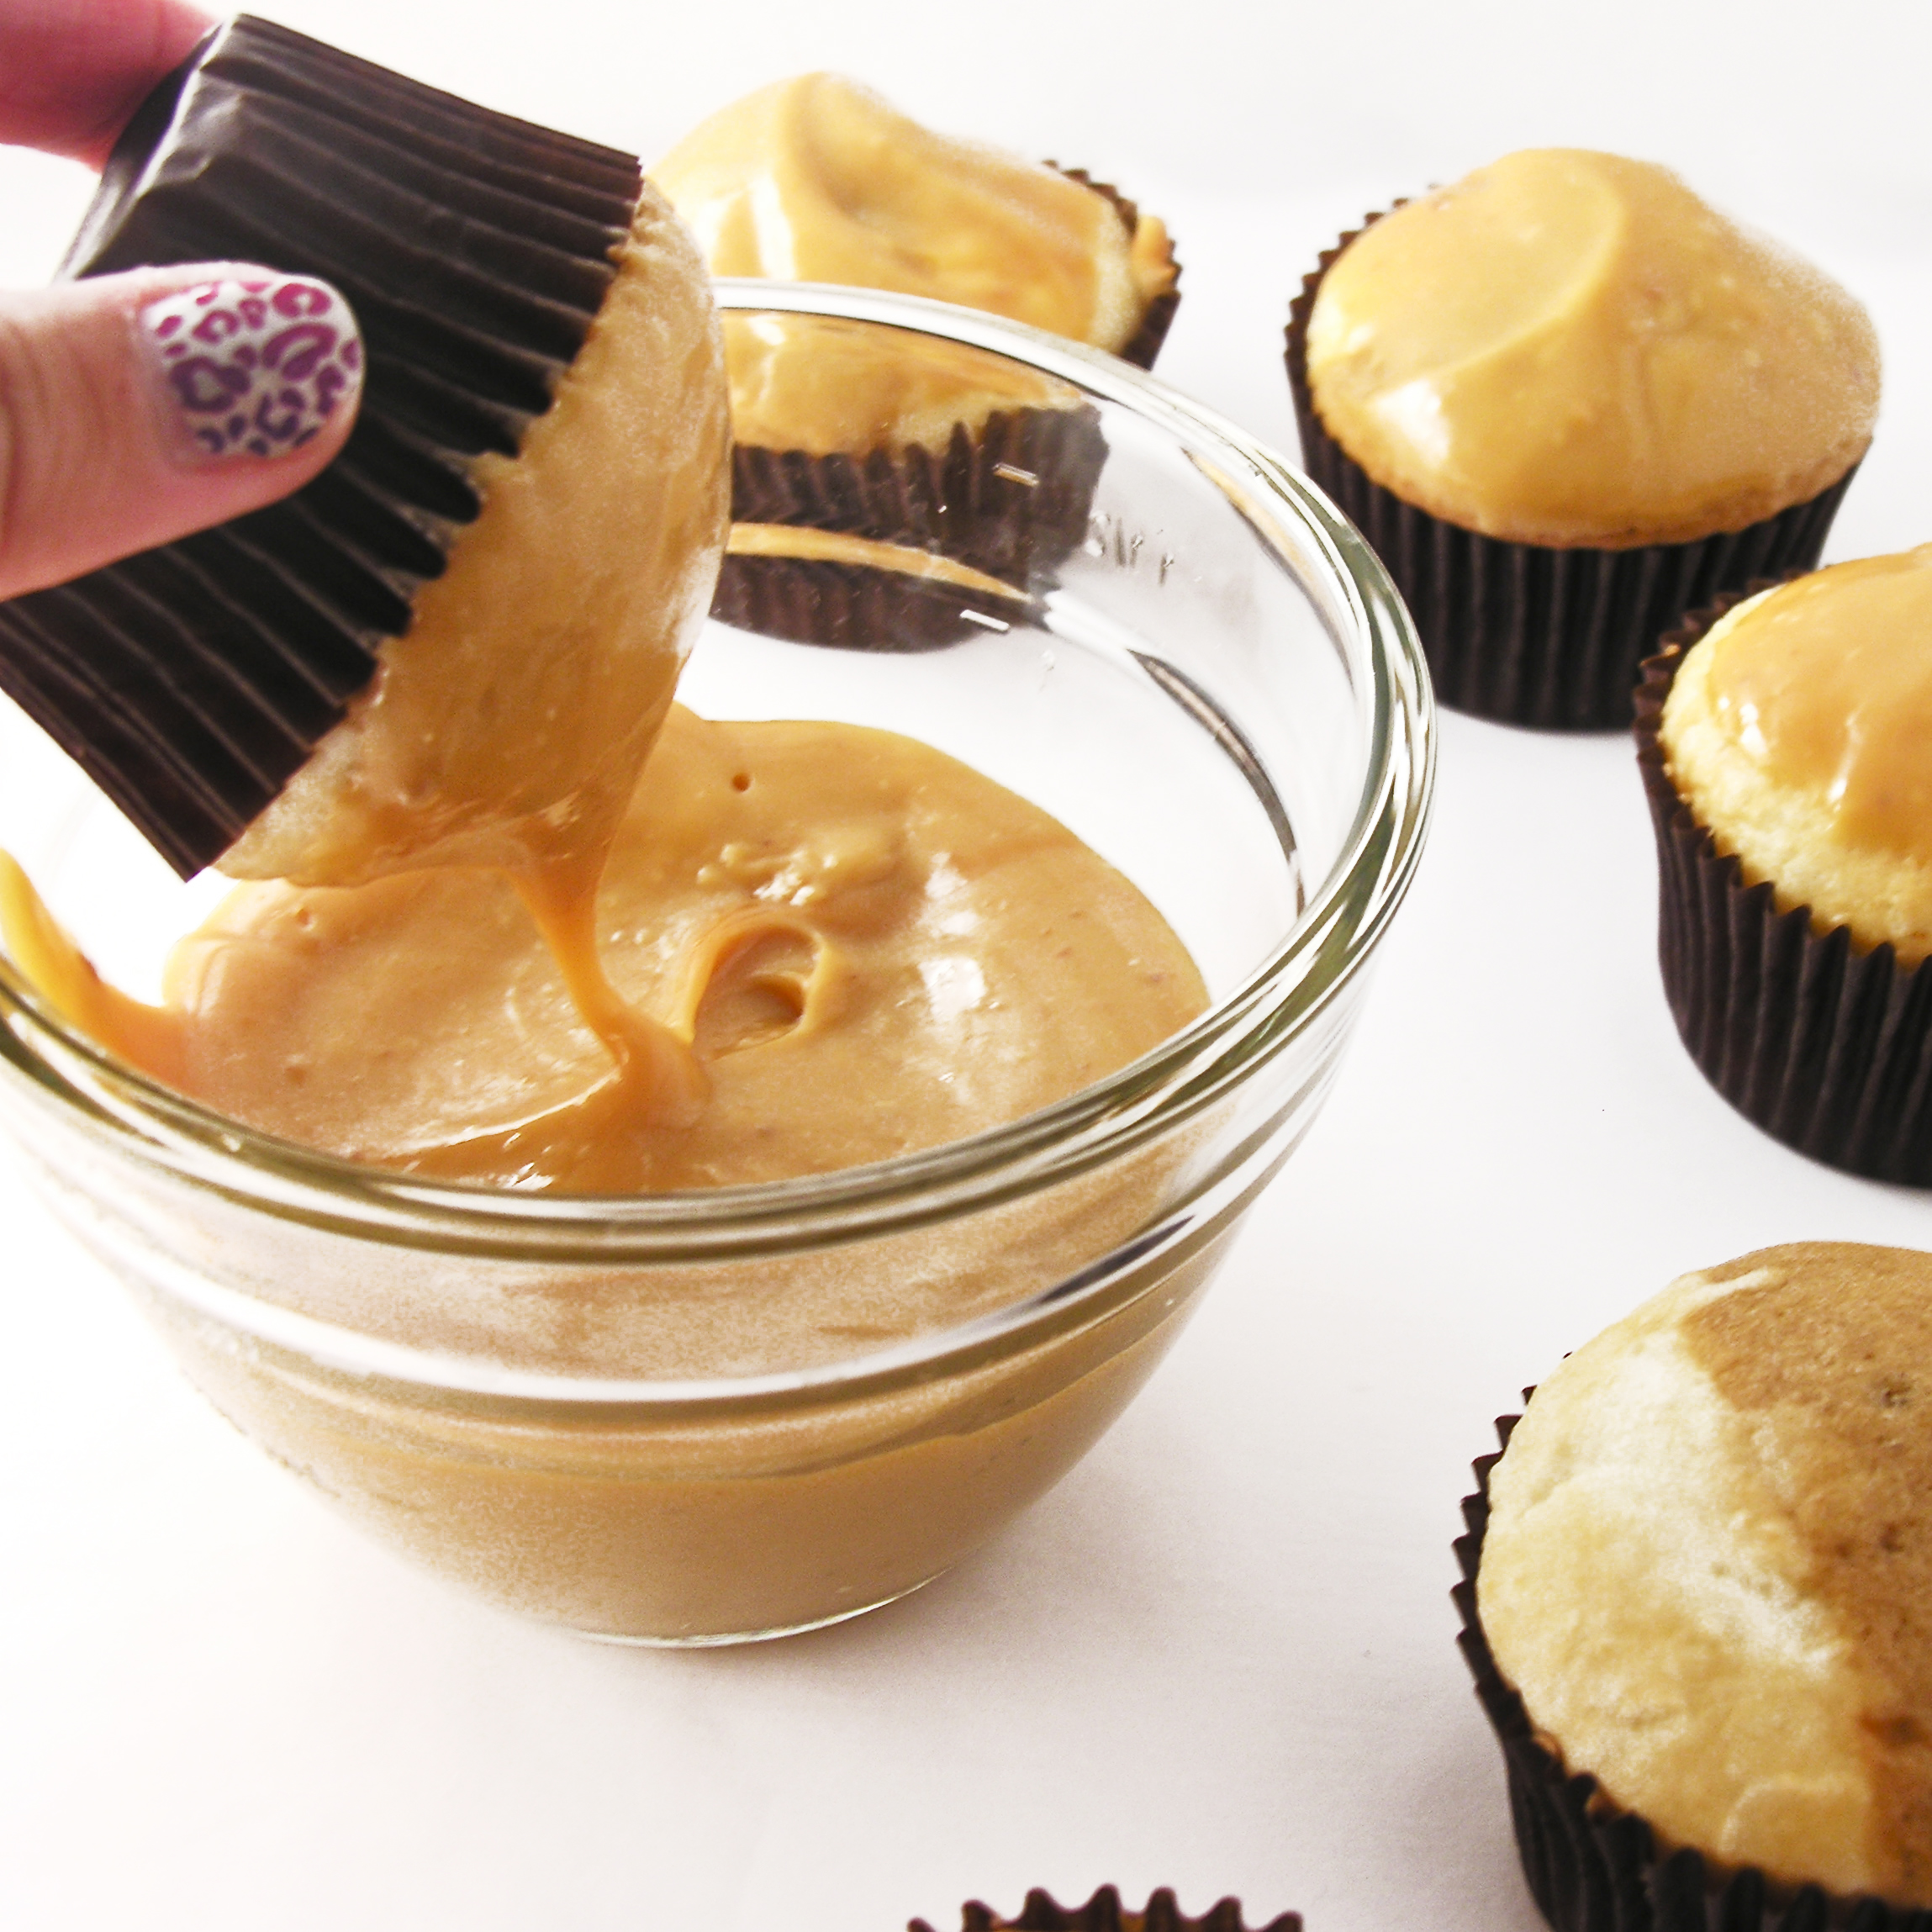
So crazy, adventure-seeking me sent in my application for this “baking show” on CBS. I was invited to come to Chicago to do an in-person audition for the show. I needed to bring my “signature” baked good. Signature? How to choose from all my favorites? I decided on Salted Caramel Cookie Cups, because everyone loves them, they are easy to travel with and they are signature (in that they use lots of pre-made ingredients), making them EASYbaked 🙂 My motto.
A few days before the audition I got a call from CBS confirming my audition time and making sure I would be bringing everything I needed. This very nice man said–“now, be sure you plate your baked good”. I was like… “um…ok. I will make sure I put it on a plate.” Long pause. “No, you need to plate it.” “Yes,” I replied, “I will put it on a plate.” “You need to plate it- you know, make it look all fancy for the judges?”
Sigh. My 1st clue this isn’t going to go well. I hang up and google “how to plate a dessert”. Then I go to the store to buy little bottles with tips….and I practice “plating” my little desserts.

Laura and I pack up all my supplies and off we go to a very rainy and cold Chicago.


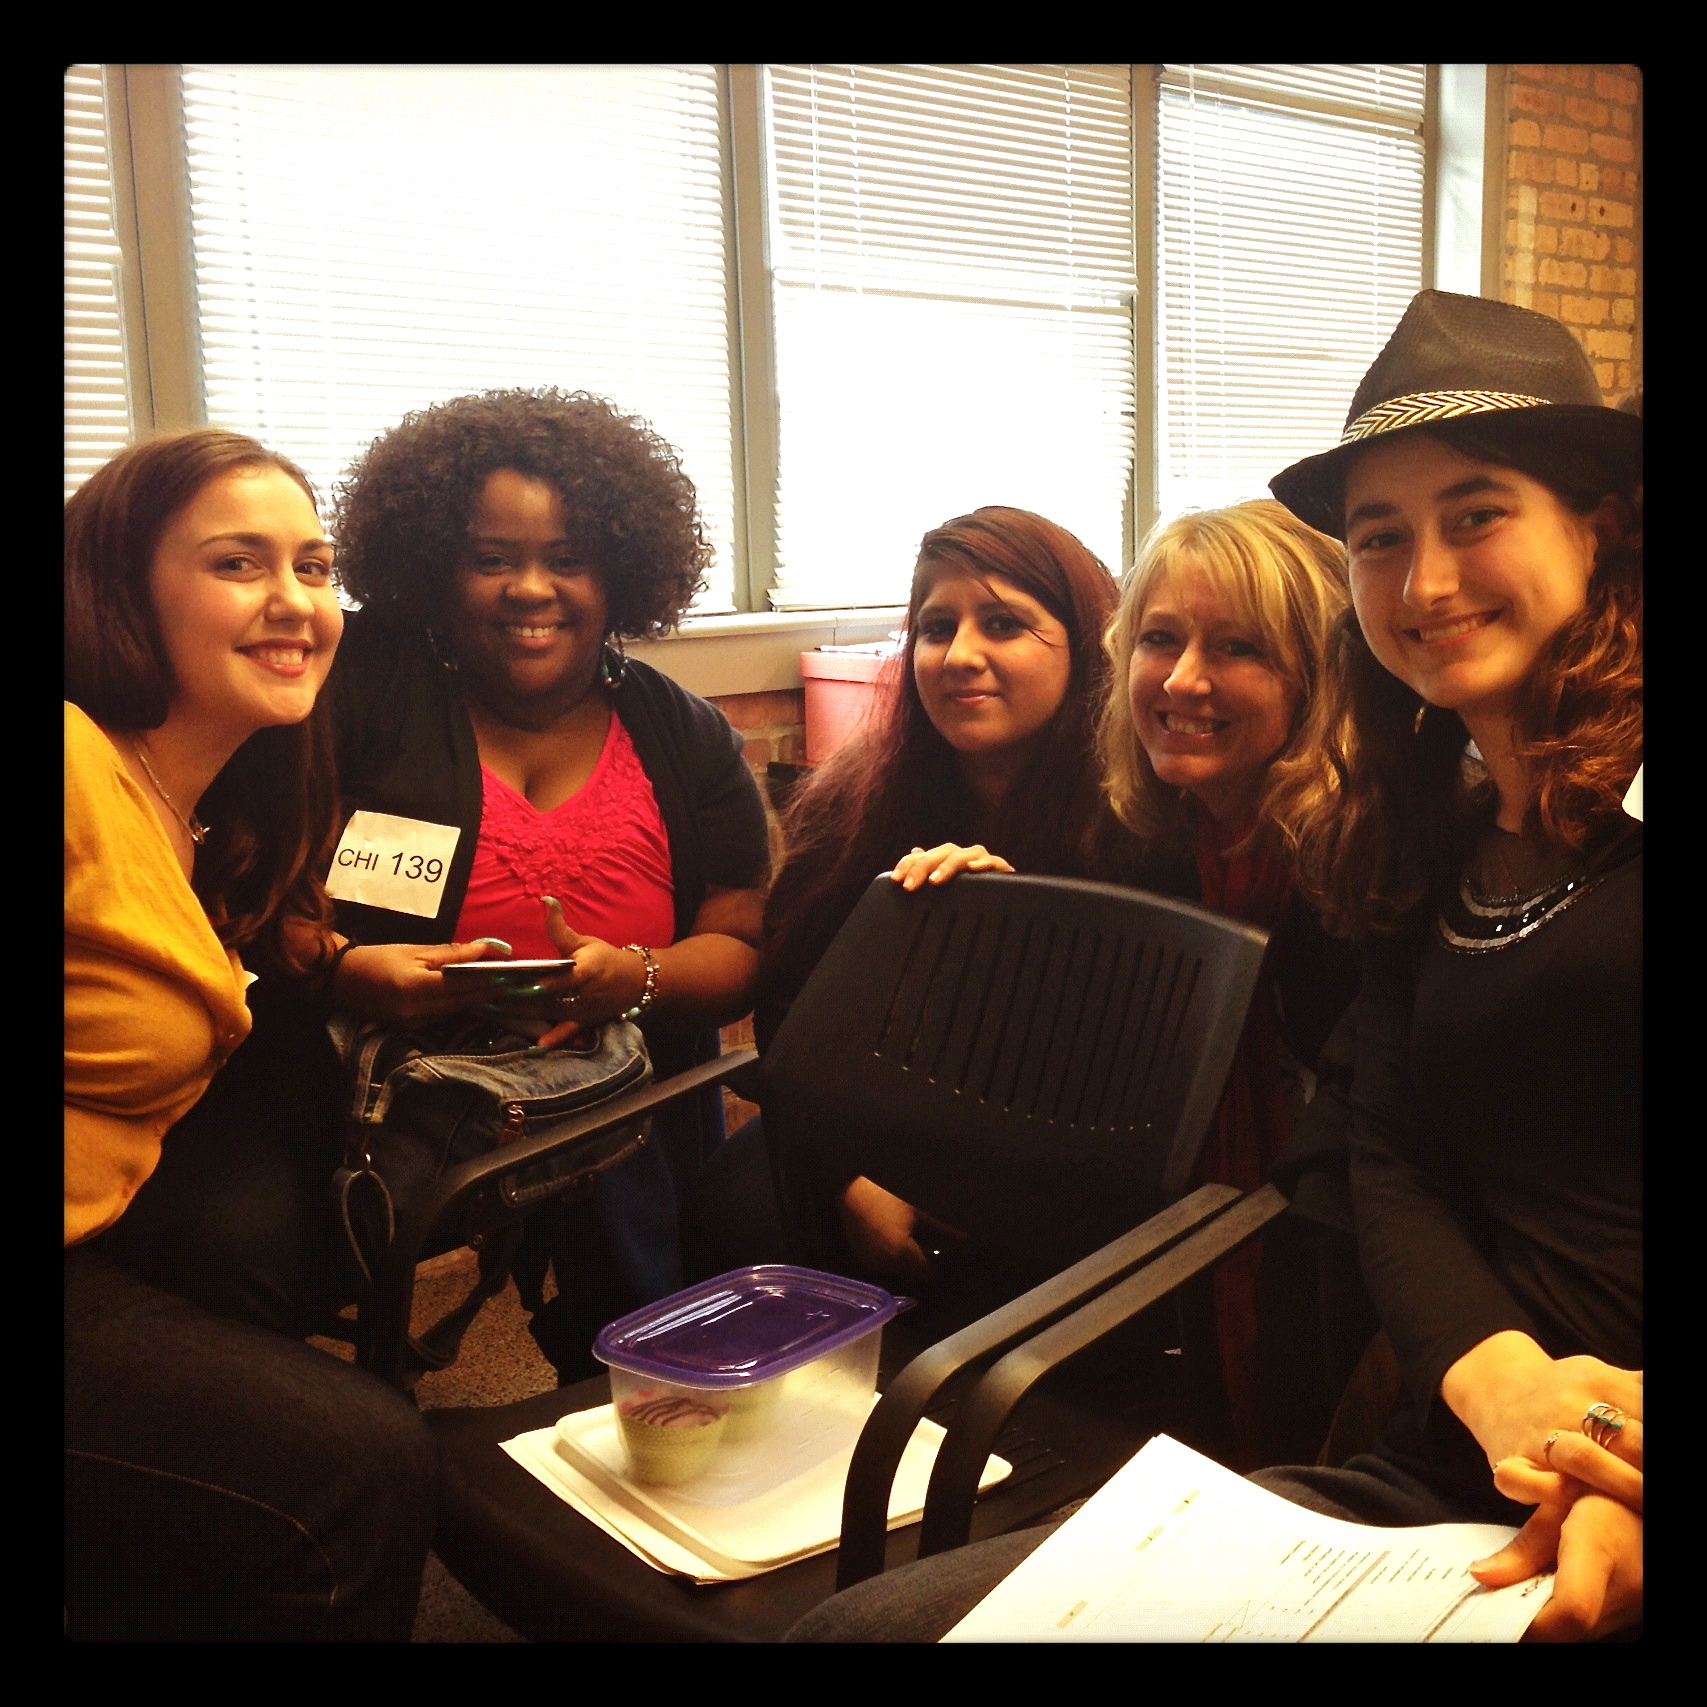
When I arrived and checked in I was seated in a room FULL of people carrying baked goods in all sorts of containers. I love meeting new people and within no time I had met all of the people sitting around me. It was SO much fun! A whole room full of people comparing ganache recipes and favorite frosting ideas. AMAZING! About 5 of us chatted while we waited to get called back and we all ended up getting called back together. We had to “plate” our items for the judges (thank goodness I got all of that sorted out ahead of time!) and they tasted our items and asked us questions. Lauren and I made it to the second round and we spent our waiting time really getting to know each other and exchanging our extra desserts with the bakers around us.

New Baking Friends!!!
The second interview was questions, asked in a group setting. Not too intimidating… The casting person (who, apparently was also a trained culinary person) asked me how I made my wonderful caramel filling. I explained that I use Kraft caramels, sweetened condensed milk and butter to make it.
There were audible gasps.
Everyone was staring at me.
What had I said wrong?
The interviewer said- you mean you didn’t make this from scratch?
Ummm…no.
Why would you bring this as your signature baked good if it isn’t from scratch?
Because my baking is rarely from scratch. Why slave over homemade caramel if you can just use caramels to make a filling?
But it’s not homemade….
Well, you loved it and sent me to the next round of interviews…?
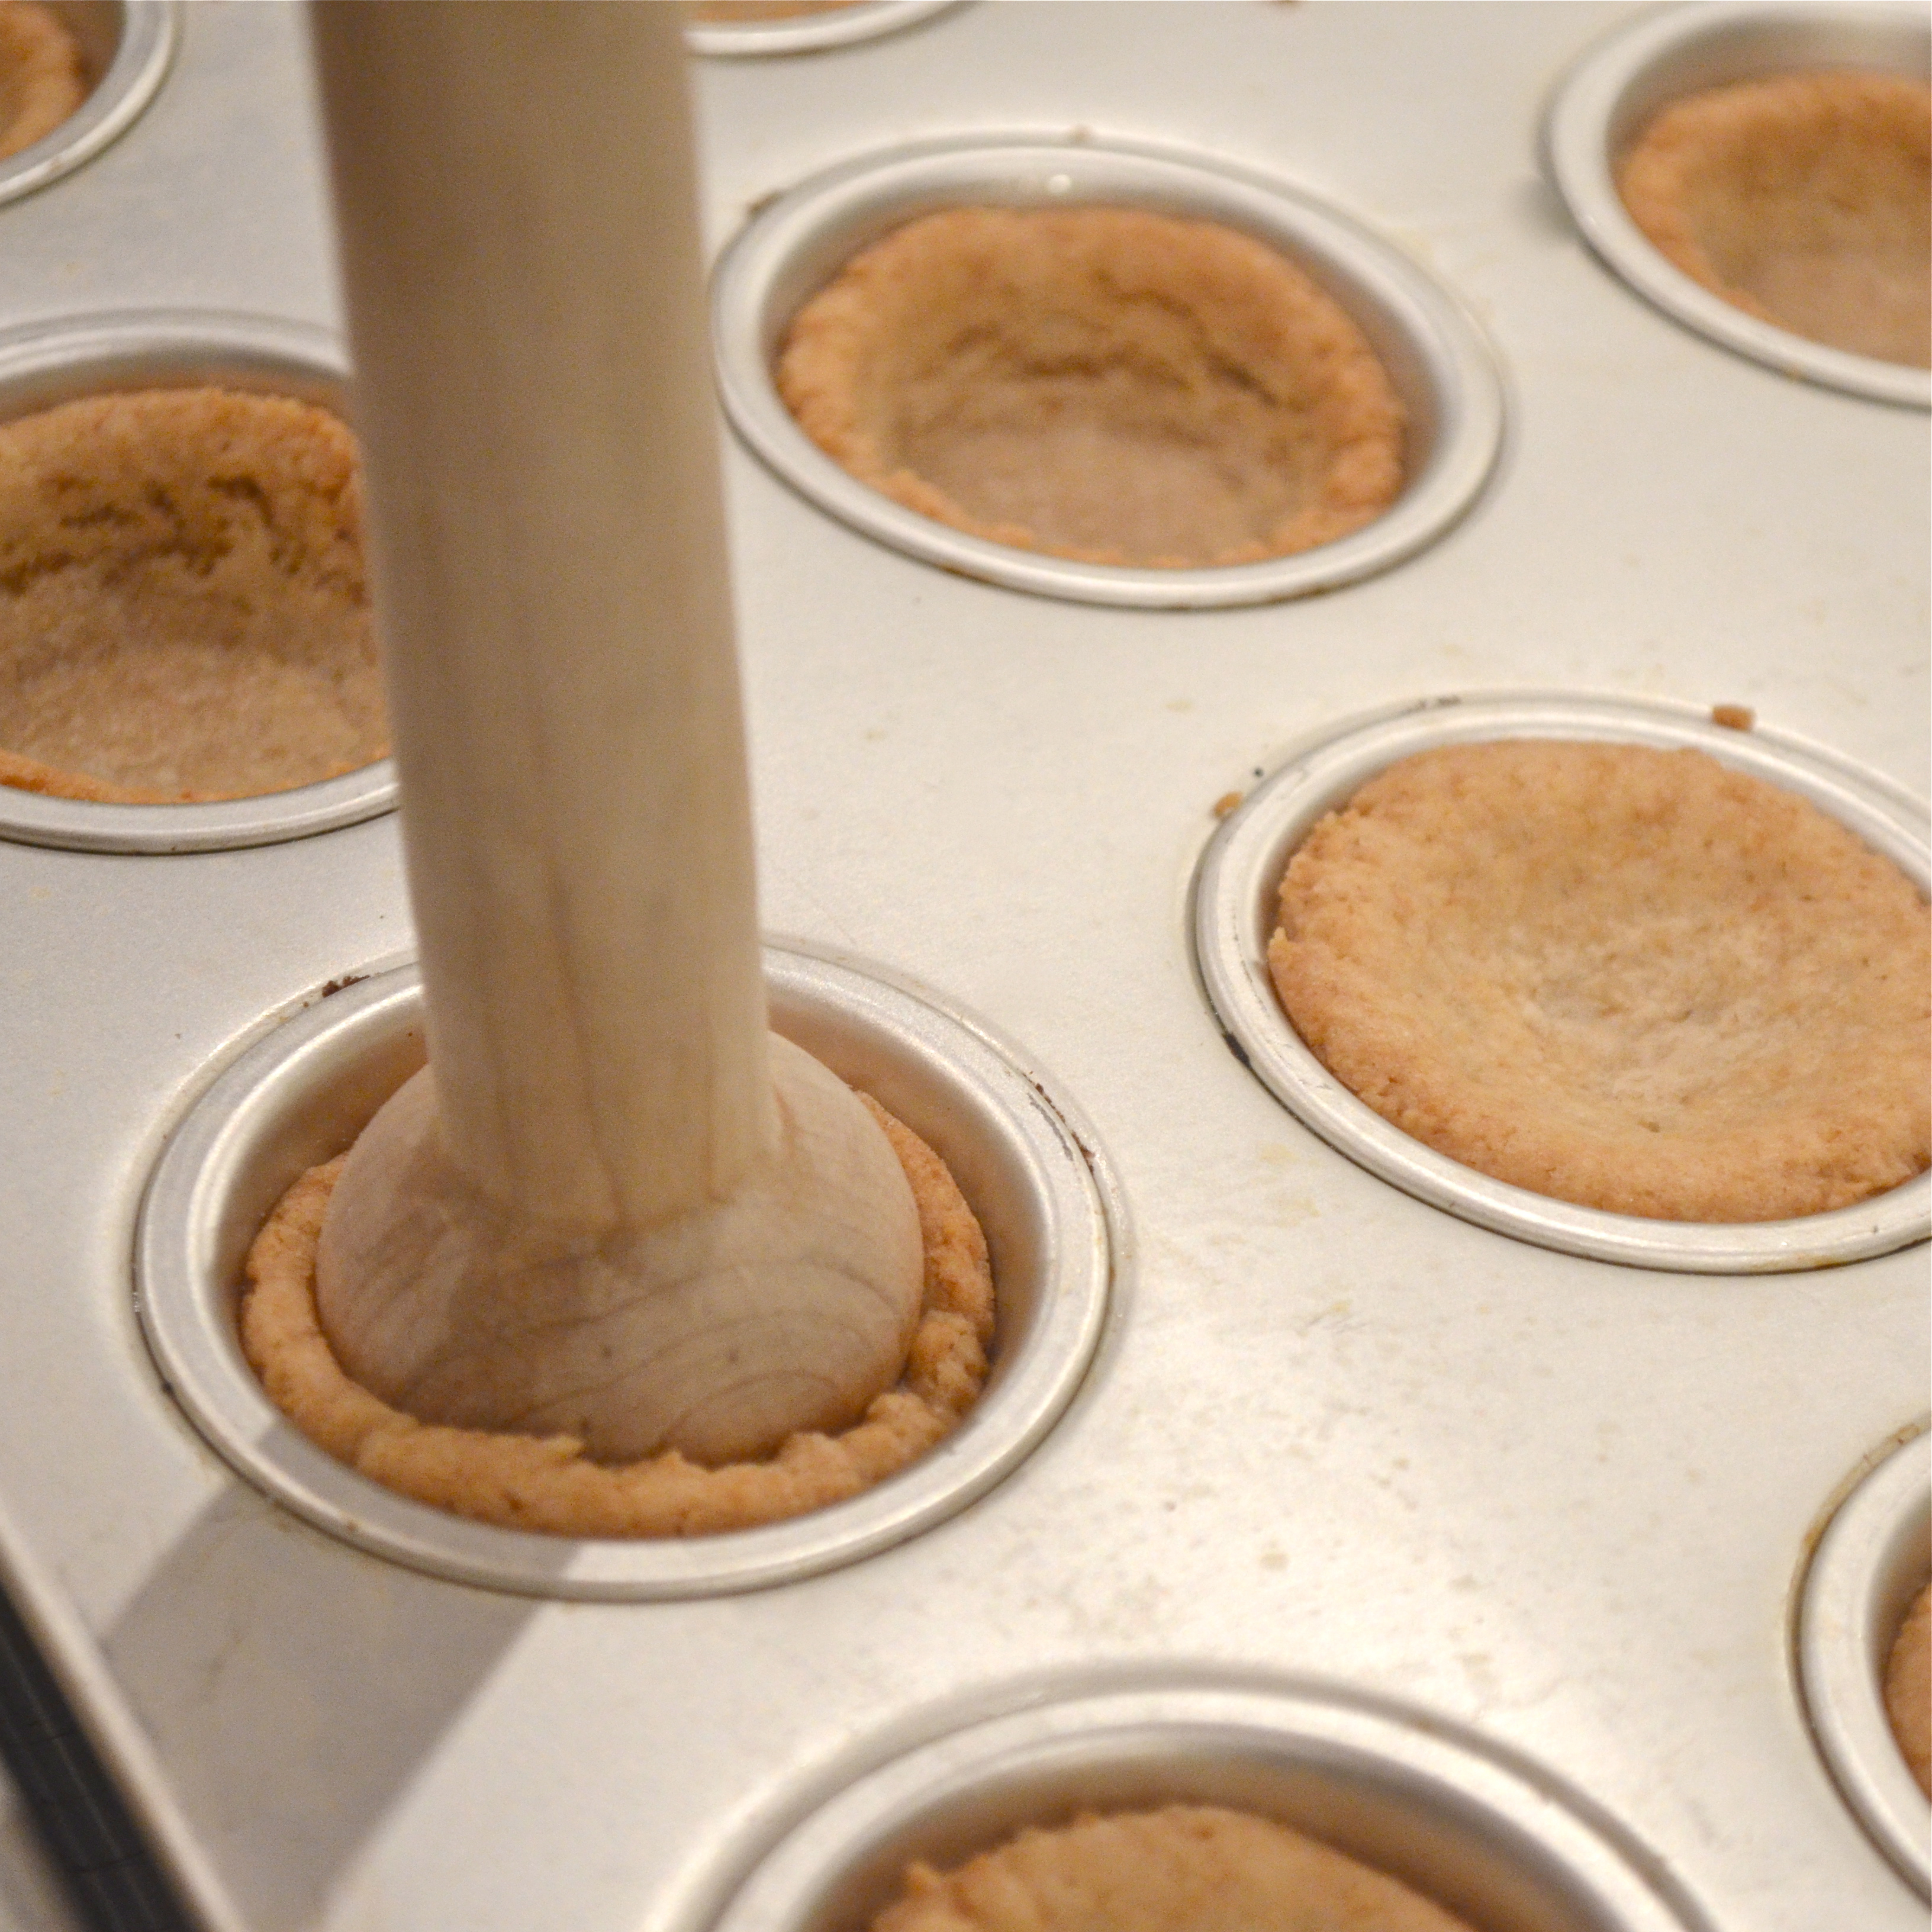
I didn’t tell her that the crust was made of refrigerator cookie dough… yikes.
The next baker was a woman who literally forages in the woods for all of her ingredients. Literally. Forages.
I wanted to jump in and say that I foraged at WalMart on Black Friday for my ingredients…nearly died…got them cheap….?
I was fairly certain I was “out” of the running. Until I was handed a paper that said:
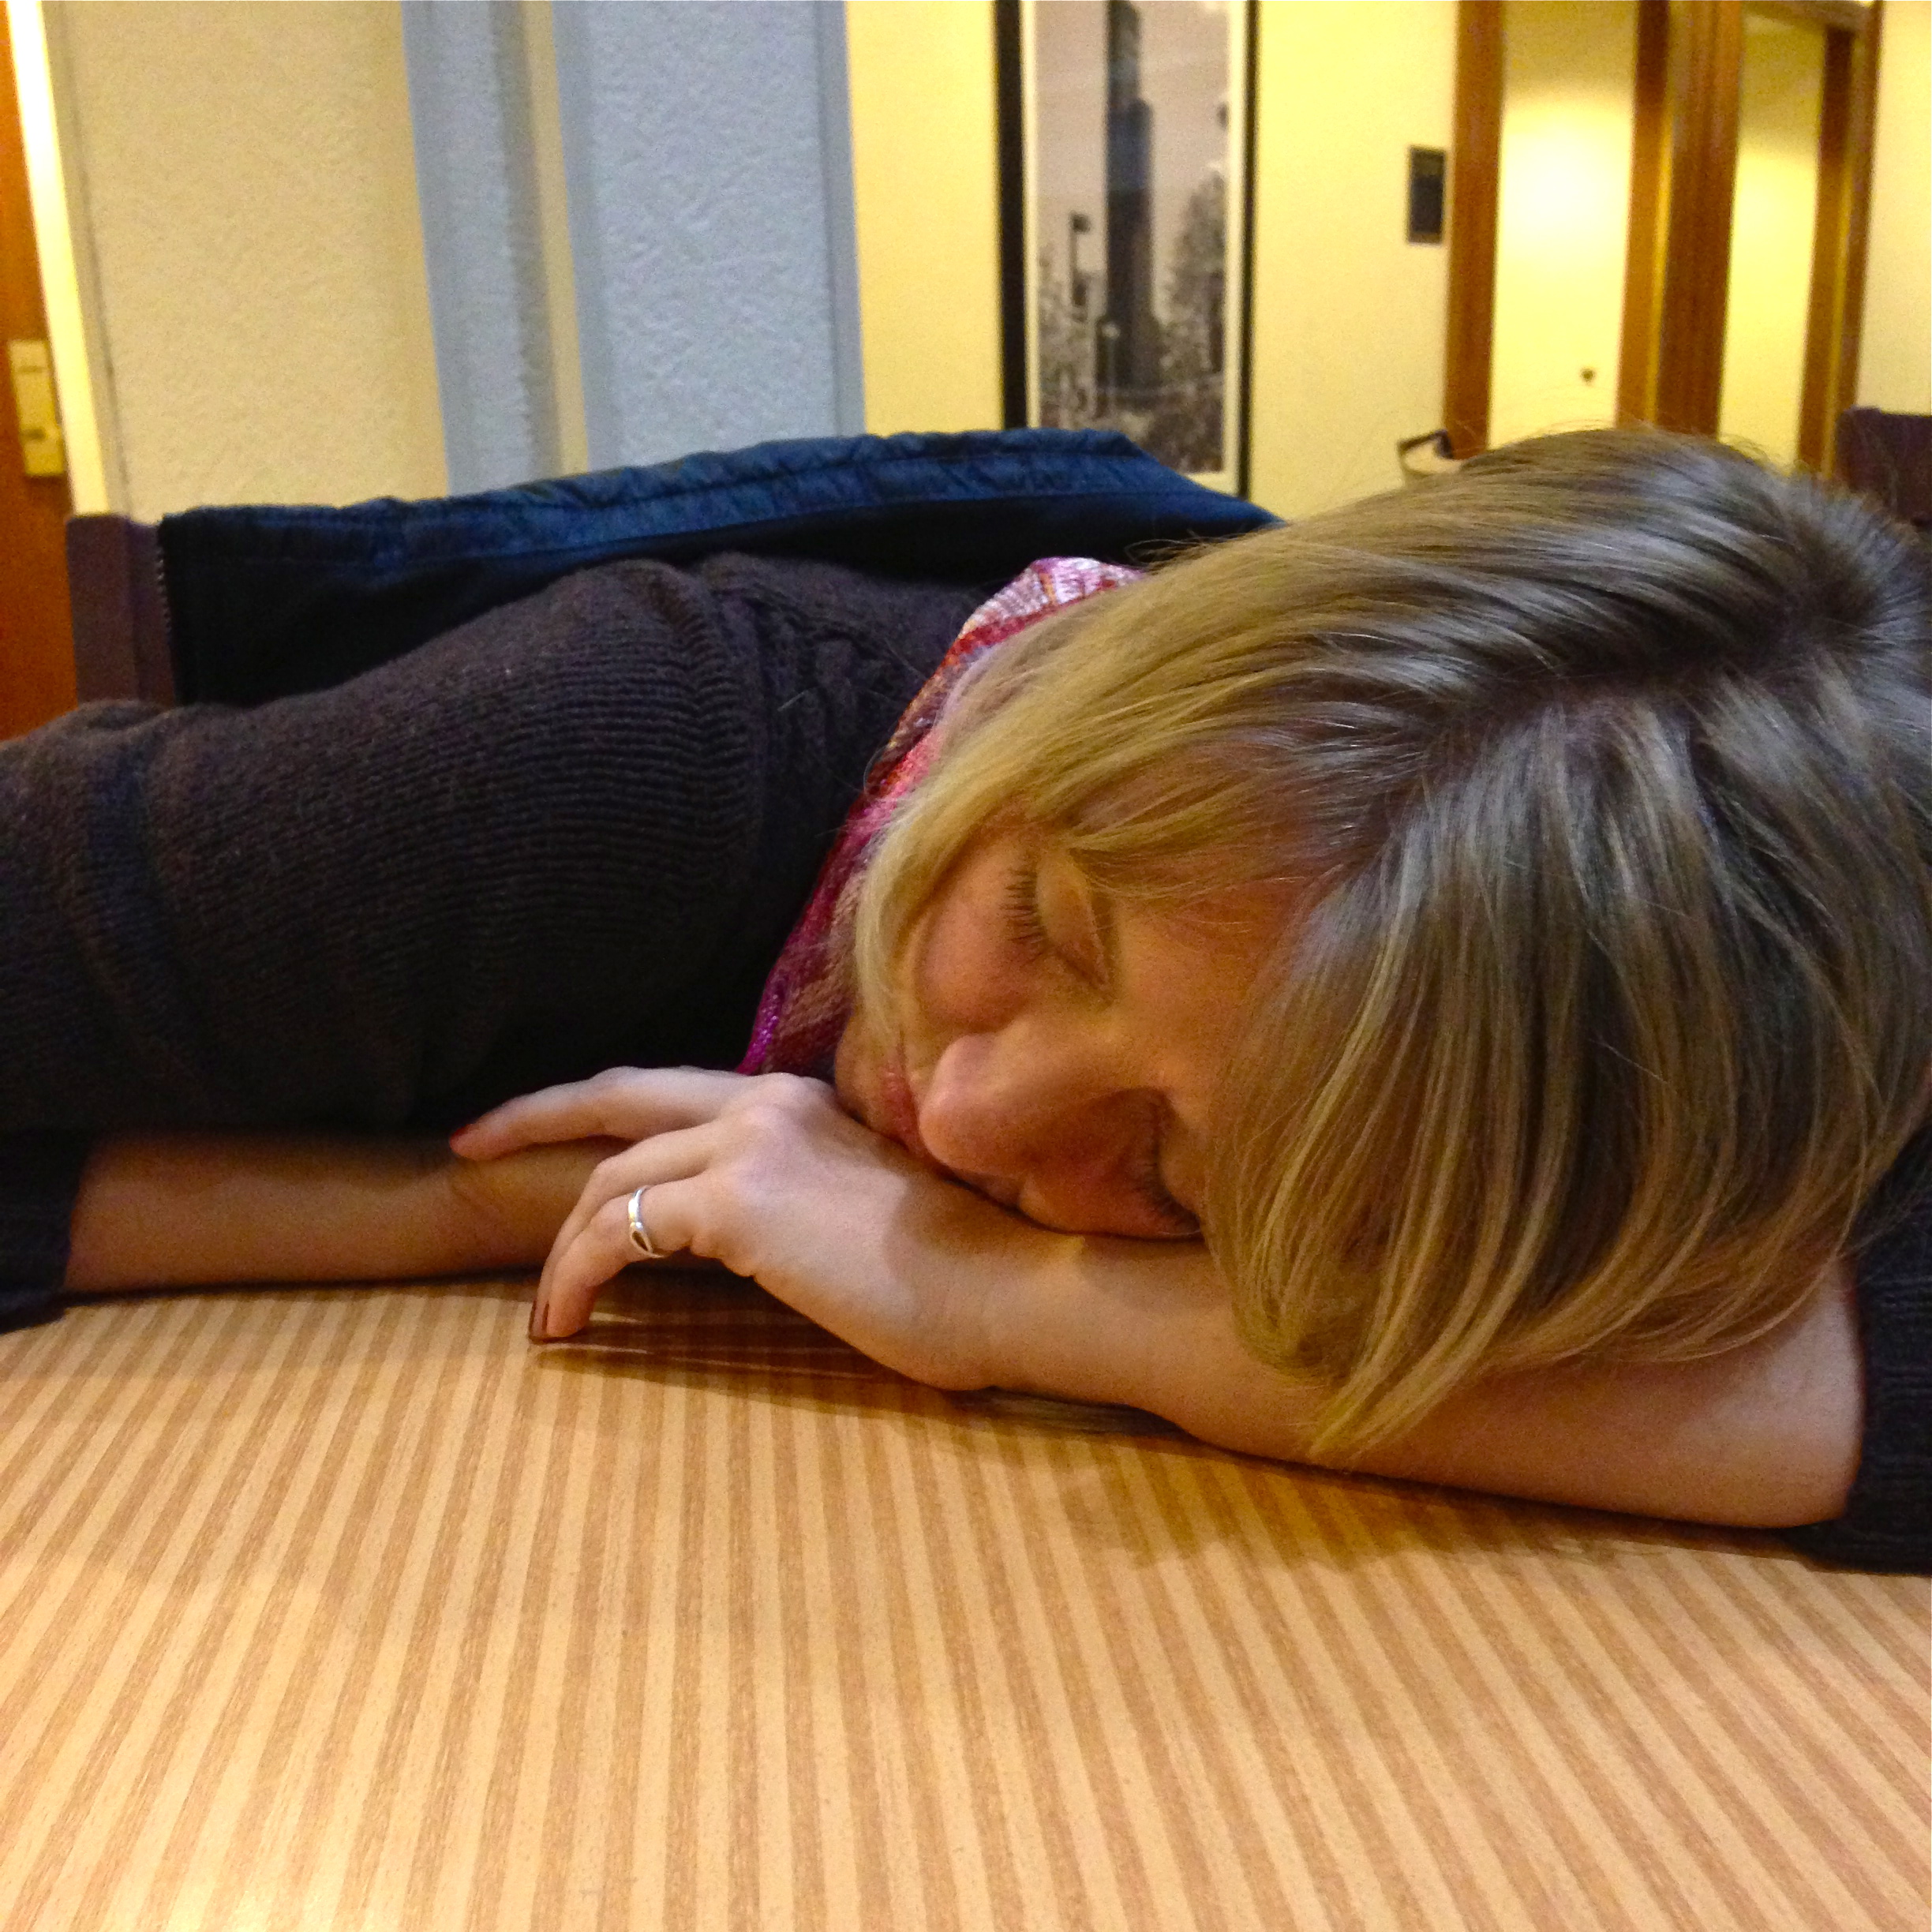
 What?!?! This involved staying an extra day in Chicago (thank you dear, patient Laura!), panicking over the fact that I only brought a Green Bay Packer Jersey to wear home the next day…(can you interview on camera for a baking show dressed like a football player?), waiting for 2 hours, falling asleep in a hotel lobby and defending my use of Kraft caramels on camera for Hollywood to see.

Needless to say, I wasn’t called and invited to be a contestant on the show. Have you watched it? I would have gone down in flames the 1st week. These people are amazing! Francine is my favorite~ she uses crazy creative ingredients like bacon and red-hot candies in her recipes (anyone who bakes with candy is my hero!) Hope she wins!
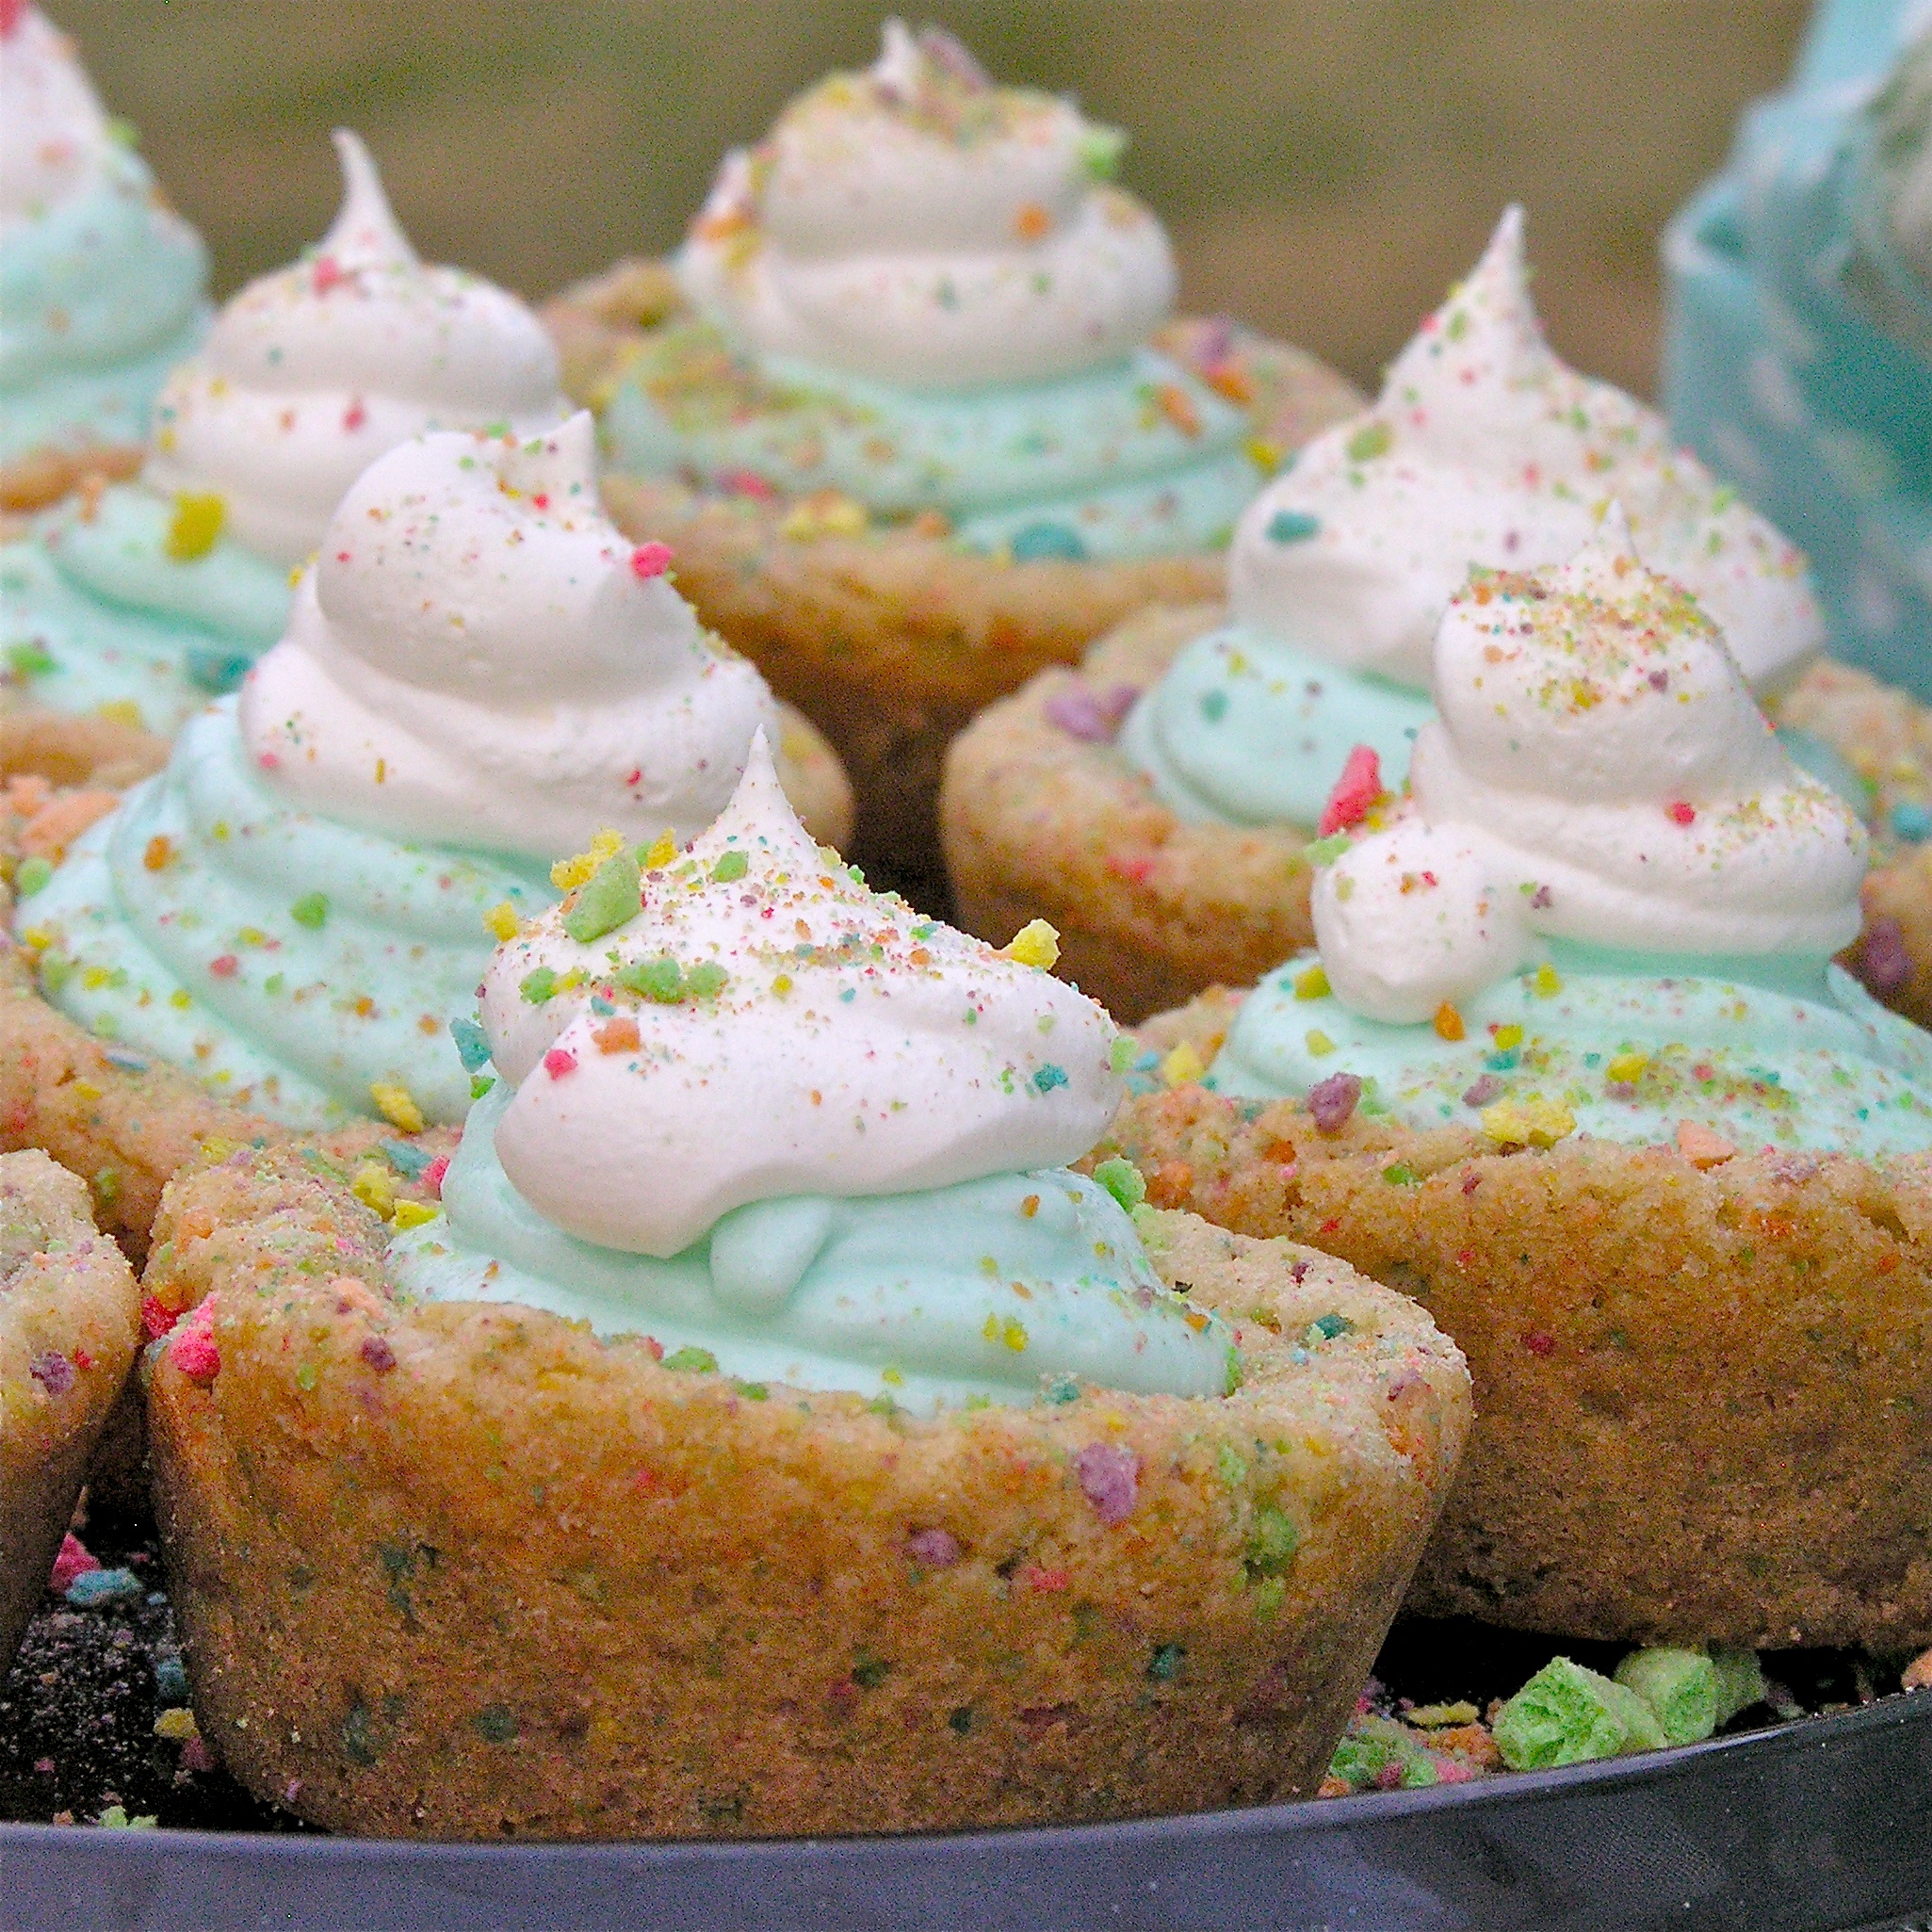
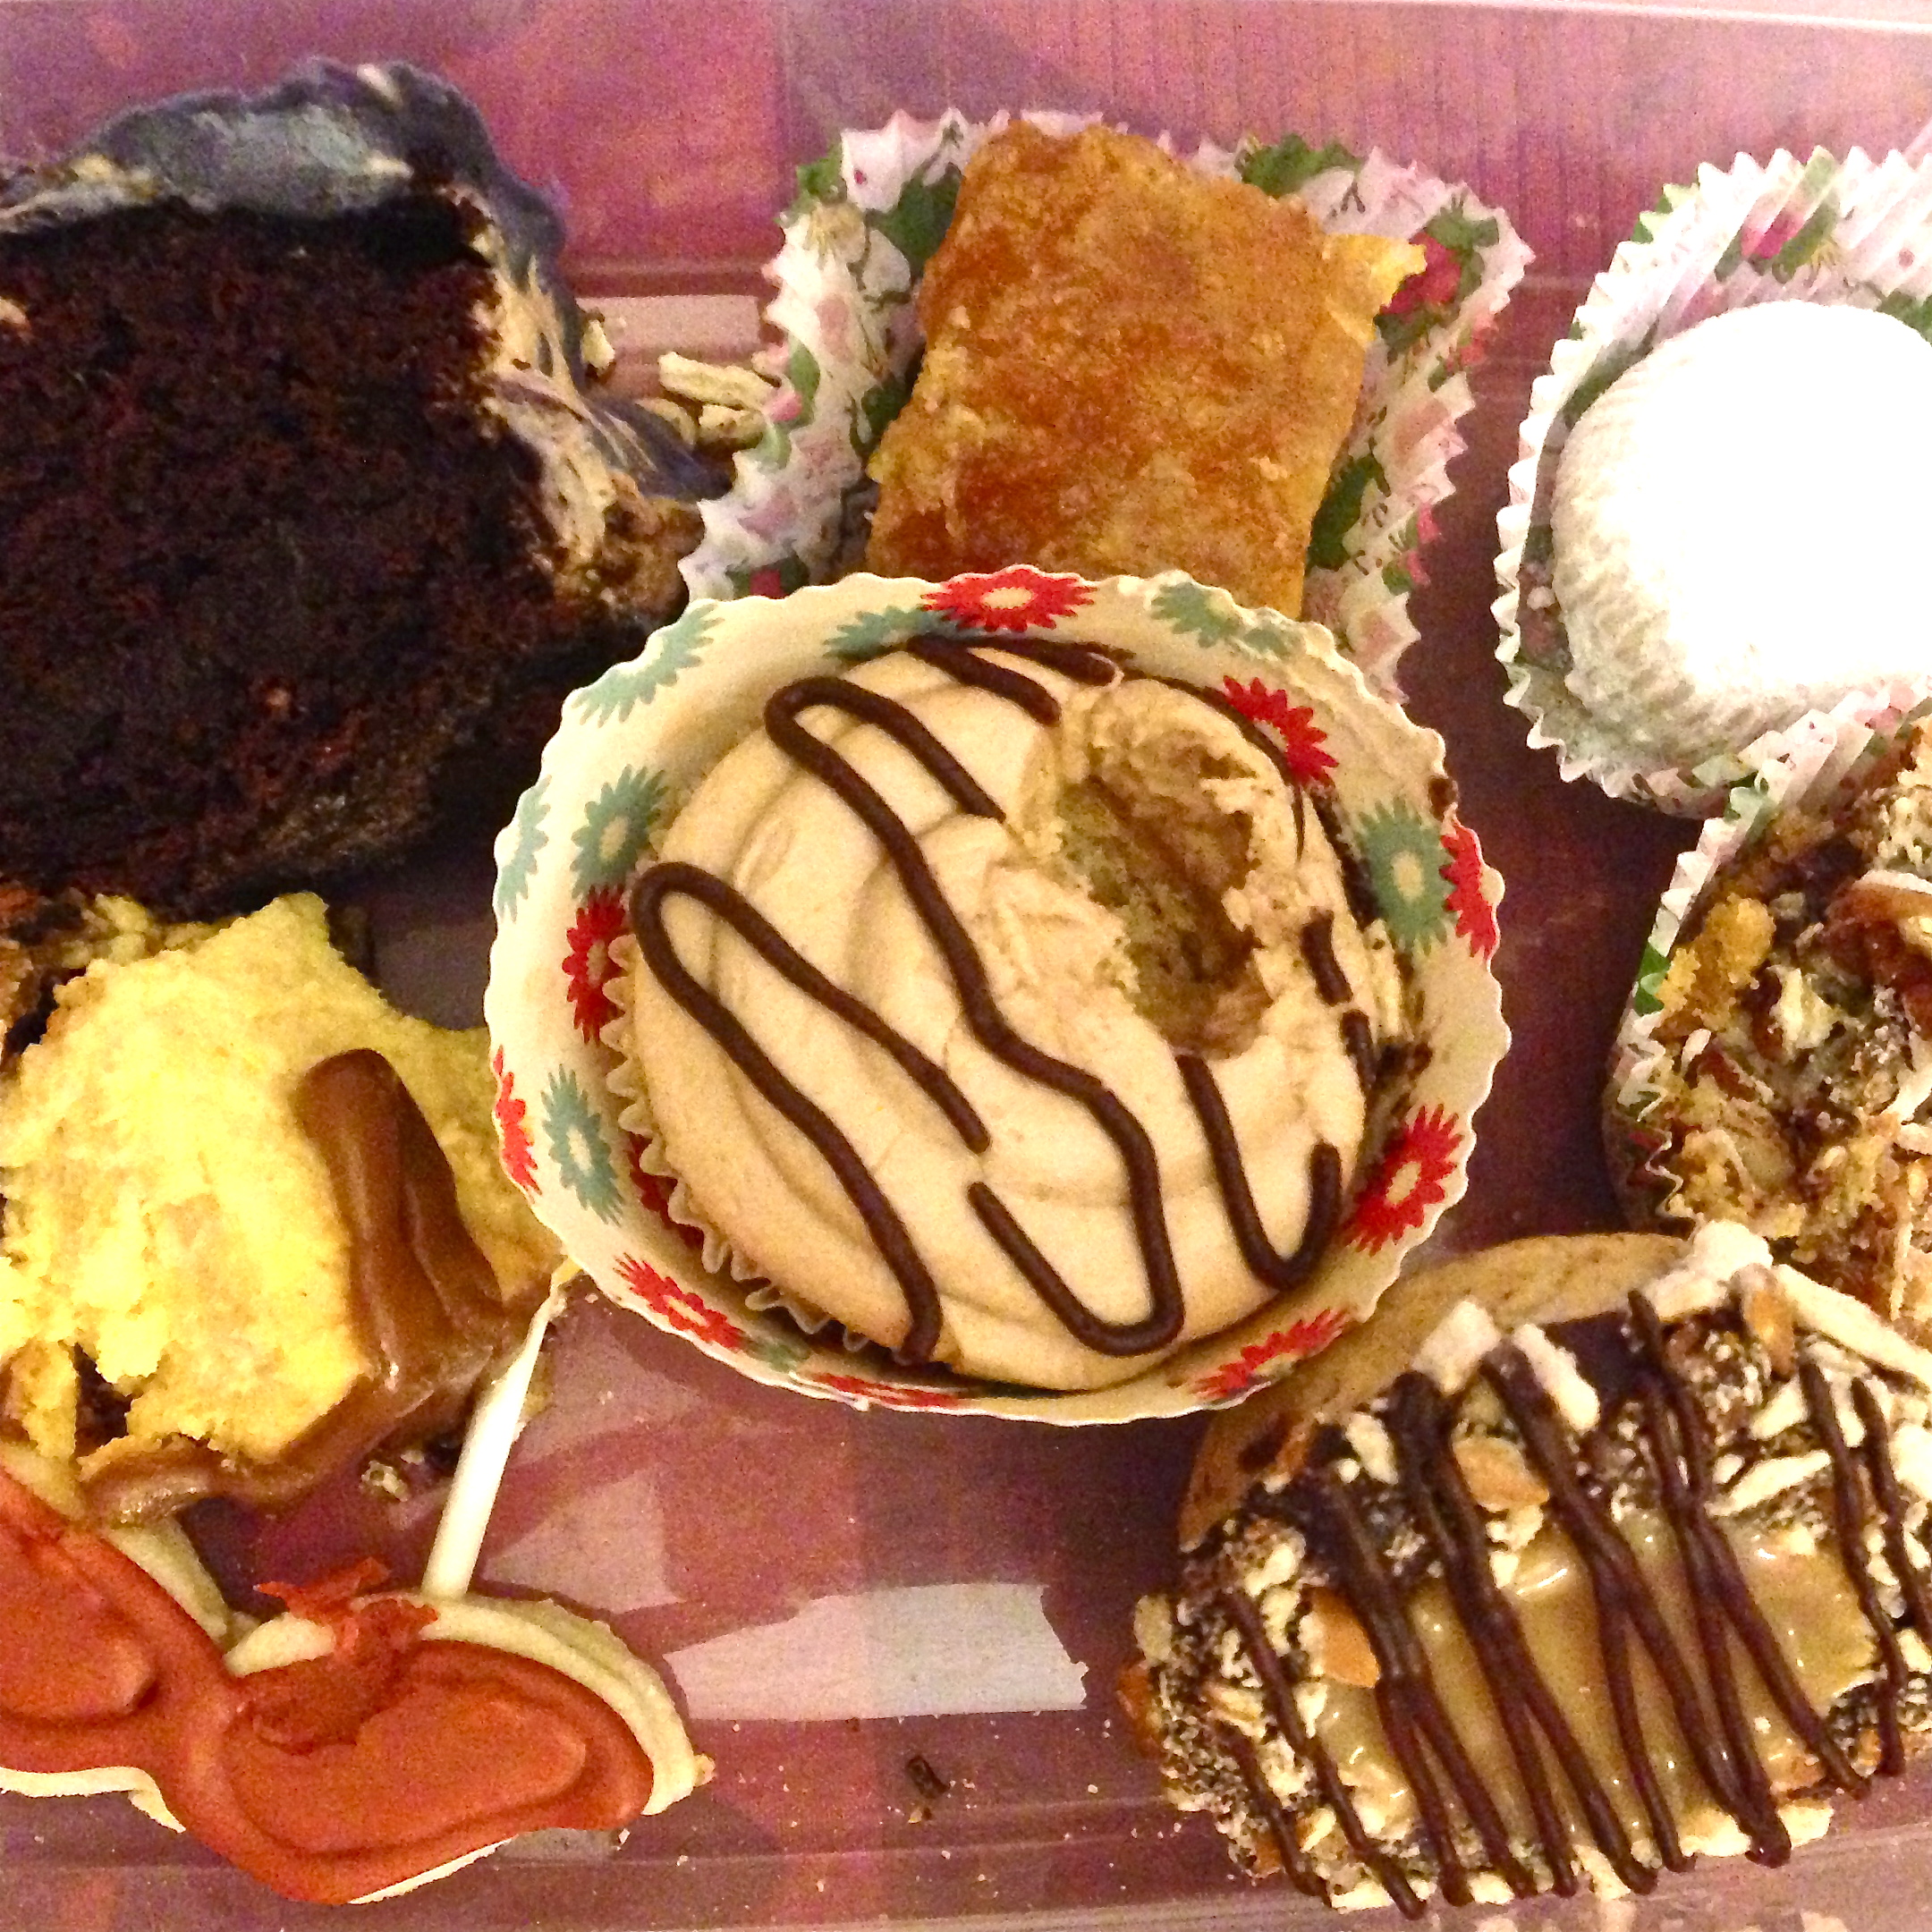
After my long day of interviewing, Laura and I settled in at our hotel and pigged out on all the treats I exchanged with other bakers during the day. This was when I first tasted Lauren’s cupcakes…oh. my.

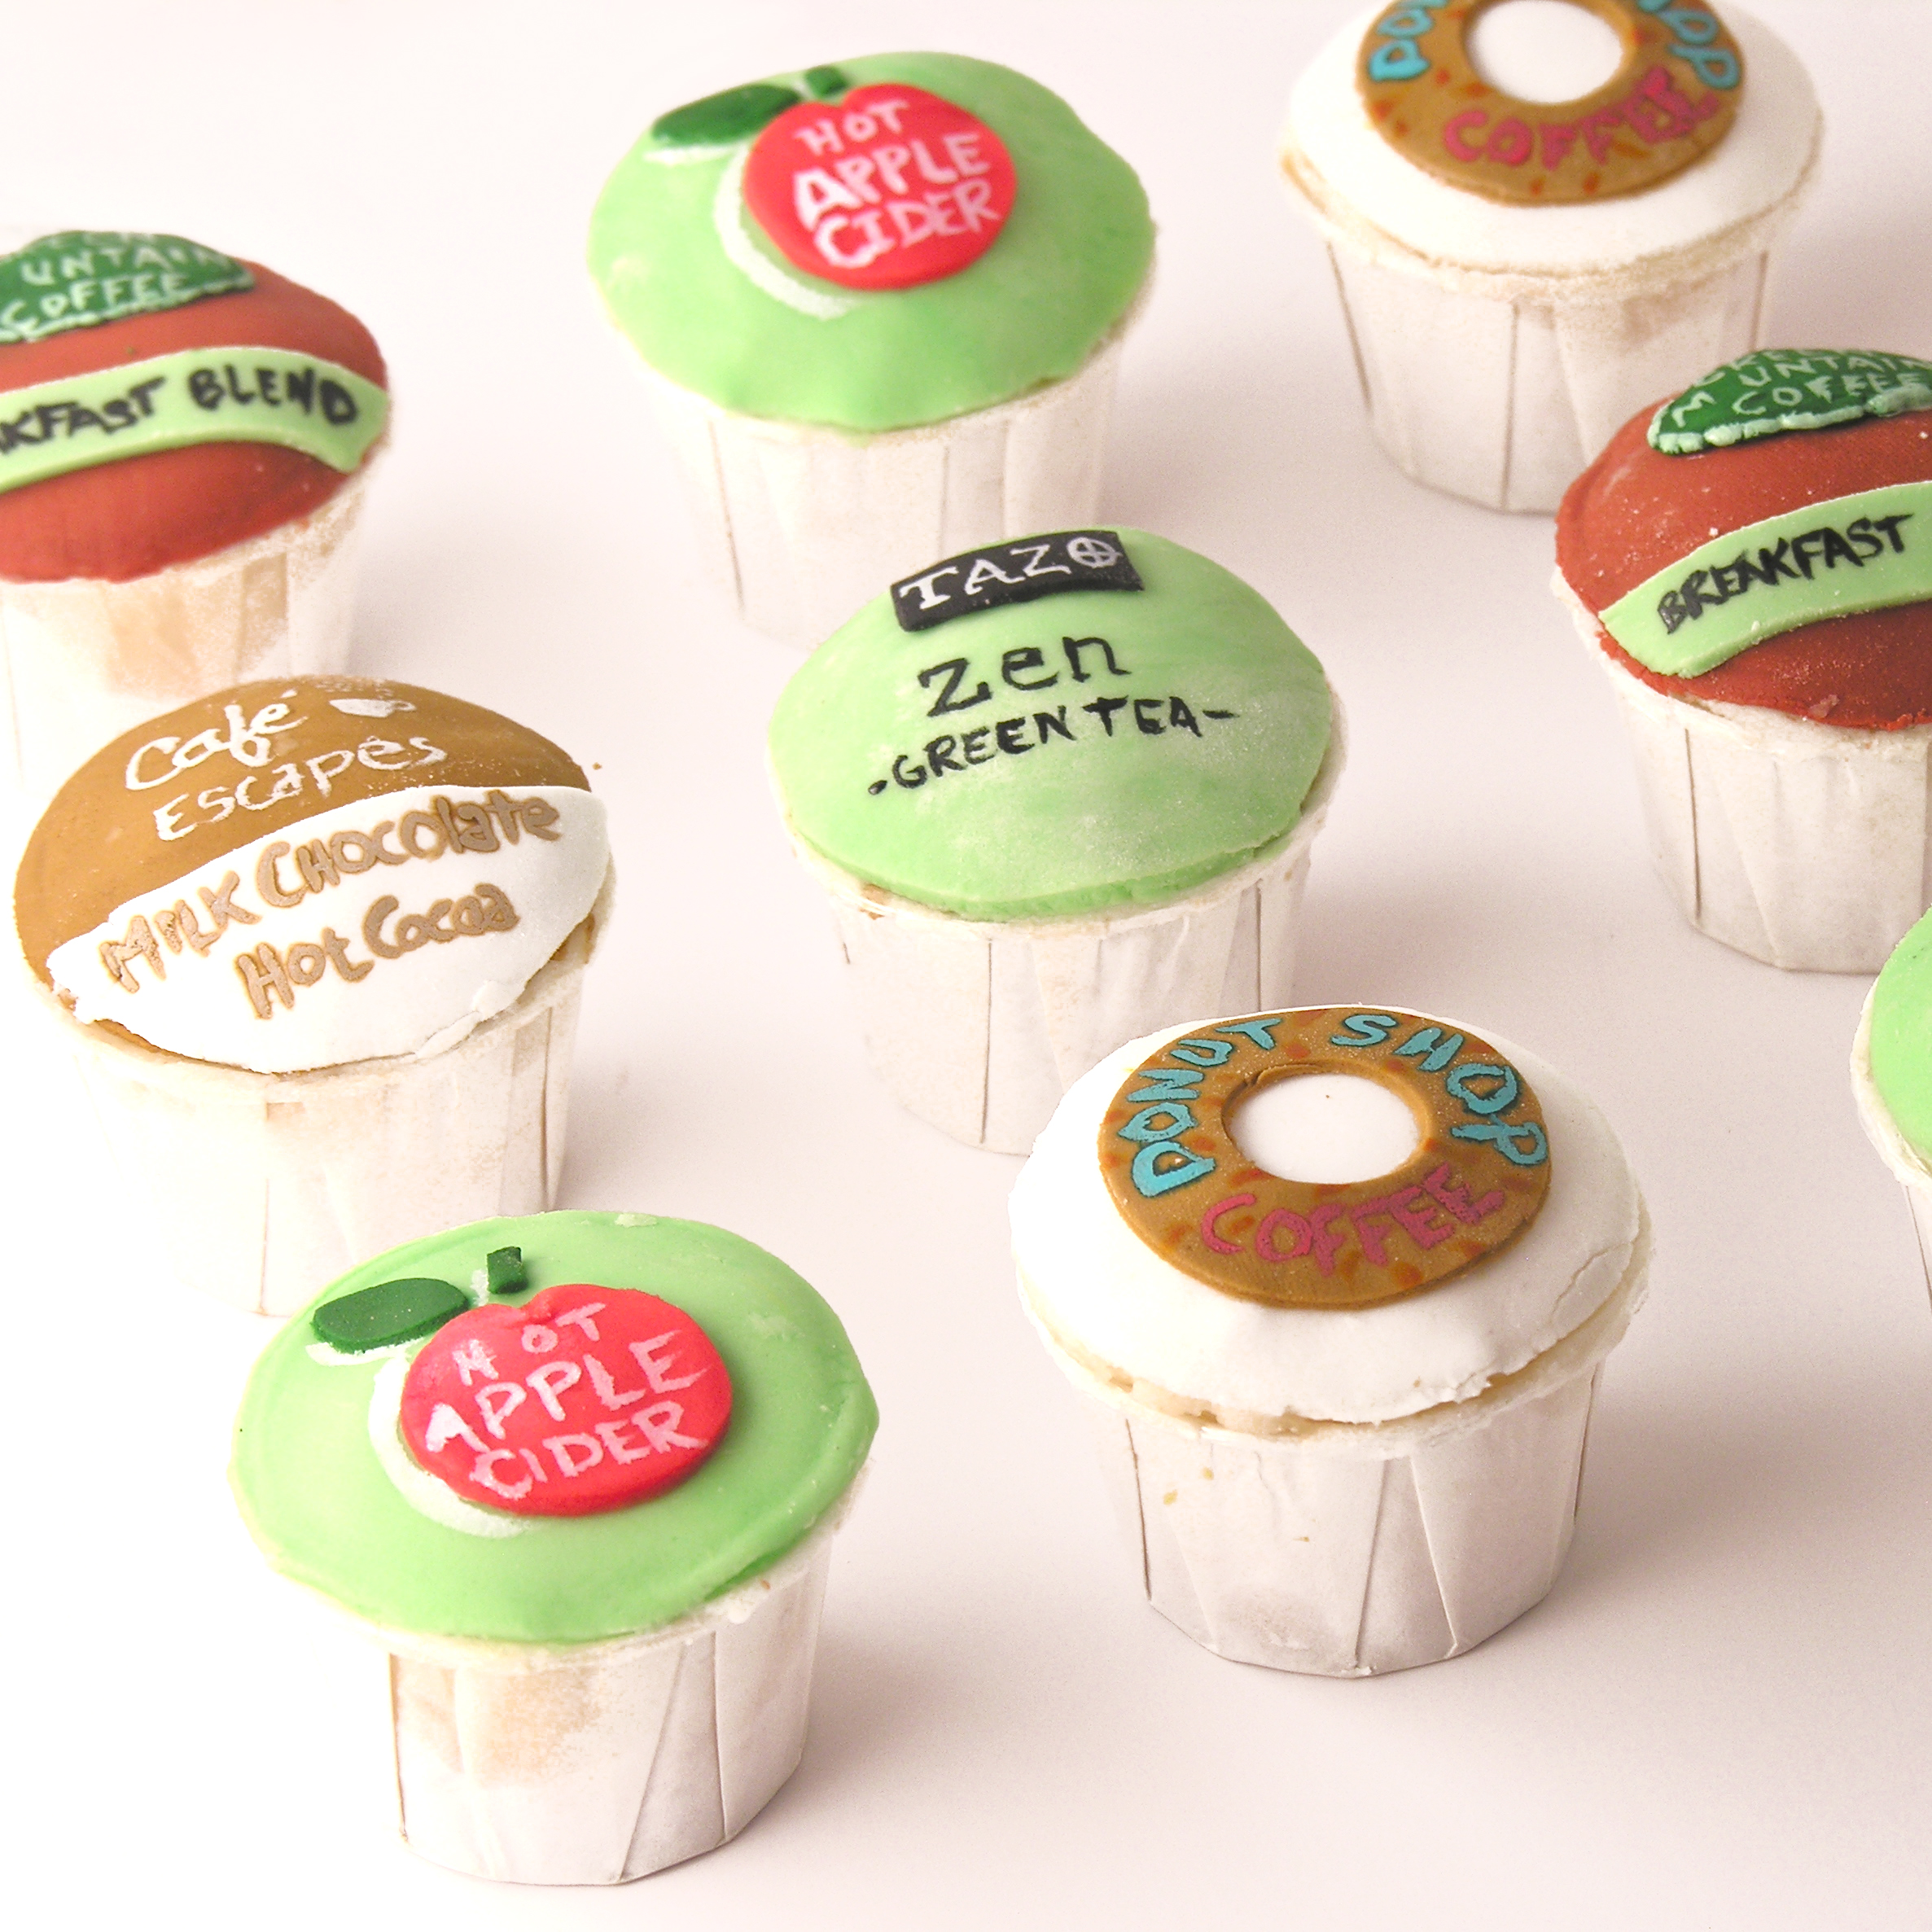
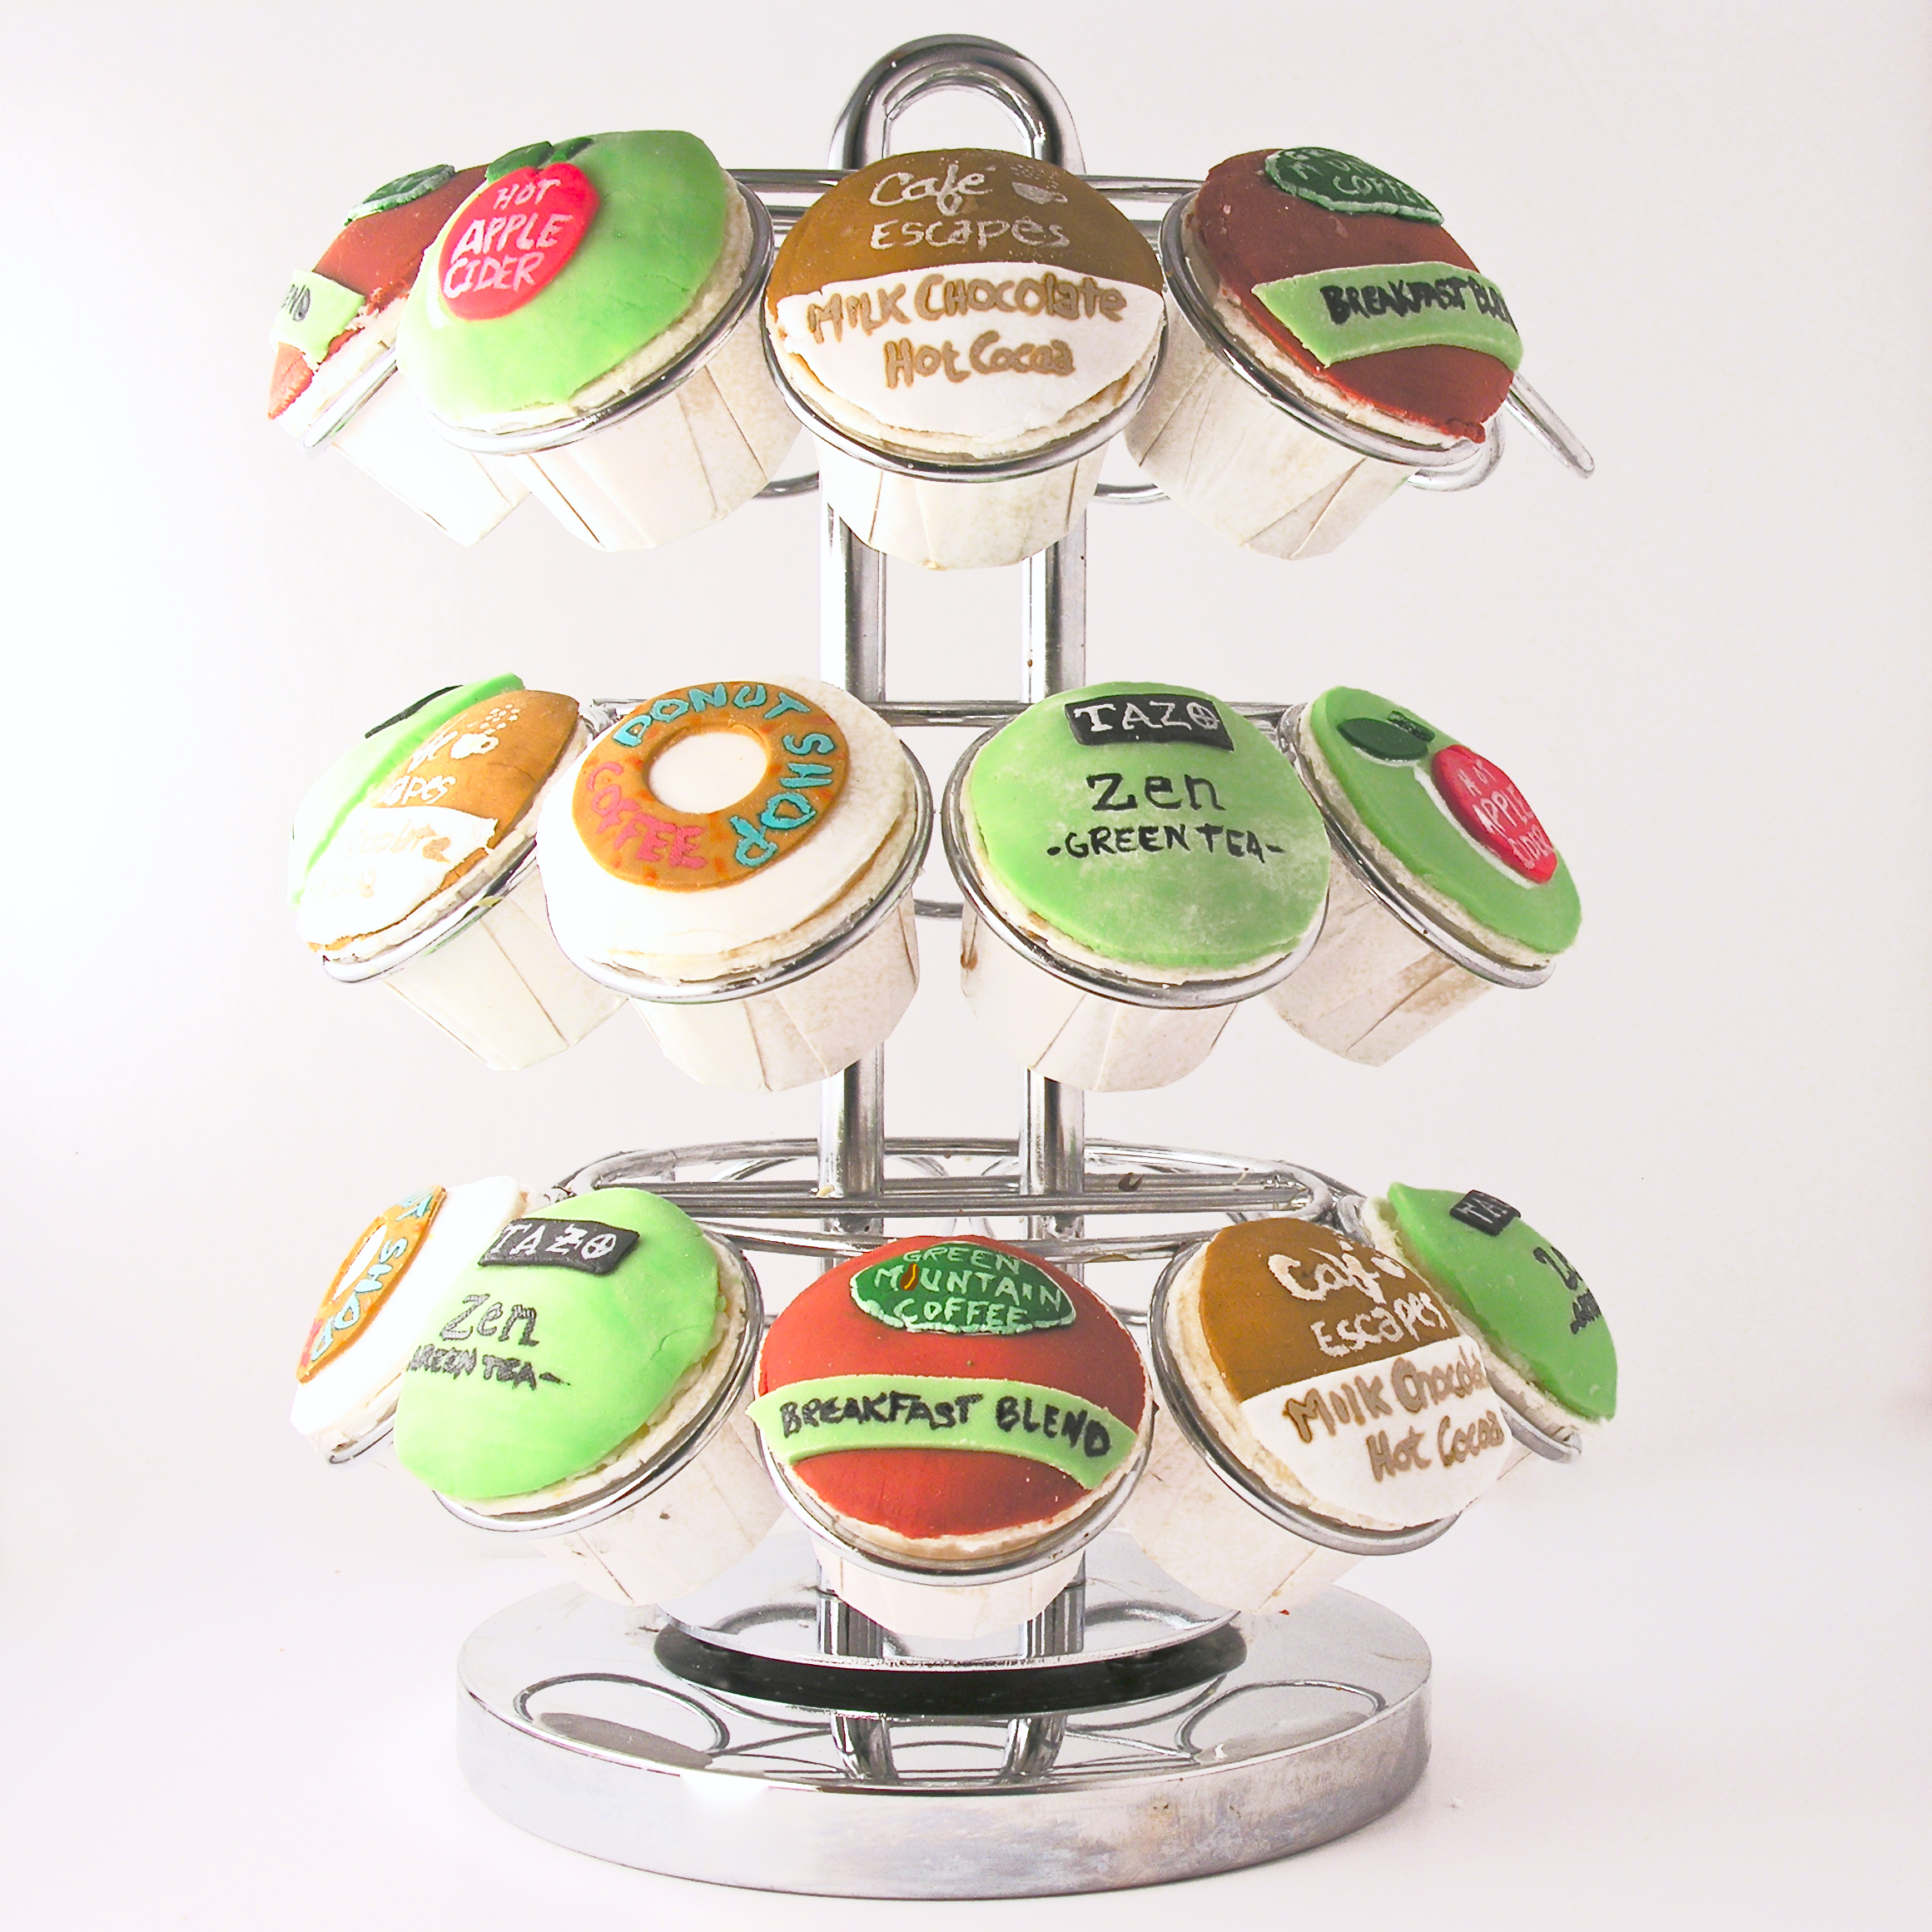
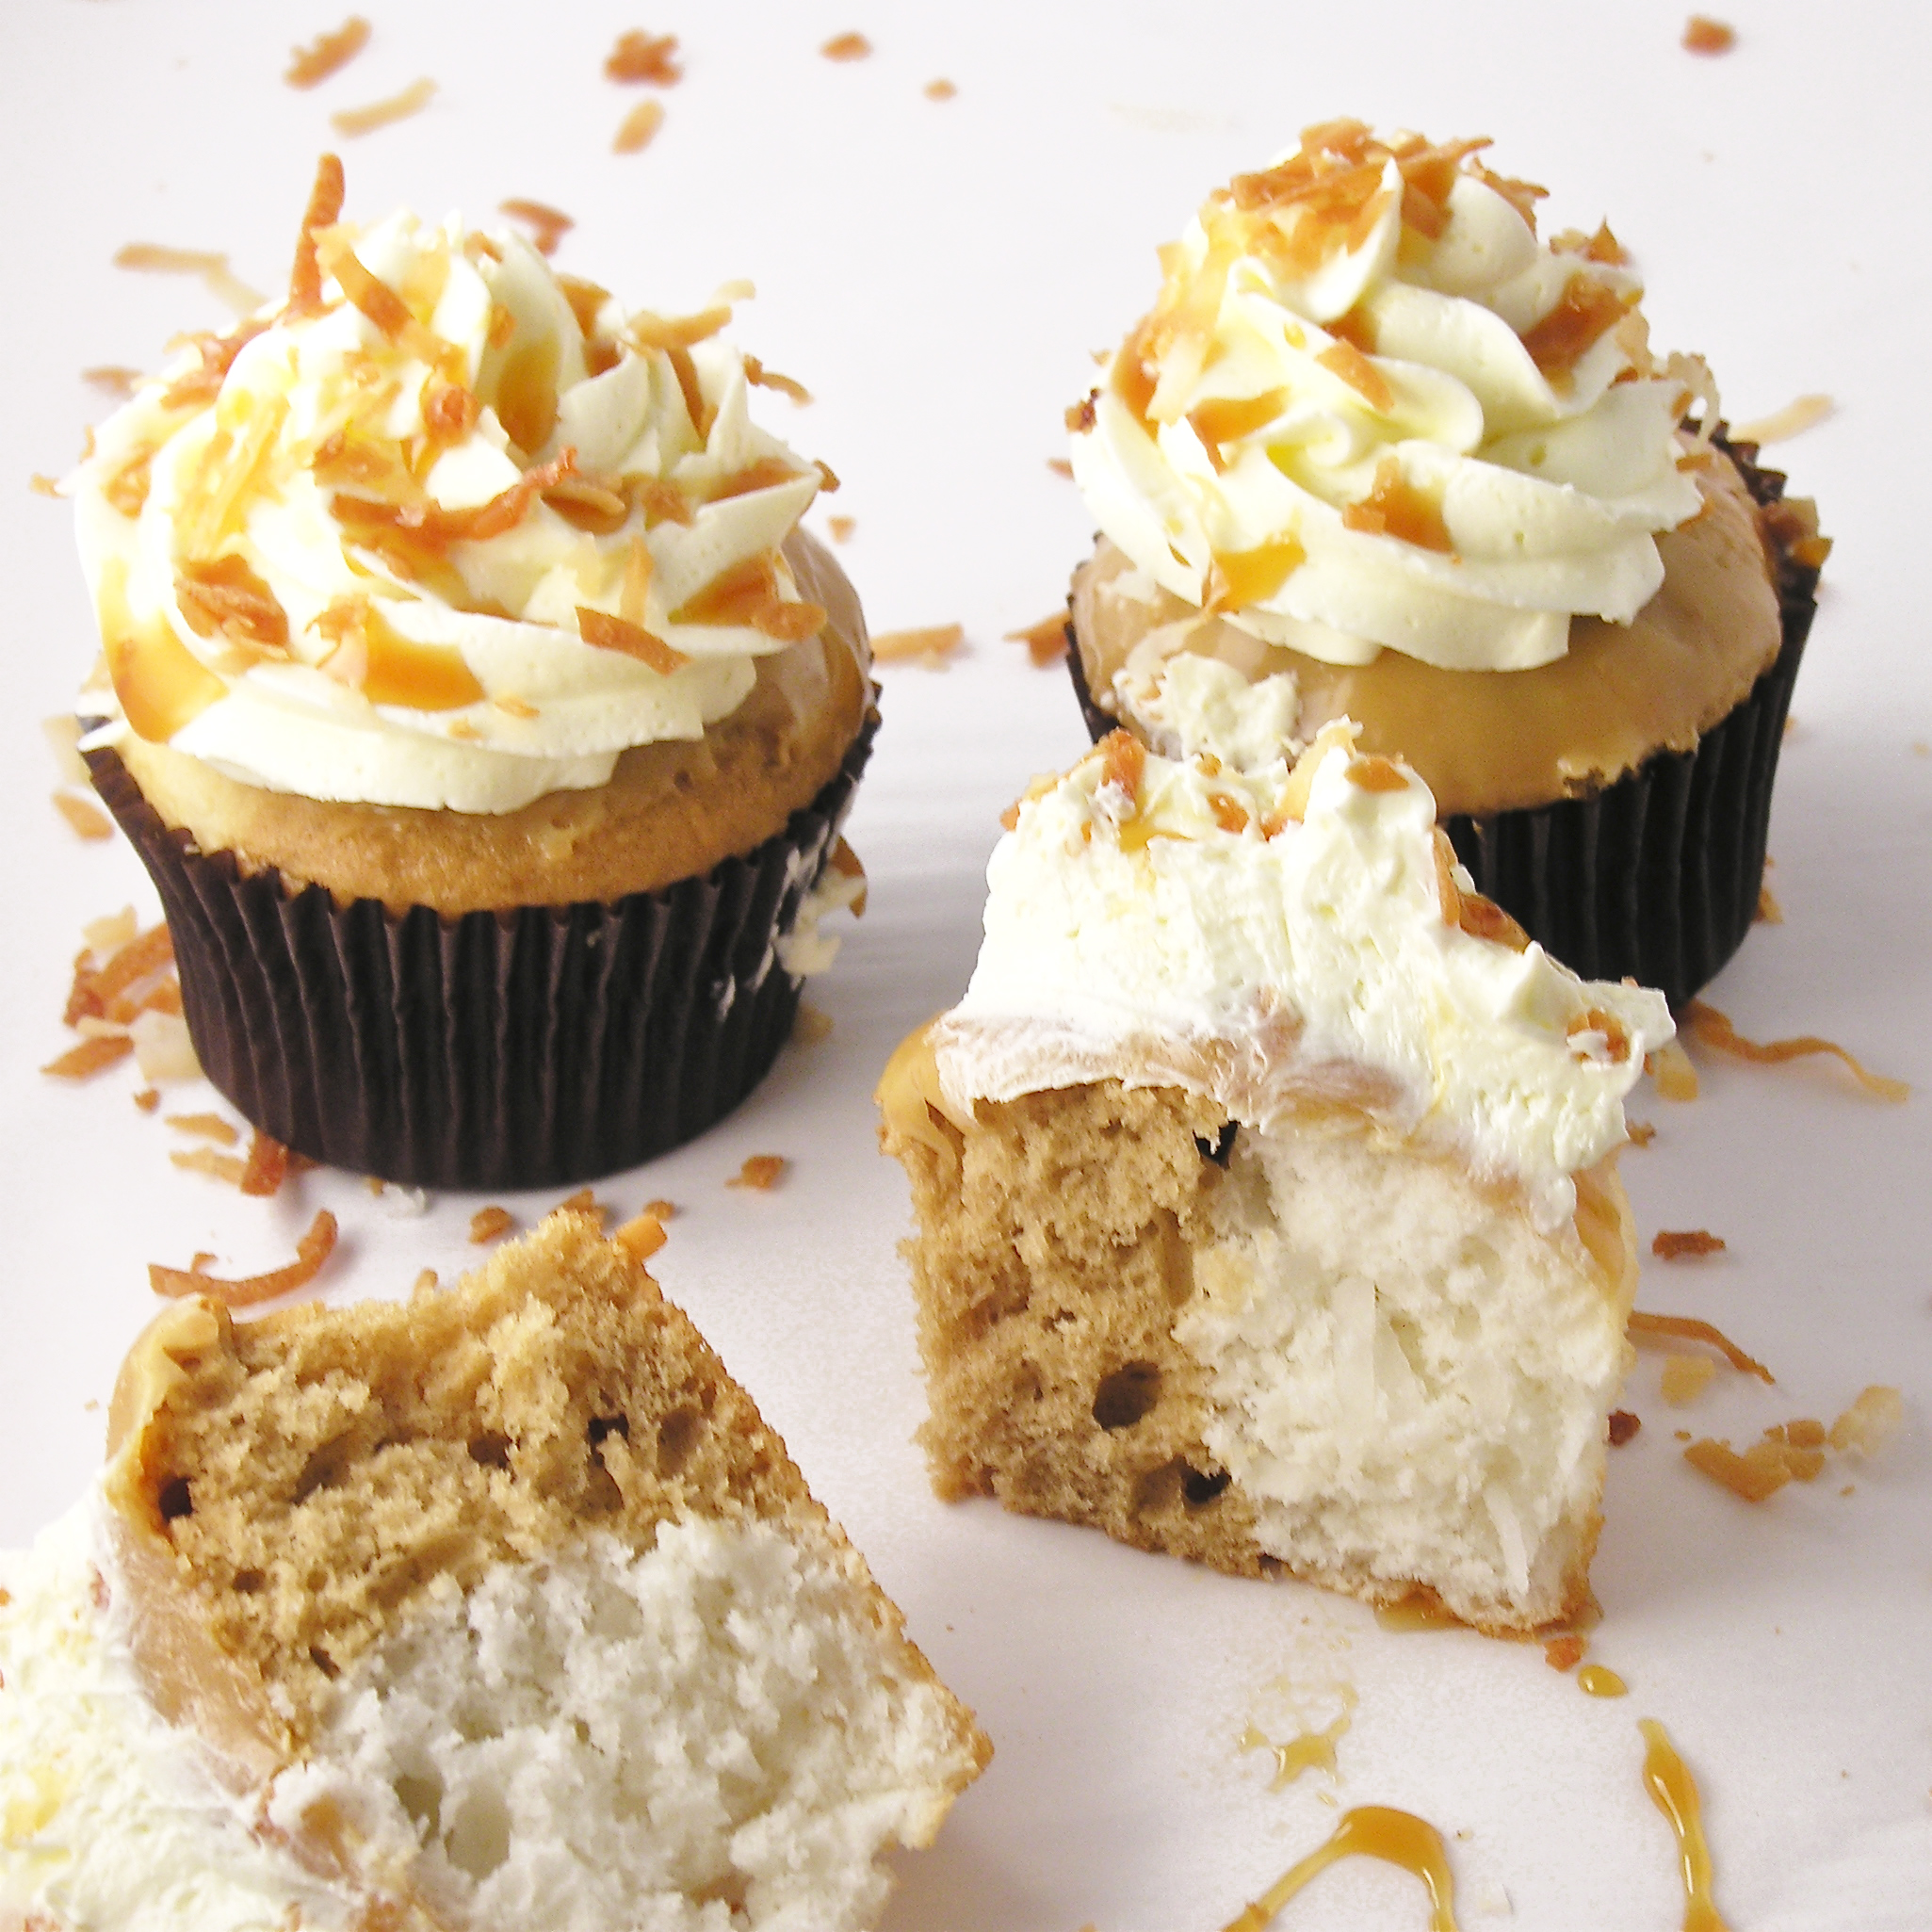
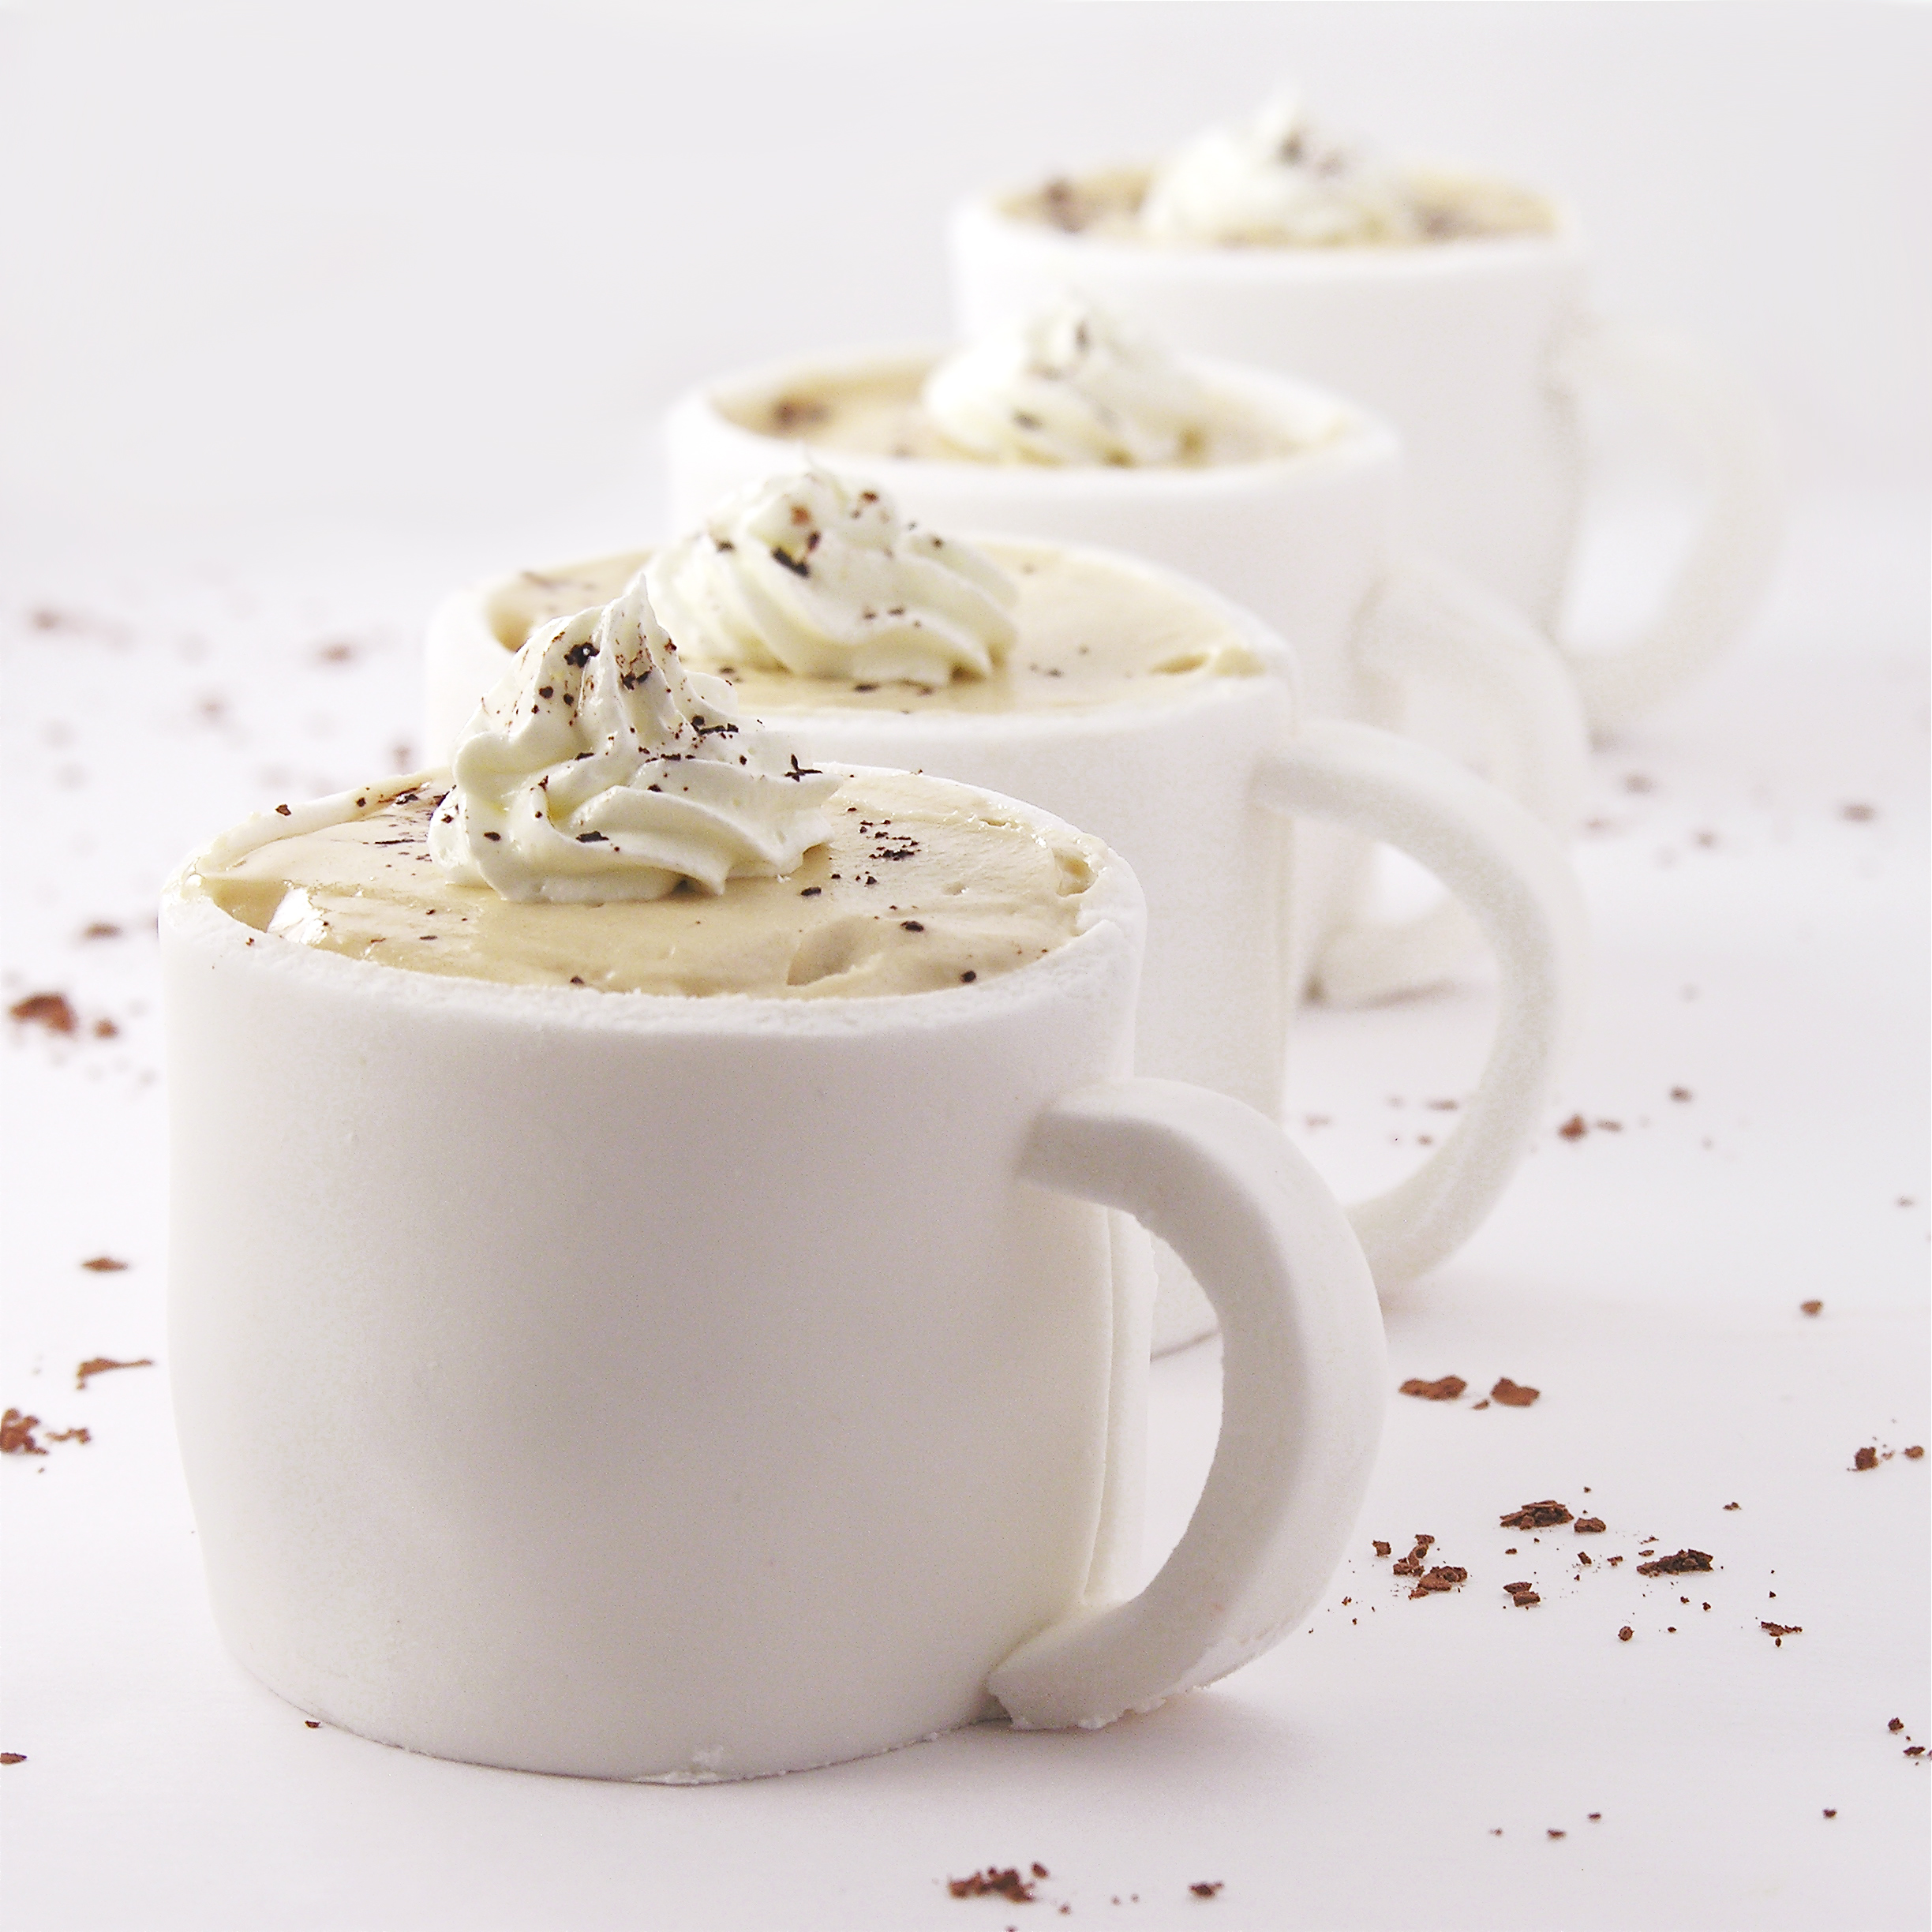
A collection of amazing baked goods!
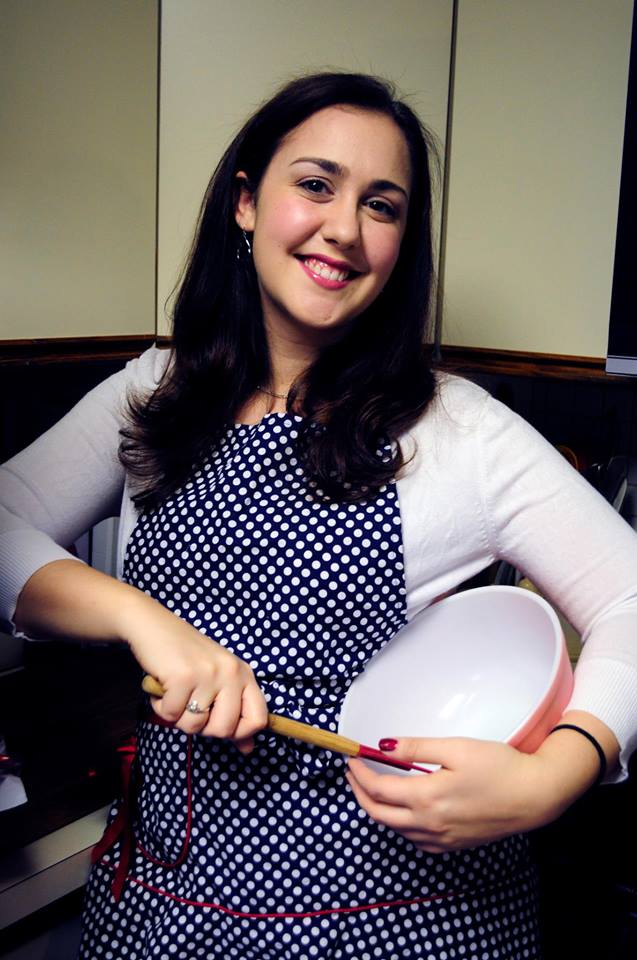
A big BIG thanks to Lauren for sharing her recipe with us! If you’d like to get to know her and see some of her incredible baking creations, she is on facebook. Visit her page and give it a “like” by clicking here.

Lauren
I usually stick to sharing recipes in my posts, but this story was just too fun. Thanks for listening– now go and make these cupcakes— you will love them— I promise!!! ~r

Other “from scratch” recipes on Easybaked…yes, there are a few!!!!


)


)
)