


My thoughts: These are some of my favorites!!!! Click on a photo to see each recipe. Enjoy!!! ~r
My thoughts: These are some of my favorites!!!! Click on a photo to see each recipe. Enjoy!!! ~r
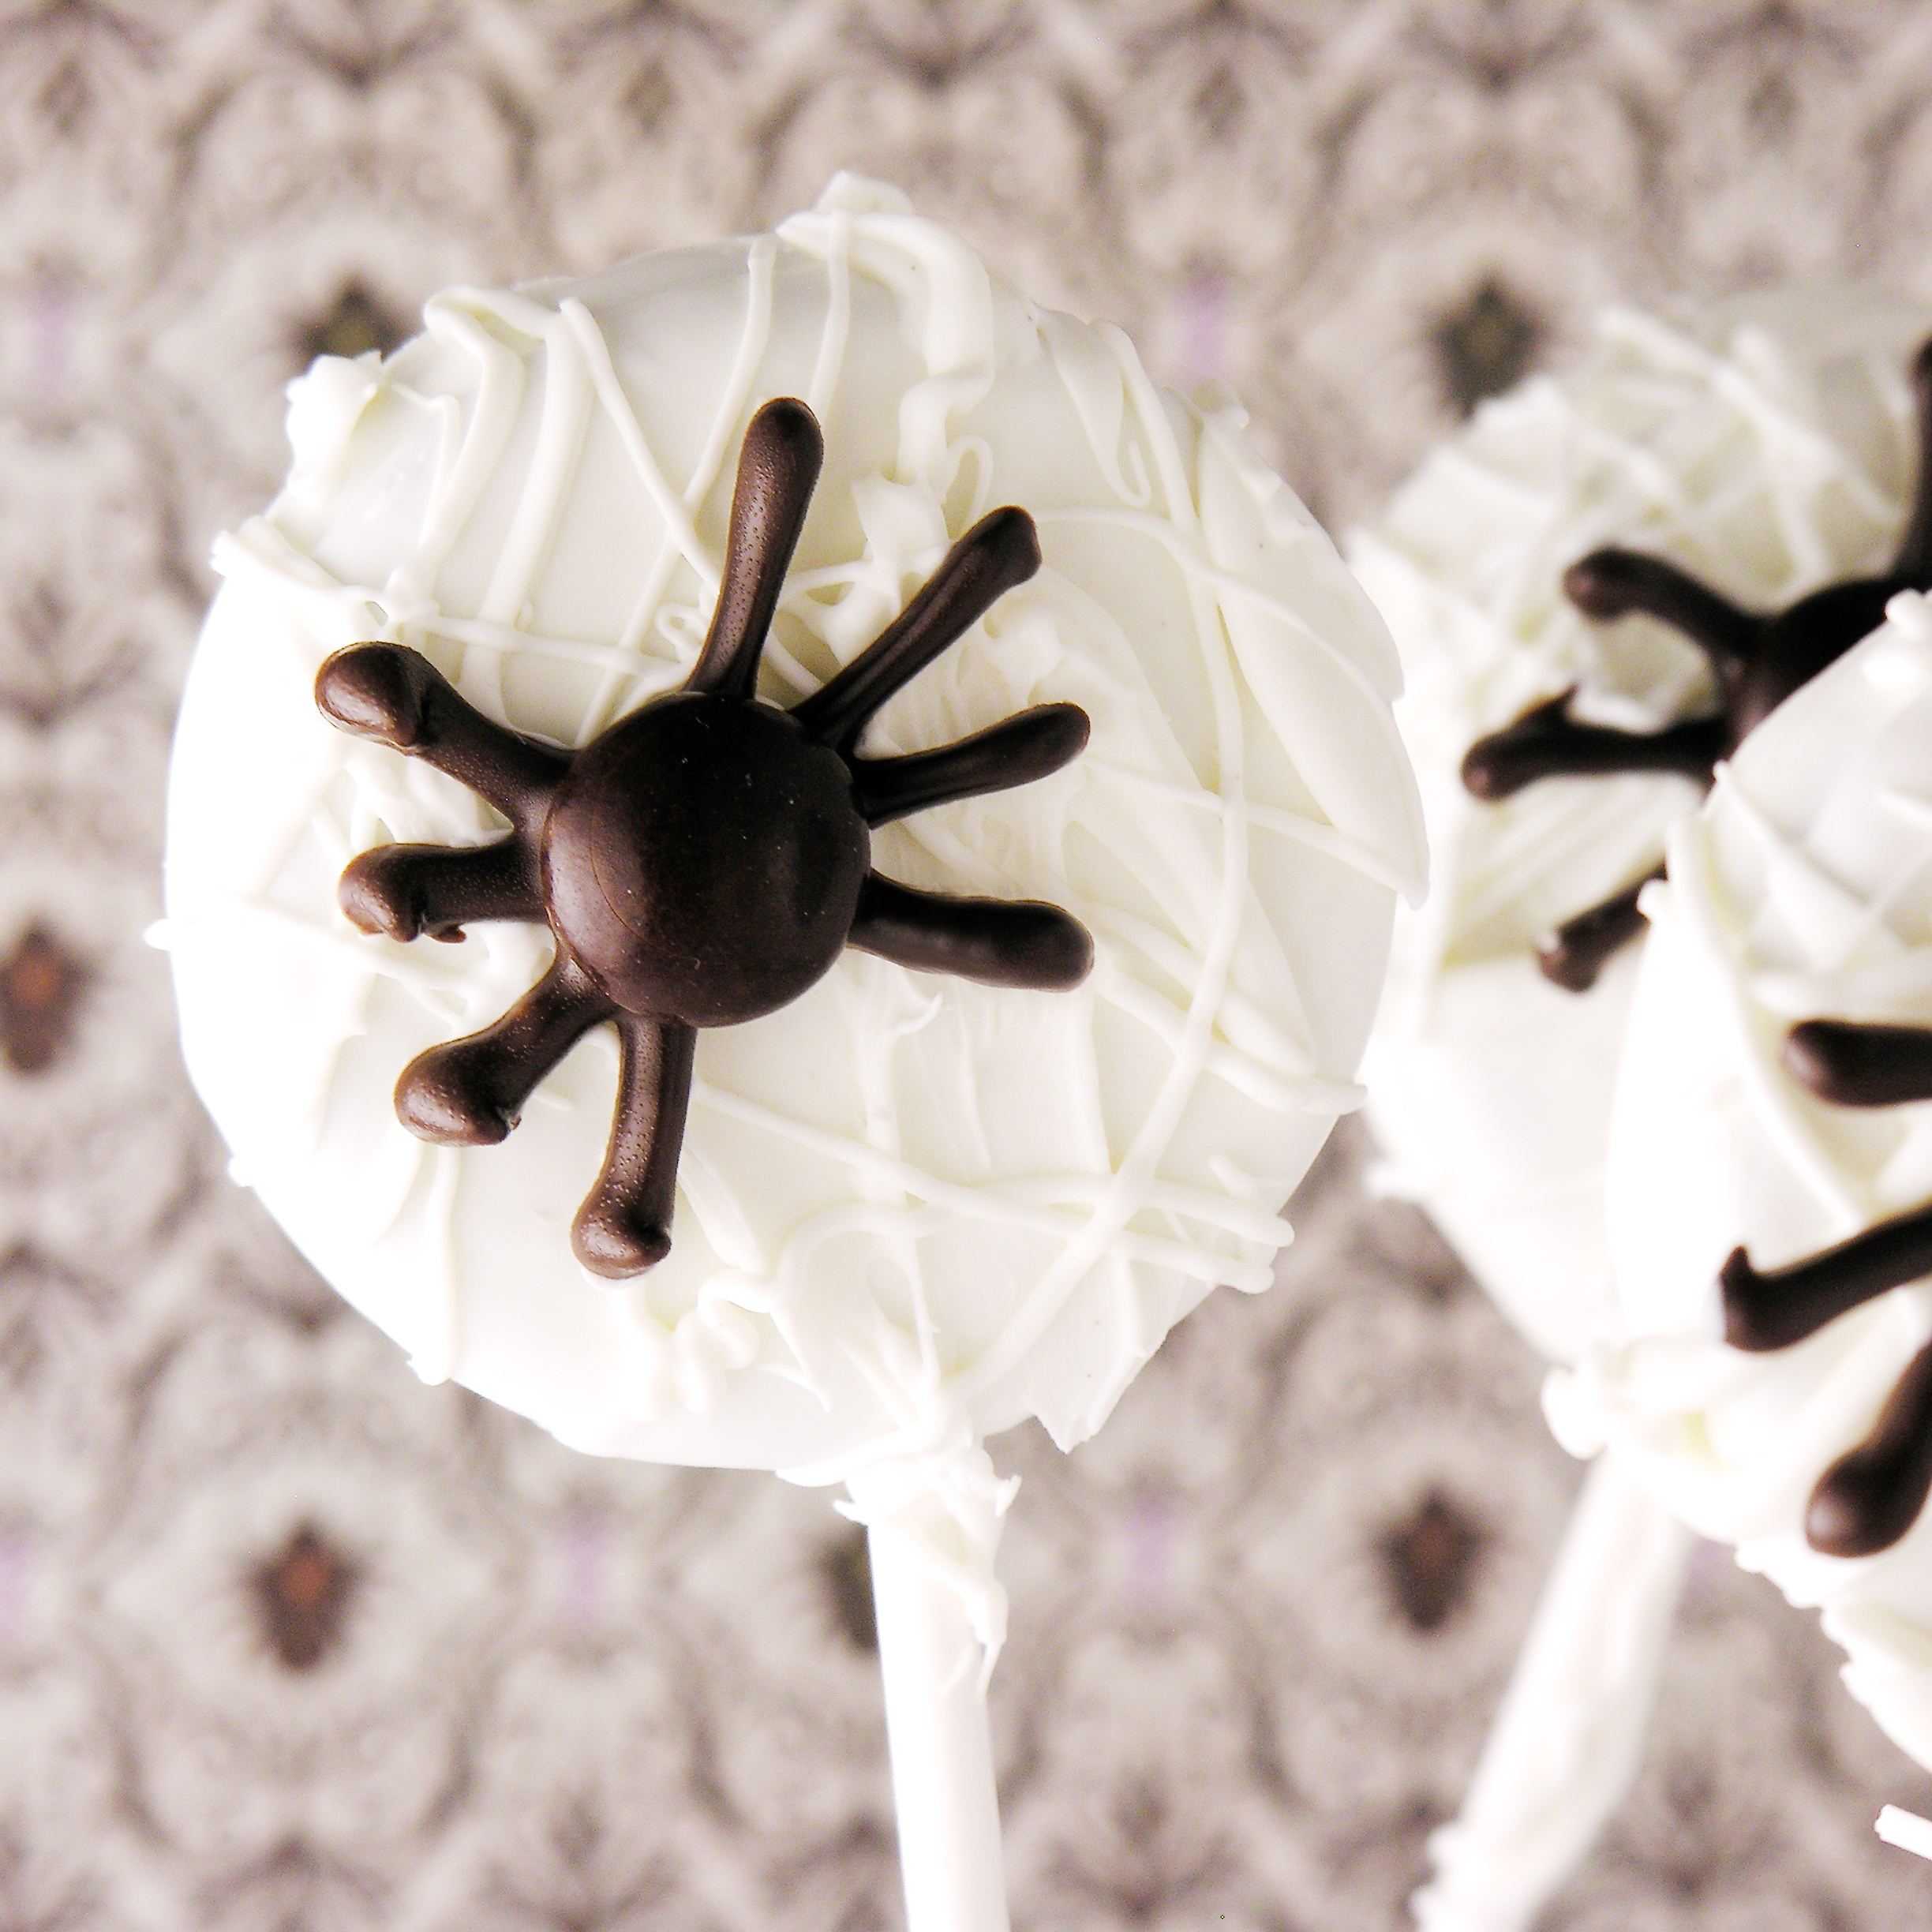
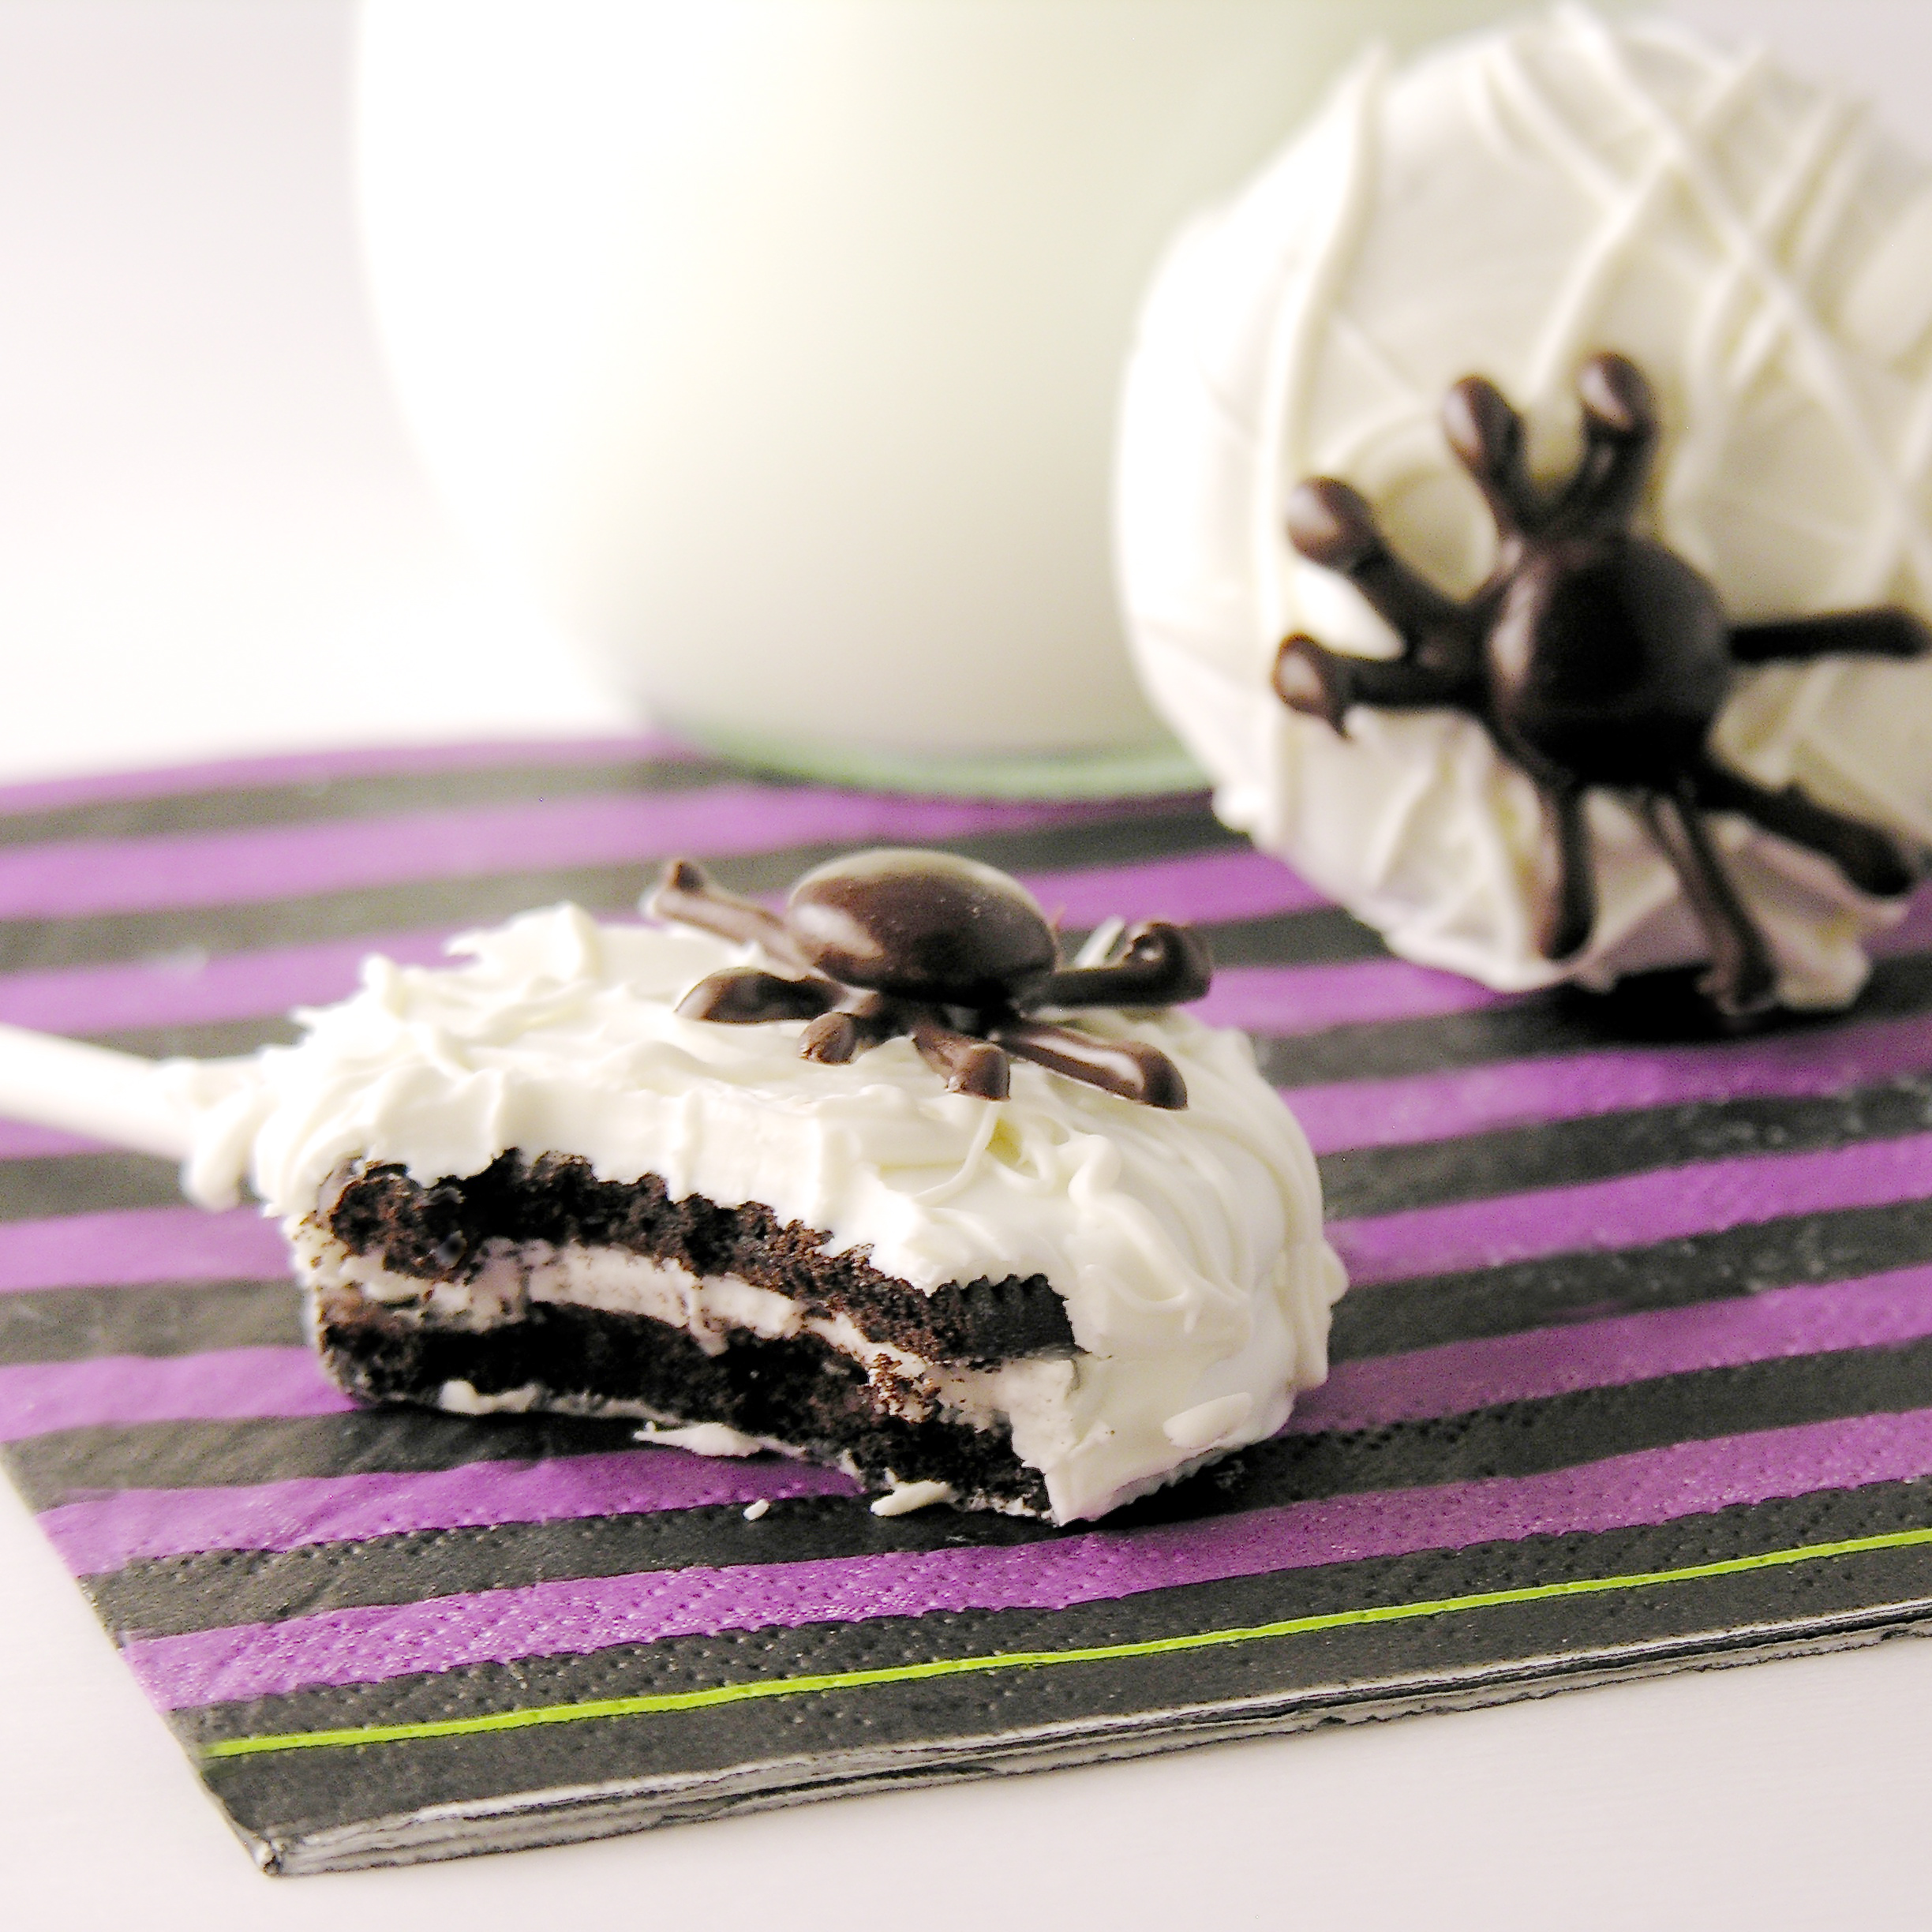
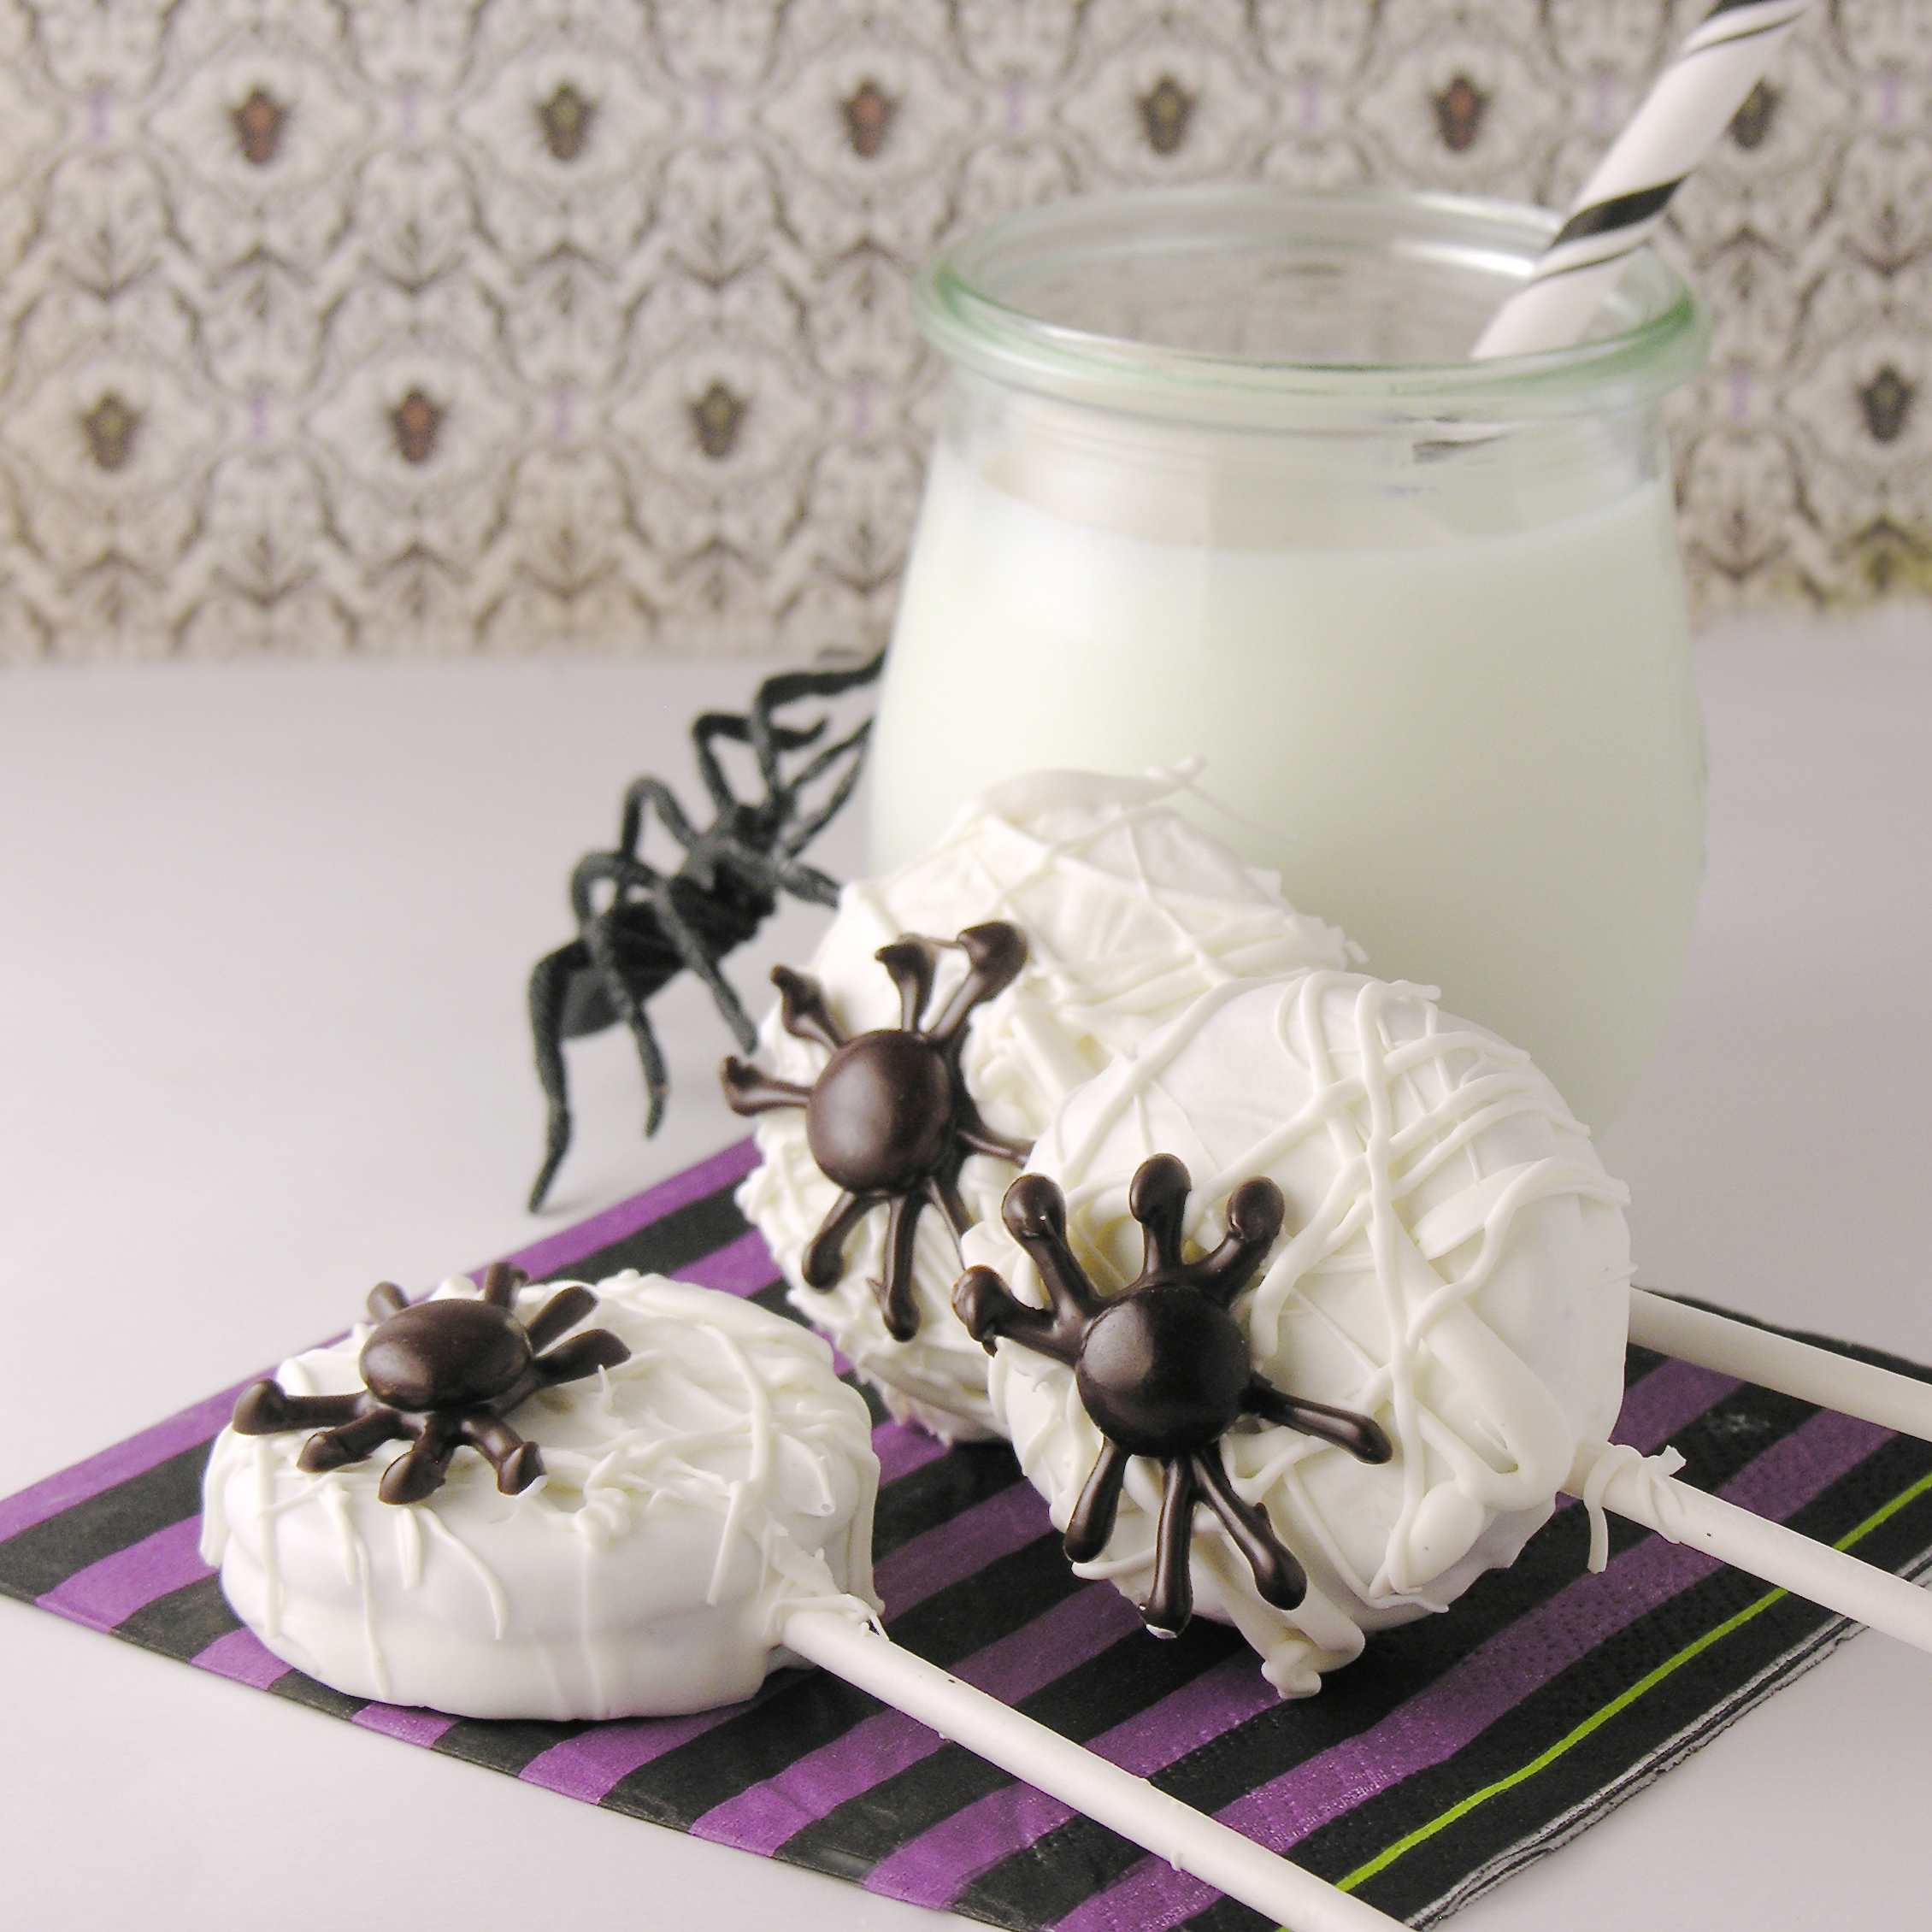
These web-wrapped Oreos with M&M spiders are not only cute fall treats- but delicious ones!
It’s that time of year again. That time when spiders think it’s too cold outside, and find little cracks around my windows and doors to creep in through. There’s nothing worse than sitting here, innocently blogging about a dessert recipe, only to be shocked by a giant black spider racing out from behind the couch. Seriously- they move so fast!
In any case, I make a lot of spider-themed treats. Maybe because candy spiders are so cute- and they don’t move. These are especially cute little guys- and they are perfect on top of these web-coated Oreos! Plus, as is true with all Oreo pops, you can make them weeks ahead and have them all wrapped in pretty bags and ready for a party. I love recipes like that.
Here is how we made them: (printable recipe available here)
INGREDIENTS: (makes about 24 pops)
DIRECTIONS:
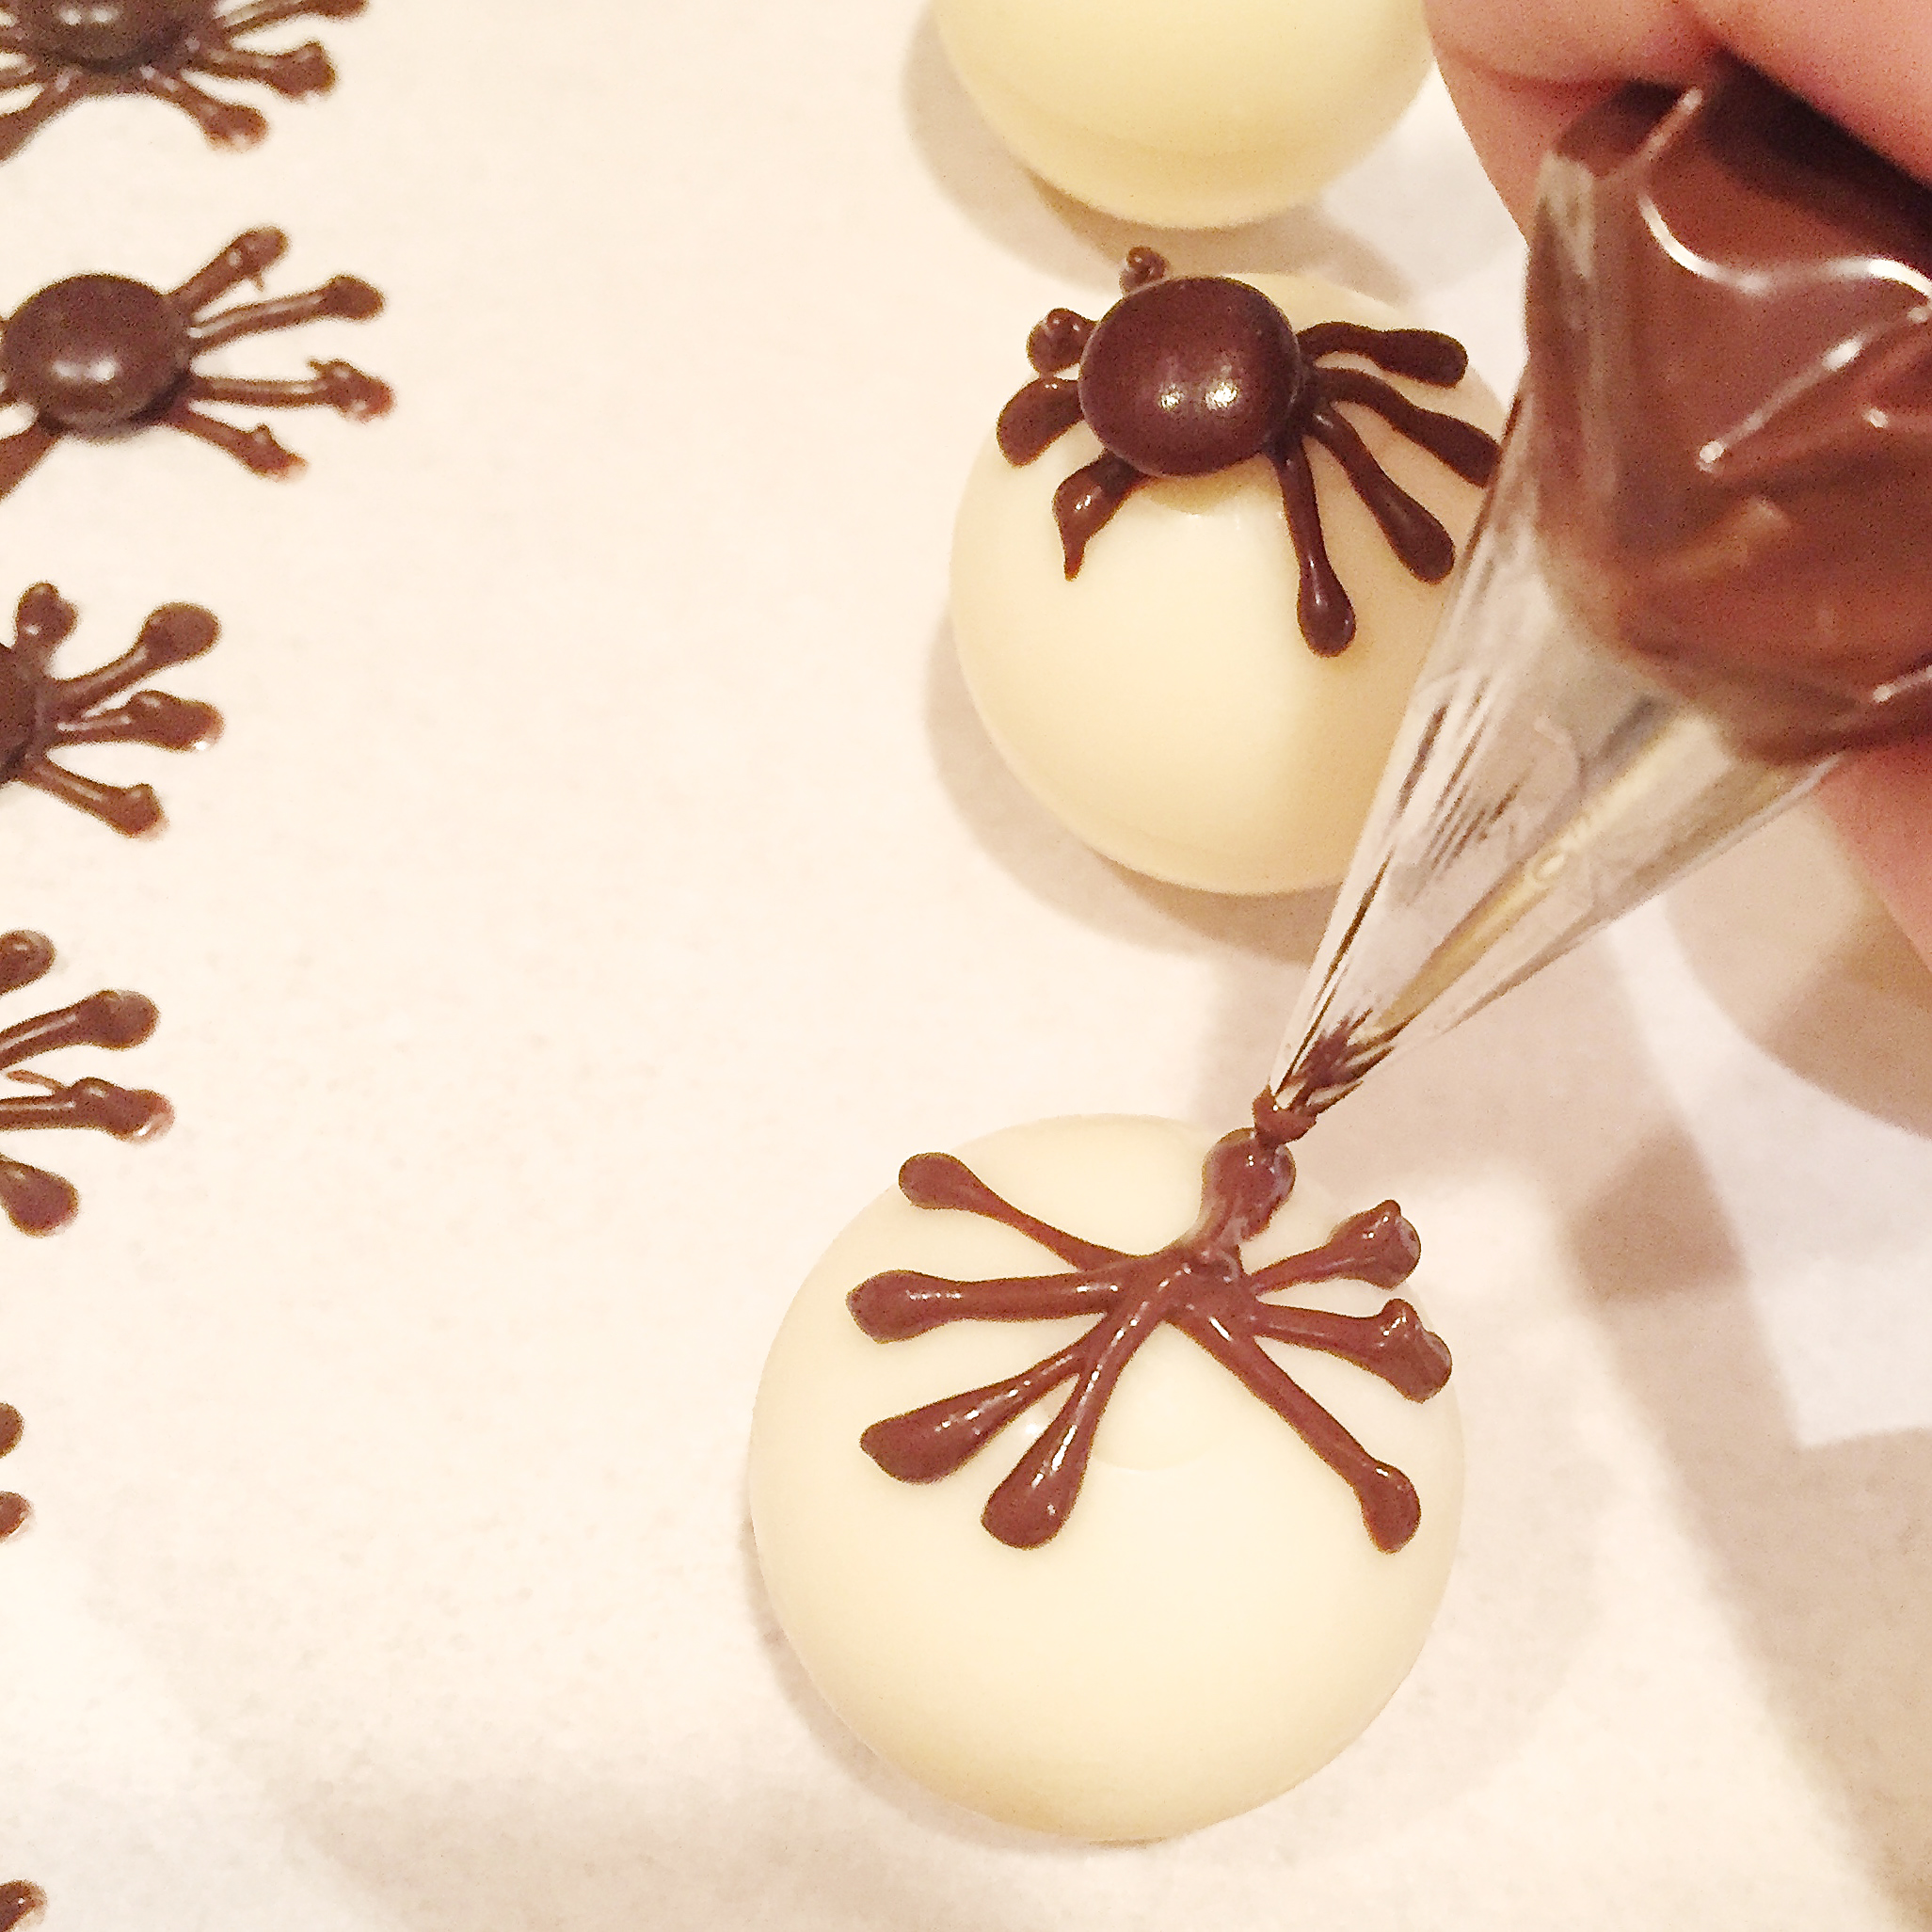
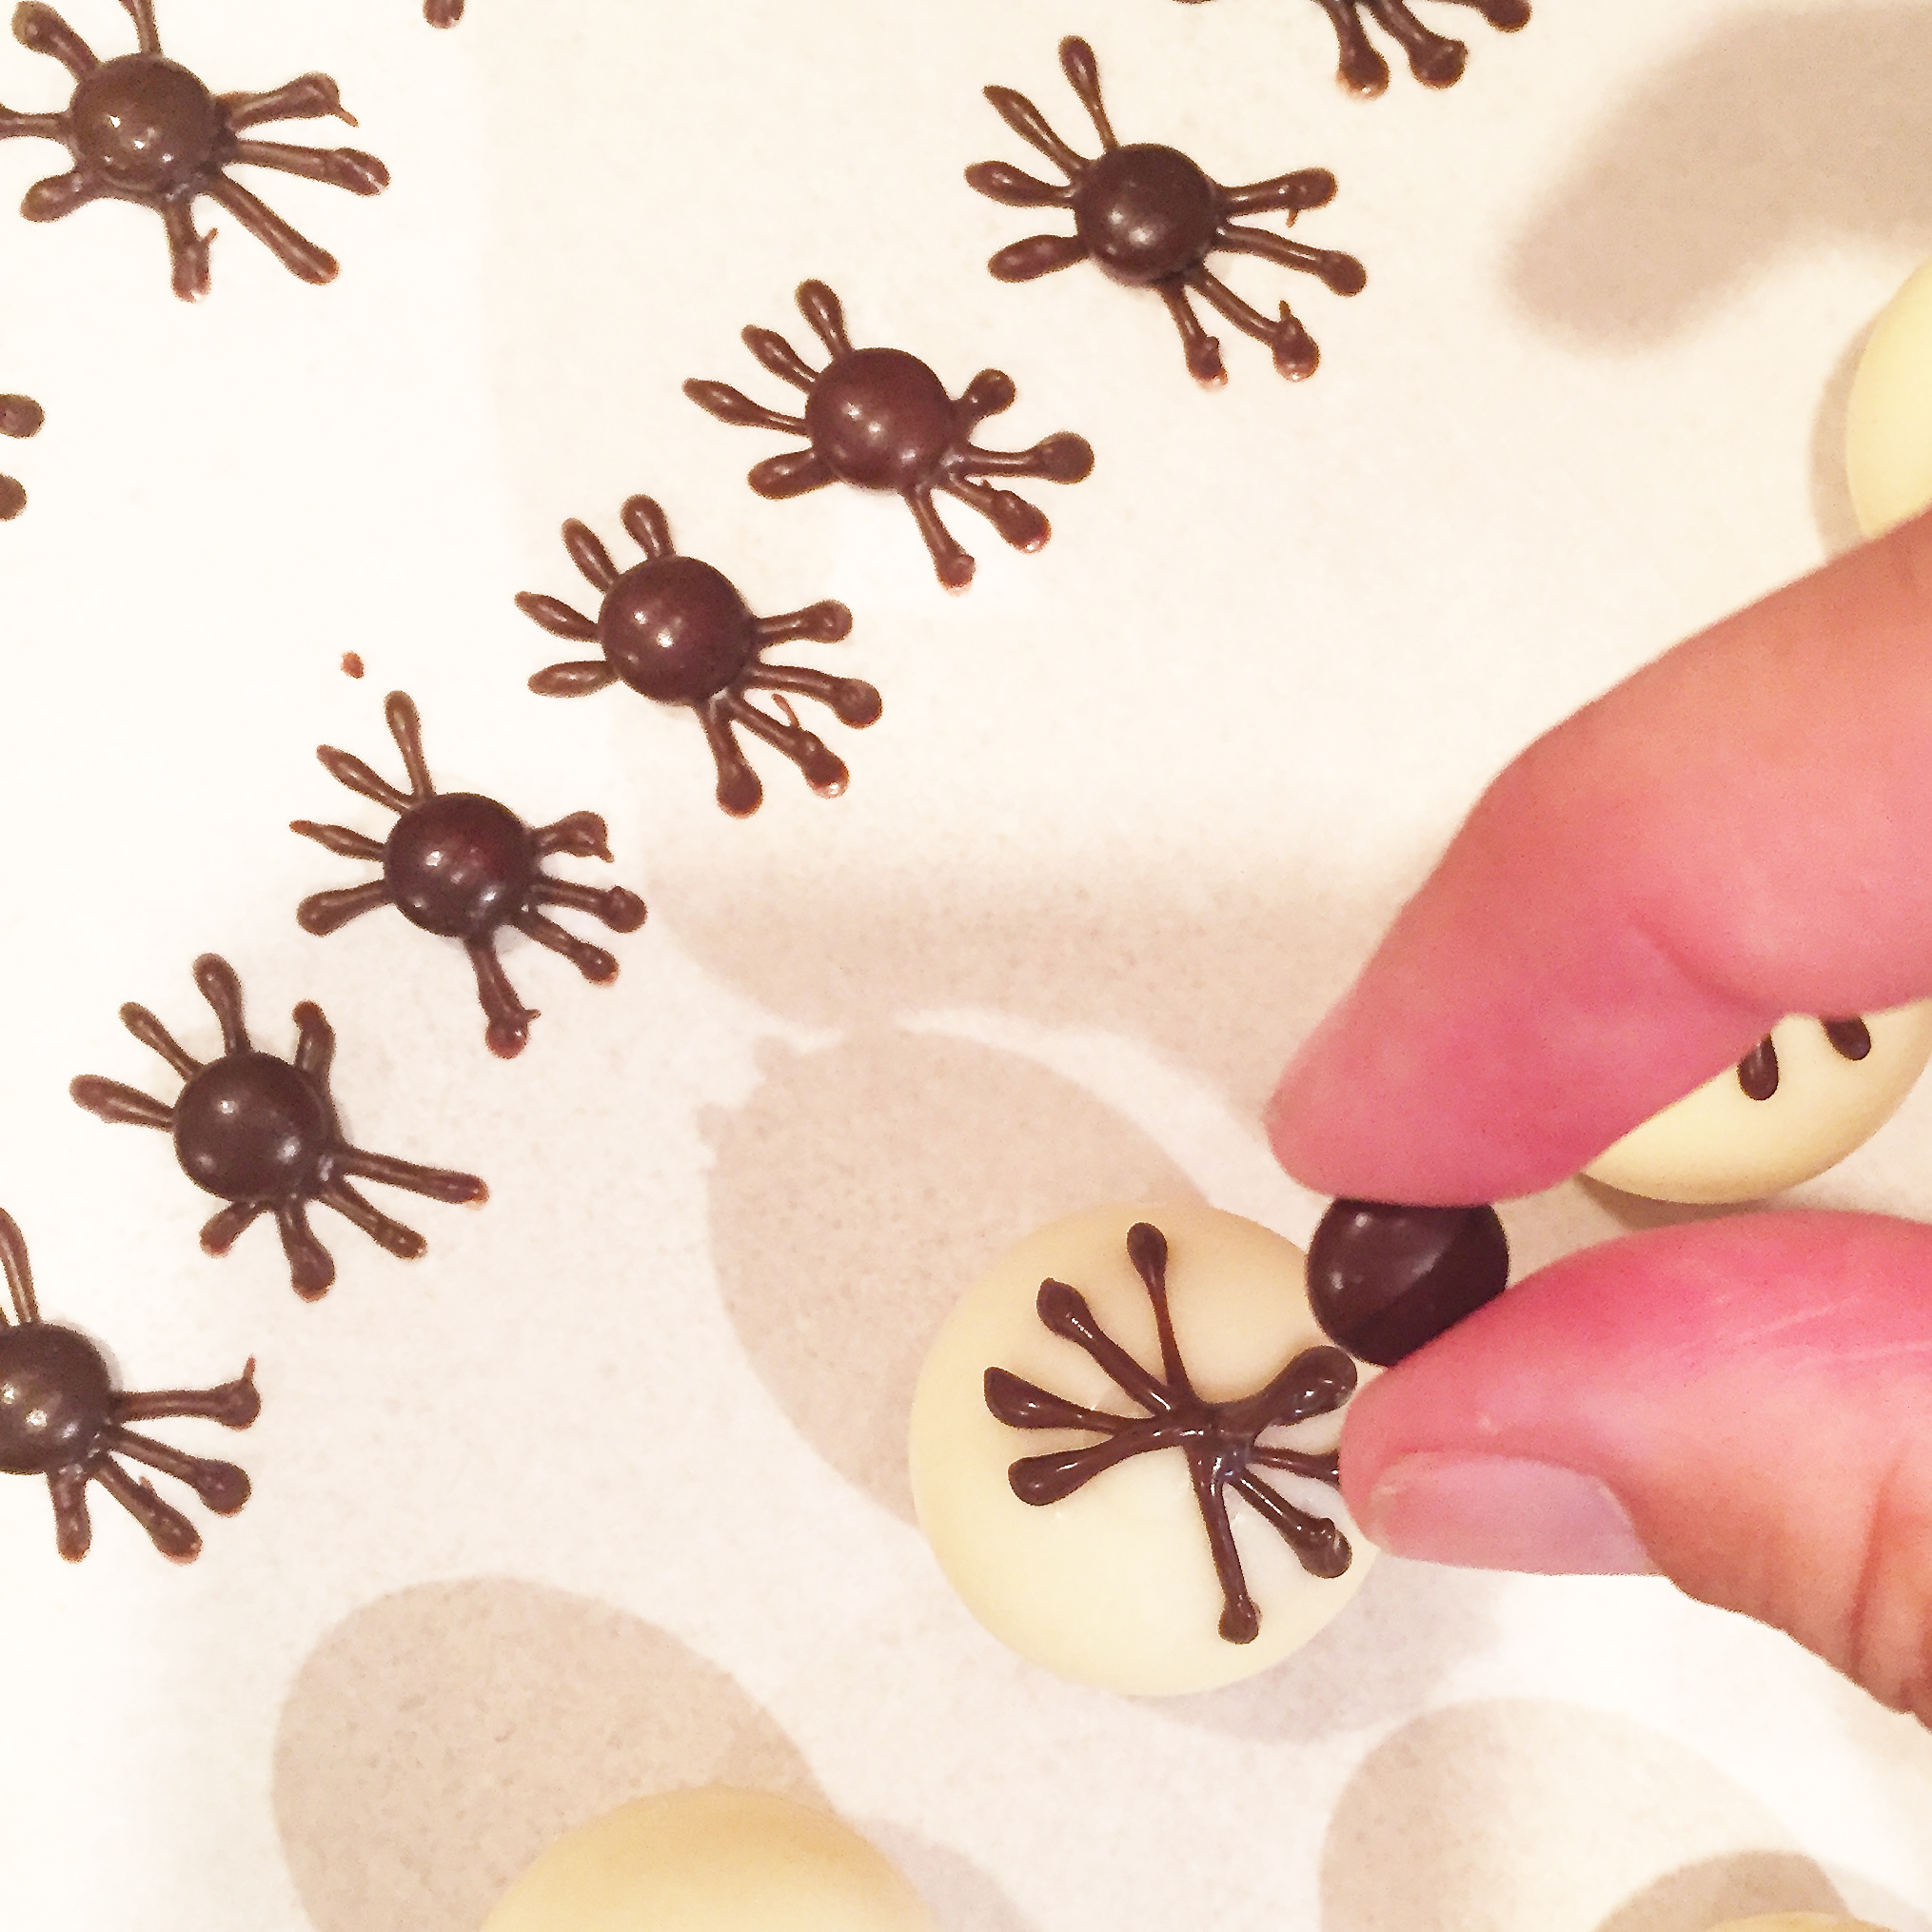
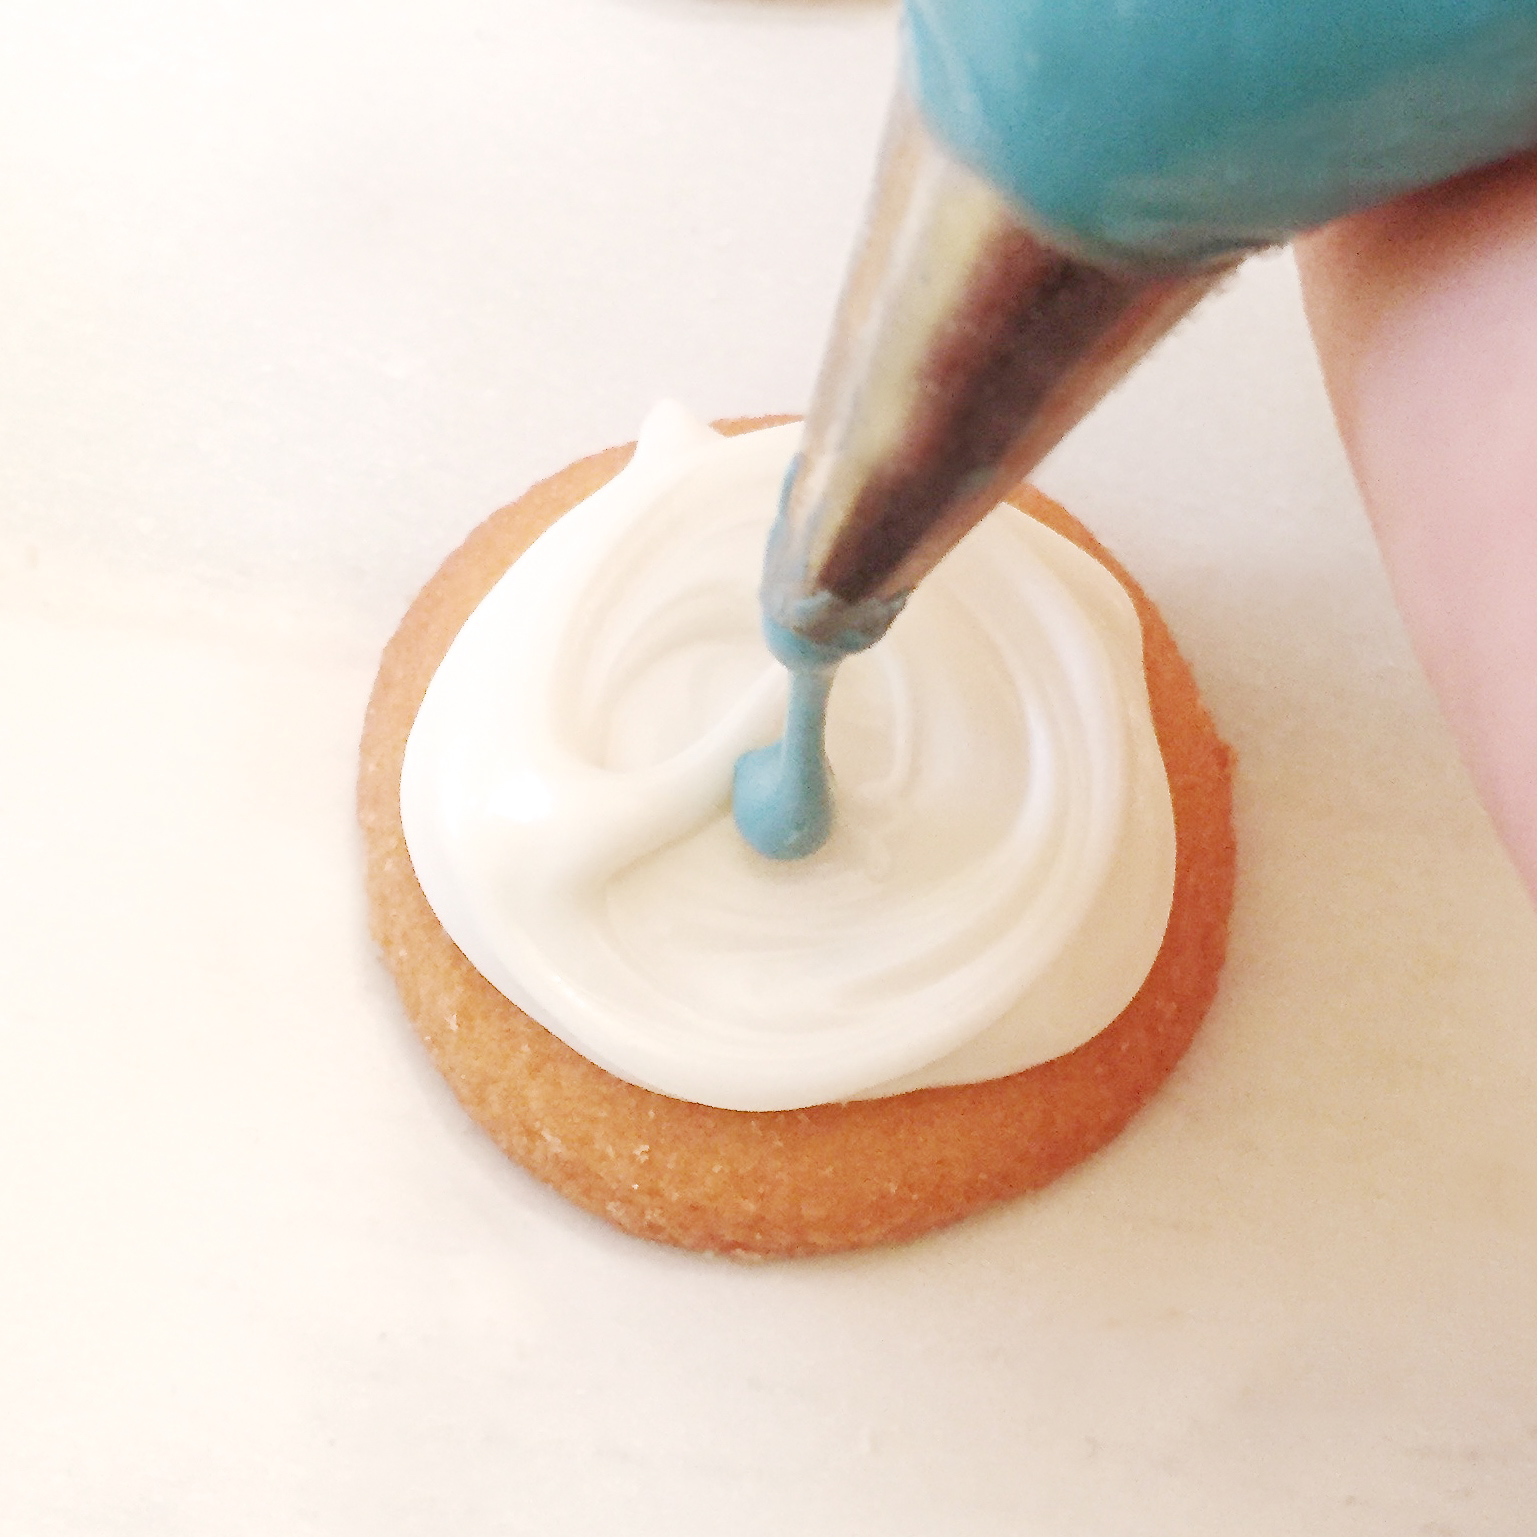
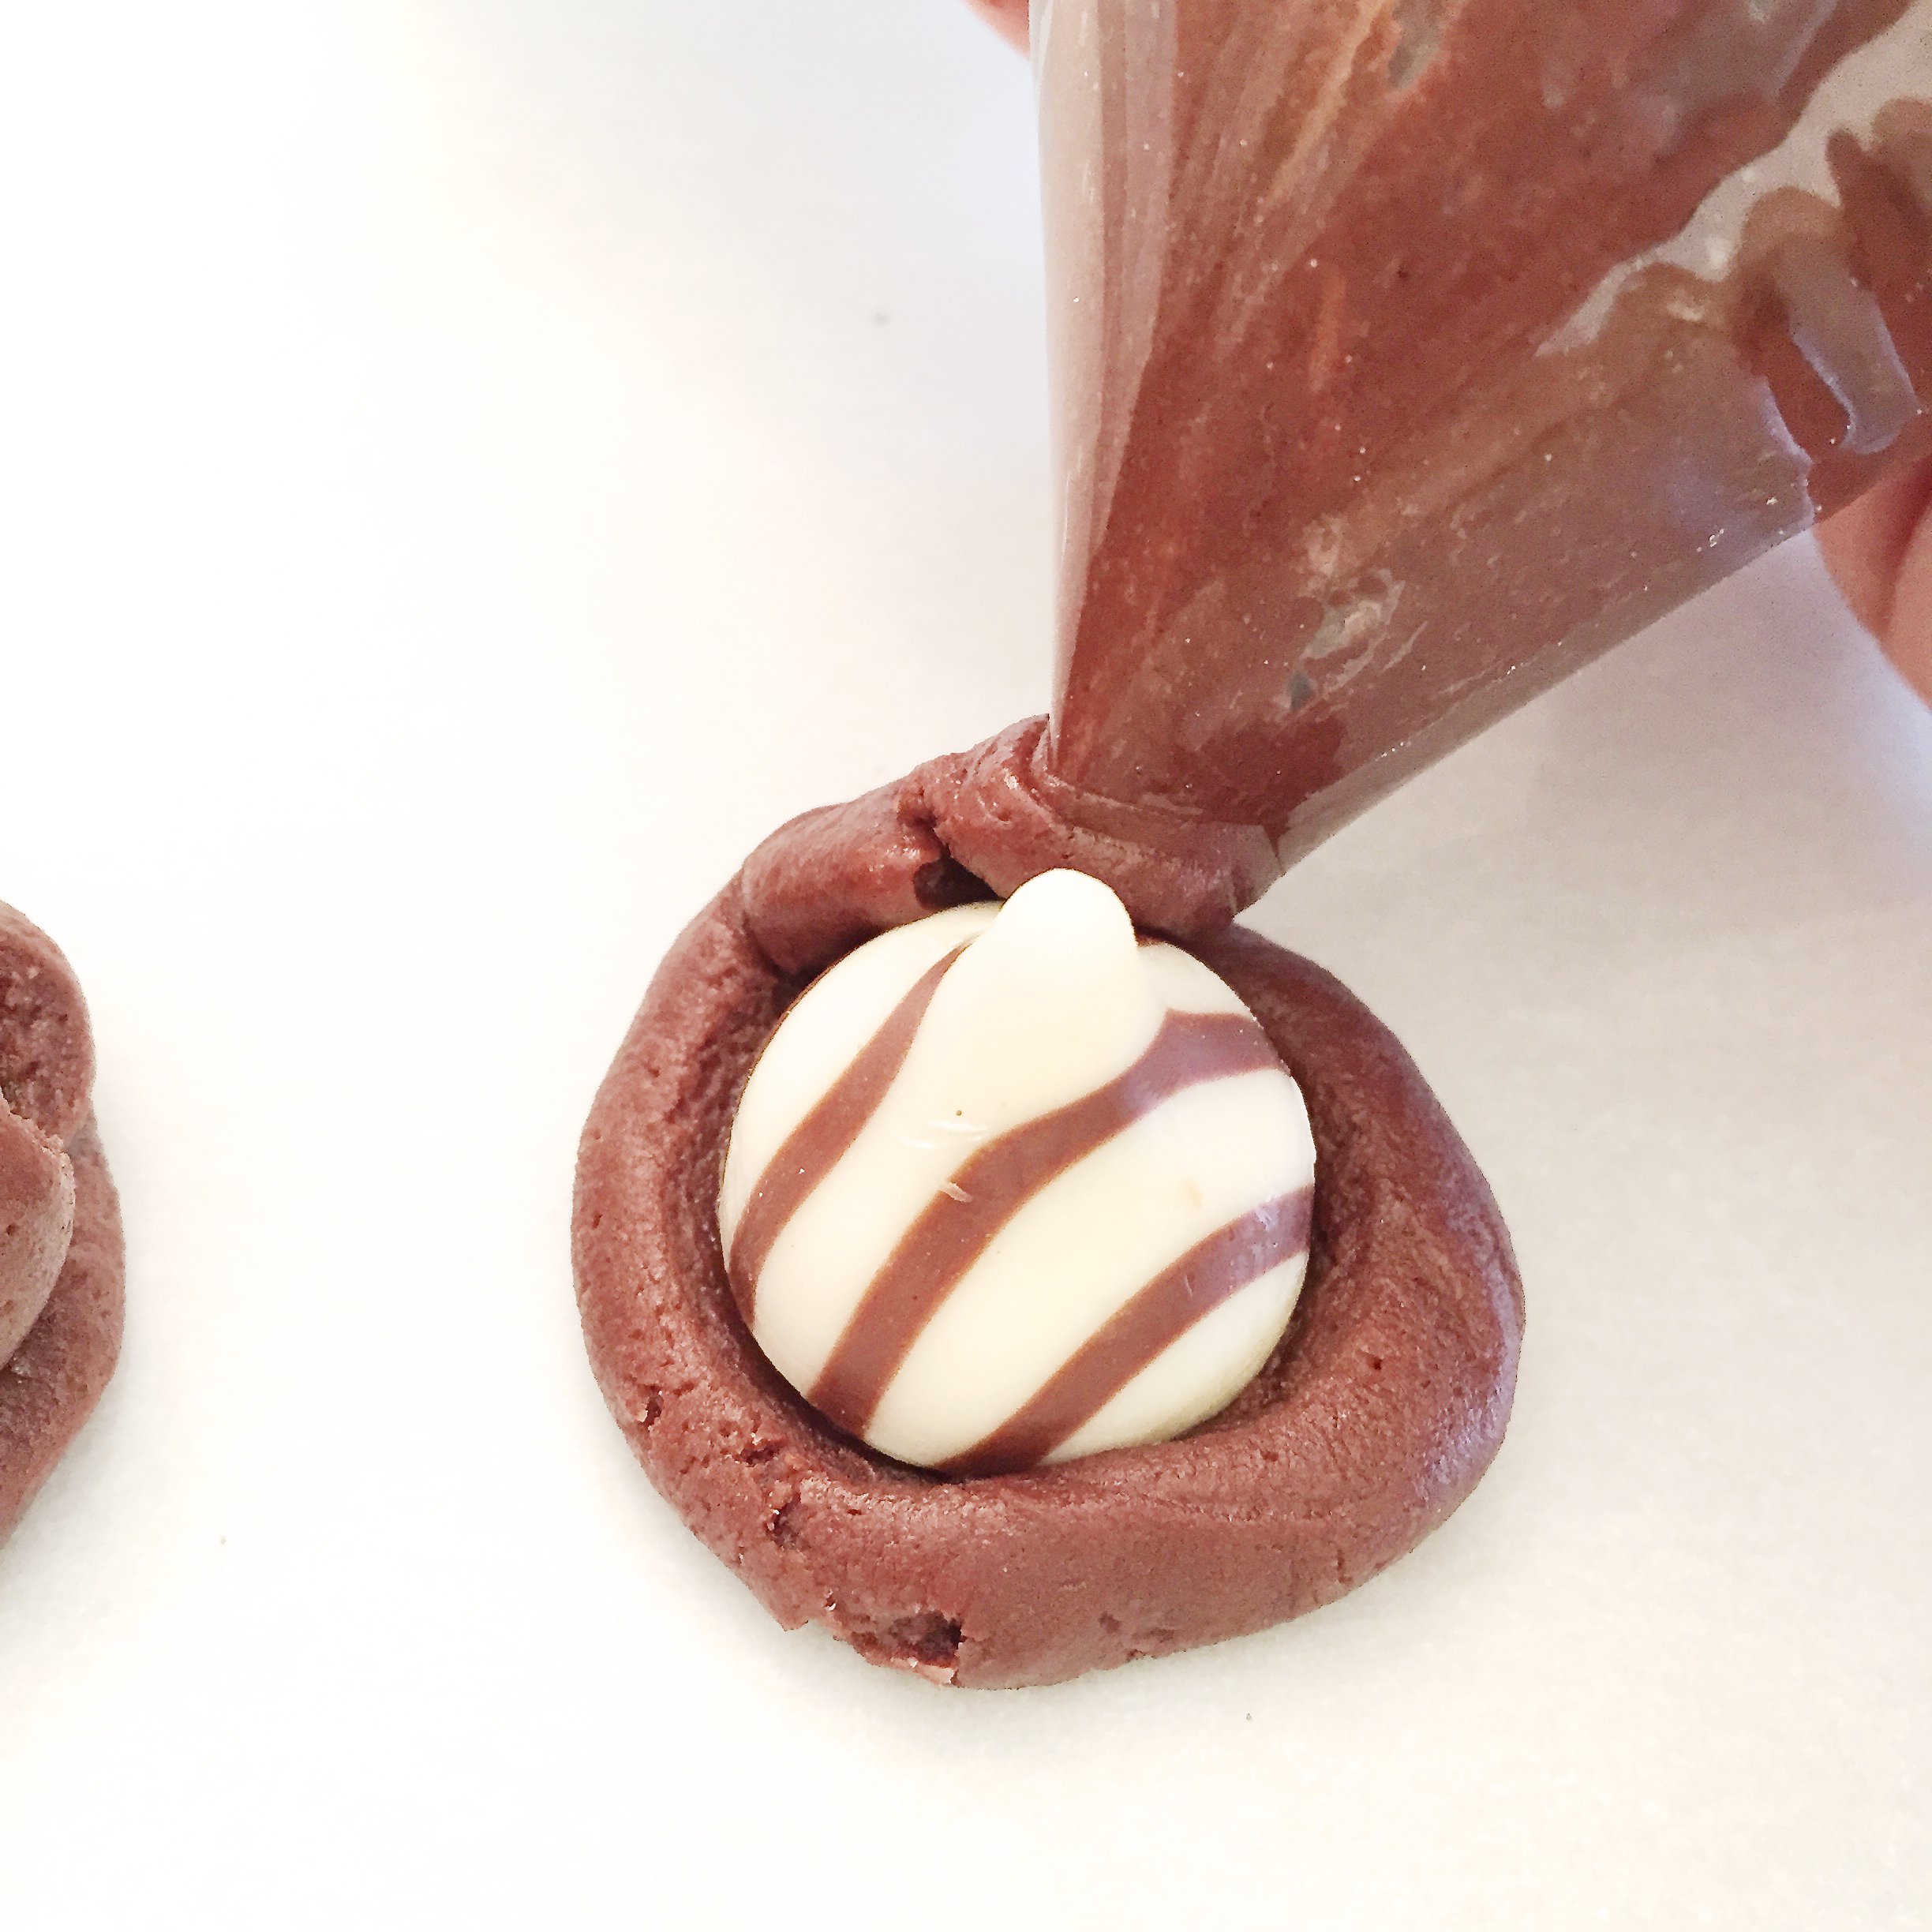
The photos below are from my recipe for Spider Eggs, and some of them are piped on Lindt truffles. You can see how I piped them on parchment paper though.
My thoughts: *Smile*!!! These are fun little treats- and not too difficult to make. I always love my Oreo pops. One of these days I should put all of them in one post since I’m getting such a large collection of them! I hope you get a chance to try these fun little treats! And I hope they are the only spiders you find in your home this fall!!! ~r

Other spider-y treats found on Easybaked: (click on a photo to see the recipe)
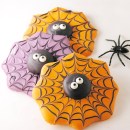


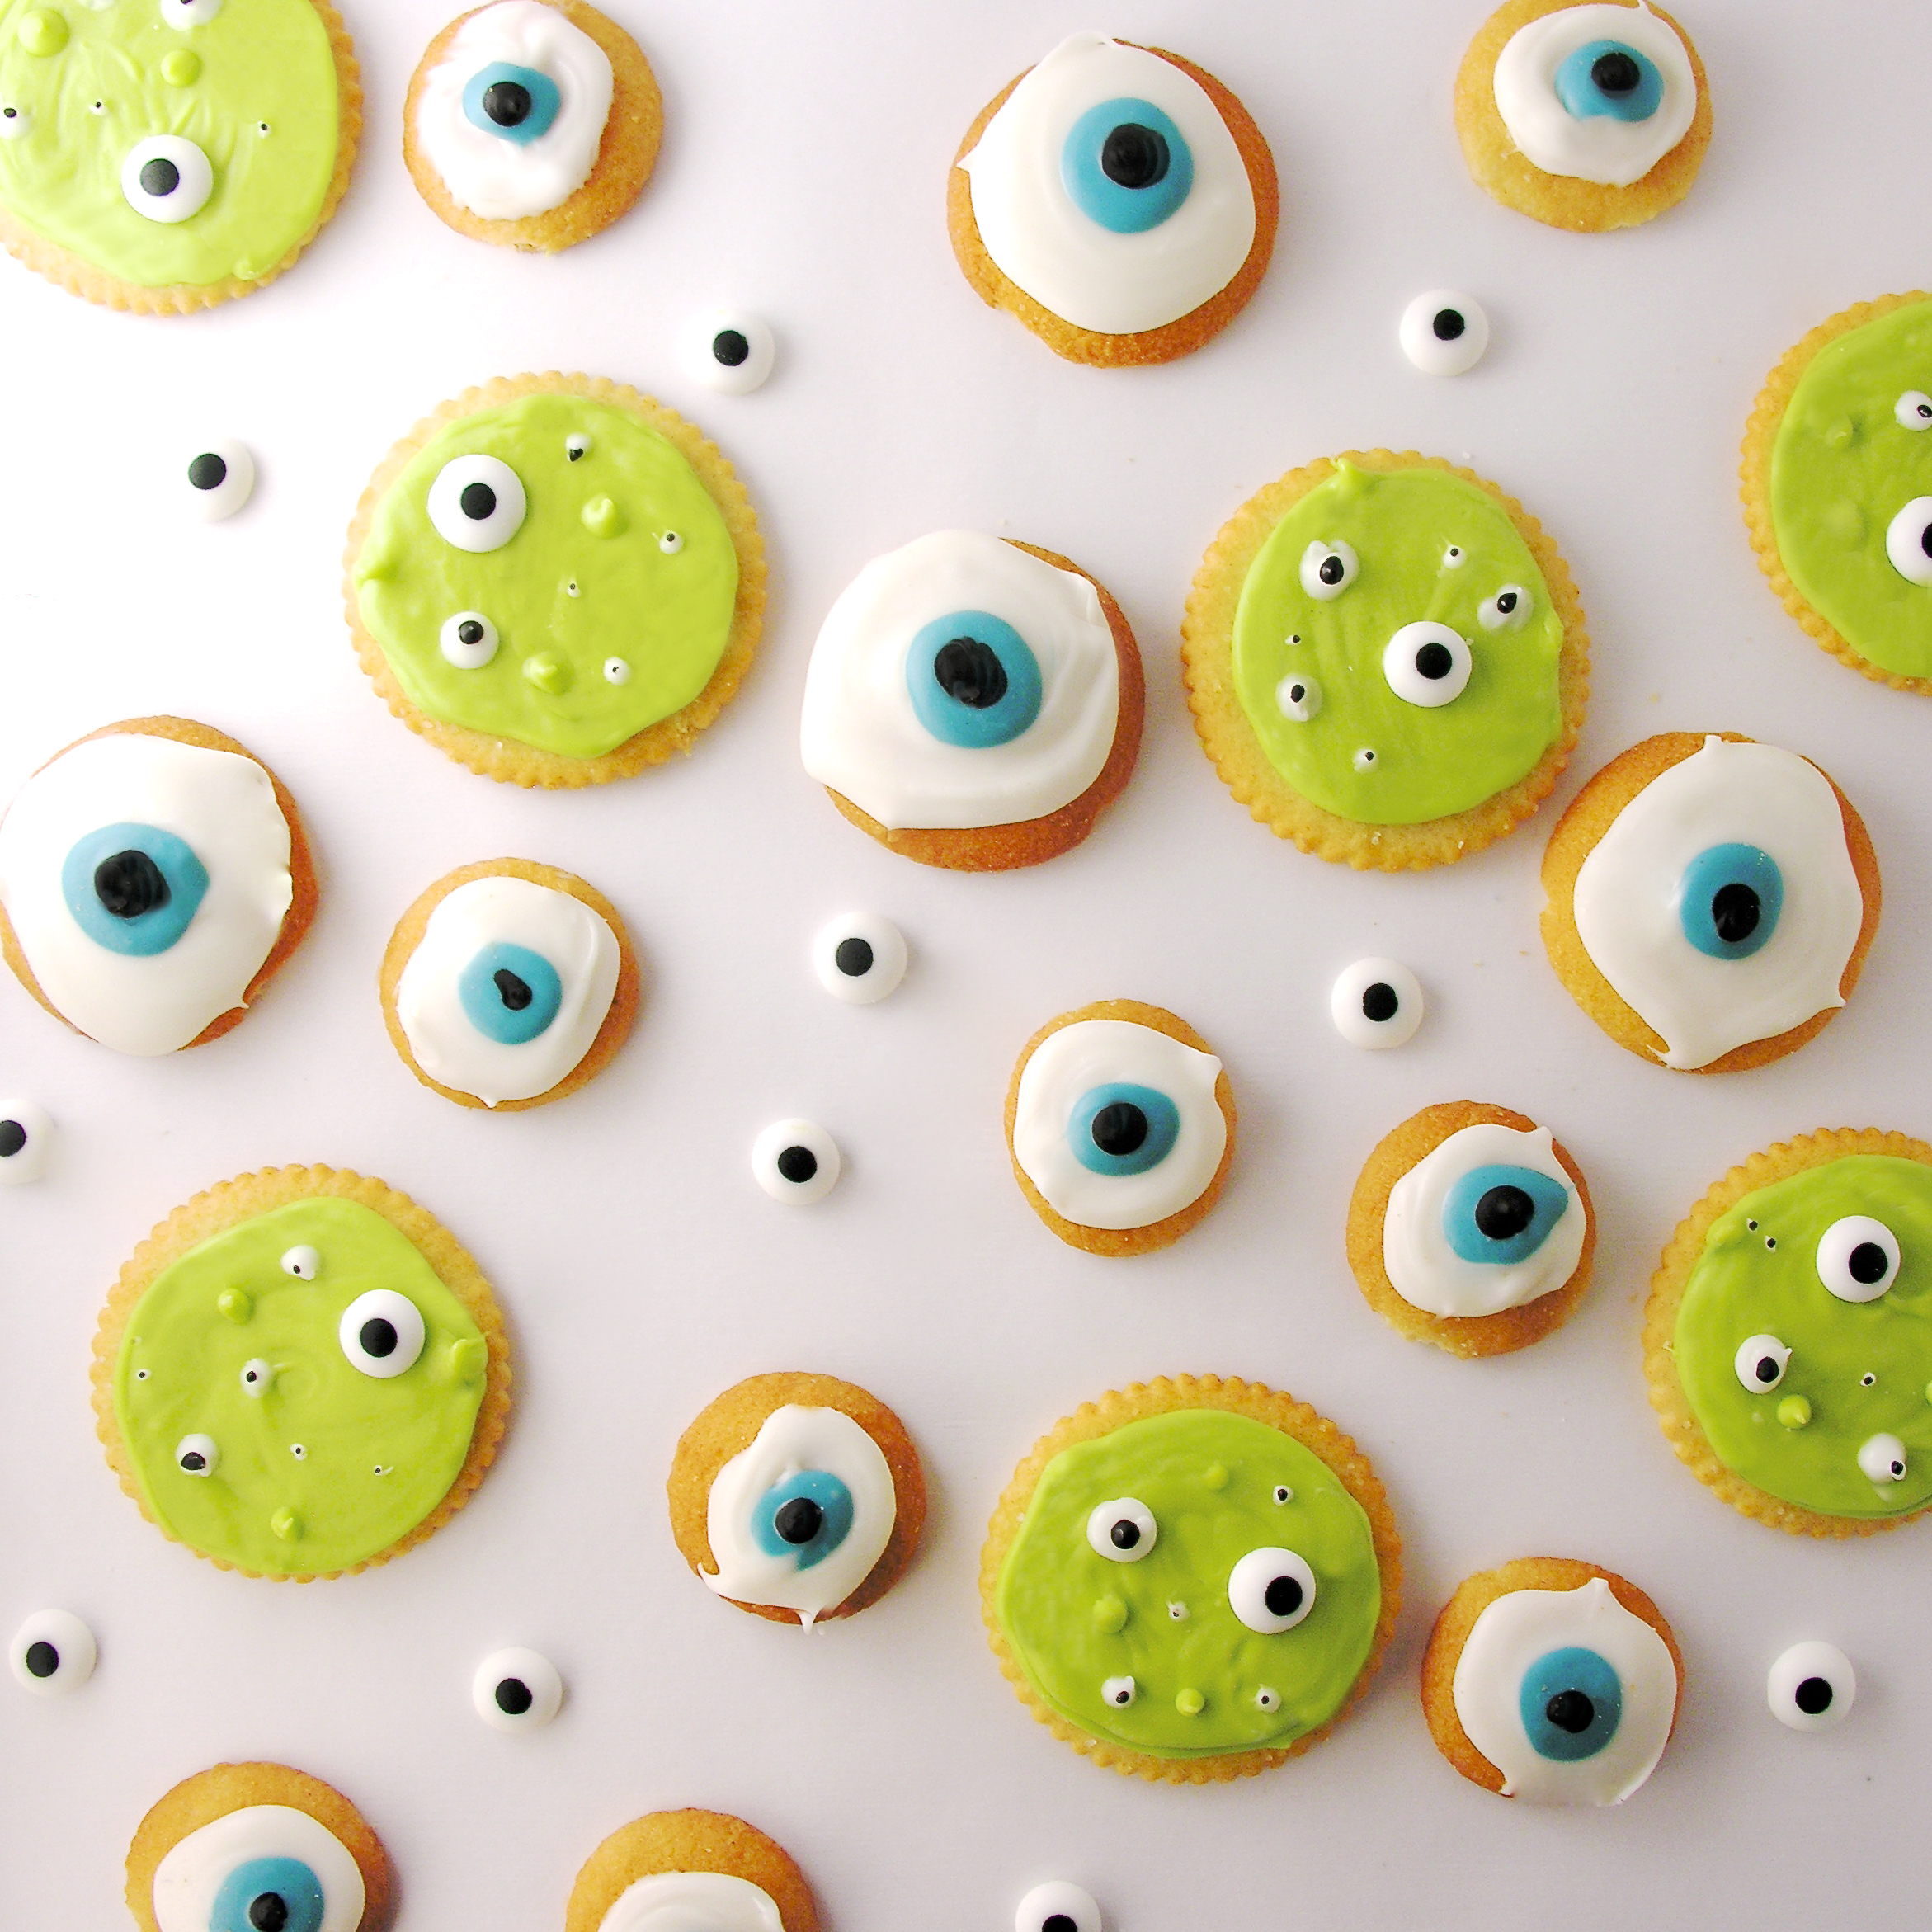
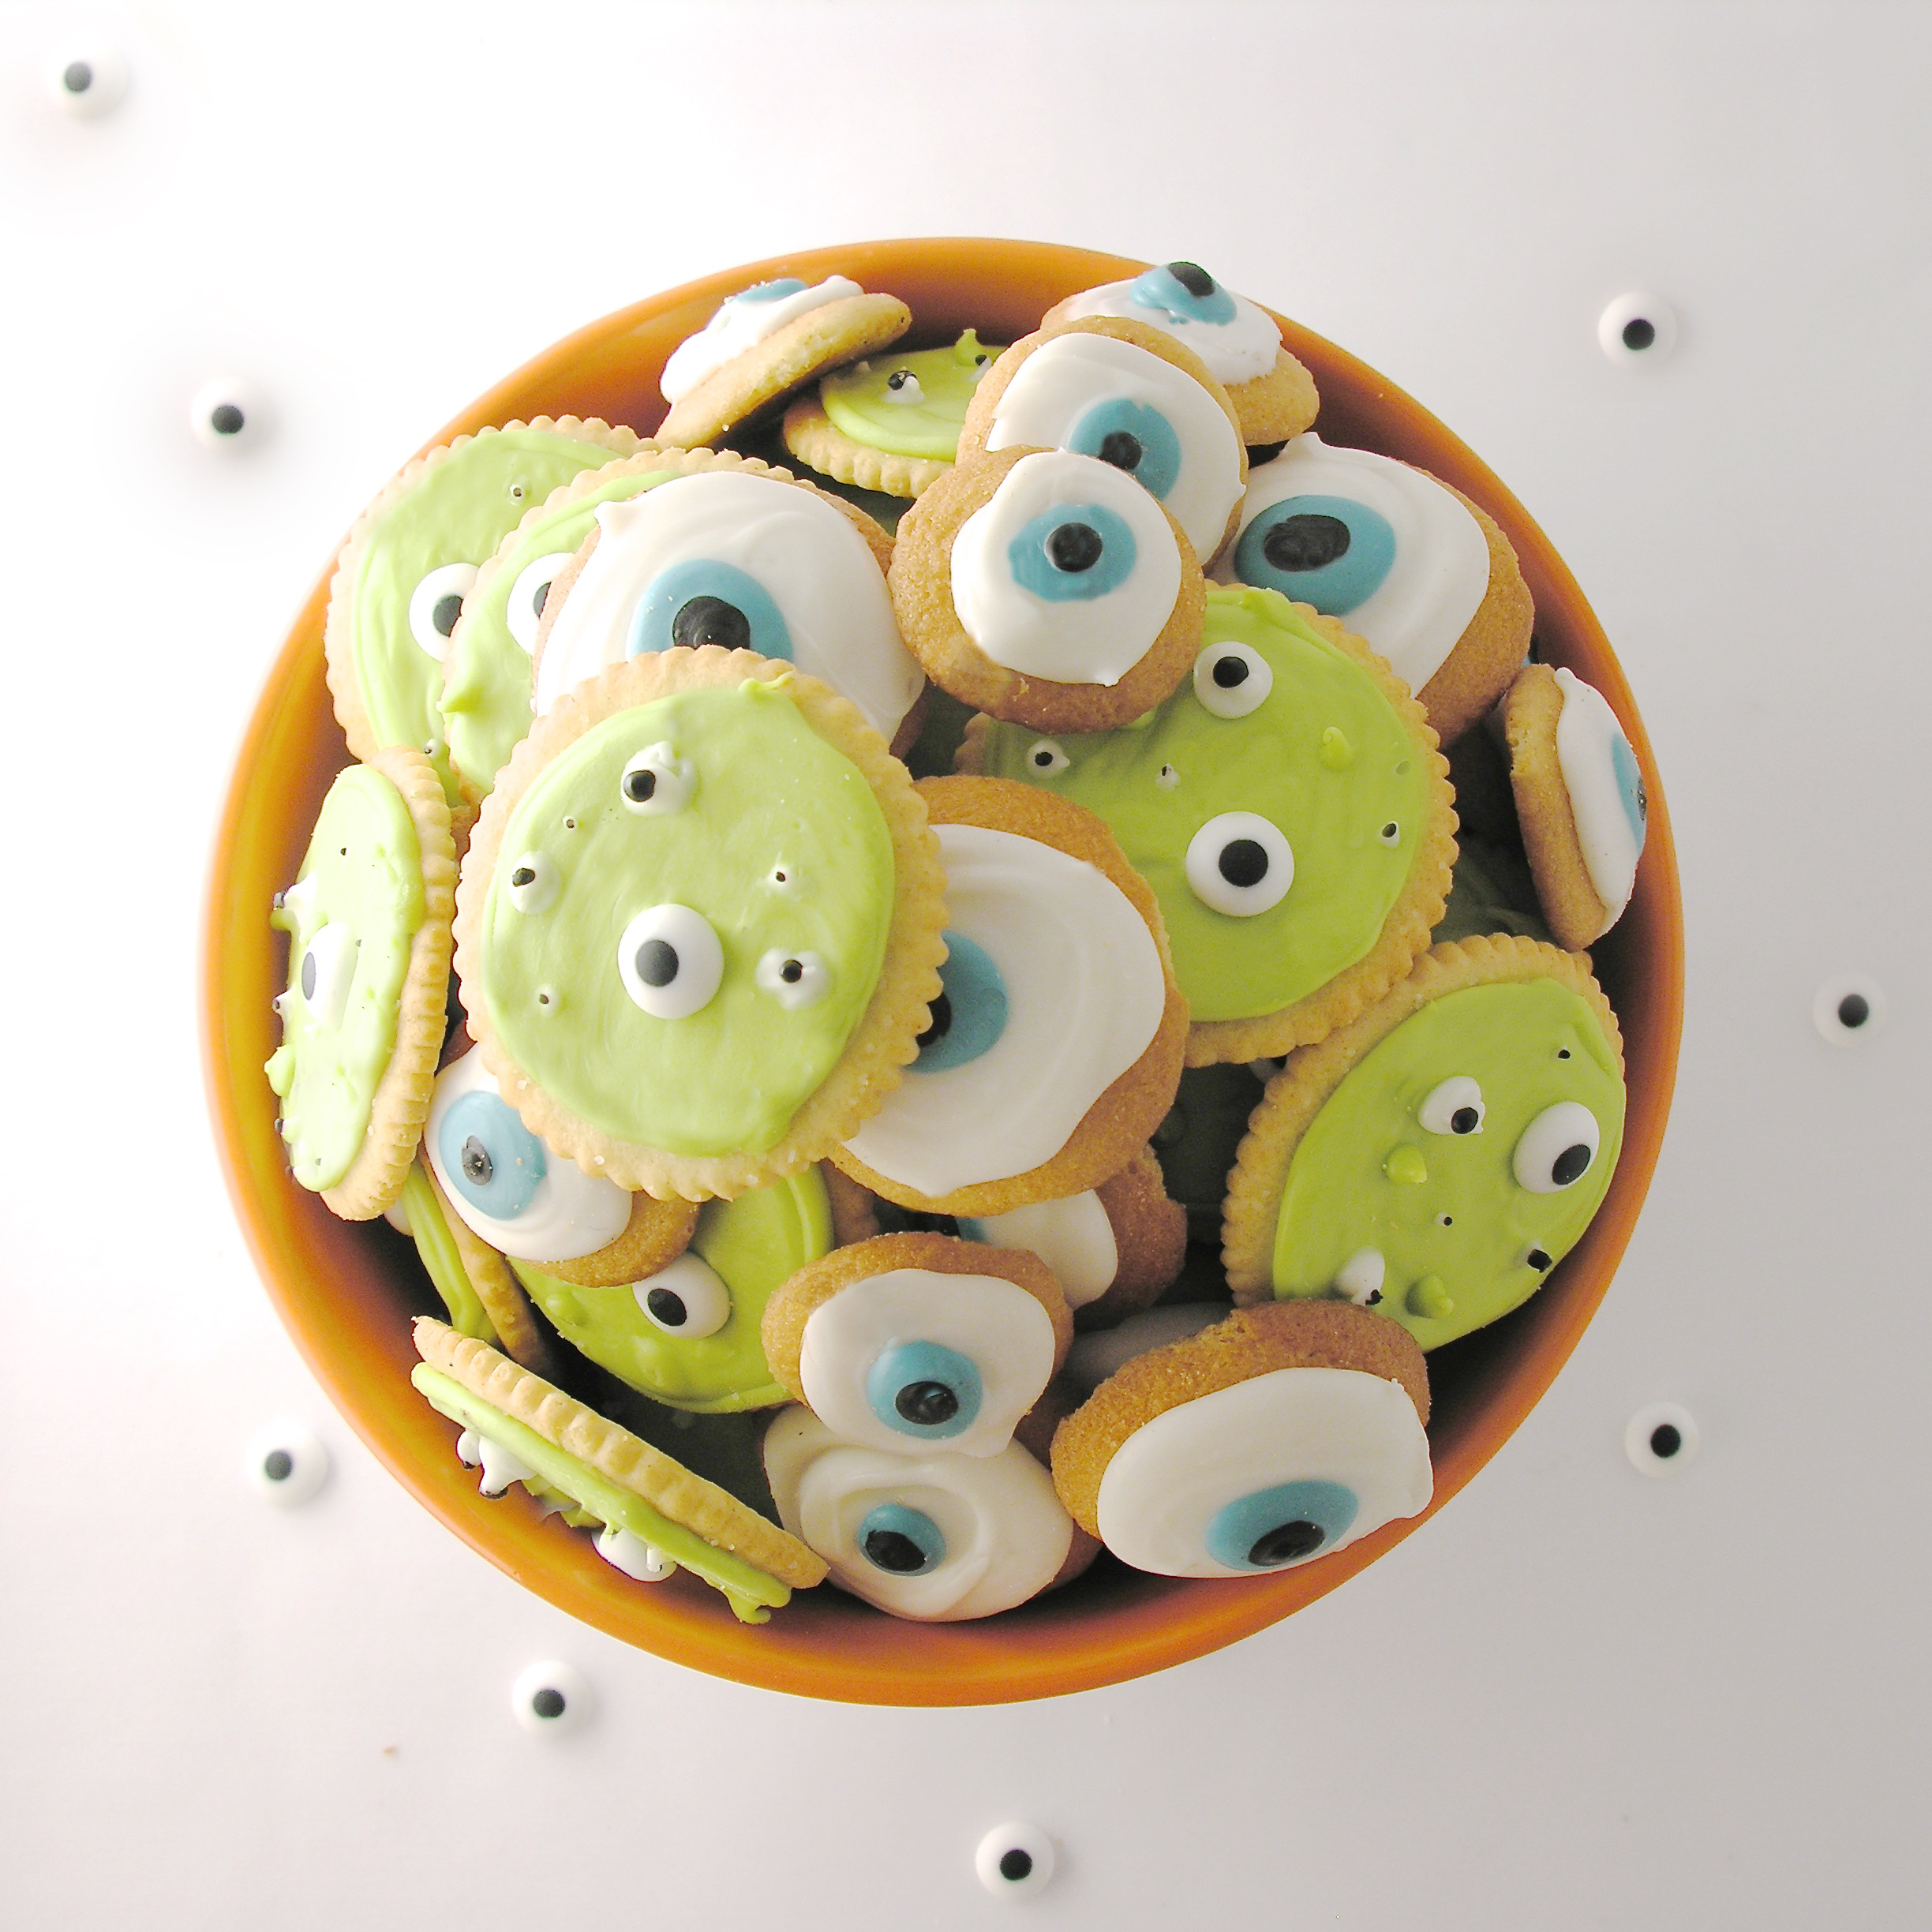
These delicious little cookies are the perfect creepy treat for October!
Ah…these were fun to make and really fun to share! They definitely gave kids a pause. I heard one little girl say, “Mom- I’m a little scared of those cookies because they are looking at me!”
Love it.
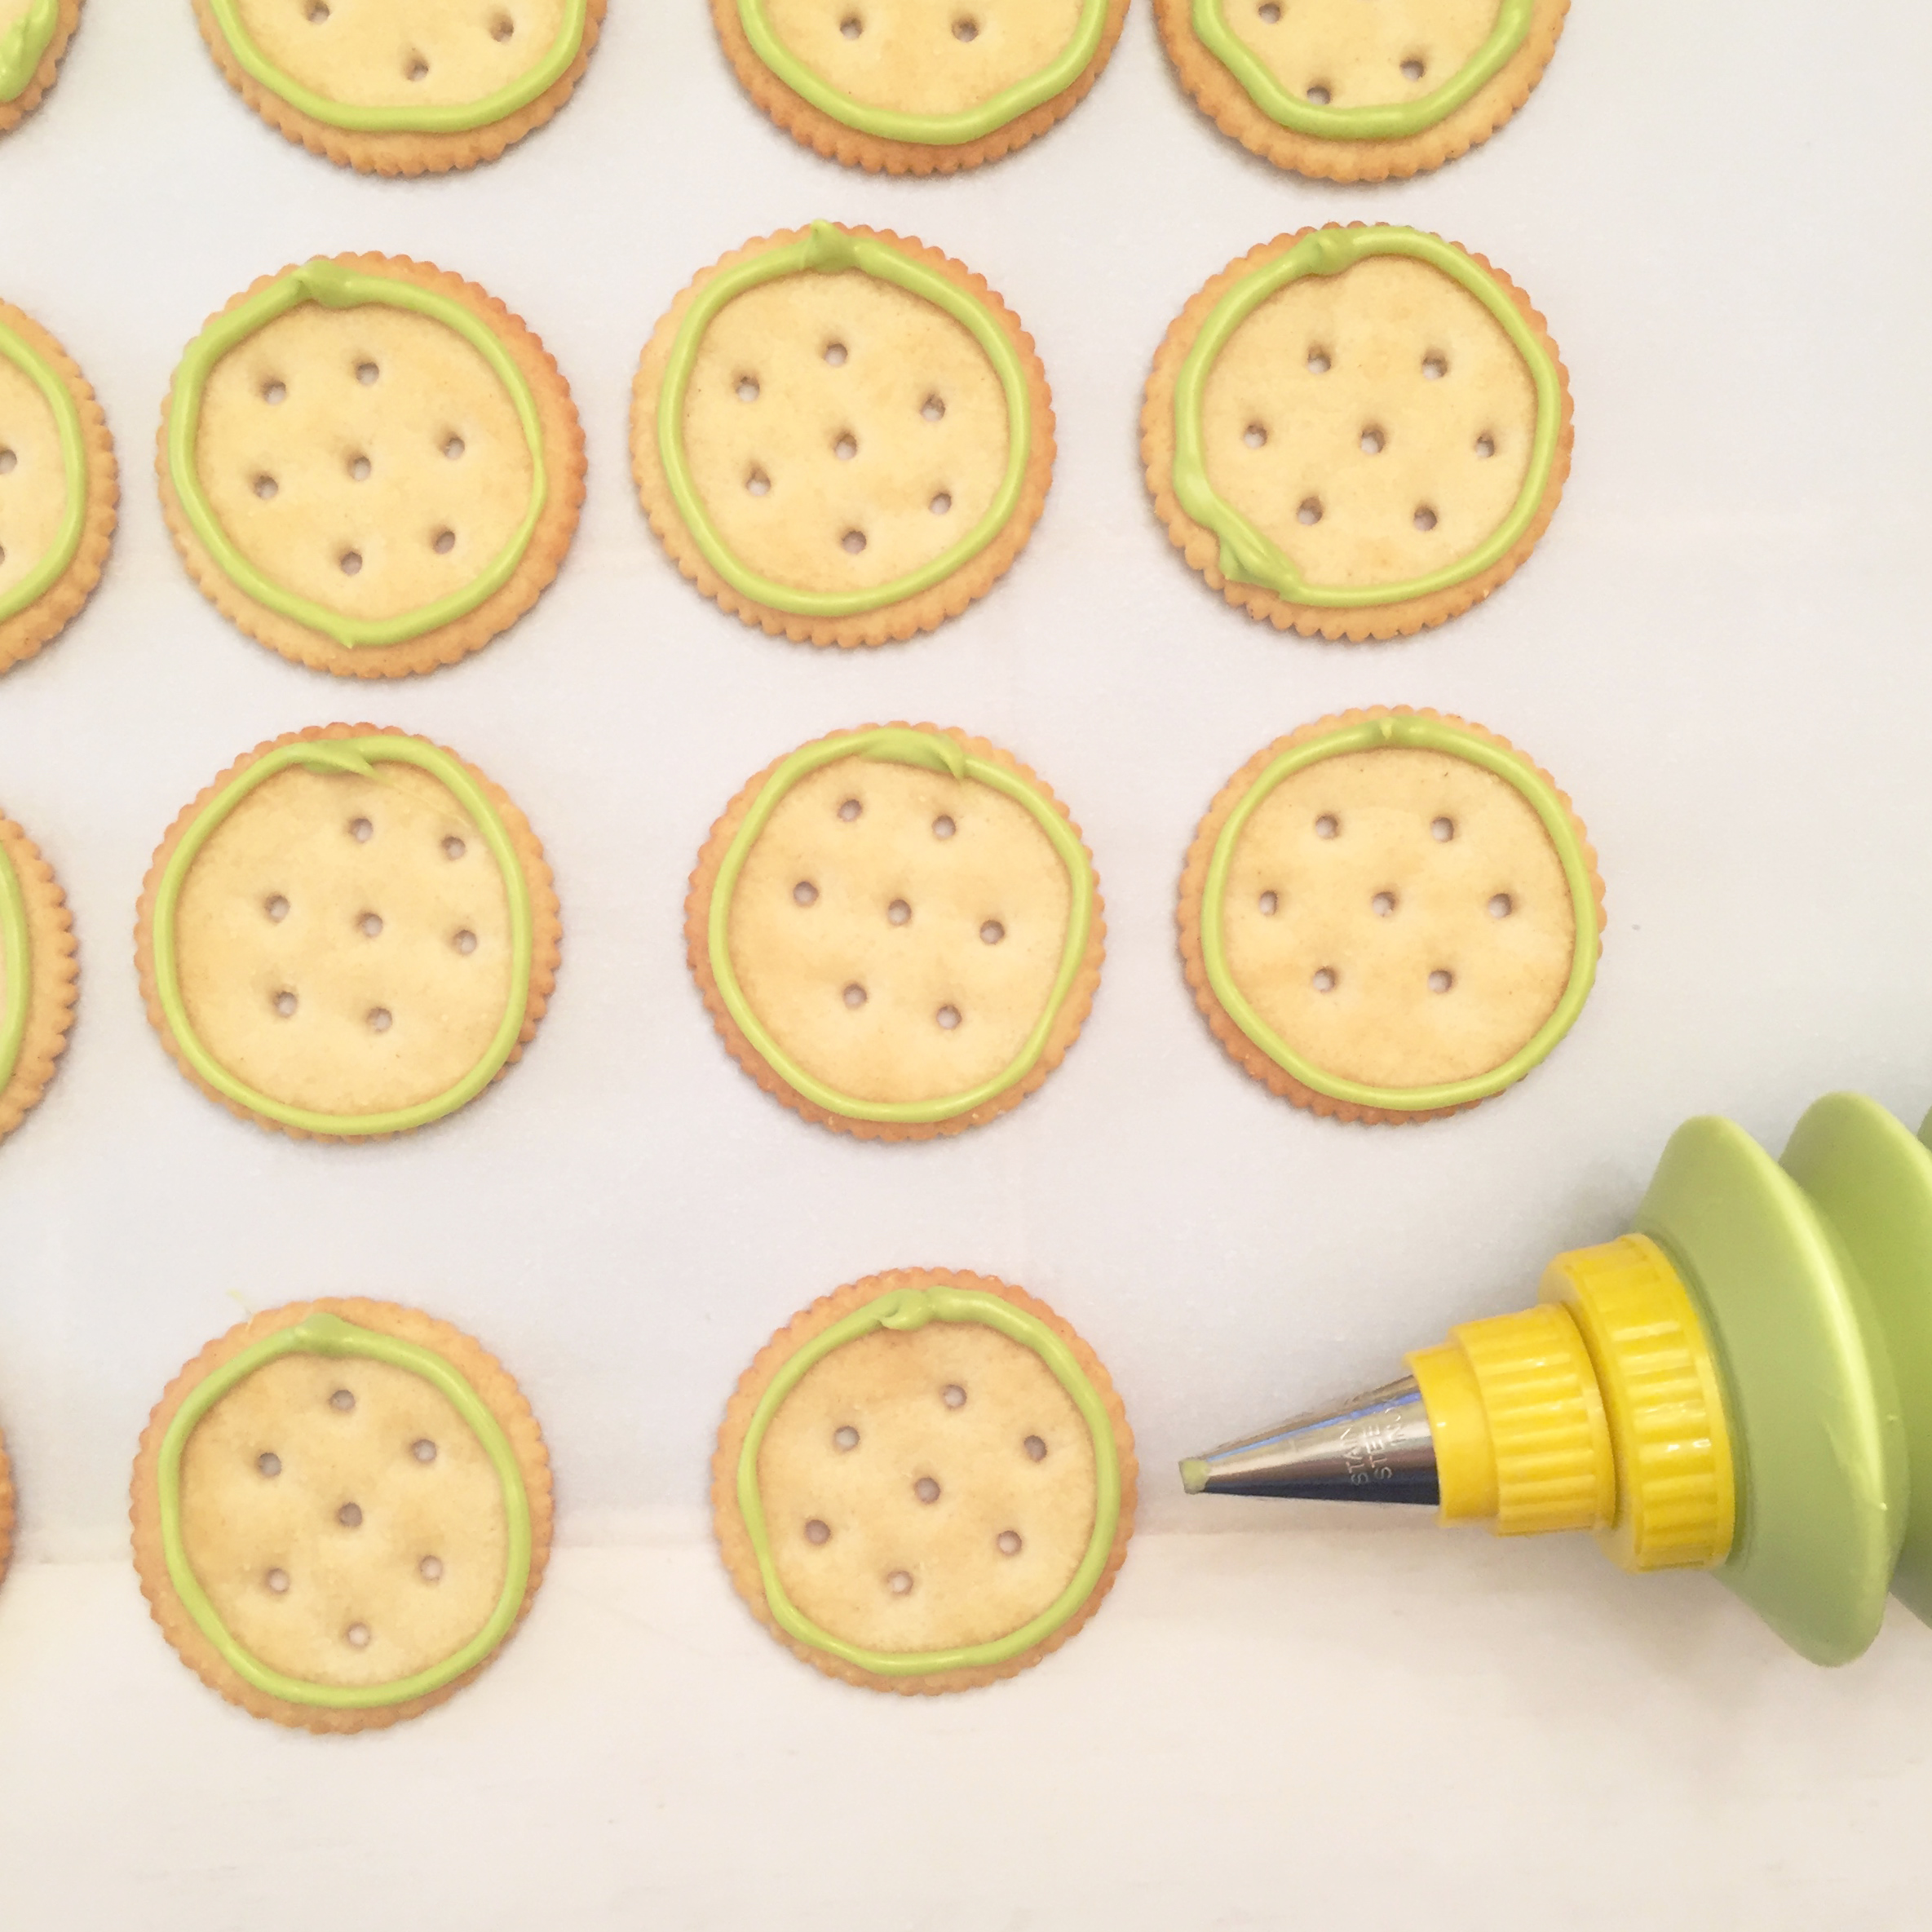
Ok- so these don’t involve baking. You could certainly bake cookies and decorate them this way- but if you are like me and you needed a recipe at 10pm the night before- Nilla Wafers and Ritz crackers will do just fine (and taste GREAT!)
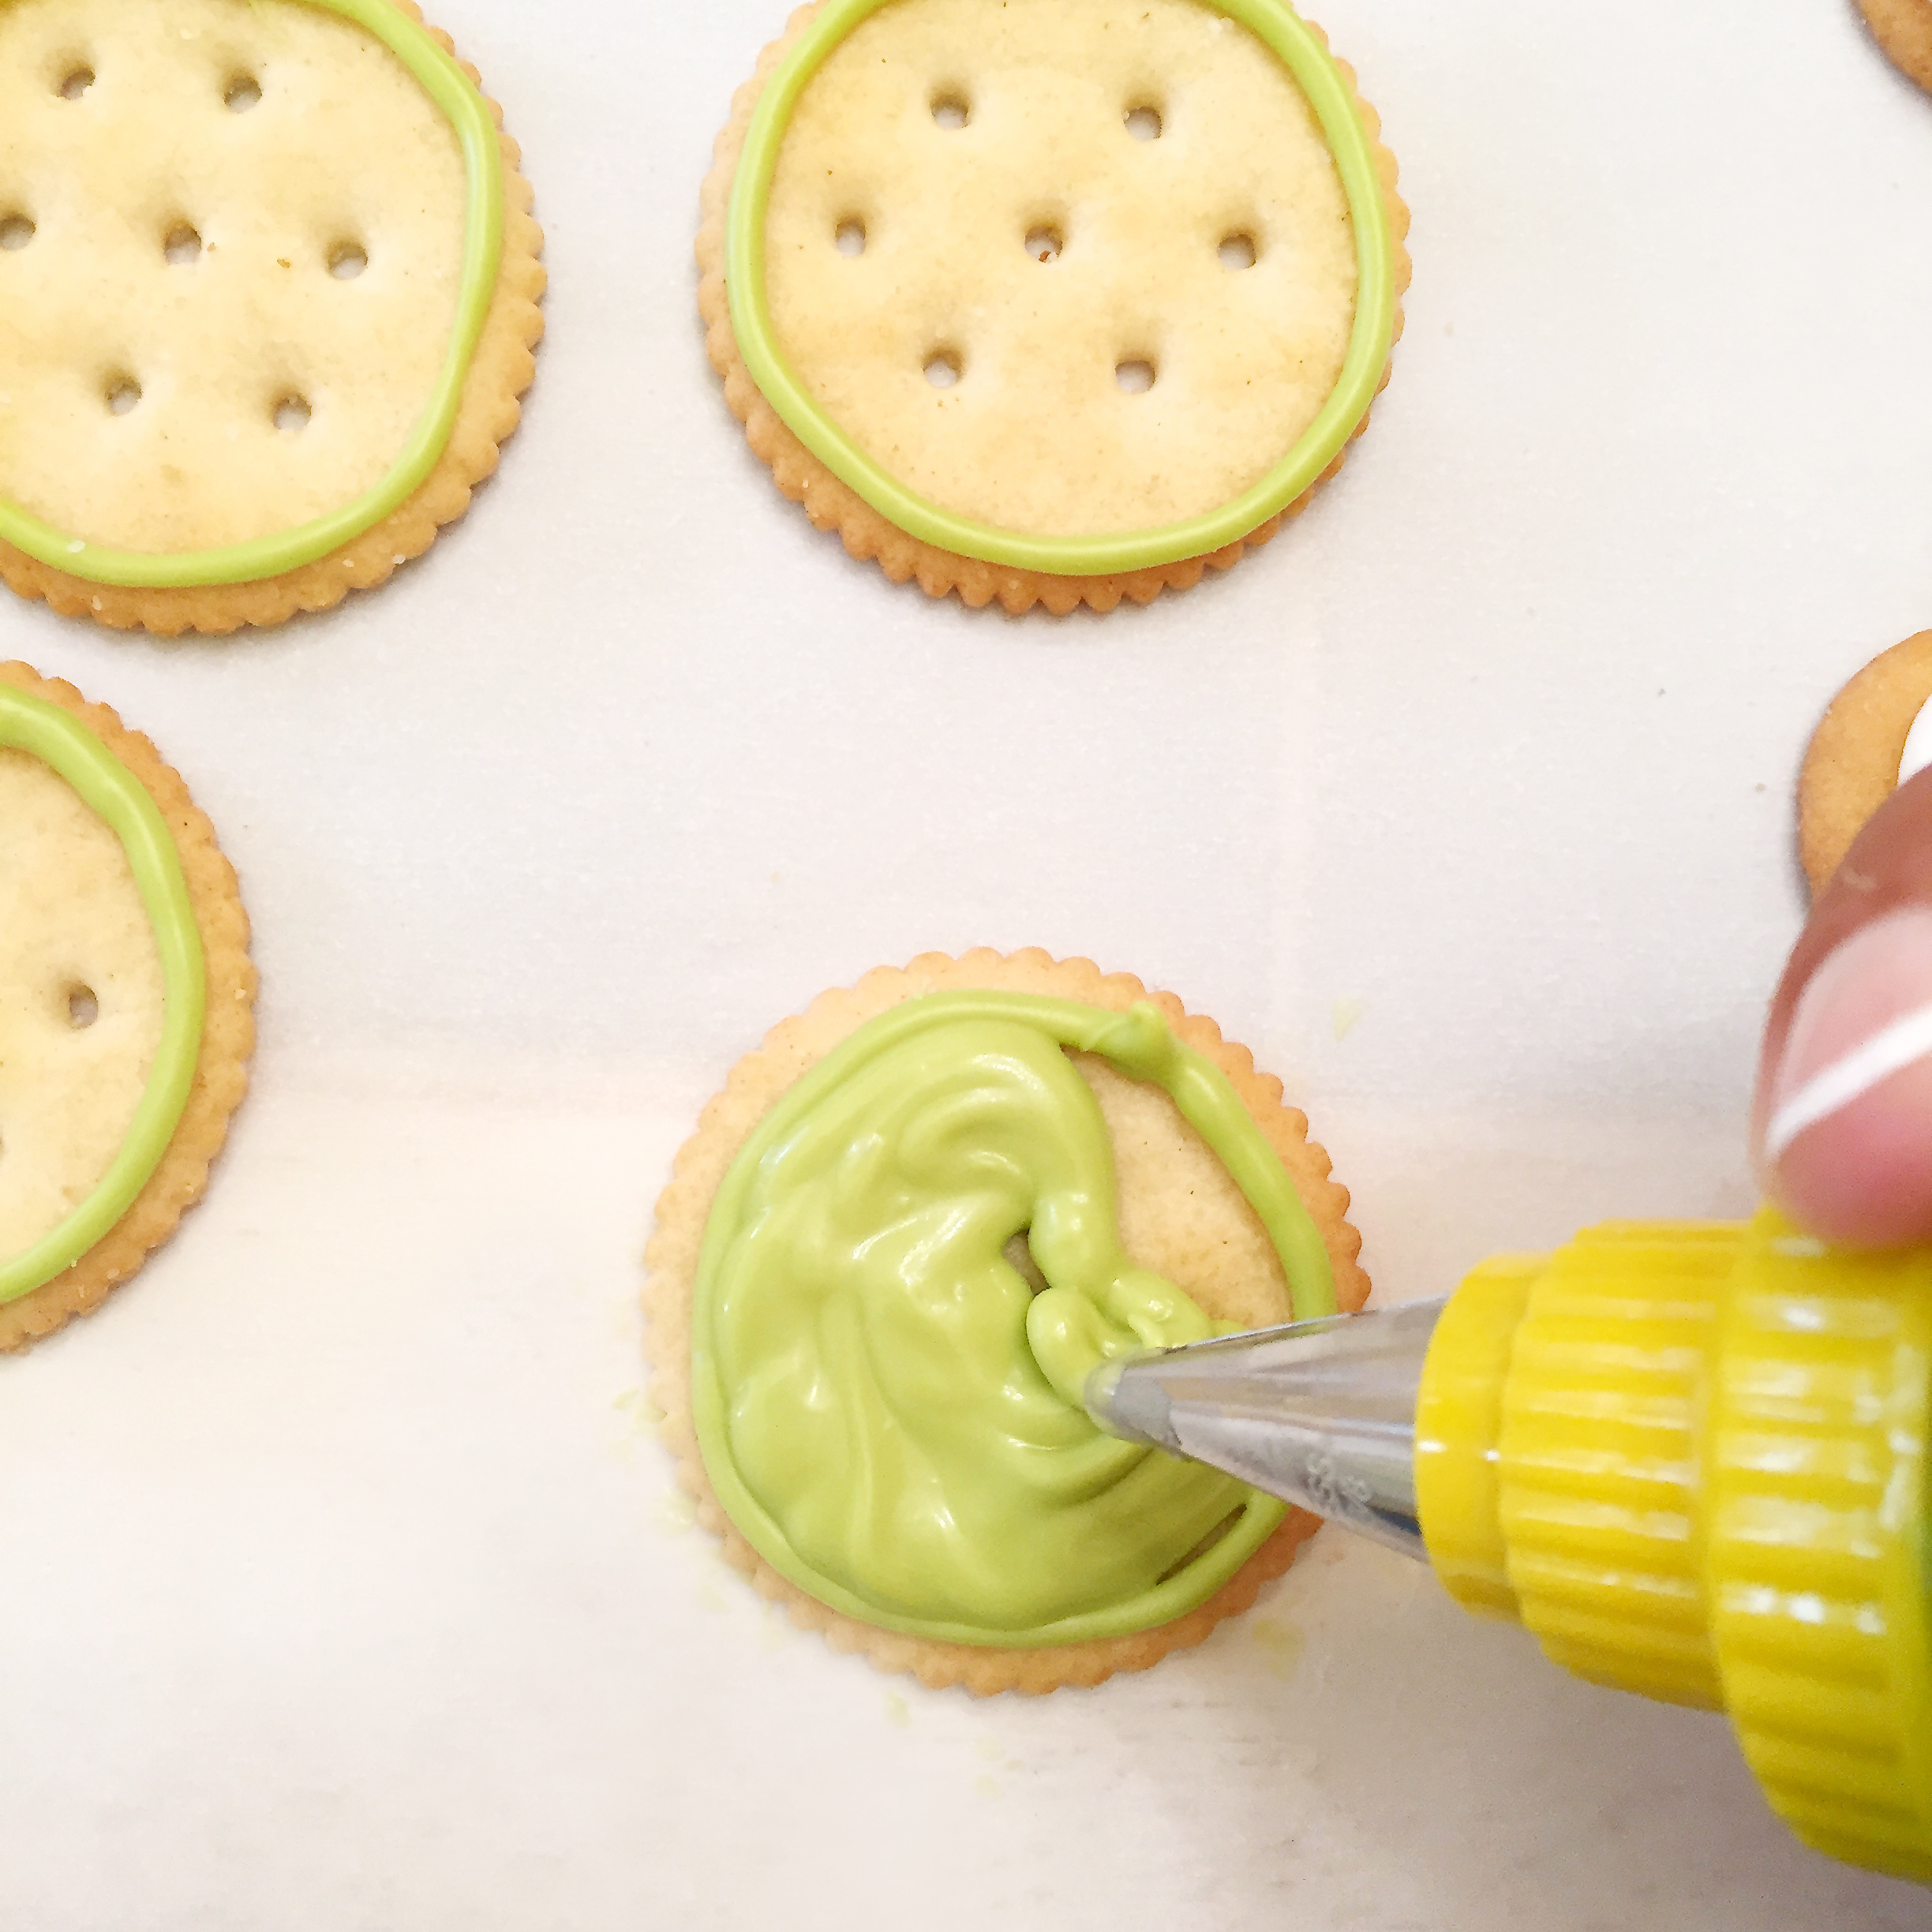
Here is how we put them together (and there is no printable recipe- because there isn’t really a recipe for these- just a technique!)
INGREDIENTS:
DIRECTIONS:
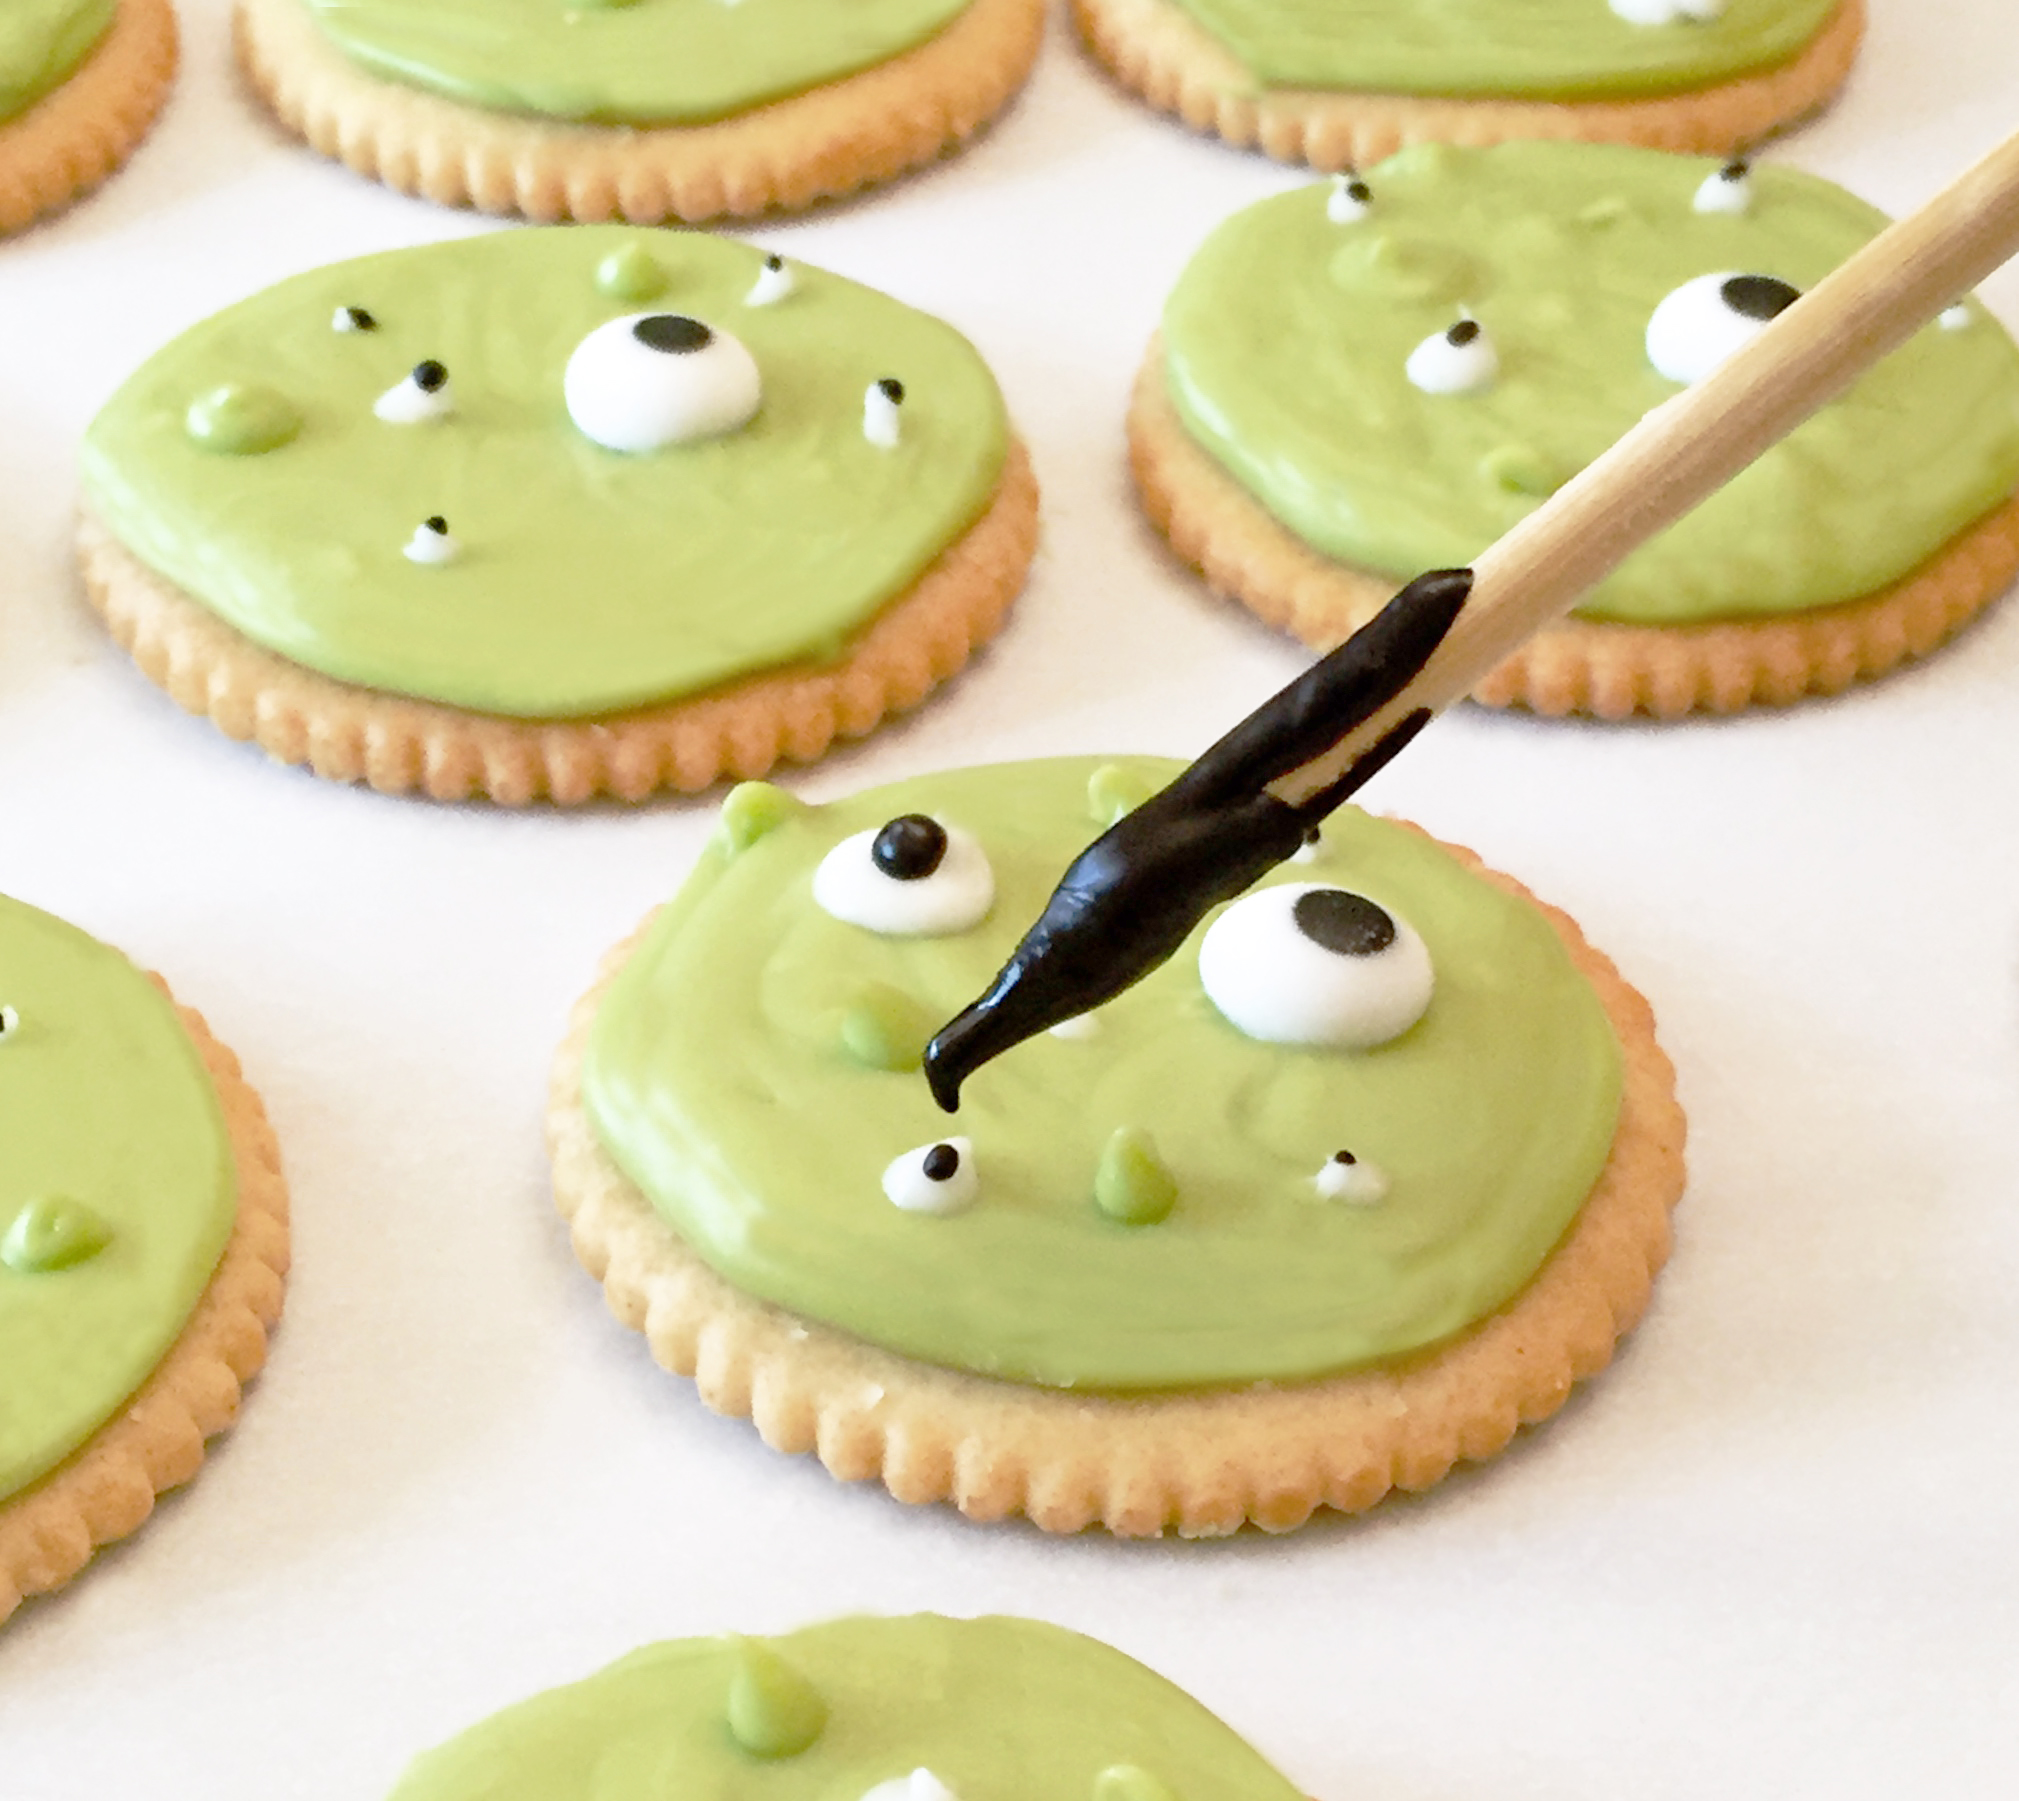
My thoughts: Aren’t they fun? You don’t have to be fussy about making them perfect- the crazier the better! Those Ritz crackers are especially yummy with the sweet candy on top. Yum. Enjoy these quick and easy treats!!! ~r
Other creepy recipes for your October: click on a photo to see the recipe.


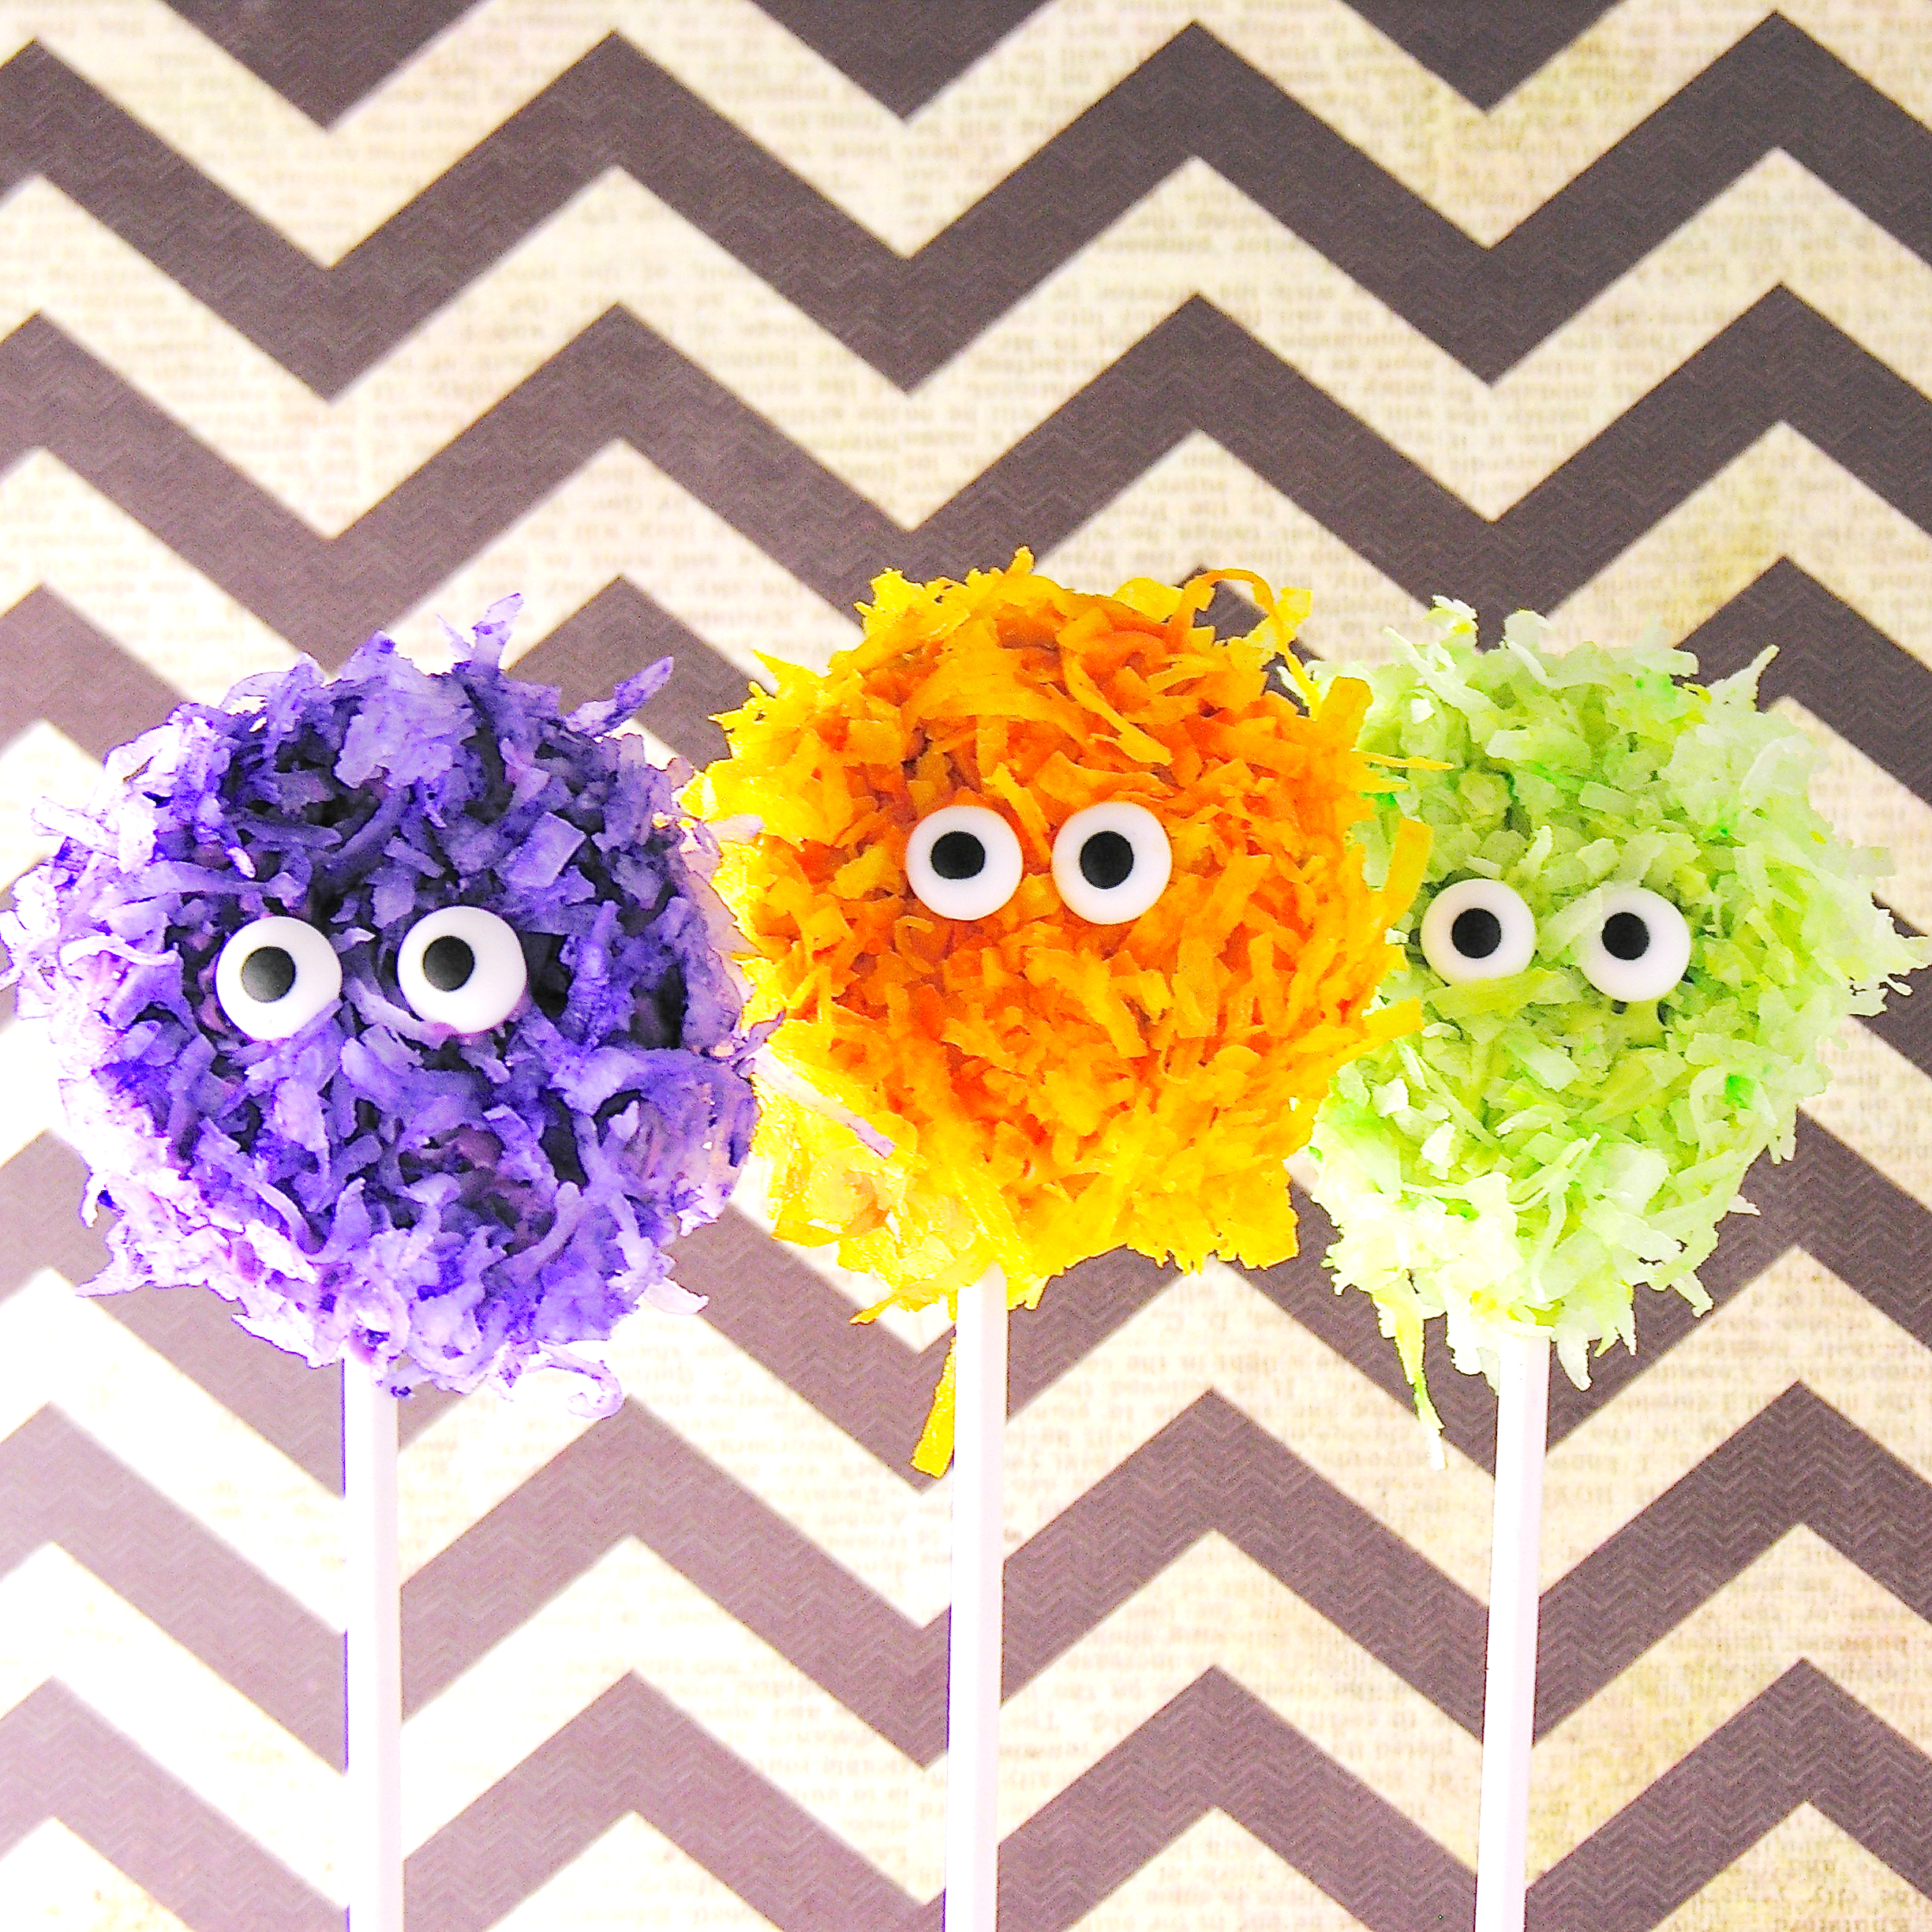
These fuzzy Oreo monsters aren’t TOO scary- and they taste delicious!
Oh Oreo Pops… I love you! So many possibilities and so little time! Aren’t these so cute? They remind me of the little pom-poms with eyes that we used to put on the tops of pencils. Yes..pencils…back in the olden days when we used paper 😉
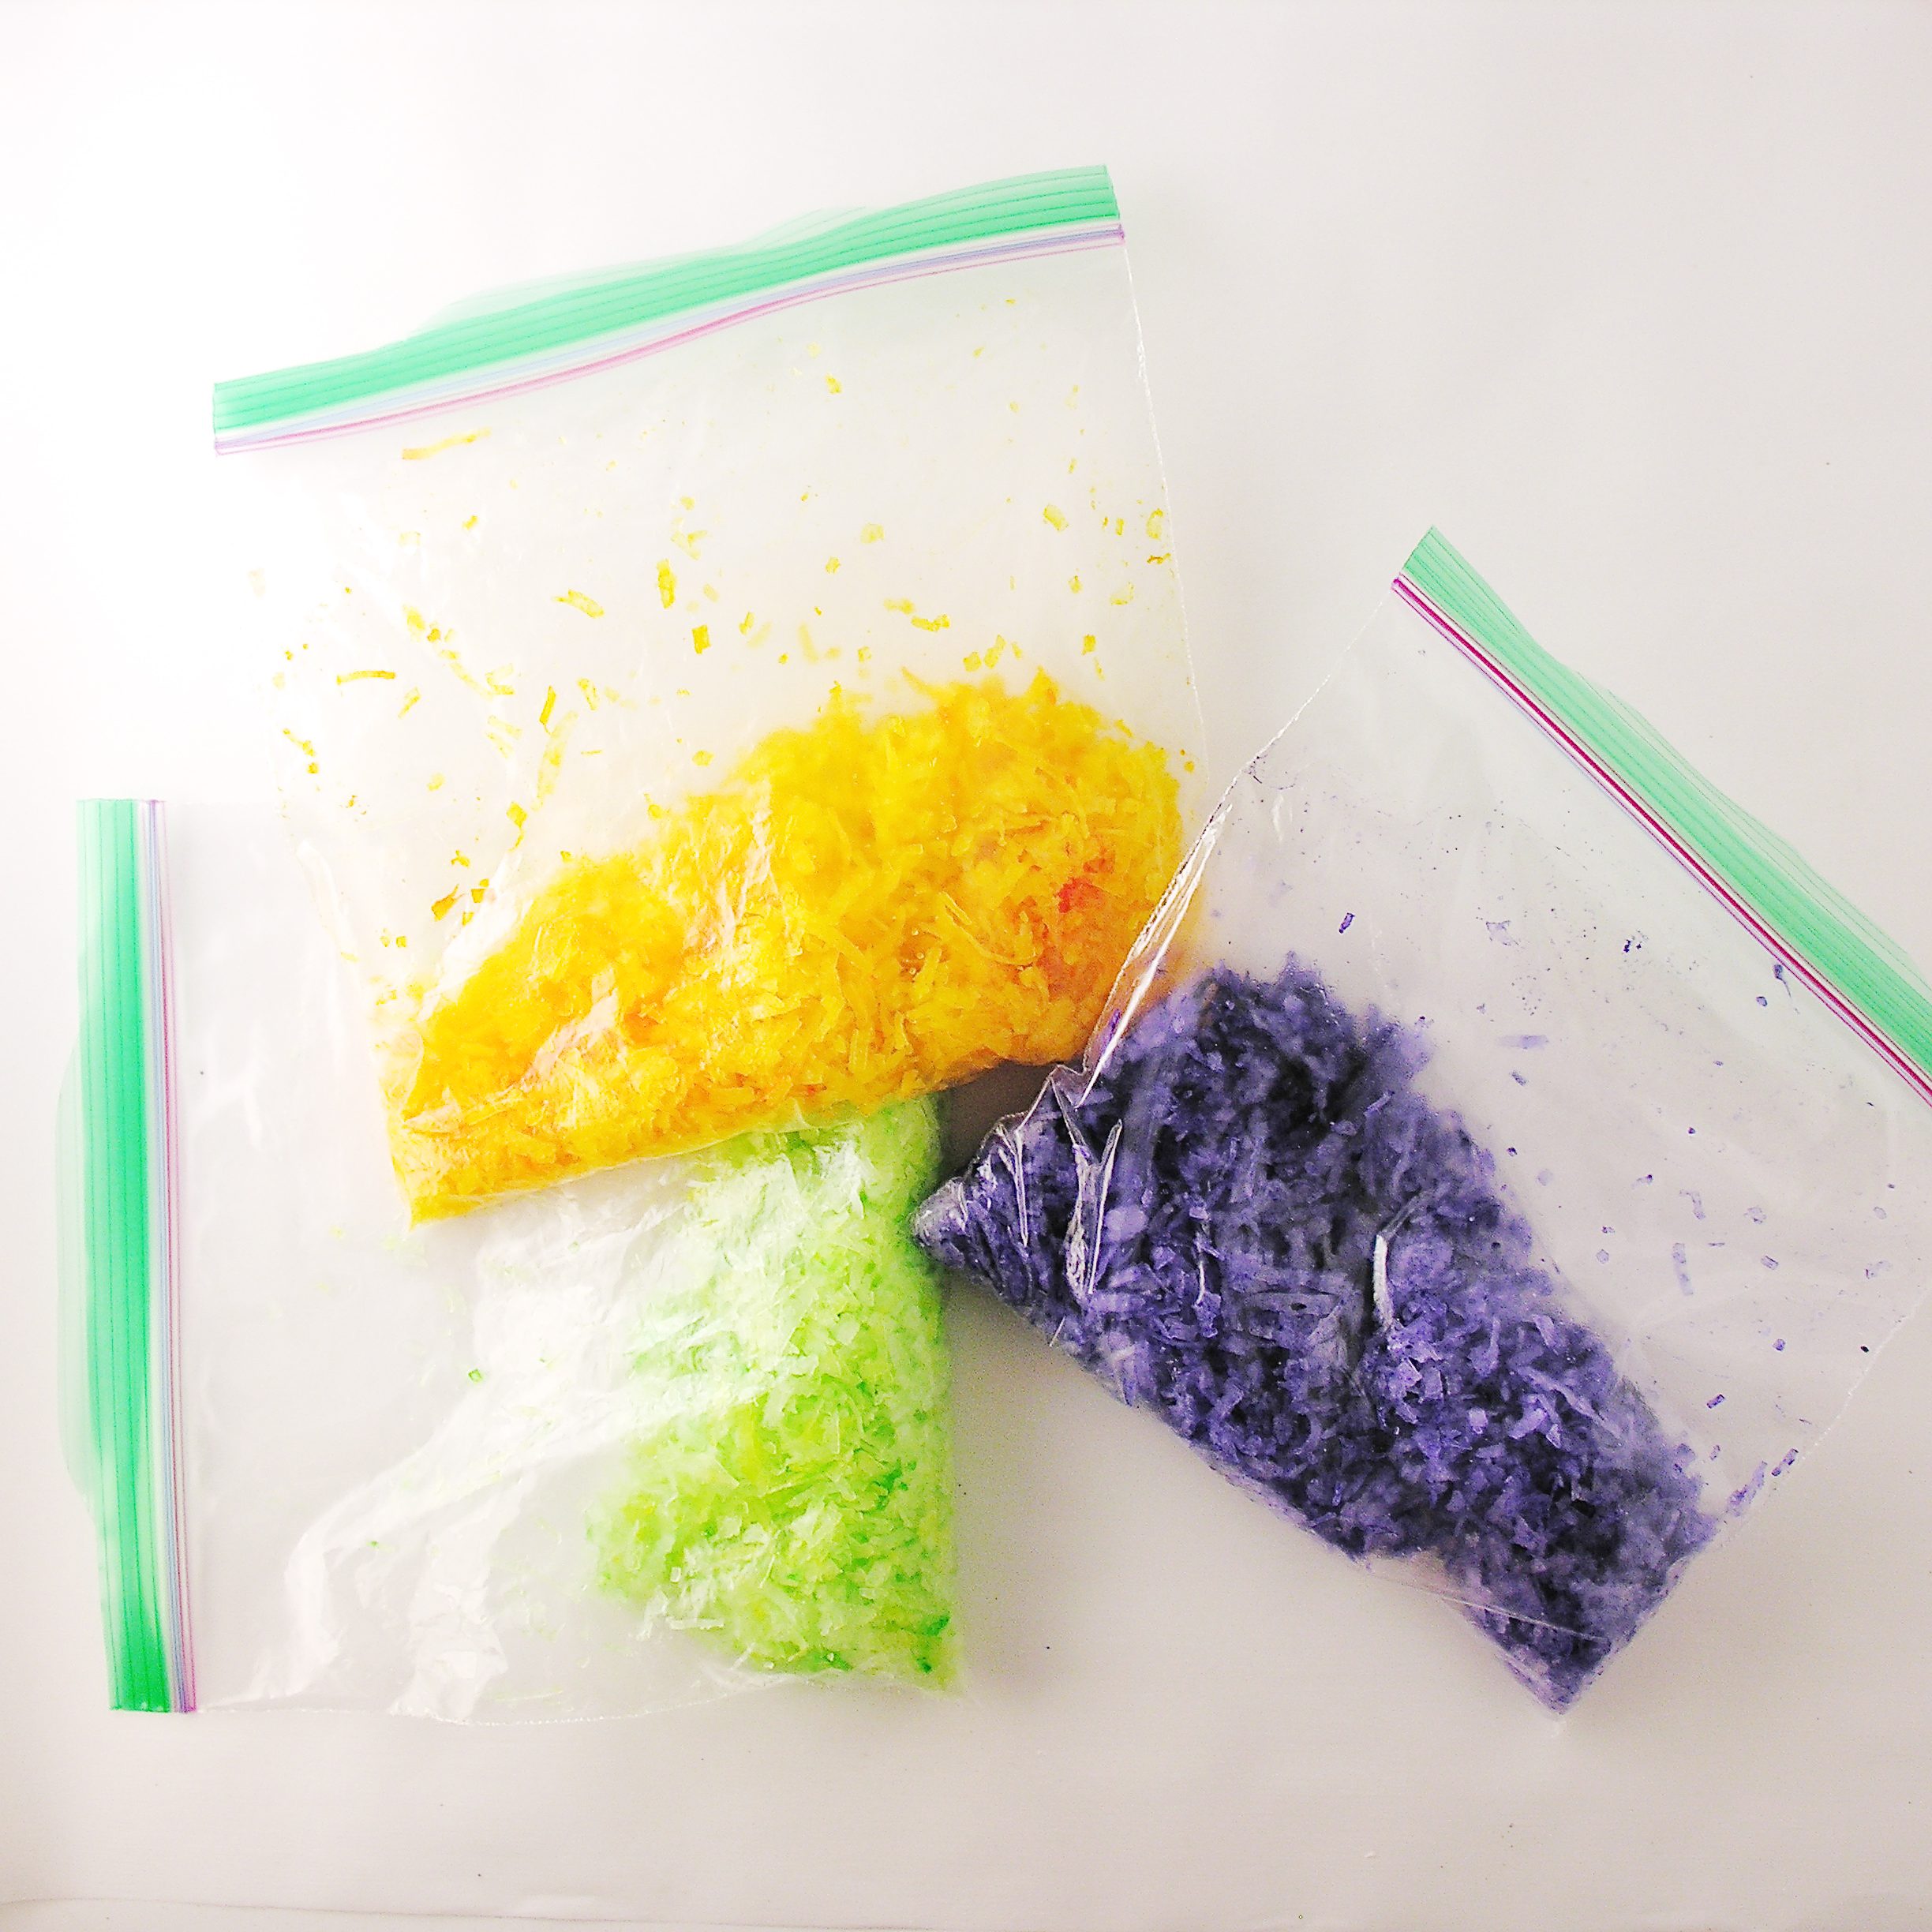
In any case- these are perfect for Halloween and even for just fun fuzzies at kids parties! The only requirement??? You need to like coconut! I know that eliminates a few of you out there…but believe me- if you like coconut, you will LOVE these! Coconut plus Oreos?? Bam!

Here’s how we made these fun little guys: (printable recipe available here)
INGREDIENTS: (for about 24 cookies)
DIRECTIONS: (if you’ve never made Oreo Pops, check out our tutorial here)


My thoughts: These are quick, but a little messy to put together, They are adorable and delicious though– so well worth the effort in my opinion!!! I liked them even better after a couple of days- when the coconut gets a little firmer in texture from sitting out and it’s less oily. These will keep for at least a week (maybe longer?) when wrapped up in cello bags. I do hope you get a chance to try them! Enjoy!! ~r

We specialize in making kids smile here at Easybaked. Here are a few more ideas: (click on photo to see recipe)


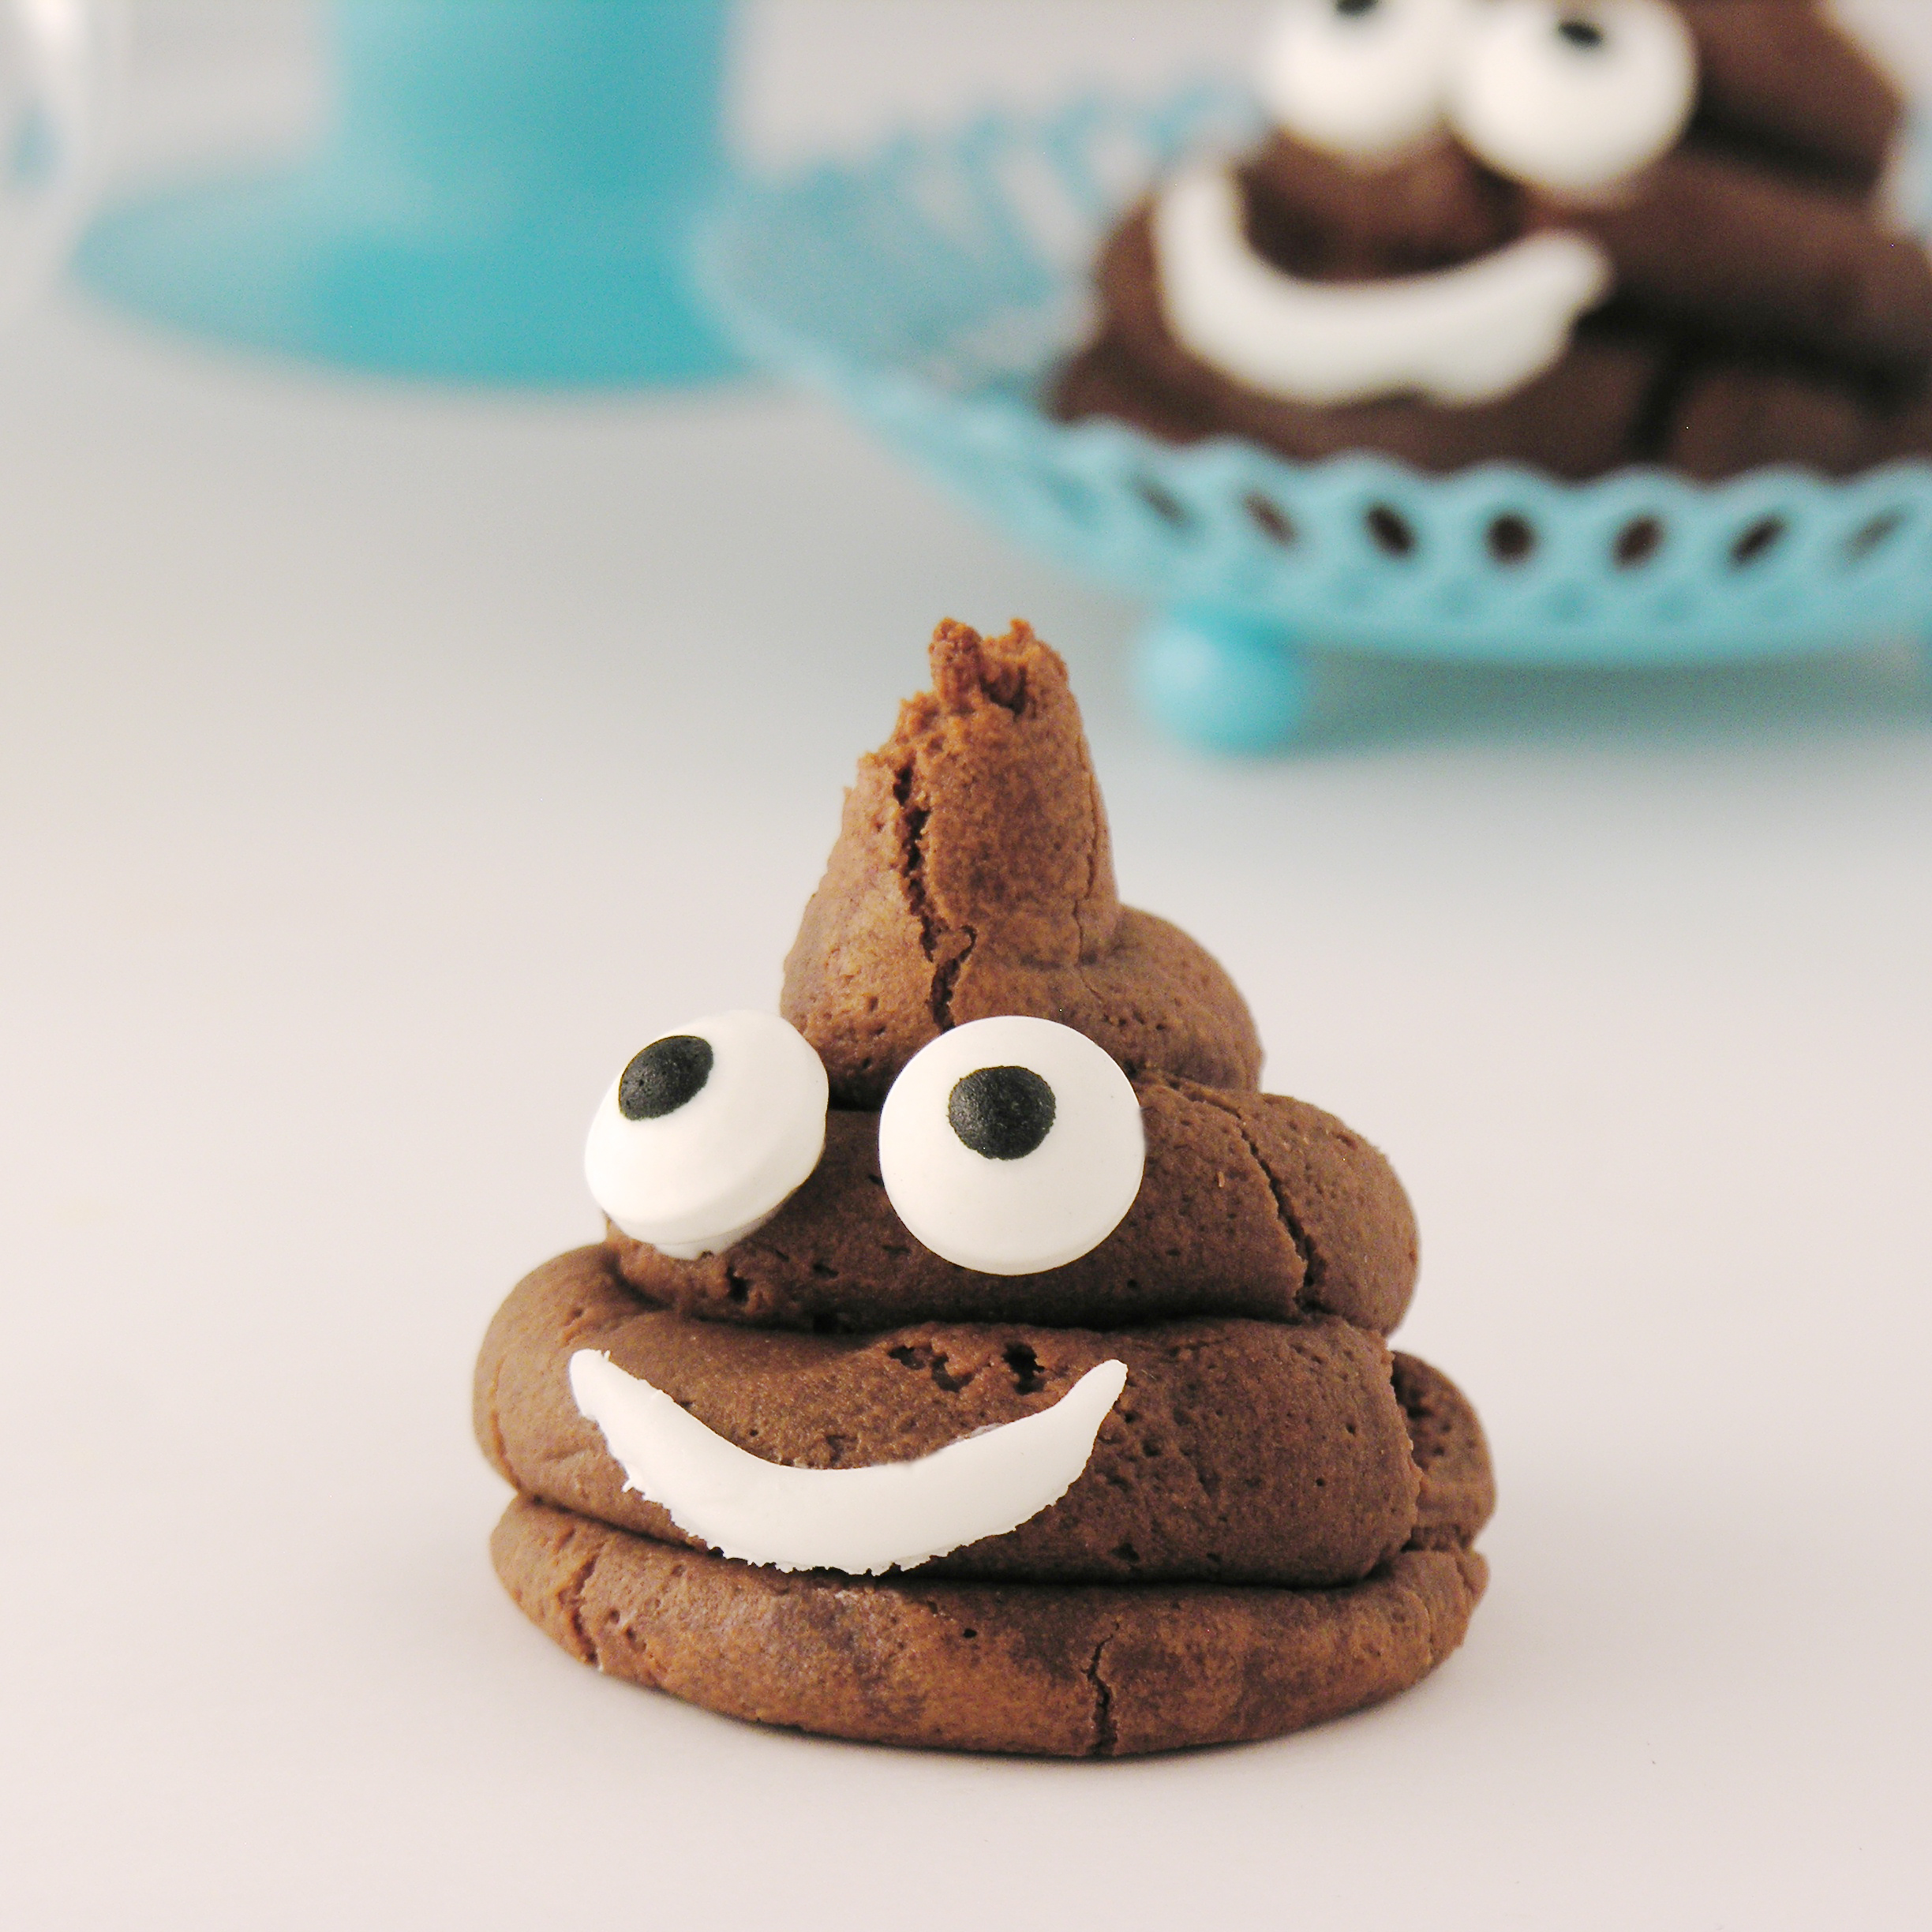
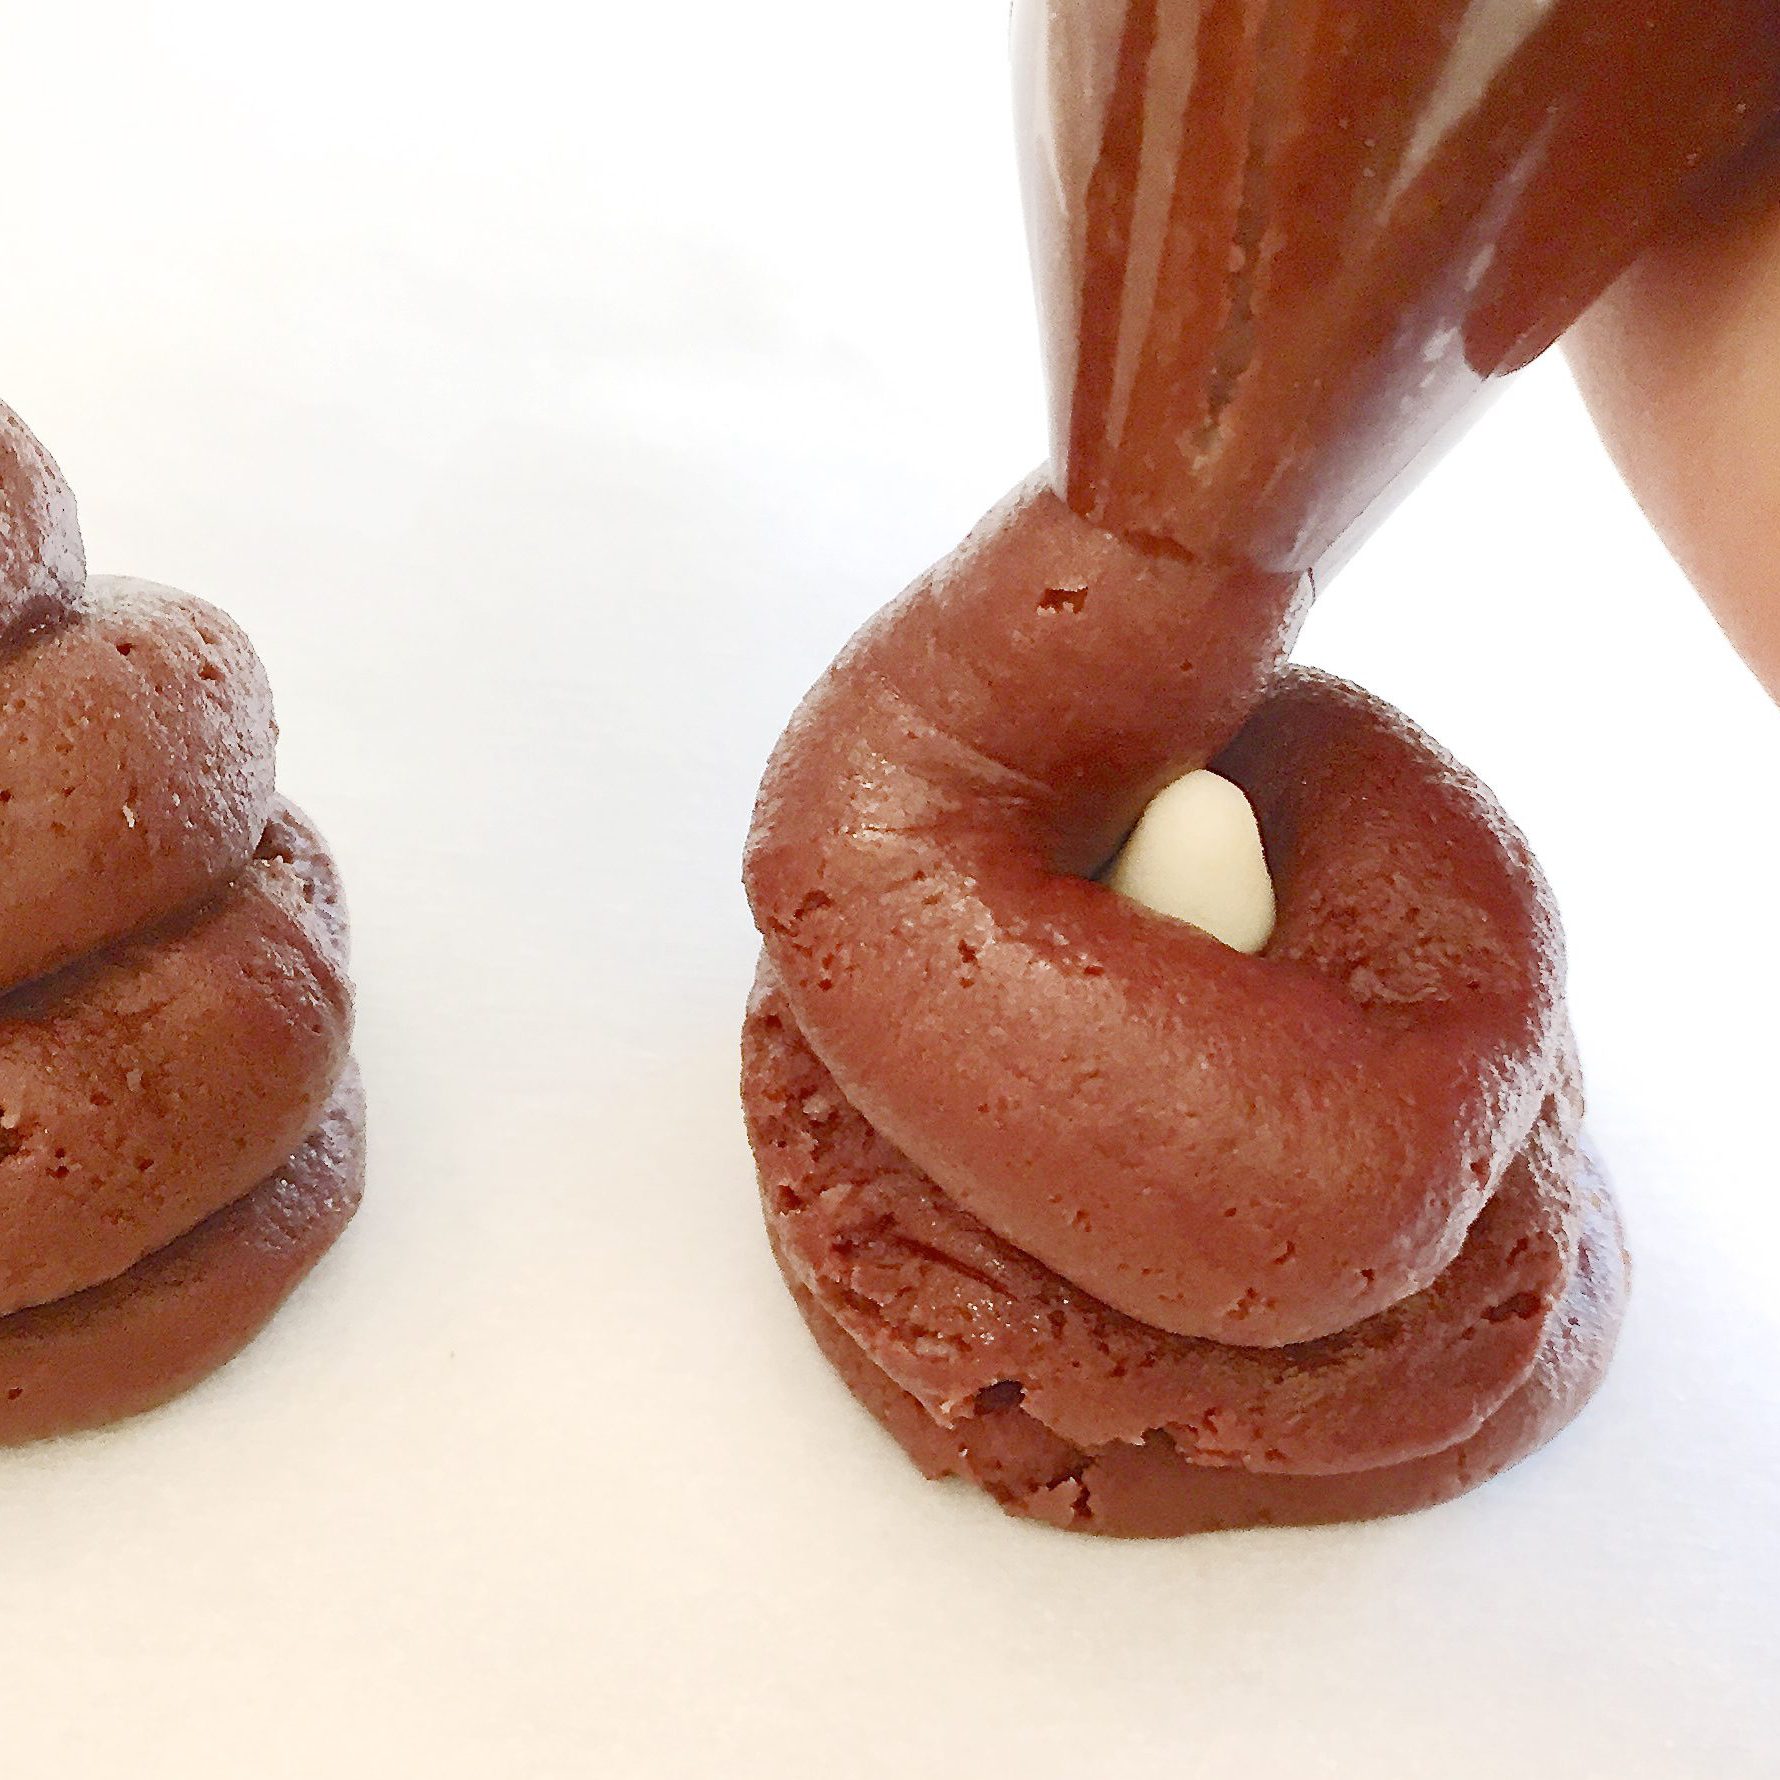
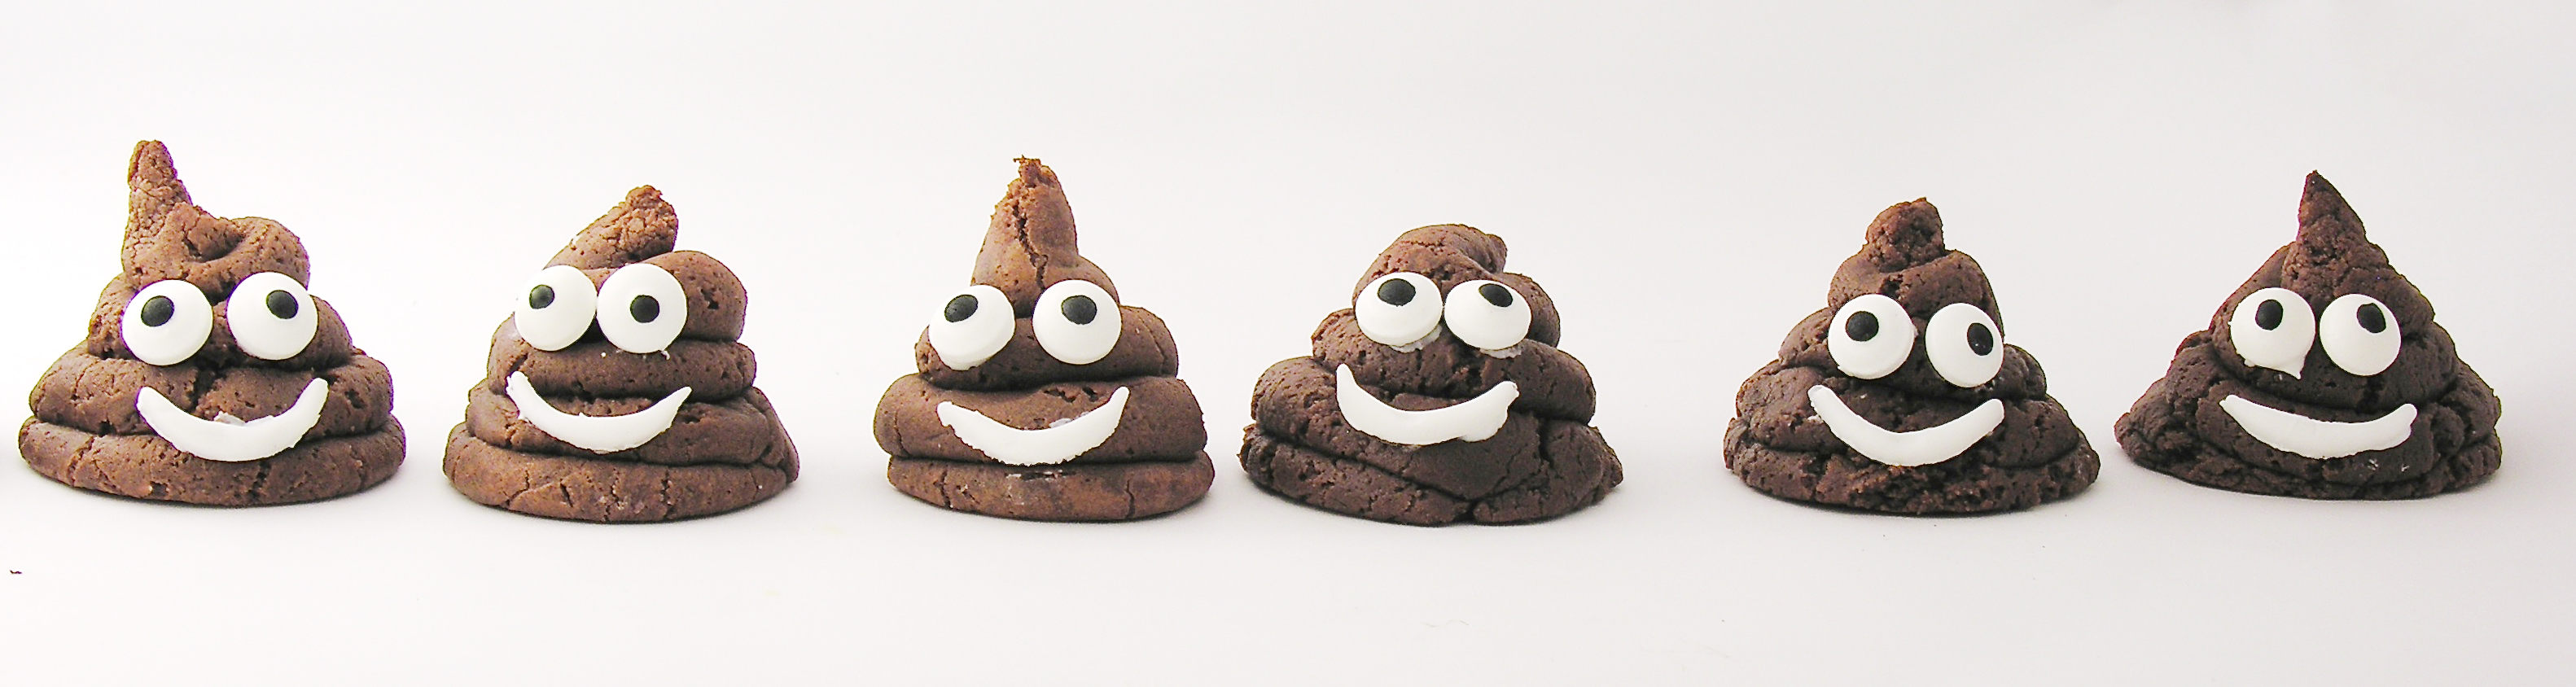
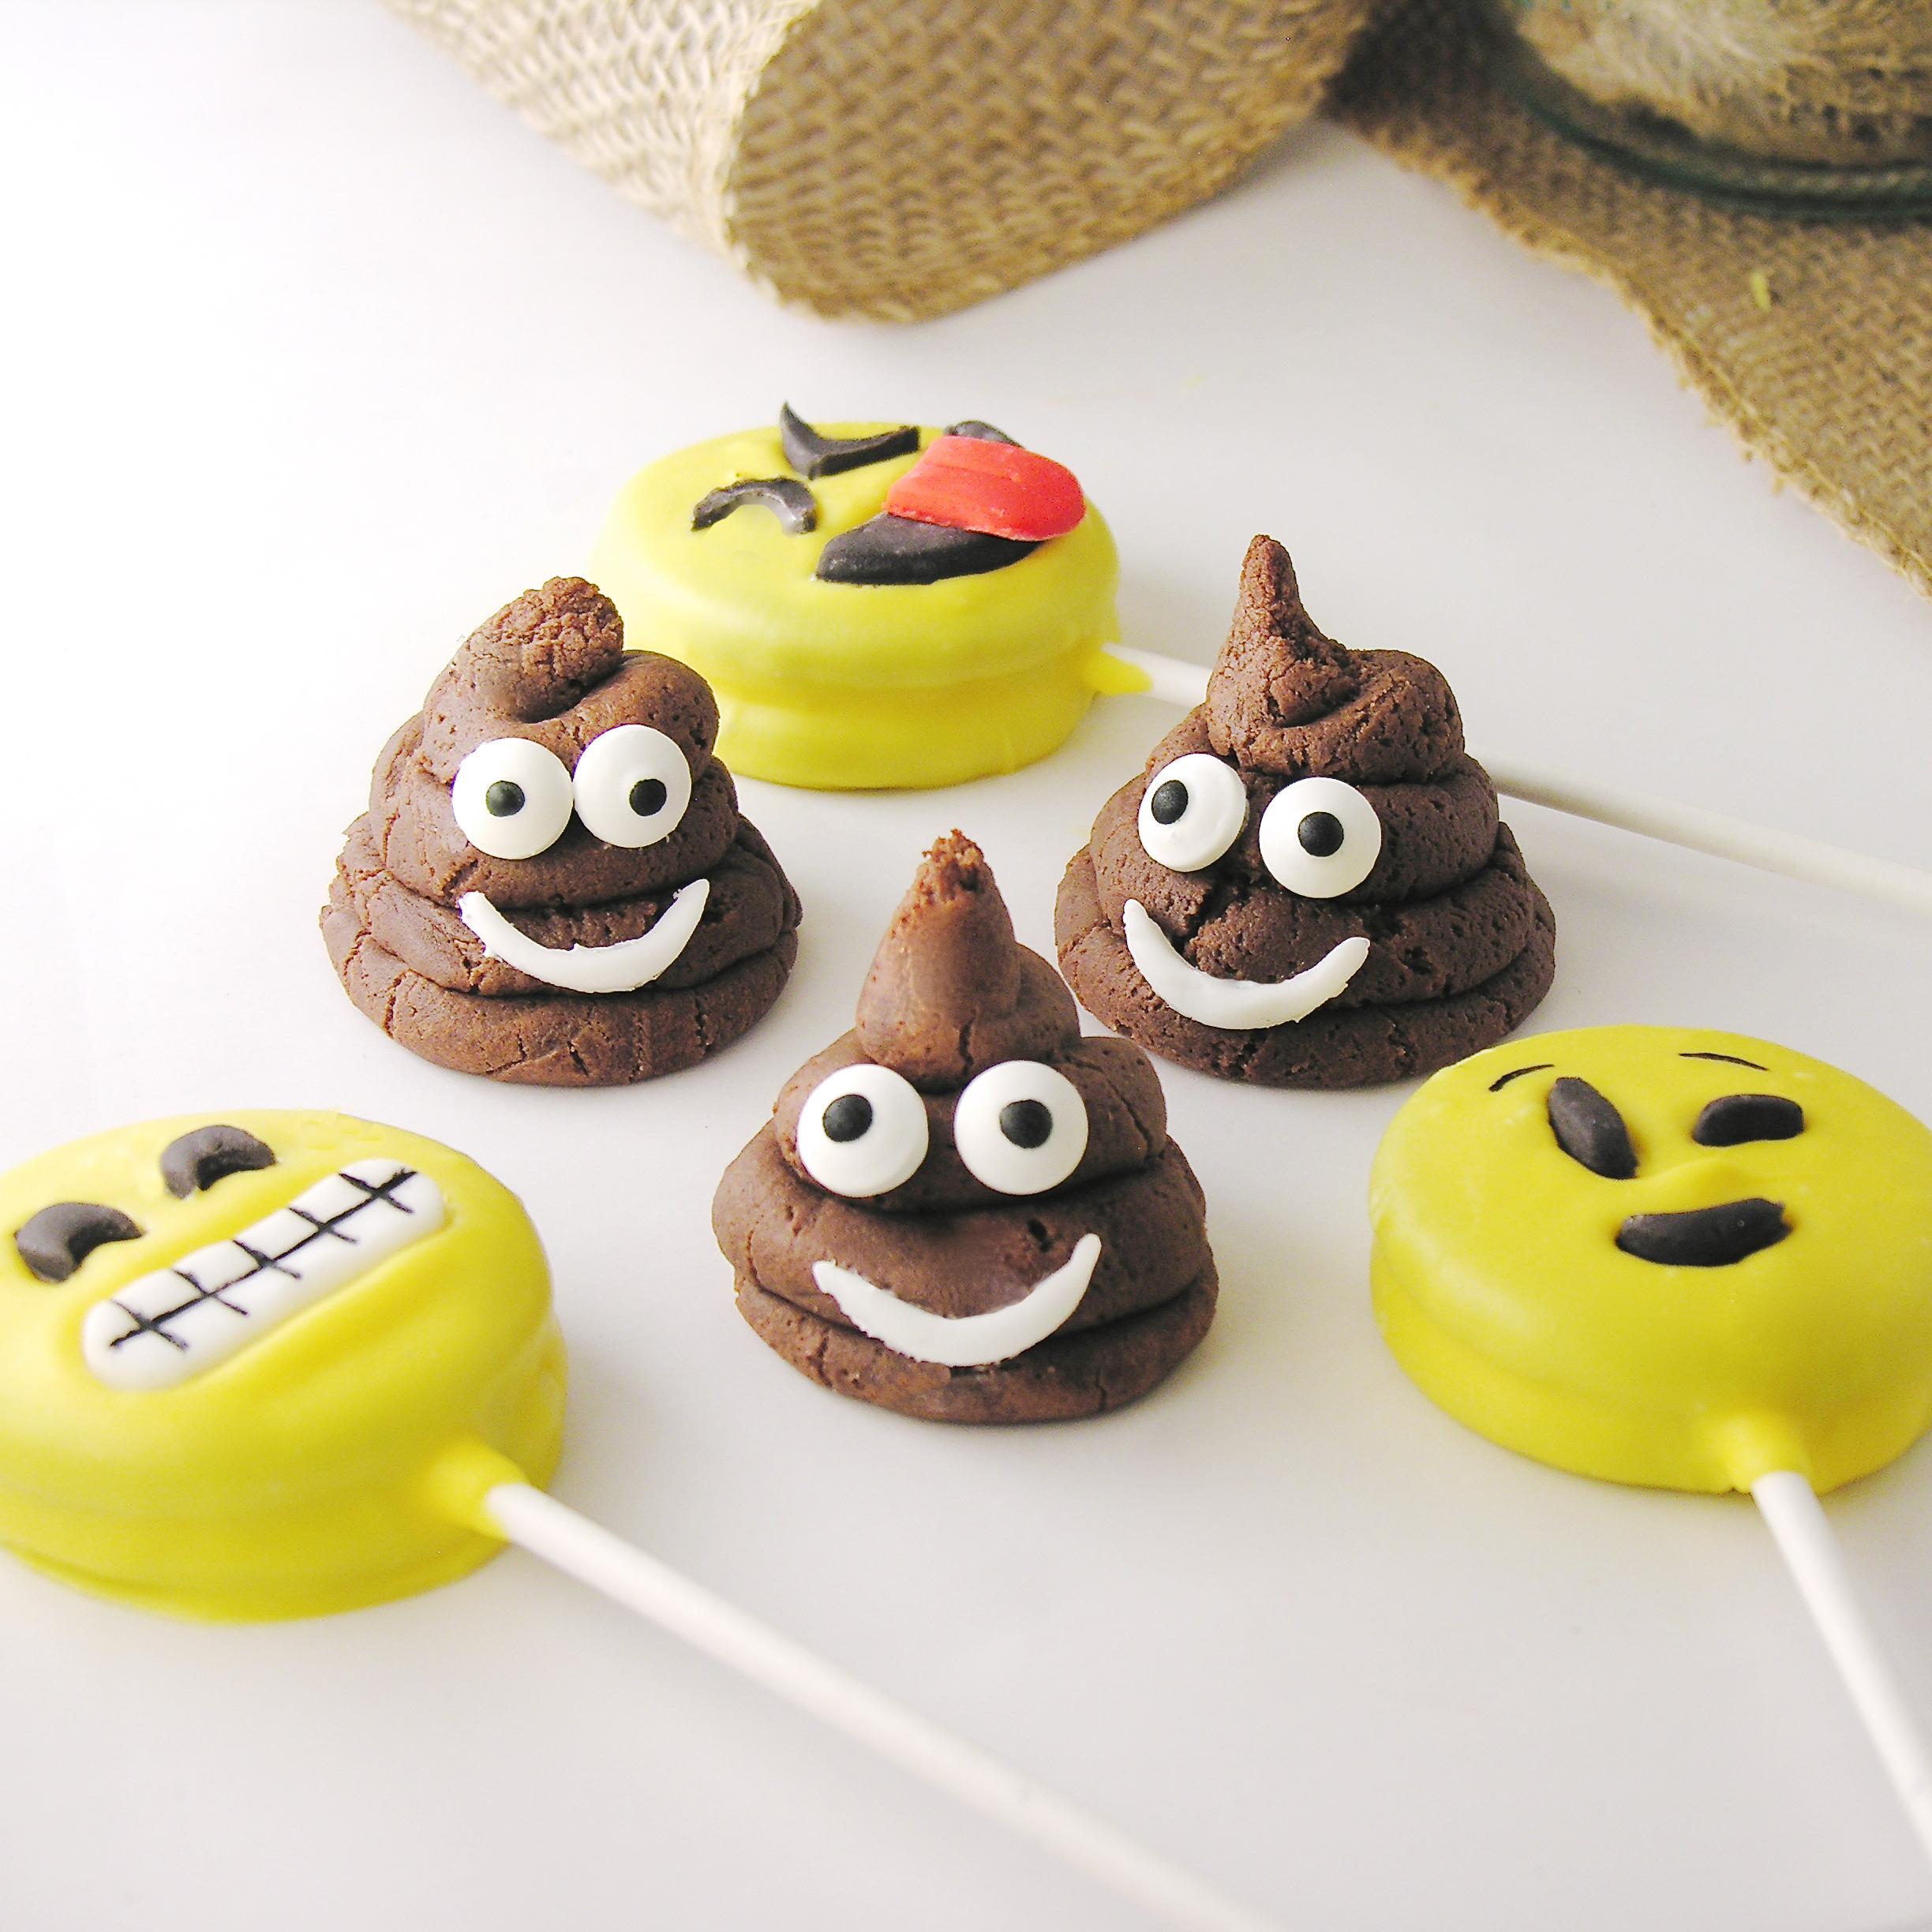
Send a little smile with these Poo Emoji Cookies! They are a really delicious chocolate cookie swirled around a Hershey Hug!
Ok. Some of you are shaking your heads… 🙂 When I made my Emoji Oreo Pops last week, everyone loved them and the next question out of their mouths was, “What about the little Emoji Poo?? Are you going to make little Poos?”
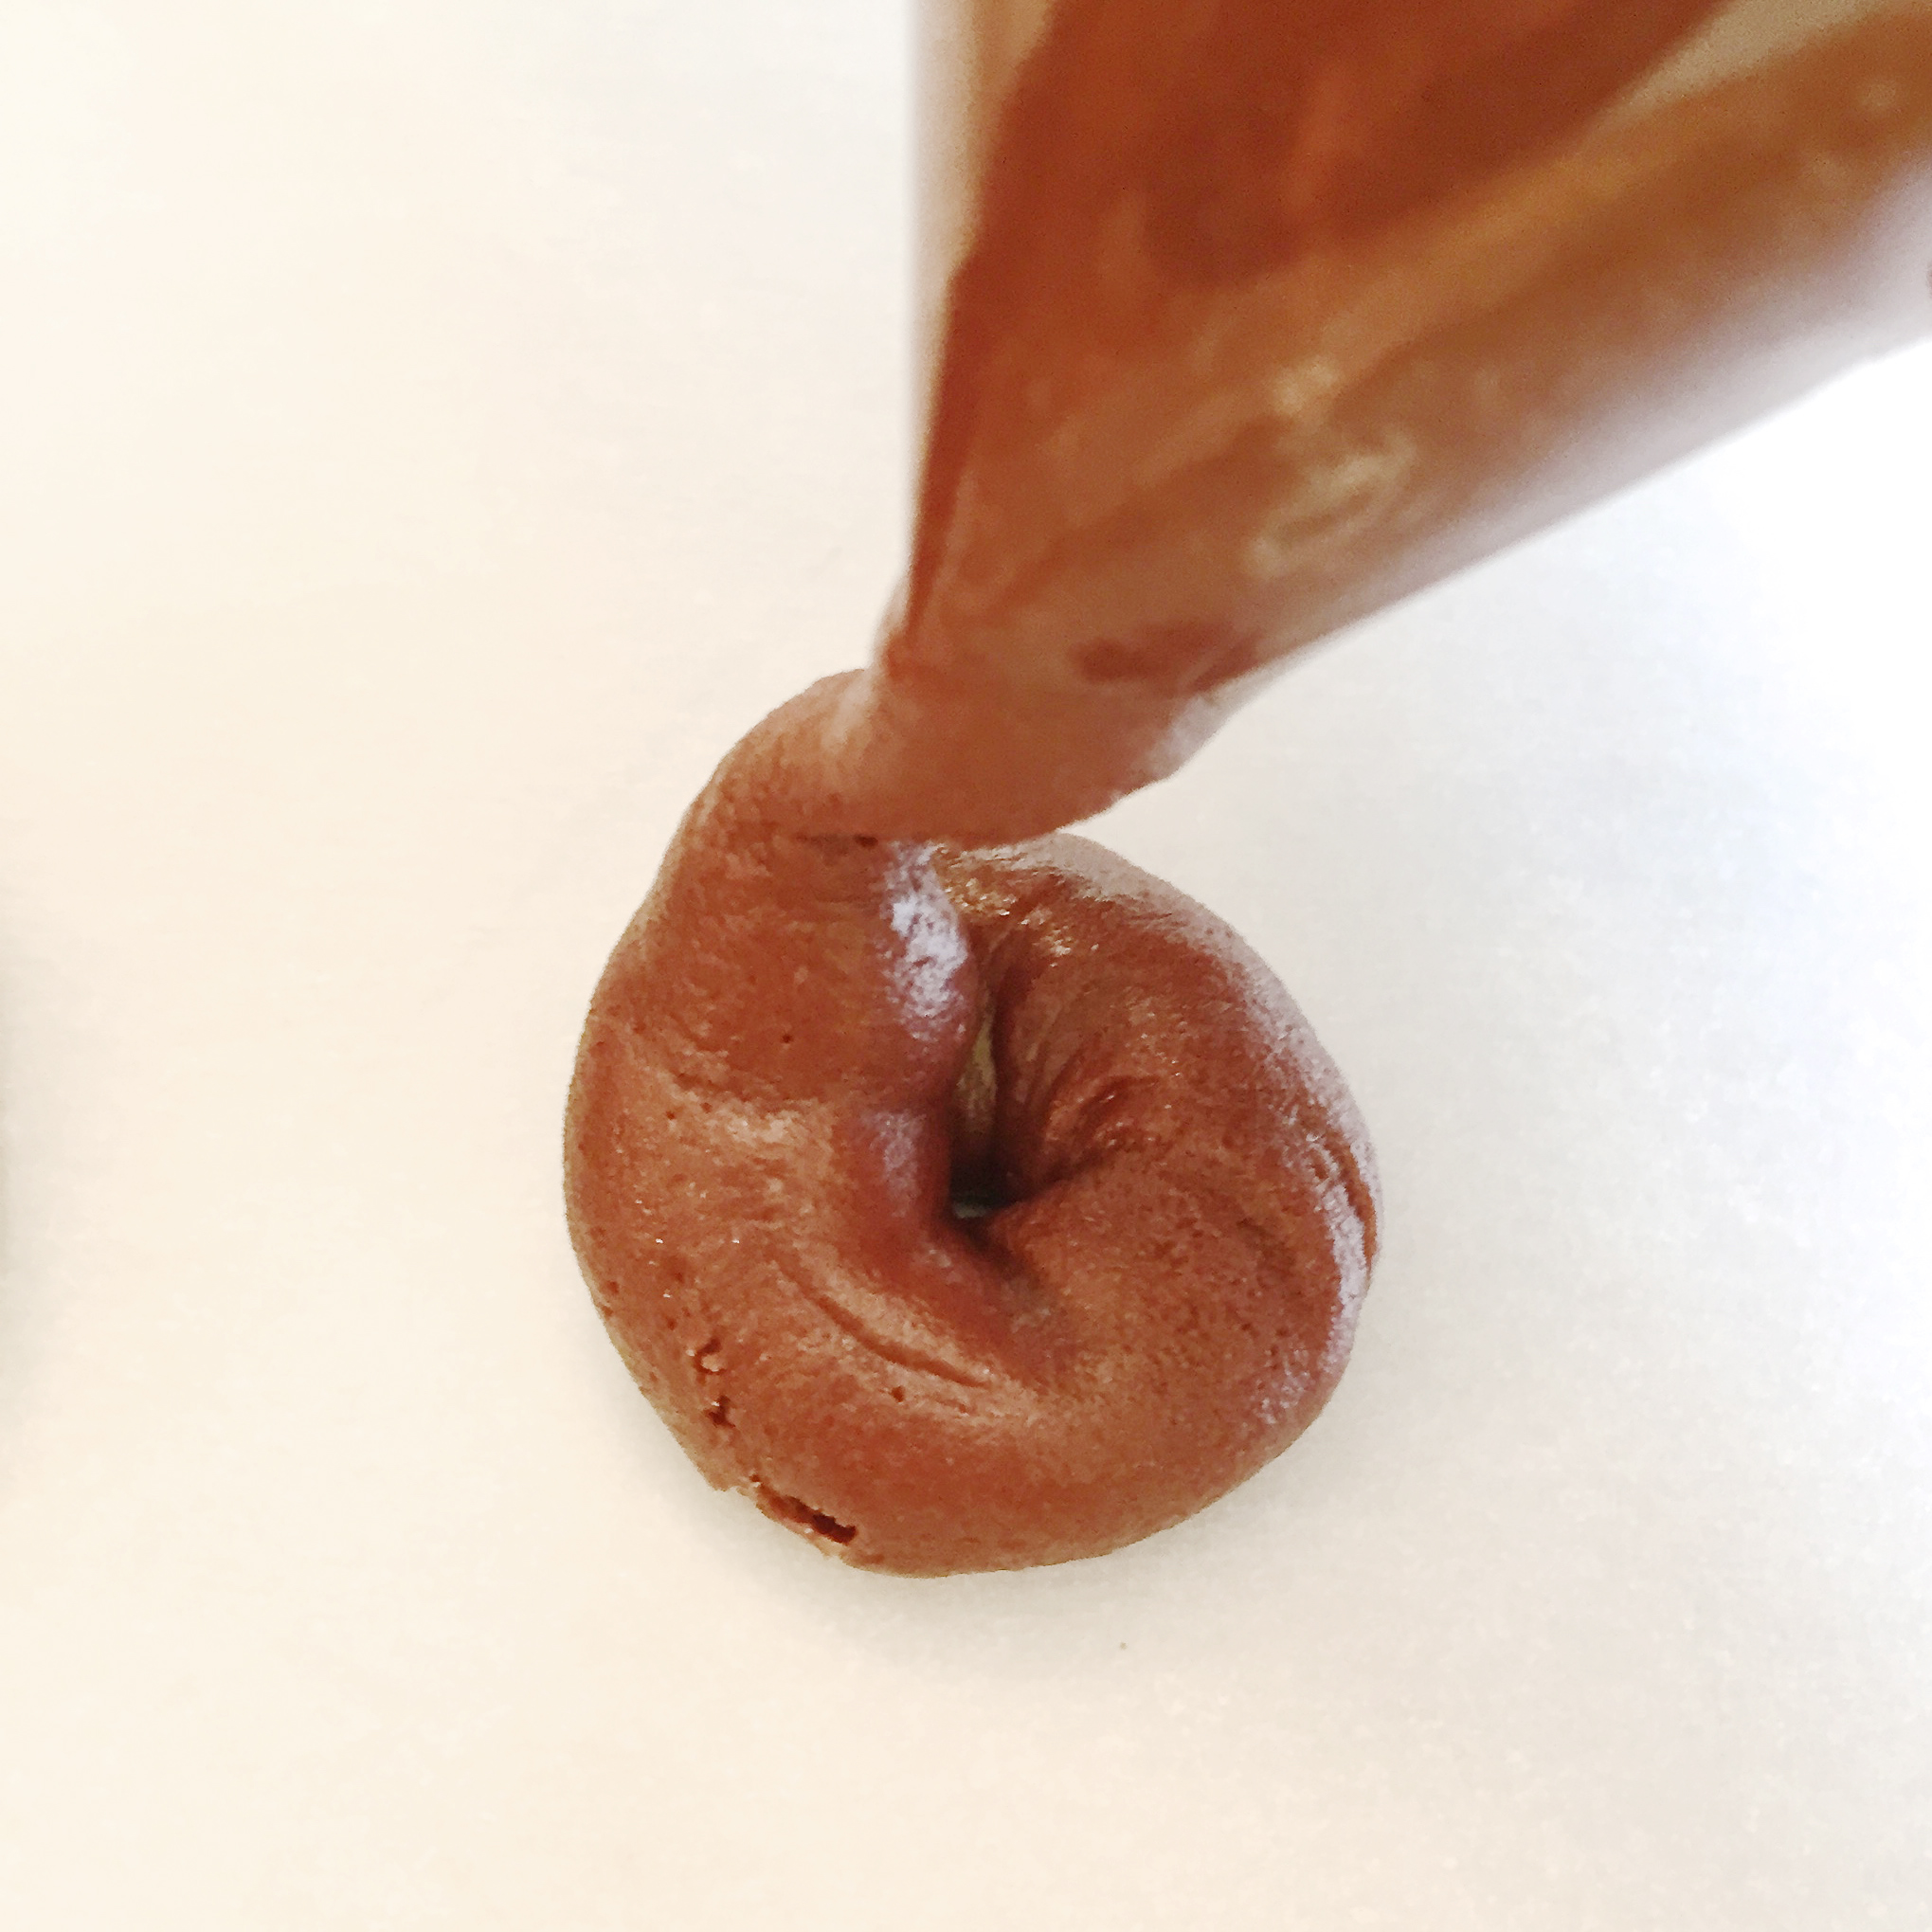
Since an Oreo isn’t triangular, I went back to one of my favorite chocolate cookie recipes that doesn’t spread out and keeps its shape when baked. I wasn’t sure it would form swirls or keep this particular shape- but it worked perfectly! Plus it is the yummiest cookie recipe ever.
Here’s how we made them: (printable recipe available here)
INGREDIENTS:
DIRECTIONS:
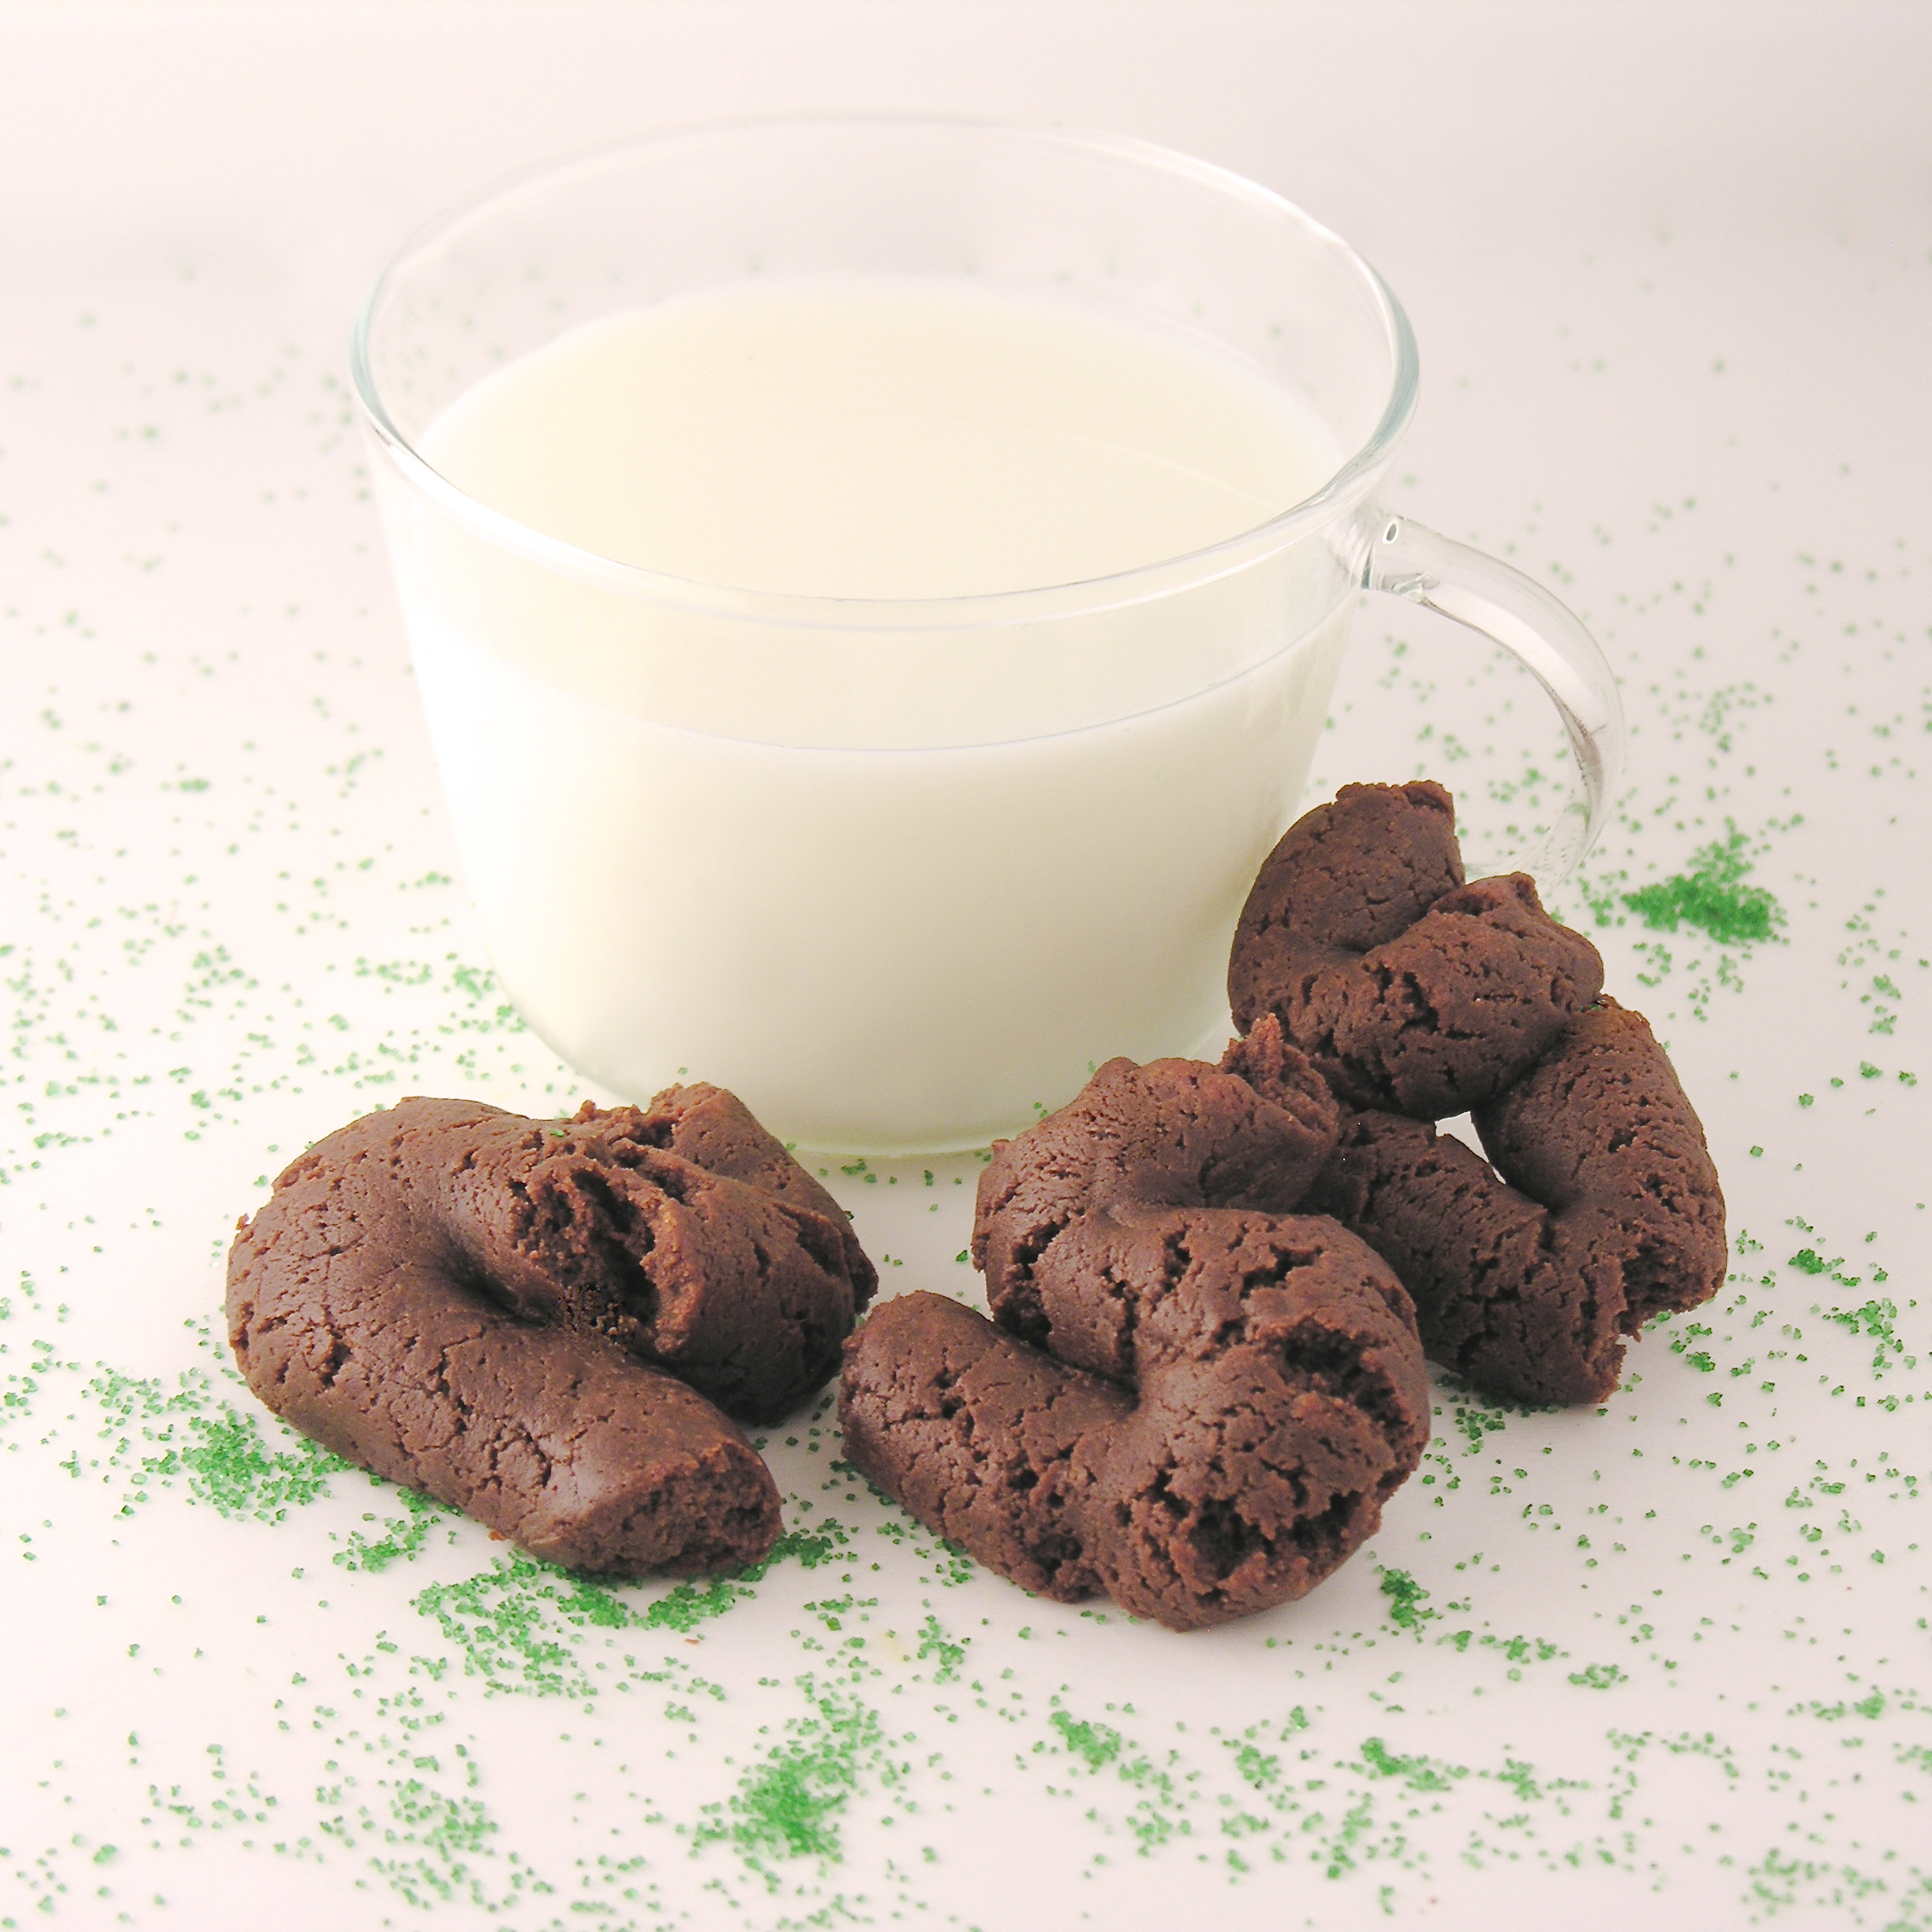
Milk and cookies anyone??
My thoughts: These just make me laugh. They are funny and cute (and those non-emoji ones are SO gross- if one of those got dropped on the floor, my dog would get a talking to!) Have you seen the Kitty-litter cakes? Let me find a link to one in case you haven’t….. hold on….. found one (on a super cute blog called tbsp.- click here to see it) Who needs tootsie rolls when you can have such realistic cookies??? Bring on the Halloween gross-factor! Pair them up with Emoji cookies, or serve them alone… however you make them or serve them, I hope you enjoy!! ~r
Other gross-me-out recipes here on Easybaked (just in time for Halloween!!)- click on a picture to see the recipe!


Surprise everyone with these adorable Emoji Oreo Pops! They look difficult- but I found some cookie cutters that make fast work of these cute little faces!
I’m not sure when the Emoji craze hit, but all of a sudden, these cute little social media expressions are EVERYWHERE! Pillows, T-shirts, masks, cards, balloons… People are even throwing Emoji parties (which actually sounds really fun…!)

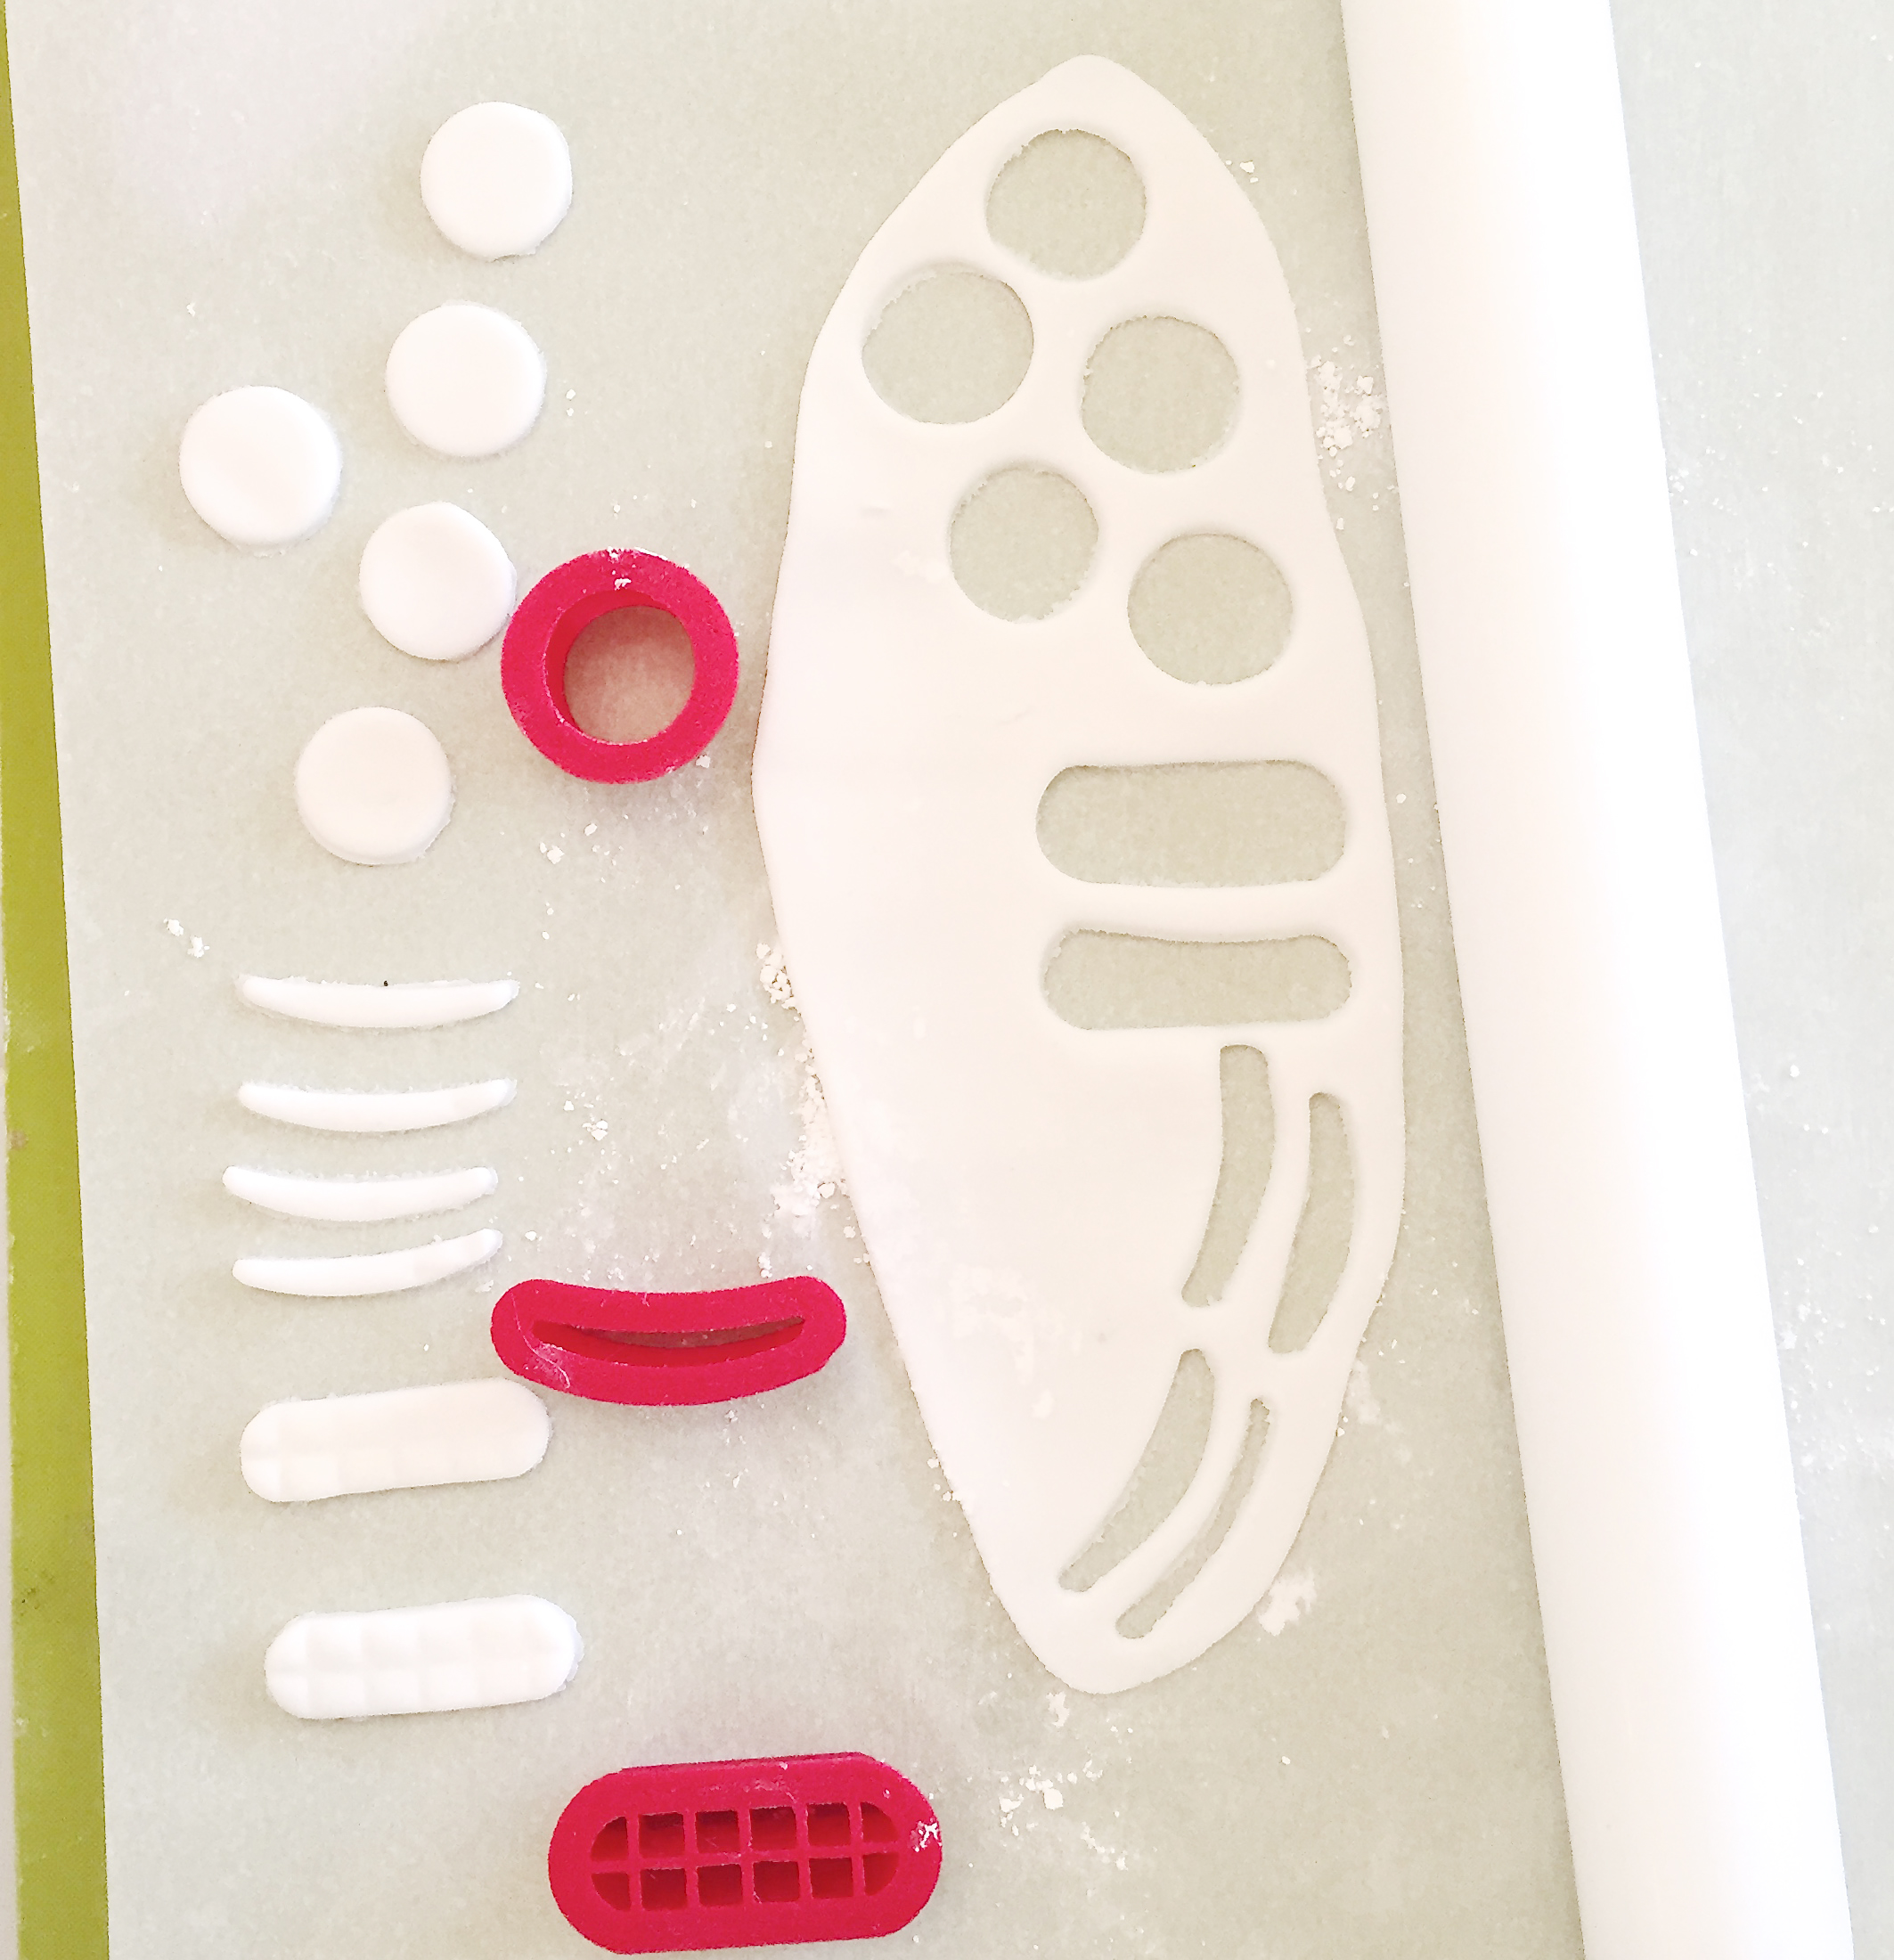
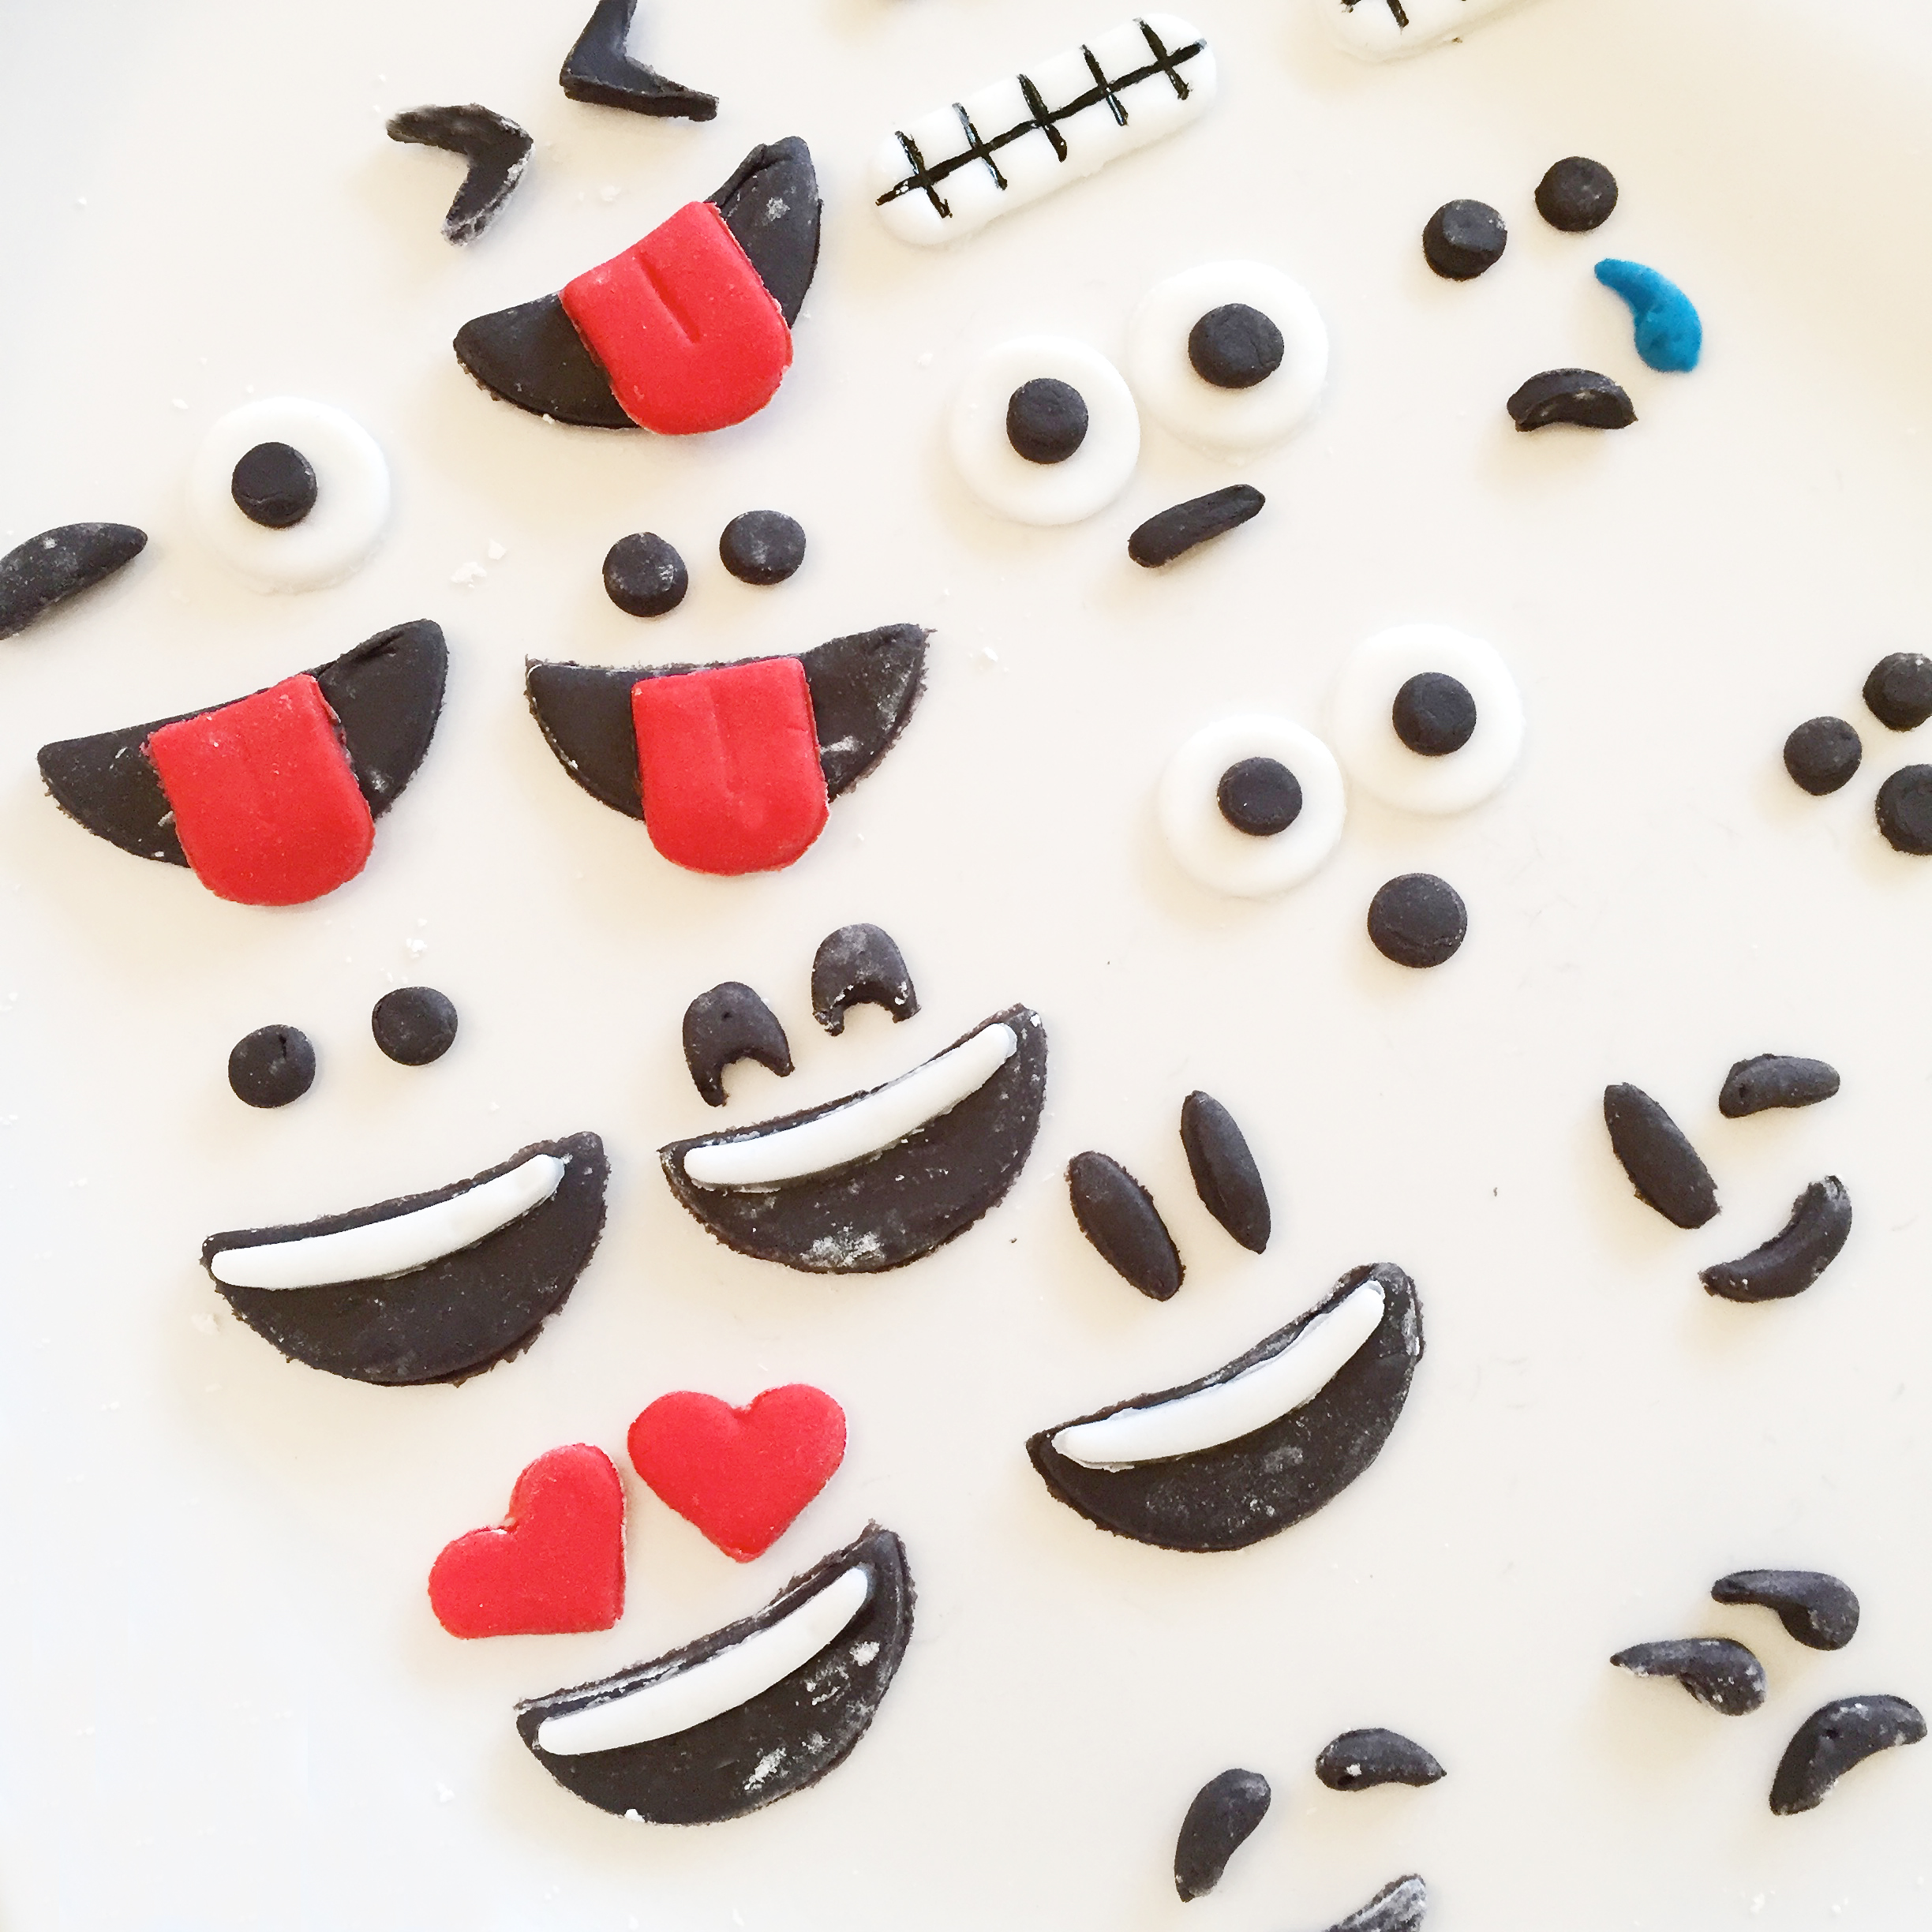
In any case, when I decided to re-create these little guys I was unaware of how popular they are! I always google my ideas to see if I’m original or re-creating something, and there were a few Emoji Oreos and cookies out there- but they were mostly hand-drawn faces, and let’s face it: I am NO artist! I wondered if there were cookie cutters in the shapes of the faces- so I could use fondant. Most of the cutters were for full-sized cookies, not Oreos. But then I found these from JB Cookie Cutters. They are available in a 2 inch size which was perfect!

Look at all the faces you can make with this set of cookie cutters! Very, very fun!!!! 🙂
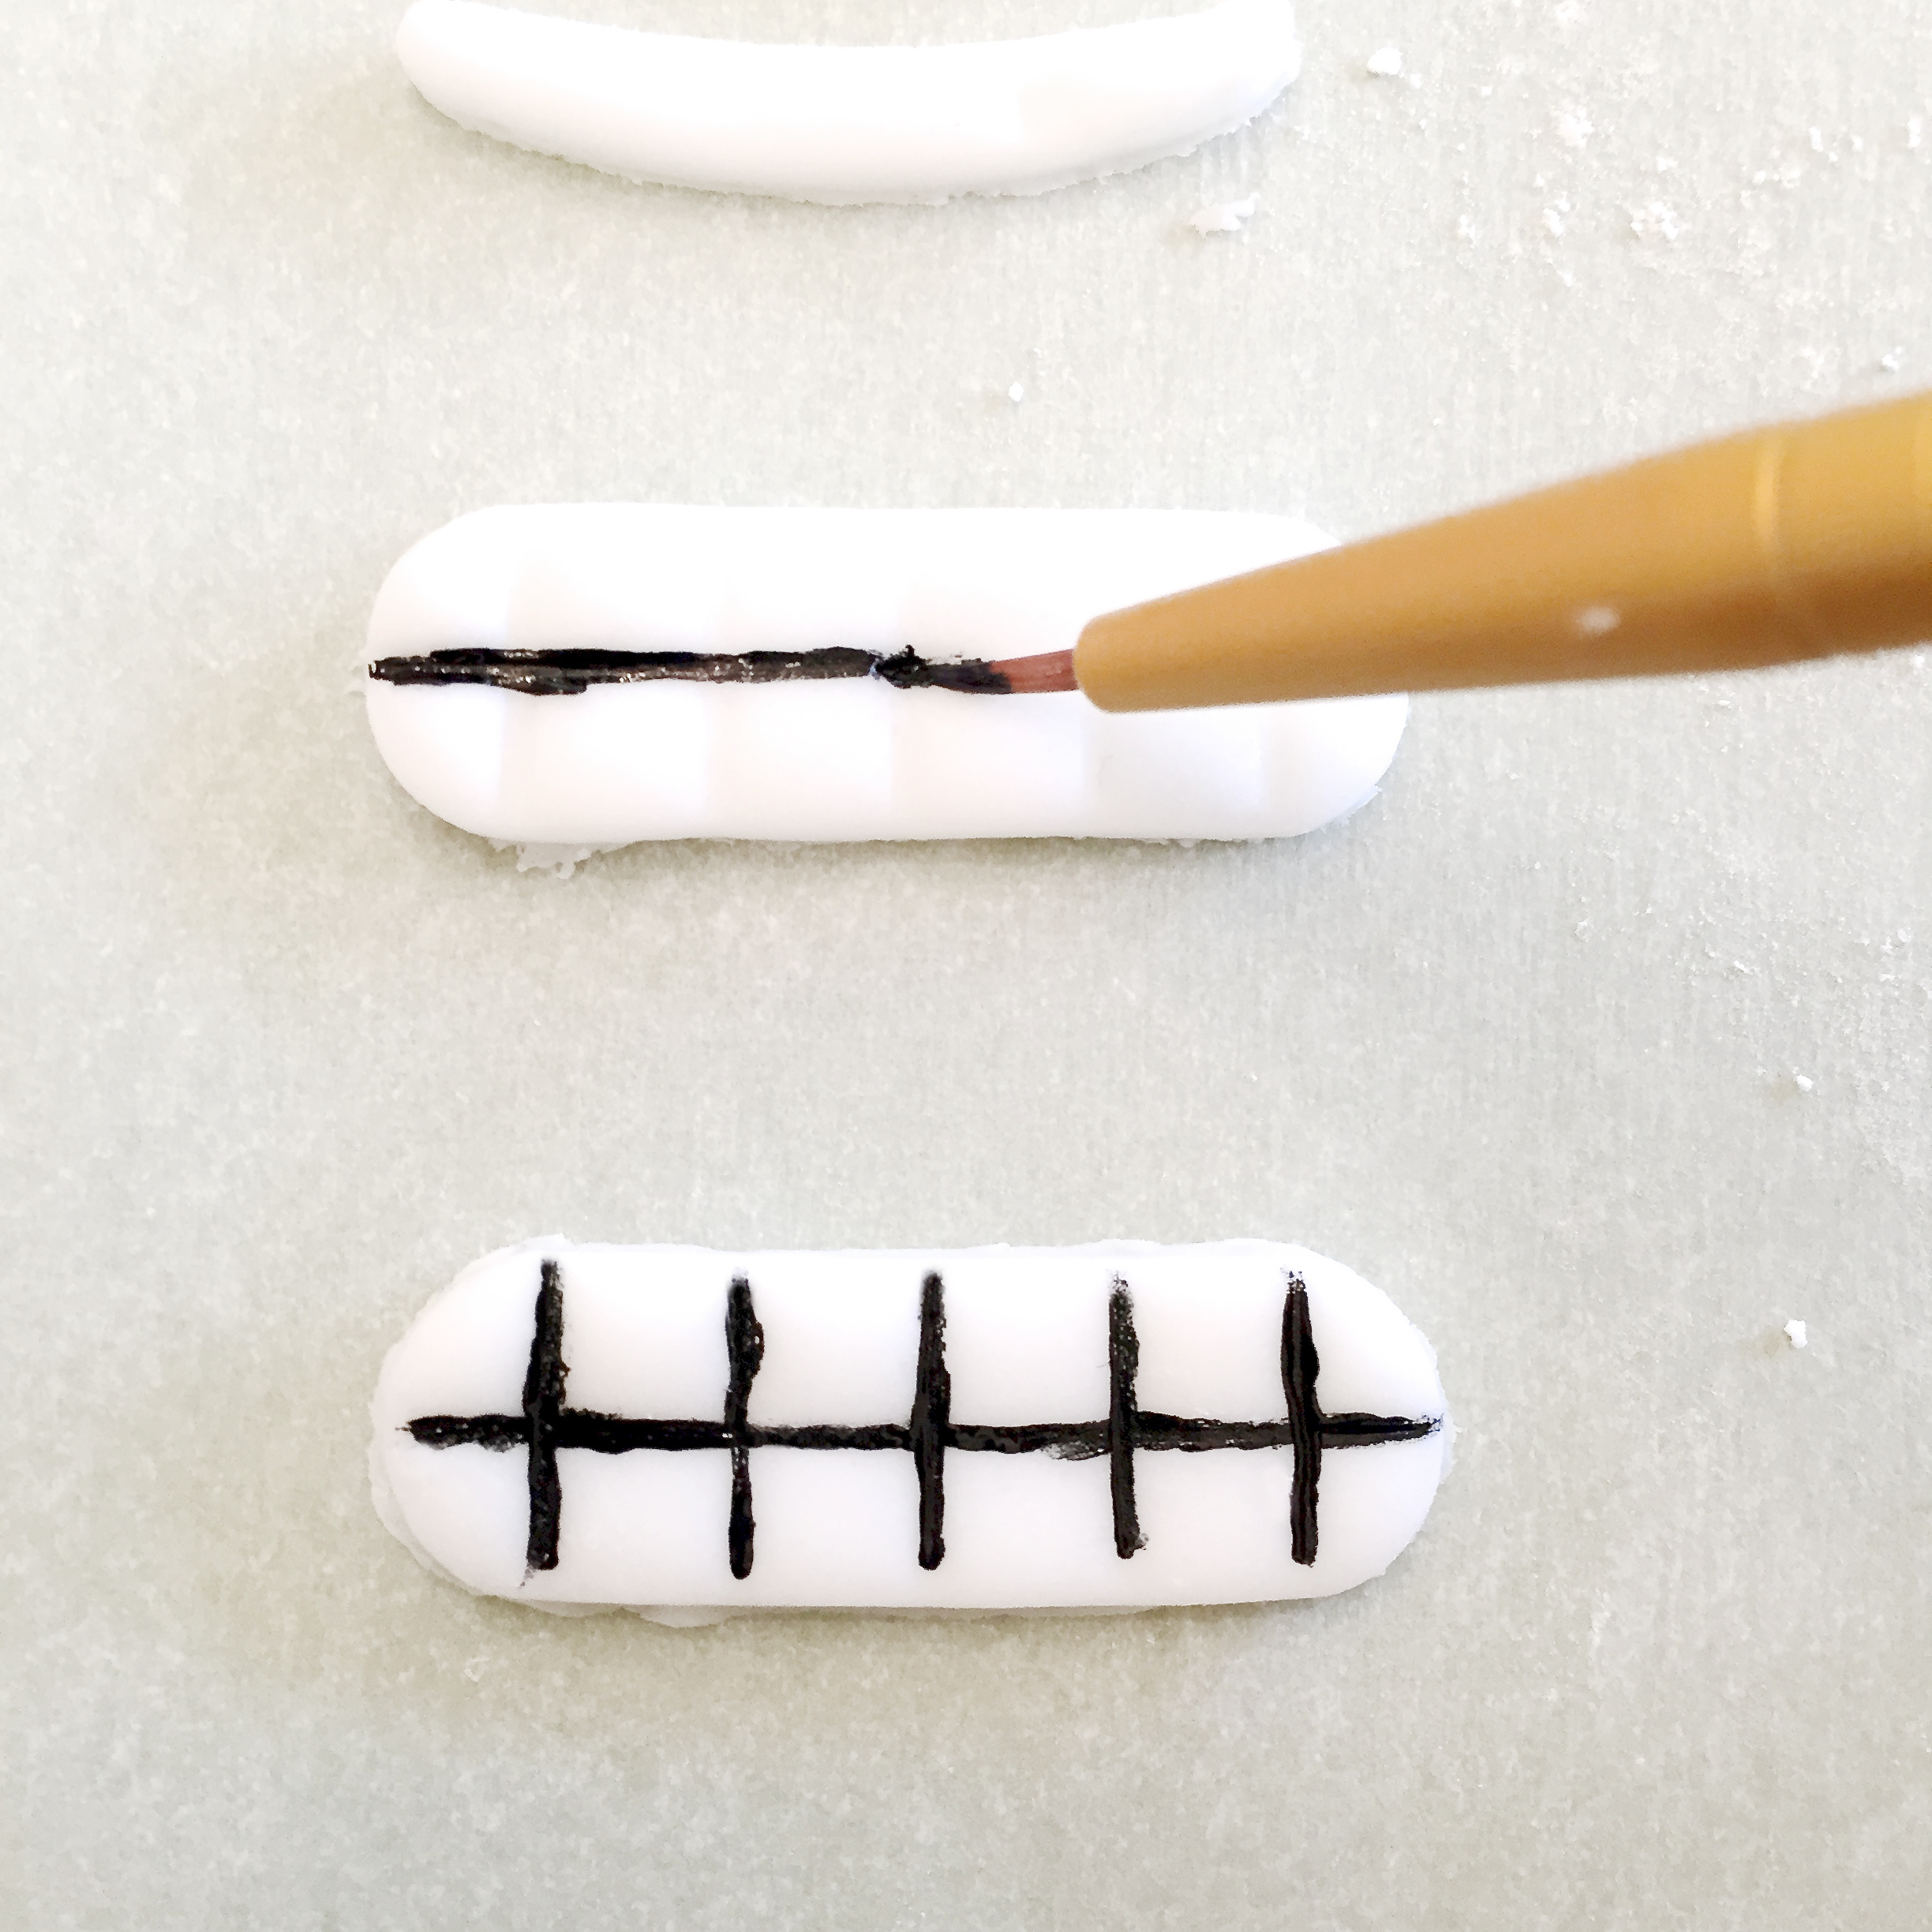
Let me show you how we put these little cookies together (printable recipe here)
INGREDIENTS: (makes about 25 cookies)
DIRECTIONS: (if you have never made Oreo Pops before, click here for tips!)

My thoughts: These are probably the most fun dessert I’ve ever given away. These were a HUGE hit with everyone and resulted in lots of Emoji selfies 🙂 Here’s a little glimpse of the fun:
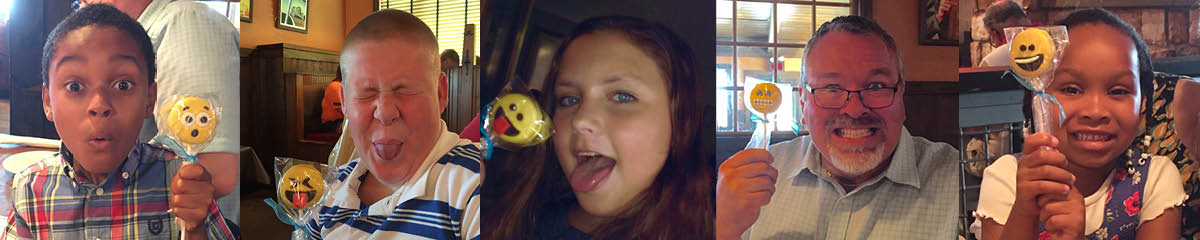
Of course, these are time consuming. Even with the added help of the little cookie cutters, they take time. If your time is limited, I recommend you make the fondant faces and then assemble the pops later. The good thing about these is that they keep for several weeks when they are tied up in those cello bags- so you can do them WAY ahead of an event! I hope you are brave enough to tackle these- and that my other posts on Oreo Pops and the use of fondant are helpful! Enjoy! ~r

Other Oreo Pop ideas: (click on a photo to see the recipe)


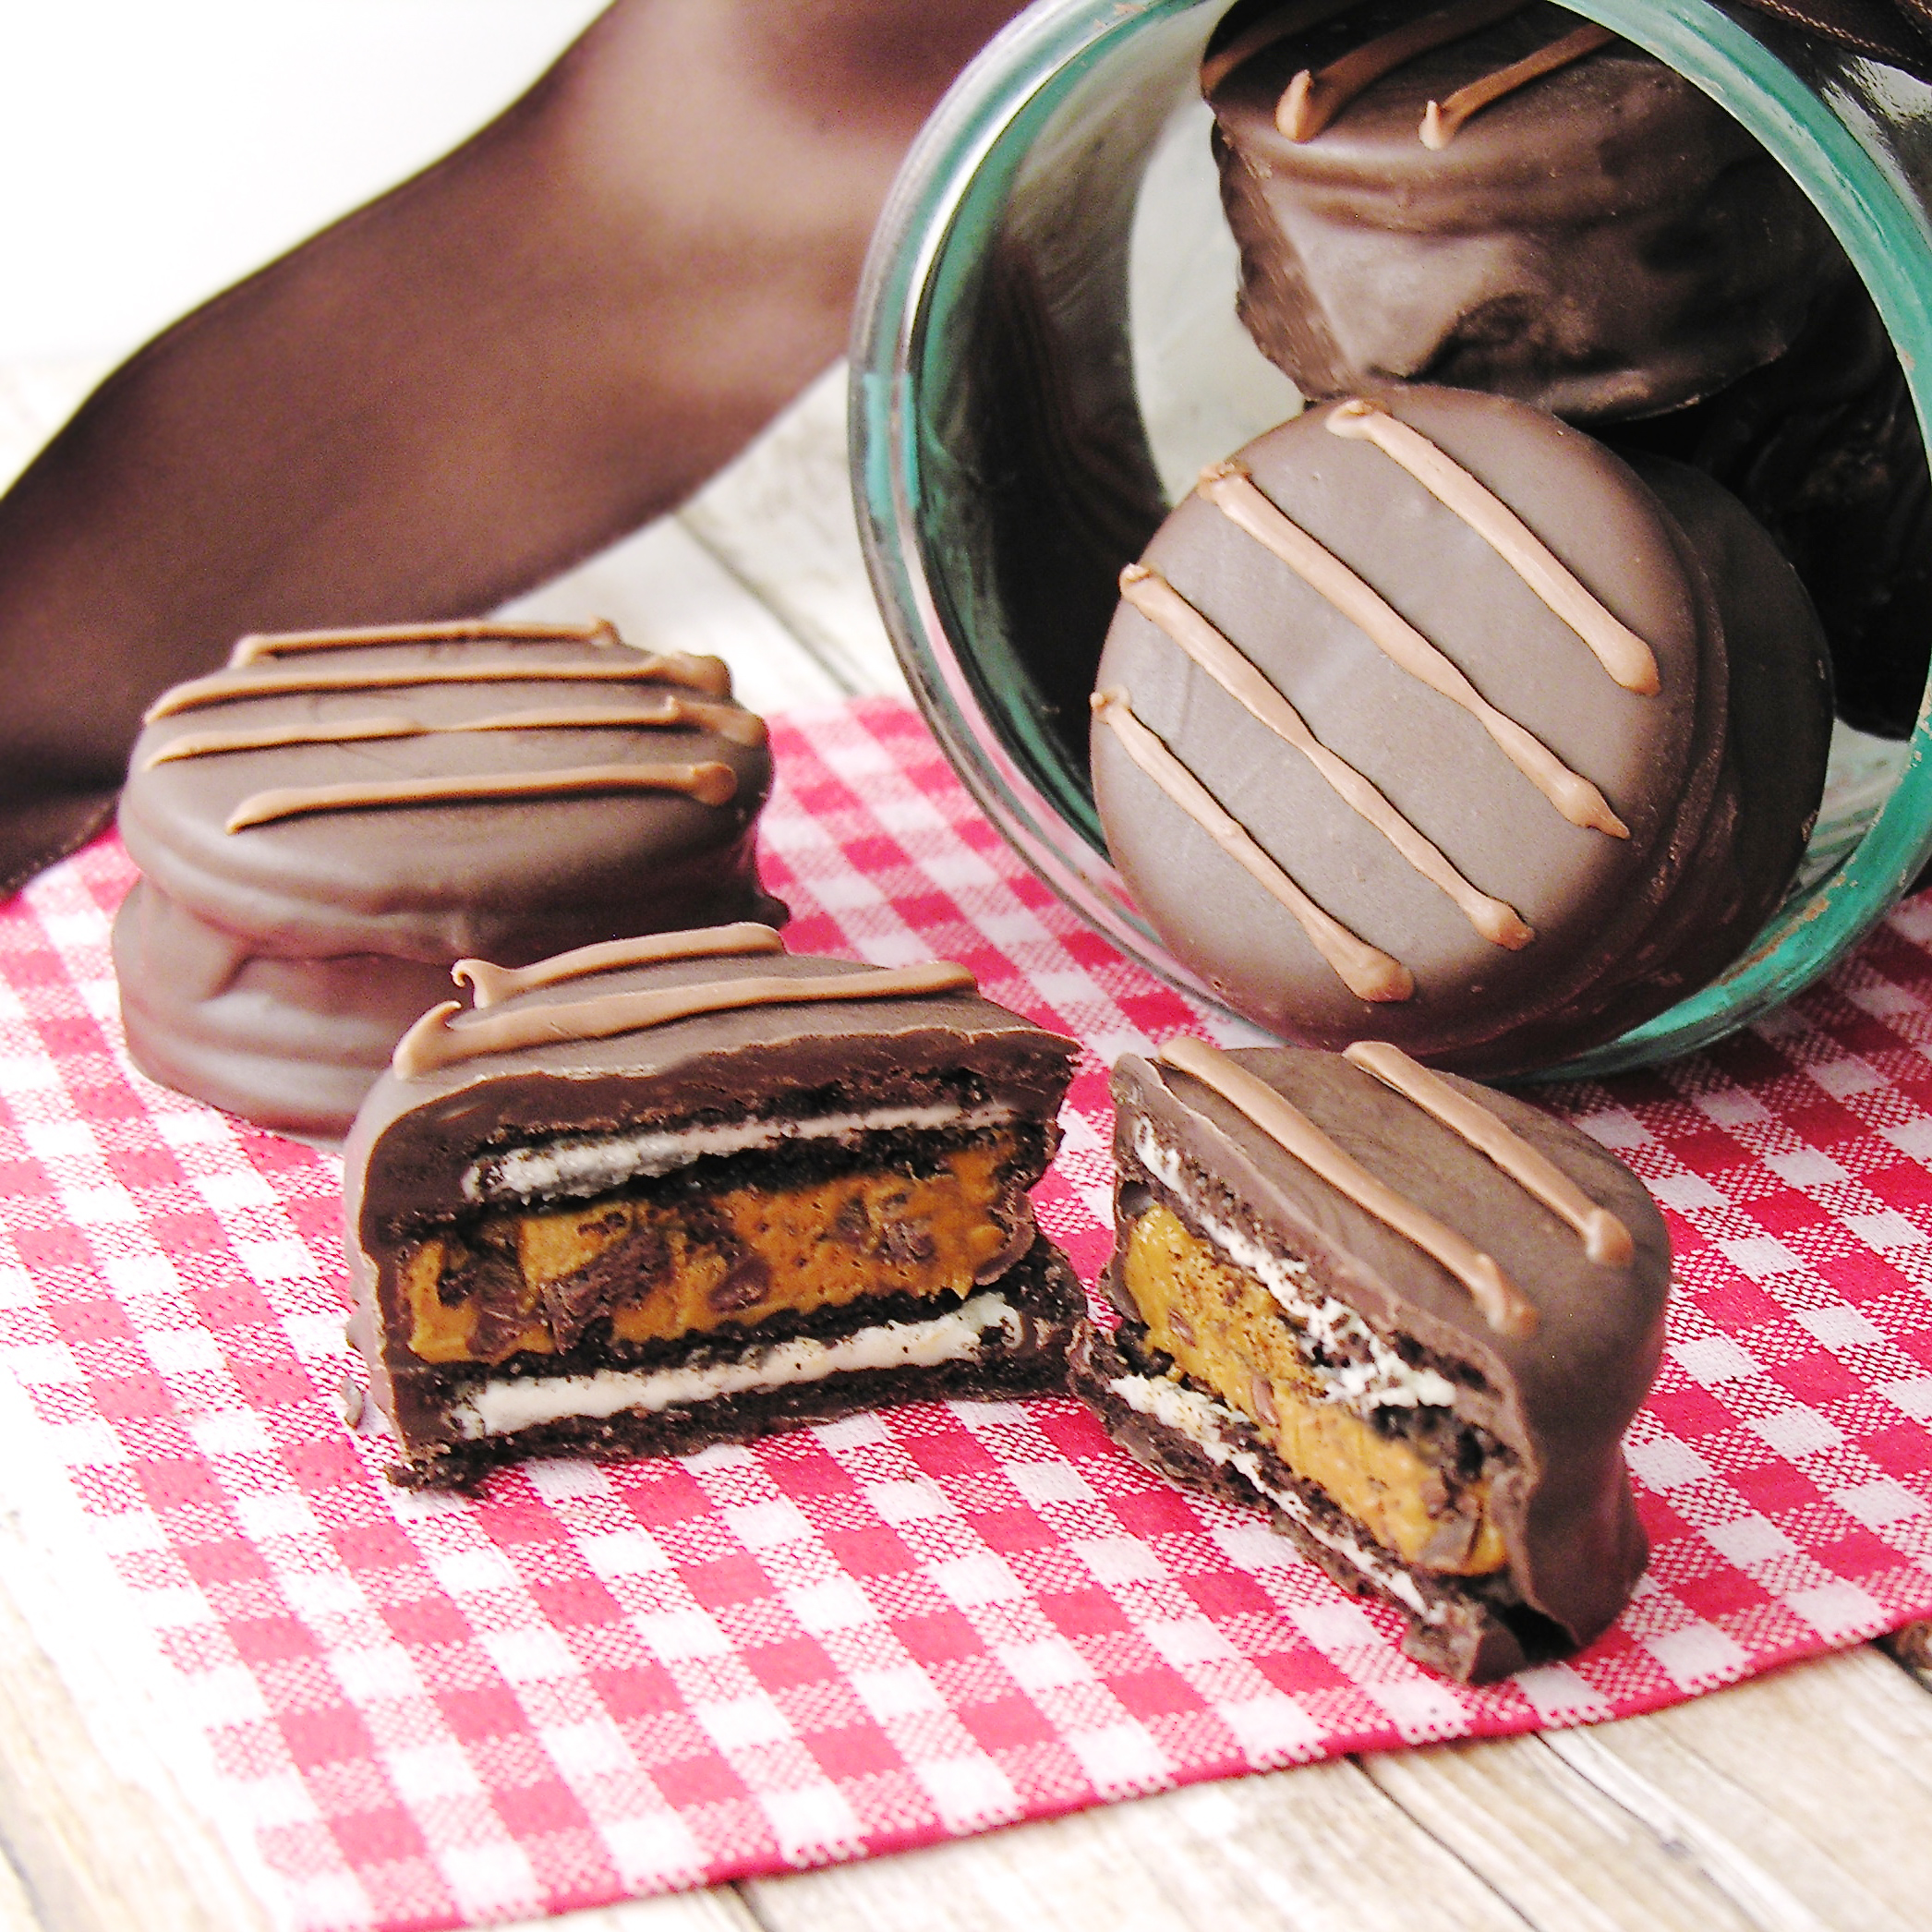
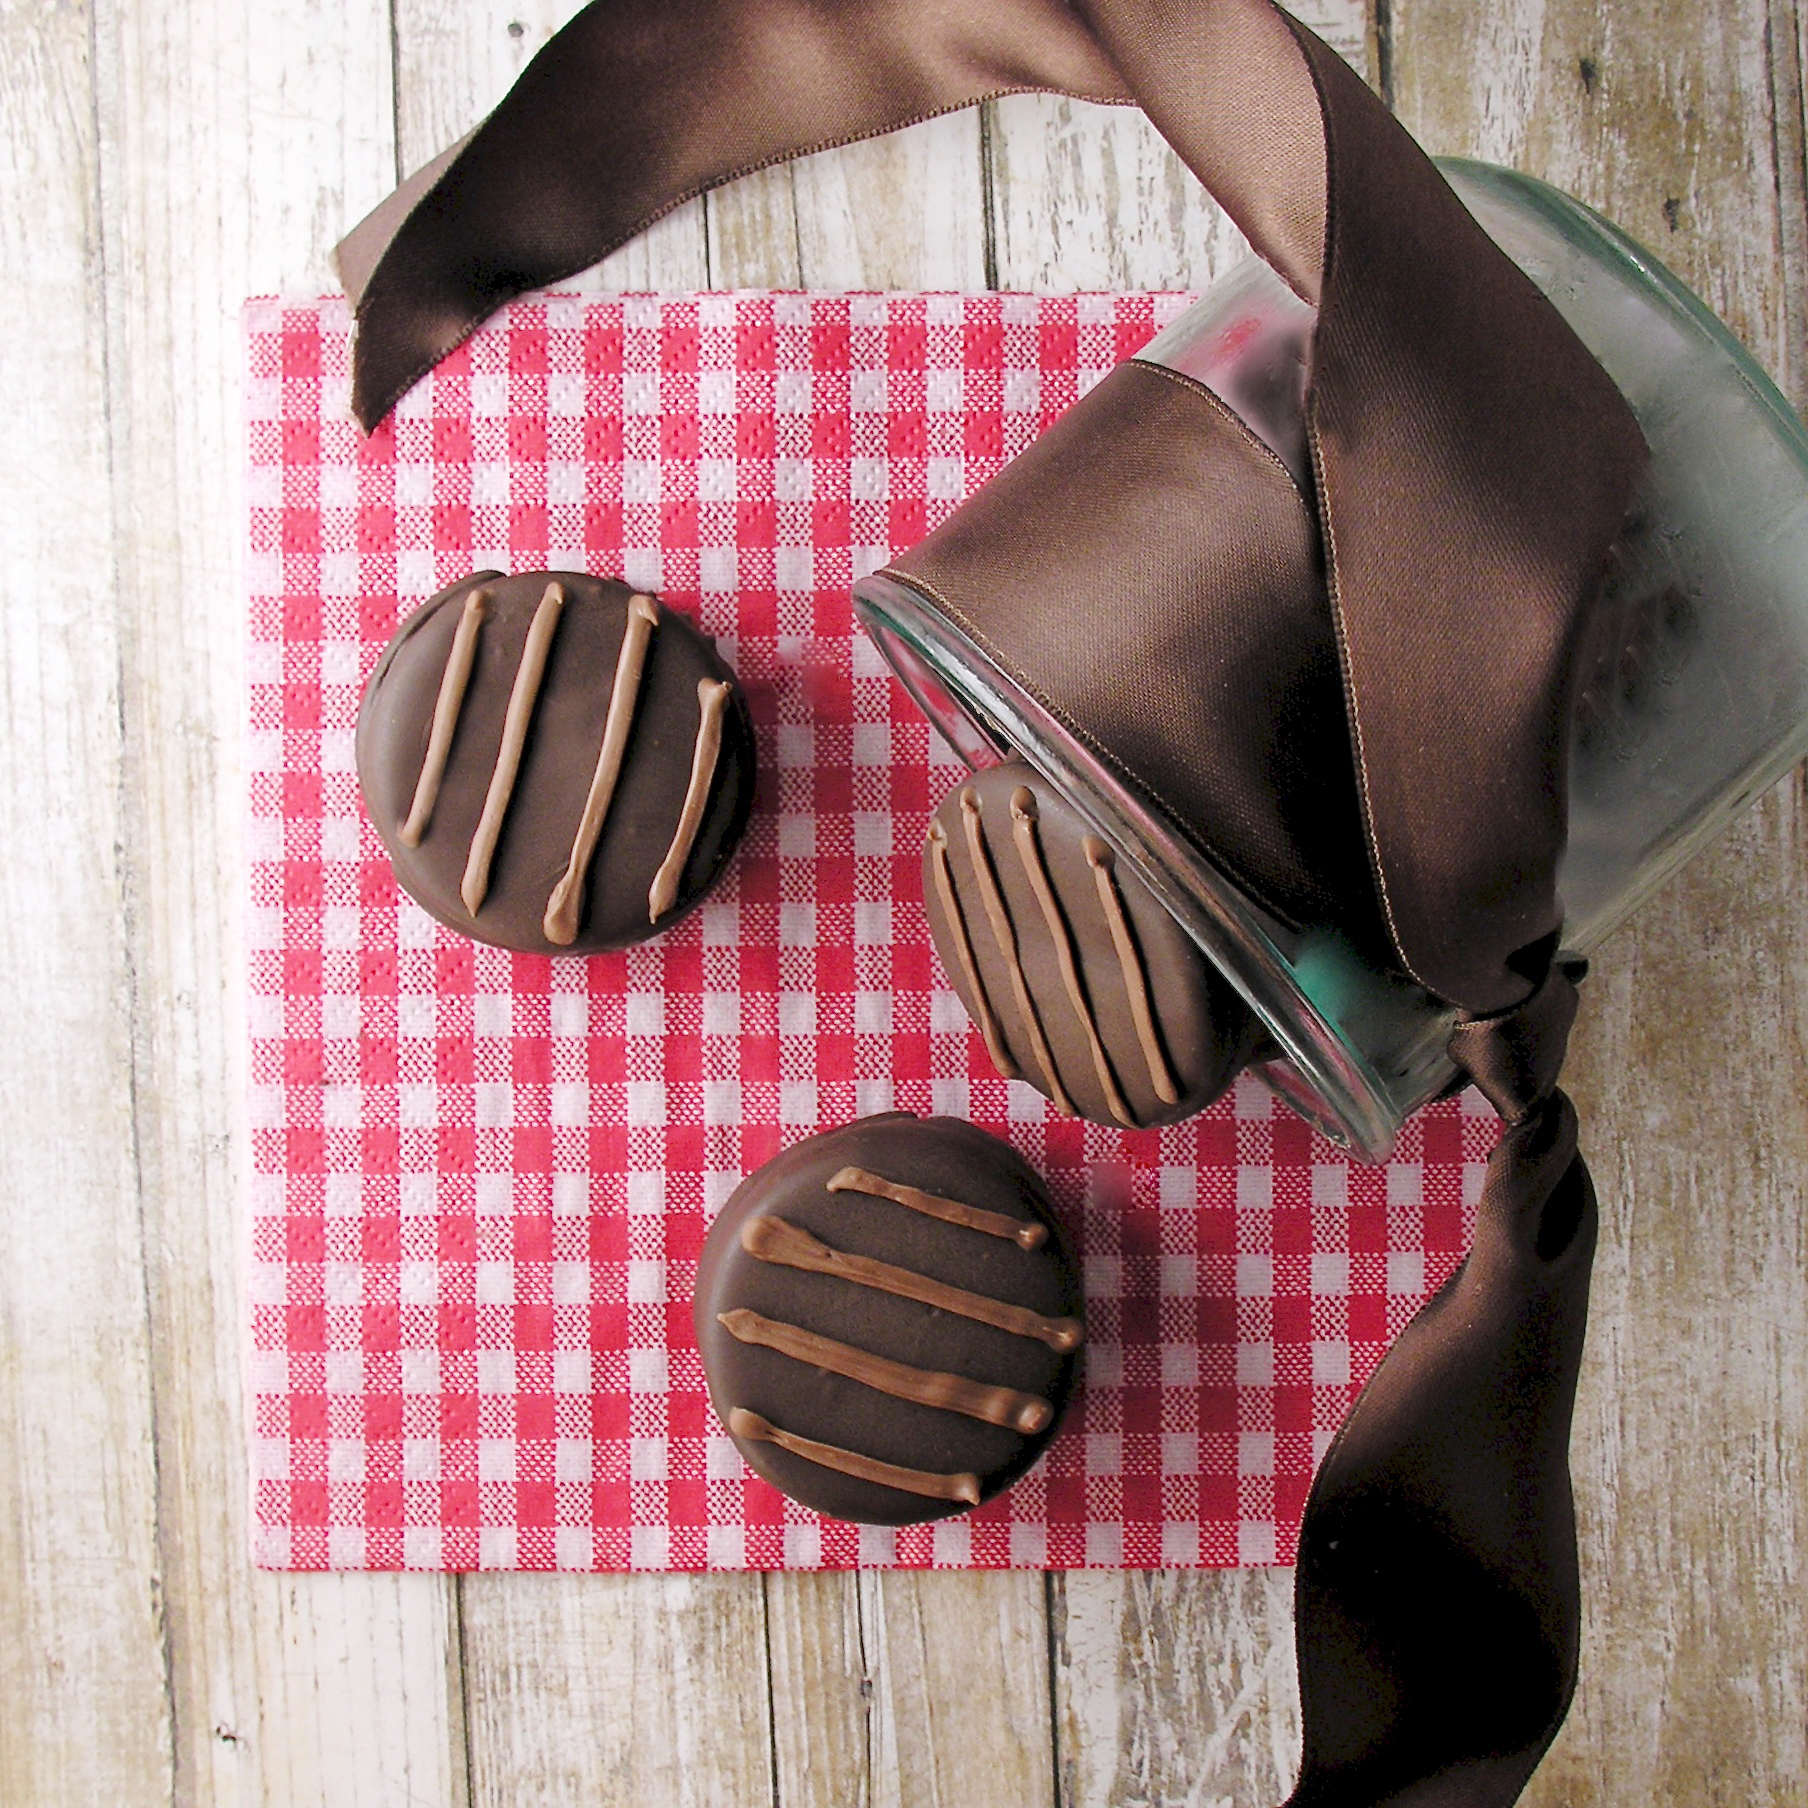
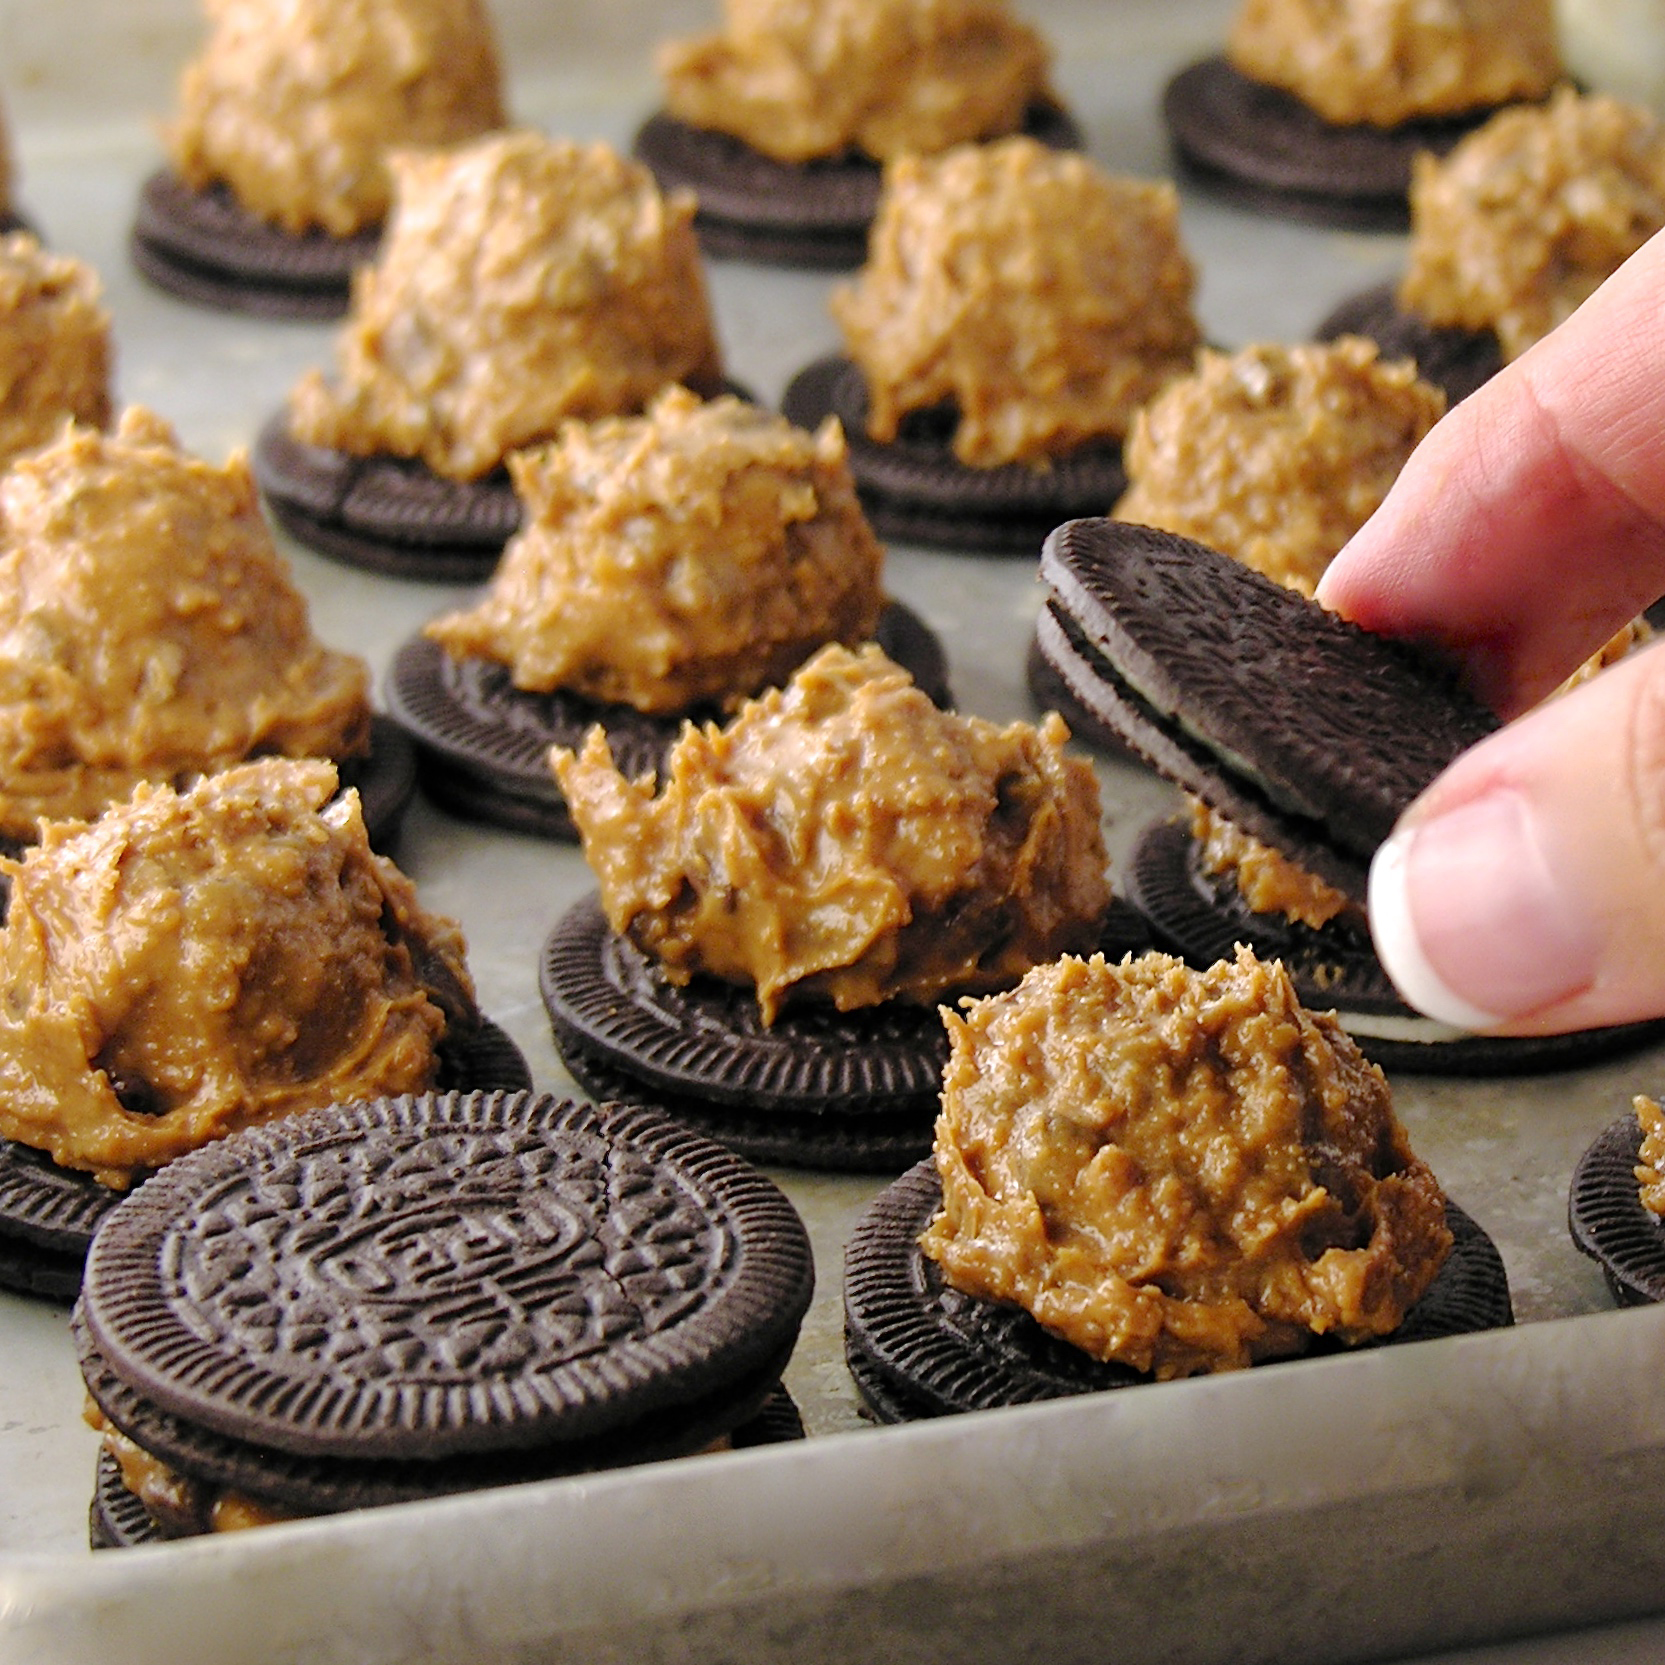
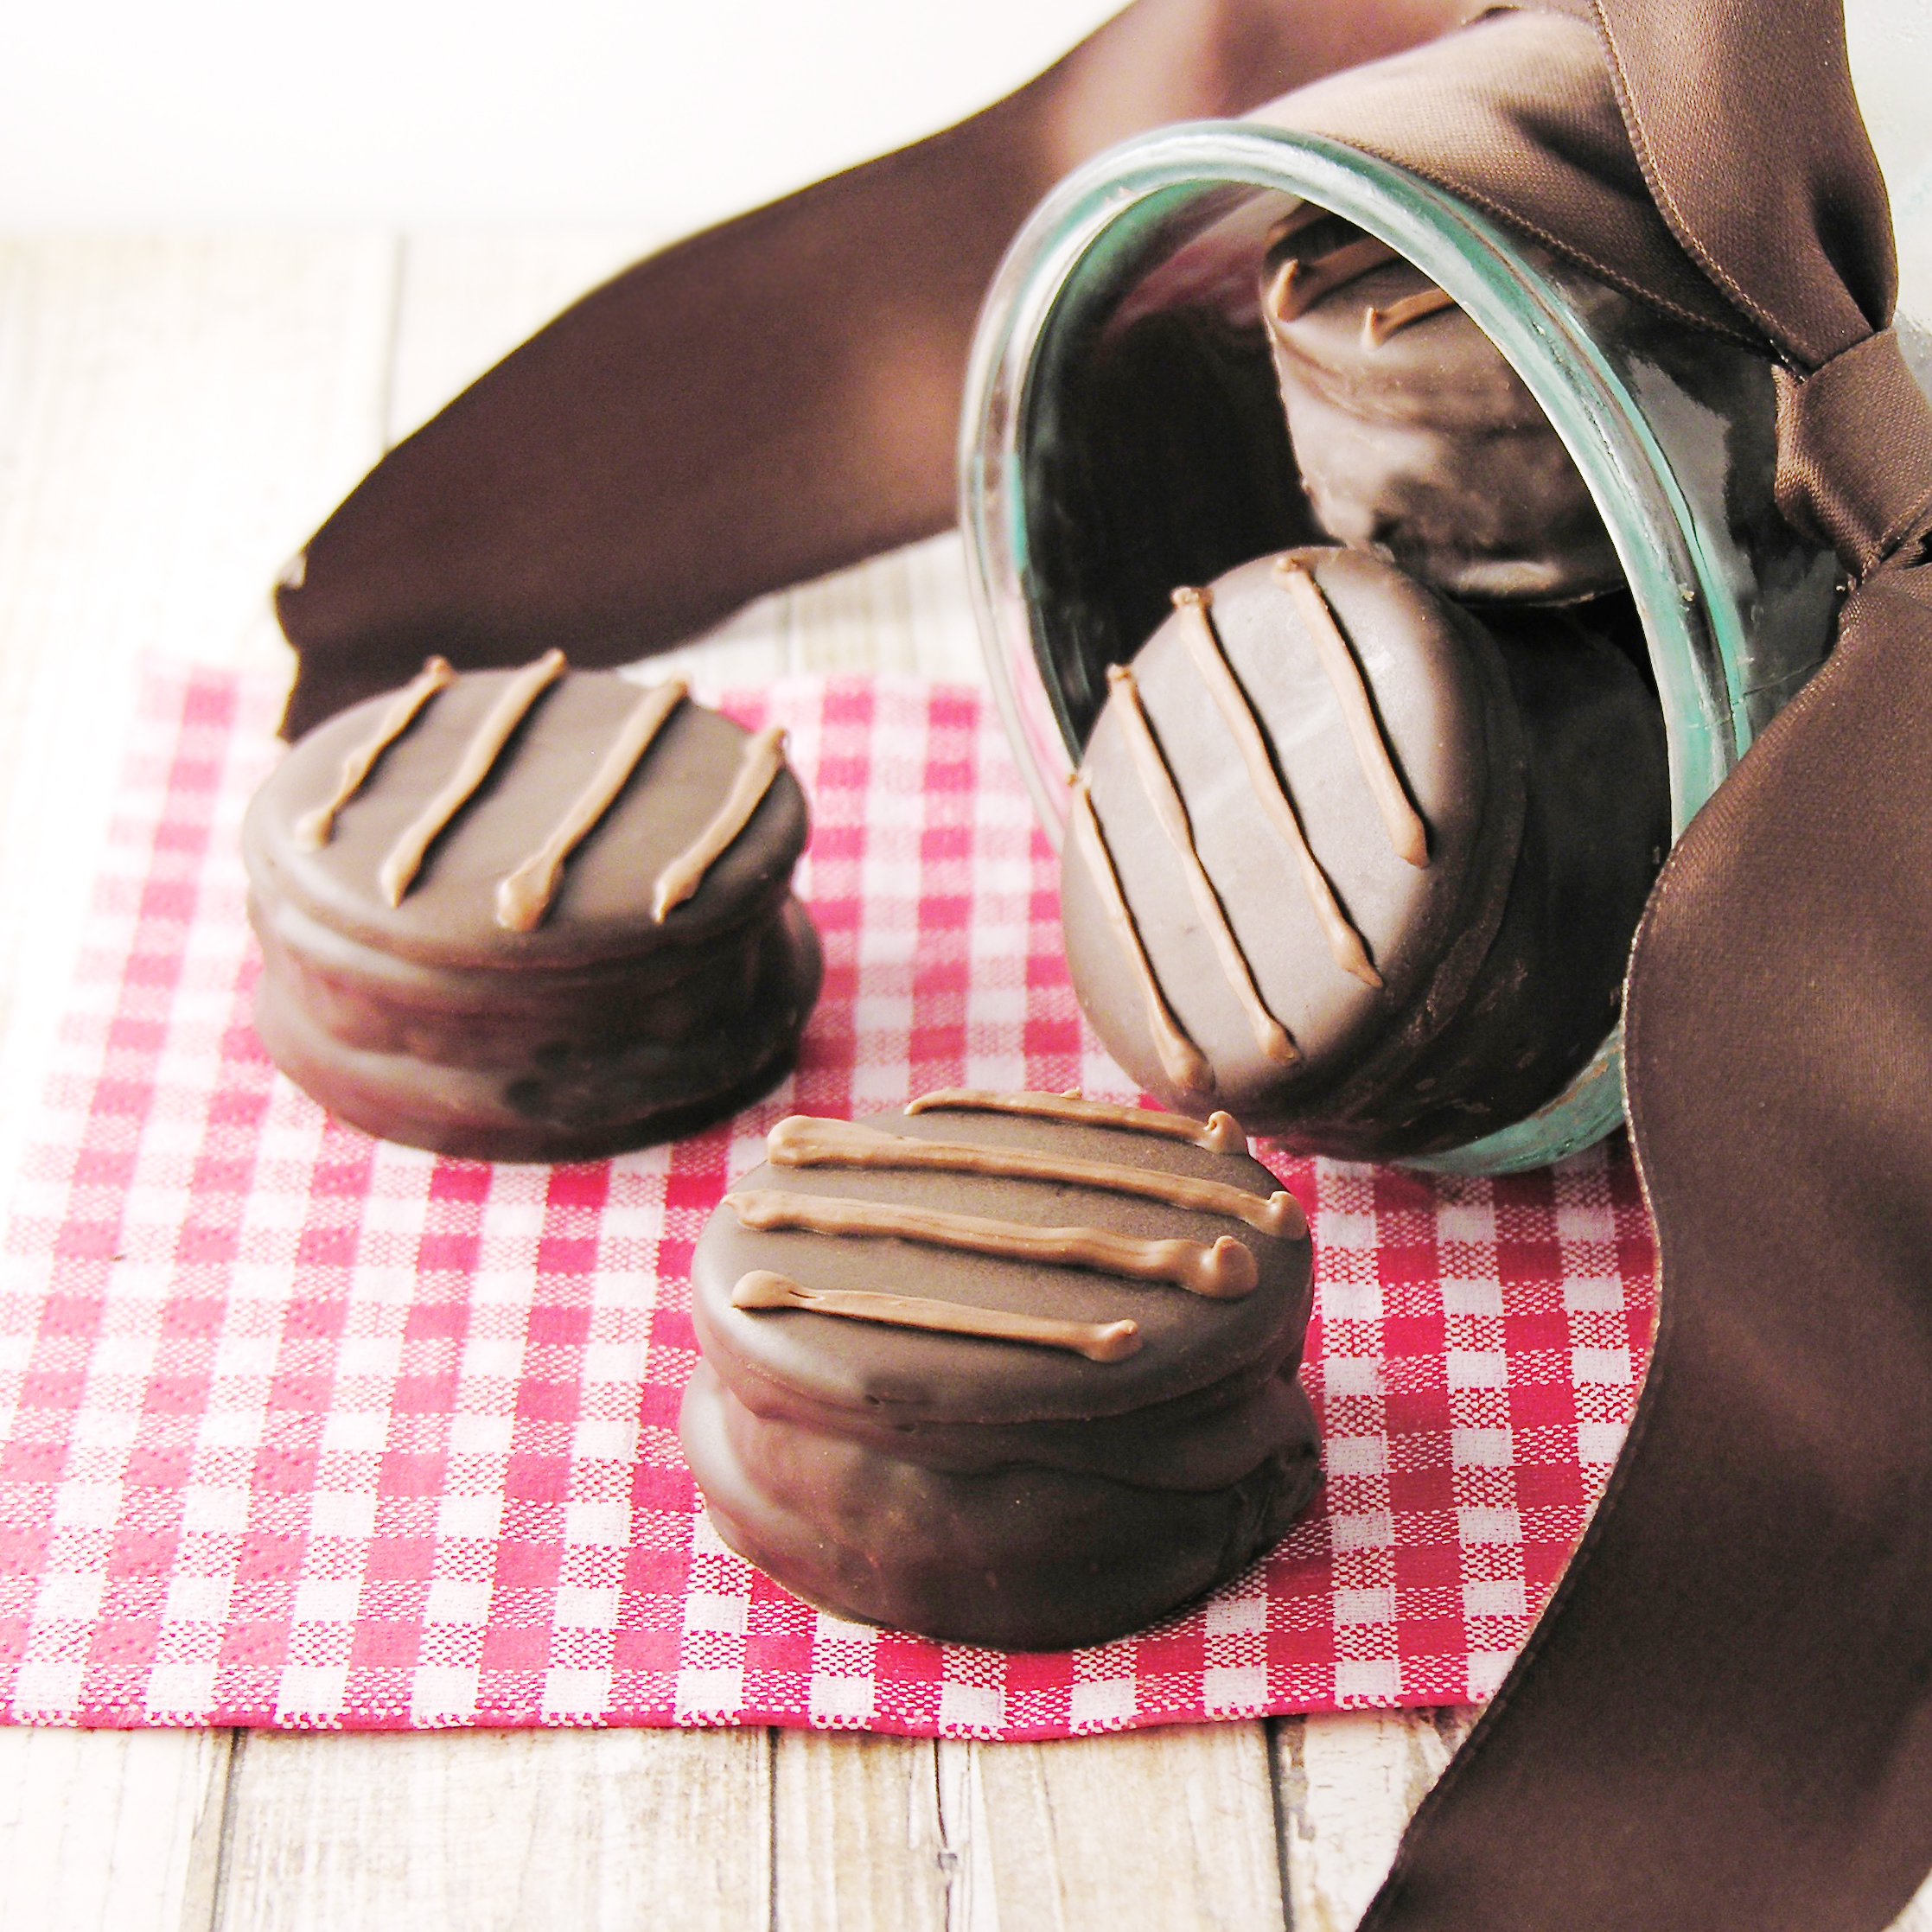
A creamy layer of chocolate chip cookie butter is a wonderful surprise inside these easy chocolate cookies!
I may be out of the loop on things, but somehow I missed this whole craze over COOKIE BUTTER. When I was in the Czech Republic about a year ago, my friend Angie (the best gift-giver!) sent me home with a collection of European treats. Nestled in with the coffees and chocolates, there was this jar of “stuff” (all the labels were in Czech) and I wasn’t sure what to expect. I know that peanut butter is hard to find in Eastern and Central Europe- so I knew it wasn’t that- but it was close… it was butter- but not made out of peanuts..made out of COOKIES!!!!! Seriously. I fell in love.
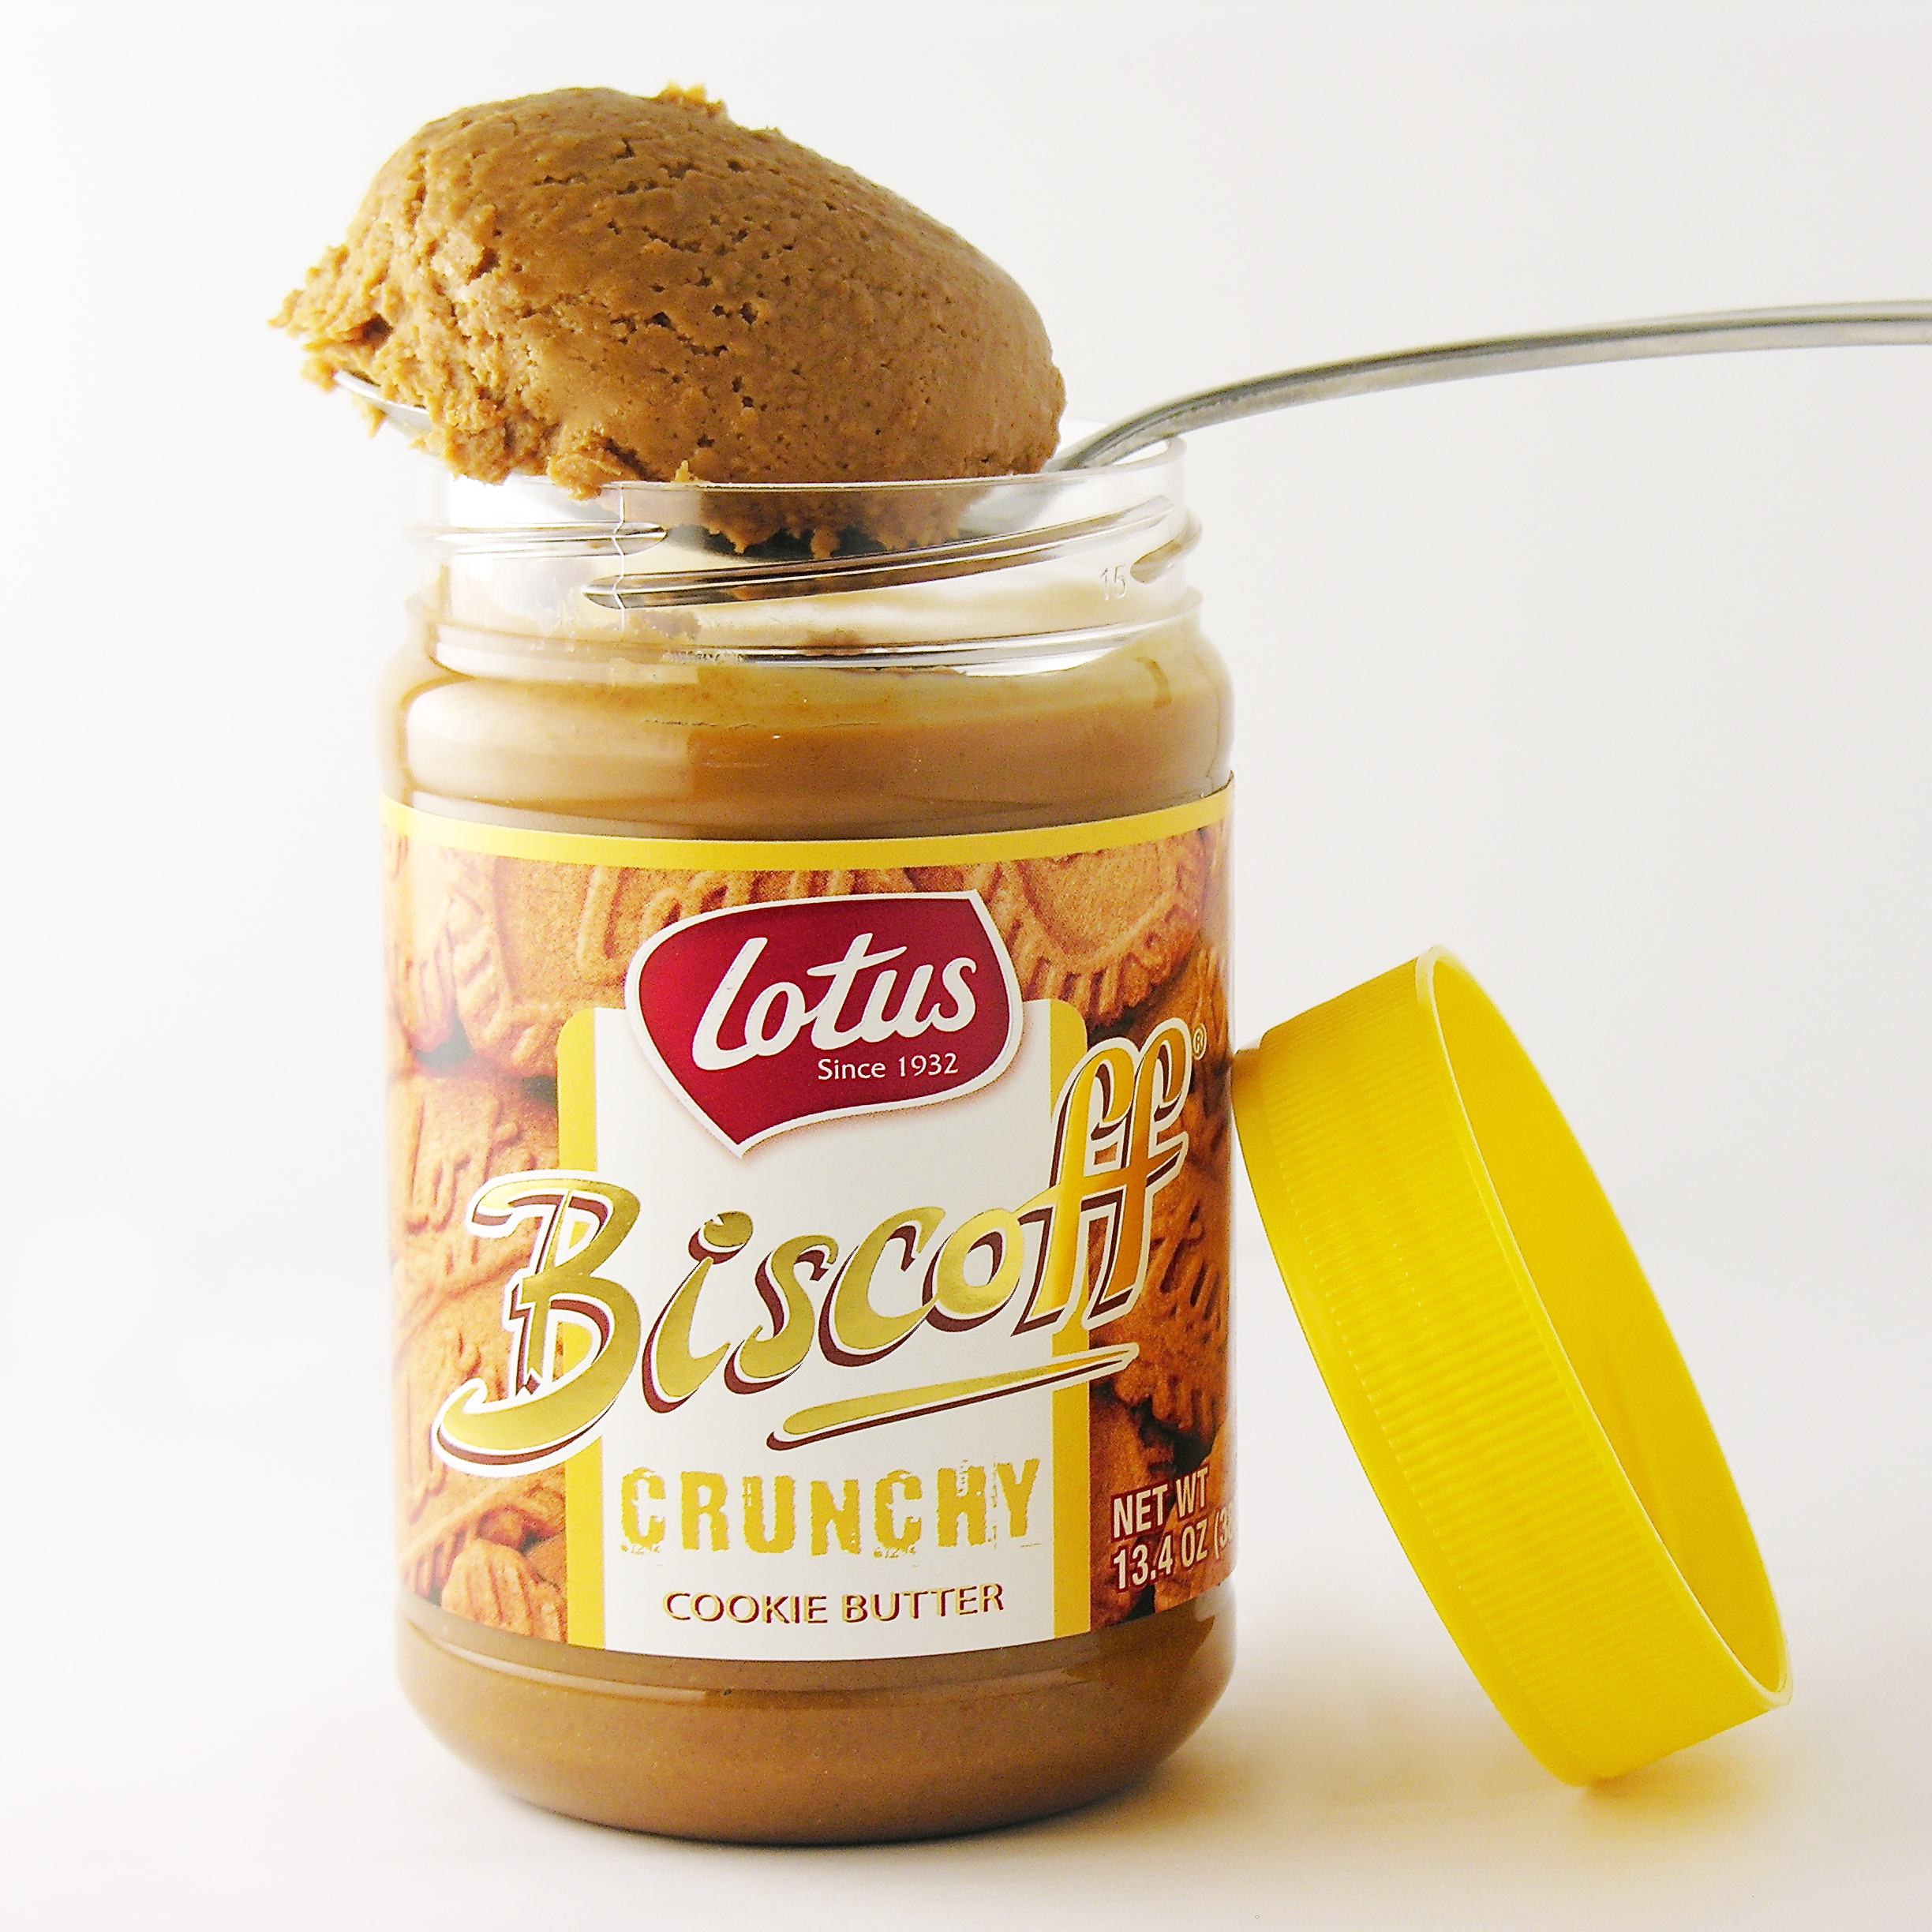
Then I found it at Wal Mart. Here. In Indiana. #smile!!!
So, I’ve been stuffing Oreo Thins with all sorts of things over the past few months. Marshmallows….Key Lime Pie…I can’t stop. I have A LOT more ideas. This is just one more. (Prepare yourself…)
These are simply….delicious. I shouldn’t have been surprised that adding cookie butter to Oreos would create such a yummy combination- but I was. The combination is such a unique flavor- and I’m not kidding you- unbelievably good!
Plus they are SUPER easy to make.
Here’s how we did it: (printable recipe available here)
INGREDIENTS: (makes about 25 cookies)
DIRECTIONS:

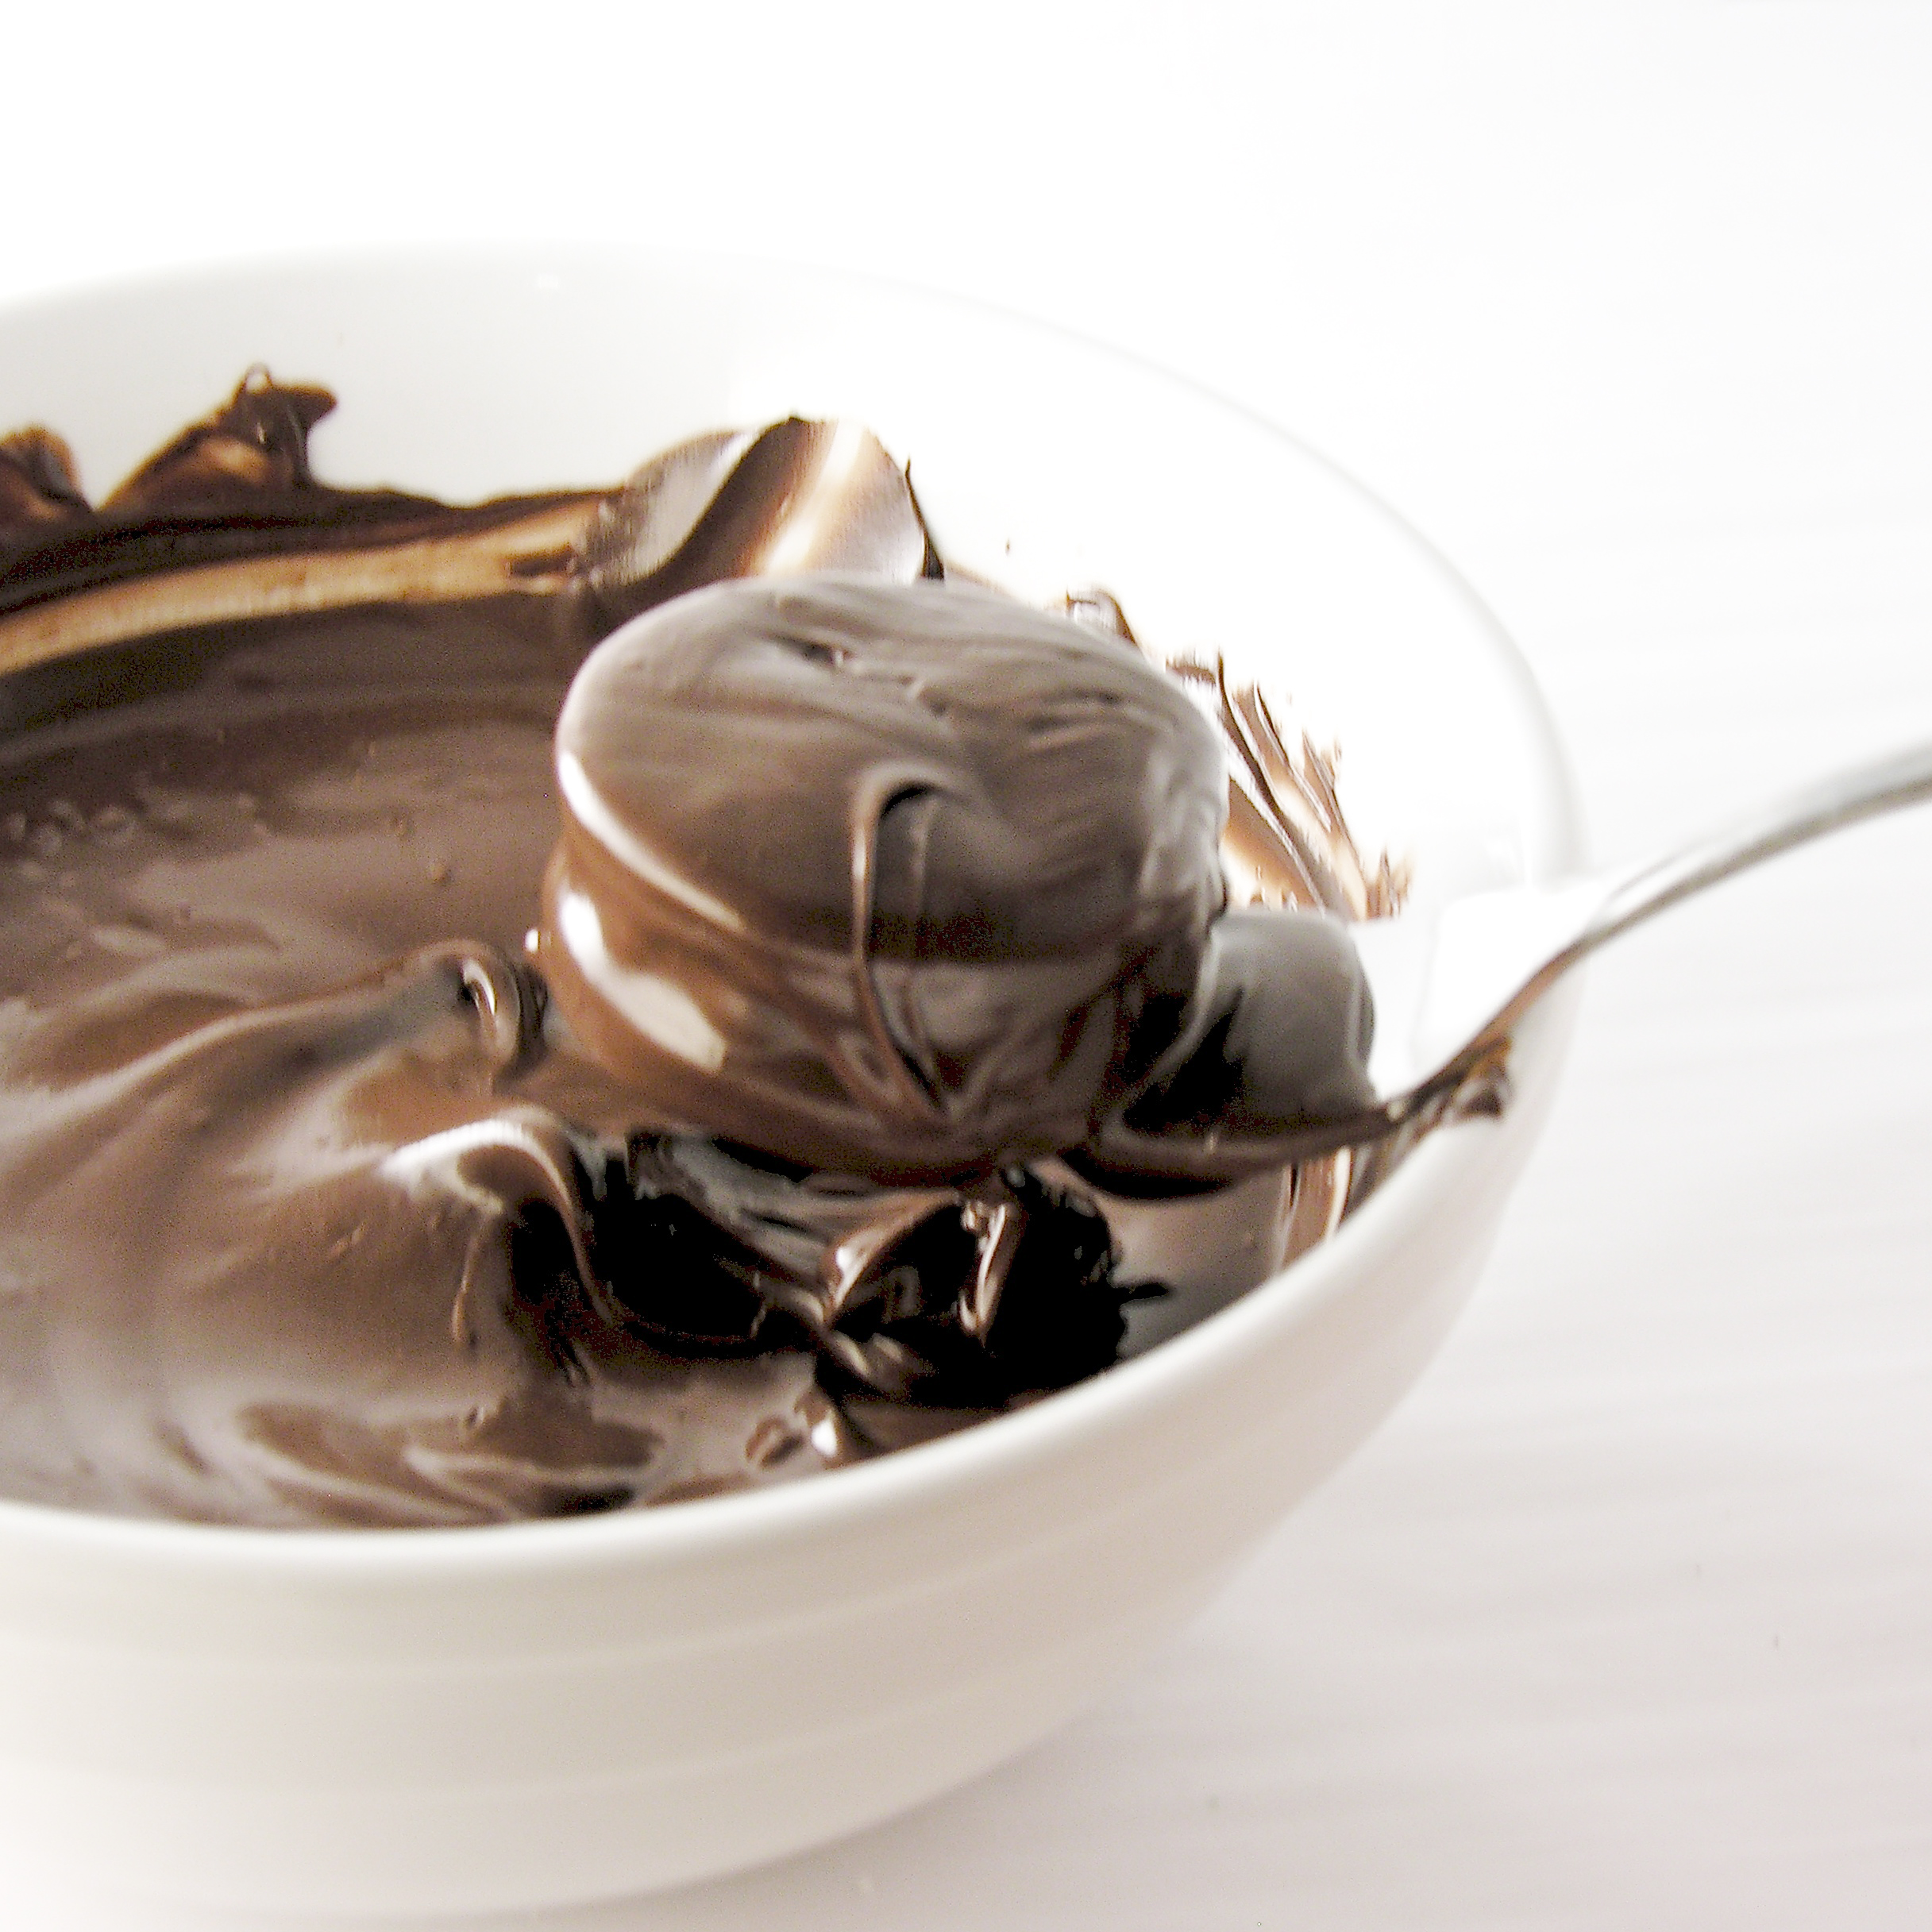
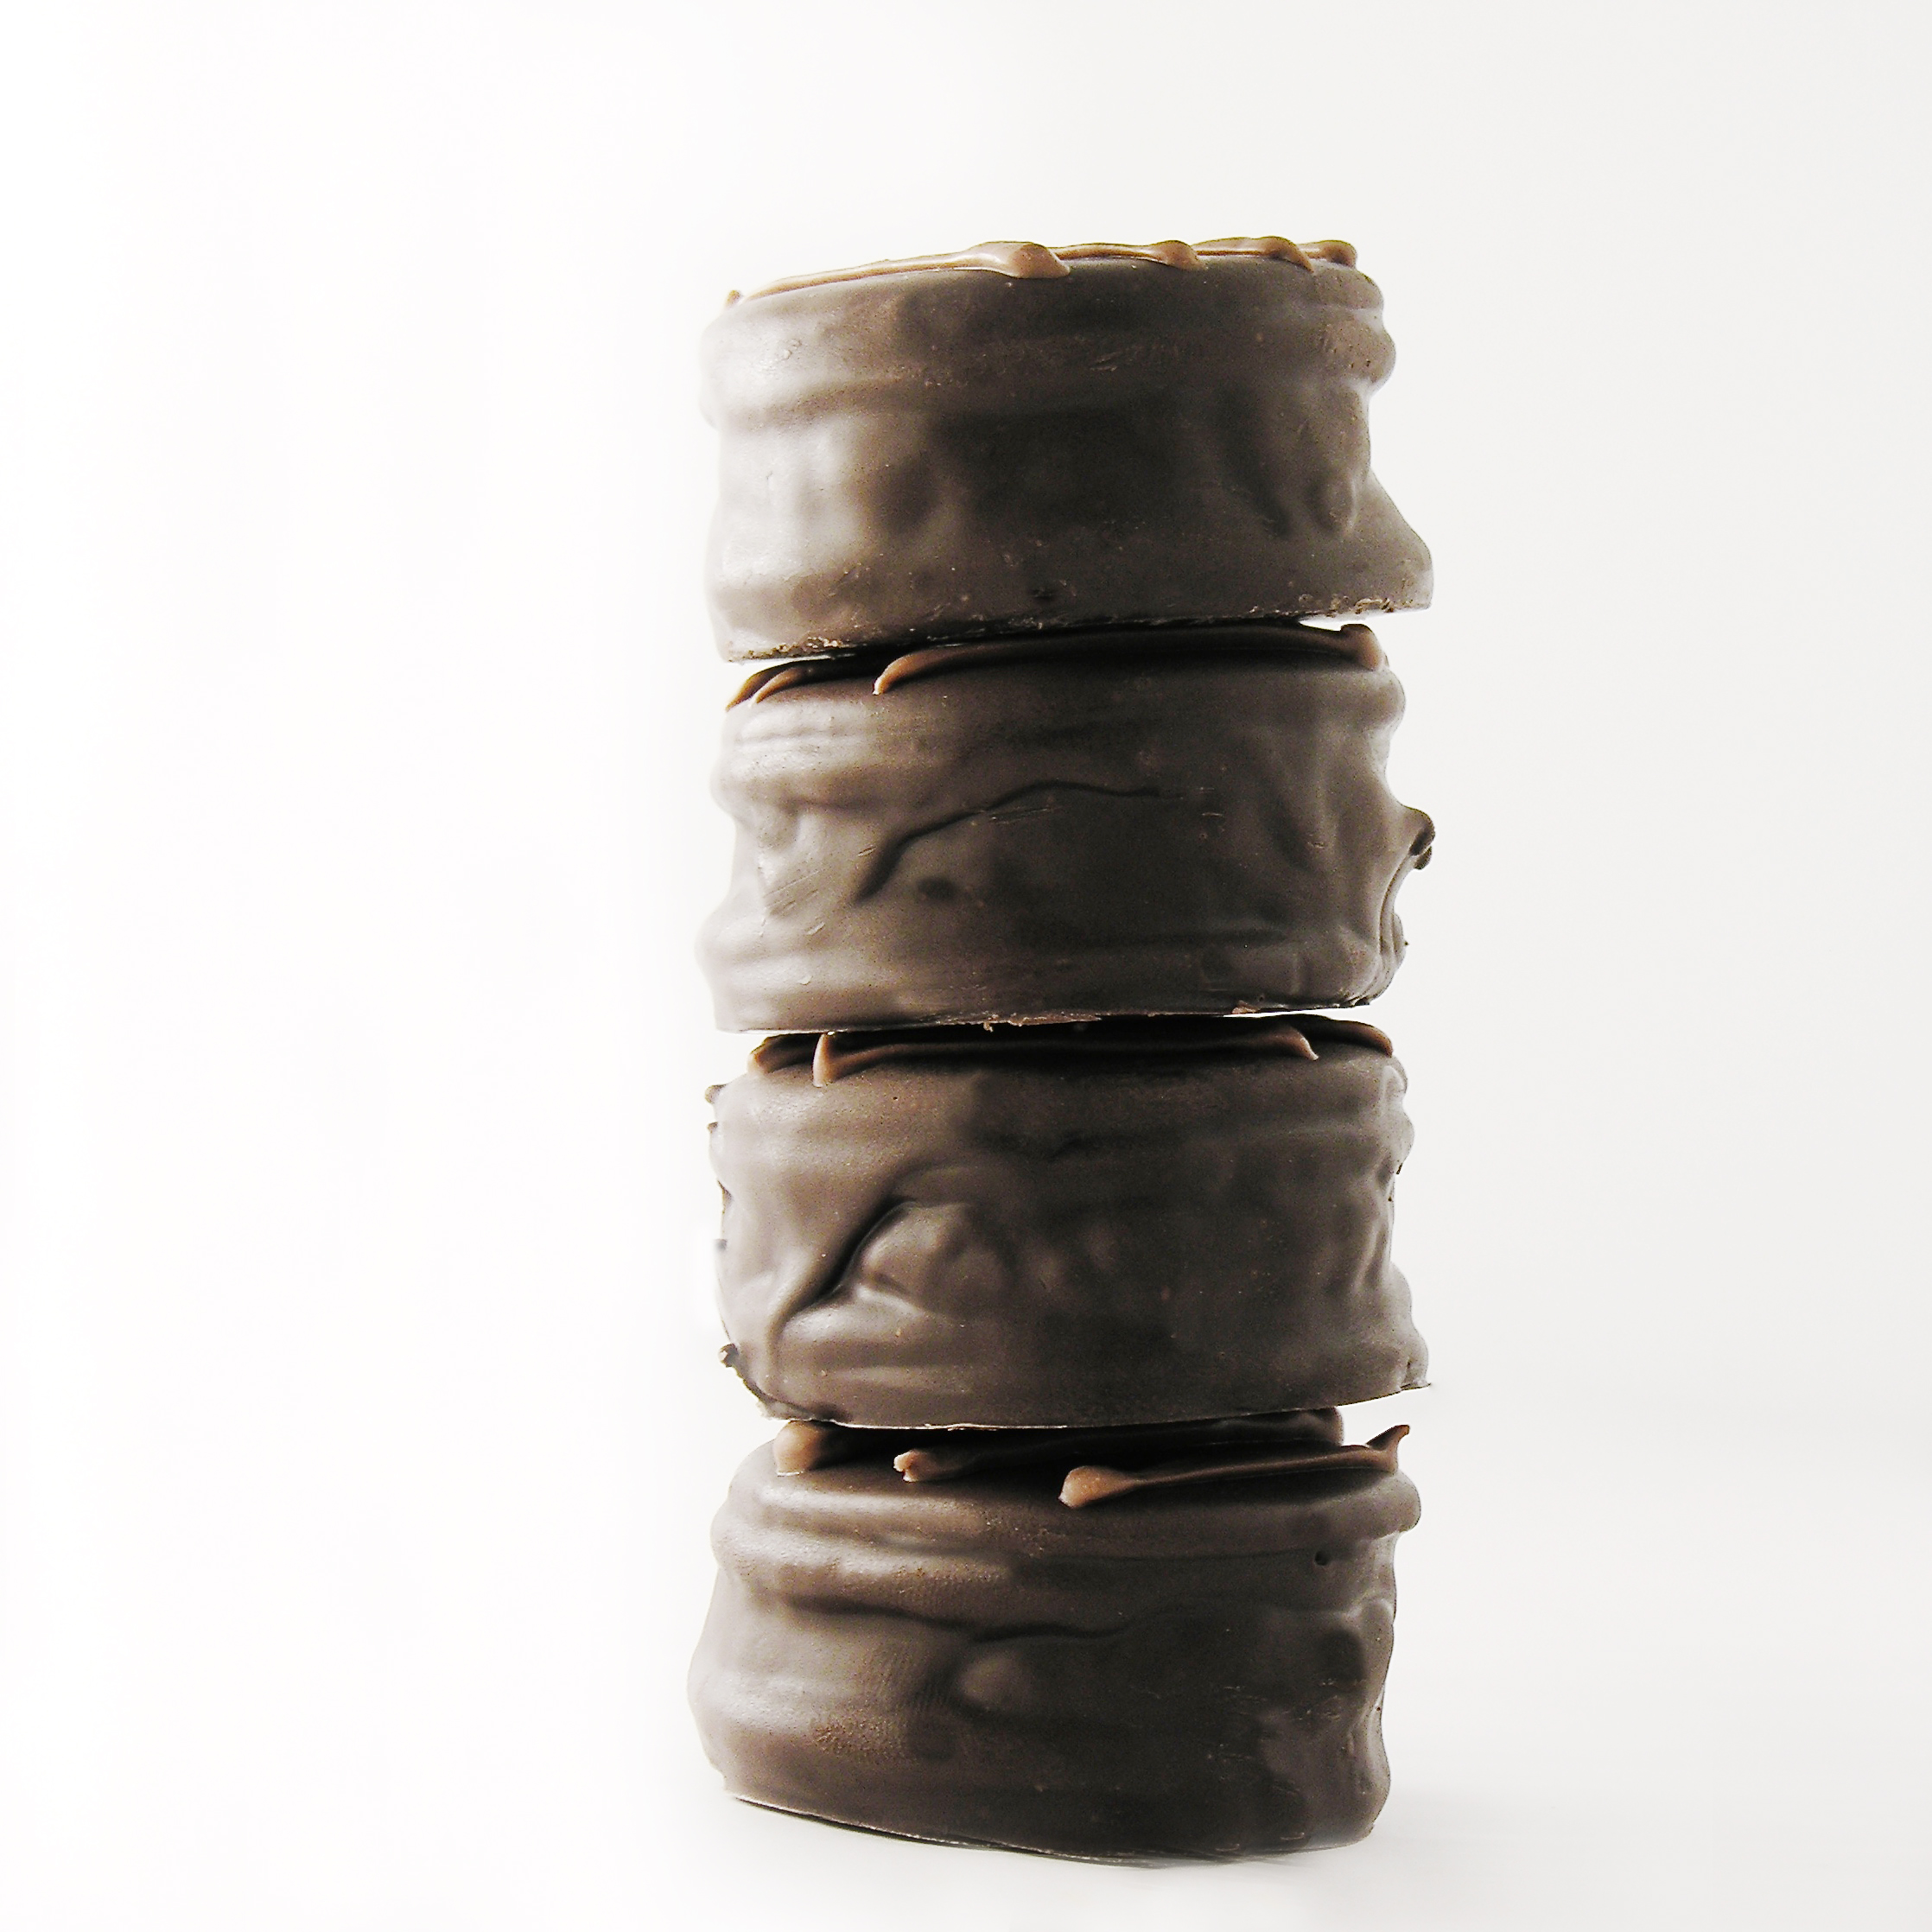
My thoughts: Mmmmmmm! These cookies were eaten up so fast- and I got back so much positive feedback on them- everyone loved them! The only tricky part might be dipping them (if you haven’t dipped things in chocolate before). The trick is to tap off excess chocolate and to remove excess off the bottom. If you aren’t feeling confident in your dipping skills, try just dipping half of the cookie and leaving half of that yummy cookie butter visible! I hope you get a chance to try these!!! Enjoy!! ~R
More delicious Oreo ideas! (Click on a photo to see the recipe)


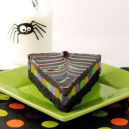
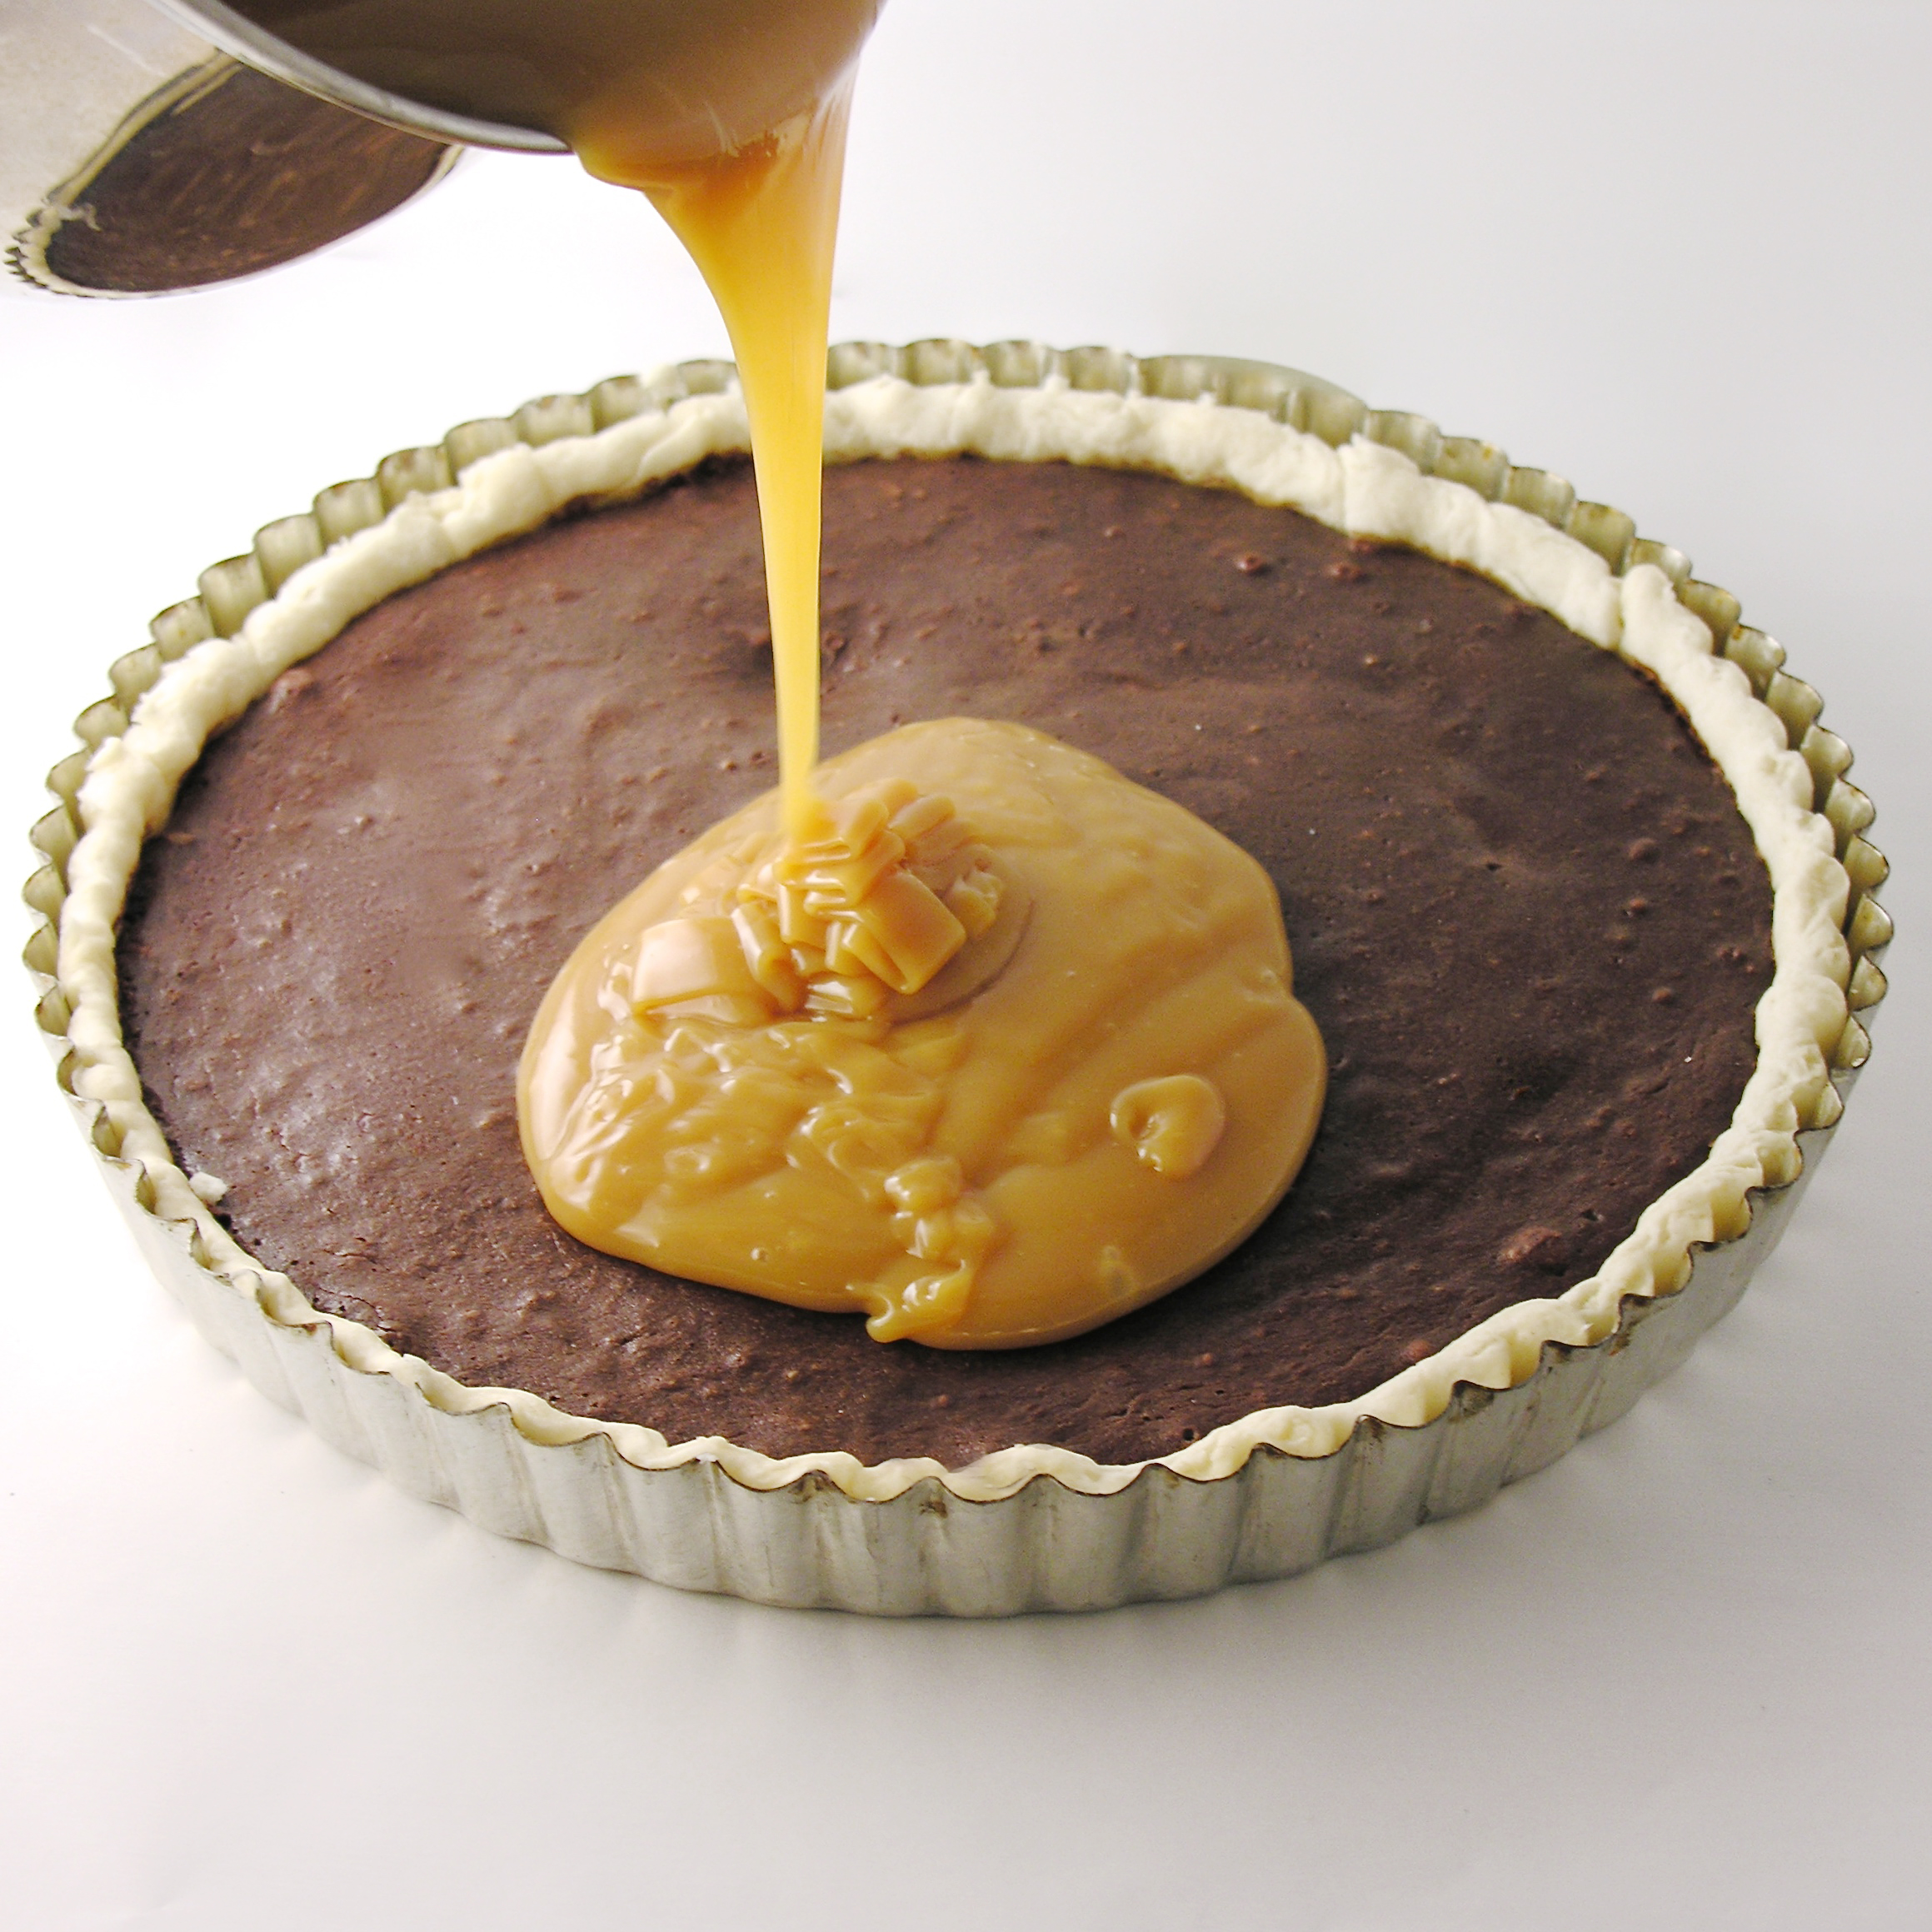
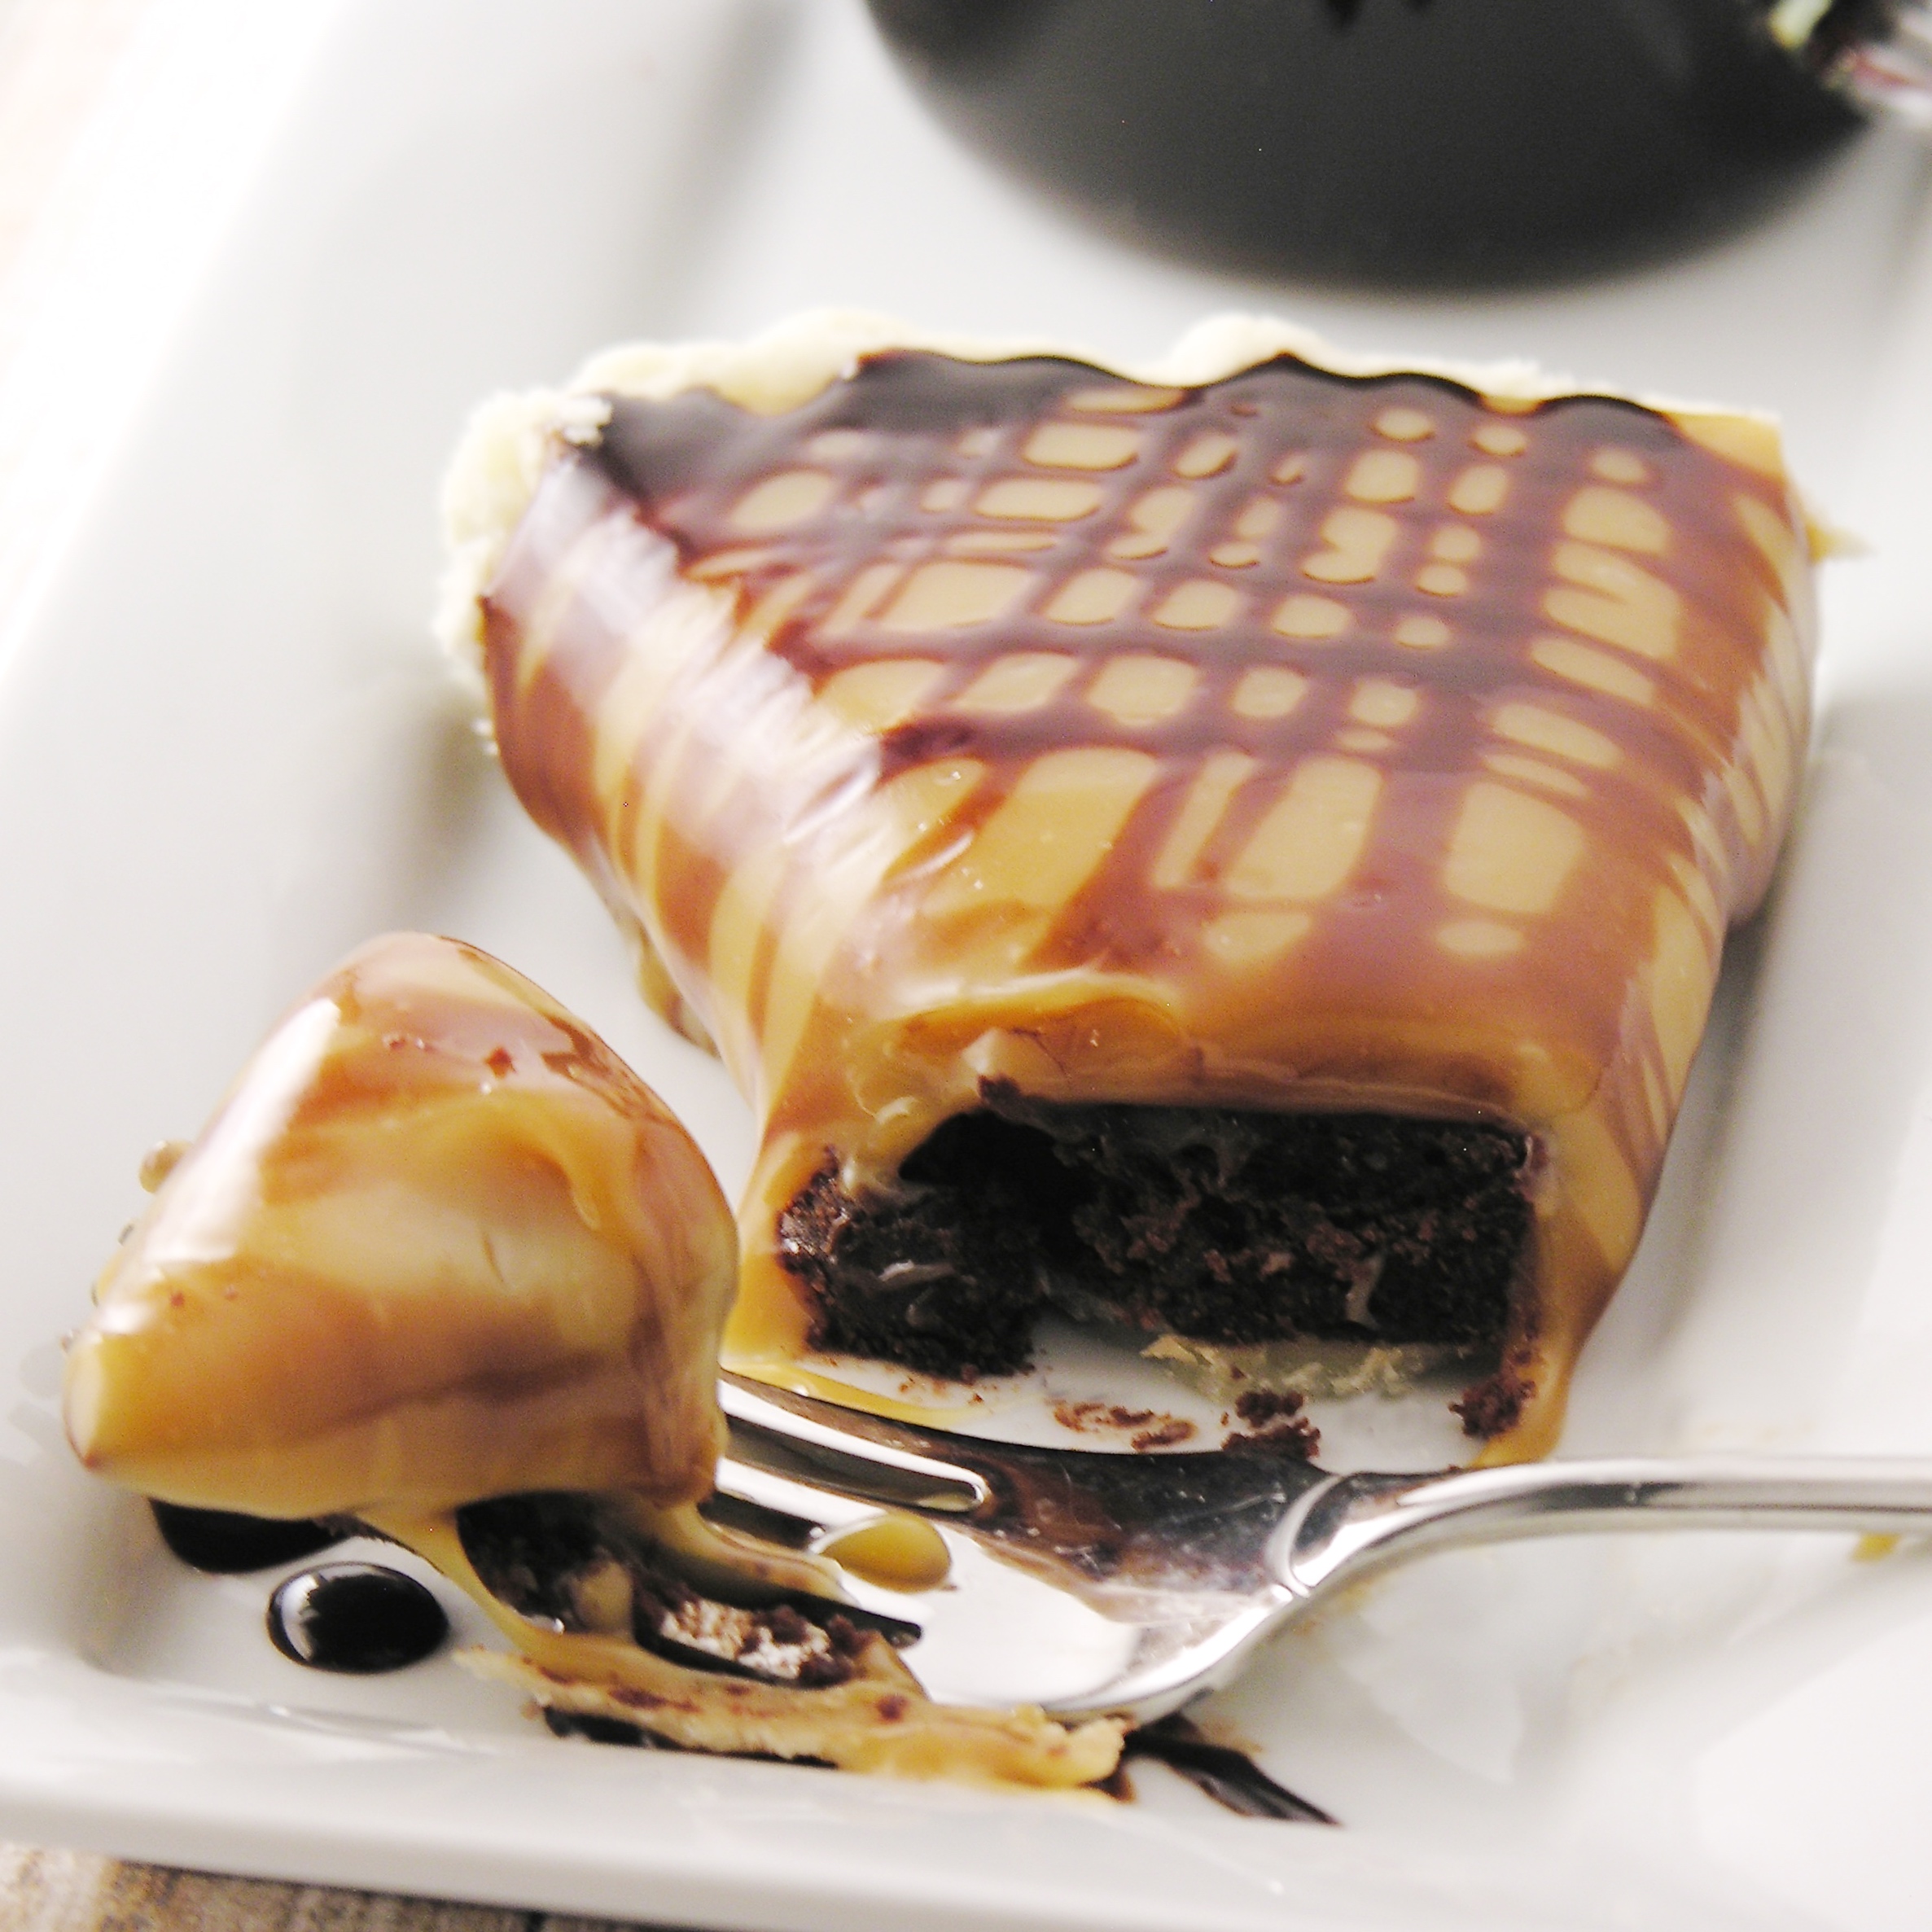
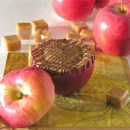
A dense, dark chocolate tart covered in creamy, salted caramel sauce. Salty, sweet, and rich dessert flavors!!!!
This recipe is a combination of some of my favorite elements from other desserts. The chocolate tart is the perfect base for just about any topping. You can adjust it from dark to milk chocolate just by swapping out the type of chocolate you add. The caramel sauce is my go-to sauce for so many recipes. It’s not from-scratch, but it is honestly better (and soooo much easier)!

That caramel layer does firm up after being chilled- but I wanted to cut into this right away- so these pictures show it in all of the gooey happiness that happens just after baking. Yum!
Here’s how we made this tart: (printable recipe here)
INGREDIENTS:
DIRECTIONS:

My thoughts: Straight up delicious. The sweet caramel has a little bite of salt and that dark chocolate tart is the perfect balance to the sweet. I love the textures of this dessert. The chocolate is so dense and creamy, and the caramel is so soft. This is just “one of those” desserts. The kind you think about long after the last bite. This tart was given away last weekend to friends, and these pictures are killing me… I wish I had another piece right now…! Enjoy this one, friends!!! ~r
More caramel happiness here at Easybaked: (click on a photo to see the recipe)


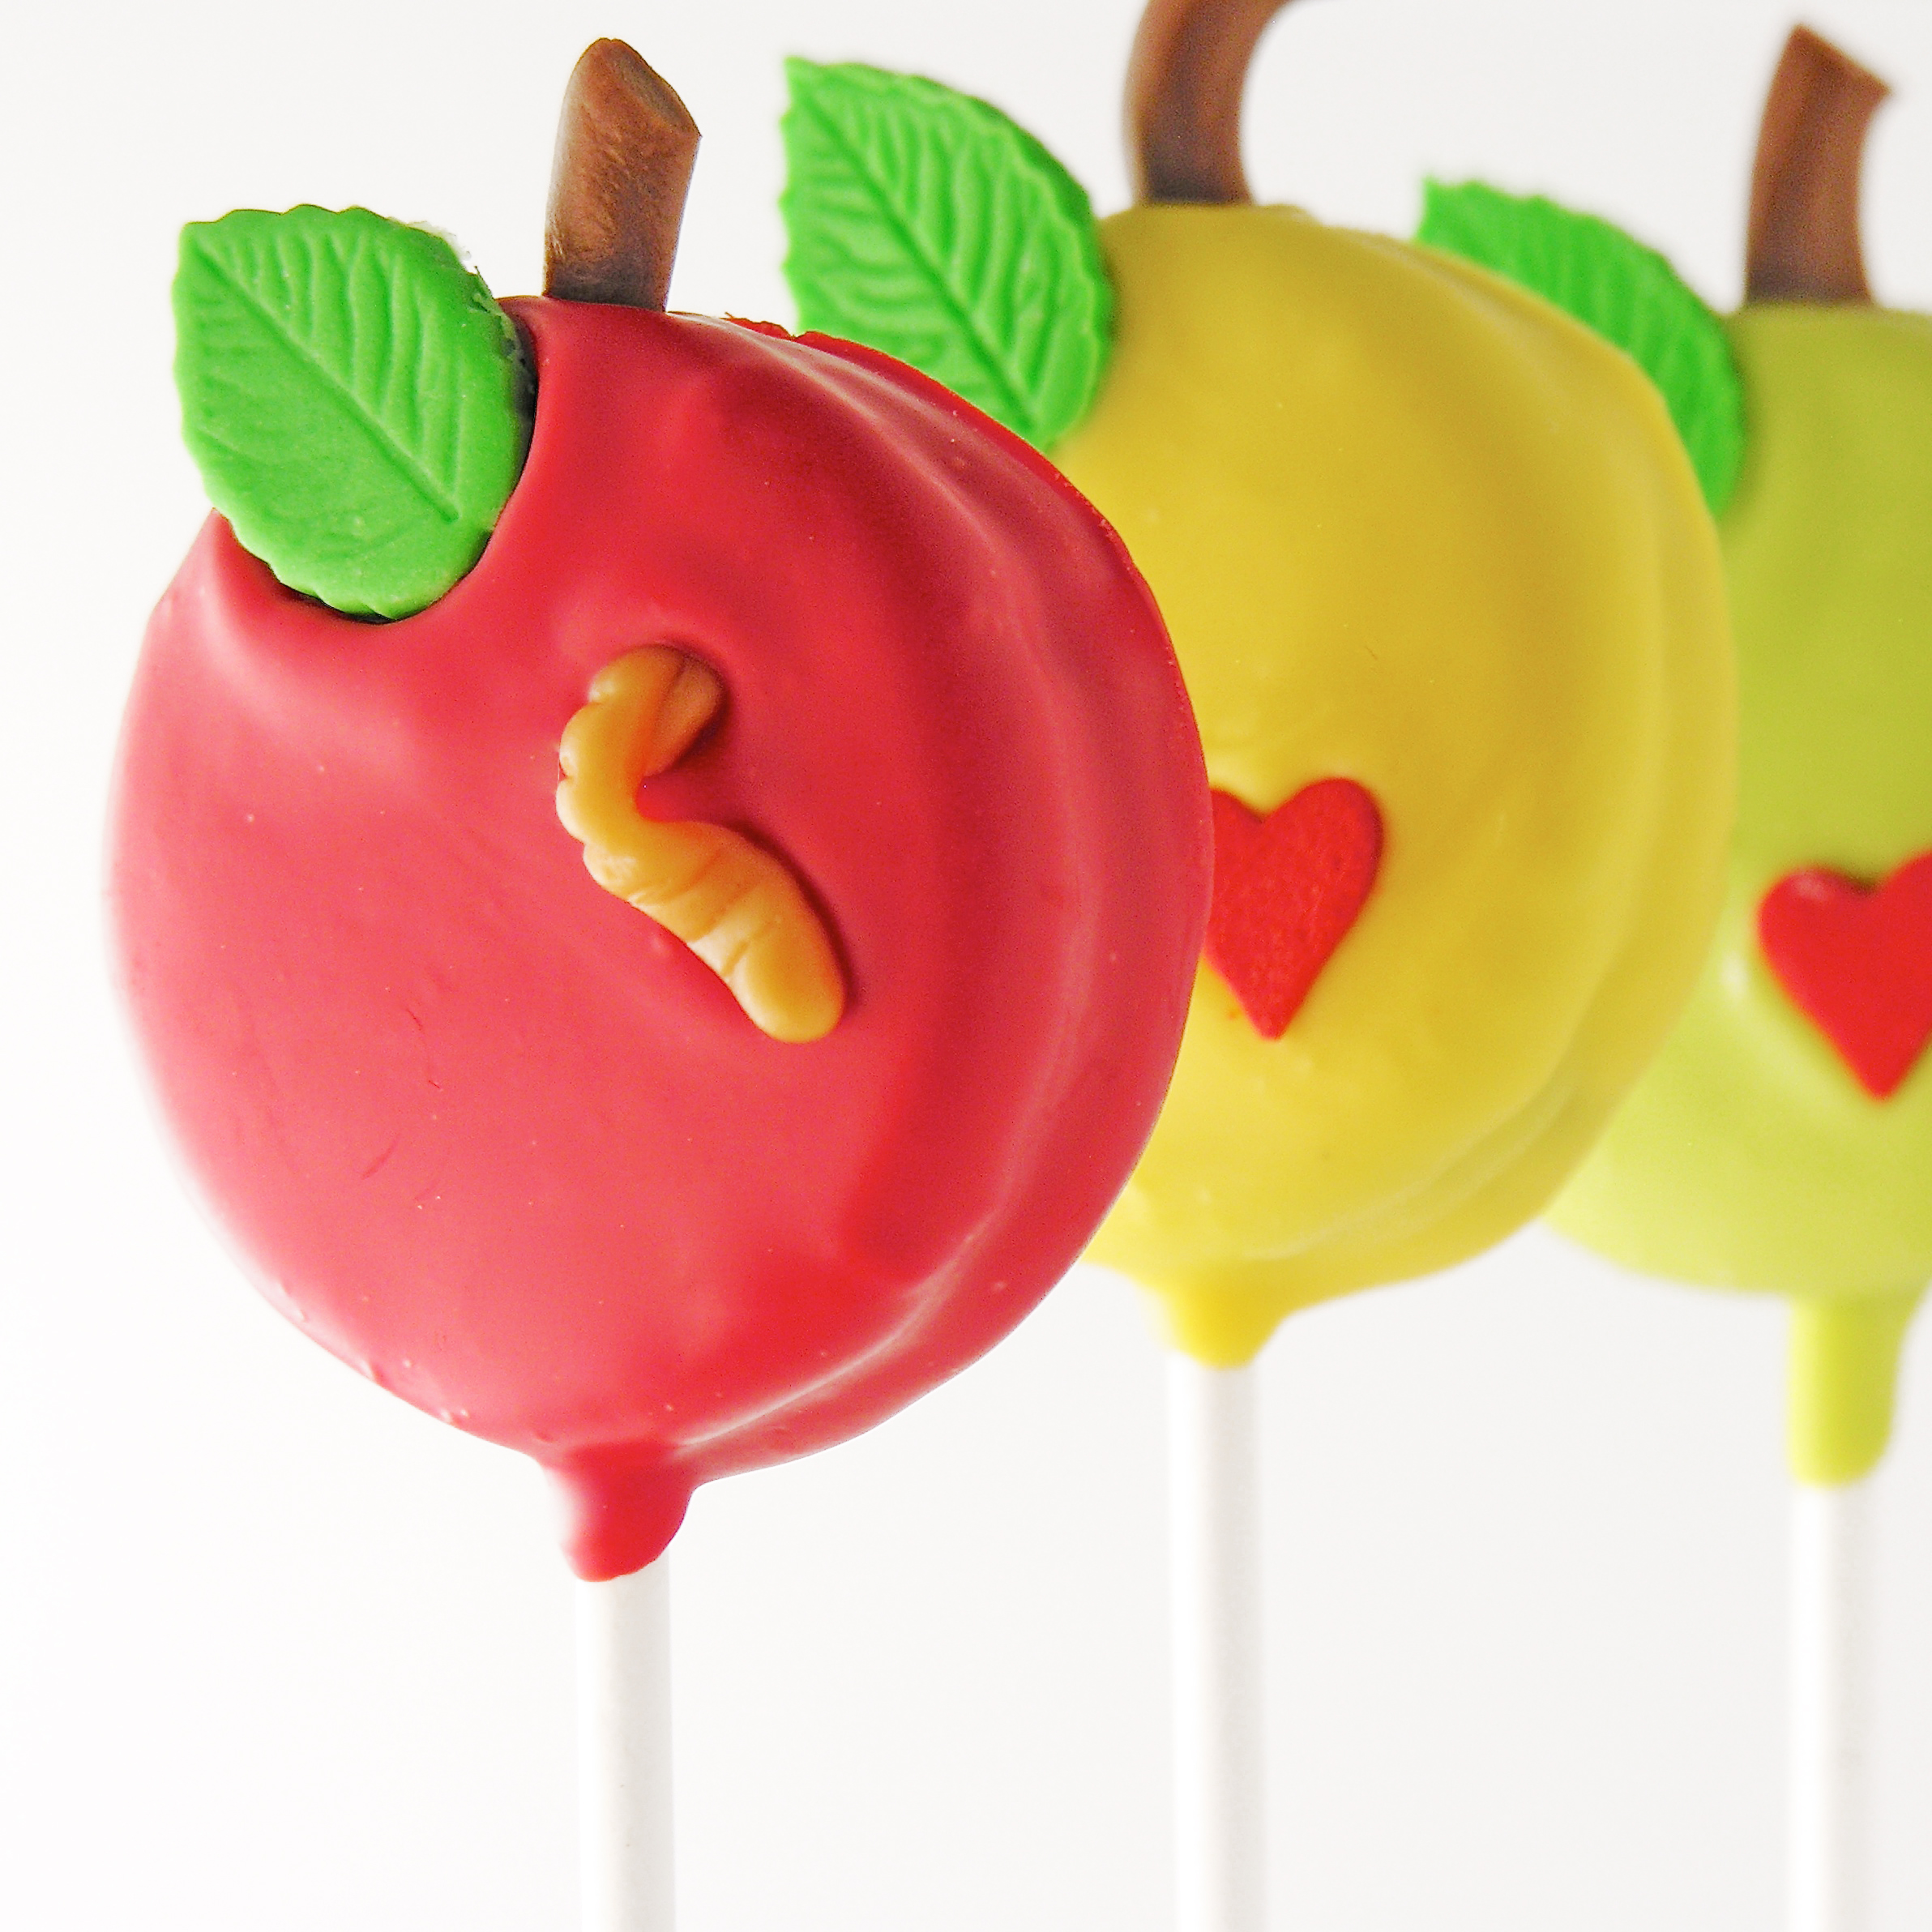
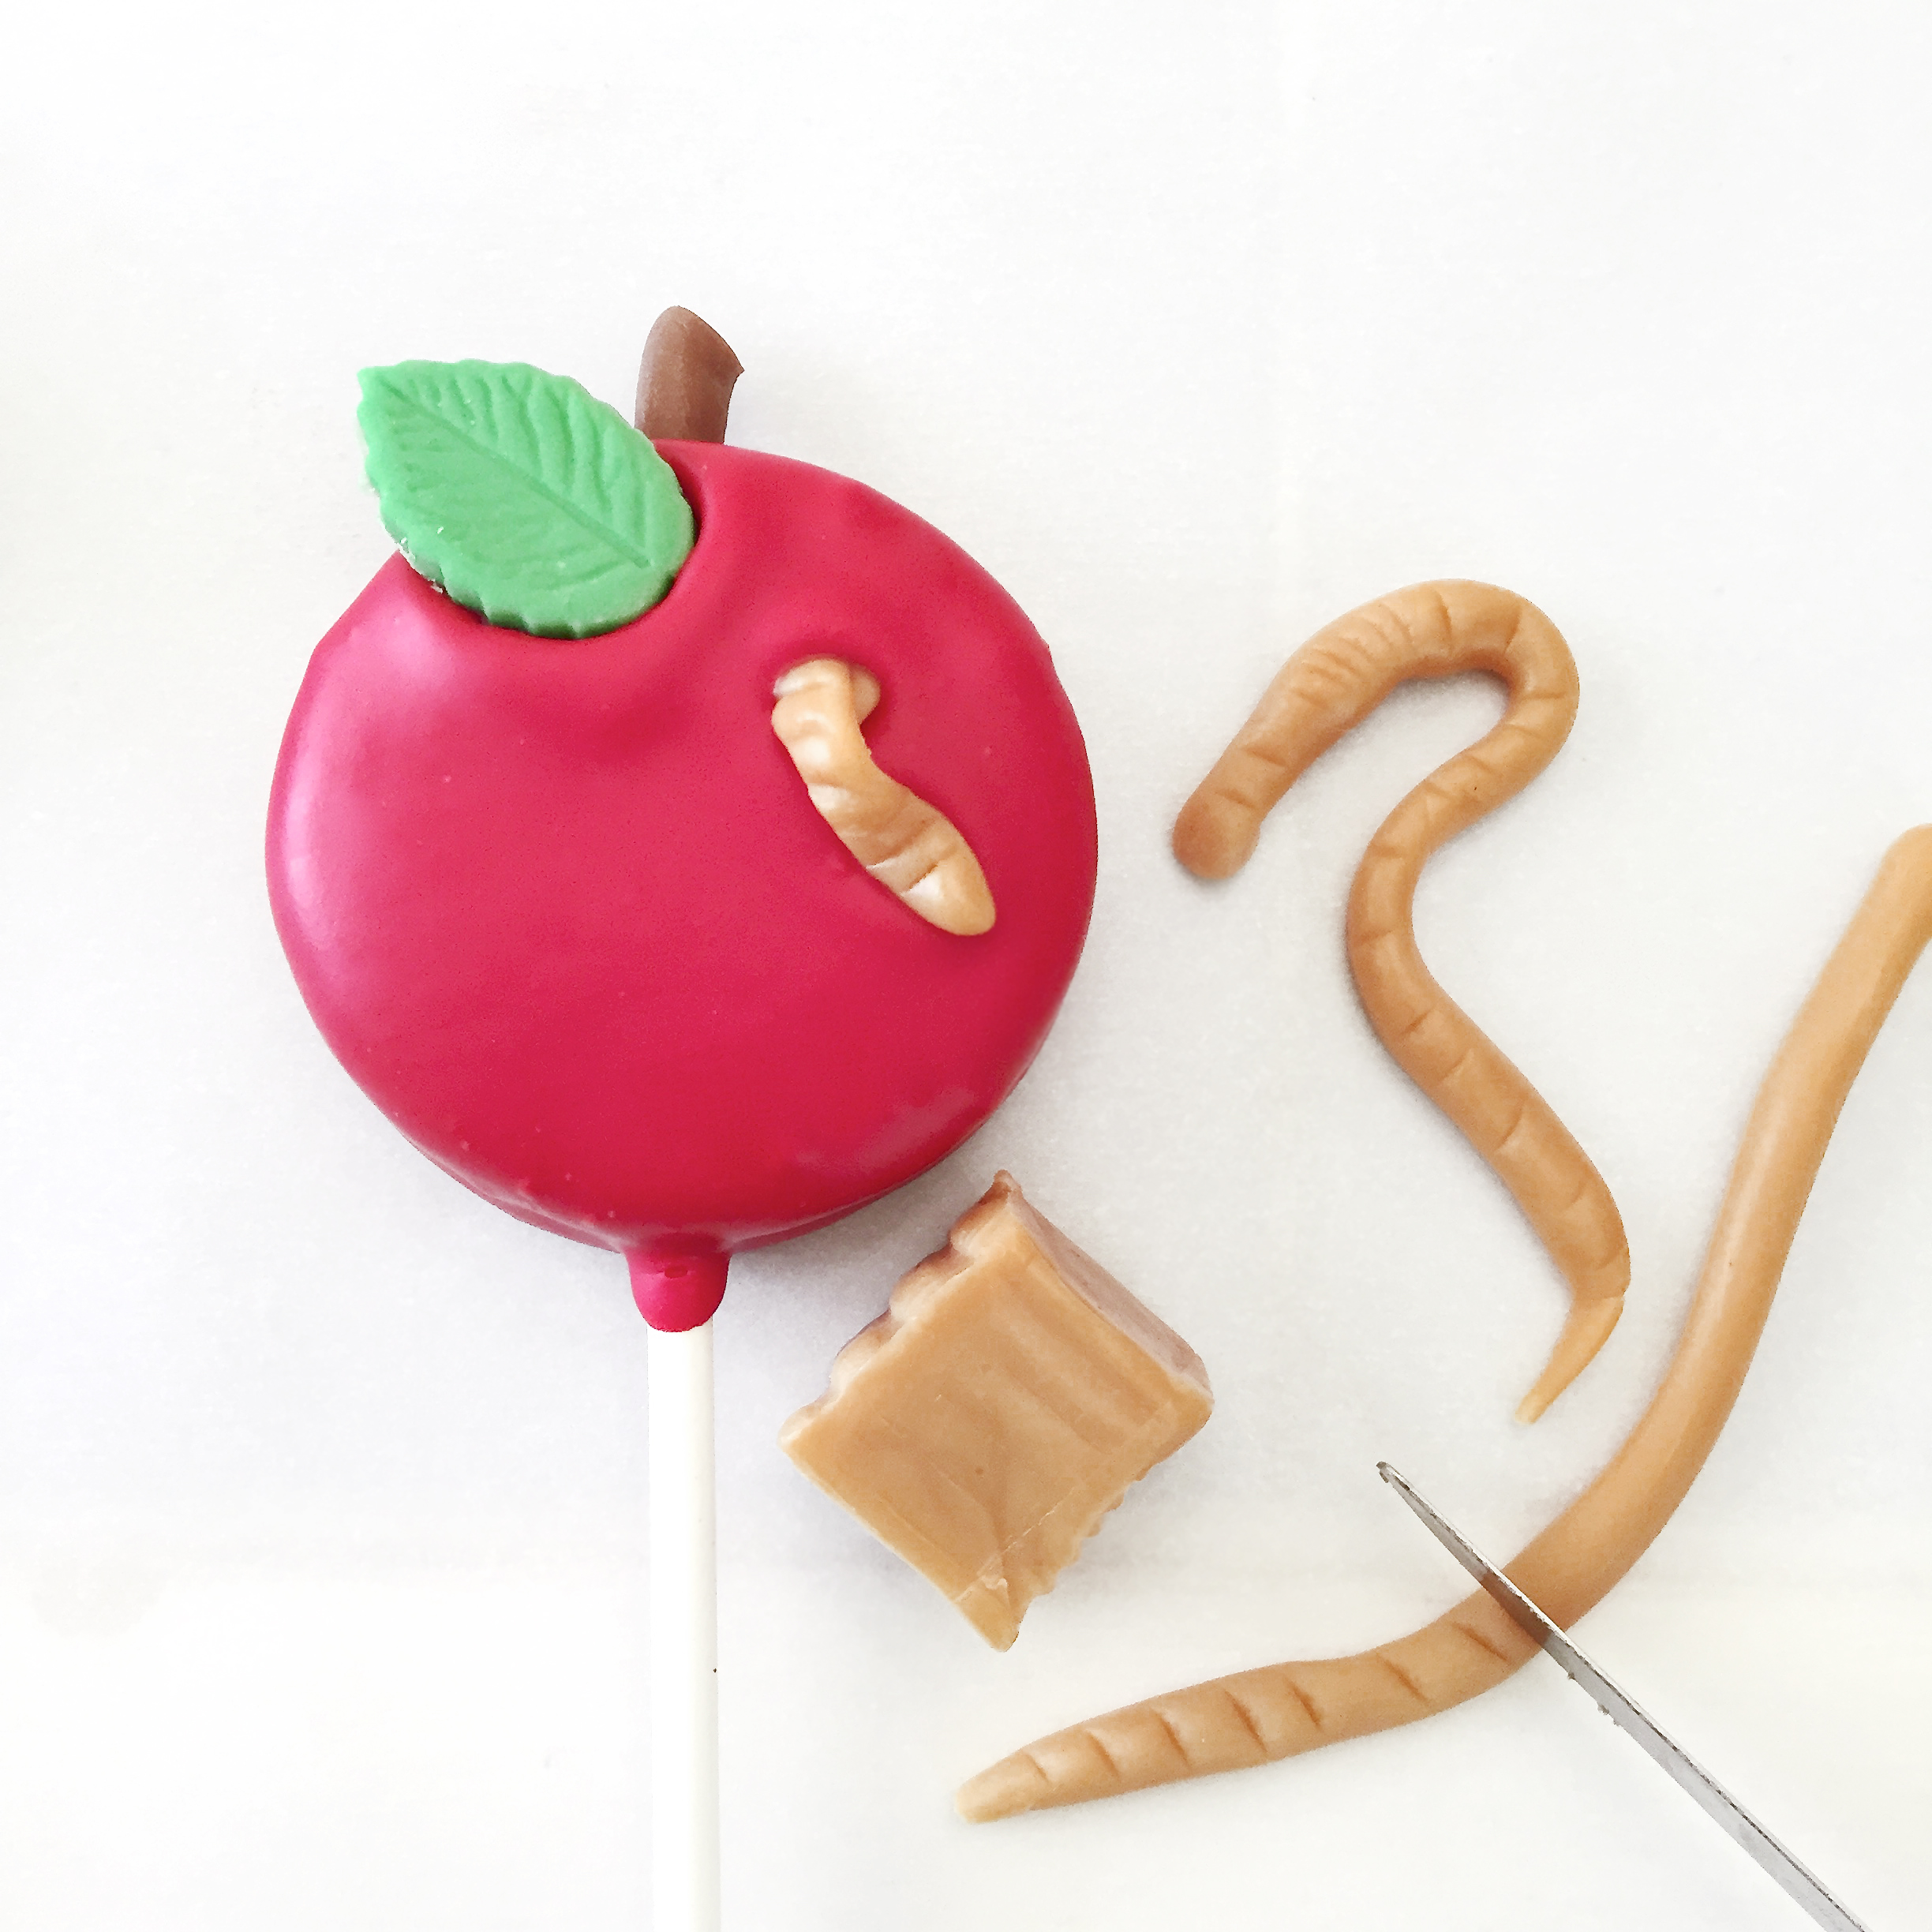
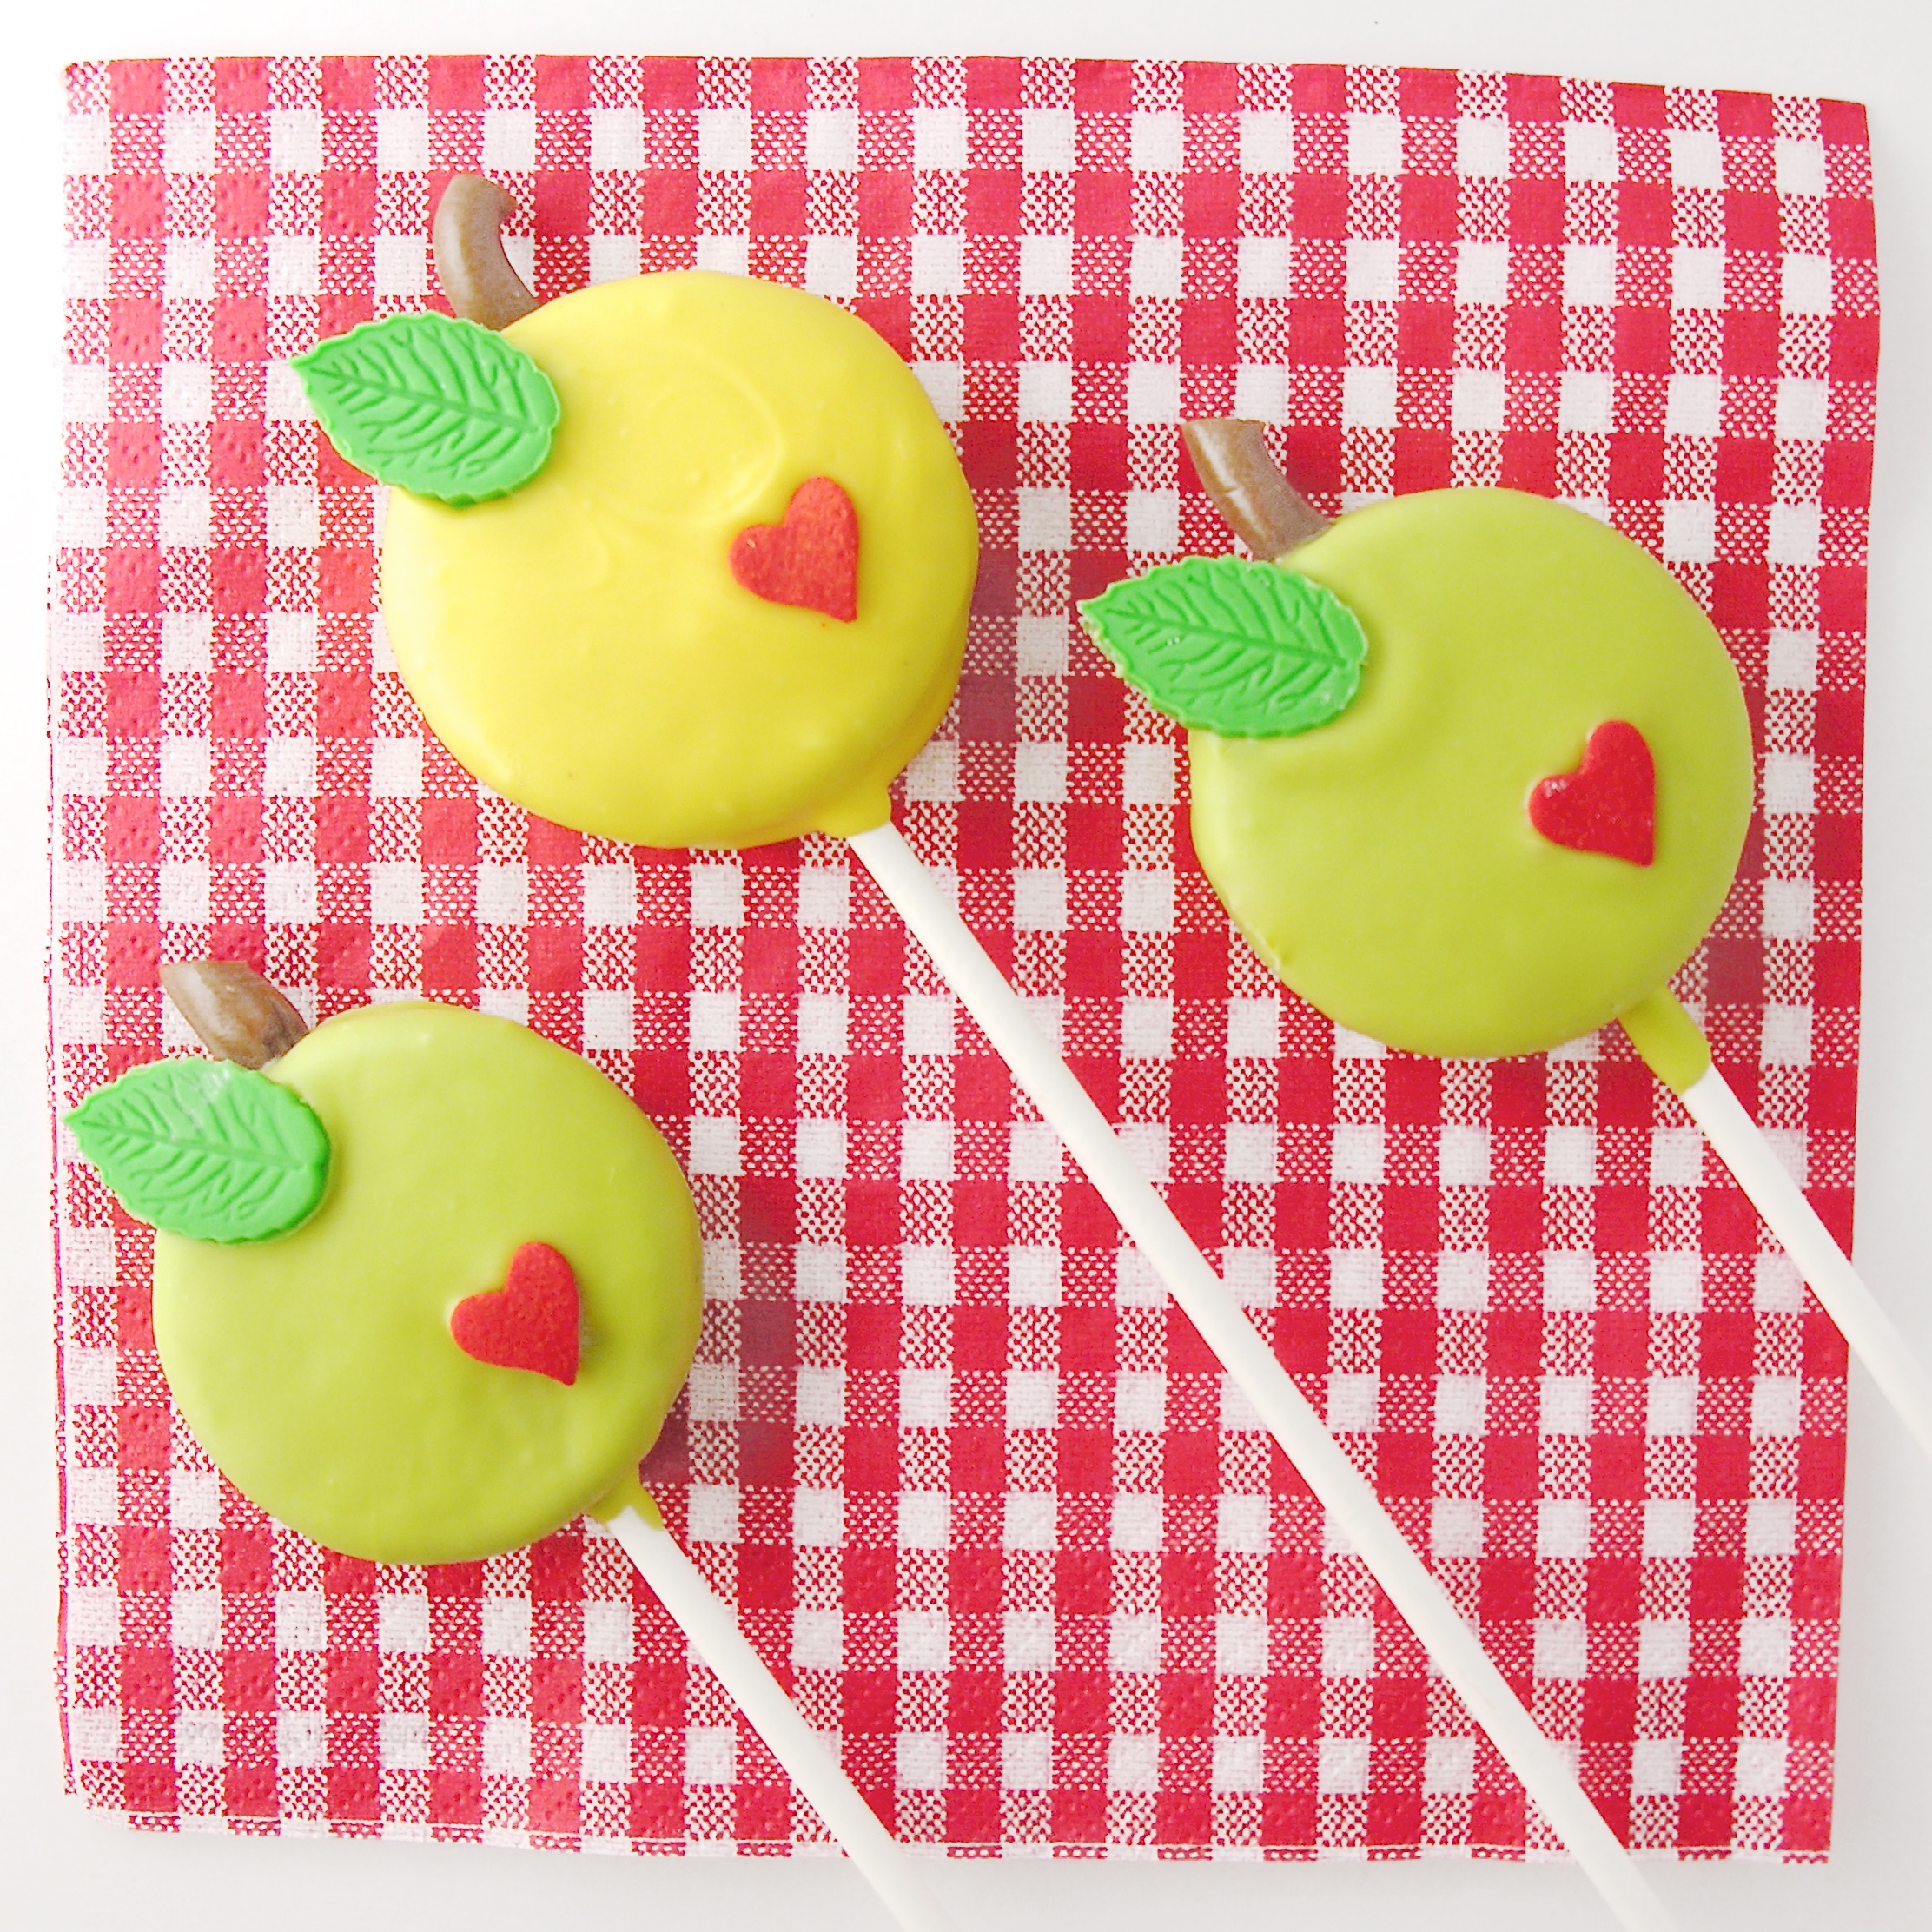
These adorable Oreo pops are a perfect back-to-school treat. Add hearts to send a little love in the lunchbox- or some worms to get a few giggles!
I hate to even say the words….but fall is coming. I love summer so much, that when I start to see school busses out on the roads I just cringe. Fall has some pretty fun foods though….! One of our family-favorites is apples. I grew up in Michigan, and we have the best fall apples. I loved trips to the orchard to get cider and doughnuts- and these little Oreo pops are perfect to kick off the fall season.

You can make them with hearts and tie them up in cello bags to send a little love…
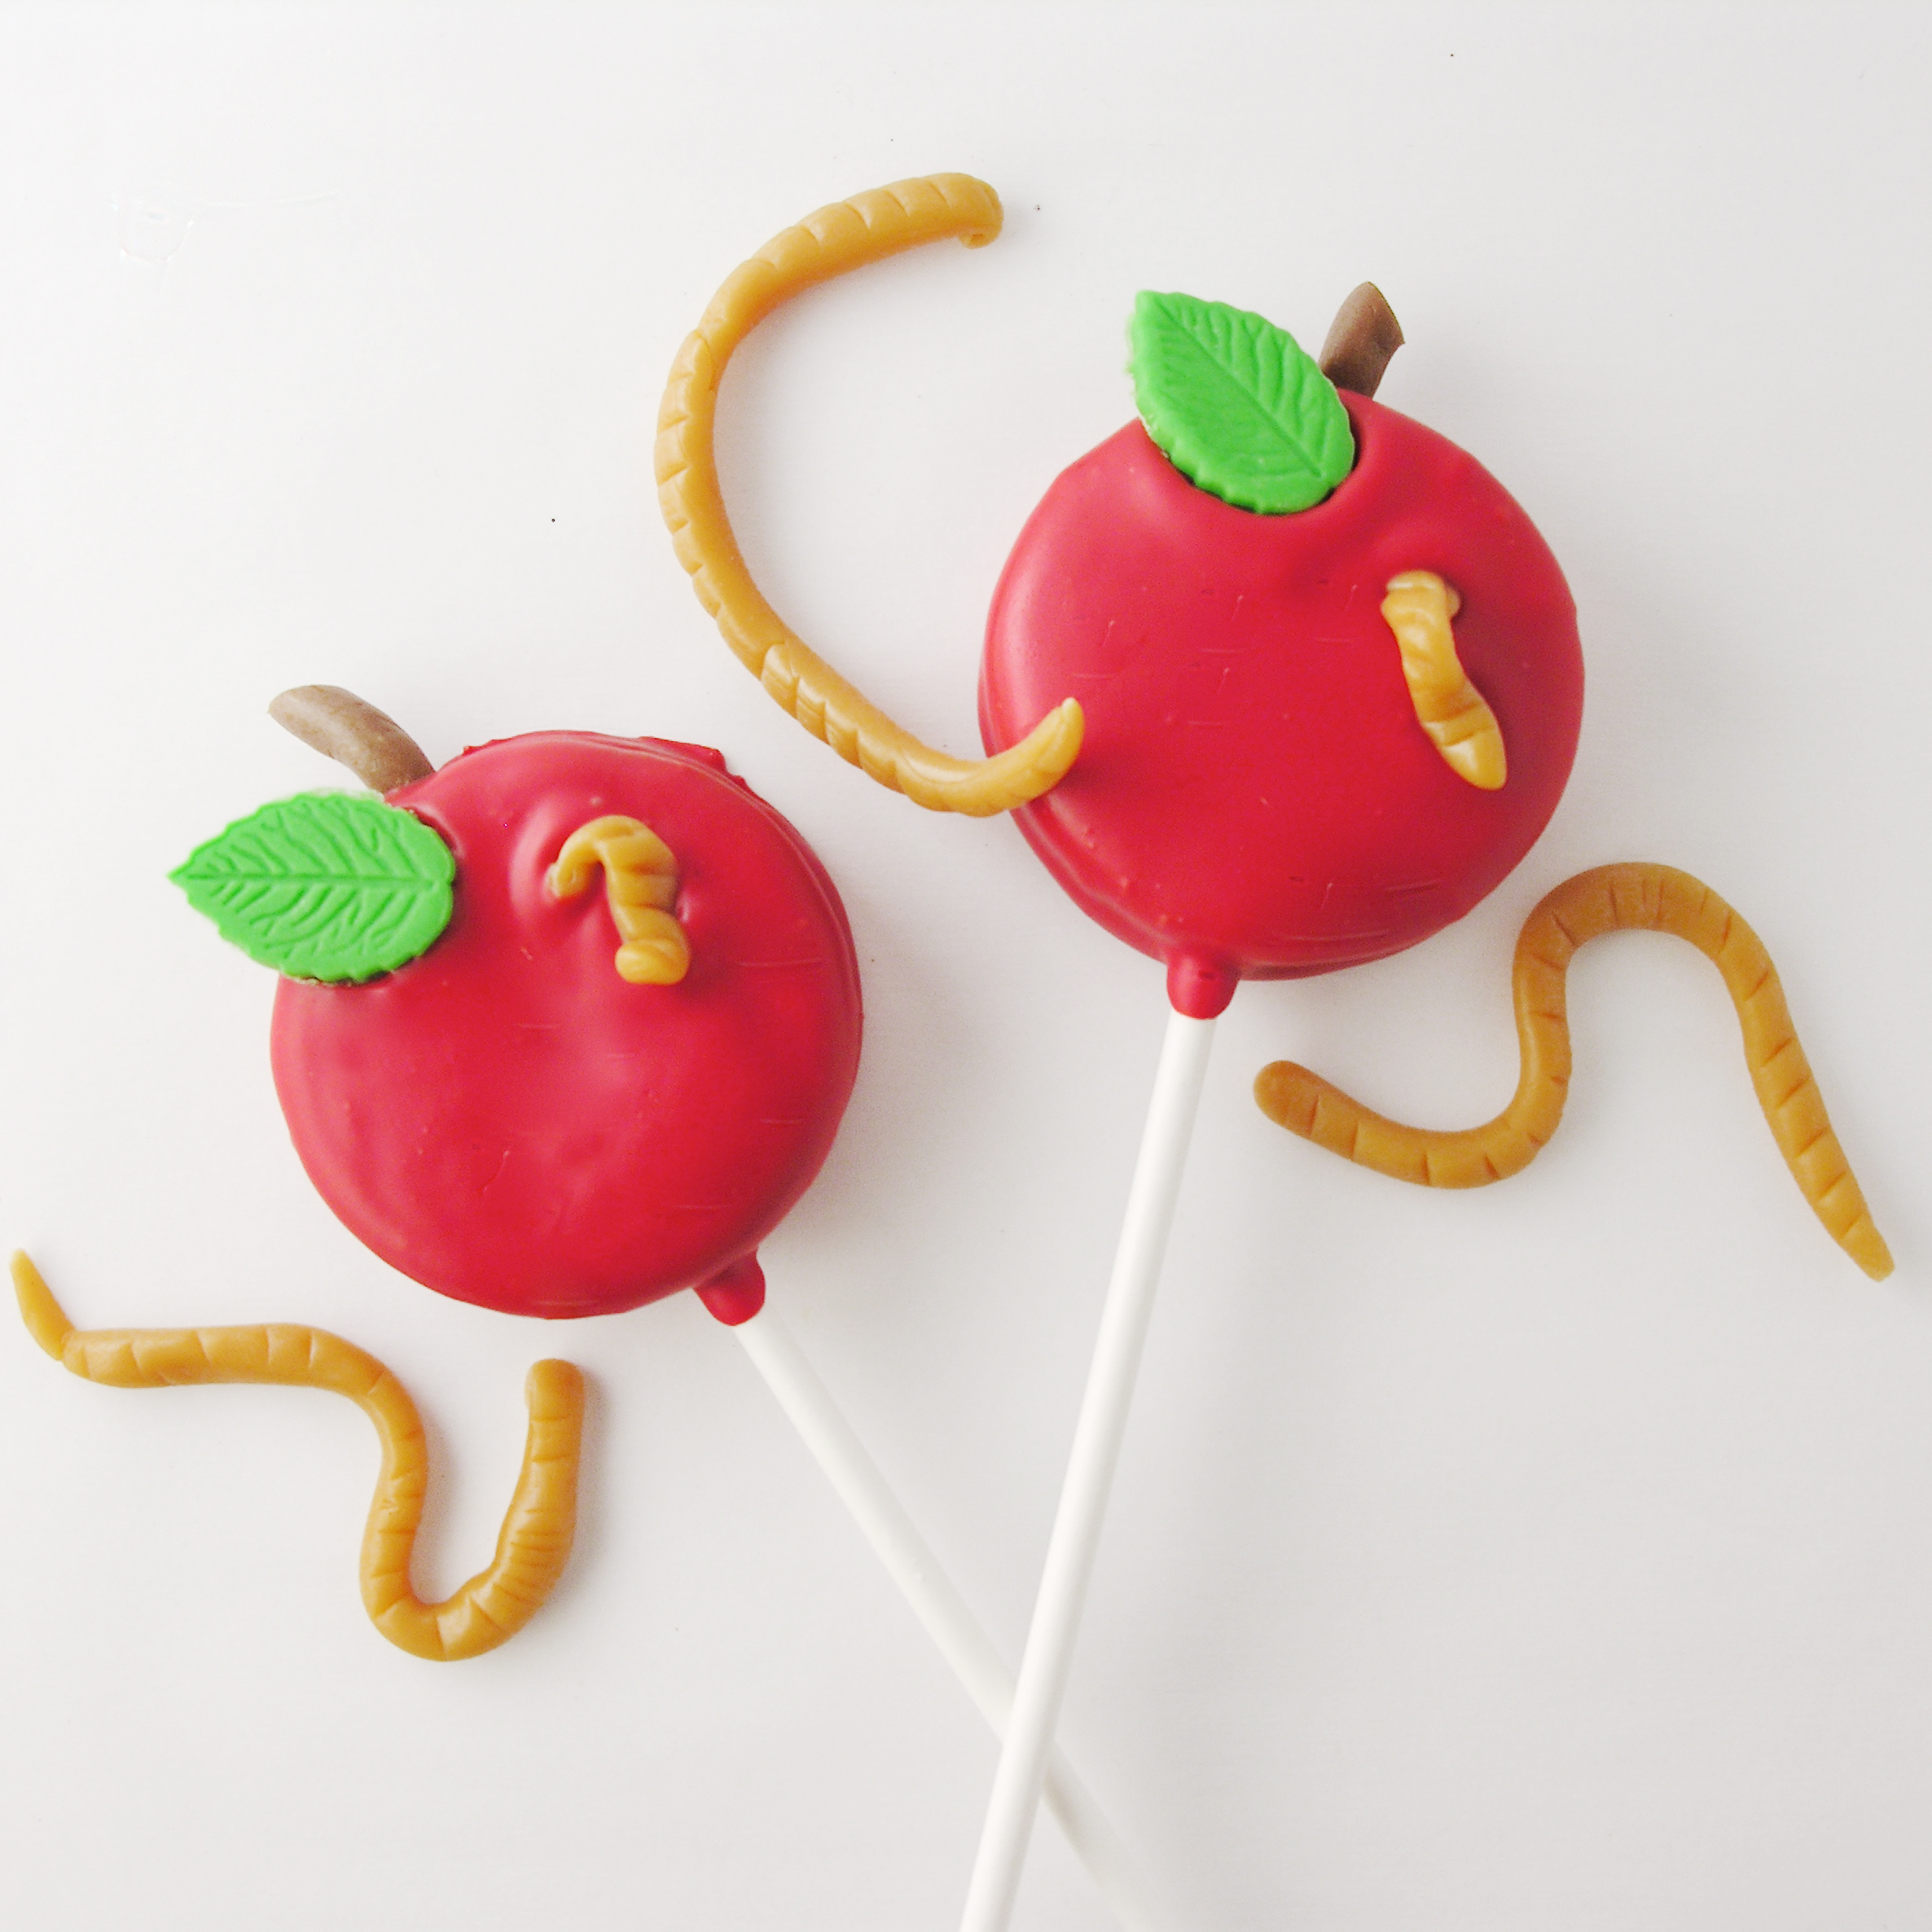
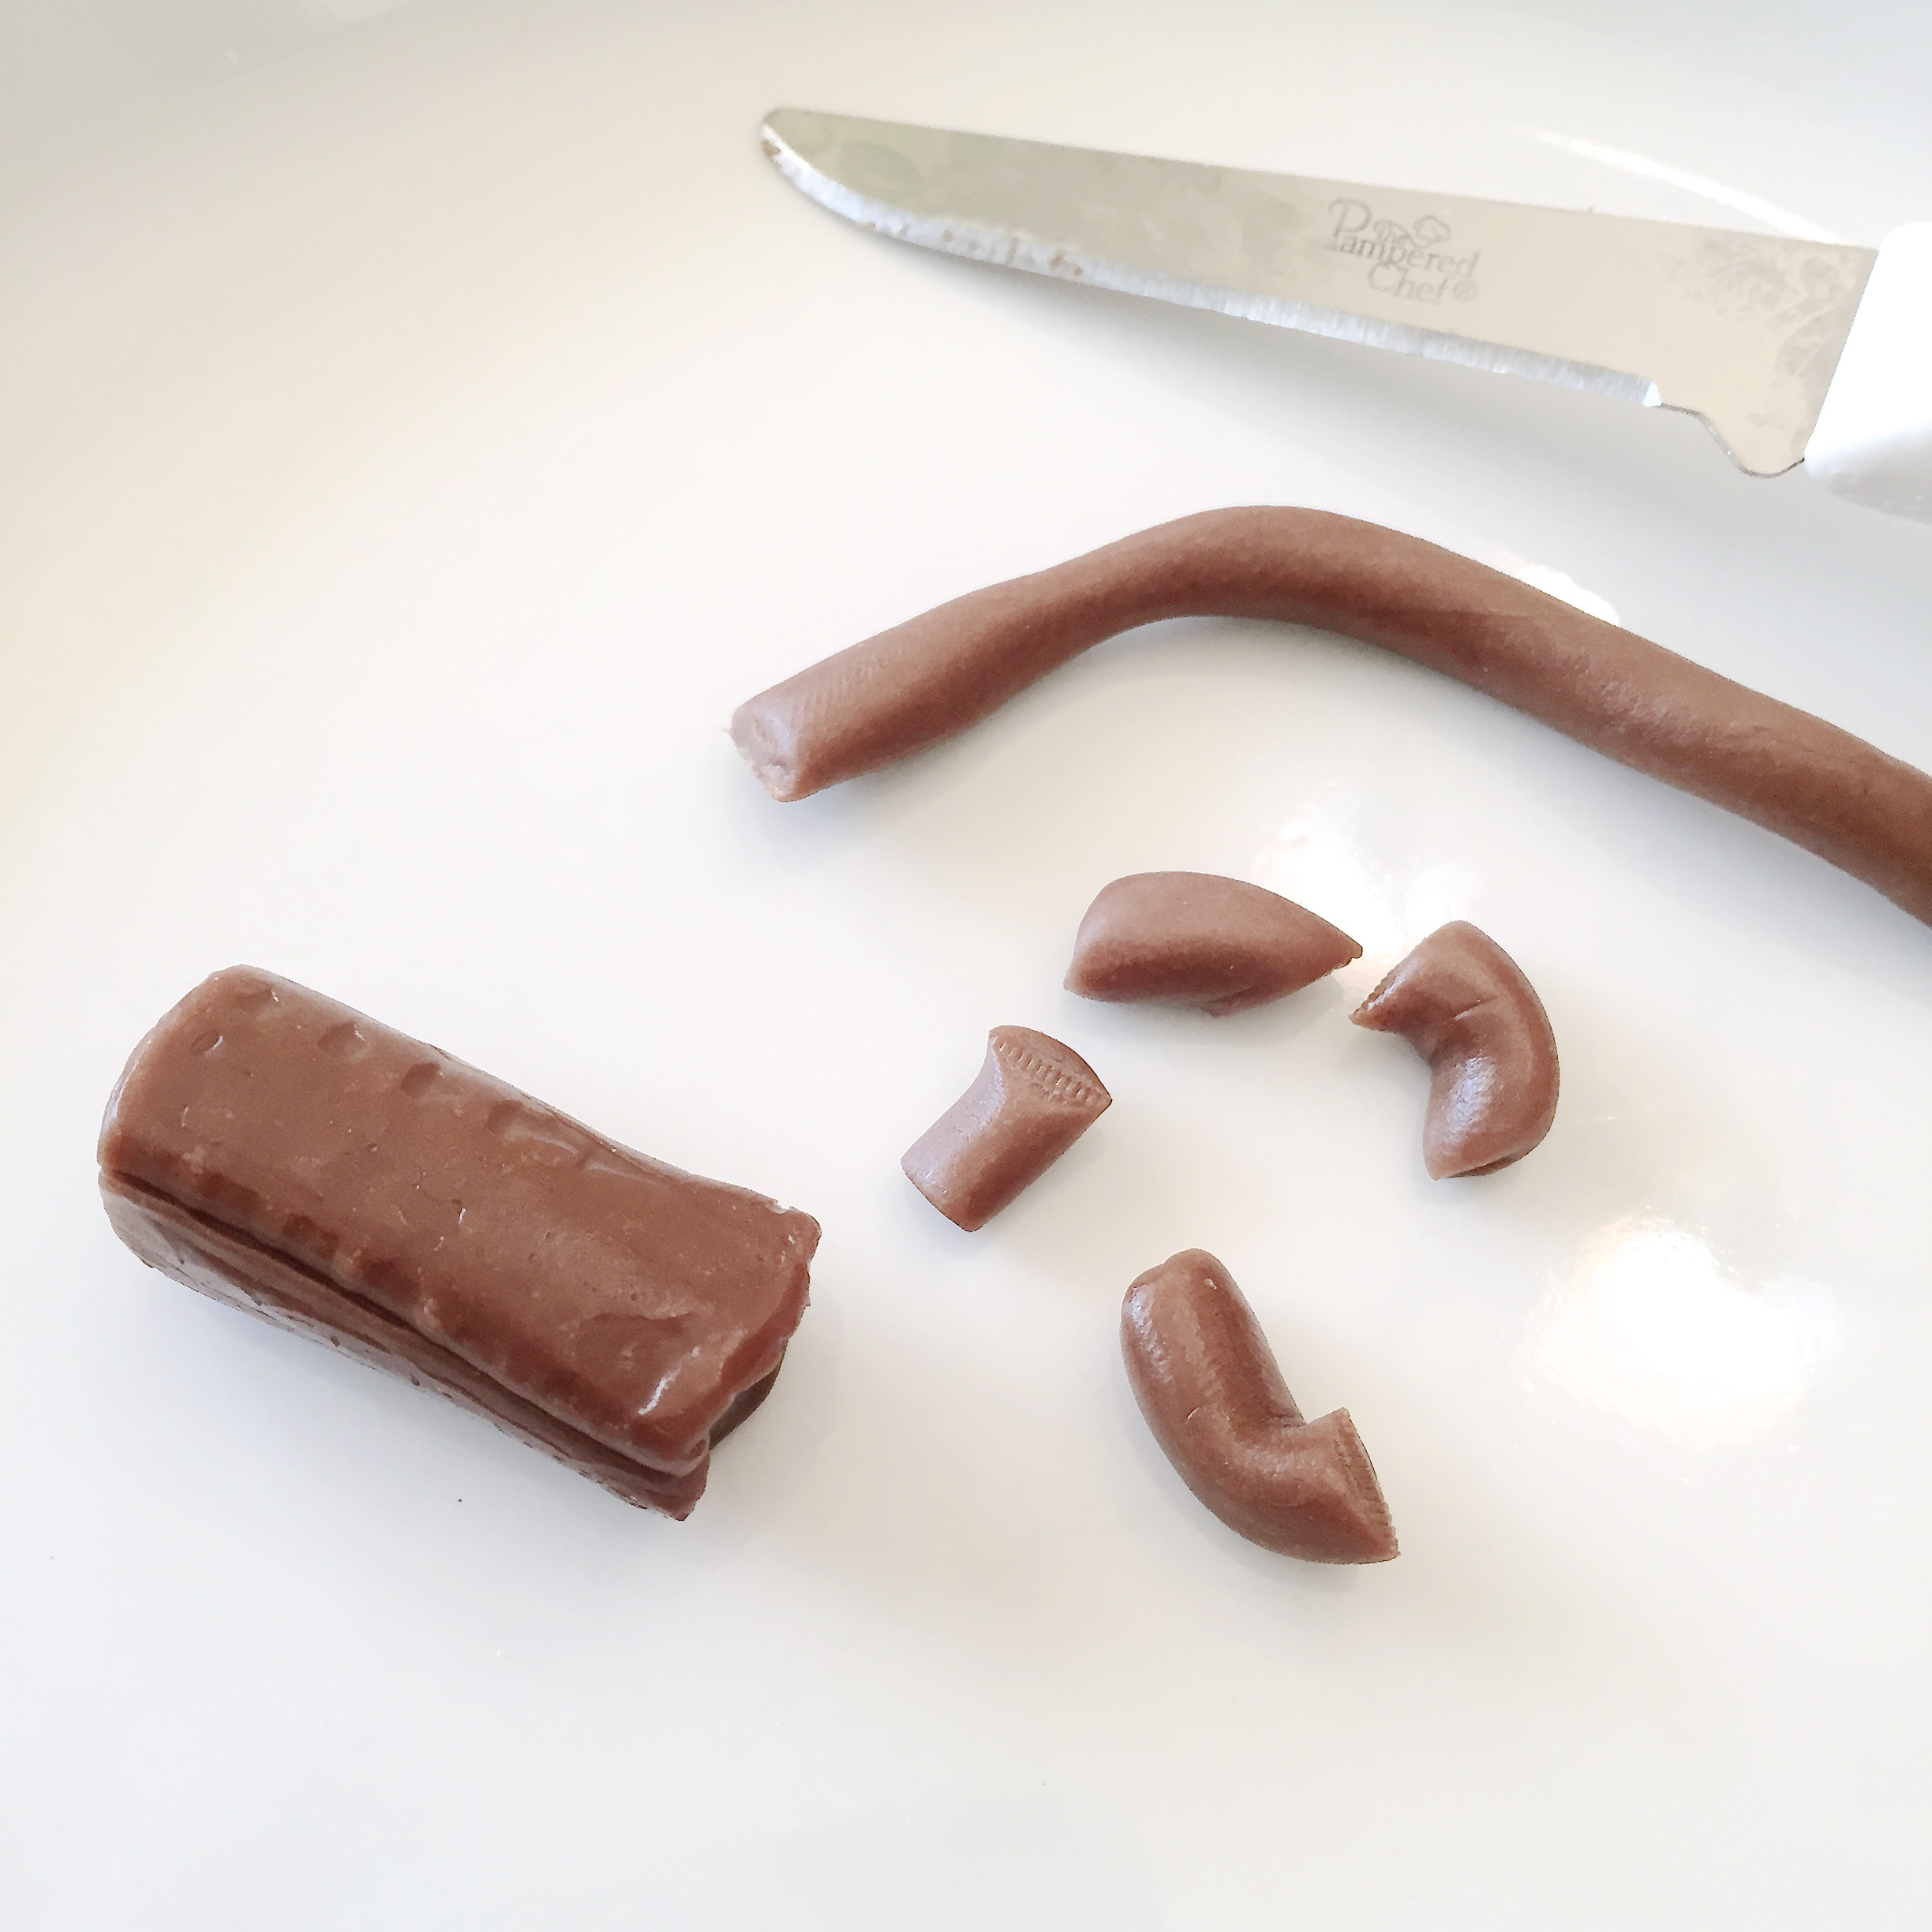
Or you can add a few caramel worms to your apples to give them an extra “Ewwww” feel- maybe for Halloween?? 🙂
Either way, these are an easy and fun fall treat that keeps for weeks when wrapped up in a cello bag.
Here’s how we made them: (printable recipe here)
INGREDIENTS: (makes about 24 pops)
DIRECTIONS:
(if you have never made an Oreo Pop before, our how-to is here)

My thoughts: You just can’t go wrong with Oreo Pops. They are one of my favorite things to make because you have fun treats handy for awhile afterward! These are pretty easy- you might hesitate a little with using fondant if you have never used it before- but you should just give it a try! I don’t cover cakes in it or anything crazy- but I like it for little decorations here and there. My recipe and some tips are here. Otherwise just buy a box of the white fondant! It doesn’t taste as good, but for the little bit you are adding here, it doesn’t matter. I really hope you get a chance to try these! Happy almost-fall to you! ~r
More apple-y ideas here on Easybaked: (click on the photo to see the recipe)


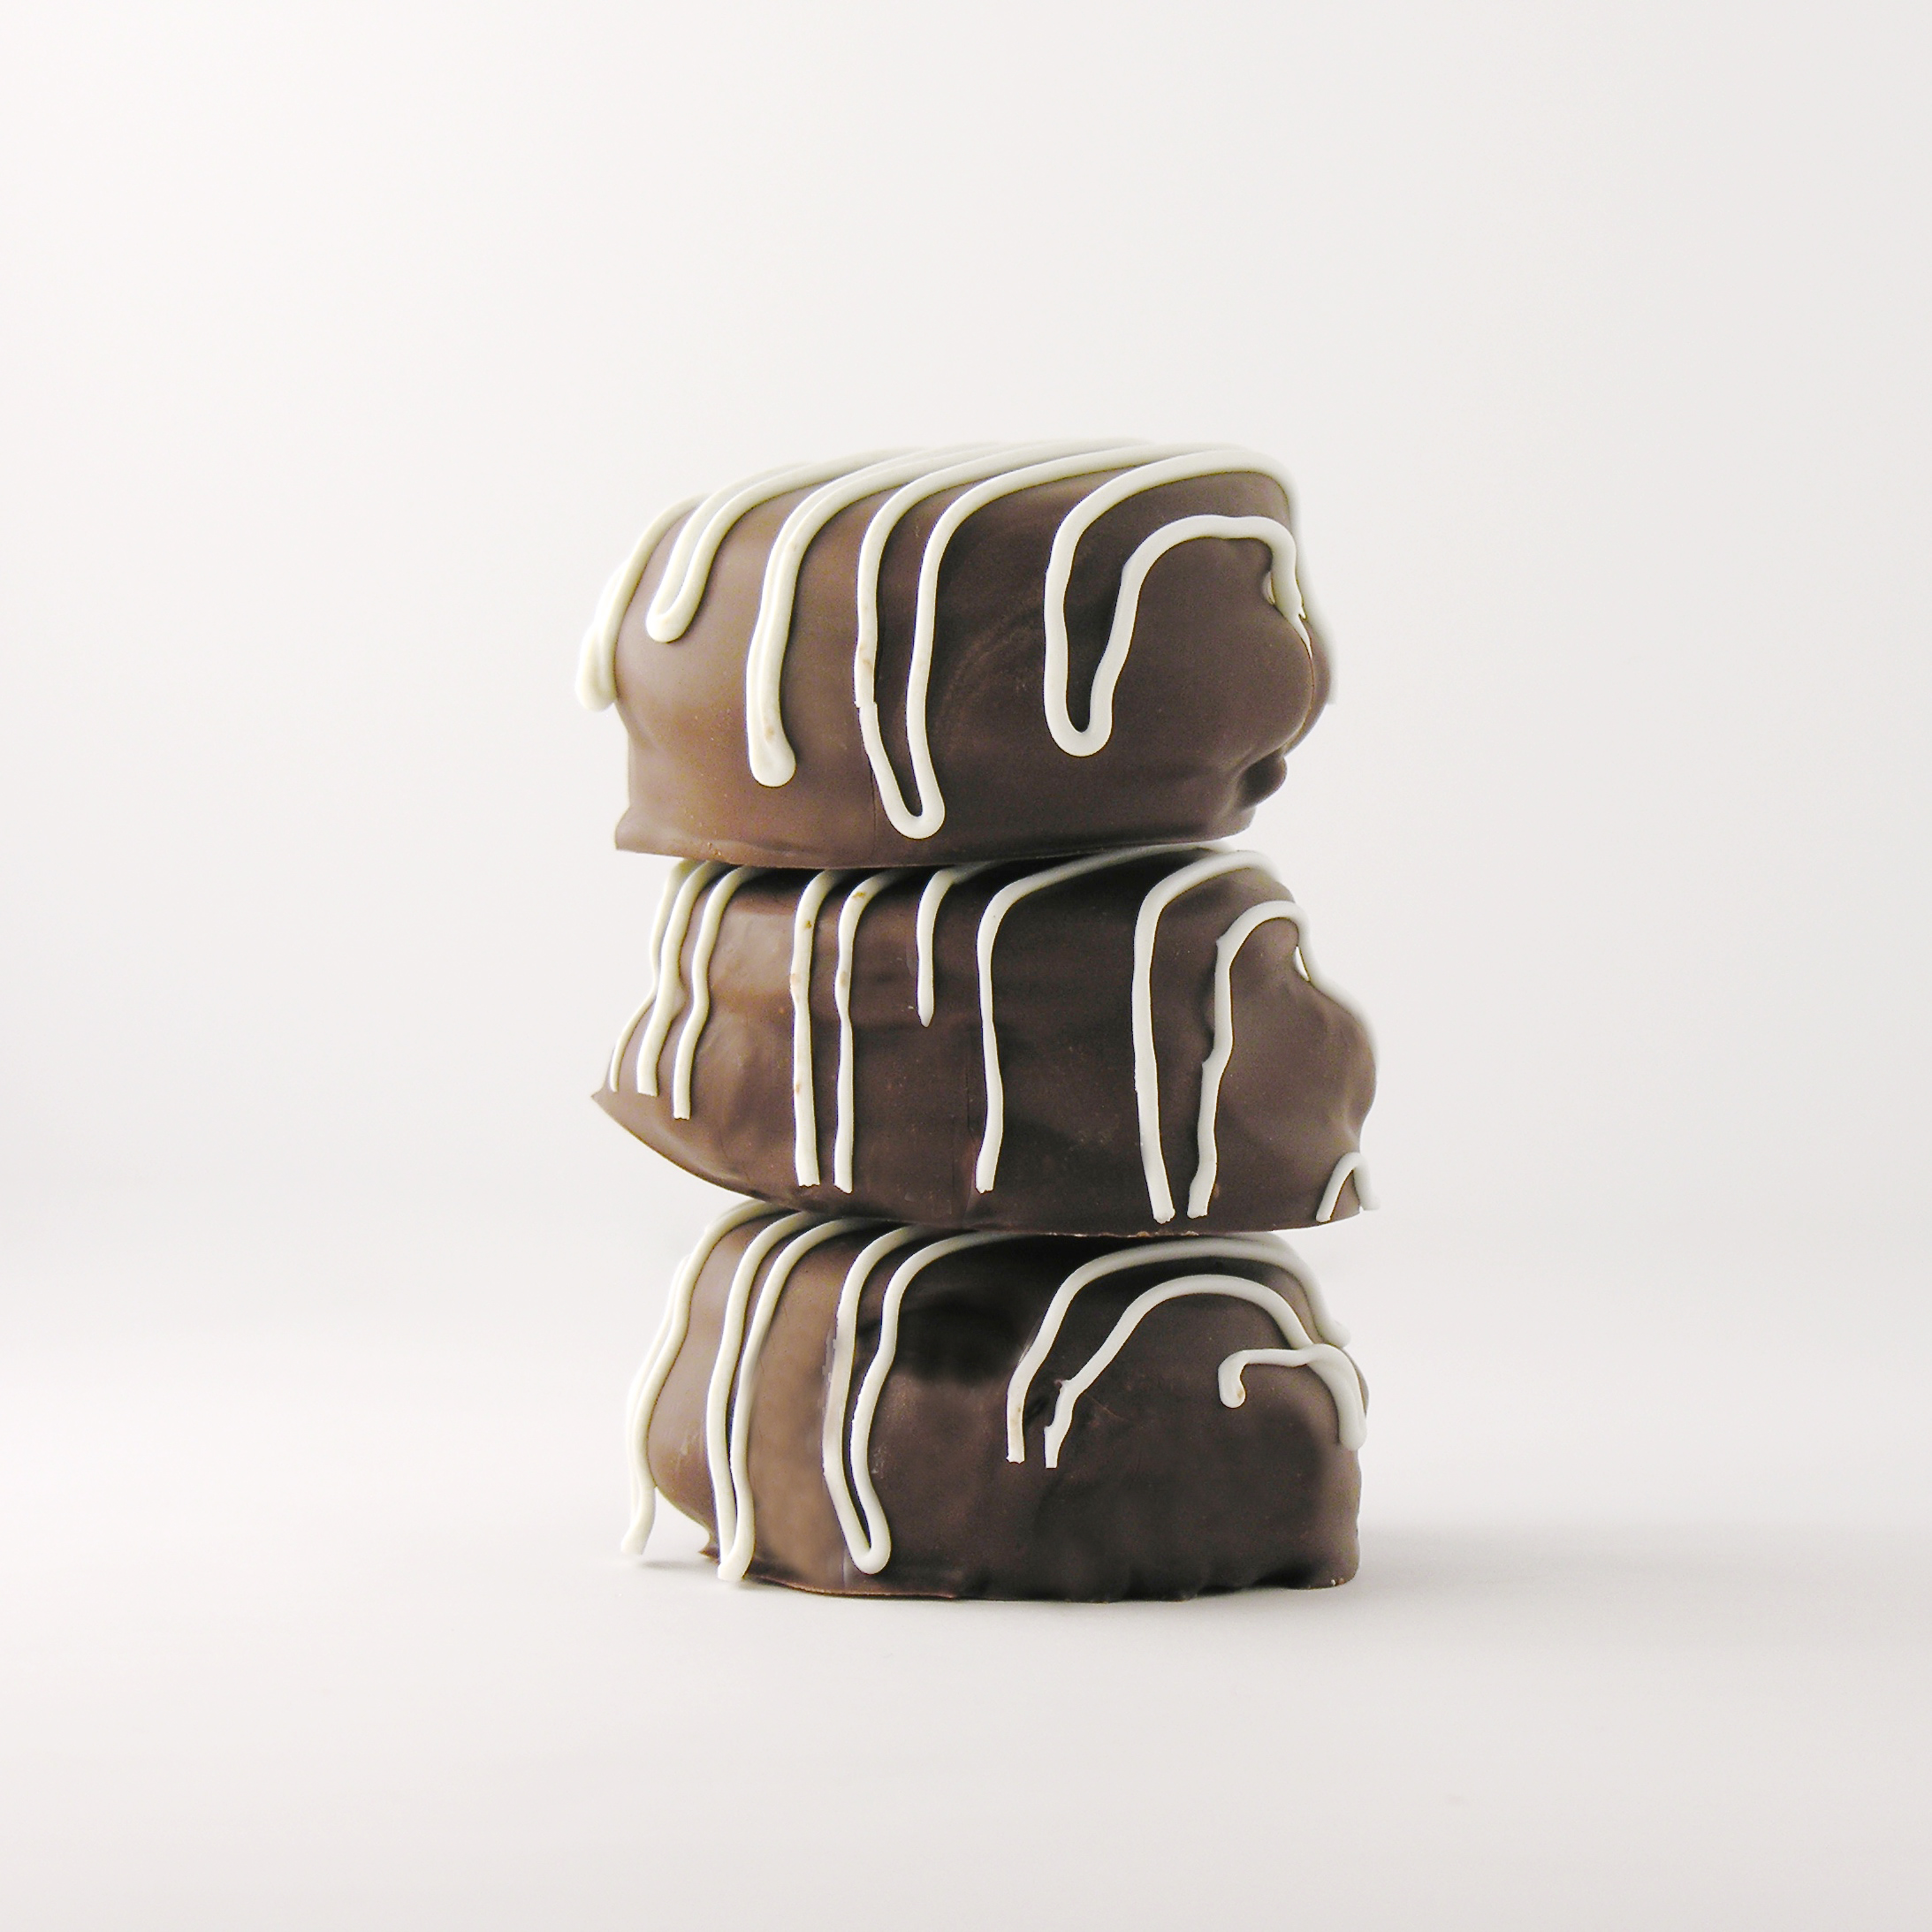
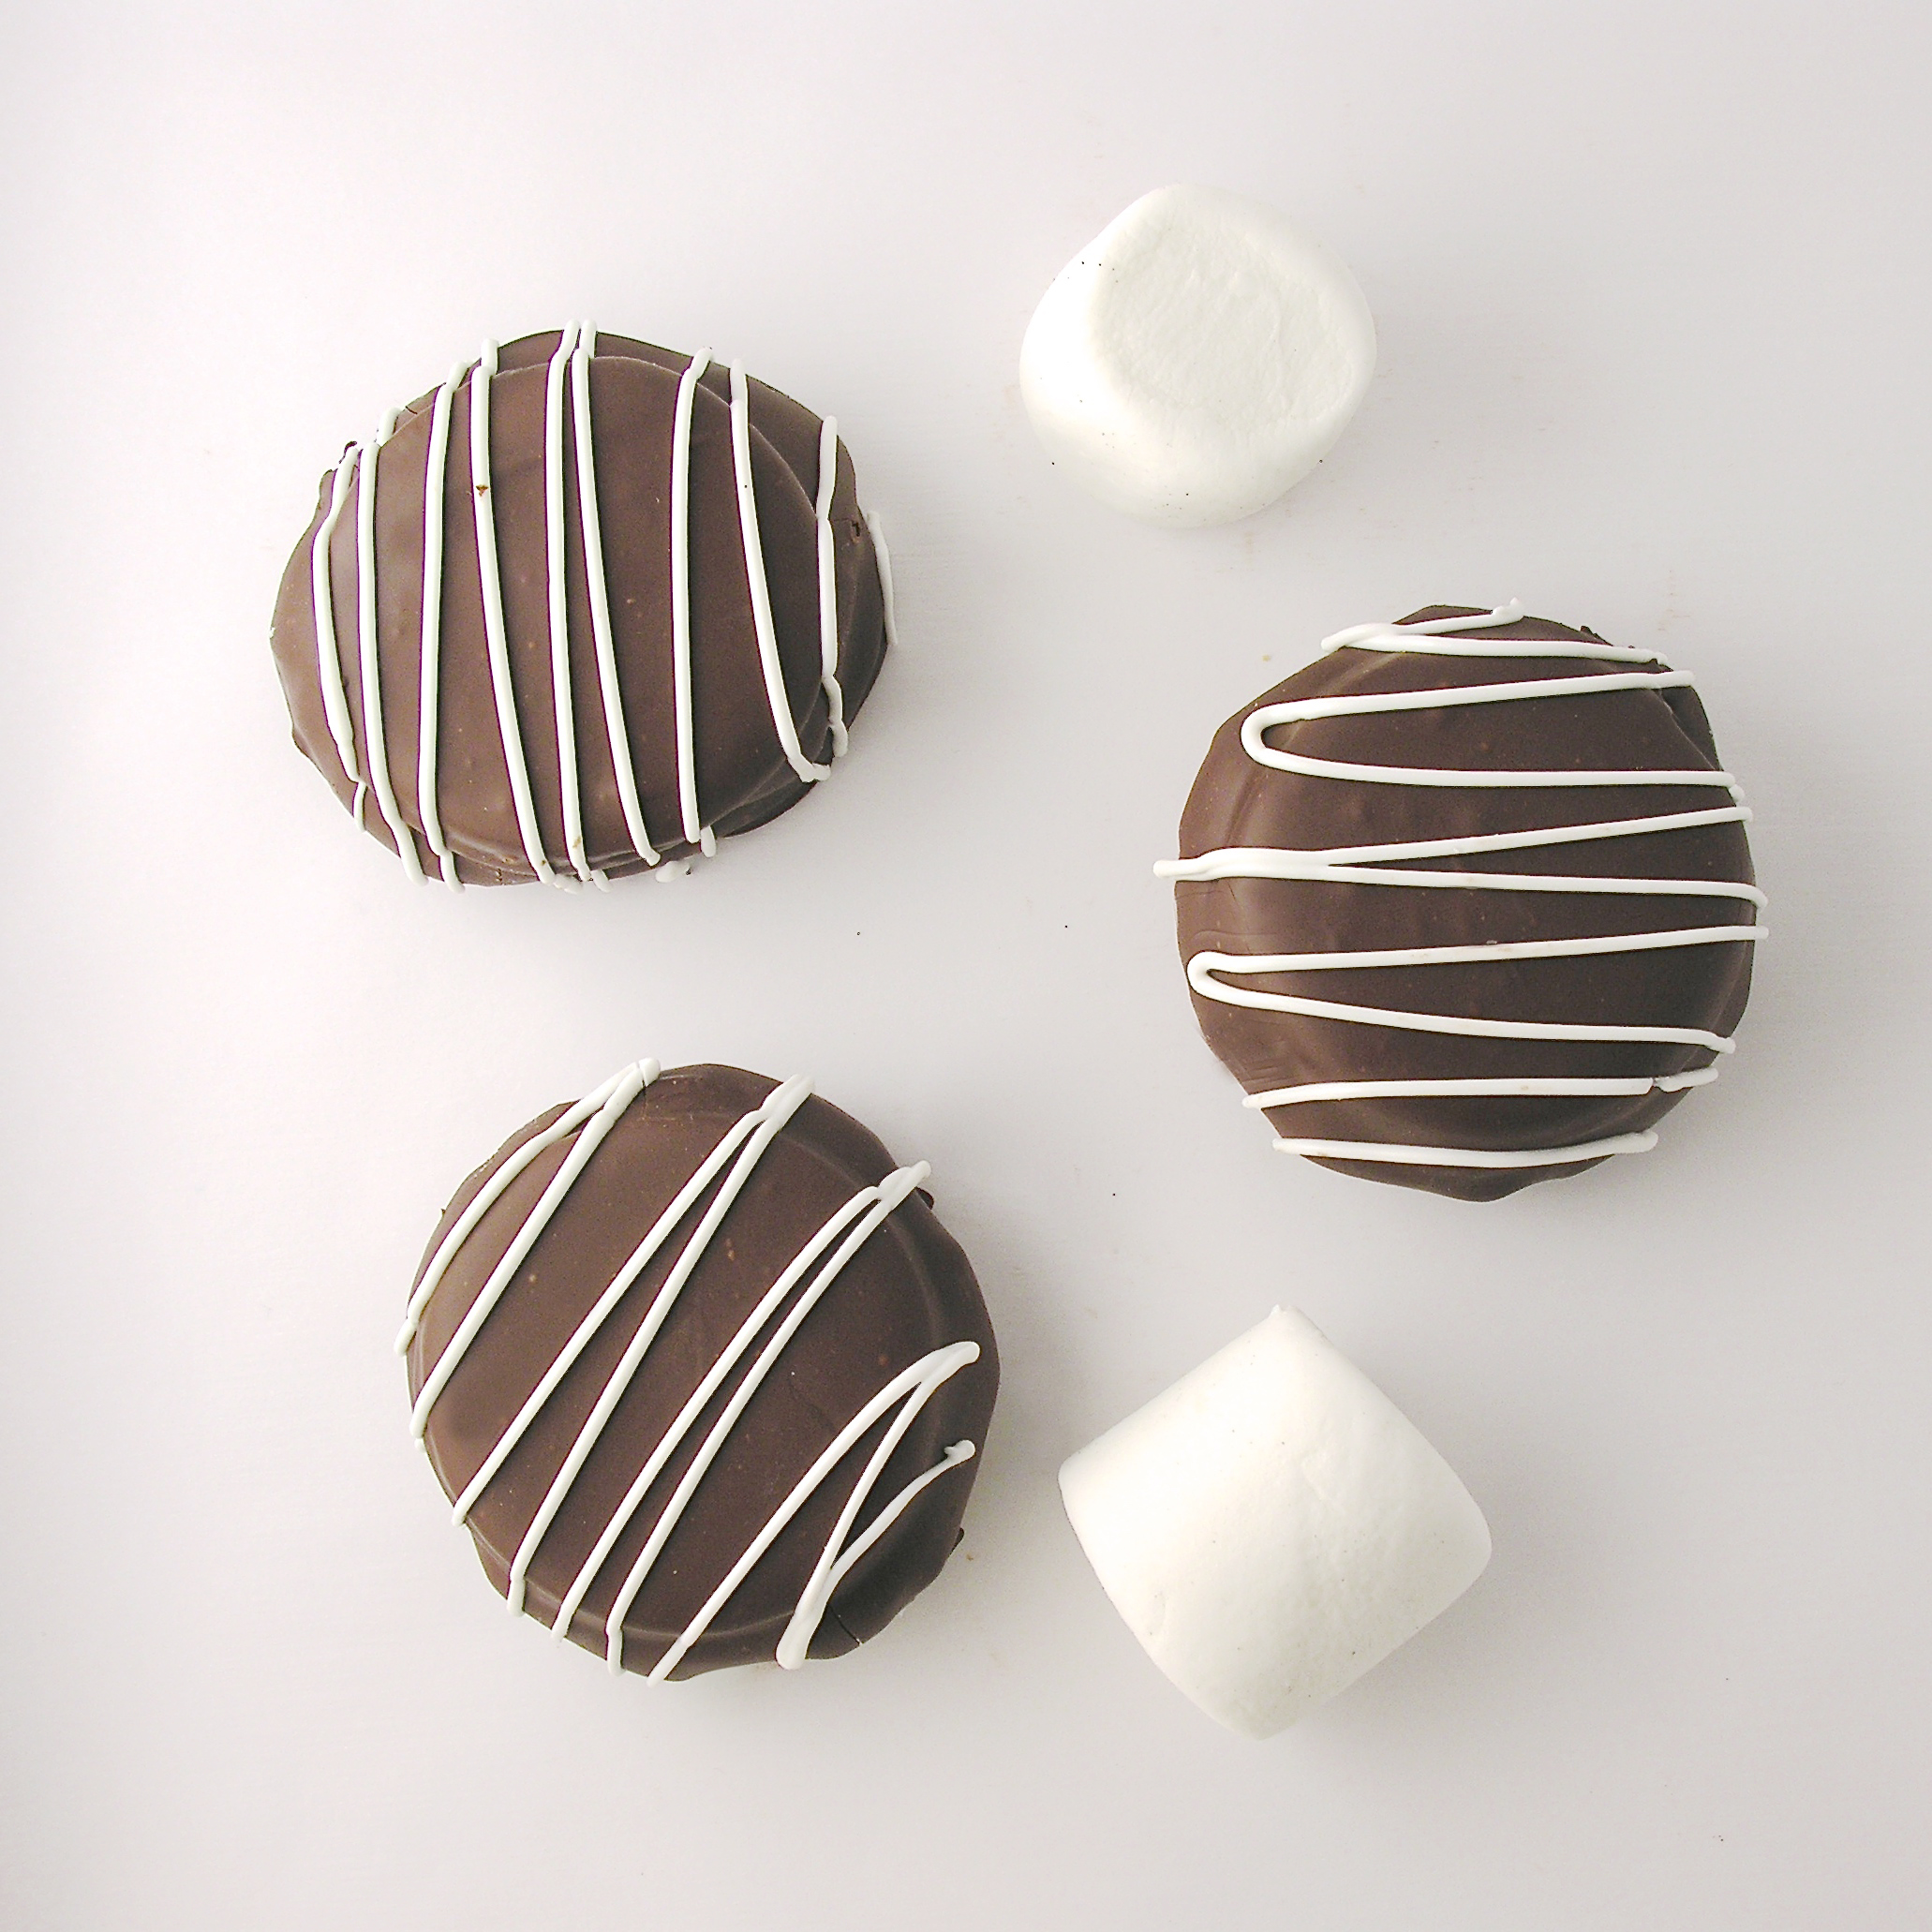
Chocolate “Oreo Thins” cookies, stuffed with a marshmallow and covered in dark chocolate- such a delicious combination!
I haven’t given up making Oreo Thins less healthy! Just a few weeks ago, I posted a recipe using the vanilla Oreo Thins- stuffed with key lime pie (see it here). Today, I bring you chocolate Oreo Thins stuffed with marshmallows and covered in chocolate. They remind me of those yummy pinwheel cookies- the kind with cookie and marshmallow all swirled together!
 Yep. You will want to try these- promise! They are even better tasting than they look!
Here is how we put these together: (printable recipe)
INGREDIENTS: (makes 20 cookies)
DIRECTIONS:


My thoughts: I was originally going to do these with graham crackers- like a s’mores cookie- but when I realized how well those Oreo Thins work for dipping, I went with those instead- and I’m glad I did! These are absolutely delicious. I really, really loved them! A unique addition to any cookie tray! In fact, I made cookie plates with my last 3 recipes here on Easybaked. I baked them all over one weekend and brought these to my neighbors and friends. Who says you can only do this at Christmas??? 🙂
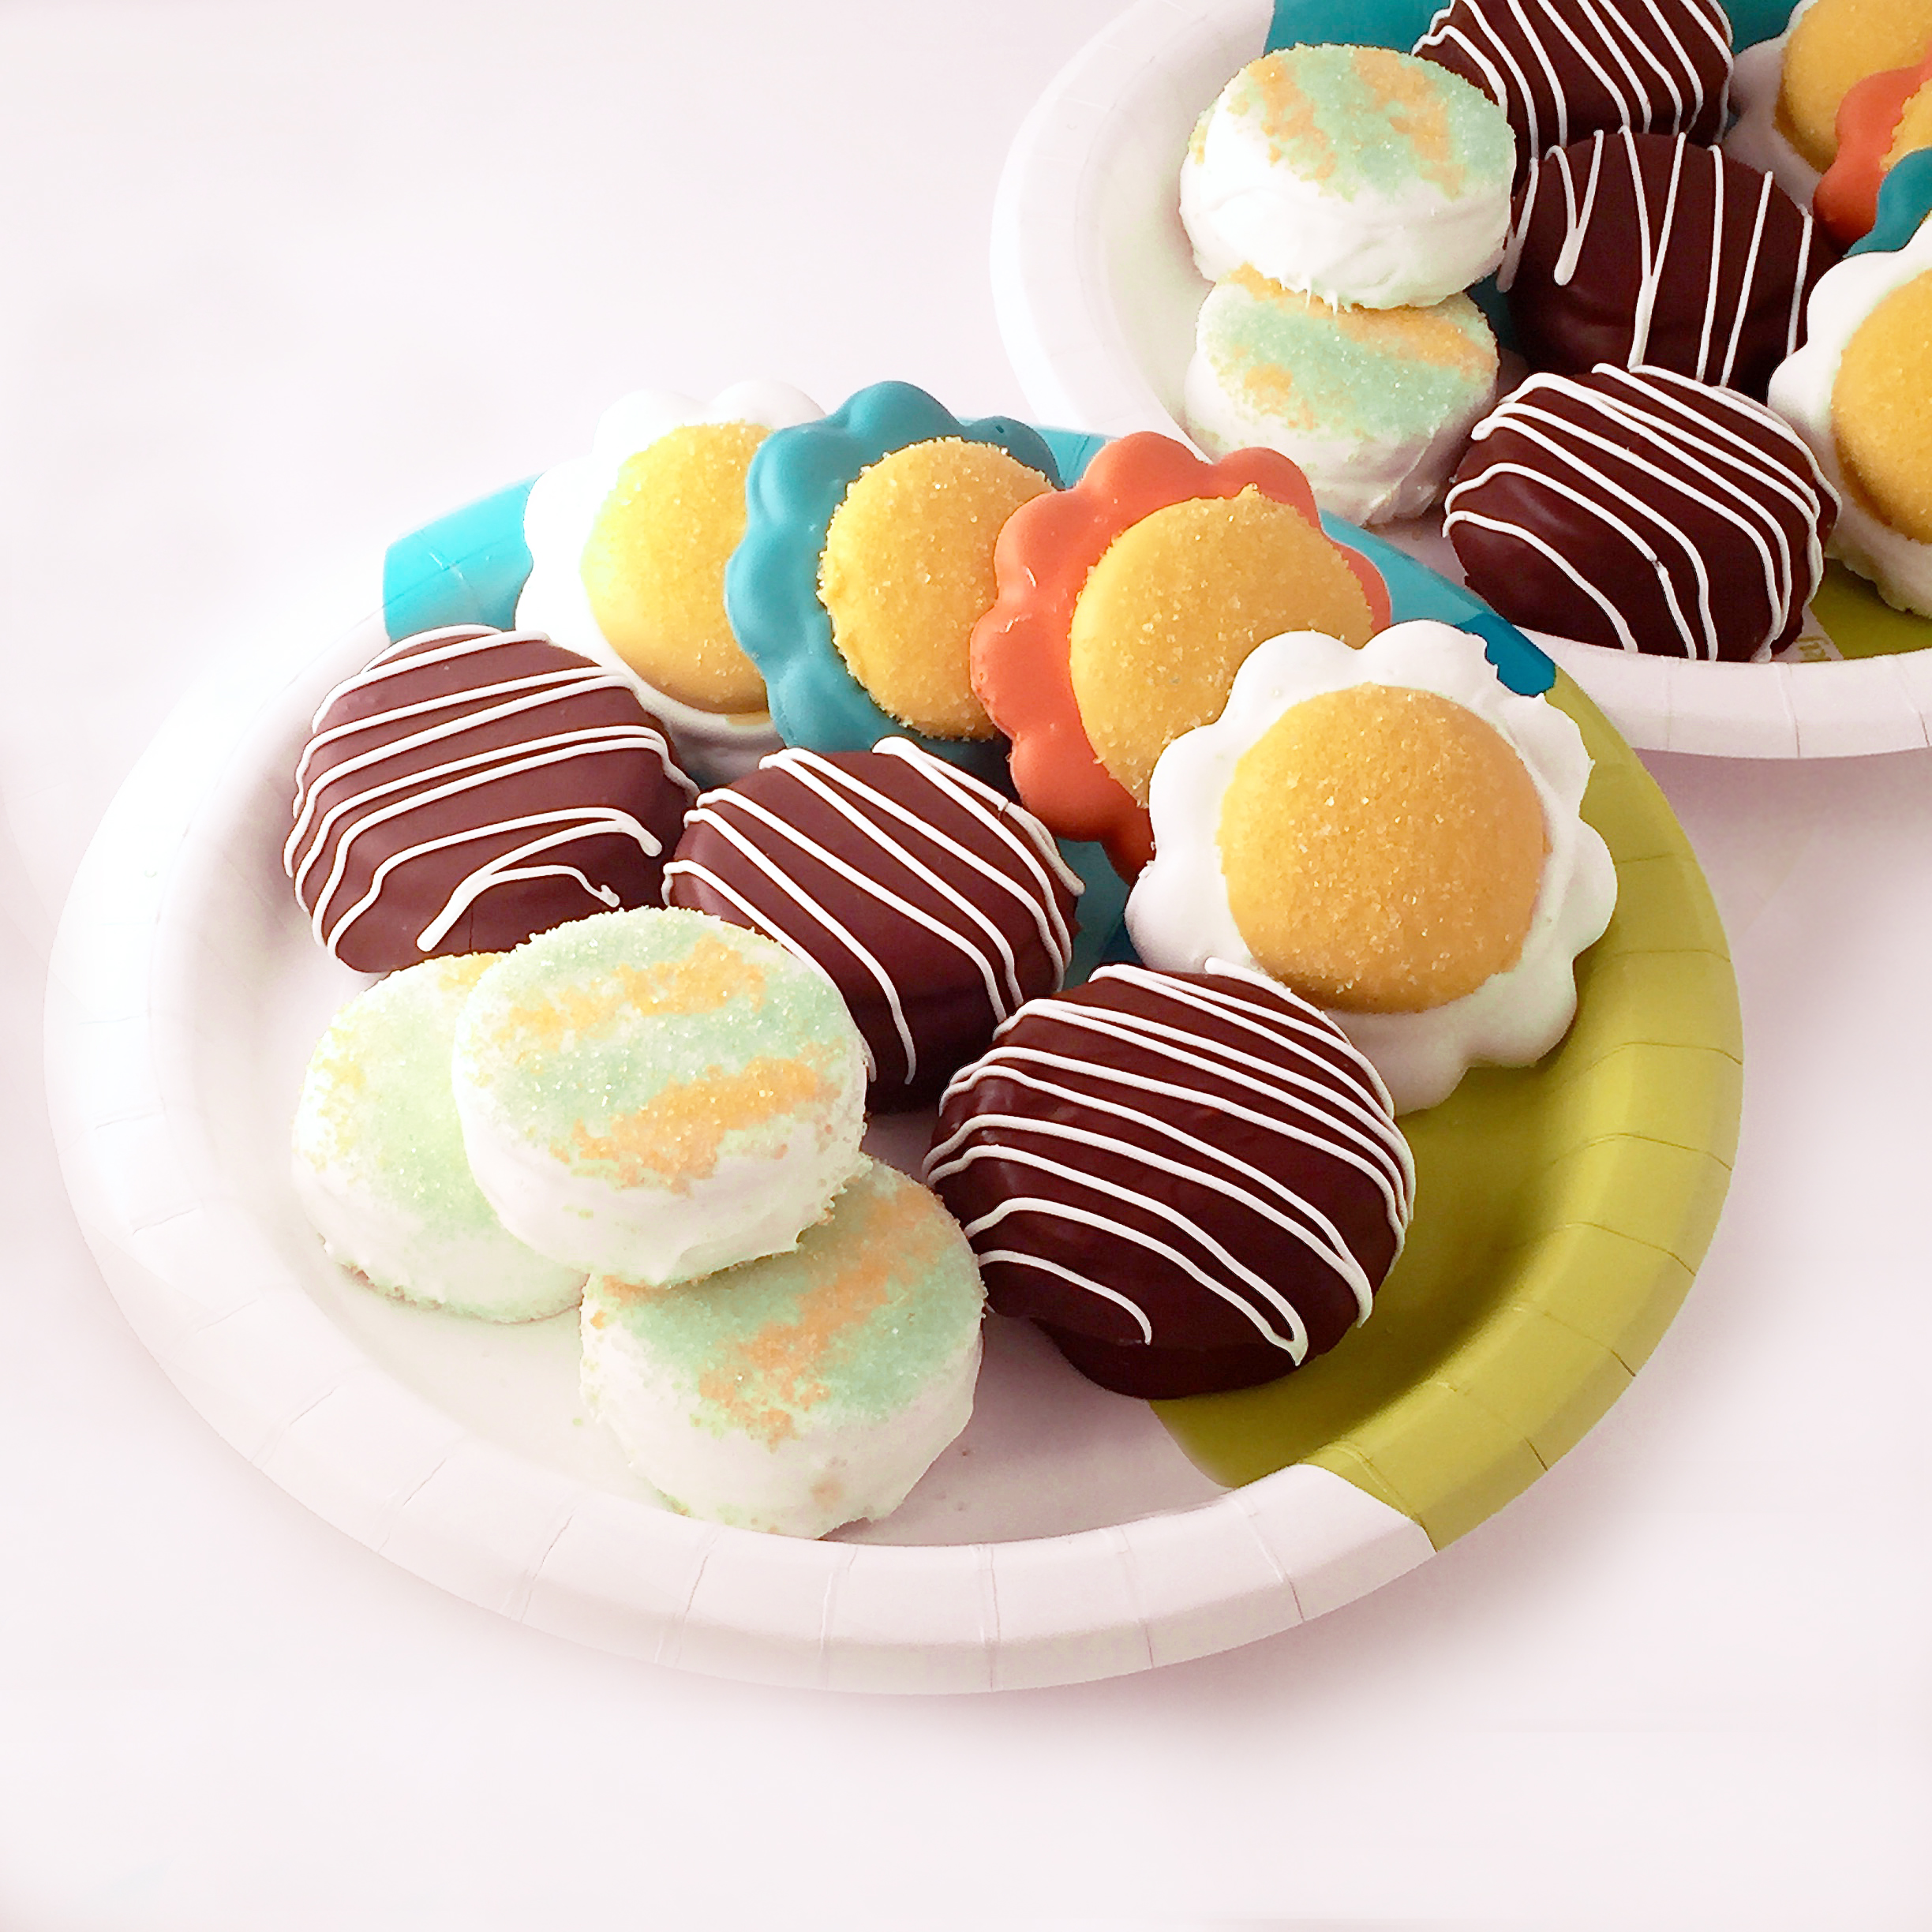
I hope you get a chance to try some of these fun summer cookie recipes before August disappears into fall! Enjoy!!! ~r
One last shout-out to summer desserts! Click on a photo to see the recipe 🙂


Welcome to easybaked- a site dedicated to original, fun and easy easy easy recipes! Glad you are here!


Chocolate Chip Cookie Dough Brownies

Raspberry Confetti Kisses

Salted Caramel Cookie Cups

Polka Dot Cake!

Rocky Road Cupcakes

Strawberry Lemonade Cupcakes

Cookie Monster Oreos!

Mud Pie!

Frosty S'mores Cups

Easy Oreo Pops

Peanut Butter Cup Cheesecake

Dark Chocolate Ganache Cupcakes

See more pictures in the easybaked gallery!

