Tag Archives: cake

Key Lime Layer Cake

Posted on

Key Lime Cake

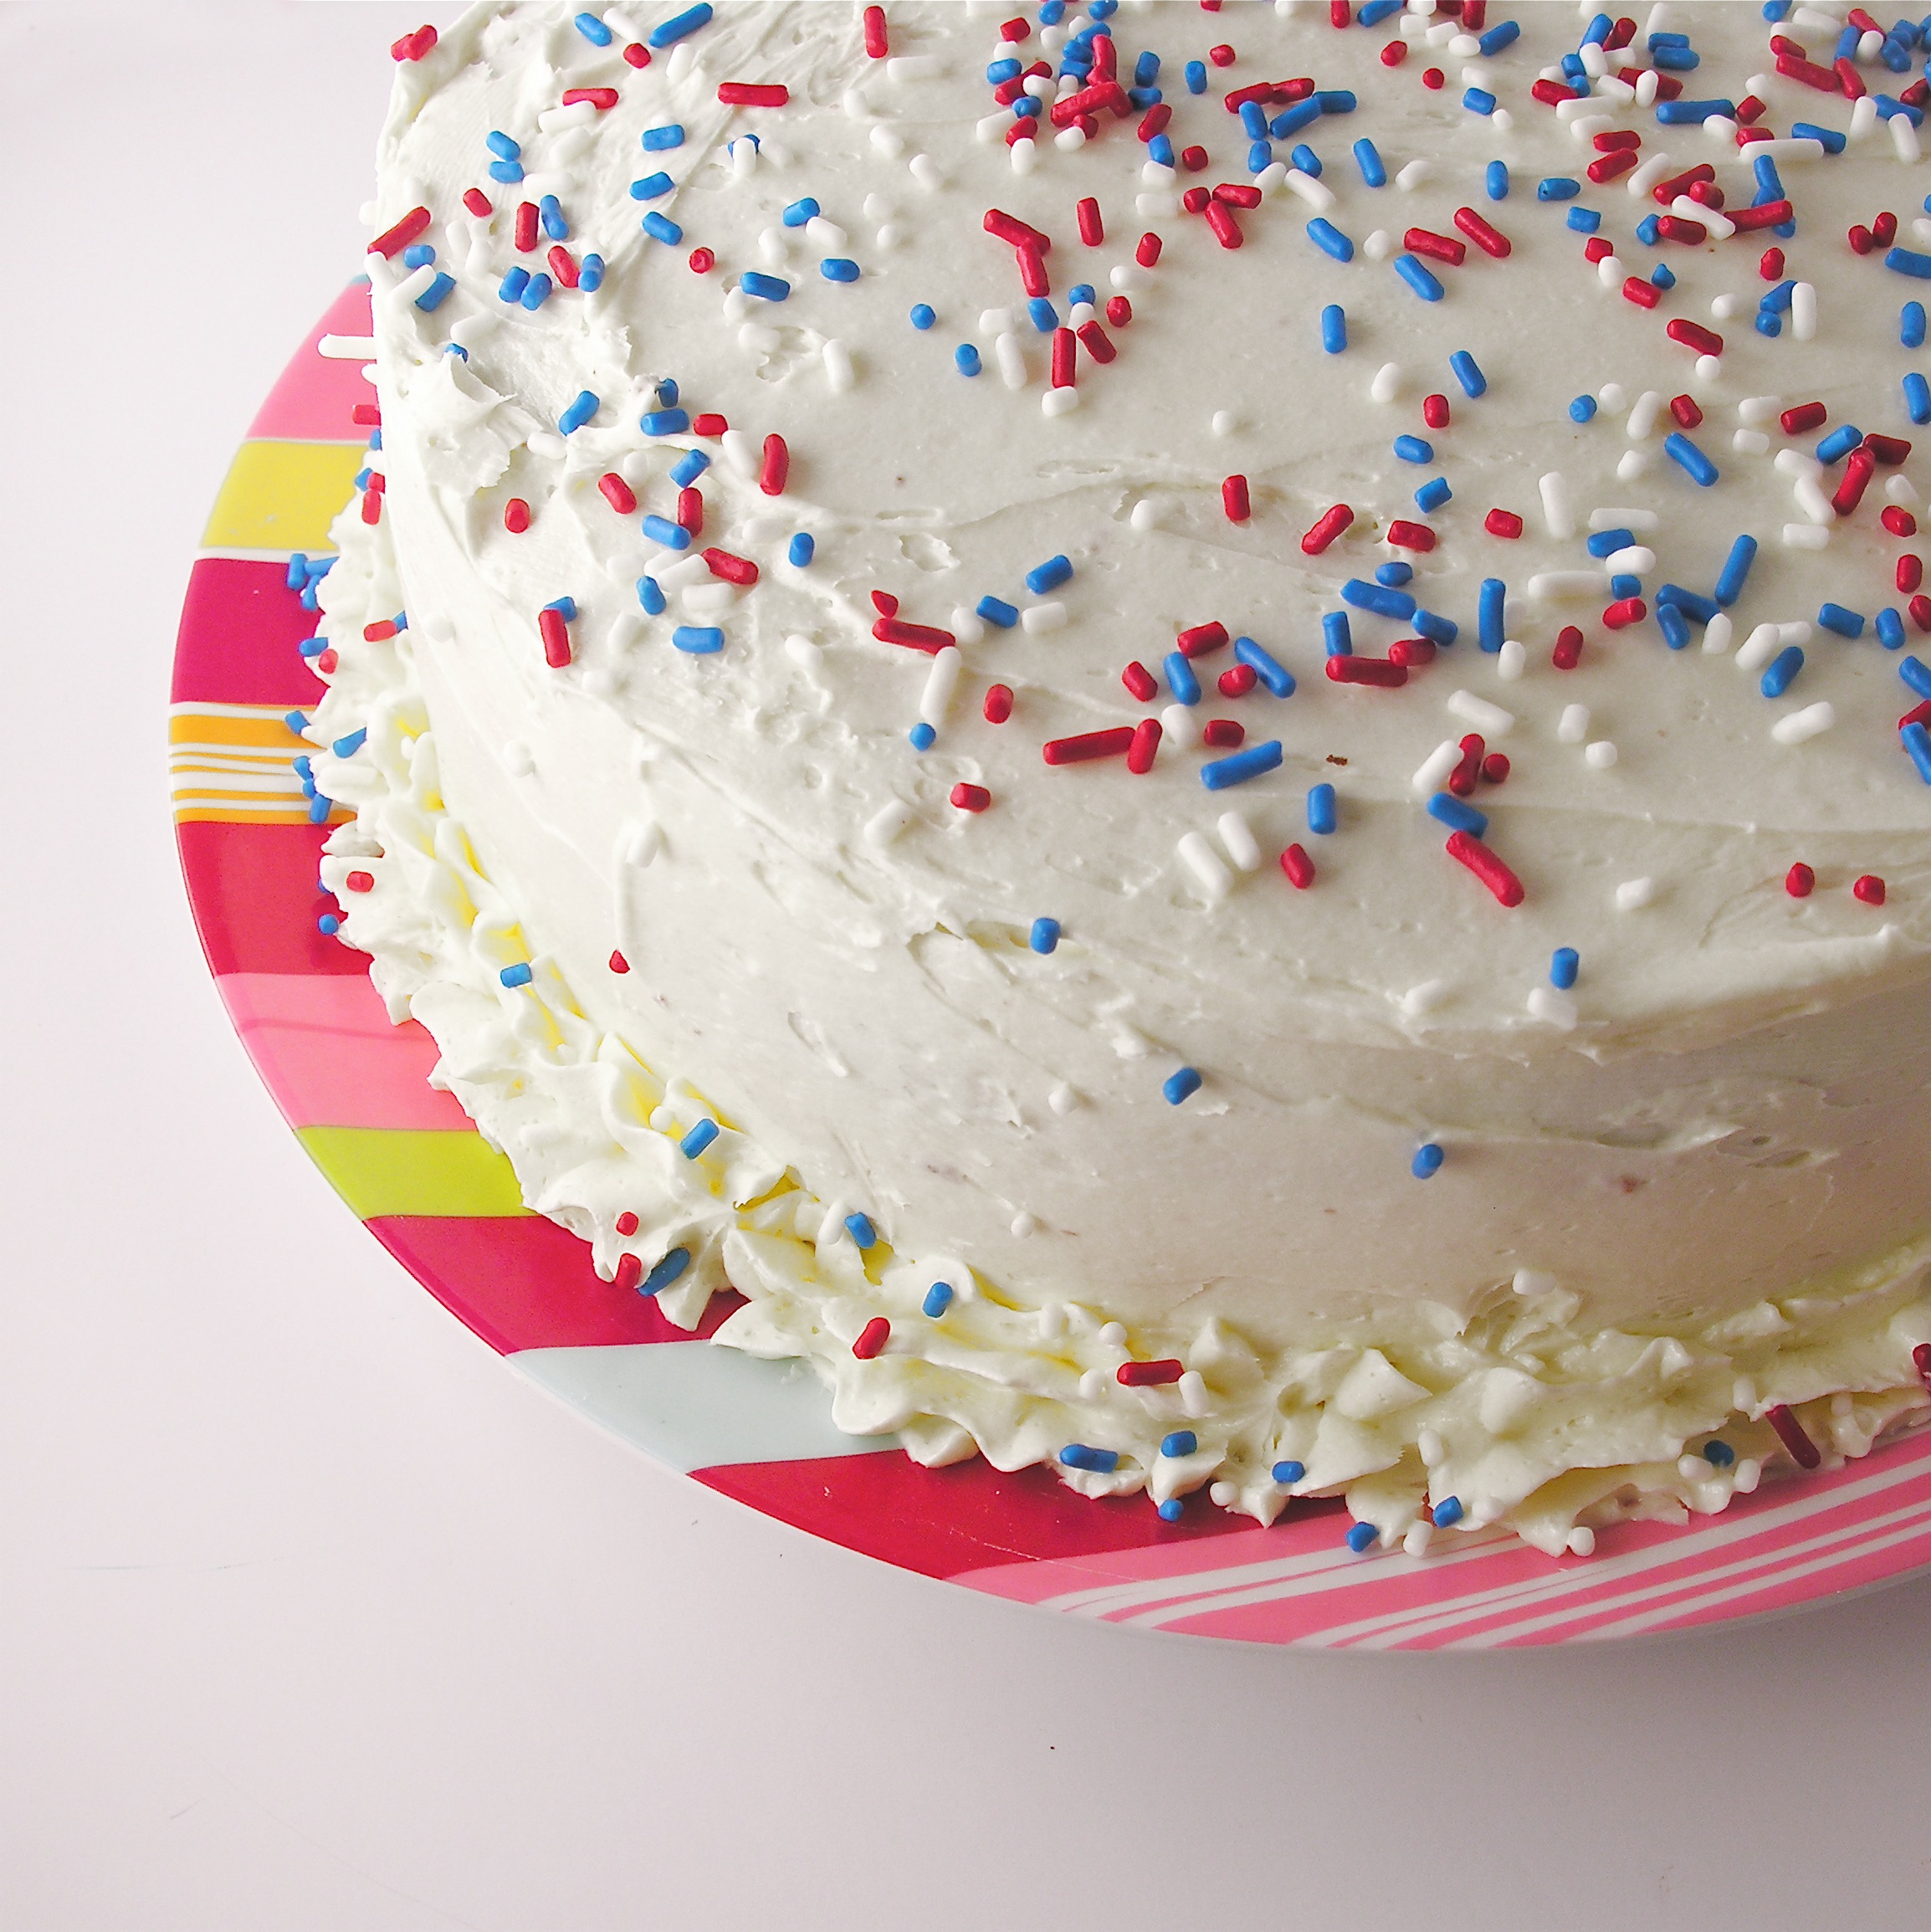
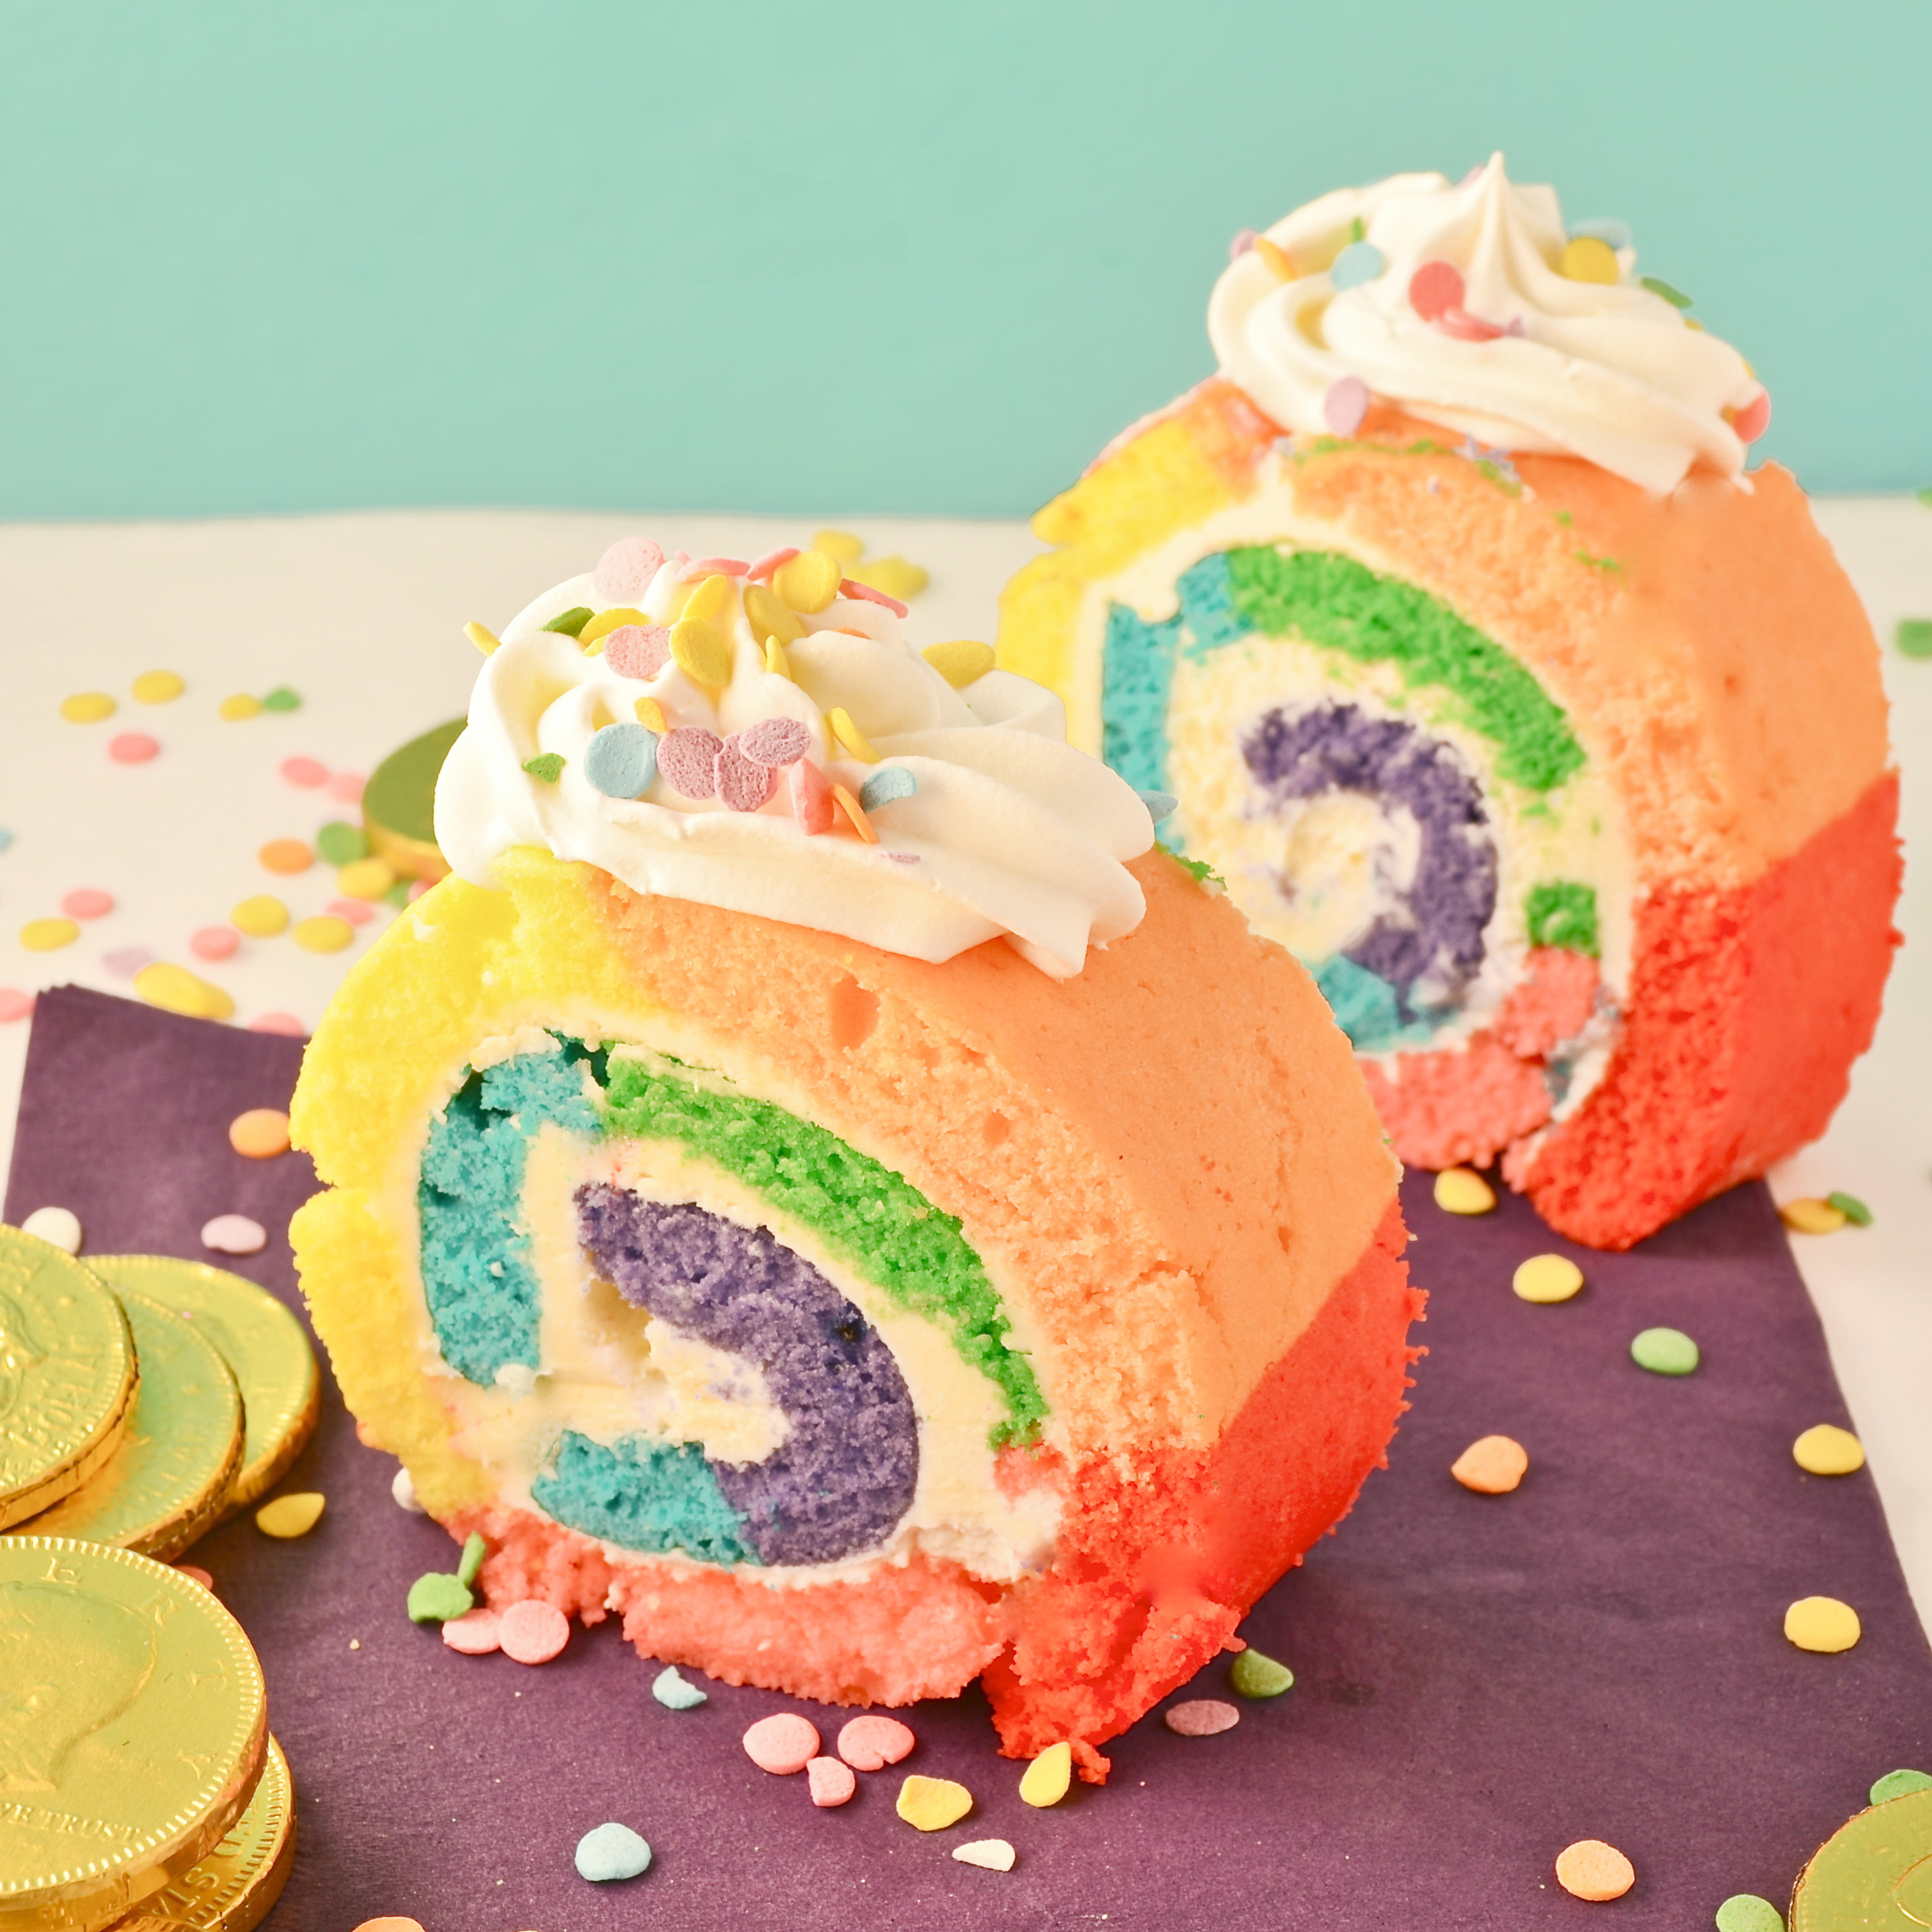
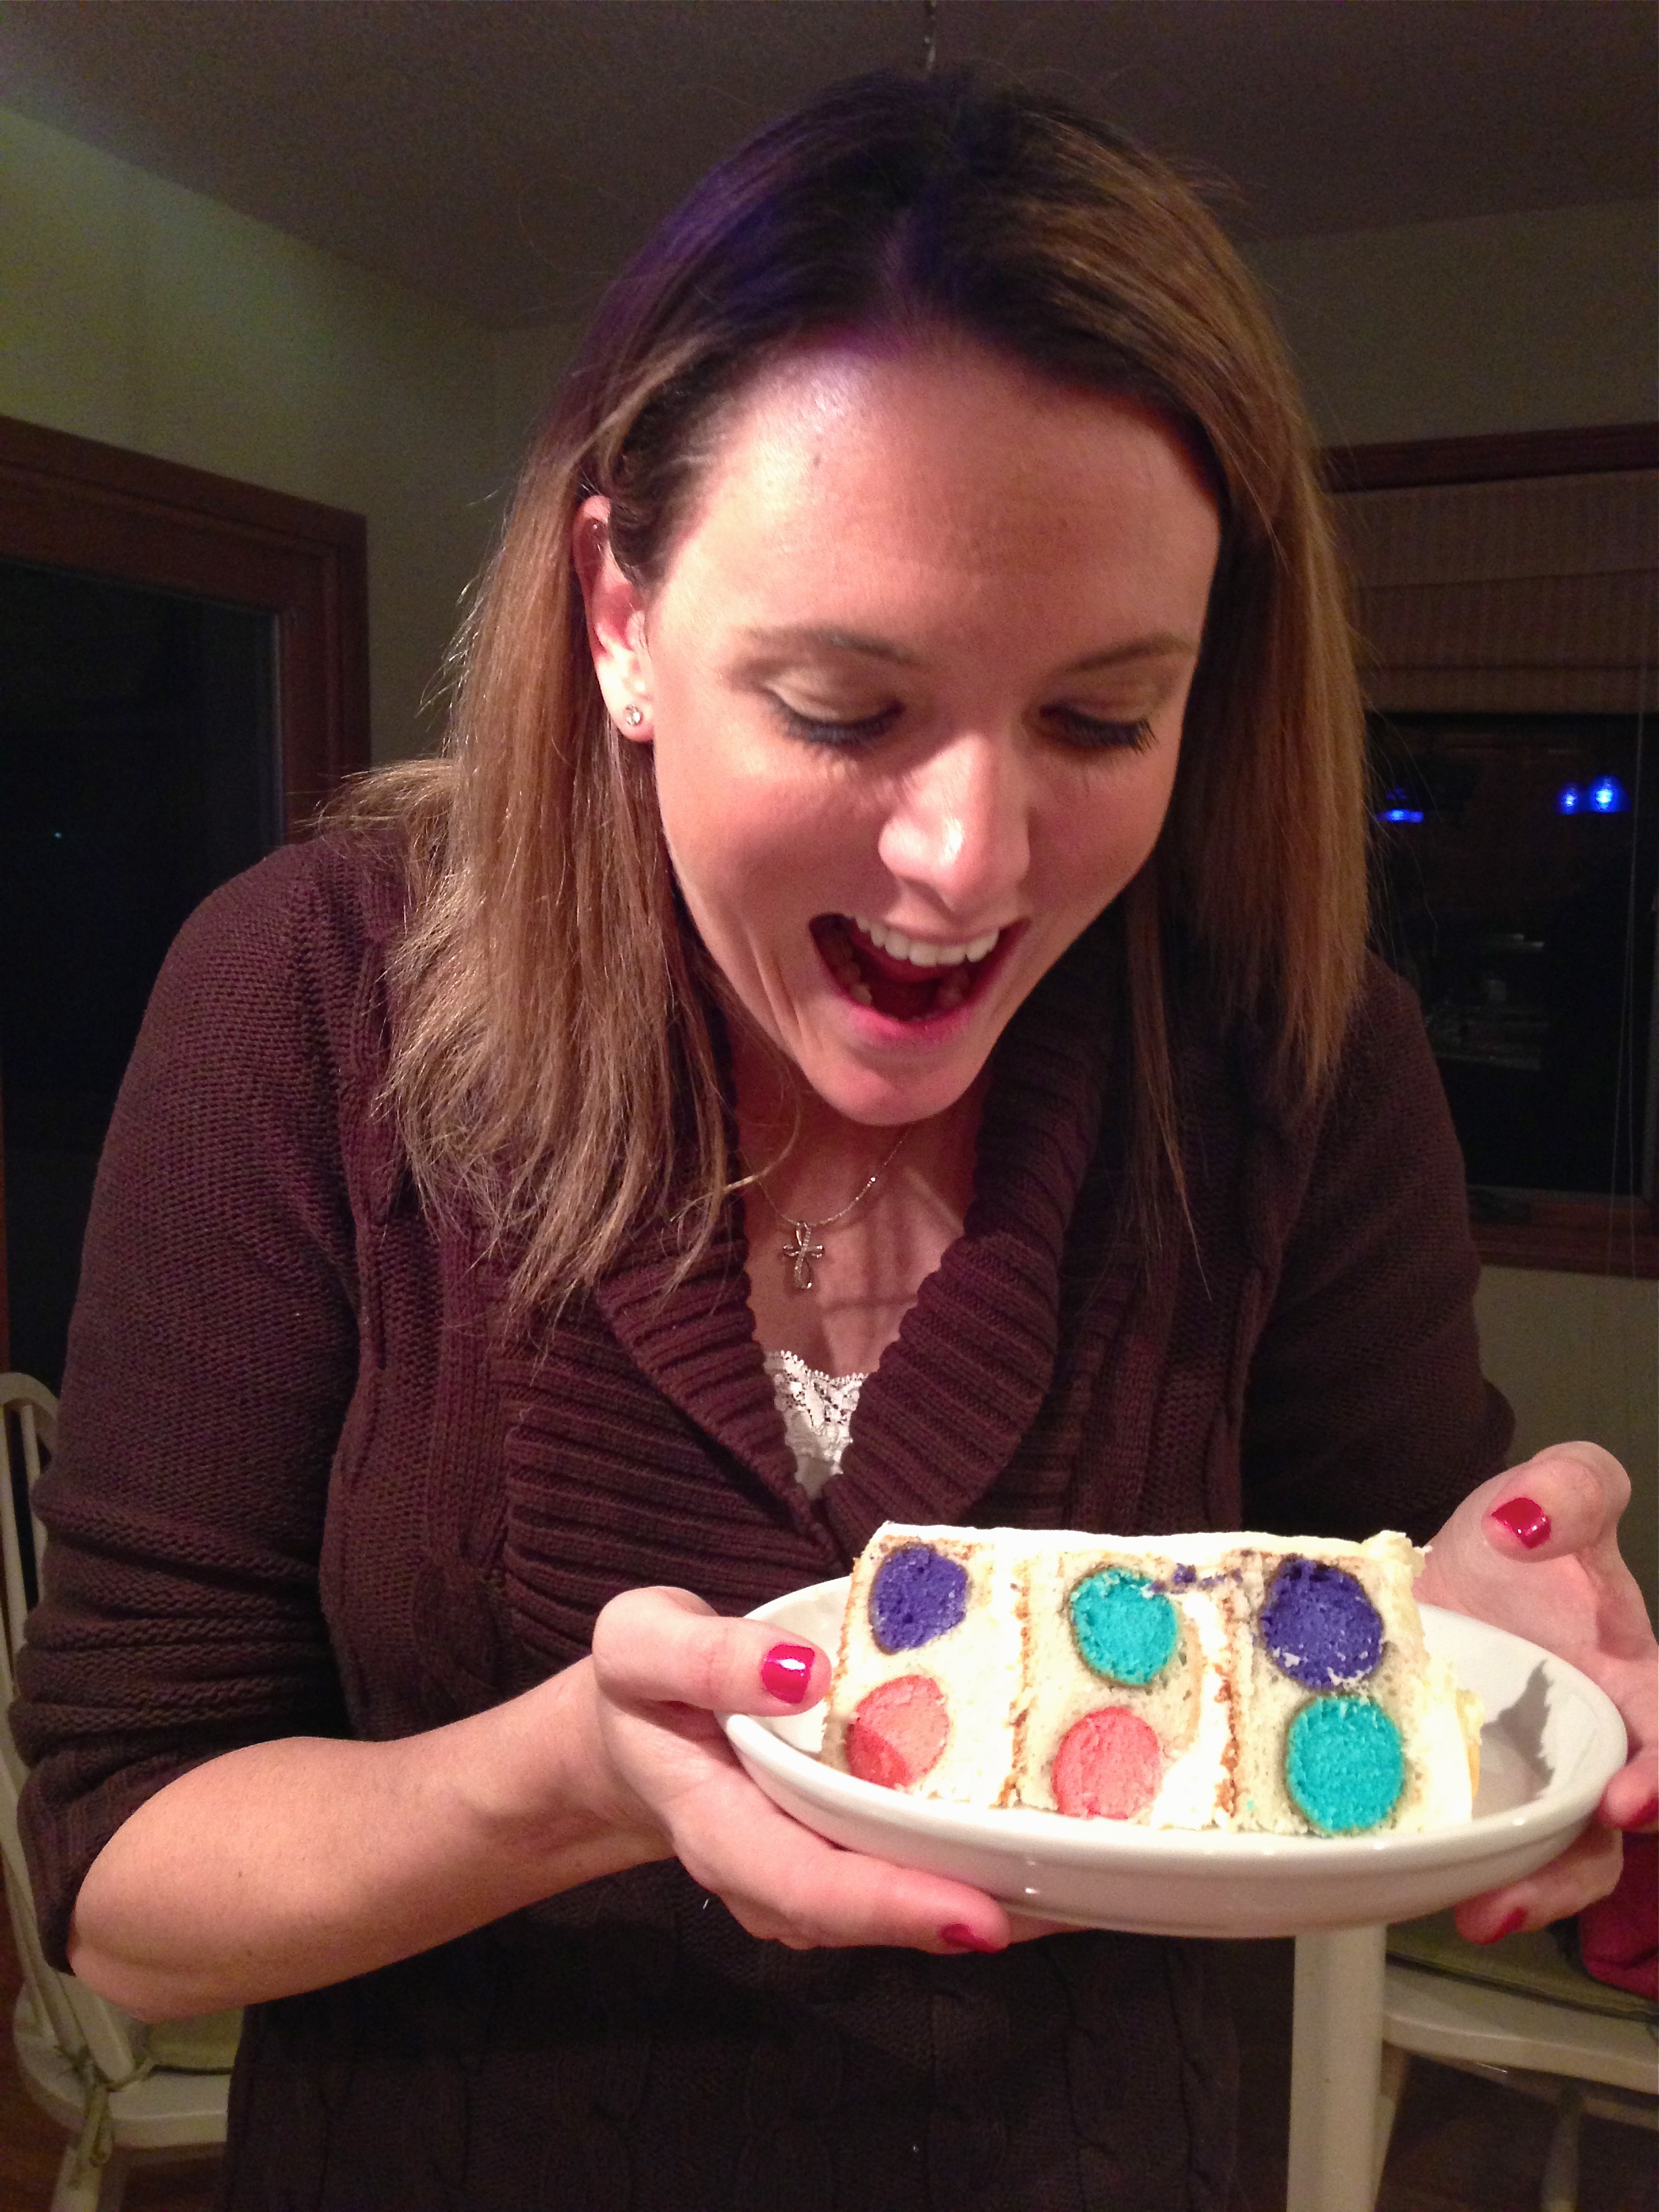
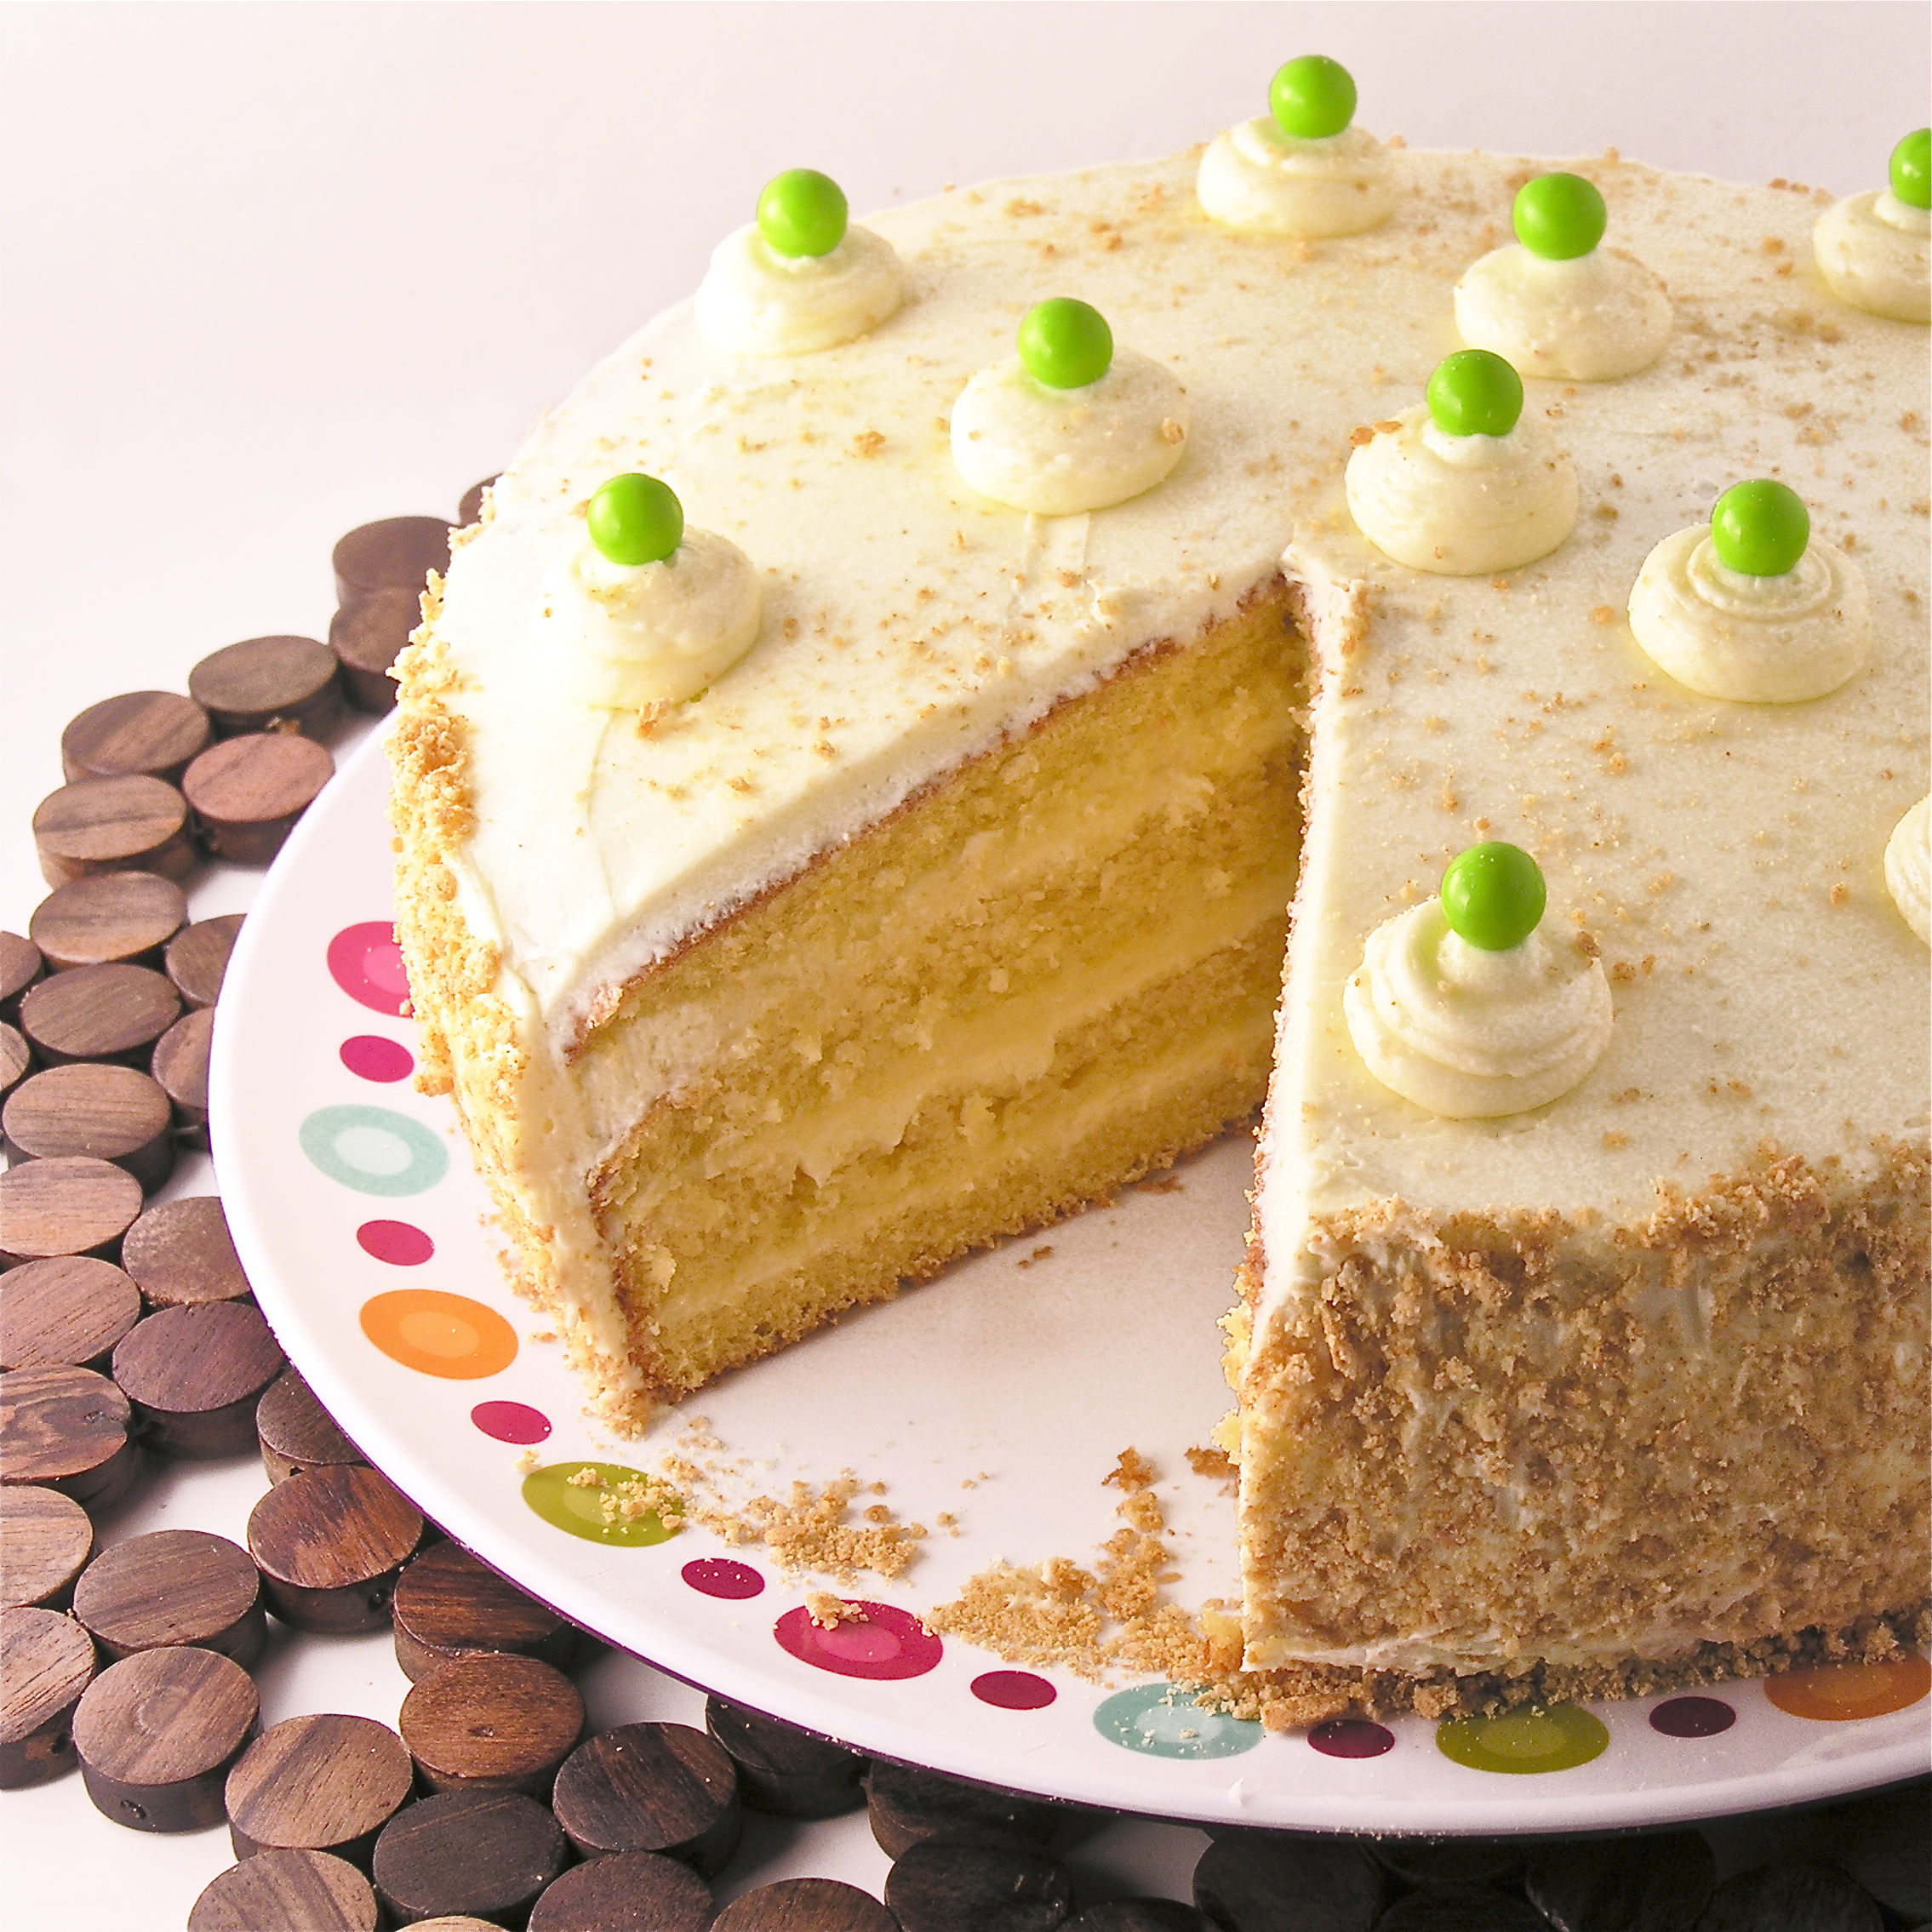
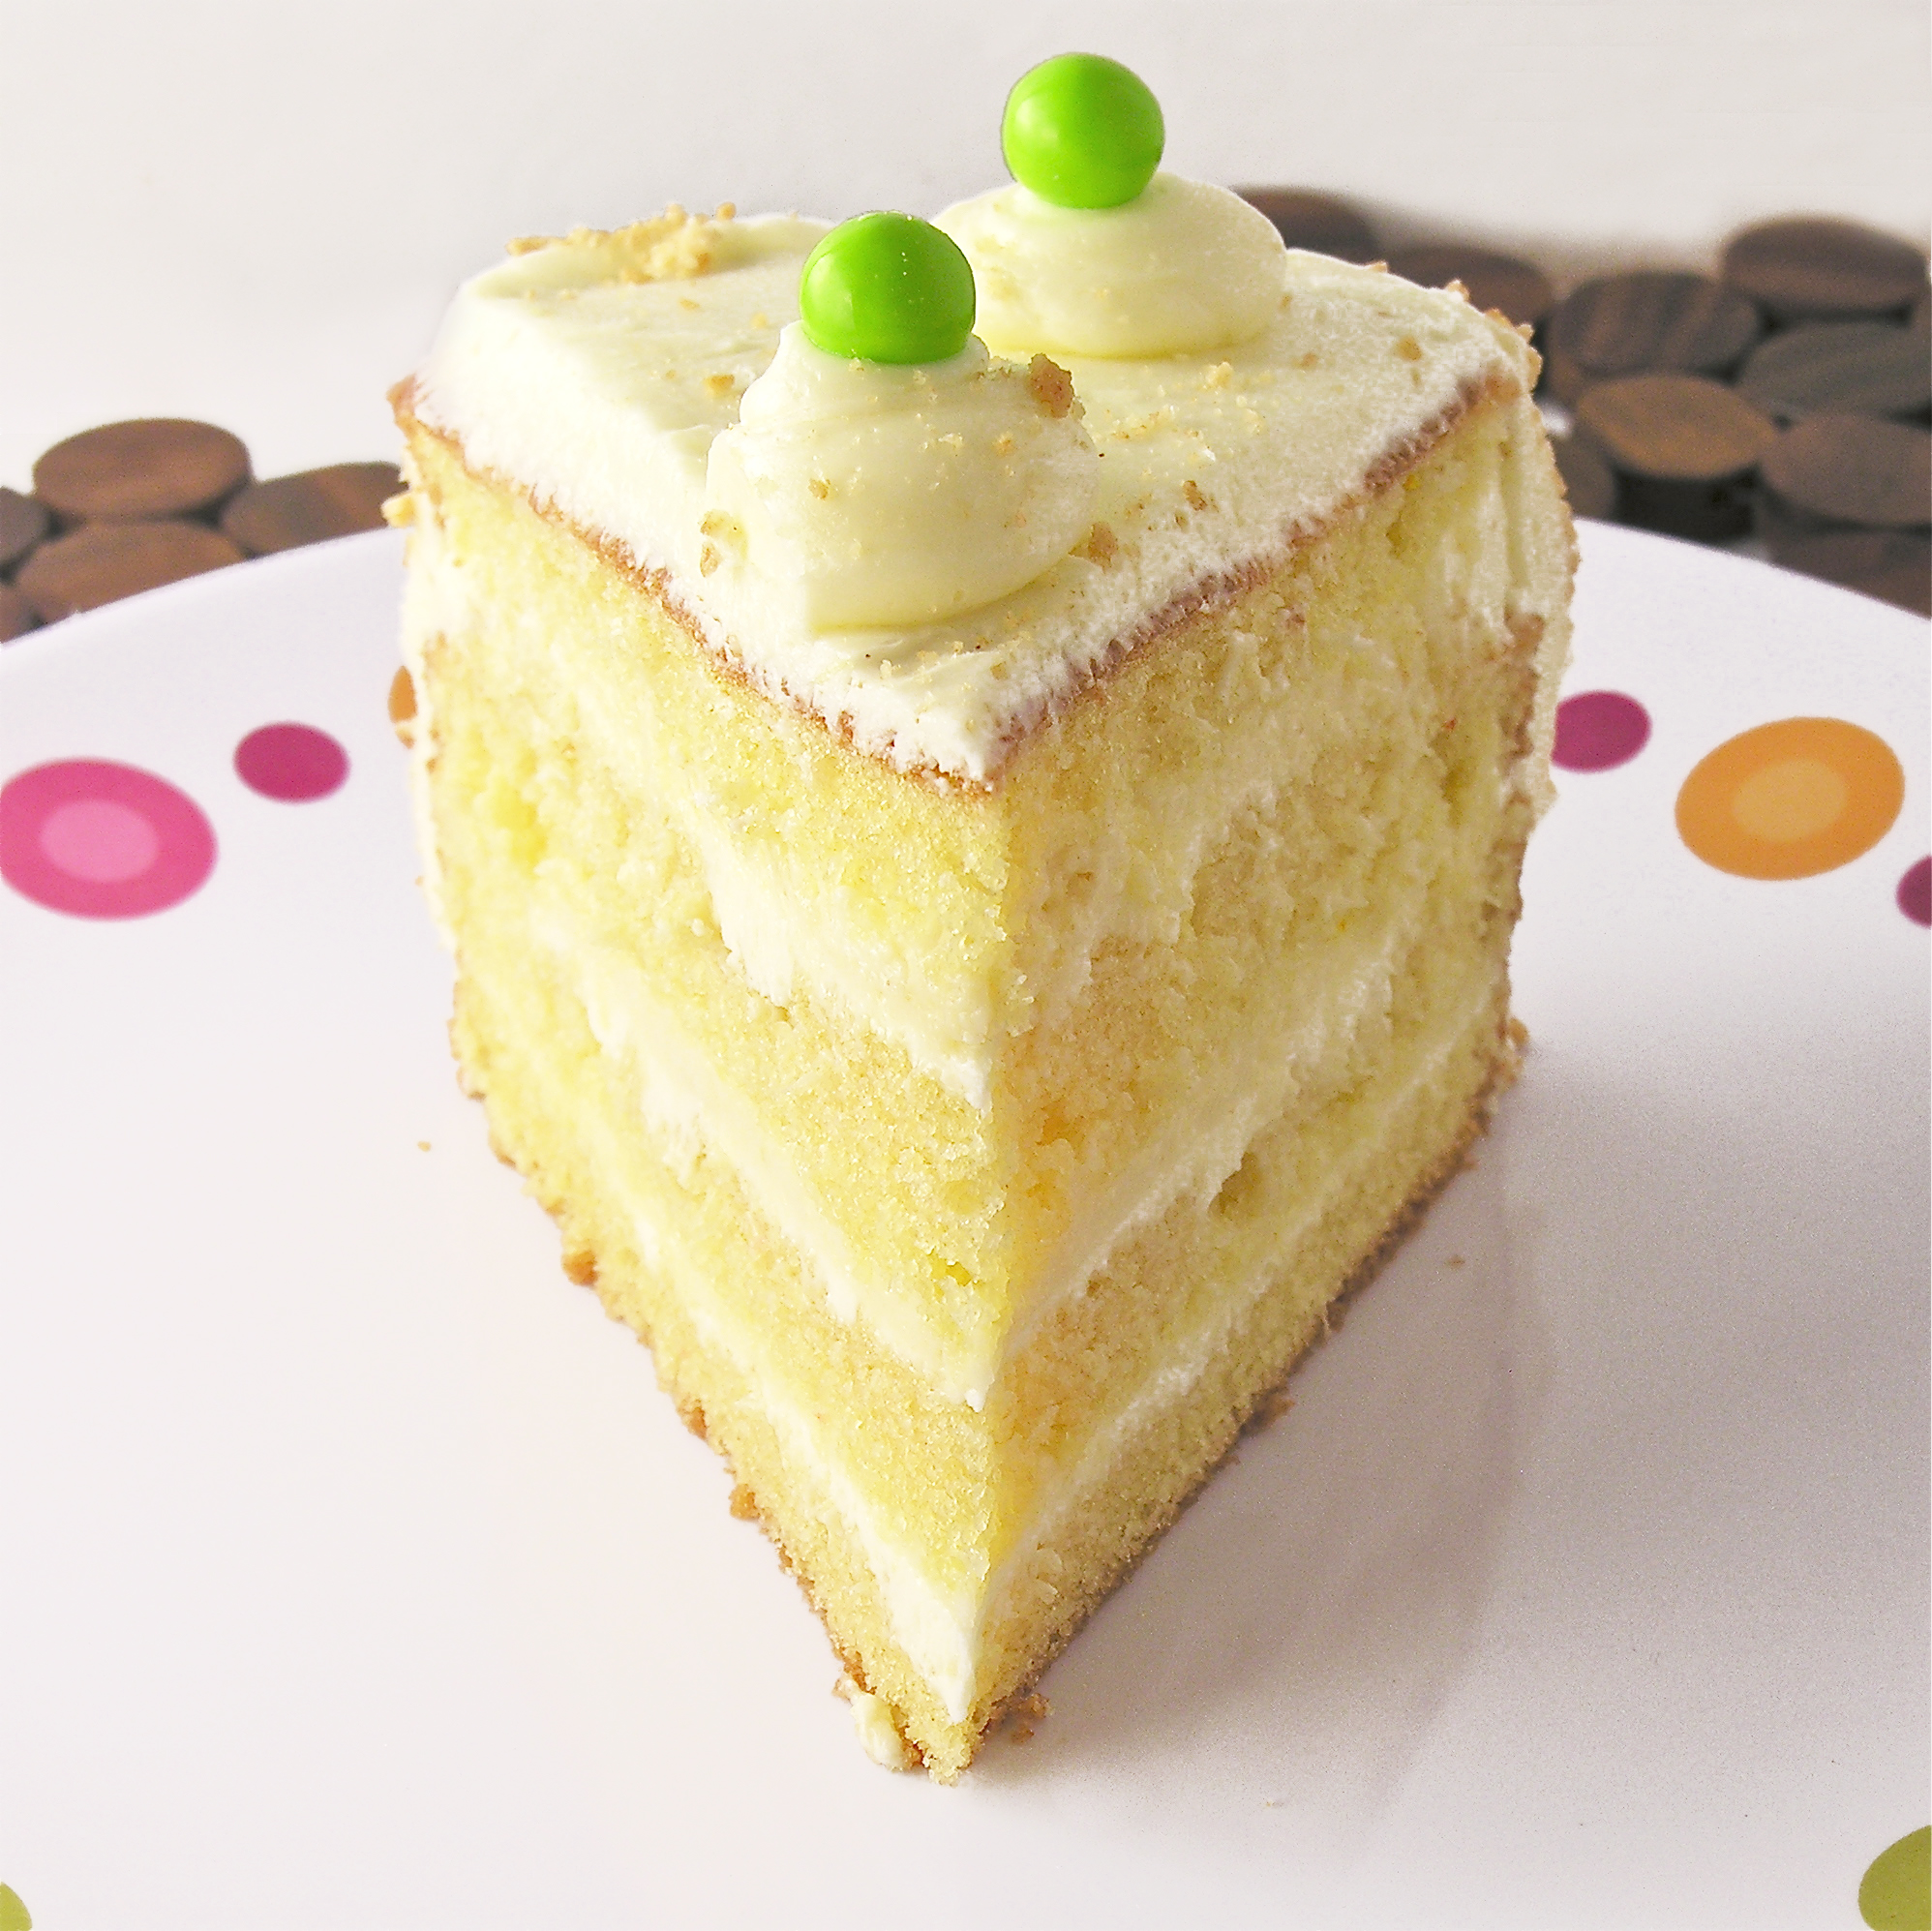
Moist cake layered with buttercream and tart key lime filling.  A perfect summer treat!

Key lime pie is one of my favorite desserts.  It’s just so refreshing and fun!  Whenever I am pondering the question of what dessert to try in a restaurant I am always caught between chocolate and anything key lime.

I’ve already done a few key lime recipes here on Easybaked, but never a cake.  Until today…..

Key Lime Cake

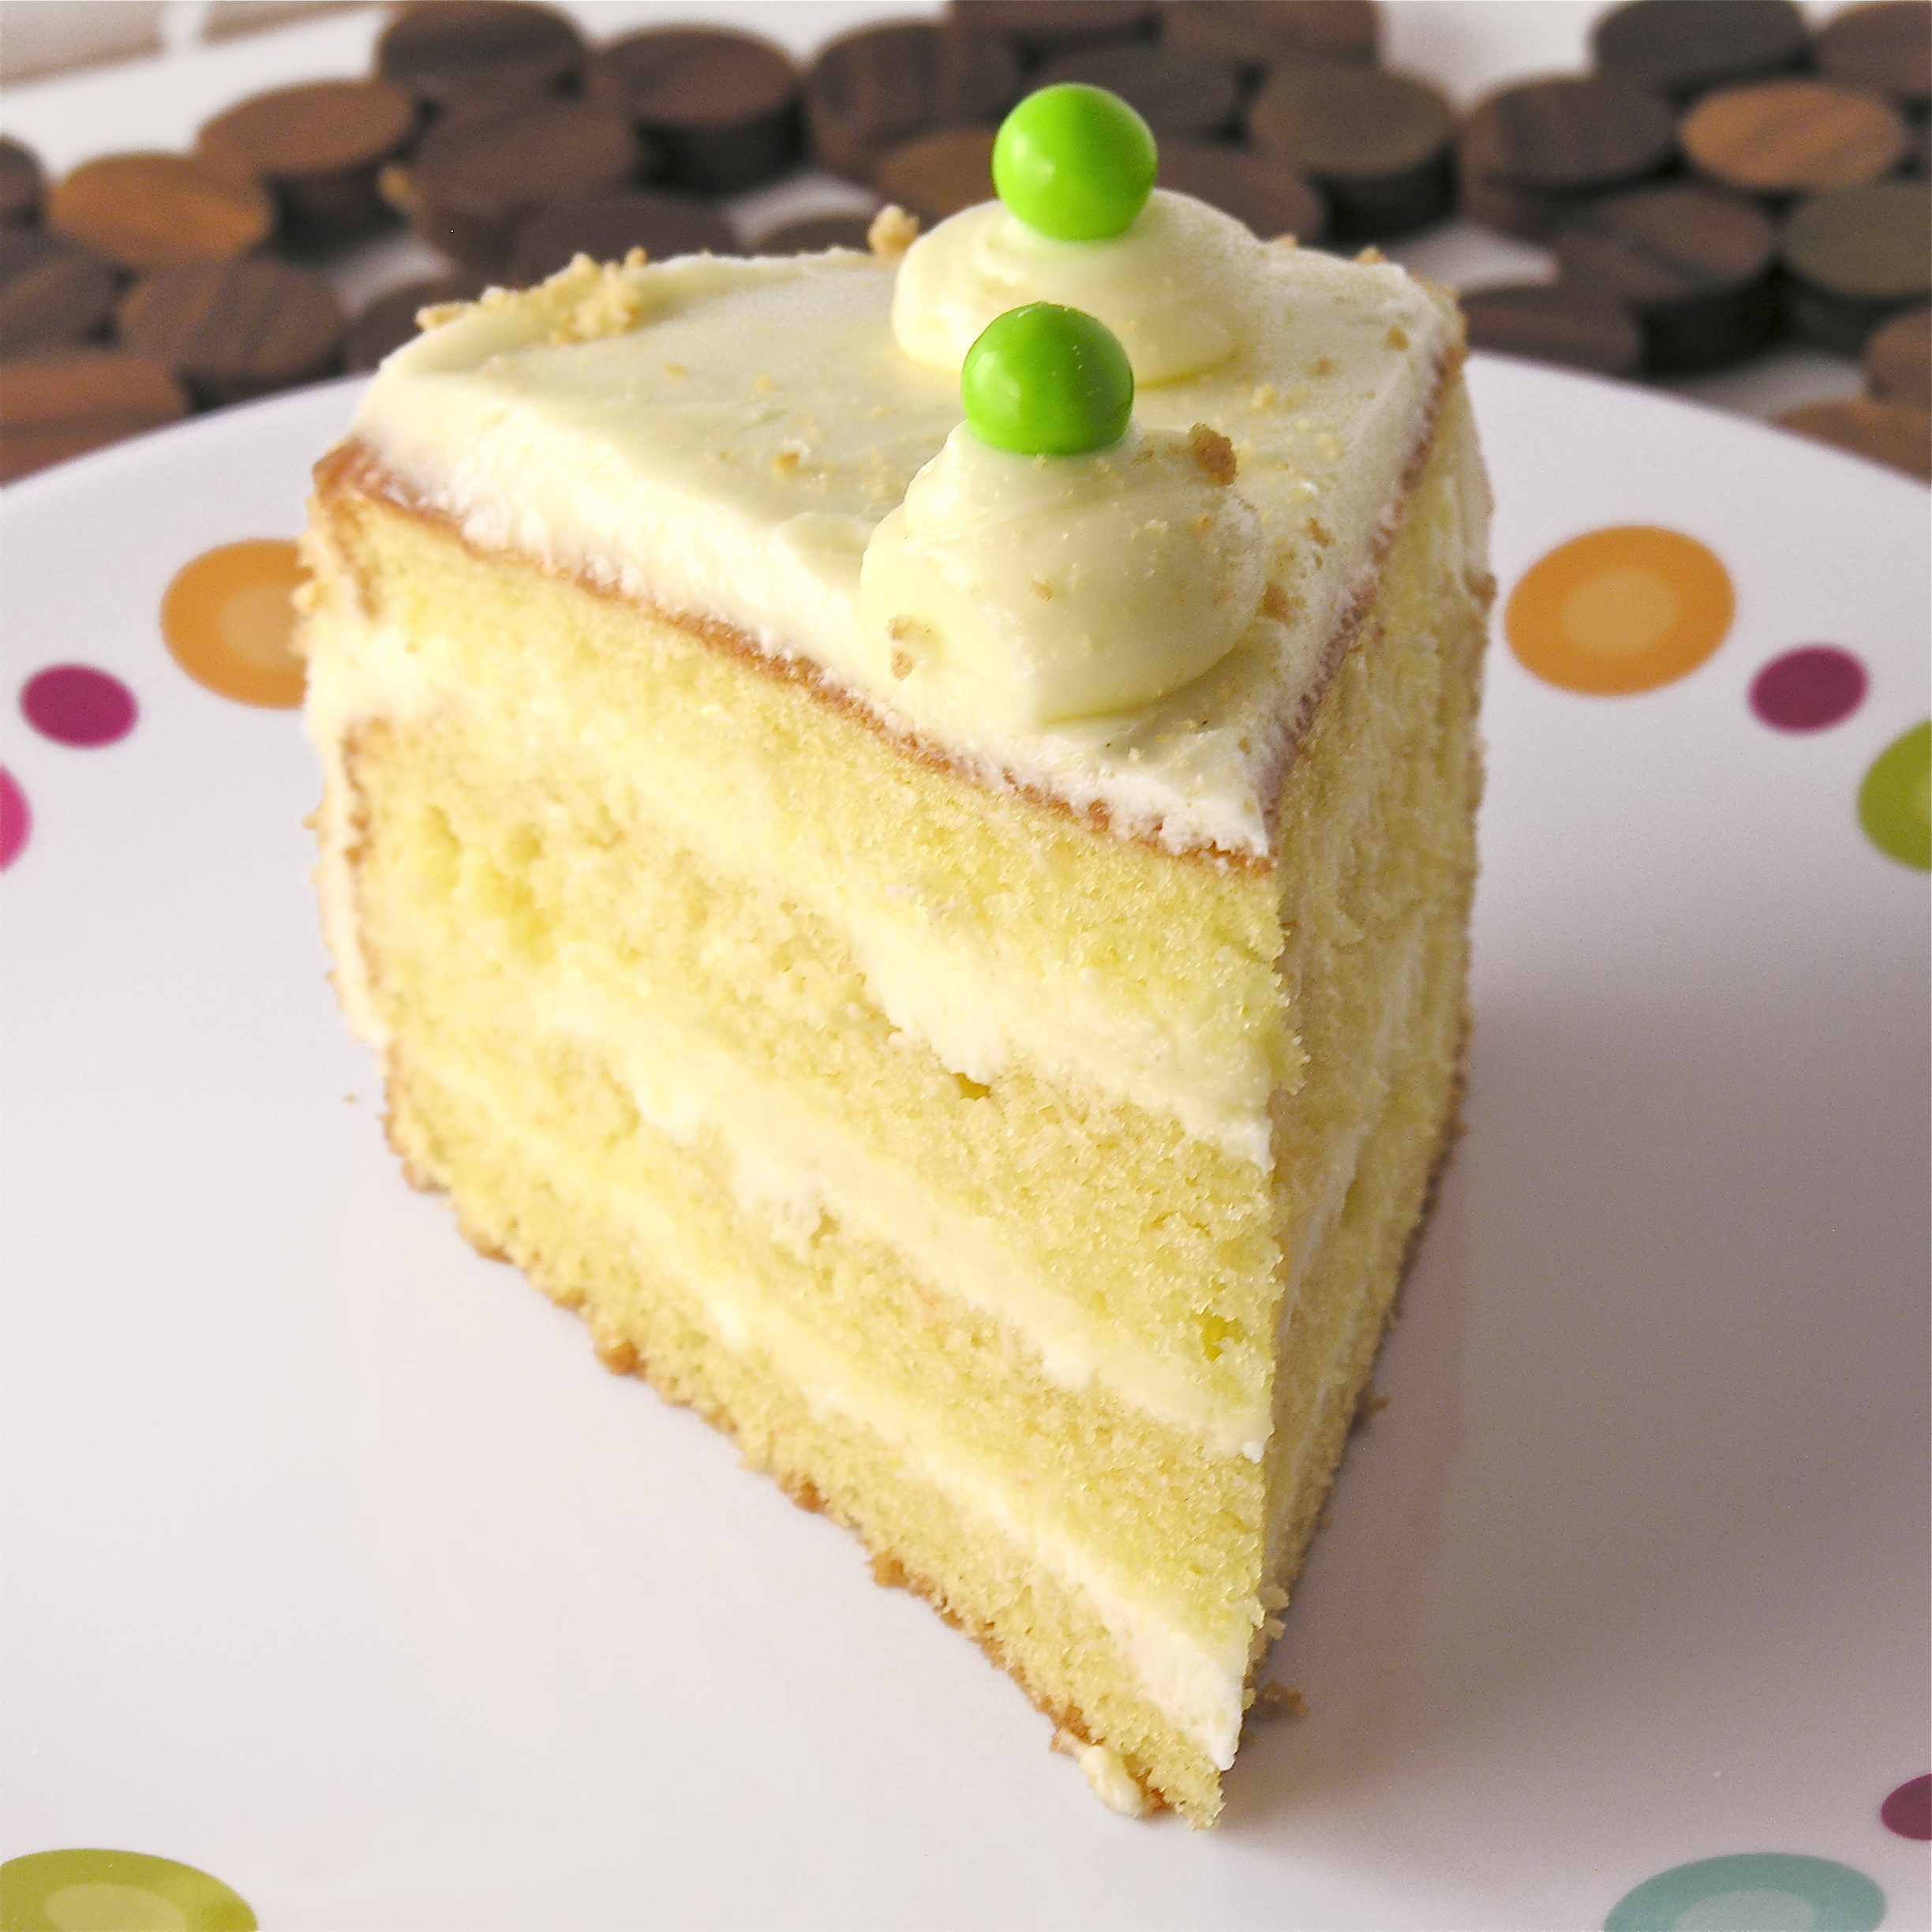
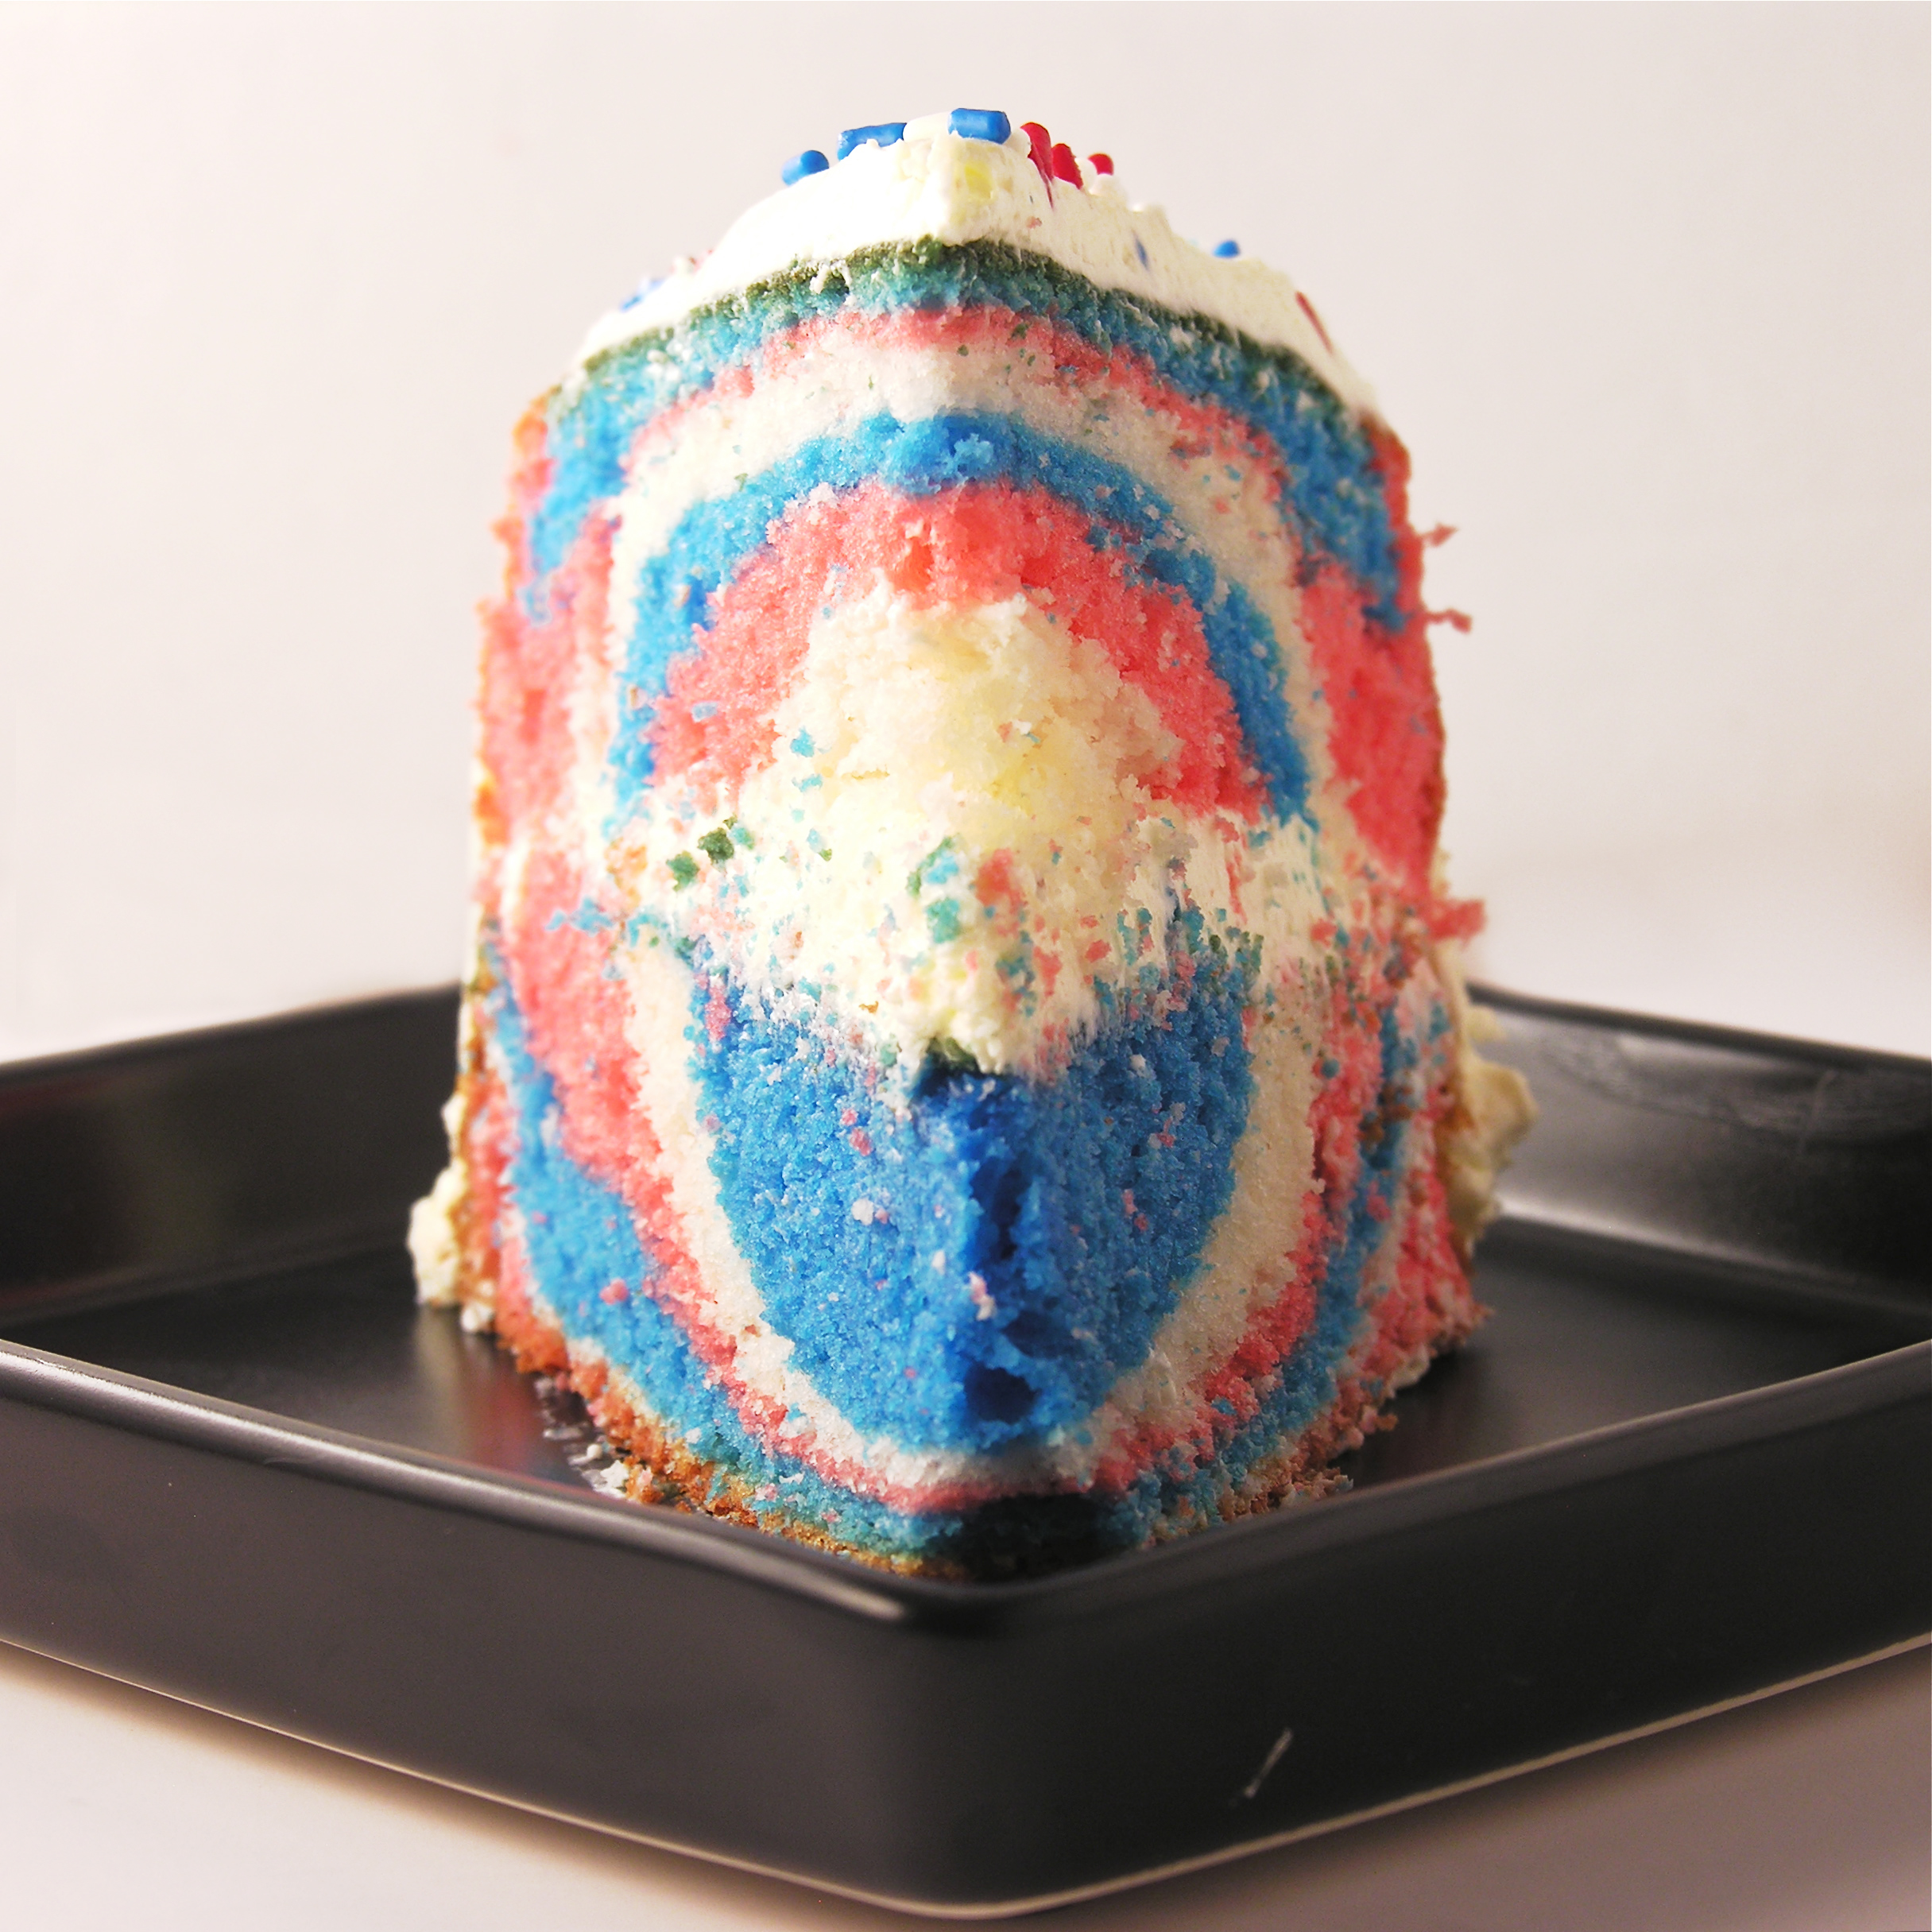
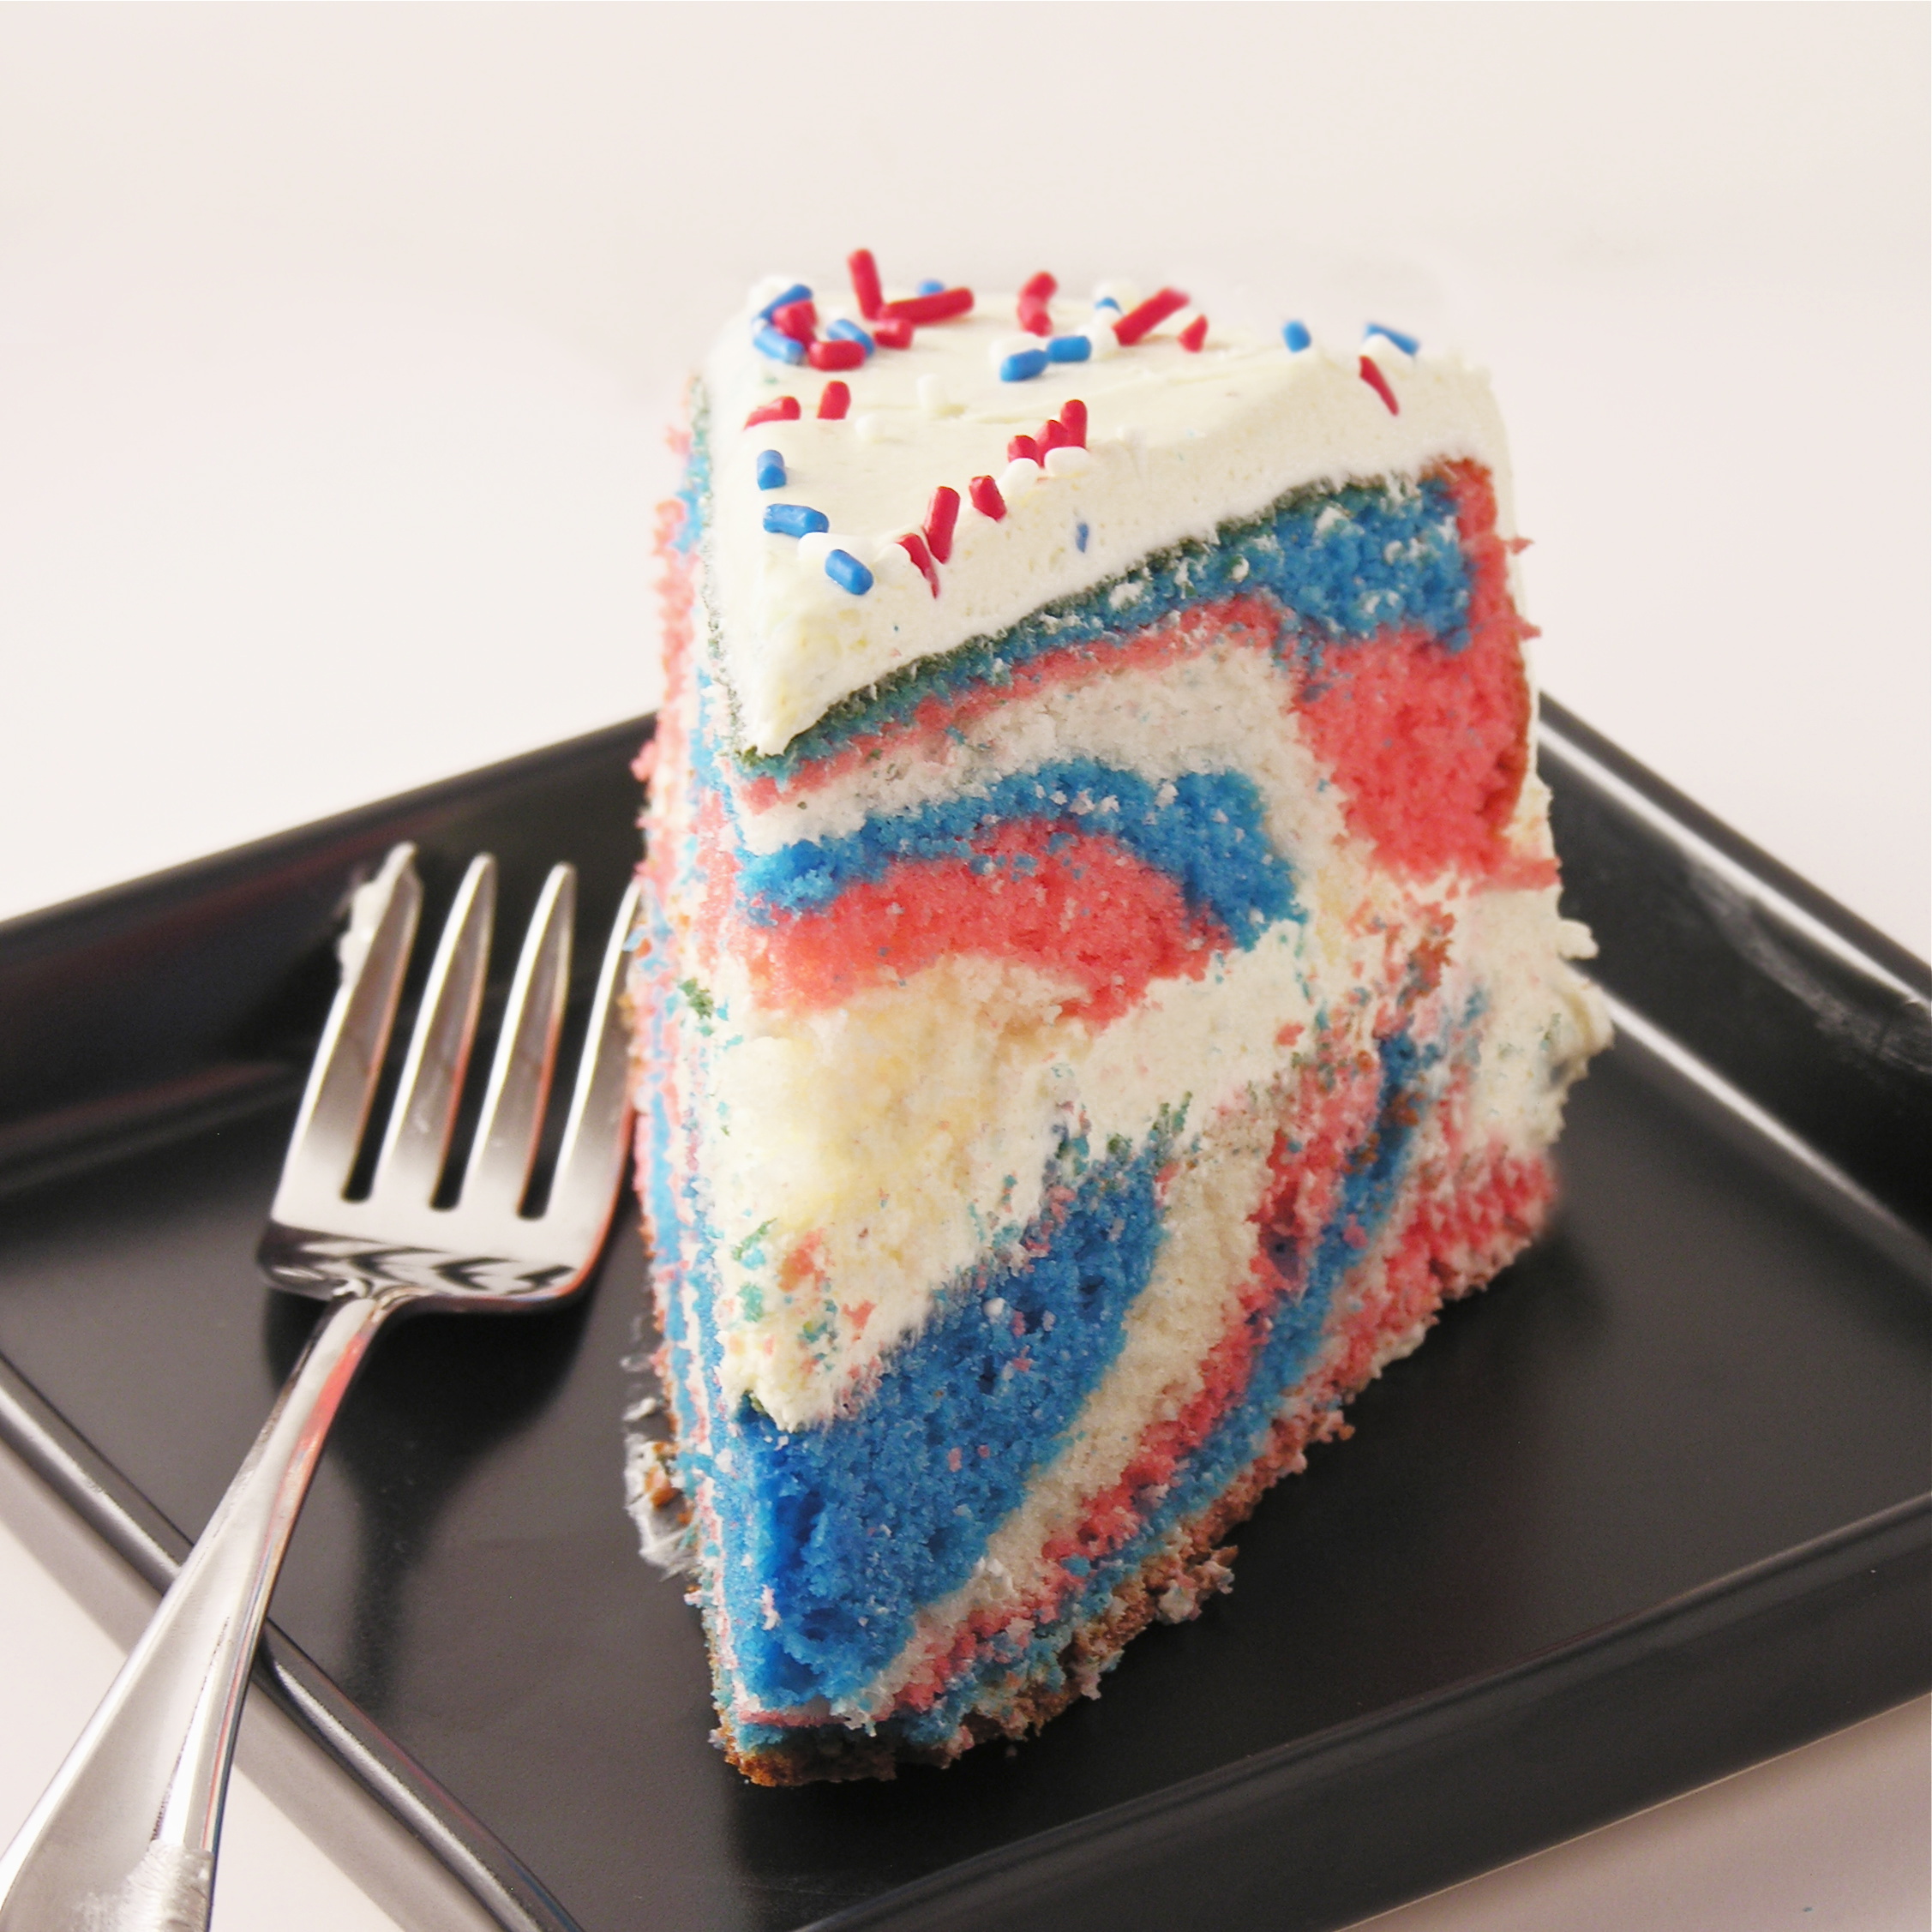
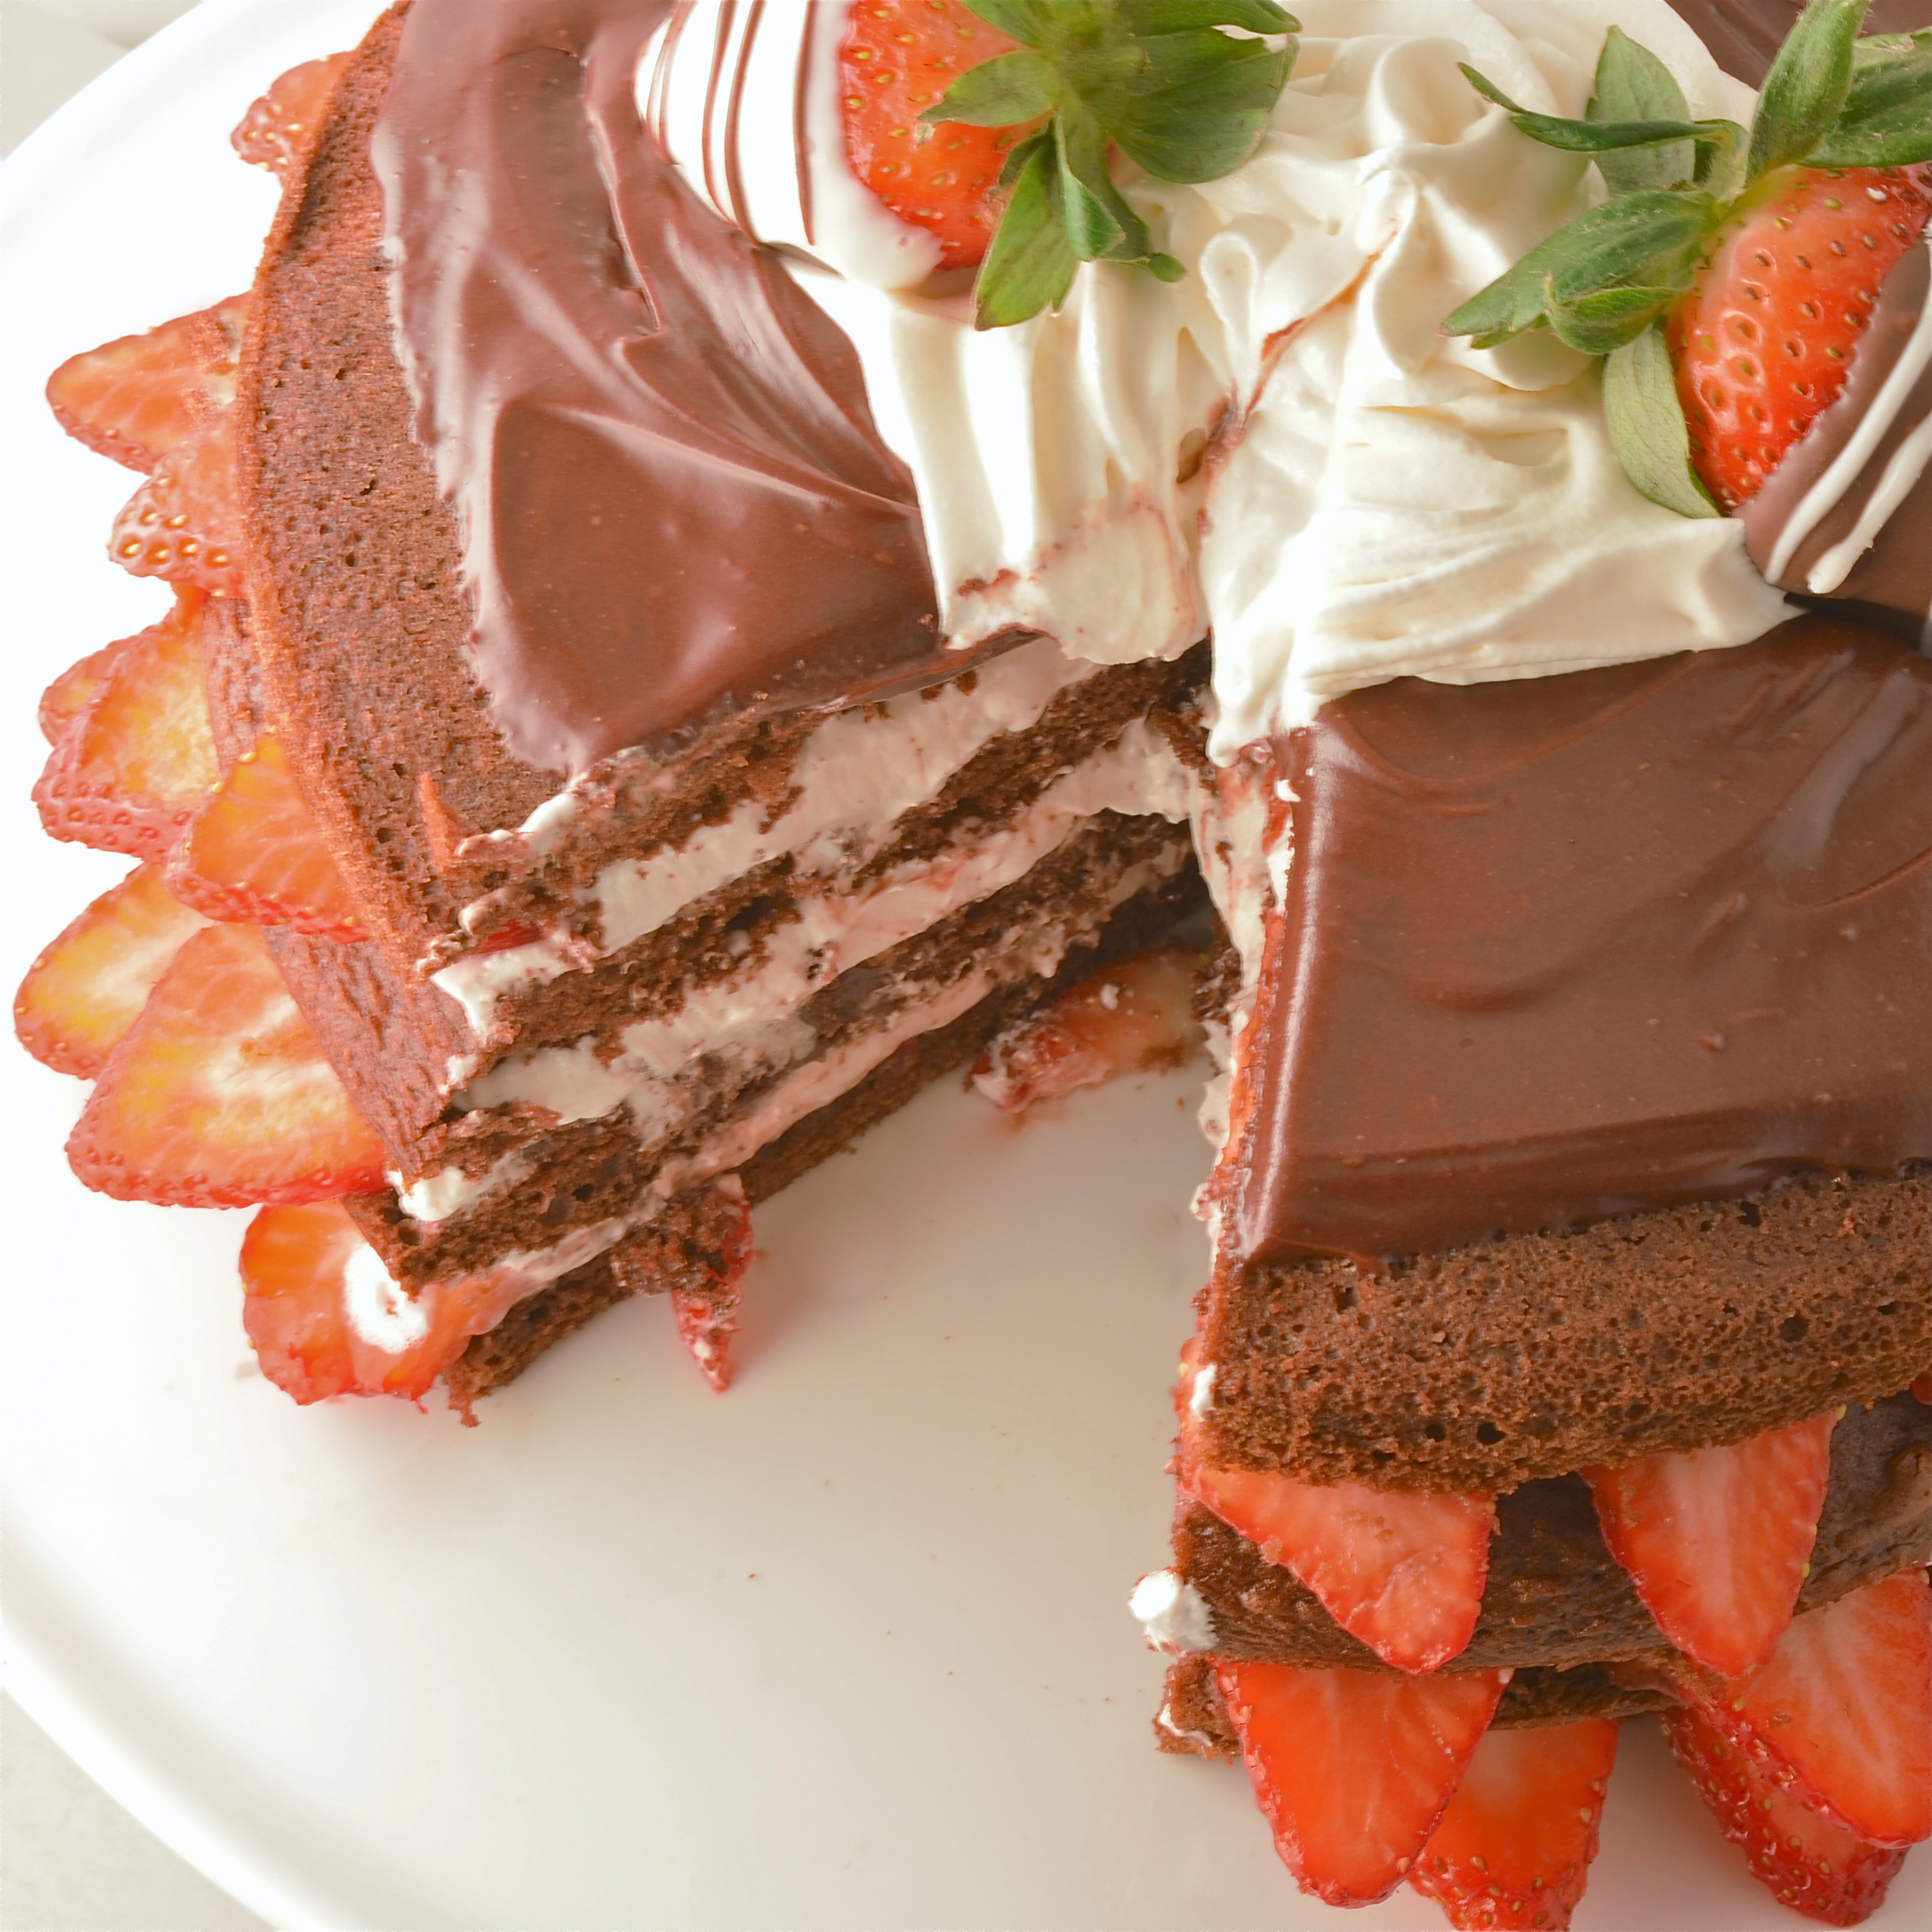
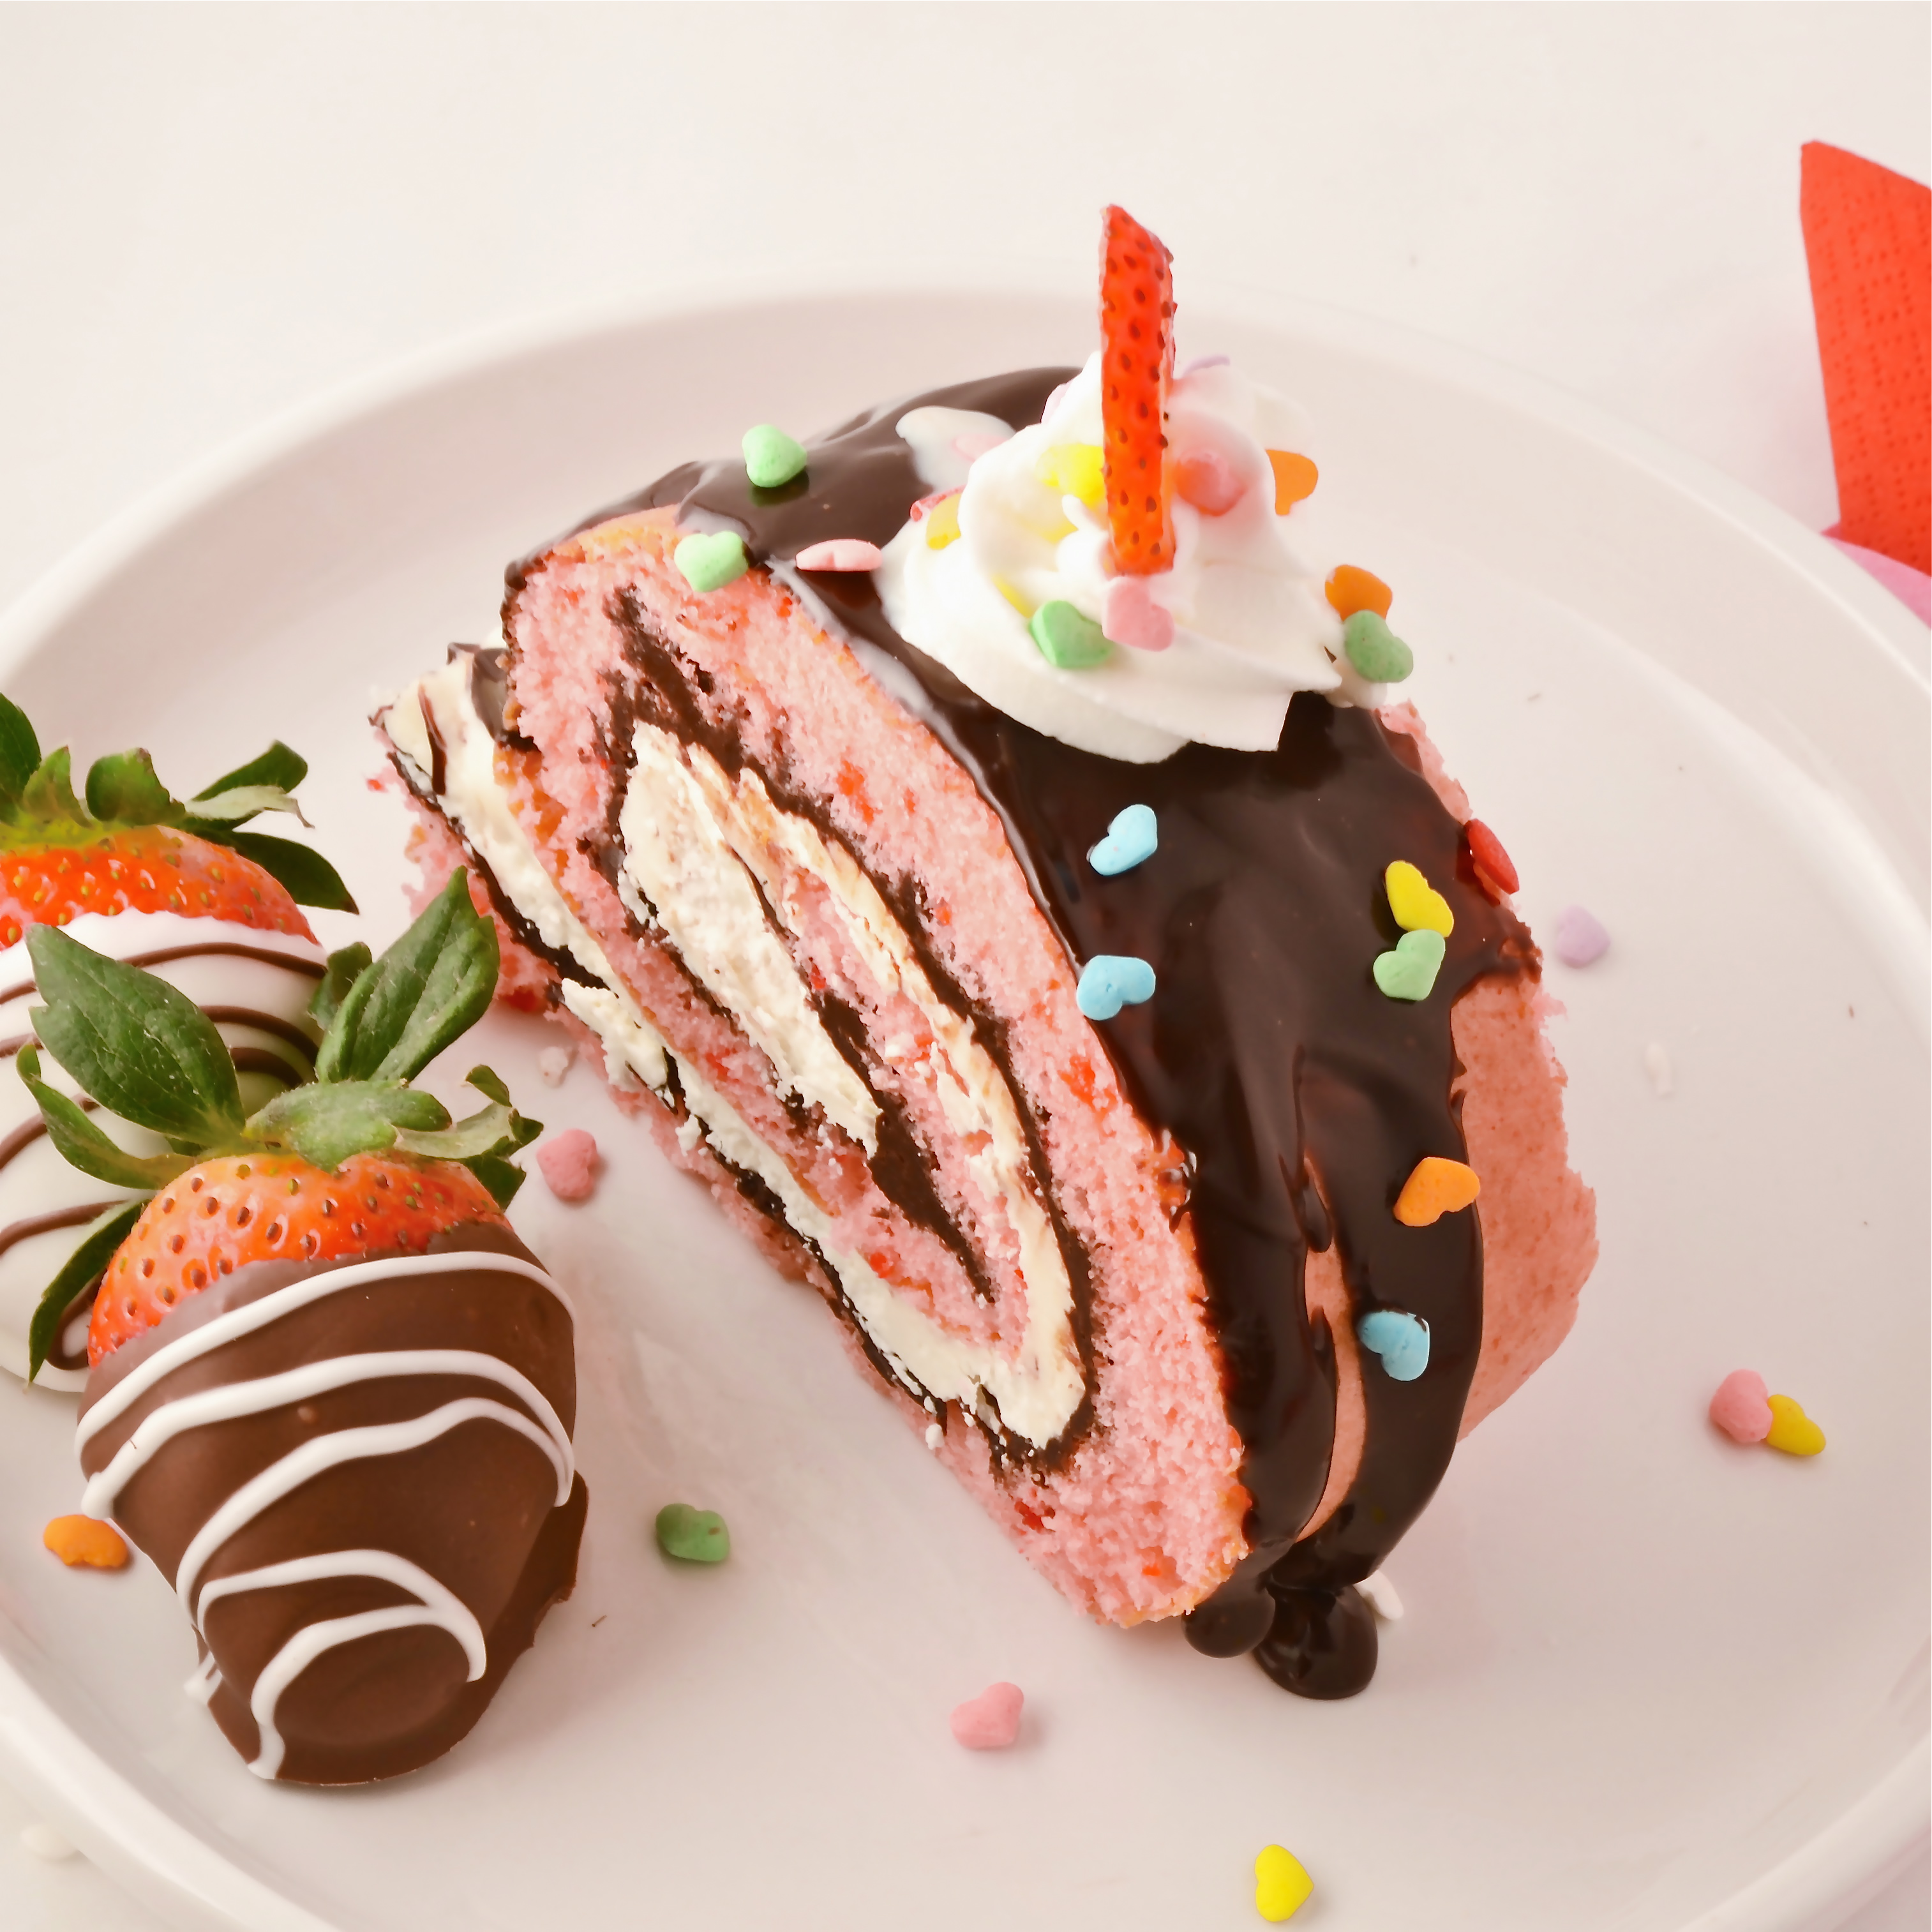
The key lime filling is tart, but the sweet buttercream layered with it makes each bite a refreshing treat!

Here’s how to make it: (printable recipe)

INGREDIENTS:

  • One boxed yellow cake mix (with eggs, oil and water to make according to package)
  • 1 cup of key lime juice
  • 1 can (14 oz) of sweetened condensed milk
  • 1 egg
  • 2 sticks (8 oz.) of salted butter
  • 2 sticks (8 oz.) of unsalted butter
  • 3 cups of powdered sugar
  • 2 teaspoons of clear vanilla
  • 1/4 cup crushed graham crackers

DIRECTIONS:    (make filling 1st to save time)

Cake:

  • Make cake mix according to package and bake in two 8 or 9 inch round pans.
  • Turn cakes out of pans onto a cooling rack and cool completely.

Filling:

  • In a medium mixing bowl blend together key lime juice, sweetened condensed milk and egg until combined.
  • Pour into a small casserole dish and bake at 325F degrees for 15-20 minutes until center is set.
  • Cool completely (I make this 1st and place it in the fridge while I make the cake and frosting)

Frosting:

  • In a large mixing bowl, add softened butters, powdered sugar and vanilla.
  • Beat on high for several minutes until frosting is light and very fluffy.

Putting the cake together:

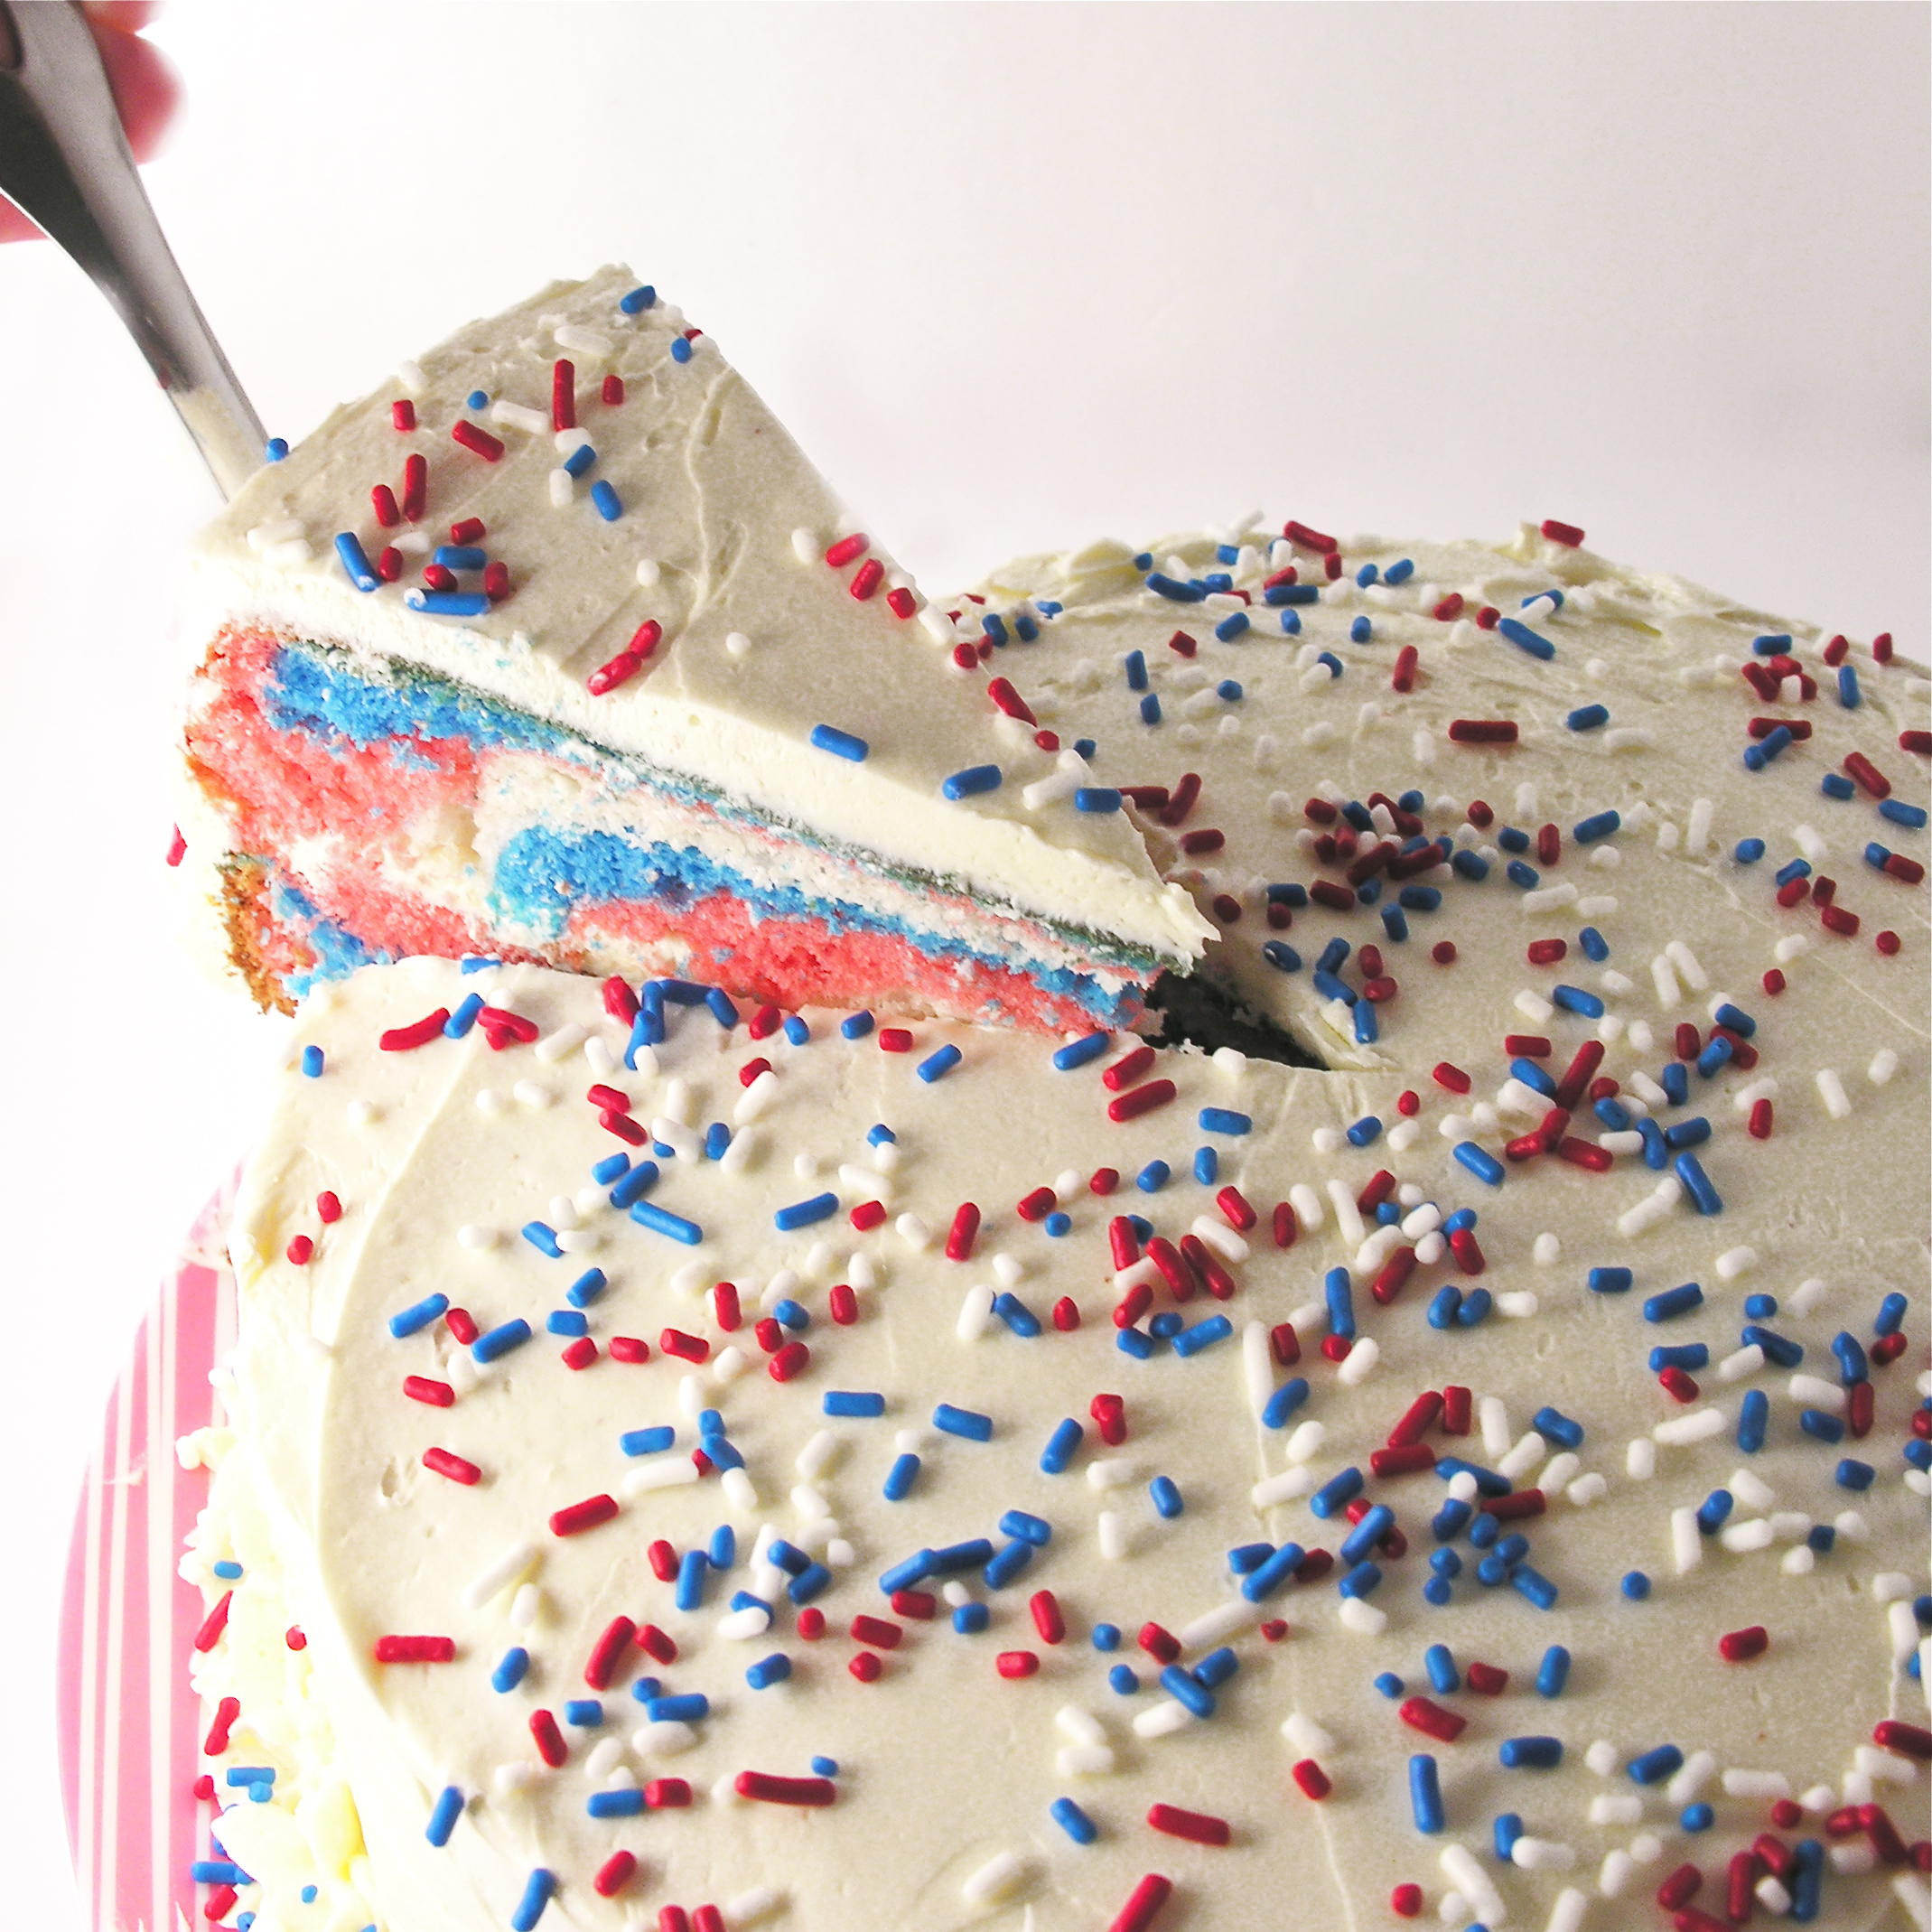
  • Trim the tops of cakes to make them flat using a large serrated knife.
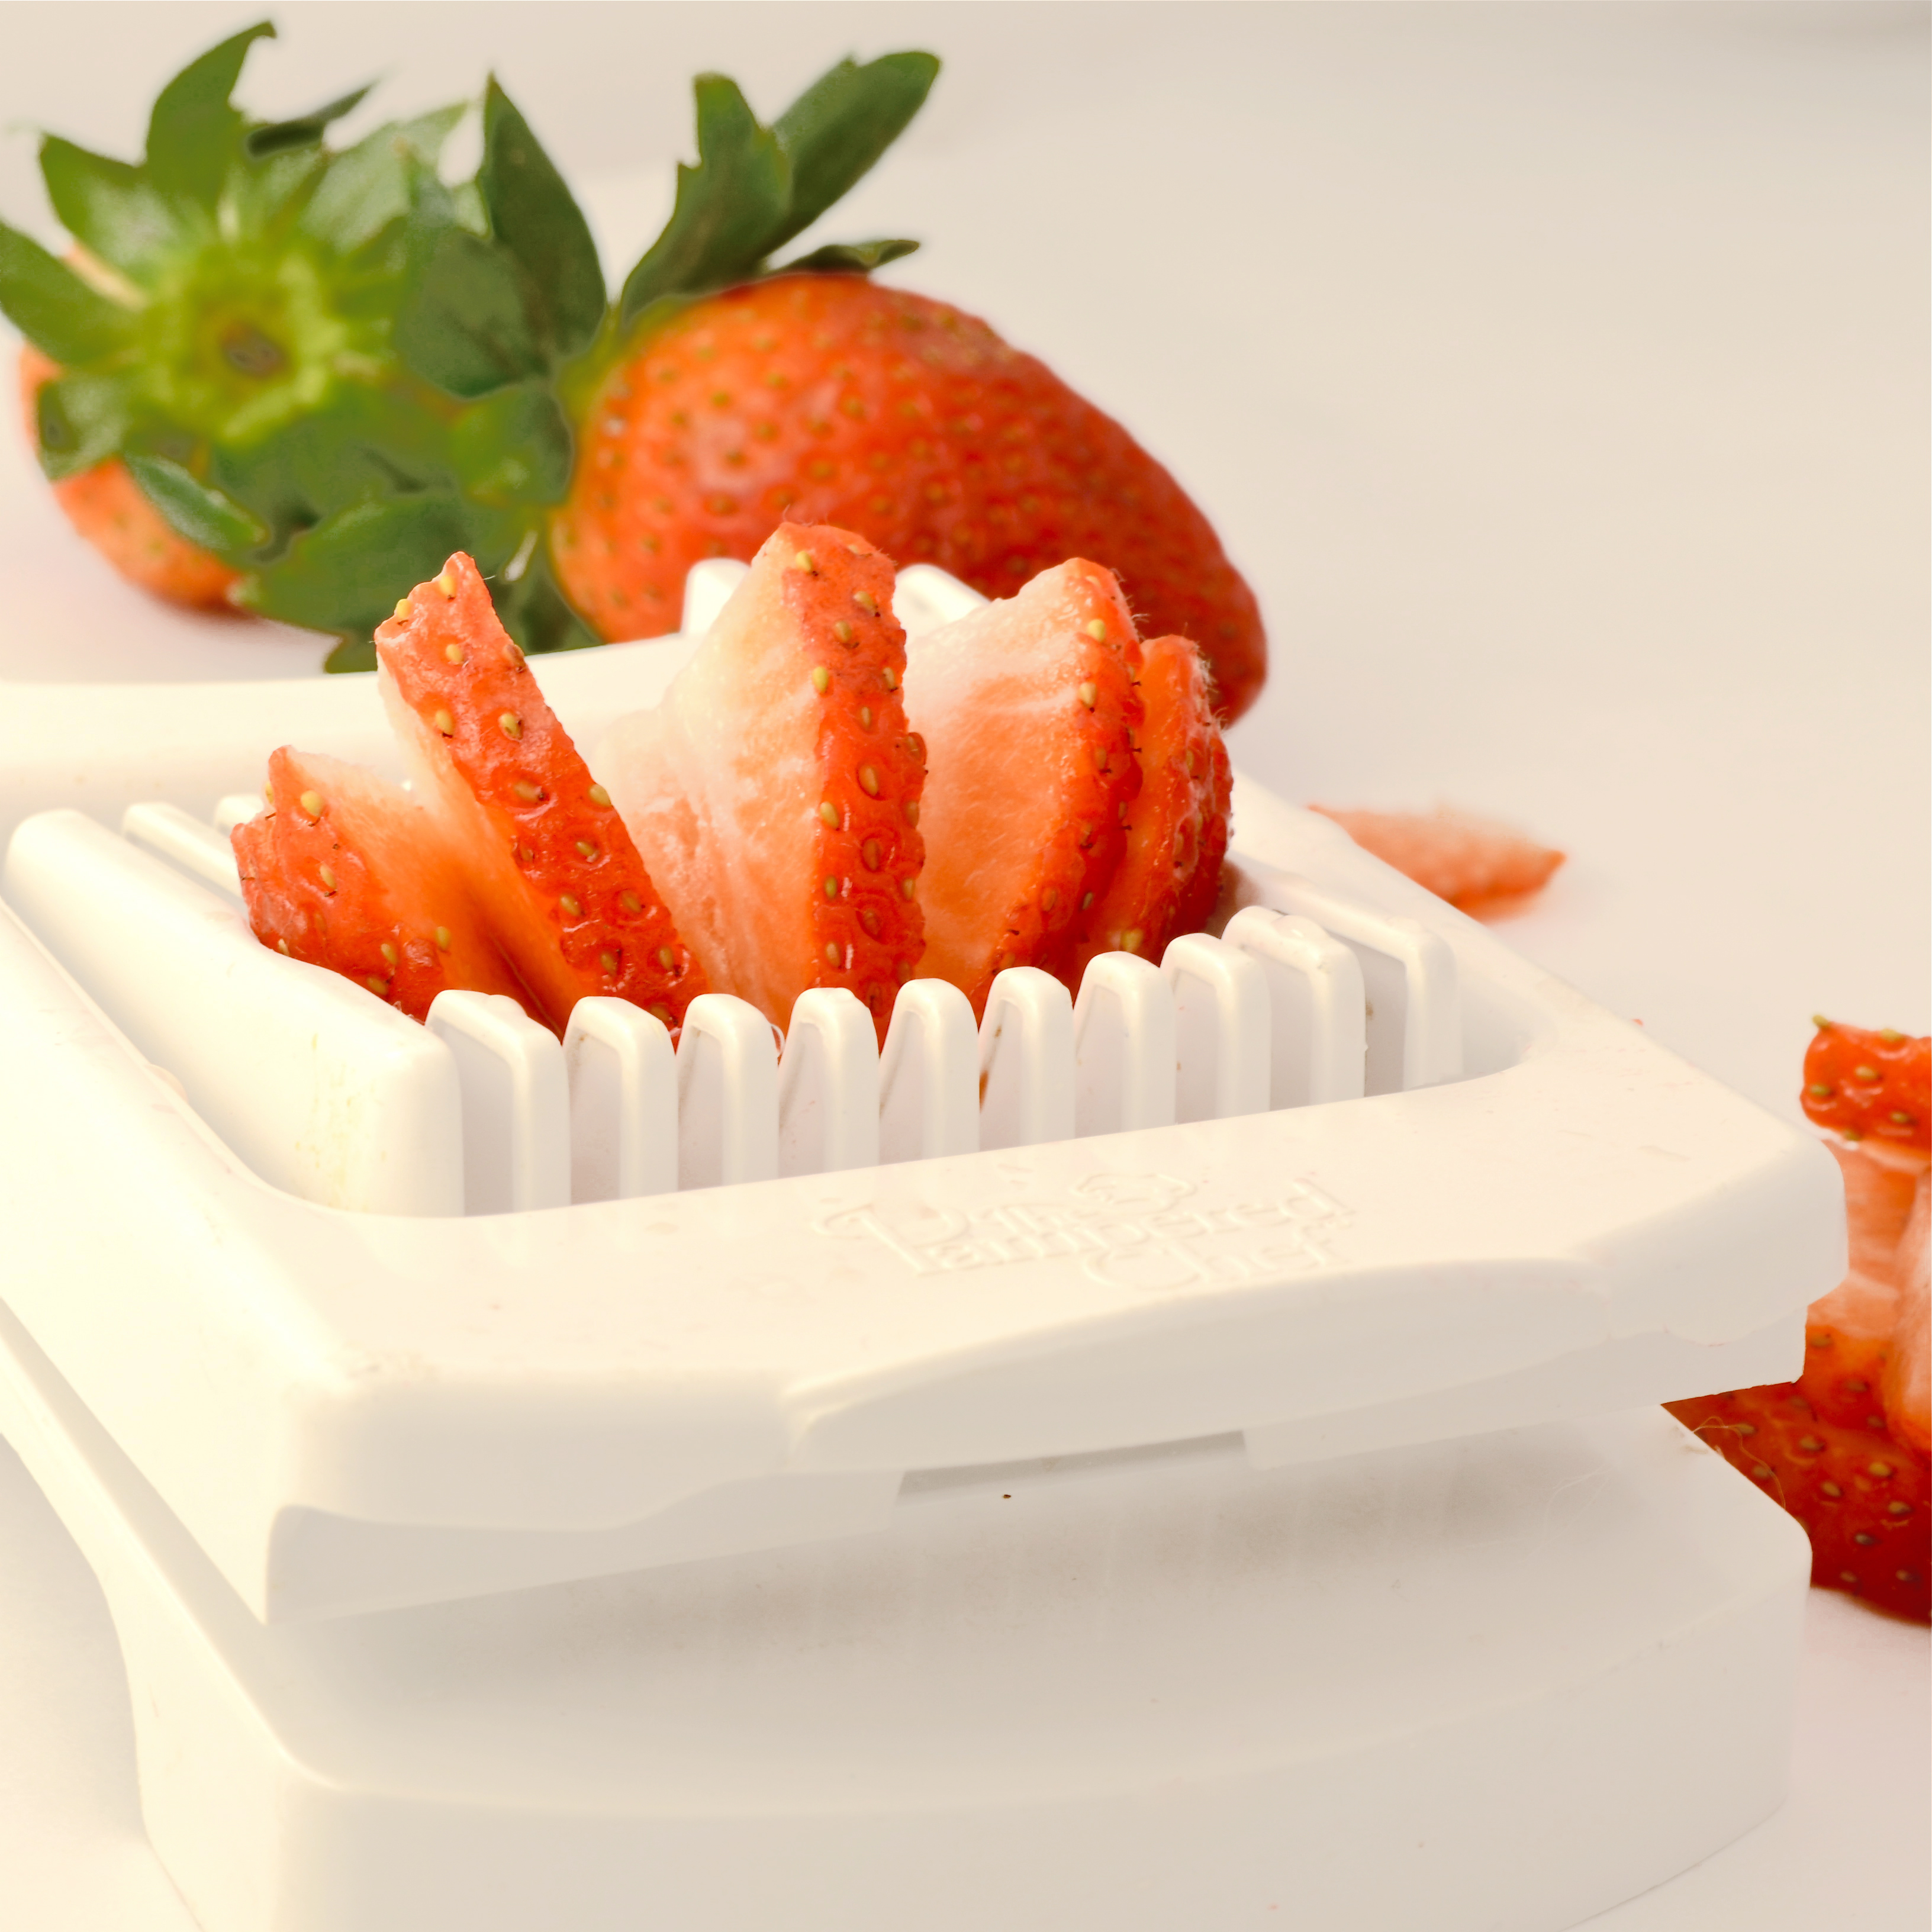
  • Cut each cake into 2 layers using the same serrated knife.
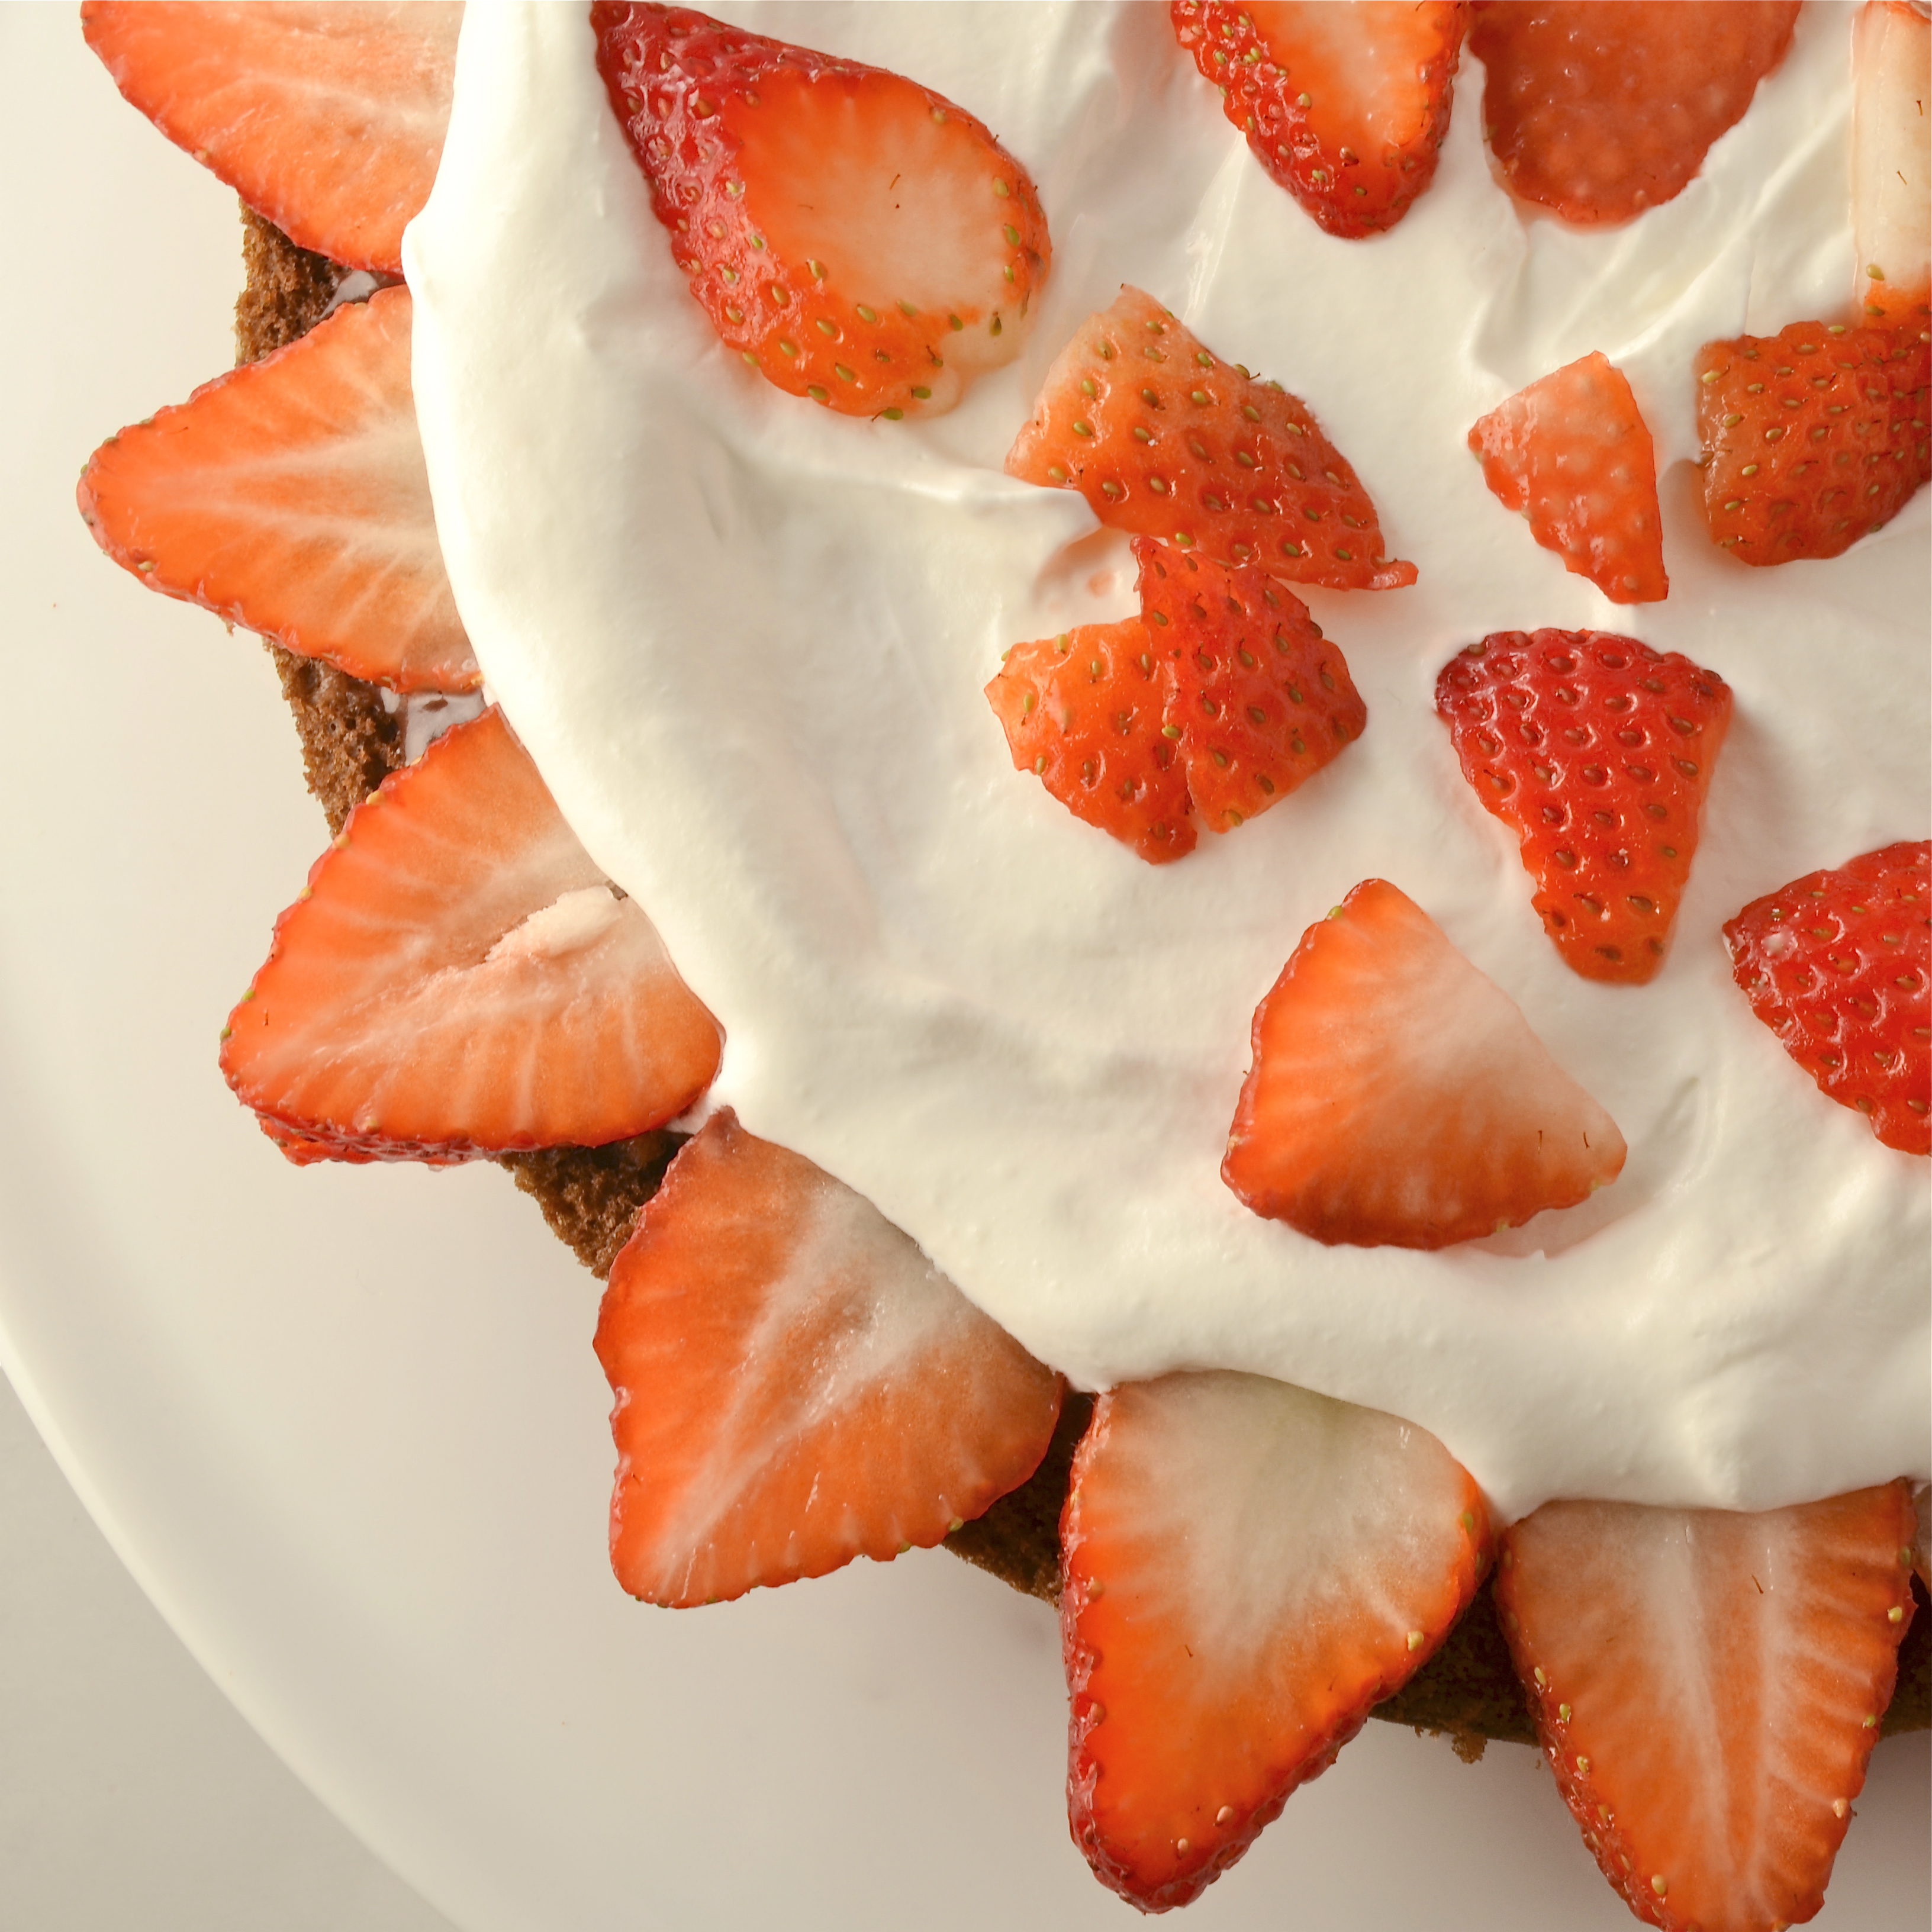
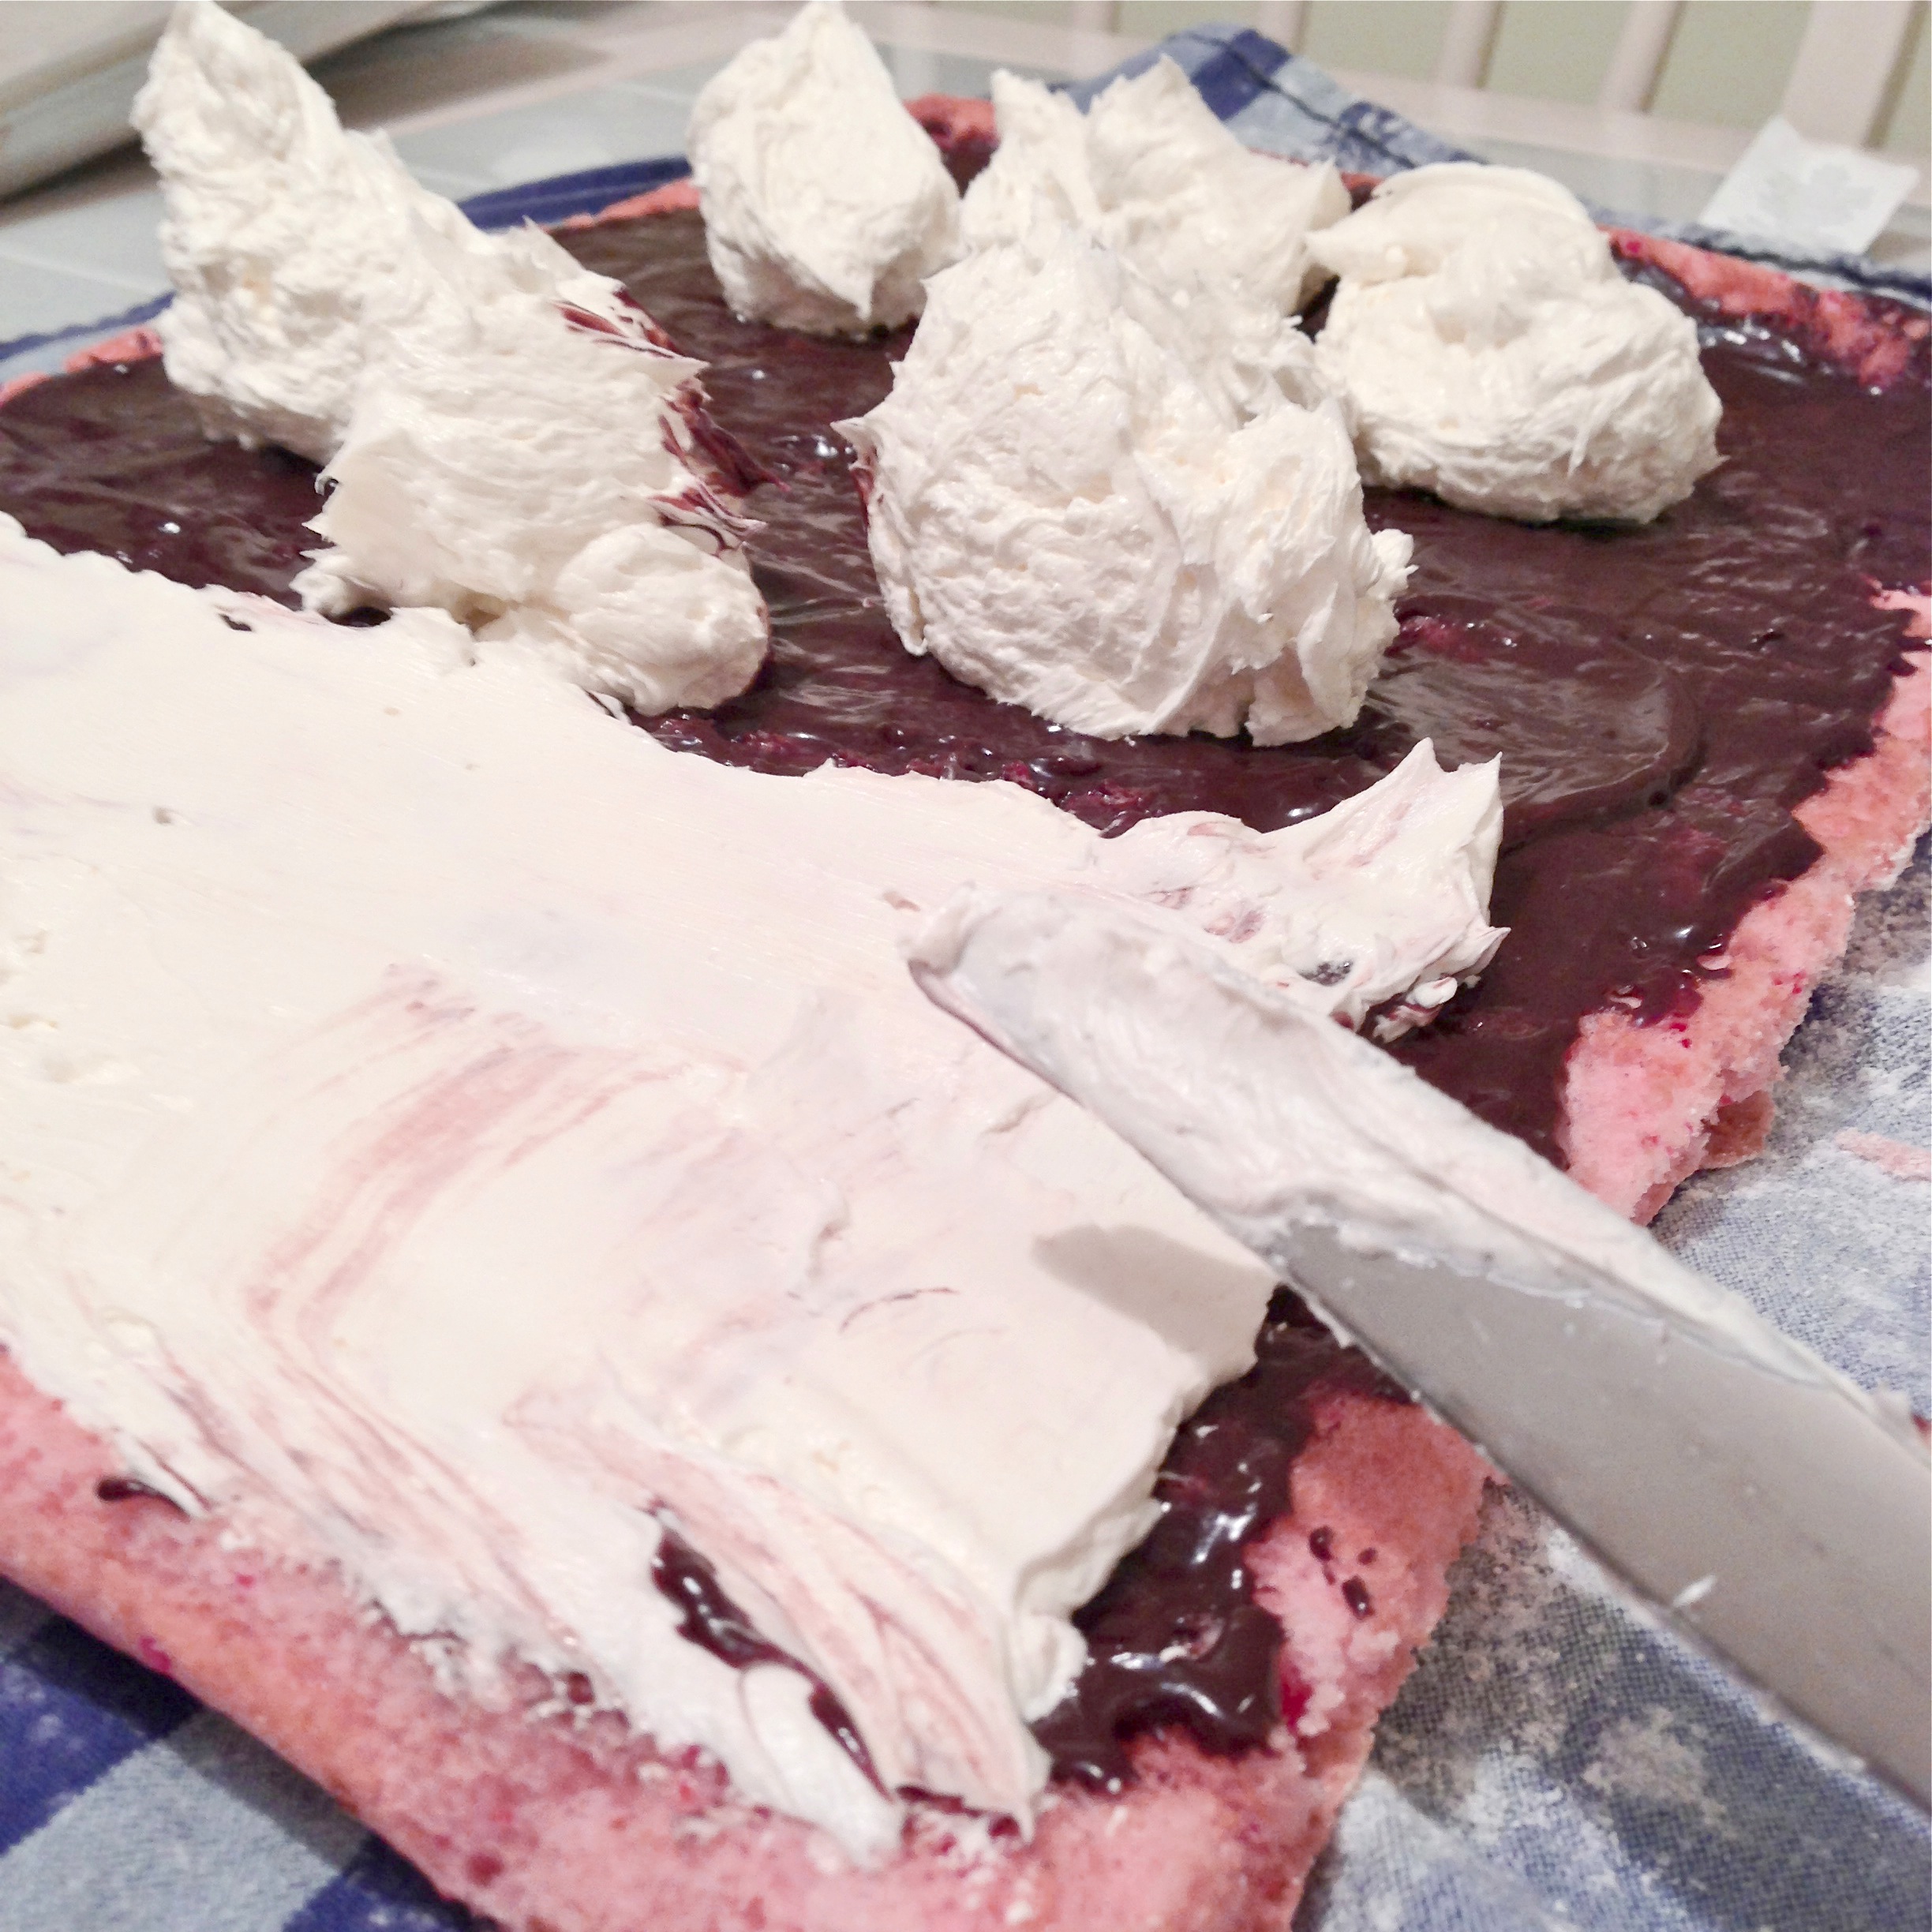
  • Place 1st layer on a serving plate and lightly layer with frosting.
  • Spread 1/3 of the cooled key lime filling over layer
  • Place 2nd layer on top and repeat until last layer has been placed on top.
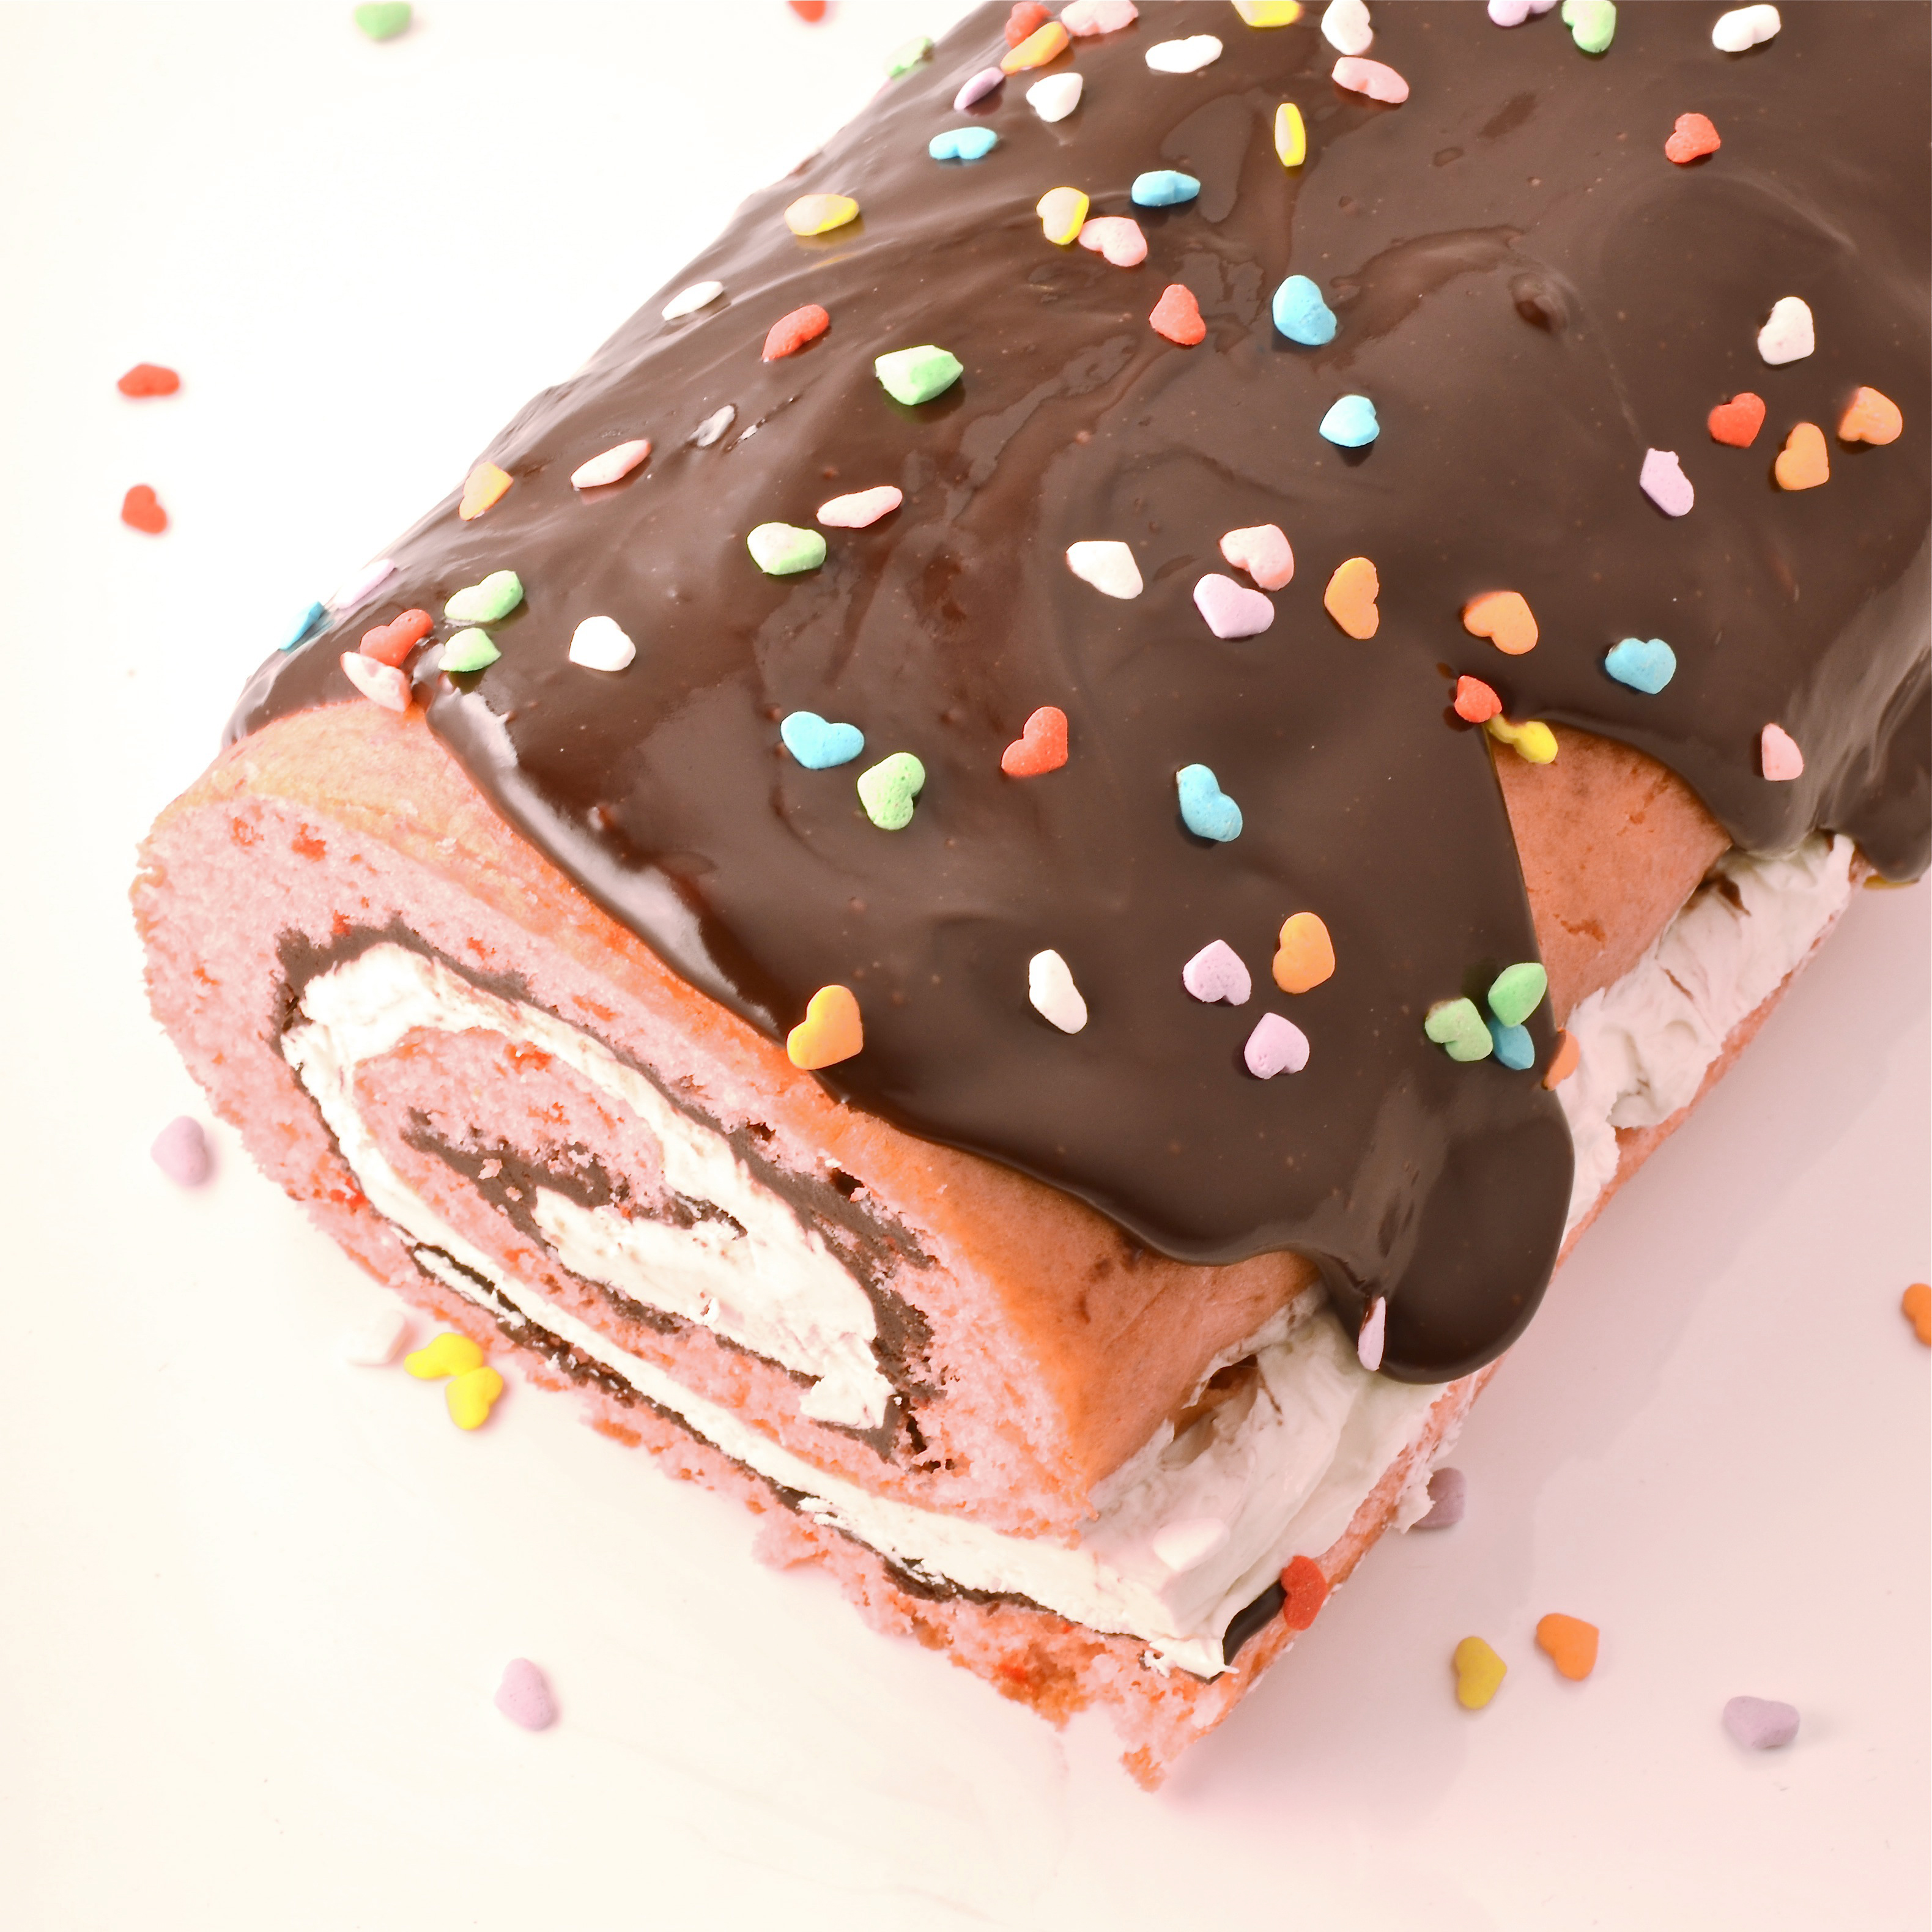
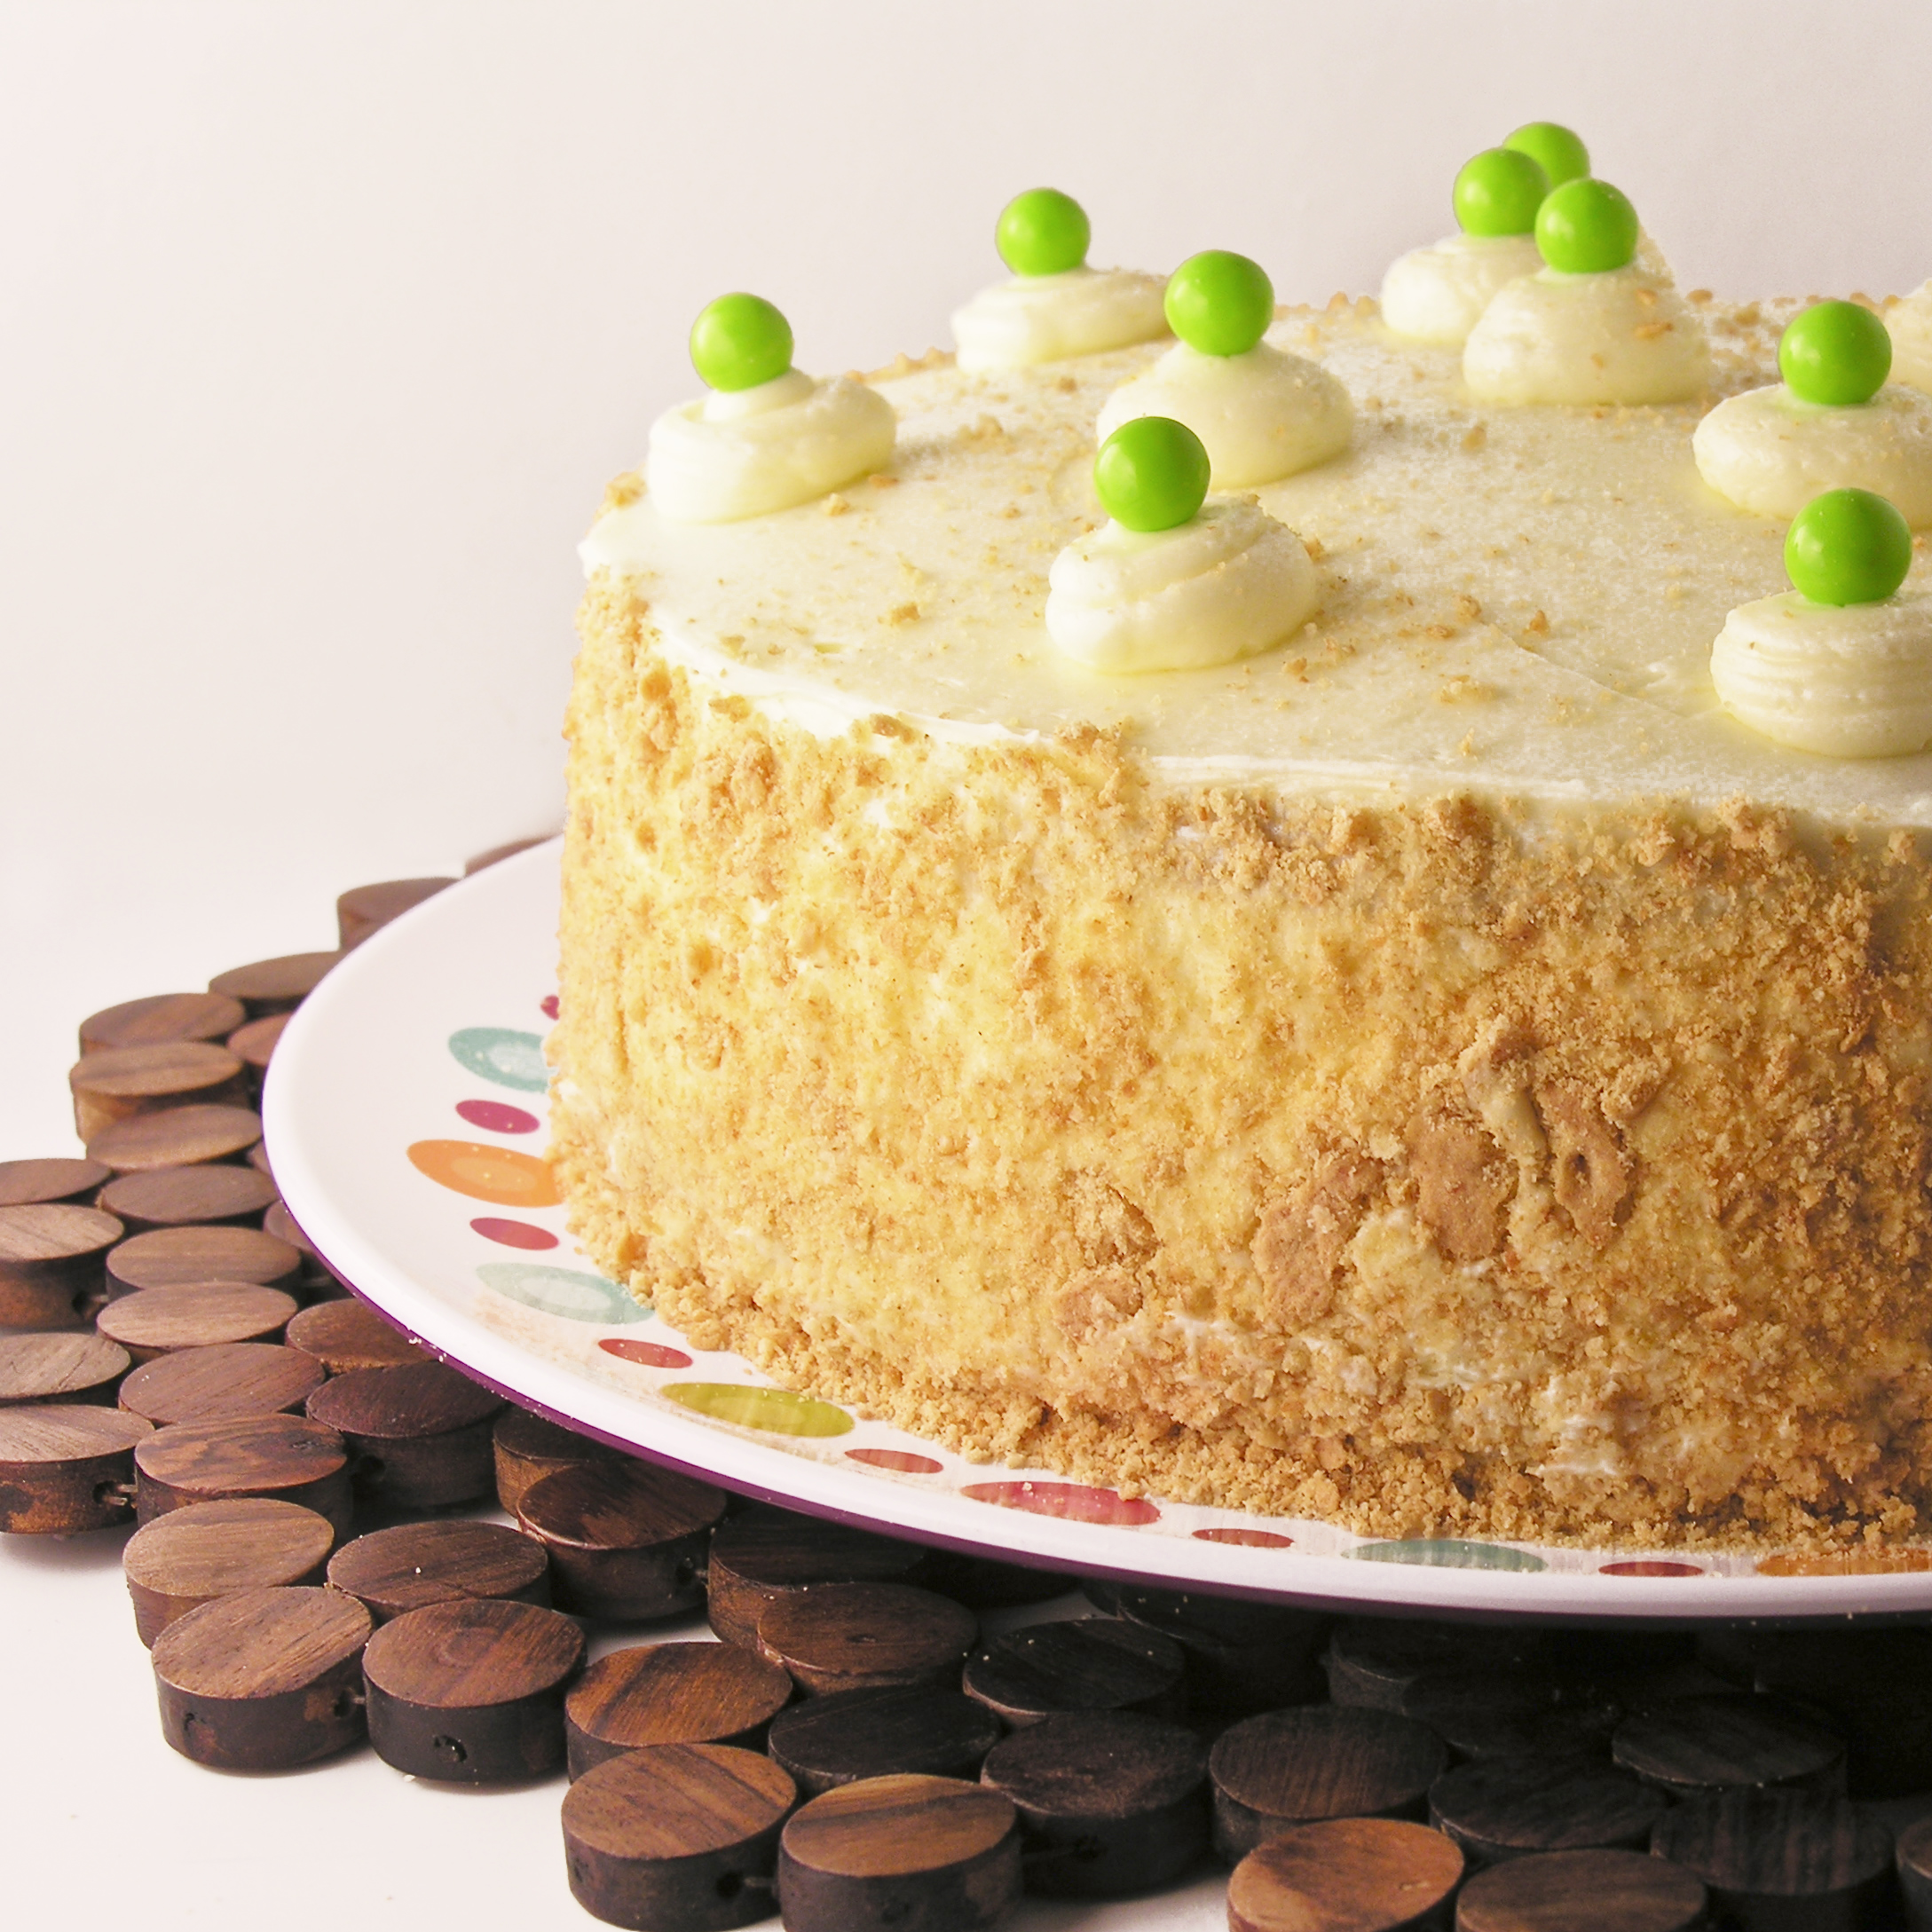
  • Frost entire cake (top and sides) with buttercream frosting.
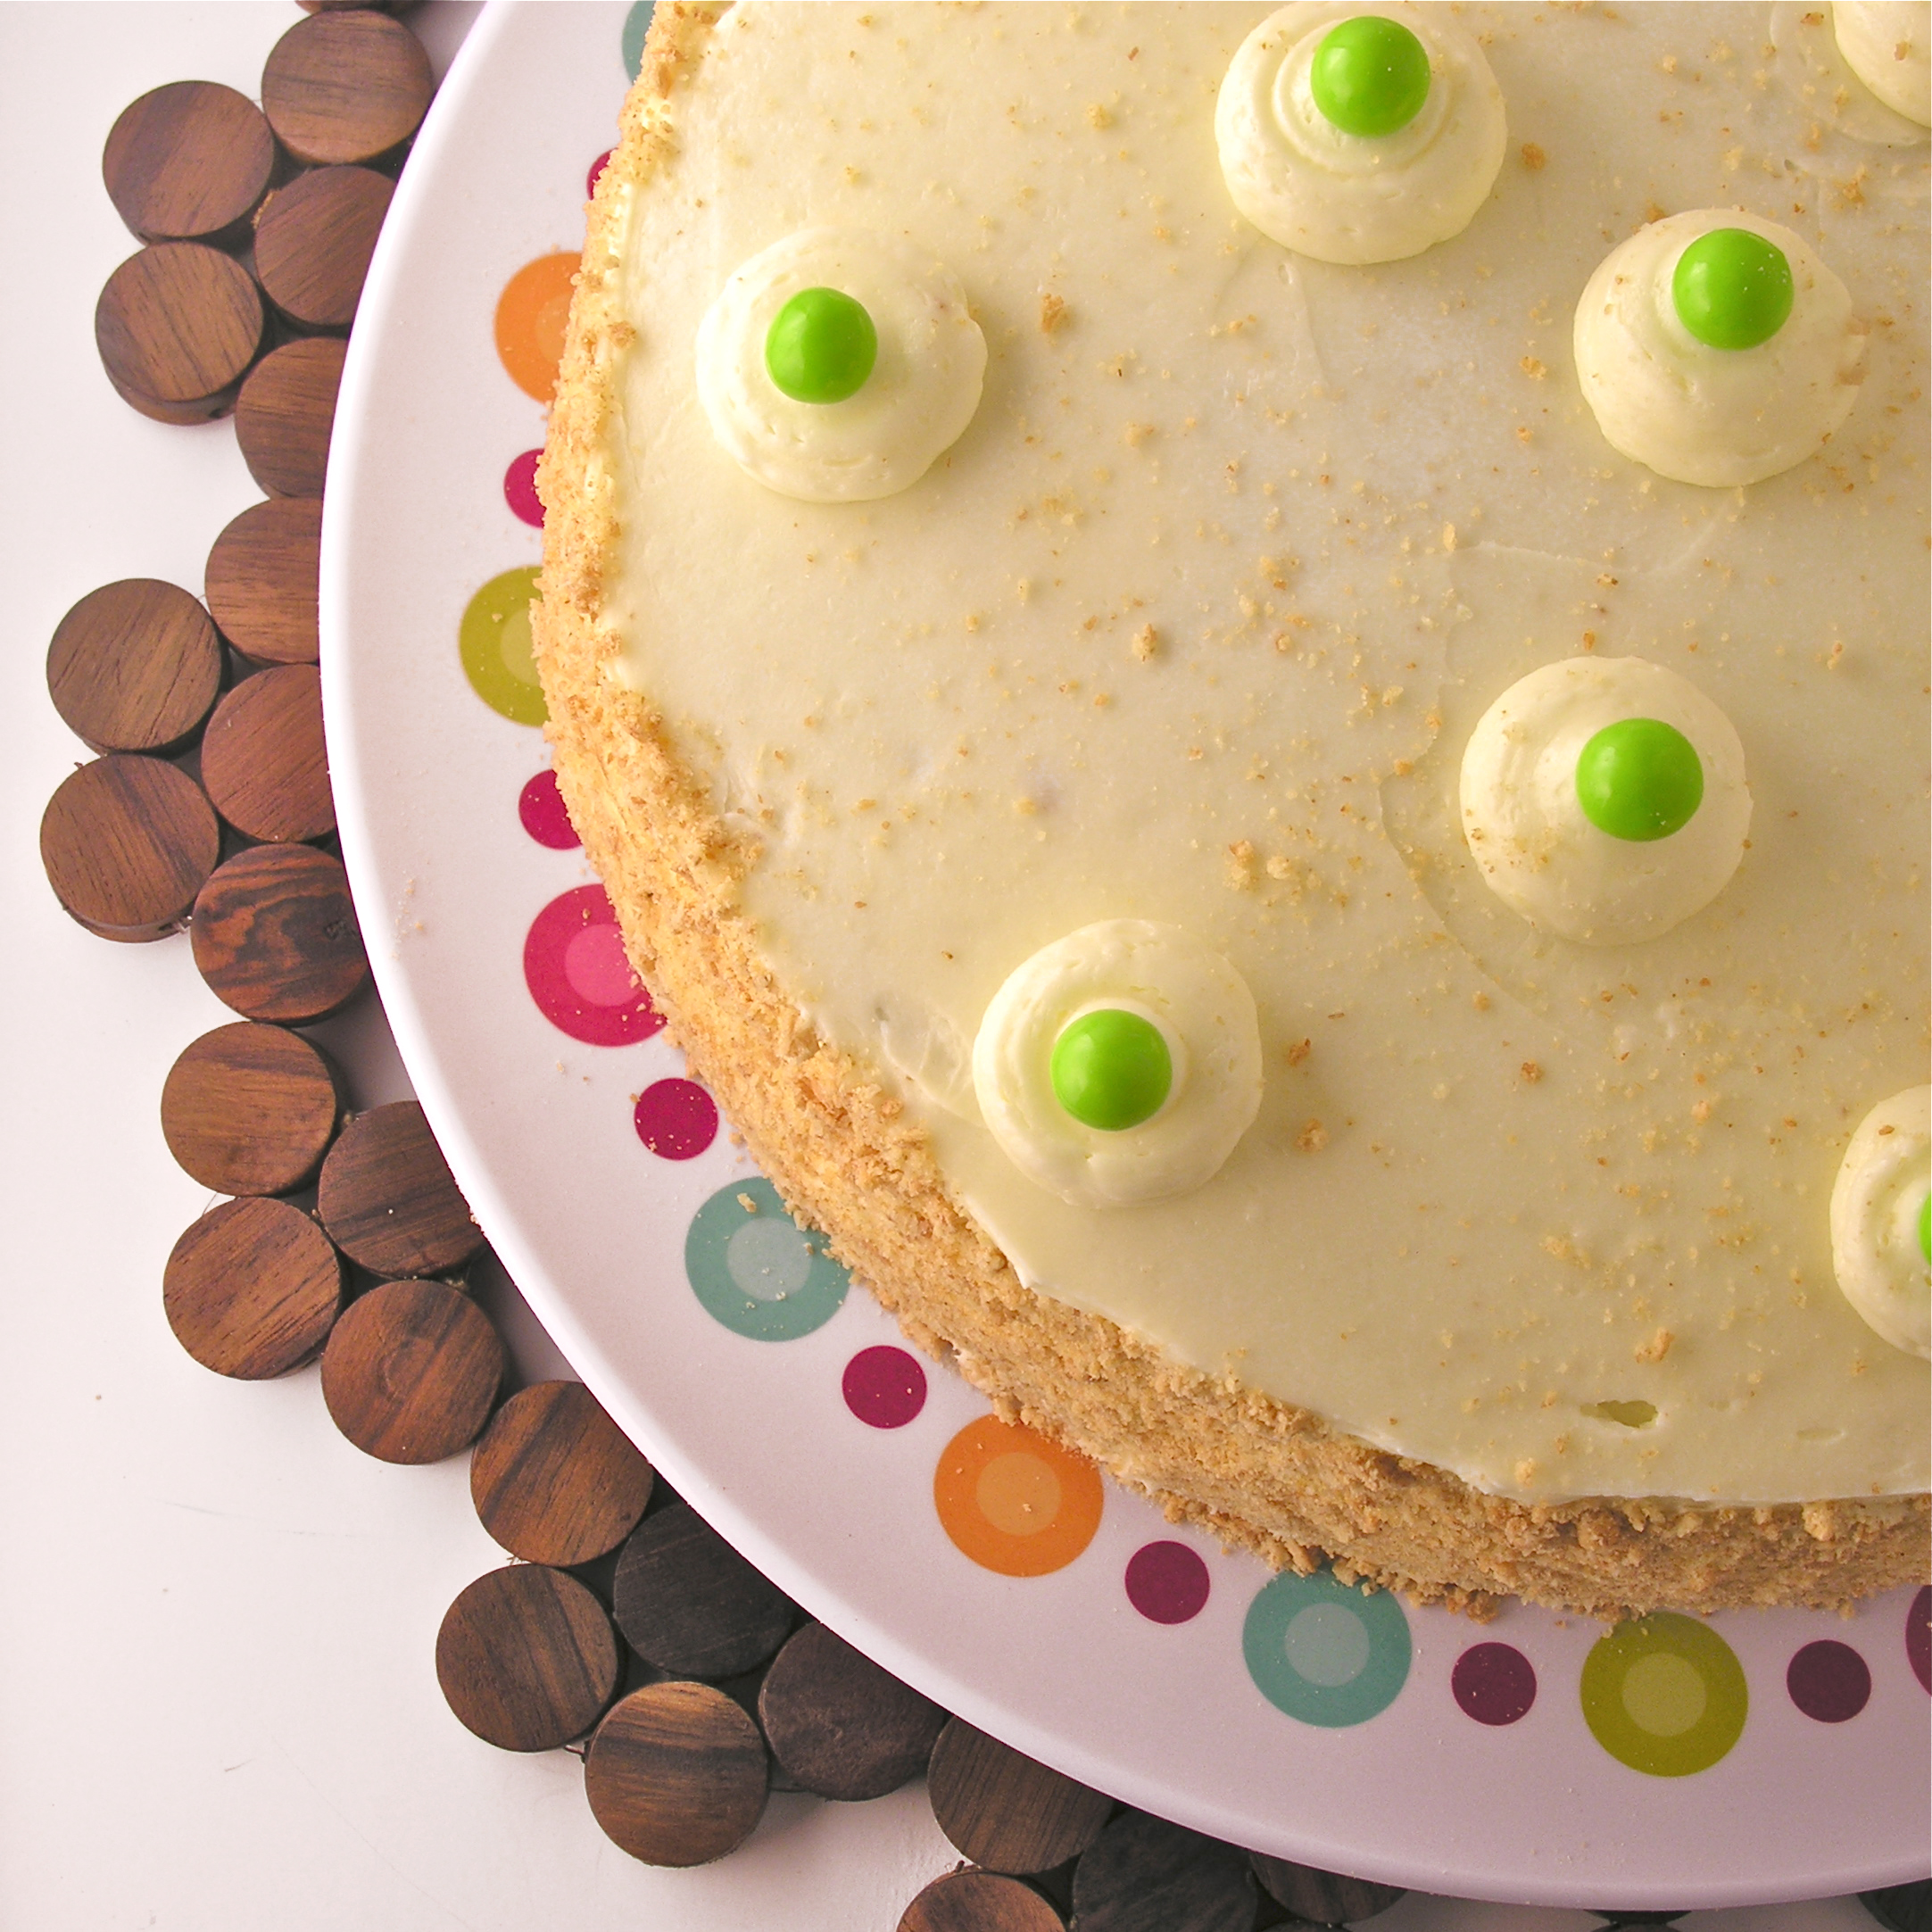
  • Crush a few graham crackers and gently press the crumbs along the sides of the cake.
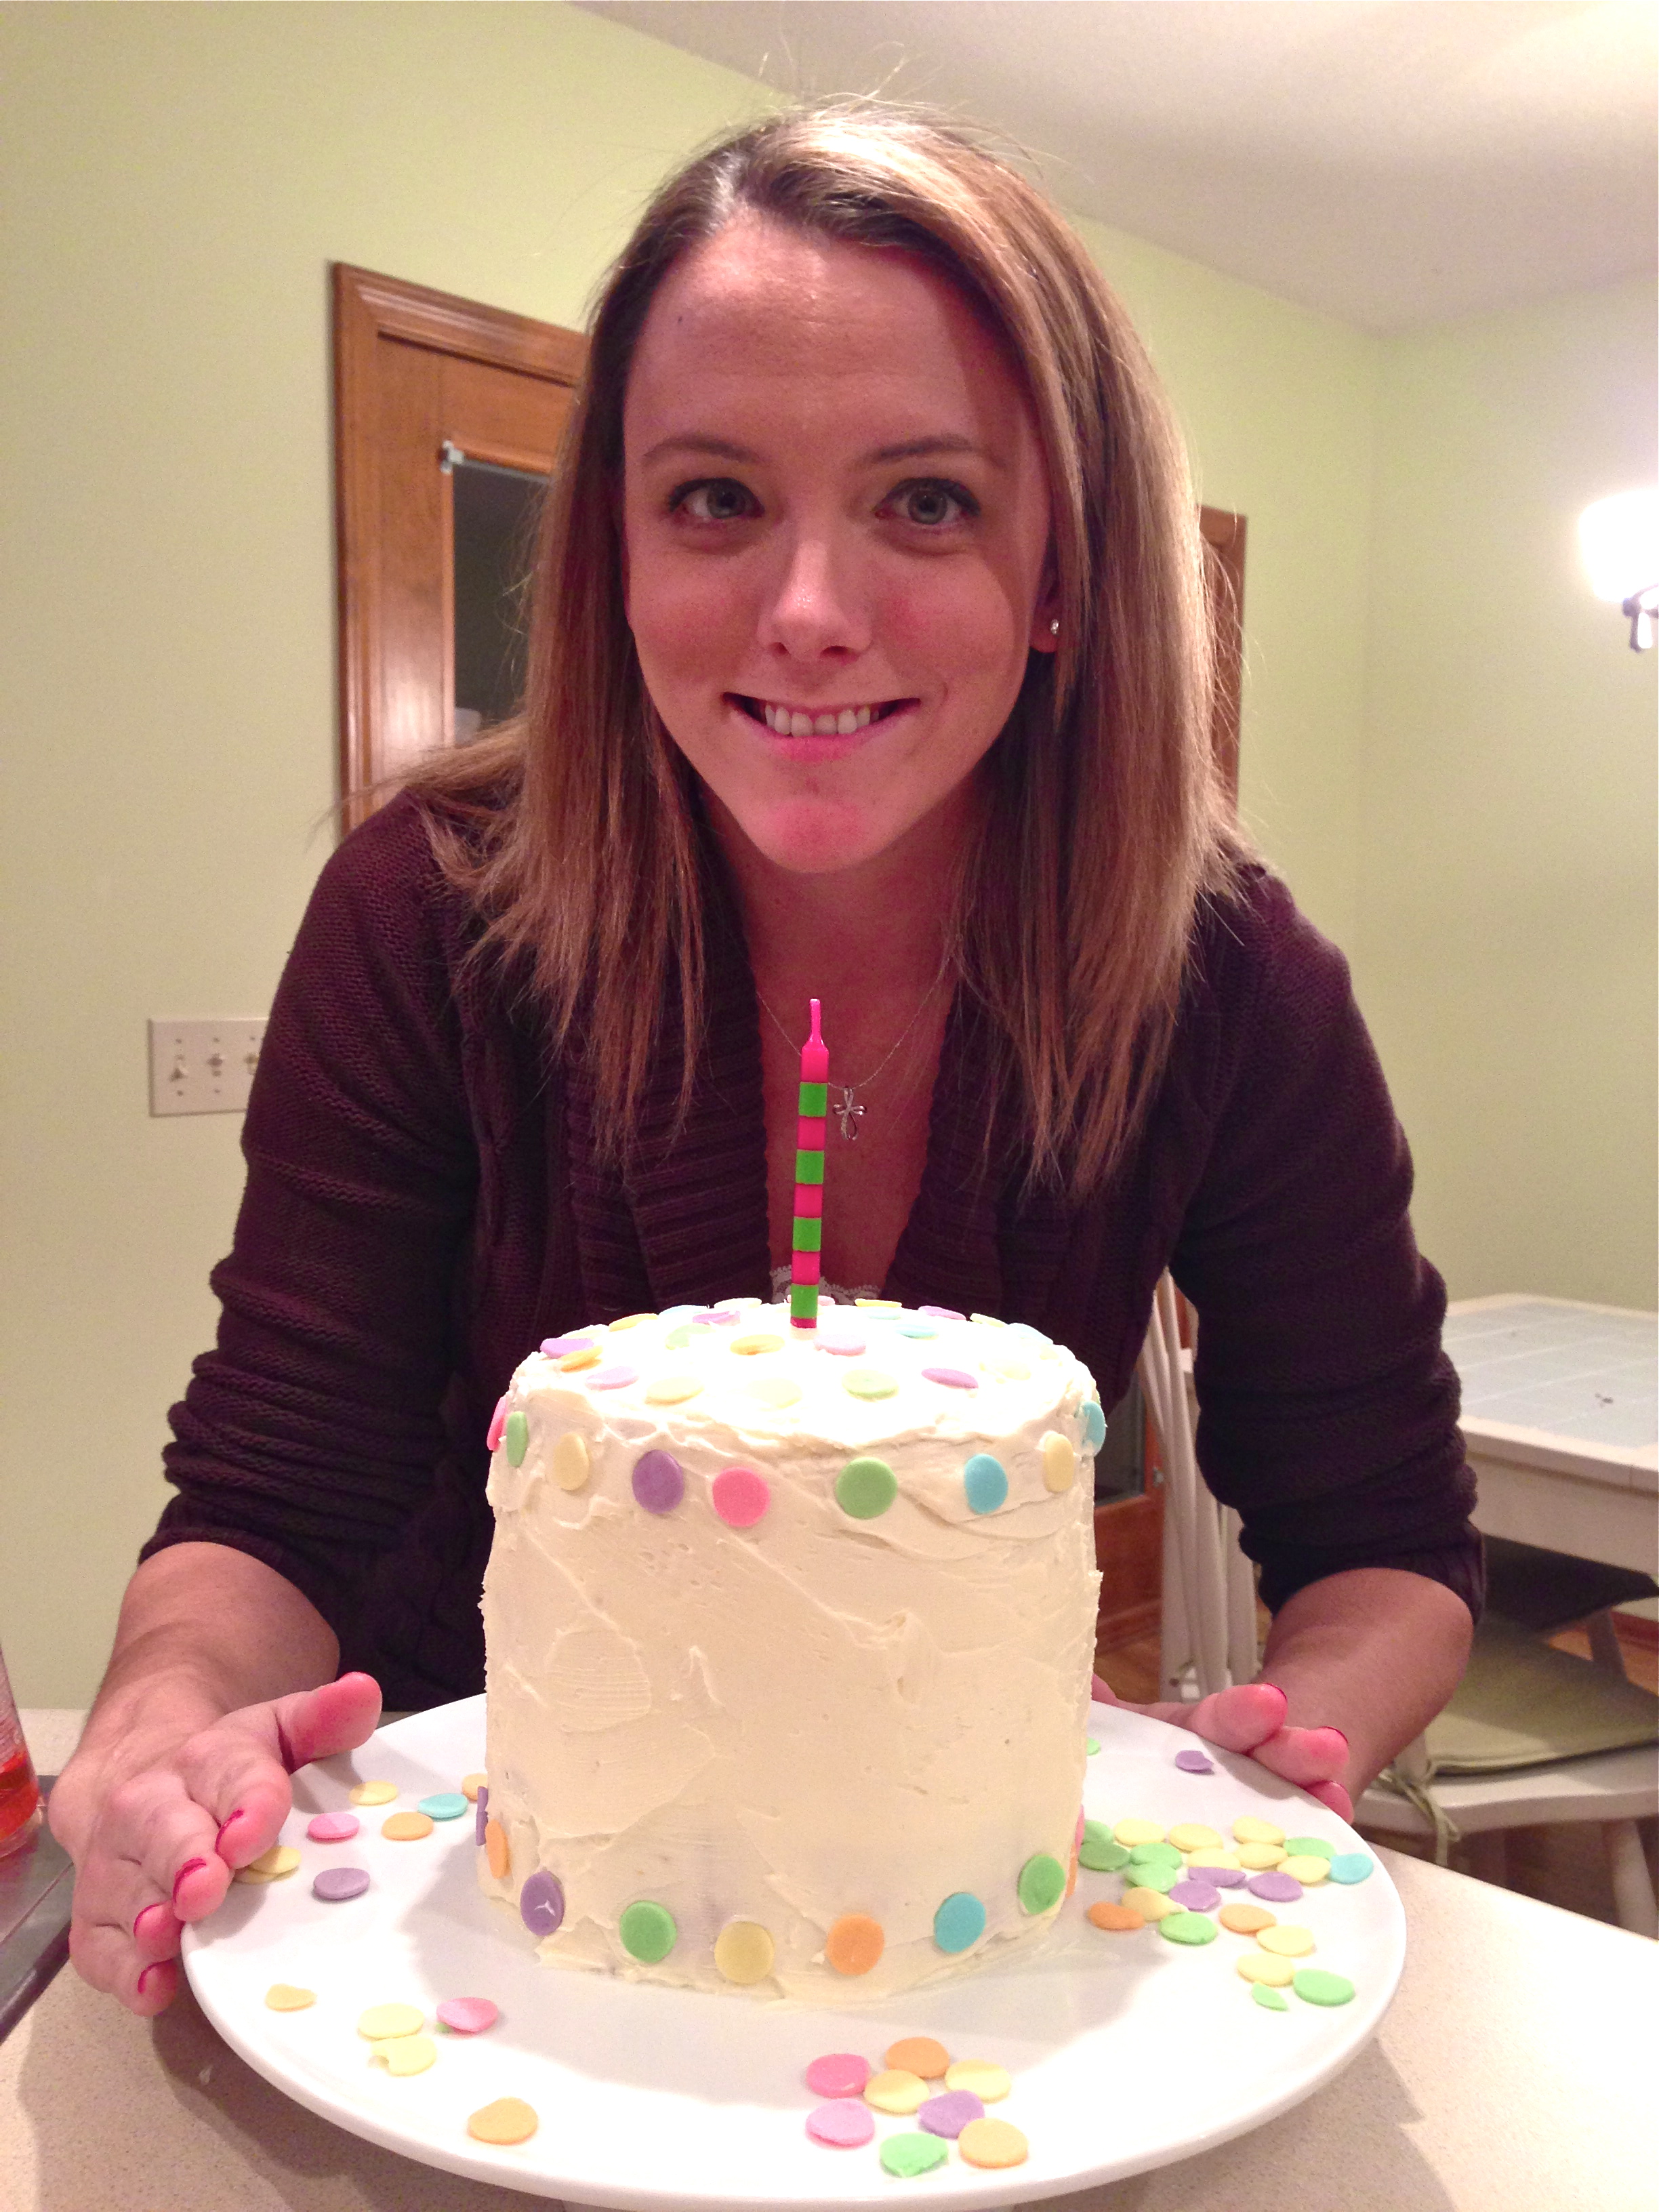
  • Decorate as desired.  I used little dollops of extra frosting and little lime green chocolates.

Key lime cake!!!
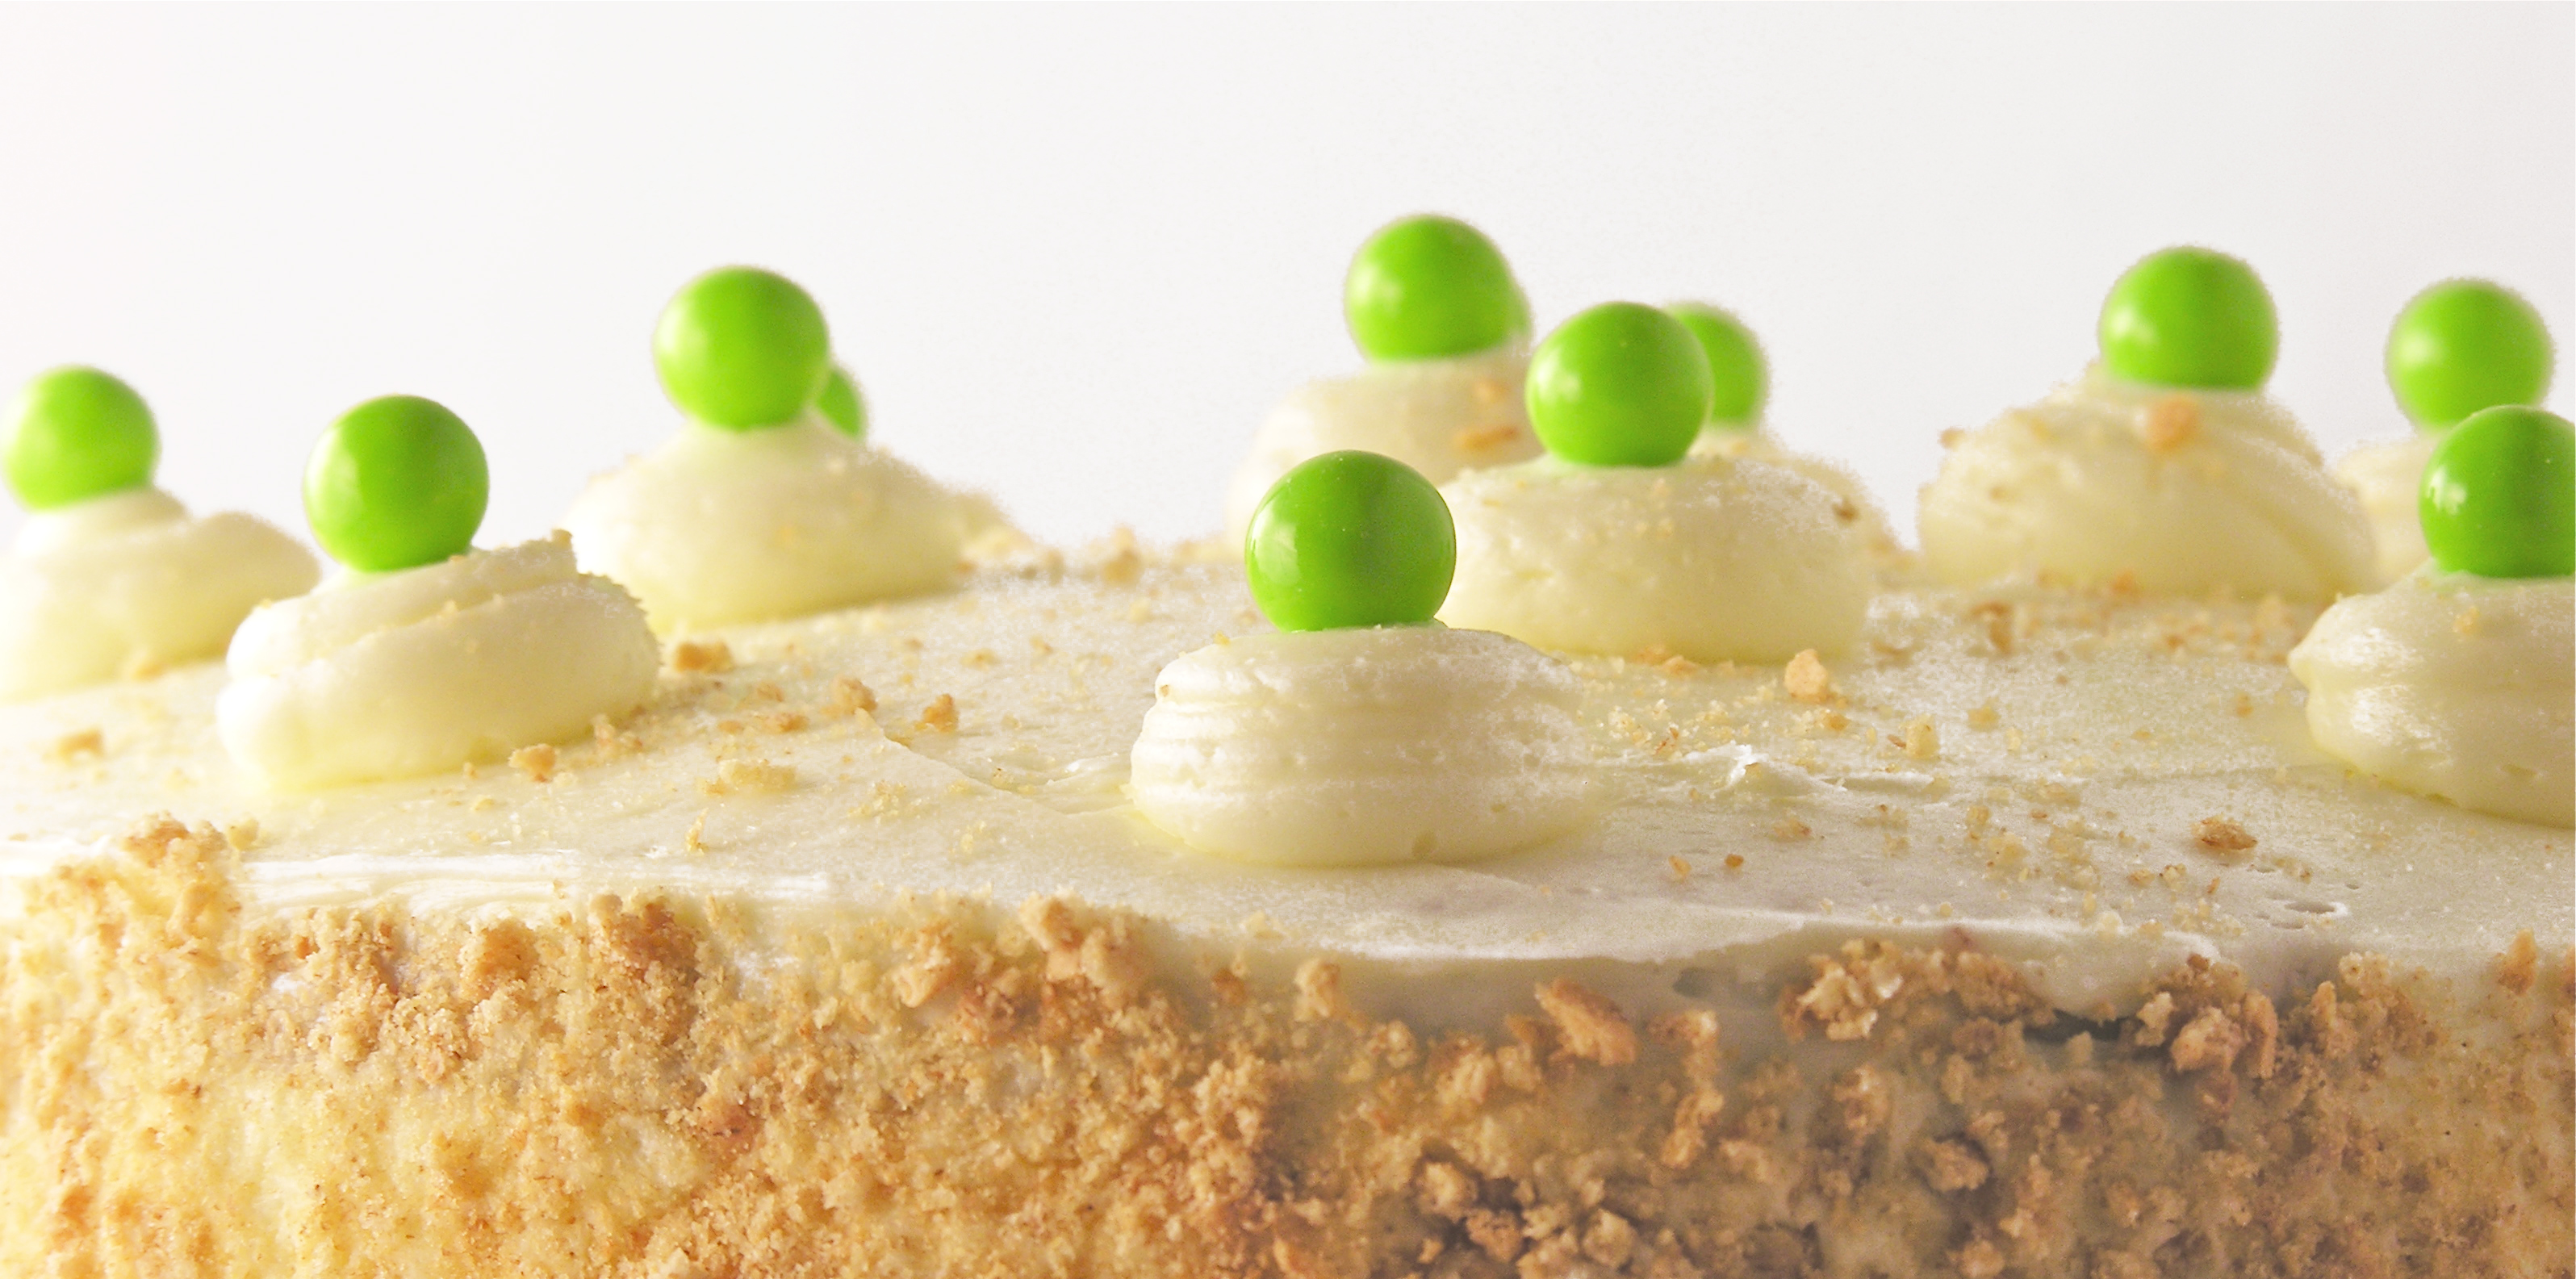
(Aren’t they cute?!?)

Key Lime Cake!!

Key Lime Cake!!

Key Lime Cake!! 

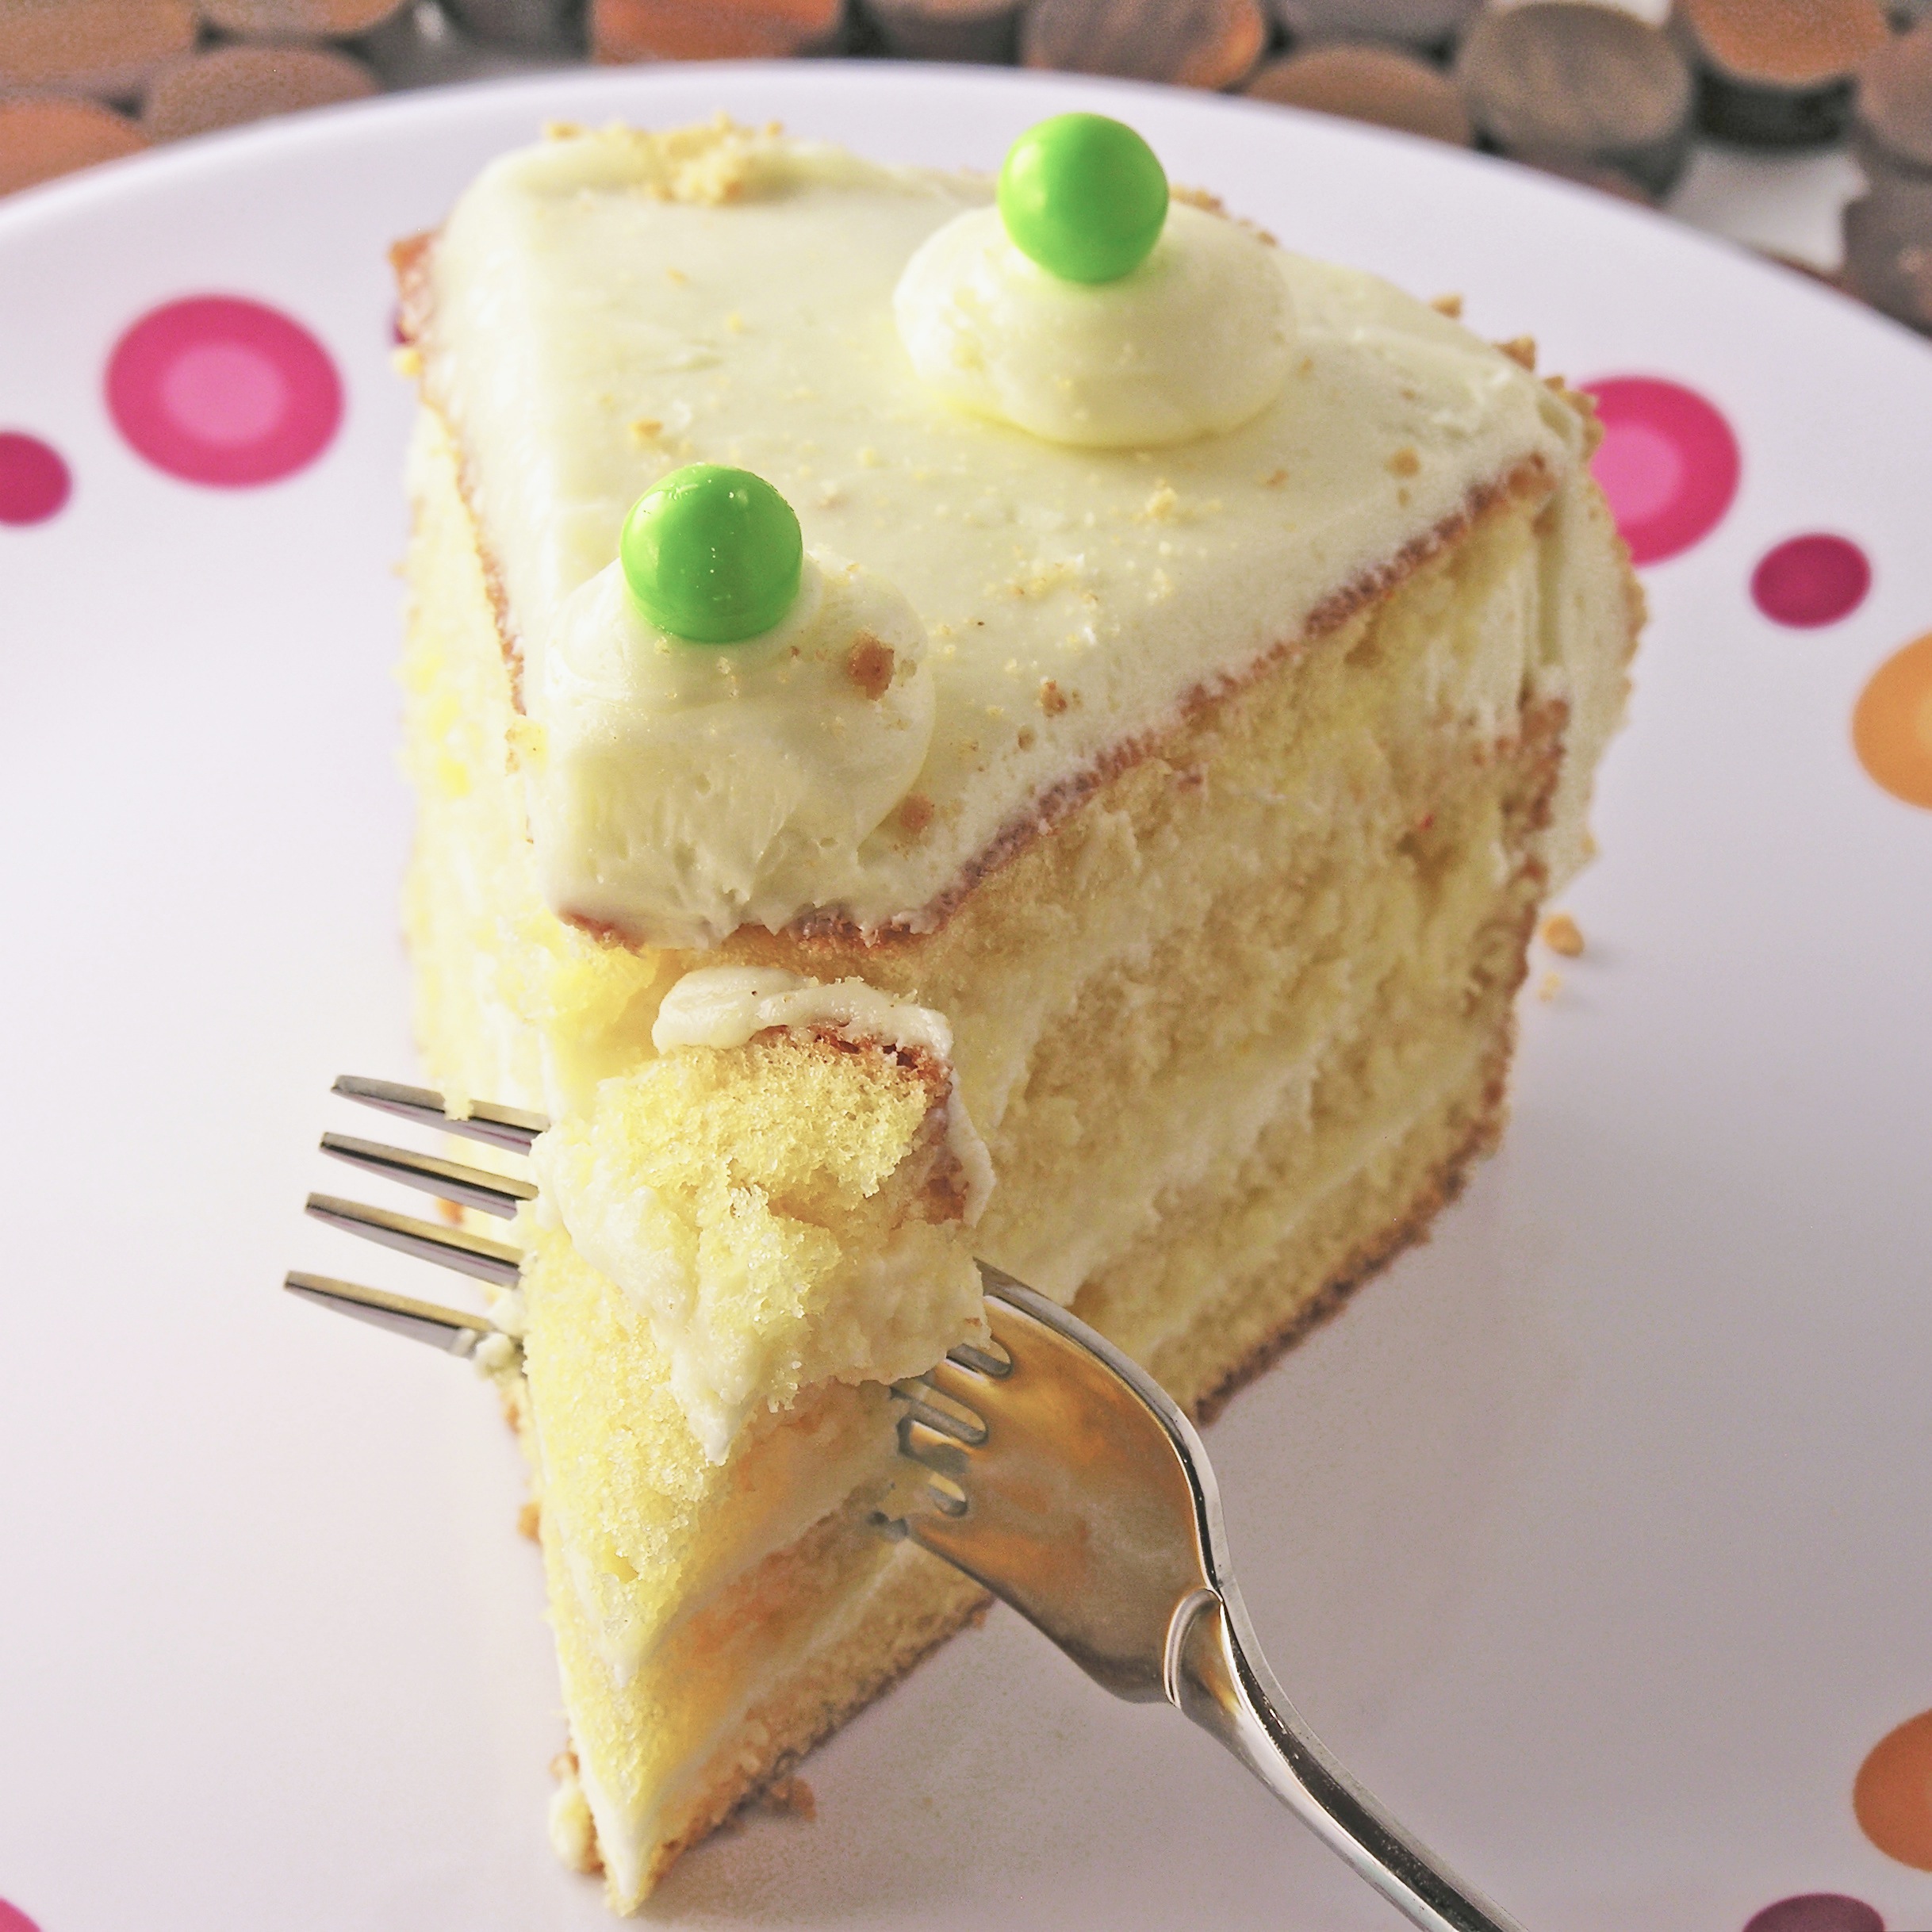
My thoughts:  I love this cake so much!  It’s not only one of my favorite flavors, but it’s pretty and it holds together so well and cuts beautifully!  If you love key lime like I do, this is the cake for you!  I hope you get a chance to try it!!!    Enjoy!  ~r

Key Lime Cake!!!

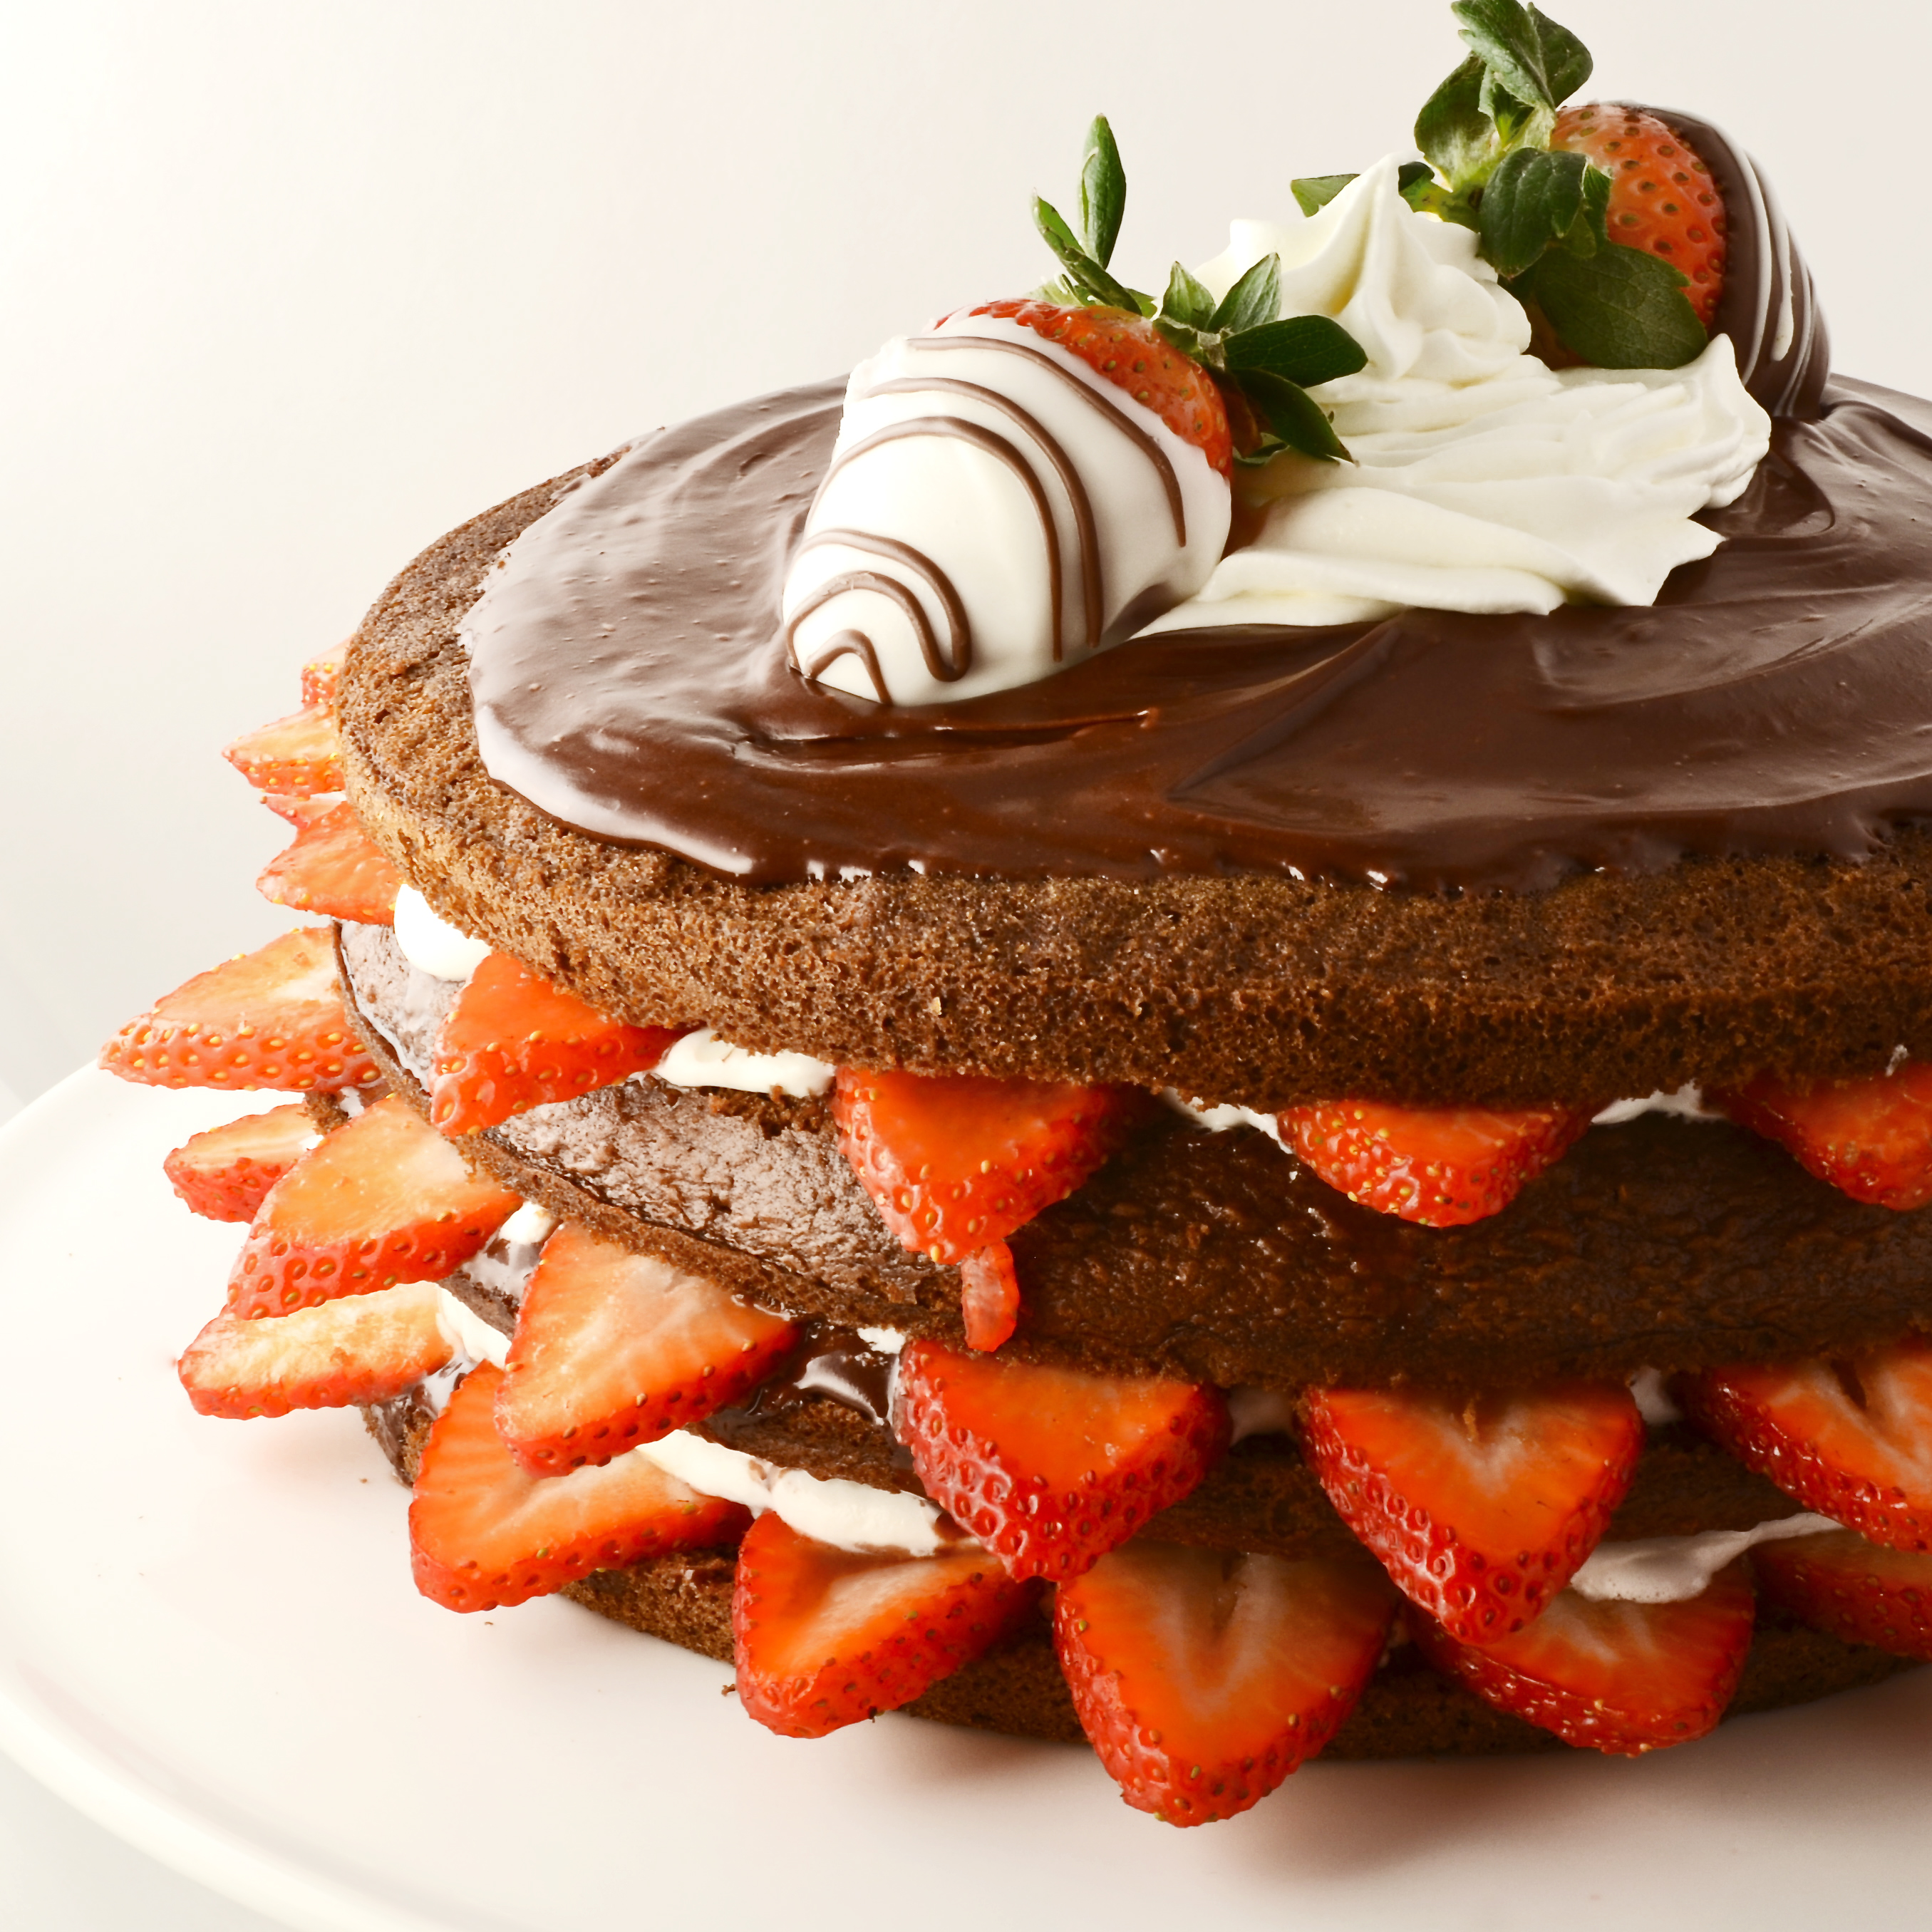
Other layer cake recipes you might enjoy:

Strawberry layer cakePeanut Butter Cup Layer CakeStrawberry-Lemonade Layer CakeMedovnik in Prague

Polka Dot Cake~ a recipe revisited!

Posted on

Revisited Recipes!Day #5 is here, along with our final revisited and recreated recipe.  I’ve really enjoyed remembering these recipes with all of you.  I hope you have found one to try for this upcoming holiday weekend!

Our final recipe is my personal favorite of the week, mainly because it brings the most smiles.  If you want to make a cake that will be a show-stopper at your holiday celebration, this is it.

Polka Dot Cake Revisited!This recipe was published recently, in January of 2013.  It is so incredibly fun to make.  I’ve made it 5 times now and each time I do, I love it more.  You can color the cake layers, you can color the polka dots…endless fun possibilities!

It is not a difficult recipe, but it is time consuming and it requires a cake ball maker (or, according to my commenters on the recipe, a mini muffin tin).

It takes two cake mixes and I made both mixes and simply divided them evenly into the three colors.  I made 12 cake balls in each color and one layer of each color.

The original blog post has detailed instructions and photos, so I recommend you visit there 1st if you want to make this cake.  The comments are also very helpful and full of tips on making this work well.

To see the original recipe and instructions click here.

To print the original recipe click here.

Patriotic Polka Dot Cake!!!!

Patriotic Polka Dot Cake!!!

Patriotic Polka Dot Cake!!!!Thank you so much for joining me this week for a trip down memory lane.  I hope it was as fun for you as it was for me.

Did you catch all of our recipe remakes this week?  If not, click on the ones you missed to be taken to the post!

Patriotic Tie-Dye Cake!!!!Patriotic Flip Flop Cookies!!!!Patriotic Bundt Cake!!!!Patriotic Oreo Pops- yum!!!

Colorful Bundt Cake~ a recipe revisited!

Posted on

RR HeaderWelcome back to day #3 of our fun Fourth of July week!  Today, I’d like to revisit one of my favorite Halloween cakes~ and try it in red white and blue!!!  It’s incredibly easy to make and the colors are just too much fun!  Ready to revisit another recipe?  Here we go:

Colorful Bundt CakeThis recipe was originally published on October 6, 2012.

I’ve made layered cakes before in all sorts of colors and it is SO tedious to layer everything “just so”  This cake involves just pouring colors in together and baking.  The patterns come out different each time and the possibilities are endless.  I just love it red white and blue!  The glaze on top is just pre-made frosting that has been softened in the microwave and colored with food color gels.  Easy easy easy to make~ plus its so much fun to cut into and see what pattern happened inside!

To see the original recipe click here.

To print the recipe and try it for yourself, click here.

Colorful Bundt Cake!

Patriotic Bundt Cake

Red White and Blue Bundt Cake!
Patriotic Bundt Cake!!!!Don’t miss another great recipe remake tomorrow!  Follow Easybaked on Facebook, or sign up for recipes to be emailed directly to you.  All the information you need to do both of these things is just to the right of this recipe!

More fun summertime recipes:

Raspberry Truffle TartMango Smoothie PopsIce Cream CakePudding popsicles!

Tie Dye Cake~ a recipe revisited!

Posted on

RR Header
I miss my recipes sometimes…I didn’t realize when I started this blog that it would launch me into a world of constantly new and changing recipes.  If I’m asked to bring a dessert to something I rarely return to my favorites.  Instead I create something new that I can share with all of you!  This week I am revisiting some of my favorites in honor of the Fourth of July.  I chose some of my most colorful and fun recipes to recreate in Red White and Blue.  Each of these recipes can be tweaked to fit any color theme, but this week we are celebrating the USA with each recipe.  Here we go…..!

Tie Dye Cake!!

The original Tie Dye cake recipe was created October 10, 2012 in honor of my nephew Marshal.  It has gotten rave reviews for how easy it is to make.  It’s been the star dessert at birthday parties, Easter celebrations and even a Luau!  It was featured in the Huffington Post in an article celebrating all things tie dye.

Visit the original recipe to see how it was put together by clicking here.

Print the original recipe and try it for yourself by clicking here.

Stay tuned…I will be back tomorrow with another revisited recipe!

Enjoy!!  ~r
Patriotc Tie Dye Cake!!

Patriotic Tie Dye Cake!!

Patriotic Tie-Dye Cake!!!

Patriotic Tie-Dye Cake!!!!

Modifications to the original recipe:

Instead of rainbow colors, I used red and blue.  USE COLOR GELS if you want bright and vibrant color.  Liquid colors will not give you the deep colors you want.  I actually ran out of red and ended up a little more pink than I wanted!  I love my color gels– I use them a lot!

I used the buttercream from the original recipe but added vanilla instead of the raspberry flavoring, and I left it white with a few sprinkles.

Ruthanne’s top four favorite easybaked recipes:

Peanut butter cup cheesecakeCookie Dough CupcakesCaramel Fudge Brownies!!Cinnamon Roll Filling in a yummy cupcake!

Rainbow Cake Roll

Posted on

Rainbow Cake Roll

Fun rainbow-colored cake swirled with rich buttercream- a perfect St. Patrick’s Day treat!

I had so much fun making this cake  this cake was torture.

I love cake rolls like crazy, but I could not find a recipe that tasted good AND didn’t crack terribly when rolled up.  I tried 4 recipes and finally settled on plain old cake mix again– it still cracked, but tasted soooo yummy and it was definitely the easiest.

I hesitated to post this, as it is essentially a recipe experiment *fail*, but then I thought it would be a good chance to ask all of YOU if you have a fail-safe vanilla cake roll recipe…?  I love the technique and the colors- I just need a good recipe.

For now, we will go with the cake mix version~

Things to keep in mind if you want to try this recipe:

1. Use my buttercream recipe.  When it is refrigerated it gets nice and hard, cementing your happy little cracked roll together and holding it together even at room temperature.

2. Set aside several hours and take your time.

3. Use color gels.  You will not get the vibrant colors with liquid color.

Honestly, people loved this cake.  Once it is cut you can barely tell it cracked.  I made this one for my friend Dawn’s birthday and it was such a fun and cheery cake.  She only likes white cake with vanilla frosting…this is a great way to spice up that combination with color!

Here we go:

INGREDIENTS:

  • 1 boxed white cake mix (with oil, water and eggs according to box)
  • Gel icing colors (I use Wilton Brand gels)
  • 2 sticks (8 oz) butter
  • 1 1/2 c. powdered sugar
  • 3. t. clear vanilla flavoring
  • Cool Whip Topping and sprinkles for garnish.

DIRECTIONS:

  • Preheat oven to 350F degrees
  • Make boxed cake mix, but add just a little less oil and water.  My Pillsbury mix called for 1 cup of water and 1/3 cup of oil.  I used 3/4 c. water and 1/4 c. oil instead.  I used the same # of eggs (3)
  • Scoop about 3/4 c. of mix into 6 or 7 small bowls and color as desired.

Pretty cake batter!!!

  • Cover the bottom of a standard jellyroll pan (mine is about 12″ by 17″, and about 1″ deep) with waxed paper- allowing the paper to extend just a bit over each end.
  • Lightly spray with non-stick cooking spray.
  • Spoon each color of batter into a small ziptop bag and gently pipe colors into pan in stripes.  Just settle in and take your time here.  This is a labor of love.  Use paper towel to wipe up drips and remember that you are piping a THIN layer of cake– you don’t want to make it so thick you run out before you get to the end of the pan.  Patience is the key…believe me, I’ve done this 4 times now with different cake recipes and it just takes time.

Pour batter into small ziptopPipe in stripes!Piped cake rolls!

(It also involves a lot of dishes…pretty, colorful, messy dishes.)

Rainbow dishes!

  • Bake your cake at 350F degrees for 12-15 minutes– check often- you can’t roll a crunchy over-baked cake!
  • Remove from oven and place a clean towel that has been sprinkled with powdered sugar over the roll.  Tip the pan over onto the towel and peel away the wax paper.
  • Gently roll cake up in towel from one short end to the other.

Peel wax paper off of rainbow cakeRoll cake in towel, starting at short end.

  • Refrigerate for one hour.
  • While cake is cooling, make buttercream icing.
  • Put softened butter, powdered sugar and vanilla in a large mixing bowl and beat on high until light and fluffy.
  • When cake is cooled, gently unroll (here is where the cracking happens…be gentle and patient)
  • VERY carefully, spread buttercream over entire surface of the cake and re-roll.  I had cracks that went the entire length of the cake and still just gently rolled it together, letting the buttercream hold it together.

Buttercream on top!

  • Gently place on a plate and refrigerate until buttercream hardens.
  • Once cake roll has hardened it can be easily moved and cut.  Top it with whipped cream and sprinkles– that helps to hide some of the cracks 😉
Not perfect, but so much fun!

Not perfect, but so much fun!


My thoughts:  I feel a little guilty publishing this on a site called EASYbaked, but I couldn’t resist.  I would make it again- it just makes me smile.  I hope a few of you brave souls will attempt this and enjoy it as much as I did!  Please– if you have a good vanilla cake roll recipe I’d love to hear about it.  You can link to your recipe if it is on a blog, or post the recipe in the comments or in-box message me on the Easybaked Facebook page.  I’m excited to find a way to make this cake “perfect” 🙂

Happy Birthday Dawn!

Happy Birthday Dawn!

Other happy rainbow desserts you might like for St. Patricks Day:

Fruit Loop Pie!Skittles cake!Tie-Dye Cake with Blue Raspberry Frosting!Polka Dot Cake!!!

Chocolate Strawberry Layer Cake!

Posted on

Chocolate Strawberry layer cake
Such an easy and refreshing dessert!  If you need something beautiful but quick, this is your recipe!

INGREDIENTS:

  • One boxed chocolate cake mix (with water, oil and eggs to make according to package)
  • One (8 oz) container of Cool Whip
  • One (7 oz) container of Jet Puffed Marshmallow fluff
  • One tub of ready-made chocolate frosting
  • About 25 ripe strawberries.

DIRECTIONS:

  • Make cake according to box and bake in 2-  8 or 9 inch round pans.
  • Cool cakes, trim off tops to level each cake and cut each cake into two layers
  • Mix Cool Whip and marshmallow fluff together until smooth.
  • Spoon frosting into bowl and heat for about 30 seconds in microwave.  Stir.  It should be a hot fudge consistency.
  • Wash and slice strawberries lengthwise (I used an egg slicer to make this easier).

Chocolate stawberry layer cake

  • Place one layer of cake on serving plate.  Spread with a bit of melted frosting and a bit of the cream mixture.
  • Place strawberries along the edge with points facing out.  Use small pieces to fill in the middle.

Chocolate strawberry layer cake

  • Do this with each layer and then top final layer with remaining cream and frosting.
  • Decorate as desired.
  • Keep refrigerated until serving.


Strawberry layer cakeMy thoughts:  I miss summer.  I’ve been craving strawberries and this yummy cake did the trick!  It is easy and delicious and you’ll impress everyone you serve it to!  Enjoy!!!  ~r

Other strawberry desserts you’ll love ~ click on the image to get to the recipe:

Chocolate Covered Strawberry CheesecakeStrawberry-Lemonade CakeStrawberry Cookies with Sweet Tart FrostingChocolate covered strawberry Cake roll!!

Chocolate Covered Strawberry Cake Roll!

Posted on

Chocolate covered strawberry Cake roll!!This strawberry cake rolled with vanilla buttercream and dark chocolate ganache is not only a pretty Valentines Day treat, but such a yummy one!  Plus, it looks A LOT harder to make than it really is!

February 1st.  How can the first month of this year be gone already?  I had already written a post for for this week when I looked at the calendar and thought, oh my- it’s time for a Valentine’s dessert!  I had an unexpected day off of work this week and decided to experiment with turning an ordinary cake mix into a cake roll.  I absolutely loved the results!  Cake rolls will always be a little fussier than plain old cakes, but look at how cute it is…!  If you’ve never made a cake roll, I will try to explain it as we go.  I have a few pictures, but if you want a few more click here for my pumpkin roll recipe.

INGREDIENTS:

  • One boxed strawberry cake mix (I used Pillsbury this time)
  • Water, oil and eggs (we will adjust the amounts from the box just a bit!)
  • 1/2c. heavy whipping cream
  • 1 c. dark chocolate chips
  • 2 sticks (8 oz) butter
  • 1 1/2 c. powdered sugar
  • 1 T. clear vanilla flavoring.

DIRECTIONS:

  • Preheat oven to 350F degrees
  • Make boxed cake mix, but add just a little less oil and water.  The Pillsbury mix called for 1 cup of water and 1/3 cup of oil.  I used 3/4 c. water and 1/4 c. oil instead.  I used the same # of eggs (3)
  • Cover the bottom of a standard jellyroll pan (mine is about 12″ by 17″, and about 1″ deep) with waxed paper- allowing the paper to extend just a bit over each end.
  • Lightly spray with non-stick cooking spray.
  • Pour cake batter into pan and gently spread it out to cover the entire bottom in a thin, but even layer of cake.
  • Bake at 350F degrees for 15-20 minutes- checking often to make sure it isn’t browning too much.
  • Remove pan from oven, sprinkle a clean kitchen towel with powdered sugar, lay it powder side down on the top of the cake and holding the towel in place, flip the pan over onto a flat surface.  You will have your powdered towel, the cake on top and wax paper on top of the cake.
  • Peel the wax paper off and gently roll the cake up in the towel, rolling from one short end to the other- keep the towel on the bottom and wrap it up with the cake.
  • Refrigerate for one hour.
  • While this is in the fridge, make your ganache and butter cream.
  • For the ganache: heat 1/2 c. of whipping cream in a medium saucepan until it starts to bubble around the edges.  Turn off the heat. Add the dark chocolate chips and cover for 5-10 minutes.  Stir until smooth and creamy.
  • For the buttercream: Place (softened) butter, powdered sugar and vanilla in a large mixing bowl and beat on high until very fluffy and creamy.
  • After chilling for one hour, remove cake roll from fridge and gently unroll on a flat surface.
  • Gently and evenly spread ganache over entire surface of the cake roll.
  • Gently and evenly spread the buttercream over the ganache.  This part was a little tricky- I wanted to make sure I didn’t mix the two layers, so I scooped the buttercream in little bits all over the top and then spread it a little at a time.

Spread chocolate over the cake roll...Add buttercream over chocolate!!  YUM!

  • Gently roll the cake back up, leaving the towel behind.  Carefully lift it on to a large plate and refrigerate it until the buttercream and ganache harden up.

The 1st time I made this it rolled beautifully and I just sprinkled it with powdered sugar….then when I made it for taking photos it cracked as I rolled.  This sometimes happens with cake rolls and there’s an easy fix: make another batch of ganache and pour it right over the top!  I think I actually liked it better this way!  You can’t even tell it cracked, see:

Cake roll cracked!!!!Chocolate covered Strawberry cake roll-- all fixed!!!

When it is chilled, slice it and serve it with whipped cream and maybe even some chocolate covered strawberries?  So yummy!!!!

Chocolate Covered Strawberry Cake Roll!!!My thoughts: I really had fun making this dessert.  There’s just something about the pink cake and all that gooey chocolate that makes me smile!  I hope this cake brings a smile to the faces of all the ones you love this Valentine’s Day!  Enjoy!!!   ~r

Want some other fun Valentines Day ideas?  Click on the picture to be taken to the recipe.

Dark Chocolate Ganache CupcakesPeppermint marshmallow crunch barsSweetheart browniesOld Fashioned Red Velvet Cake

Polka Dot Cake!!!

Posted on


Polka Dot Cake!!!It just makes you smile, doesn’t it?  I don’t think I can adequately express how happy this cake makes me.

I made this cake for my friend Nikki’s birthday and it made her happy too…

Happy Birthday!!!                      Surprise!!!!

I simply can’t take credit for the idea behind this cake,  that credit goes to an adorable blog called “Once Upon a Pedestal”.  I can’t even take credit for finding the idea… that goes to my wonderful Pinterest addicted friend Laura.  I can tell you this: it is NOT hard to make.  It does take some time, but it is very easy to put together, and the “wow” factor?  Incredible!

Polka Dot Cake!!!!!!

The 1st question everyone asks is “How did you get the polka dots INSIDE the cake?” They are cake balls.  To make this recipe, you will need one piece of special equipment: a cake pop/ doughnut hole maker.  I feel like I walked by those like 100 times over the holidays in various stores and every time I thought, “I wonder why you would ever buy one of those?”  Now I know!  Here’s the one I got: Bella Sensio Cake Pop Maker

Cake pop maker

There are several brands and varieties- I’m sure they all work great- I would look for one that does 12 at once, just as a time saver!  The good news?  Once you make this cake, your friends will all want to borrow your cake pop maker and you won’t have to store it anywhere!

Are you ready to see how this is done?  Here we go: (printable recipe)

INGREDIENTS:

  • 2 boxed white cake mixes (plus the oil, water and eggs to make them according to the package)
  • You favorite frosting (I used my buttercream recipe, doubled, which you can get by clicking here)
  • Sprinkles or candy to decorate the cake.

DIRECTIONS:

  • Plug in/turn on your cake pop maker to warm it up.
  • Make one of the cakes according to package directions.
  • Divide batter evenly into smaller bowls based on the number of colors you want to use (I did 4)
  • Color the batter using color gels (I love the Wilton brand in particular because it gives such a vivid color)
  • Following the directions for your particular cake pop maker, make cake balls using each of the colors.

(with mine I sprayed it with Pam, used a small (2 tsp) cookie scoop, rapidly scooped batter in and immediately closed the lid.  My directions said 4-5 minutes and they all were burnt to a crisp– about 2 minutes worked perfectly for me.  I just set them out on a plate to cool then…be prepared to experiment a little with this– you will have some extra pops at the end, so its ok if you mess some up!)

Polka Dot Cake Pops

  • While cake balls are cooling, preheat oven to 350F, and make the second cake mix according to package.
  • Spray 3 – 6″ round pans with non-stick spray and set a circle of parchment paper in the bottom of each one (to keep your layers pretty!)
  • Spread a thin layer of batter in the bottom of each pan, place cake balls on top in any pattern you choose and divide remaining batter over the top of the balls so they are completely covered.

Assembling a Polka Dot Cake

Ready to bake!


  • Bake layers at 350F degrees for about 30 minutes.  You can use the toothpick test (I recommend it!) but be careful to hit cake and not cake balls….you can kind of tell where they are- they bump up just a bit.
  • When cooked all the way through, tip over on a cake rack to cool completely.
  • Trim, if needed, to flatten layers and use frosting to stack all three layers and cover the entire cake with frosting.
  • Decorate as desired.


Polka Dot Cake!!!!!My thoughts:  I’m not a cake decorator, and my buttercream is a whipped frosting that is OH so yummy, but not very good for a smooth cake surface….it still makes me smile…bumps and all.  You can decorate your cake however you like.  I used Wilton Jumbo Confetti Sprinkles on this one.  I really hope you give this cake a try– if you have any questions about the process just ask!!  — or check out “Once Upon a Pedestal”, as her pictures were very helpful.  She also uses a different type of cake pop pan than I did.  I hope this recipe idea made you smile on this cold winter morning– enjoy!!!!!  ~r

Polka Dot Cake!!!!

Polka Dot Cake Tips

Other Easybaked cake recipes you might enjoy: (click on the photo to see the recipe)

Chocolate Mousse CakeOld fashioned Red velvet cakeStrawberry-Lemonade CakeTie-Dye Cake with Blue Raspberry Frosting!

Tie-Dye Cake with Blue Raspberry Frosting

Posted on

Swirls of colors plus a blue raspberry frosting make everyone smile when they see this cake!

This recipe is dedicated to my nephew Marshal, who informed me a few weeks ago that today, October 10, 2012 is an important day:  it marks the 2 year anniversary of the release of  “My Little Pony: Friendship is Magic” TV show.

Confused?  I was!  Apparently this show, targeted toward young girls, has gained a cult following among teenage boys– they call themselves “Bronies”…I guess Bro+ponies= Bronies.  Um…yeah. Learned all of that on Wikipedia… SO Marshal was telling me that he and his friends wanted to make a rainbow cake (for the pony “Rainbow Dash”, of course) to celebrate the day.  The thought of making 6 layers of cake in different colors sounded exhausting, so instead I made 6 colors and just dumped them on top of each other in the same pan.  I love how it turned out!

Here’s how it was made:

INGREDIENTS: (printer friendly recipe)

  • One boxed white cake mix, plus eggs, water and oil to make it according to the box.
  • Icing colors in Purple, Blue, Green, Red, Orange and Yellow.
  • One stick (4 oz.) salted butter at room temp.
  • One stick (4 oz.) unsalted butter at room temp.
  • 1 1/2 cups powdered sugar
  • 2 teaspoons raspberry flavoring

DIRECTIONS:

  • Preheat oven to 350F degrees.
  • Make cake mix according to box (or make your own favorite white cake recipe!)
  • Grease 2- 9 inch cake pans and place a circle of parchment paper in the bottom of each.
  • Evenly divide batter into 6 bowls (about 1 cup of batter in each)
  • Add icing color gels to color each bowl of batter.
  • Pour 1/2 of the purple batter in the center of one pan.
  • Pour 1/2 of the blue batter into the center of the purple batter (adding the blue will push the purple toward the edges).
  • Continue to pour 1/2 of each color batter into the center using green, yellow, orange and red in that order.
  • In second pan do the same but in the reverse order, starting with the red 1st.
  • Bake at 350 according to package (mine took about 25 minutes)
  • Remove from oven and cool.  Tip over onto a wire cake rack to finish cooling.
  • Make frosting by adding butters, powdered sugar, raspberry flavor and a little blue icing gel color together and beating on high until light and fluffy.
  • Level off the tops of each cake layer and place one layer, cut side up on a serving plate.  Frost the top of this layer.
  • Place the second layer, cut side down on top and frost entire cake.
  • Sprinkle with rainbow sugar or decorate as desired.

ENJOY!!!

My thoughts:  Although this cake was created with Marshal’s celebration in mind, it would be such a fun and colorful addition to any party!!!  Lets hear it for tie-dye rainbow cake!!!!!  Thanks for the idea Marshal!!!

Halloween Bundt Cake

Posted on

Creepy colors all swirled together inside make this bundt cake a holiday hit!  Drizzle it with gooey frosting and fun colors for a perfect (EASY!) party dessert!

Confession:  I needed a fast dessert a few nights ago, saw this online and decided to use a recipe rather than create a new idea.  Its a FABULOUS and EASY idea, so I just couldn’t help but share it!  Kudos to Lets get Cookin’ for this idea- wonderfully creative!  Here’s how I made my own: (printable recipe)

INGREDIENTS:

  • One box of white cake mix (and oil, water and eggs to make according to box)
  • One box of chocolate cake mix (and oil, water and eggs to make according to box)
  • Orange, Black and Purple gel icing colors (these gel colors give the batter the vibrant colors you see without having to add much–I invested in the Wilton set of 12 colors months ago and I LOVE them.  Click here to see them on Amazon.  You can order them there or sometimes find them at craft or cake decorating stores).
  • One tub of chocolate pre-made frosting
  • Wiltons Candy Melts in purple (and orange too if you want!)

DIRECTIONS:

  • Preheat oven to 325 degrees.
  • Make both cake mixes according to packages.
  • Divide the white cake batter into two bowls, equally.
  • Add black coloring to the chocolate cake to darken it.
  • Add purple to 1/2 of the white batter and orange to the other half.
  • Pour about 1/3 of the chocolate batter into the bottom of a well-greased bundt pan.
  • Pour all of the purple batter over the chocolate
  • Pour all of the orange batter over the purple
  • Pour another 1/3 of the chocolate batter over the colors.  You can use more than 1/3, but you want to give the cake room to rise- so leave a bit of room.  You can discard the remaining chocolate batter or make a couple of cupcakes with it.
  • Bake at 325 degrees for about 45-55 minutes (until the center is set and a cake tester inserted comes out clean).
  • Tip over on a cake rack and cool completely
  • To finish, melt the tub of frosting in the microwave (about 15-30 seconds) and stir well.
  • Place frosting in a zip-top bag, clip a corner and drizzle over entire top of cake.
  • Melt candy melts in the microwave in 30 second increments, stirring between until smooth and pipe these colors over the top as well.  I think both purple and orange would be fun, but I only had purple in my cabinet!

My thoughts- quick and easy and yummy moist cake that makes people smile and ask– “how’d you do that”?  Very fun!!  I have to add that the recipe over at Lets Get Cookin’ used vanilla frosting colored with the gels and drizzled over the top.  I decided to use chocolate because its what I had 😉  It was really yummy with the chocolate– I think you would get a better color match doing it with the vanilla frosting though- my candy melts color clashed a little with the inside purple color.  Also, I put a cookie sheet on the rack below the cake while it baked– just in case it dripped over.  It didn’t, but you might want to do that just to save yourself an oven-cleaning day!  Hope you get to try this cake– I think you are gonna love it!!!  ENJOY!  ~r