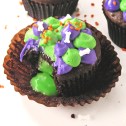
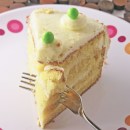
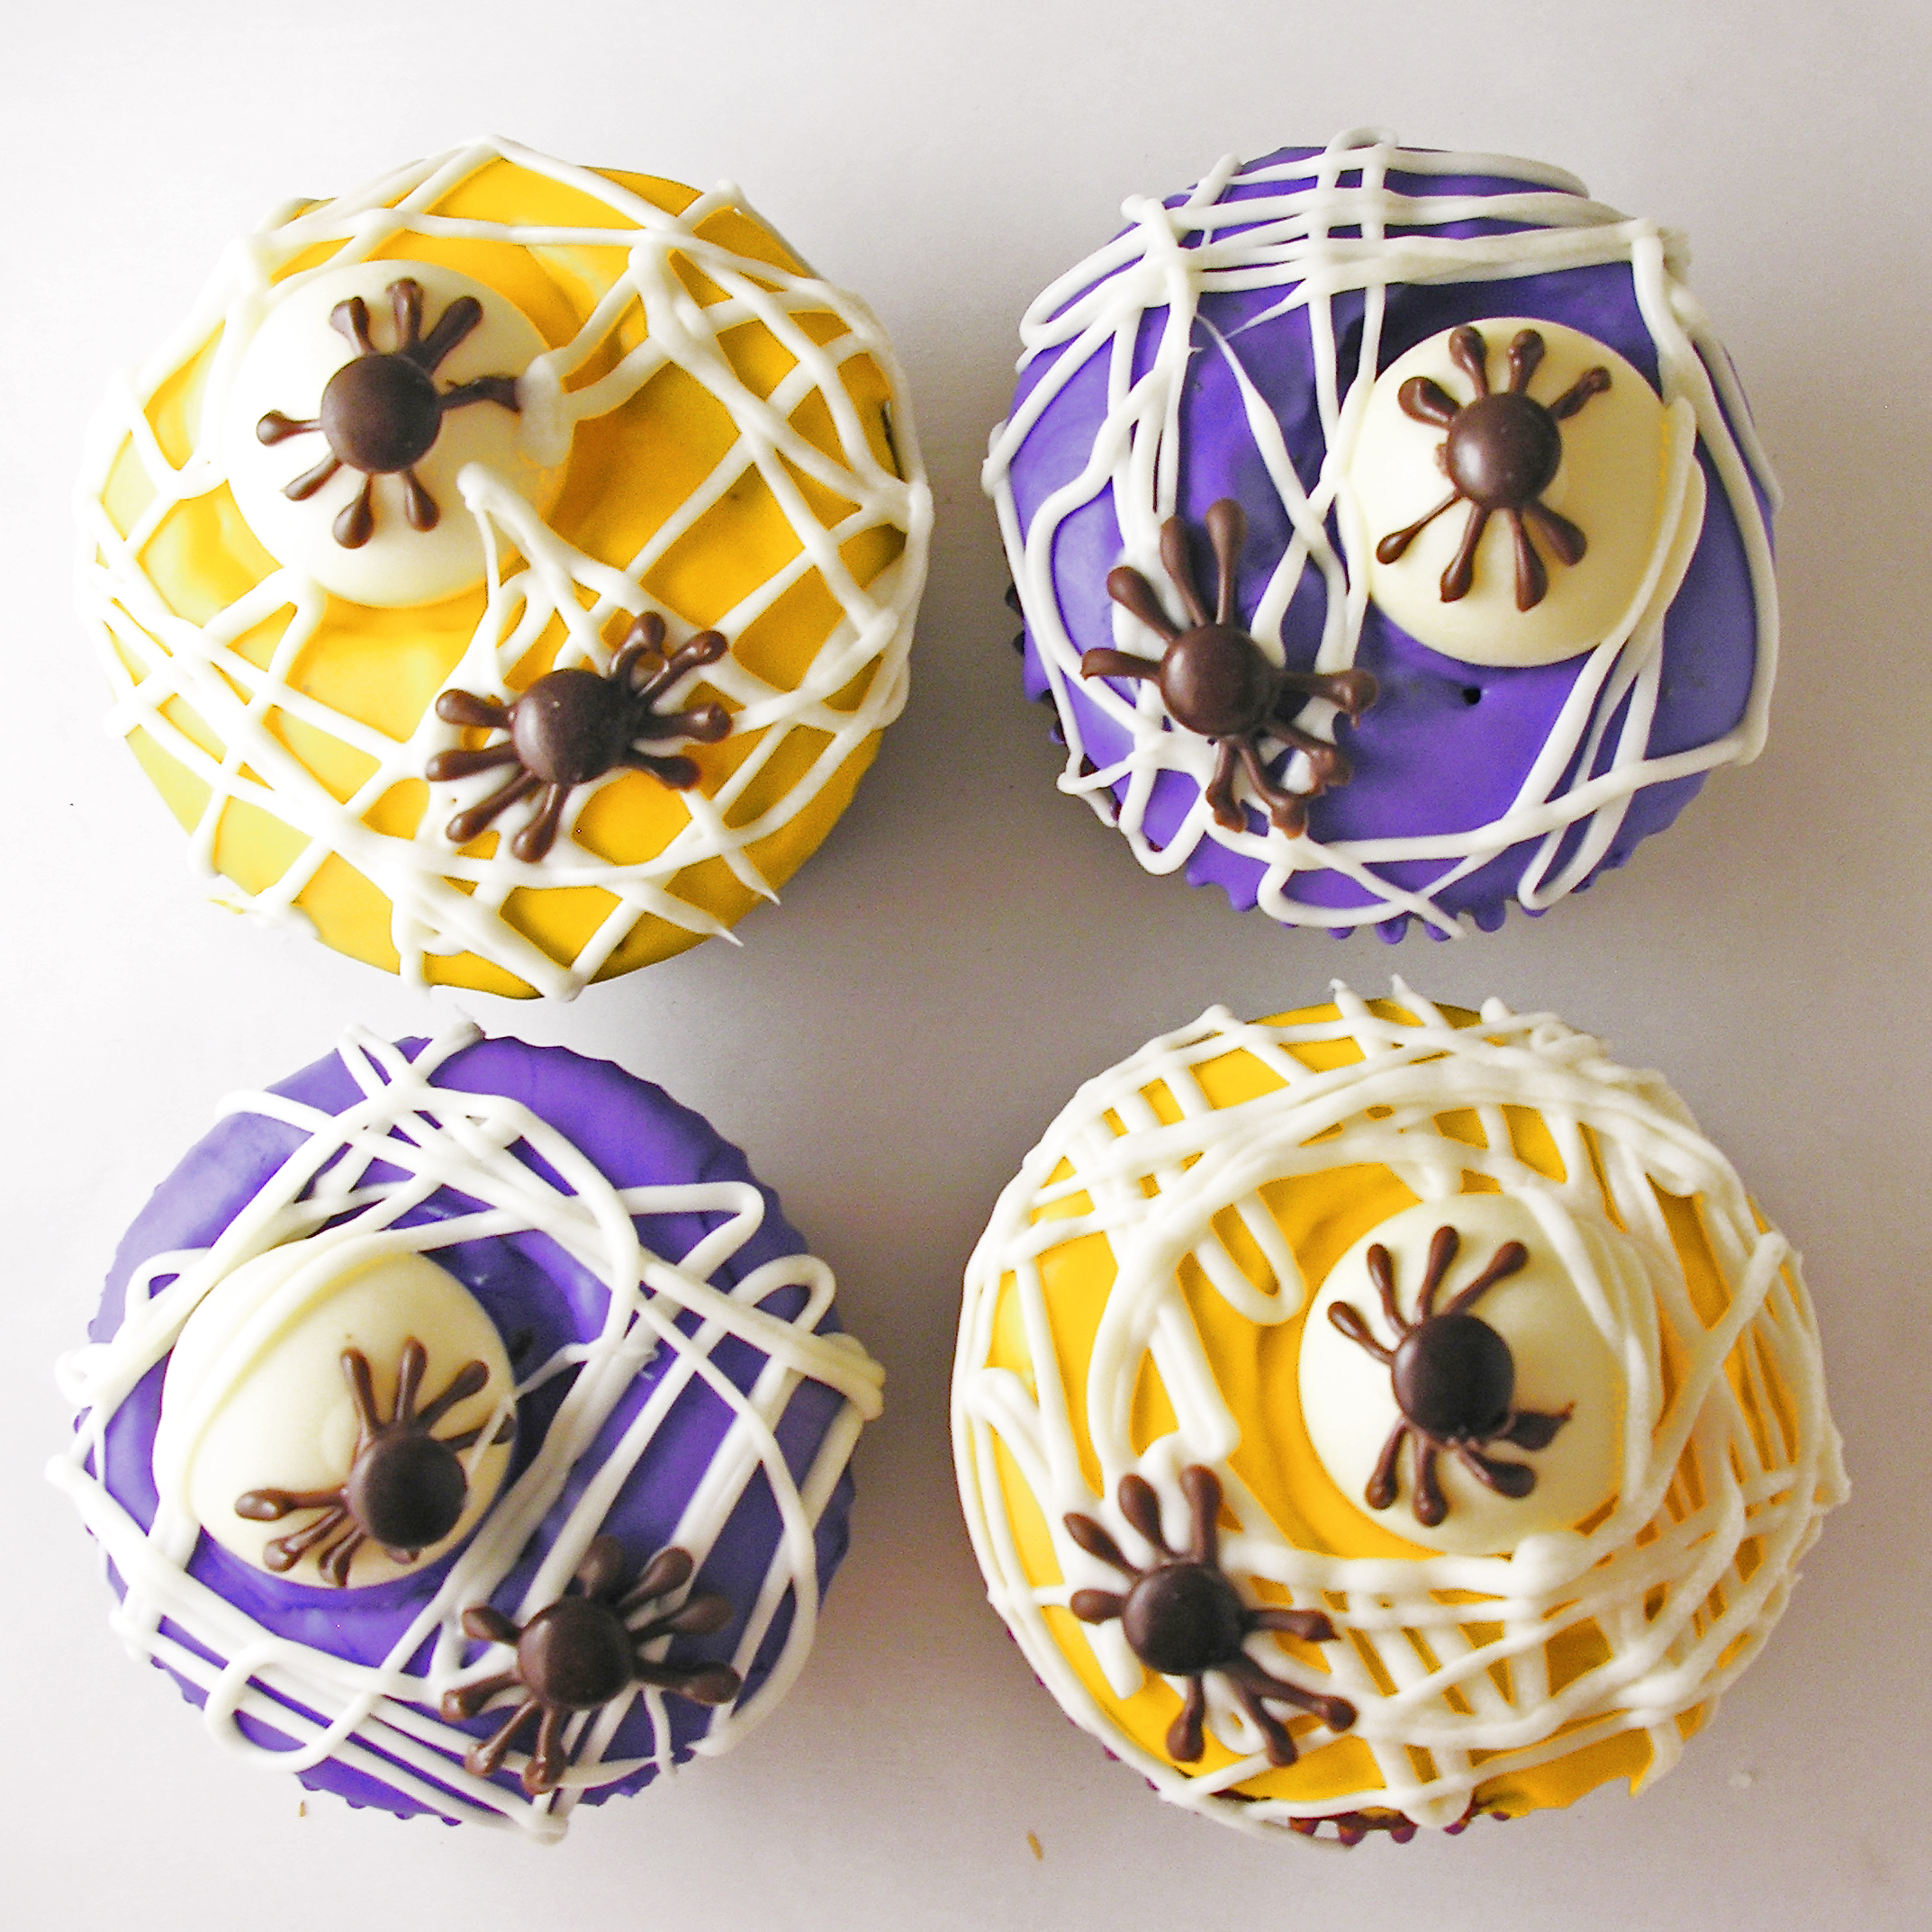
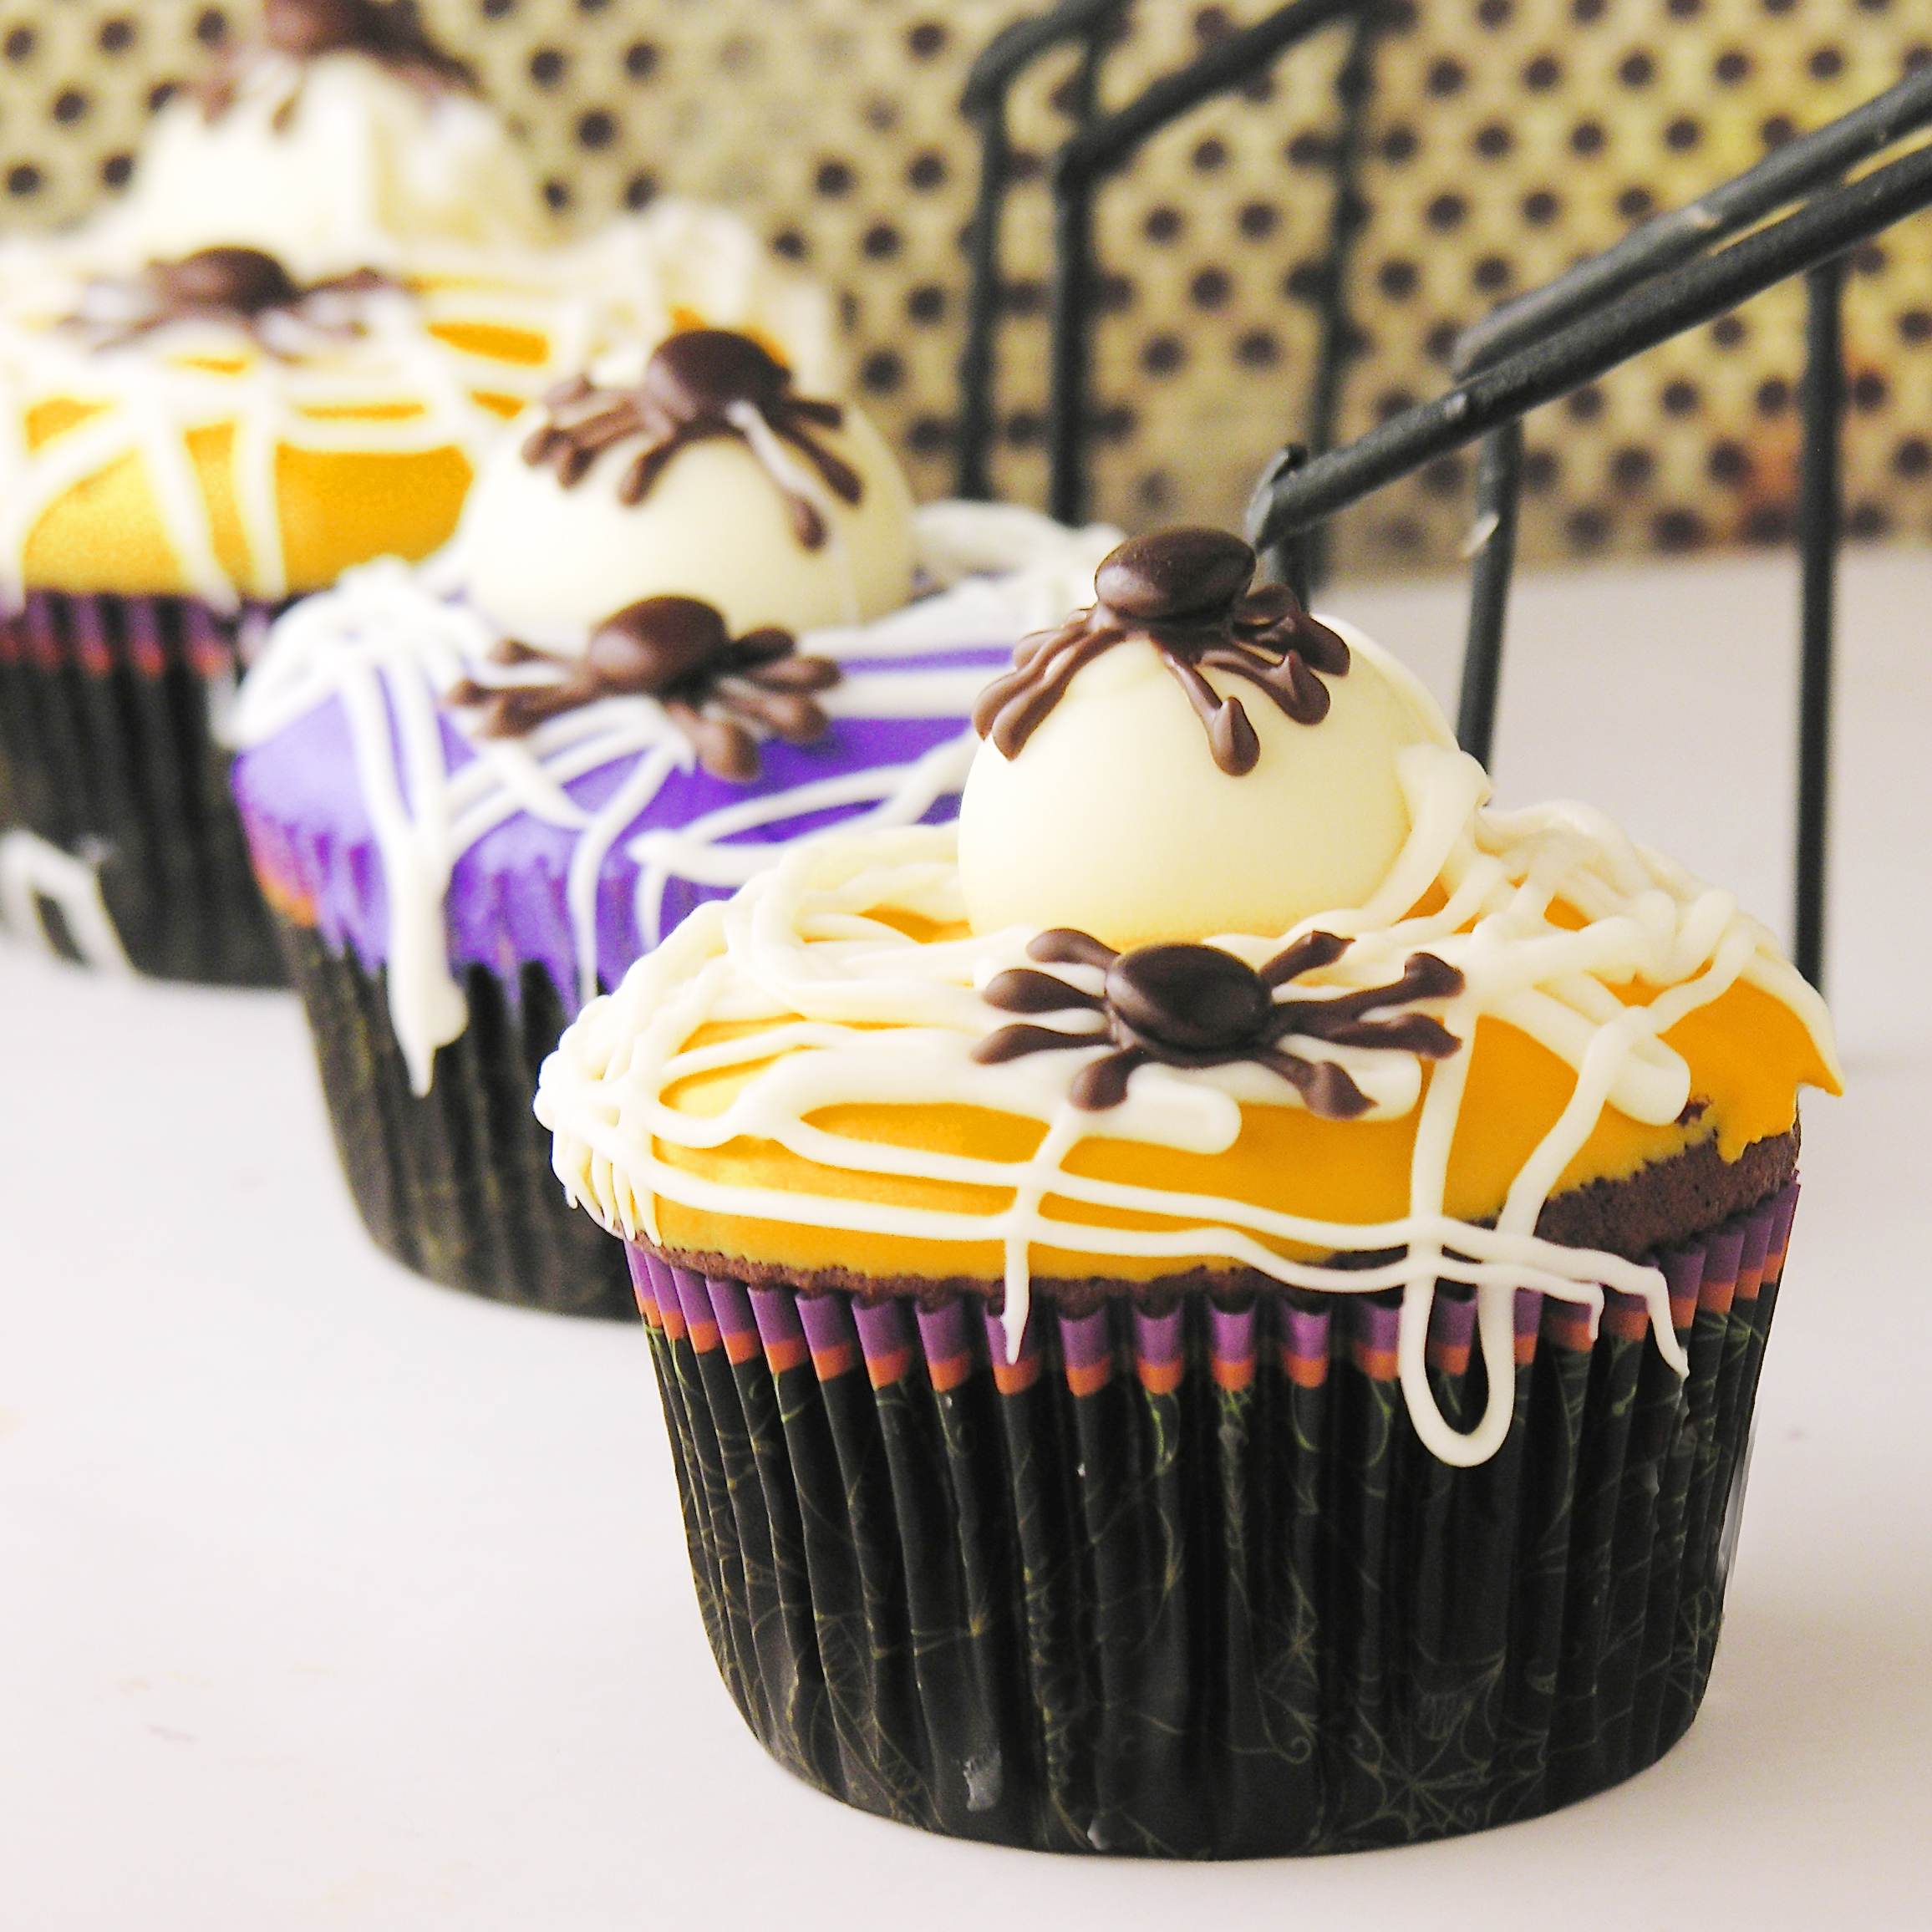
These delicious little chocolate cupcakes are topped with terrifyingly cute little spiders, webs and egg sacs. A perfect Halloween treat!
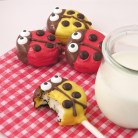
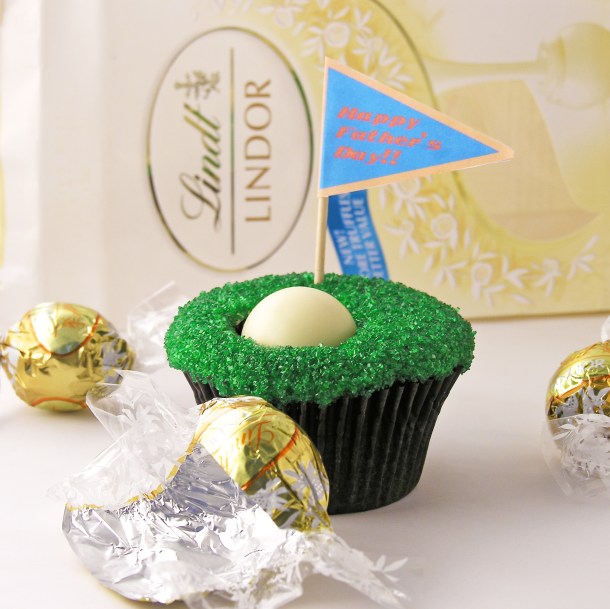
There is nothing worse than finding spiders hatching somewhere in or around your house. Spiders are bad. Baby hatching spiders? Way worse. That’s what makes these fun little cupcakes so terrifying! That little egg sac? A Lindt white chocolate truffle. The spiders? Drizzled chocolate and mini M&Ms. Easy, fun and so cute that you almost start liking spiders! Almost.
 Aren’t they fun??? All by themselves, on cookies, on cupcakes… so many ways you could use these.
Here’s the recipe: (printable version)
INGREDIENTS:
- One boxed cake mix (plus water, oil and eggs to make according to package)
- One tub of white frosting
- 1/4 cup of Wilton’s candy melts in dark chocolate
- 1 cup of Wilton’s candy melts in white chocolate
- One bag of mini M&M’s (usually found by the chocolate chips)
- Orange food coloring
- Purple food coloring
- 24 Lindt white chocolate truffles
DIRECTIONS:
- Make spiders and egg sacs 1st, to give them time to harden up.
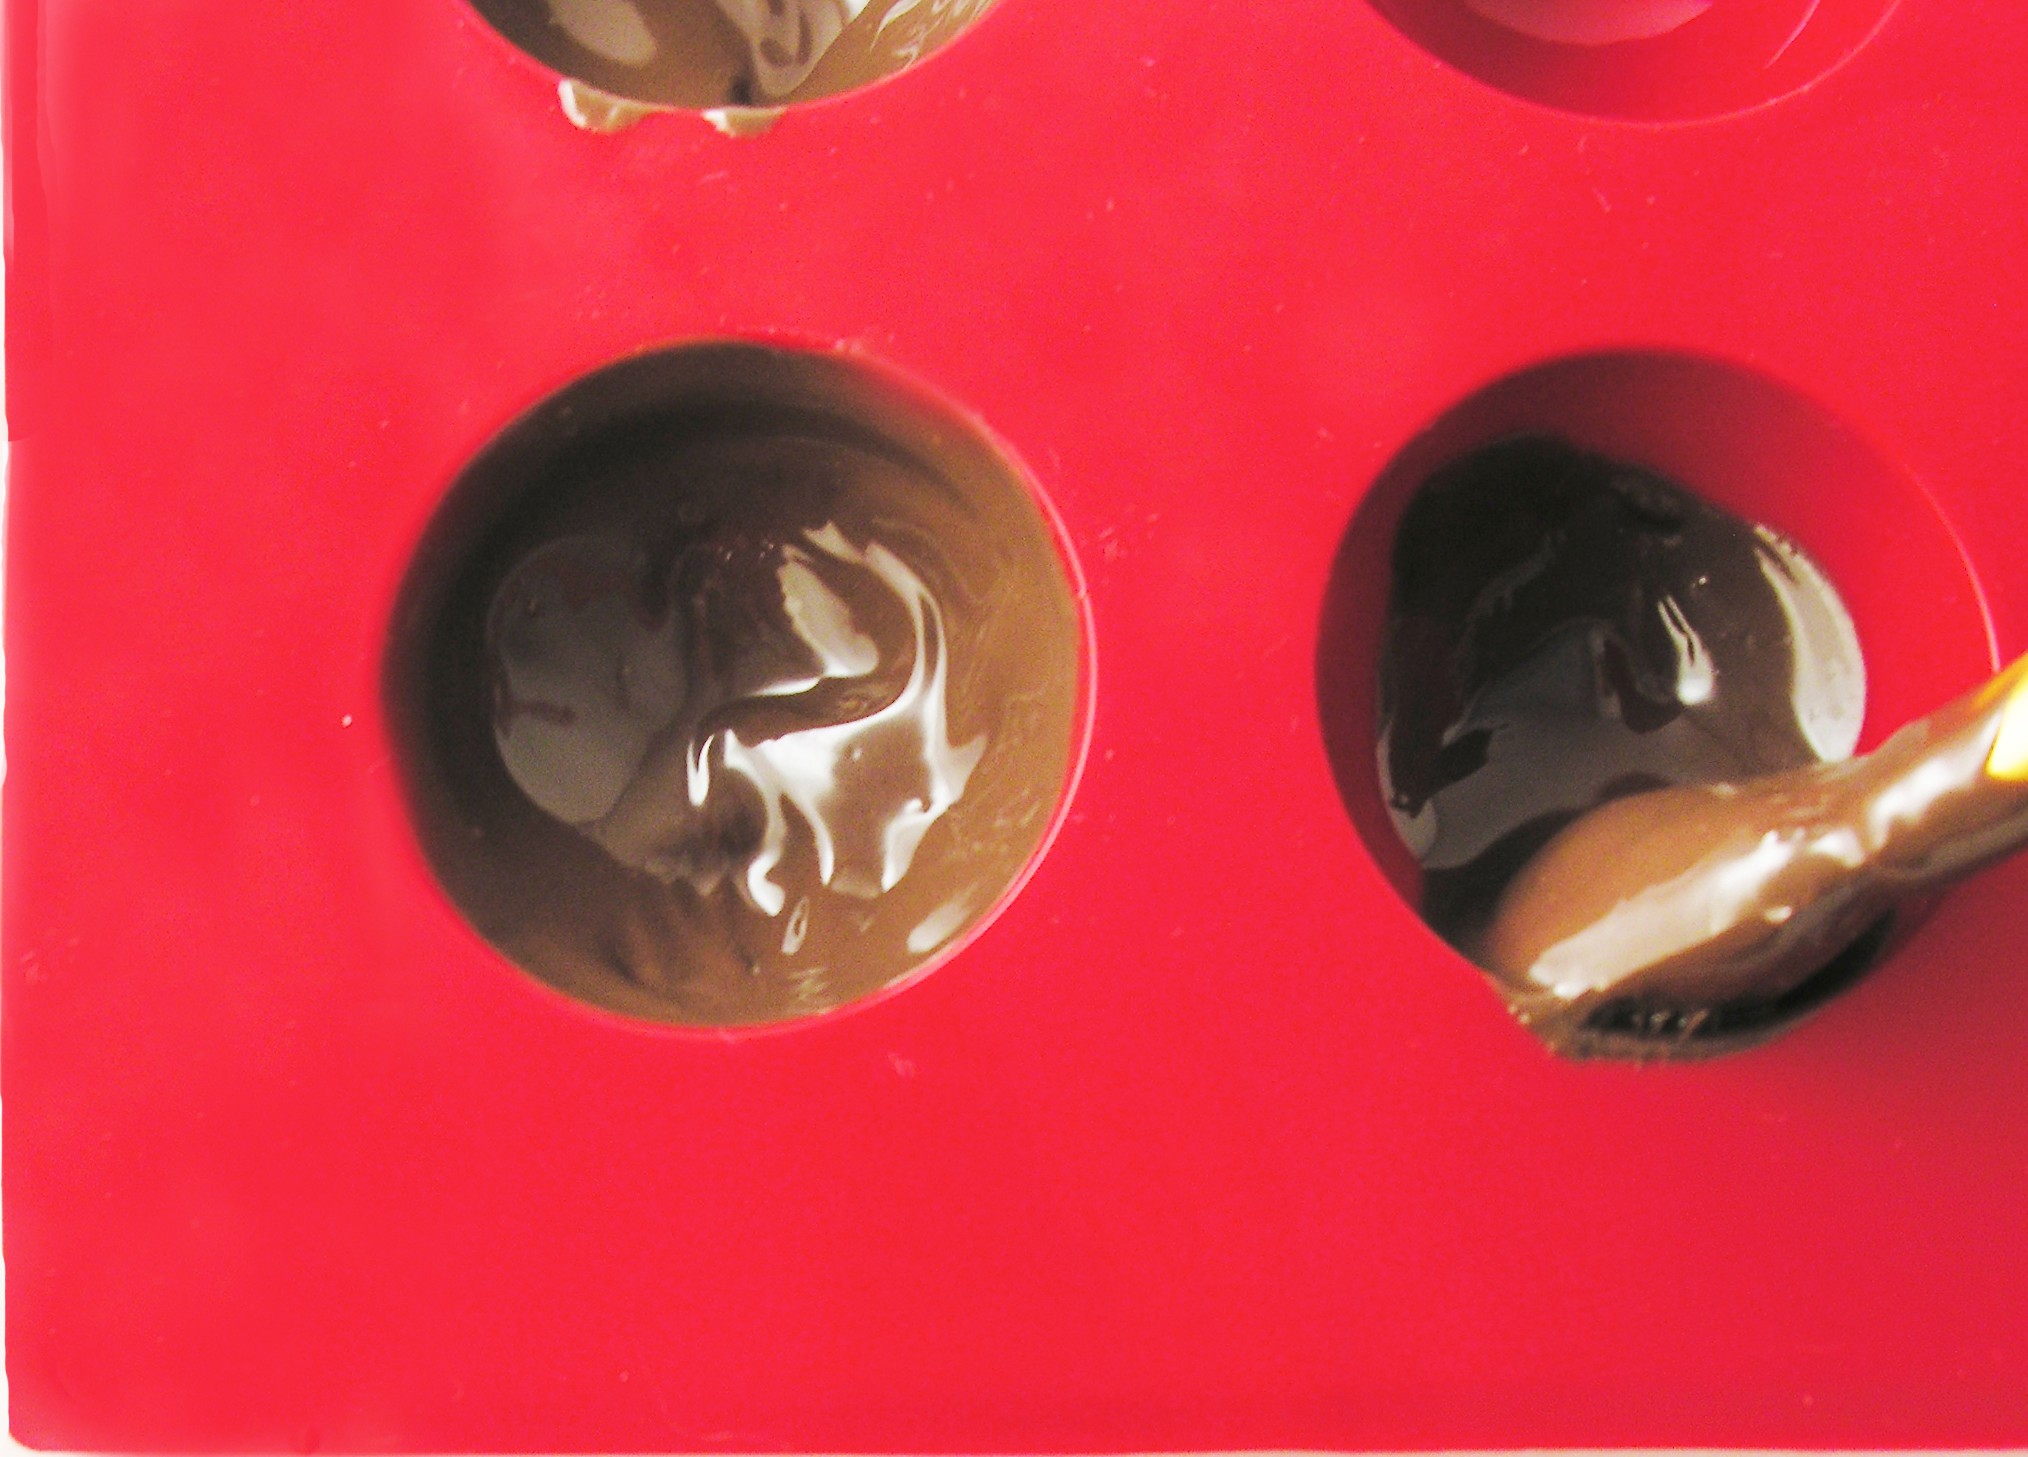
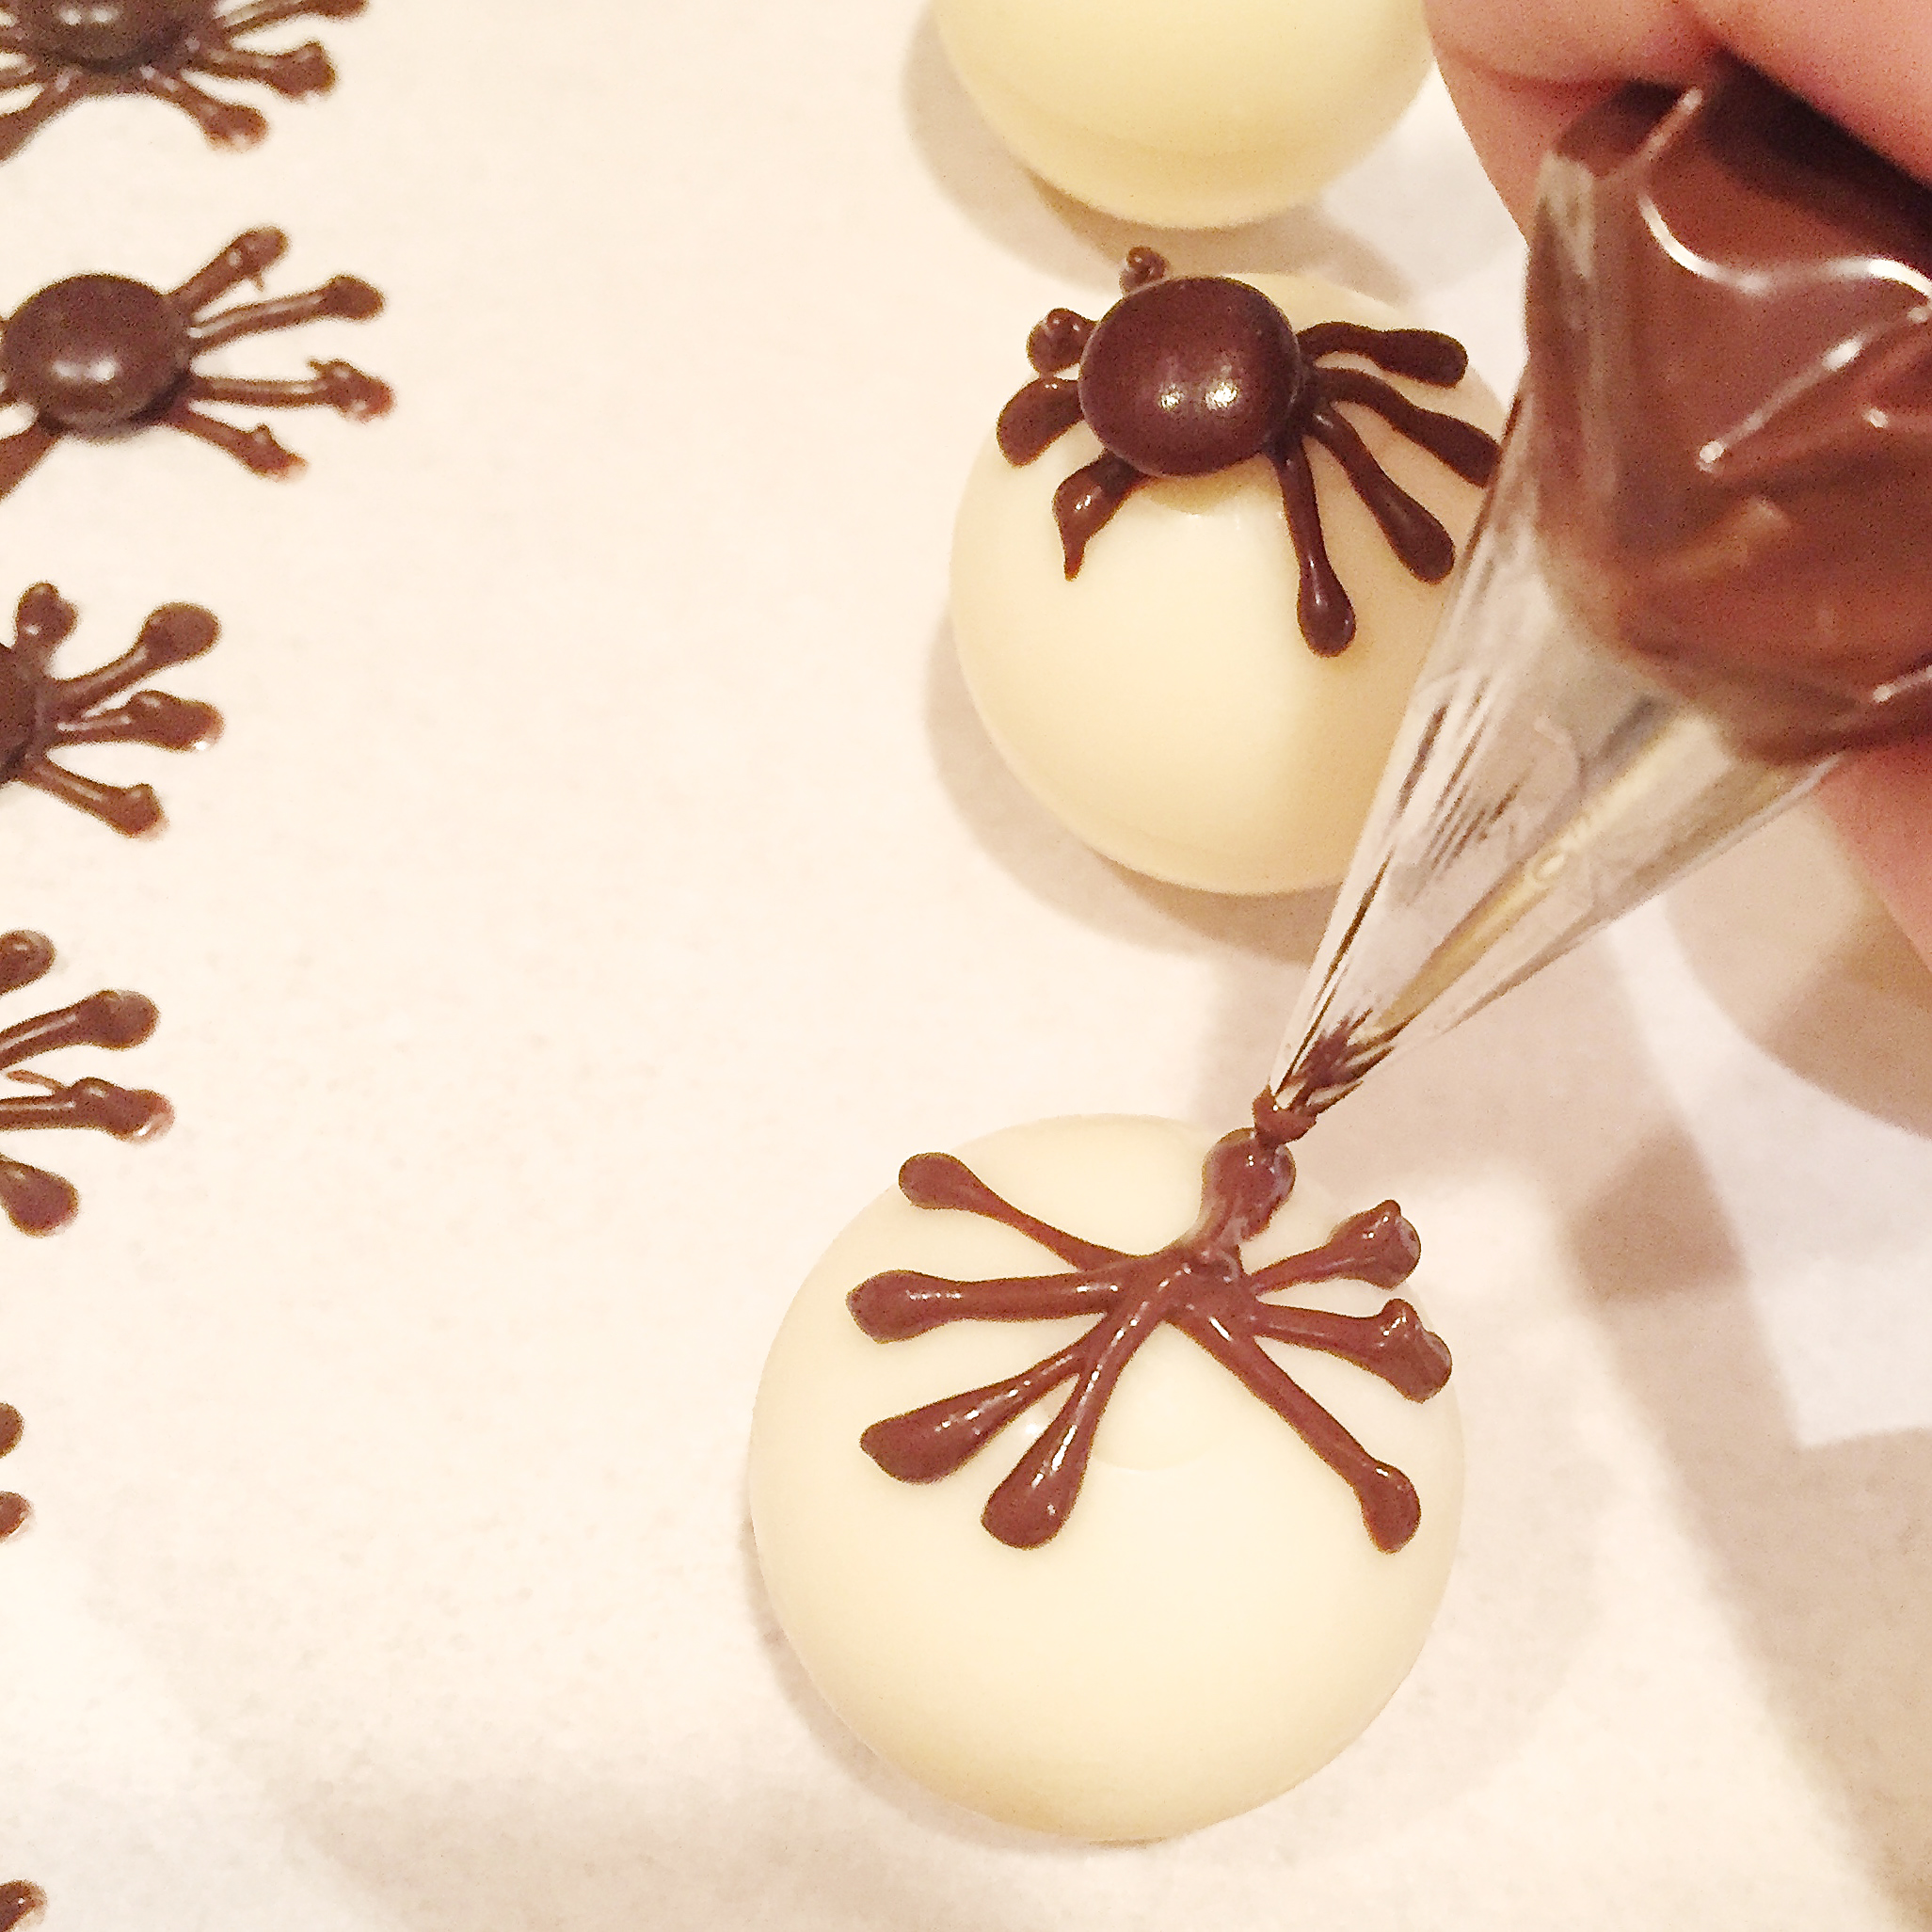
- Melt the Wiltons dark chocolate candy melts in the microwave in 3o second increments, stirring in between until completely melted and smooth.
- Clip a corner off a small zip top bag, and place a small round decorating tip in the corner.
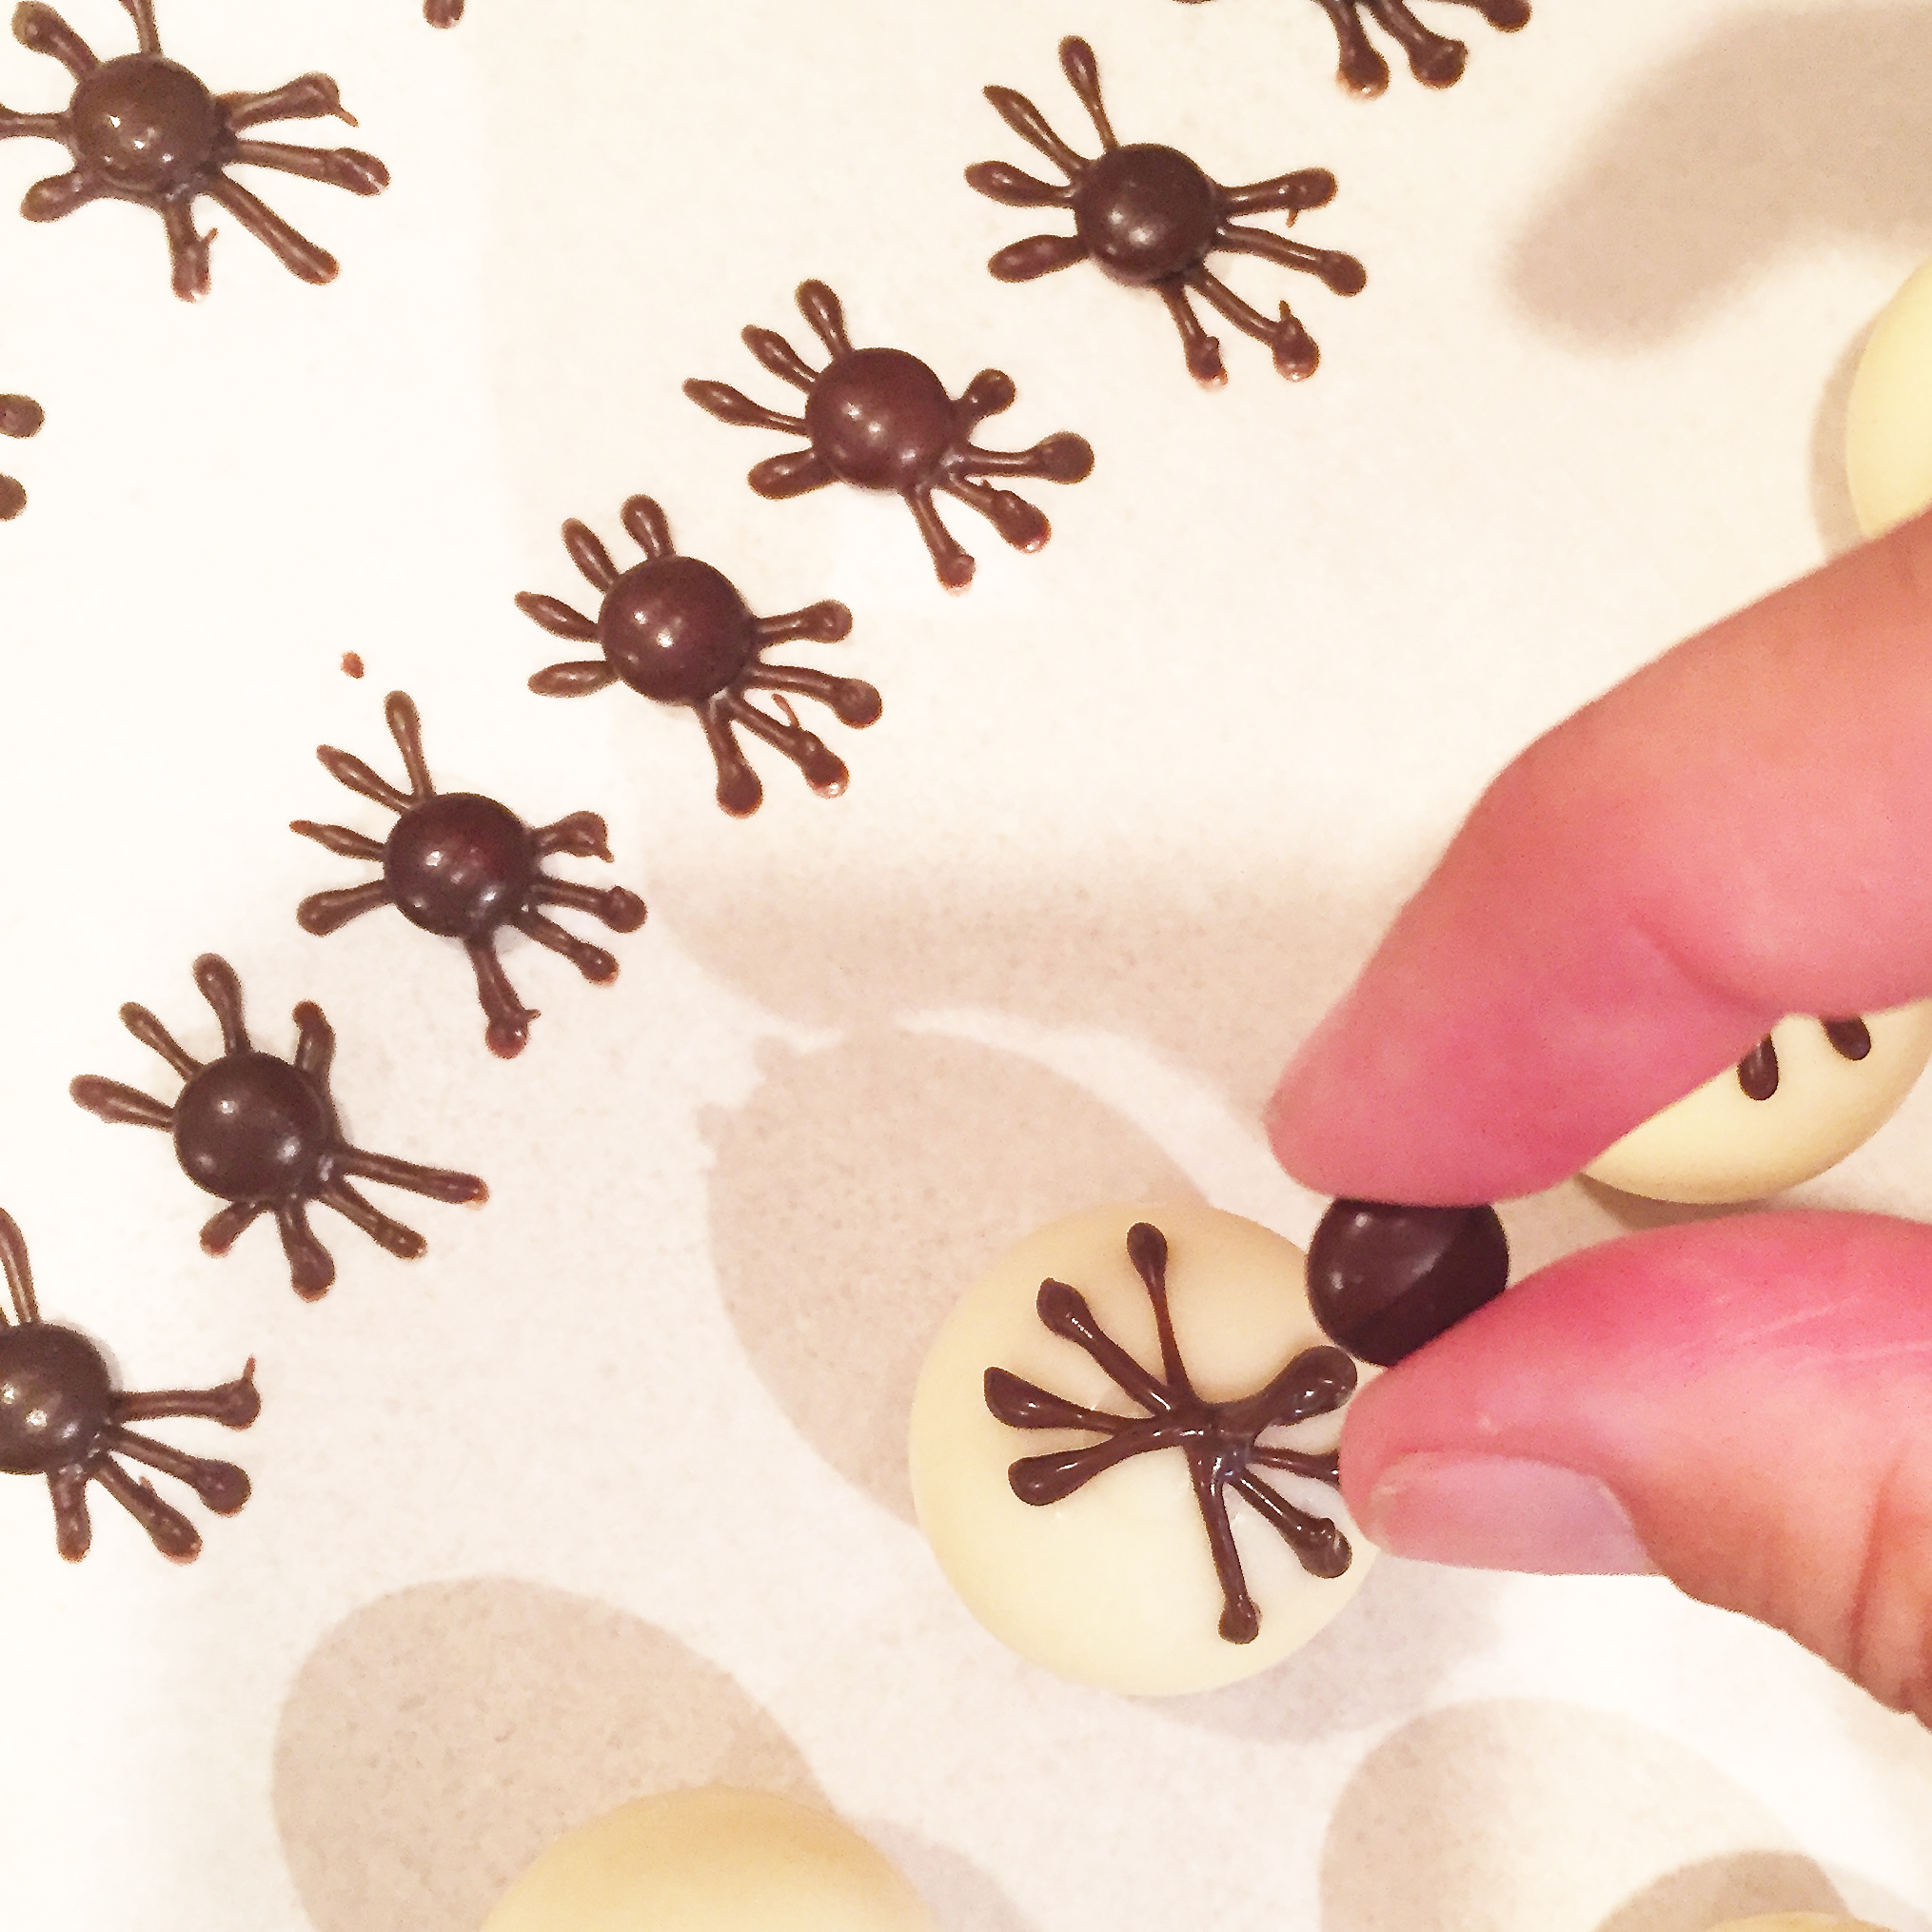
- Spoon melted chocolate into bag, and pipe spider “legs” onto parchment paper, topping each set with a brown mini M&M. Pipe spider legs directly on each Lindt Chocolate and add the M&M on top. You’ll need 24 Lindt truffles and 24 extra spiders. I made about 40, and I was glad I did because some of their legs fell off as I pulled them off the parchment paper.
- Allow these to harden completely (you can put this in the fridge to speed this process up if needed)
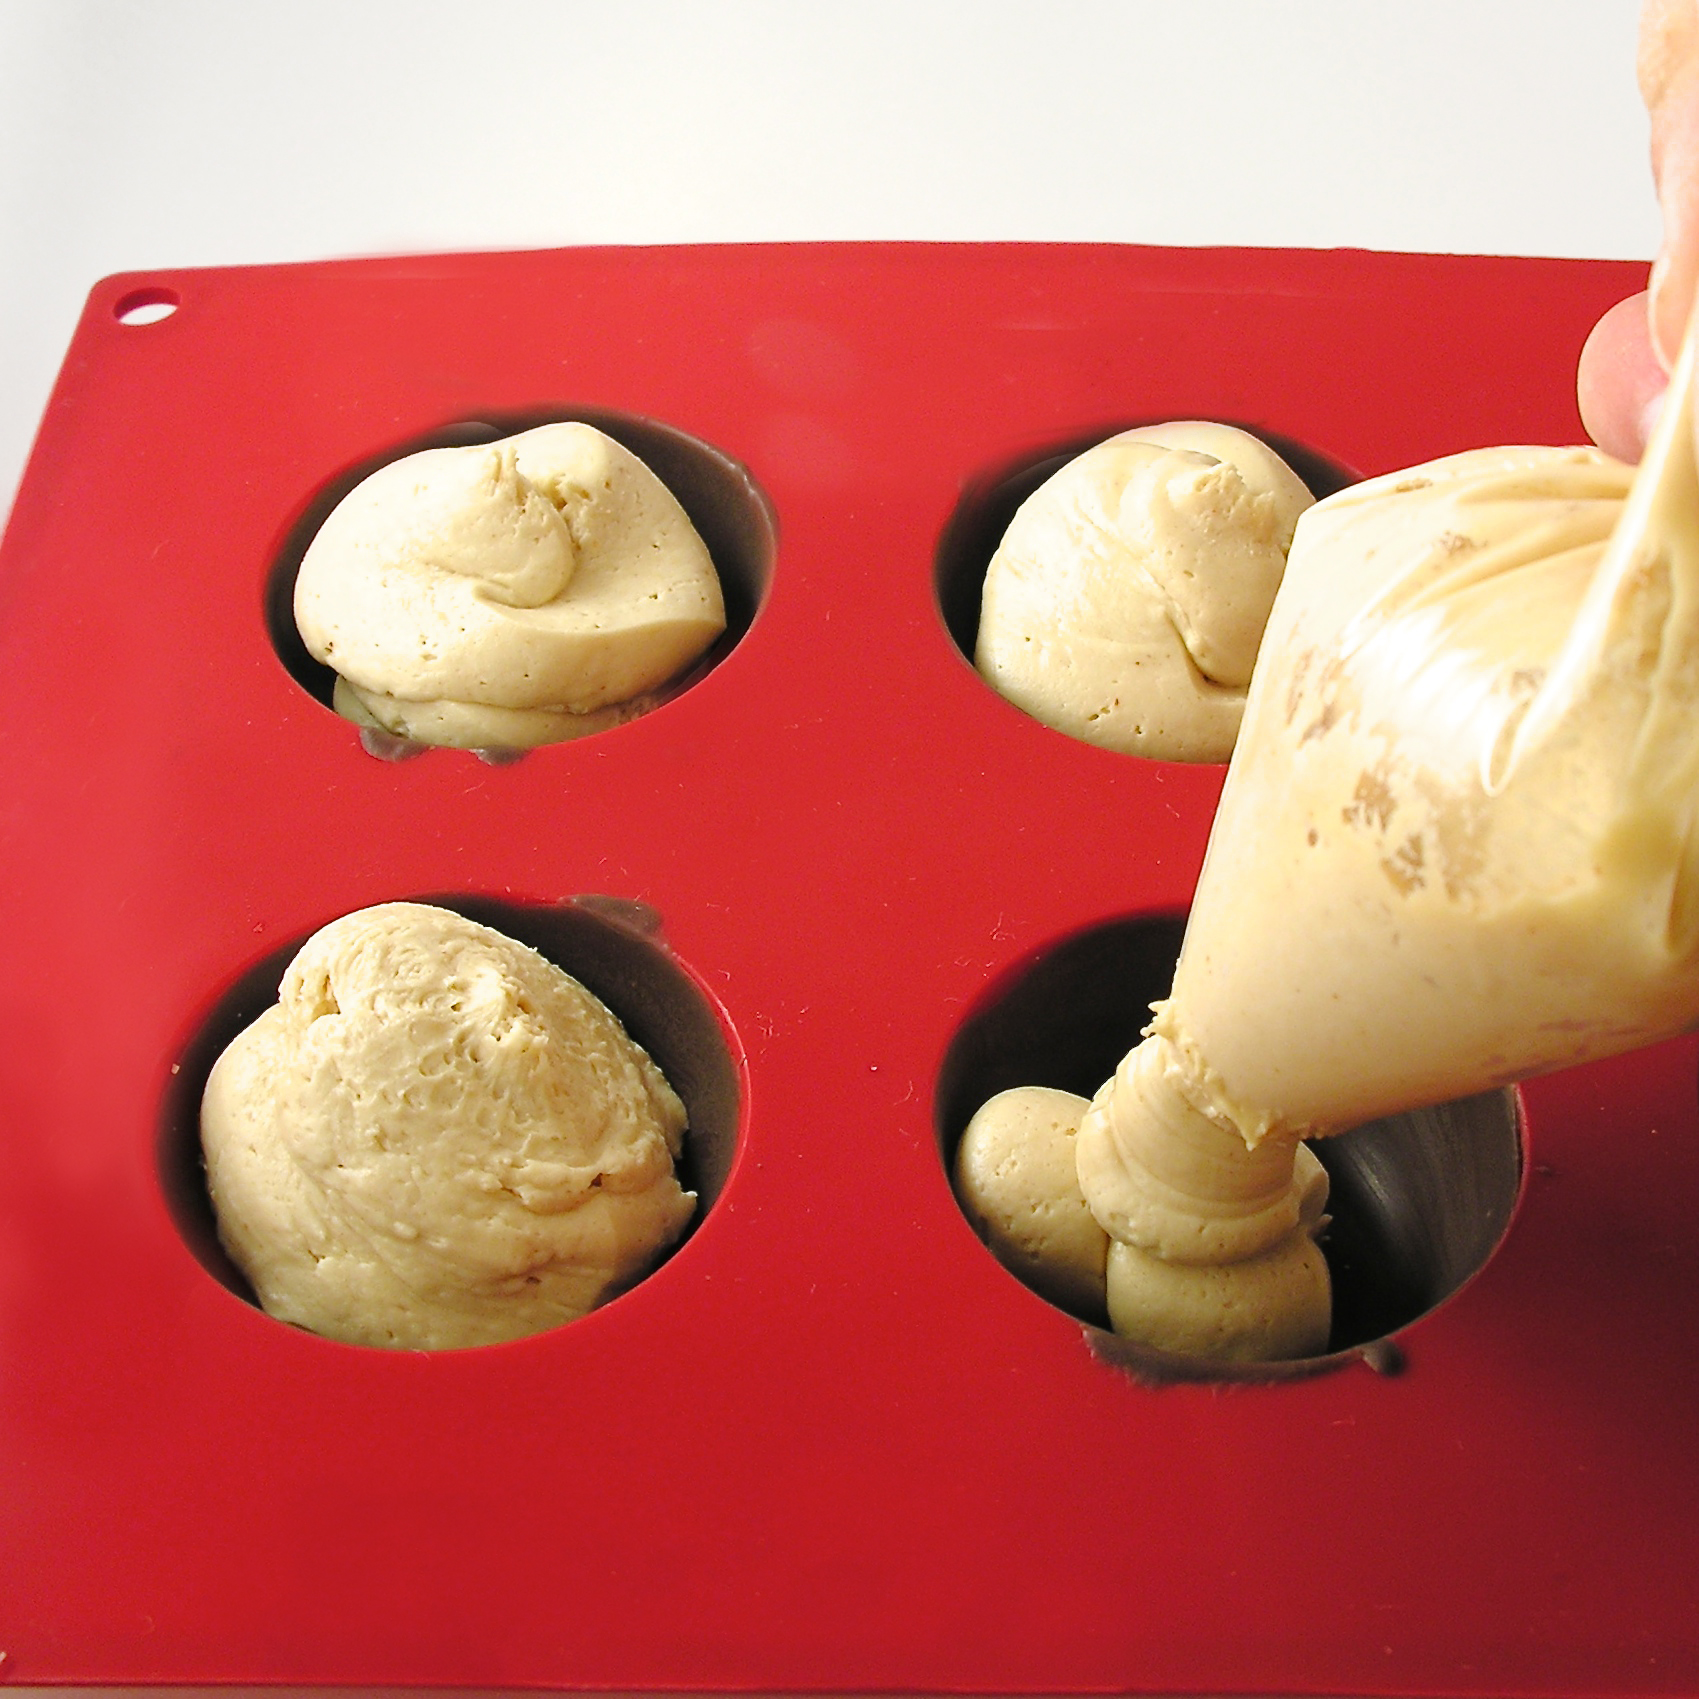
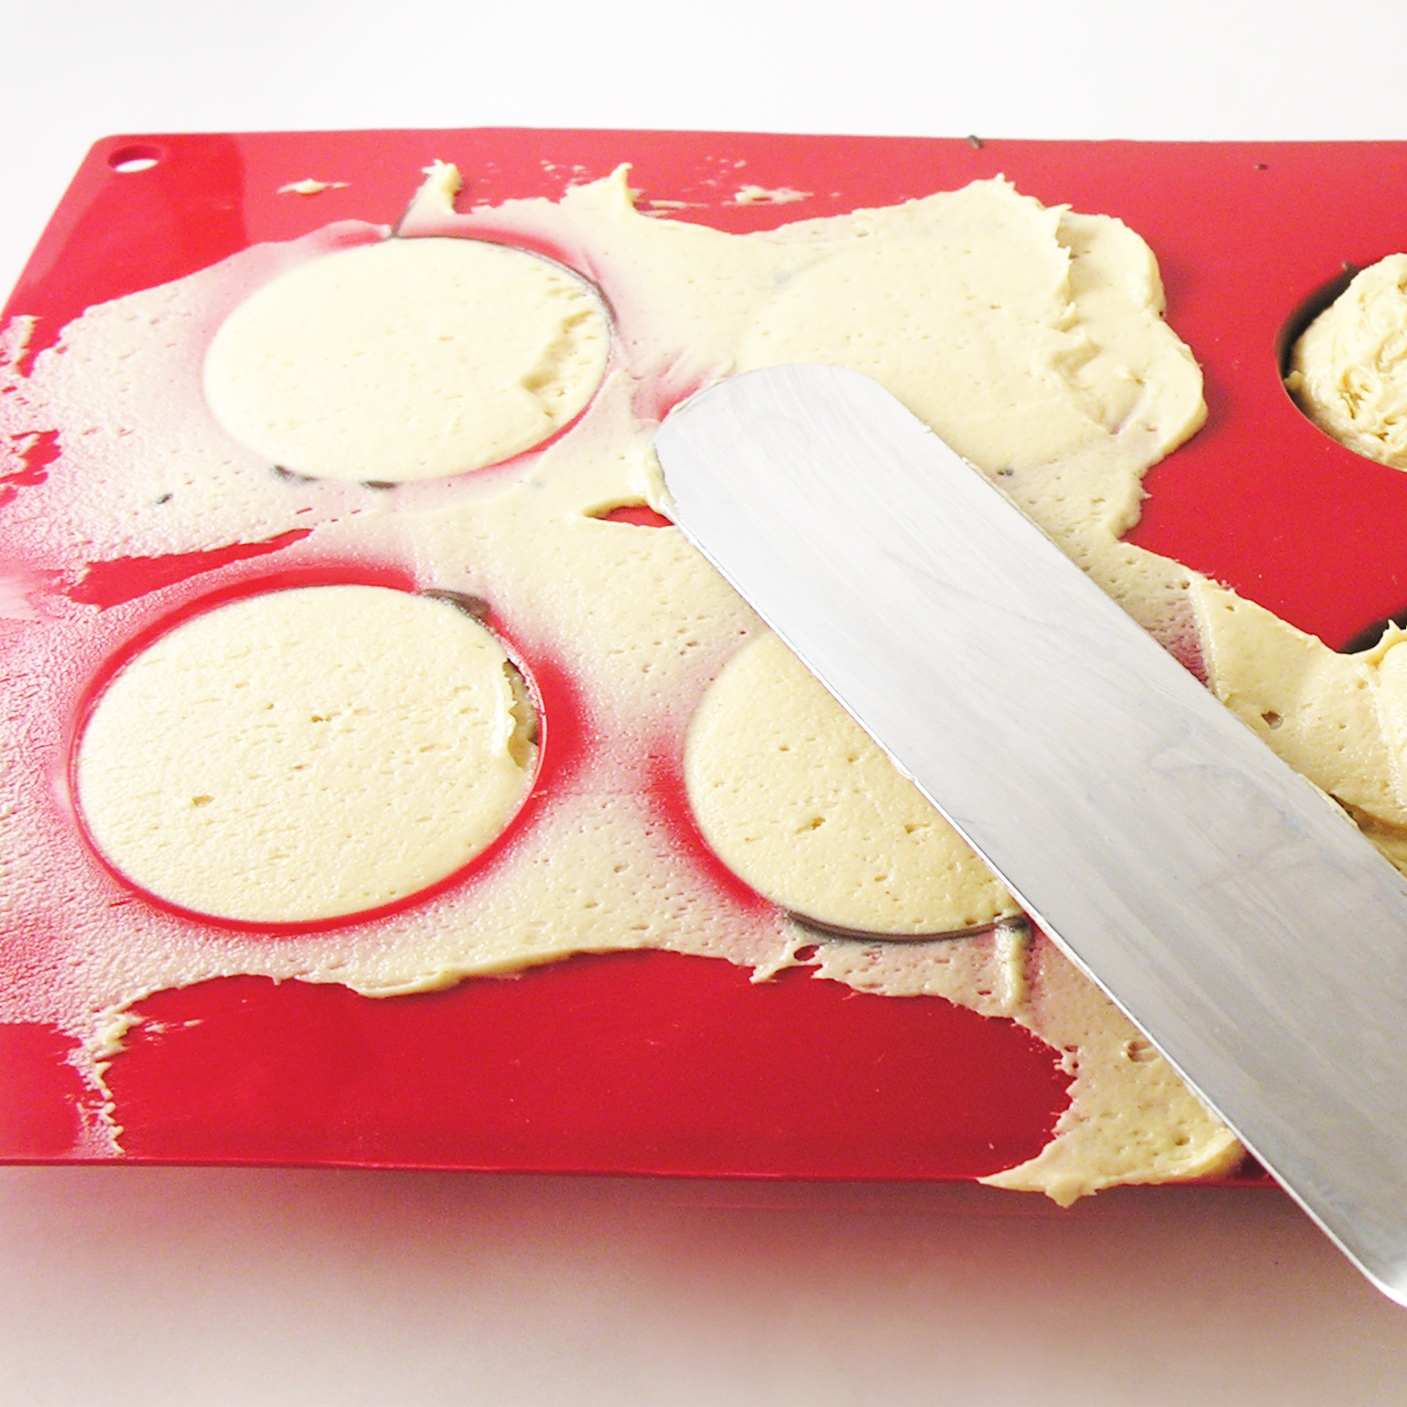
- Make cake mix according to package and bake in 24 cupcake liners placed in muffin tins. Cool completely.
- Divide the frosting into two parts. Soften it a little bit (10 seconds or so) in the microwave, and color it with purple and orange food coloring.
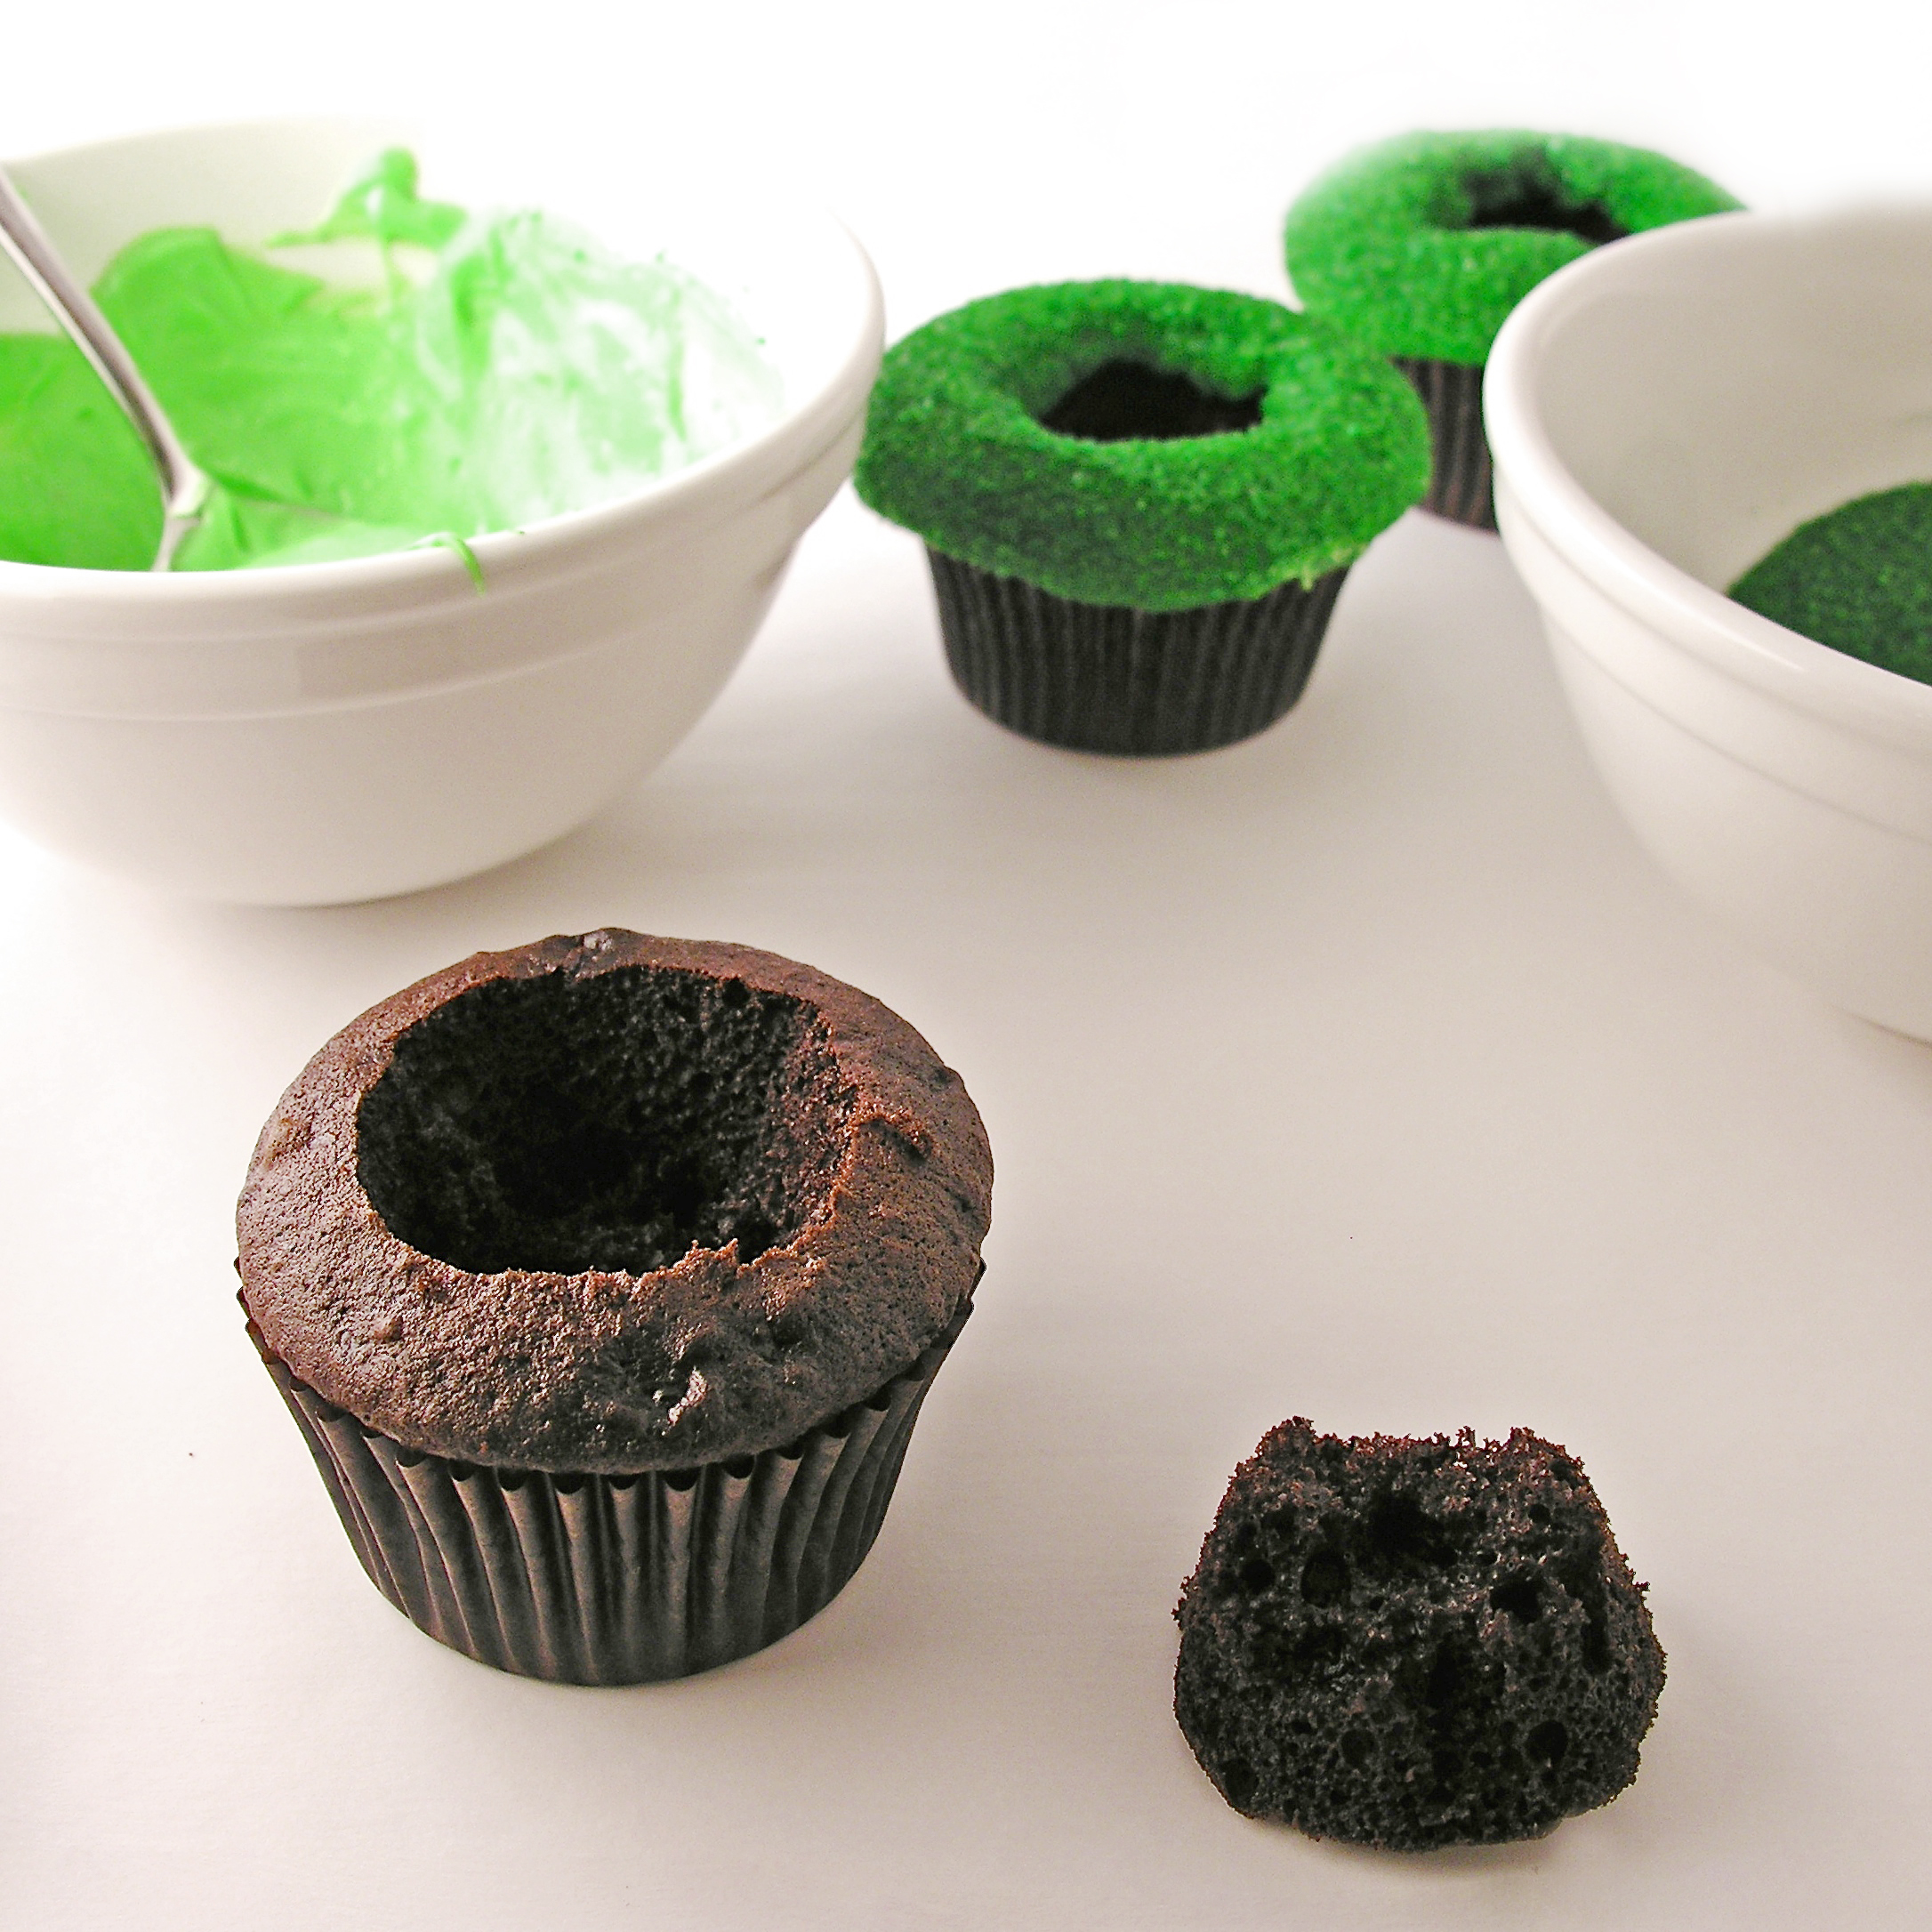
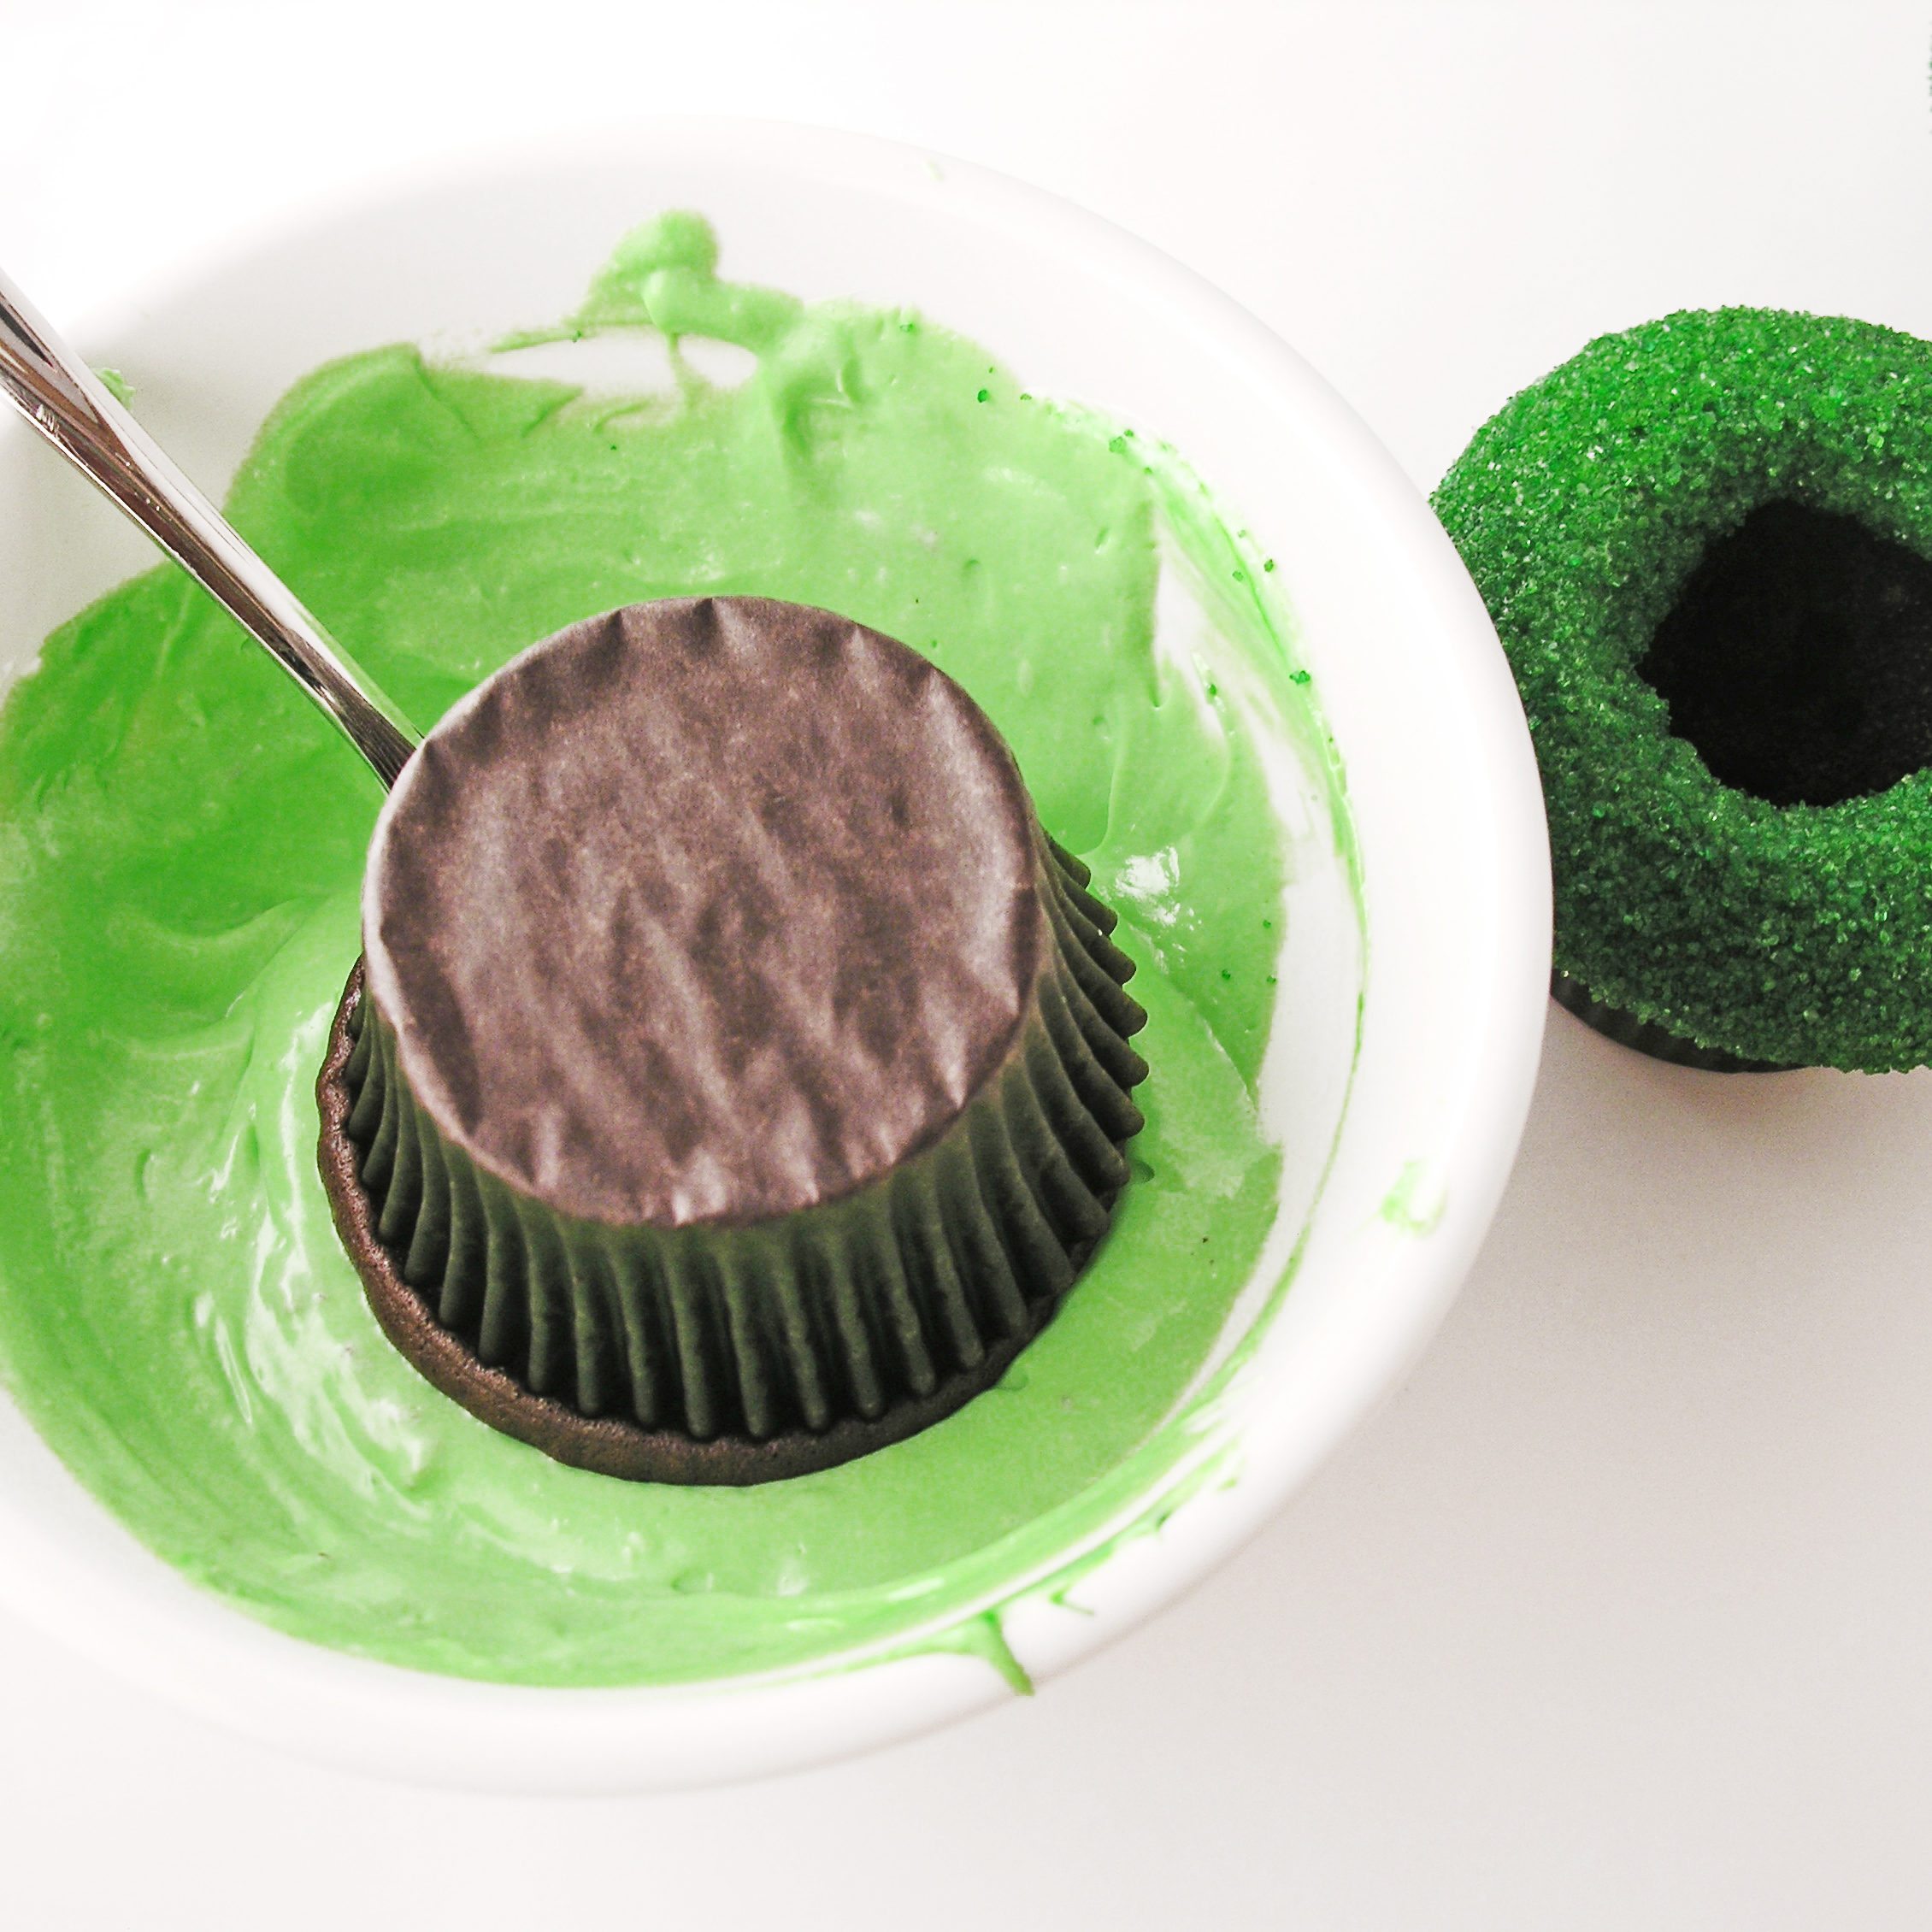
- (Optional) Cut a small, (the size of the Lindt Truffle) and shallow hole into the top of each cupcake. I did this so that the truffle would settle a little “into” the cupcake rather than just perching on top. It makes frosting these a little messy with crumbs, but I liked the way it looked a little better.
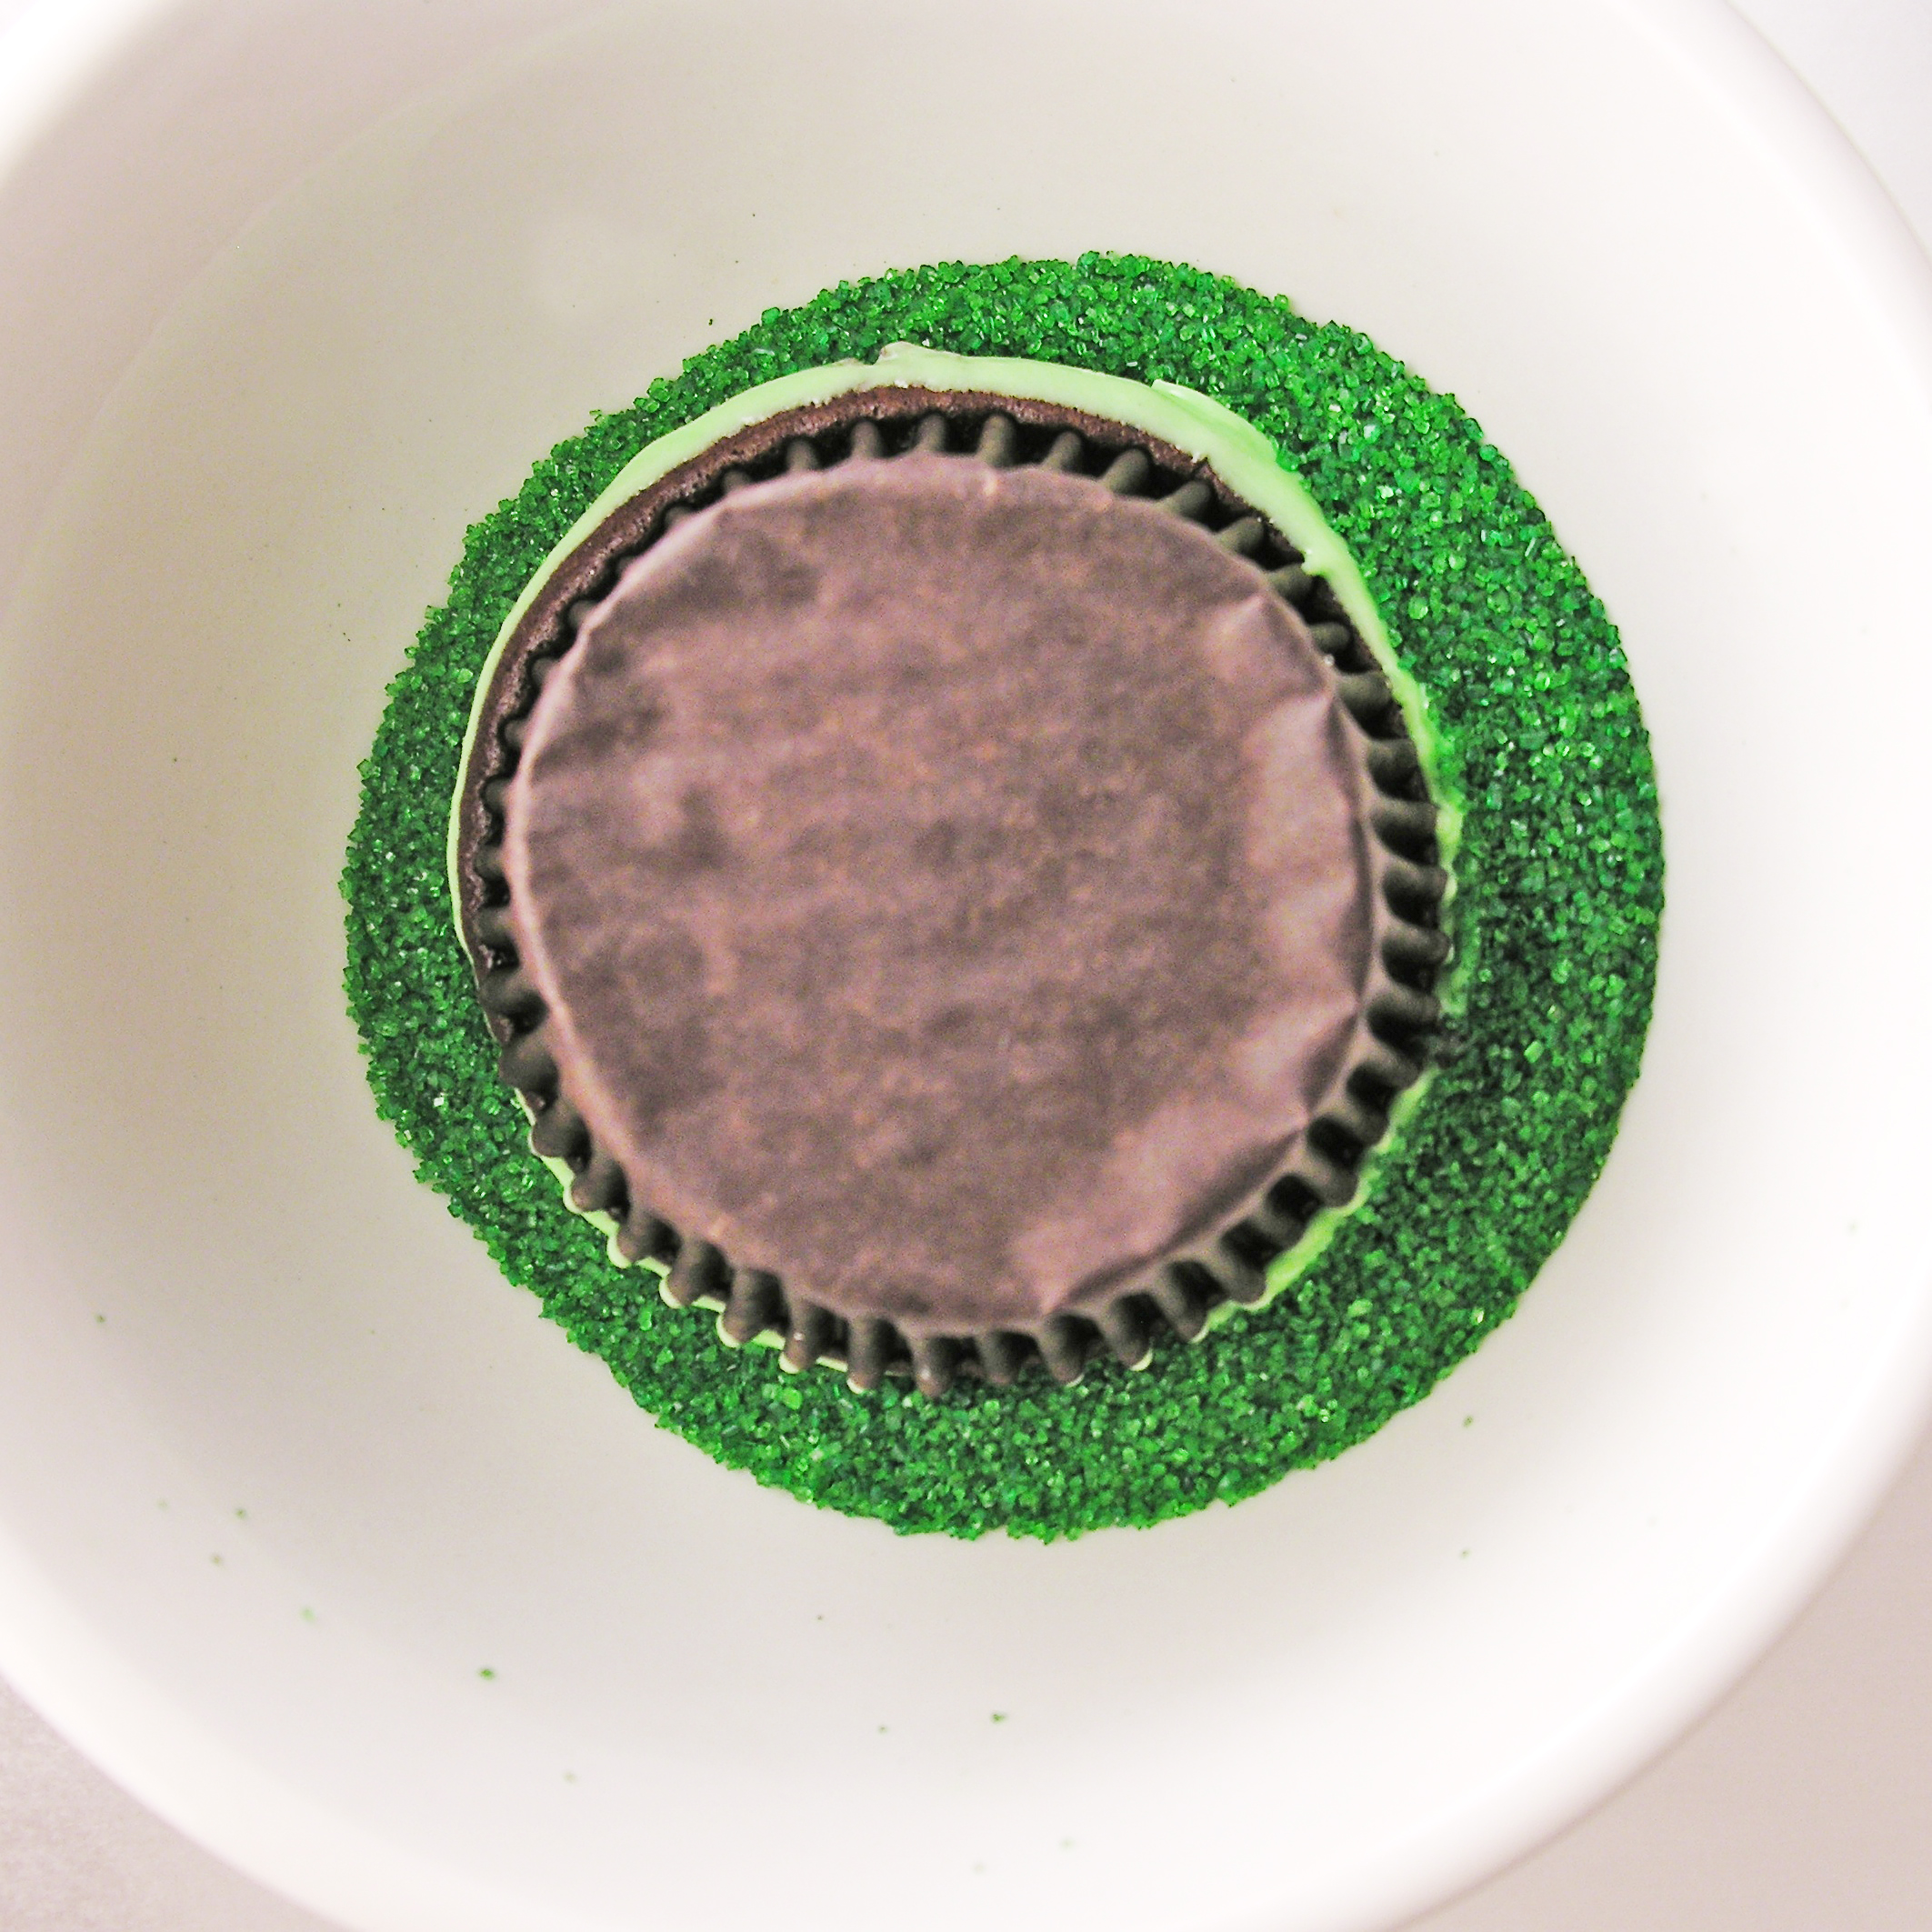
- Dip the top of each cupcake into frosting, covering the top (and inside the little “dent” on top) completely.
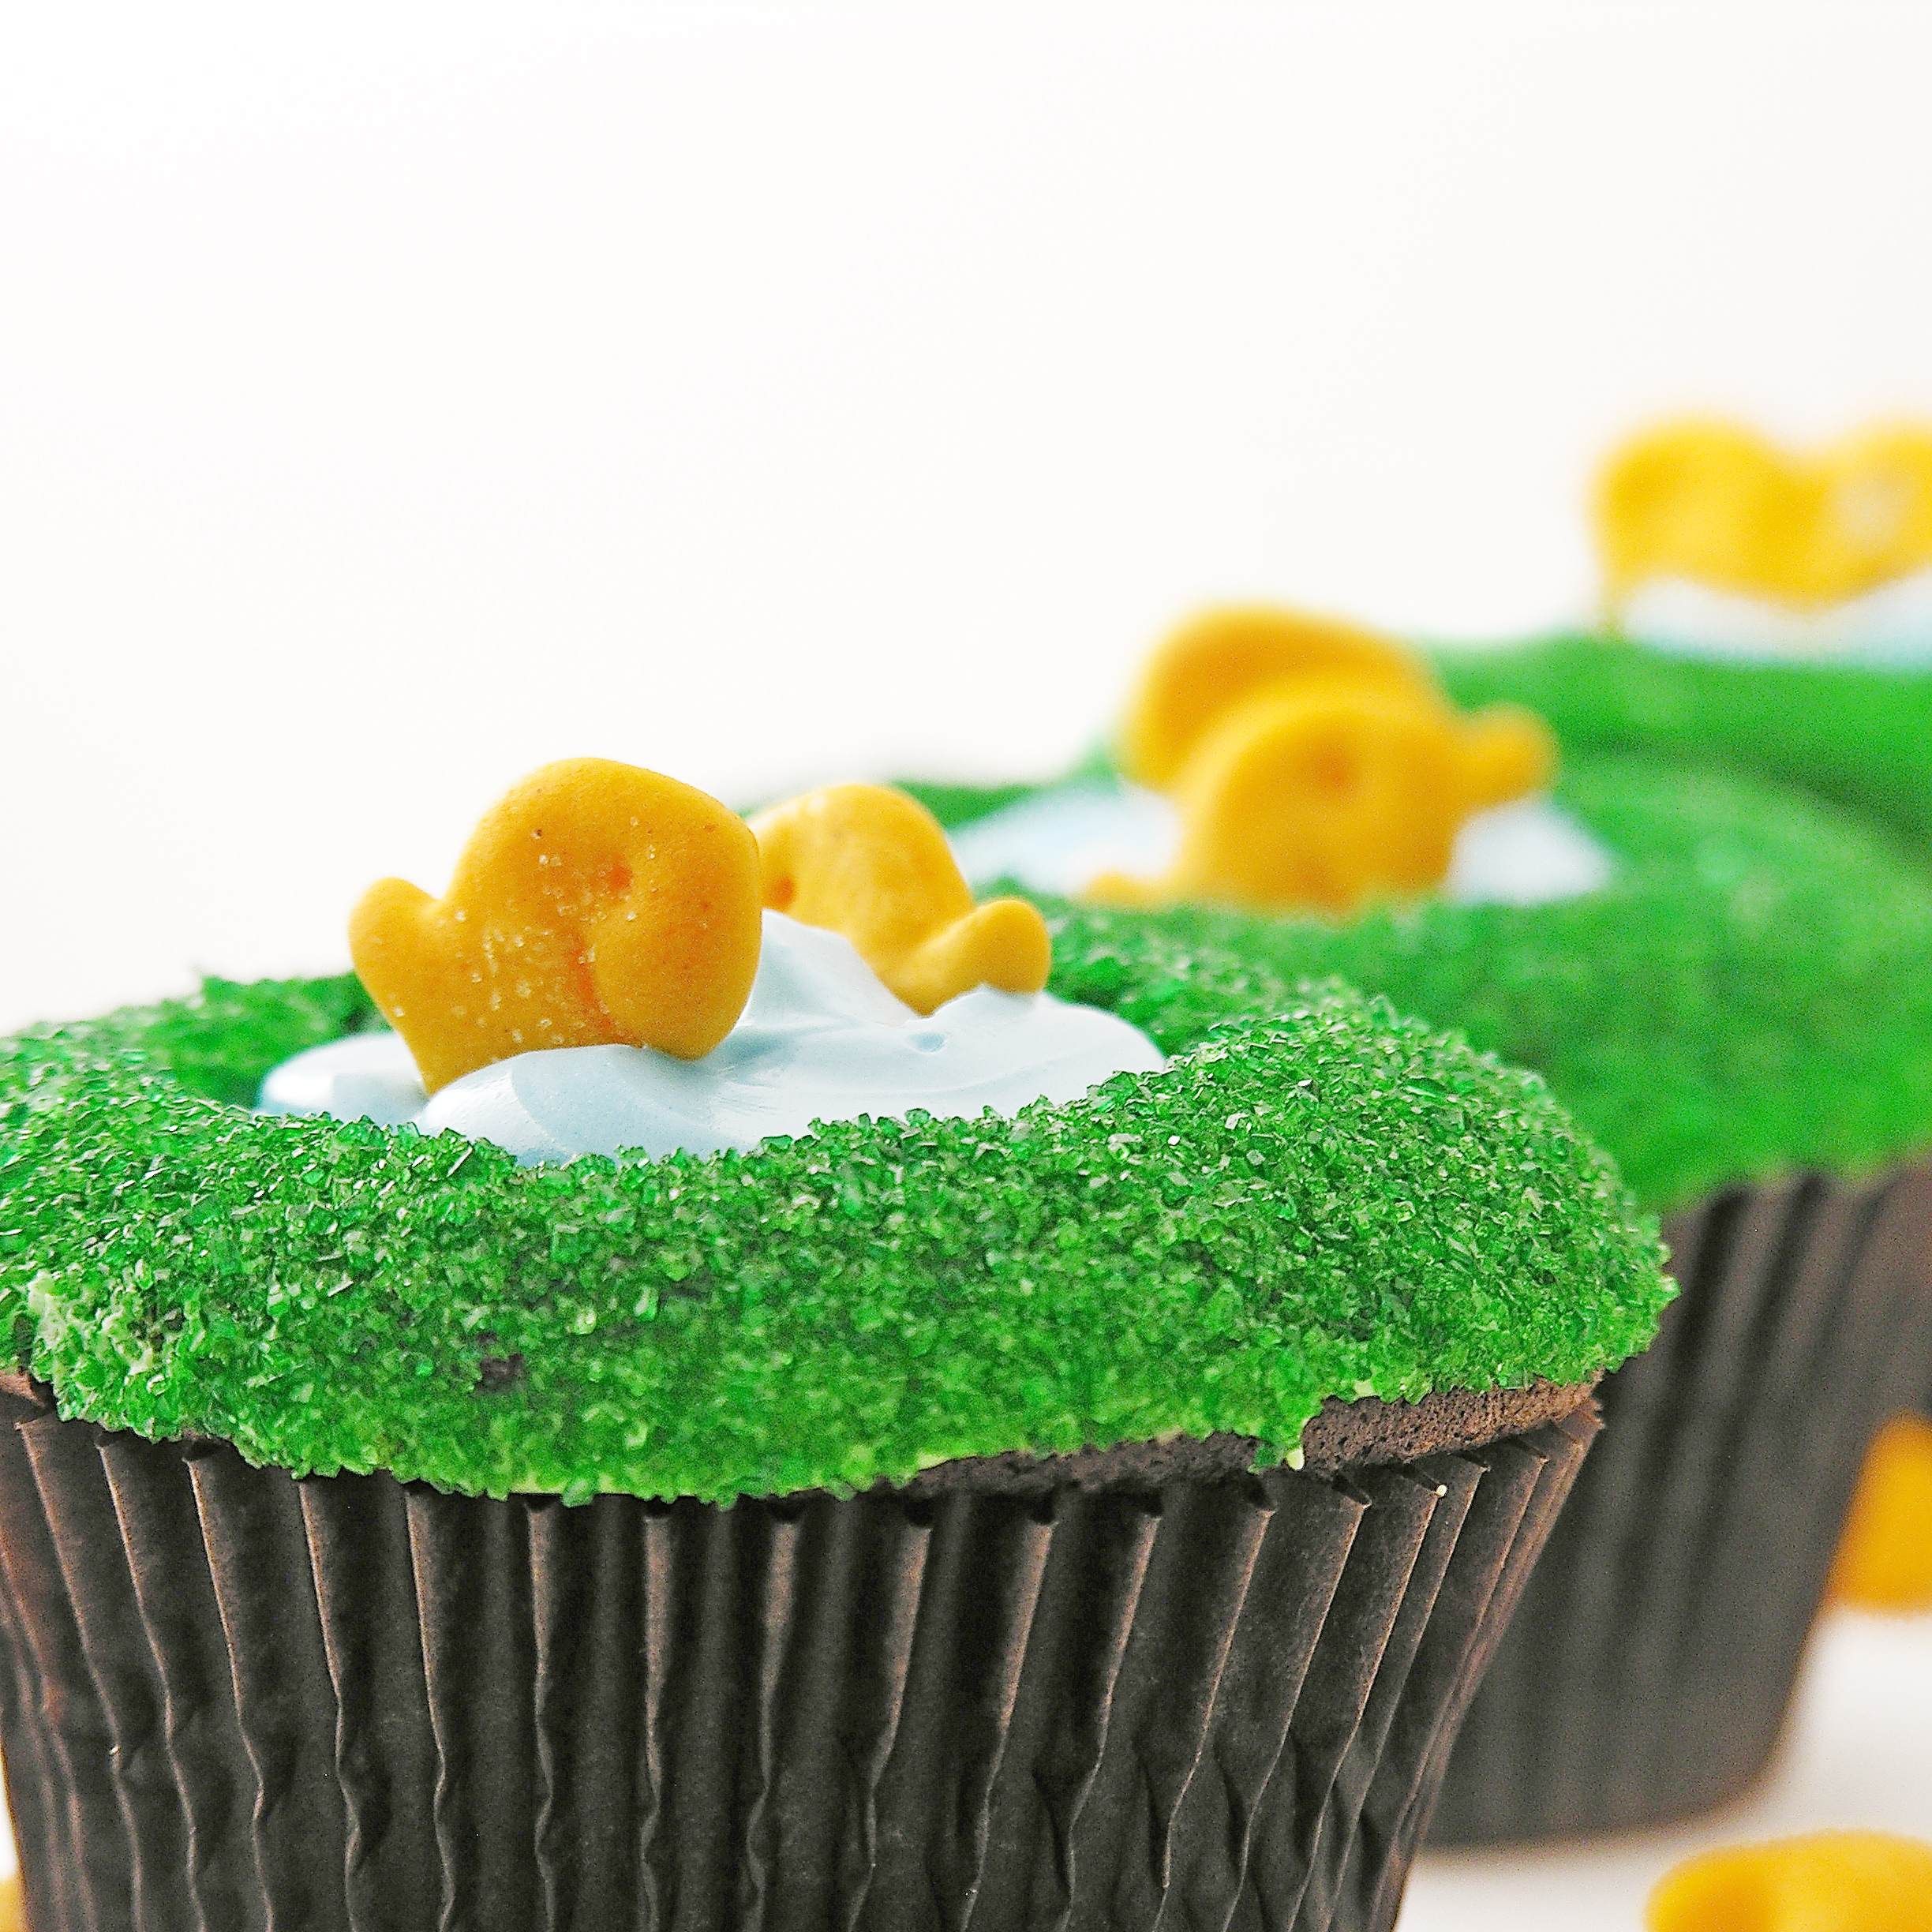
- Place a spider “egg sac” on top of each cupcake.
- Melt Wiltons White Candy Melts in the microwave in 30 second increments, stirring in between until completely melted and smooth.
- Place in a zip-top bag, clip a corner and drizzle liberally over the top of each cupcake in a web-like pattern.
- Before the Candy melts firm up, place a couple of spiders on top.
- Allow frosting and candy melts to firm up.
- Enjoy!
My thoughts: These are fun, easy and just a tiny bit creepy. A perfect October treat. The spiders take a little time and patience, but they can be made ahead of time and won’t hold you up when you go to make the cupcakes. I hope you have as much fun as I did with these! Enjoy!! ~r
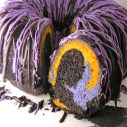
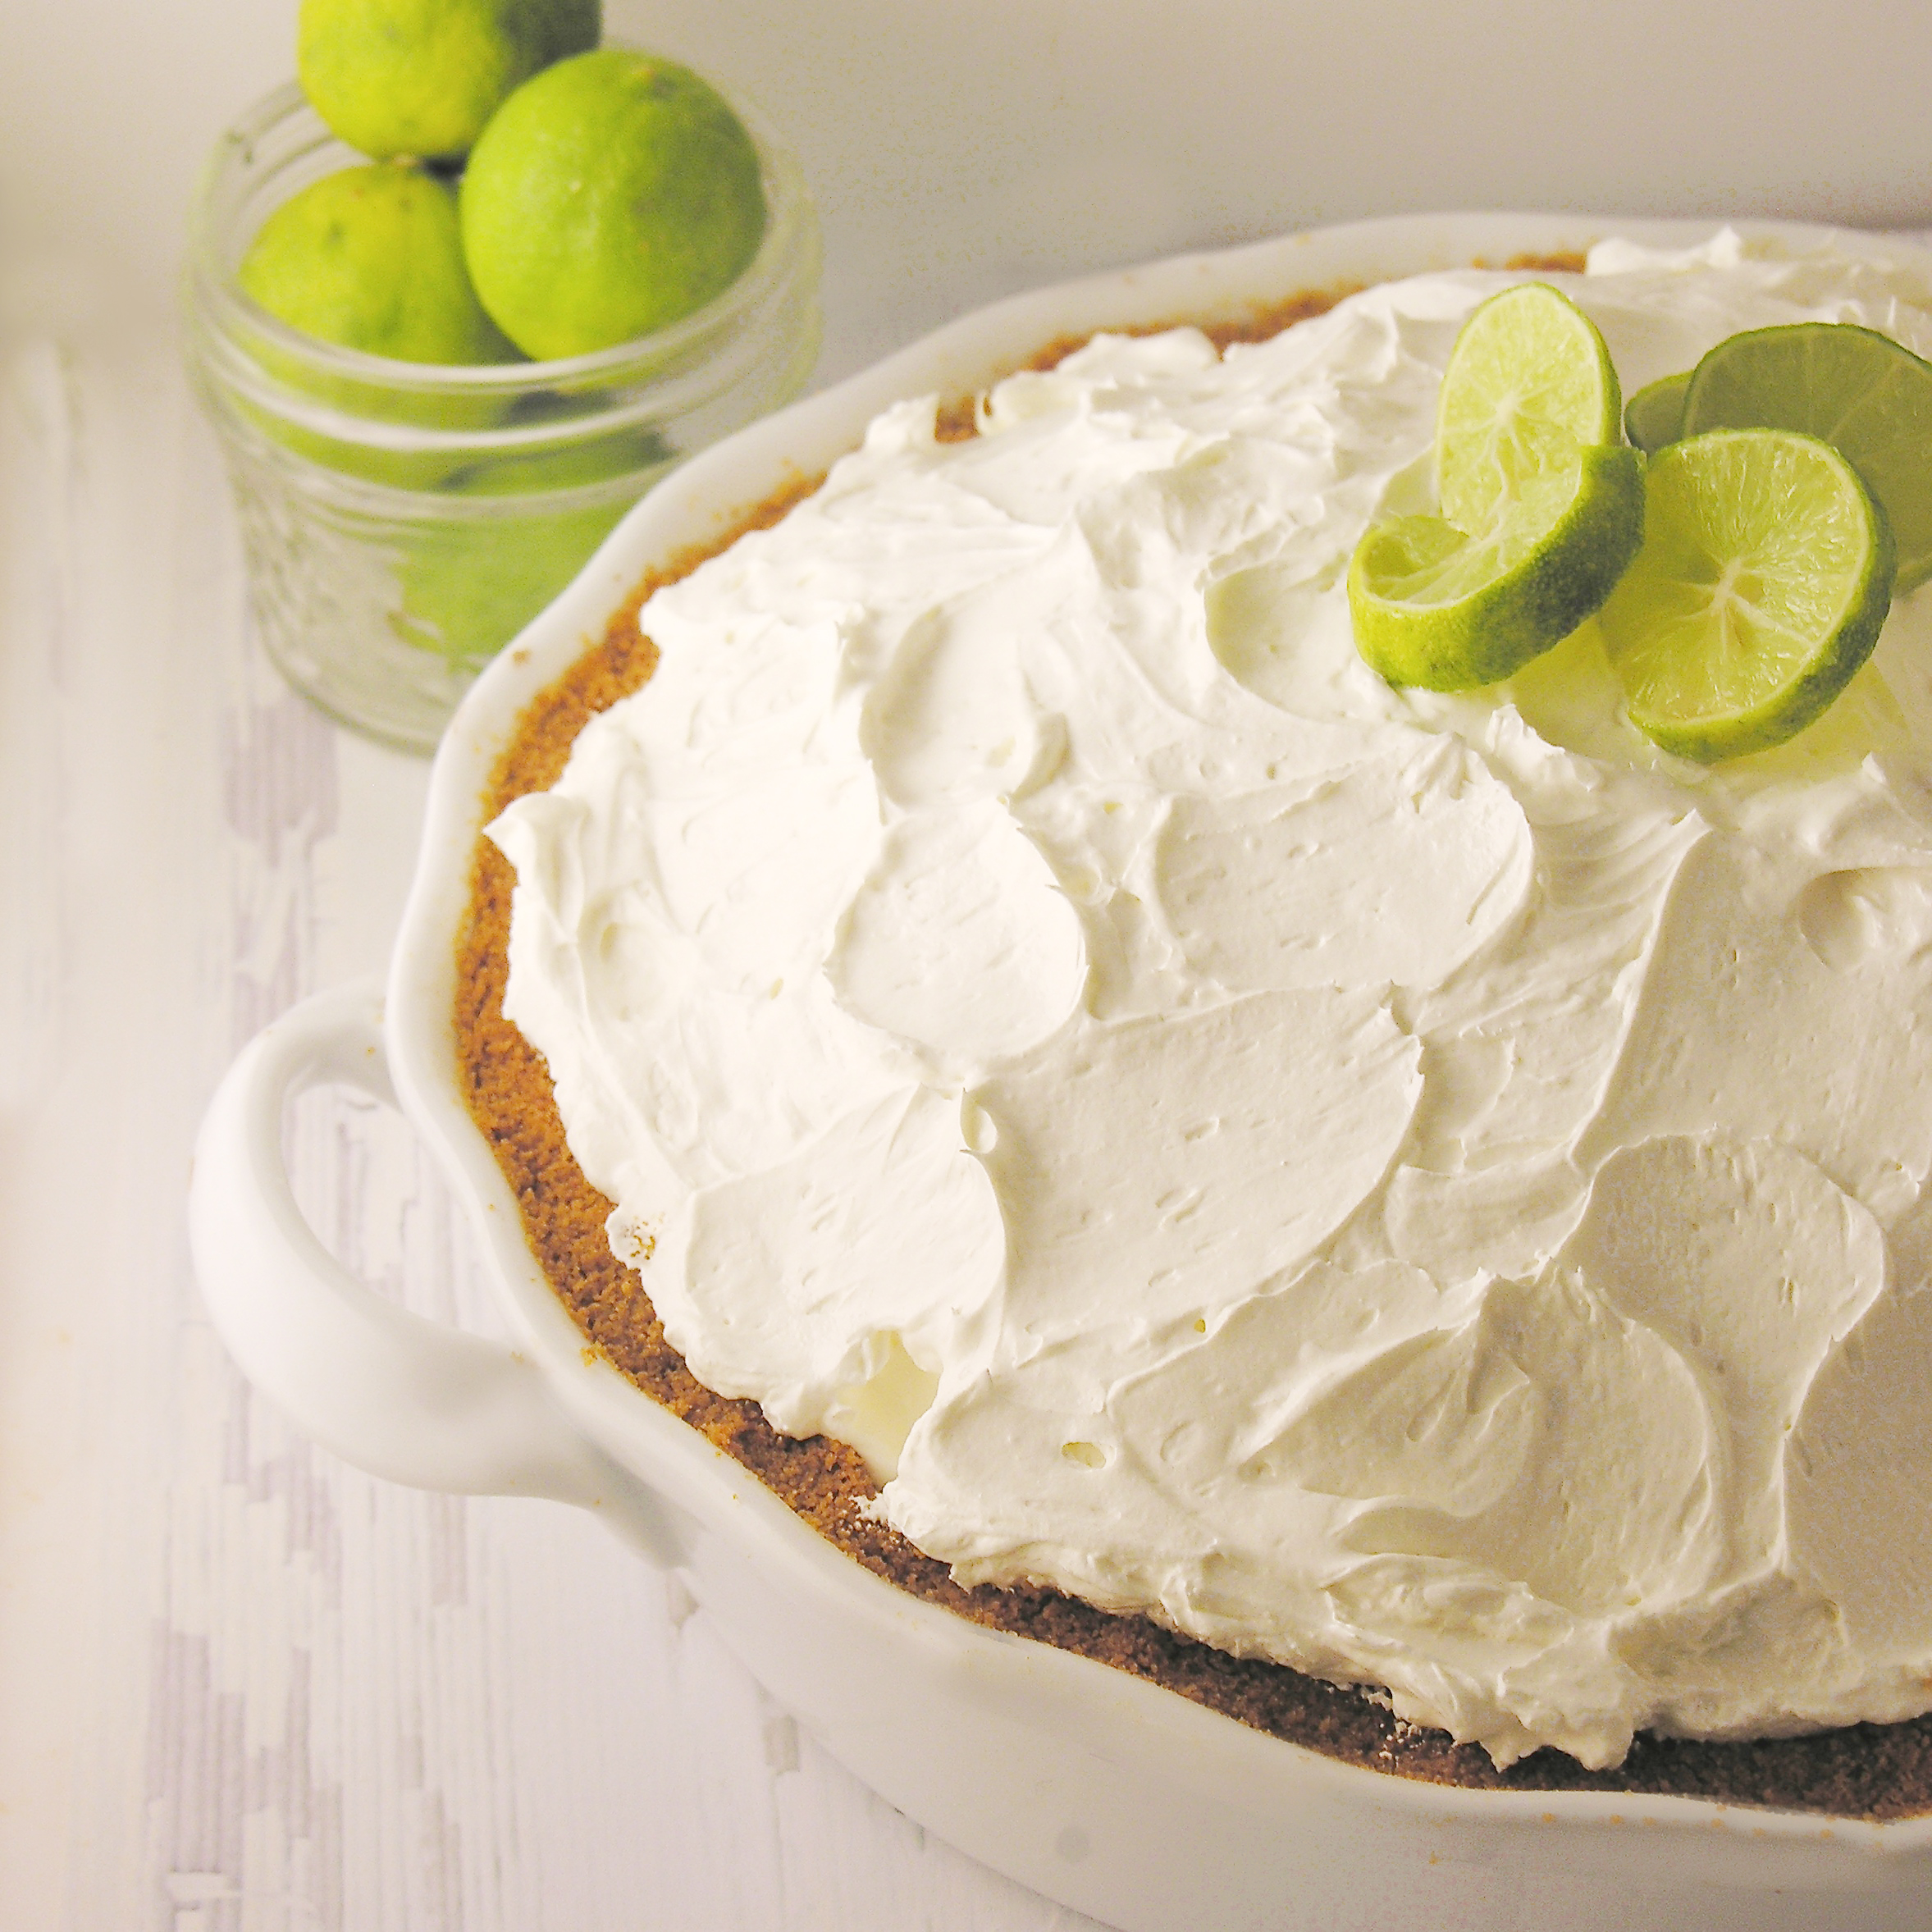
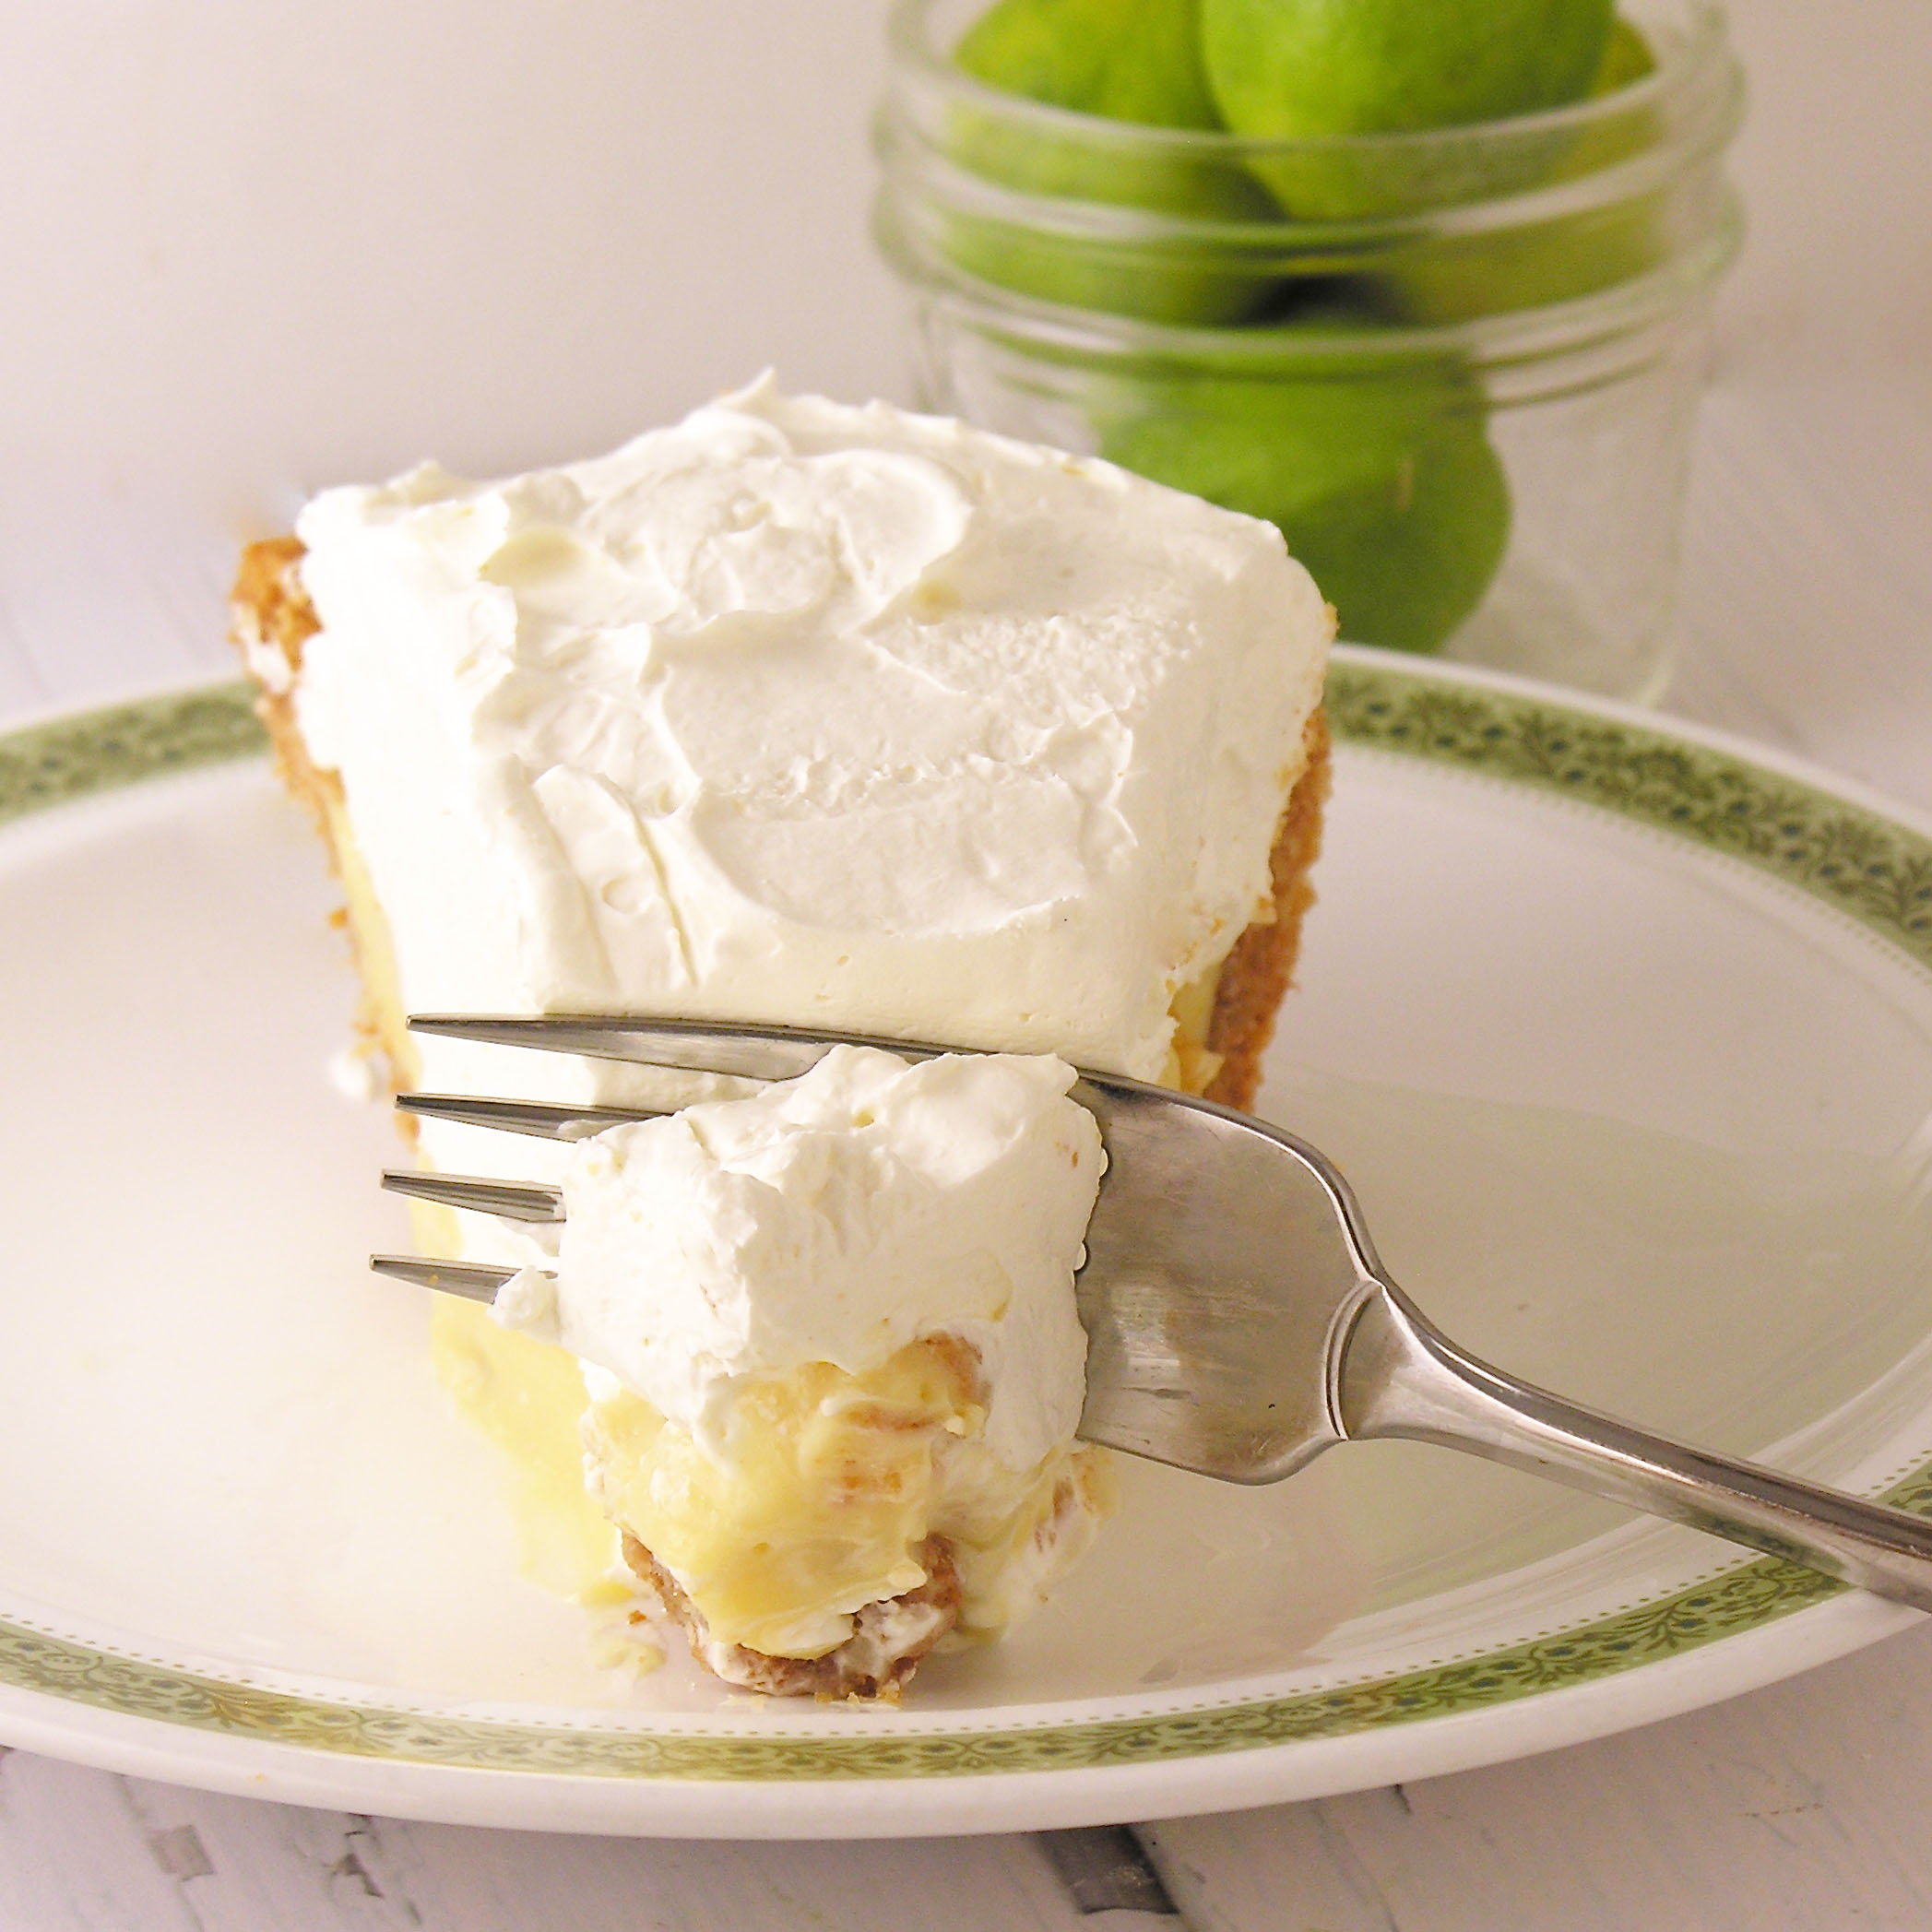
Other creepy and fun October treats you might enjoy: (click on a photo to see the recipe)