RSS Feed

Tag Archives: chocolate

Cookie Dough Layer Cake


Cookie Dough Layer Cake4Creamy cookie dough filling surrounded by rich chocolate cake and topped with a delicious chocolate glaze. An easy, beautiful and oh-soo-yummy dessert!

I’m in love with cookie dough. When I go to those fancy yogurt shops where you make your own sundae I am always tempted to skip the yogurt and just fill my dish with those little cookie dough bites. This easy (super, super easy) layer cake is filled with my favorite creamy cookie dough. I’ve used it to top cupcakes and to fill brownies— and now to fill cake. I love it. I think you will too!

As in most of my recipes, this dessert is made simple with the use of a cake mix (I used a Duncan Hines Dark Chocolate Fudge here), but you can substitute your favorite cake recipe instead. More work… but that’s up to you!

Cookie Dough Layer Cake2

Here is how we put this cake together: (printable recipe)

INGREDIENTS:

Cake/Filling:

  • One boxed chocolate cake mix (plus water, oil and eggs to make according to package)
  • 2 sticks (8 oz.) unsalted butter(softened)
  • 2 sticks (8 oz.) salted butter(softened)
  • 2 c. powered sugar
  • 1 c. brown sugar (packed)
  • 3 T. vanilla
  • 1/3c. flour
  • 1 (12 oz) bag of mini chocolate chips.

Glaze:

  • 1 1/2 sticks of salted butter
  • 1 12 oz. package of semi-sweet chocolate chips

DIRECTIONS:

  • Make cake mix (or your favorite cake recipe) and bake according to box/recipe in 2- 8 or 9 inch round pans.
  • Cool cakes completely.
  • While cakes are baking and cooling, make your filling.
  • Place all filling ingredients except mini chips into a large mixing bowl and beat with mixer on low until combined and then high until light and fluffy.
  • Add mini chips (keep about 1/3 of a cup aside to sprinkle on sides and top of cake) and beat on low until fully combined.
  • Make glaze by melting butter and chips together and set aside.
  • Once cakes are cool, trim the tops so they are flat.
  • Place 1 cake on serving plate, cut side up, and spread a little of the glaze on top. 
  • Spoon all of filling on top and spread all the way to the edge of the cake.
  • Place second cake on top, cut side down, and use a knife to smooth edges of filling flat between the two cake layers.
  • Sprinkle edges of filling with extra chocolate chips, and then pour glaze over the top and add the rest of the chips.
  • Refrigerate until firm.

Cookie Dough Layer Cake3

My thoughts: I wondered if the filling layer was too thick (it’s a lot of filling!) I knew that I would love all that cookie dough, but would others? They did. It got rave reviews and even a 2 thumbs up from a frosting-hater 🙂 You could make half of the filling recipe if you want- but it is honestly soooo yummy to have a big bite of cookie dough with every bite of cake. Wish I had some left…!  Enjoy!  ~r

Cookie Dough Layer Cake1


Other fun layered caked here at Easybaked (click on a photo to see the recipe):

Grandma's Chocolate Cream CakeKey Lime Cake!Strawberry Lemonade Birthday CakePolka Dot Cake!!!!!!

Advertisement

NYE Ball Drop Cupcakes!

Ball drop Cupcakes7Delicious chocolate cupcakes topped with whipped chocolate buttercream and a white chocolate truffle all dressed up for New Year’s Eve! Happy New Year to you!

These fun little cupcakes are an easy and fun way to ring in the New Year. I used Lindt White Chocolate Truffles for the NYE ball, and my very yummiest chocolate buttercream. Aren’t they cute???

Ball Drop Cupcakes4

Here is how we put these fun little party desserts together:

INGREDIENTS:

  • One boxed chocolate cake mix (or your favorite recipe) plus eggs, water and oil to make according to package.
  • 2 sticks of salted butter, softened
  • 2 sticks of unsalted butter, softened
  • 3 cups of powdered sugar
  • 1/2 cup of cocoa powder
  • 24 Lindt white chocolate truffles
  • 24 decorative picks (I got mine at Target)
  • 24 New Year picks (I got mine at CK products)
  • Gold food coloring dust (I got mine at CK products)

DIRECTIONS:

  • Unwrap 24 Lindt truffles and put a decorative pick all the way through each one.
  • Use a clean (food only) paint brush and some water to paint the truffle gold using the coloring dust. Hold the truffle by the pick and mix dust with water until it forms a thick paste and can be painted onto the truffle. This may take two coats to smooth it out.
  • Allow painted truffle to dry on a plate or some parchment paper.

Ball Drop Cupcakes1  Ball Drop Cupcakes2  Ball Drop Cupcakes8

  • Make cake mix according to box instructions and divide evenly among 24 cupcake liners placed in a cupcake tin.
  • Bake according to box, and cool completely.
  • Make frosting by adding softened butter, powdered sugar and cocoa together in a large mixing bowl and beating on high until light and fluffy.
  • Place frosting in a large zip-top bag fitted with a decorating tip, and pipe frosting on each cooled cupcake.
  • Decorate with a truffle and with NYE cupcake picks.
  • Enjoy! (and remind everyone to NOT eat the picks!) 🙂

Ball Drop Cupcakes5

My thoughts: These are fun and yummy treats!!! It takes a little time to paint the truffles, but they are such a creamy and yummy addition to this cupcake!  

So, Happy 2016 to each of you!!! Enjoy!!!  ~r

Ball Drop Cupcakes3

Other fun New Year’s dessert ideas: (click on the photo to see the recipe)

Fruit Loop Confetti Cups!!Raspberry Confetti KissesCotton Candy Fizz Confetti cookies!

Candy Cane Brownies

Candy Cane Brownie

Nothing says Merry Christmas like peppermint and chocolate! These beautiful little brownies combine those two flavors in a colorful, layered treat!

These brownies are an Easybaked staple. I’ve swapped that peppermint filling up for everything from cookie dough to caramel. I love recipes that can be changed up with different flavors and looks!!! This peppermint candy cane flavor is the most beautiful filling I’ve used in these though. The guests at every party I’ve shared them at have all commented on how pretty and festive they are. They just make me smile- and they really aren’t that difficult to make! Promise.

Candy Cane Brownies

This recipe makes a lot of brownies. The good news? They freeze really well and can be made ahead for all your Christmas gatherings. Just pop them out of the freezer and thaw!

Here’s how we made them: (printable recipe)

INGREDIENTS:

Brownie:

  • 1cup butter
  • 2 cups sugar
  • 3 eggs
  • 2 teaspoons vanilla
  • 2 cups flour
  • 1/2 cup cocoa
  • 1/2 teaspoon salt
  • 1 cup milk

Peppermint Filling:

  • 5 cups powdered sugar
  • 8 tablespoons melted butter
  • 2 teaspoons peppermint extract
  • red and pink food coloring 


Fudge Topping:

  • 12oz. semi-sweet chocolate chips
  • 12 tablespoons butter (do not substitute margarine here!)
  • Wilton Candy melts in Red, Pink and White (if desired for design on top)

DIRECTIONS:

Brownie:

  • Preheat oven to 350.
  • Cream butter and sugar together. 
  • Beat in eggs, cocoa, vanilla and salt.
  • Add flour and milk (alternating them and mixing well in between)
  • Spread evenly in greased jelly roll pan (12 1/2 x 17 1/2 x 1″).
  • Bake at 350 degrees for 15 minutes or until done in center and just starting to pull away from sides.
  • Cool.  

Mint Frosting:

  • Add melted butter to sugar and extract.
  • Mix well, using water to bring it to a thick but spreadable consistency.
  • Divide into 3 parts and use food coloring to color one part red, and one part pink.
  • Place little dollops of each colored filling all over the cooled brownies (I placed the fillings in small zip-top bags, clipped a corner off and piped these on.
  • Spread colors together into one even layer that covers entire top of brownies.

IMG_5323  IMG_5325

Fudge Topping:

  • Melt butter and chocolate together in the microwave in 30 second increments, stirring in between until completely melted and smooth.
  • If desired, melt about 1/8cup each of Wilton’s Candy Melts in White, Red and Pink. Place in small zip-top bags and clip corner on each.
  • Pour melted chocolate and butter mixture over peppermint filling and spread evenly over top.
  • Immediately, pipes lines in all three candy melt colors across the entire top of the brownies.
  • Immediately after piping, use a toothpick or a cake-tester to drag across these lines- first one direction and then back the opposite to make the colorful design on top.
  • Chill until top layer is hard and cut into squares.

IMG_5326   IMG_5328

My thoughts: Love them! This brownie recipe never fails me, and I love experimenting with different flavors of filling! These will add a festive and fun layer to any dessert tray at your Christmas celebrations!  Enjoy!! ~r

Candy Cane Brownies6

Candy Cane Brownies5

Take a look at some of the other fillings we have used in these brownies: (click on a photo to open the recipe)

Cookies Dough BrowniePeanut Butter Fudge Brownies!!!!Caramel Fudge Brownies!!Coconut Brownie Cups


Christmas Card Cookies

Christmas Card Cookies

These adorable cookies don’t just taste yummy- they also bear Christmas words of cheer with every delicious bite!

I saw this fun silicone mold by Wilton at my local grocery, and I couldn’t resist! So fun!!!

I made two varieties of these little cookie cards: Peppermint mocha and Gingerbread chocolate. Both were delicious and so fun to make!

You can use any of your favorite cut-out cookie recipes partnered with any Wilton Candy Melt flavors on top, but I thought these two combinations were delicious!

Christmas Card Cookie1

Want to know how to make these? Let’s start with the “card” toppers.

  • You’ll need about 3 bags of Wilton Candy Melts to make 24 cookie toppers.
  • Melt them in the microwave, one bag at a time, in 30 second increments, stirring between until smooth.
  • Spoon about 2 tablespoons into each cavity and use a small spoon to spread into corners.
  • Tap mold on counter to remove bubbles and freeze for about 10 minutes.
  • Carefully peel the mold away from each bar and repeat this process until you have 24.

This process takes a little time, but it can be done ahead of time and the little bars can be stored in an airtight container in a cool spot until needed. Keep different flavors separated from each other, and put a little parchment or wax paper between layers.

Then you can make the cookies!

One of my favorite Christmas recipes (of all time) is my grandma’s gingerbread cookie recipe. It’s on this blog a couple of times, but you can get the original (in grandma’s handwriting!) by clicking here. I paired this cookie with dark chocolate Wilton’s candy melts.

Gingerbread Cookies!

The other recipe I used, with peppermint card toppers, was my espresso cutout cookies. There’s nothing like peppermint, coffee and chocolate all together! You can see this recipe originally published on Easybaked by clicking here.

Chocolate Espresso Cookies!!!

  • Make your cookie dough according to whatever recipe you desire and then use a cookie cutter to cut a large rectangle cookie. I used a 4.5″ x 3″ cutter that I found here.
  • Bake, cool and then take a little extra Candy Melt and a food-safe brush and brush melted candy on the back of each bar to attach it to the top of each cookie.
  • Press the bar down using a little wax paper on the top (if you touch it with your bare fingers you will get prints!)
  • Allow bar to harden onto the cookie and then serve! I placed each one in a little cello bag sealed with a sticker and gave them away with gifts.


Christmas Card Cookies6

So fun!!!!

Christmas Card Cookies

My thoughts: These are a fun, creative and easy way to say Merry Christmas! The variety of flavors you can use is limited only by your imagination- but I recommend you use a cookie recipe that doesn’t “puff up” too much. You can see in my photos that my gingerbread cookies puffed up a little- making my edges not as pretty and straight as those chocolate espresso ones that don’t expand much at all. The gingerbread/chocolate combination was so yummy that I got over the slightly curved edges though!  I hope you get a chance to try these- so fun!!  ~r

Christmas Card Cookies2

Other Christmas recipe ideas here at Easybaked: (click on a photo to see the recipe)

Spiced Mocha MixCreamy cheesecake with sour cream toppingReindeer Oreo Pops!!!Pecan Pie Cupcakes

.


Praline Fudge Brownies

Posted on

Praline Fudge Brownies

A dense brownie covered in creamy praline filling and topped with chocolate fudge and pecans. This will satisfy the most demanding sweet tooth!!!!

I adore pralines. Especially around Thanksgiving and Christmas when anything with pecans is somehow better. Some people say they are just too sweet- and this filling is no exception! Paired with this not-too-sweet brownie, I think it is perfect though. These got rave reviews and several people exclaimed, “These taste like Christmas!”

Praline Fudge Brownies4So let’s make these yummy little treats! (printable recipe)

INGREDIENTS:

Brownie:

  • 1cup butter
  • 2 cups sugar
  • 3 eggs
  • 2 teaspoons vanilla
  • 2 cups flour
  • 1/2 cup cocoa
  • 1/2 teaspoon salt
  • 1 cup milk

Praline Filling:

  • 1 cup whipping cream
  • 12 Tablespoons of butter
  • 3 cups of brown sugar (packed)
  • 1 1/2 cup of finely chopped pecans (divided)
  • 3 cups of powdered sugar
  • 2 teaspoon of vanilla

Fudge Topping:

  • 12oz. semi-sweet chocolate chips
  • 12 tablespoons butter (do not substitute margarine here!)

DIRECTIONS:

Brownie:

  • Preheat oven to 350.
  • Cream butter and sugar together. 
  • Beat in eggs, cocoa, vanilla and salt.
  • Add flour and milk (alternating them and mixing well in between)
  • Spread evenly in greased jelly roll pan (12 1/2 x 17 1/2 x 1″).
  • Bake at 350 degrees for 15 minutes or until done in center and just starting to pull away from sides.
  • Cool.  

Praline filling:

  • In a large saucepan, mix cream, butter and brown sugar.
  • Cook over medium heat, stirring often, until mixture comes to a boil.
  • Cook for one minute, stirring constantly and then remove from heat.
  • Stir in powdered sugar, vanilla and 1 cup of pecans (you may need to do this in a separate bowl if your saucepan isn’t big enough)
  • Cool for 5 minutes, stirring often until it thickens up a bit.
  • Spoon mixture over cooled brownies and spread into a smooth layer over the top.

Praline Fudge BrowniesFudge Topping:

  • Melt butter and chocolate together in the microwave in 30 second increments, stirring in between until completely melted and smooth.
  • Pour over praline filling and spread evenly over top.
  • Sprinkle with remaining 1/2 cup of chopped pecans.
  • Chill until top layer is hard and cut into bars.

Praline Fudge Brownies7My thoughts: These aren’t hard to put together and they are oh-so-yummy!!! I froze about half of the batch in an air-tight container for several weeks and just pulled them out for a party I was having- they freeze GREAT. In fact, they are pretty yummy frozen. 🙂  I hope you get a chance to try these and enjoy them as much as I did!

Praline Fudge Brownies2

Other yummy Christmas desserts: (click on a photo to see the recipe)

Chocolate bonbonsHot Chocolate Pop!Snowman Oreo PopsPeanut Brittle!!

Spider Egg Cupcakes

Posted on

Spider Eggs4

These delicious little chocolate cupcakes are topped with terrifyingly cute little spiders, webs and egg sacs. A perfect Halloween treat!

There is nothing worse than finding spiders hatching somewhere in or around your house. Spiders are bad. Baby hatching spiders? Way worse. That’s what makes these fun little cupcakes so terrifying! That little egg sac? A Lindt white chocolate truffle. The spiders? Drizzled chocolate and mini M&Ms. Easy, fun and so cute that you almost start liking spiders! Almost.

Spider Eggs2Aren’t they fun??? All by themselves, on cookies, on cupcakes… so many ways you could use these.

Here’s the recipe: (printable version)

INGREDIENTS:

  • One boxed cake mix (plus water, oil and eggs to make according to package)
  • One tub of white frosting
  • 1/4 cup of Wilton’s candy melts in dark chocolate
  • 1 cup of Wilton’s candy melts in white chocolate
  • One bag of mini M&M’s (usually found by the chocolate chips)
  • Orange food coloring
  • Purple food coloring
  • 24 Lindt white chocolate truffles

DIRECTIONS:

  • Make spiders and egg sacs 1st, to give them time to harden up.
  • Melt the Wiltons dark chocolate candy melts in the microwave in 3o second increments, stirring in between until completely melted and smooth.
  • Clip a corner off a small zip top bag, and place a small round decorating tip in the corner.
  • Spoon melted chocolate into bag, and pipe spider “legs” onto parchment paper, topping each set with a brown mini M&M. Pipe spider legs directly on each Lindt Chocolate and add the M&M on top. You’ll need 24 Lindt truffles and 24 extra spiders. I made about 40, and I was glad I did because some of their legs fell off as I pulled them off the parchment paper.
  • Allow these to harden completely (you can put this in the fridge to speed this process up if needed)

Spider eggsSpider Eggs

  • Make cake mix according to package and bake in 24 cupcake liners placed in muffin tins. Cool completely.
  • Divide the frosting into two parts. Soften it a little bit (10 seconds or so) in the microwave, and color it with purple and orange food coloring.
  • (Optional) Cut a small, (the size of the Lindt Truffle) and shallow hole into the top of each cupcake.  I did this so that the truffle would settle a little “into” the cupcake rather than just perching on top. It makes frosting these a little messy with crumbs, but I liked the way it looked a little better.
  • Dip the top of each cupcake into frosting, covering the top (and inside the little “dent” on top) completely.
  • Place a spider “egg sac” on top of each cupcake.
  • Melt Wiltons White Candy Melts in the microwave in 30 second increments, stirring in between until completely melted and smooth. 
  • Place in a zip-top bag, clip a corner and drizzle liberally over the top of each cupcake in a web-like pattern.
  • Before the Candy melts firm up, place a couple of spiders on top.
  • Allow frosting and candy melts to firm up.
  • Enjoy!

SPider Eggs3

My thoughts: These are fun, easy and just a tiny bit creepy. A perfect October treat. The spiders take a little time and patience, but they can be made ahead of time and won’t hold you up when you go to make the cupcakes. I hope you have as much fun as I did with these! Enjoy!! ~r

Spider egg5

Other creepy and fun October treats you might enjoy: (click on a photo to see the recipe)

Edible Jello Earthworm CupcakesRadioactive Cupcakes filled with SLIME!Broken glass Cupcakes!!!Halloween Bundt Cake

Peanut Butter Bomb Brownies

Posted on

Peanut Butter Bomb

What could be more yummy than a chocolate brownie covered in creamy peanut butter ganache and topped with a chocolate covered peanut butter mousse bomb?  If you are addicted to chocolate and peanut butter, this dessert is for you!

Peanut Butter Bomb Brownies

Chocolate and peanut butter are a timeless combination, and these brownies combine those flavors in such a fun way!

The homemade brownies are dense, but not too rich. They compliment that sweet creamy peanut butter mousse perfectly and are such a pretty dessert!

You will need a silicone bomb mold for this, and a brush for coating it in chocolate. I found both of these at a local cake-decorating shop and they were really inexpensive.

Want to see how we did these? Here’s the recipe: (printable version)

INGREDIENTS: (makes 18-24 brownie cups)

Brownie:

  • Two sticks (1 cup) butter
  • 2 cup sugar
  • 3 eggs
  • 2 teaspoons vanilla
  • 1/2 cup cocoa
  • 1/2 teaspoon salt
  • 2 cups flour
  • 1 cup milk

Ganache: 

  • 1 cup of peanut butter baking chips
  • 1/2 cup of heavy cream

Bombs:

  • 1 to 2 cups of dark chocolate candy melts
  • 1 c. creamy peanut butter
  • 8 oz. Philadelphia Cream Cheese (softened to room temperature)
  • 1/2 c. sugar
  • 8 oz. Cool Whip topping

DIRECTIONS:

Bomb: 

  • Make these first, so they are ready to use once you need them.
  • Melt chocolate candy melts in 30 second increments in the microwave, stirring between until melted and smooth.
  • Use a brush (clean, food brush) to brush the inside of each cavity of the bomb mold with melted chocolate.
  • Freeze for about 3 minutes and repeat, to give a nice thick layer of chocolate. Re-freeze for another 4-5 minutes.


PBbomb1

  • Make filling by beating together peanut butter, cream cheese and sugar.
  • Gently fold in the container of whipped topping.
  • Place filling in a large zip-top bag and keep in the fridge until use.
  • Cut a corner off the bag, and squeeze filling into each chocolate coated bomb mold. Smooth tops with a spatula.

PB Bomb4    PB Bomb3

  • Refreeze for about 15 minutes- until filling is hardened.
  • Gently peel mold away from bomb. Place each one on a plate covered in parchment paper and freeze until use.

PB Bomb2

Brownie:

  • Preheat oven to 350.
  • Cream butter and sugar together. 
  • Beat in eggs, cocoa, vanilla and salt.
  • Add flour and milk (alternating them and mixing well in between)
  • Spoon into 18-24 cupcake liners placed in a muffin tin (only fill 1/3 to 1/2 full)
  • Bake at 350 degrees for 12-14 minutes or until a tooth pick inserted in the center comes out clean.

Ganache:

  • While brownies bake, heat peanut butter chips and heavy cream in a microwave safe bowl in 30 second increments. Stir and repeat until smooth and creamy.
  • When brownies are out of oven, carefully remove them from muffin tins and spoon warm ganache over warm brownies. Allow both to cool until ganache is firm but still a bit sticky.
  • Gently place a chocolate bomb on top of each brownie, and press gently into ganache.
  • Drizzle a bit of white chocolate on top if you desire.
  • Keep refrigerated. Leave at room temperature for a few minutes to warm before serving. Yum.

Peanut Butter Bomb Brownies3

My thoughts: Yum!!! These were a huge hit among my friends and family. They do take a little extra time to make that bomb on top– but the wow factor is worth it!  I will definitely be using these little silicone molds again- they are easy to use and I love that fun dome of chocolate! I hope you get a chance to try these!! Enjoy!!! ~r

Peanut Butter Bomb Brownies2

Other yummy peanut butter treats on Easybaked:

Peanut butter cup cheesecakePeanut Butter Cupcakes!!Peanut Butter Fudge Brownies!!!!Peanut butter Acorn Cookies!

The *BEST* Chocolate Cut-out Cookies Ever!!

Posted on

URHERE Cookies1
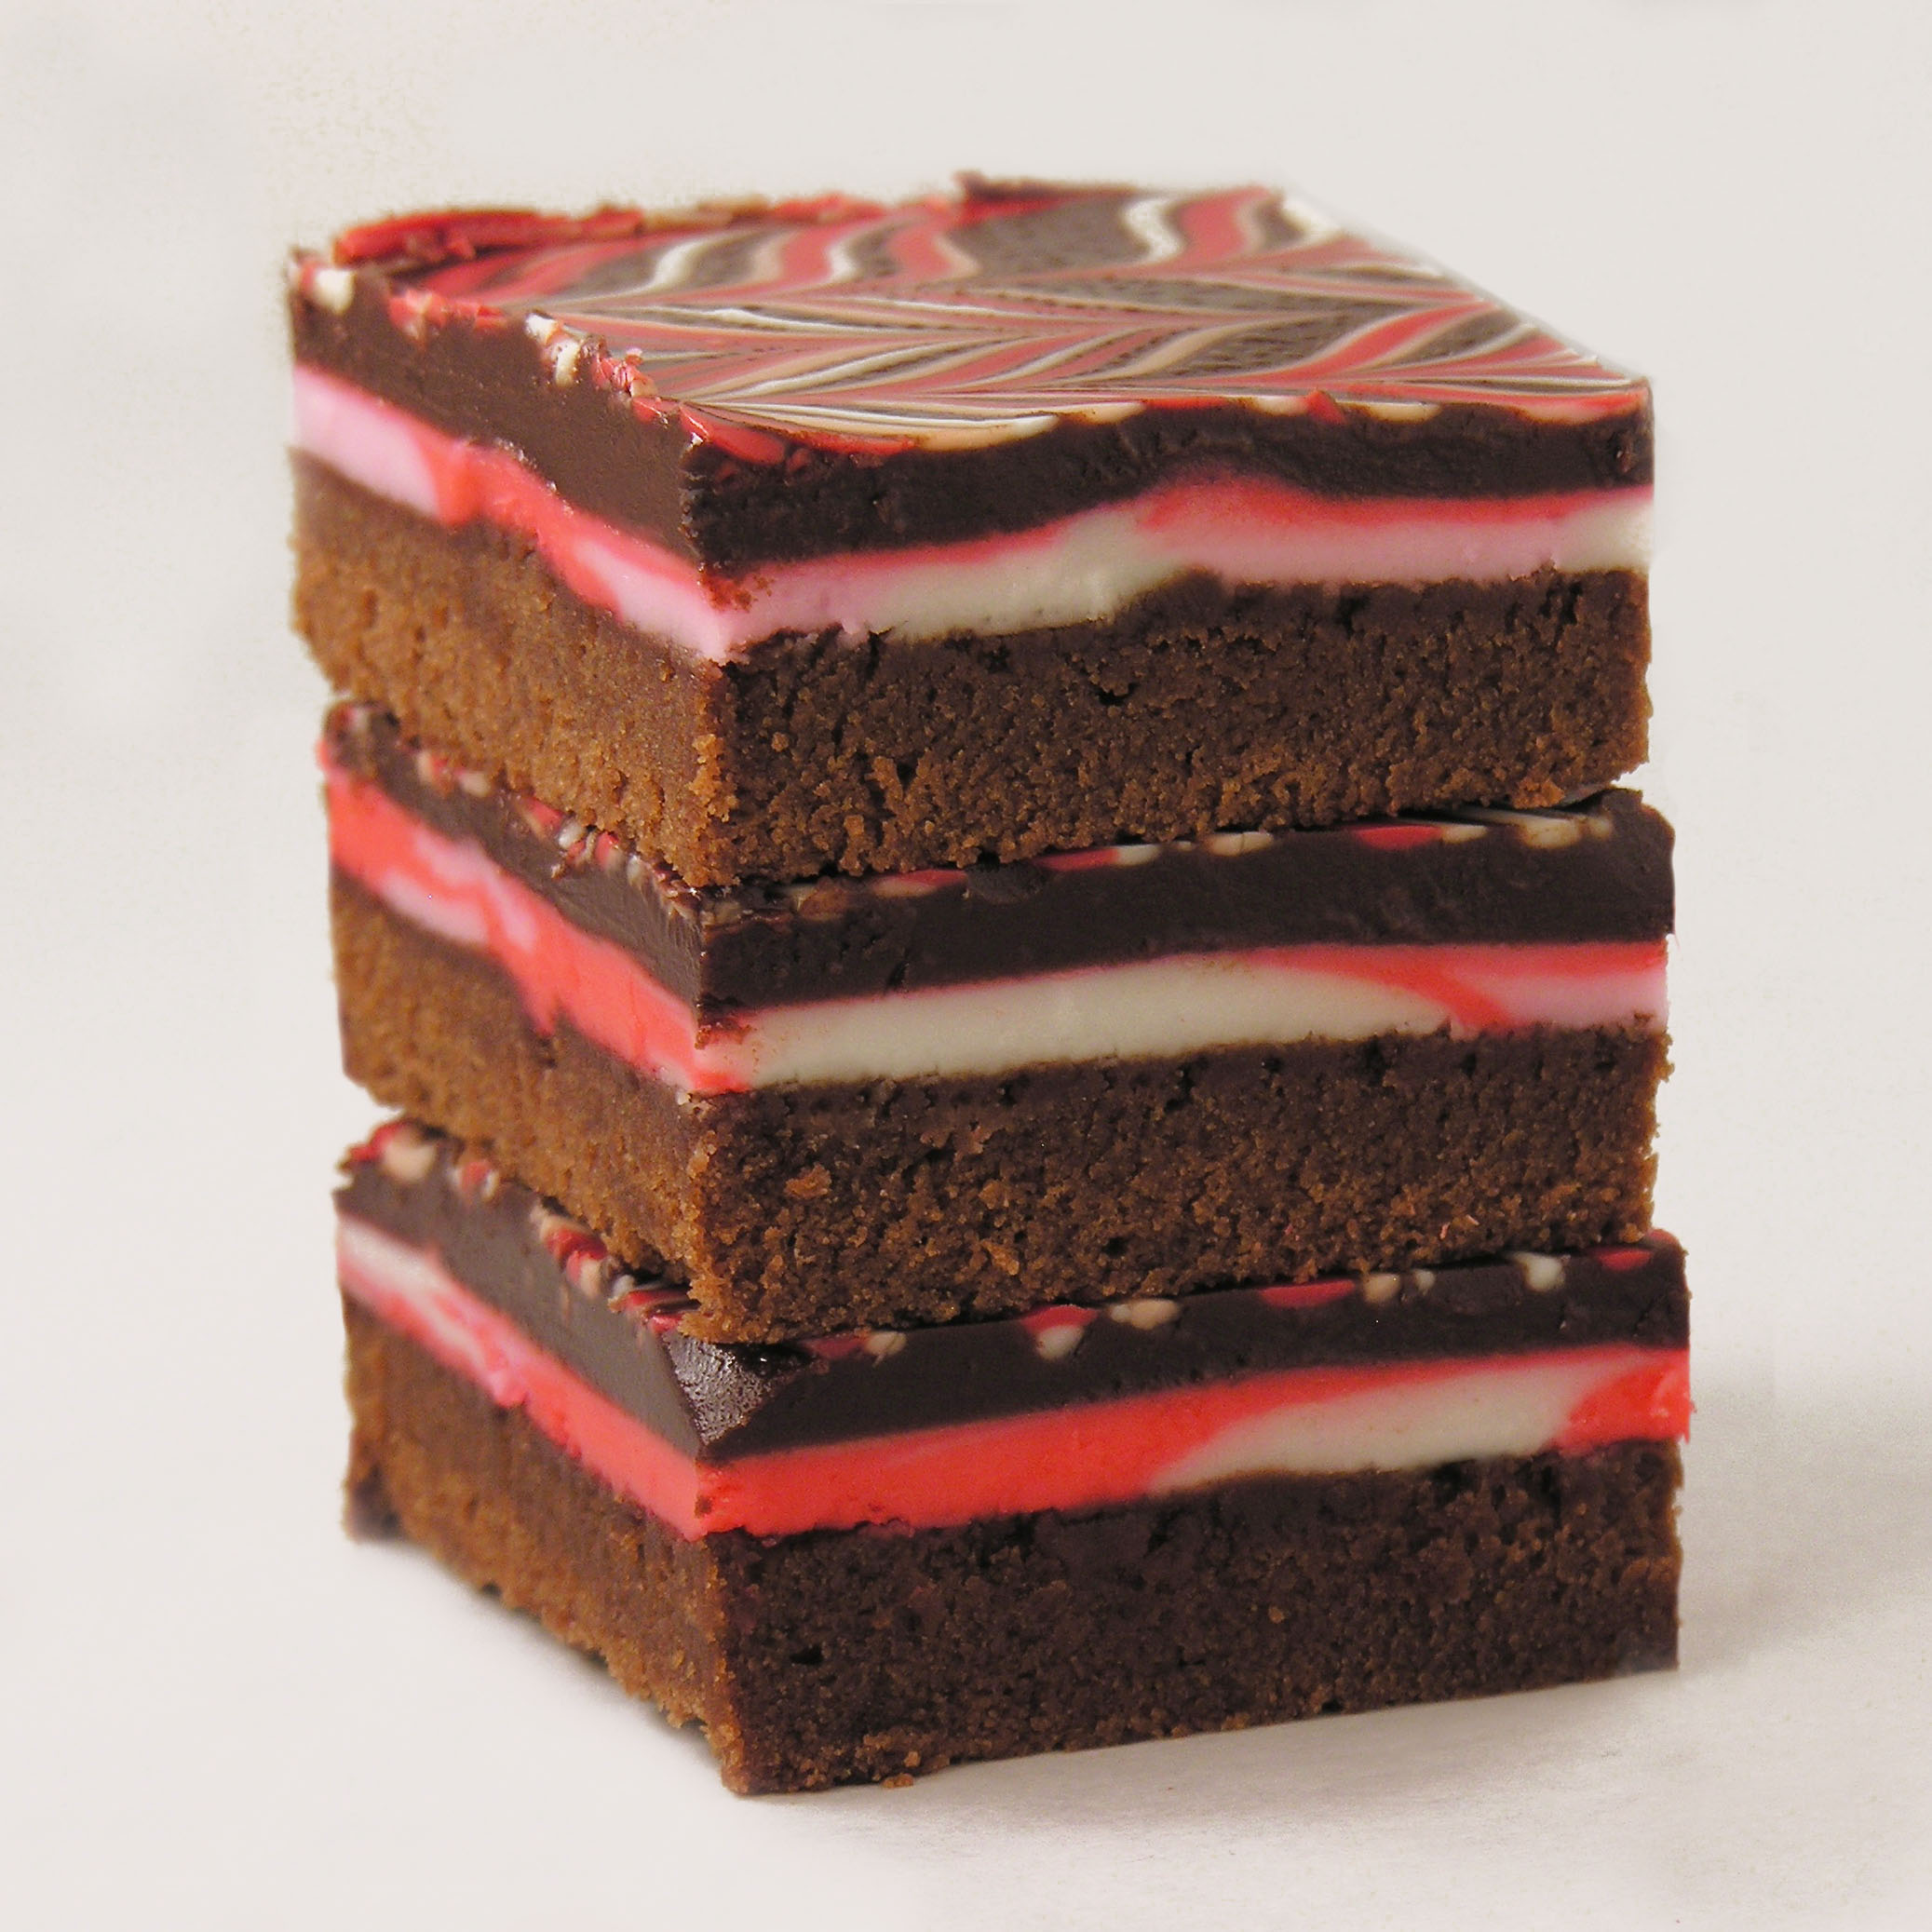
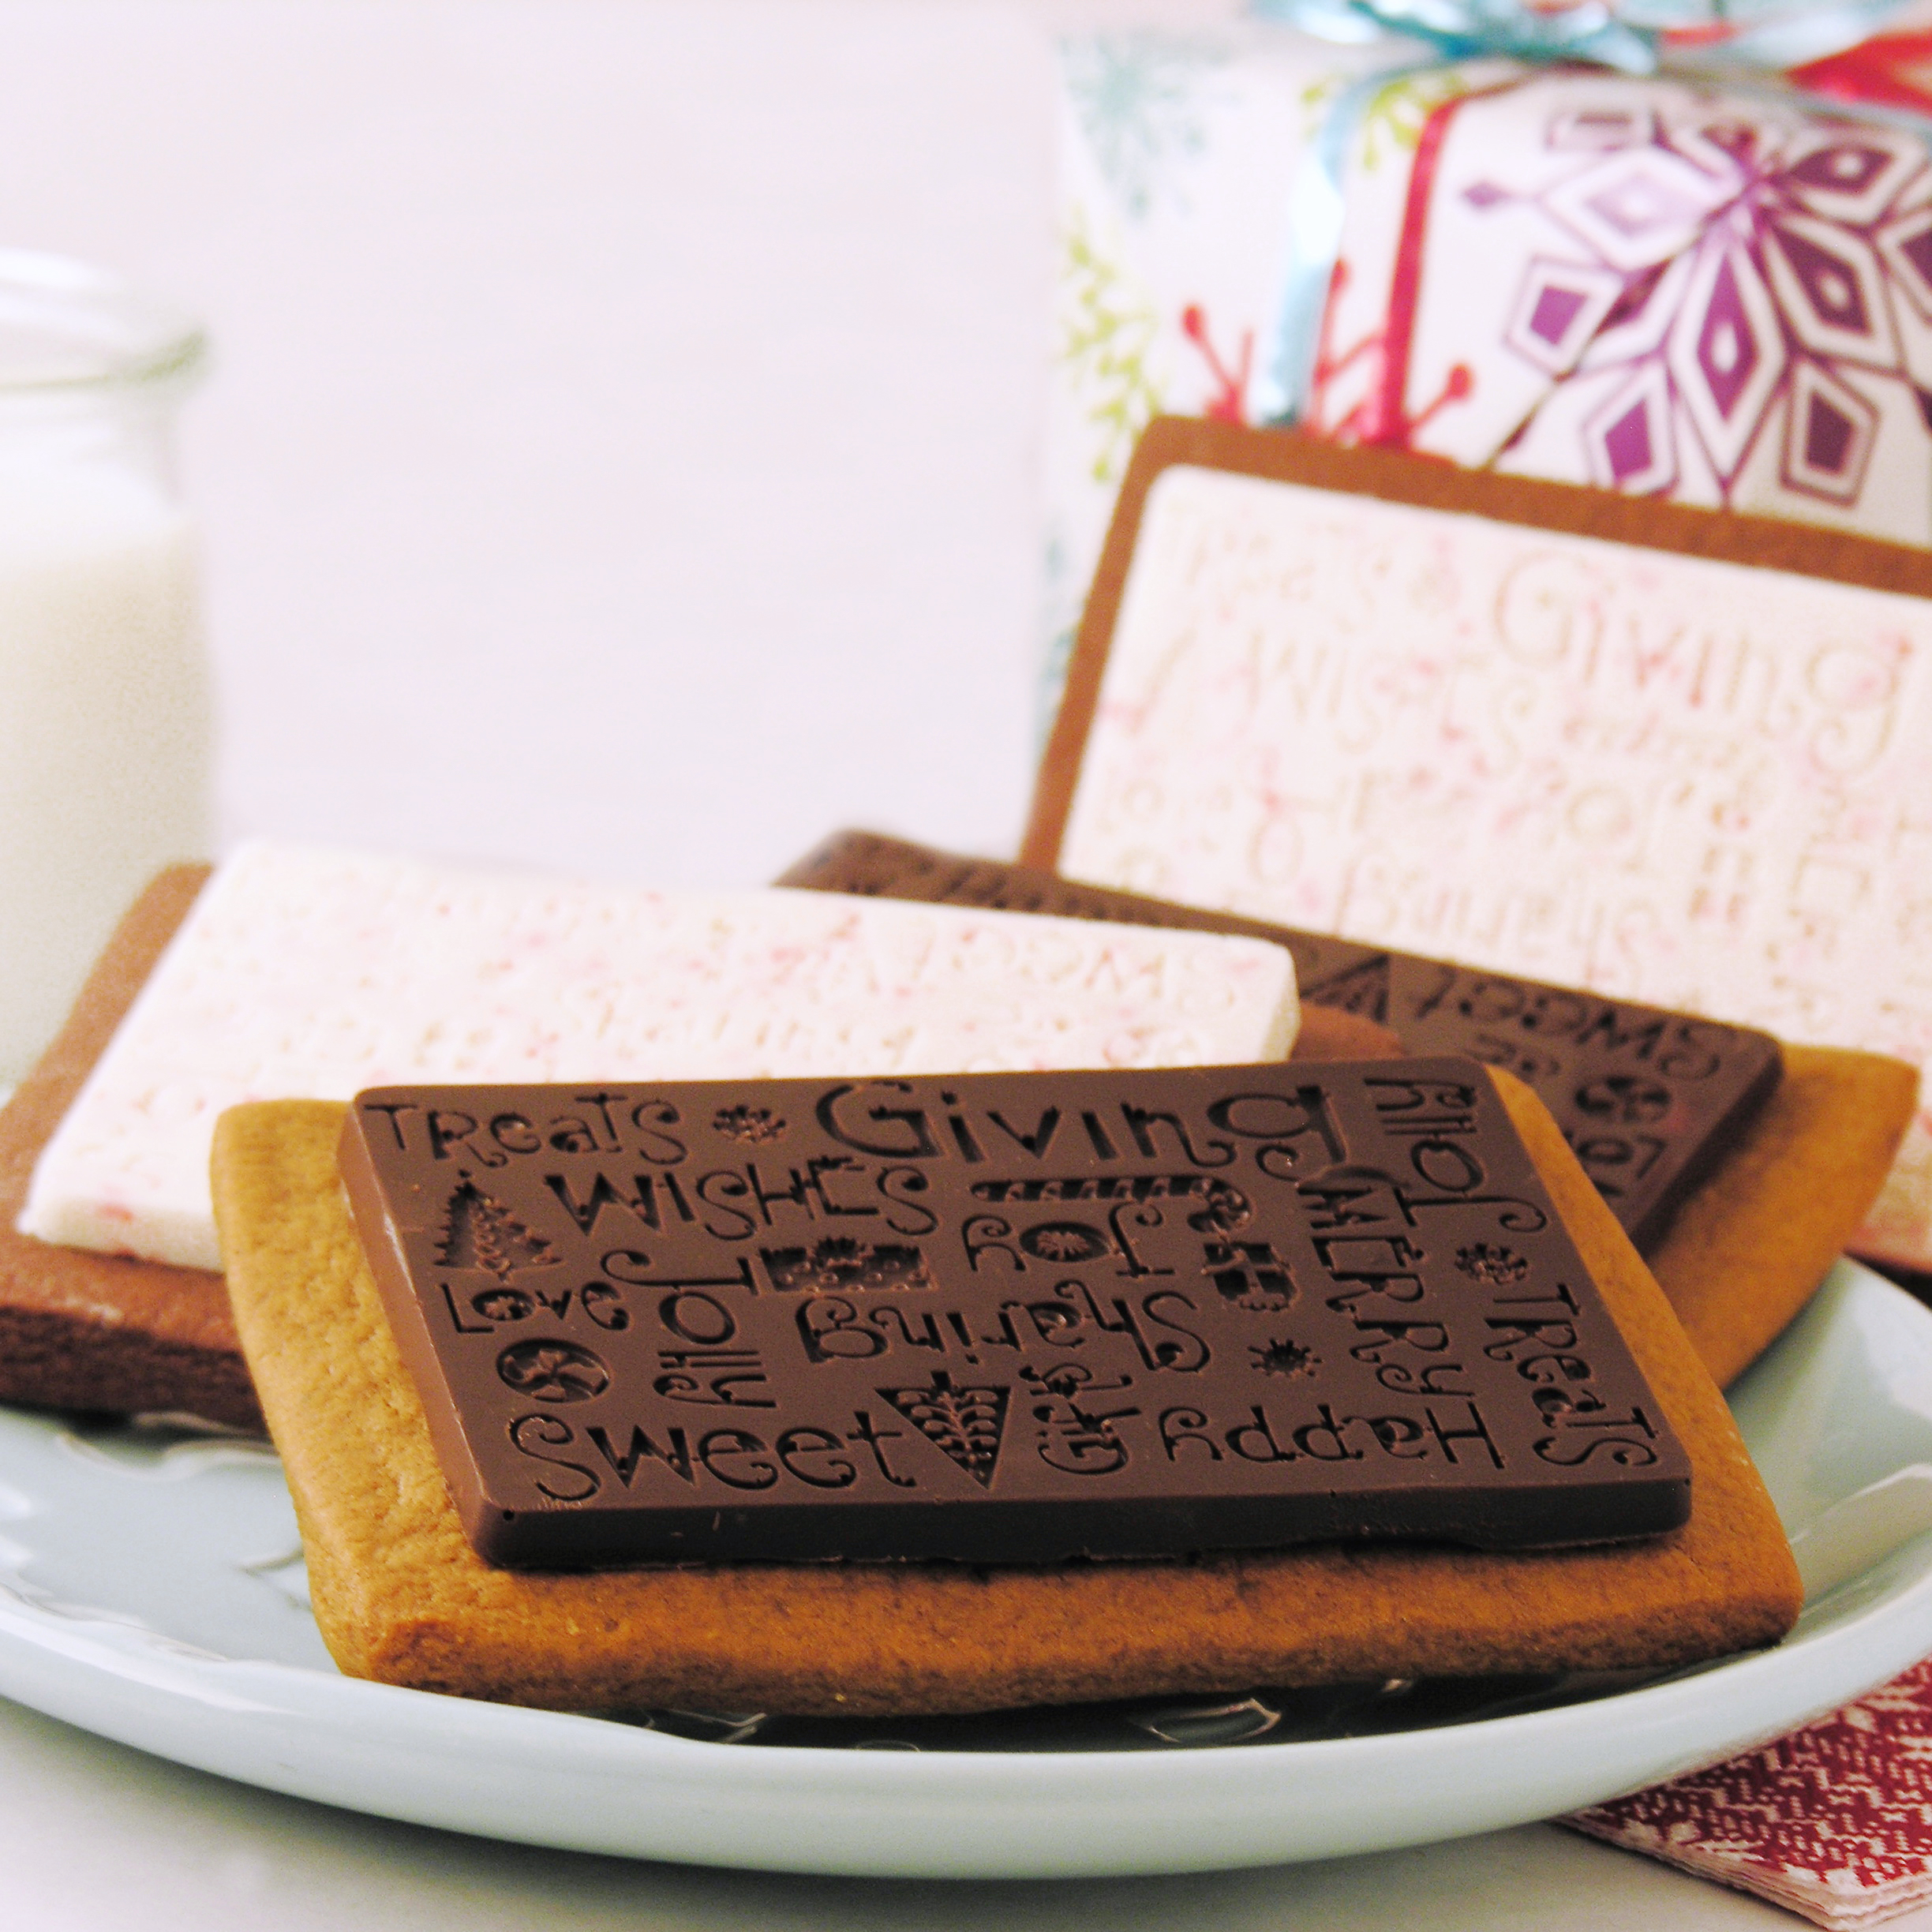
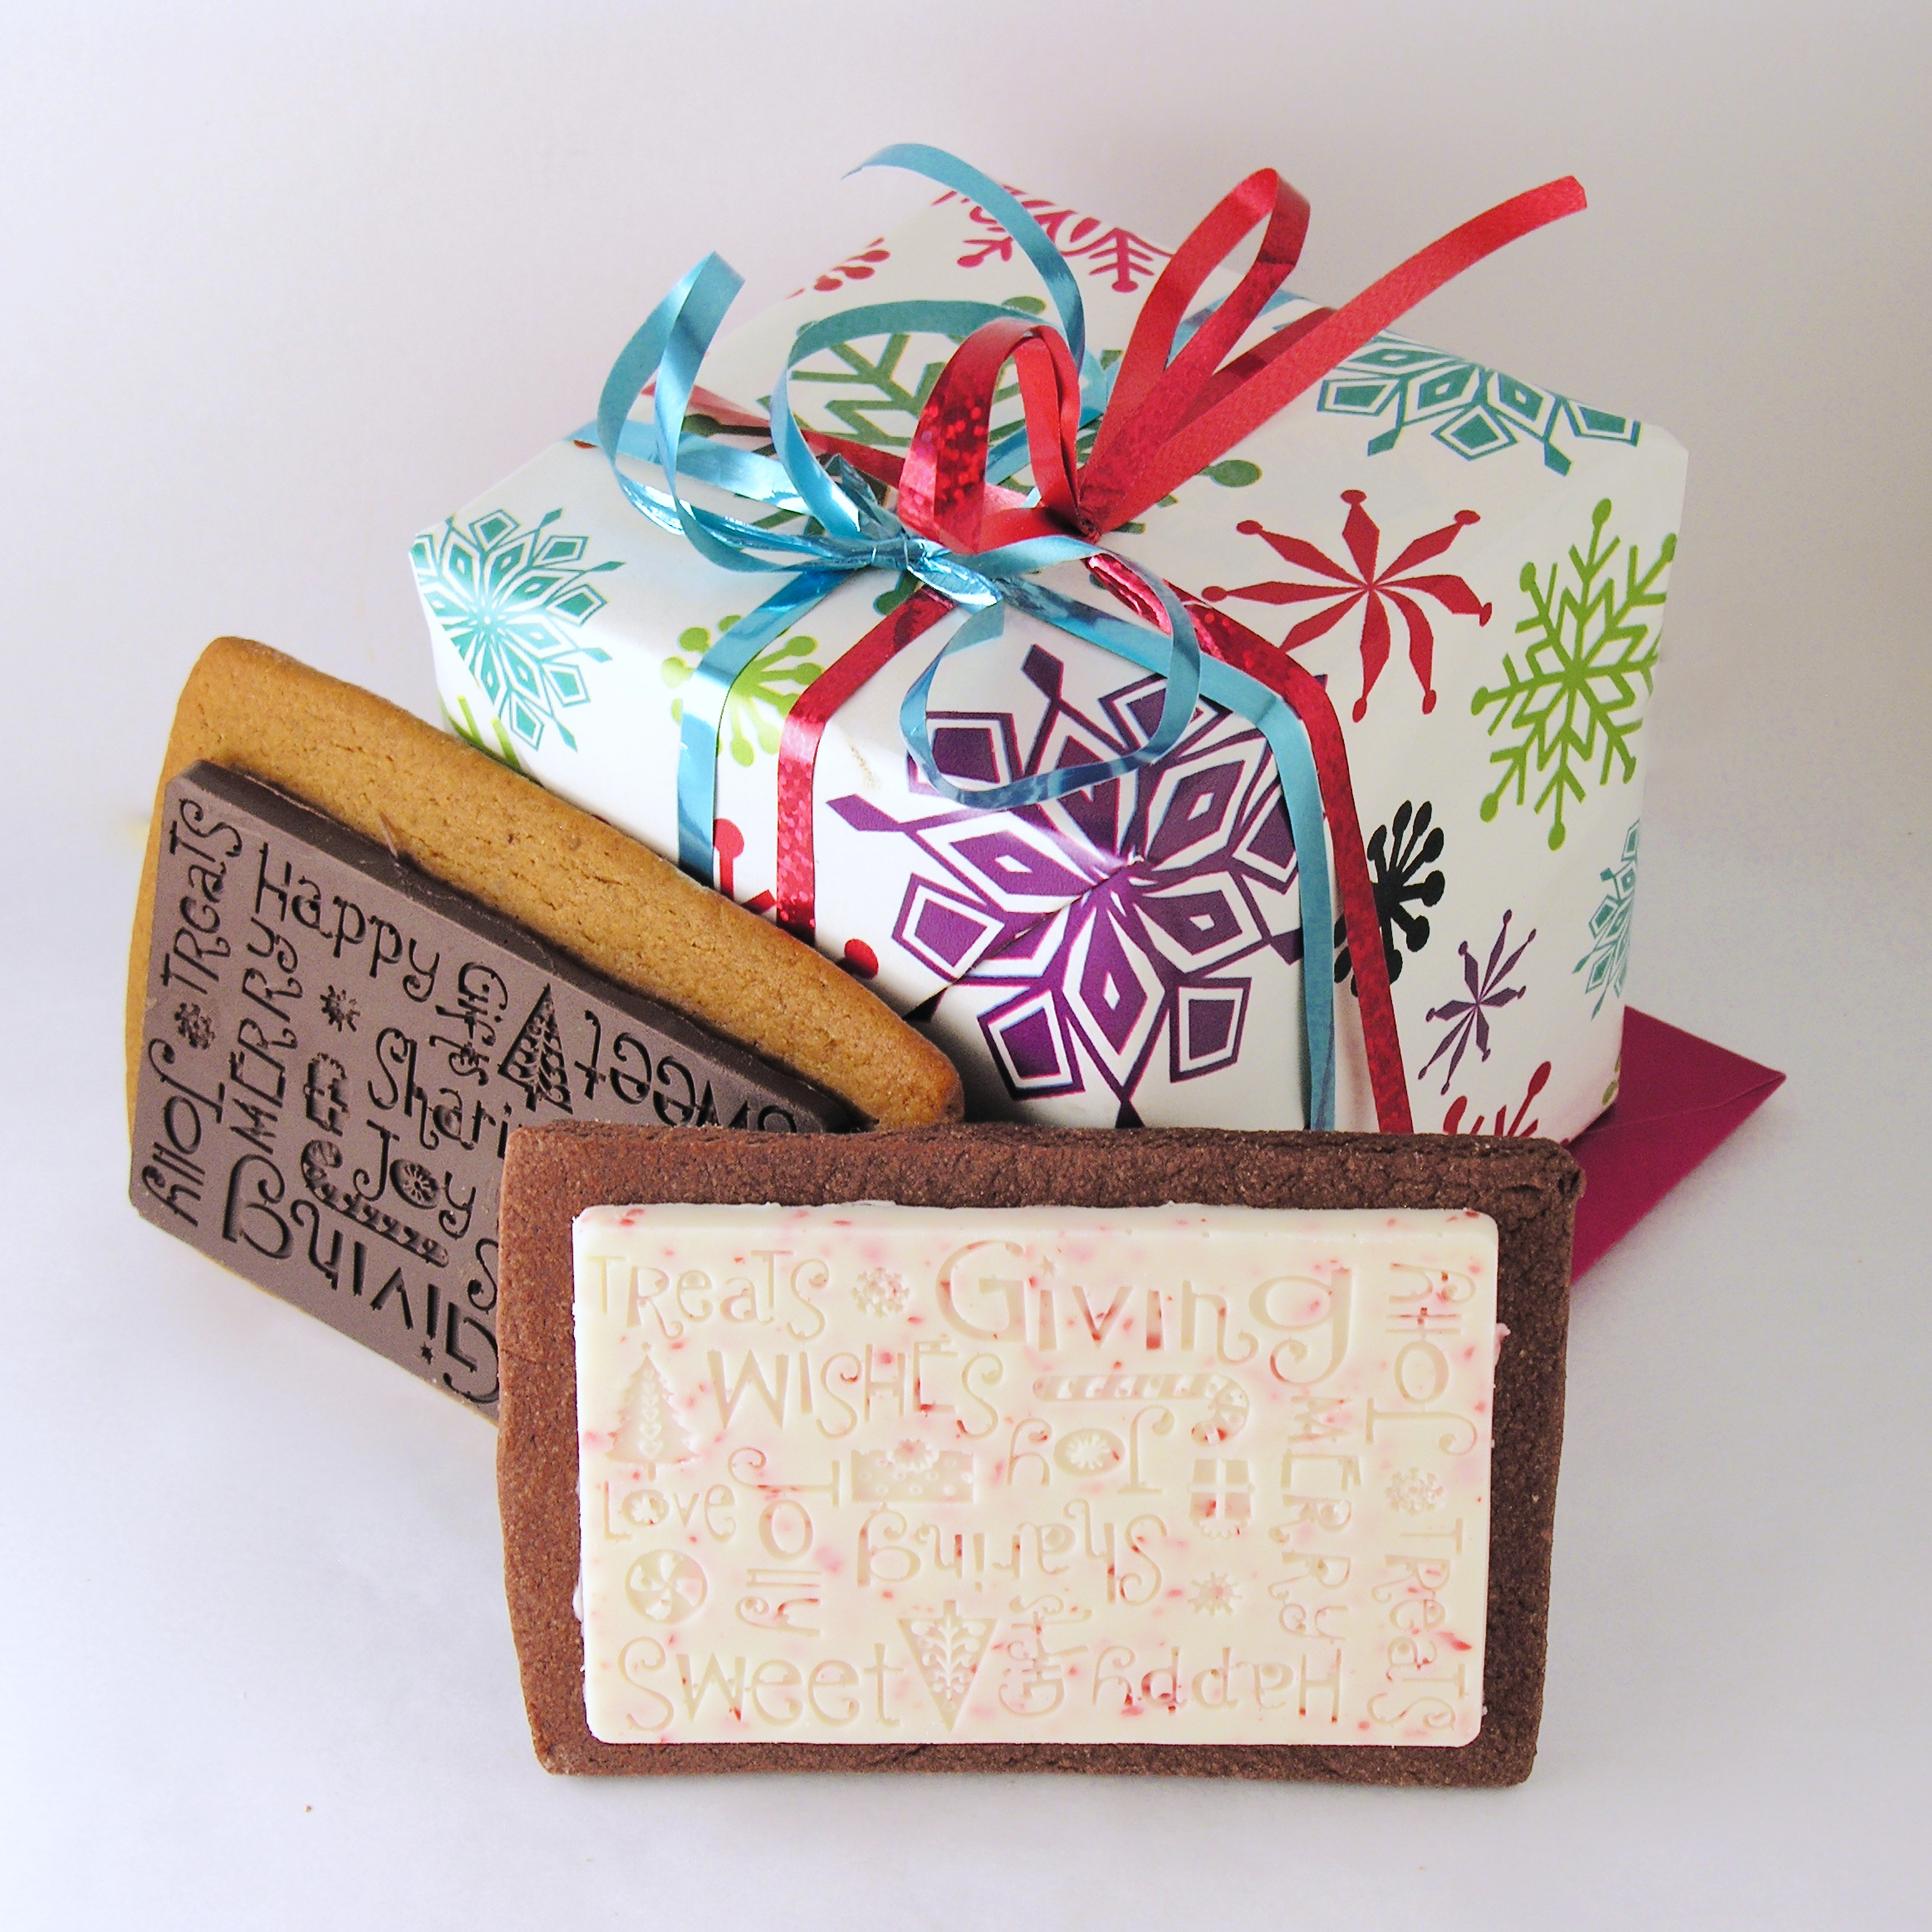
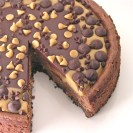
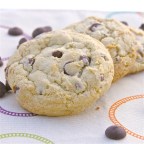
They taste…like rich chocolate brownies. They cut…perfectly, no refrigeration needed. The recipe…is so simple to make! Absolutely perfect cookies!

Well. Here we are. It has been over a month since I have posted a recipe here, and I miss you all! It’s funny how blogging creates community, isn’t it? I’ve really missed hearing from you all, and reading many of your blogs!

So, what have I been doing? These cookies are more than just a recipe- they tell the story of summer in Eastern and Central Europe, and they tell the story of new chapter in my life.

URHERE Cookies3

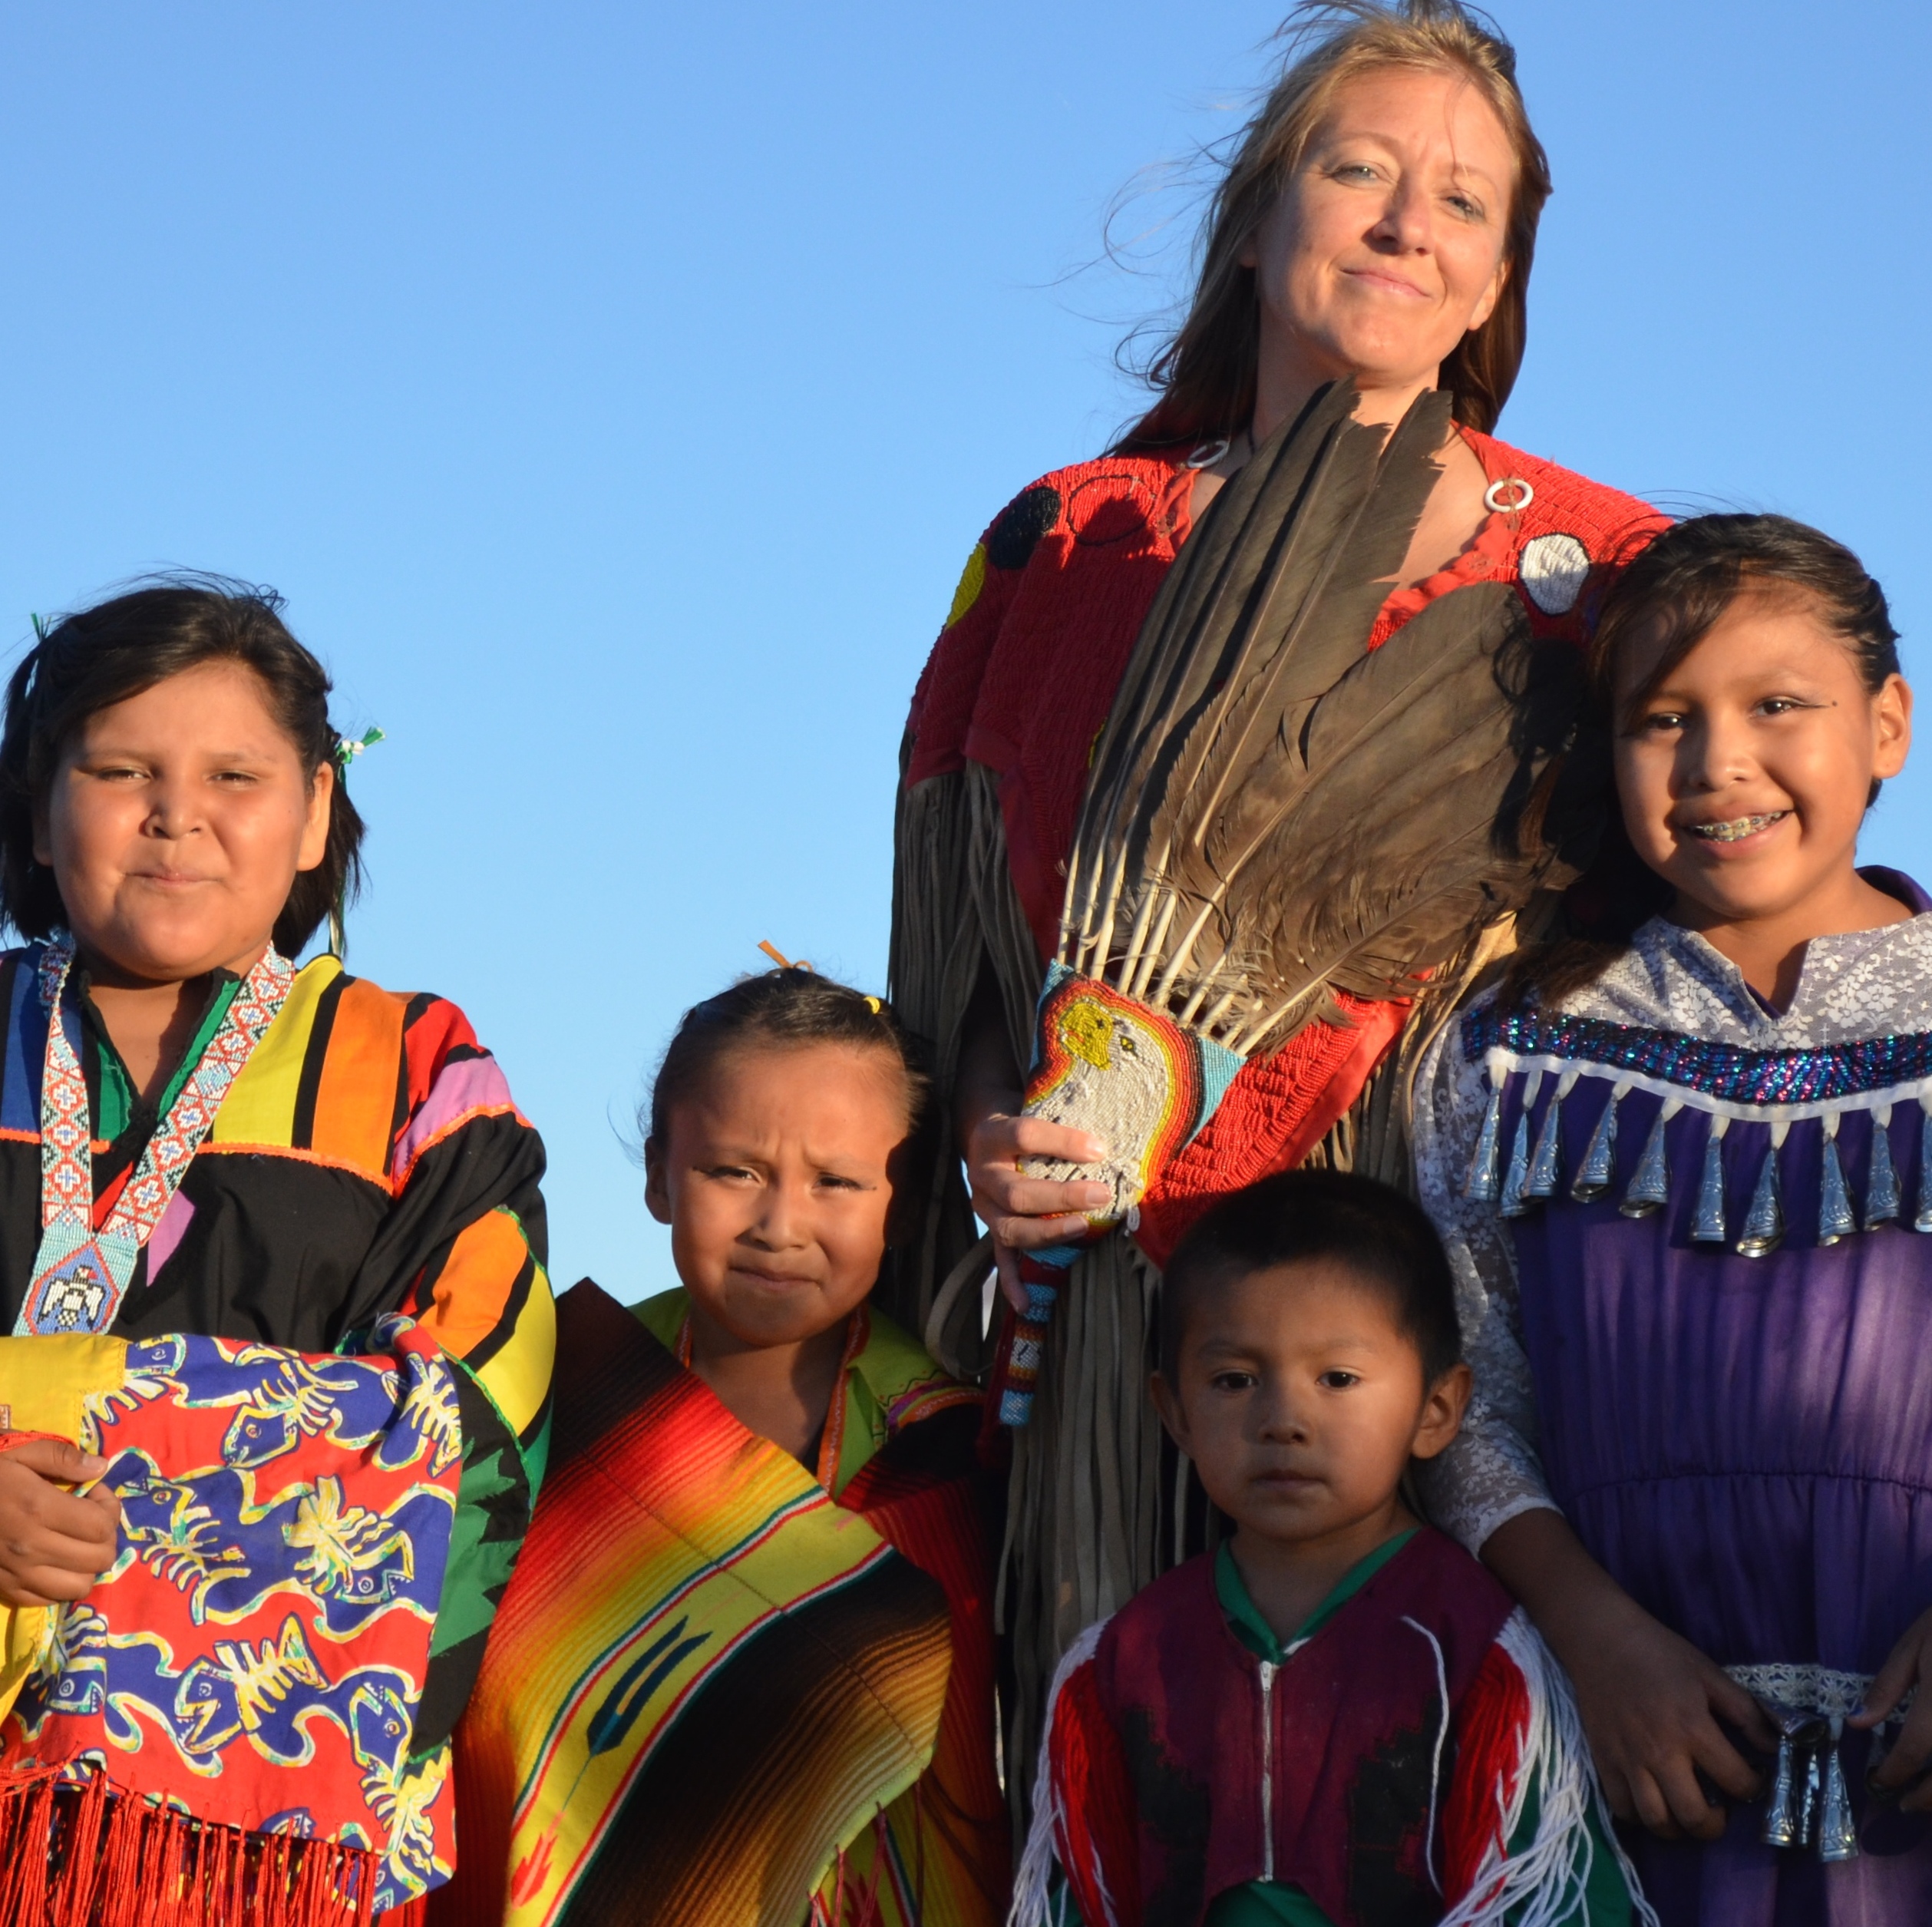
For those of you who have followed Easybaked for years, you know I spent most of my life working in the field of medicine. You also know that I spent most of last year in Arizona, working with a small church on the Navajo Nation~ a journey and experience I absolutely LOVED. Saying goodbye- square

When my time drew to a close with the Navajo, I wondered if I’d return to medicine, but God had other plans, and I was invited to join a mission organization called Josiah Venture as their Intern Coordinator. Josiah Venture’s vision is to be a movement of God among the young people of Eastern and Central Europe, that finds its home in the local church and transforms society. We have missionaries in 14 countries, and this summer there were over 100 college age interns sent to help local churches host camps and outreach events in their cities. My job is to recruit, resource and prepare these interns to go each year.

I’ve spent the 1st part of this year training for this position and raising the financial support I need to be able to do this job full-time. I was able to be in the Czech Republic at the end of May to welcome this year’s interns. It was incredible to see so many young people giving up their summer to serve God overseas. I loved it!

11401348_10206413075913364_1281614915403877430_n

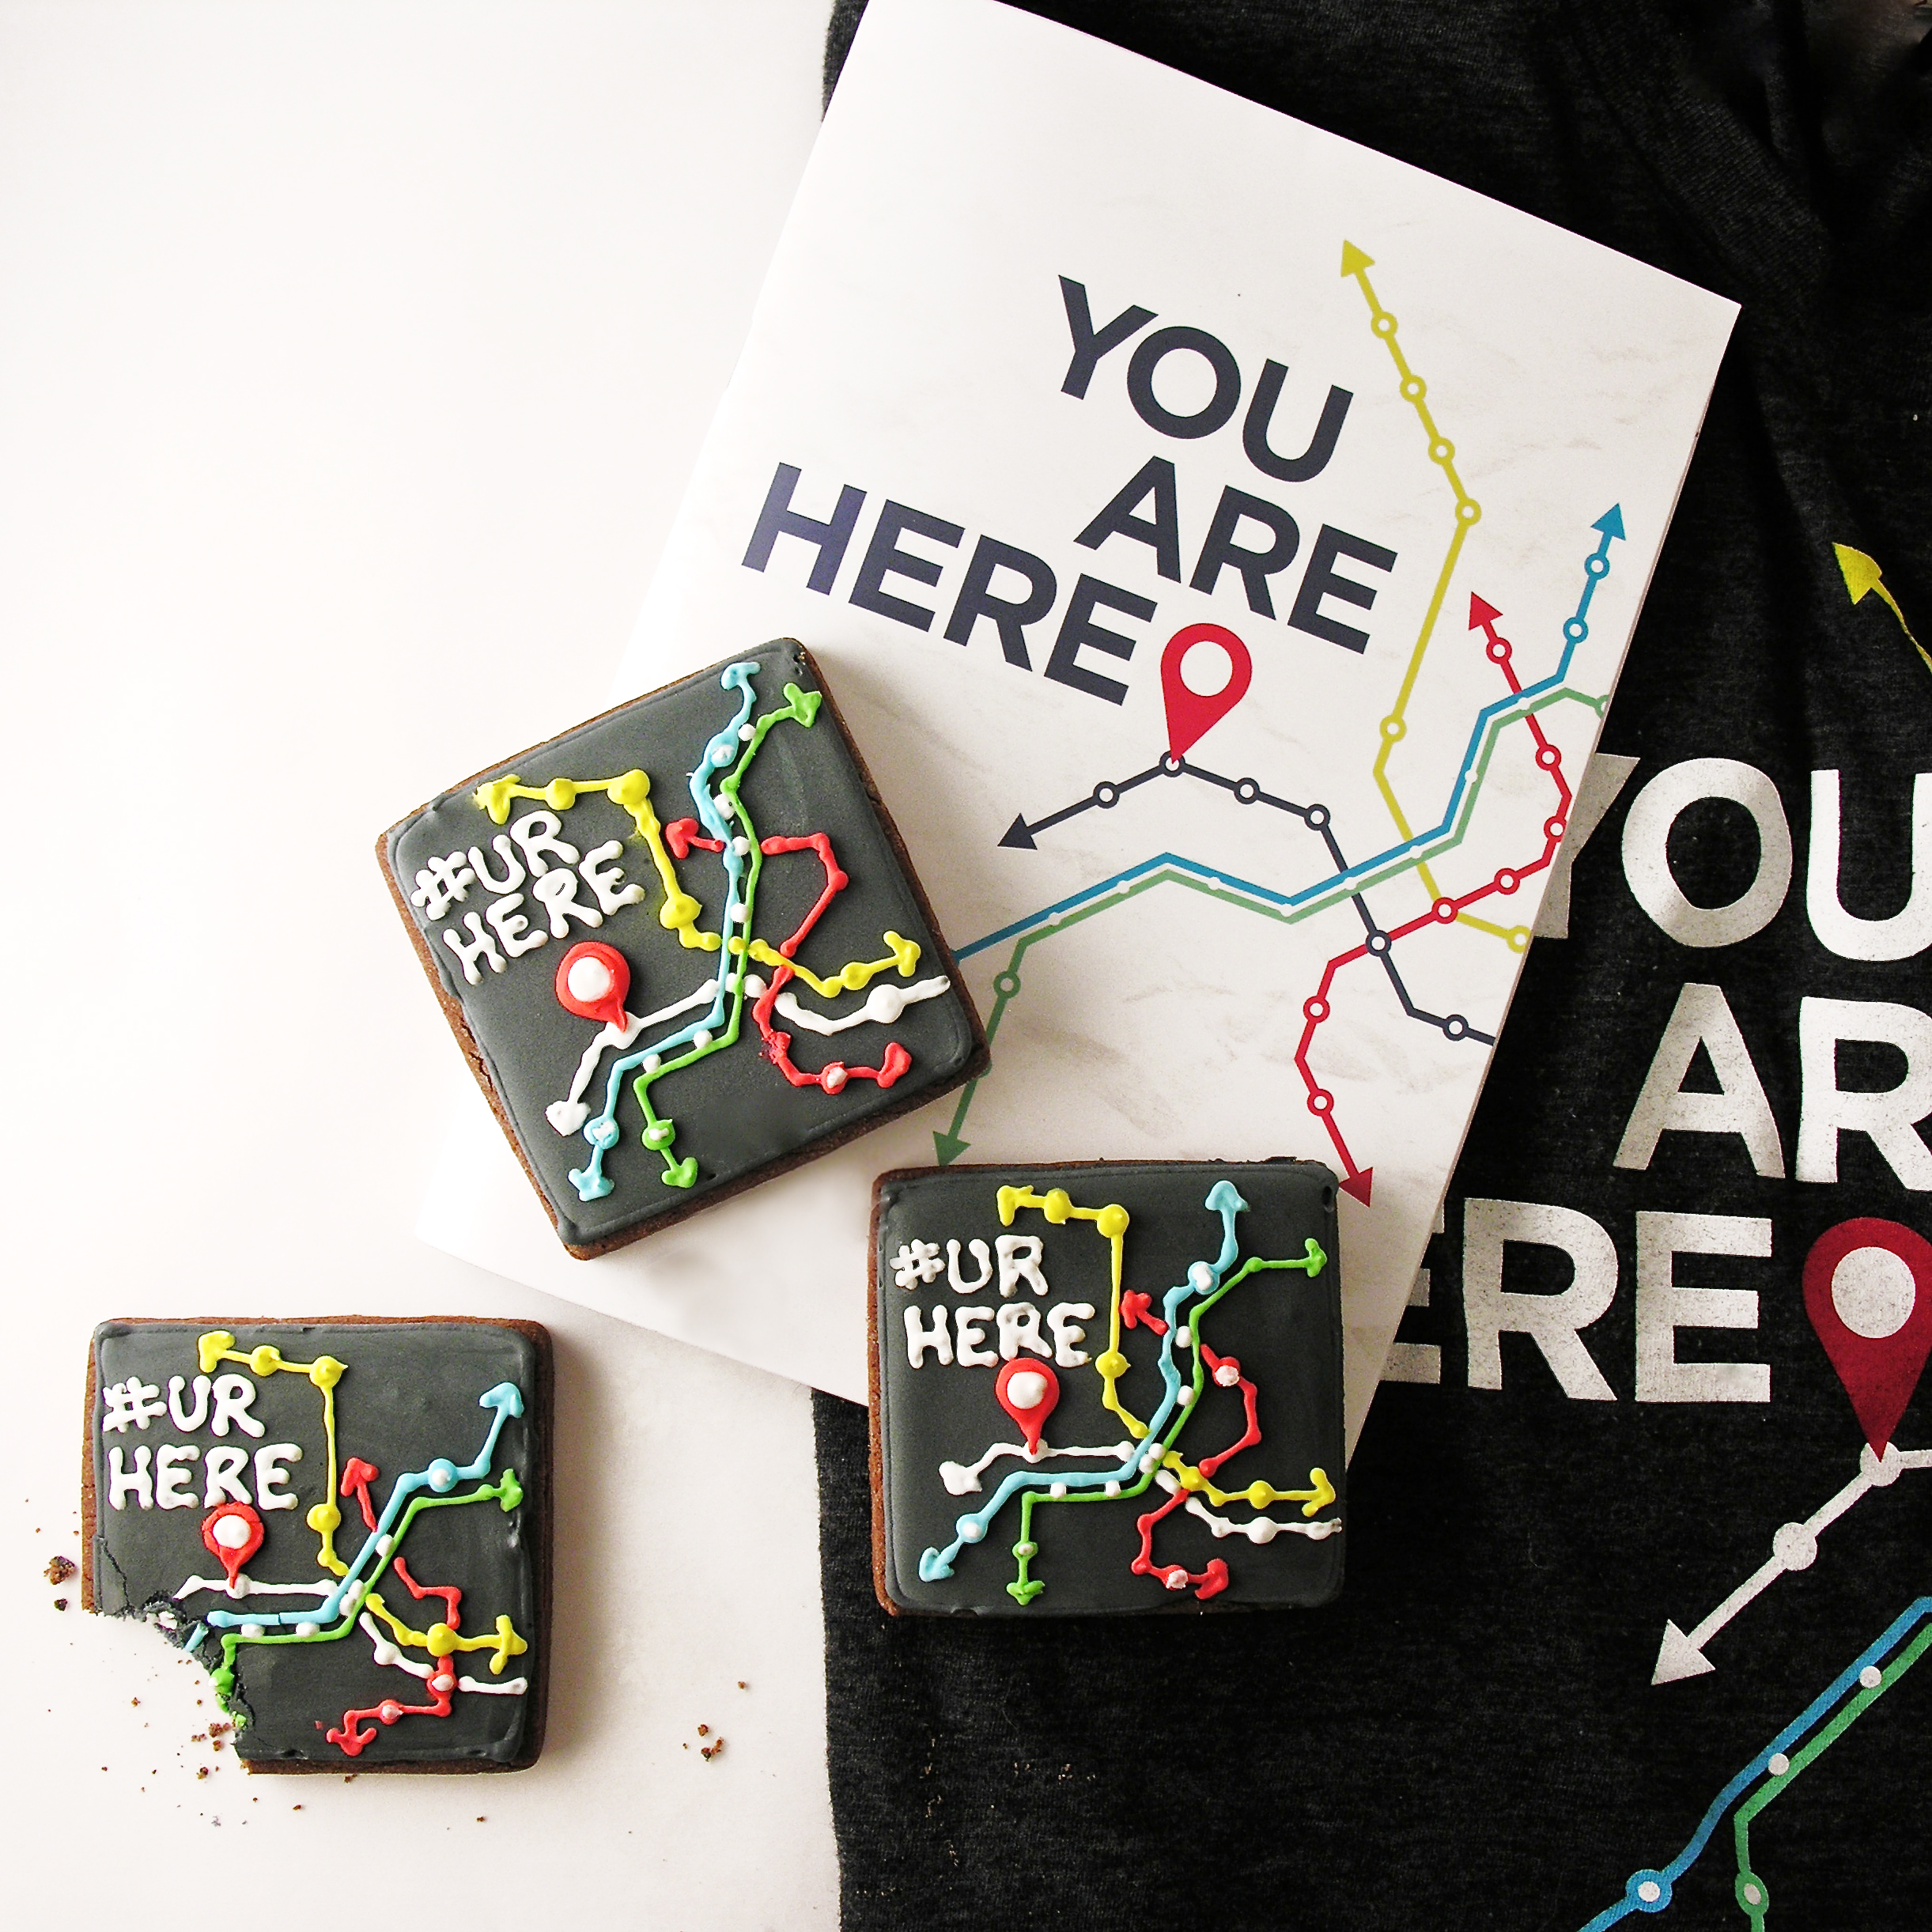
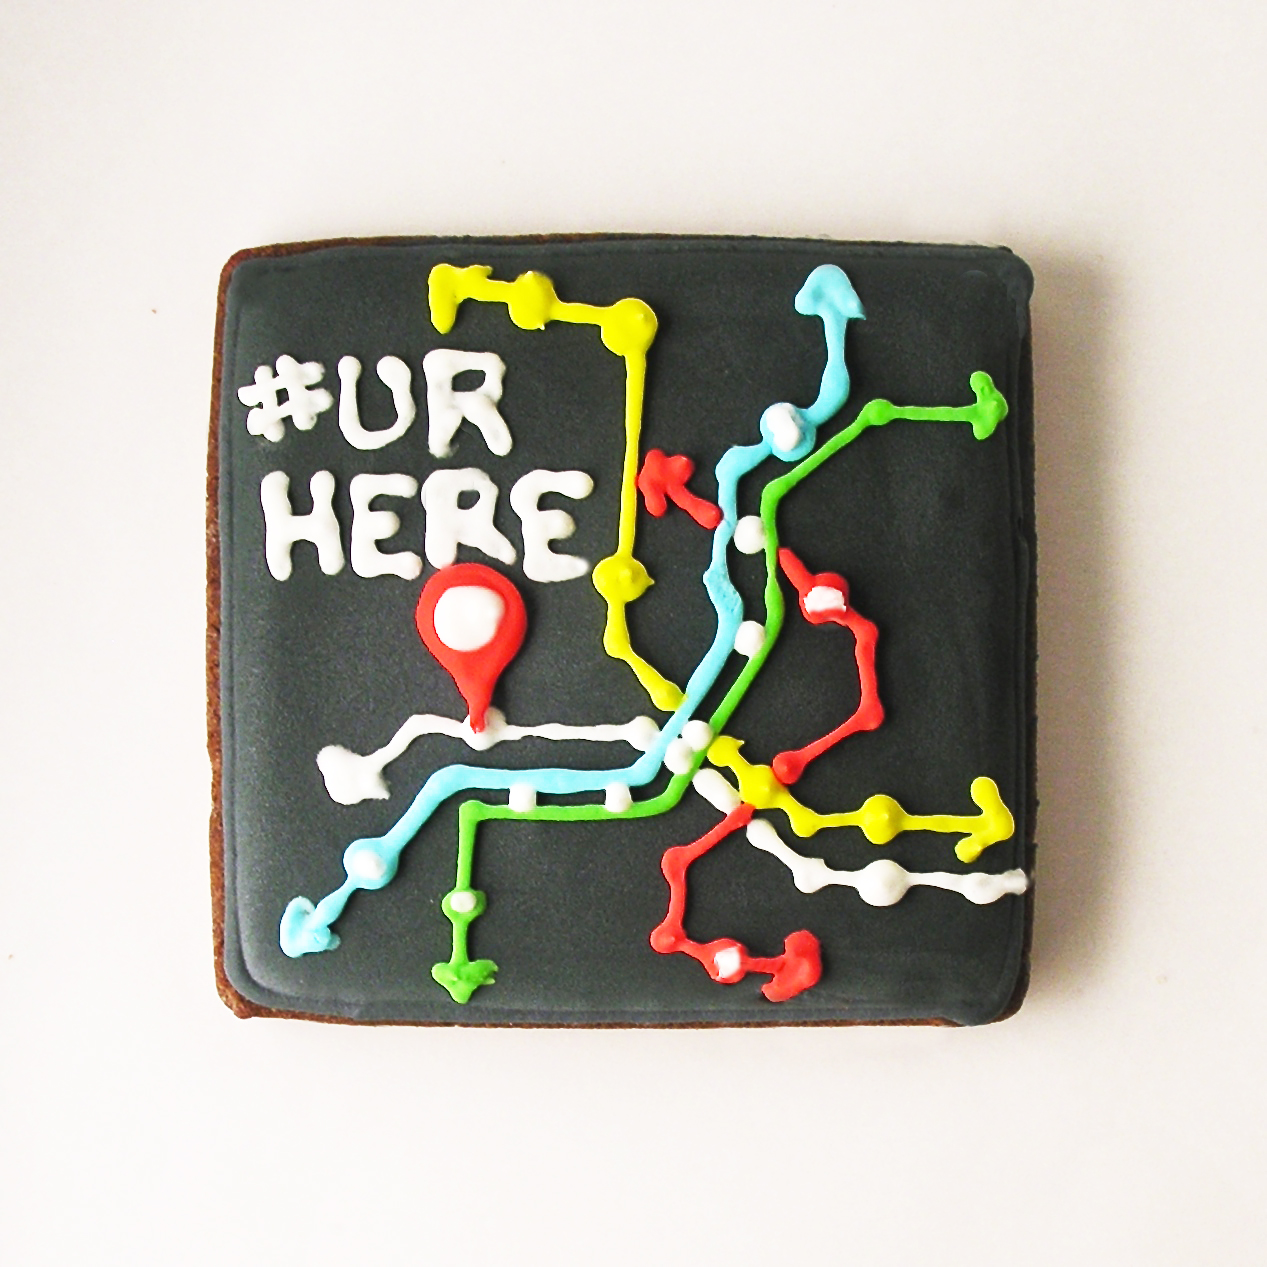
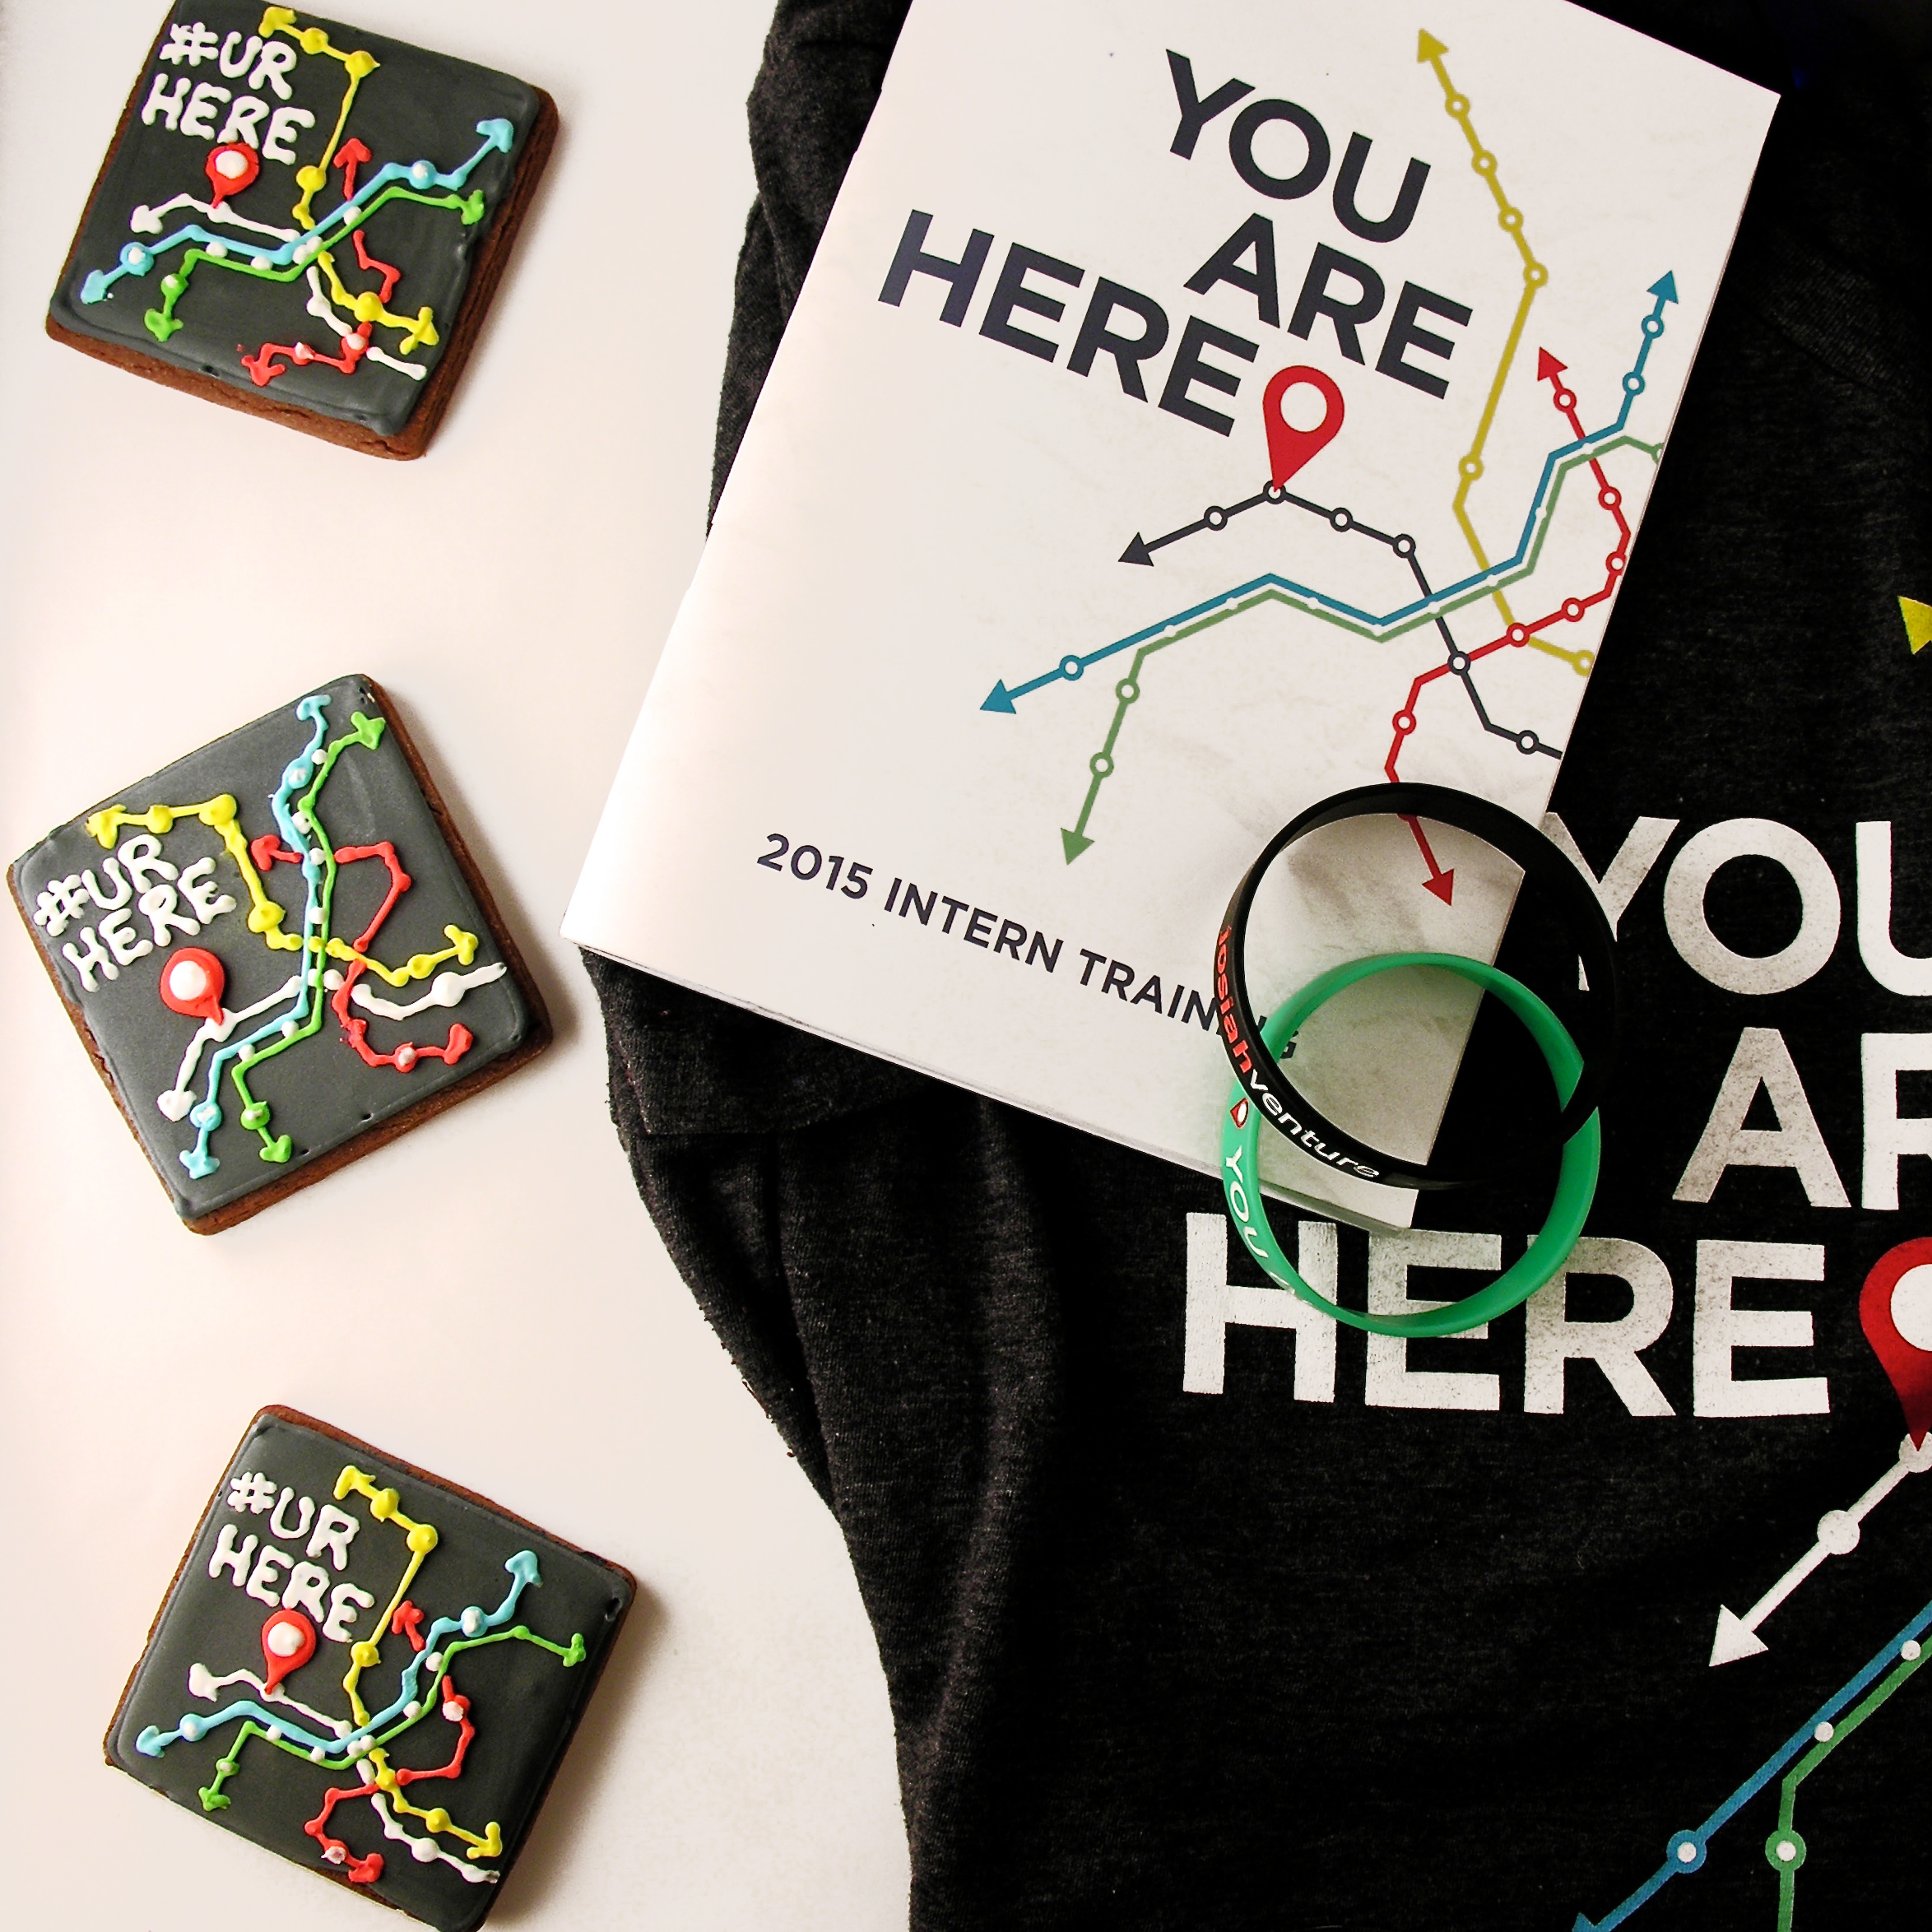
Each year, Josiah Venture has a theme for the summer camps hosted by local churches. This year it was “You are Here”. The logo was a Metro map. They used #urhere on Instagram and Twitter to connect people, and if you visit these hashtags you will see incredible testimonies of God’s faithfulness this summer!

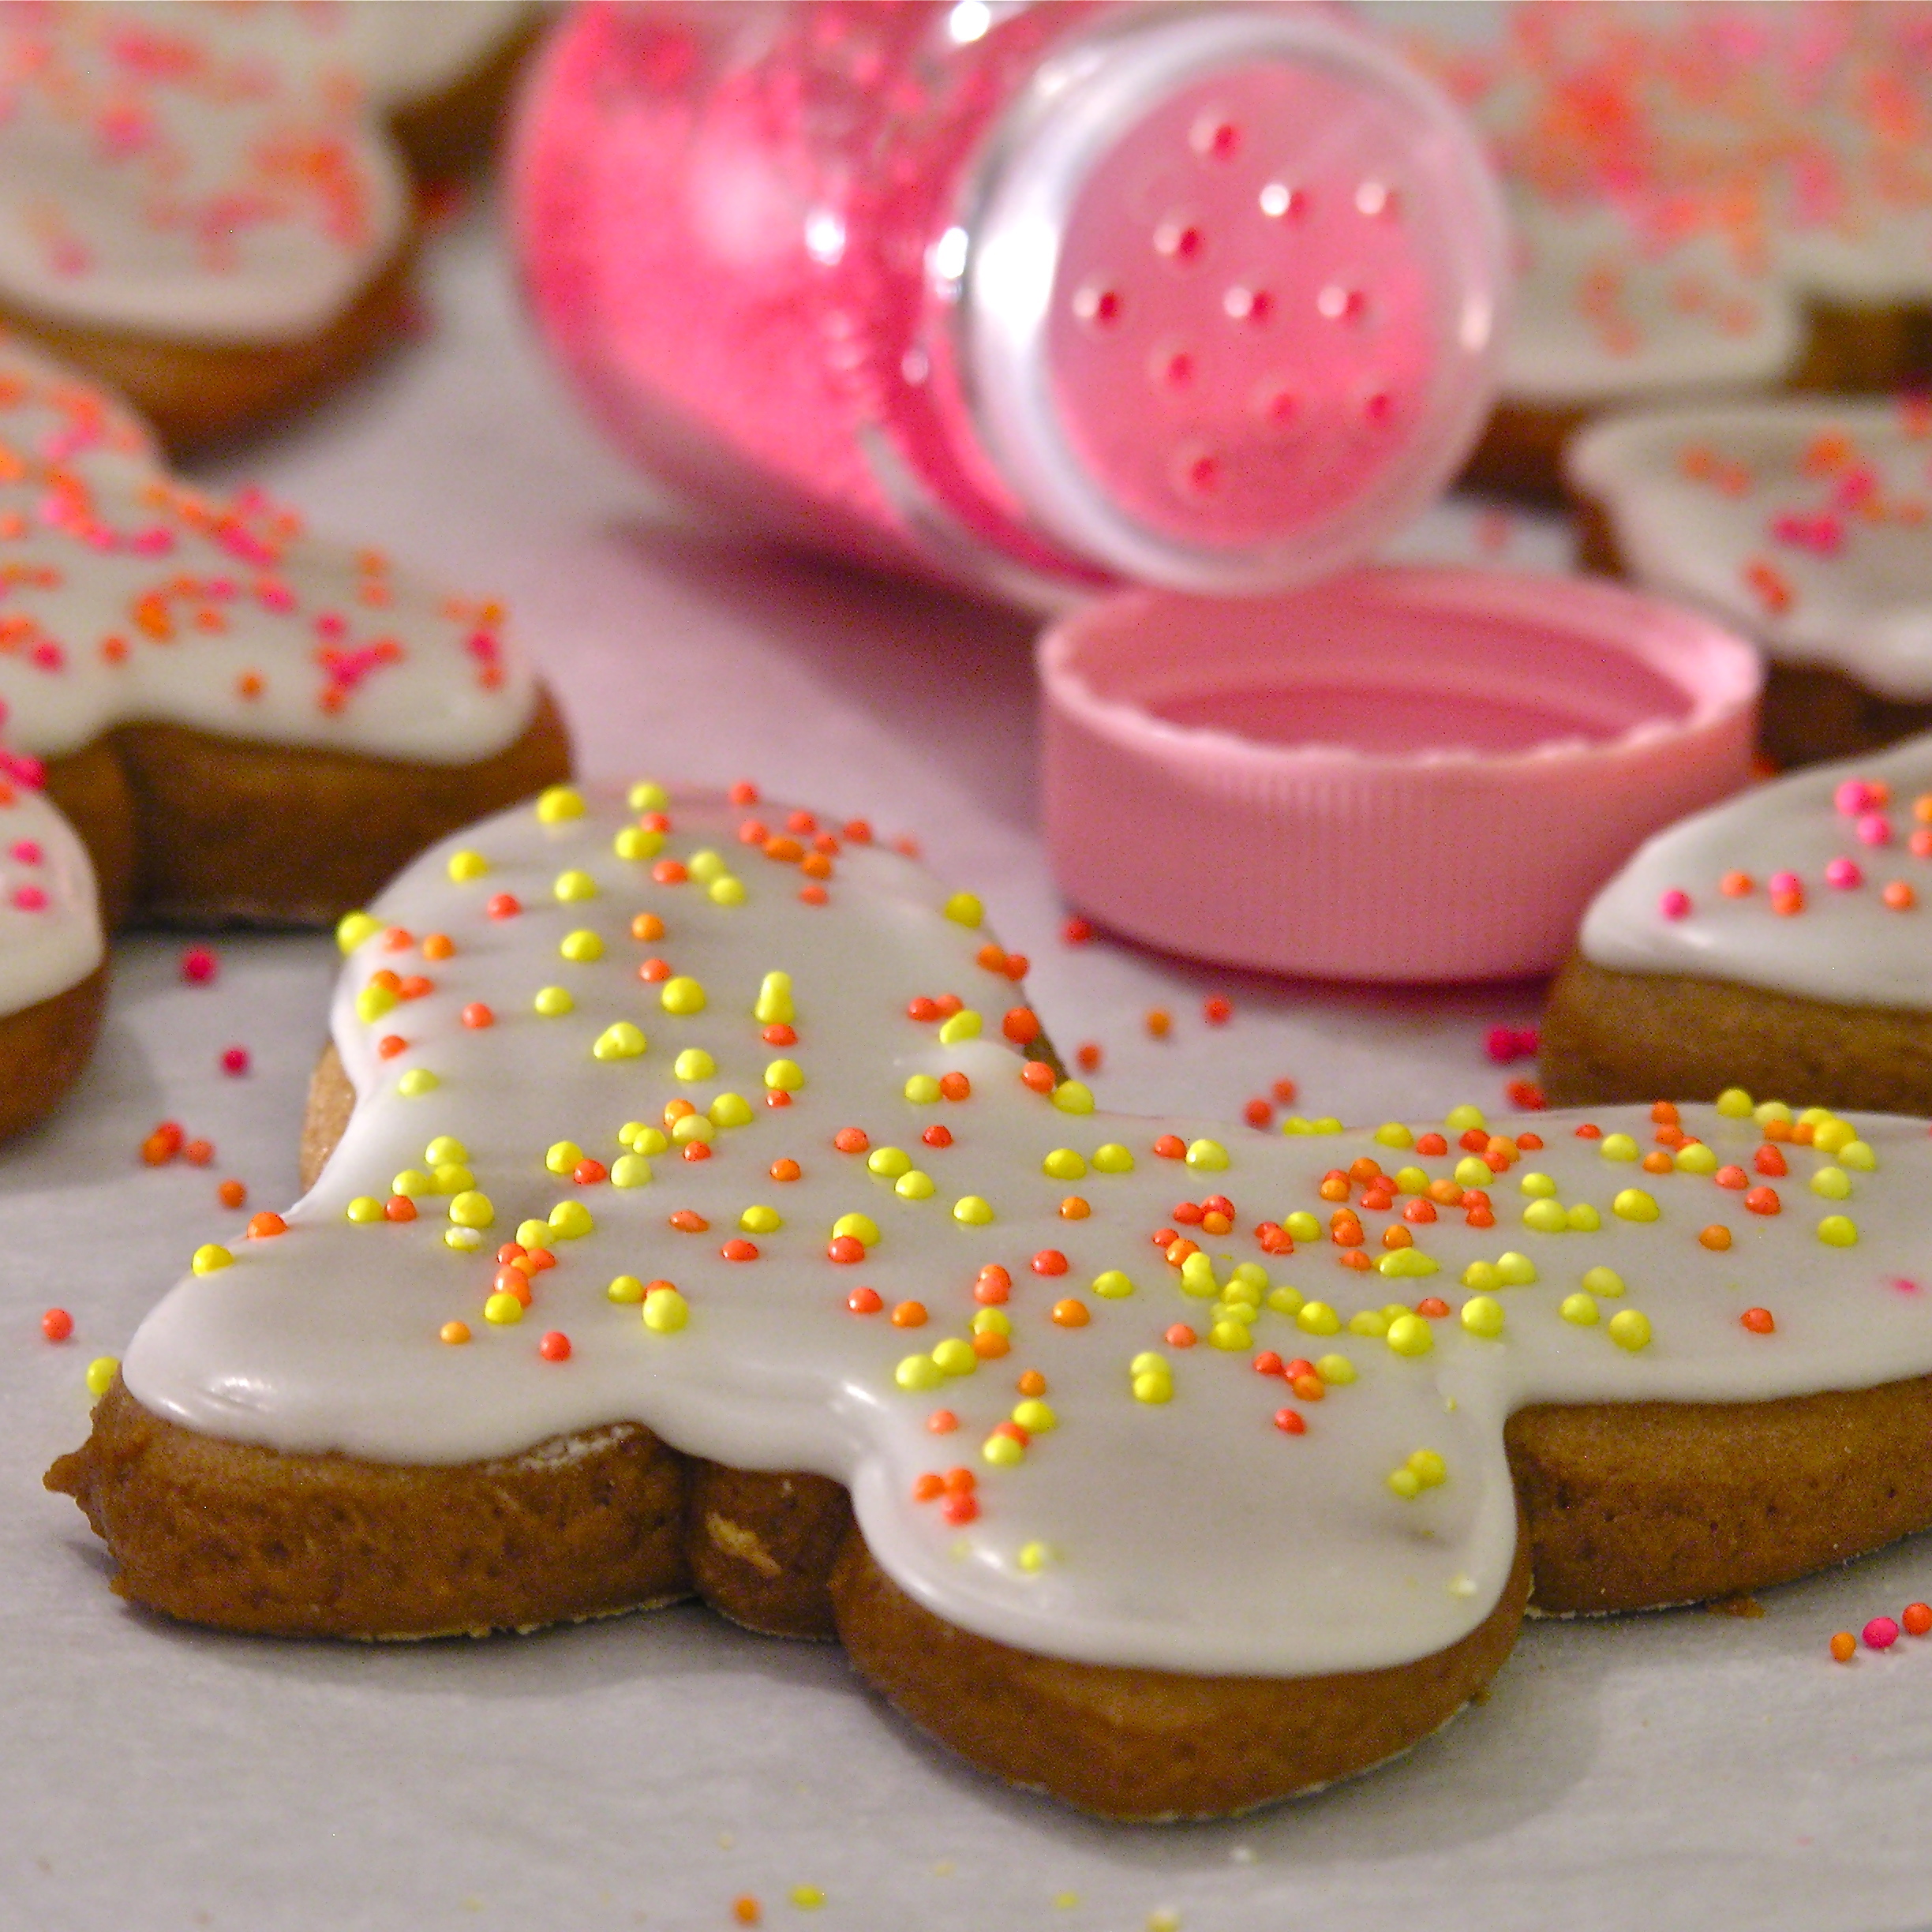
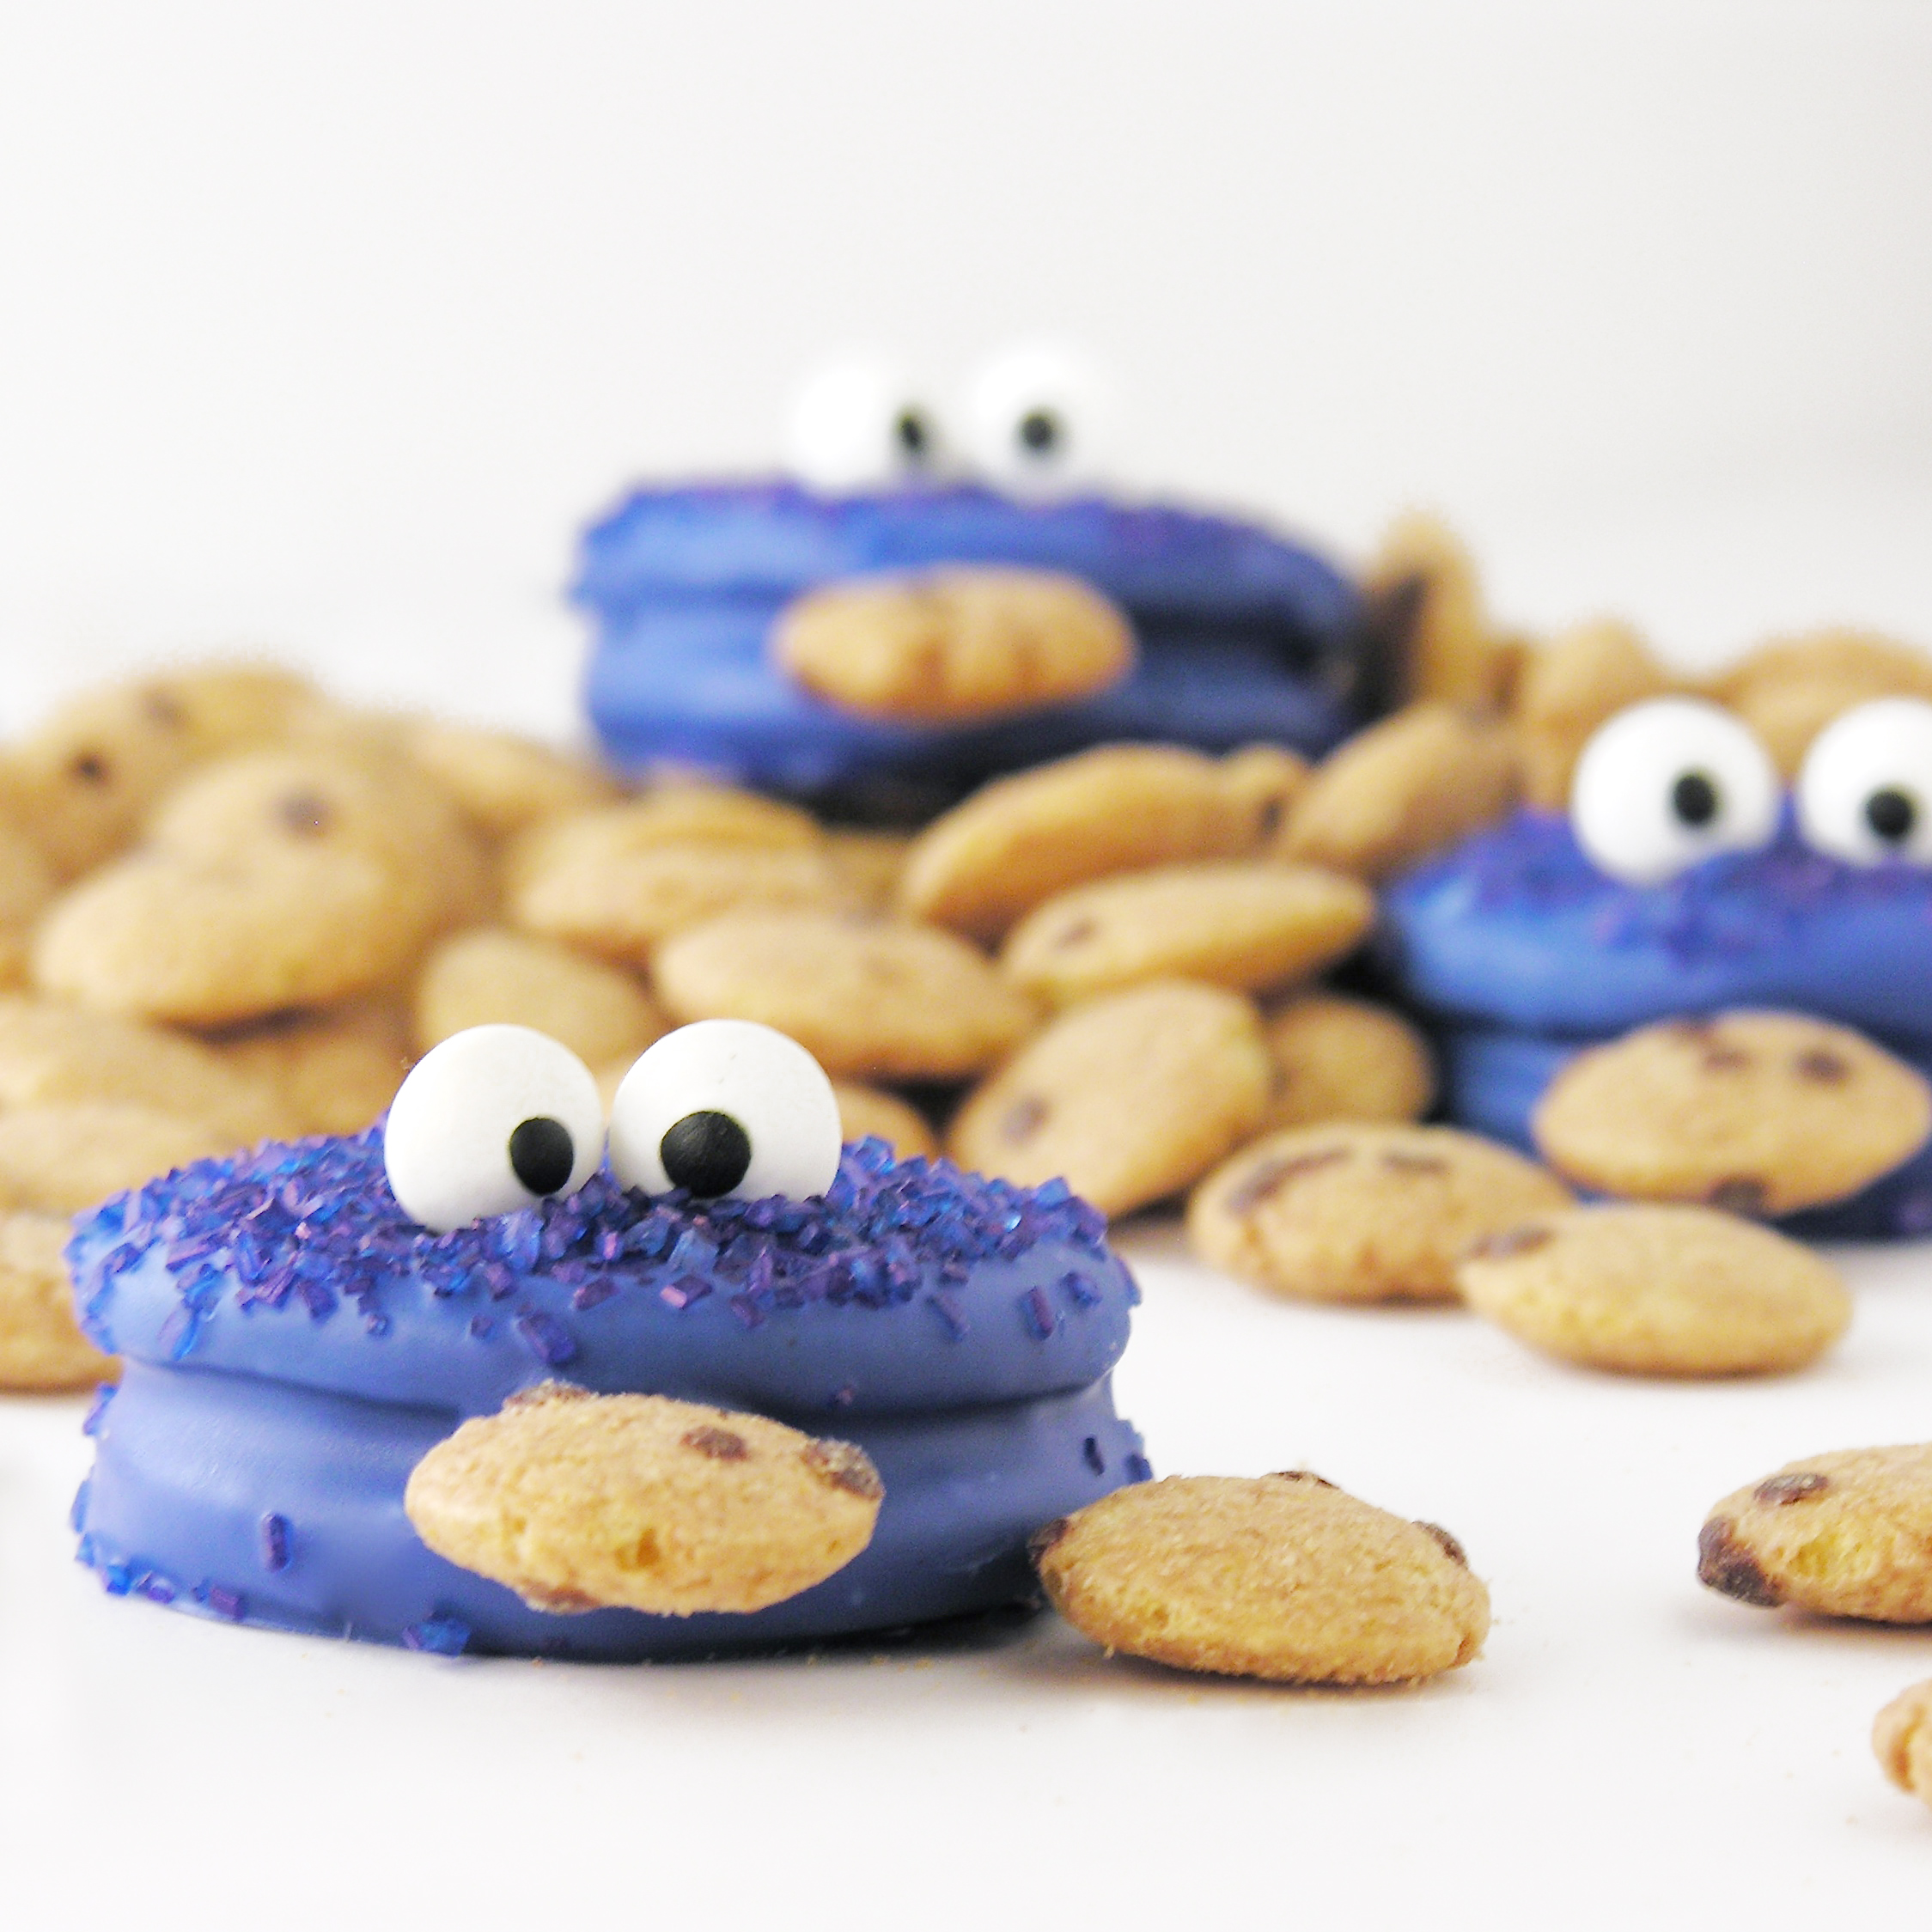
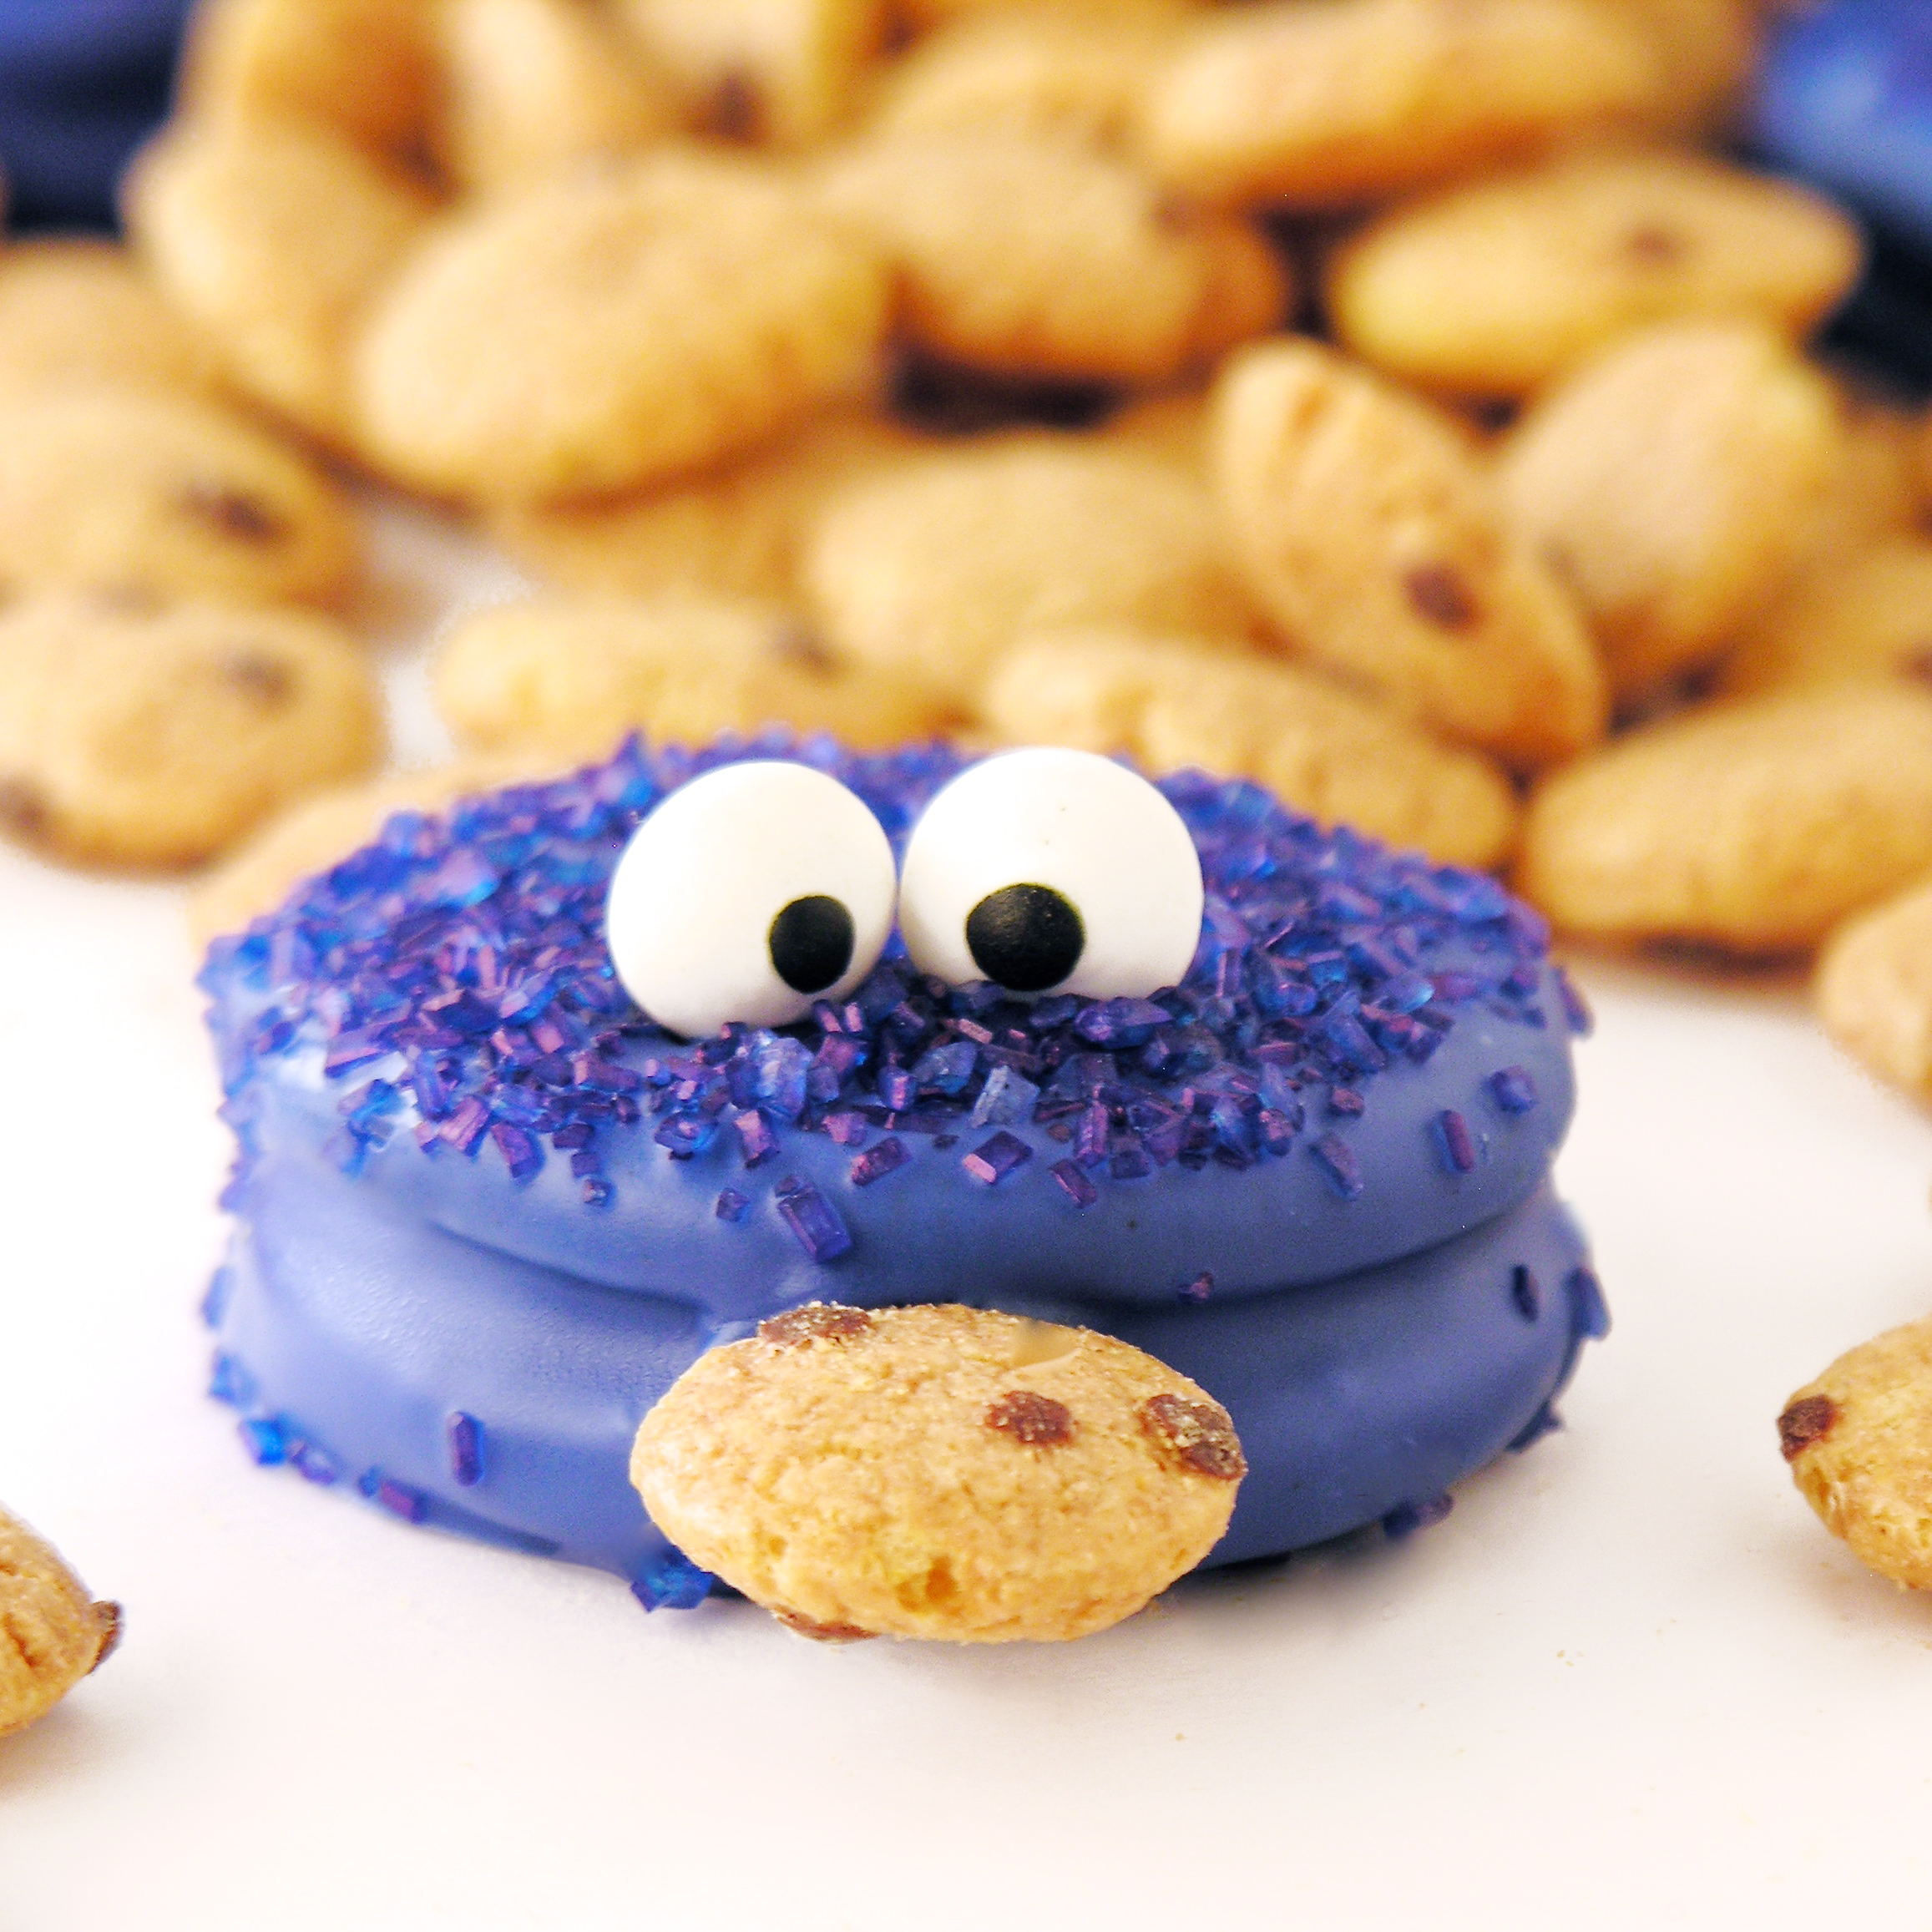
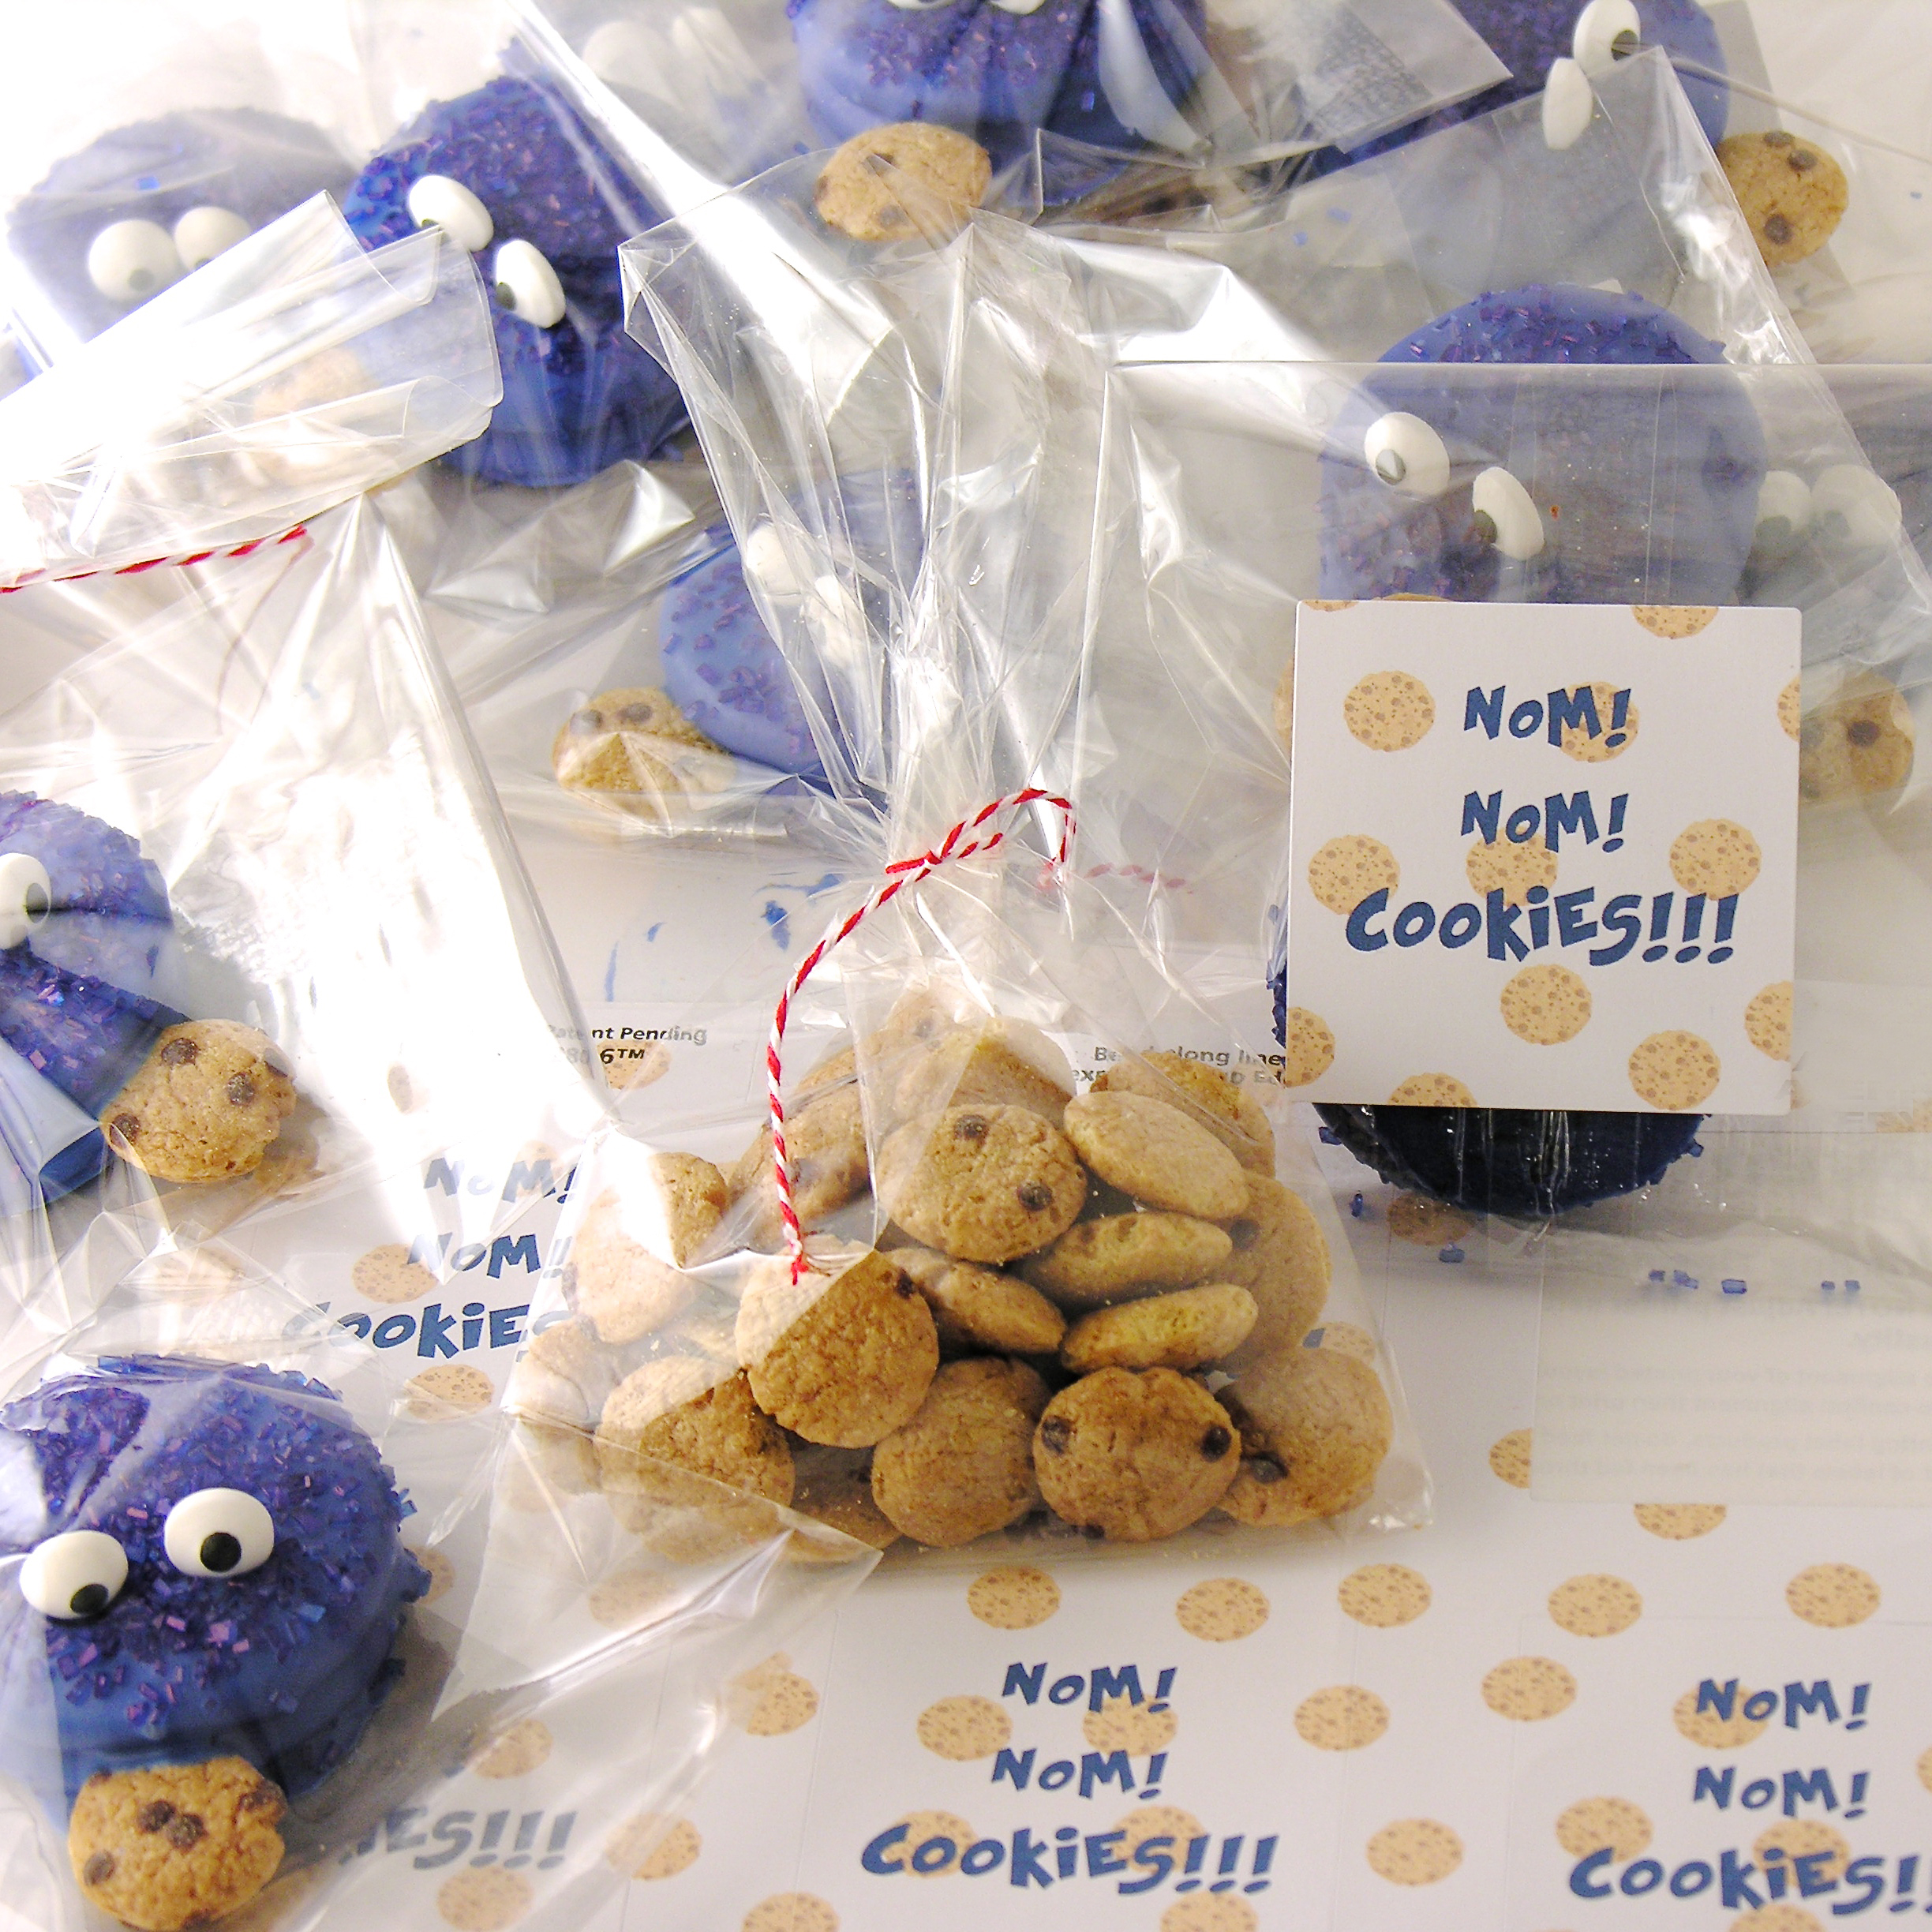
I was invited to a cookout this summer with some missionaries visiting the US from Slovakia.  I was asked to bring dessert- because when you have a baking blog, everyone asks you to bring dessert! 😉 I made these cookies for them, and they were SO much fun. I keep saying that I hate royal icing, but there are some times when it is your only option.

URHERE Cookies4

So… this is what I’ve been doing. It has been a struggle to keep baking and sharing with you all because it has been such a busy summer with so much travel. I keep telling myself that Easybaked is a HOBBY, and I am allowed to take a break for awhile. But I will be back- I promise! My head is swimming with new ideas 🙂

Before I share this recipe, I want to ask a favor. If you are reading this post, and you are a follower of Christ that wants to see the incredible news of God’s love shared around the world, would you consider becoming a part of my support team? I am slated to begin this position on September 1st and I am not fully funded yet- but I’m SO close! I am looking for people who are able to give toward this ministry on a monthly basis, and to pray.

If you are interested in learning more, here are a few links:

More about Josiah Venture here.

More about how to become a part of this ministry (and how to contact me with questions) here.

More about summer internships for college students interested in missions here.

More about me (my personal/ ministry blog) here.

Thank you dear followers, fellow bloggers, and friends. I have been asking God fervently to provide what I need before September 1, and who knows? Maybe he will answer my prayers through you!!!

Now, that cookie recipe!

Chocolate Espresso Cookies!!!

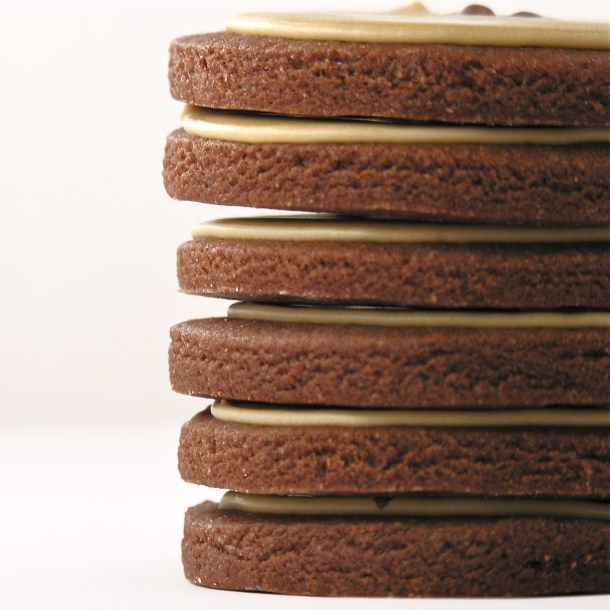
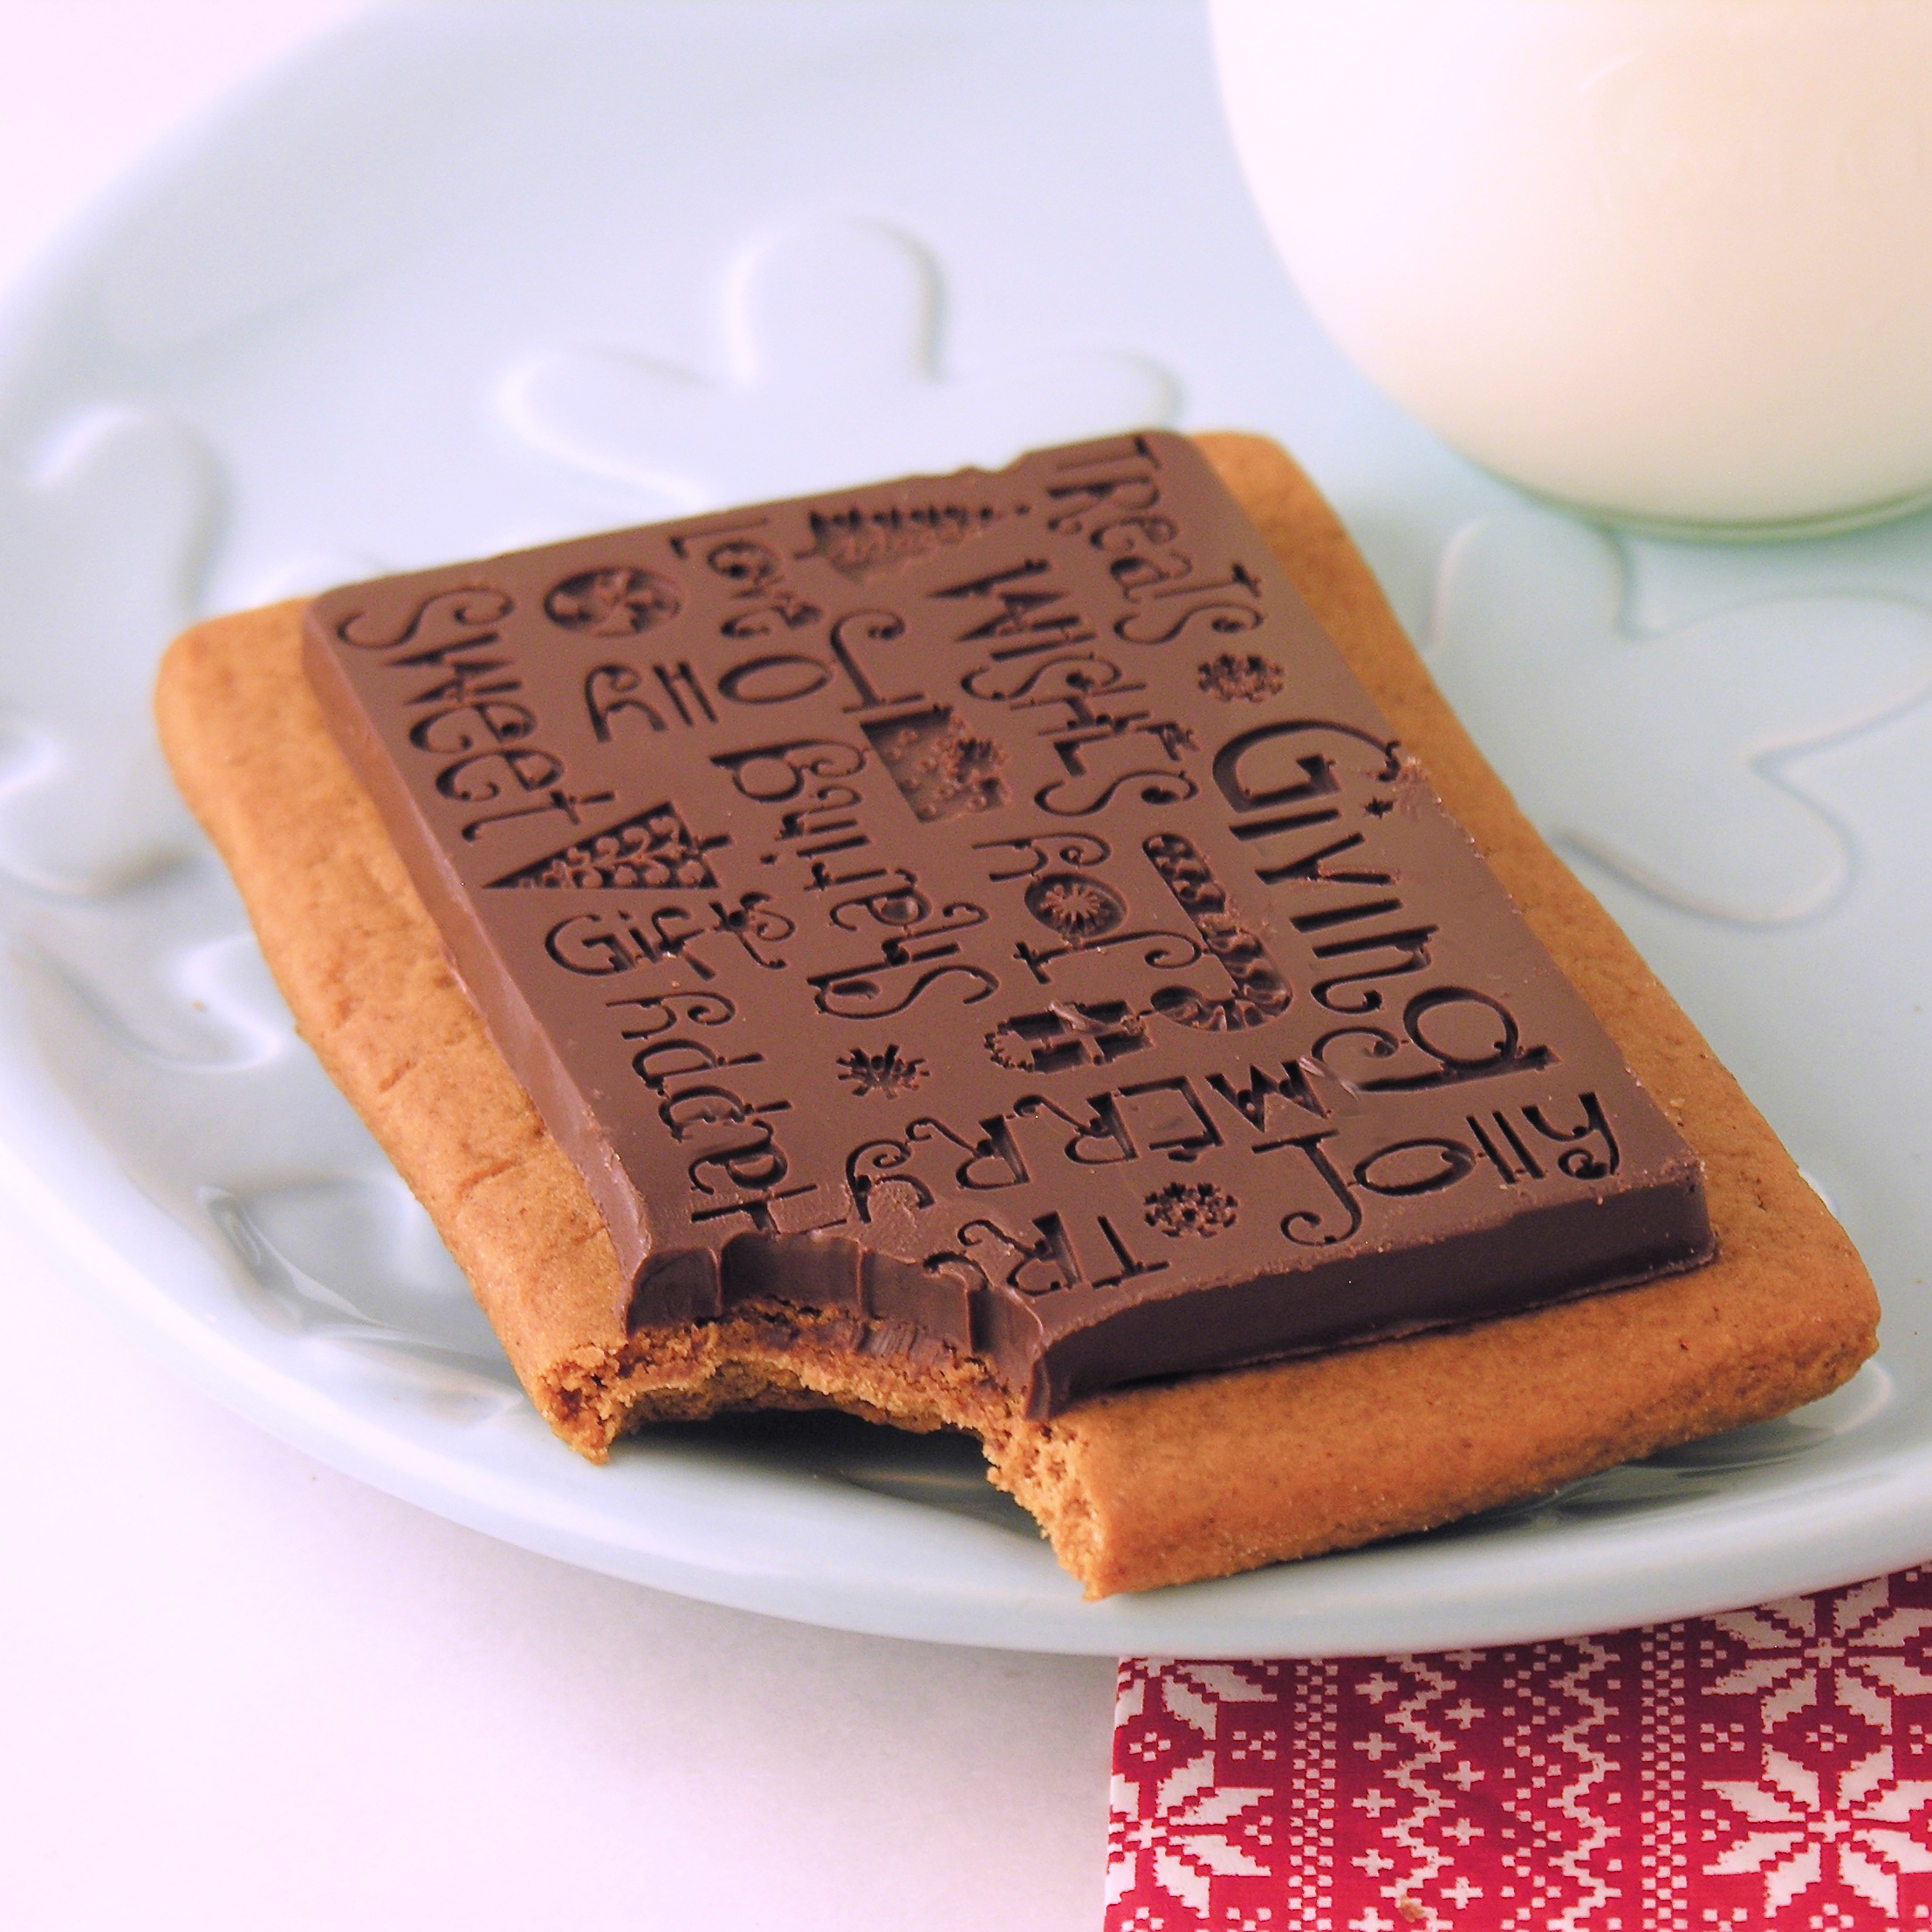
It is the best cut-out cookie recipe ever. Plus it’s chocolate, which is bonus in my book!

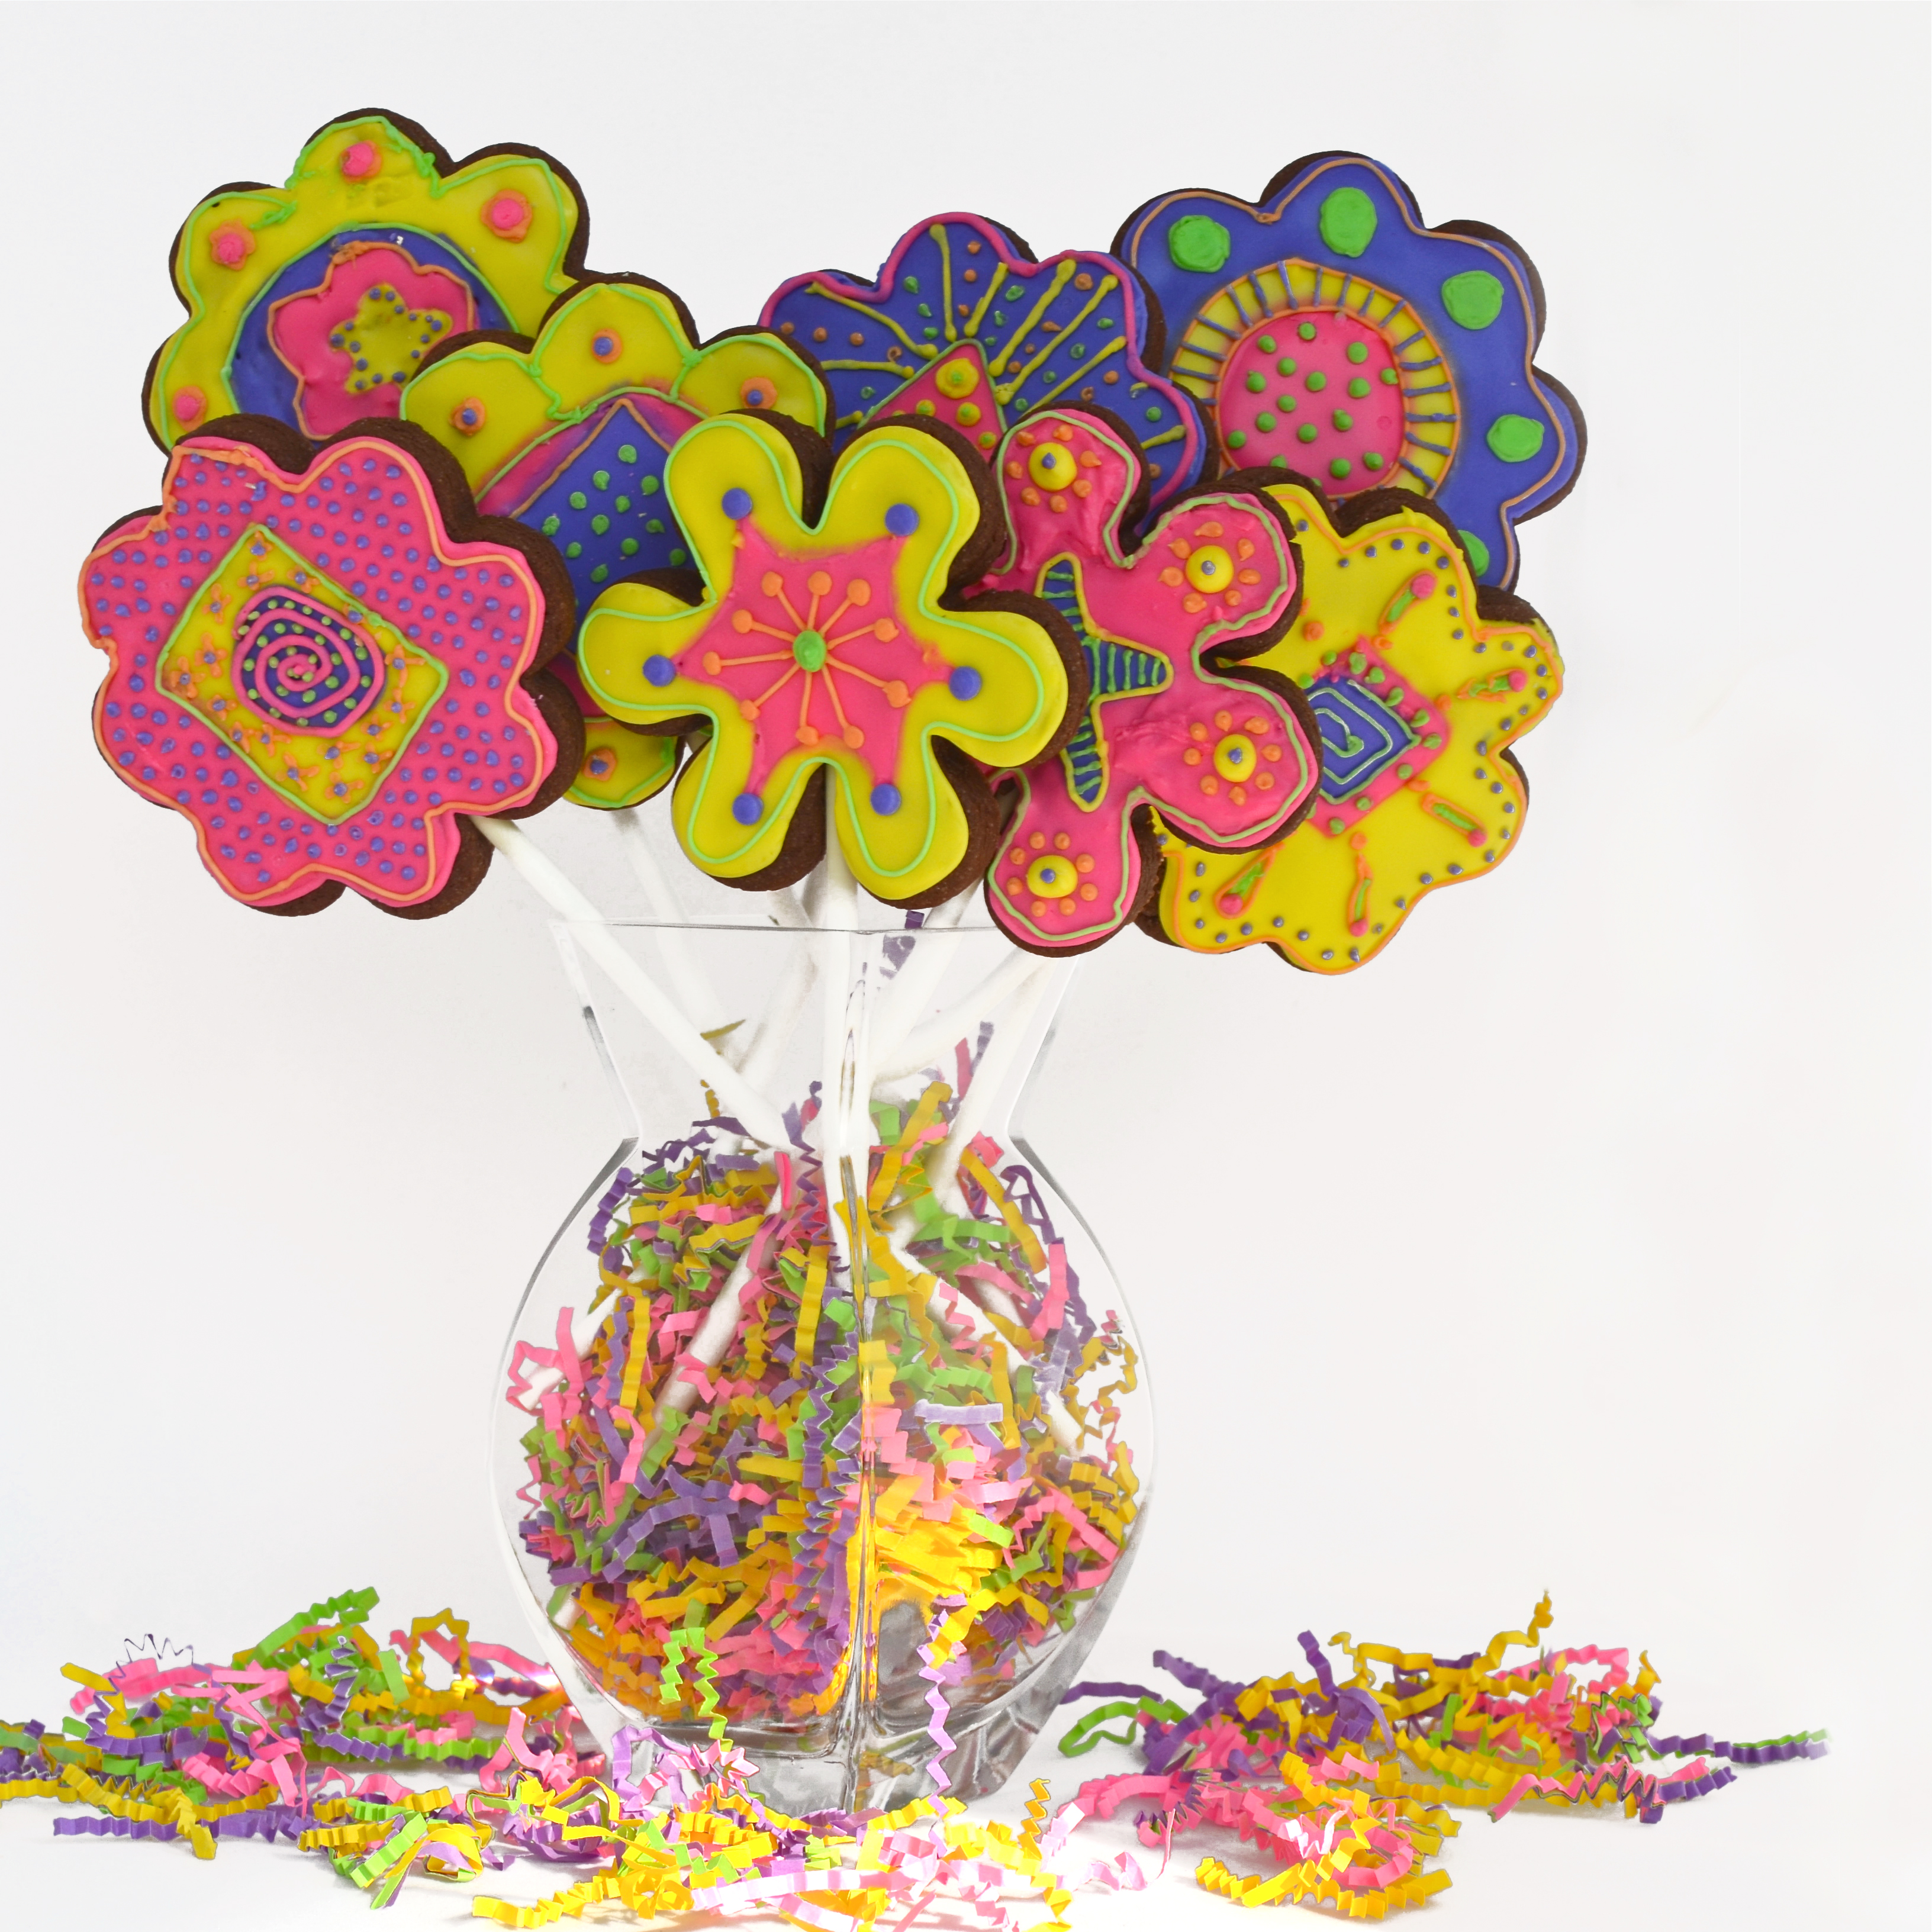
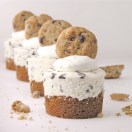
I’ve shared this recipe many, many times on this blog. I’ve added espresso to the recipe for the delicious cookies posted above, I’ve made them into cookie cups to be filled with all sort of sweet happiness, and I’ve even made them into cookie lollipops. I don’t even feel bad re-sharing this recipe with you because it is one I keep returning to as a staple for so many ideas.

Triple Chocolate Truffle CupsChocolate Football Cookies!Cut out cookie pops

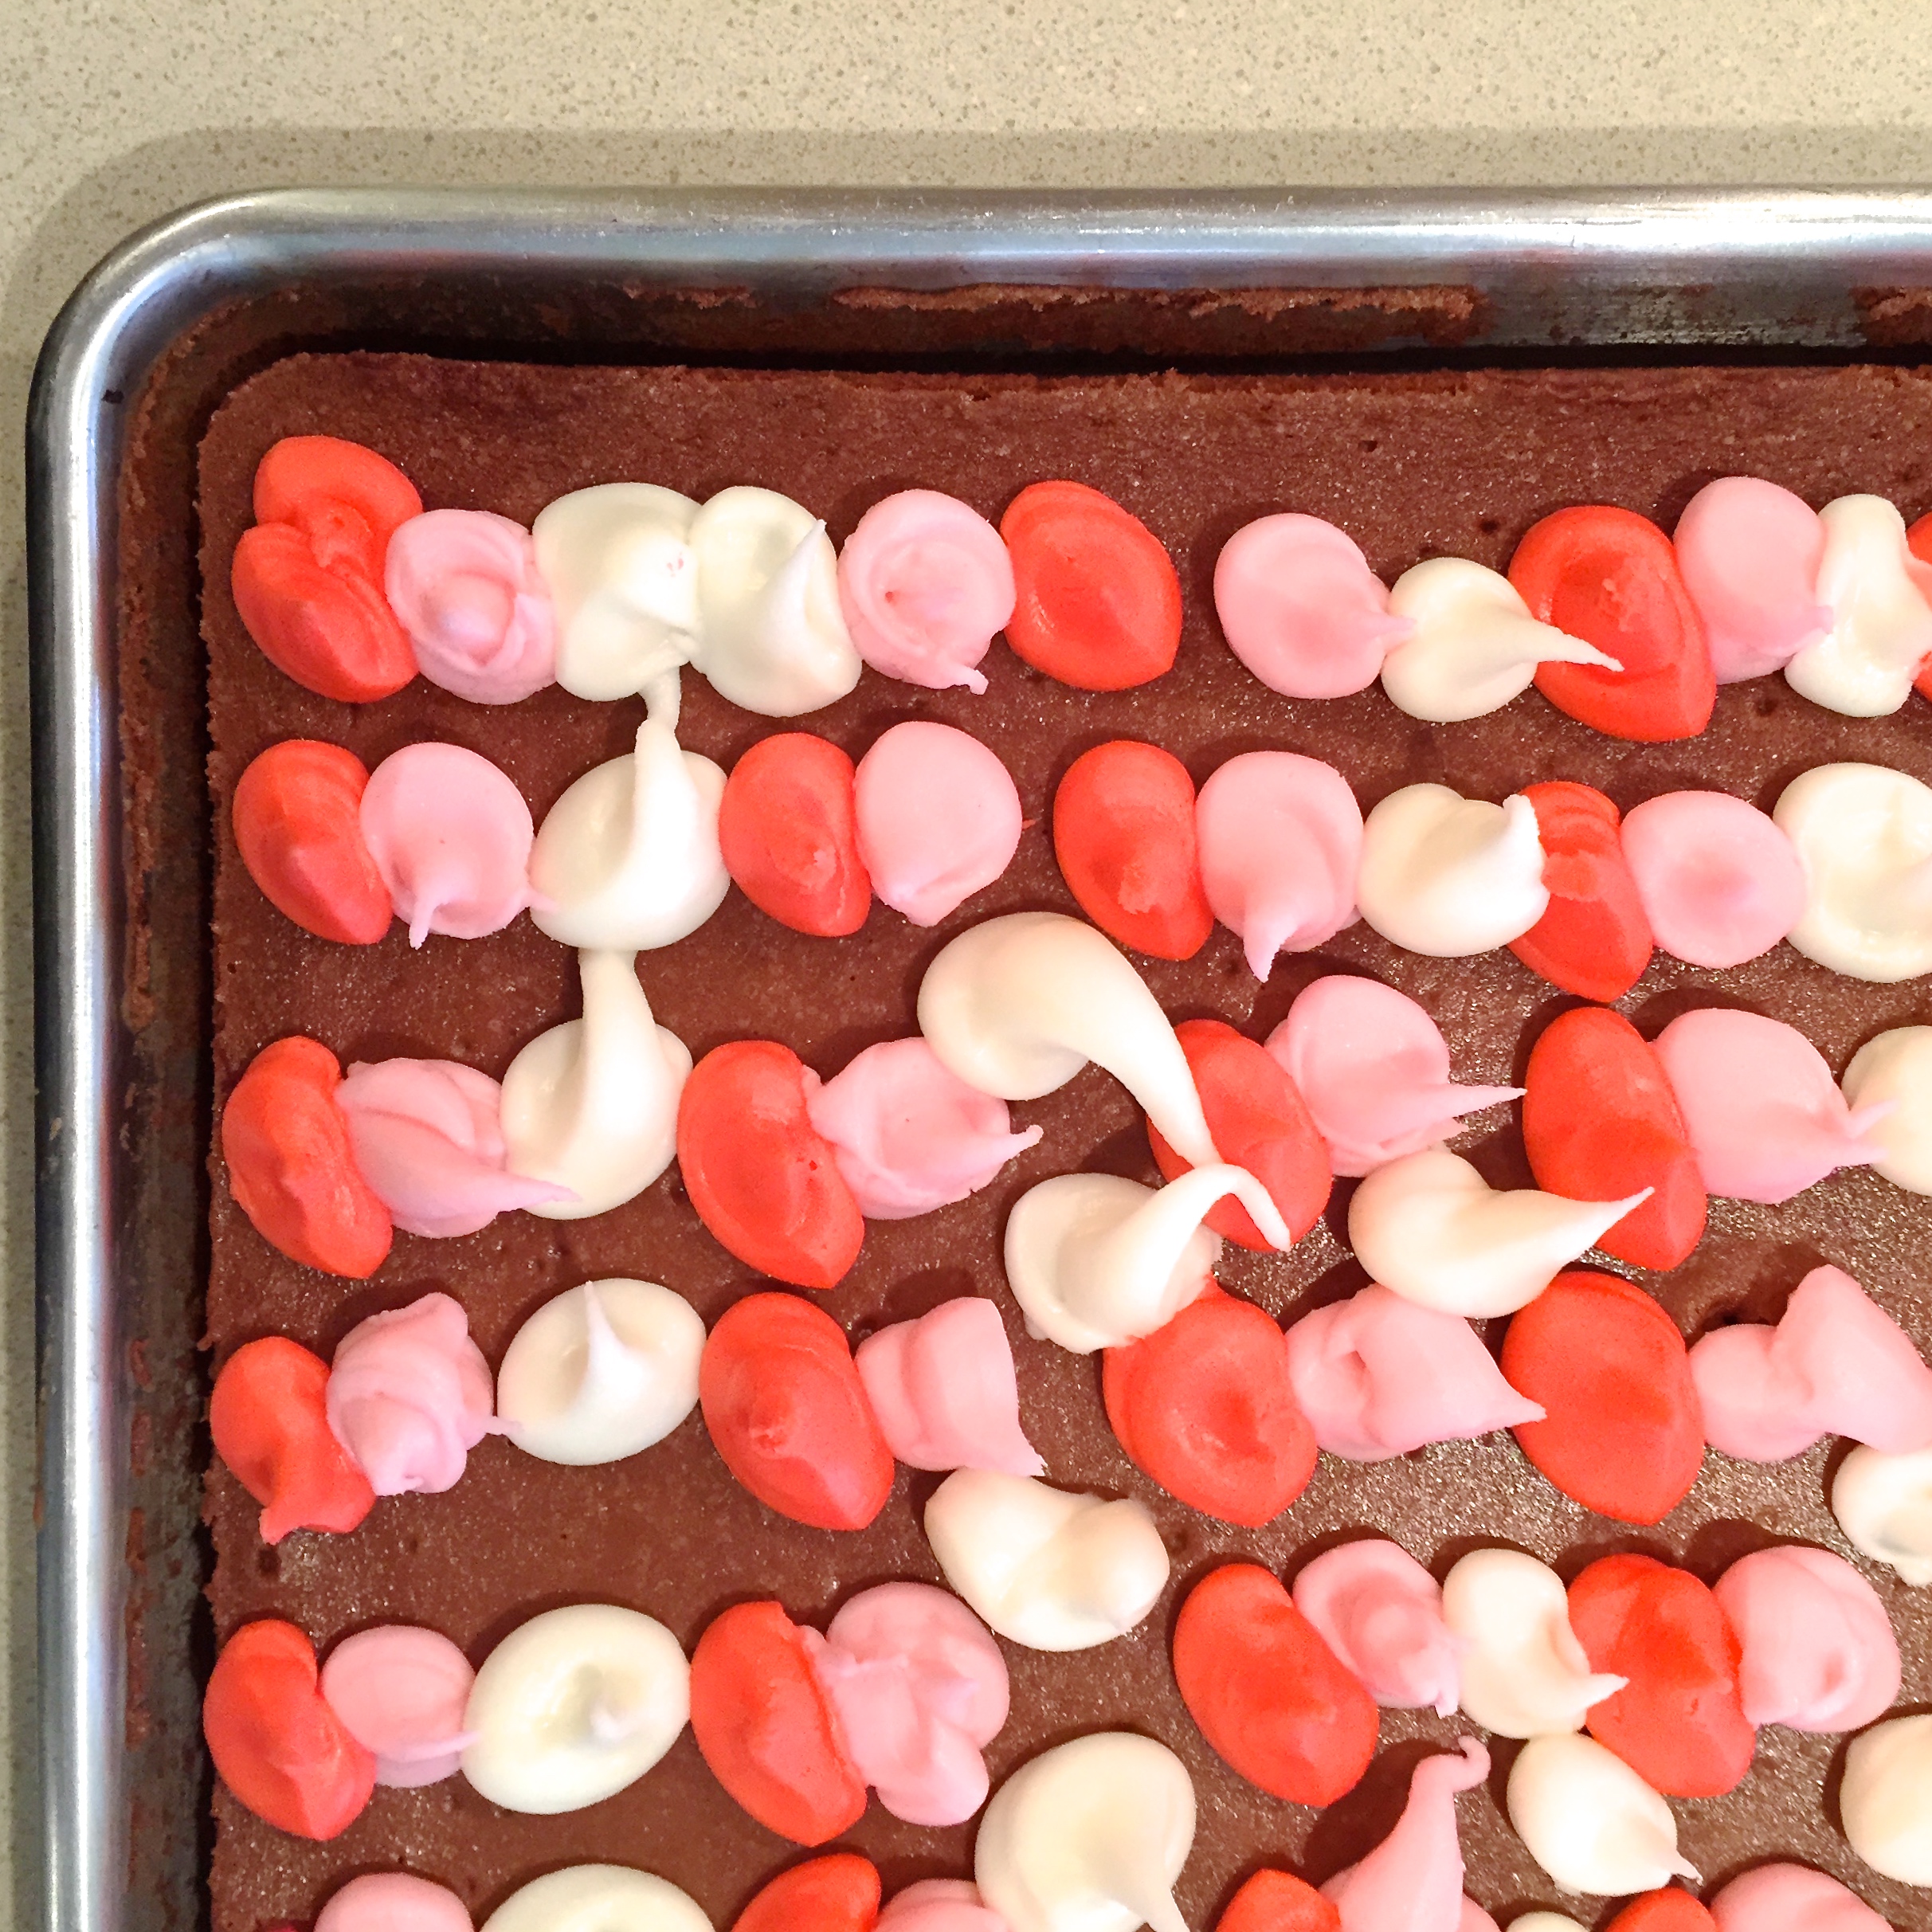
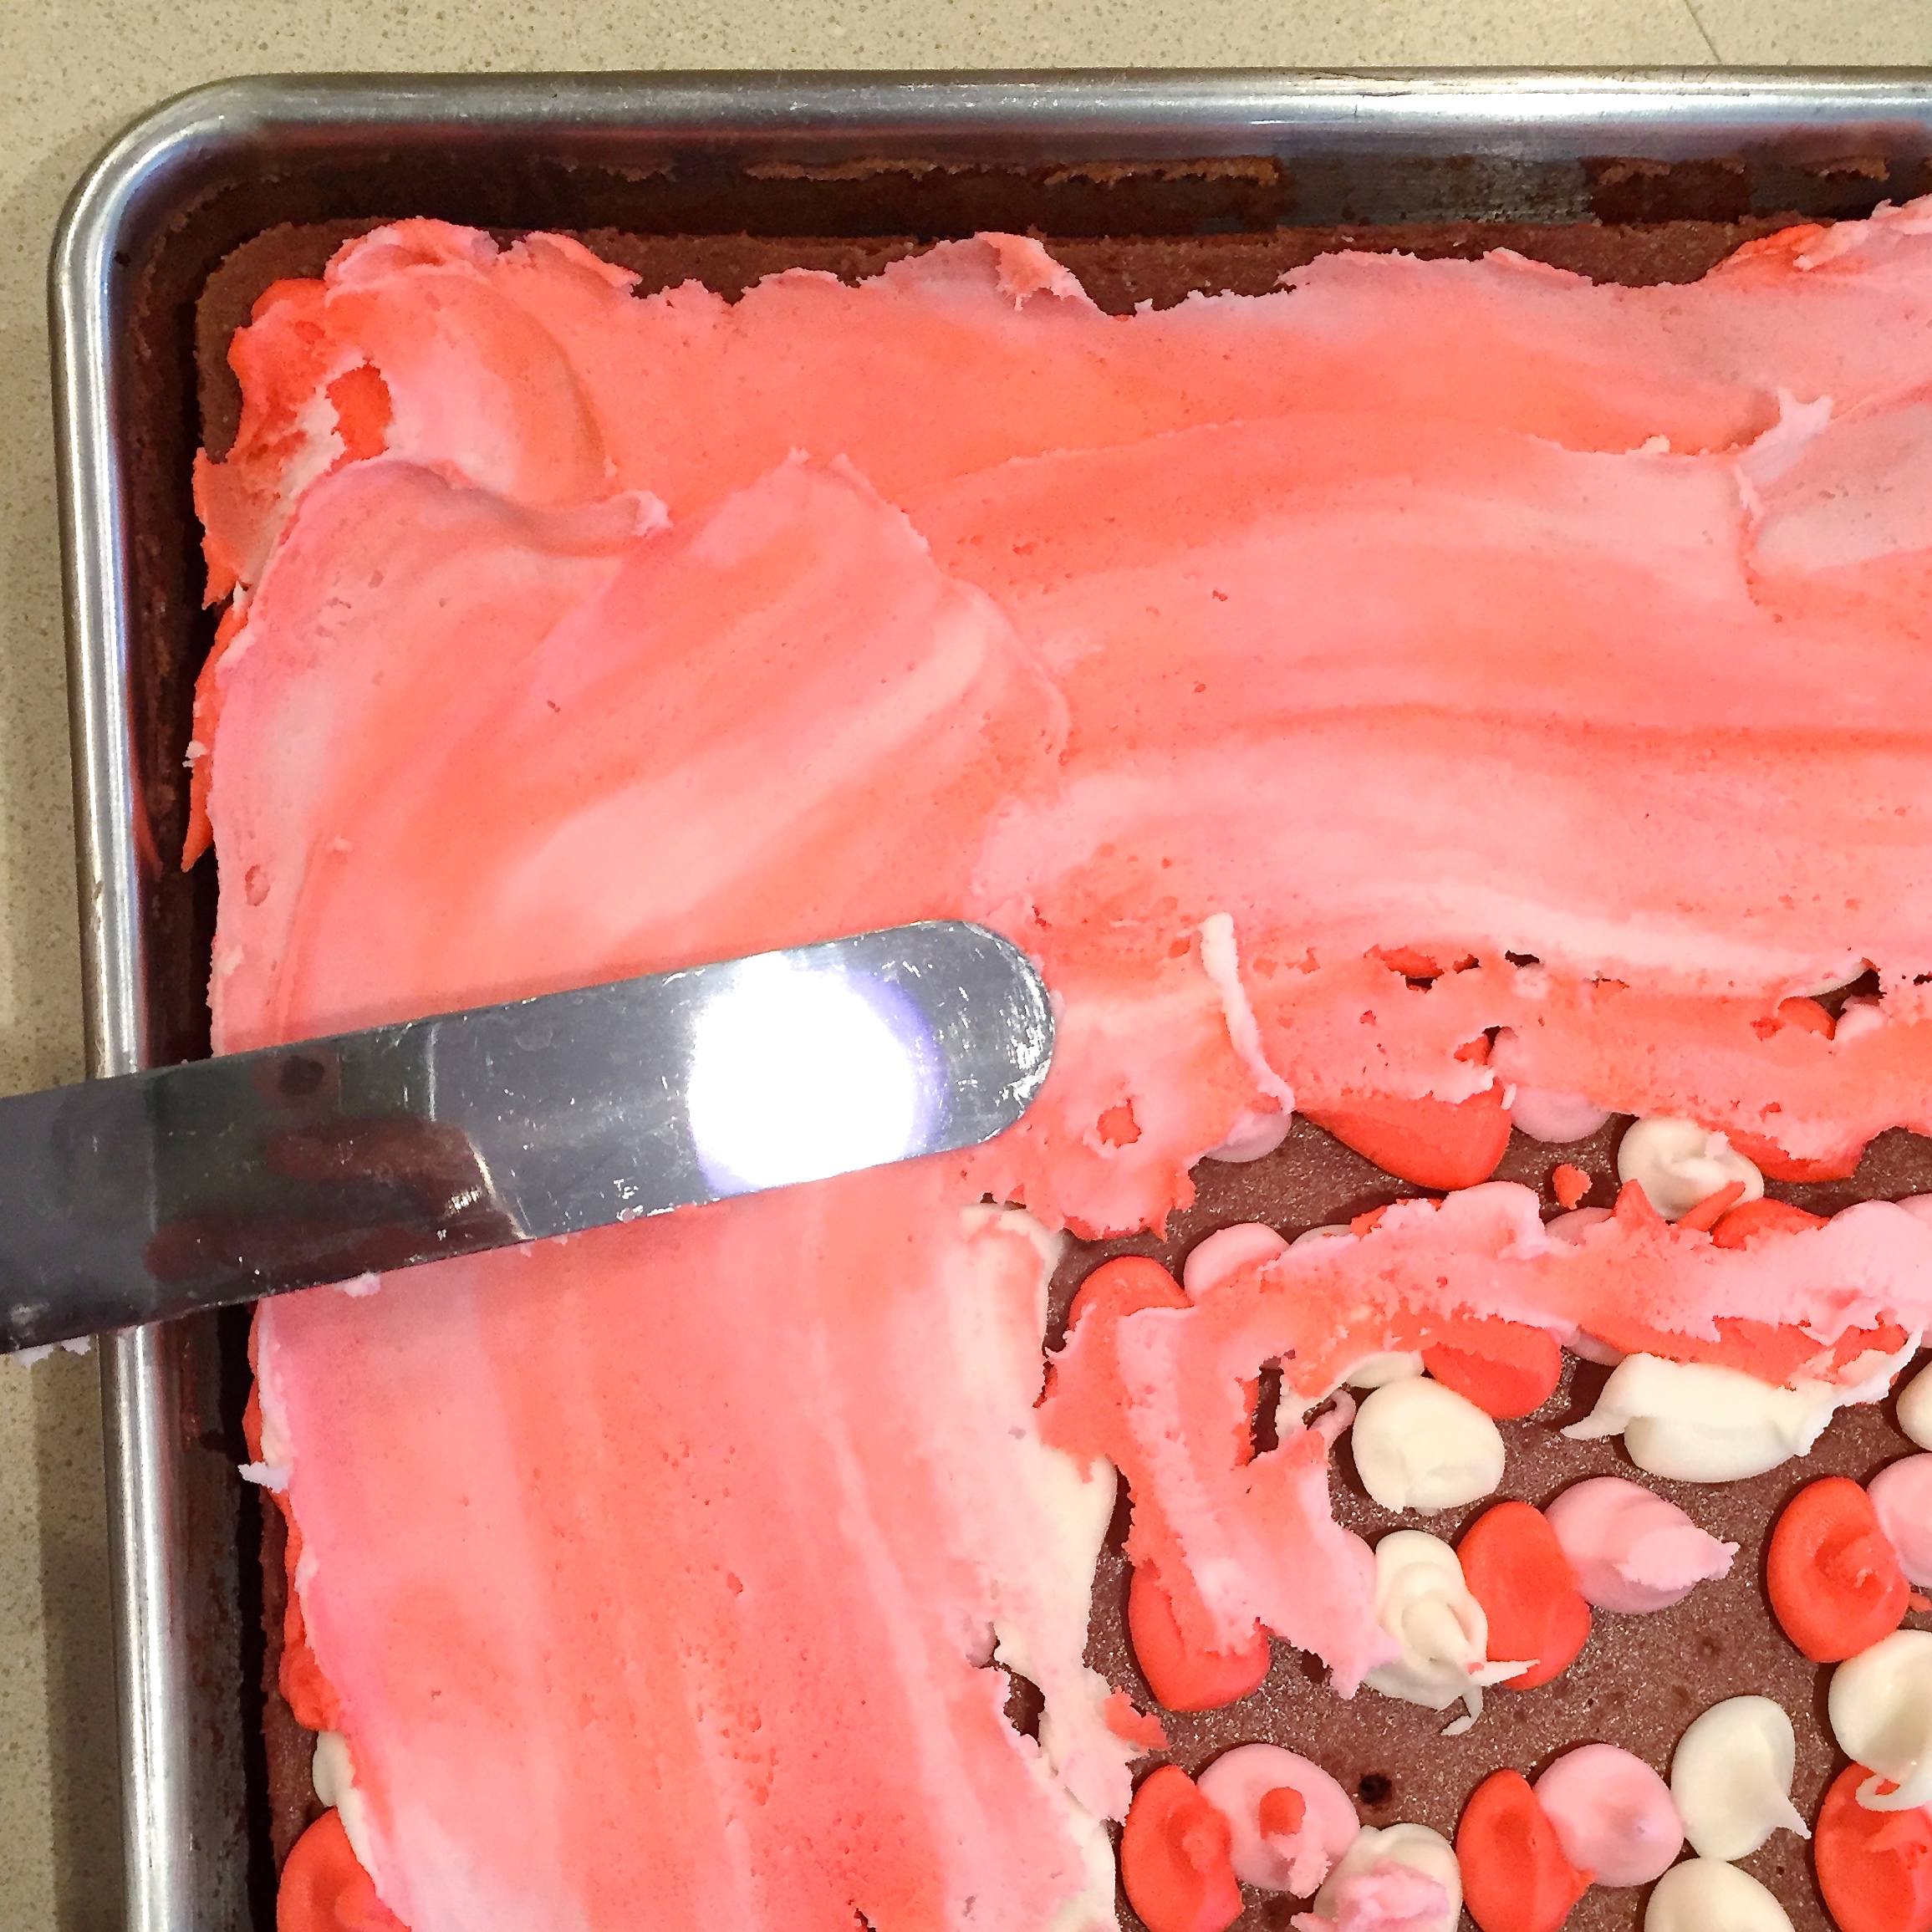
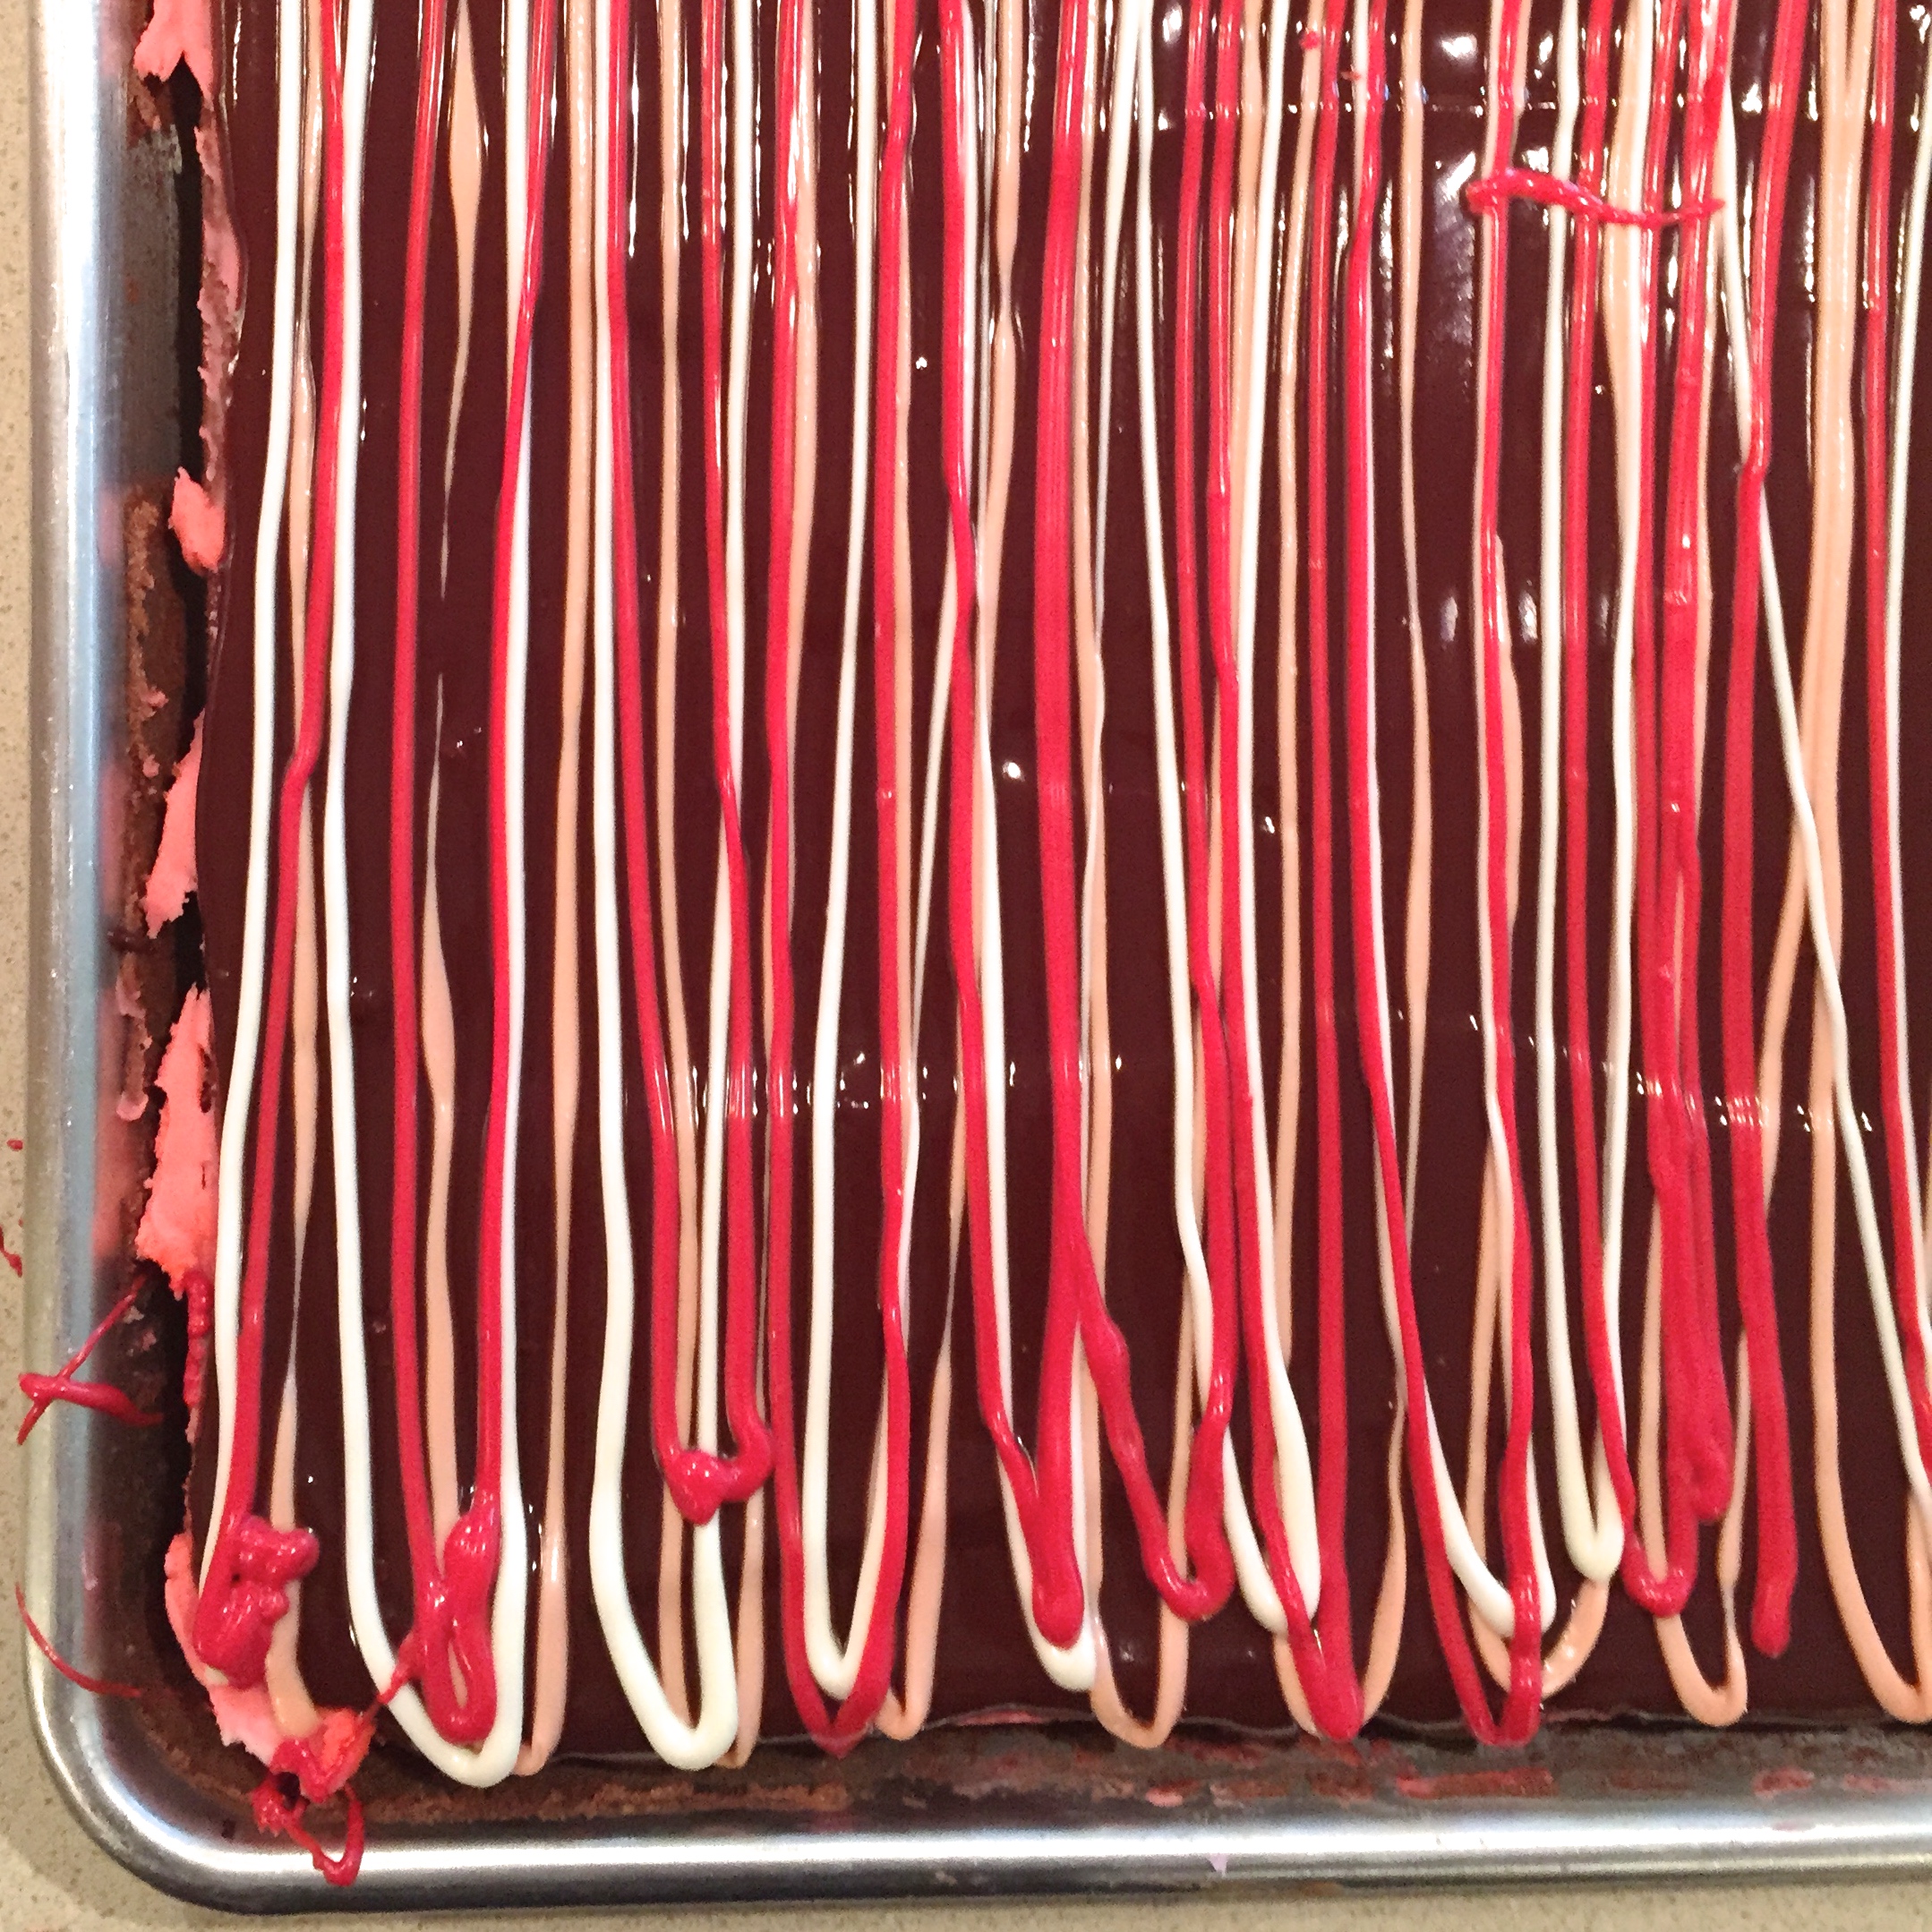
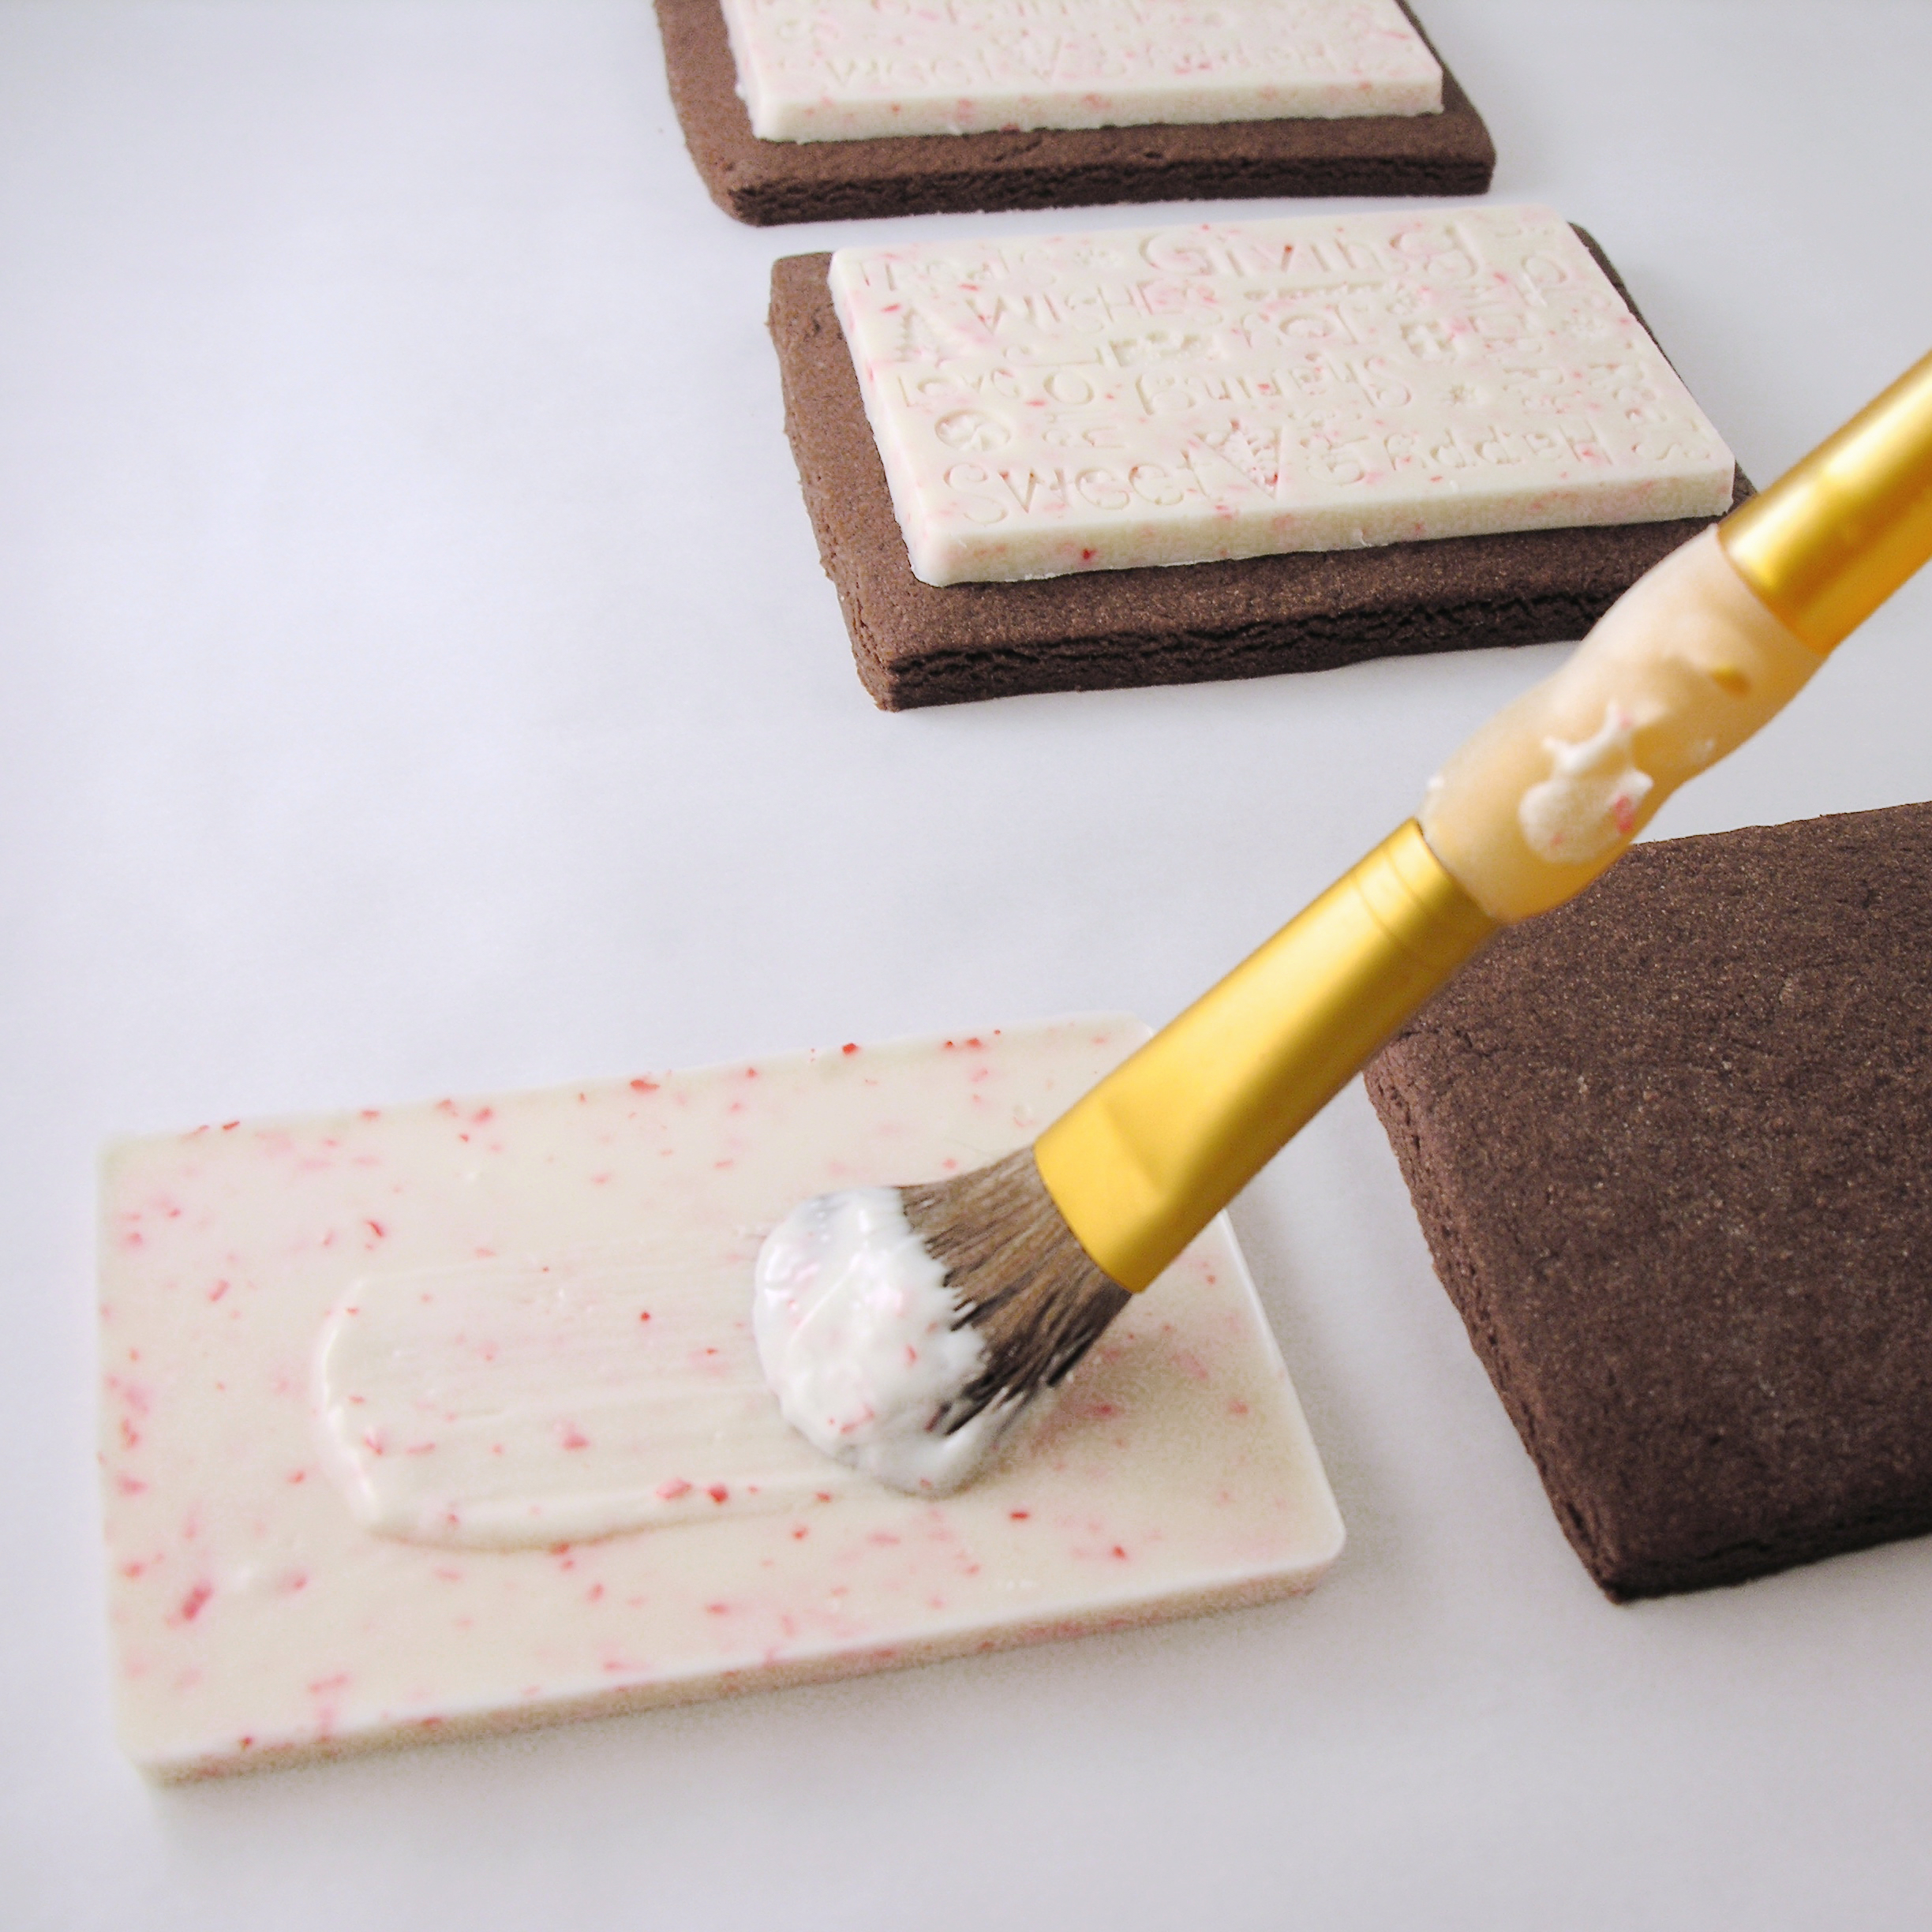
I simply cut this particular batch into squares, and decorated them using royal icing (click here for icing recipe) with the actual camp logo as a guide!

Here’s the cookie recipe (printer friendly recipe -by the way, this says to chill the dough, but you definitely don’t need to. Experimentation has proved otherwise! :))

INGREDIENTS: (makes 30-32 medium square cookies)

  • 2 sticks (1 cup) butter, softened
  • 1 1/2 cups sugar
  • 2 eggs
  • 1 teaspoon vanilla extract
  • 2/3 cup unsweetened cocoa powder
  • 3 cups flour
  • 1/2 teaspoon salt
  • 1/2 teaspoon baking powder

DIRECTIONS:

  • Preheat oven to 350F degrees.
  • Add butter, sugar, eggs, vanilla and cocoa together in  large mixing bowl.
  • Blend on medium speed with a mixer until smooth.
  • Gradually add dry ingredients and mix until smooth (use clean hands at the end, to knead into a soft ball of dough)
  • Roll out cookie dough on floured counter.  I like them fairly thick.
  • Cut into squares and place on a parchment-lined baking sheet. 
  • Bake for 8 to 11 minutes until the edges are firm.
  • Gently slide parchment paper off of cookie sheet and onto a flat surface. 
  • Frost as desired.  A simple powdered sugar glaze would be delicious on these, or if you want to get fancy, use royal icing to create whatever your heart desires!

URHERE Cookies2

I hope you enjoy these delicious little cookies! Thank you for letting me share with you a little beyond the recipe today! *hugs* ~r

Here’s a few more of my non-baking stories from the past 2 years!
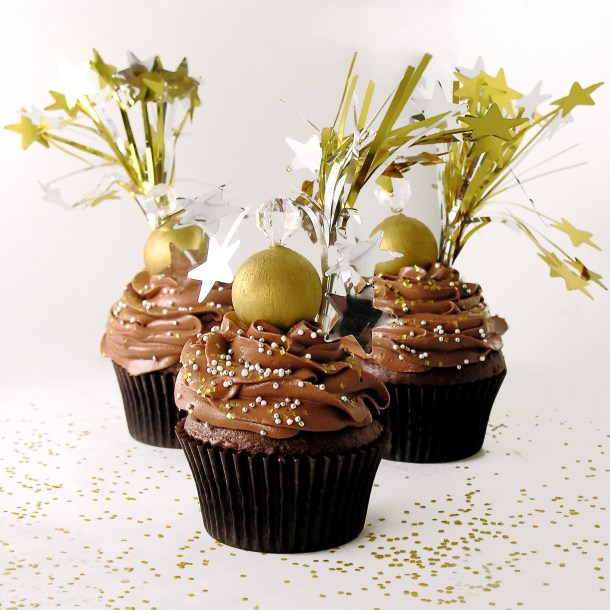
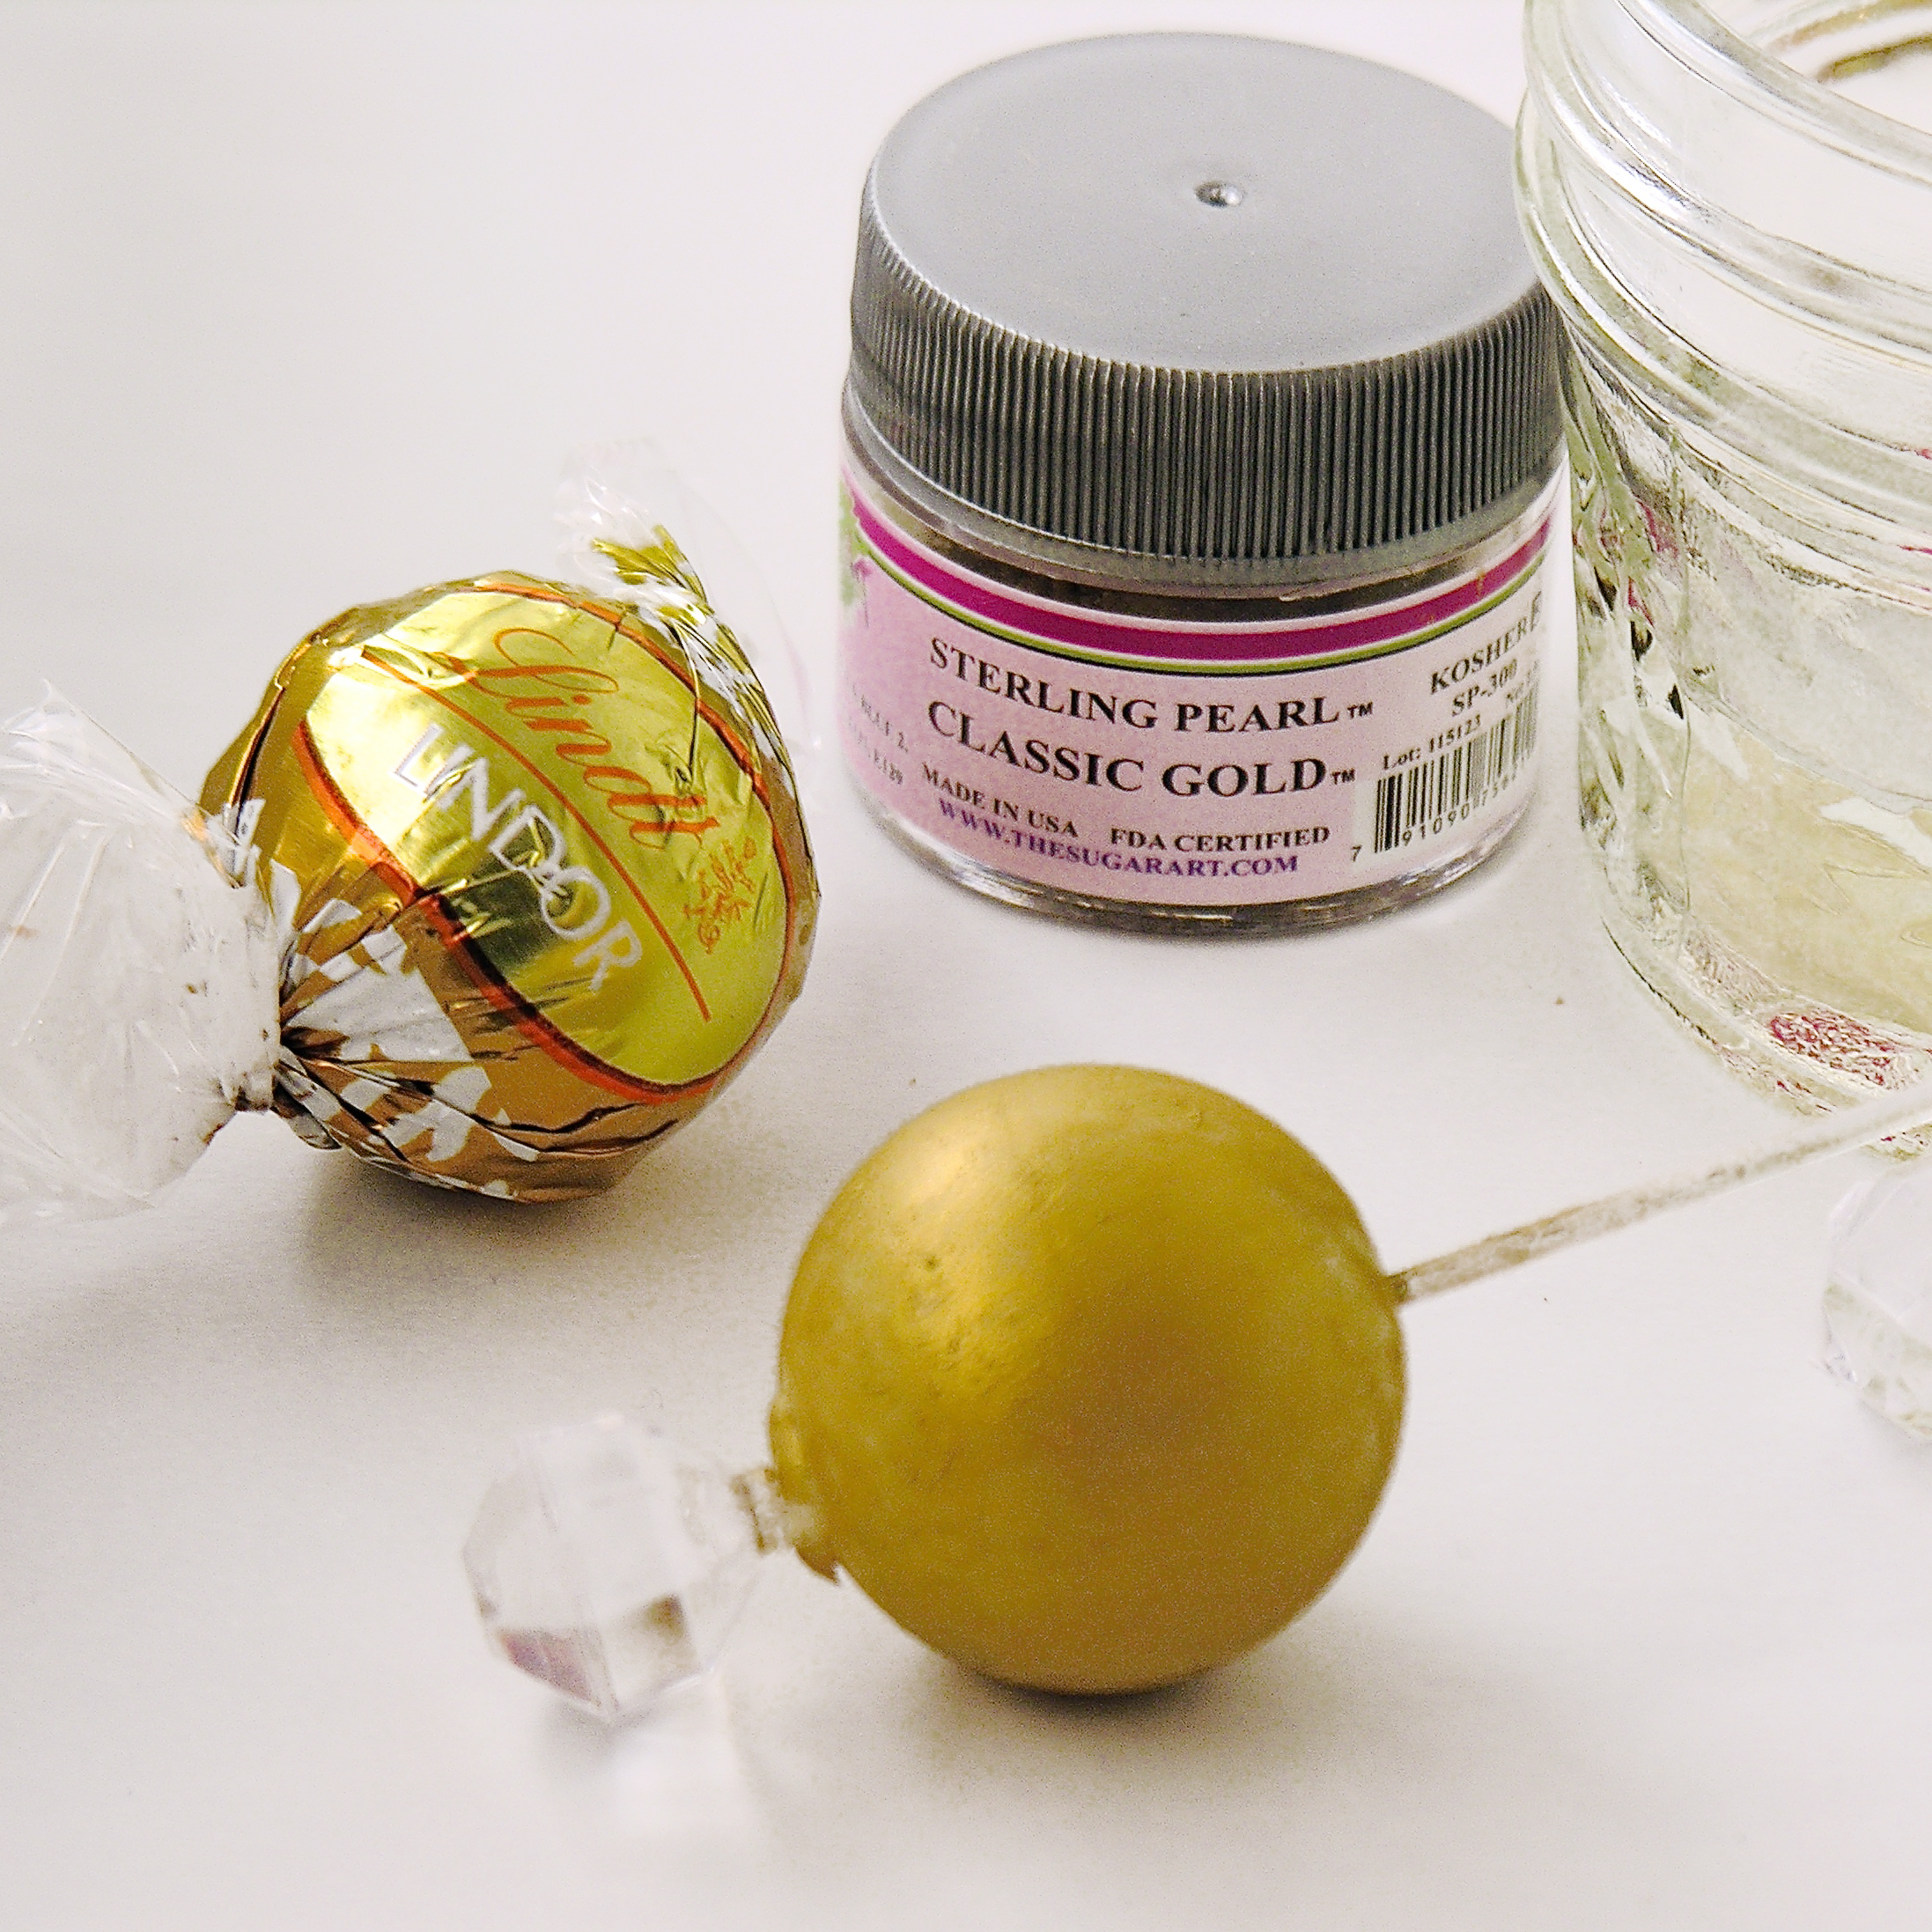
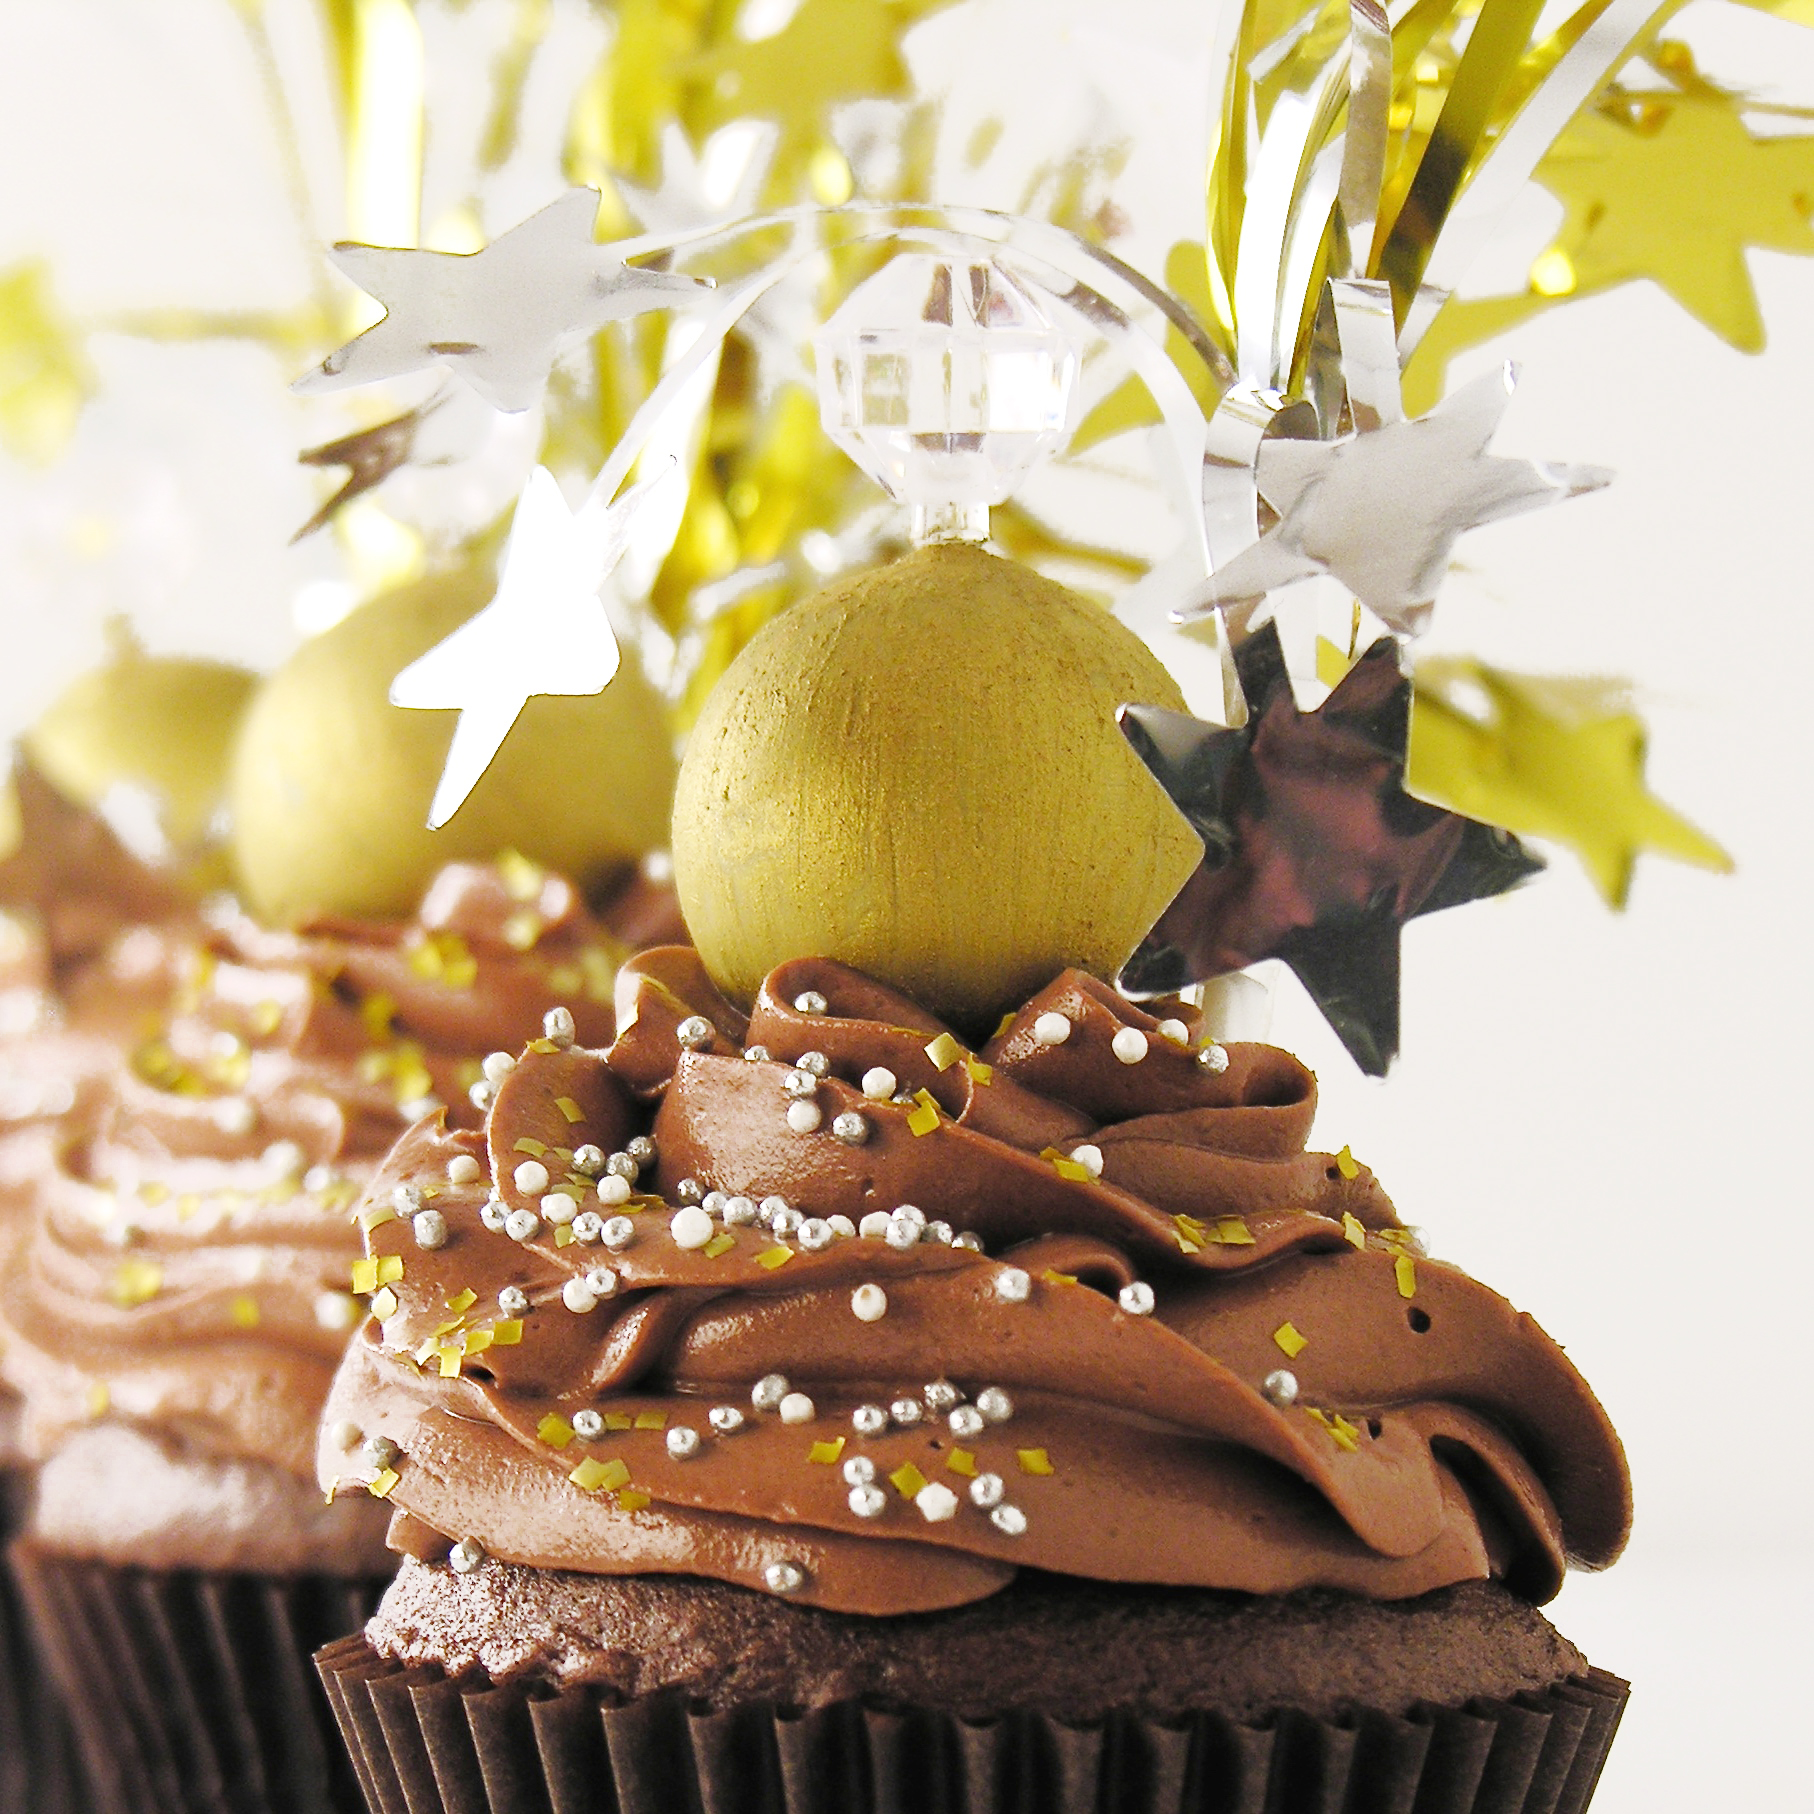
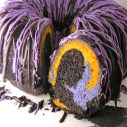
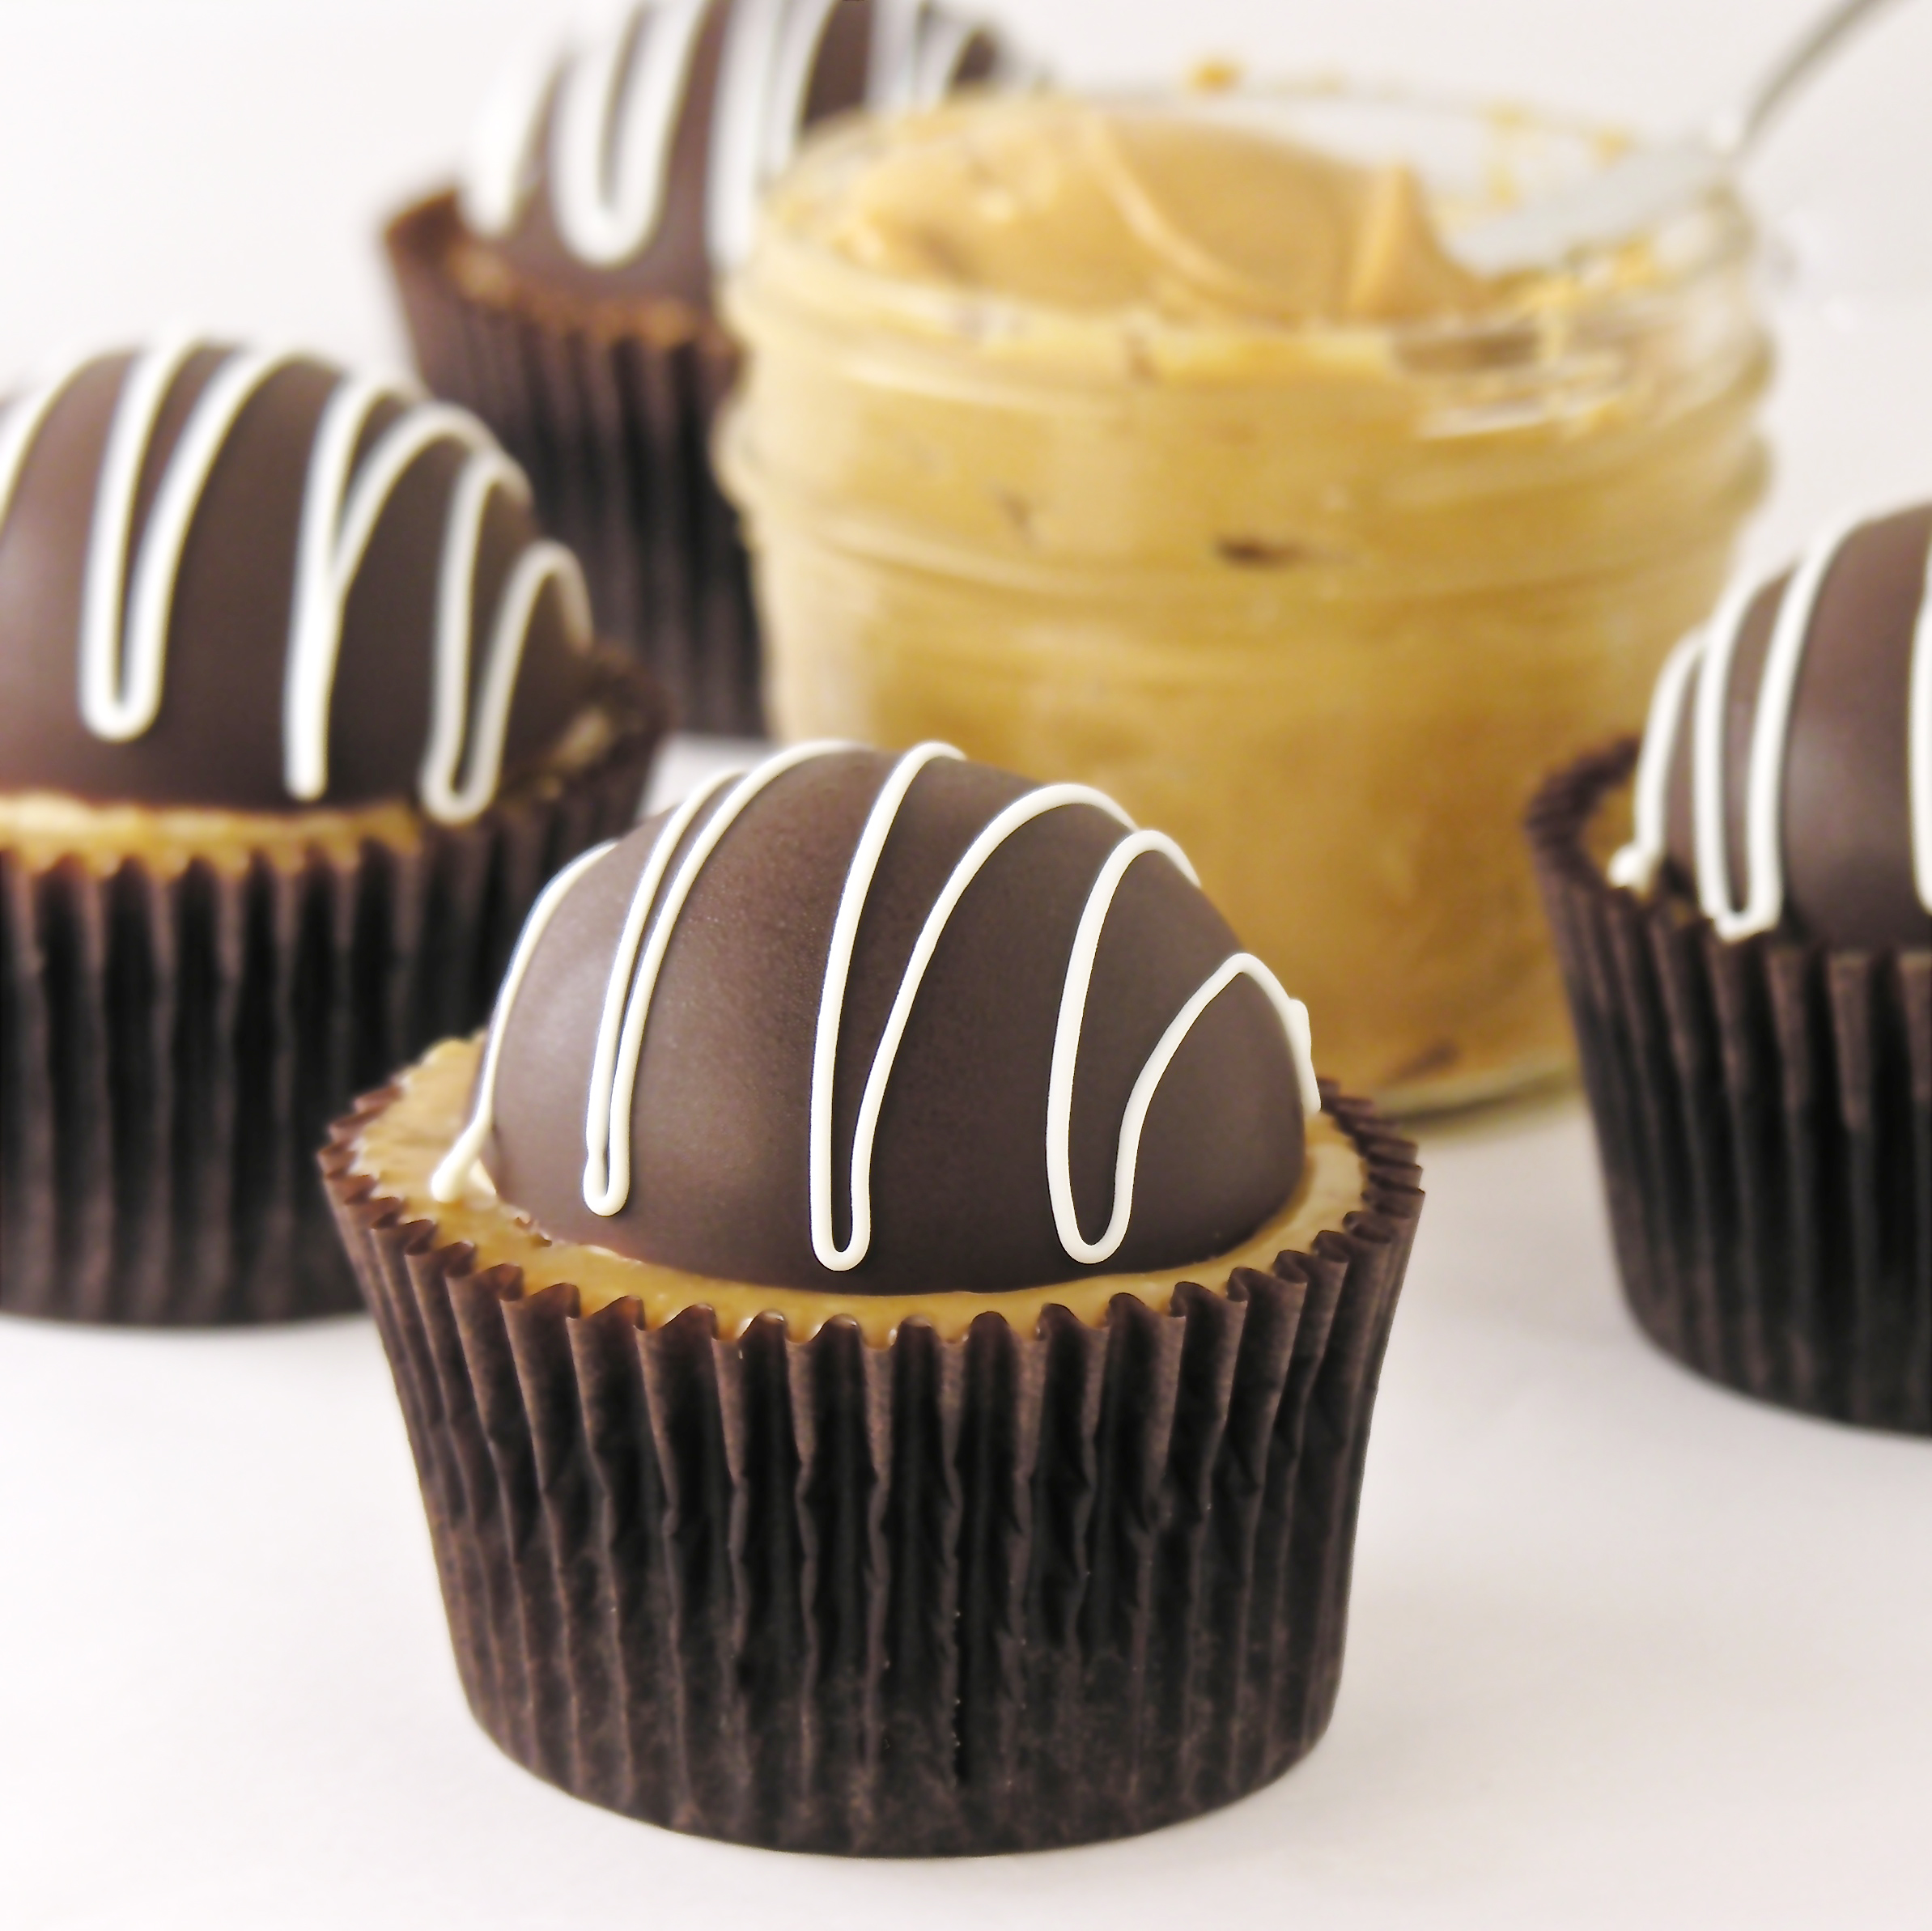
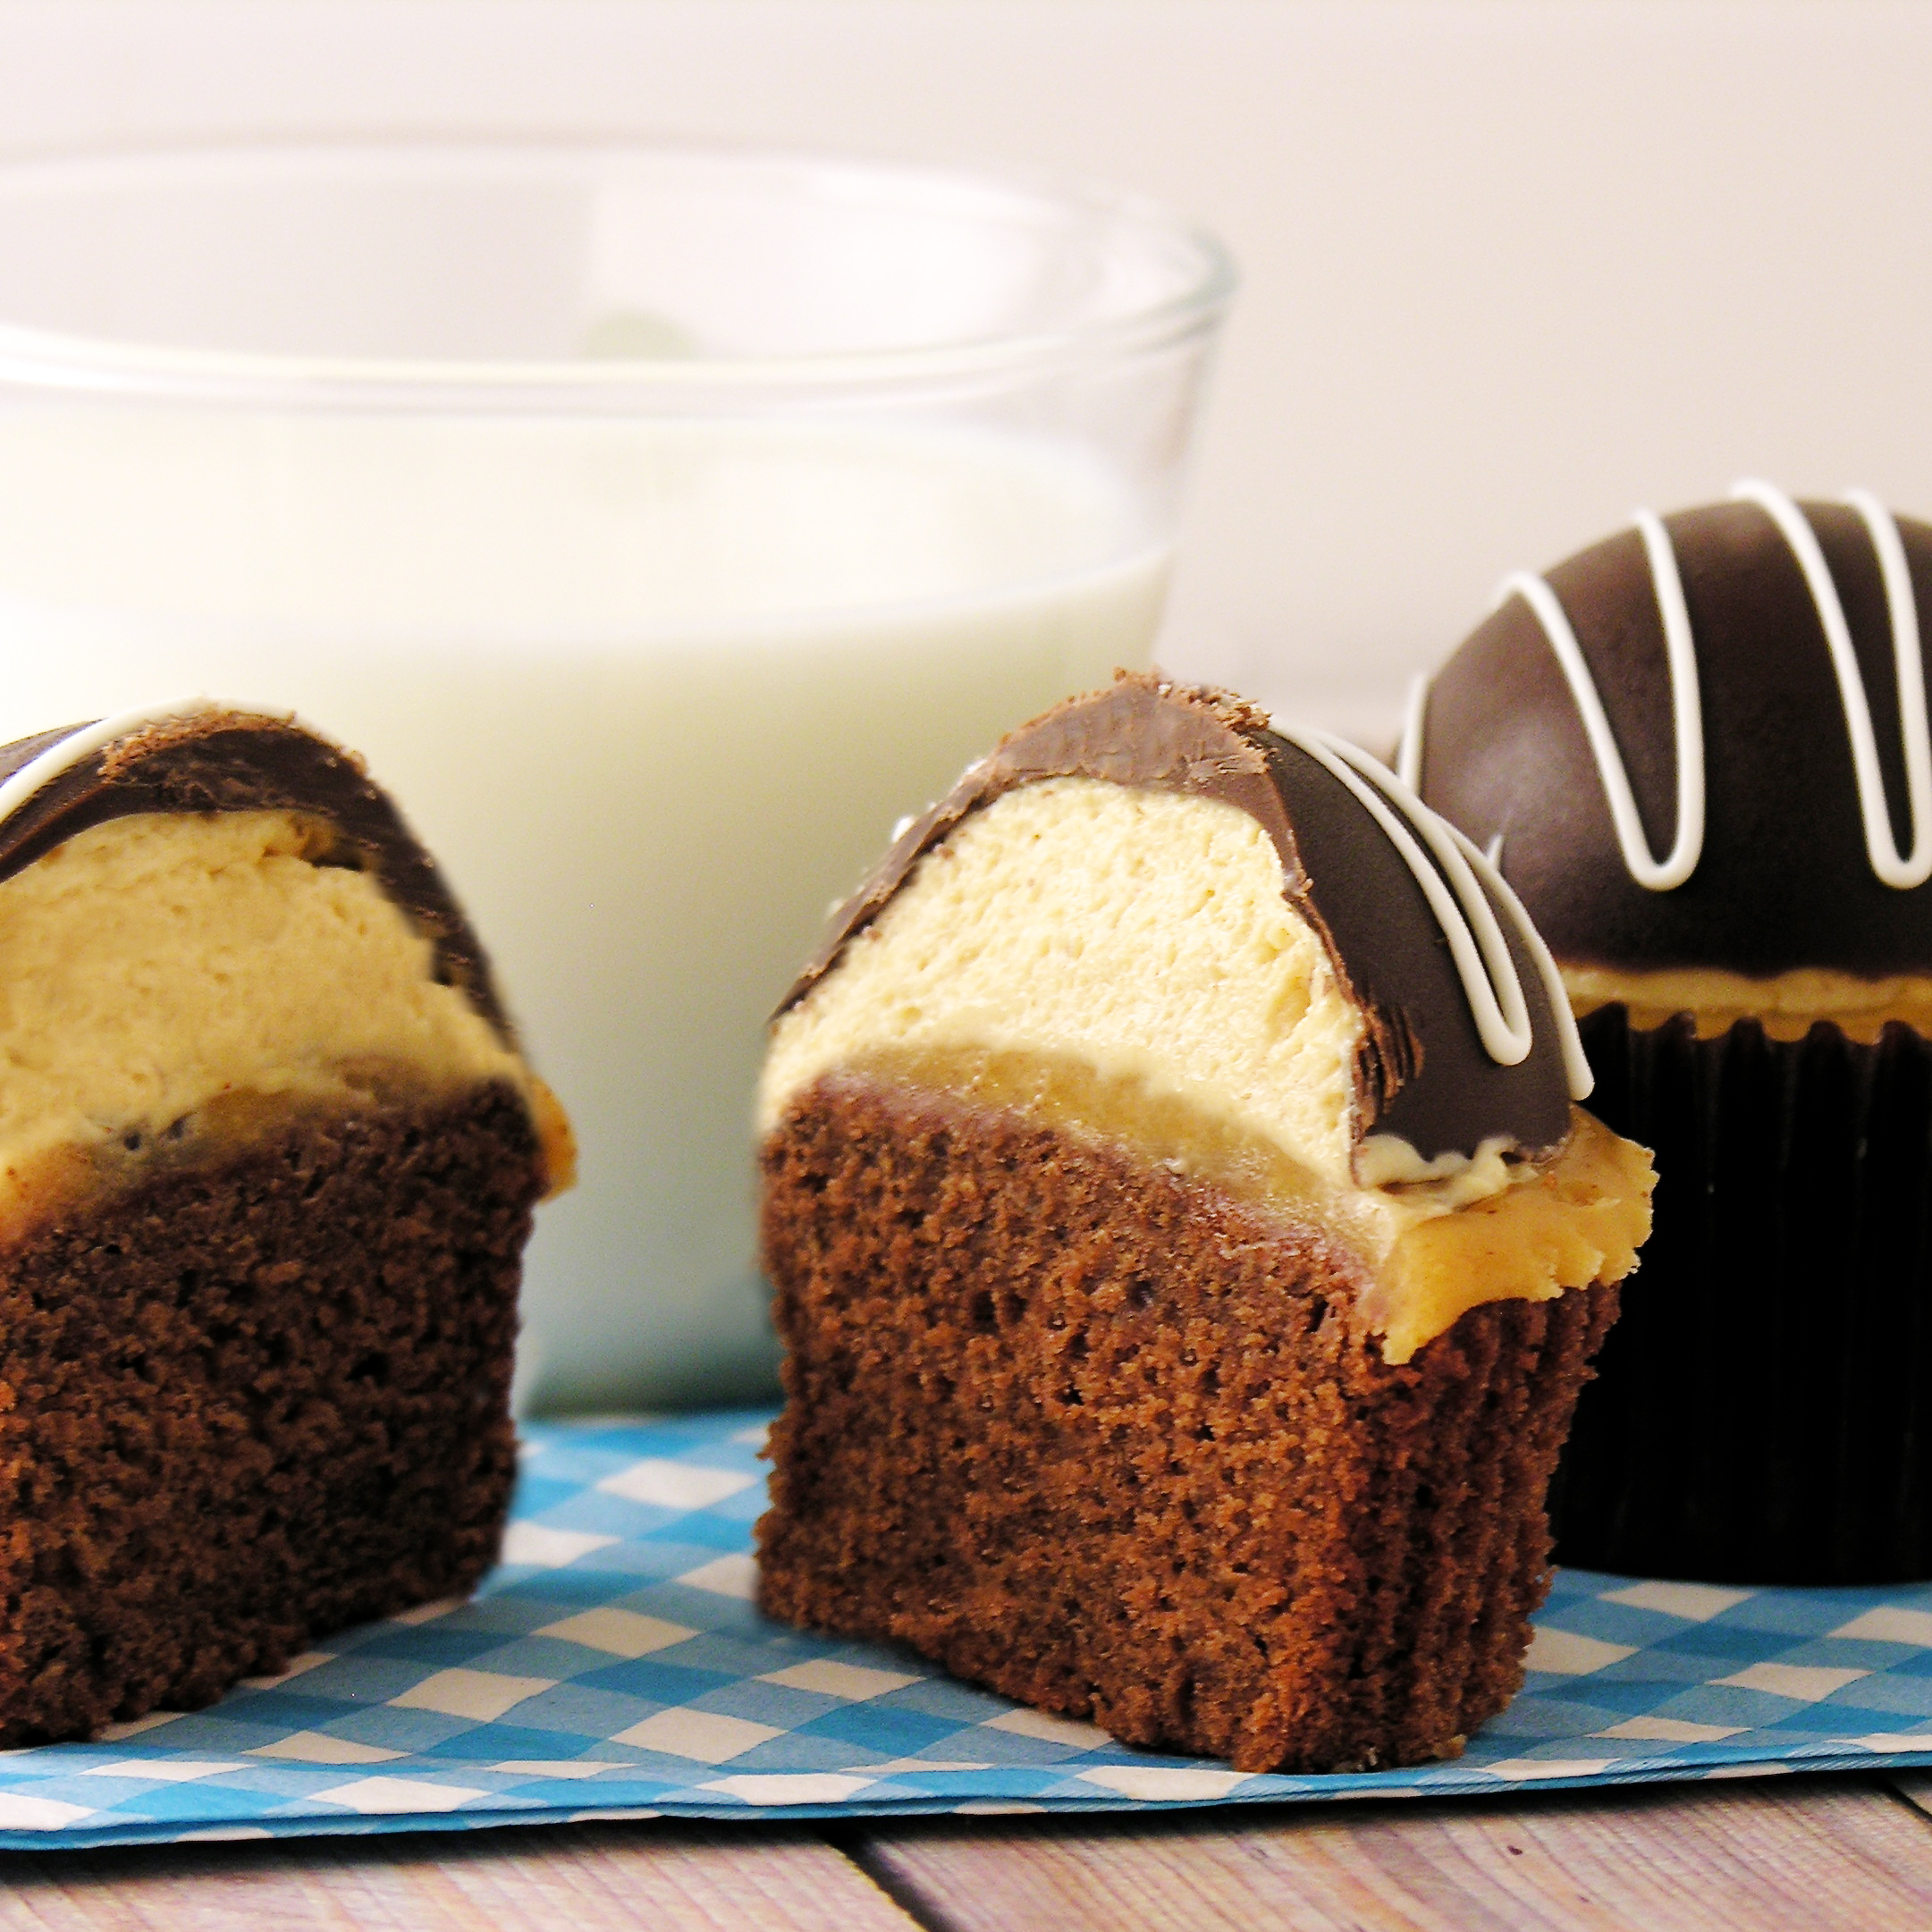
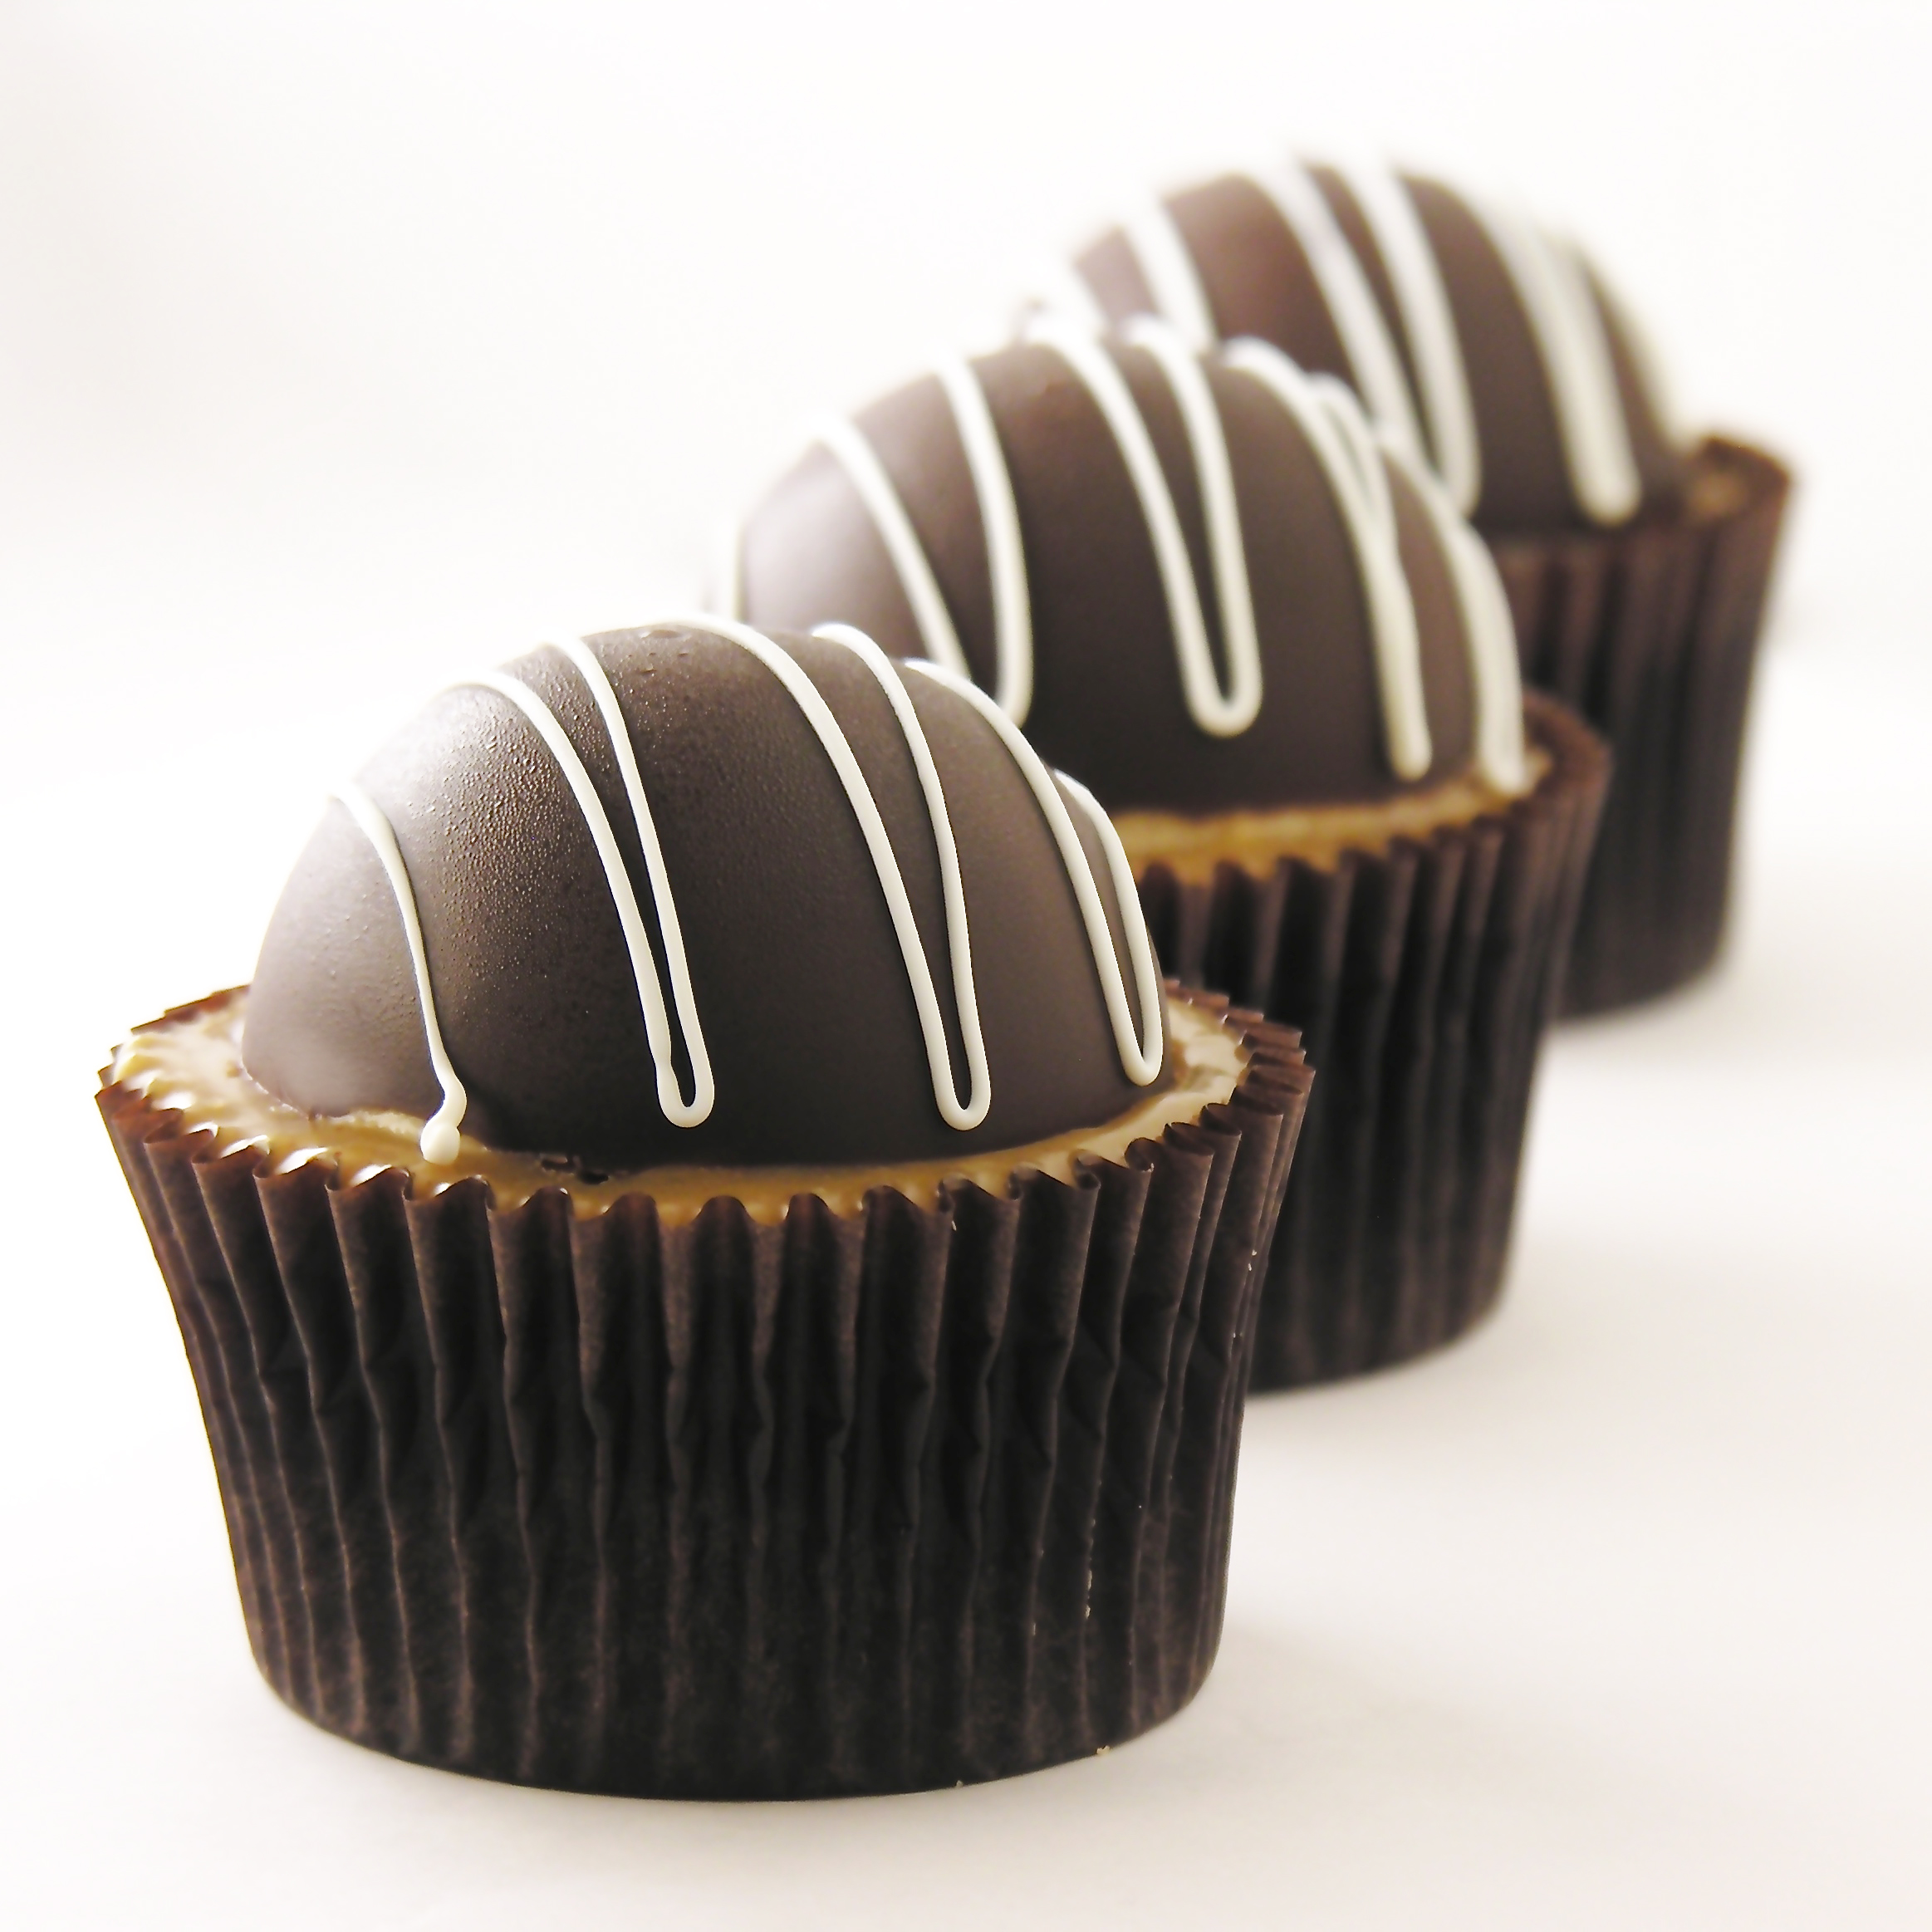
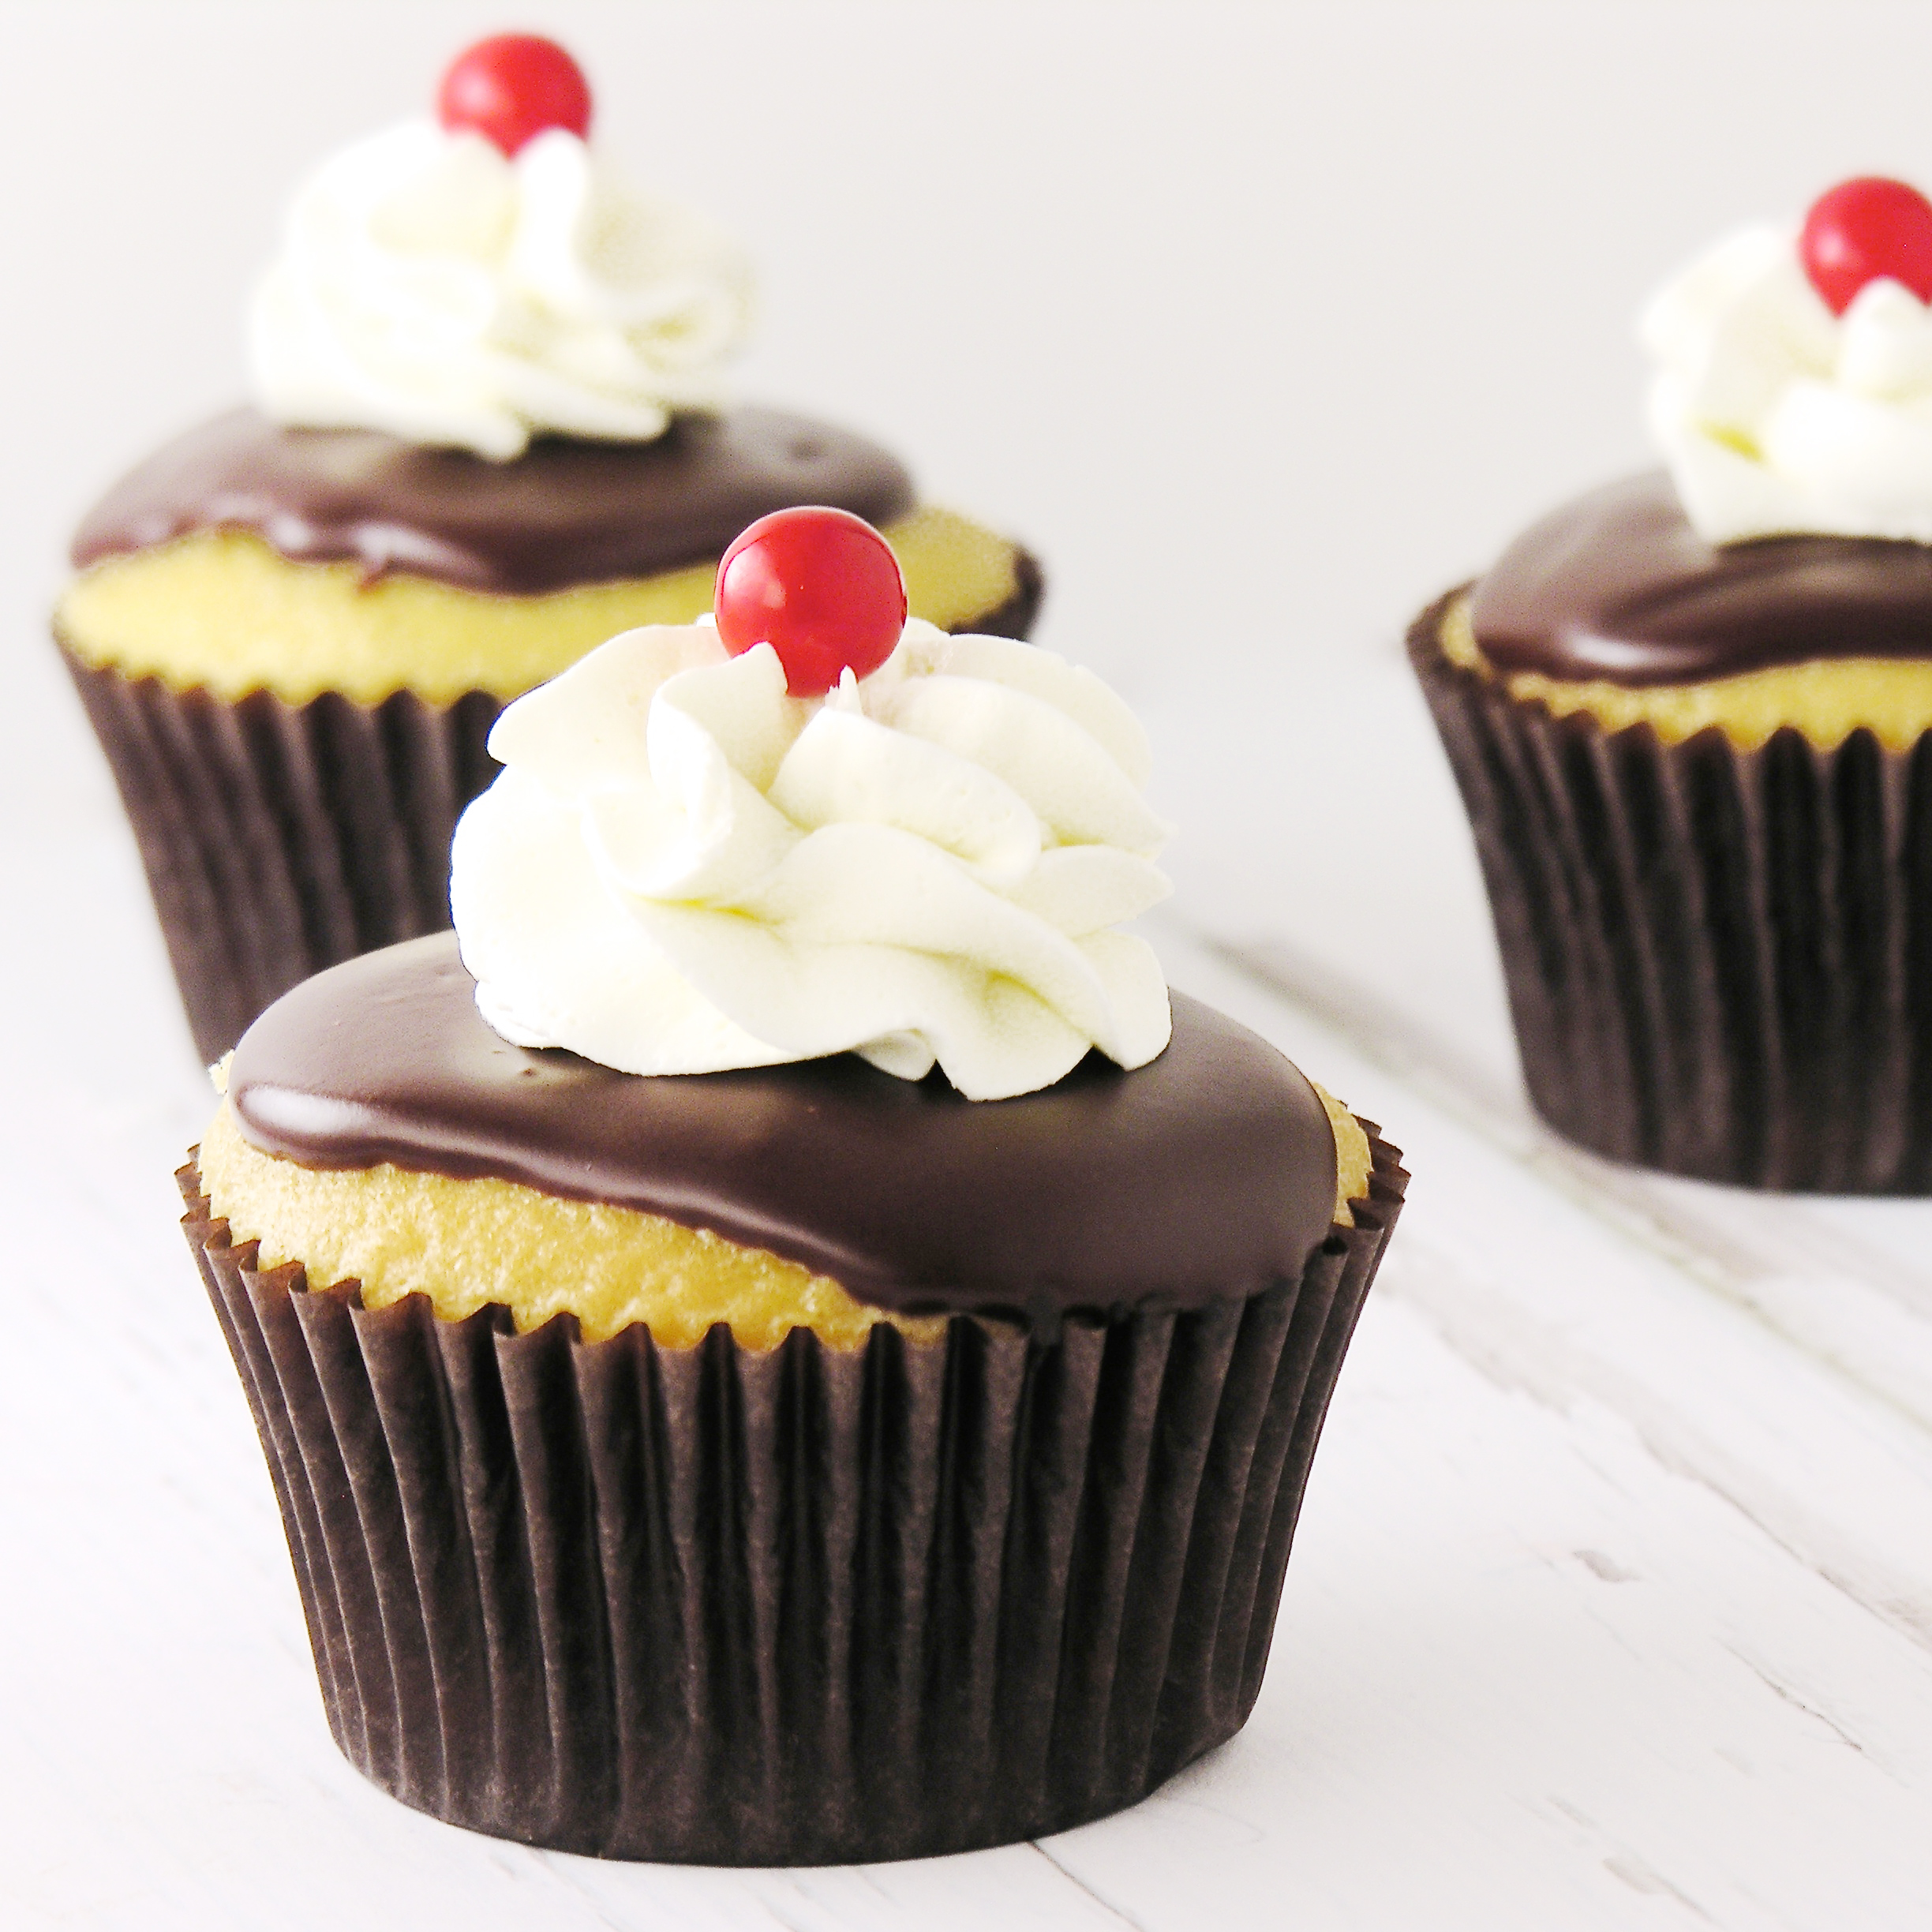
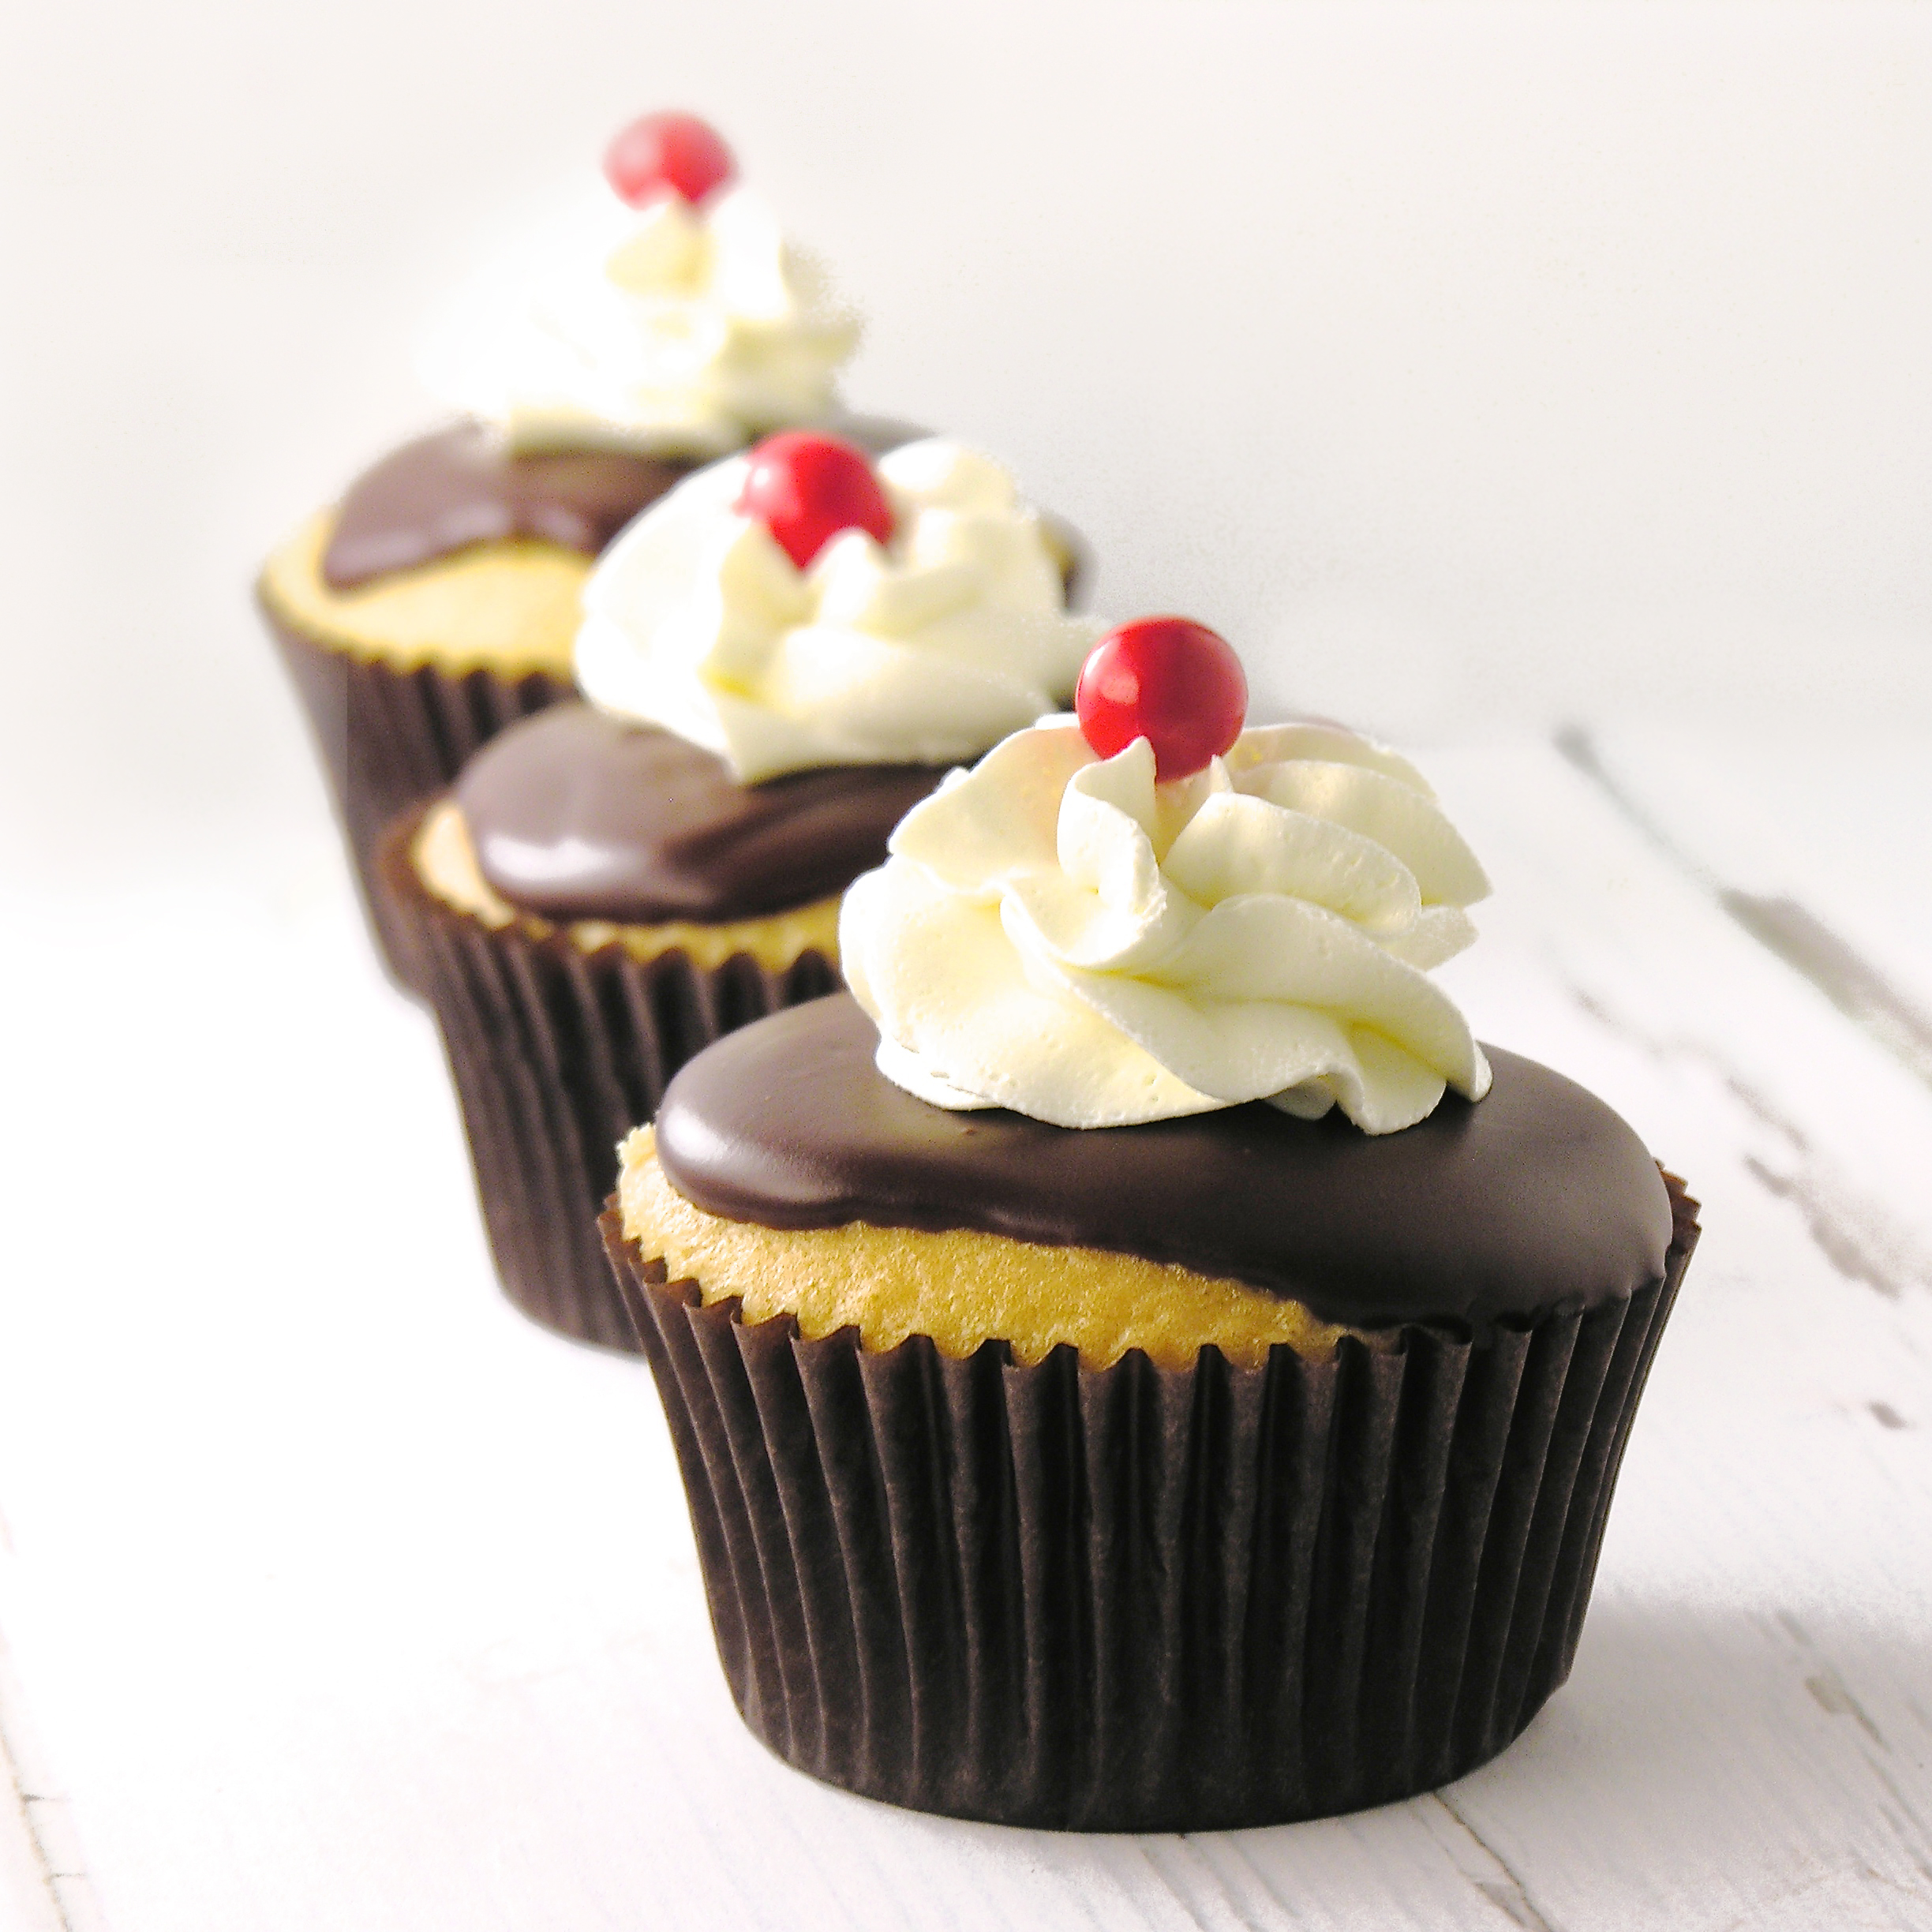
az-441dsc_0333dsc_0820the-faces-of-jv-interns

Boston Cream Pie Cupcakes

Posted on

Boston Cream Pie Cupcakes3

Filled with cream and topped with rich chocolate, these cupcakes capture all the delicious flavor of a Boston Cream Pie in a single-serving form! Easy and soooo yummy!

I’ve never understood why they call it a pie, when it is SO obviously a cake, but Boston Cream Pie is one of my favorite desserts. There’s something about that filling that makes it so moist and flavorful!

These little creations are as easy as can be because they use a cake mix and instant pudding. Easy and delicious!!

Boston Cream Pie Cupcakes2

Here’s how we made them: (printable recipe)

INGREDIENTS:

  • One boxed yellow cake mix (plus water, oil and eggs to make according to package)
  • One packet of Jell-O White Chocolate Instant Pudding (plus milk to make according to package)
  • One cup of semi-sweet chocolate chips
  • 6 Tablespoons of butter
  • Cool Whip, or Butter Cream frosting (1 stick of (softened)butter with 3/4 cups of powdered sugar and 1 teaspoon of vanilla)
  • 24 red Sixlets candies (as desired for decoration)

DIRECTIONS:

  • Make cake mix according to package and divide into 24 cupcake liners placed in tins. Bake according to package, and cool.
  • Make pudding according to package and spoon into a large zip-top bag. Refrigerate until use.
  • Make chocolate sauce by melting chocolate chips and butter together in the microwave in 30 second increments, stirring between, until melted and smooth.
  • If you are making butter cream for the top (this gives you a swirl on top that is more firm for transporting than Cool Whip): Beat together the butter cream ingredients until they are light and fluffy.
  • Place either Cool Whip or butter cream in a zip-top bag fitted with a decorative tip.
  • To assemble: use a cupcake corer (or a knife) to remove a core out of the center of each cooled cupcake.
  • Cut the tip off the bag containing the pudding and pipe a dollop of pudding into the center of each cupcake.

Pecan Pie Cupcake1

  • Trim the “core” a little bit (makes room for the pudding) and place the top of the core back on, covering the pudding with cake.
  • Carefully spoon the warm chocolate over the top of each cupcake, gently pushing it toward the sides, but not over the sides.
  • Allow chocolate to cool. It will firm up.
  • Once it is completely cool, pipe Cool Whip or butter cream in a little swirl on top.
  • Decorate using sixlets (or any other sprinkles or decorations you like!)
  • Enjoy!

Boston Cream Pie Cupcakes1

My thoughts: These really are delicious… I try to only “taste” my treats and give the rest away, but you better believe I finished this little cupcake…with a cup of coffee. Yum!  I hope you get a chance to try them too! ~r


Boston Cream Pie Cupcakes

Here are some other fun uses for pudding! Click on a photo to see the recipe.

Heath Bar Ice Cream Dessert3Toxic Slime-filled Cupcakes!Mini Filled Boston Cream Pies!frozen s'more cups

Fourth of July Dessert Ideas!

Posted on

Bomb Pop Cupcakes!!!


Bomb Pop Cupcakes!

Oh my, I love the fourth of July! I love the picnics, and pool parties, and cookouts, and fireworks…and the time with family!

My parents have always (like always, for as long as I can remember!) had a giant pool party for the fourth and invited our entire extended family for burgers and brats and volleyball and sunshine….and for a competitive display of our best “at home” fireworks we could find, later in the evening. I have so many fun memories of chasing fireflies and waving sparklers with my cousins (that are all grown with kids of their own now!). This year is different. For starters, mom isn’t here to orchestrate the complexities of the celebration. The house is in boxes and bags- ready to show to whomever might be interested in buying, and the pool and yard are immaculately kept. Pool toys and floats are all deflated and either sold or put away. Sometimes I sit on the back porch and watch the fireflies and remember all the laughter and fun.

I know that these times are not forever over. This year is different, but once dad settles into his new place there will be other celebrations and family times over the fourth. This year though…my heart wasn’t in the “create something new and fun” place. So instead, I thought you might enjoy a collection of some of my previous red-white-and-blue recipes. You can click on the photo or the title, to be taken to the recipe.

American Flag Oreo Pops!!!!

American Flag Oreo Pops

Patriotic Polka Dot Cake!!!!

Patriotic Polka Dot Cake!!!

Patriotic Flip Flop Cookies!!!!

Flip Flop Cookies for the Fourth!

Patriotic Tie-Dye Cake!!!!

Patriotic Tie-Dye Cake!

Stars!!

Stars and Stripes Brownies!

Patriotic Bundt Cake!!!!

Red White and Blue Bundt Cake!

And if you are grilling out for the Fourth, you might need these…

BBQ Grill Cupcakes!!

BBQ Grill Cupcakes!

Hamburger Cookie!

Grilled Burger Cupcakes!

However you celebrate this summer, I hope you have fun making memories with your friends and family~ and I hope you enjoy trying fun, new recipes that become a part of your family traditions! ~r

73090_461339542512_3894329_n

%d bloggers like this: