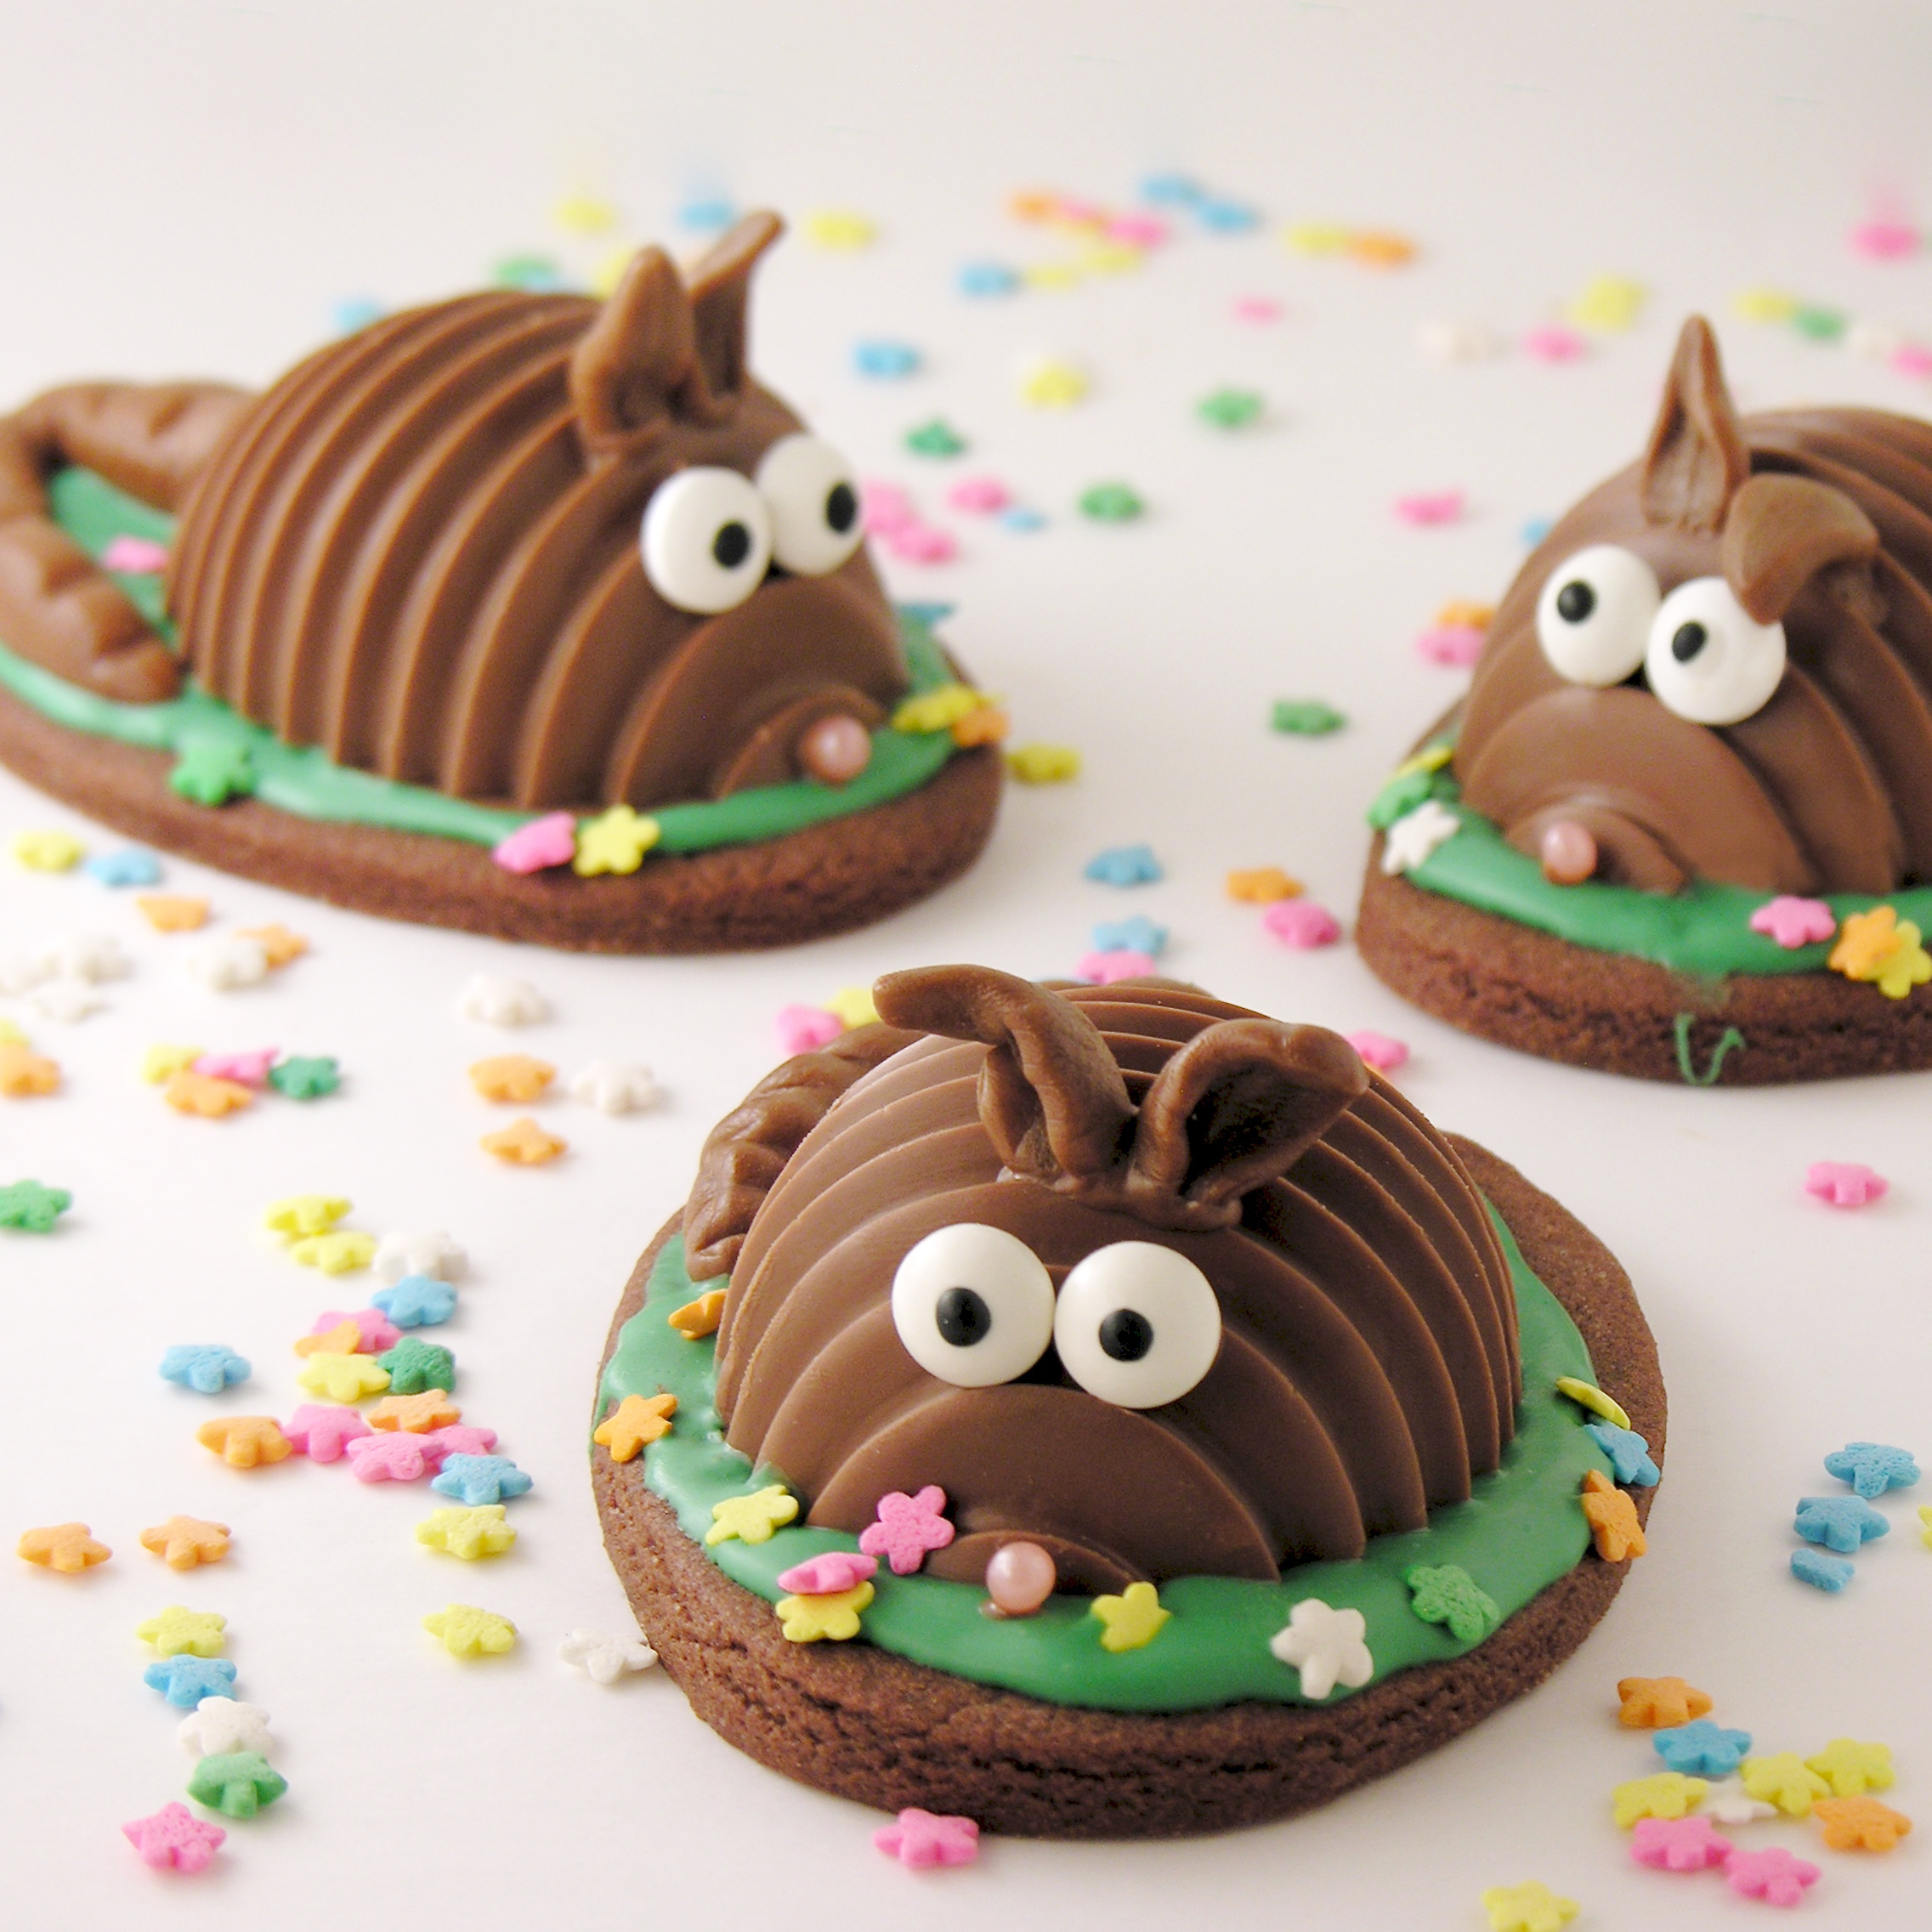
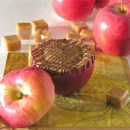
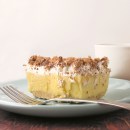
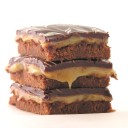
A dense, dark chocolate tart covered in creamy, salted caramel sauce. Salty, sweet, and rich dessert flavors!!!!
This recipe is a combination of some of my favorite elements from other desserts. The chocolate tart is the perfect base for just about any topping. You can adjust it from dark to milk chocolate just by swapping out the type of chocolate you add. The caramel sauce is my go-to sauce for so many recipes. It’s not from-scratch, but it is honestly better (and soooo much easier)!

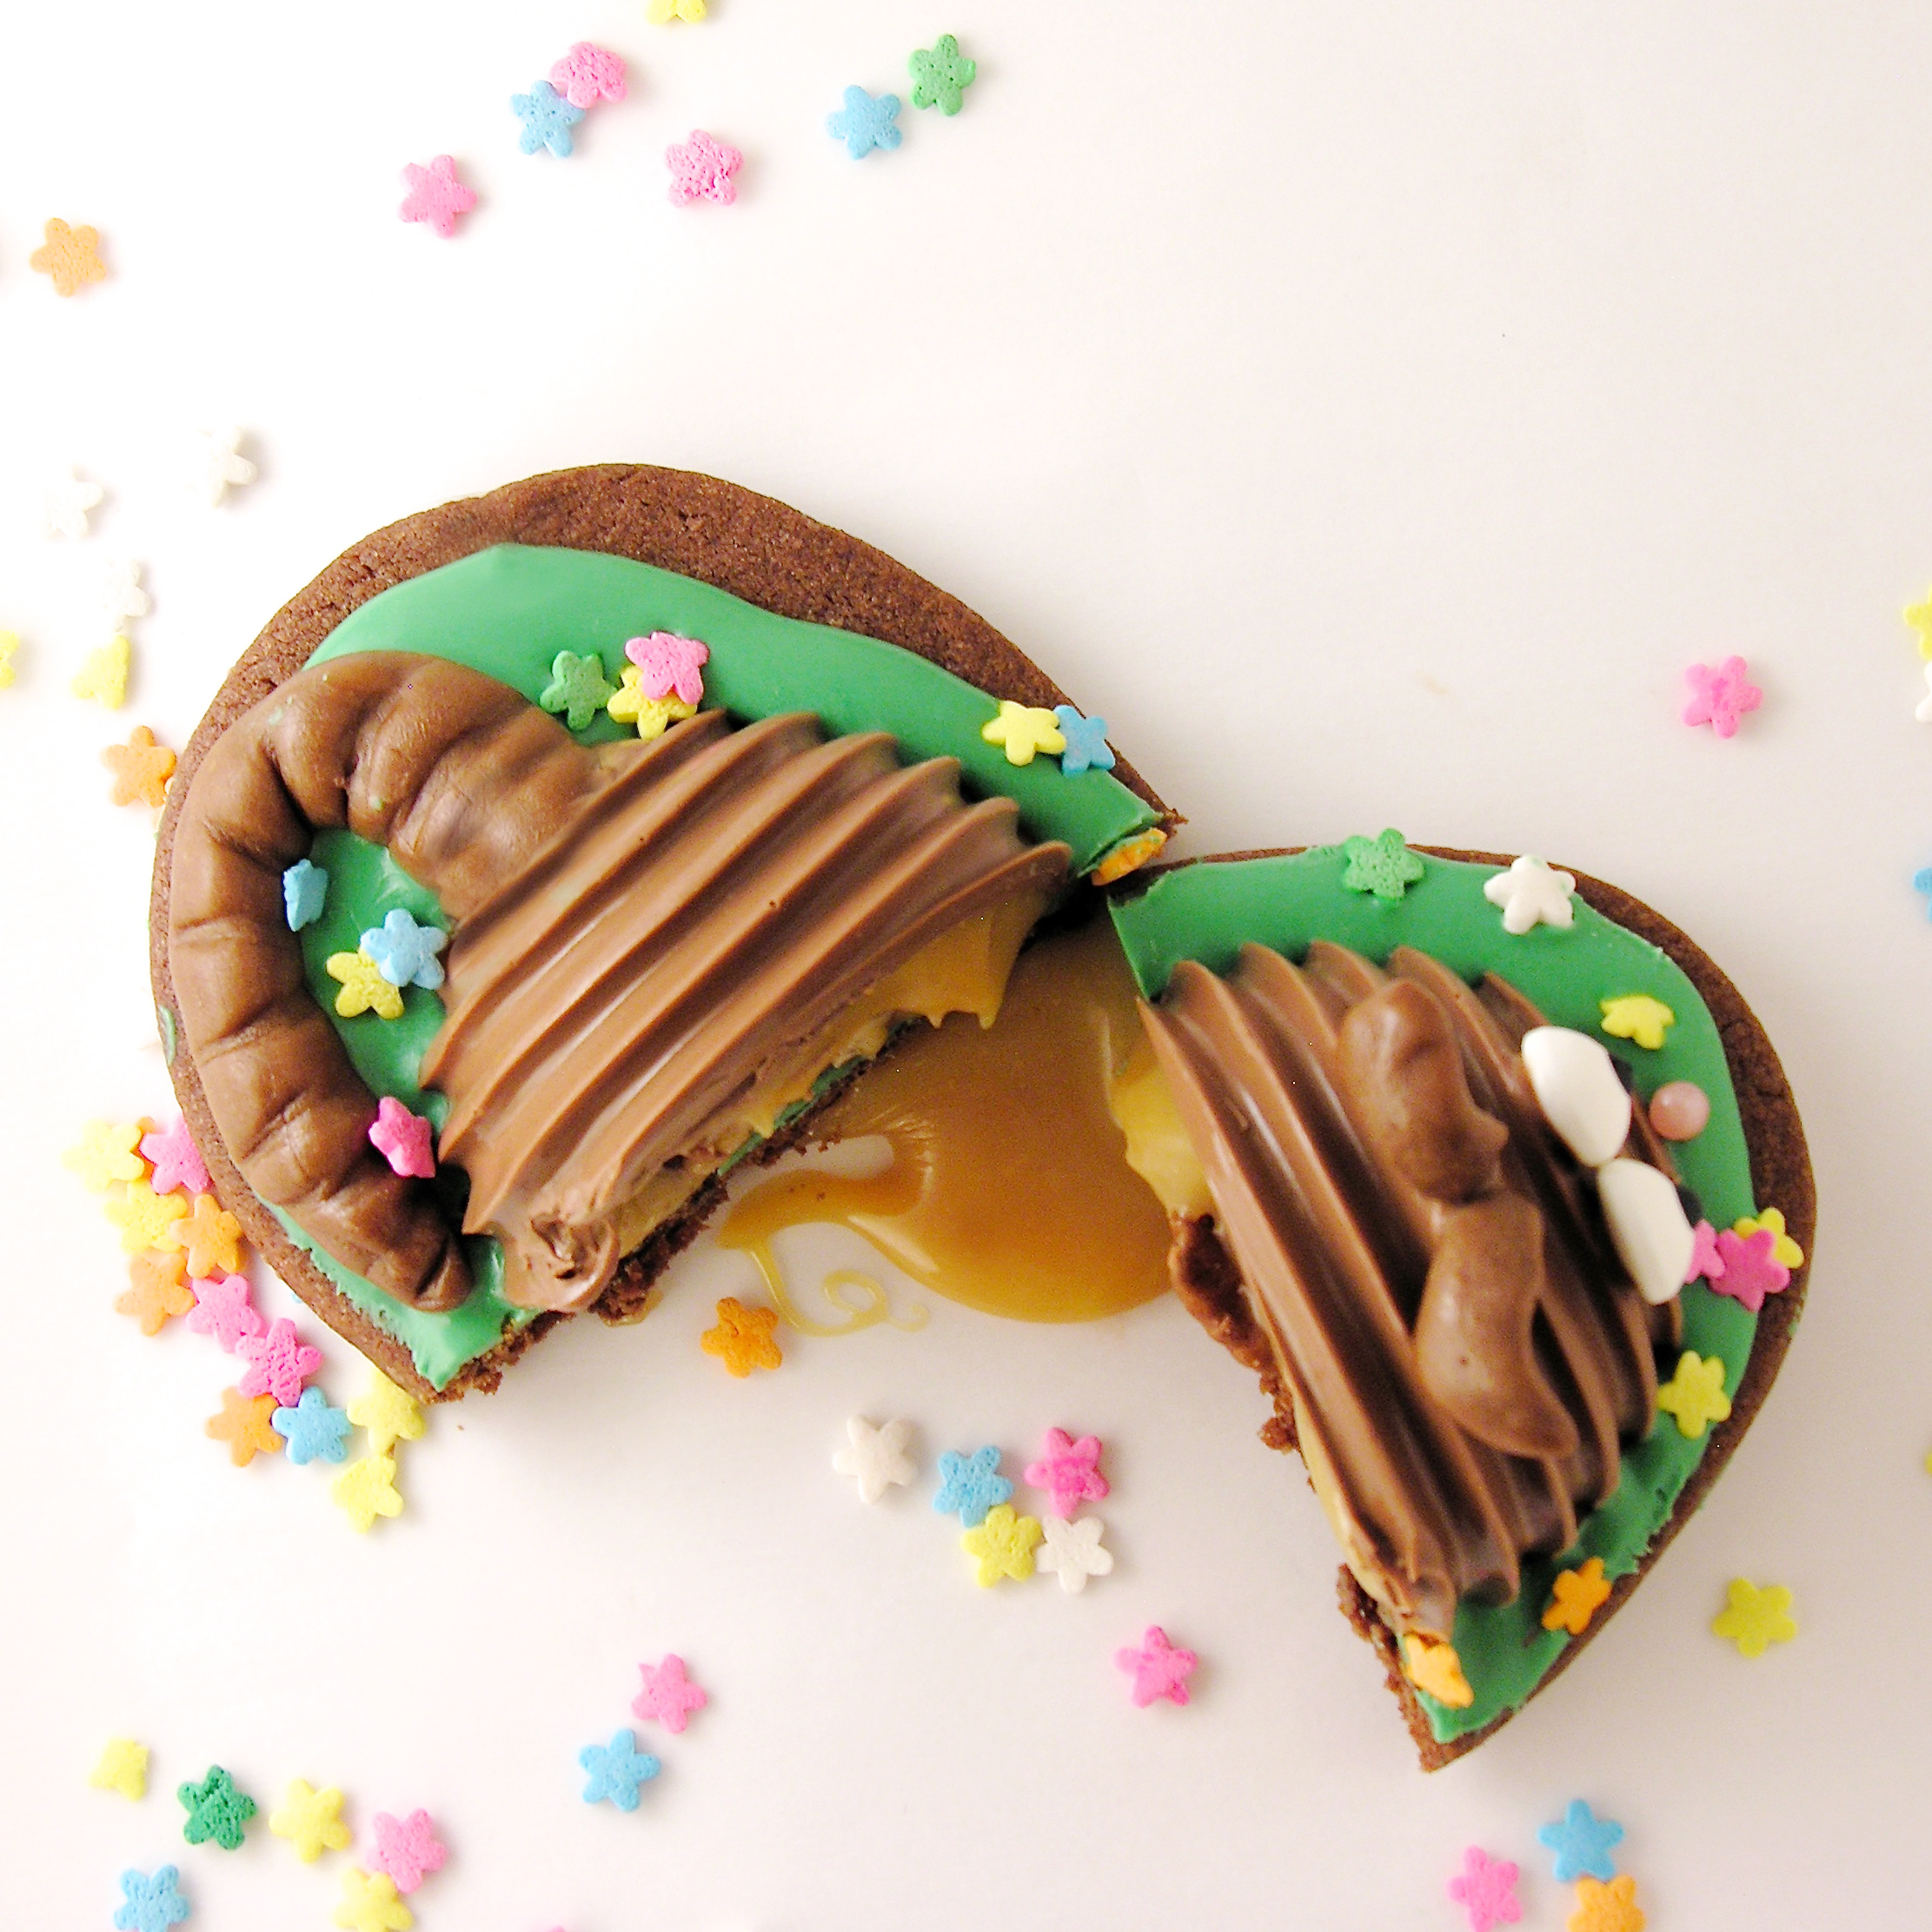
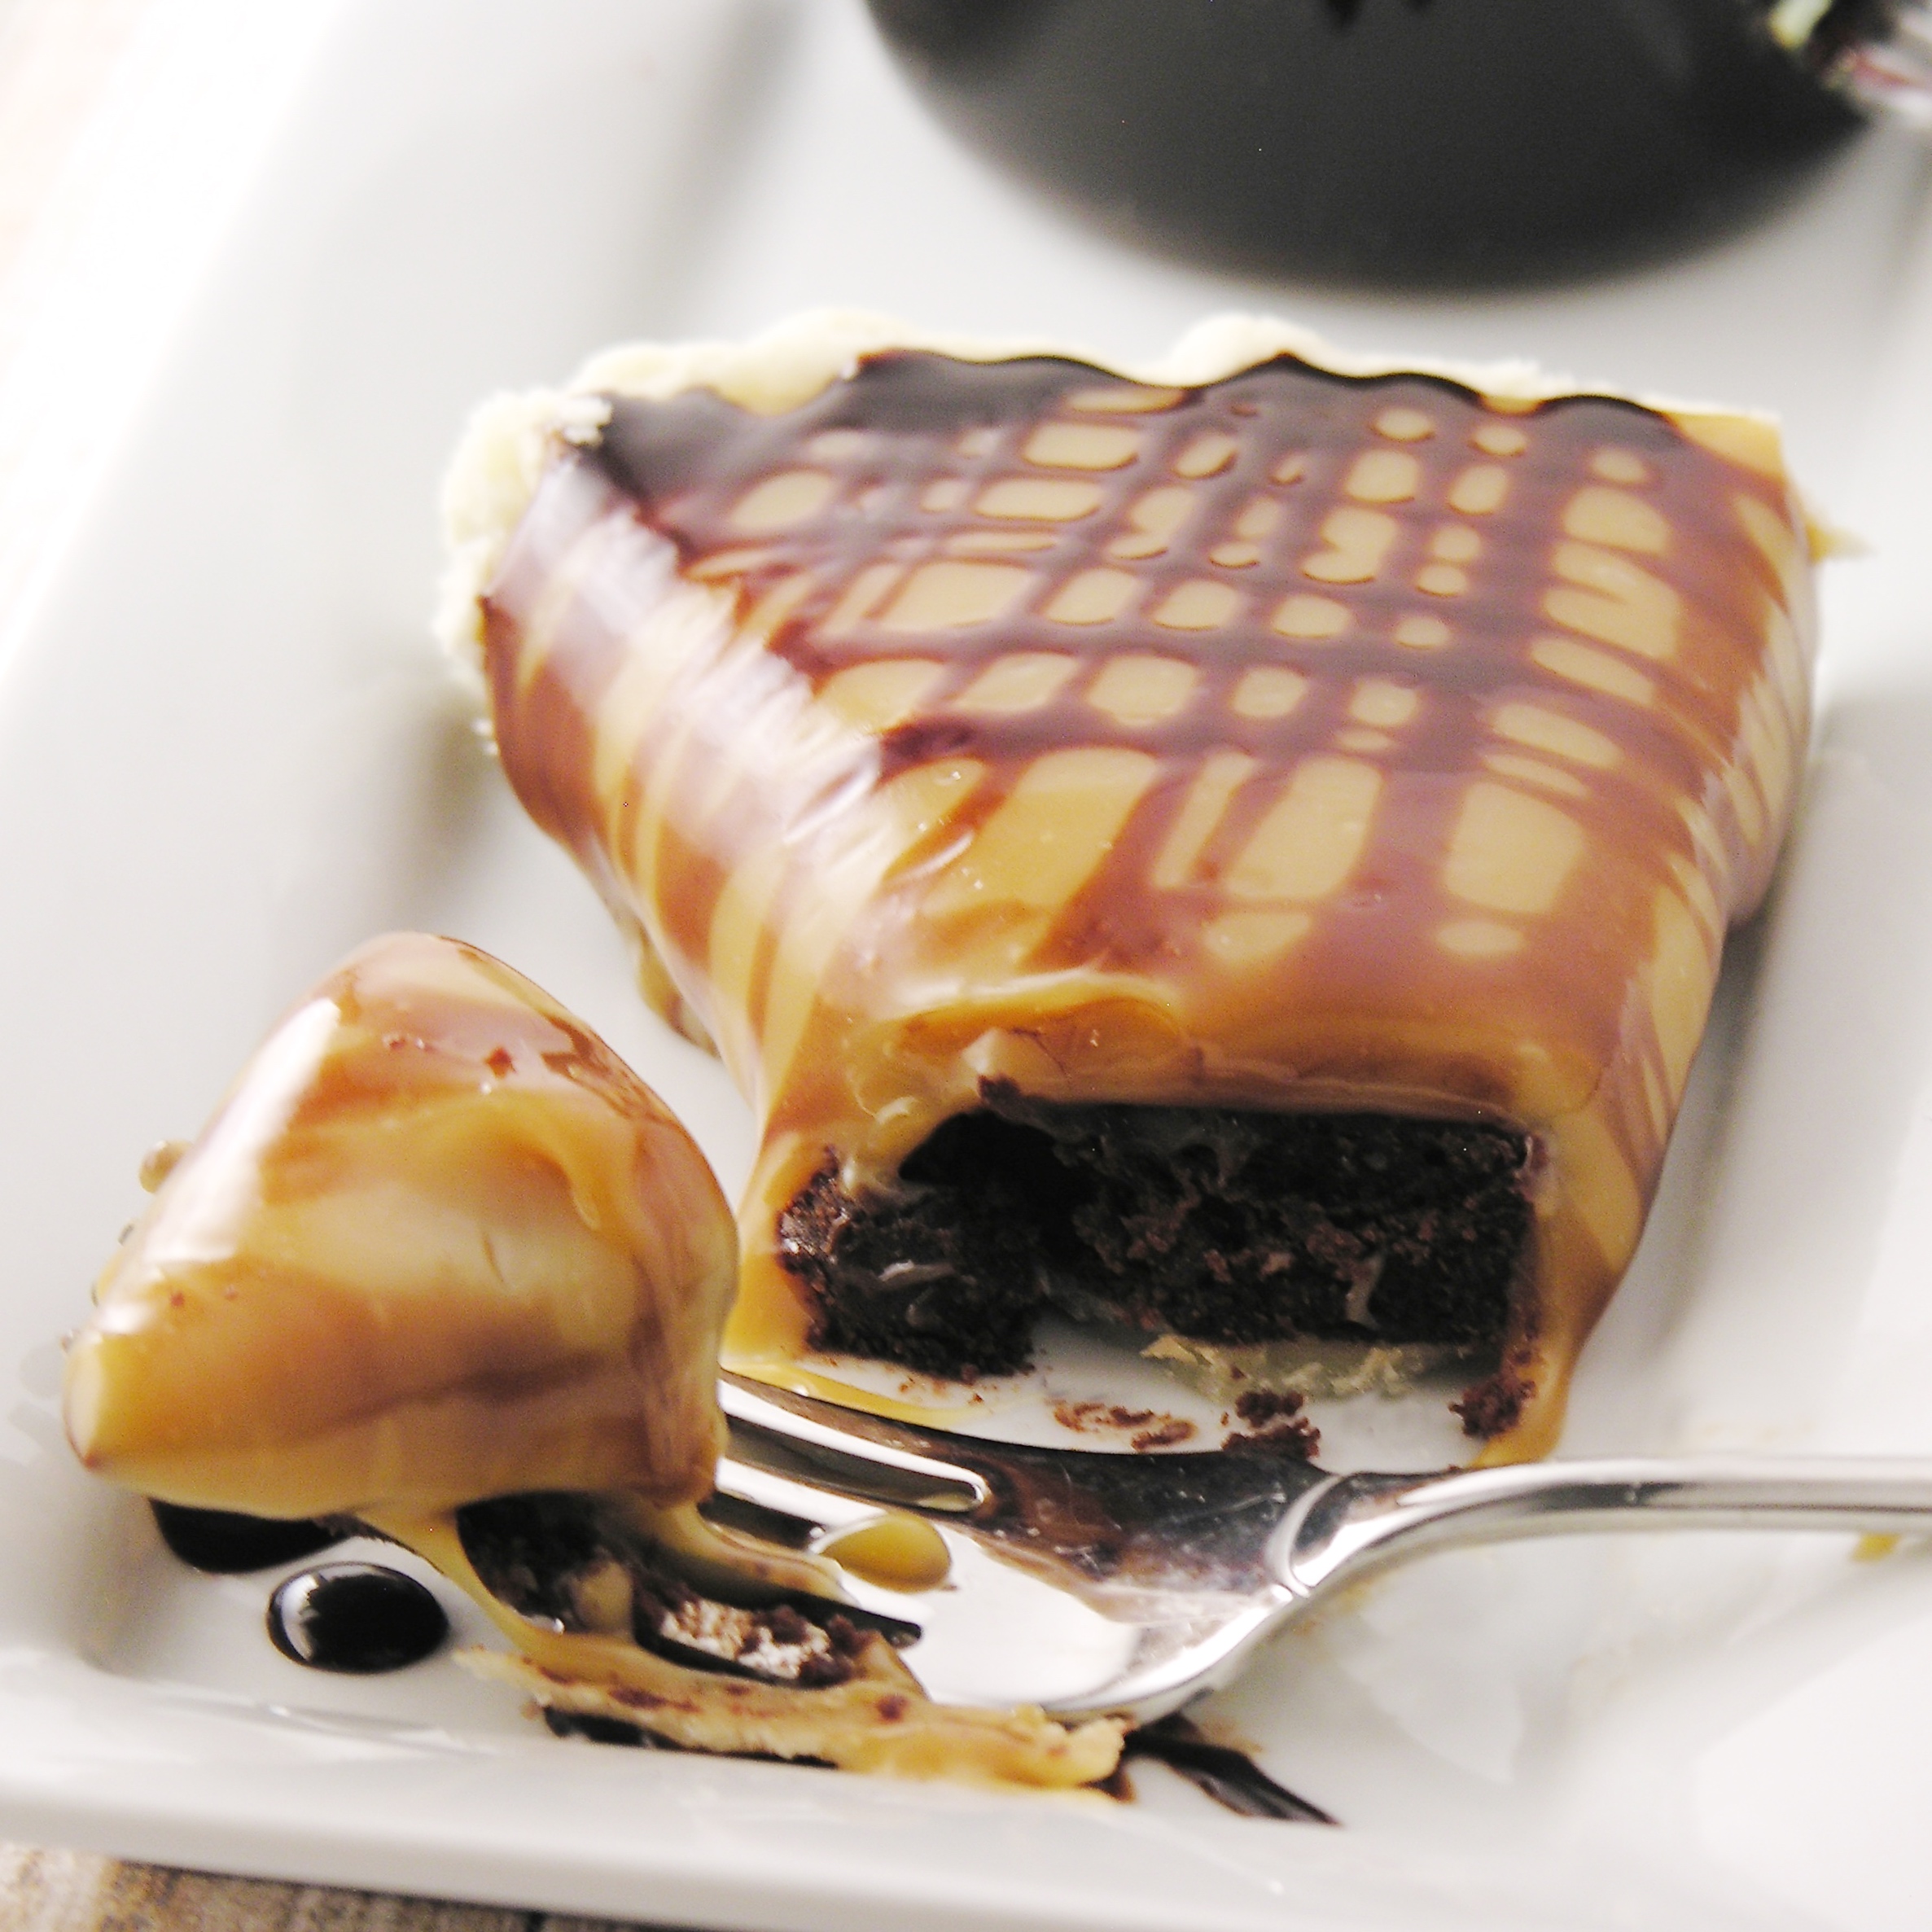
That caramel layer does firm up after being chilled- but I wanted to cut into this right away- so these pictures show it in all of the gooey happiness that happens just after baking. Yum!
Here’s how we made this tart: (printable recipe here)
INGREDIENTS:
- One refrigerated pie crust
- 1 10 oz. bag of dark chocolate chips
- 5 egg yolks
- 5 tablespoons heavy whipping cream
- 2 teaspoons of vanilla
- 5 tablespoons of powdered sugar
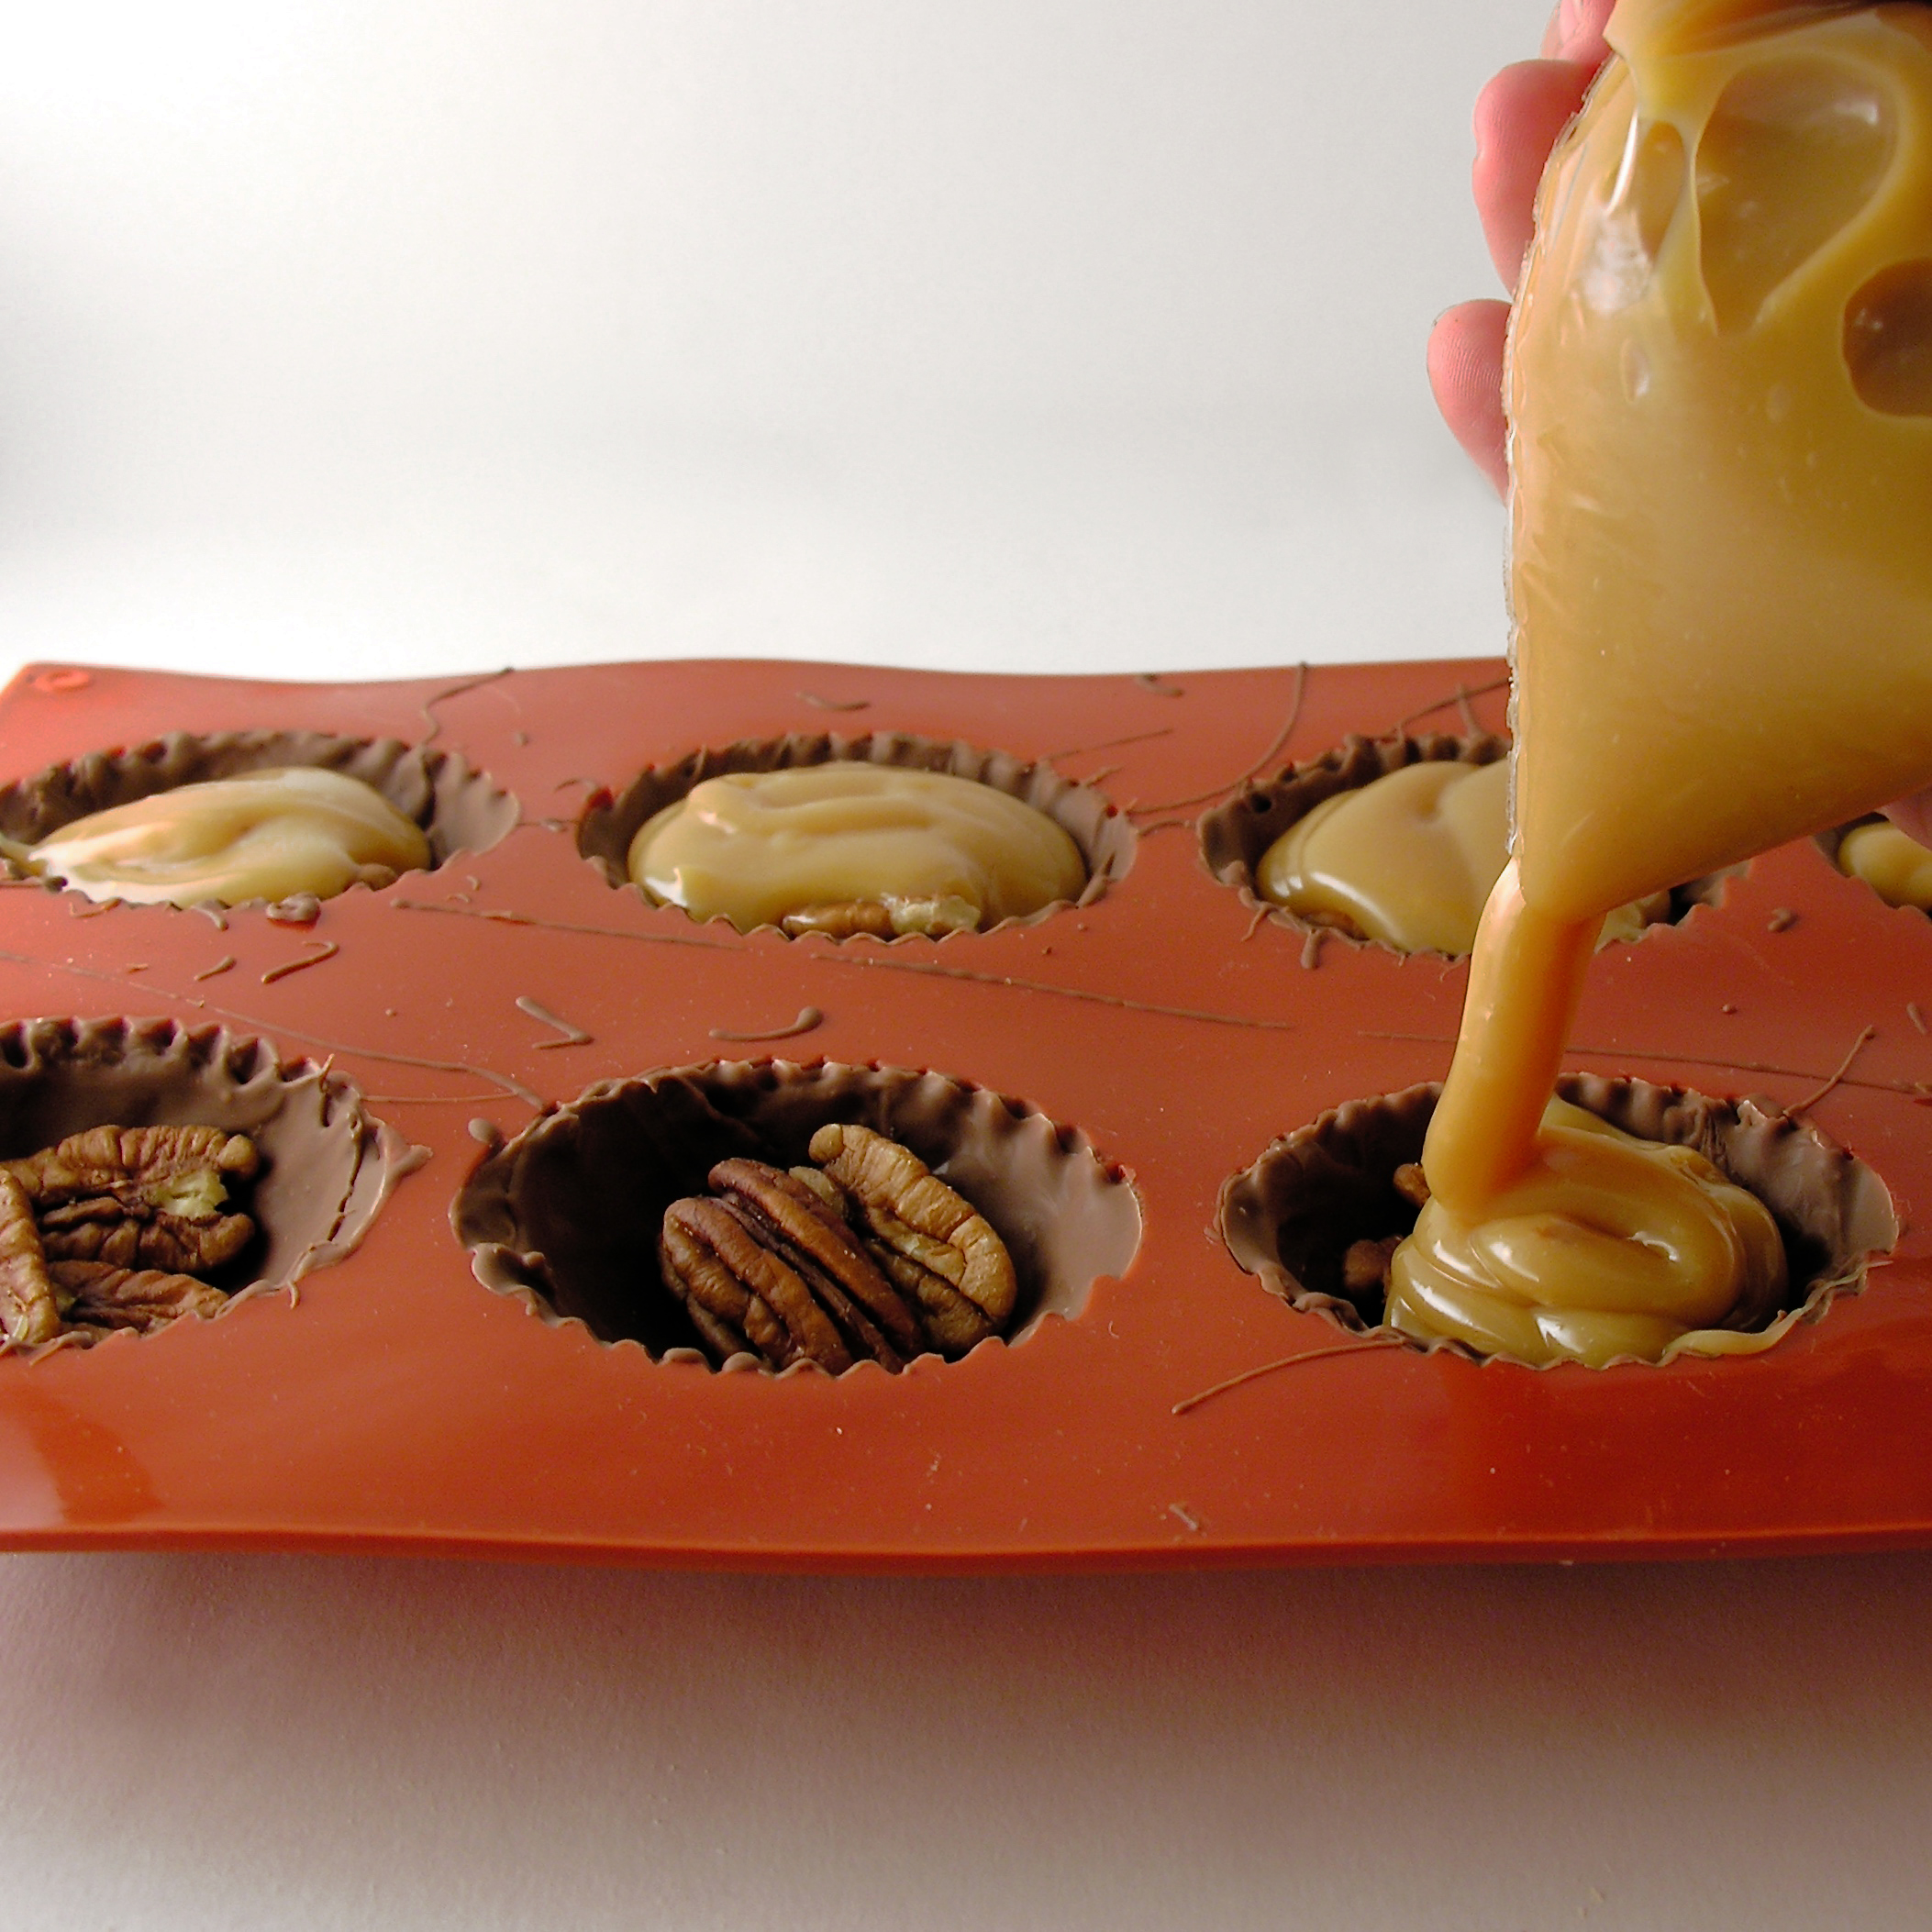
- 32 Kraft Caramels (unwrapped)
- 1 can (14oz) of sweetened condensed milk
- 1 stick (1/2 cup) of butter
- 1 tablespoon salt (to taste)
DIRECTIONS:
- Preheat oven to 350 degrees.
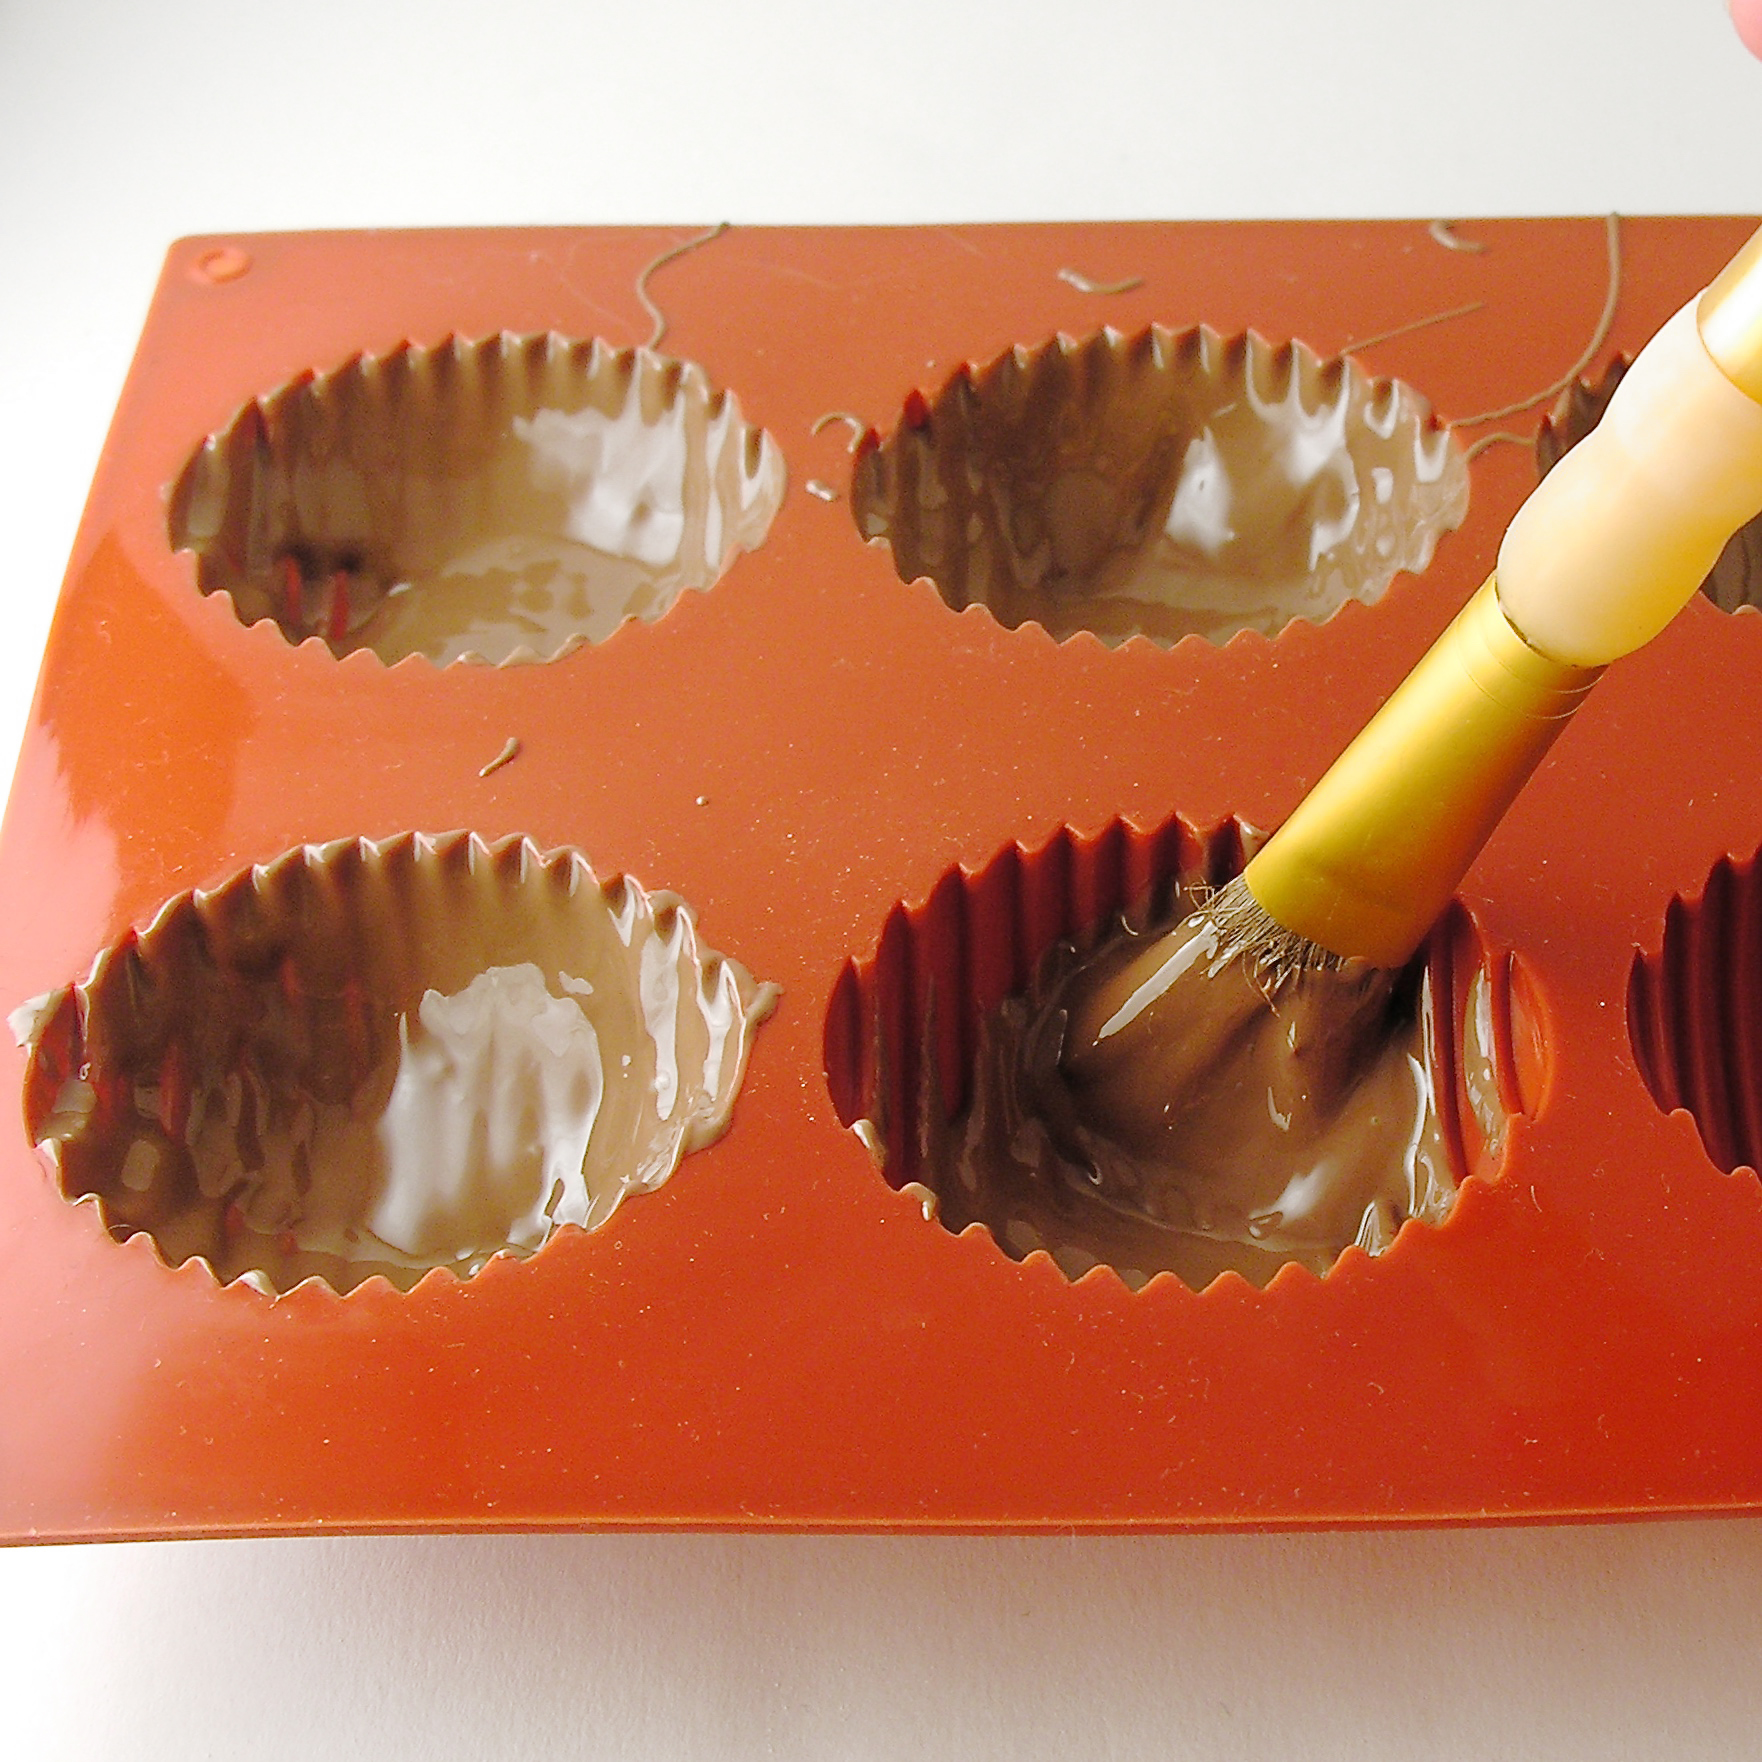
- Spray a 9 inch tart pan with cooking spray and line with pie crust. Poke holes into bottom with fork and set on a cookie sheet.
- Melt dark chocolate chips. Allow them to cool to room temperature.
- In a separate bowl combine eggs, cream, vanilla and powdered sugar.
- Add cream mixture to chocolate and blend well. Pour into crust and bake for 20 – 25 minutes until center is set.
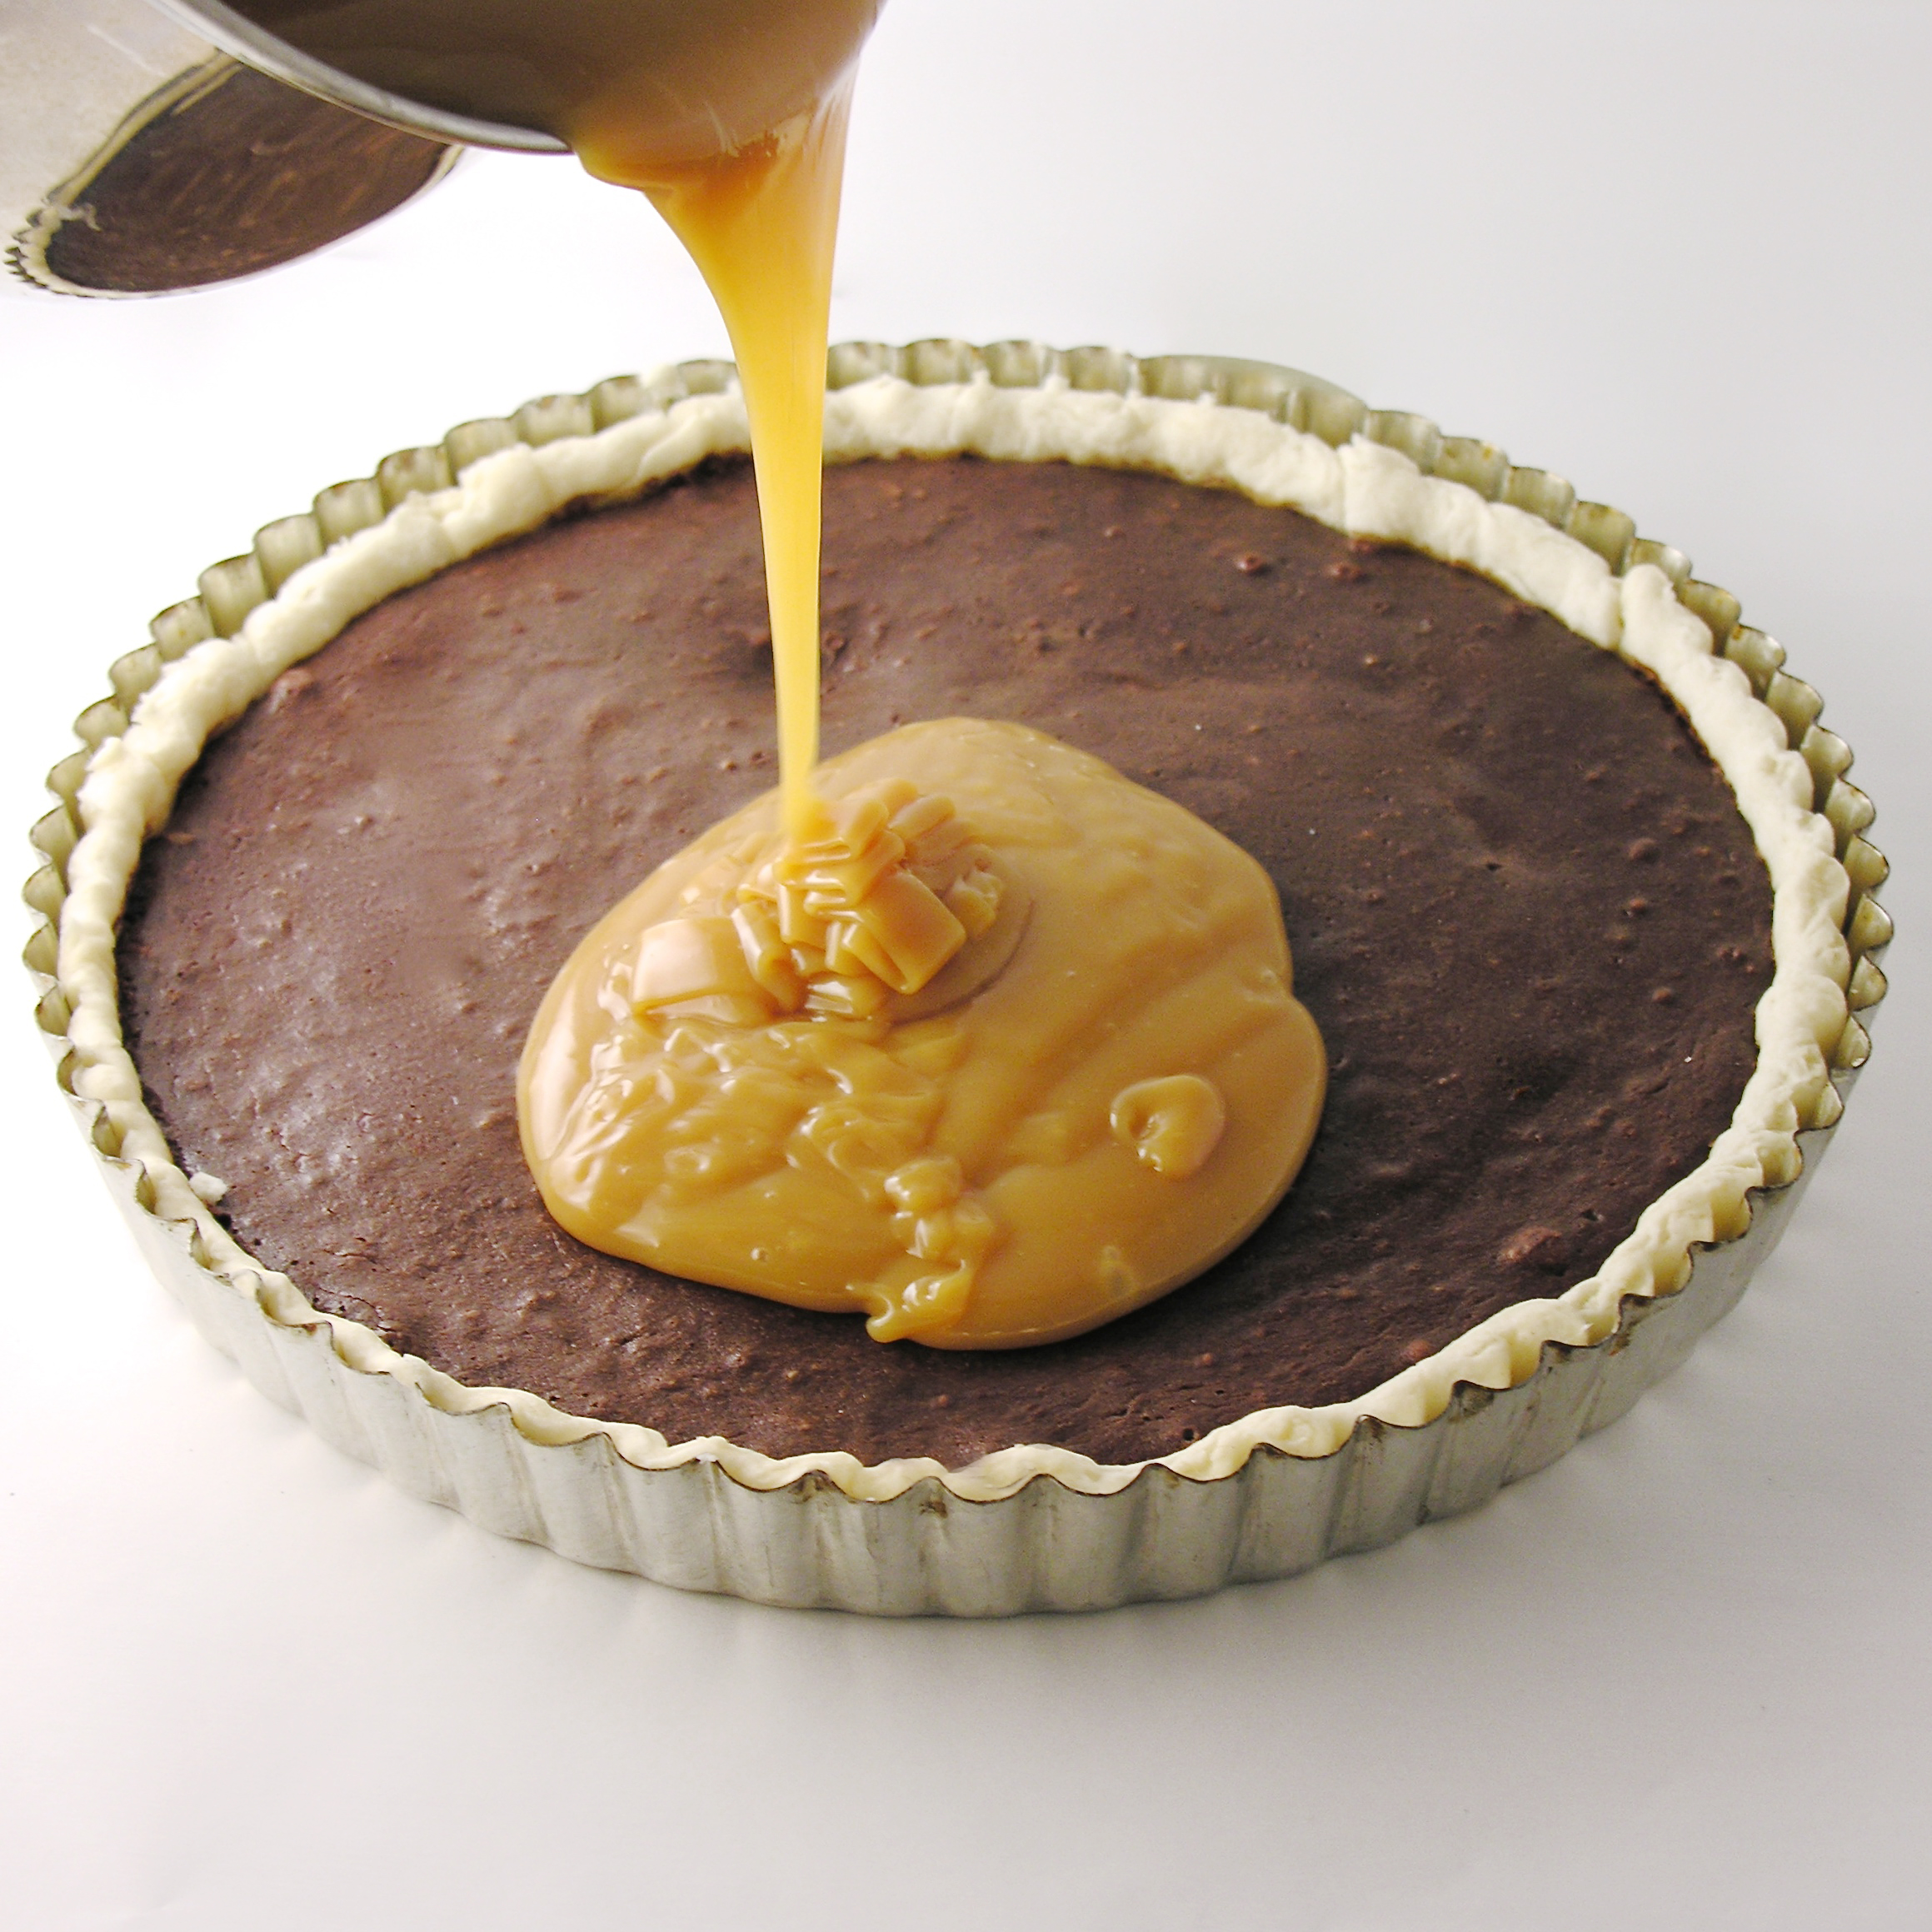
- While tart is baking, make caramel sauce by placing caramels, condensed milk and butter into a medium saucepan.
- Heat over medium/high heat, stirring constantly, until melted and smooth (about 6 minutes).
- Allow caramel to cool in pan a bit, and add salt, mixing well to combine.
- Once tart has been removed from the oven and allowed to cool, pour caramel over the top until entire crust is filled (YUM!!!)
- Chill, and drizzle with a little chocolate sauce- if you want- for decoration 🙂
- Remove sides from pan, serve and enjoy!!!!

My thoughts: Straight up delicious. The sweet caramel has a little bite of salt and that dark chocolate tart is the perfect balance to the sweet. I love the textures of this dessert. The chocolate is so dense and creamy, and the caramel is so soft. This is just “one of those” desserts. The kind you think about long after the last bite. This tart was given away last weekend to friends, and these pictures are killing me… I wish I had another piece right now…! Enjoy this one, friends!!! ~r
More caramel happiness here at Easybaked: (click on a photo to see the recipe)


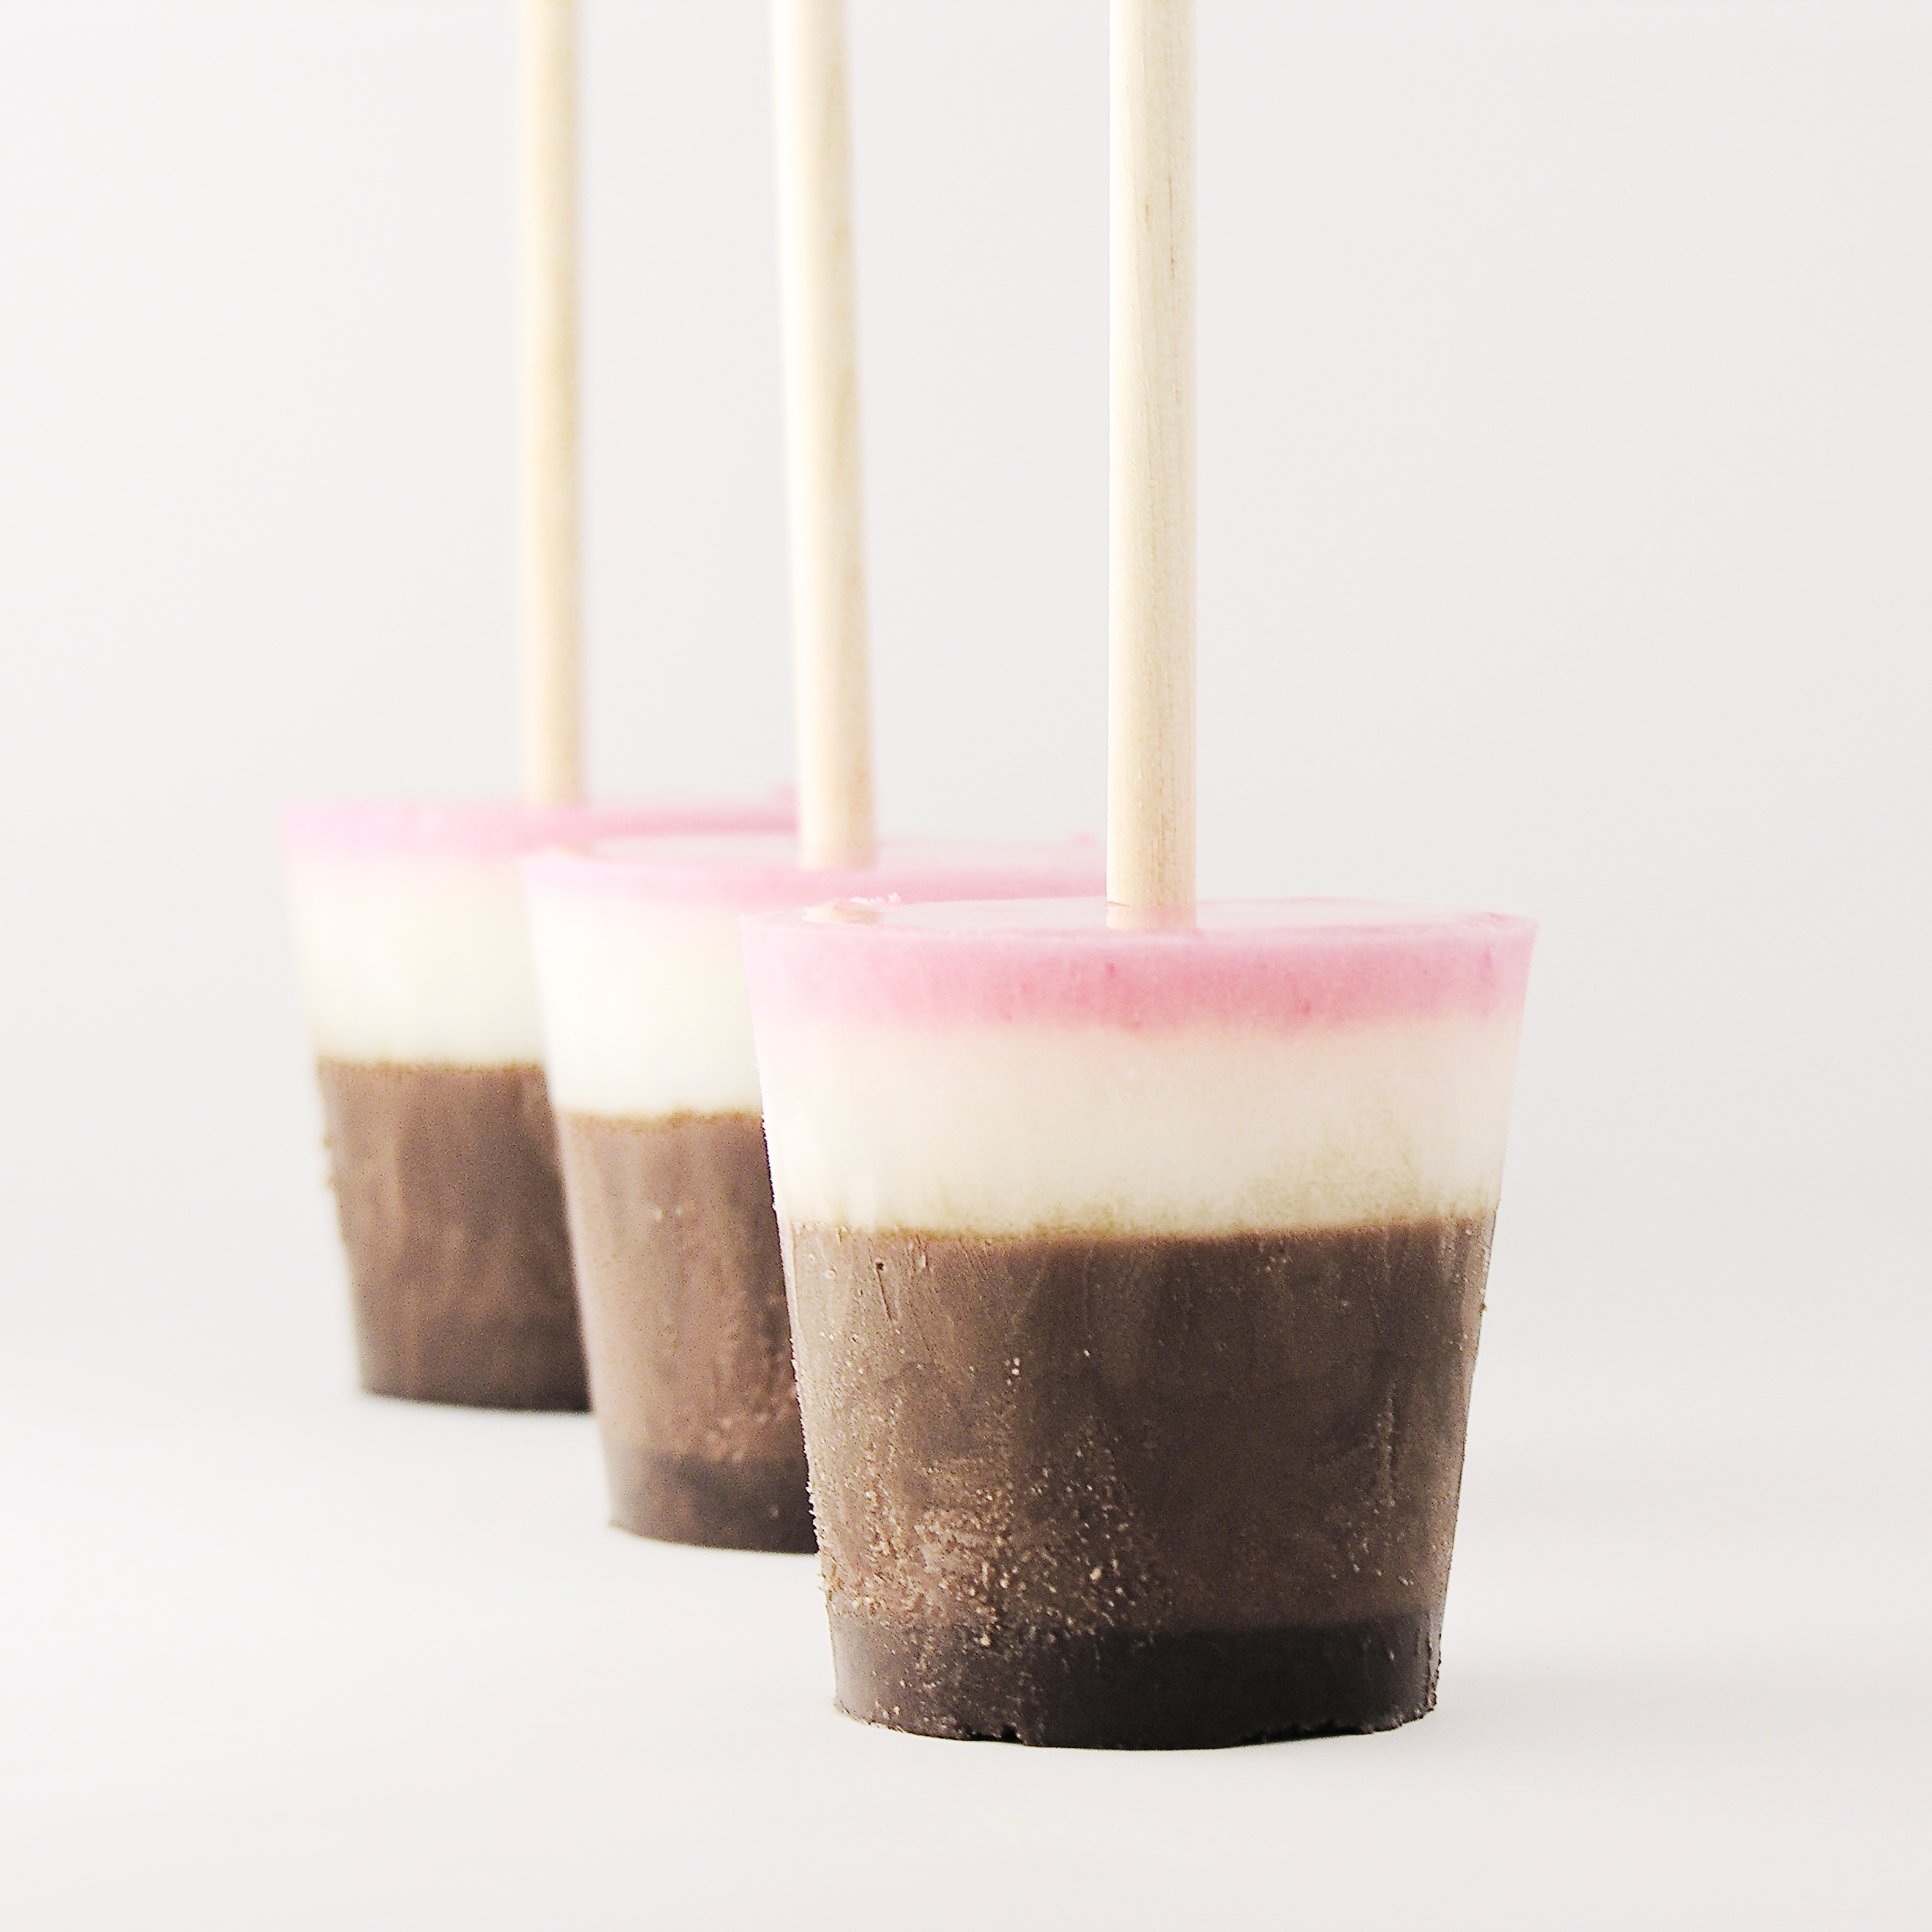
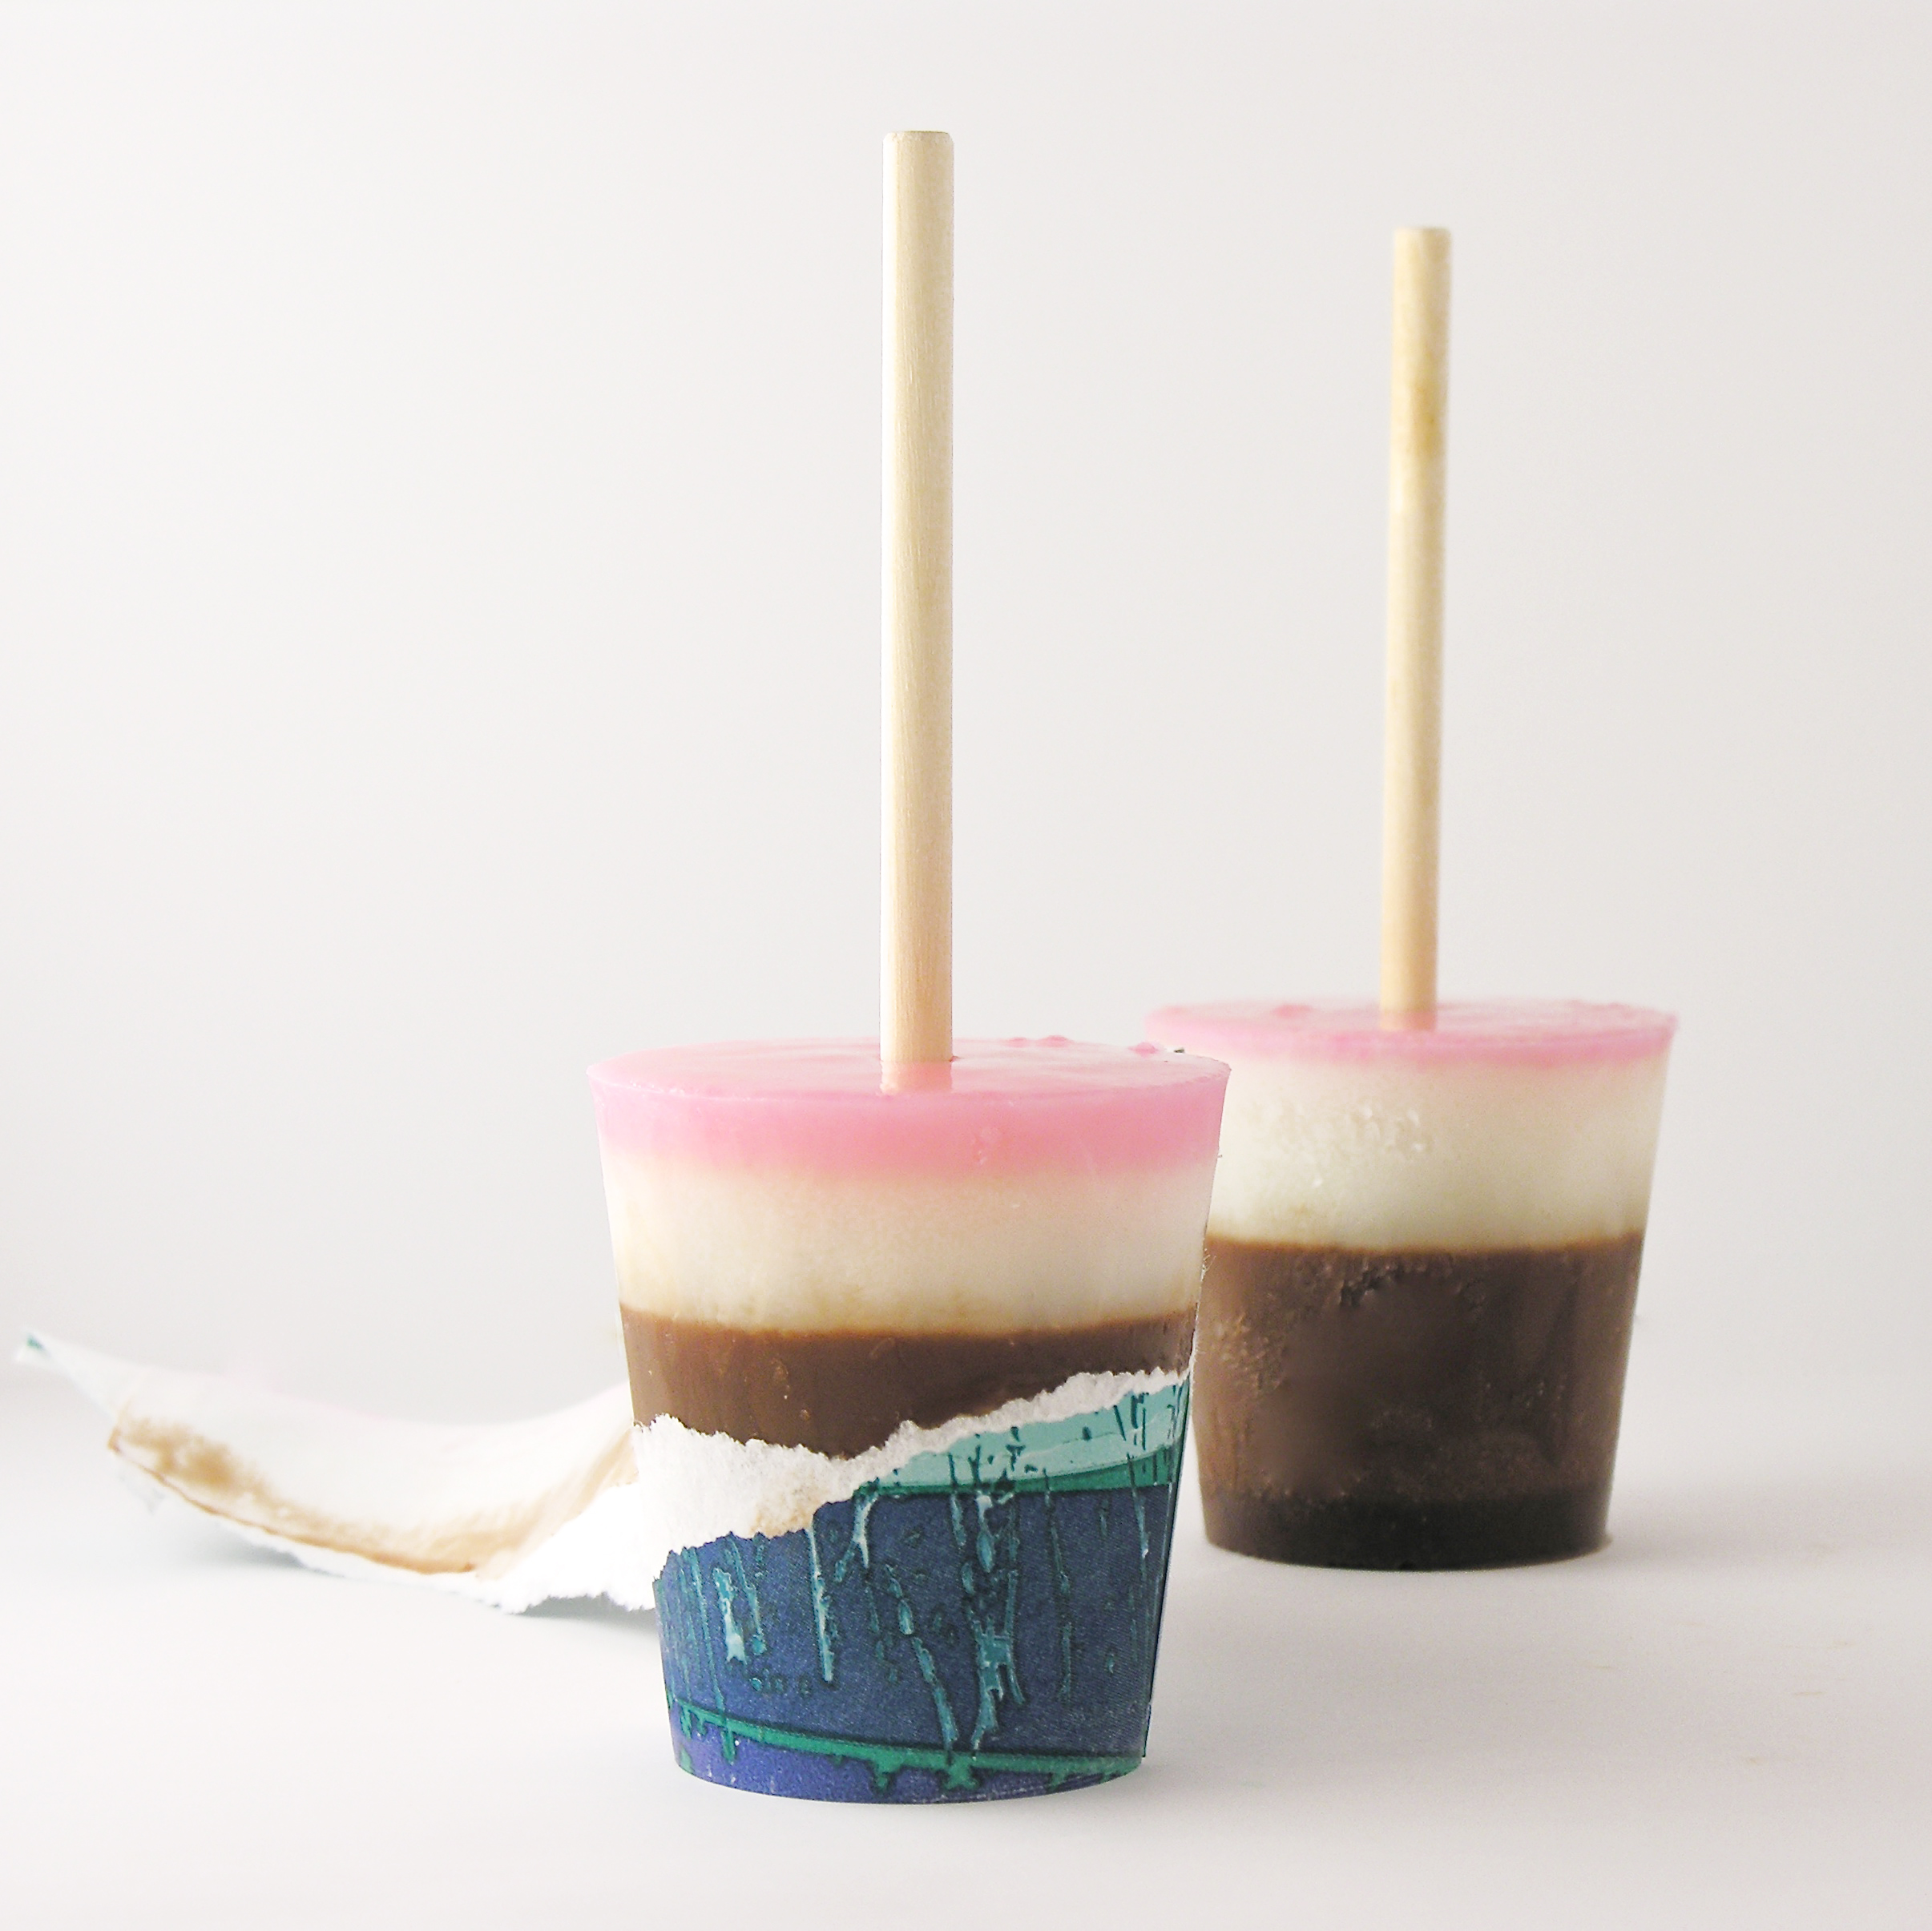
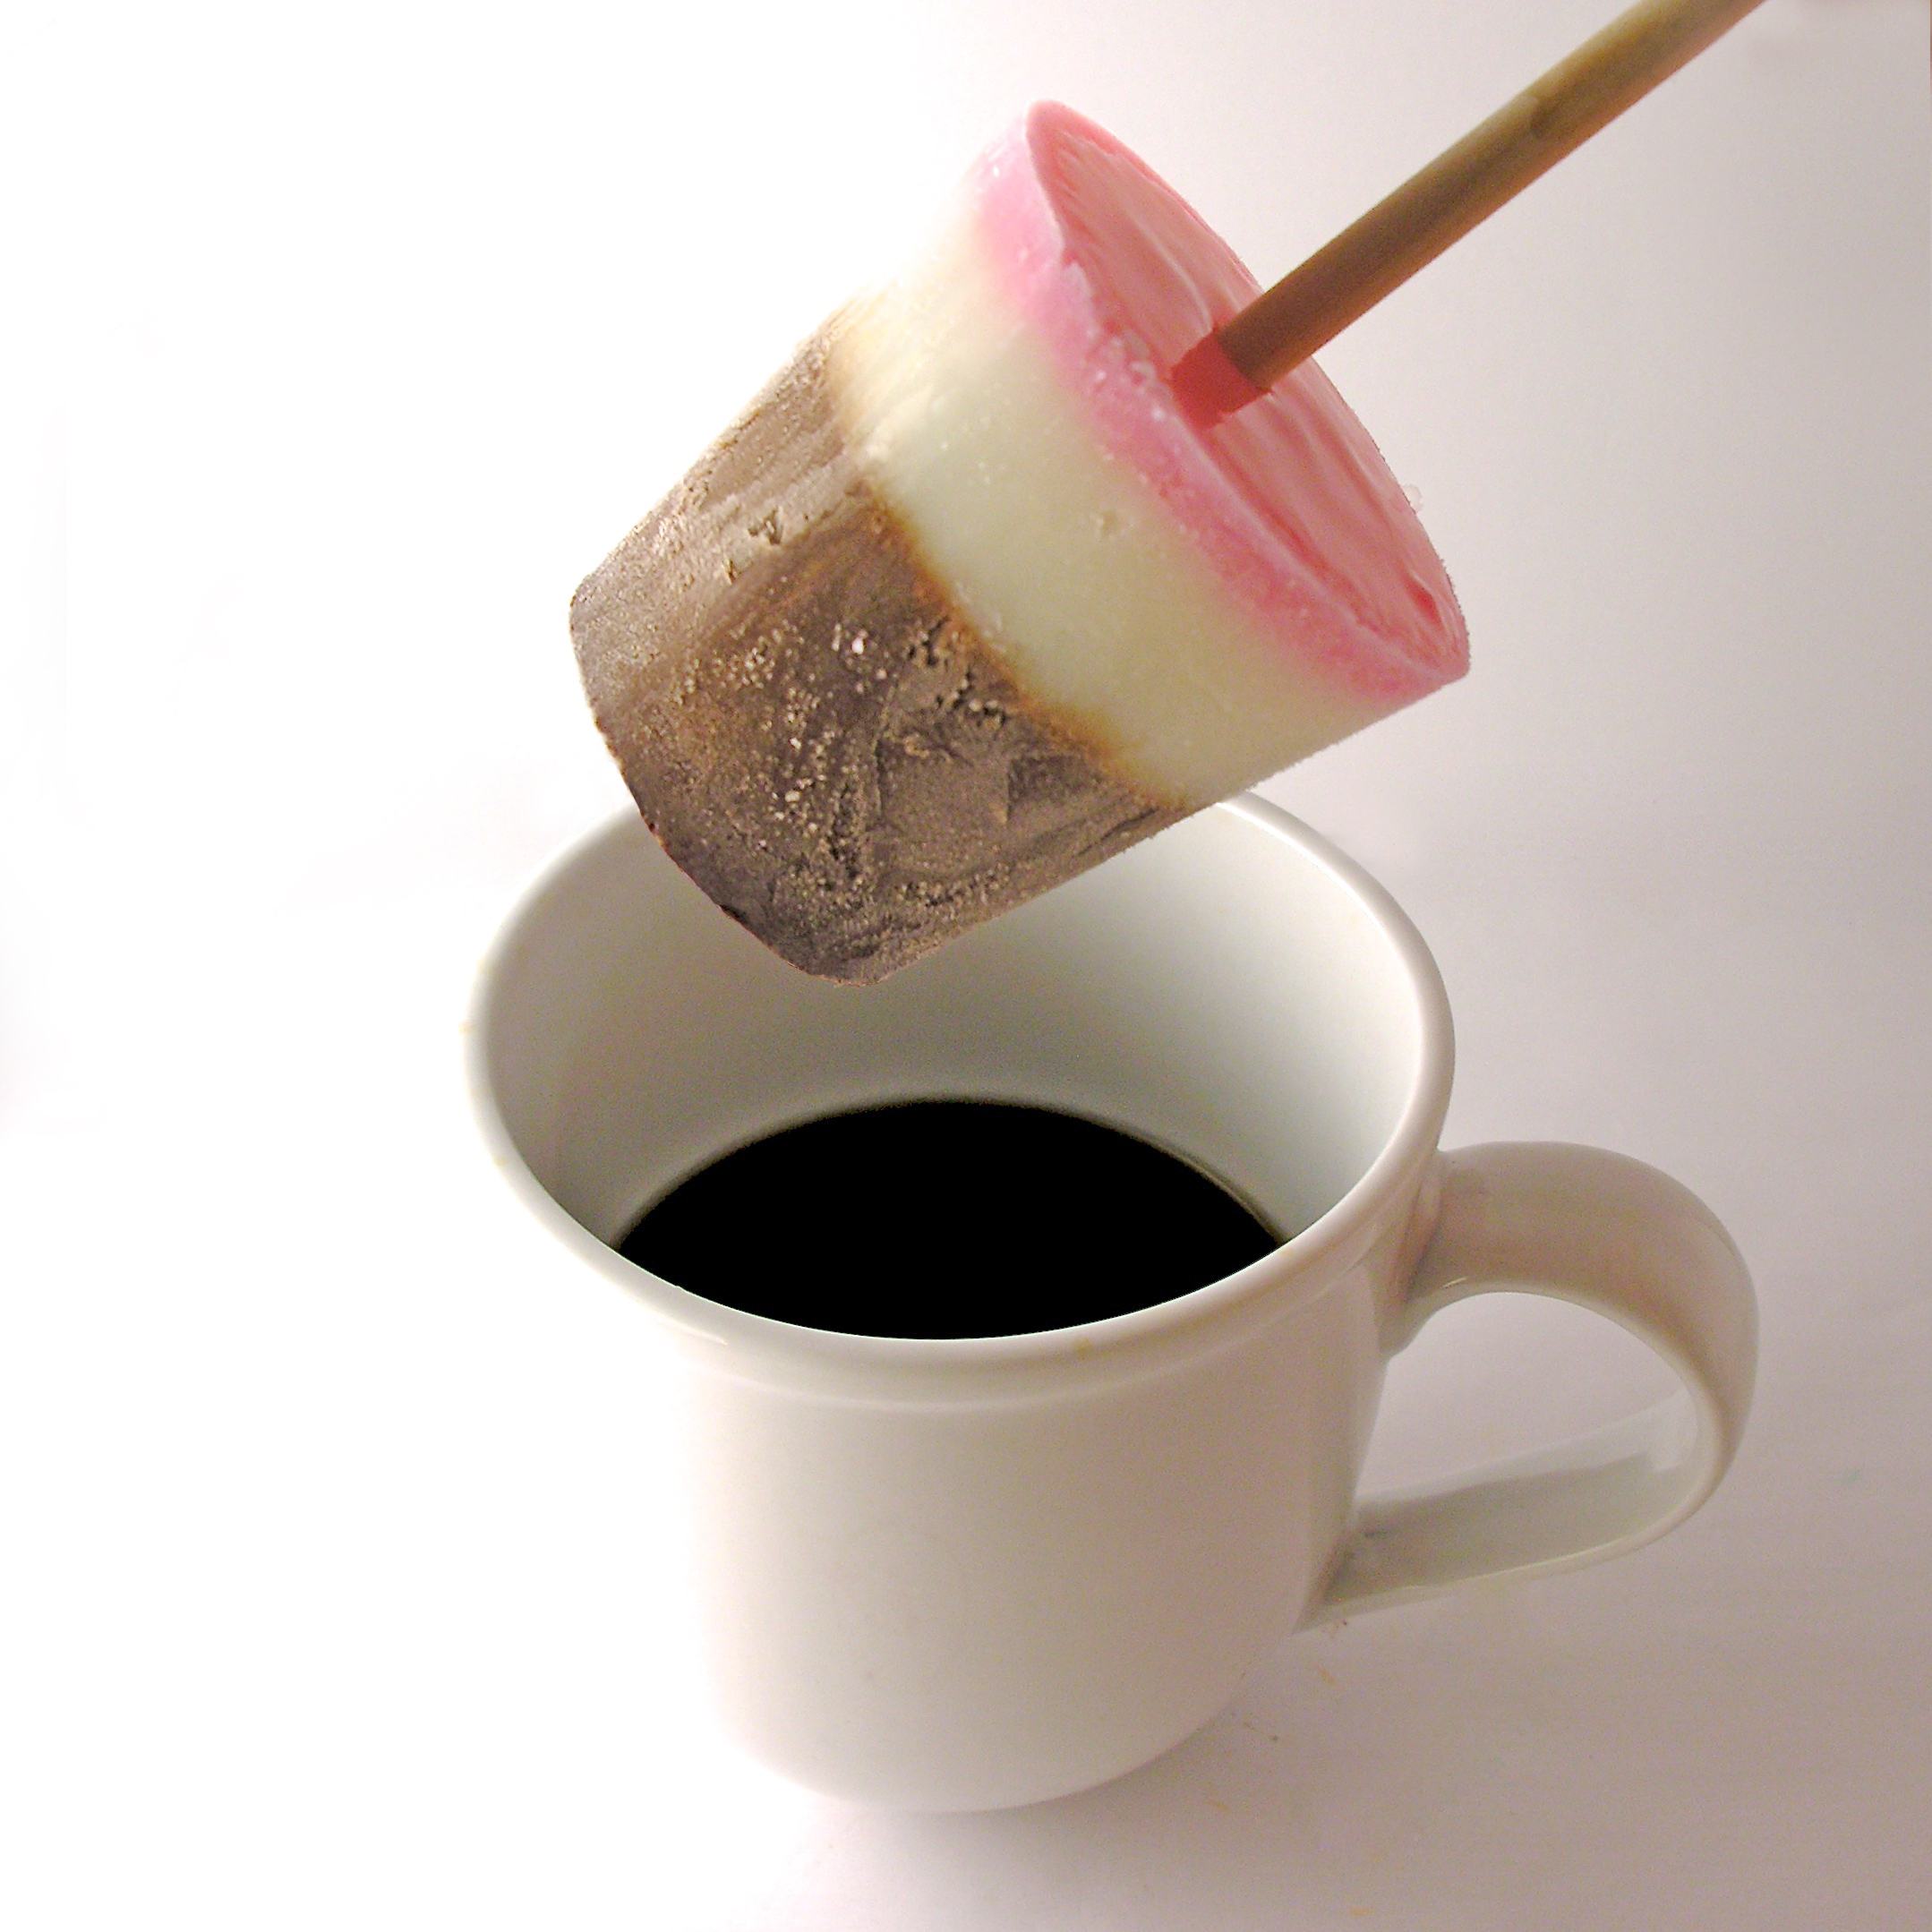
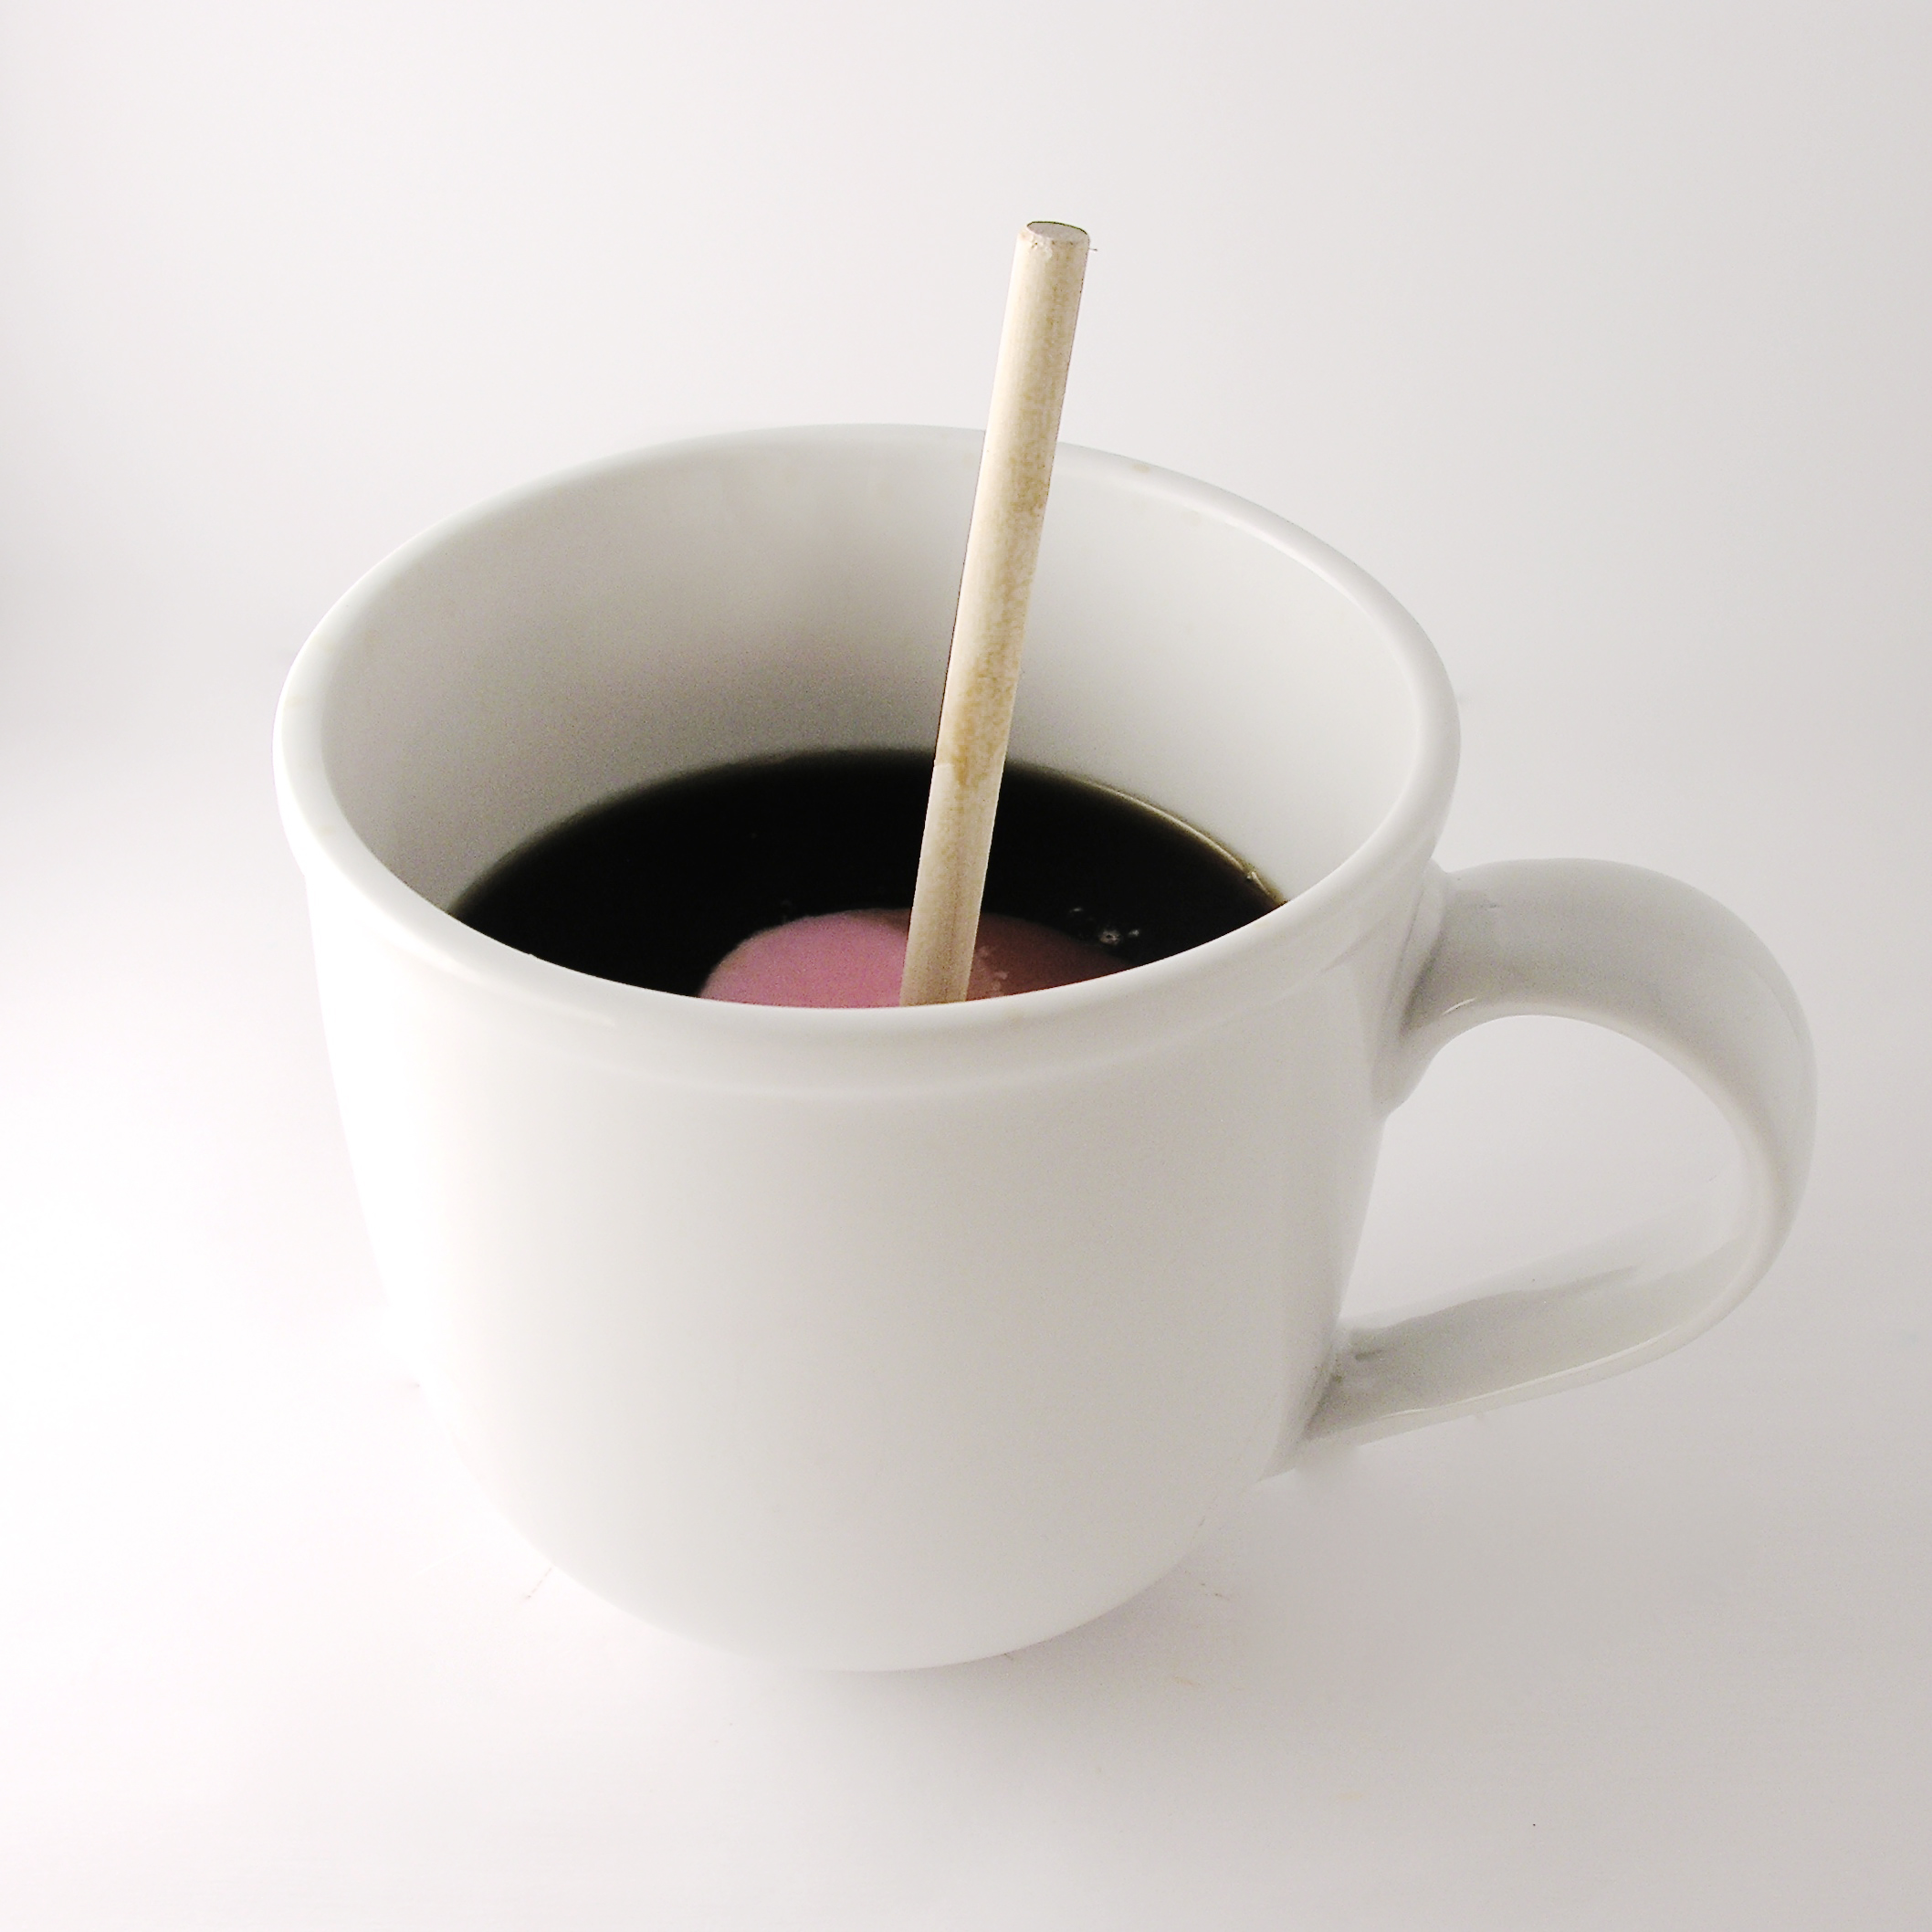


 A couple weeks ago I was waiting for a friend to meet me for coffee and I stumbled upon these
  Here’s how I made them: (