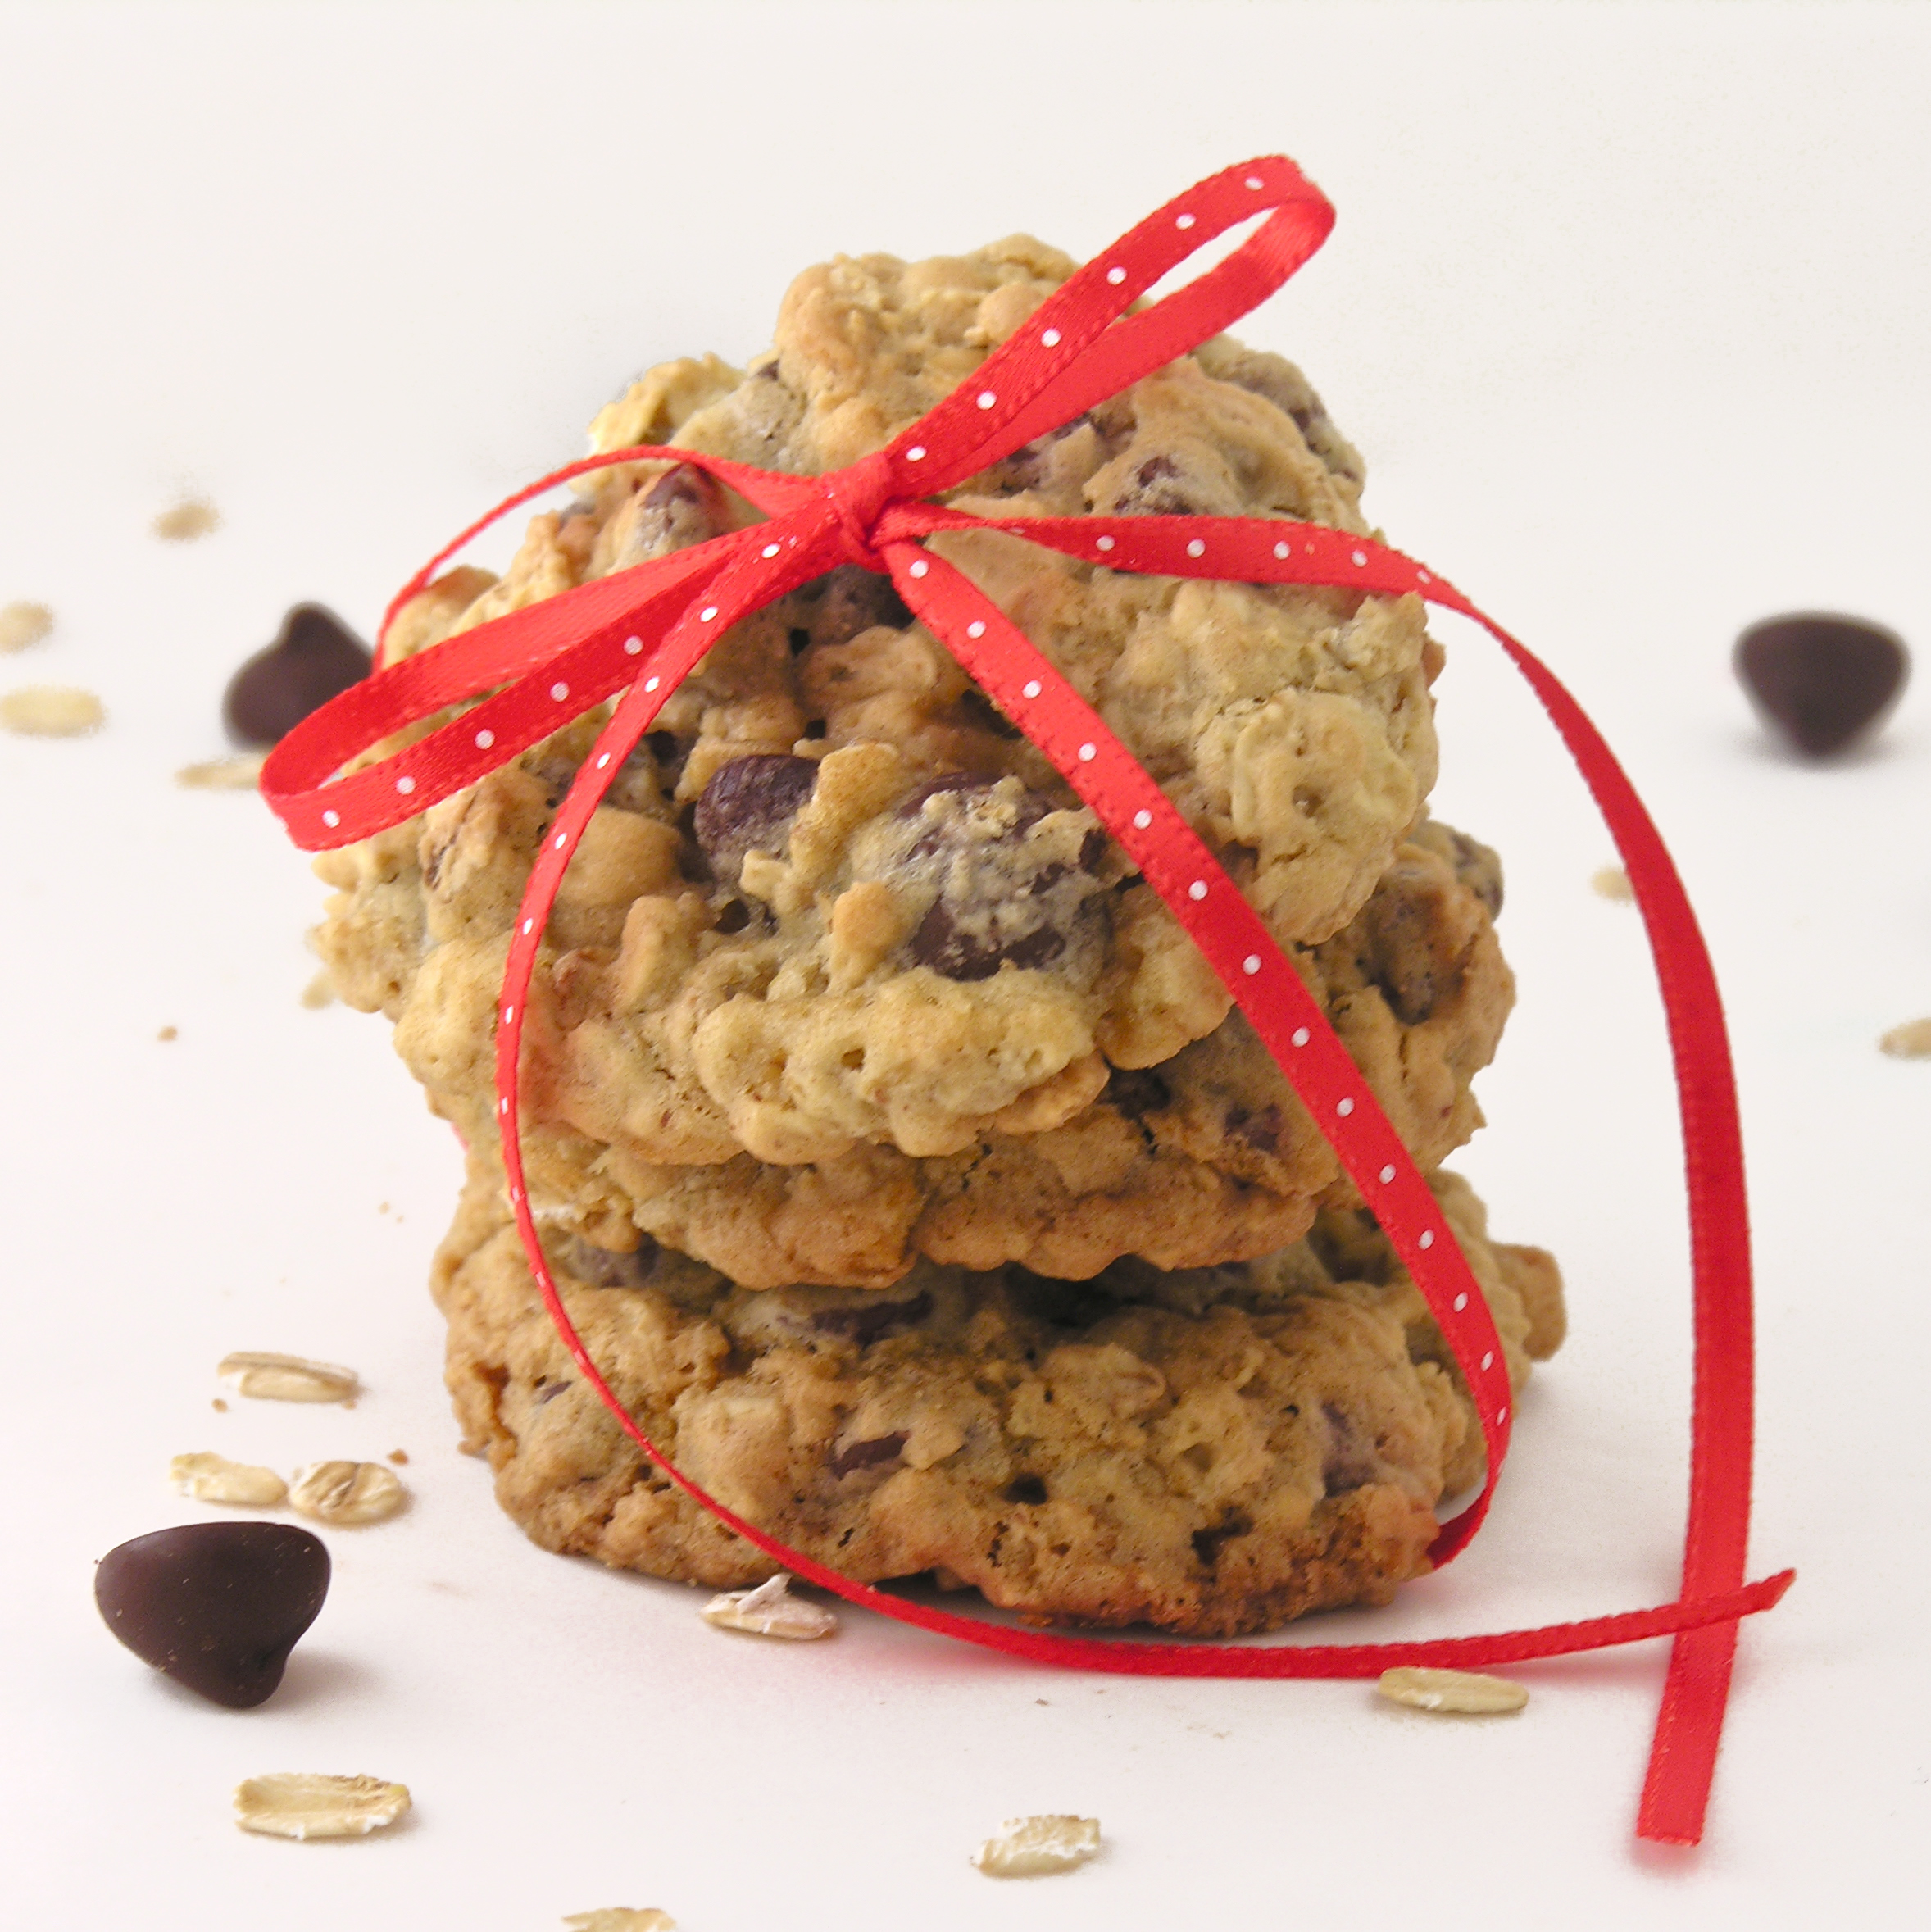
 Everyone will love this classic oatmeal cookie (with chocolate instead of those yucky raisins!). It’s crisp on the edges and chewy in the middle-YUM!!! COOKIES!!!!!!!
My friend Laura kept telling me about a chocolate chip oatmeal cookie recipe from when she was a little girl. Her friend’s mom would make them and they are still one of Laura’s favorites.

 Whenever a treat stays in someone’s mind from childhood you know it has to be a good one, so I asked for the recipe.
I texted Laura in the middle of the grocery store standing in front of the oatmeal (yes, I am one of those people…) She immediately scanned in the recipe and sent it to me, and here you have it….truly amazing oatmeal and chocolate cookies (Thank you Laura!!)
INGREDIENTS: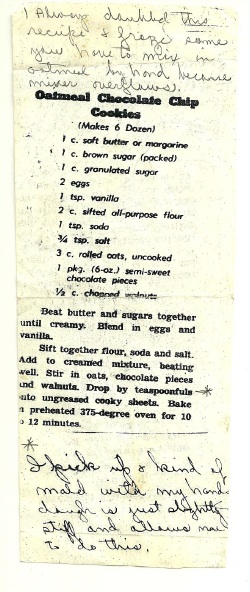
- 1 c. margarine
- 1 c. brown sugar (packed)
- 1 c. sugar
- 2 eggs
- 1 tsp. vanilla
- 2 c. flour
- 1 tsp. baking soda
- 3/4 tsp. salt
- 3 cups uncooked old-fashioned oatmeal (plain, and not instant!)
- 2 cups of chocolate chips (I added all my leftover chips- some milk chocolate, some dark, some semisweet. The original recipe calls for only a cup. That is crazy. I think I added 2 (maybe 3!) You need at least three chips for every cookie bite in my opinion!)
- 1/2 c. nuts (If desired ~I didn’t add them)
DIRECTIONS:
- Preheat oven to 375F degrees.
- Line cookie sheet(s) with parchment paper – you don’t have to do this, but my cookies stuck a little bit to the sheets, so I did my next batch with paper and they slid right off.
- Beat margarine and sugars together in a large mixing bowl until creamy.
- Blend in eggs and vanilla
- Add flour, soda and salt to cream mixture and beat well
- Stir in oats, lots of chocolate and nuts (if desired)
- Mix until well combined. I just used my hands at this point as it was such a stiff dough and I wanted to fully incorporate the two million chocolate chips I added.
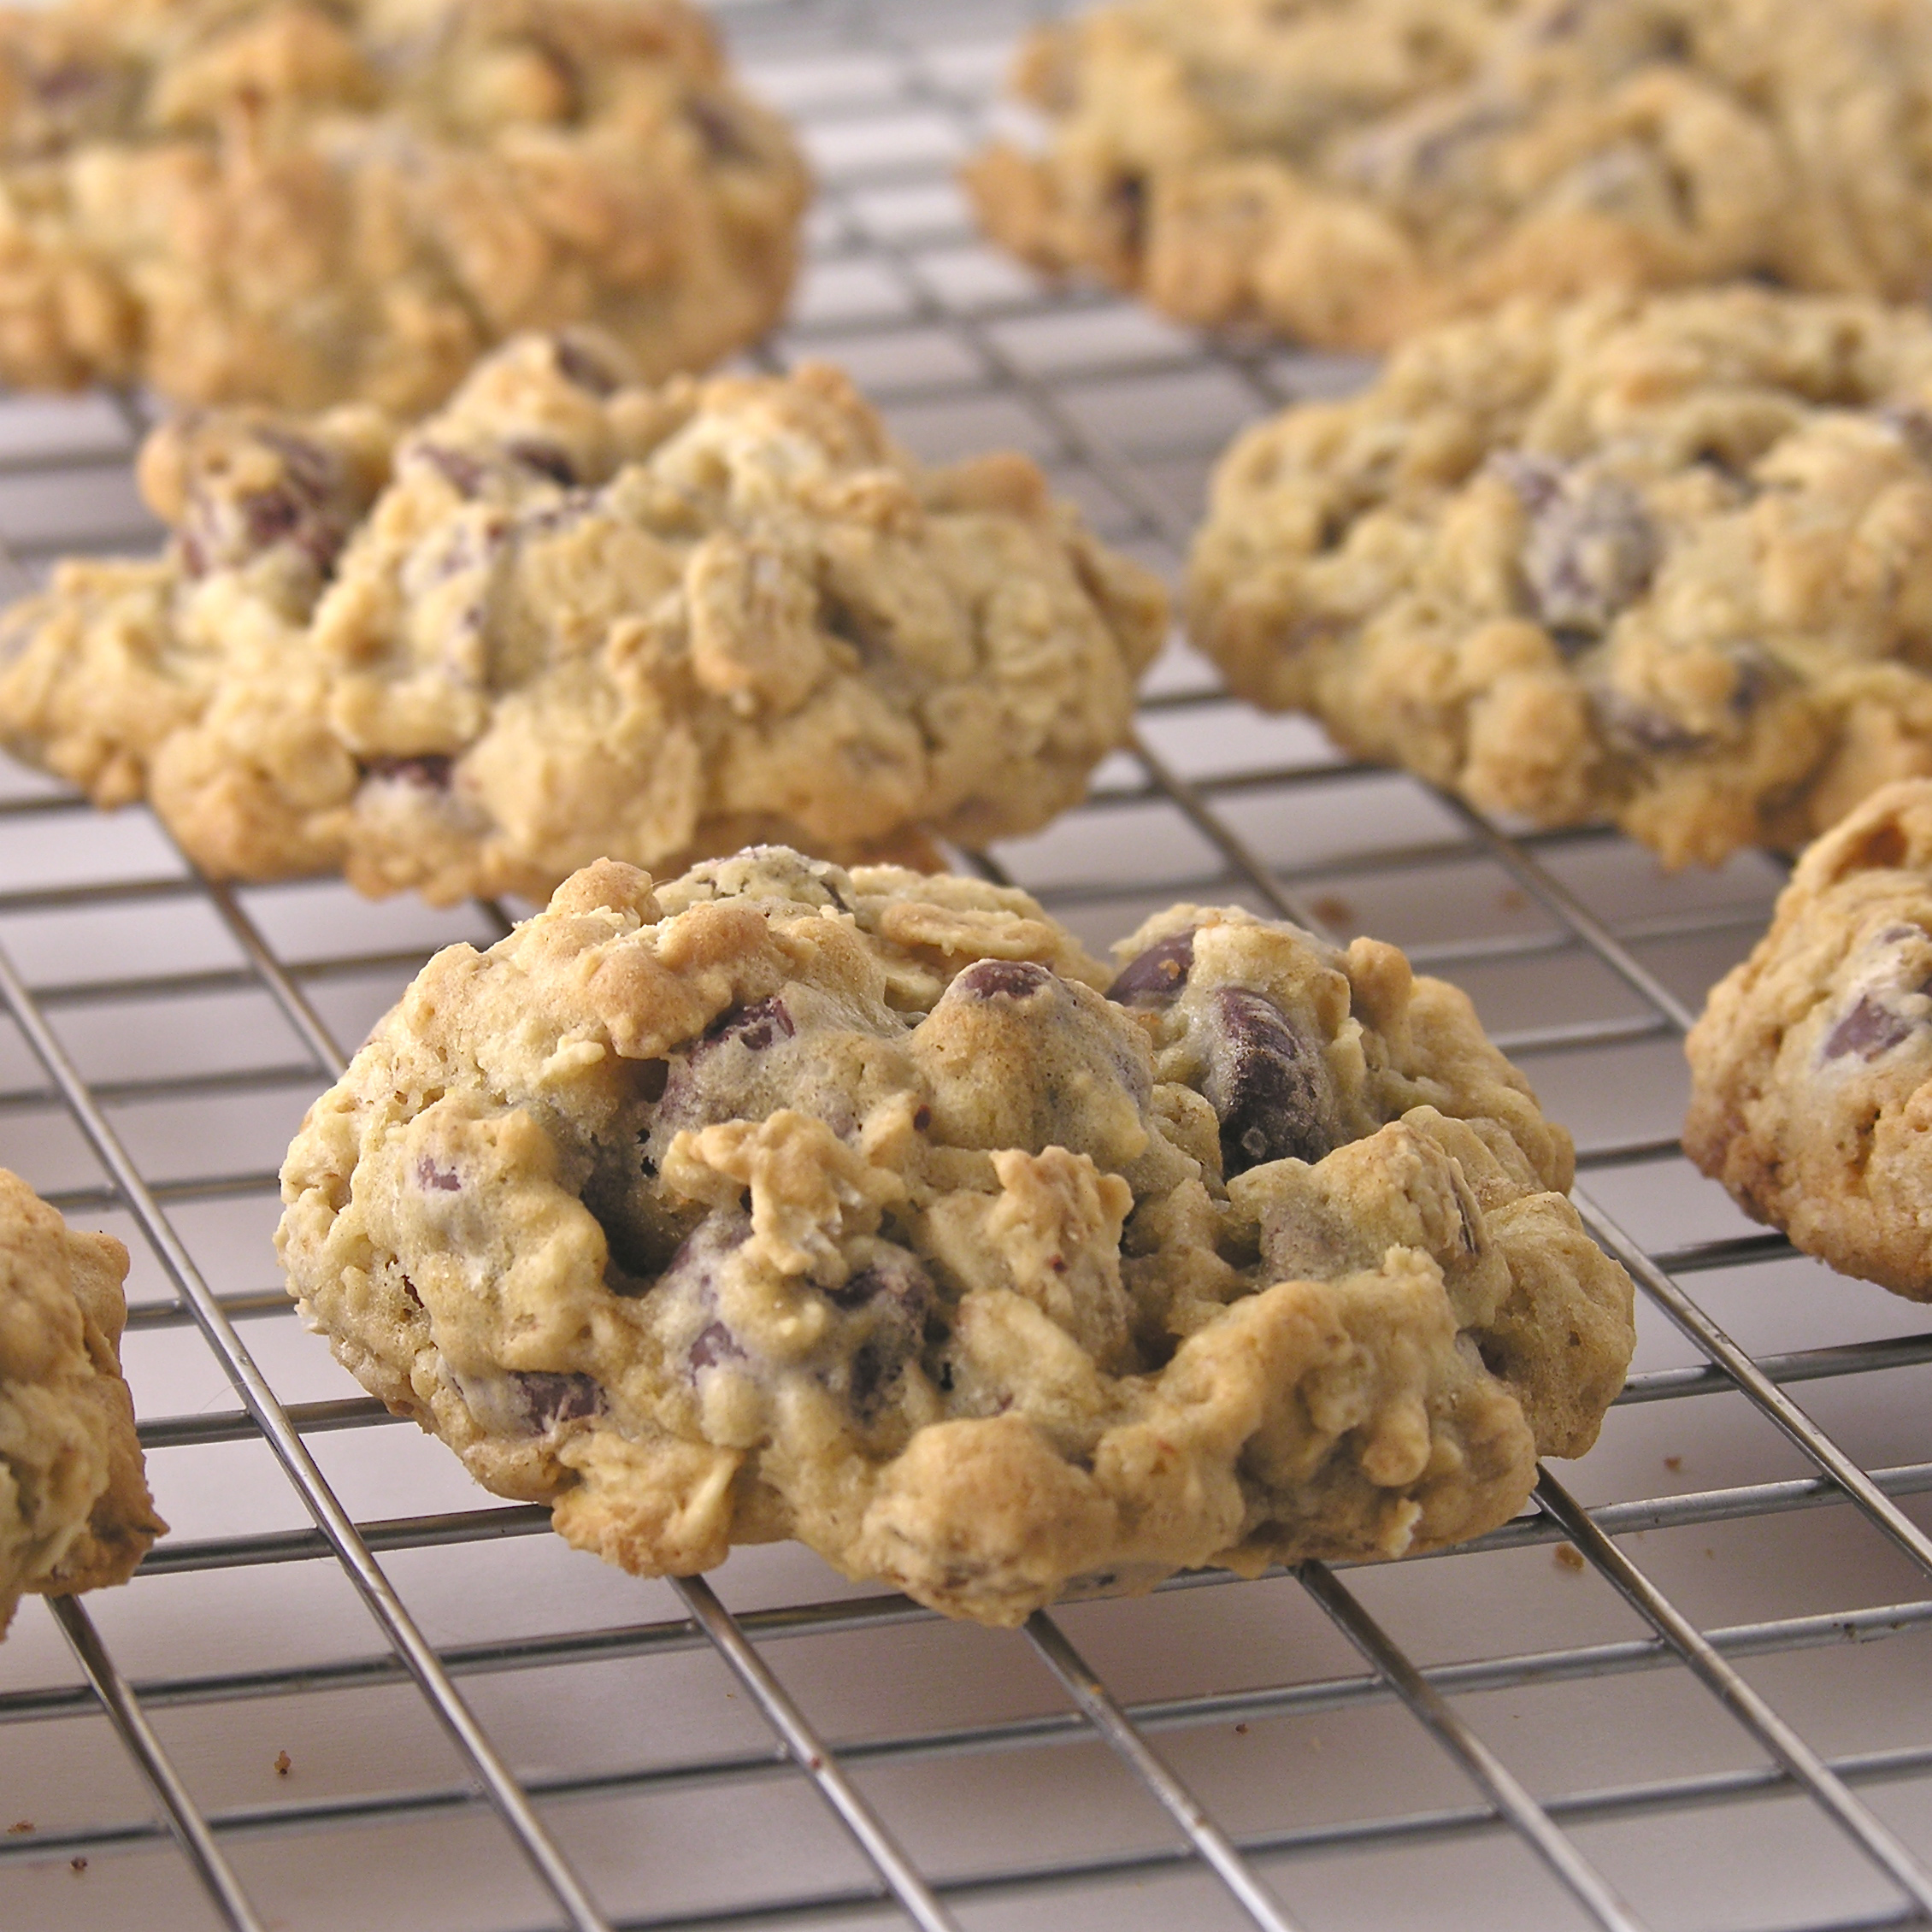
- Drop by about one tablespoon of dough (I used a Medium Cookie Scoop
and it was a lifesaver!) onto parchment lined cookie sheets and bake at 375F for 10-14 minutes. Remove from cookie sheets while warm and cool completely on parchment paper or a wire rack.

My thoughts: These were really good cookies. You’ll notice a few differences in my recipe and the original.
I used margarine, not butter. I generally prefer butter in baking, but cookies are one exception. I nearly always use margarine as butter seems to make the cookies “spread” more, giving you flat, crunchy cookies instead of thick, chewy ones.
I never “sift” ingredients. I know that makes some of you shudder in horror, but I just never do. I put my flour in and sprinkle the other ingredients on top and hope for the best. I blame my mom for this. She never taught me to sift 😉 In this recipe if it makes you feel better to sift, by all means do it!!
I did not double this recipe. It overflowed my biggest mixing bowl. The handwritten notes on this recipe recommend making a double batch and freezing. I can only assume she mixed the batch up in her bathtub, as it would be a tremendous amount of cookie dough. I do NOT recommend doubling this. I did freeze some and I thought they were ok- a little dry. I’d stick with making them fresh, and in a reasonable amount.
I hope you enjoy these cookies as much as all of us here did! Happy baking!!! ~r

 Want to try more cookie recipes from Easybaked? We have a lot of them! Click on an image to be taken to the recipe:


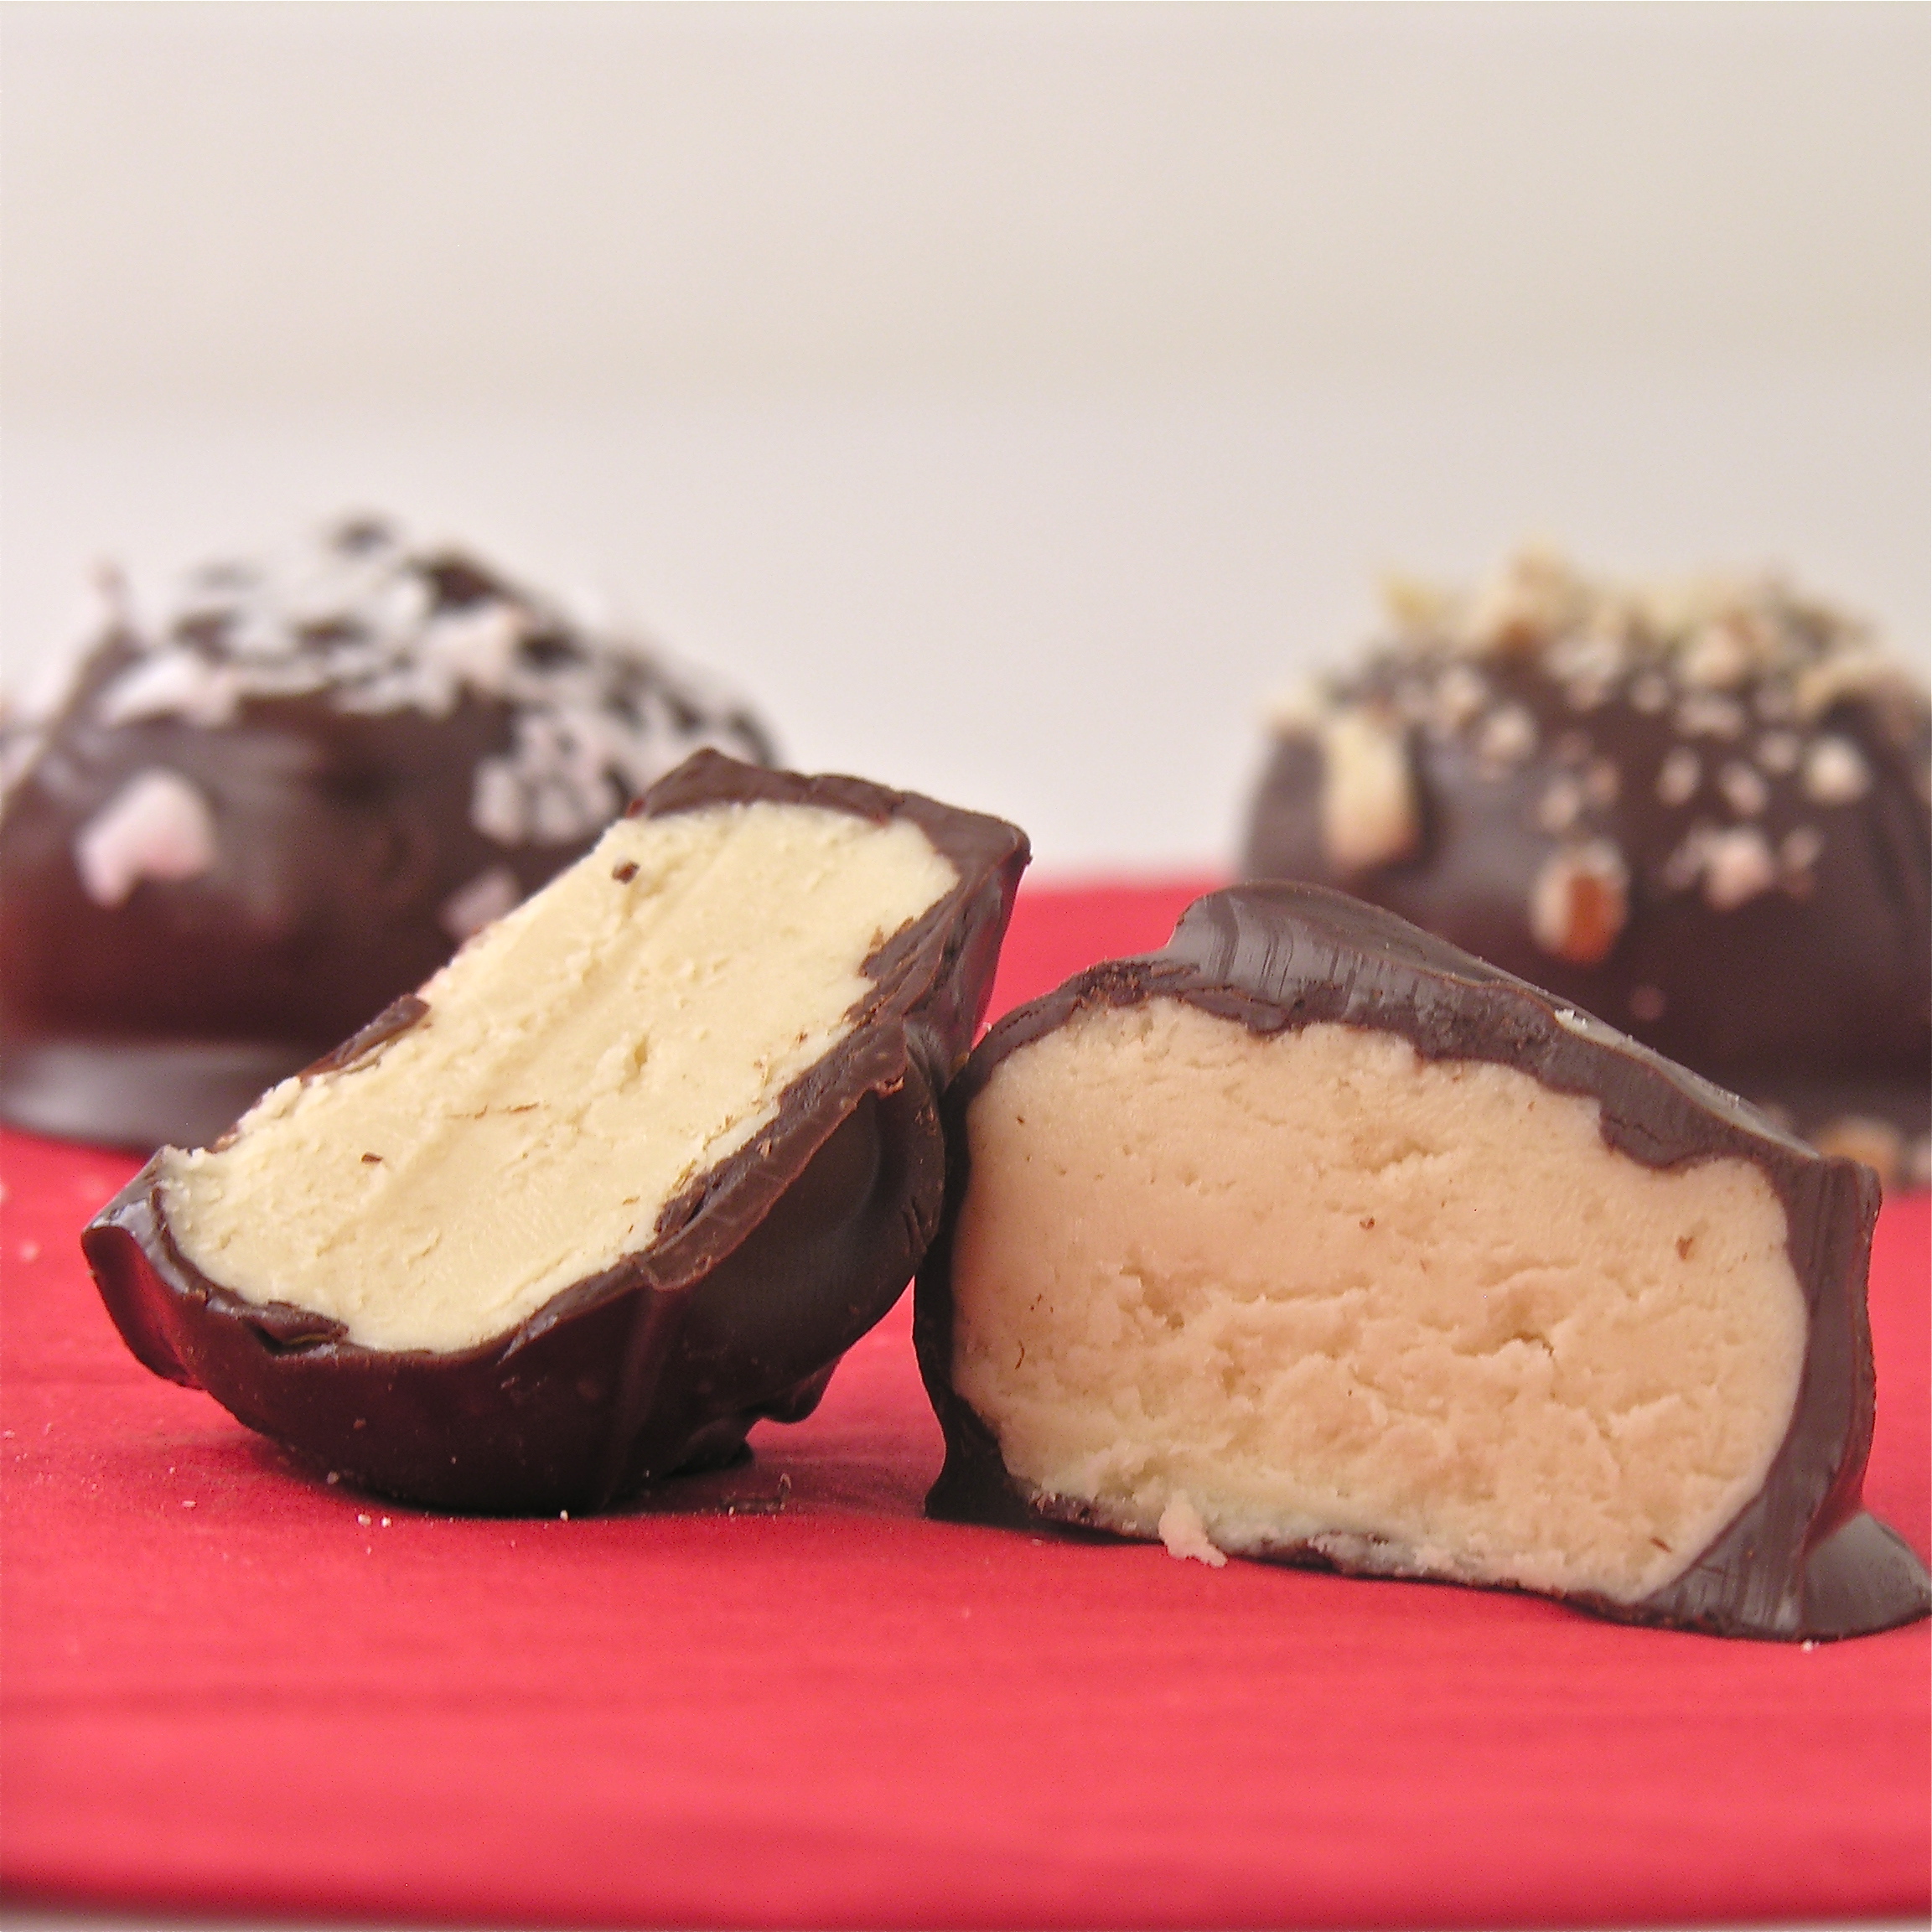
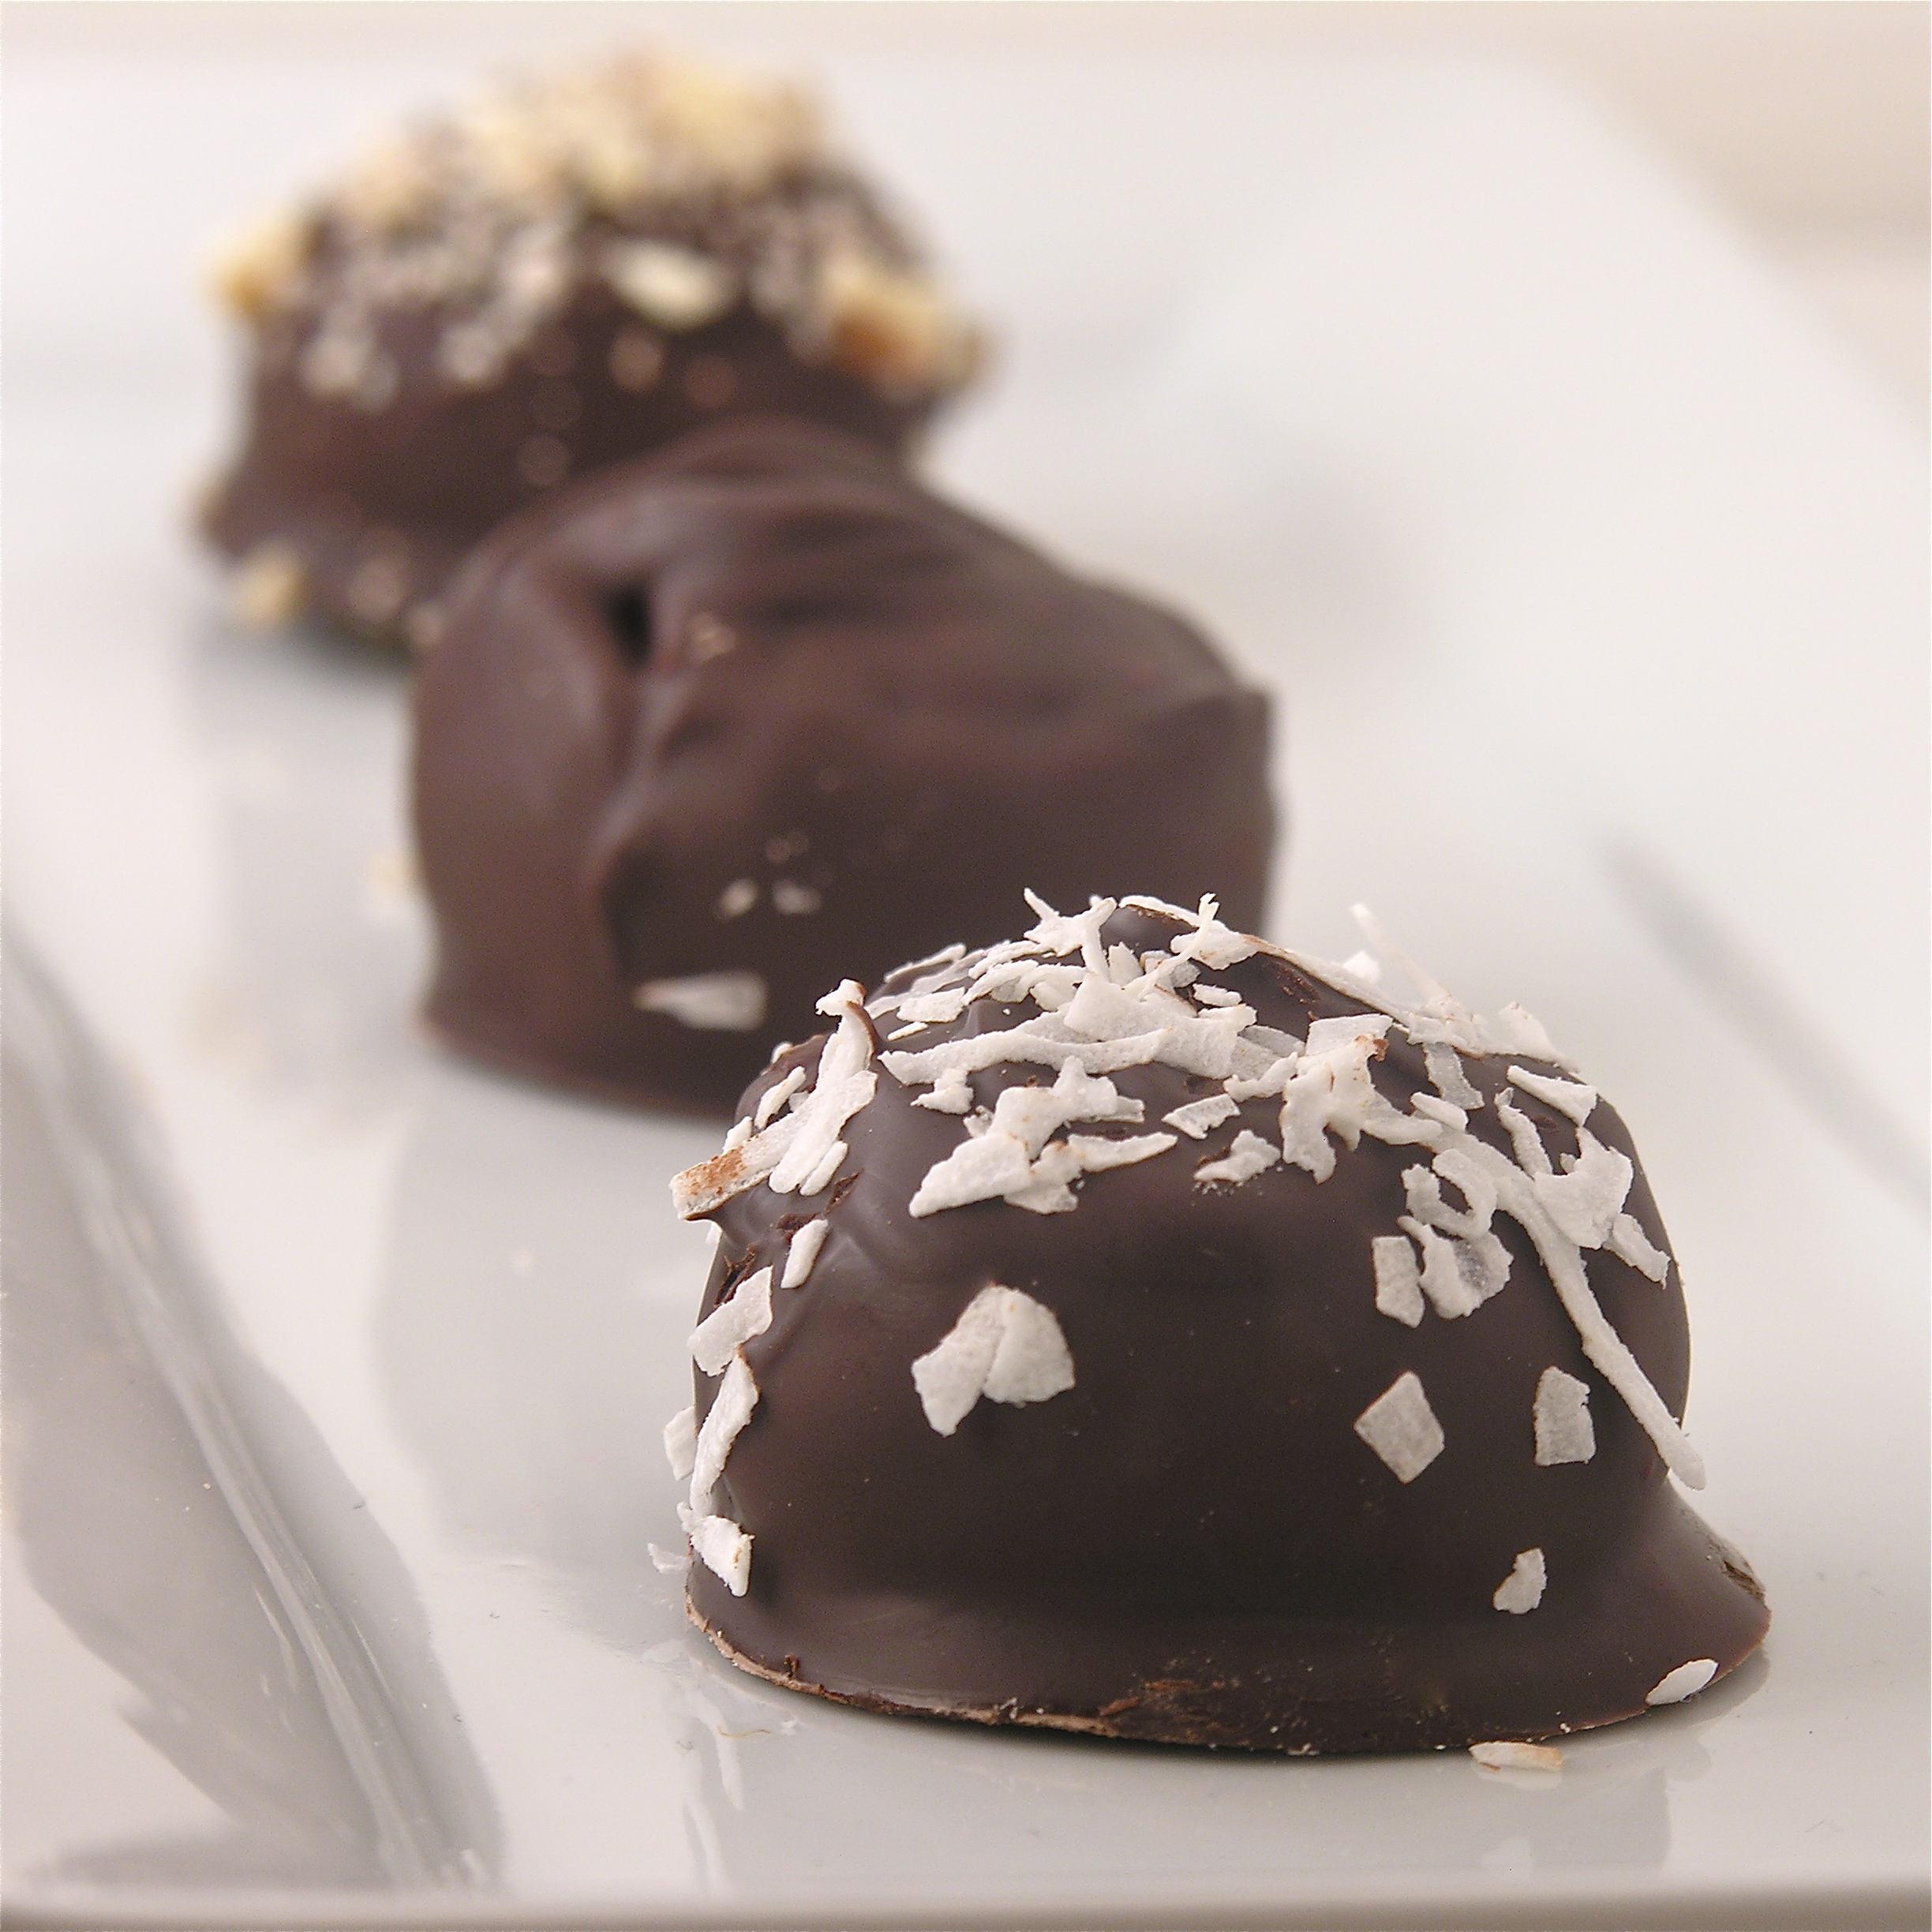
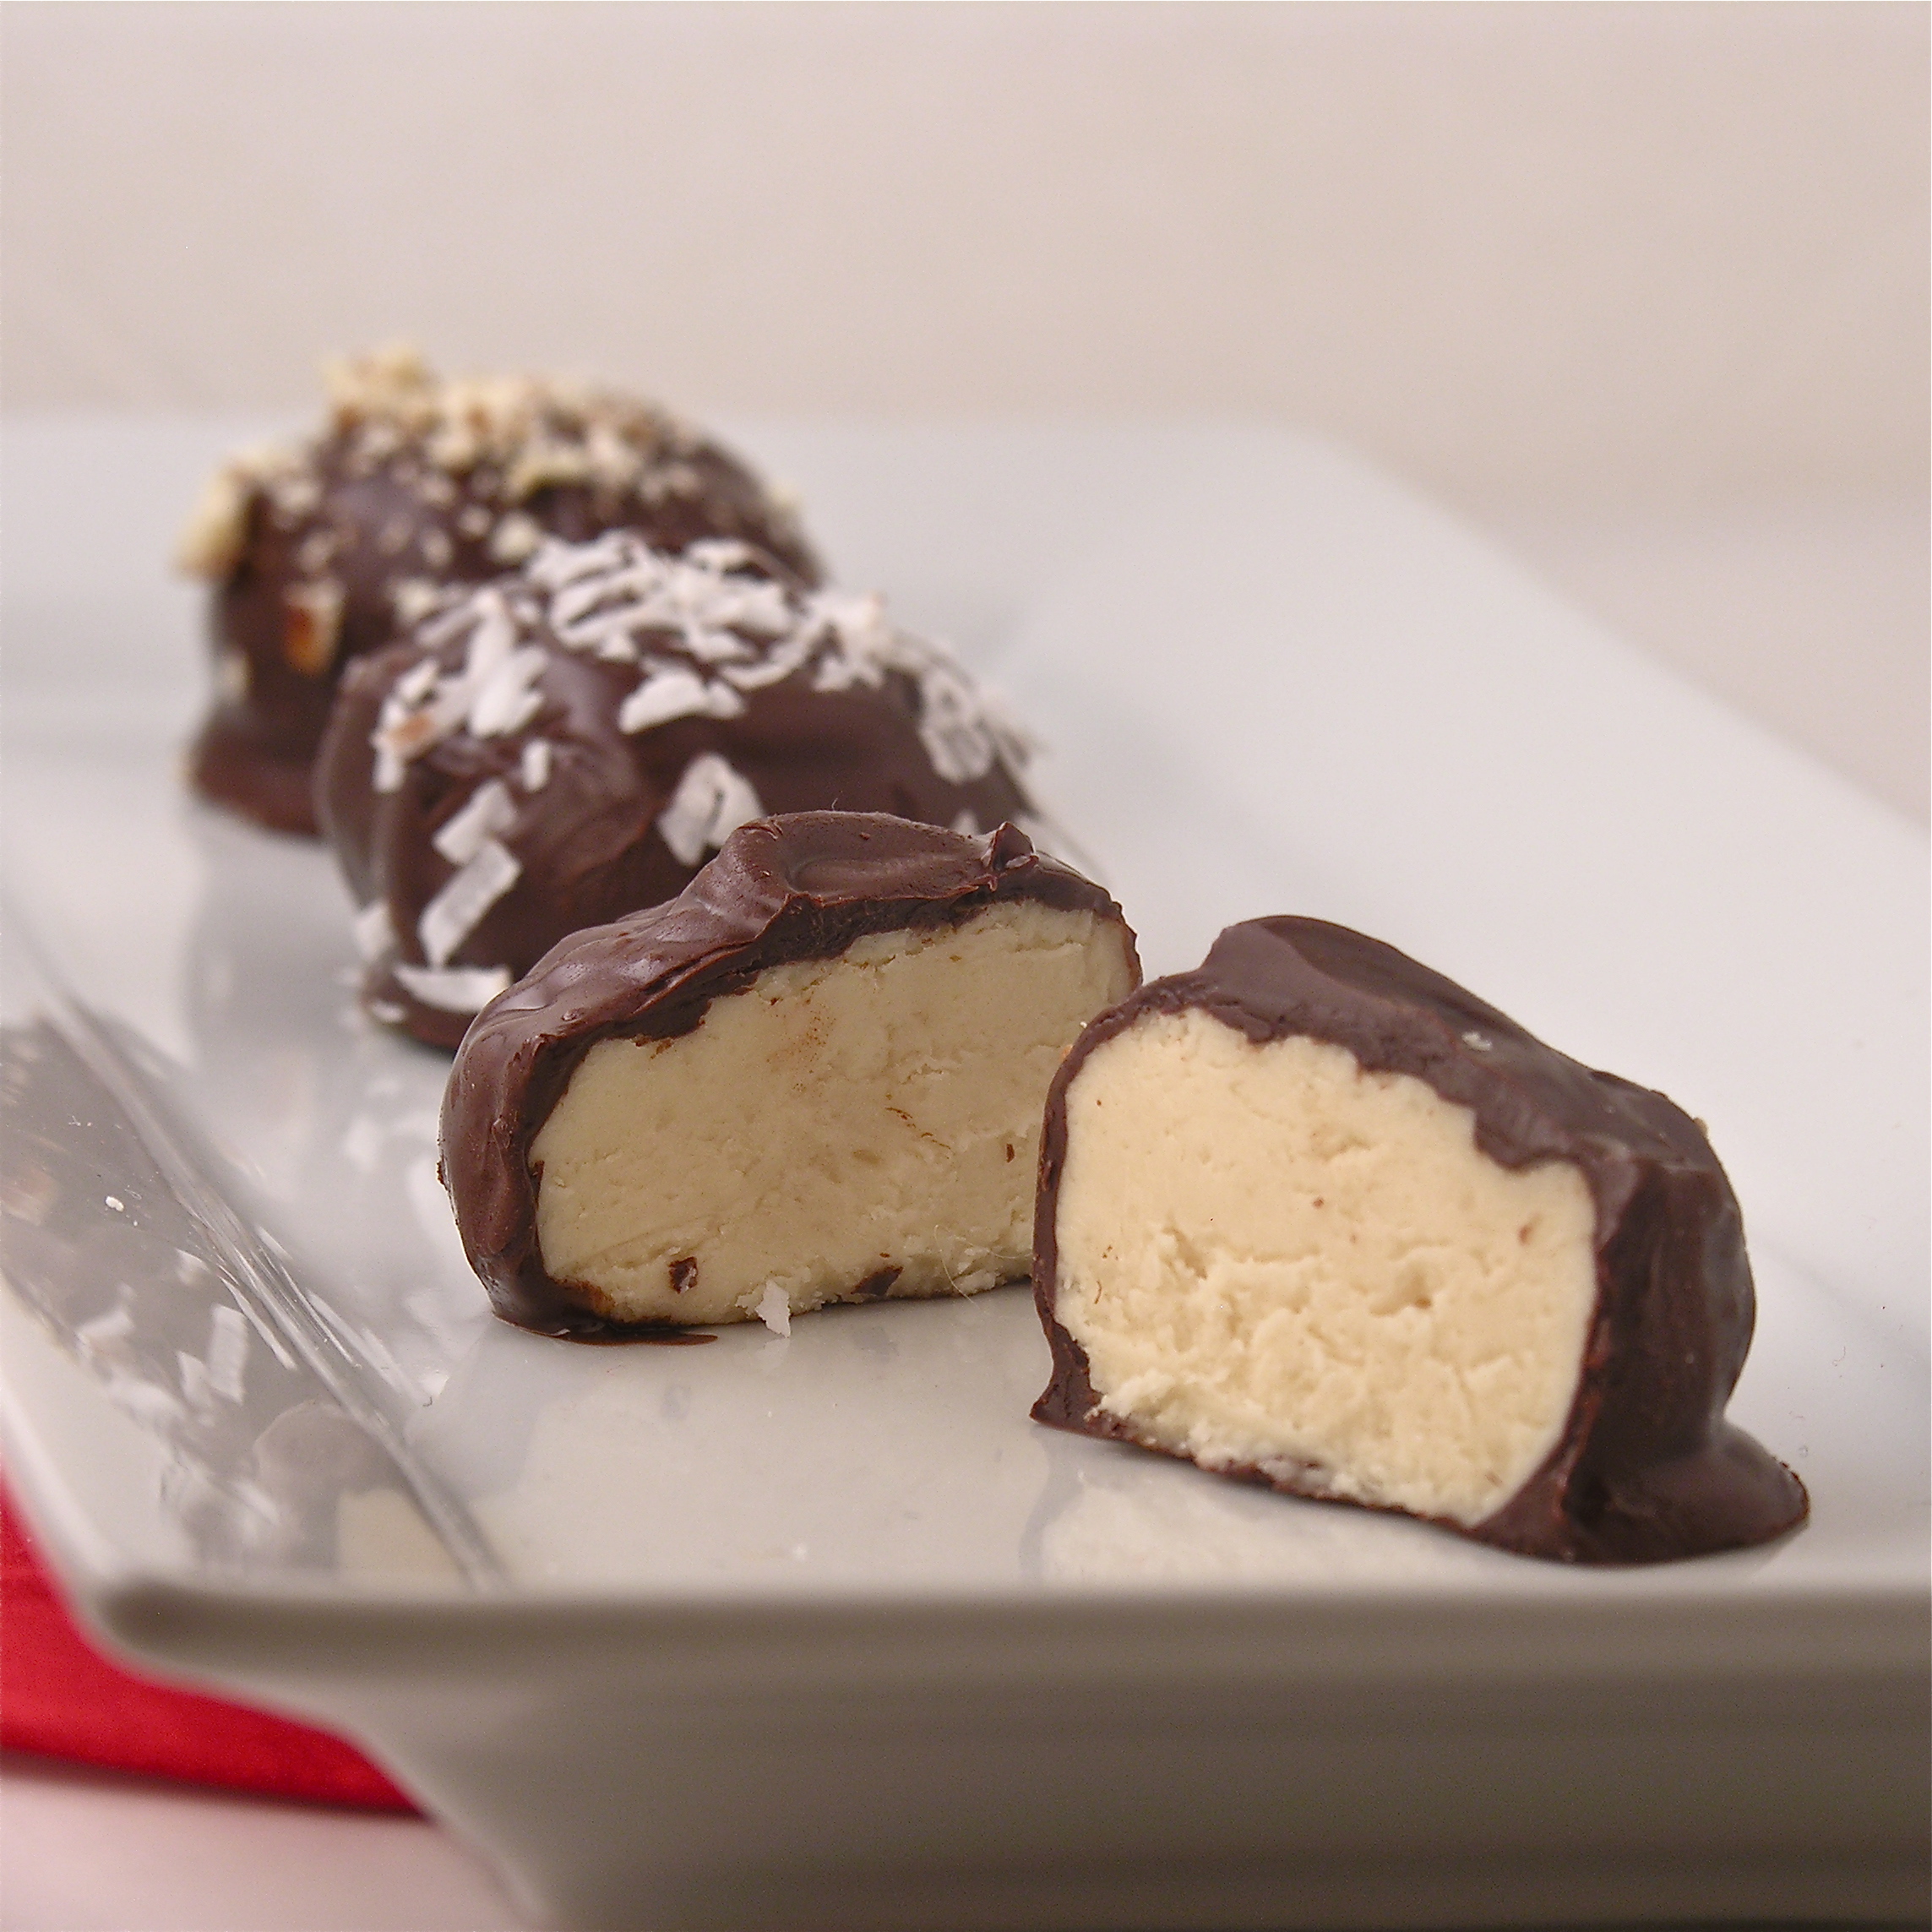
 These cream-filled chocolates are so smooth and rich you won’t be able to stop at just one!