Category Archives: Cookies

Pumpkin Pie Spice Cookies

Pumpkin Pie Cutout cookies!

These cute little pumpkin cutout cookies are chock-full of pumpkin spices and capture the tastes of fall in every bite!

I really dislike pumpkin pie. This time of year it is found everywhere! I’ve discovered that it is truly the pumpkin I dislike though- not the spices. These cookies offer all the yummy spices of pumpkin pie without a hint of actual pumpkin… plus they are cute as can be! These cookies can be cut into any shape you like and decorated accordingly. I had a hard time not eating them all up before  I decorated them- so use frosting…or don’t…. maybe just cut them in circles and add a few sugar sprinkles to make them really easy!

Pumpkin Pie Cutout CookiesHere’s how we made the cookies- and how we decorated them. (printable recipe)

INGREDIENTS:

  • 2 sticks (1 cup) unsalted butter (softened)
  • 1 1/2 cups of granulated sugar
  • 2 eggs
  • 1 teaspoon of vanilla
  • 1 teaspoon of butter flavoring
  • 3 cups of flour
  • 1 teaspoon of baking powder
  • 1/2 teaspoon of salt
  • 2 Tablespoons of pumpkin spice seasoning

DIRECTIONS:

  • Preheat oven to 350F degrees.
  • In a large mixing bowl, cream together butter and sugar until smooth.
  • Add eggs, vanilla and butter flavoring and mix well.
  • Add all dry ingredients and mix until able to knead into a firm ball of dough (add additional flour if necessary).
  • Roll out on a floured counter with a flour coated rolling pin to desired thickness.
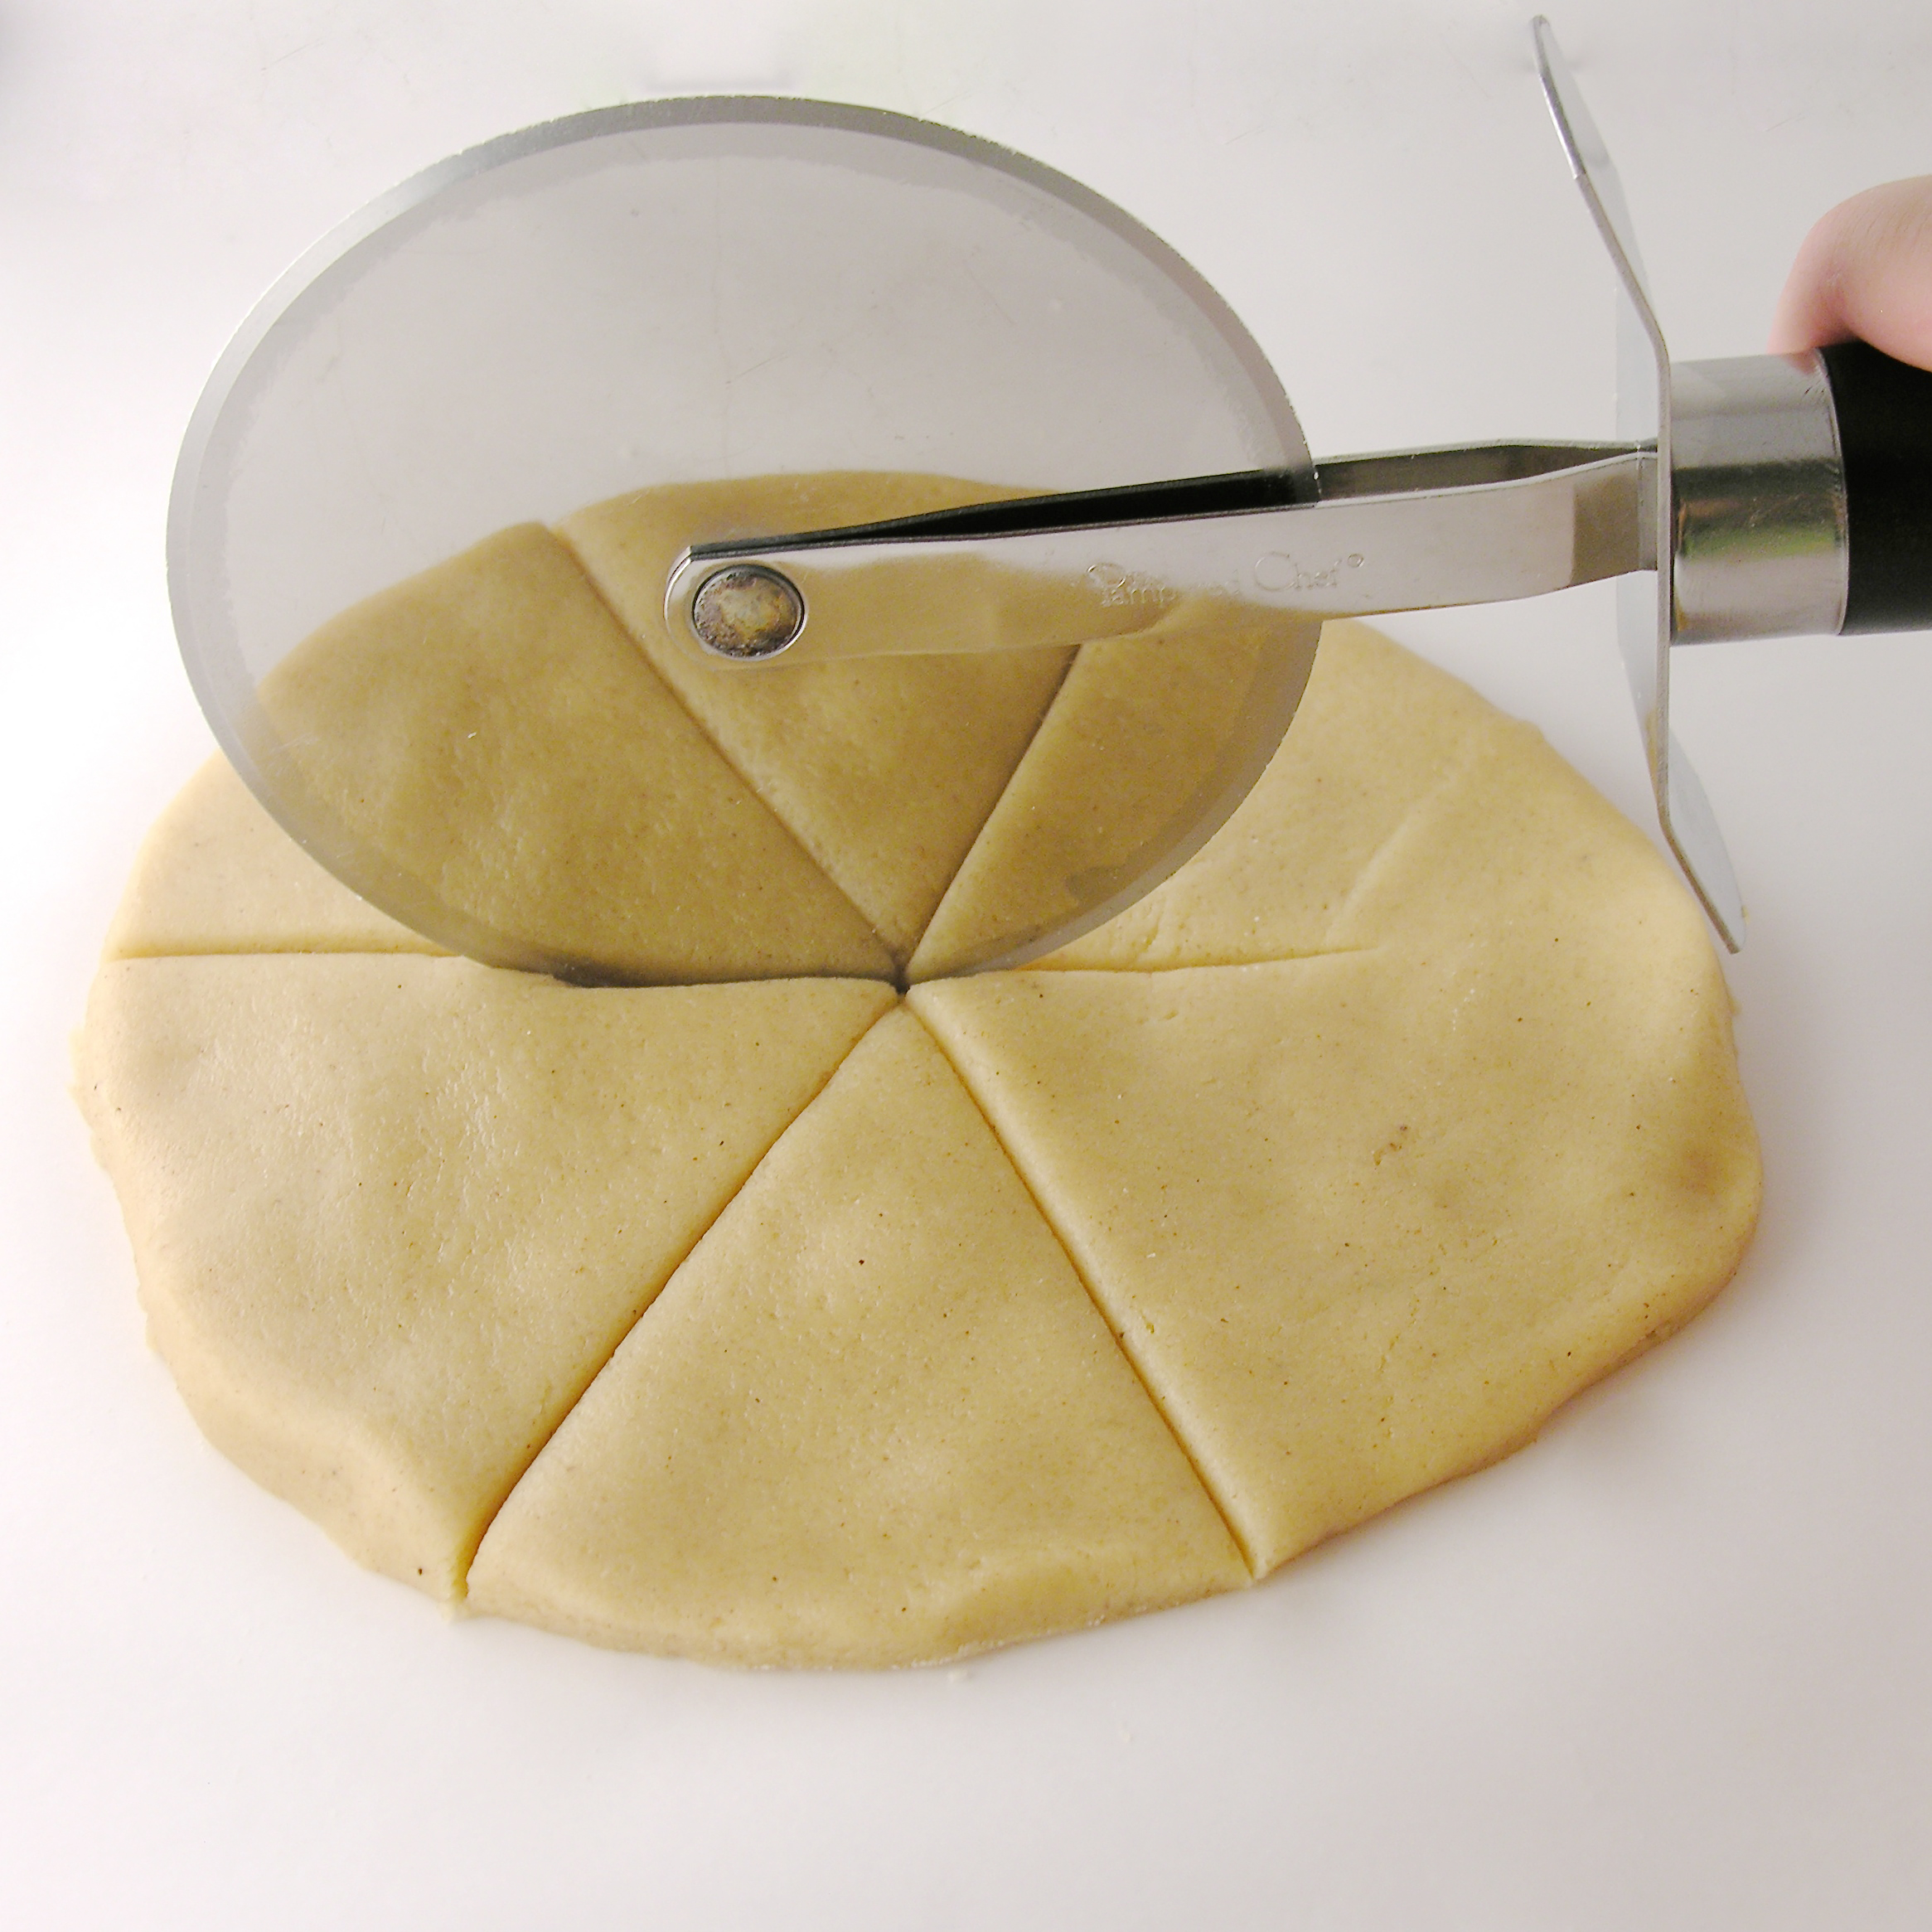
  • Cut using a large (I used a 6″) round cookie cutter
  • Use a knife or pizza cutter to divide circle into even triangle “pie” pieces.
  • Place cookies on ungreased cookie sheets and bake at 350F degrees for 8 to 10 minutes.
  • Slide baked cookies onto parchment paper to cool completely.
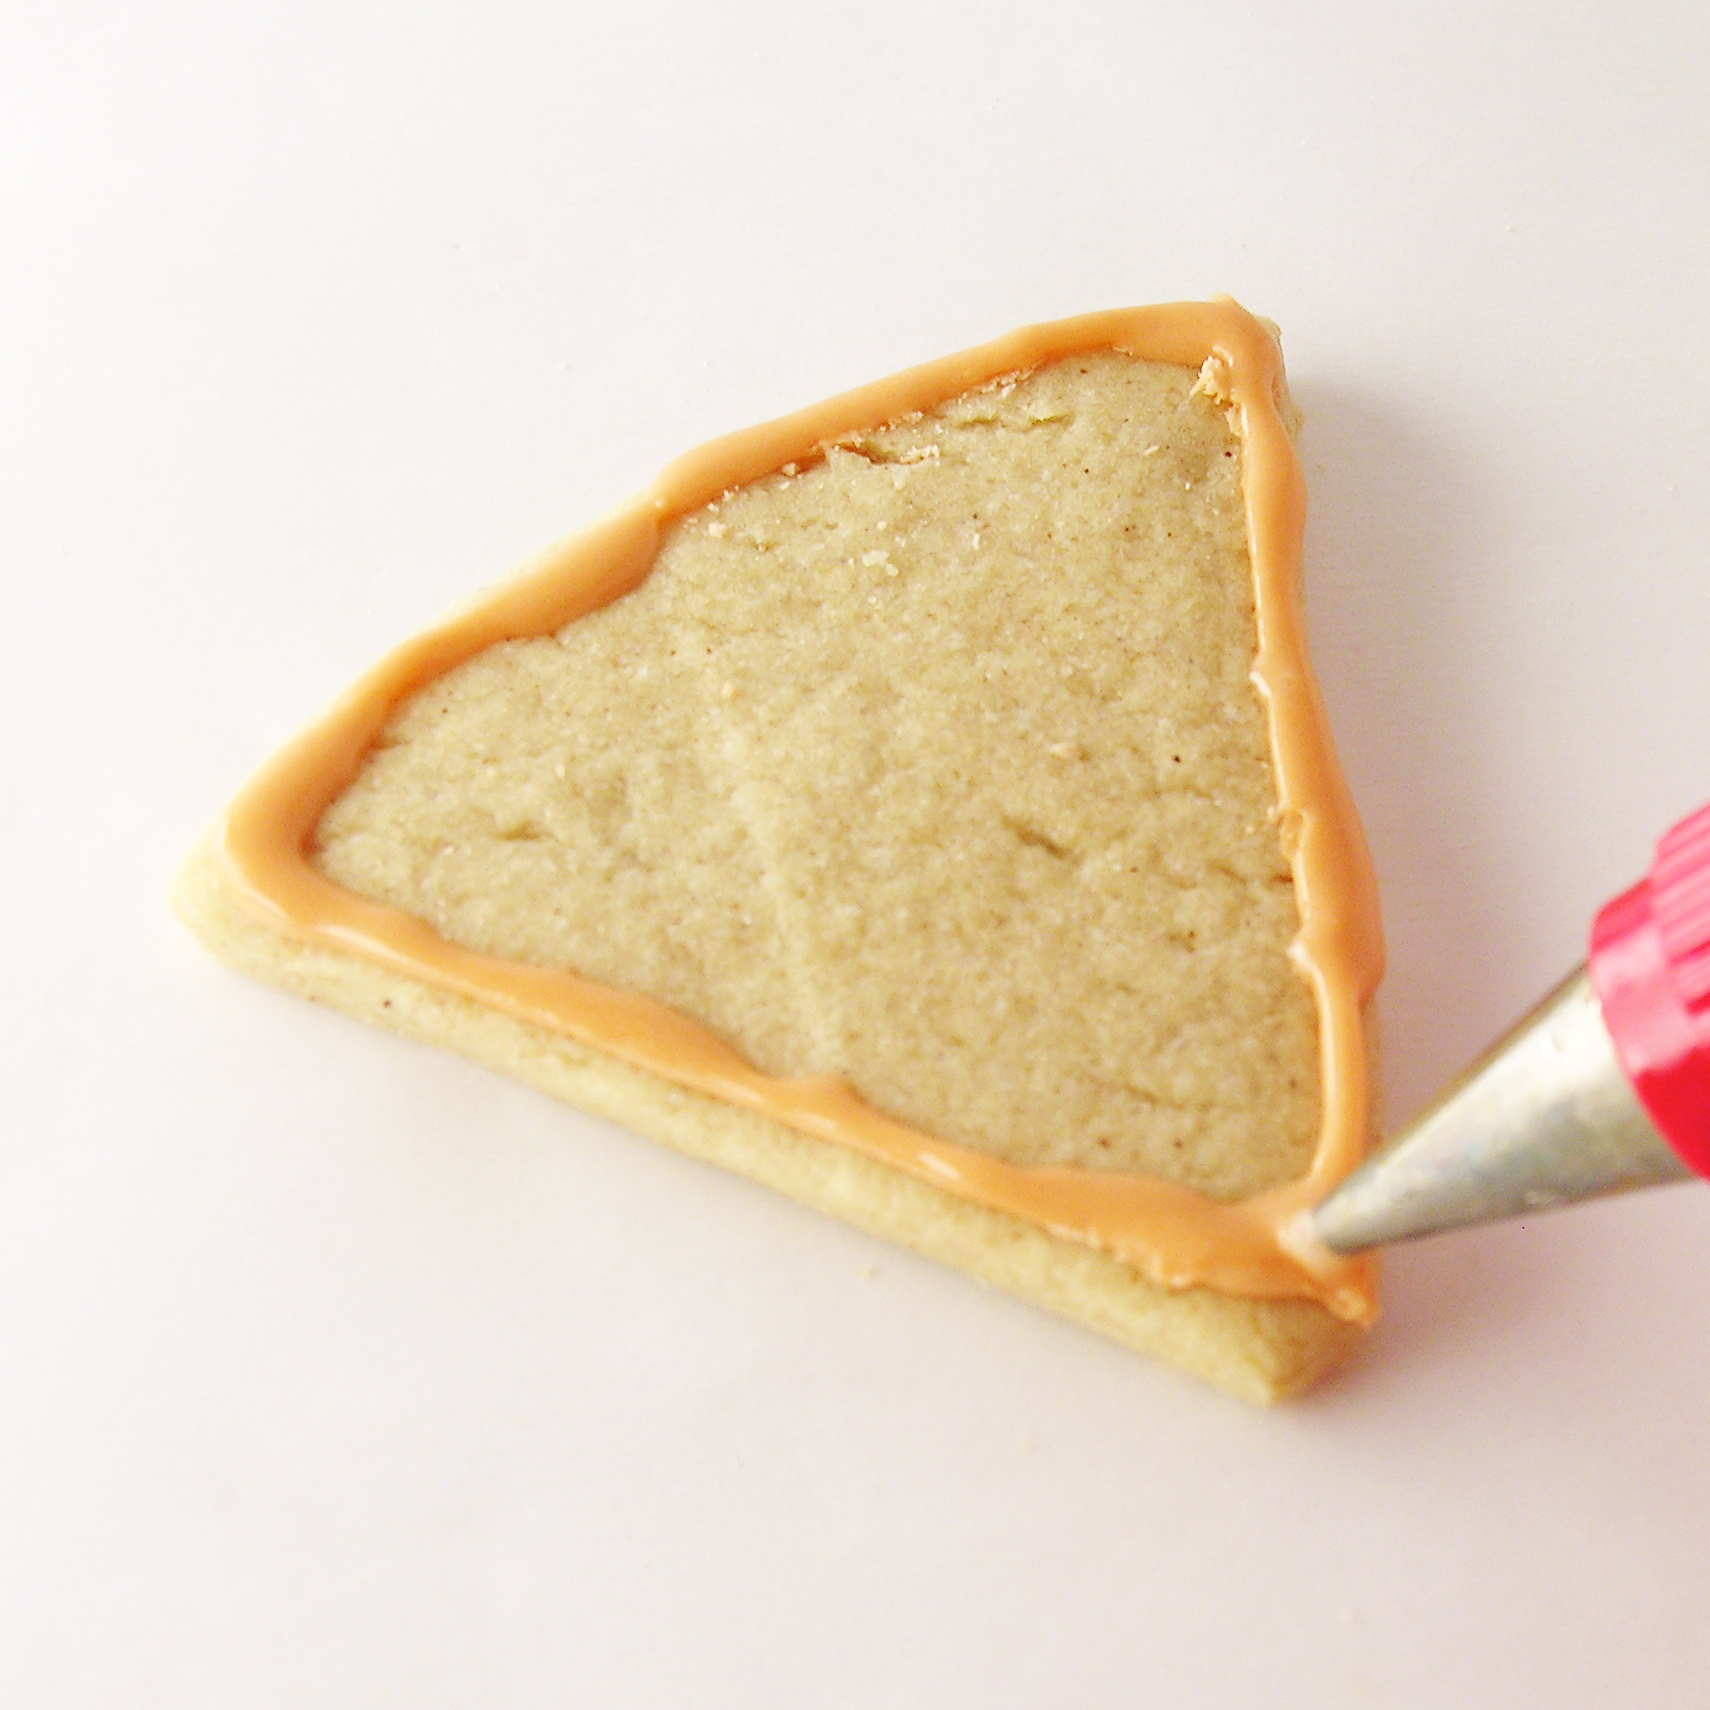
  • To decorate, use royal icing (so it will harden into a firm shell) my recipe for that is here.
  • Use thicker icing to outline the shape of the cookie and then flood the inside of the outline with thinner icing.

Pumpkin Pie Cut-out CookiesPumpkin Pie Cutouts CookiesPumpkin Pie Cutout cookies

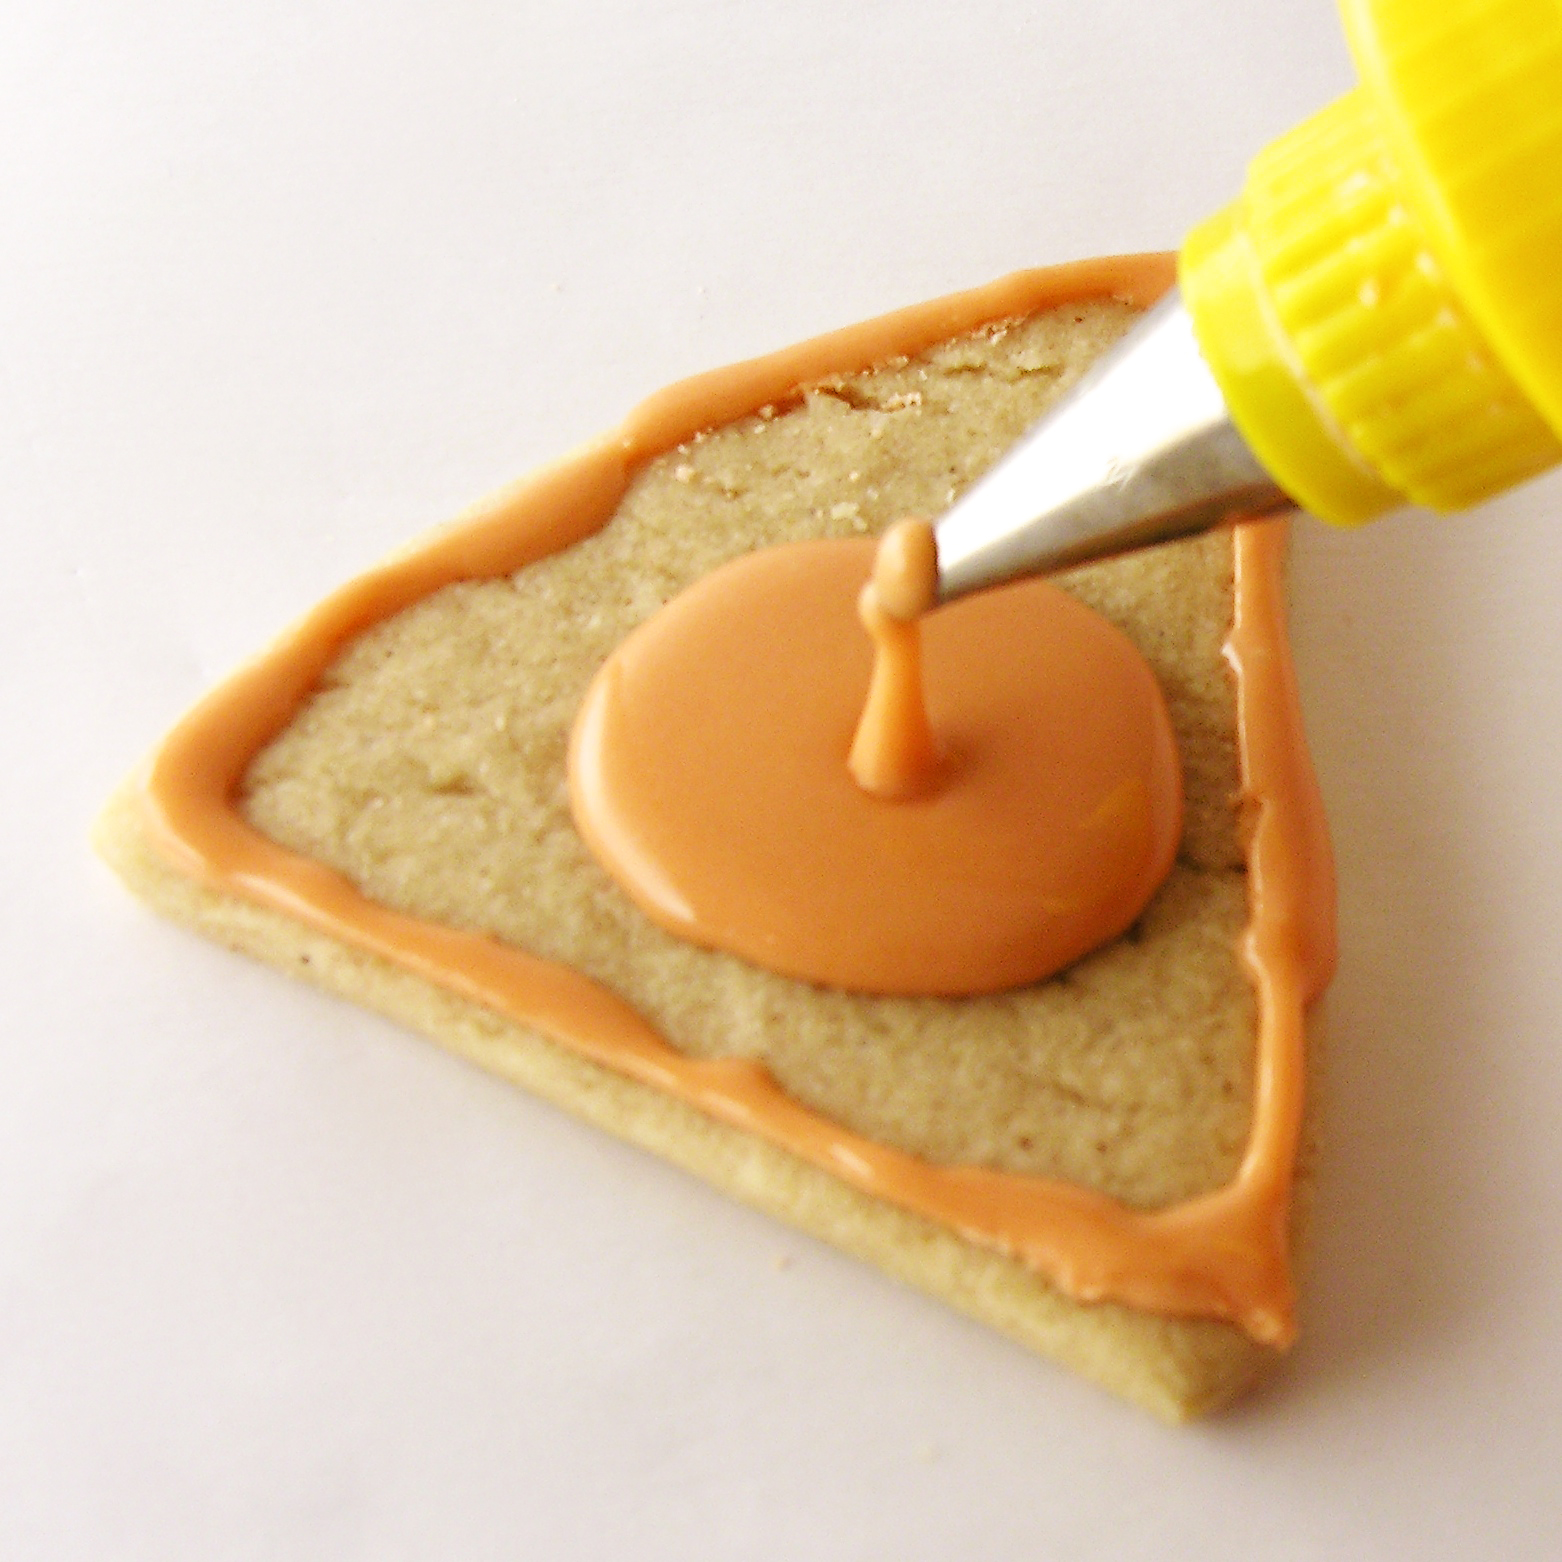
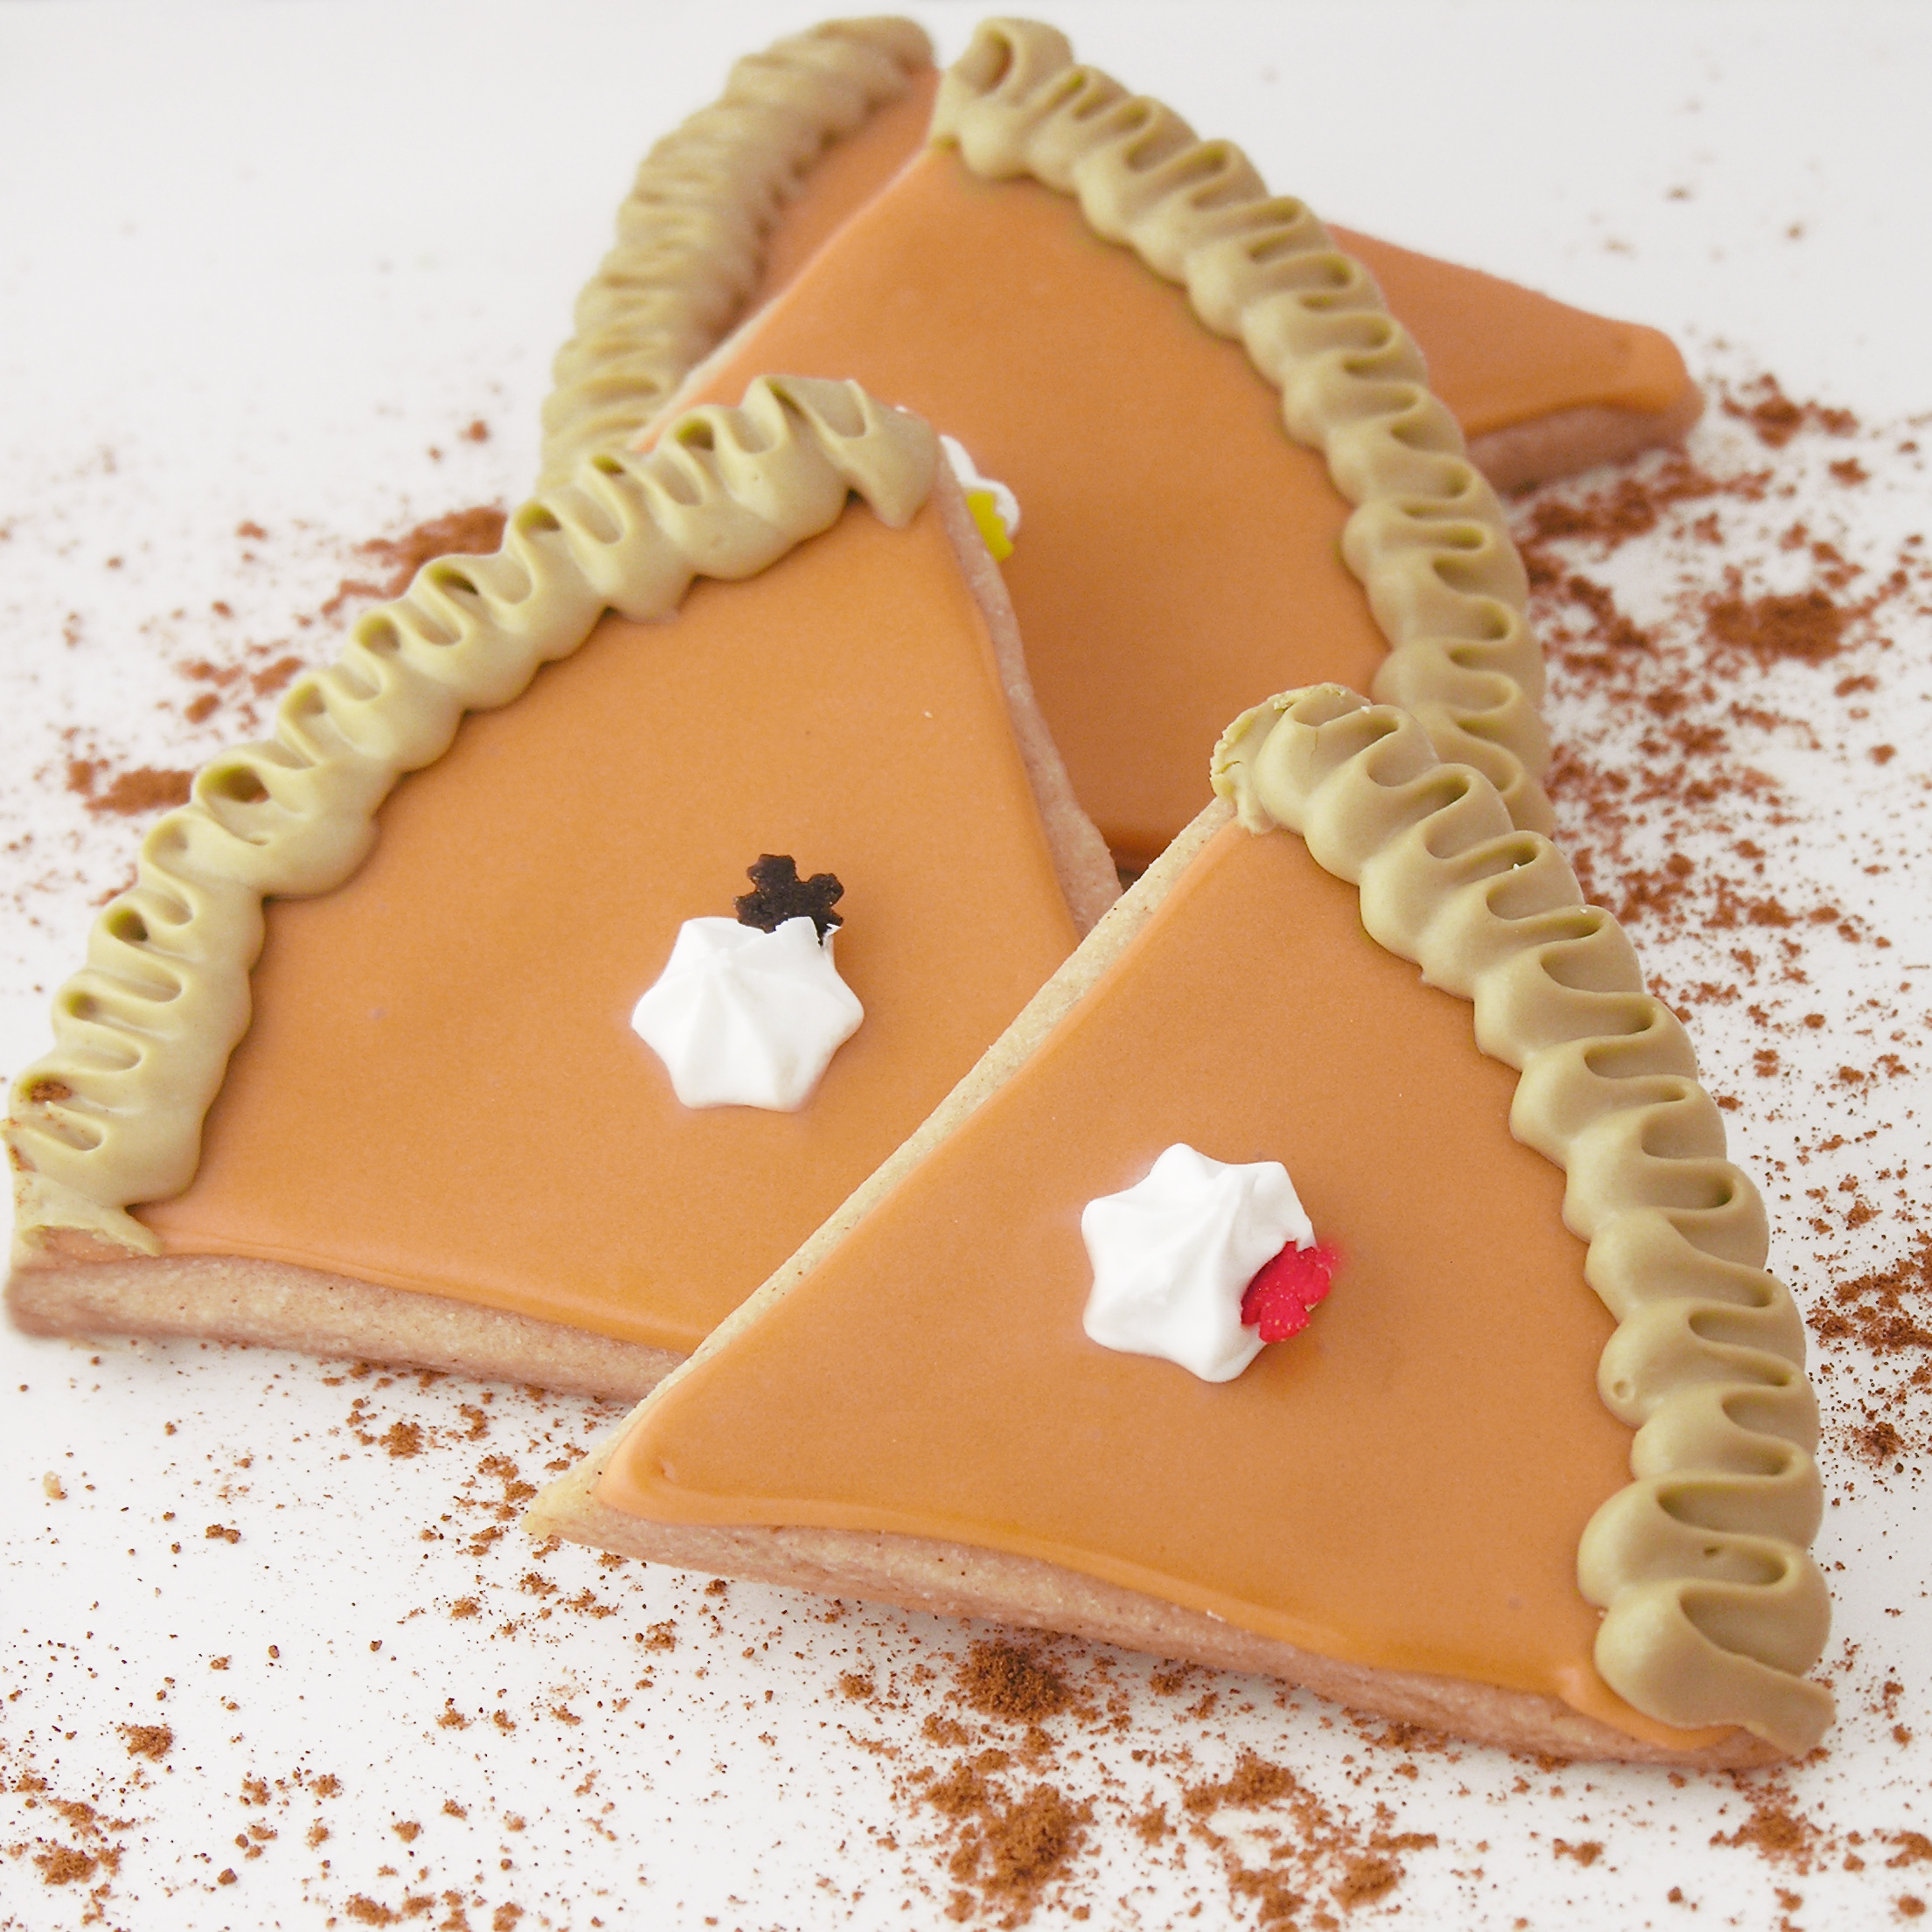
  • Allow icing to harden up and then make the “crust” by using royal icing colored to match the cookies and swirling a loose “m” pattern across the end of each cookie.
  • Use a star tip to add a little white icing as “whipped cream”

Note: I wanted to add some cute factor to these yummy cookies and saw sugar cookies done as slices of pie on a REALLY fun blog called sweetsugarbelle.com. She does a GREAT job of showing the decorating process step-by-step, and I highly recommend you visit her site if you decide to make these cookies in slice form. The hardest part is the crust. I’m NOT a cake decorator and I really had to practice to get the crust to look acceptable. Her pictures and instruction were a big help! Plus the rest of this site is so addictive. Beautiful creations! Love it!

Slice of Pumpkin Pie CutoutsMy thoughts: YUM. Seriously yummy cookies. If you are up for a challenge make them into pie slices, but if you just want some simply delicious and EASY cookies just cut these into fun fall or Christmas shapes and sprinkle with a little colored sugar. Don’t omit that butter flavoring- you can find it with other flavors and extracts at the grocery- it adds such a yummy flavor!  Hope you get a chance to try these!!! Enjoy! ~r


Pumpkin Spice Cookies
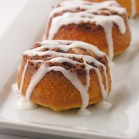
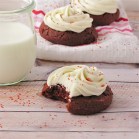
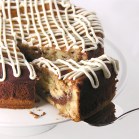
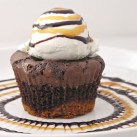
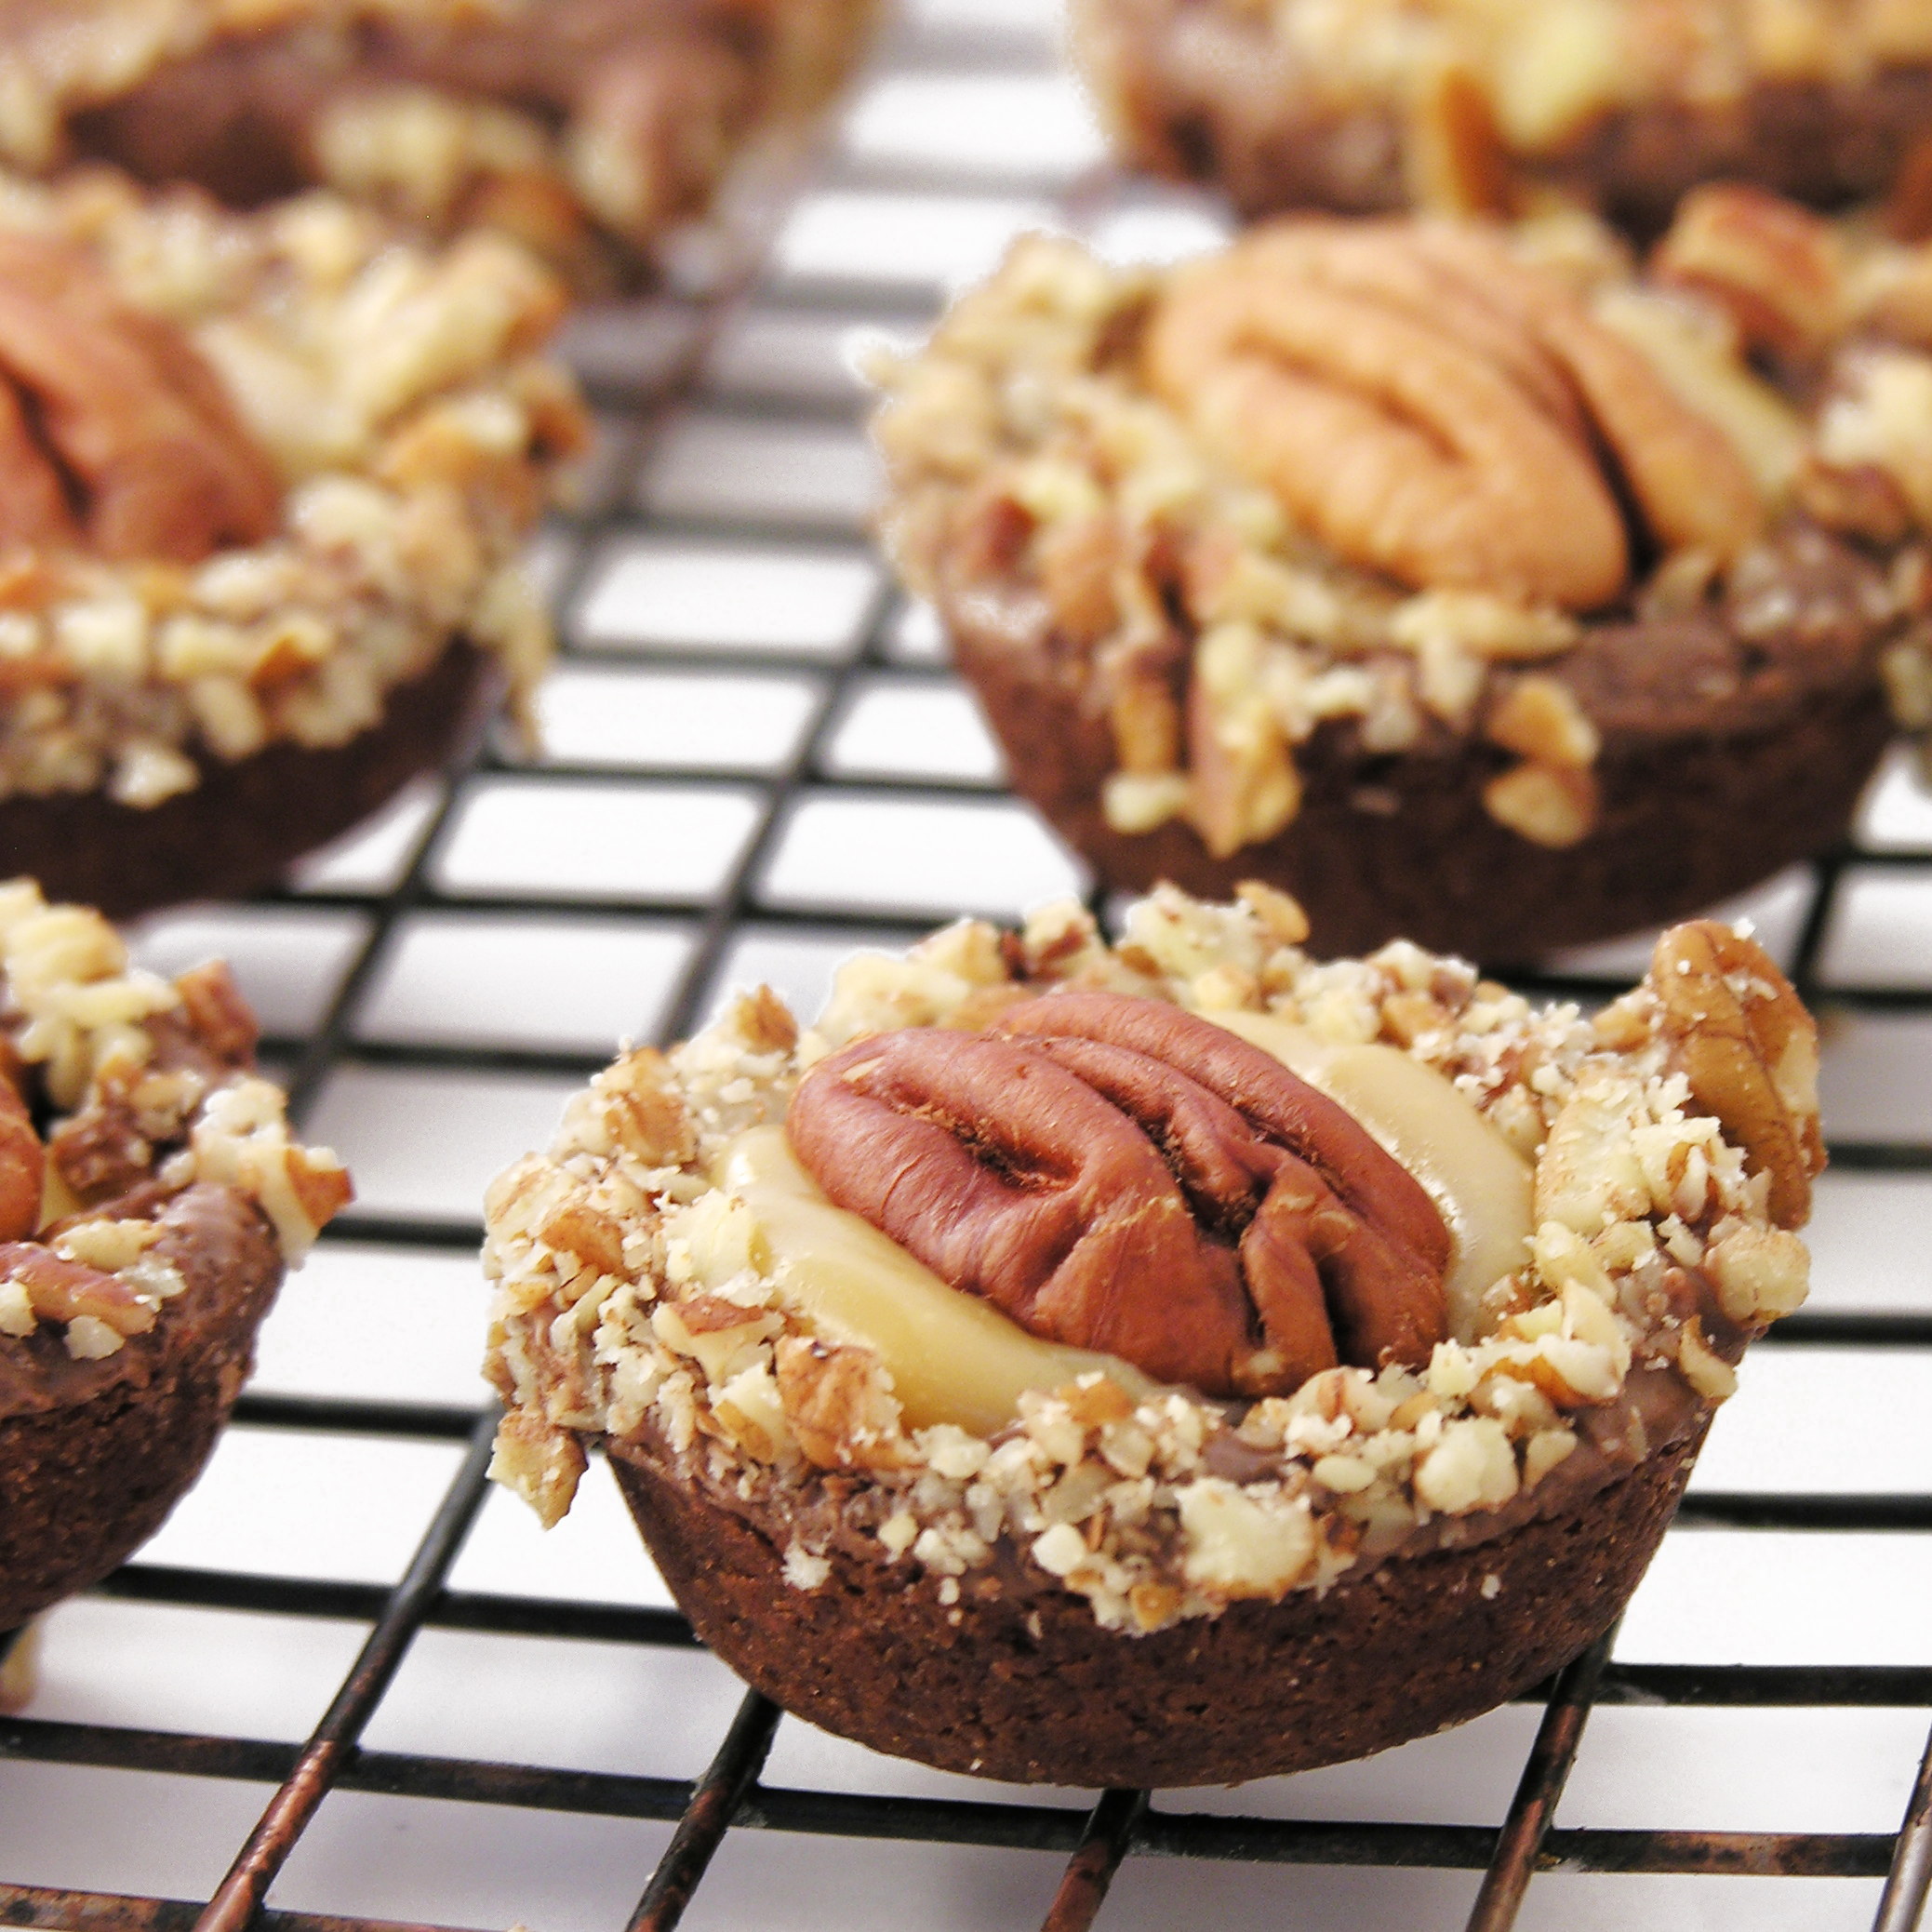
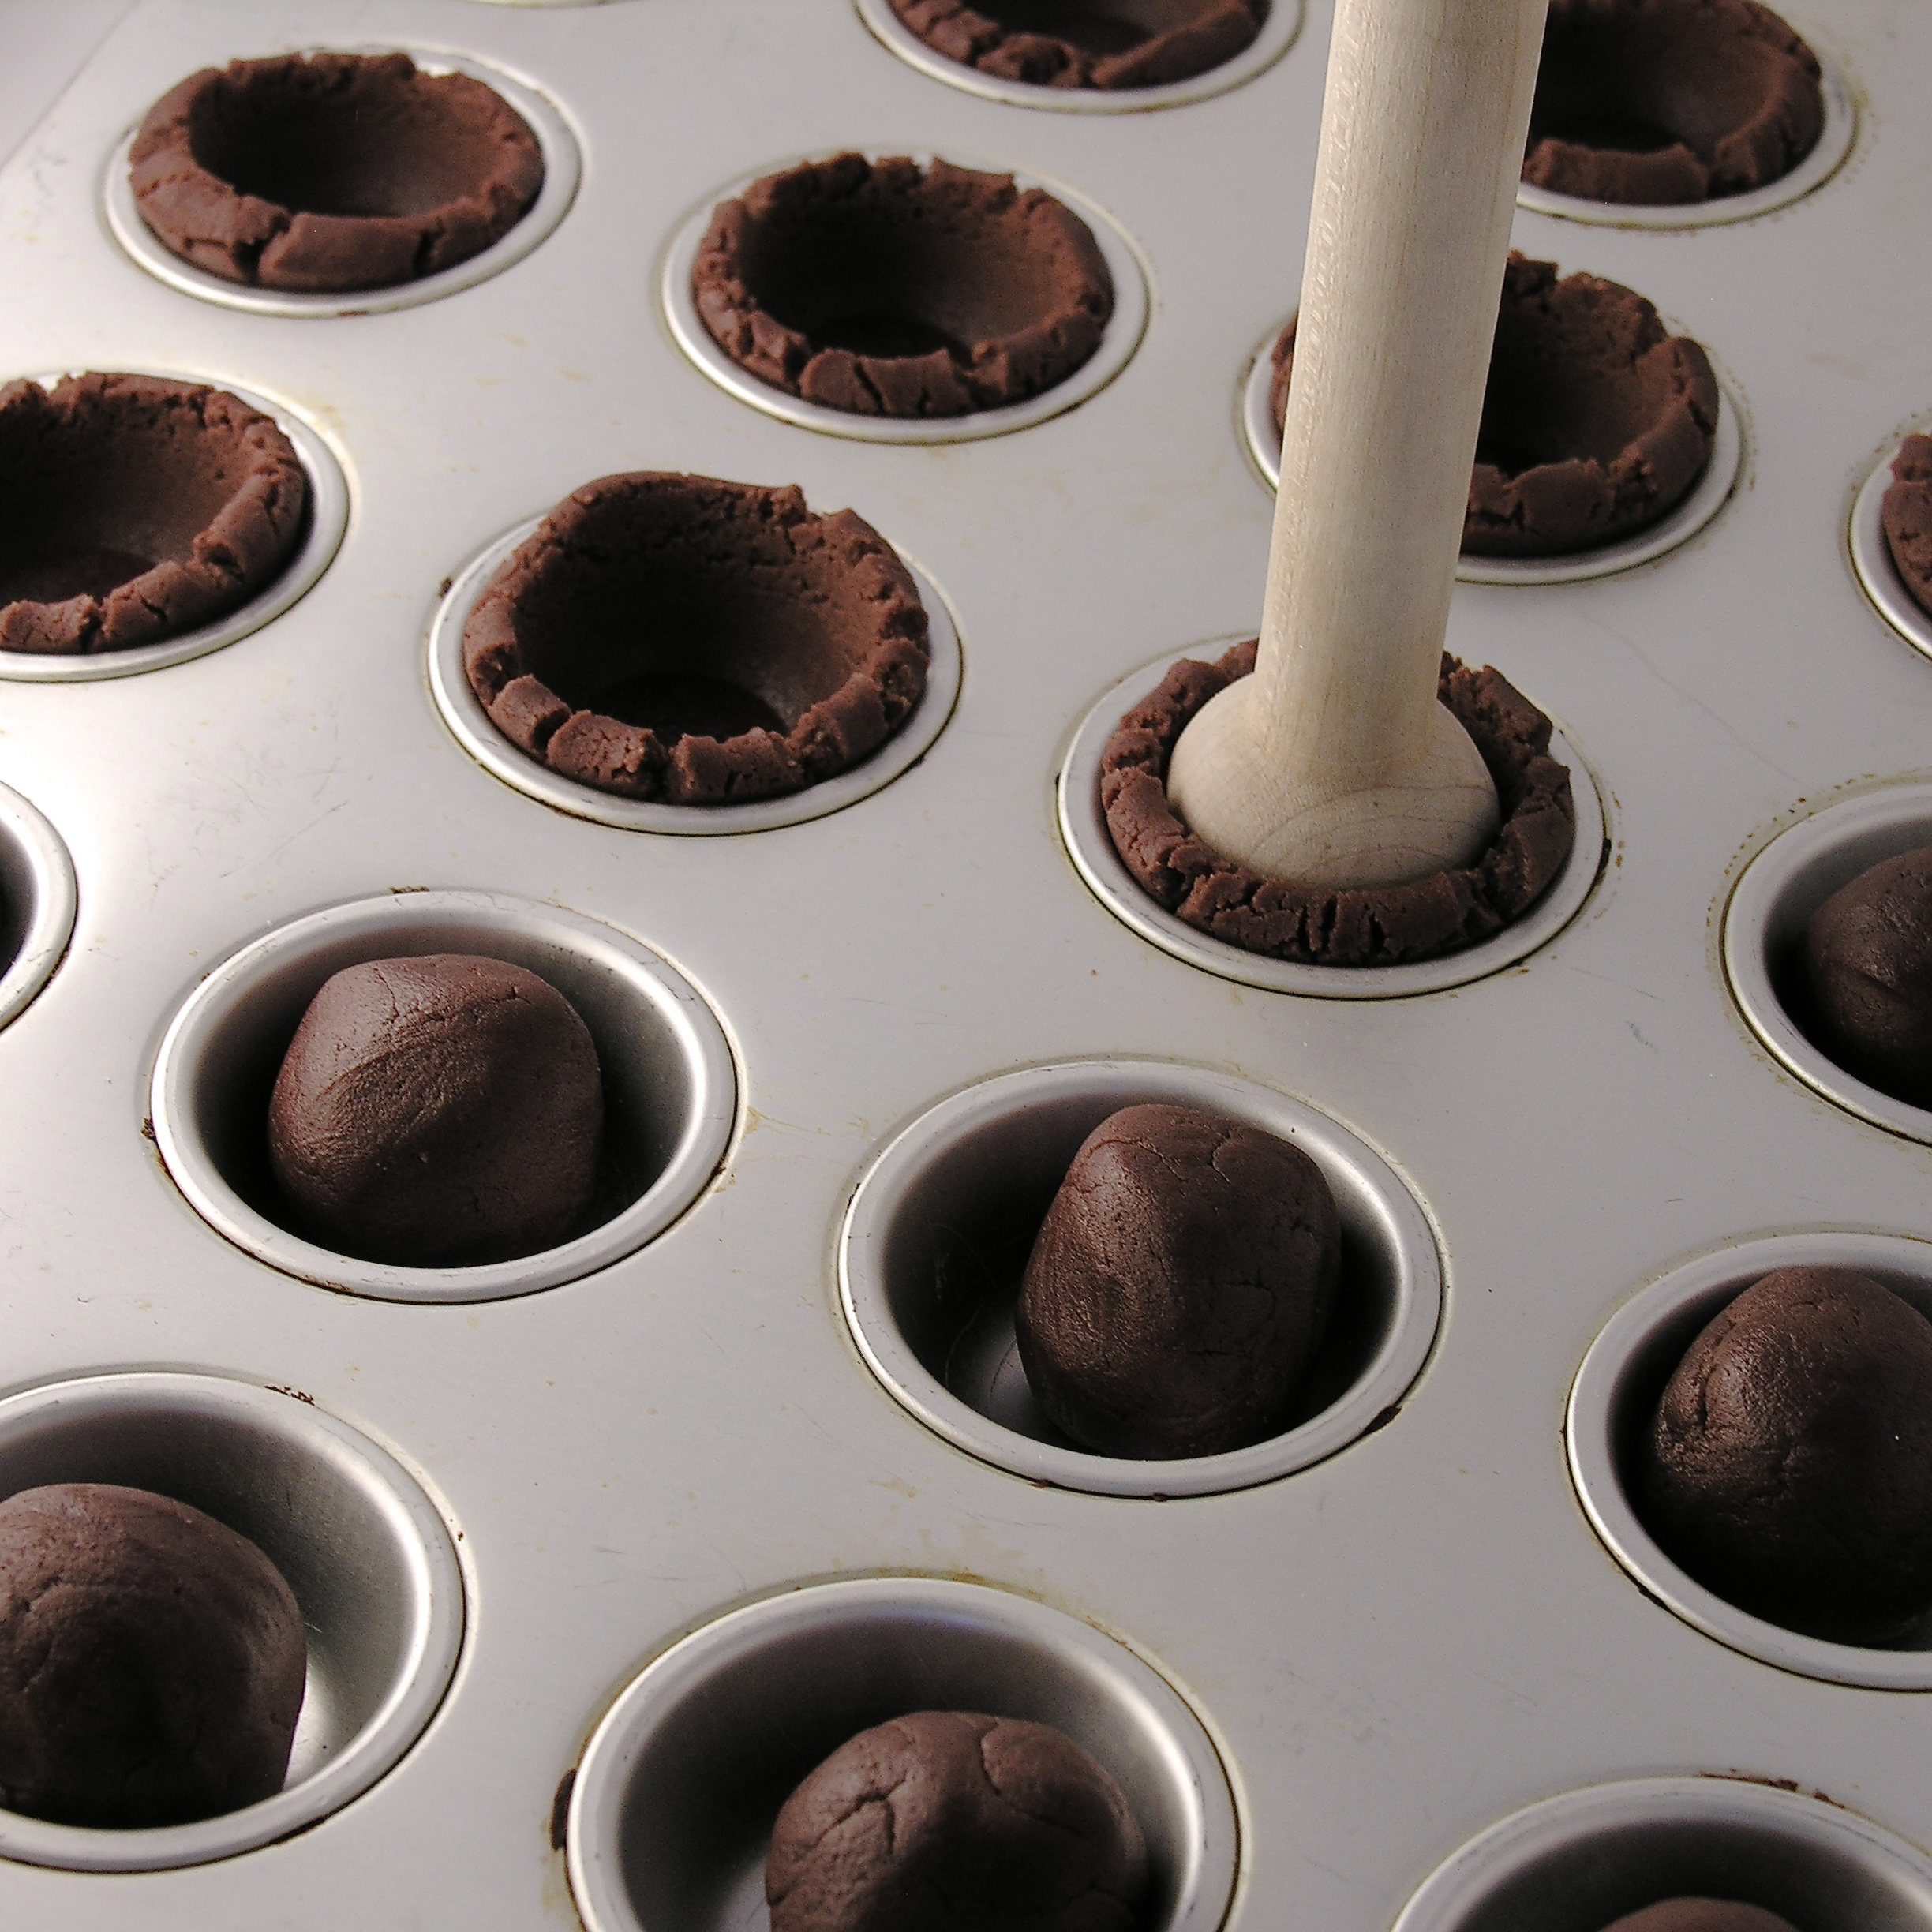
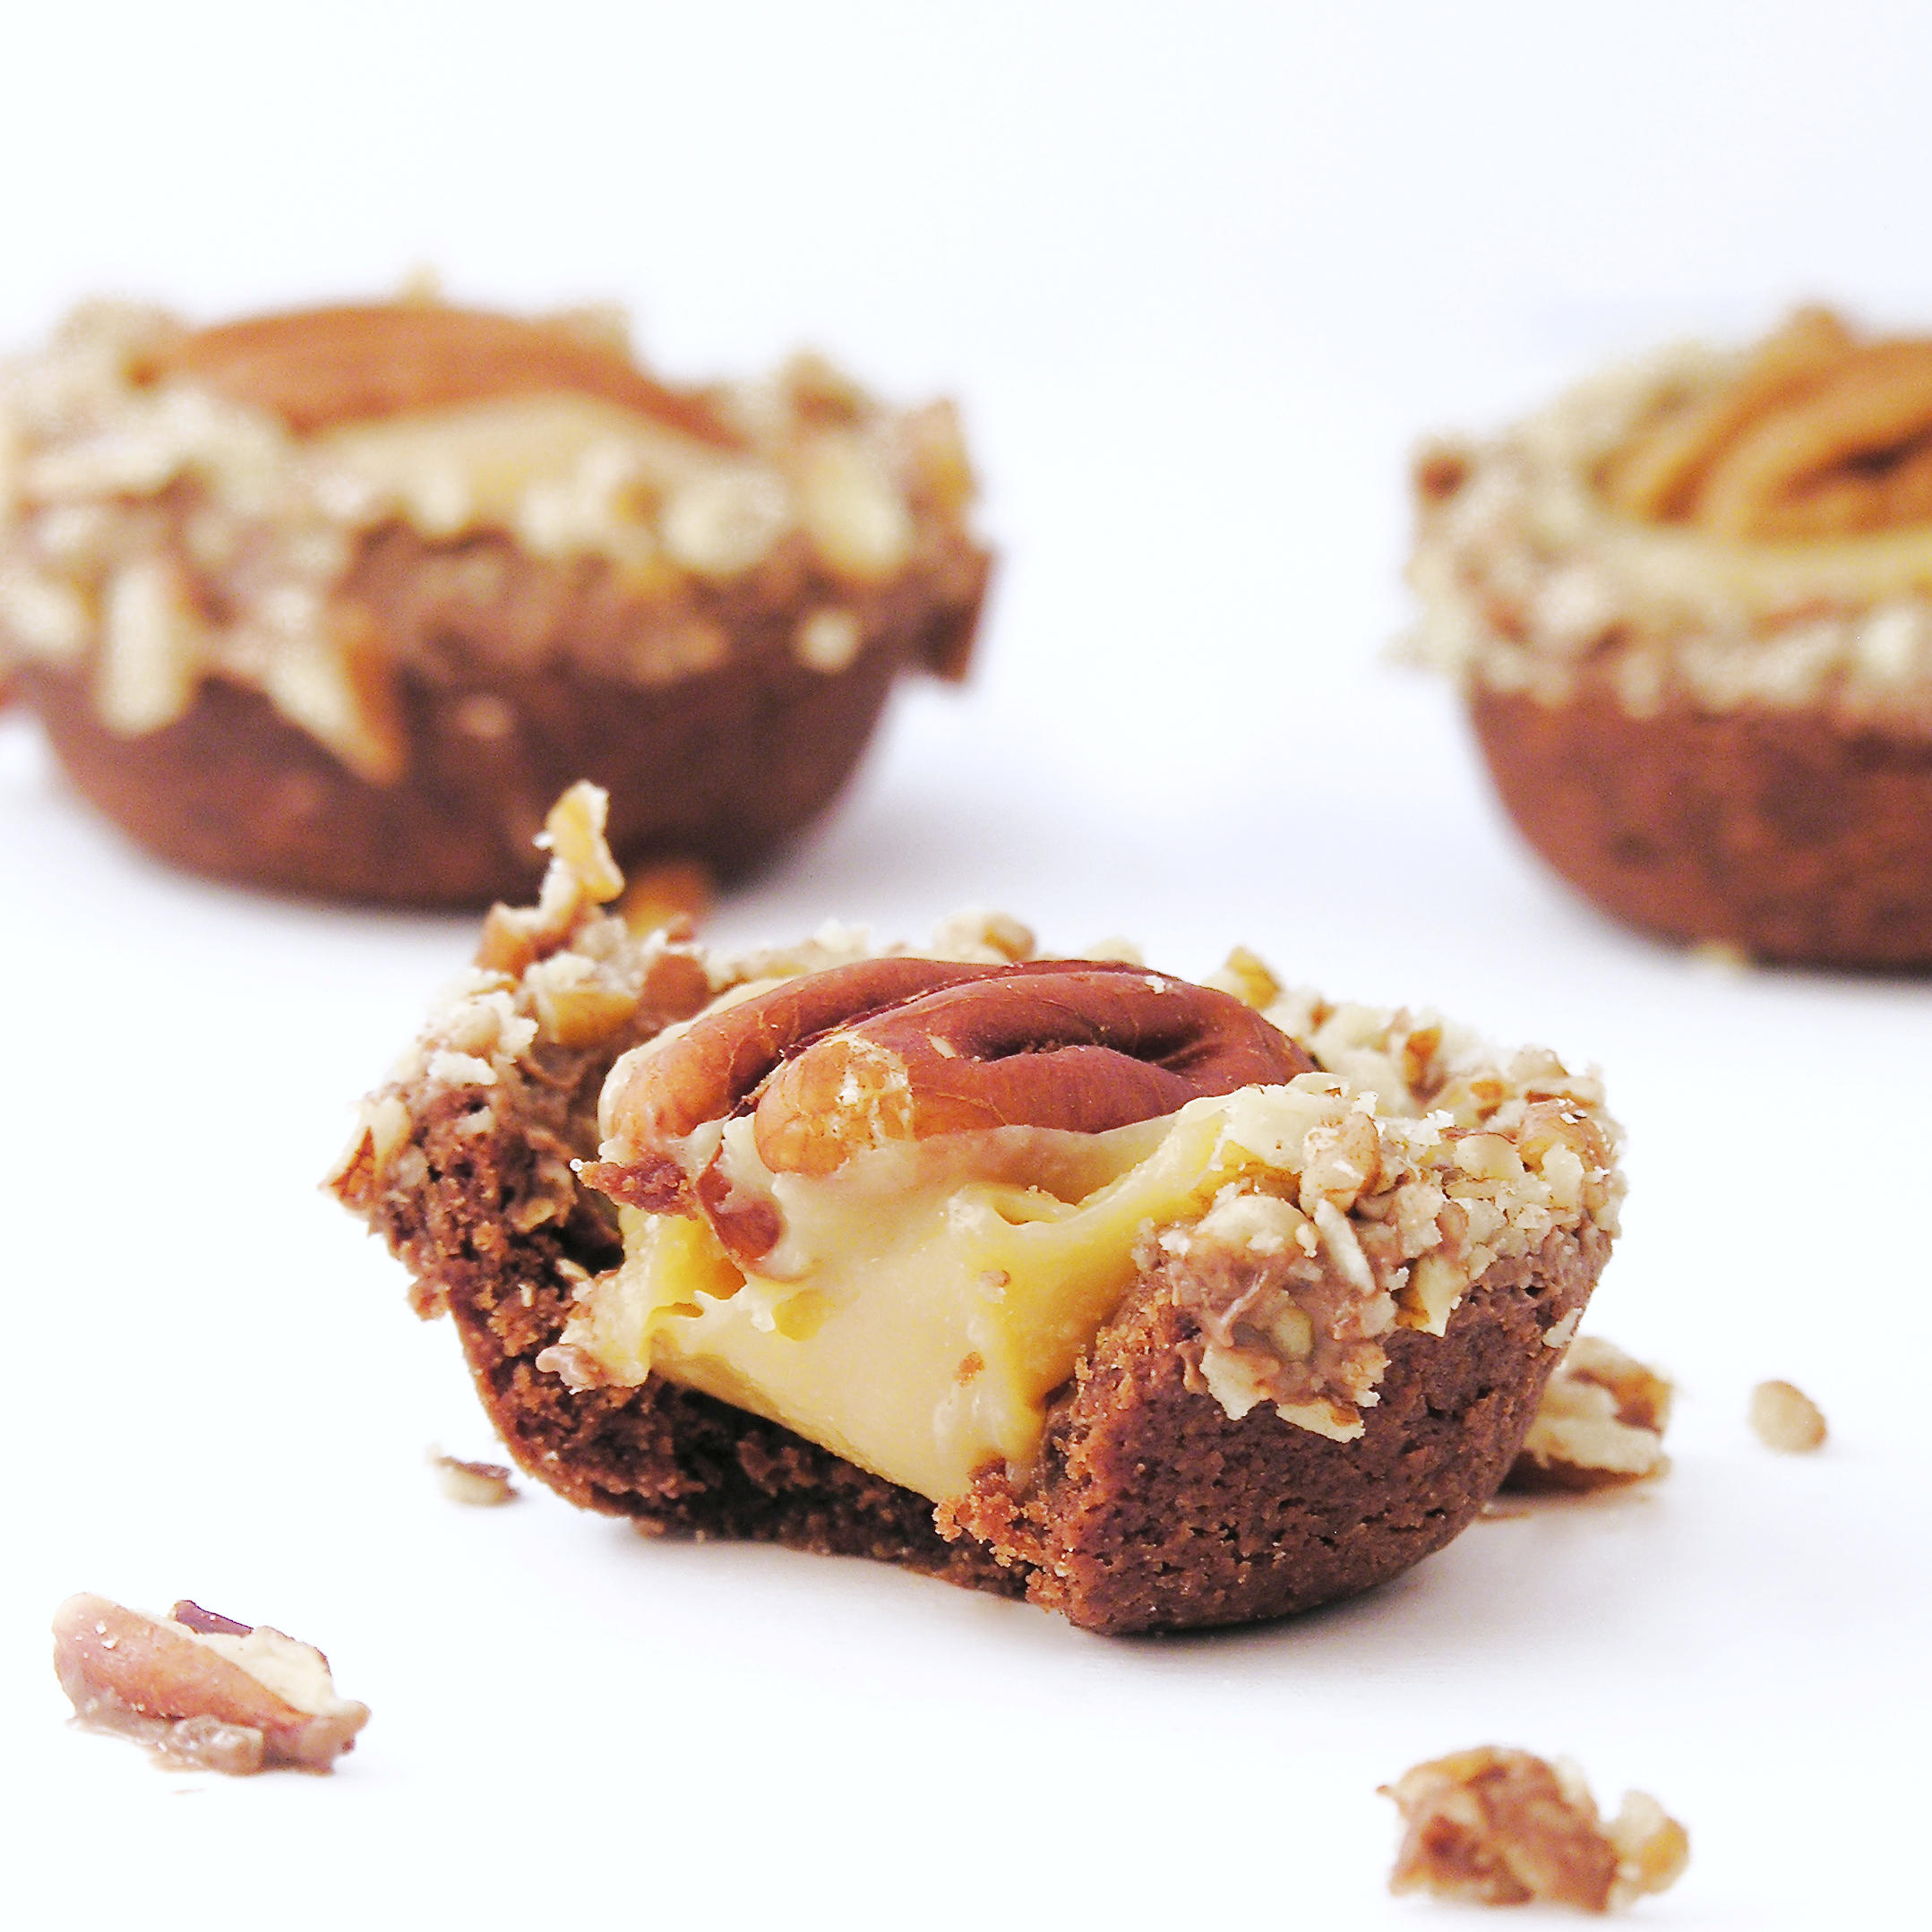
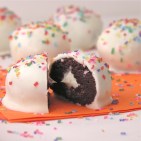
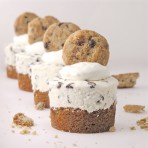
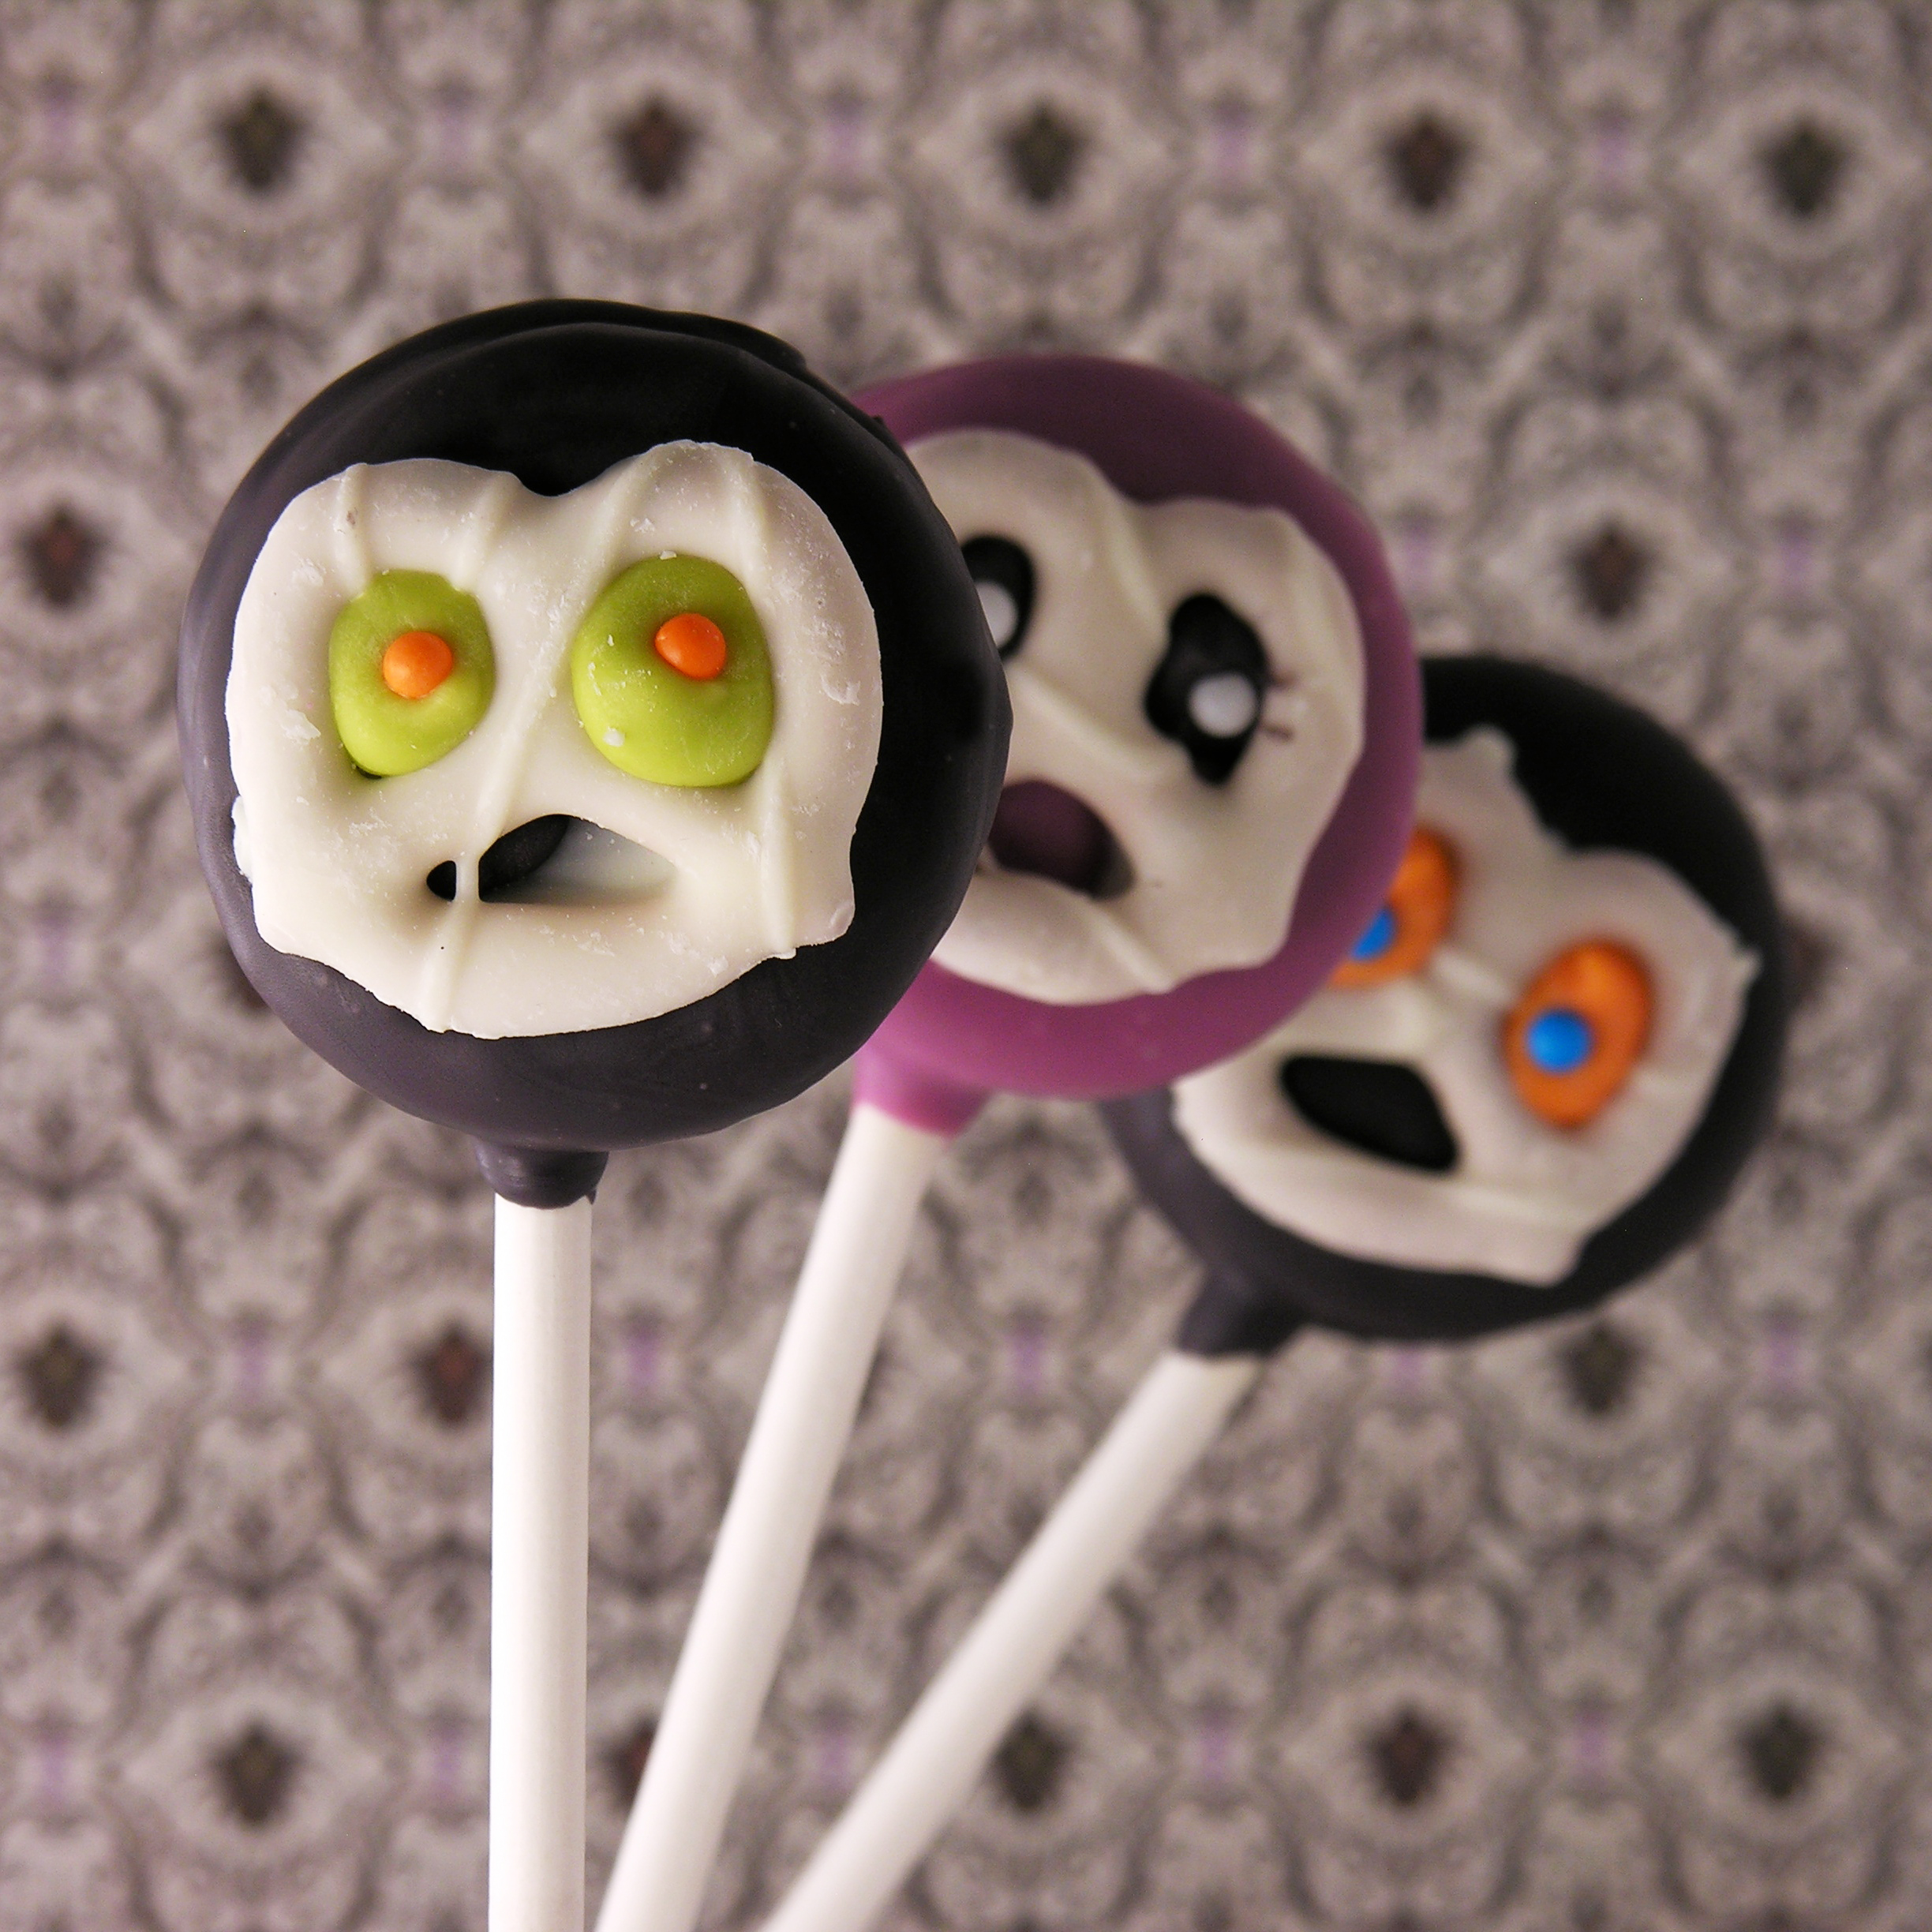
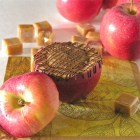
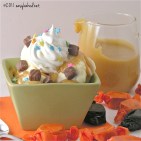
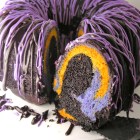
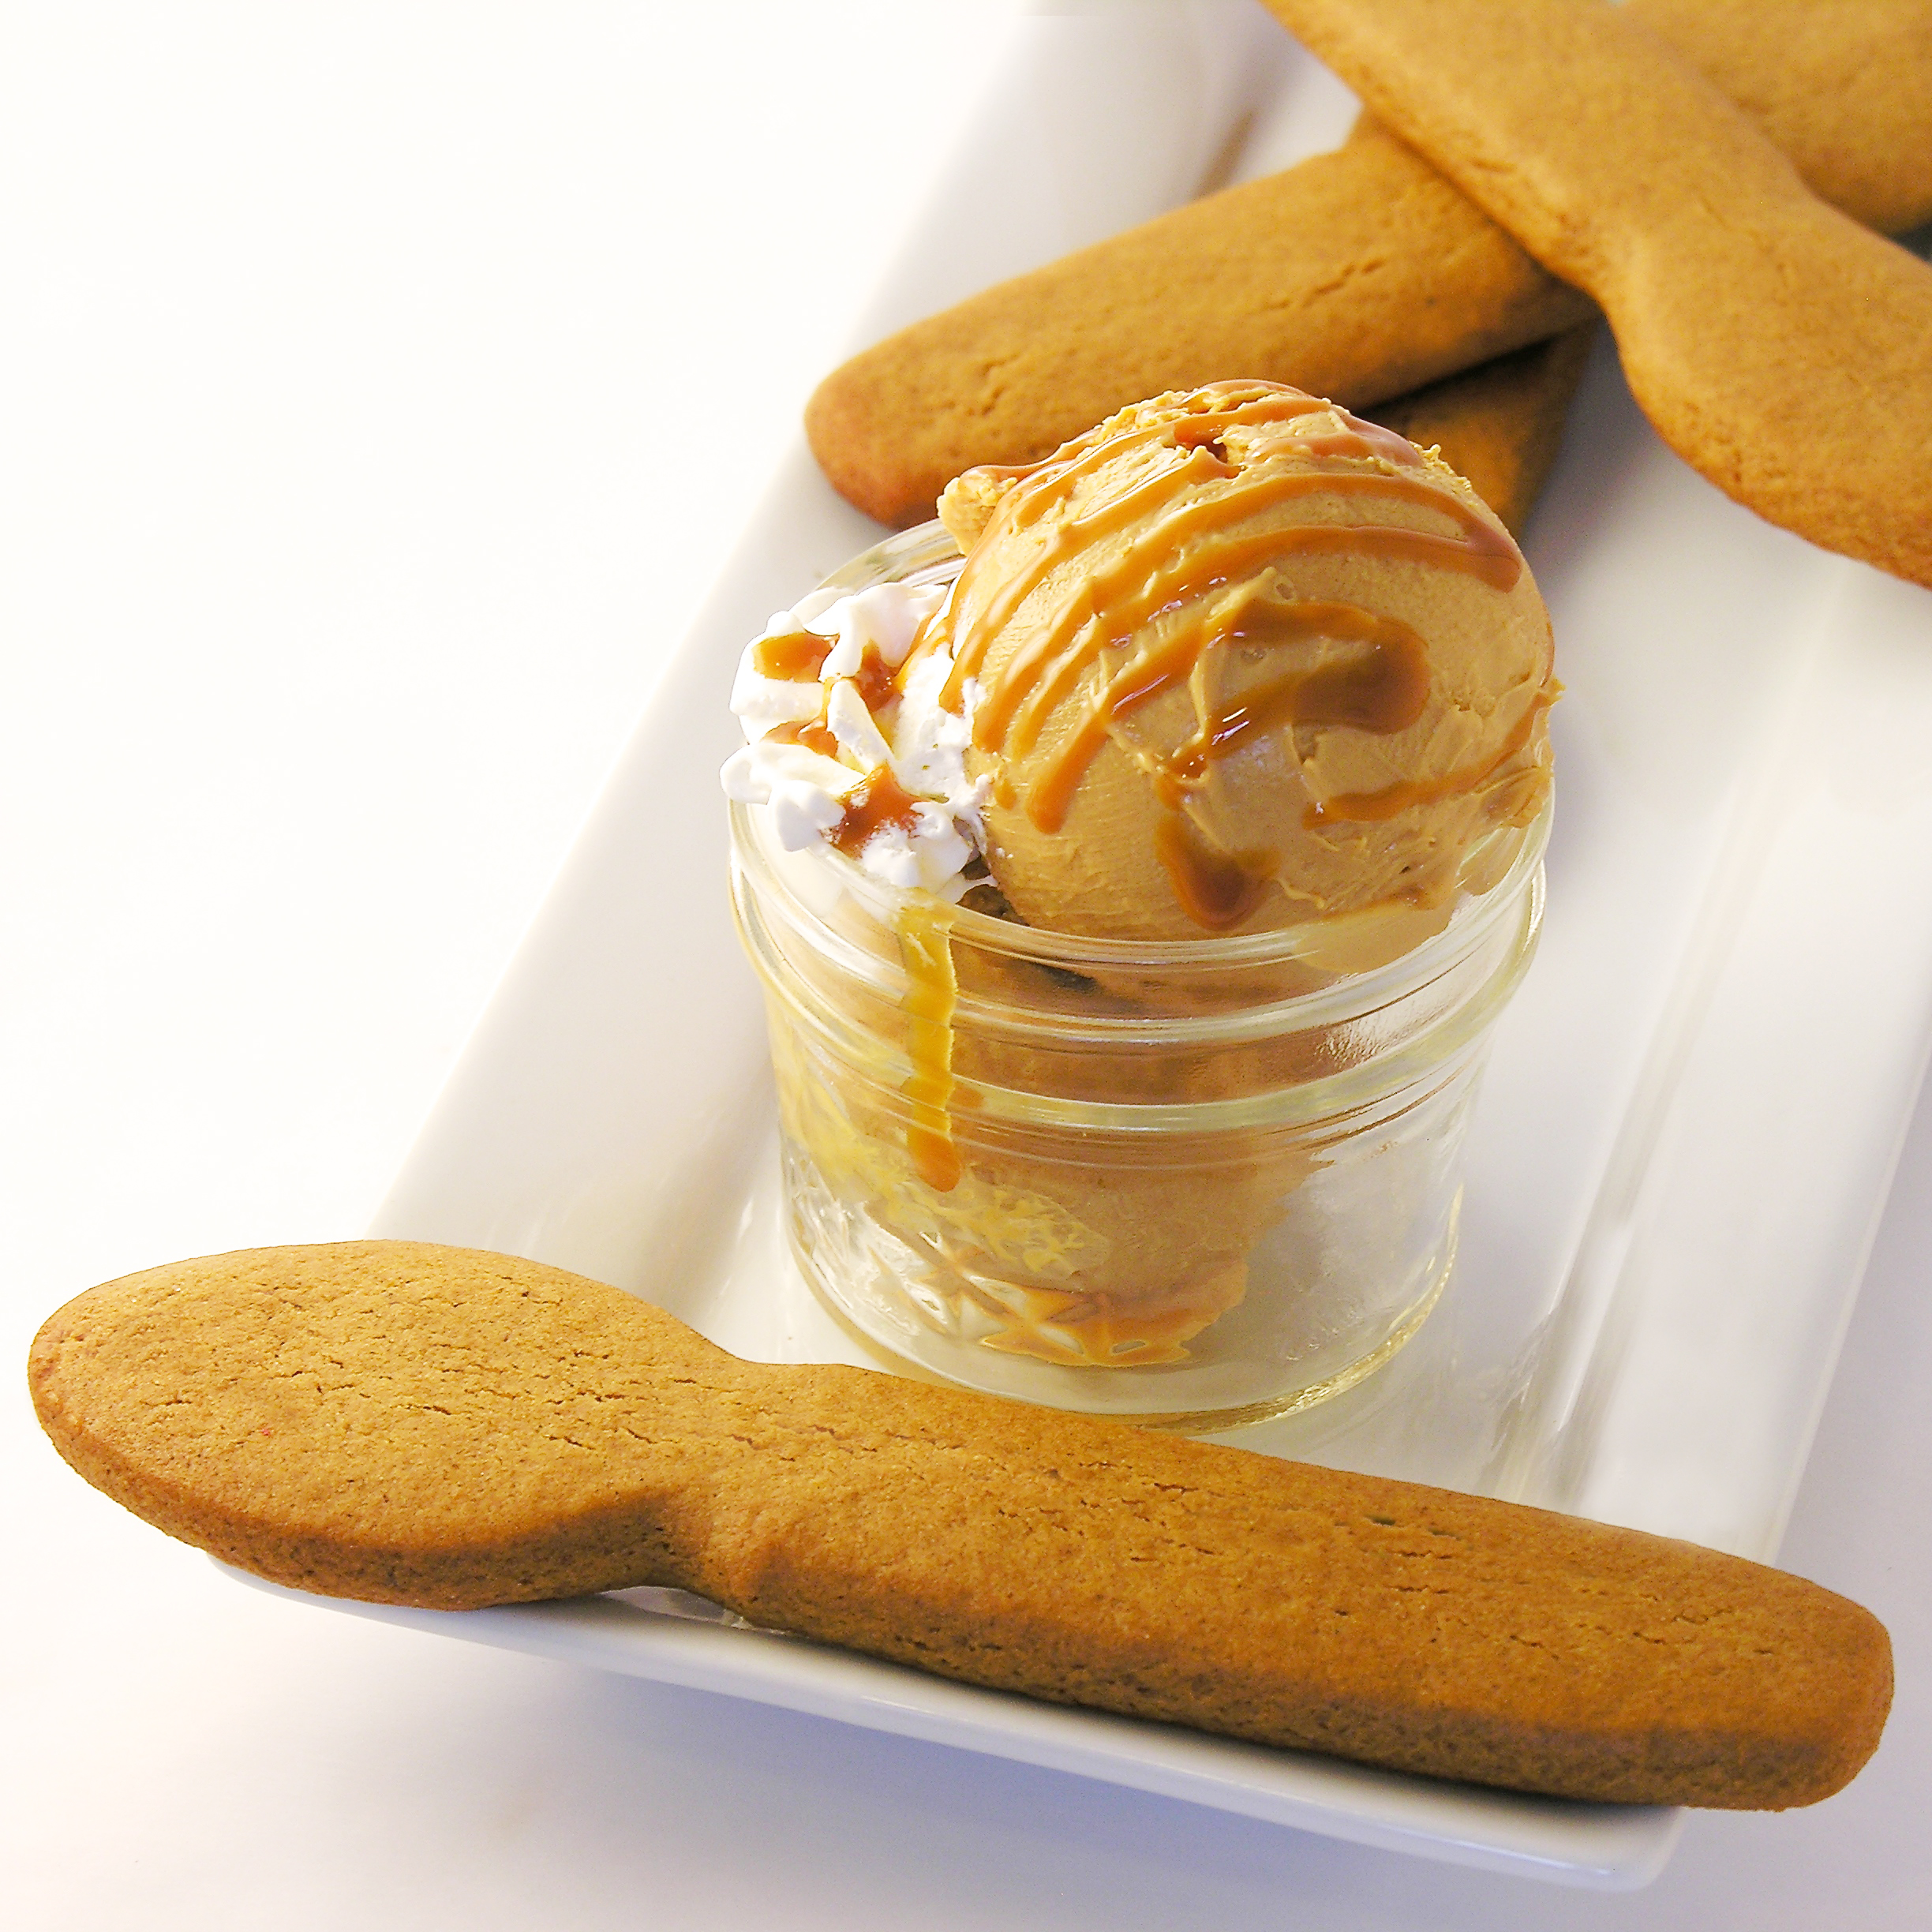
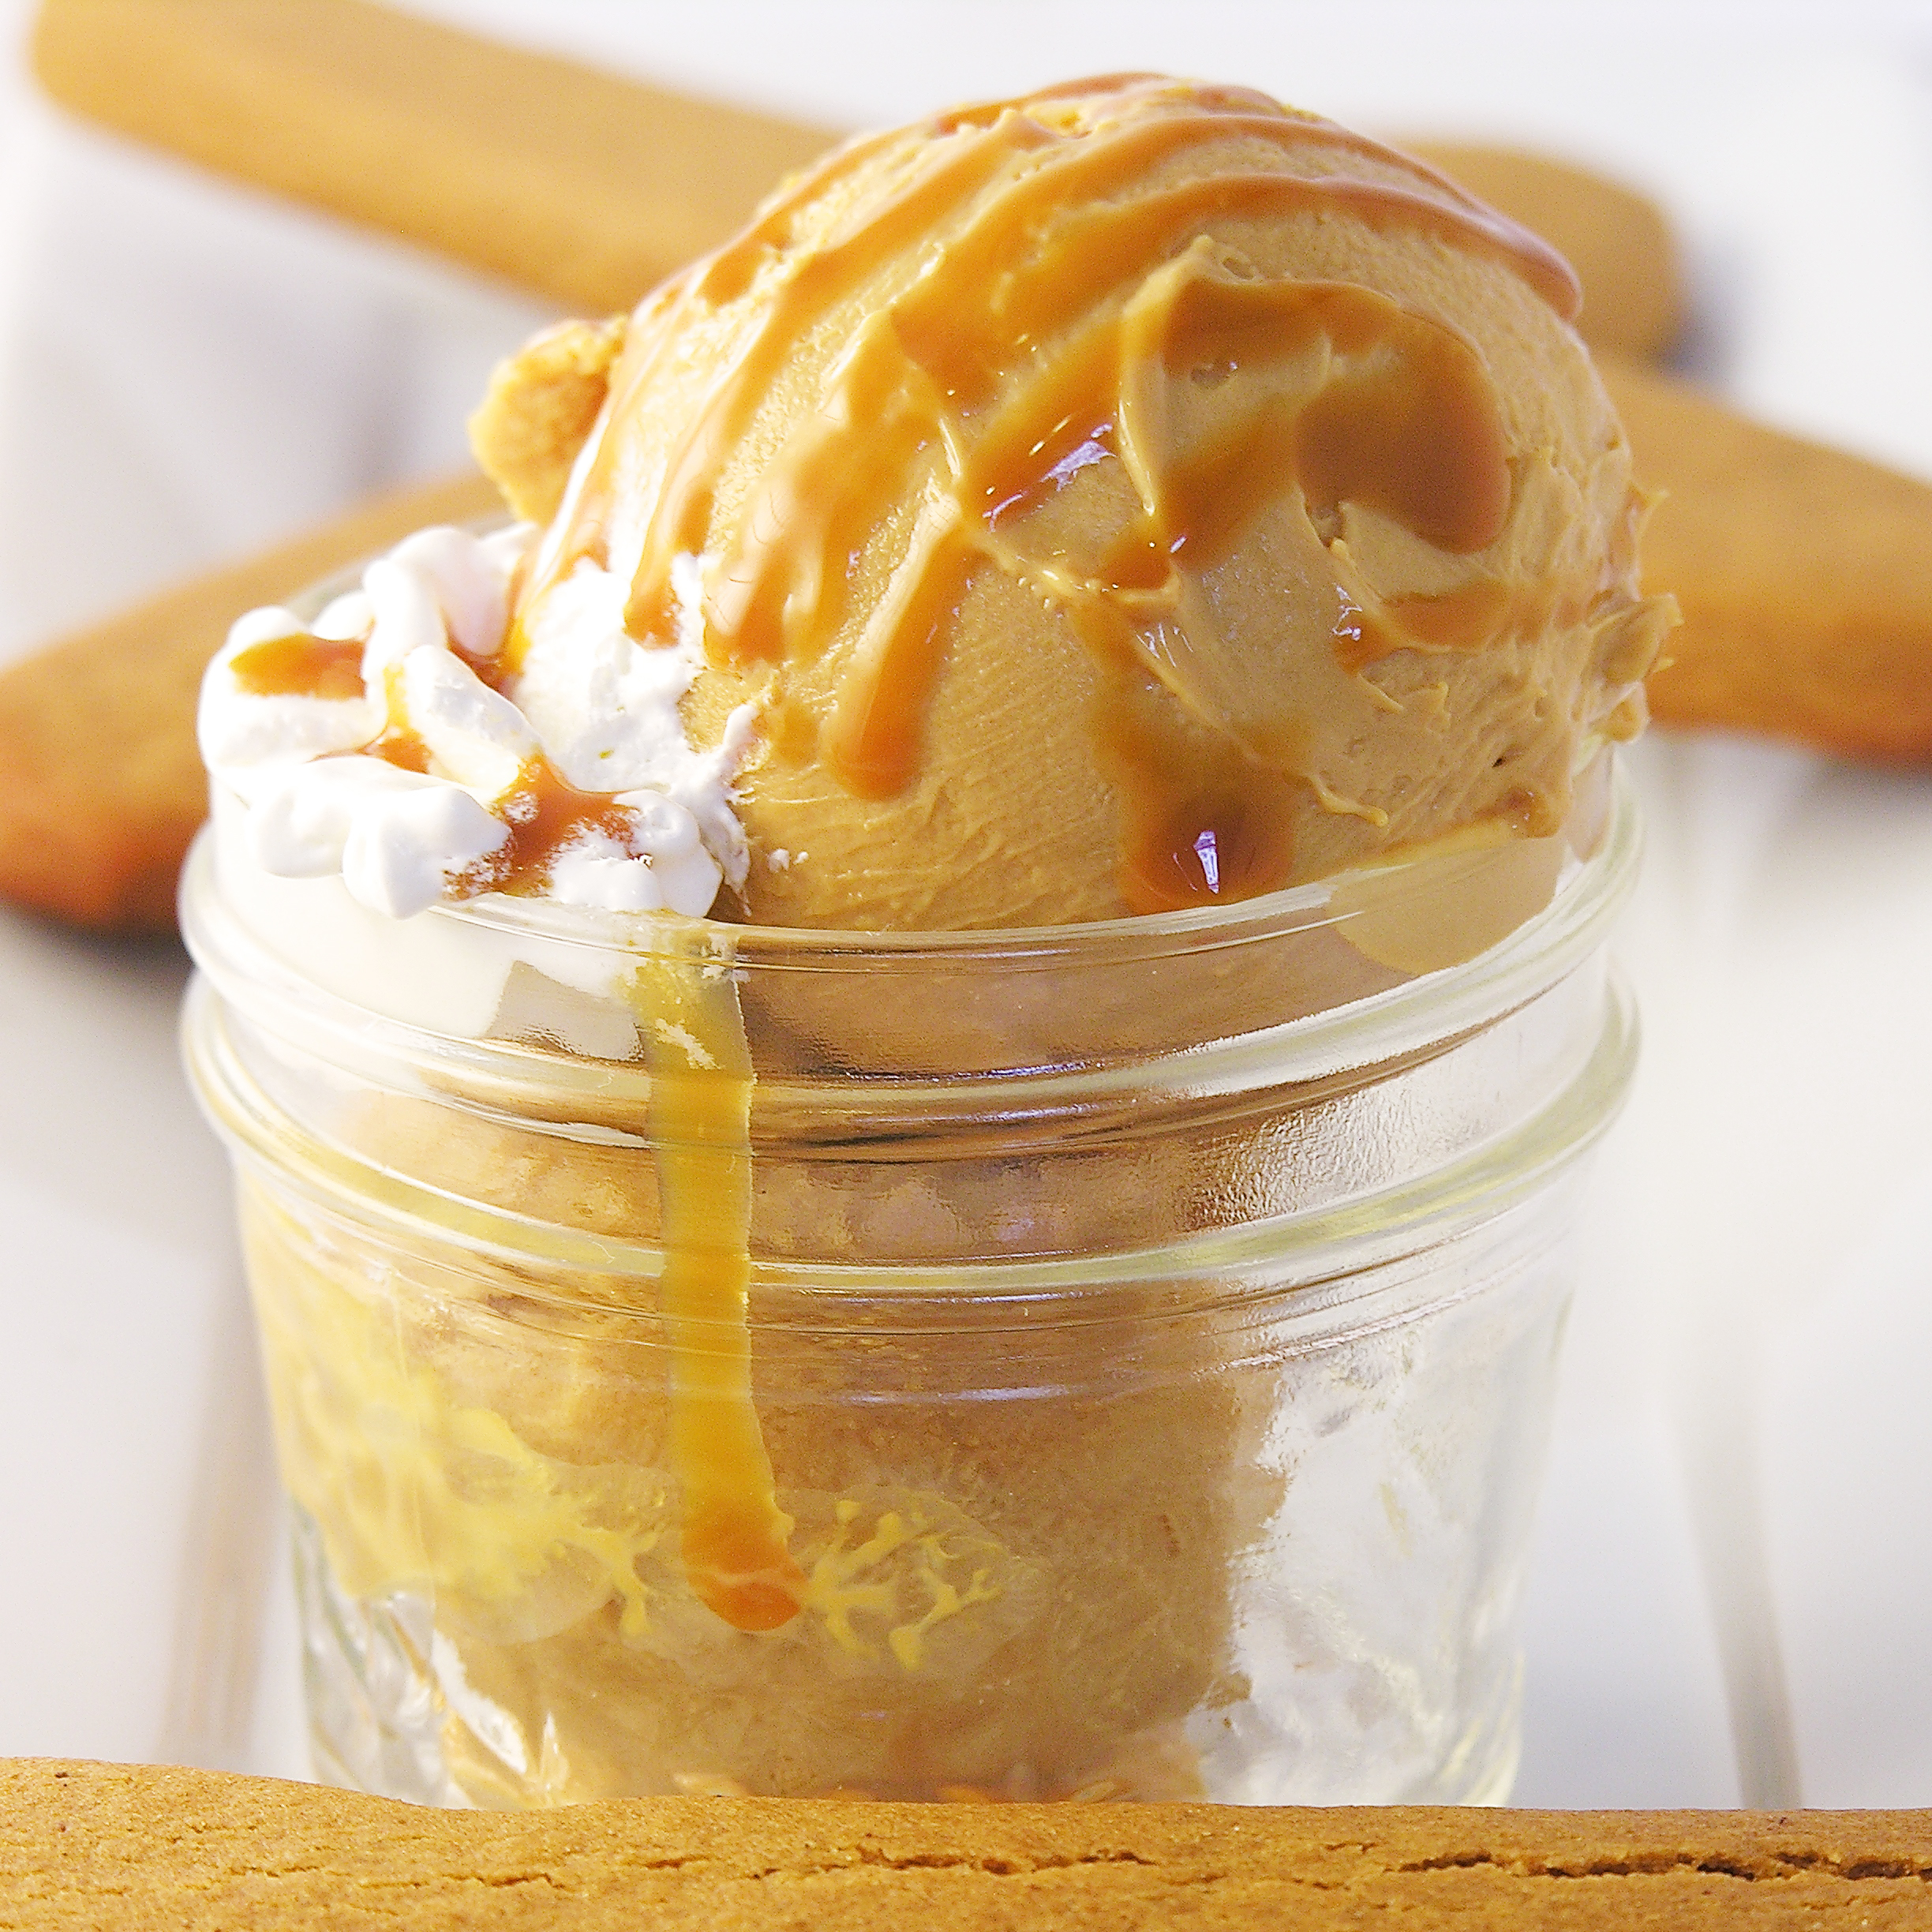
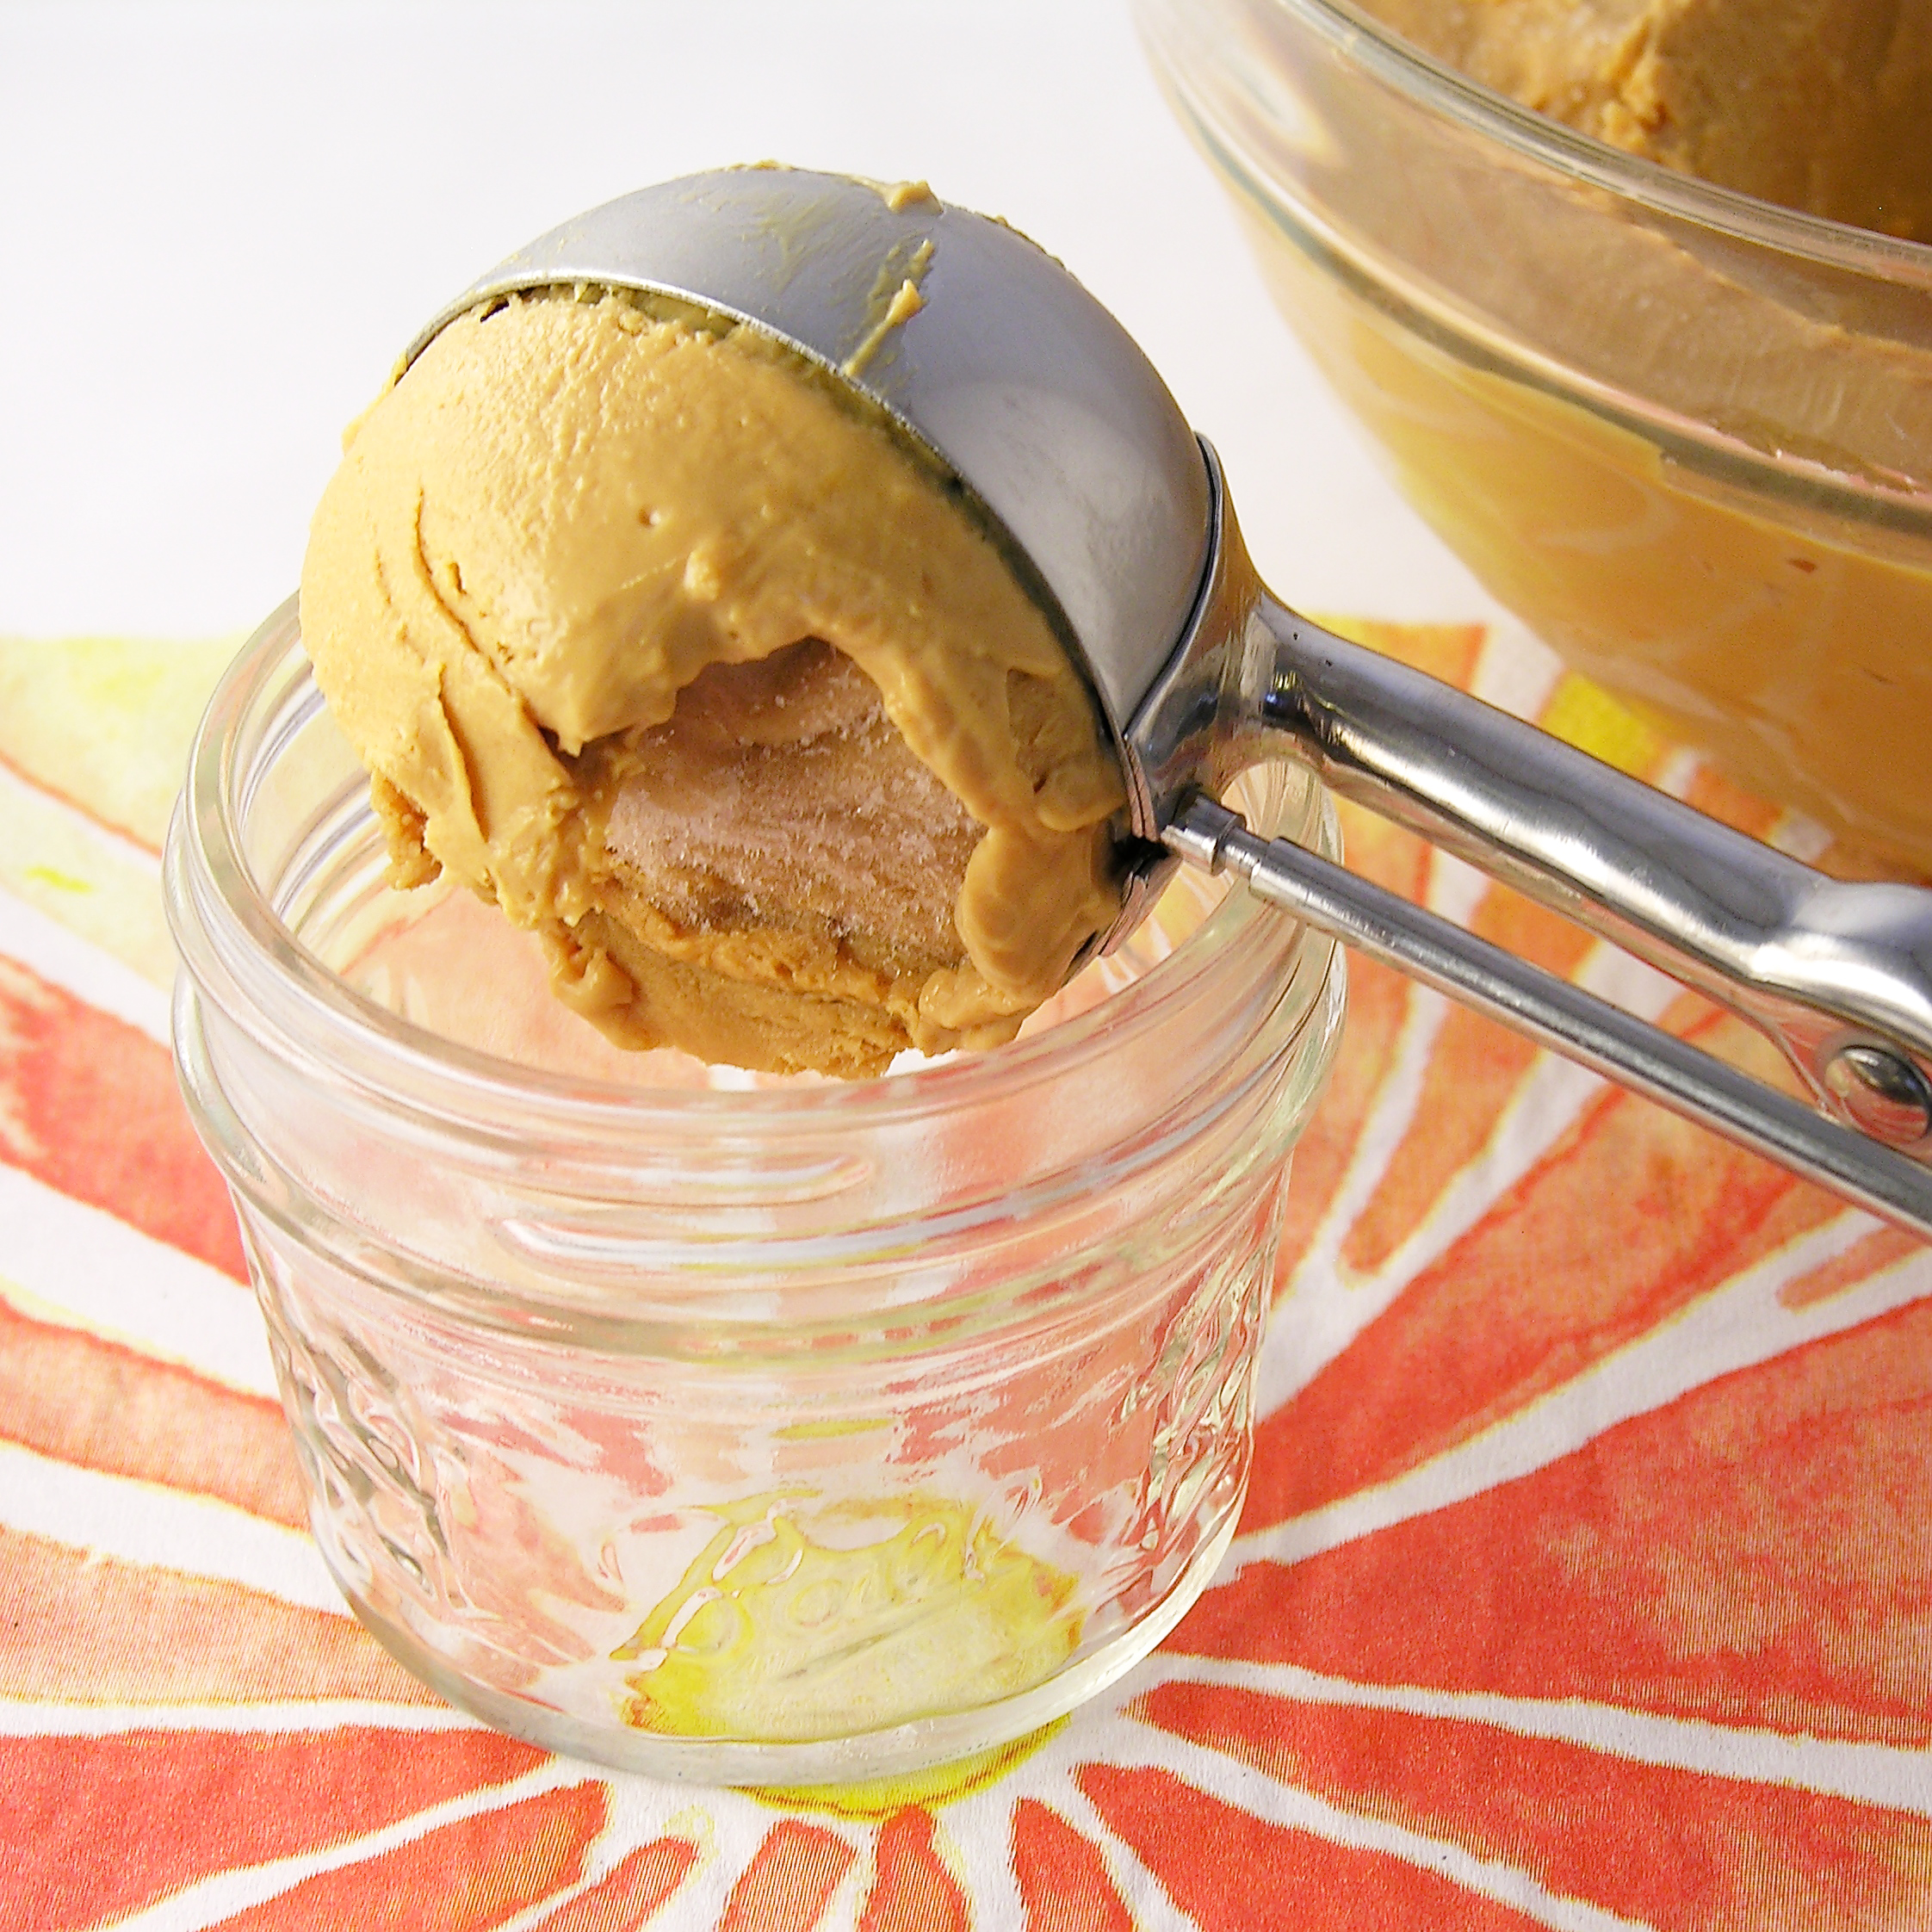
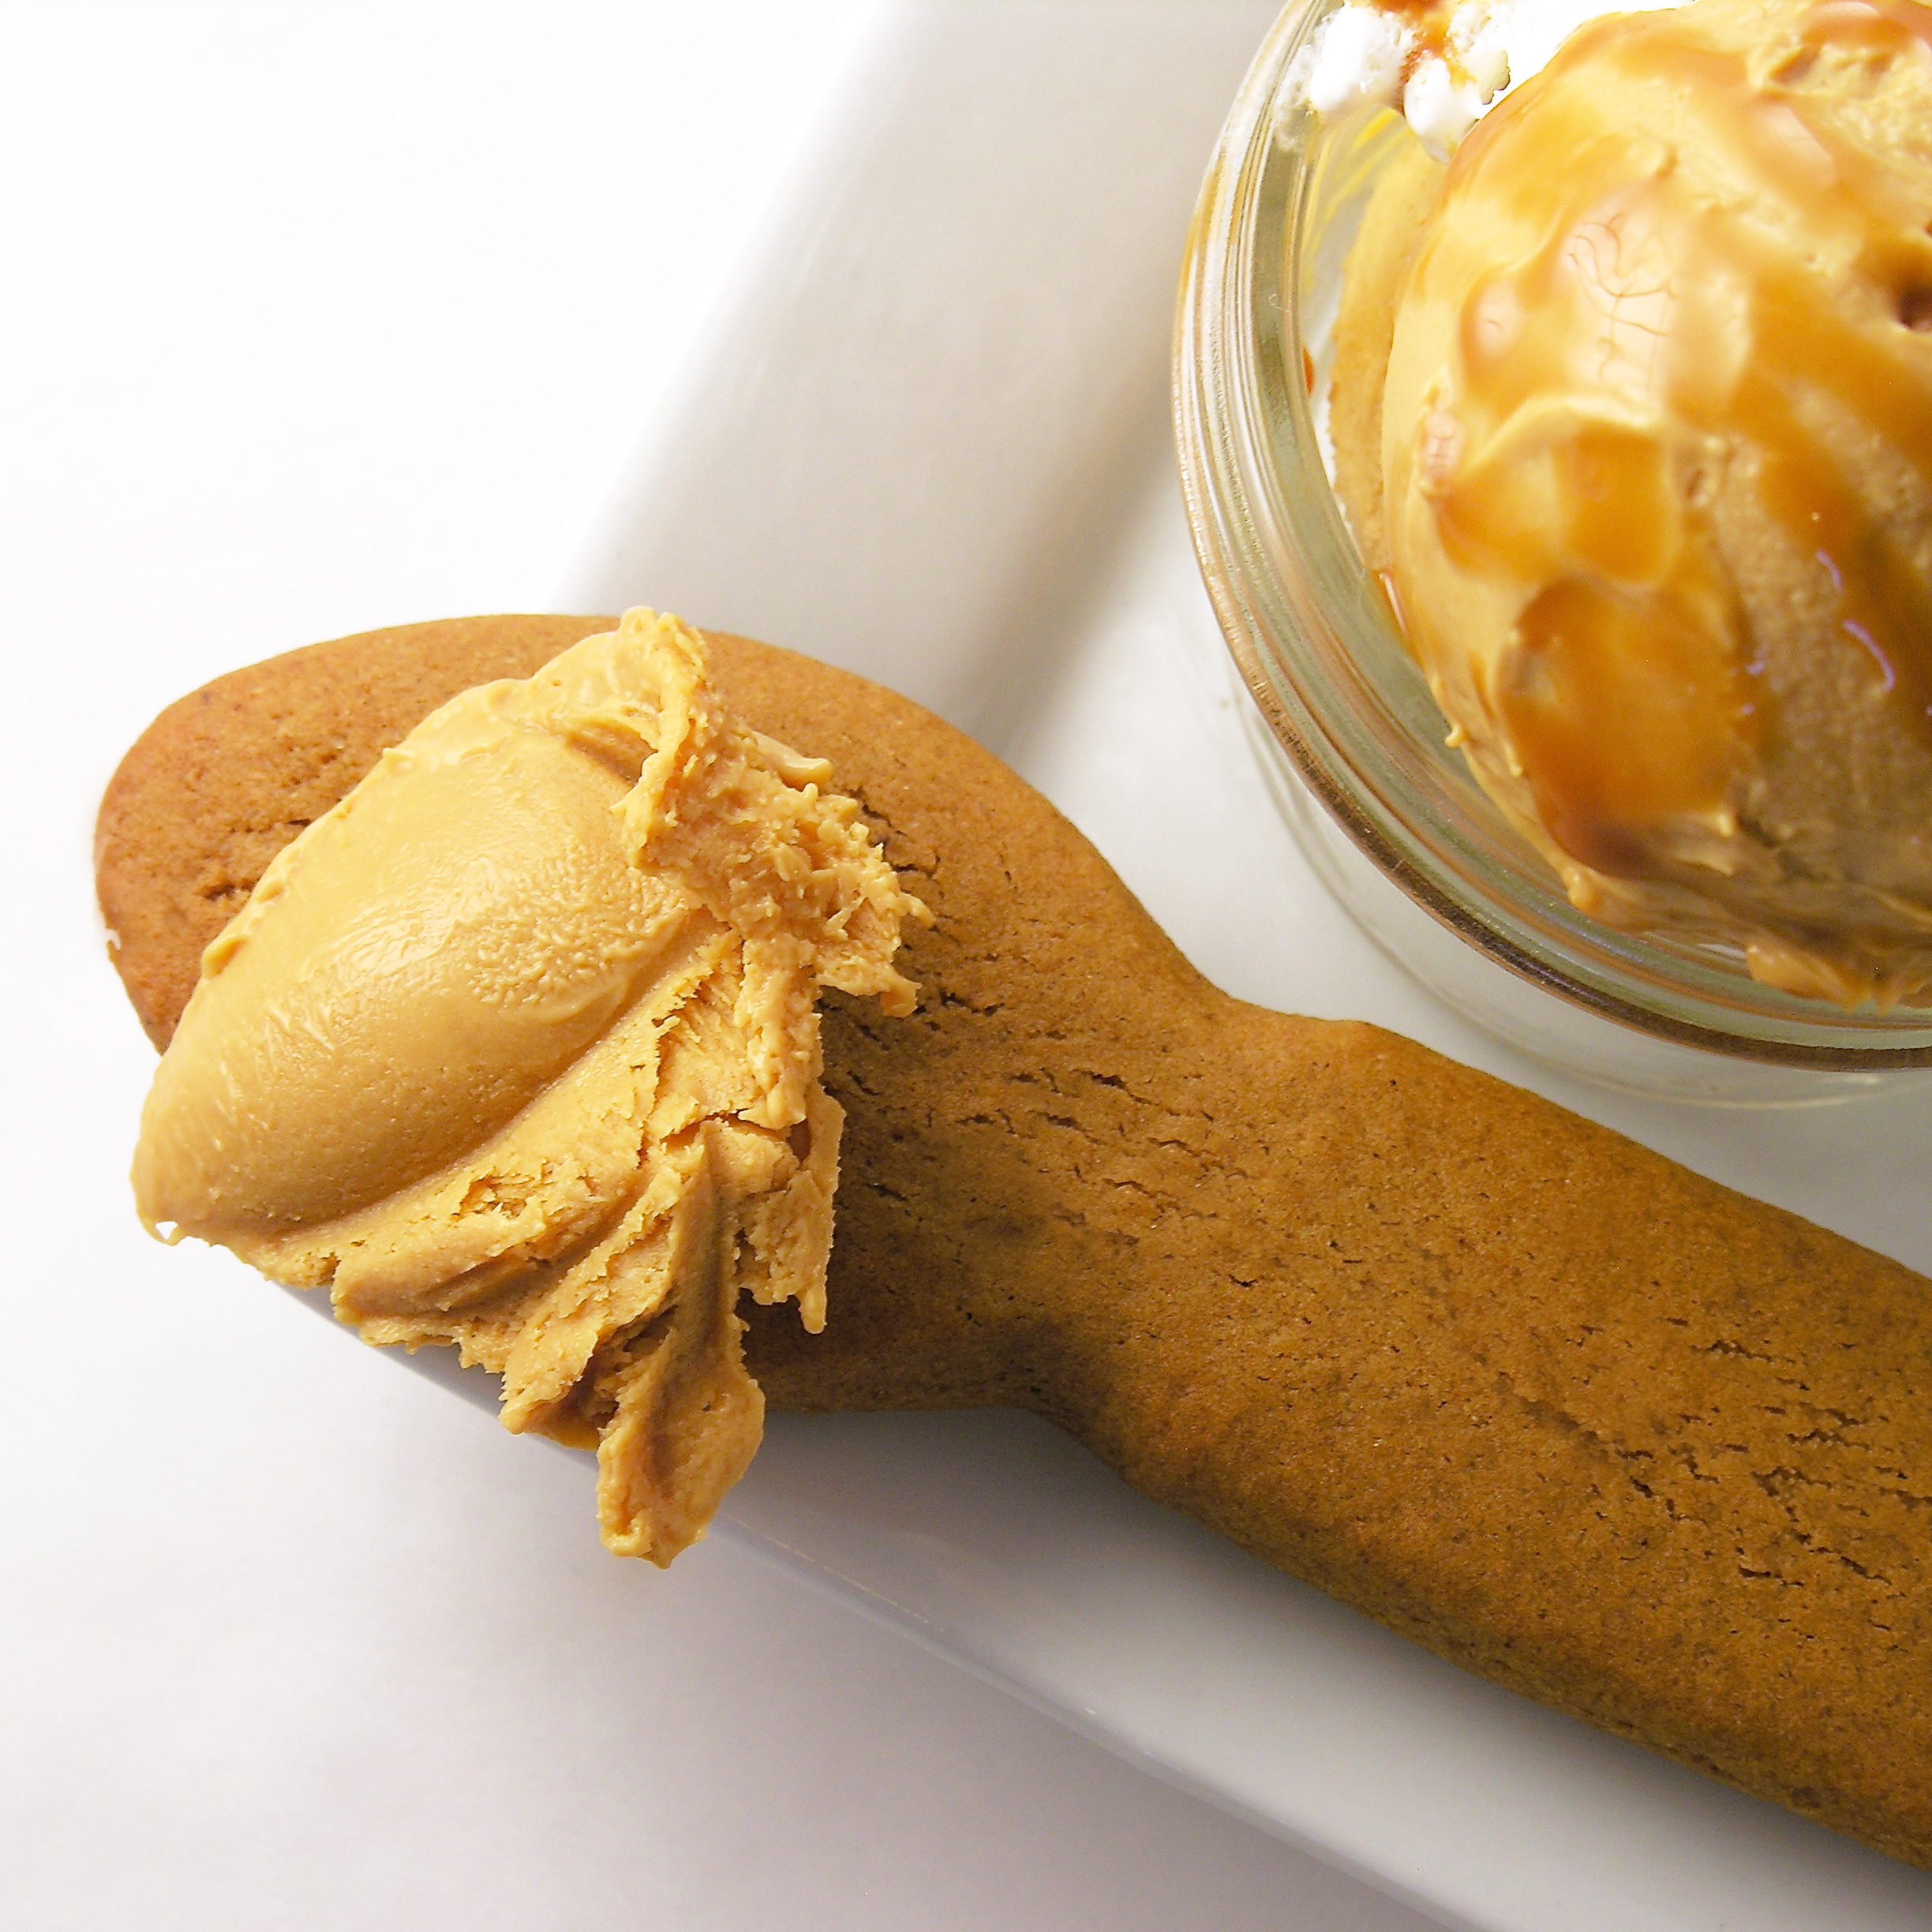
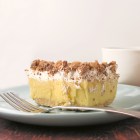
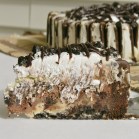
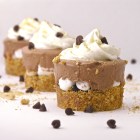
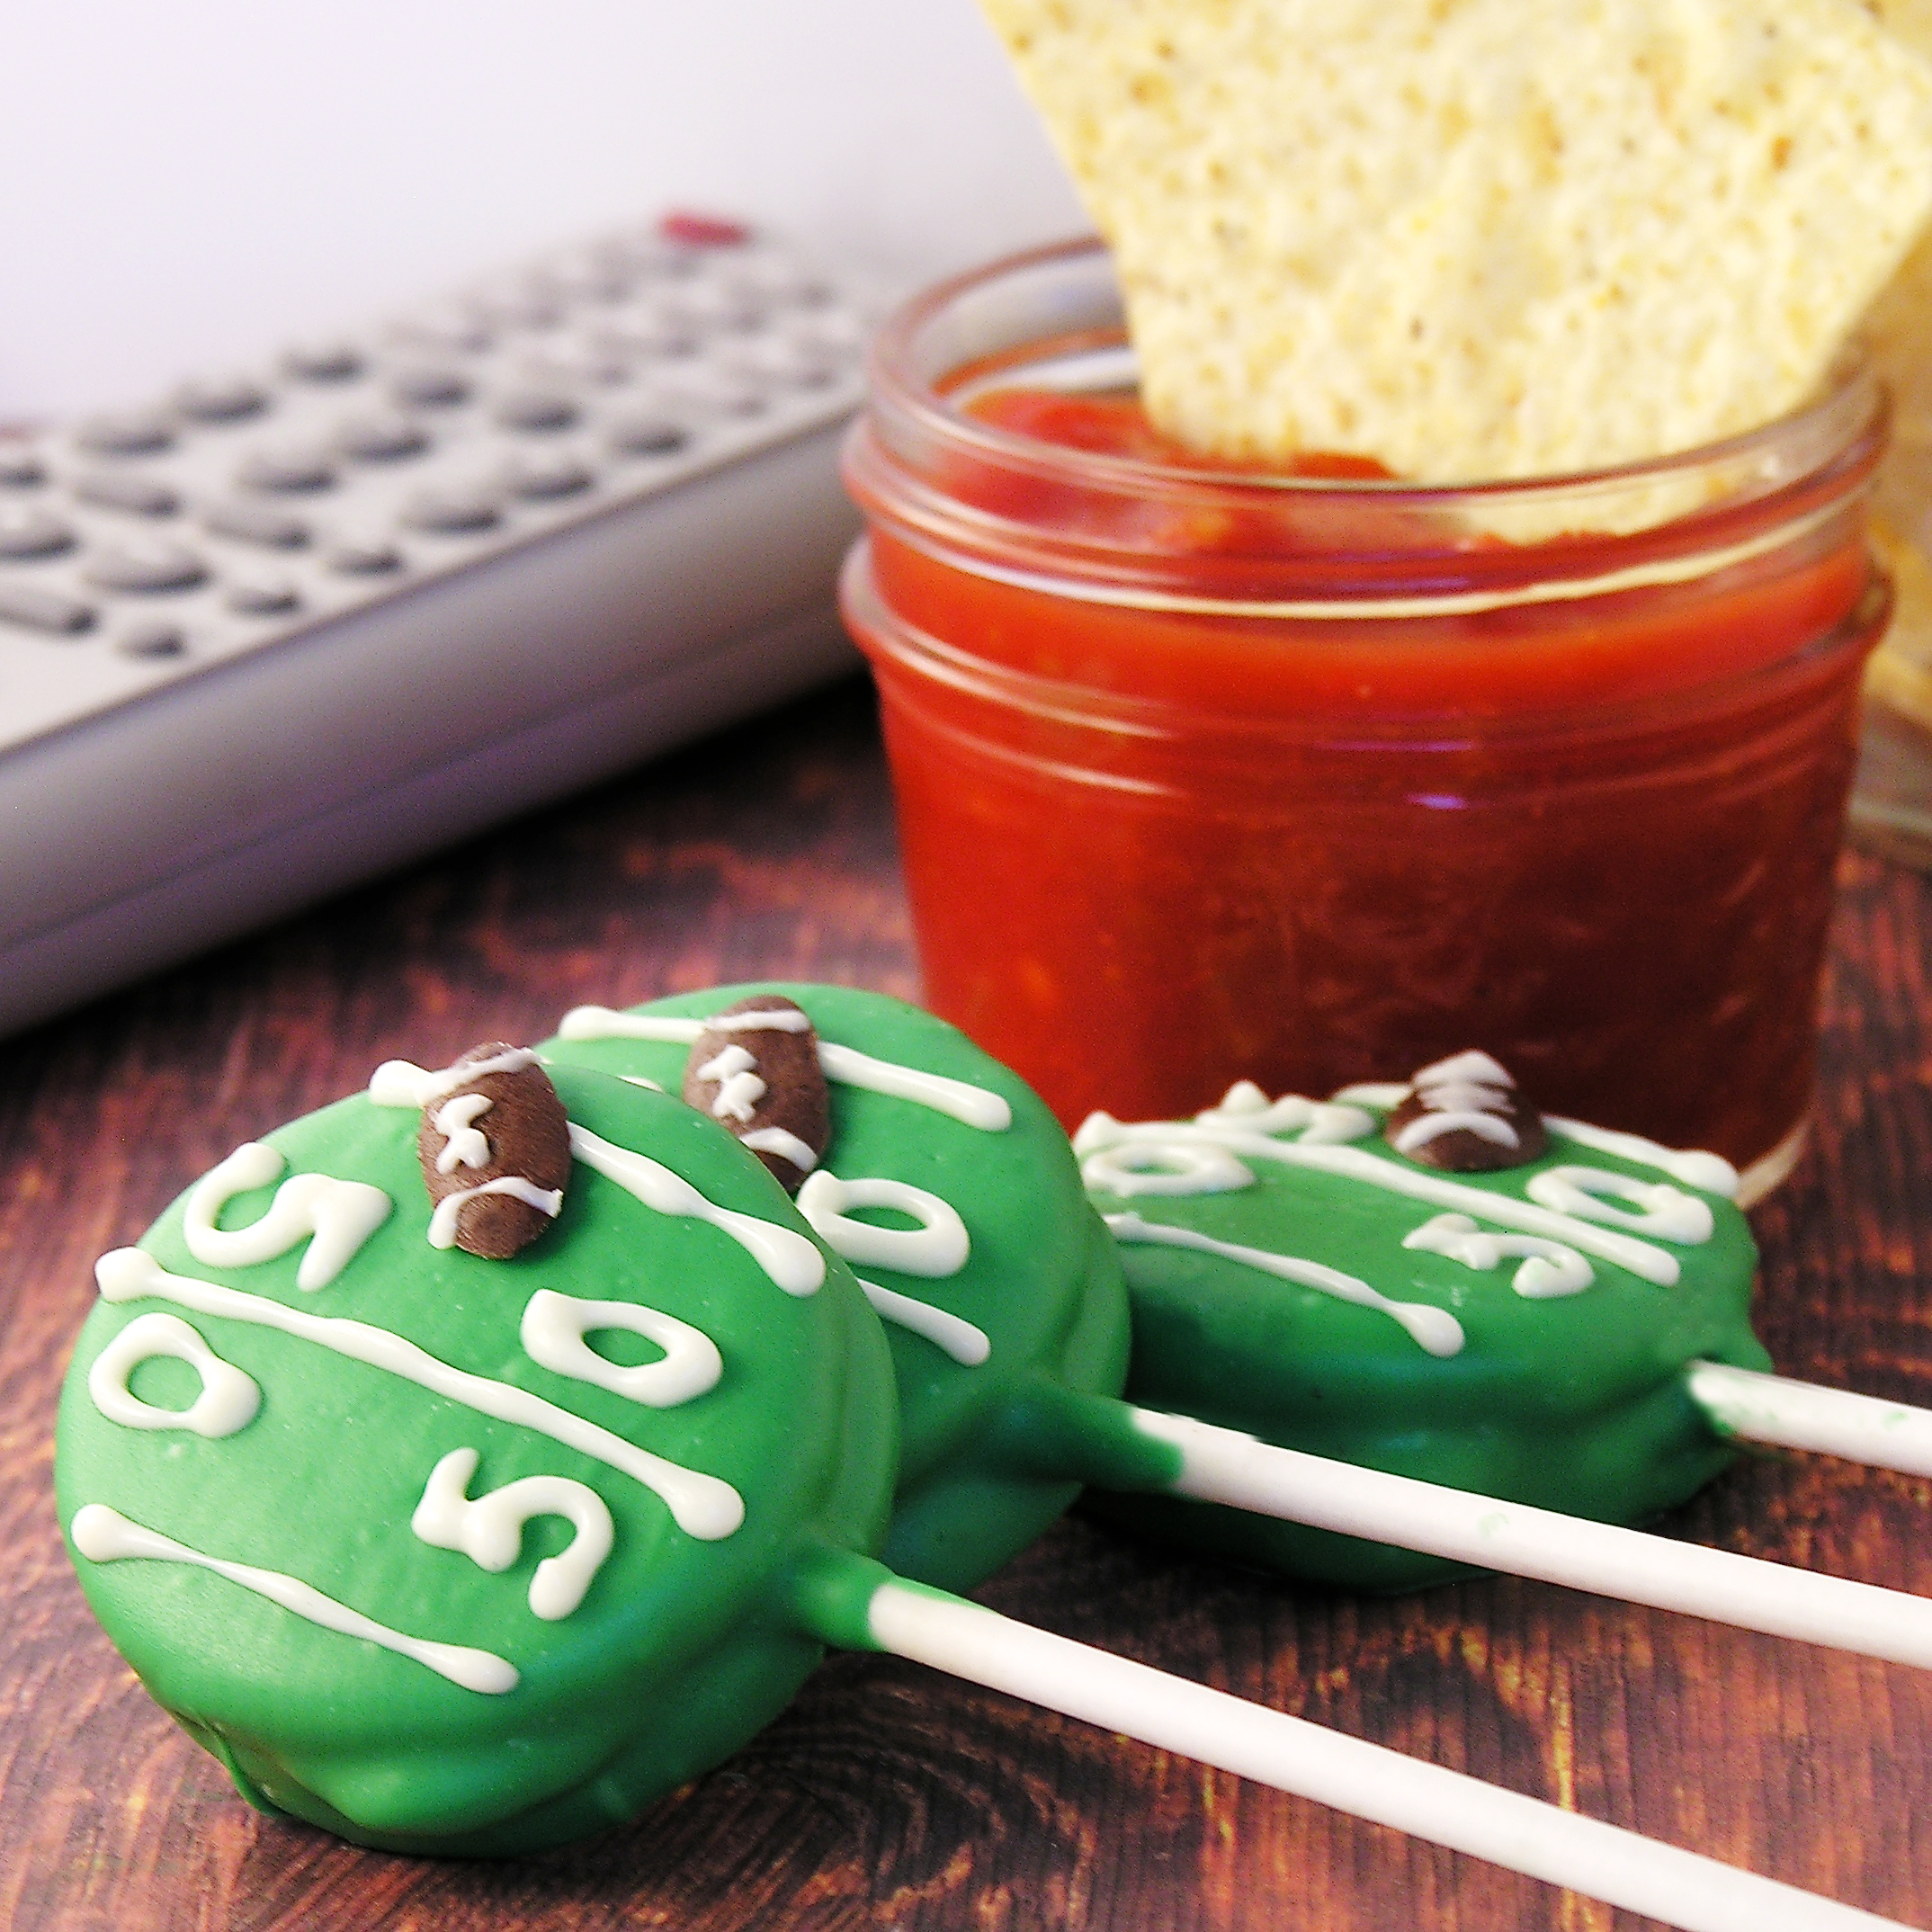
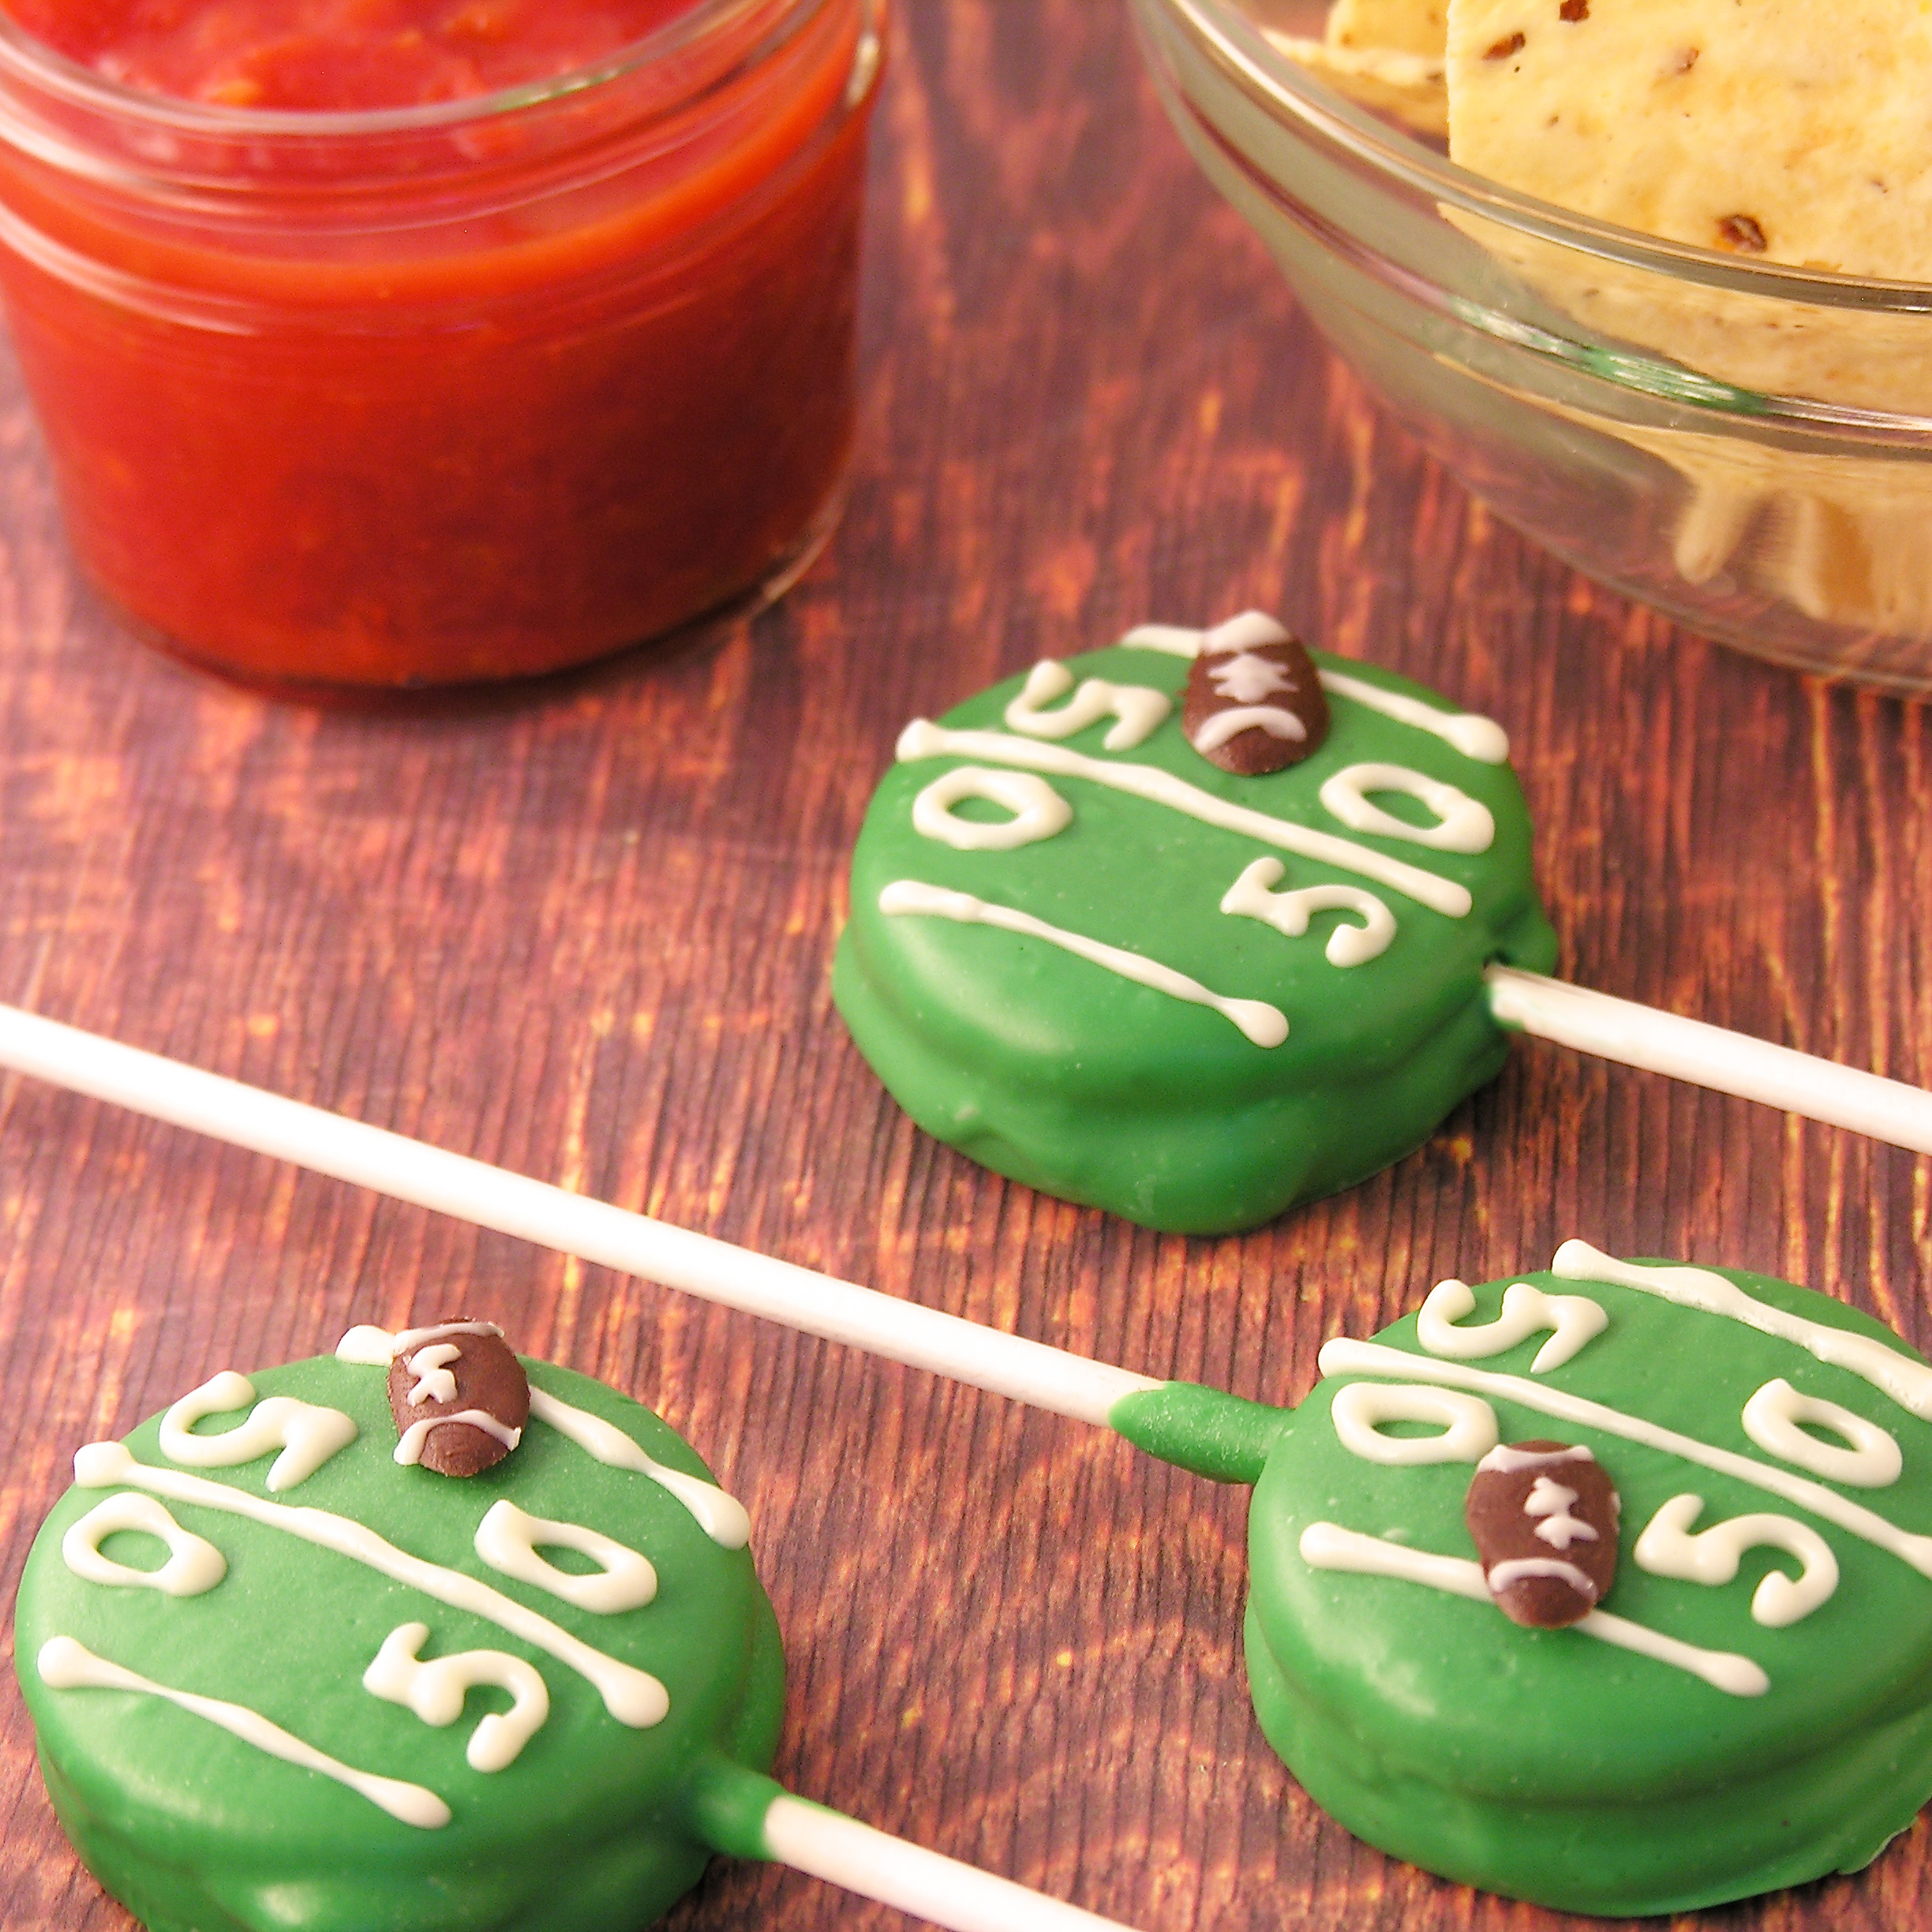
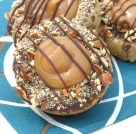
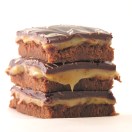
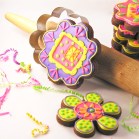
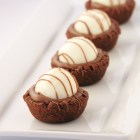
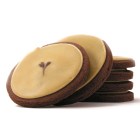
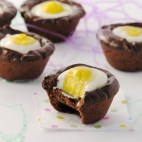
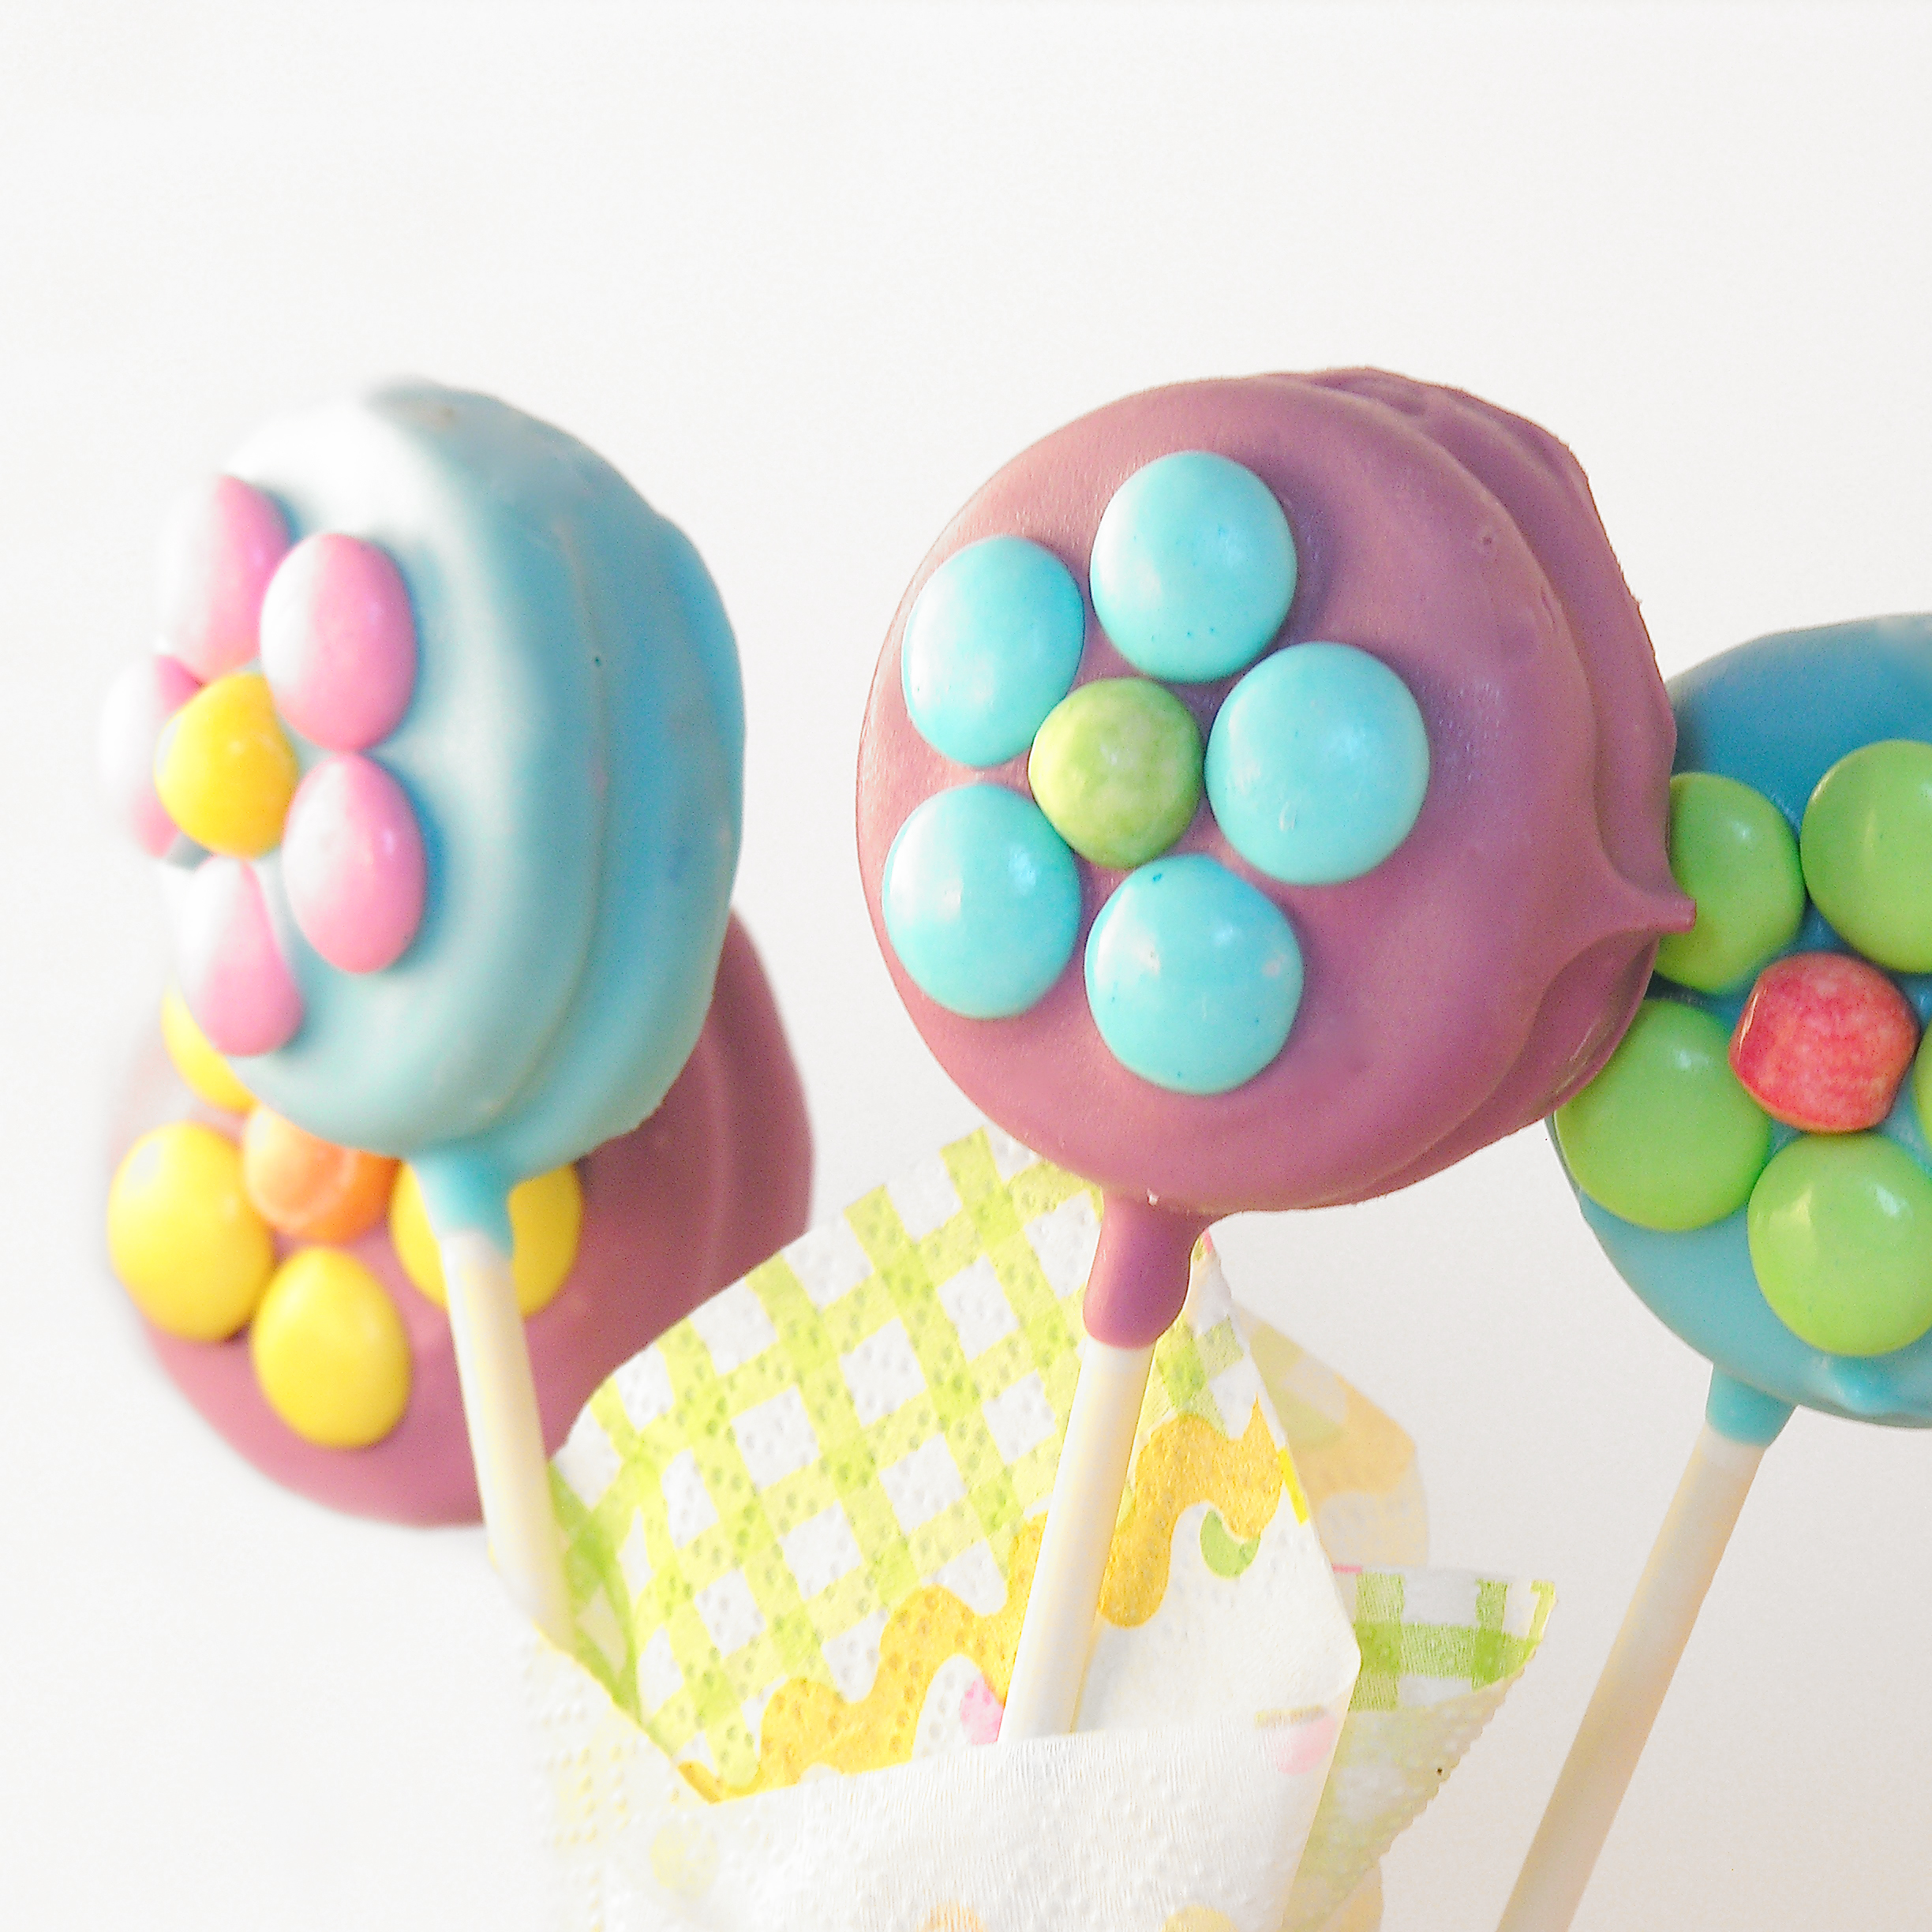
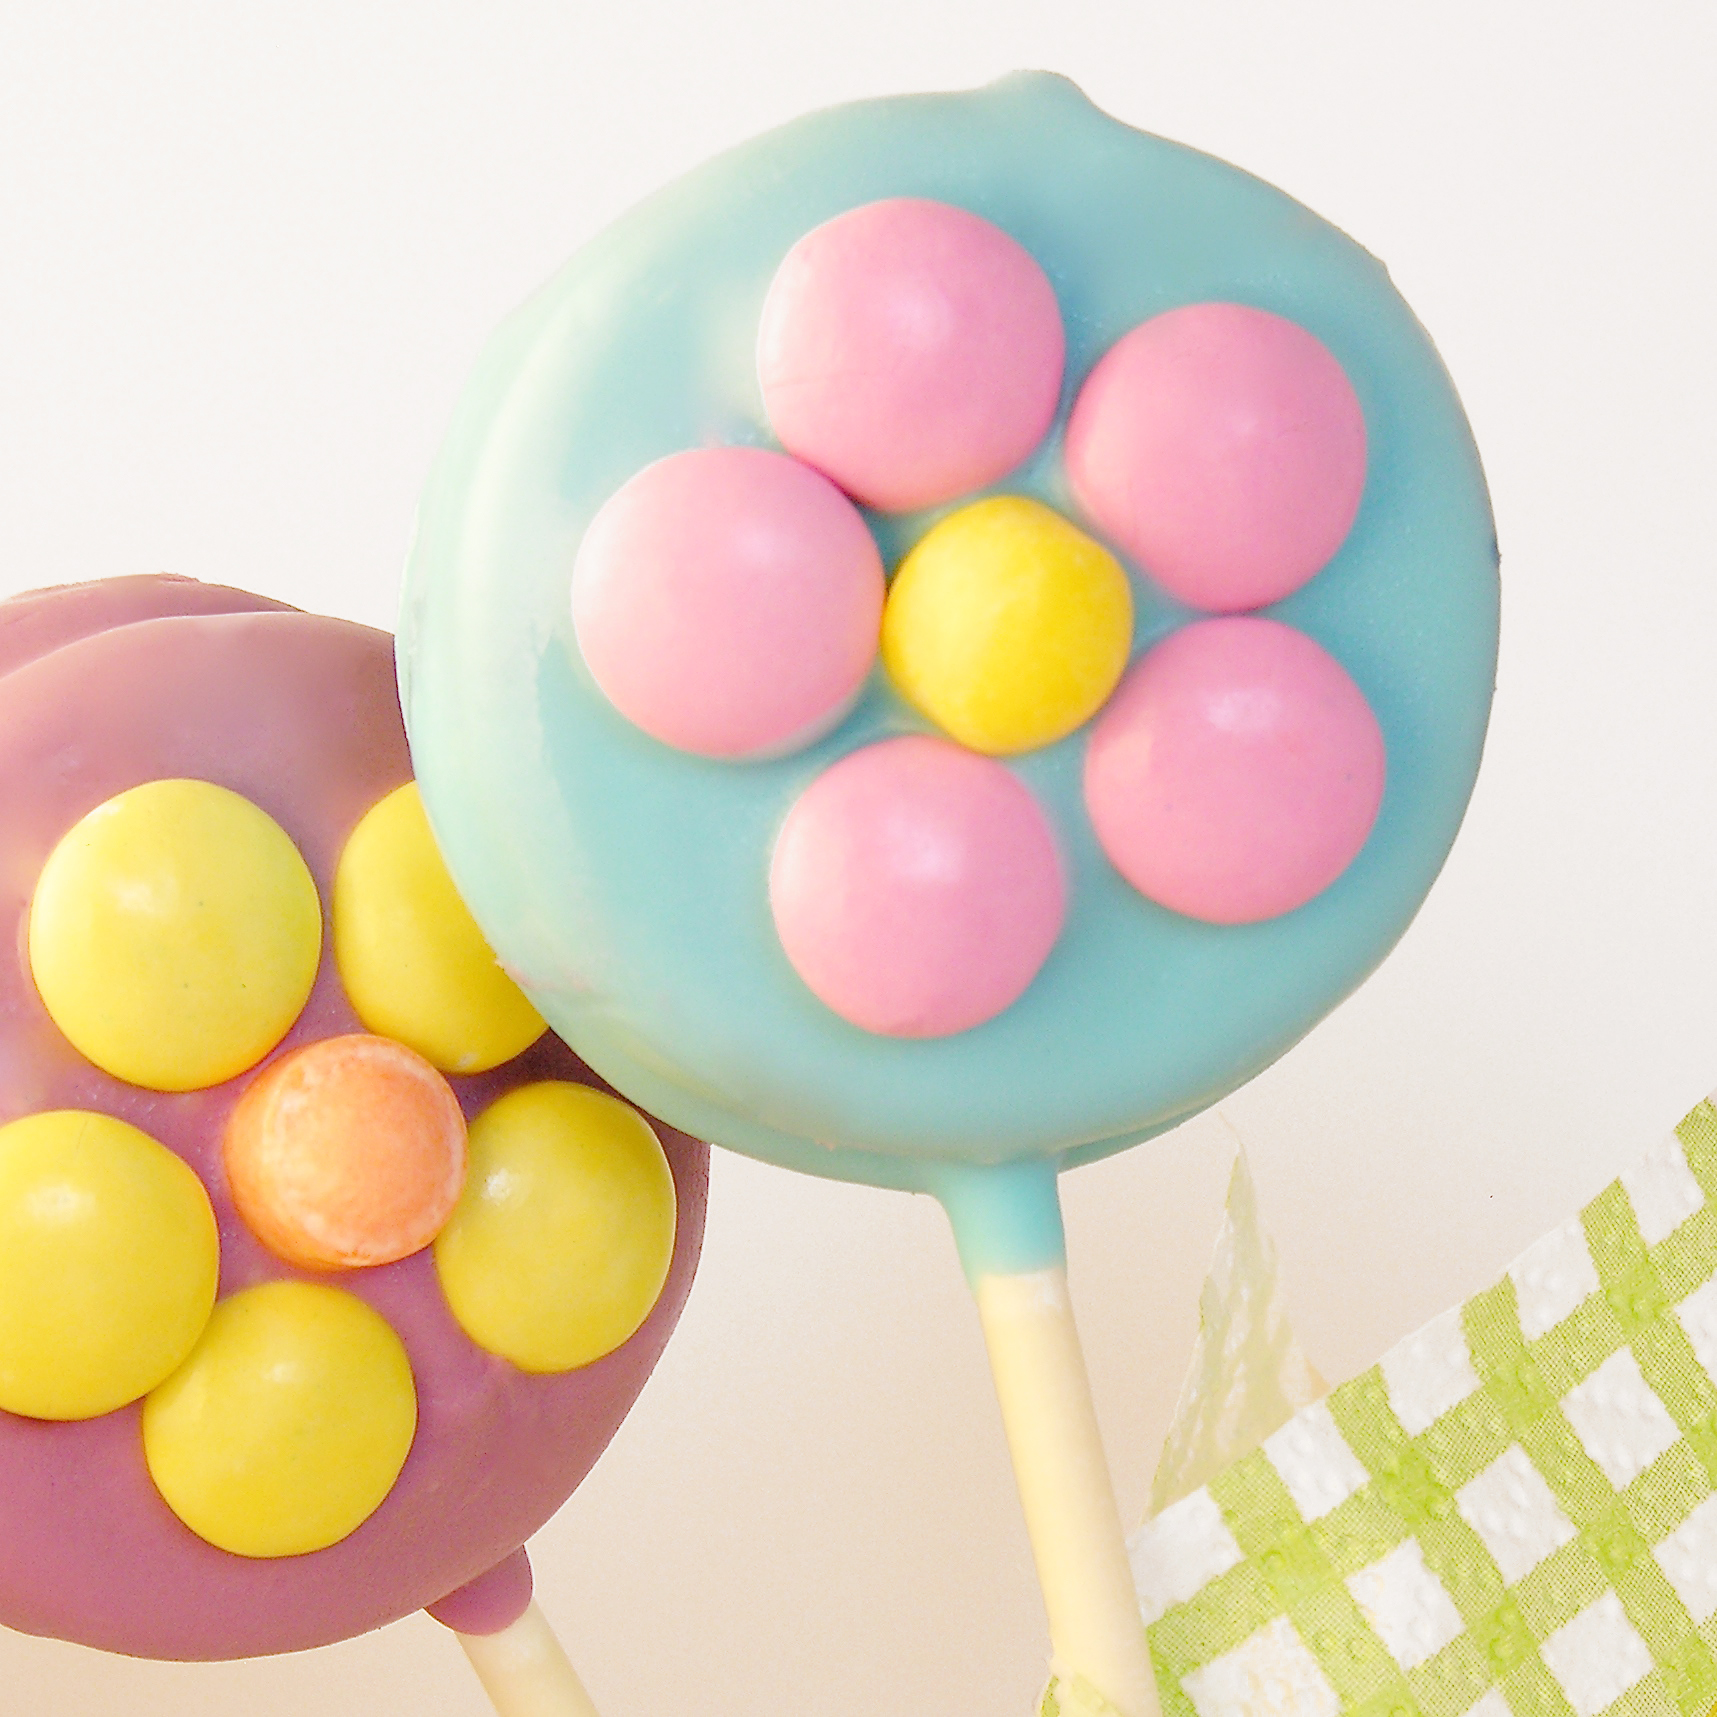
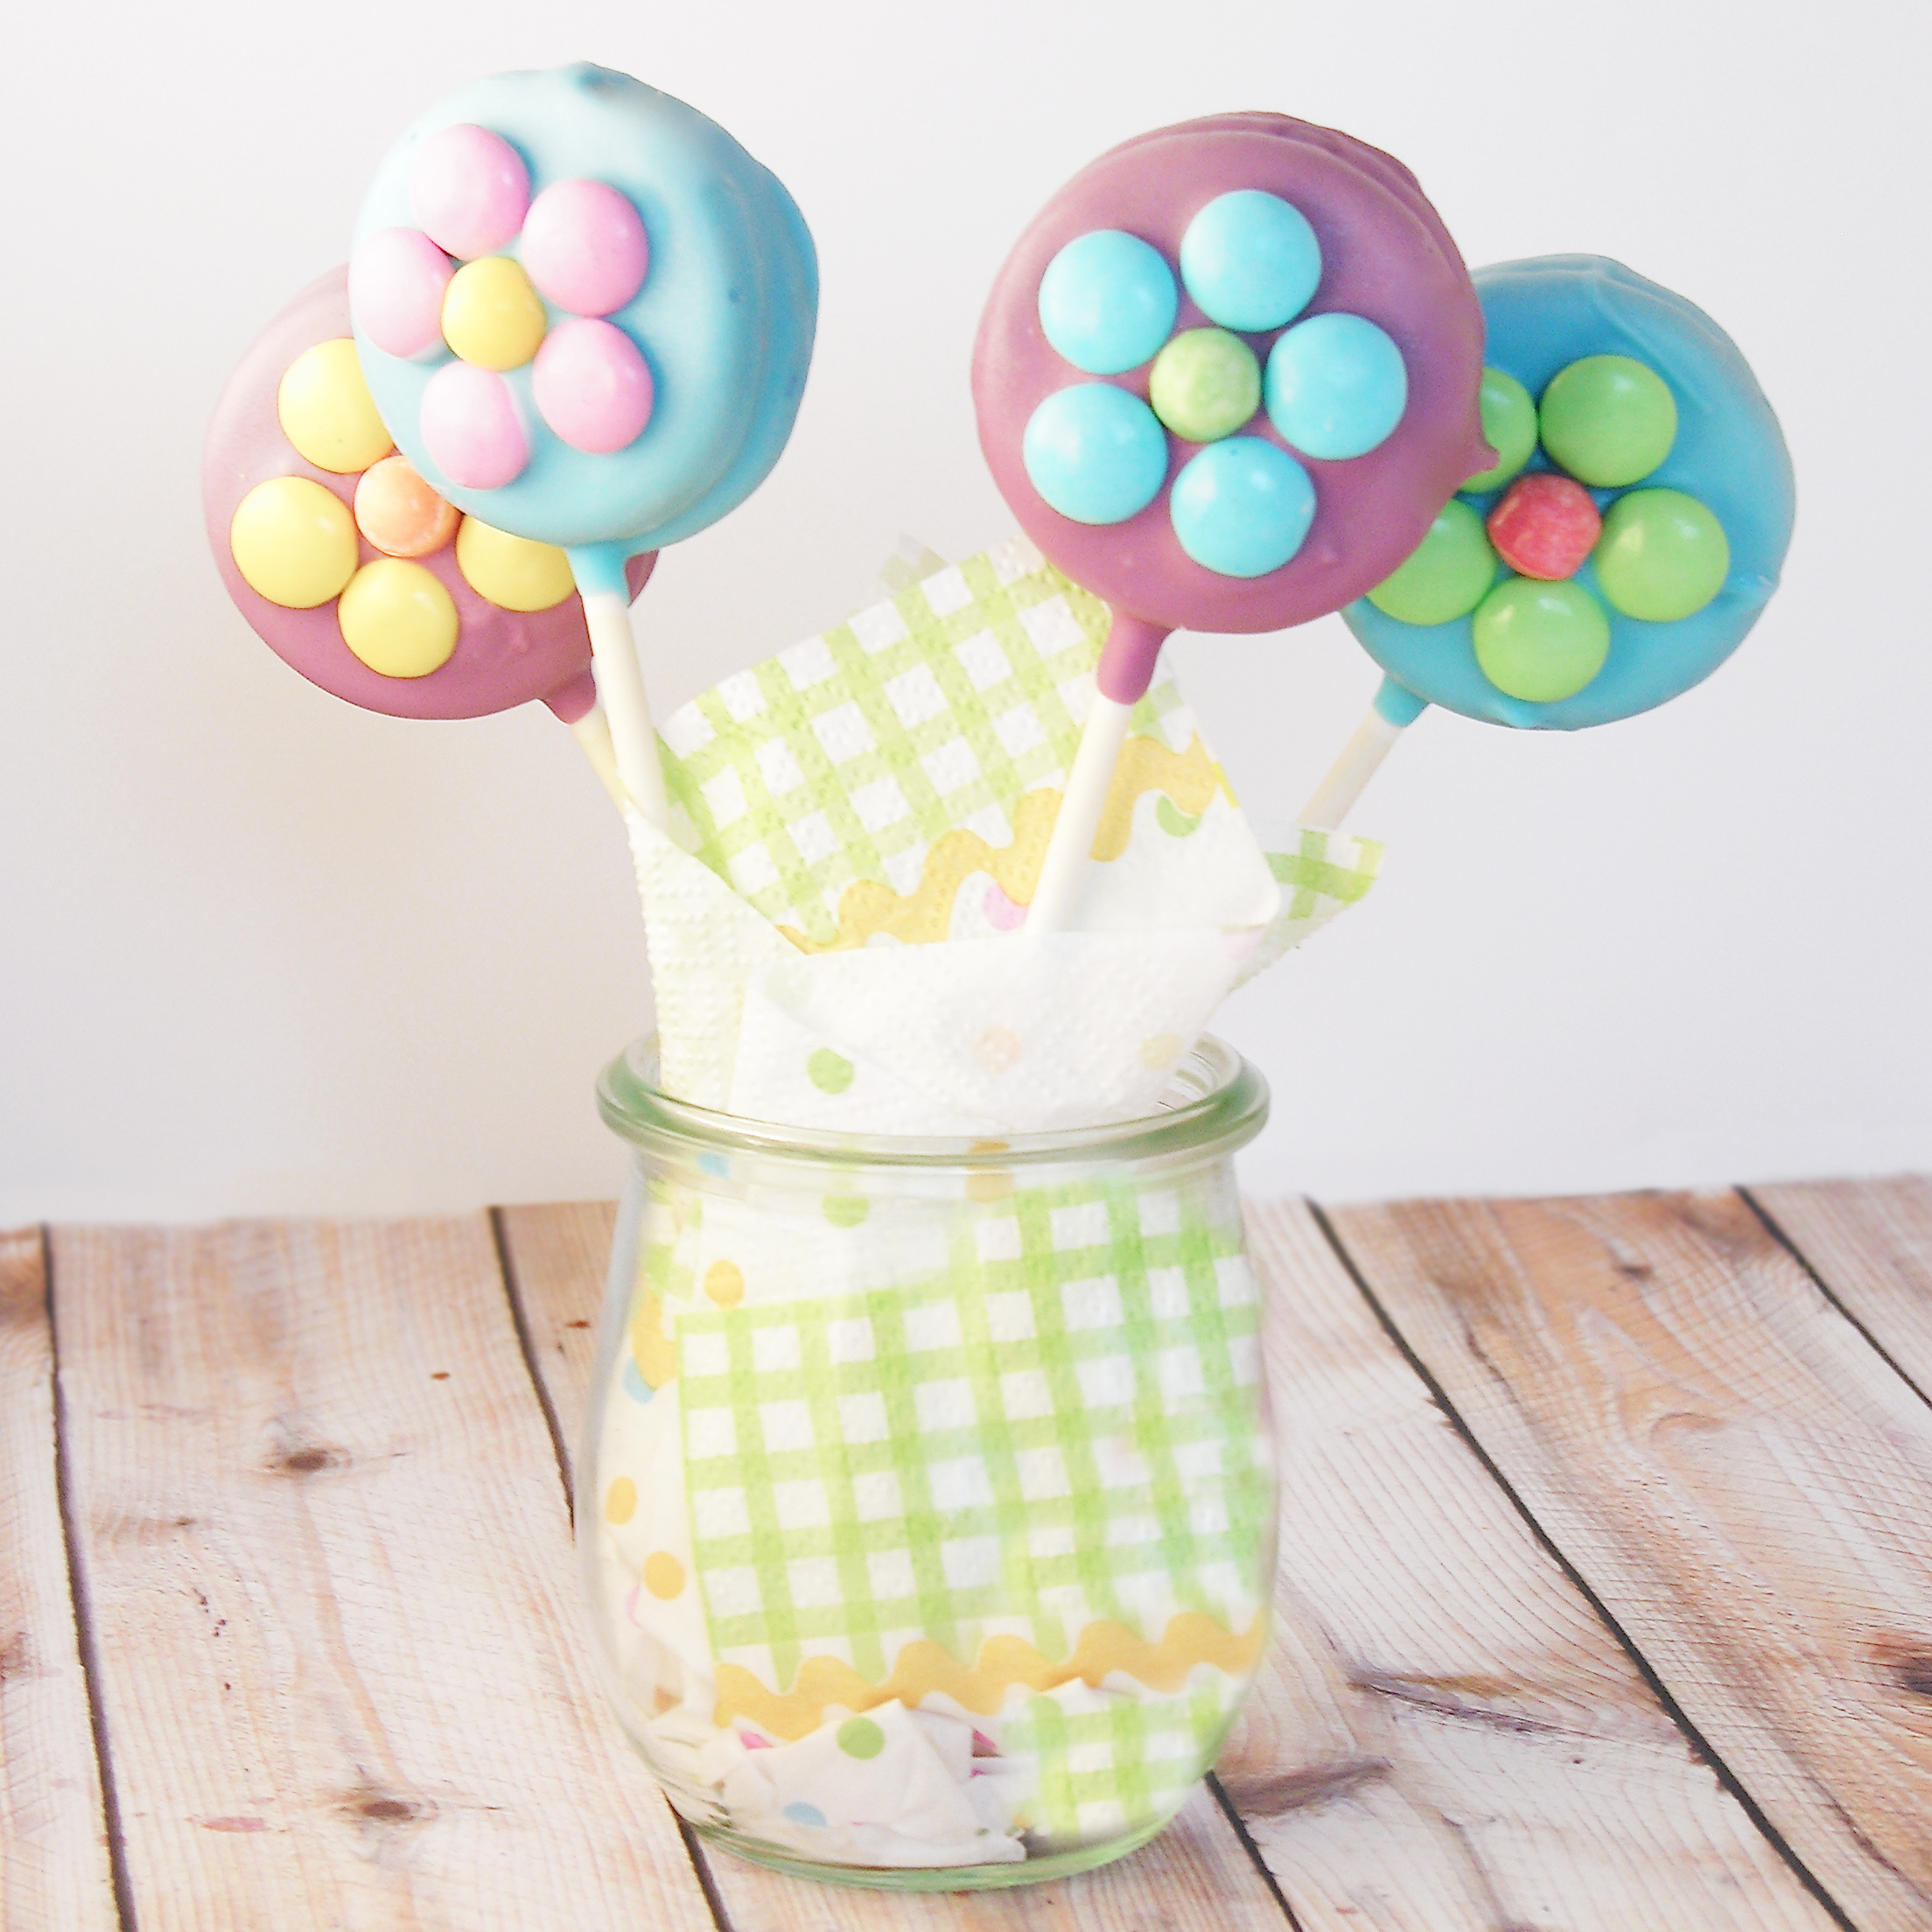
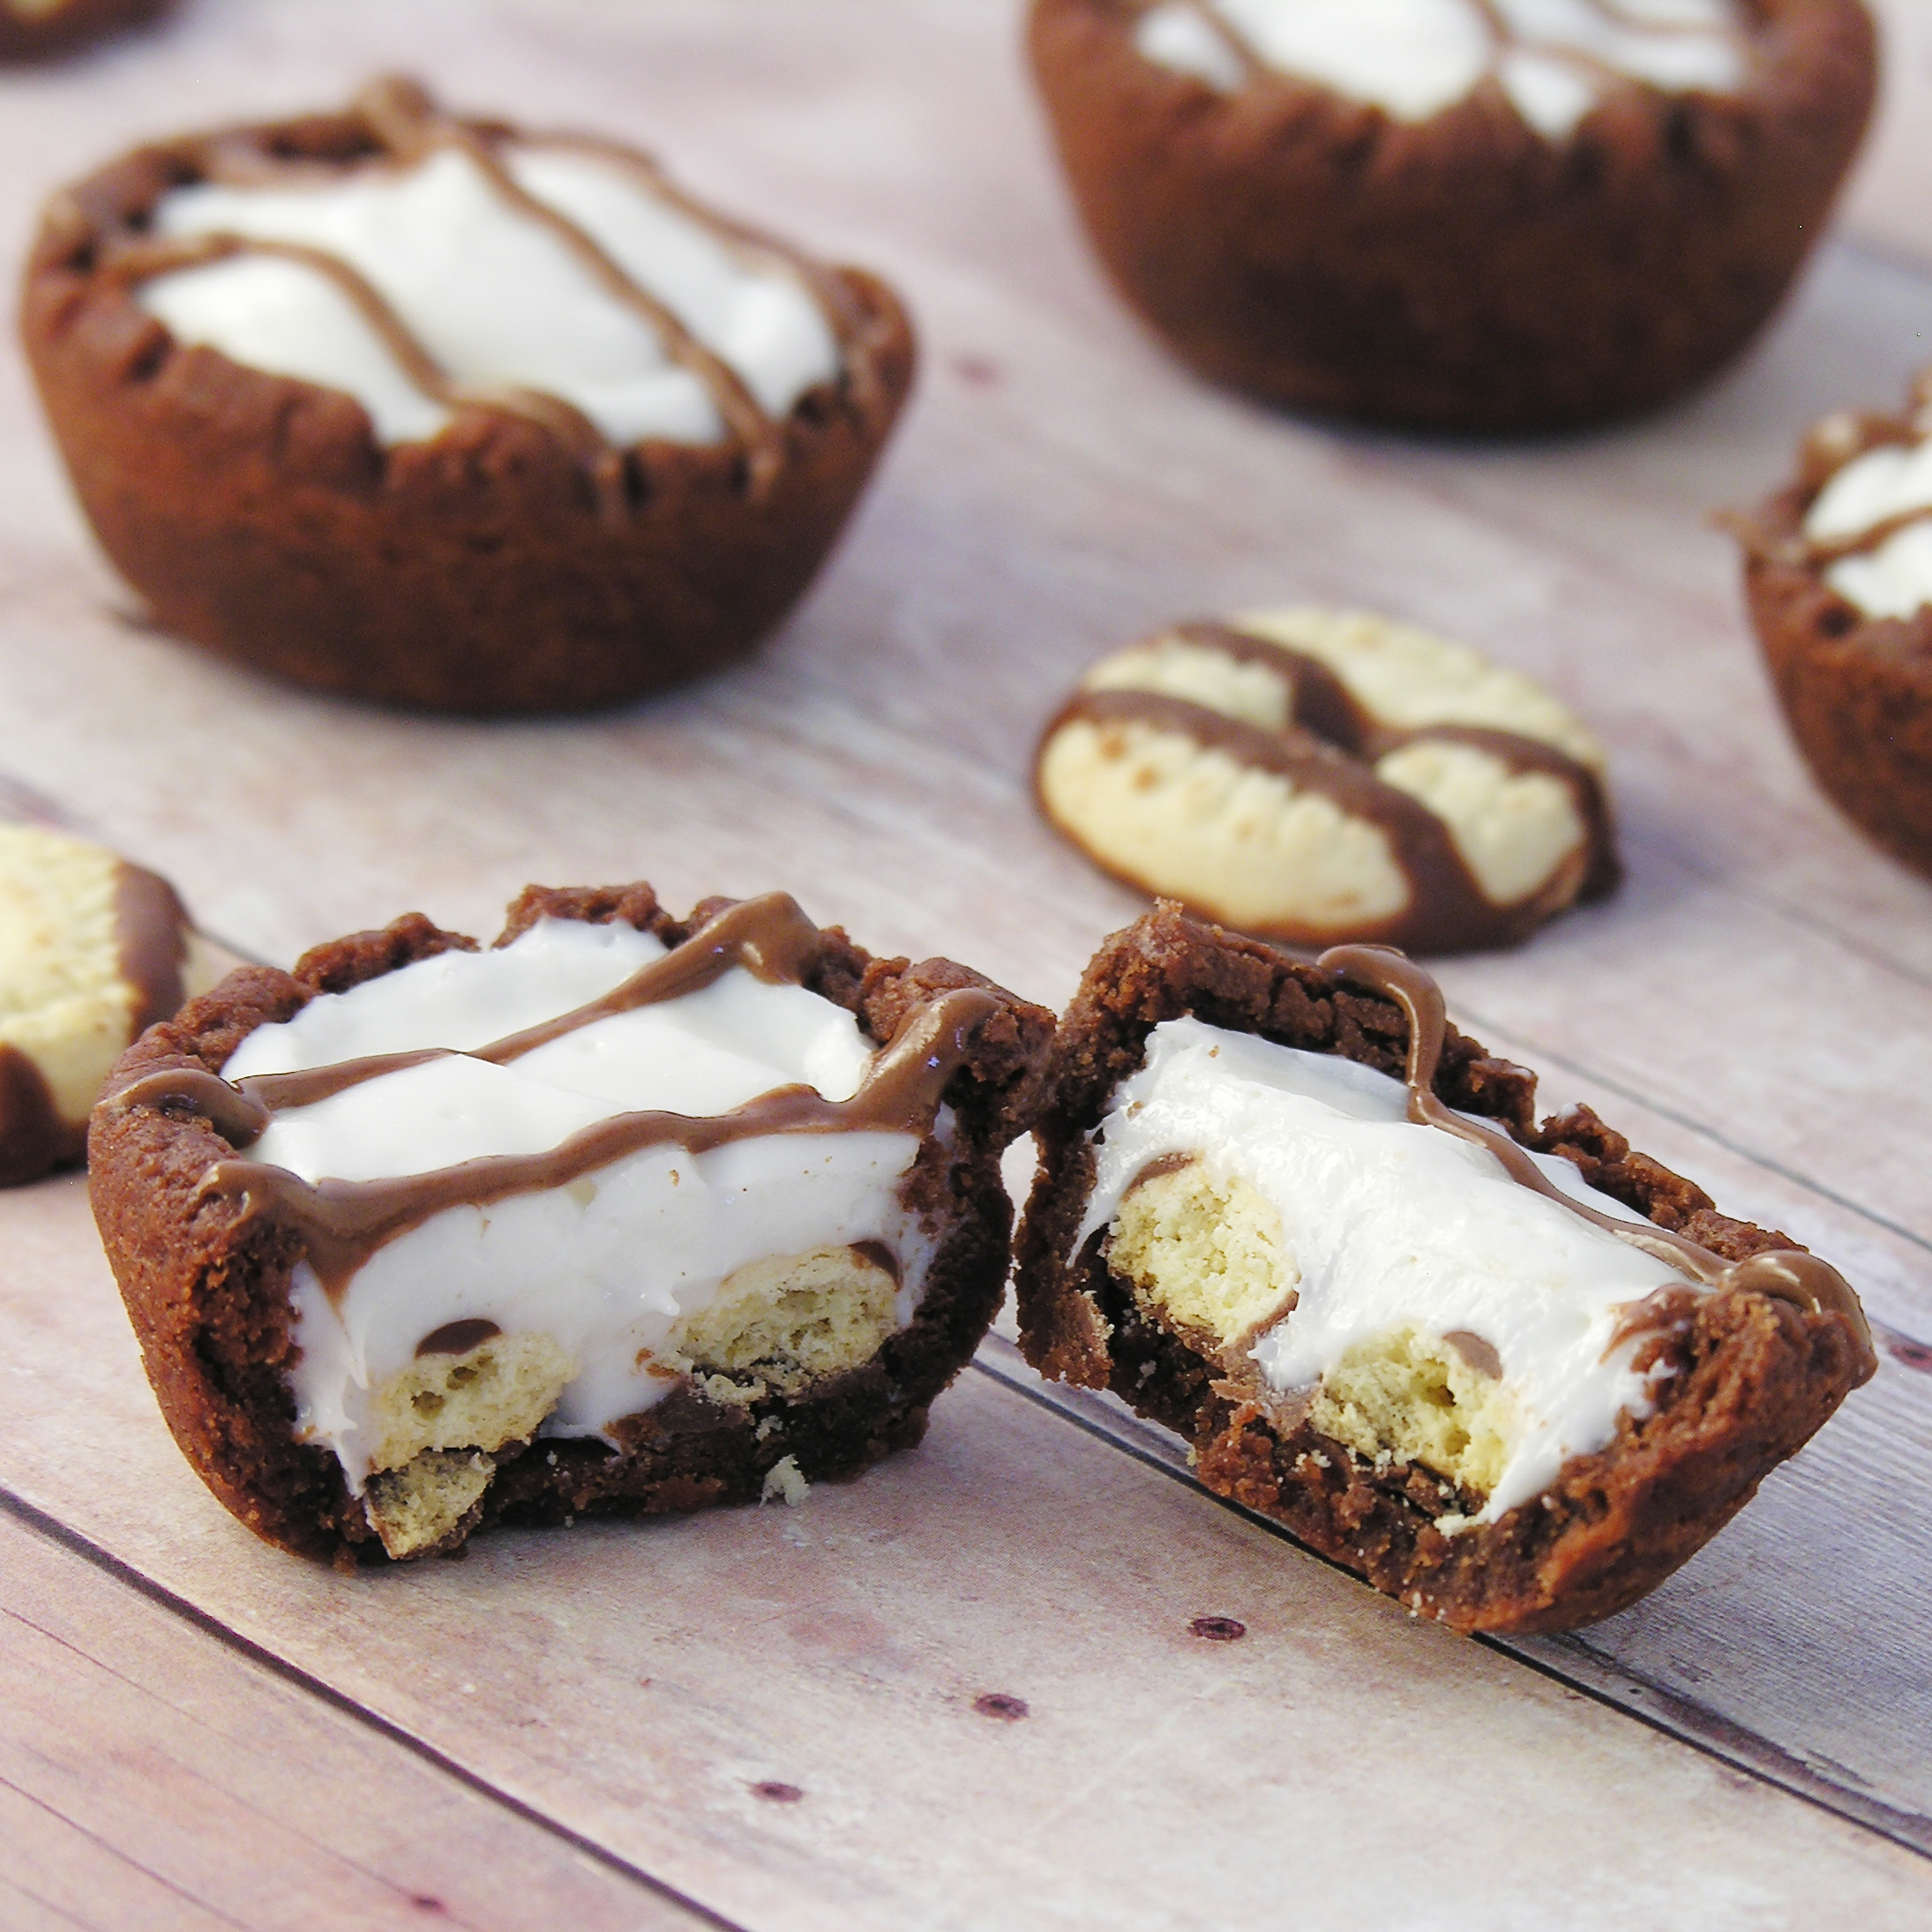
Other fun Thanksgiving recipe ideas~ click on a photo to see the recipe:

Cinnamon Upside Down Cakes!!Red velvet cookies with cream cheese icing!!Cinnamon Roll Cheesecake!!Brownie Oreo Cookie Cup

Turtle Cookie Cups

Posted on

Turtle Cookie Cup

Chocolate cookie cups full of creamy caramel, chocolate and pecans.  So many fun fall flavors in one little dessert!

There’s something about November that makes me think caramel and pecans. Comfort food, maybe? Thanksgiving?  I’m not sure, but these yummy little treats hit the spot!  They are fun to make, and a pretty mini dessert for all those November and December get-togethers.

Here’s how they are made: (printable recipe)

INGREDIENTS:

Cookies:

  • 2 sticks (one cup) butter (softened)
  • 1 ½ cups sugar
  • 2 eggs
  • 1 teaspoon of vanilla extract
  • 2/3 cup unsweetened cocoa powder
  • 3 cups flour
  • ½ teaspoon salt
  • ½ teaspoon baking powder

Toppings:

  • 1 bag of Wilton’s candy melts in milk chocolate
  • 2 cups of chopped pecans and about 60 whole pecans
  • 32 Kraft caramels (unwrapped)
  • 1 can (14oz) sweetened condensed milk
  • 1 stick (1/2 cup) butter

DIRECTIONS:

Cookies:

  • Preheat oven to 350 degrees
  • Add butter, sugar, eggs and vanilla together in a large mixing bowl
  • Blend on medium speed with a mixer until smooth
  • Gradually add dry ingredients and mix until smooth (use clean hands at the end, and knead into a soft ball of dough
  • Use a small cookie scoop (I used one that holds ½ tablespoon of batter) to portion your dough into mini muffin tins that have been sprayed with non-stick spray
  • Use a tart shaper, or a wooden spoon to press the dough into a cup shape.

Making cookie cups

  • Bake at 350F degrees for 7-8 minutes and remove from oven.
  • Press centers in a second time and allow cups to cool for just a couple of minutes.
  • Use a small paring knife to pop each cup out and allow them to cool on the counter.

Toppings:

  • Place caramels, sweetened condensed milk and butter into a medium saucepan and heat on medium over the stove until all of the caramels are melted.
  • Heat milk chocolate candy melts in the microwave in 30 second increments until melted and smooth.
  • Place chopped pecans into a small bowl.
  • To assemble, dip top edge of cup in candy melts and then in chopped nuts.

Dipping tops of cookie cups in chocolate

  • Place caramel sauce into a sturdy zip top bag and clip a corner.
  • Pipe caramel into each cup until filled completely and top with a whole almond.
  • Allow caramel and chocolate to firm up.
  • Store in an airtight container for 2-3 days.
  • Enjoy!

Turtle Cookie Cup2

My thoughts: These are a little time-consuming to make, but sooooo yummy. They are a perfect mini-dessert for any of the upcoming holidays, and they got RAVE reviews in my little world! That caramel….!!!! Enjoy! ~r

Other fun mini desserts here at Easybaked (click on a photo to see the recipe)

Cheesecake Sundaes Mint Creme Brownie CupsCake balls filled with cream cheese frostingMini chocolate chip cookie cheesecakes

Jeepers Creepers Oreo Pops!

Posted on

Scary Oreo popsThese scared little pretzel monster Oreo pops are not only adorable but a perfect salty and sweet combination!

Because I love desserts and I obviously blog about them all the time, my friends are often pointing out cute ideas they find online. That was the case with these cute little pretzel monsters. A friend found them in Family Fun Magazine and posted a picture on my Facebook wall. As soon as I saw them I knew they belonged on an Oreo pop!  Aren’t they so cute?!?

Monter Oreo PopsThey are also very easy, and a great make-ahead treat for fall parties!

Here’s how to create them for yourself: (printable recipe)

INGREDIENTS: (makes about 26-30 pops)

  • One box of Oreo Double Stuff cookies
  • 30 lollipop sticks
  • 1 bag of Wilton’s Candy Melts in black or purple (or both, if you want both colors!)
  • Small amounts of Wilton’s Candy Melts in other halloween colors (for the “eyes”)
  • Round sprinkles
  • 30 Flipz white chocolate covered pretzels

DIRECTIONS: (Need a visual for making Oreo pops?  Click here.)

  • Make pretzel monsters first by laying all 30 Flipz out on a piece of parchment paper.
  • Melt a small amount (maybe 1/3 cup) of any Candy Melt color for the eyes, and spoon into a small zip top bag.
  • Zip bag closed and clip a corner off.  Pipe color into top two holes of pretzel and gently set a sprinkle “iris” in place.
  • Repeat with other colors and allow eyes to harden completely.
  • For Oreo pops, carefully twist apart all of the Oreo cookies
  • Using one of the lollipop sticks, make an indentation in the white filling of each cookie.
  • Melt the about 1/4 of the black or purple Candy Melts in the microwave in 30 second increments, stirring until completely melted and smooth.
  • Dip the end of one stick into the melted candy, drizzle a little in the center of the cookie filling and then gently press it into the indentation made.
  • Place the top of the cookie back on and allow candy melts to harden (20 minutes or so), cementing the cookie back together with a stick inside. (Freeze for 5-10 minutes to speed this process up)
  • Melt remaining black or purple Candy Melts in the same manner.
  • Holding the stick, lower the entire Oreo into the bowl of melted Candy Melt, spooning it over the top and sides to cover it completely.
  • Allow the excess to drain off and gently place covered Oreo on a piece of parchment paper.
  • Immediately place a pretzel monster on top and allow the Oreo to harden completely.

Alien Oreo Pops!

My thoughts: These are cute and yum yum yummy!  I like the cute little surprised looks on the pretzel monsters, and they taste GREAT! Wrap these up in cello bags with cute ribbons and you have a fun party treat to share!  Enjoy!  ~r

Jeepers Creepers Oreo Pops

A few other October treats here on Easybaked (click on photo to see recipe):

Inside-out Caramel Apple!!Peanut butter caramel Sundae- yum!Sweet Tart and Pixie Stix CakeHalloween Bundt Cake

Caramel Gelato with Gingerbread Spoons

Caramel Gelato with Gingerbread cookie spoonsThis creamy frozen caramel dessert is perfect when it is eaten with a spicy gingerbread cookie spoon.  Does dessert get much more fun than this?!?

This recipe has a story. I was flying home to Michigan for a wedding when I saw the most amazing dessert in one of those in-flight magazines.  It was some sort of mousse with a COOKIE SPOON in it.  I stared at it and thought….and wondered if spoon cookie cutters exist (they do), and I decided right then that I would make something caramel with gingerbread spoons.

Something caramel…..something sweet and rich.  About a week later, I saw this post on Foodgawker and the words, “Three ingredients. No churn. No machine. No whipping cream. It’s magic.” swirled in my head.  Sour cream, Sweetened condensed milk, Vanilla. No machine.

What if I added Dulce de Leche instead of the sweetened condensed milk?  I had to try it.  I felt like I was surely wasting a container of sour cream when I mixed this up….but then…. creamy, cold caramel deliciousness. It is magic.  You need to try this!

Caramel Gelato!!!

Here’s how: (printable recipe)

INGREDIENTS:

Caramel Gelato:

  • 1 1/2 cups of sour cream (use full-fat)
  • 1 can (13.4 oz.) of La Lechera Dulce de Leche (now….imagine coconut cream in this recipe….!)
  • 1 teaspoon of vanilla extract

Cookie Spoons:

  • 1 stick (1/2 cup) butter, softened
  • 1/2 cup sugar
  • 1 egg
  • 1/2 cup dark molasses
  • 1 tablespoon vinegar
  • 2 1/2 cups of all-purpose flour
  • 3/4 teaspoon of baking soda
  • 1/4 teaspoon salt
  • 1 teaspoon of ground ginger
  • 1/2 teaspoon of ground cinnamon
  • 1/2 teaspoon of ground cloves

DIRECTIONS:

Caramel Gelato:

  • Mix all ingredients together well, spread into a freezer safe bowl and cover tightly.  
  • Freeze overnight.
  • Allow gelato to warm a little before serving.

Gingerbread Cookie Spoons:

  • Cream together butter and sugar.
  • Beat in egg, molasses and vinegar.
  • Blend in sifted dry ingredients.
  • Chill 2-3 hours (this is important– the dough is very easy to roll after chilling)
  • Roll 1/8 inch to 1/4 inch thick on a floured counter or board and cut into spoon shapes, using a cookie cutter, and place on greased cookie sheets.
  • Bake at 375 degrees for about 10 minutes.  Check often- take out when cookies have risen and are easily removed from sheet.

Caramel Gelato!My thoughts: This caramel desert is unbelievably creamy and rich.  I pictured 2 scoops in my photos, but I would serve just one.  It is almost like frozen custard- so heavy and rich.  The caramel flavor is amazing though!  Amazing.  The cookies are so delicious with the caramel.  They are hard to actually use as spoons until the frozen caramel warms a bit.  I love this flavor combination!  I hope you get a chance to try it!  Enjoy!!! ~r

Caramel Gelato and ginger bread cookiesOther fun chilled desserts you might enjoy:

Heath Bar Ice Cream Dessert3Peppermint Ice cream pieIce Cream Cakefrozen s'more cups

First Down Oreo Pops!!!

Football Field Oreo PopsThese cute little football field Oreo pops are the perfect snack for your next tailgating party or Sunday afternoon of football!

These are just fun little football treats…and the world has far too few fun little football treats– there’s always room for more!  These are made just like all of the other crazy Oreo pops on the Easybaked site.  Dipped in green, piped in white and topped with a cute football sprinkle!

Football Field Oreo PopsHere is how these fun little treats are made: (printable recipe)

INGREDIENTS:

  • One box of Double Stuff Oreos
  • One bag of Wilton’s candy melts in Green
  • One bag of Wilton’s candy melts in White
  • One jar of football sprinkles (I made my own, but there are some cute ones here)
  • 24-30 lollipop sticks

DIRECTIONS: (Need a visual?  Click here.)

  • Carefully twist apart all of the Oreo cookies
  • Using one of the lollipop sticks, make an indentation in the white filling of each cookie.
  • Melt the about 1/4 of the white Candy Melts in the microwave in 30 second increments, stirring until completely melted and smooth.
  • Dip the end of one stick into the melted white chocolate, drizzle a little in the center of the cookie filling and then gently press it into the indentation made.
  • Place the top of the cookie back on and allow white chocolate to harden (20 minutes or so), cementing the cookie back together with a stick inside. (Freeze for 5-10 minutes to speed this process up)
  • Melt green candy melts in the same manner that you melted the white.
  • Holding the stick, lower the entire Oreo into the bowl of melted green chocolate, spooning it over the top and sides to cover it completely.
  • Allow the excess green chocolate to drain off and gently place covered Oreo on a piece of parchment paper to harden and cool completely
  • Melt another 1/4 of the white candy melts, as before, and spoon into a small zip top bag.  Clip a tiny corner off and pipe lines and numbers on the top of each Oreo pop.
  • Place on a clean piece of parchment paper to cool, and immediately place a football sprinkle on top.
  • Allow pop to harden completely.
  • Remove from paper and serve- or place in a small treat bag, tied with a fun team ribbon.
  • Enjoy!

Football Field Oreo PopsMy thoughts:  Cute on the outside, Oreo on the inside… perfect!  Hope you get a chance to try these fun little football snacks!!!!!  Enjoy! ~r

Other treats to make your football feasts happy:

Salted Caramel Cookie Cup!!!Cookie Dough Cupcakes2Caramel Fudge Brownies!!Seven Layer Cups

Chocolate Football Cookies!

Chocolate Football Cookies!

These soft and chewy chocolate cut-out cookies make the perfect little footballs!  Are you ready for the season to start?  Kick it off with these adorable treats!

NFL football starts this week with a Thursday night game against the Packers (GO PACK GO!!!!!!) and Seattle.  Let the season of fun tailgating and snacking begin!!!

These are seriously the yummiest chocolate cookies ever, and the PERFECT, not-sticky, dough for cookie cutters.  I’ve used this recipe SO many times here on easybaked.  When I thought about making football cookies I automatically defaulted to this wonderful family recipe. I promise, you will love it!!!

Here’s how they are made: (printable recipe)

INGREDIENTS:

  • 2 sticks (1 cup) butter, softened
  • 1 1/2 cups sugar
  • 2 eggs
  • 1 teaspoon vanilla extract
  • 2/3 cup unsweetened cocoa powder
  • 3 cups flour
  • 1/2 teaspoon salt
  • 1/2 teaspoon baking powder

DIRECTIONS:

  • Preheat oven to 350F degrees.
  • Add butter, sugar, eggs, vanilla and cocoa together in  large mixing bowl.
  • Blend on medium speed with a mixer until smooth.
  • Gradually add dry ingredients and mix until smooth (use clean hands at the end, to knead into a soft ball of dough)
  • Roll out cookie dough on floured counter.  I roll mine thick, so I get nice and chewy cookies.
  • Cut into football shapes using a football cookie cutter and place on a parchment-lined baking sheet. Leave a little room for the cookies to spread.
  • Bake for 10 to 14 minutes until the edges are firm.
  • Gently slide parchment paper off of cookie sheet and onto a flat surface.  Cool completely before moving- this allows the cookie to “set”.  
  • Frost as desired.  I used royal icing in a zip-top bag with a corner clipped off to decorate these.  You can click here for my royal icing recipe and instructions for use.  You could also use regular icing or even melted white chocolate.
  • Allow icing to harden up before stacking.

Football Cookies!!!

My thoughts: These are so cute, and so yummy that I kept wandering by the table just took look at them while they hardened up. I couldn’t help but smile every time….and eat one.  Which was bad, because I’ve eaten too much fry bread here on the Navajo Nation and I need to diet!  They are irresistibly good…so I quickly have given them all away!  Happy football season everyone!!!  Bring on the fun!!!!!  ~r

Football Cookies!!!!!Other desserts that use this cookie recipe:

Chocolate cut-out cookiesTriple Chocolate Truffle CupsEspresso Cookies!!!Cadbury Egg Cookie Cups!!!!


Oreo Flower Pops!

Posted on


Oreo Flower Pops!These cheery little Oreo Pops are sure to brighten anyone’s day, and they are SO easy to put together!

I know…another Oreo Pop!!!  I can’t stop sharing them with you– they are just so fun!  I have another one in the works for a few weeks from now too!  I’m in love with these fun little treats!

If you’ve been a fan of Easybaked for any time at all, you have seen (and maybe tried!) lots of these little bits of happiness on a stick, but if you are new here, let me share with you a pdf that will help you make the perfect Oreo Pop:  How to make an Oreo Pop.

Flower Oreo Pop

Here (once again!) is the recipe: (printable version)

INGREDIENTS:

  • One box of Double Stuff Oreos
  • Two bags of Wilton’s candy melts in any colors you choose
  • M&Ms (I used the pastel kind- but any will work!)
  • Mini chewy Sweet Tarts (or any other small candy for the center of the flower)
  • 24 lollipop sticks

DIRECTIONS: 

  • Carefully twist apart all of the Oreo cookies
  • Using one of the lollipop sticks, make an indentation in the white filling of each cookie.
  • Melt the Candy Melts in the microwave in 30 second increments, stirring until completely melted and smooth.
  • Dip the end of one stick into the melted Candy Melts, drizzle a little in the center of the white cookie filling and then gently press it into the indentation made.
  • Place the top of the cookie back on and allow Candy Melts to harden (10 minutes or so), cementing the cookie back together with a stick inside.
  • Holding the stick, lower the entire Oreo into the bowl of melted Candy Melts, spooning it over the top and sides to cover it completely.
  • Allow the excess  to drain off and gently place covered Oreo on a piece of parchment paper.
  • Before the Candy Melts harden, place M&Ms and Sweet Tarts on top in a flower pattern.
  • Allow Oreo Pop to harden completely
  • Cover in a treat bag and tie with a ribbon
  • Enjoy!!

Flower Pot Oreo Pops

My thoughts: These are easy to make, beautiful to share, and yummy to eat!  Don’t they look cute in a bouquet?  Fall is almost here, celebrate the last bits of summer with these cheery little treats!  Enjoy! ~r

More fun recipes from easybaked:

Chocolate cut-out cookiesCookie Dough Whoopie Pies!Cinnamon Roll Cheesecake!!German Chocolate Pie

Fudge Stripe Cookie Cups

Posted on

Fudge Stripe Cookie cups

These dark chocolate cups have a surprise inside: a crunchy little fudge stripe cookie!

I just love those fudge stripe cookies.  Even when I am trying to watch my calorie intake, I get the little 100 calorie packs as a treat.  They are just soooo yummy!  Those little mini cookies were the inspiration for these cookie cups.  They fit perfectly inside, and make for a wonderful surprise when you bite into one!

Fudge Stripe Cookie Cups!

So much fun!  Best use of diet food  EVER!

Here’s how we made them: (for a printable recipe click here)

INGREDIENTS: (makes 44-48 mini cookie cups)

  • 1 stick (1/2 cup) butter, softened
  • 3/4 cup of granulated sugar
  • 1 egg
  • 1/2 teaspoon vanilla extract
  • 1/3 cup of unsweetened cocoa powder
  • 1 1/2 cups flour
  • 1/4 teaspoon salt
  • 1/4 teaspoon baking powder
  • One box of Keebler Mini Fudge Stripe cookies
  • One tub of vanilla frosting.
  • A little bit of melted chocolate to drizzle on top, if desired

DIRECTIONS:

  • Preheat oven to 350F degrees.
  • Make cookies by combining butter, sugar, egg, vanilla and cocoa powder and beating until completely combined.
  • Add other dry ingredients gradually, mixing with beaters until too heavy to beat. Use clean hands to knead dough into a soft ball.
  • Use a small cookie scoop (I used a scoop that holds 1/2 Tablespoon of batter) to portion out your dough into mini muffin tins that have been sprayed with non-stick spray.
  • Use a tart shaper or a wooden spoon to press the dough into a cup shape (really, the tart shaper works best for this and you will use it again- I use mine all the time!)

Making cookie cups

  • Bake at 350F degrees for 7 to 8 minutes and remove from oven.
  • Press centers in a second time with the tart shaper and allow them to cool for just a couple of minutes.
  • Use a small paring knife to pop each cup out and allow them to cool completely on the counter.
  • Place one mini Fudge Stripe Cookie to each cup
  • Spoon frosting into a small bowl and microwave for 20-30 seconds, until soft.  Stir until smooth.
  • Spoon frosting into a sturdy zip-top bag and clip a corner off.  Pipe frosting over cookie to the top of each cup

Fudge Stripe Cookie Cups!

  • Pipe chocolate stripes on top to decorate.
  • Allow frosting to firm up.
  • Enjoy!

Fudge Stripe Cookie Cups

My thoughts:  These are SO easy to make and such cute little desserts.  I’m addicted to desserts that surprise you when you bite into them- and these do just that!  I hope you enjoy making and sharing these fun little treats!  Enjoy!! ~r

Fudge Stripe Cookies1

Other cookie cup dessert recipes:

Salted Caramel Cookie Cup!!!Pecan Pie cookie cups with dark chocolateSeven Layer CupsMelted Smores cup


Triple Chocolate Truffle Cups

Posted on


Triple Chocolate Truffle Cups

Delicious dark chocolate cookie cups filled with melted milk chocolate and a white chocolate truffle.  Yum.

I love little mini desserts.  I used to work for a hospital and they would have a big, fancy Christmas party every year.  My favorite part was all the adorable little desserts at the end.  You can try like 8 of them for the calorie price of one big dessert!

This is an adorable (easy to make!) mini dessert.  Perfect for showers, receptions, tea parties and any occasion that calls for a little bit of “fancy” dessert.

The cookie cups use my favorite chocolate cut-out cookie recipe (pressed into a cup!), melted chocolate and a Lindt White Chocolate Truffle. Quick, easy, and delicious!

Triple Chocolate Truffle Cookie Cups!

Here’s the recipe: (printable version)

INGREDIENTS: (makes about 48 mini desserts)

  • 1 stick (1/2 cup) butter, softened
  • 3/4 cup of granulated sugar
  • 1 egg
  • 1/2 teaspoon vanilla extract
  • 1/3 cup of unsweetened cocoa powder
  • 1 1/2 cups flour
  • 1/4 teaspoon salt
  • 1/4 teaspoon baking powder
  • 1 bag of Wilton’s milk chocolate Candy Melts (if you want to melt higher end chocolate for this, feel free!)
  • Approximately 48 Lindt White Chocolate Truffles (Walmart has them in large boxes of 60, for a reasonable price)

DIRECTIONS:

  • Preheat oven to 350F degrees.
  • Make cookies by combining butter, sugar, egg, vanilla and cocoa powder and beating until completely combined.
  • Add other dry ingredients gradually, mixing with beaters until too heavy to beat. Use clean hands to knead dough into a soft ball.
  • Use a small cookie scoop (I used a scoop that holds 1/2 Tablespoon of batter) to portion out your dough into mini muffin tins that have been sprayed with non-stick spray.
  • Use a tart shaper or a wooden spoon to press the dough into a cup shape (really, the tart shaper works best for this and you will use it again- I use mine all the time!)

Making cookie cups

  • Bake at 350F degrees for 7 to 8 minutes and remove from oven.
  • Press centers in a second time with the tart shaper and allow them to cool for just a couple of minutes.
  • Use a small paring knife to pop each cup out and allow them to cool completely on the counter.
  • Melt candy melts in a microwave safe bowl, in the microwave, in 30 second increments, stirring in between until melted and smooth.  
  • Pour melted chocolate into a sturdy zip-top bag.  Zip it closed and clip a corner off.
  • Unwrap all of your Lindt truffles.
  • Carefully pipe warm chocolate into each cookie cup, filling each one about half way.
  • Gently press a truffle into the center of each chocolate-filled cup, allowing the warm chocolate to squeeze up around the edges (yum!)
  • Drizzle any left-over chocolate over the tops of the mini-desserts and allow them to cool and harden completely.
  • Enjoy!!!

Triple Chocolate Truffle Cookie Cups!!!My thoughts: Well, you can see for yourself what happens when you bite into this little dessert. Pure deliciousness!!!! Those truffles are so good.  Mine got a little melted before I cut one in half– but all that soft white chocolate….!!! They make this dessert a touch pricey- but they are SO worth the cost!  If you want to make a smaller batch just cut the cookie recipe in half.  I hope you get a chance to try these- I am filing this recipe away for the next time I need something little for favors or a mini dessert table.  These are perfect for both!  Enjoy!!!!  ~r

Triple Chocolate Truffle Cups

Other mini desserts you might enjoy:

Melted Smores cupDark Chocolate Ganache CupcakesKoolaid truffles!!Mini Pineapple Upside Down Cakes

American Flag Oreo Pops

Posted on

American Flag Oreo Pops!!!!Put a little red white and blue on your Oreos and celebrate the Fourth of July!

These are an easy treat that will make you (and everyone else) smile.  Plus there’s an Oreo inside- perfect!

I’ve said it before, and I will say it again– I’m addicted to Oreo Pops.  Most of you know that I’m living in Arizona for eight months with the Navajo.  I love it here, and the Navajo people are incredibly gracious about sharing life with me and teaching me all about their culture and traditions.  I had a hard time a couple of weeks ago though.  A puppy that I recently took in became very ill and the vet diagnosed her with parvovirus, a deadly disease that can be prevented with puppy vaccinations.  Most people here cannot afford to vaccinate (or spay and neuter) their dogs, so this puppy and all of her litter mates had to be put down.

Oreo...

Oreo…

So. Incredibly. Sad.  My little puppy was named Oreo, for her adorable black and white Oreo markings.

One of my friends here suggested we sell things at a local flea market this week, and I decided to make 100 Oreo Pops in a variety of forms to make money to help spay and neuter Oreo’s parents, and to vaccinate other puppies in the area.

I made ALL SORTS of Oreo pops, and these were one of my “new” designs.  I love how patriotic they are!

American Flag Oreo Pops!!!!!So, in honor of this wonderful, beautiful country that we all call home….Oreo Pops- in Red, White and Blue!!!

Here’s the recipe: (printable version)

INGREDIENTS:

  • One box of Double Stuff Oreos
  • One bag of Wilton’s candy melts in Red
  • One bag of Wilton’s candy melts in Blue
  • One jar of flower sprinkles (the white ones look like stars…?) 
  • 24 lollipop sticks

DIRECTIONS: (Need a visual?  Click here.)

  • Carefully twist apart all of the Oreo cookies
  • Using one of the lollipop sticks, make an indentation in the white filling of each cookie.
  • Melt the Red Candy Melts in the microwave in 30 second increments, stirring until completely melted and smooth.
  • Dip the end of one stick into the melted red chocolate, drizzle a little in the center of the white cookie filling and then gently press it into the indentation made.
  • Place the top of the cookie back on and allow red chocolate to harden (10 minutes or so), cementing the cookie back together with a stick inside.
  • Holding the stick, lower the entire Oreo into the bowl of melted red chocolate, spooning it over the top and sides to cover it completely.
  • Allow the excess red chocolate to drain off and gently place covered Oreo on a piece of parchment paper to harden and cool completely
  • Melt Blue candy melts in the same manner that you melted the red.
  • Allow the candy melts to cool just a bit before dipping (so that it doesn’t melt the red candy underneath).
  • Spoon a bit of blue chocolate over just the top end of the Oreo.  Tap to drain away excess blue chocolate and wipe back across a clean paper towel to remove any drips or splatter of blue.
  • Place on a clean piece of parchment paper to cool, and immediately place a few white “stars” on the blue.
  • Allow pop to harden completely.
  • Remove from paper and serve- or place in a small treat bag, tied with pretty ribbon.
  • Enjoy!

American Flag Oreo Pops!!!!
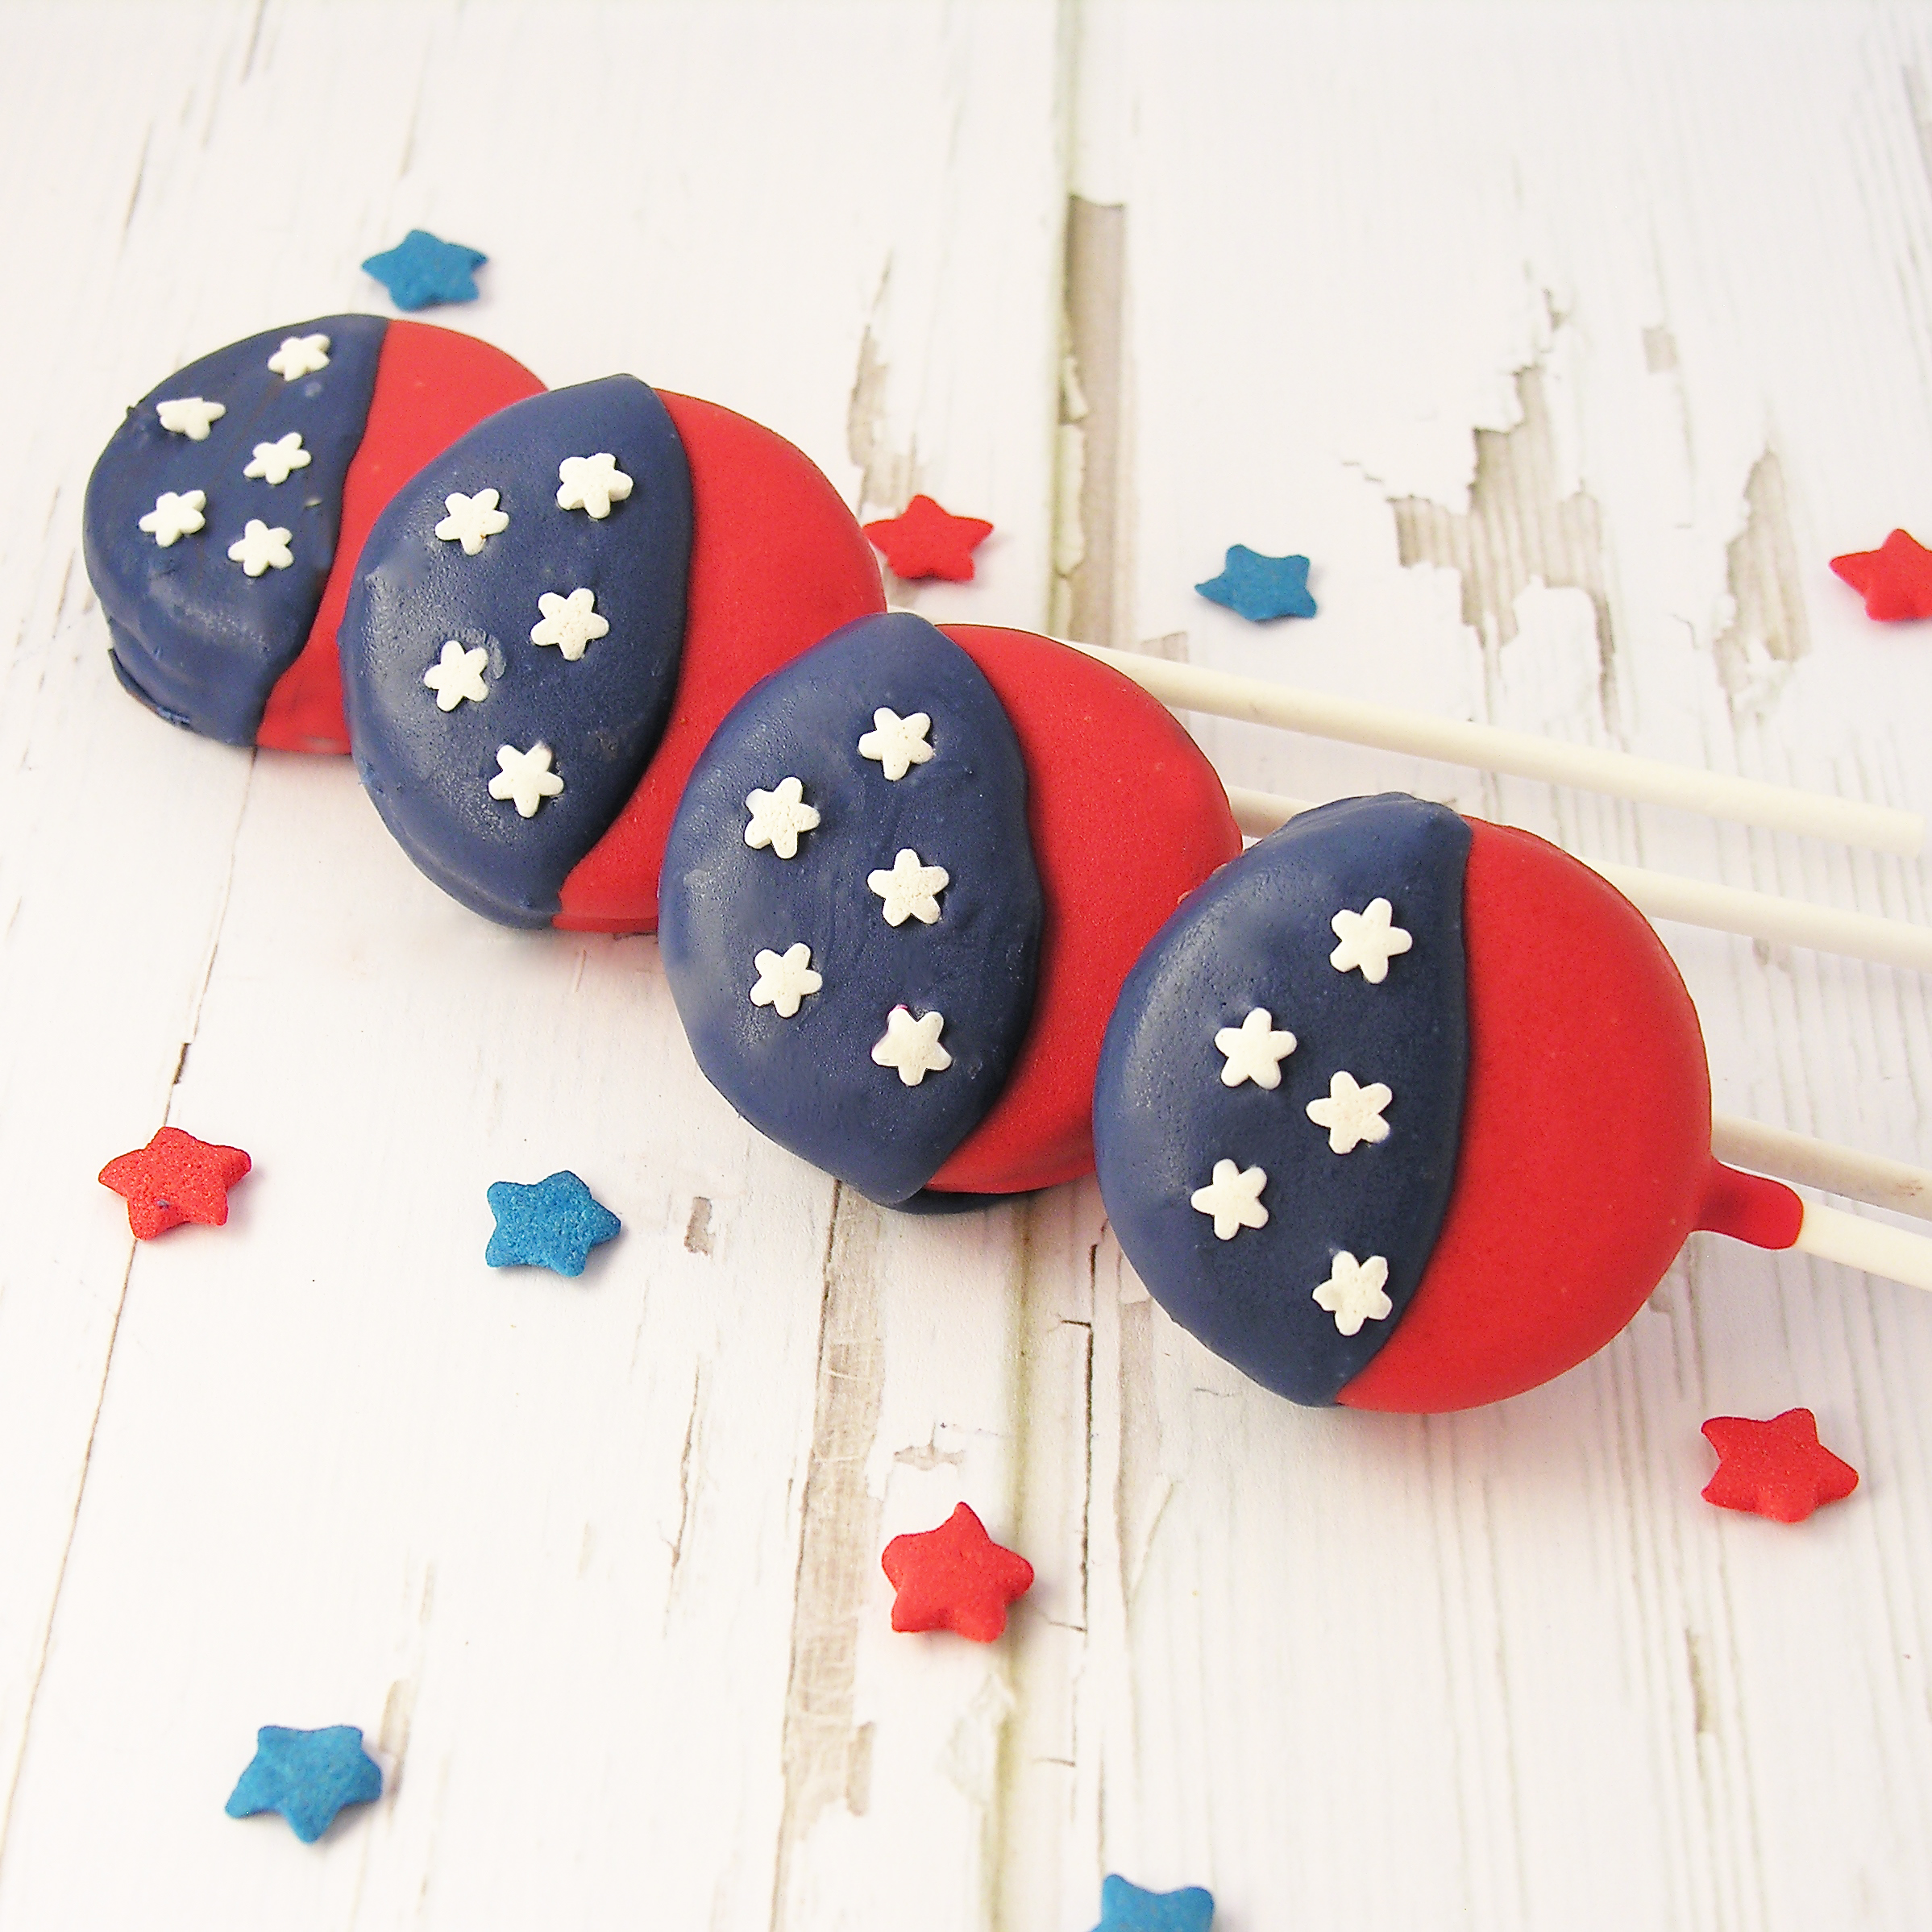
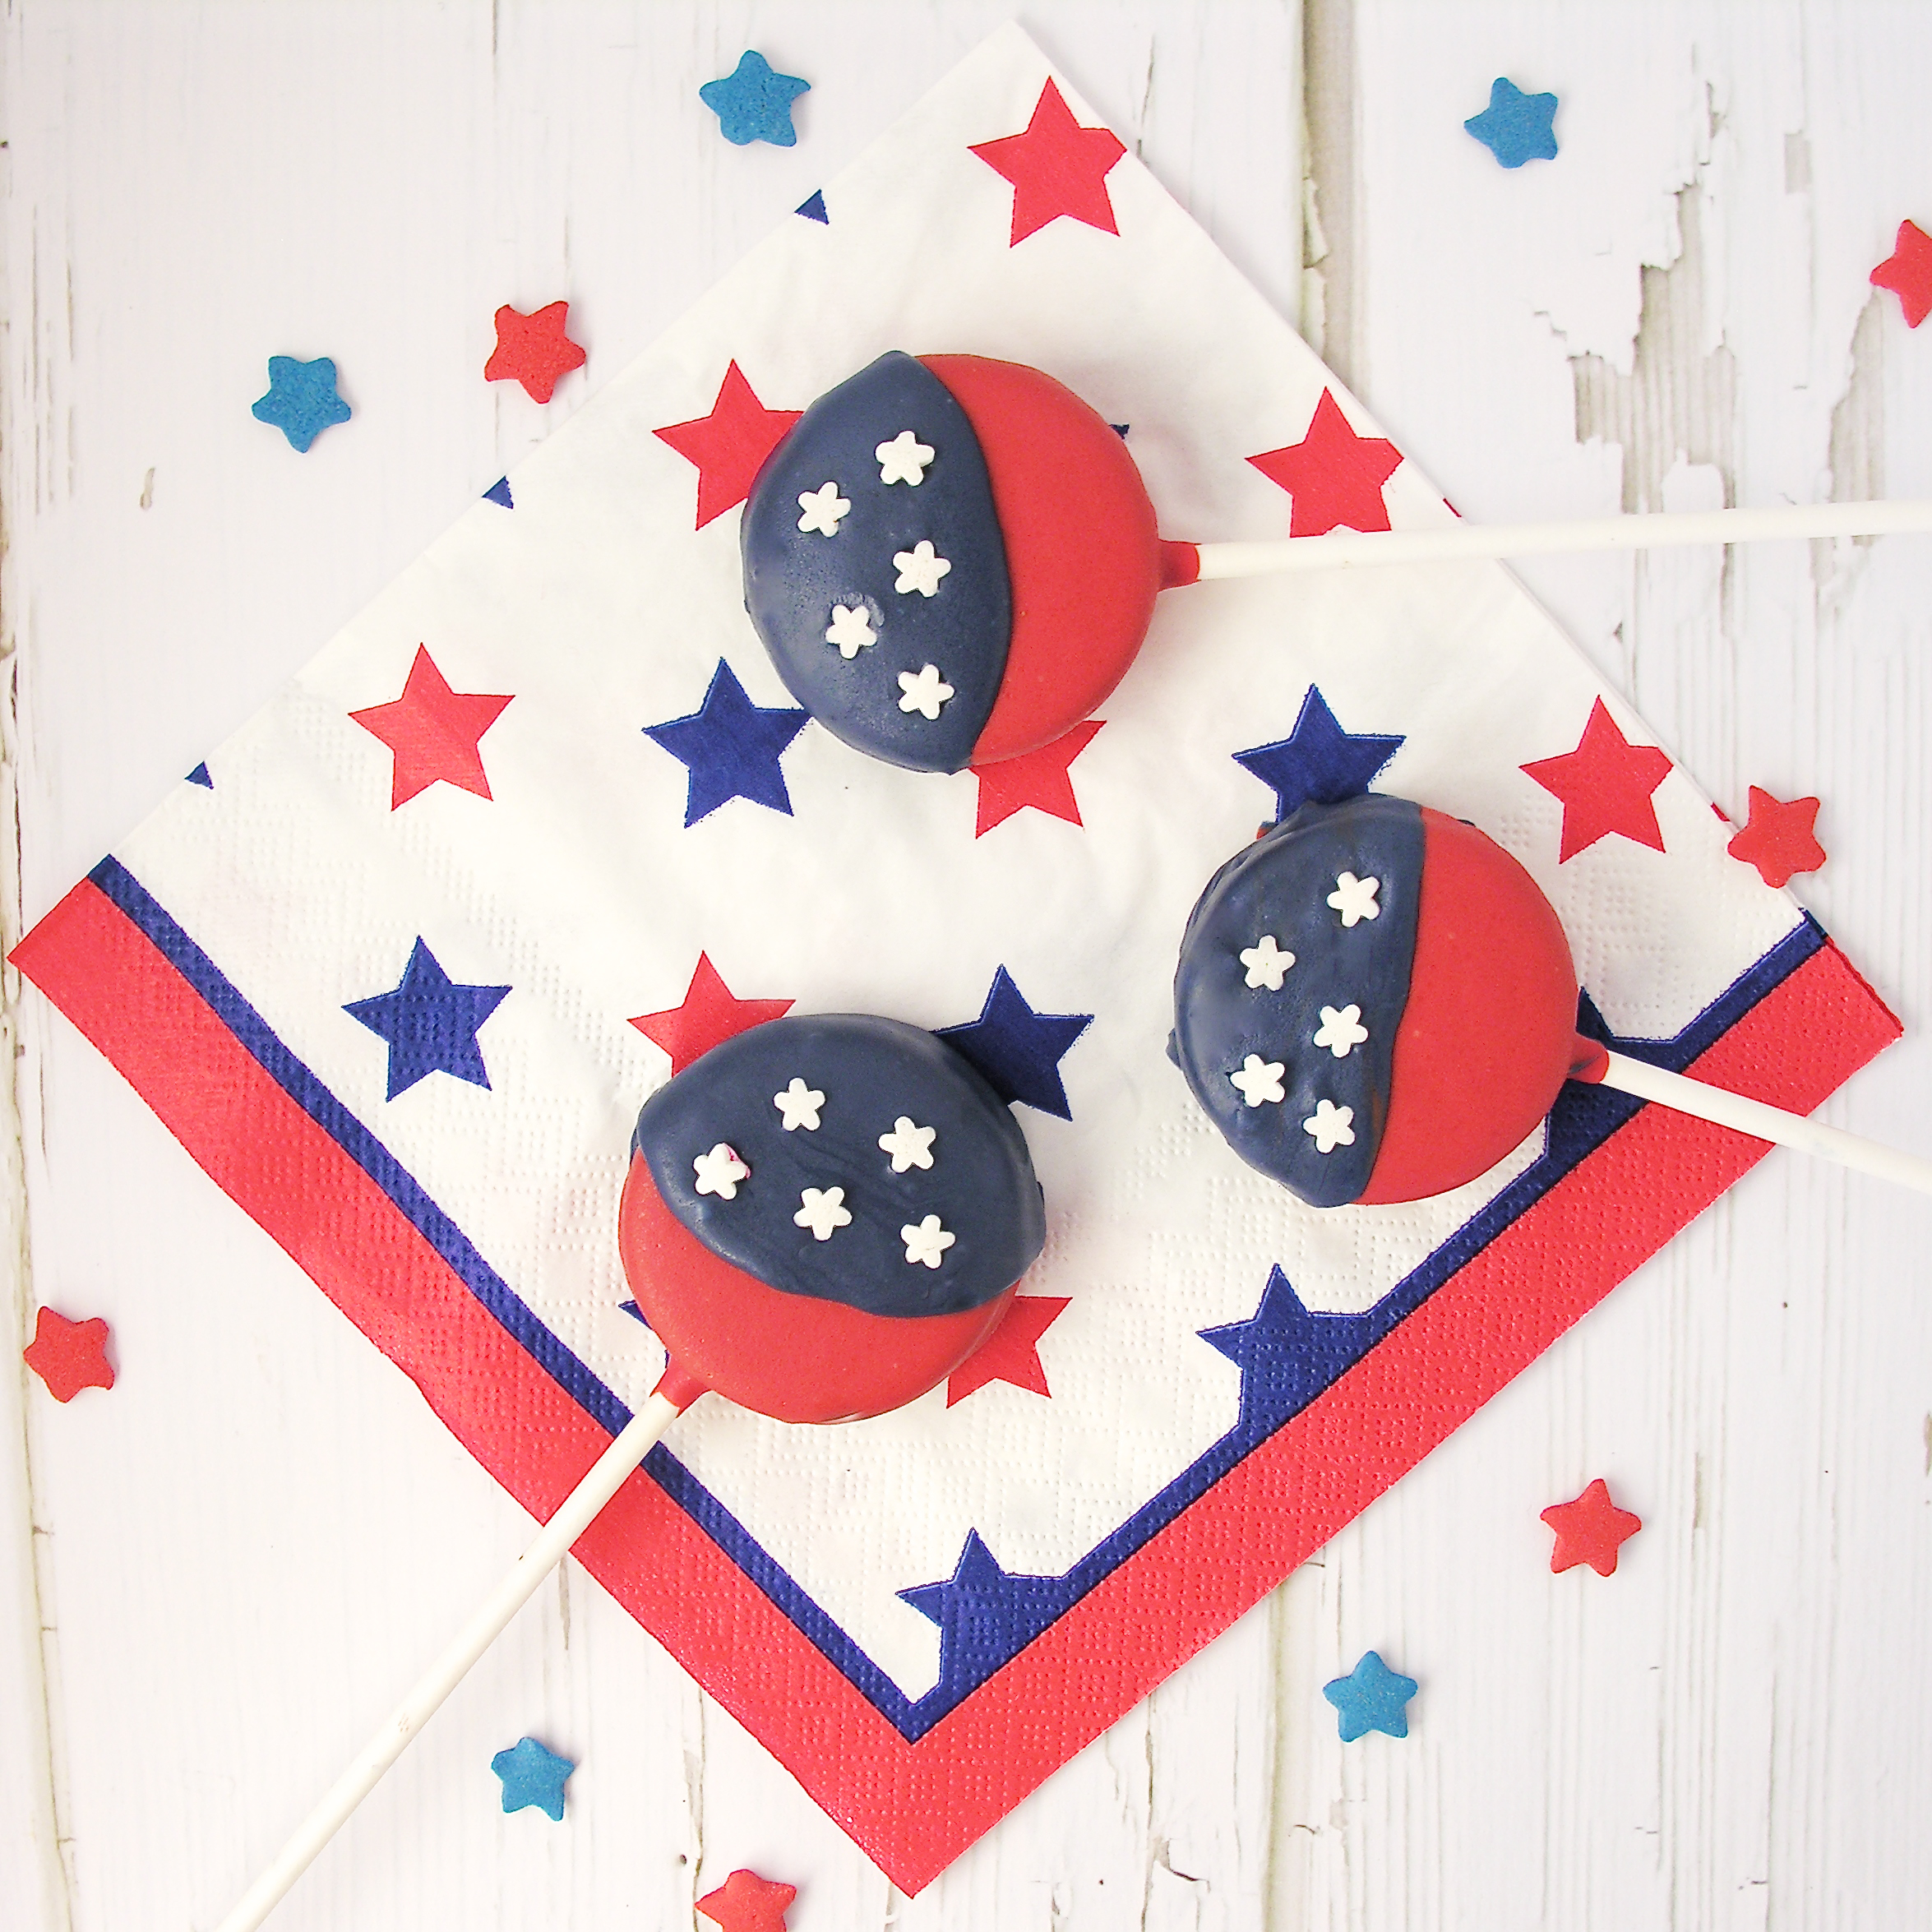
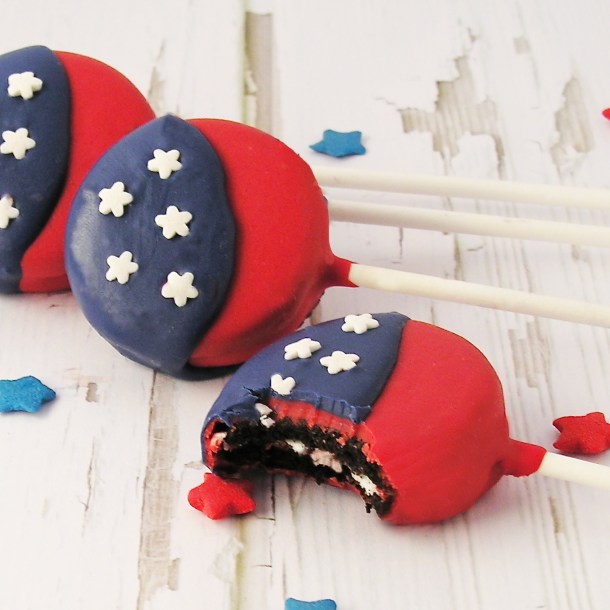
My thoughts:  These are easy and fun to put together, and just so CUTE!  Happy Fourth of July!!!!!  ~r

Other fun (and very patriotic!) desserts to try here at Easybaked:

Patriotic Flip Flop Cookies!!!!Patriotic Bundt Cake!!!!Patriotic Polka Dot Cake!!!!Chocolate covered brownie stars