Tag Archives: dessert

Fourth of July Dessert Ideas!

Posted on

Bomb Pop Cupcakes!!!


Bomb Pop Cupcakes!

Oh my, I love the fourth of July! I love the picnics, and pool parties, and cookouts, and fireworks…and the time with family!

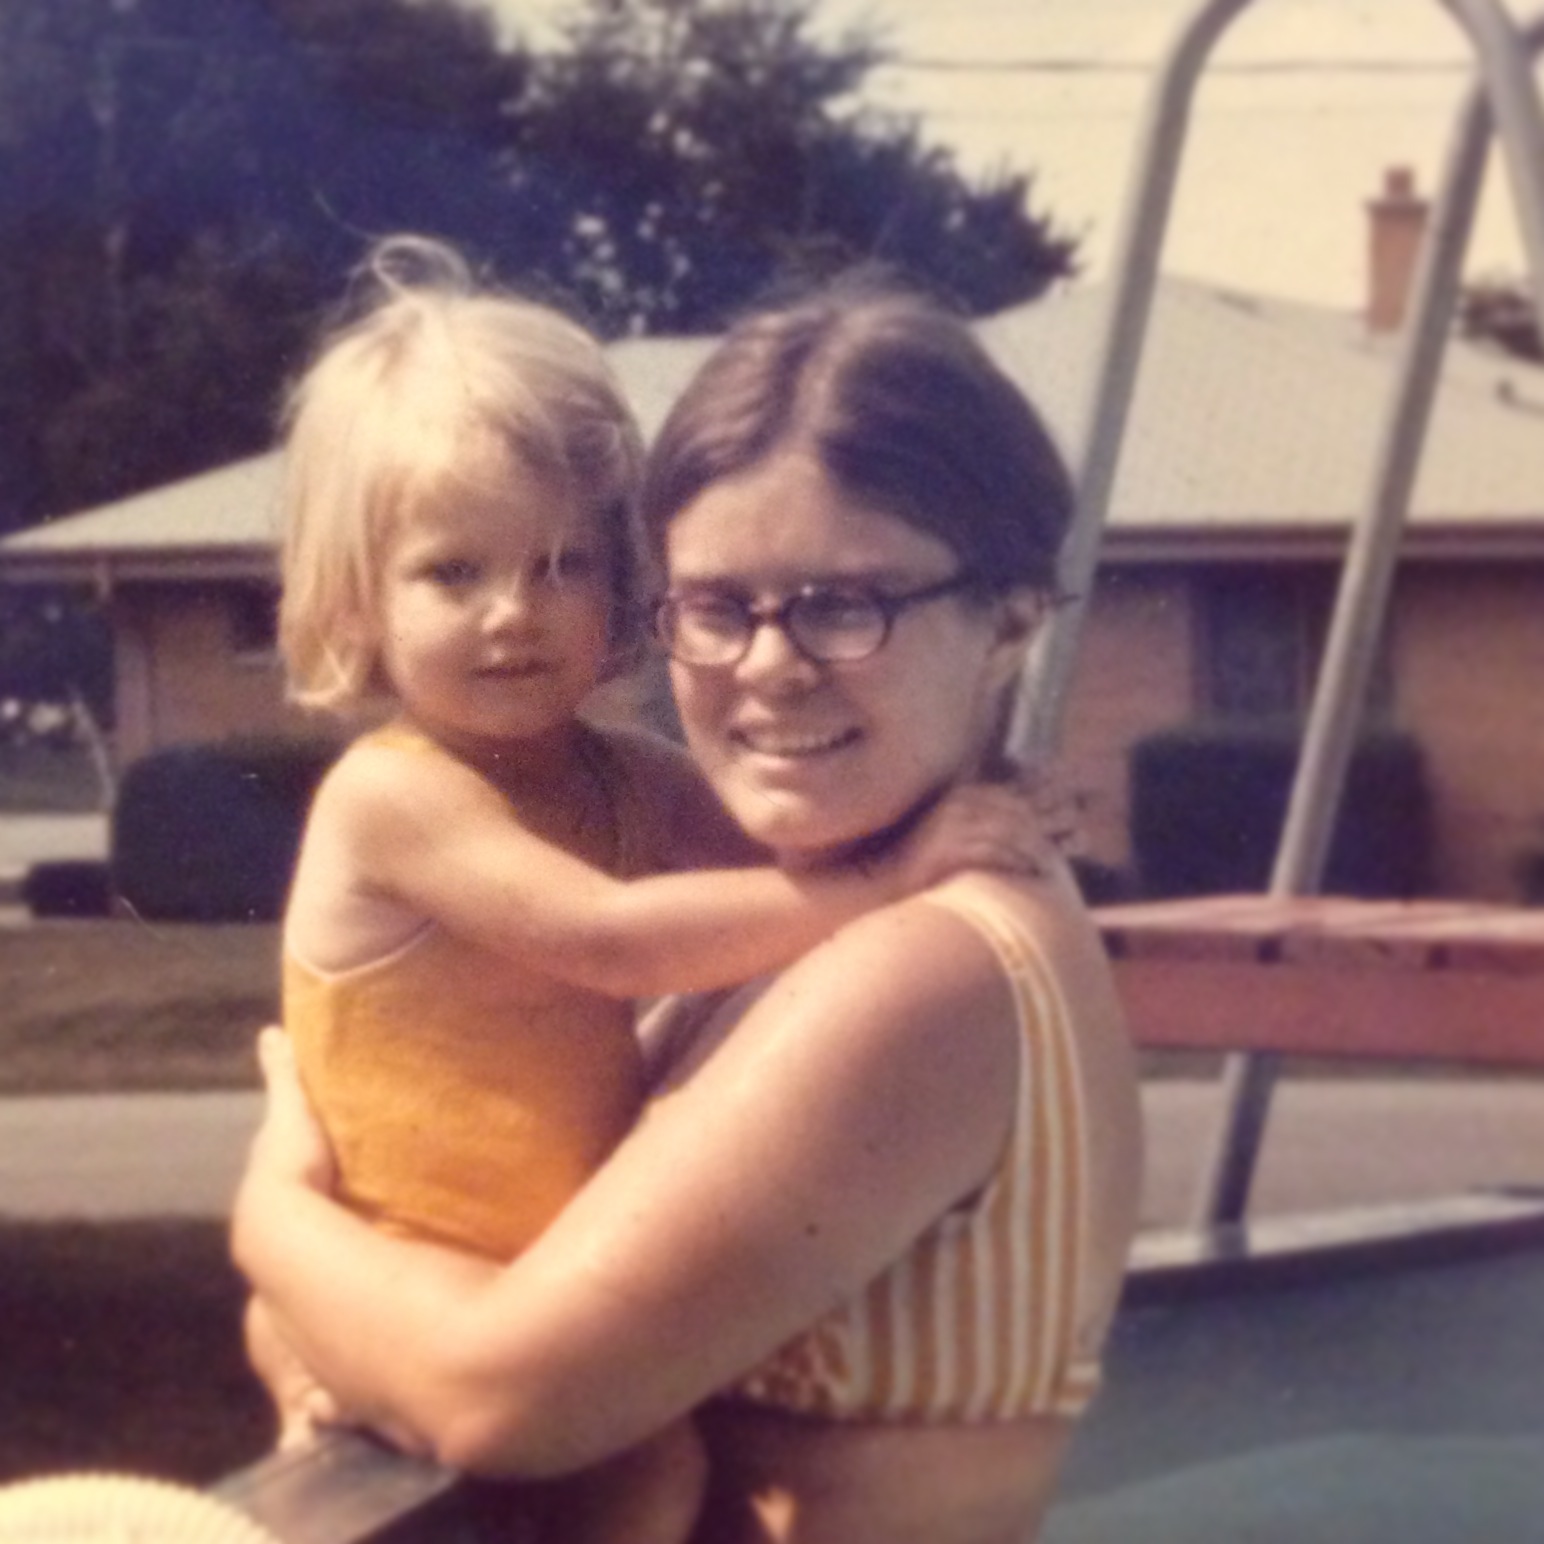
My parents have always (like always, for as long as I can remember!) had a giant pool party for the fourth and invited our entire extended family for burgers and brats and volleyball and sunshine….and for a competitive display of our best “at home” fireworks we could find, later in the evening. I have so many fun memories of chasing fireflies and waving sparklers with my cousins (that are all grown with kids of their own now!). This year is different. For starters, mom isn’t here to orchestrate the complexities of the celebration. The house is in boxes and bags- ready to show to whomever might be interested in buying, and the pool and yard are immaculately kept. Pool toys and floats are all deflated and either sold or put away. Sometimes I sit on the back porch and watch the fireflies and remember all the laughter and fun.

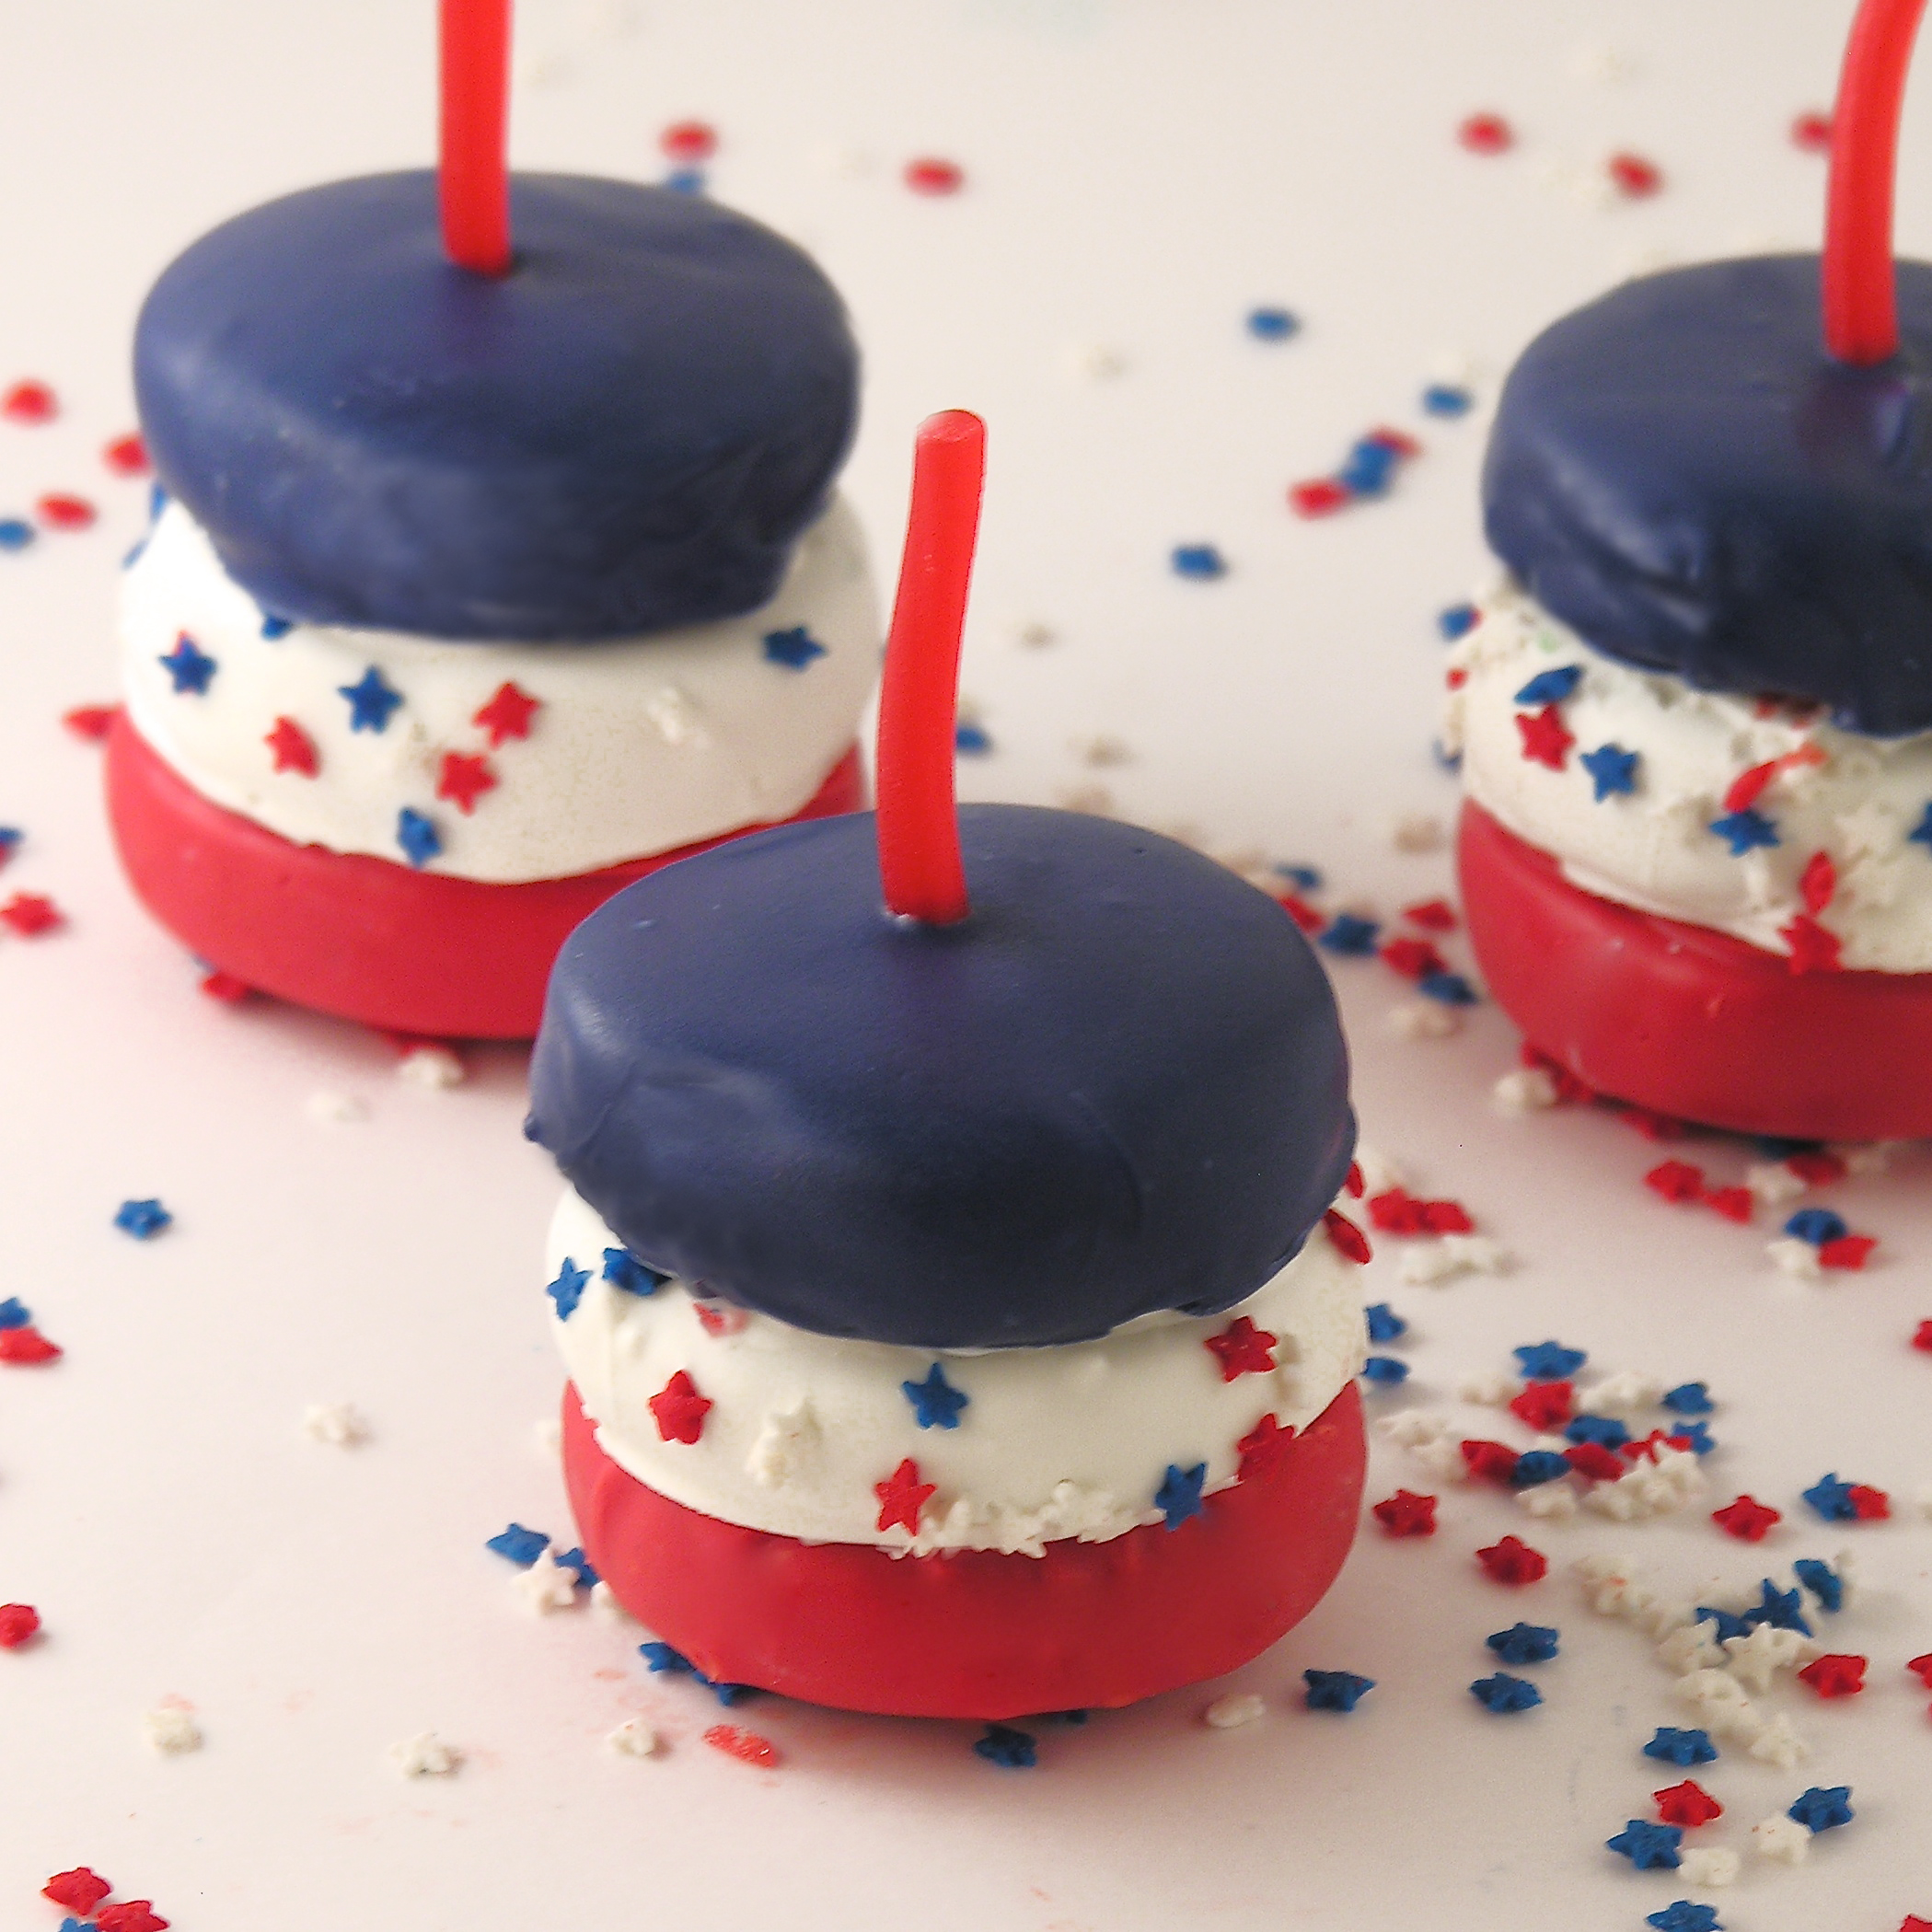
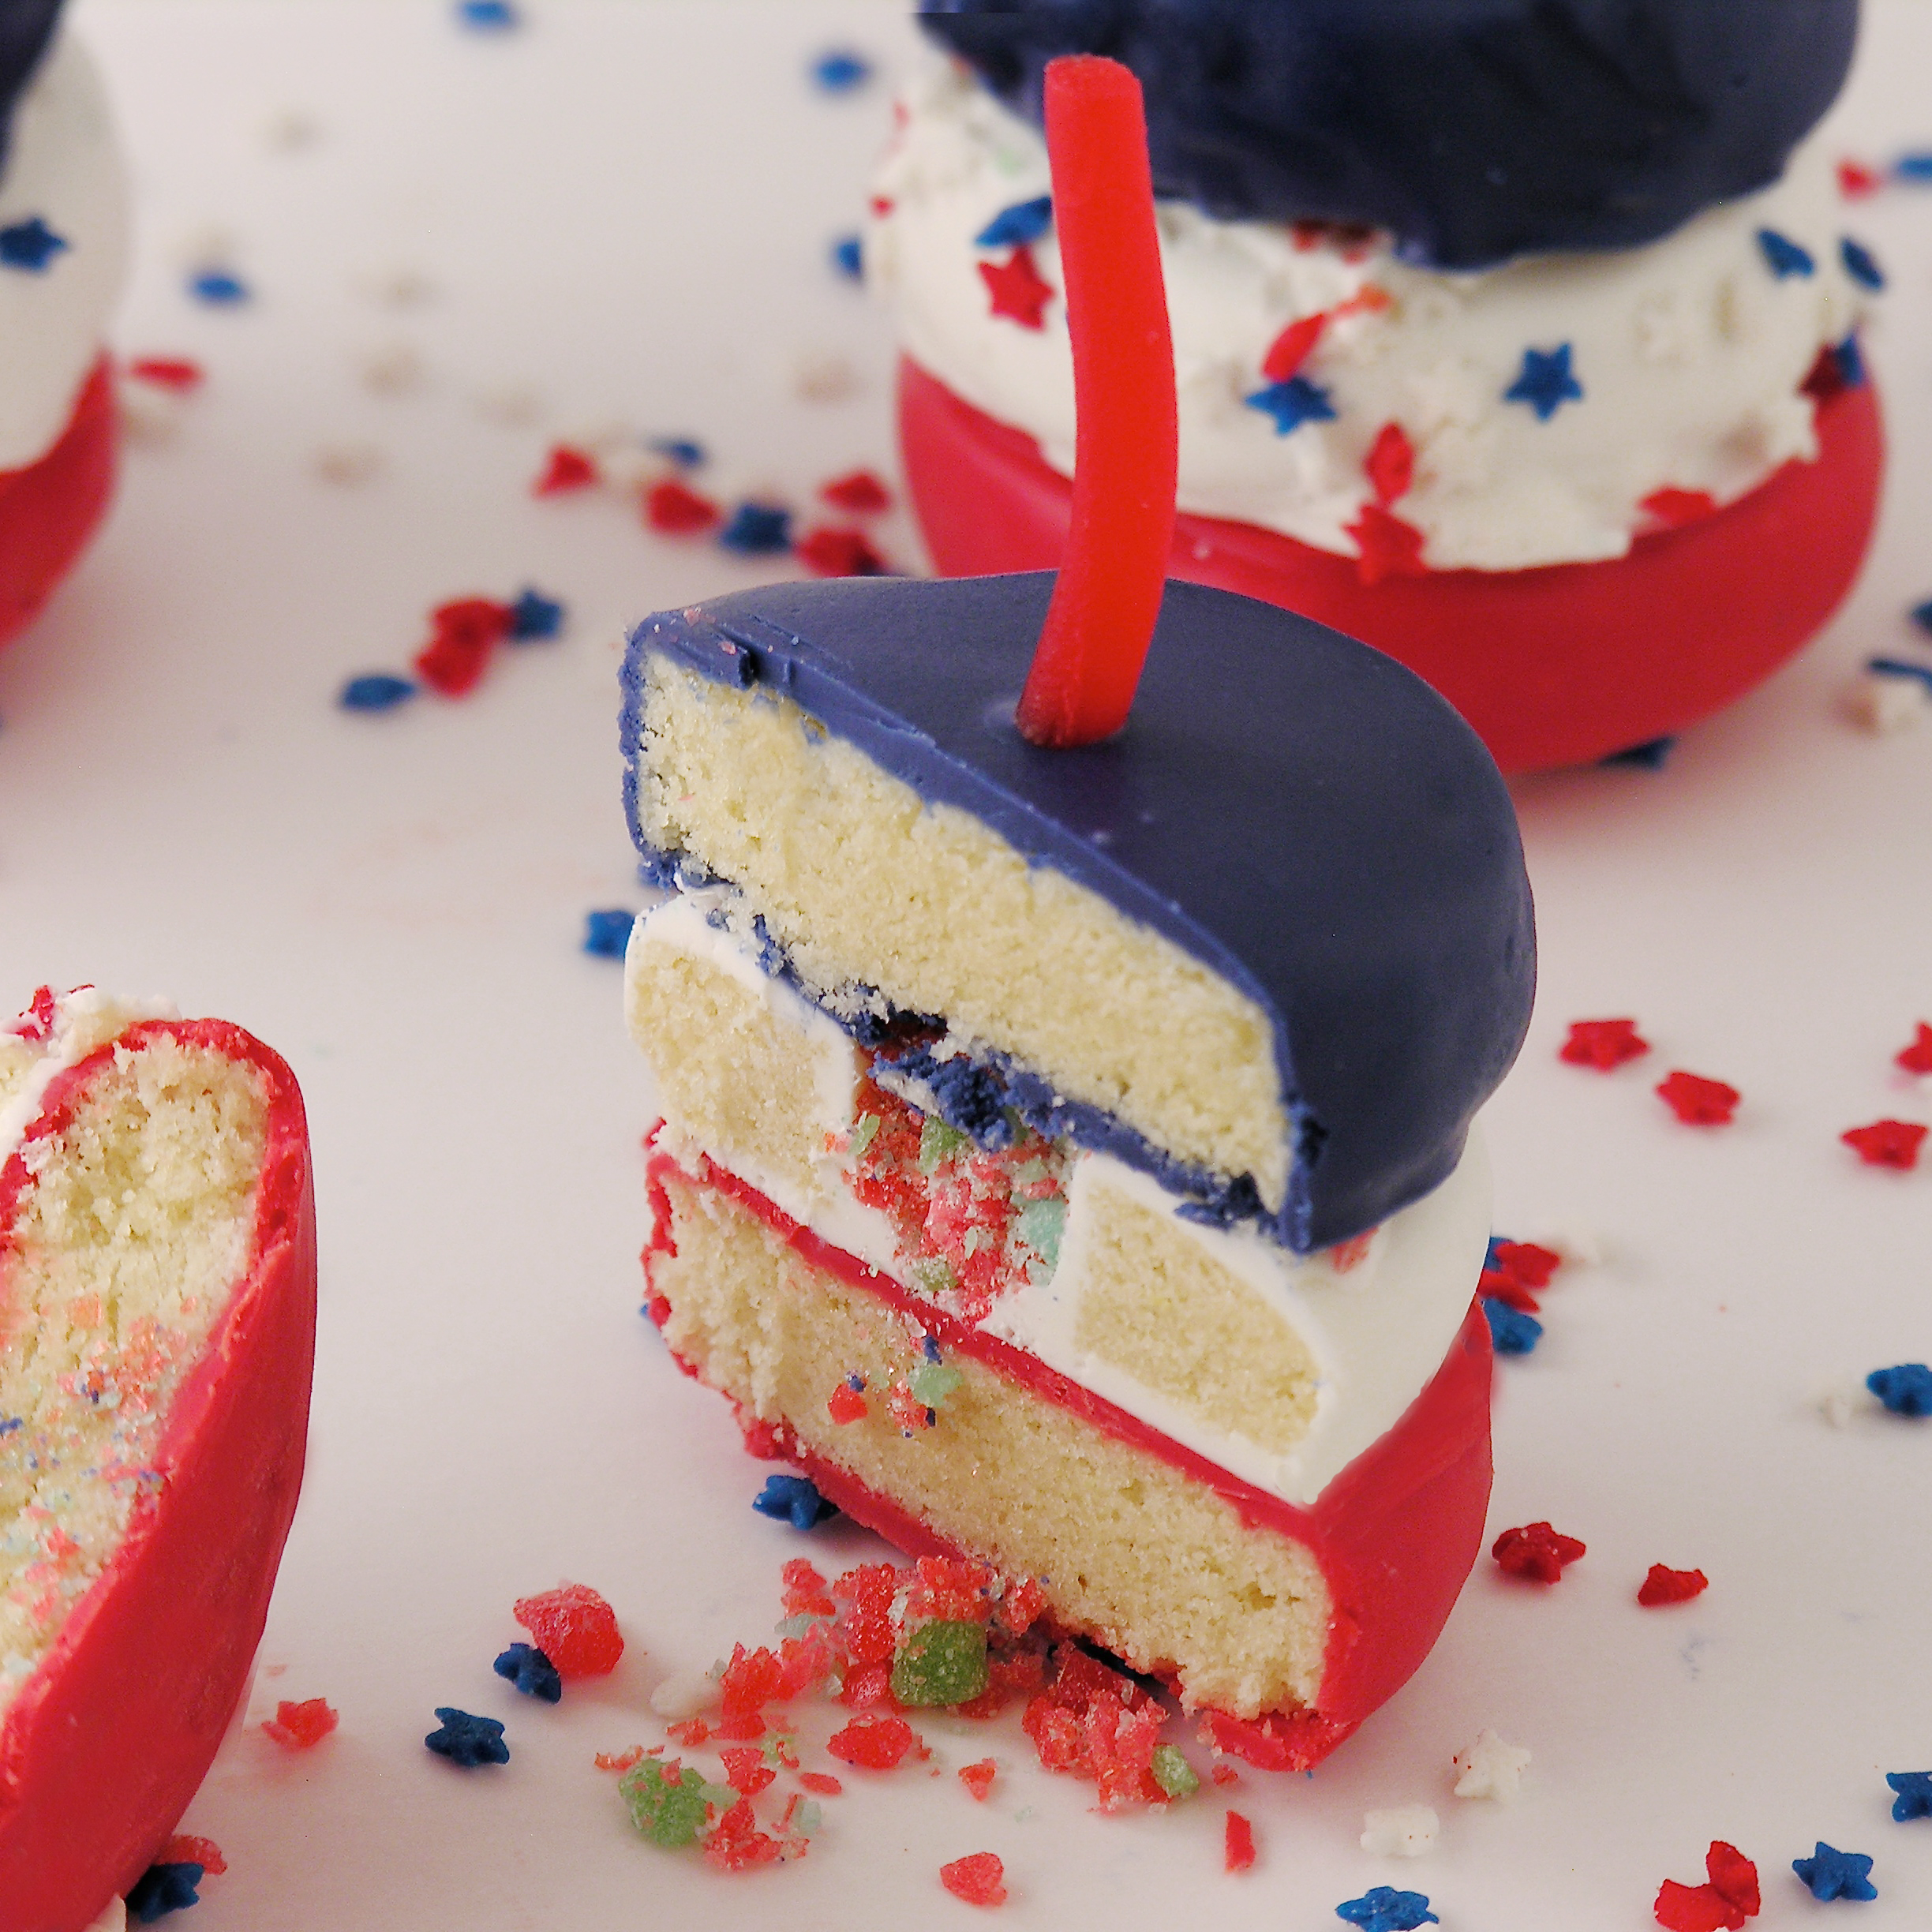
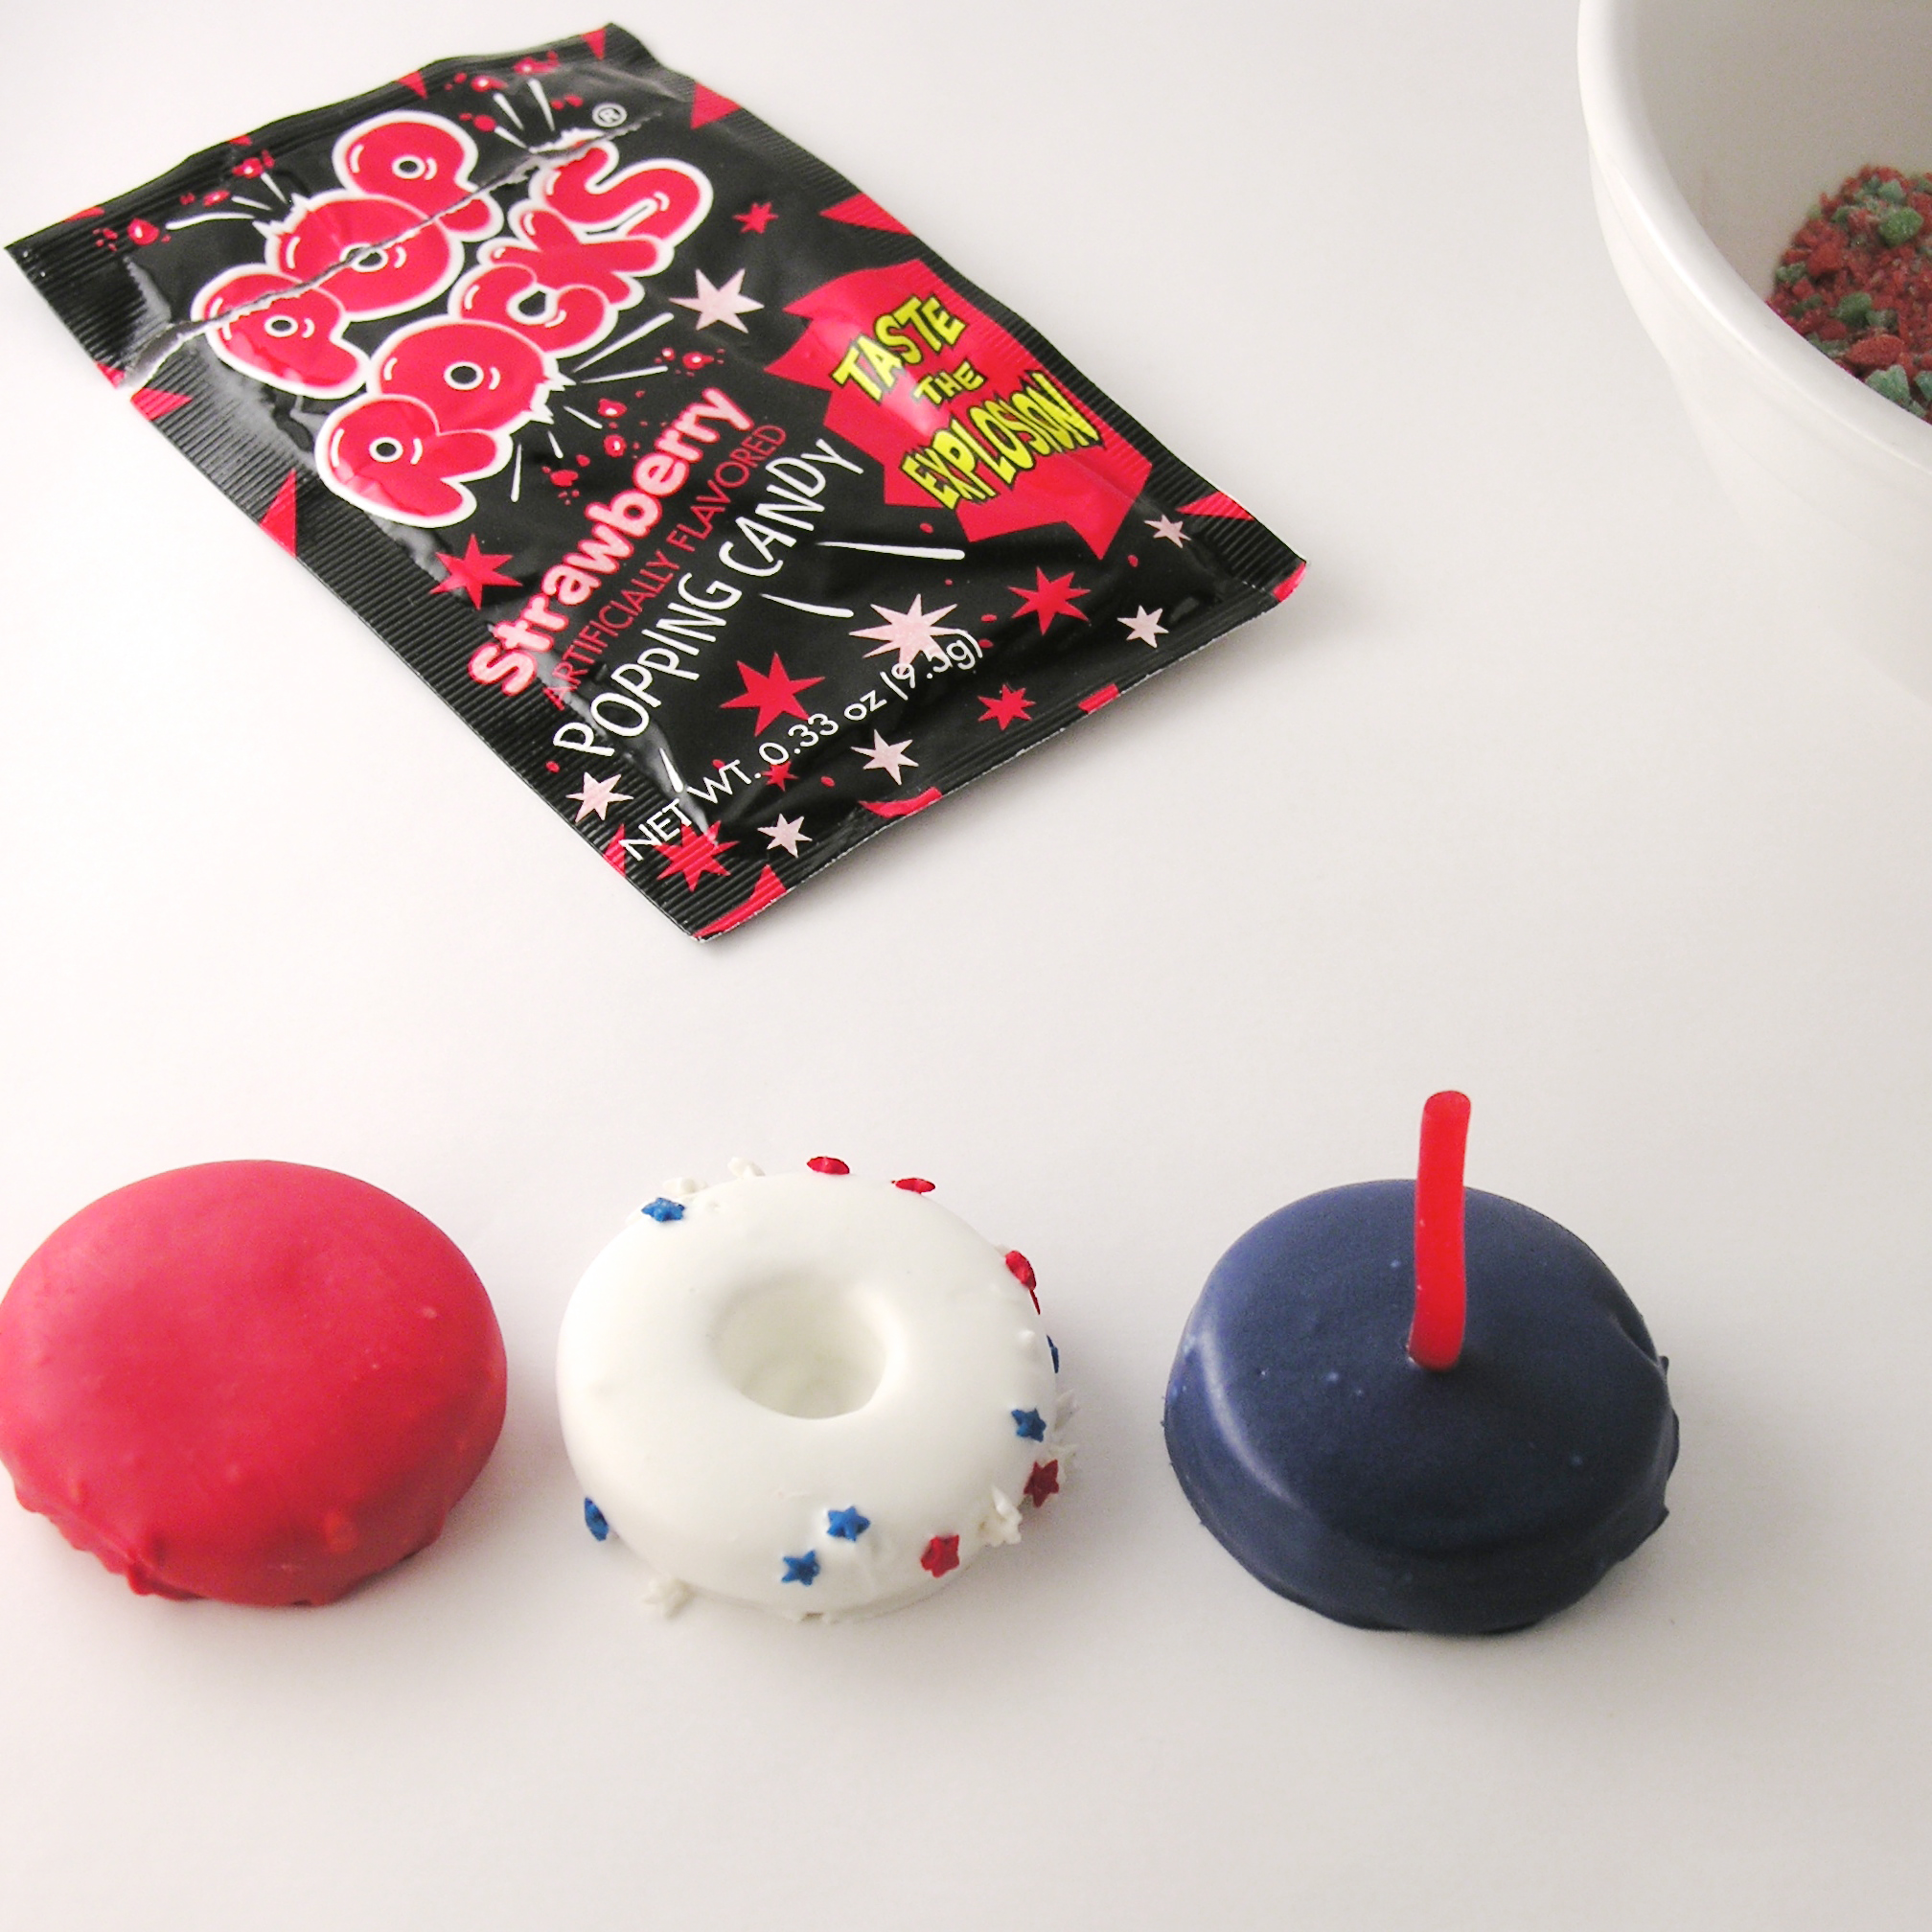
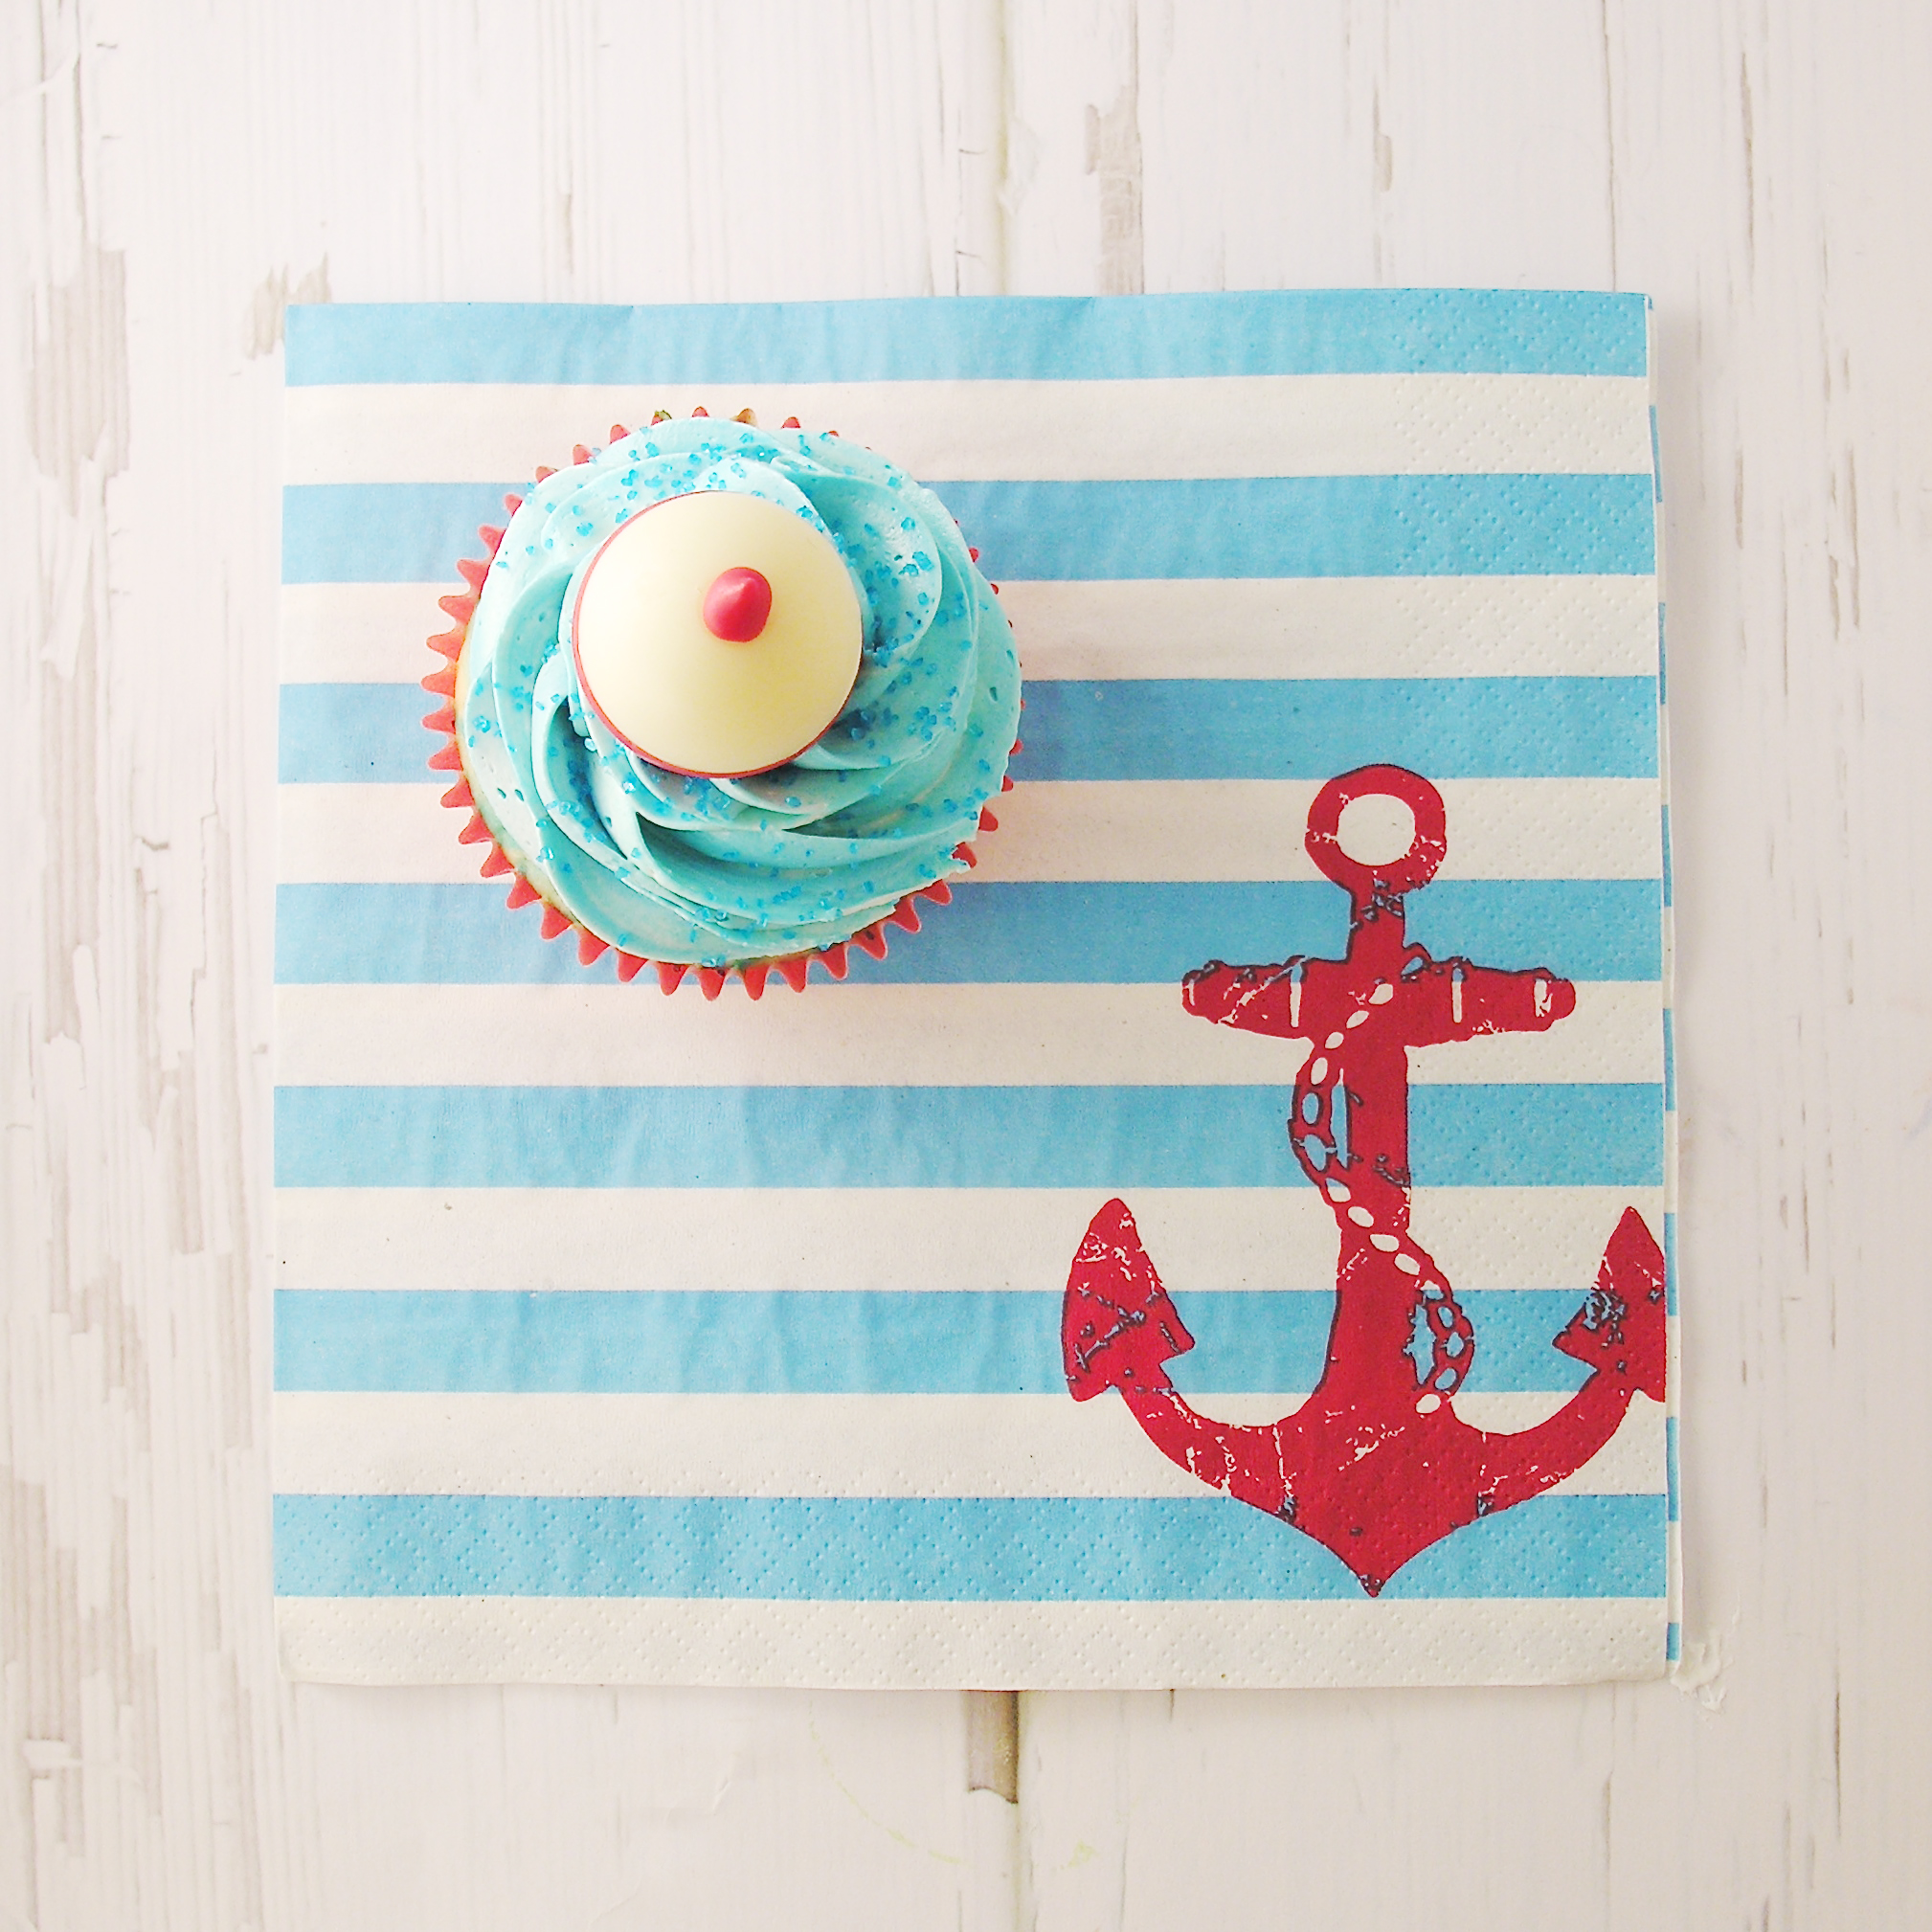
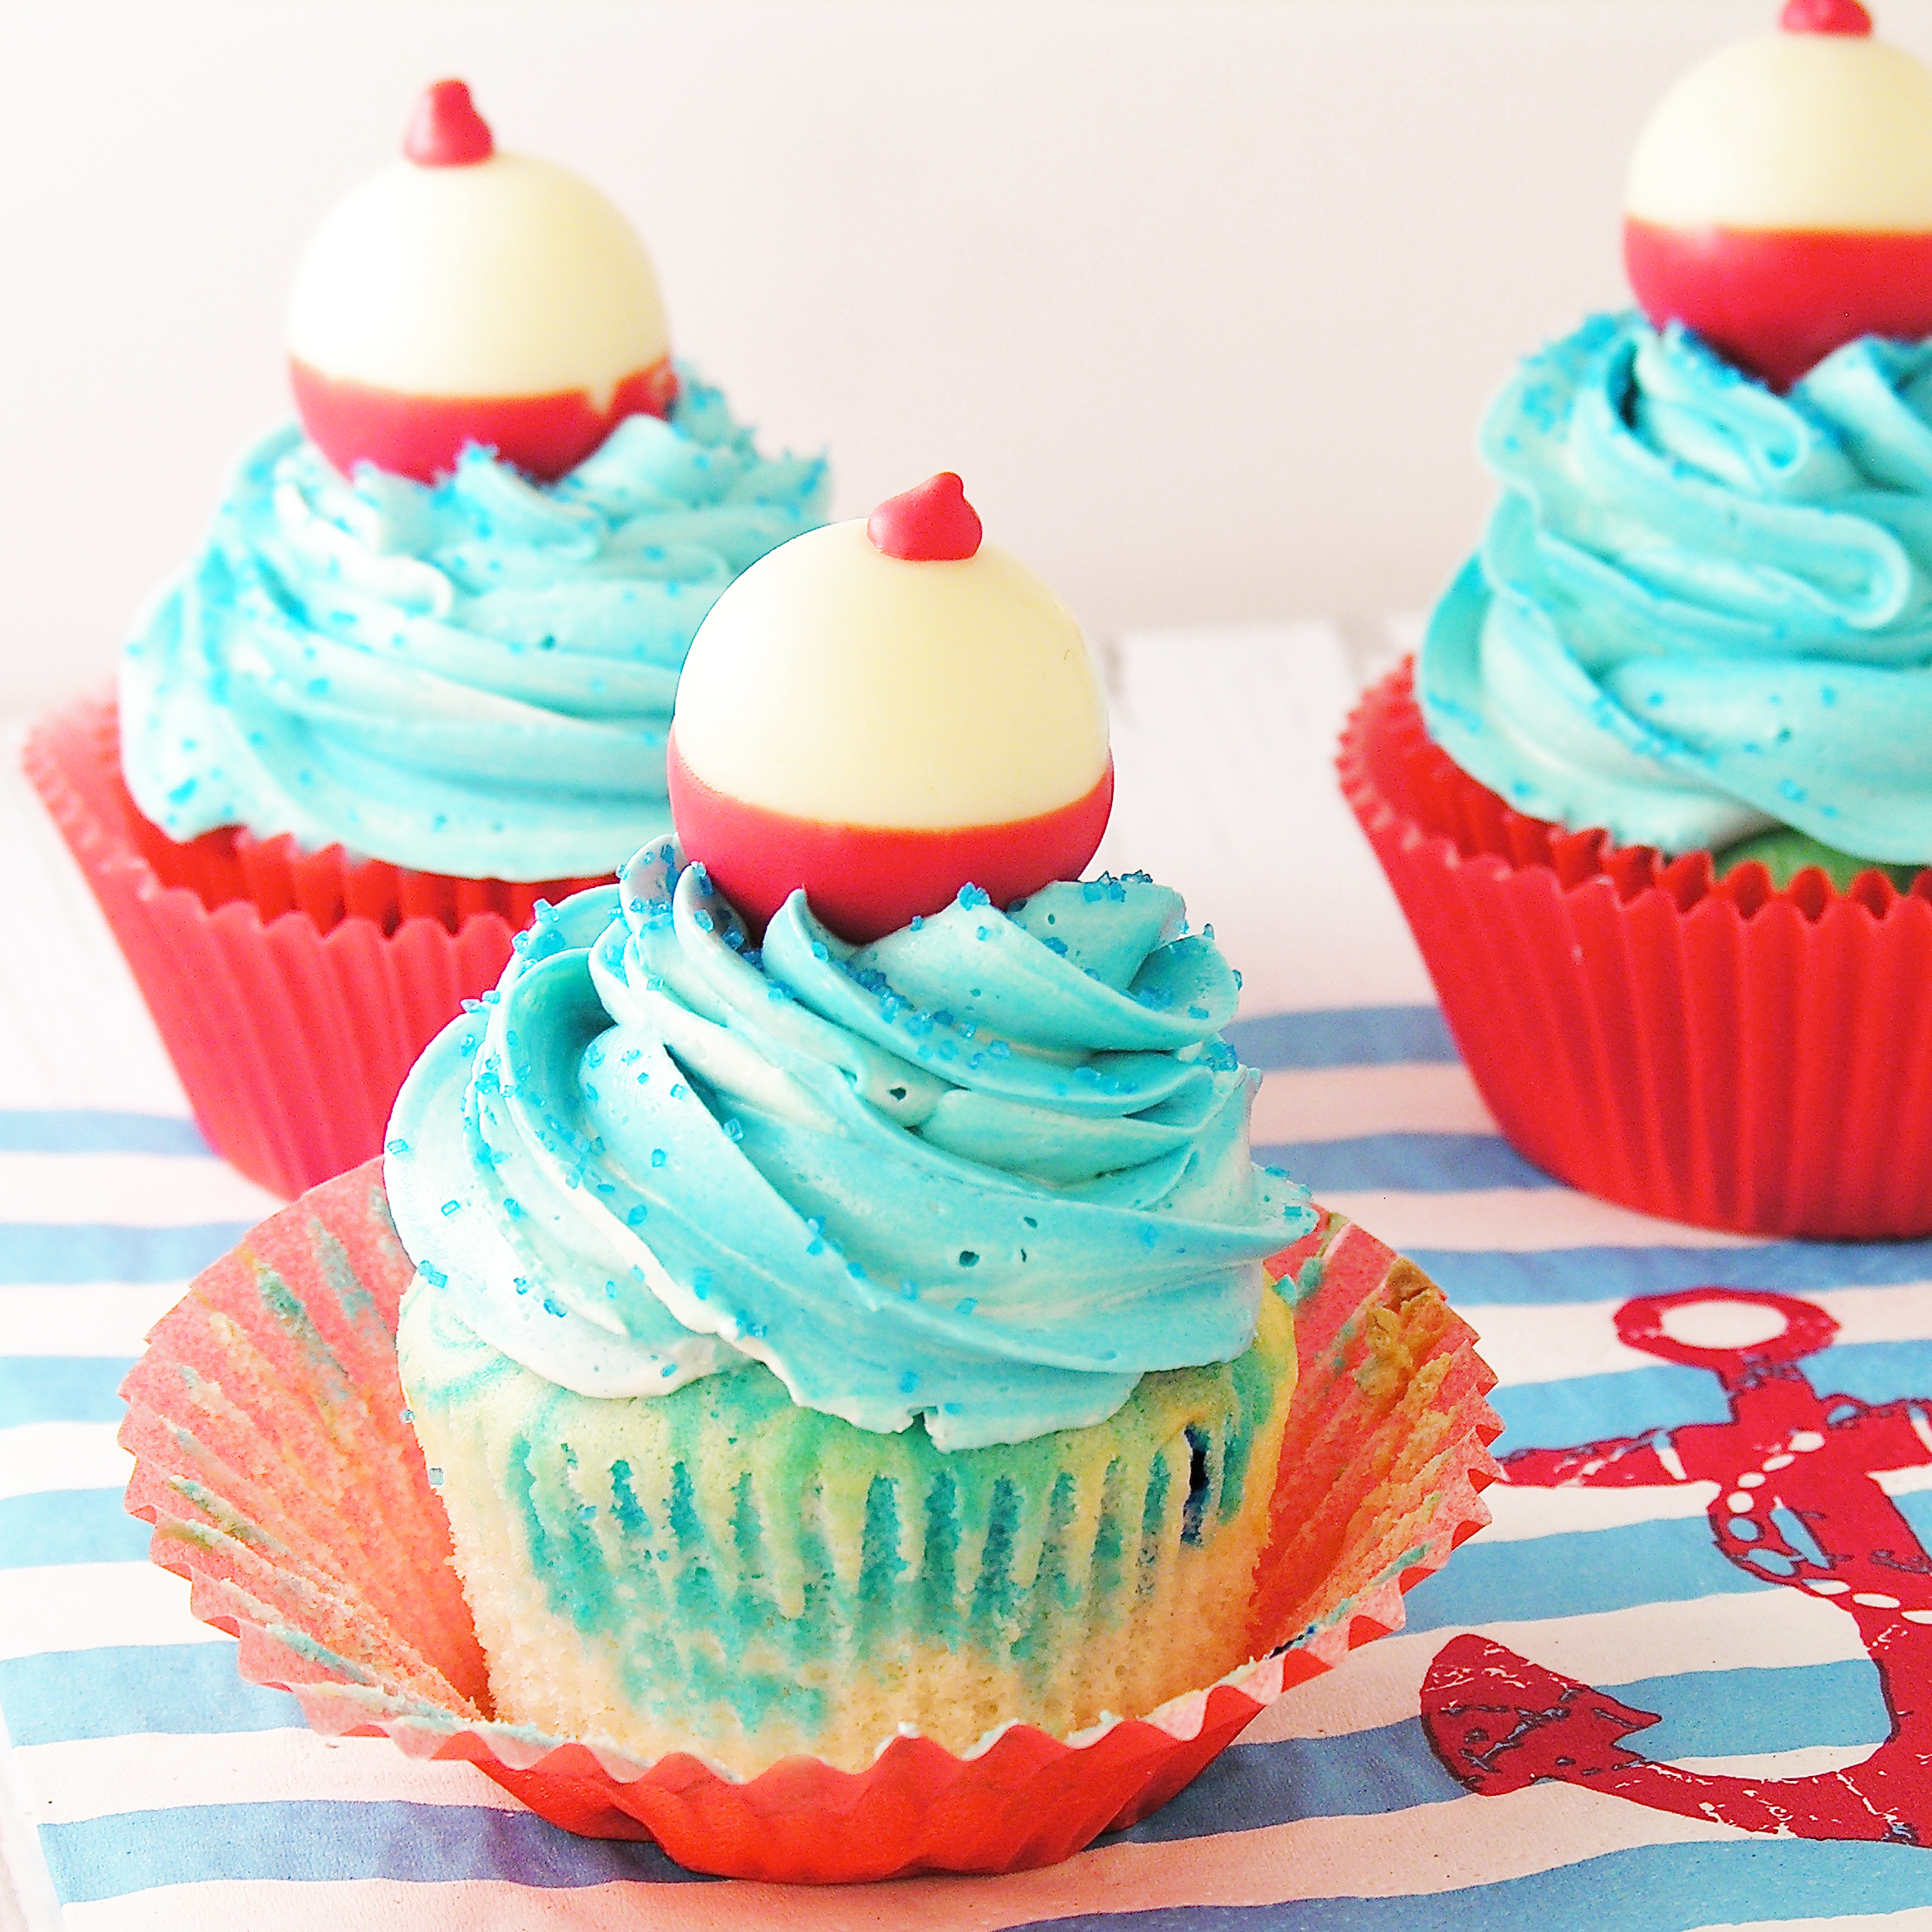
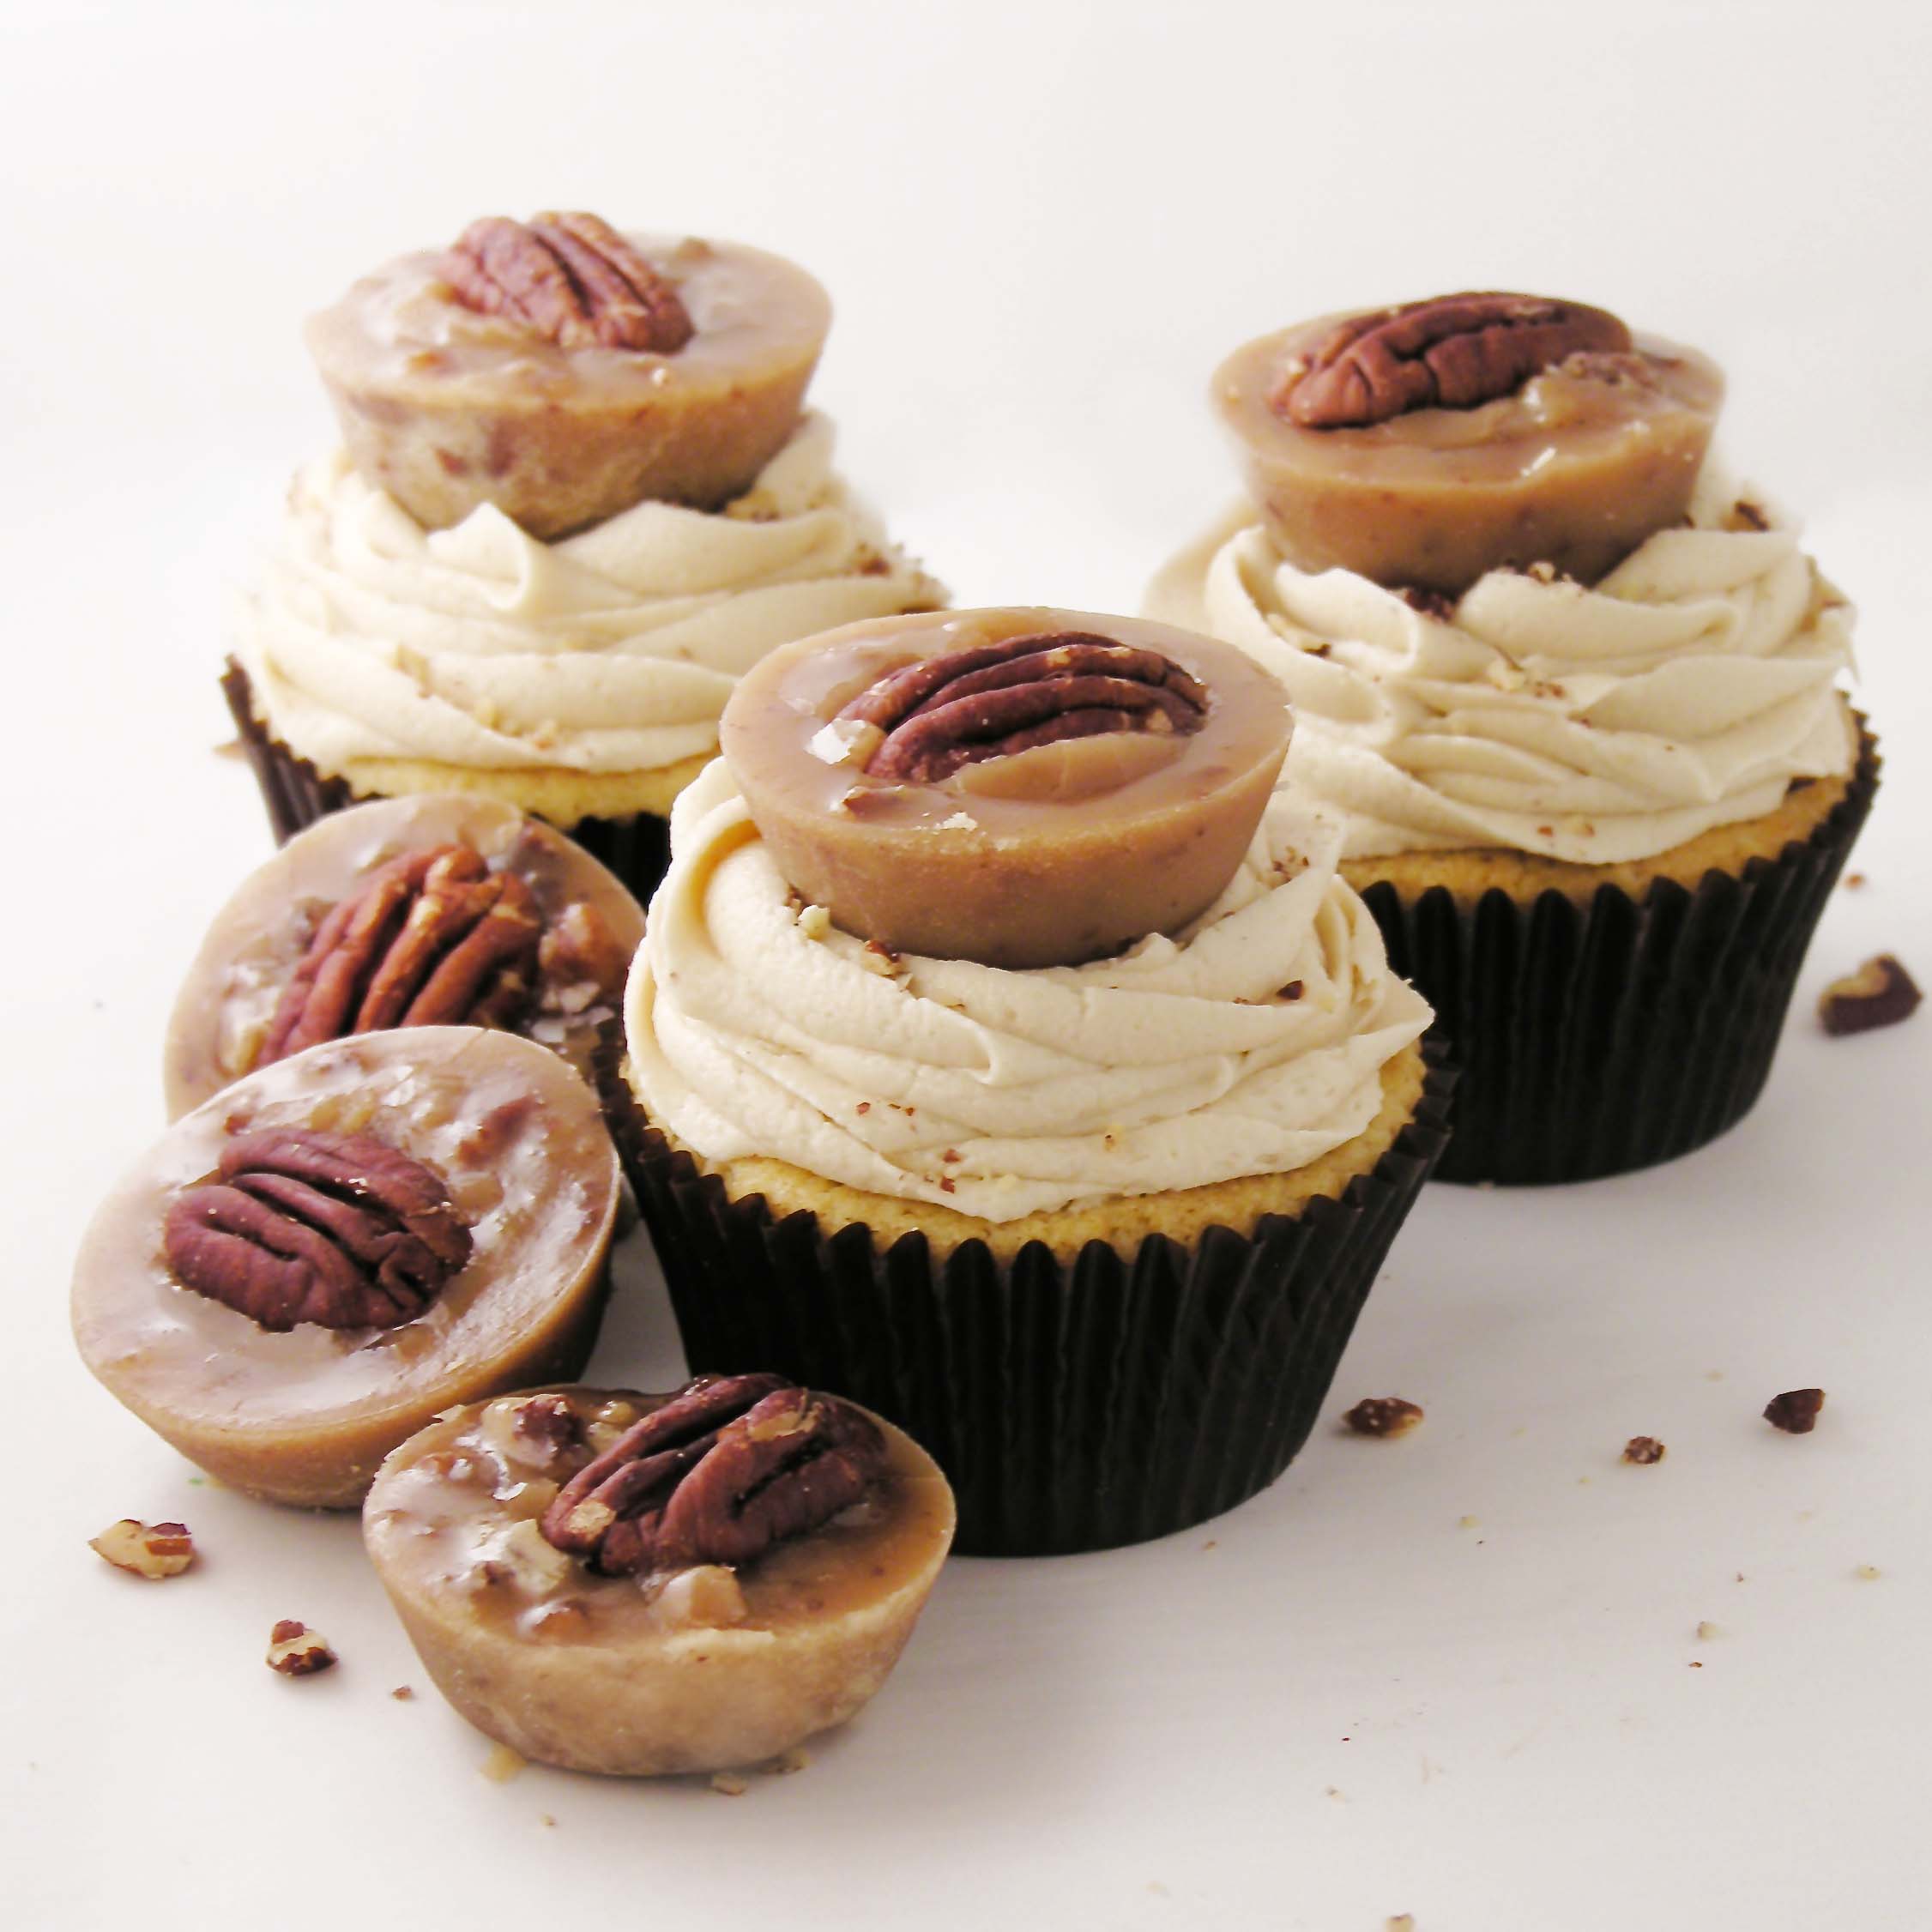
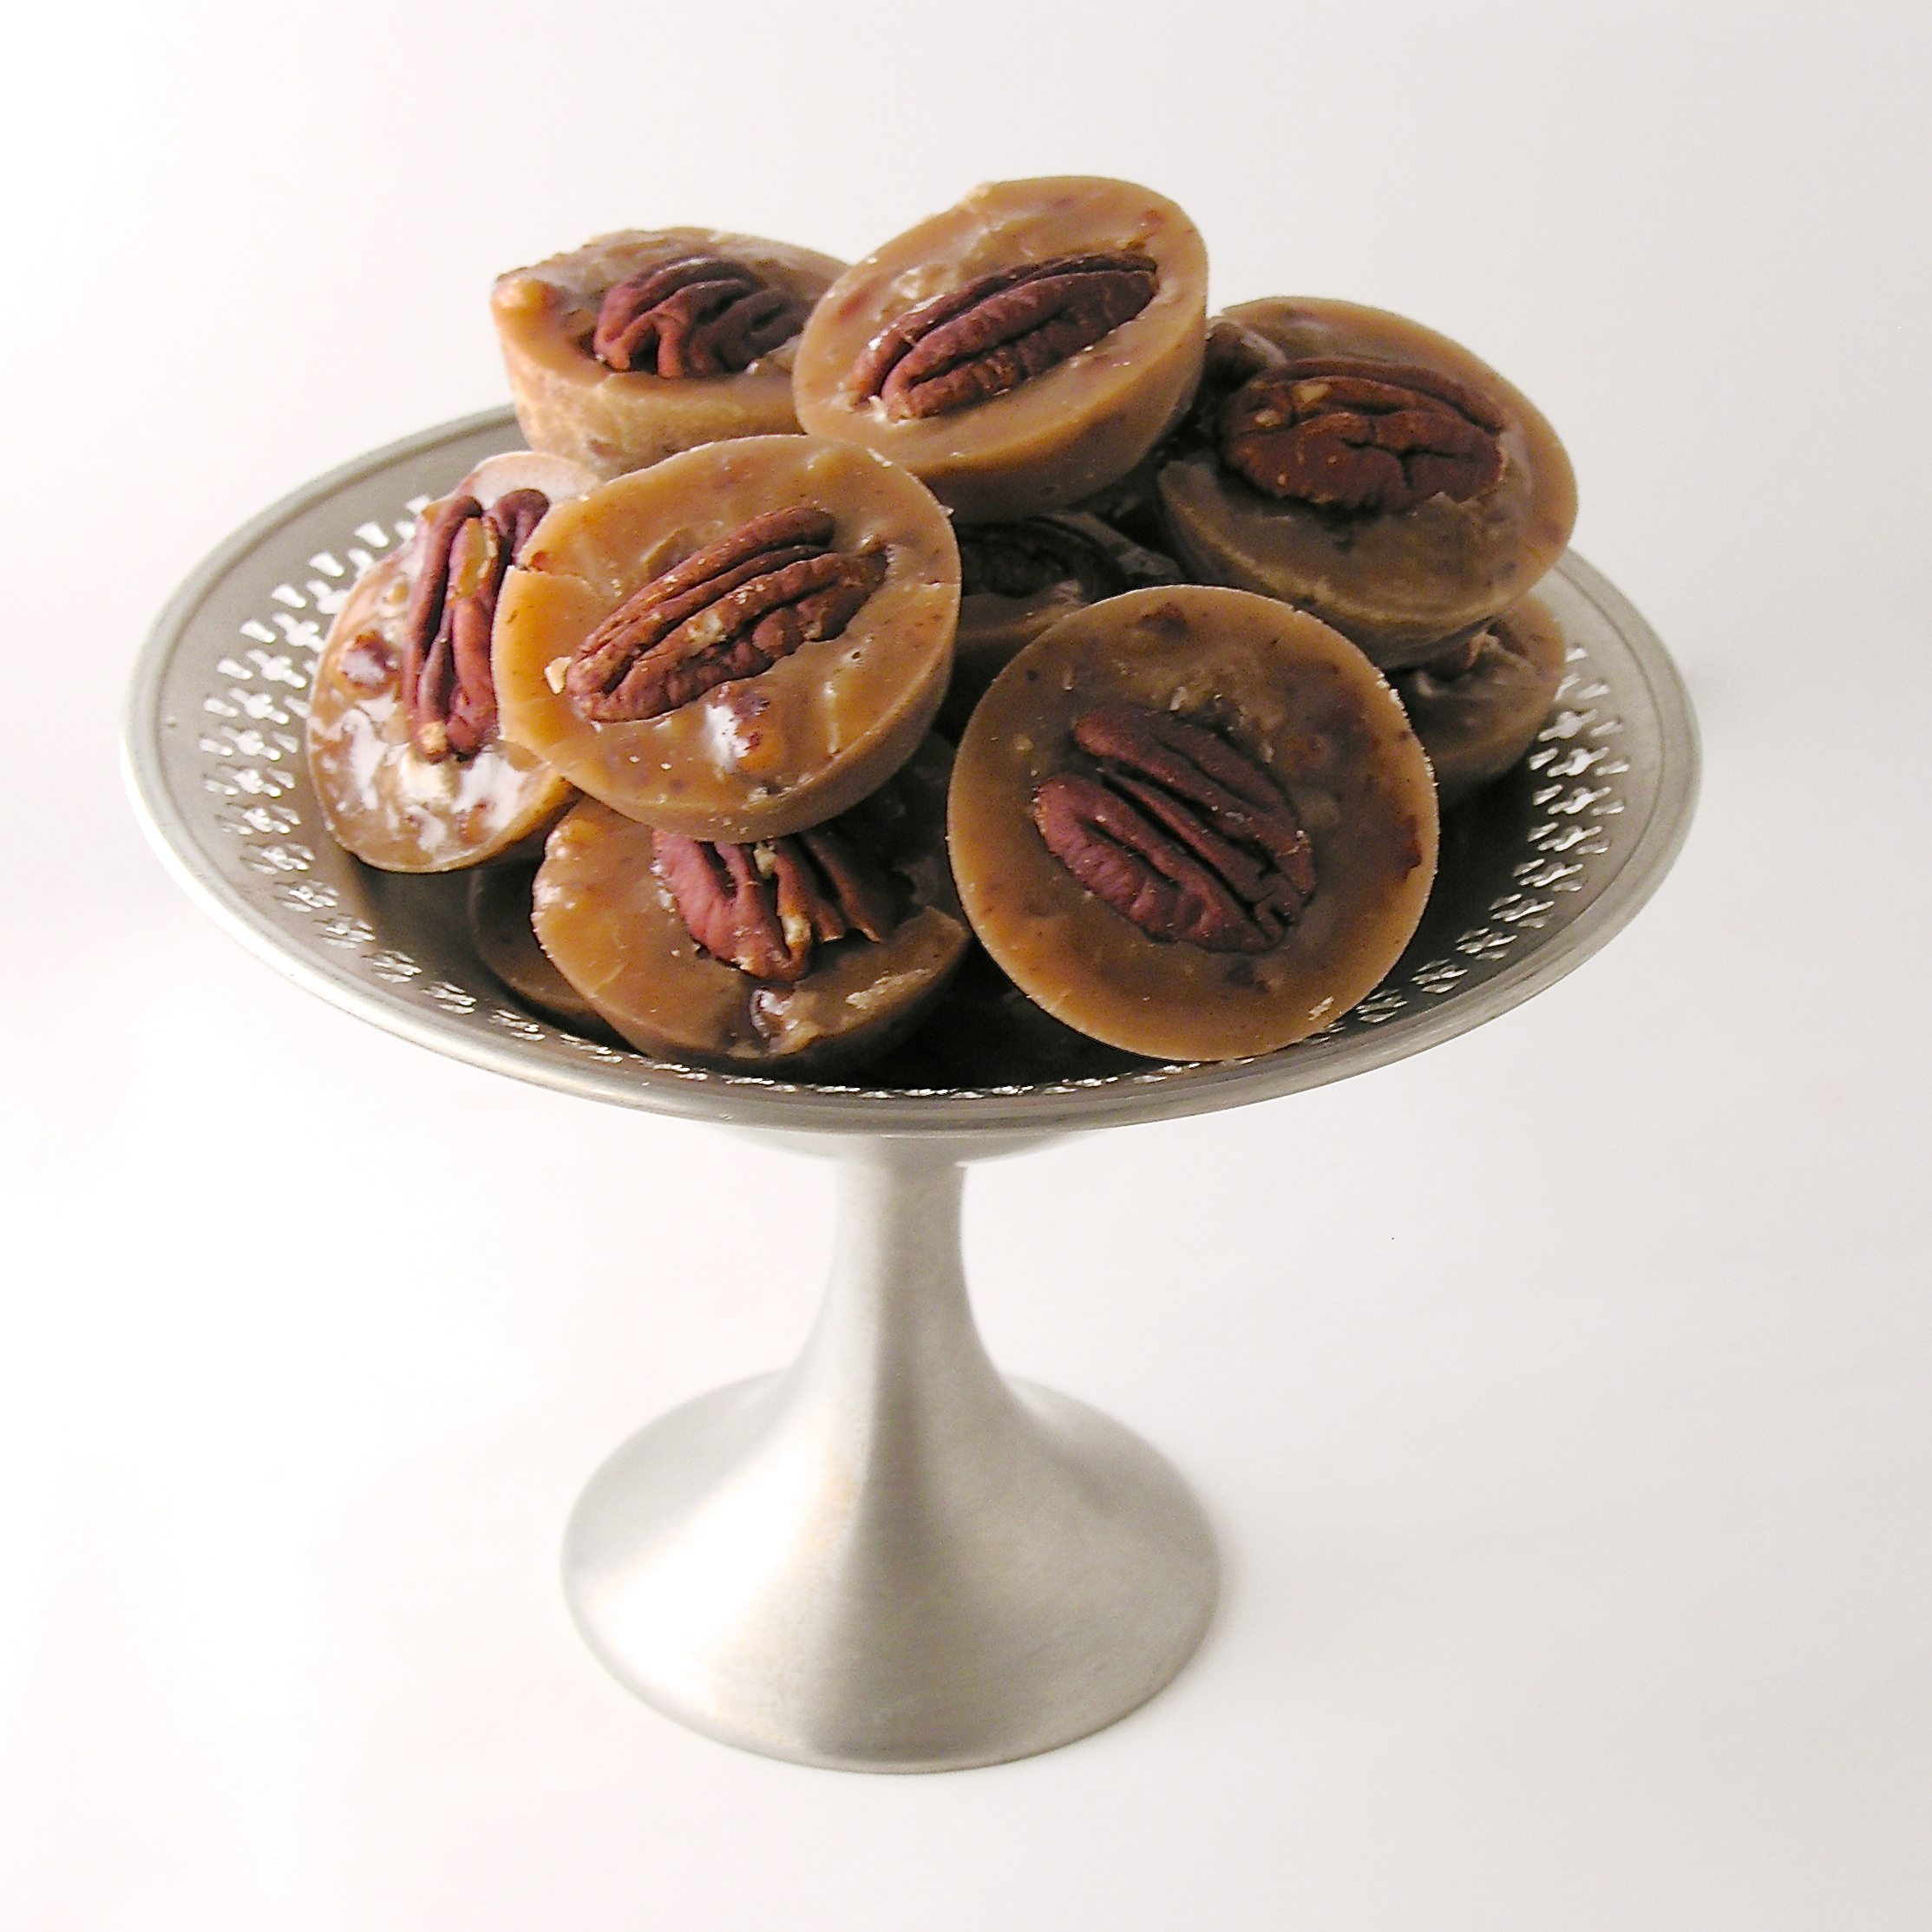
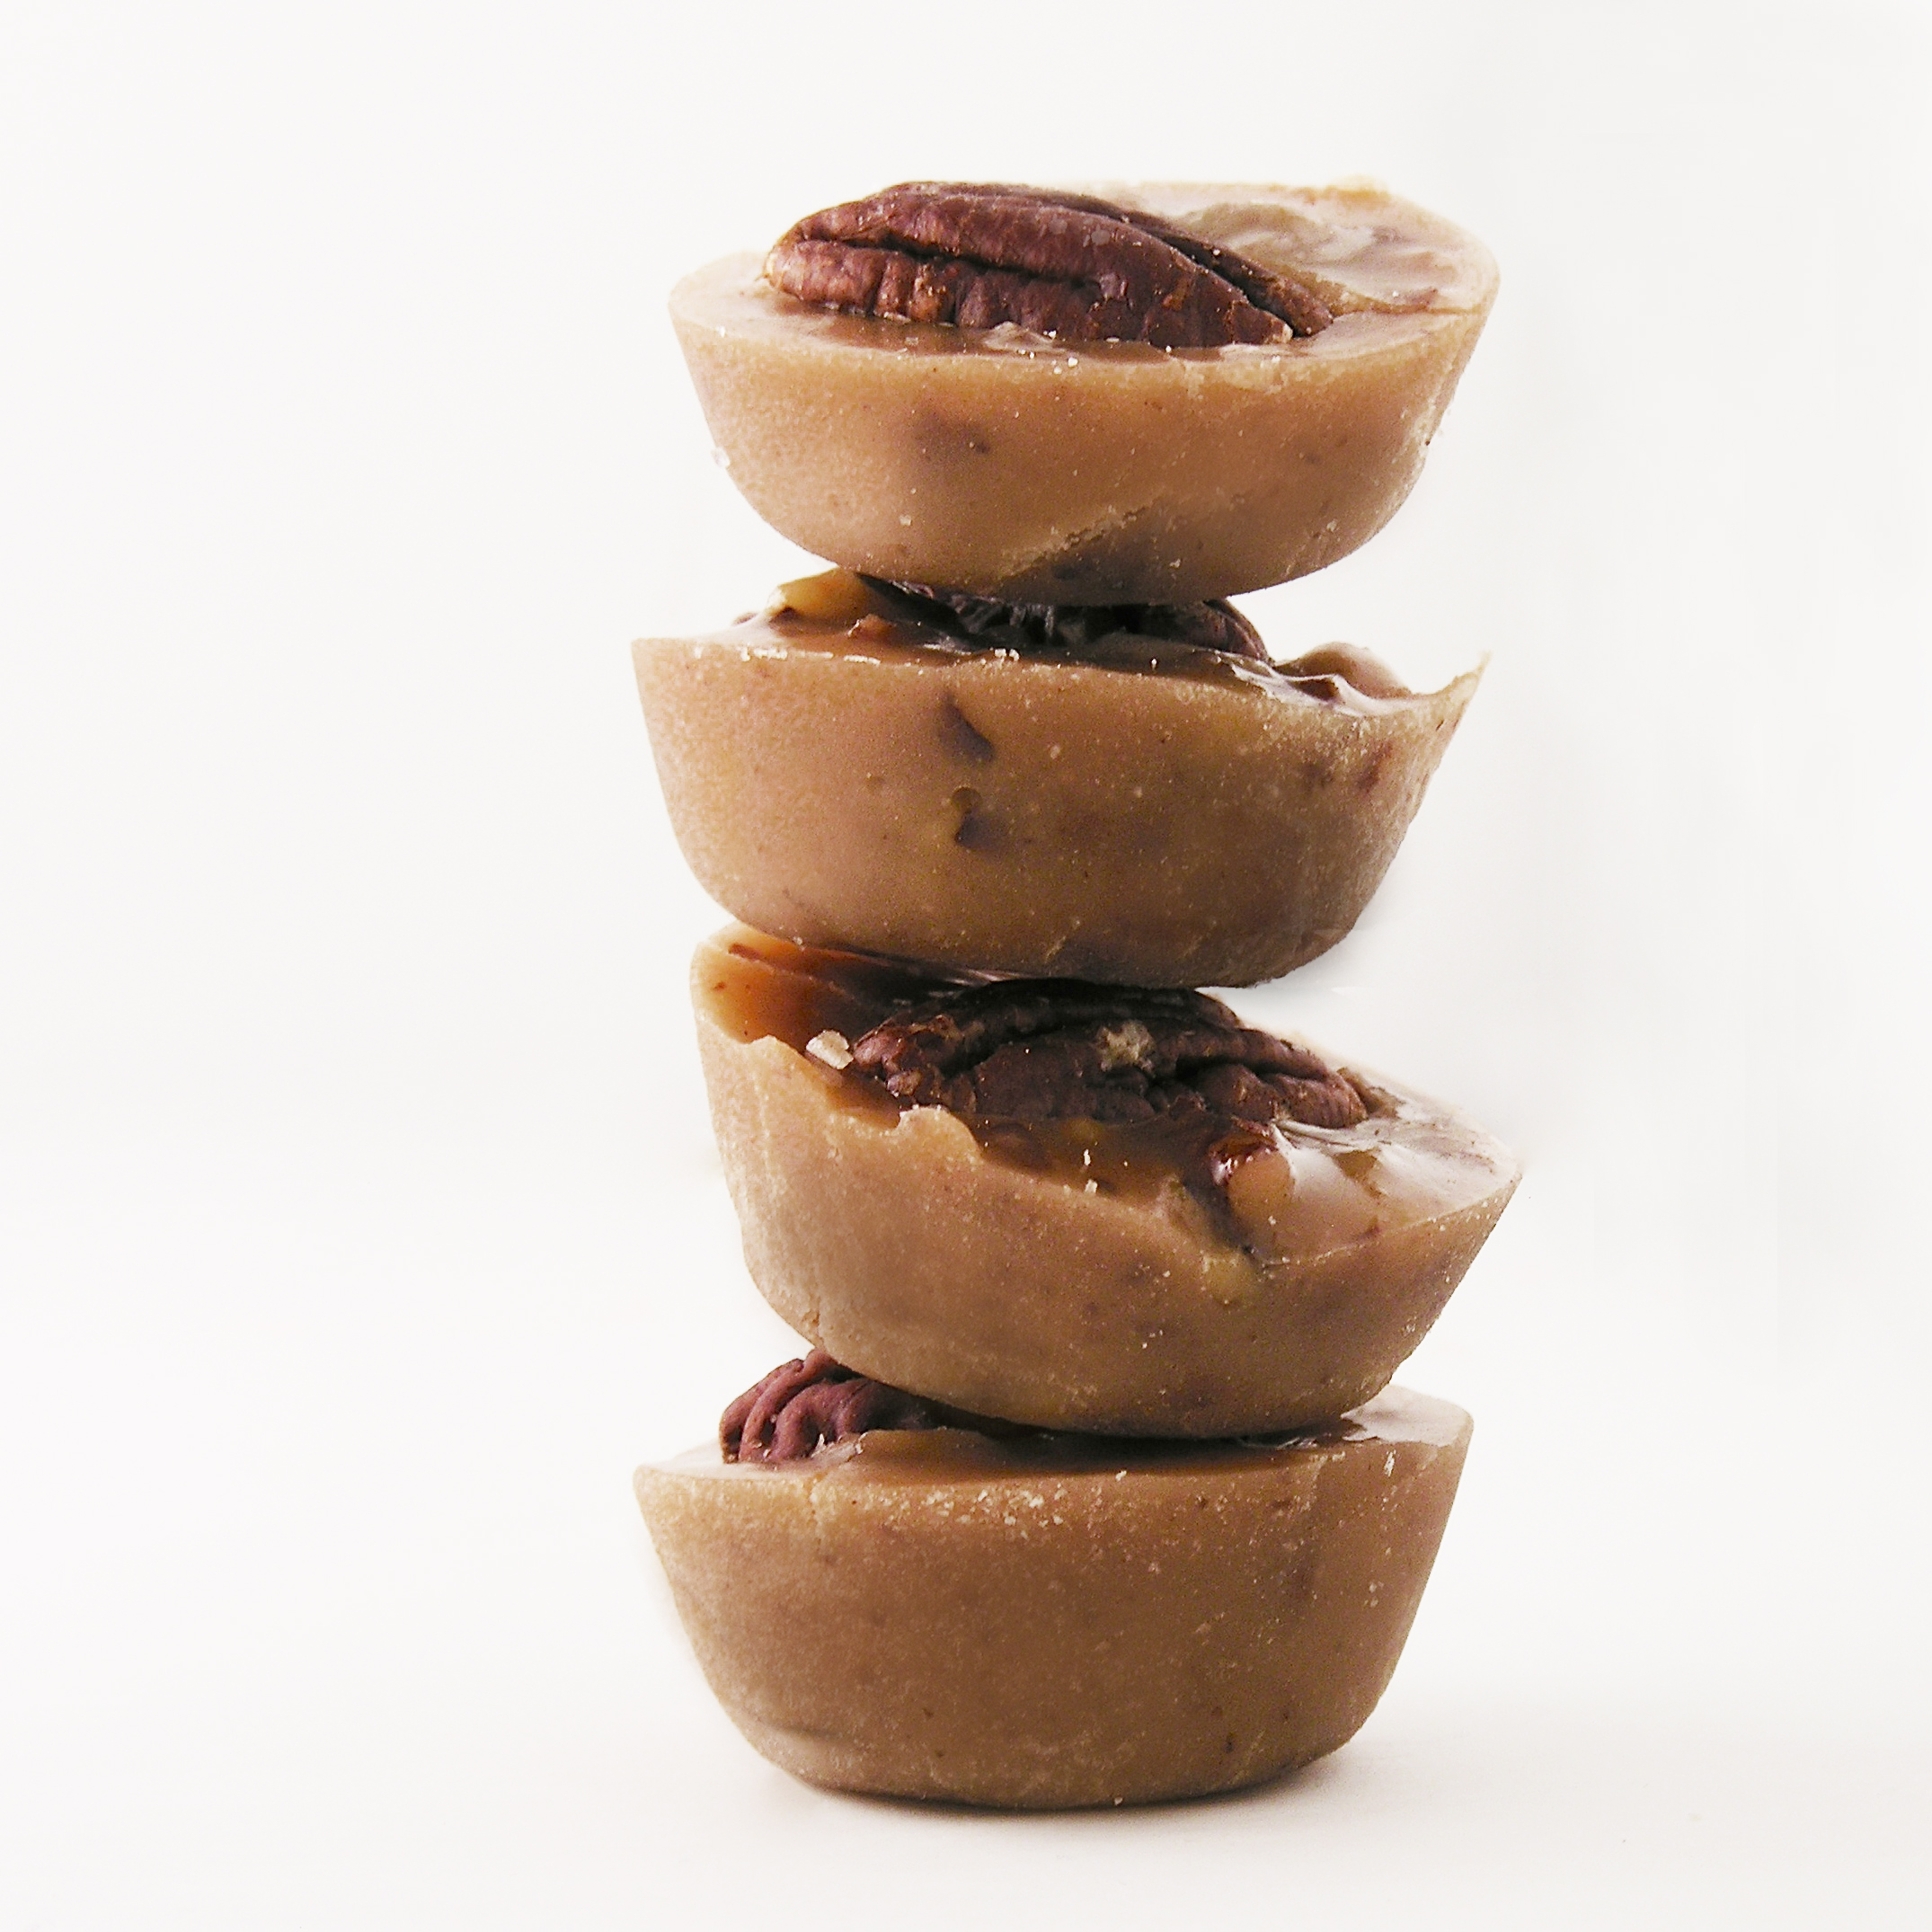
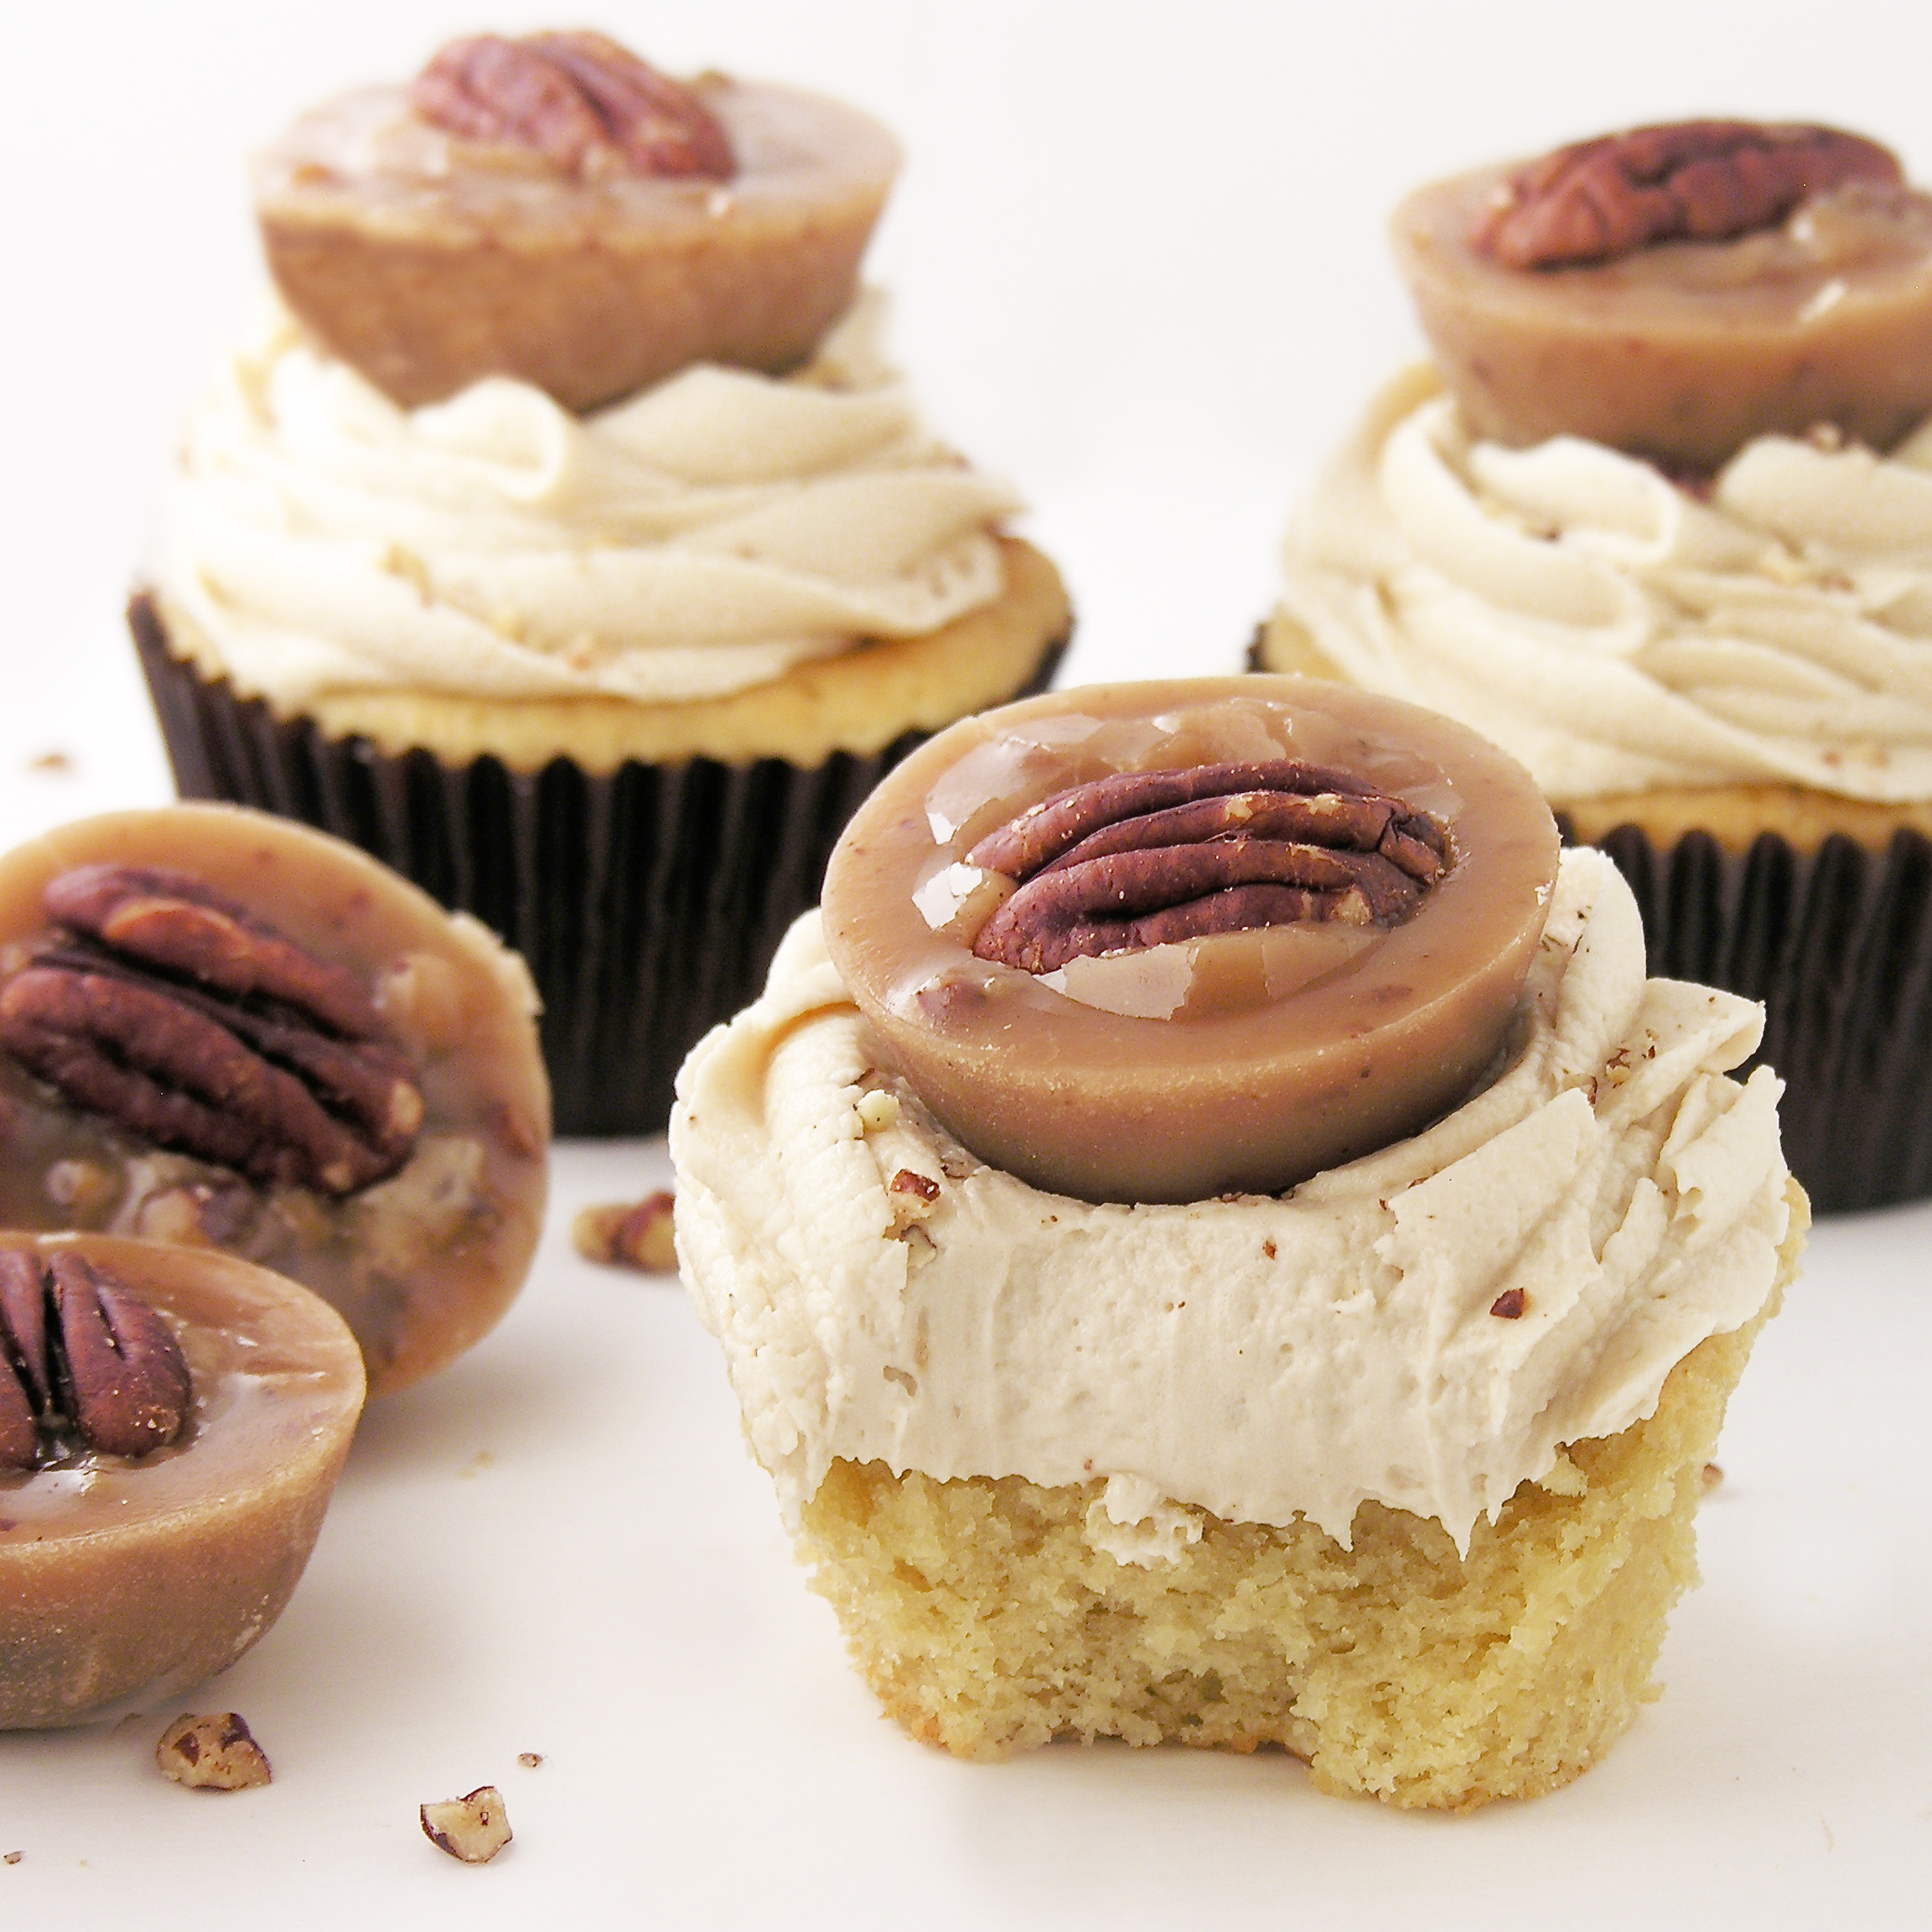
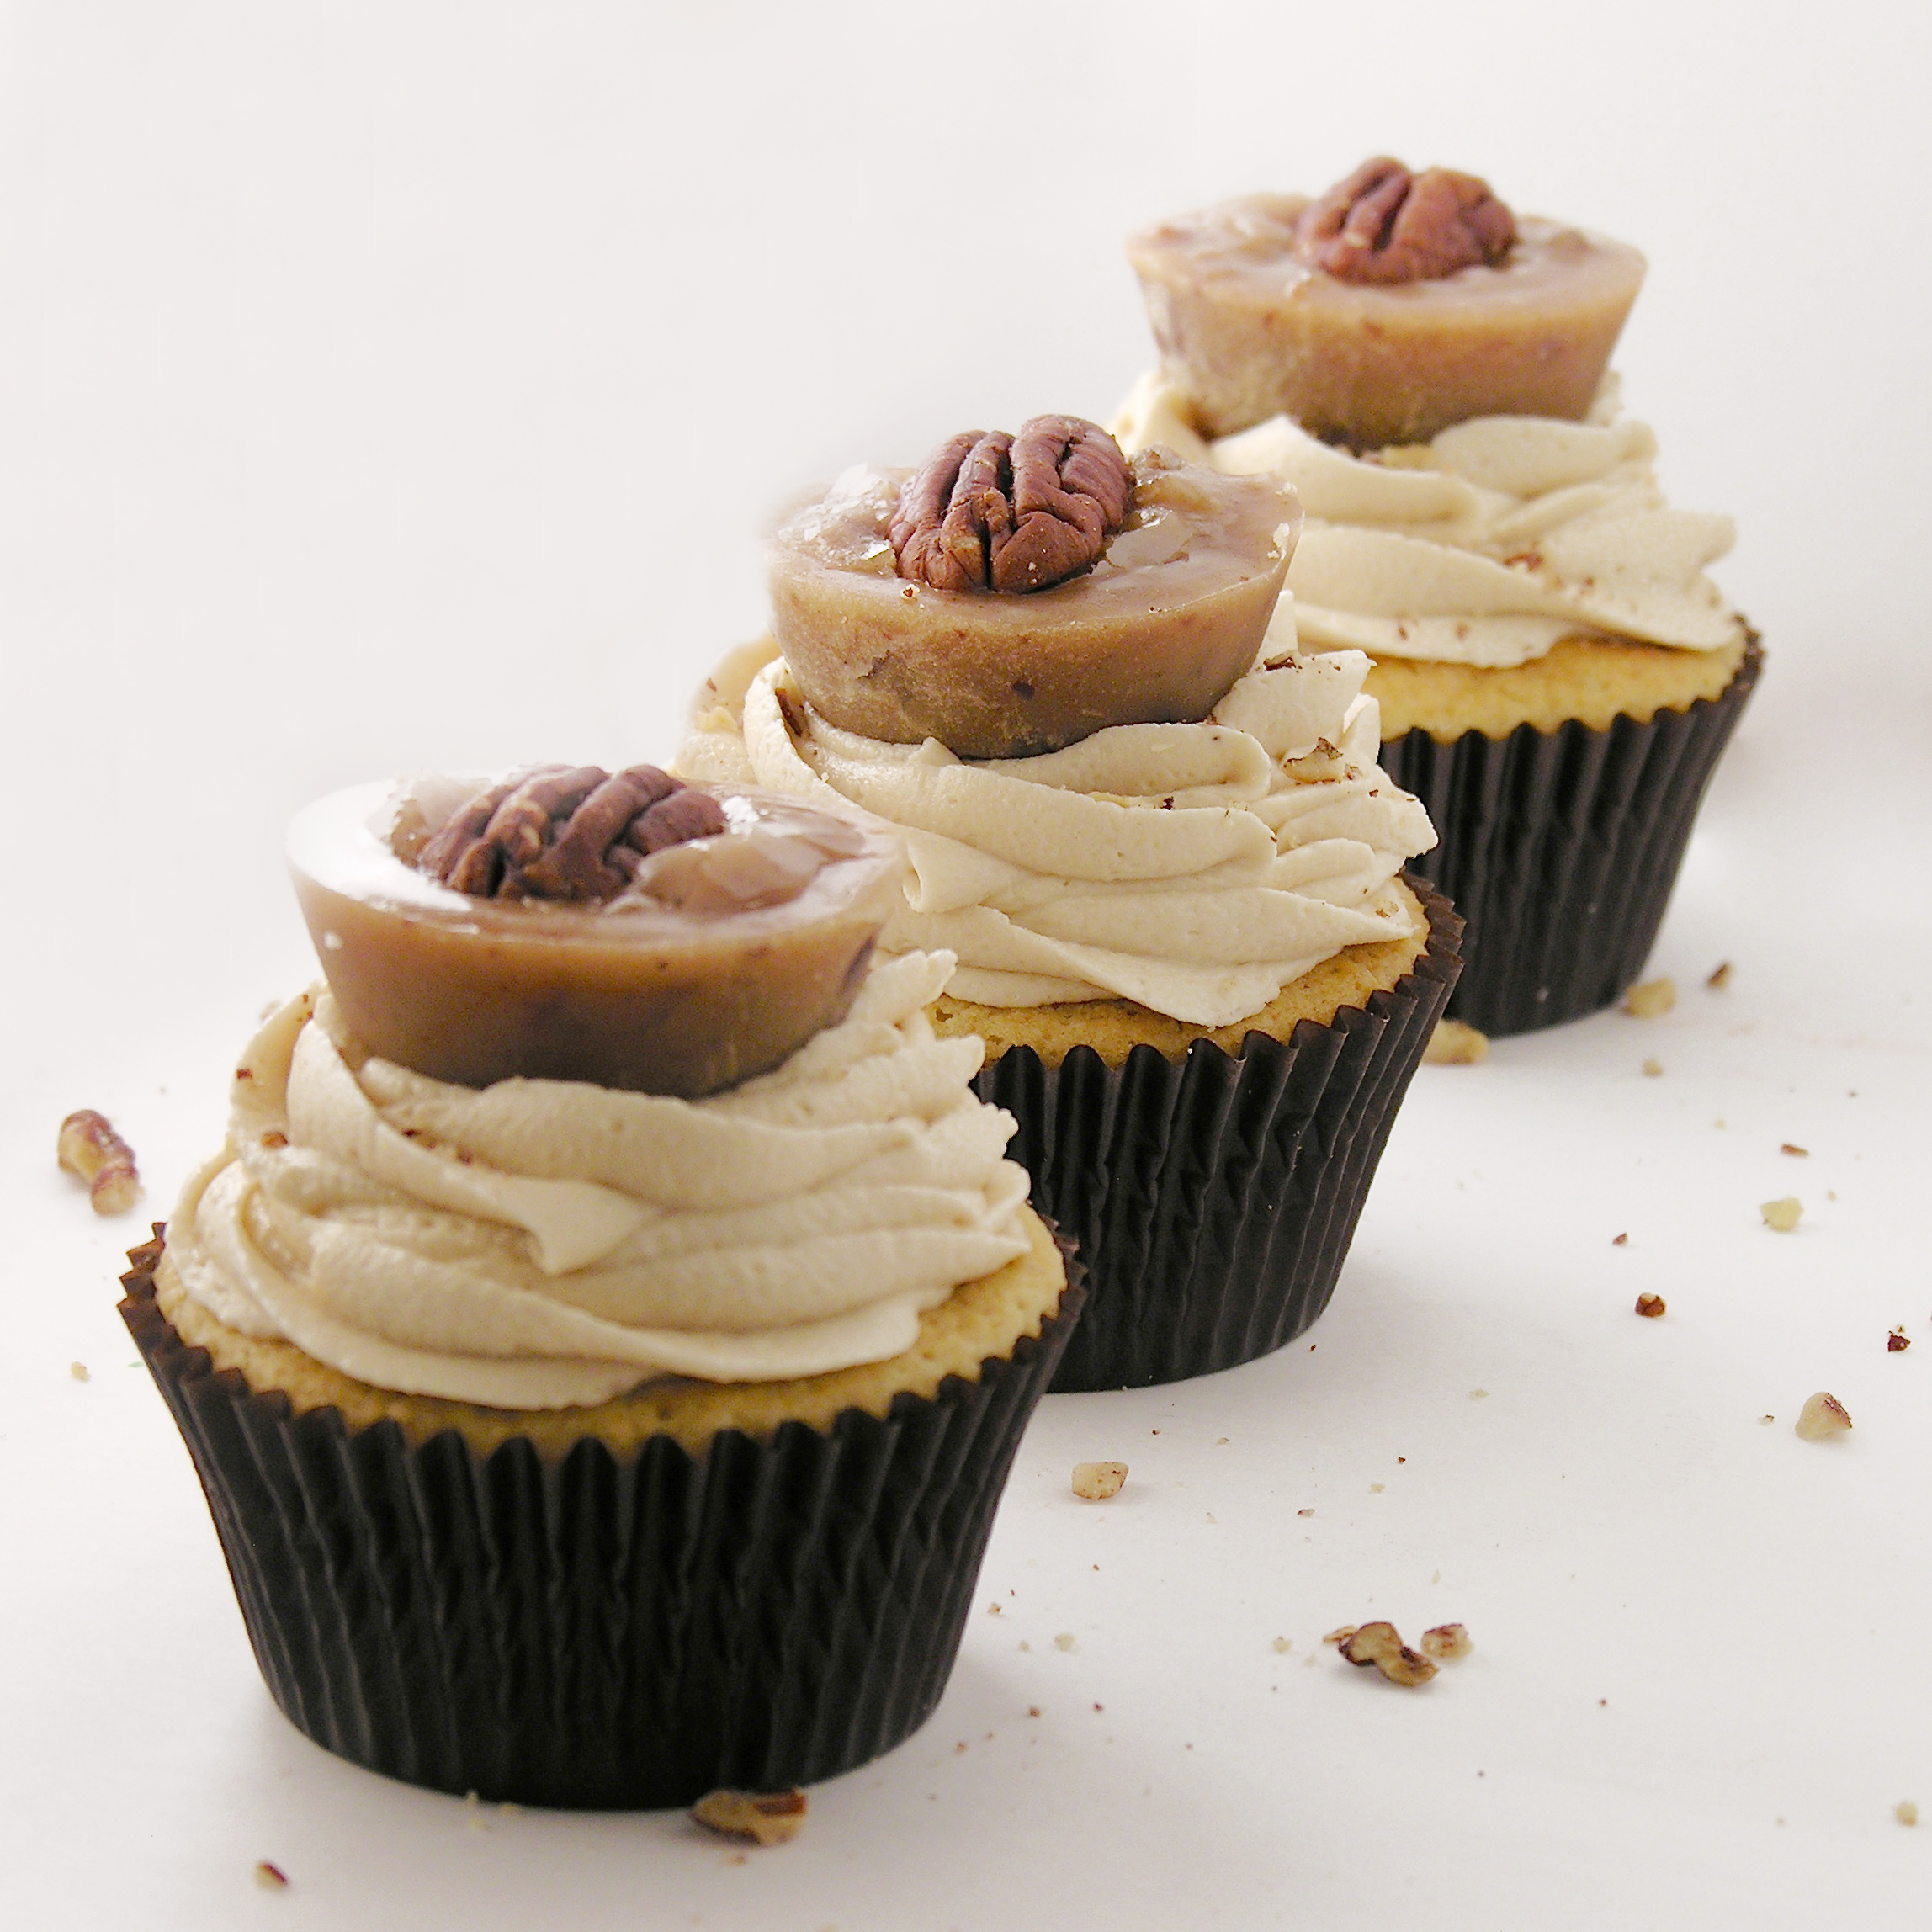
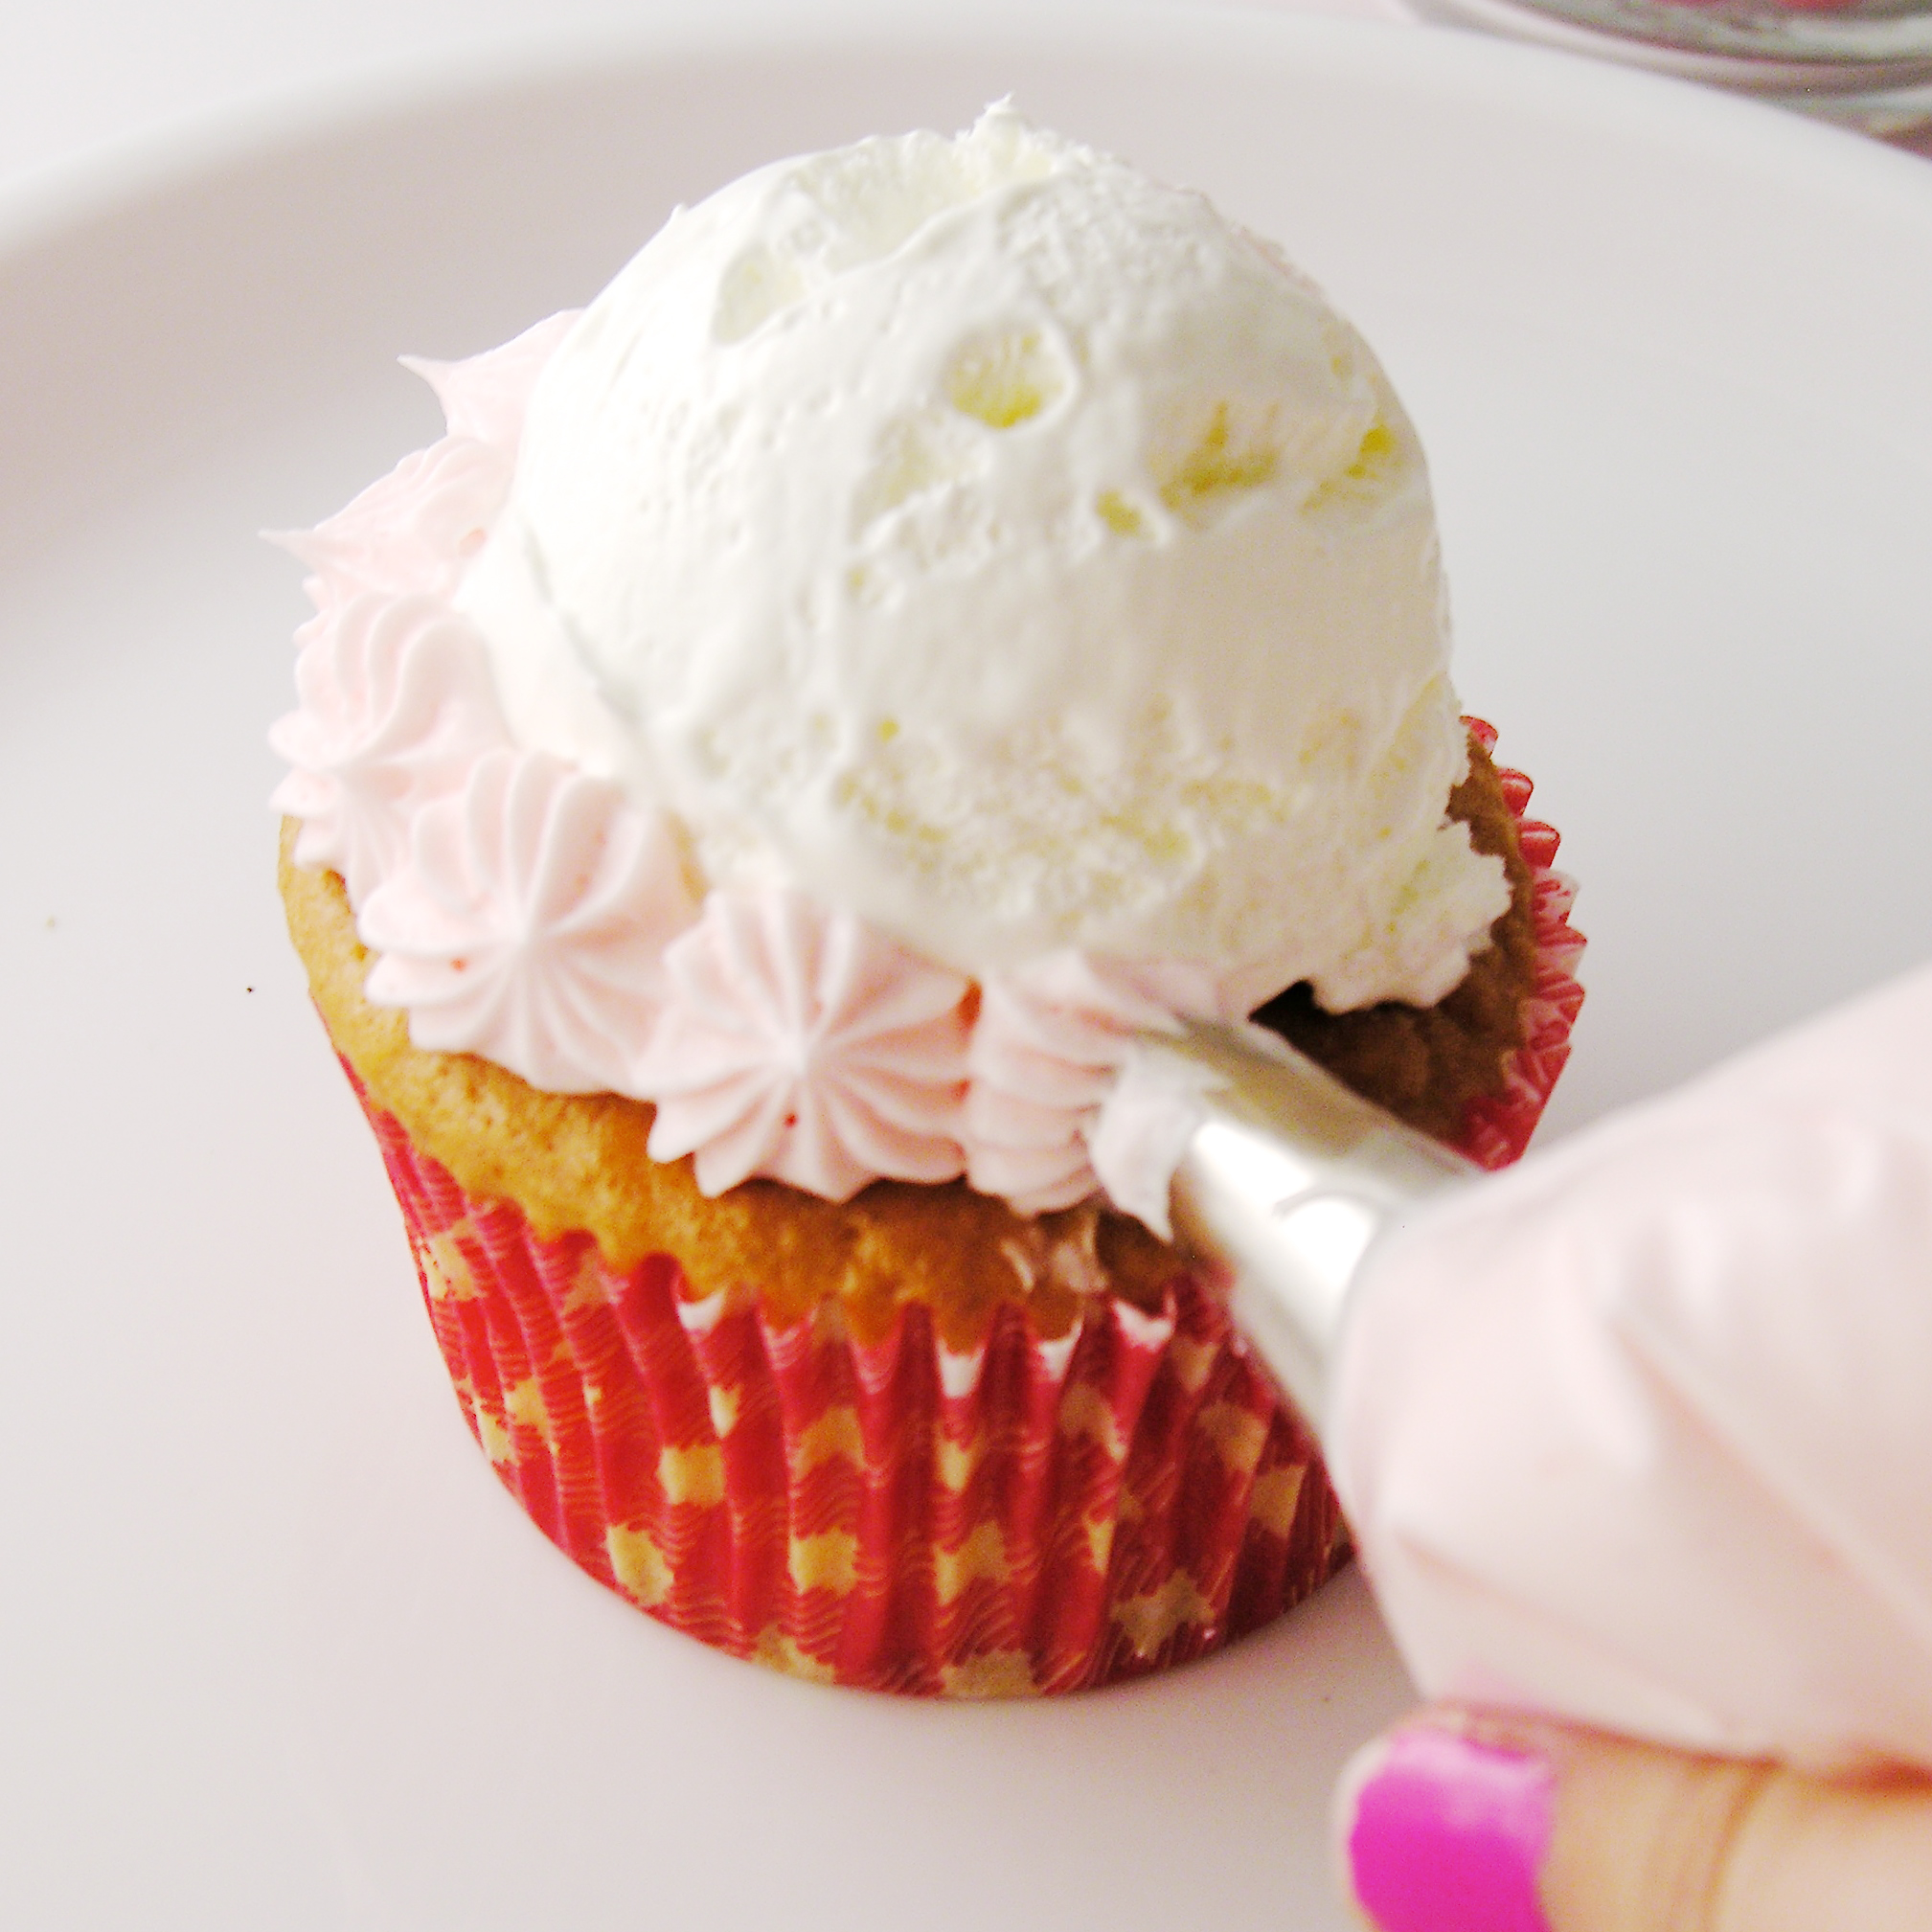
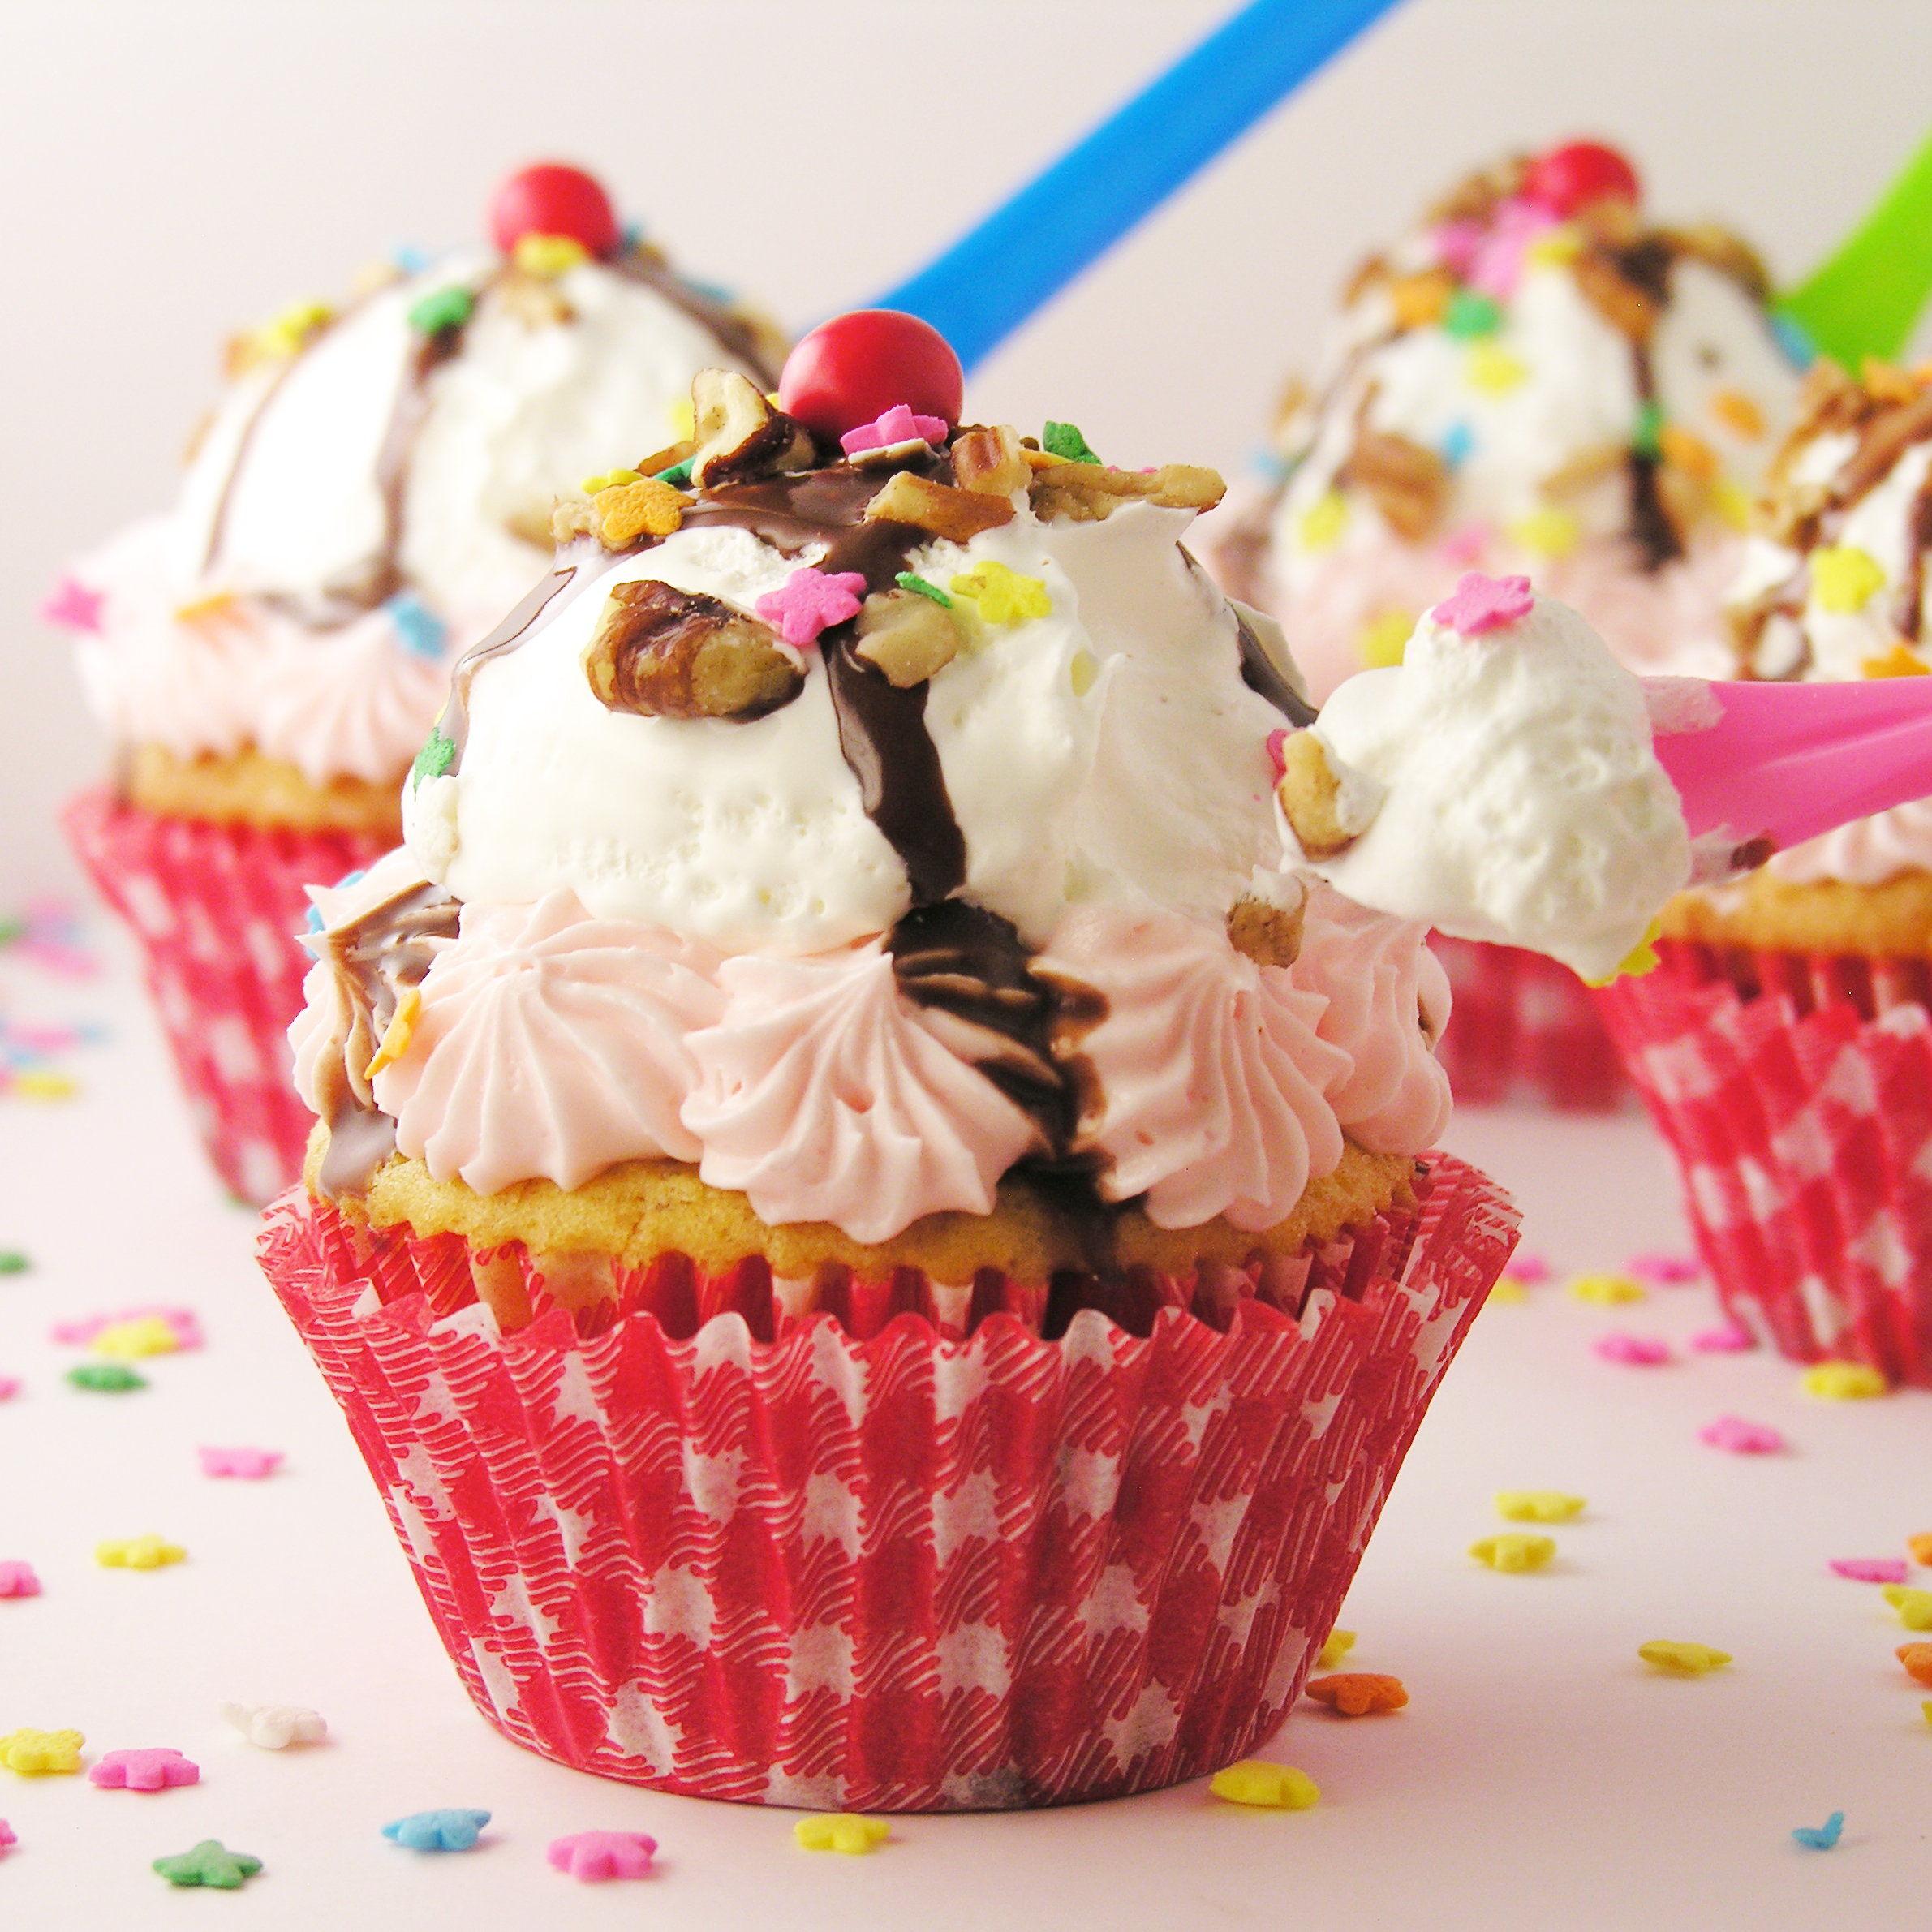
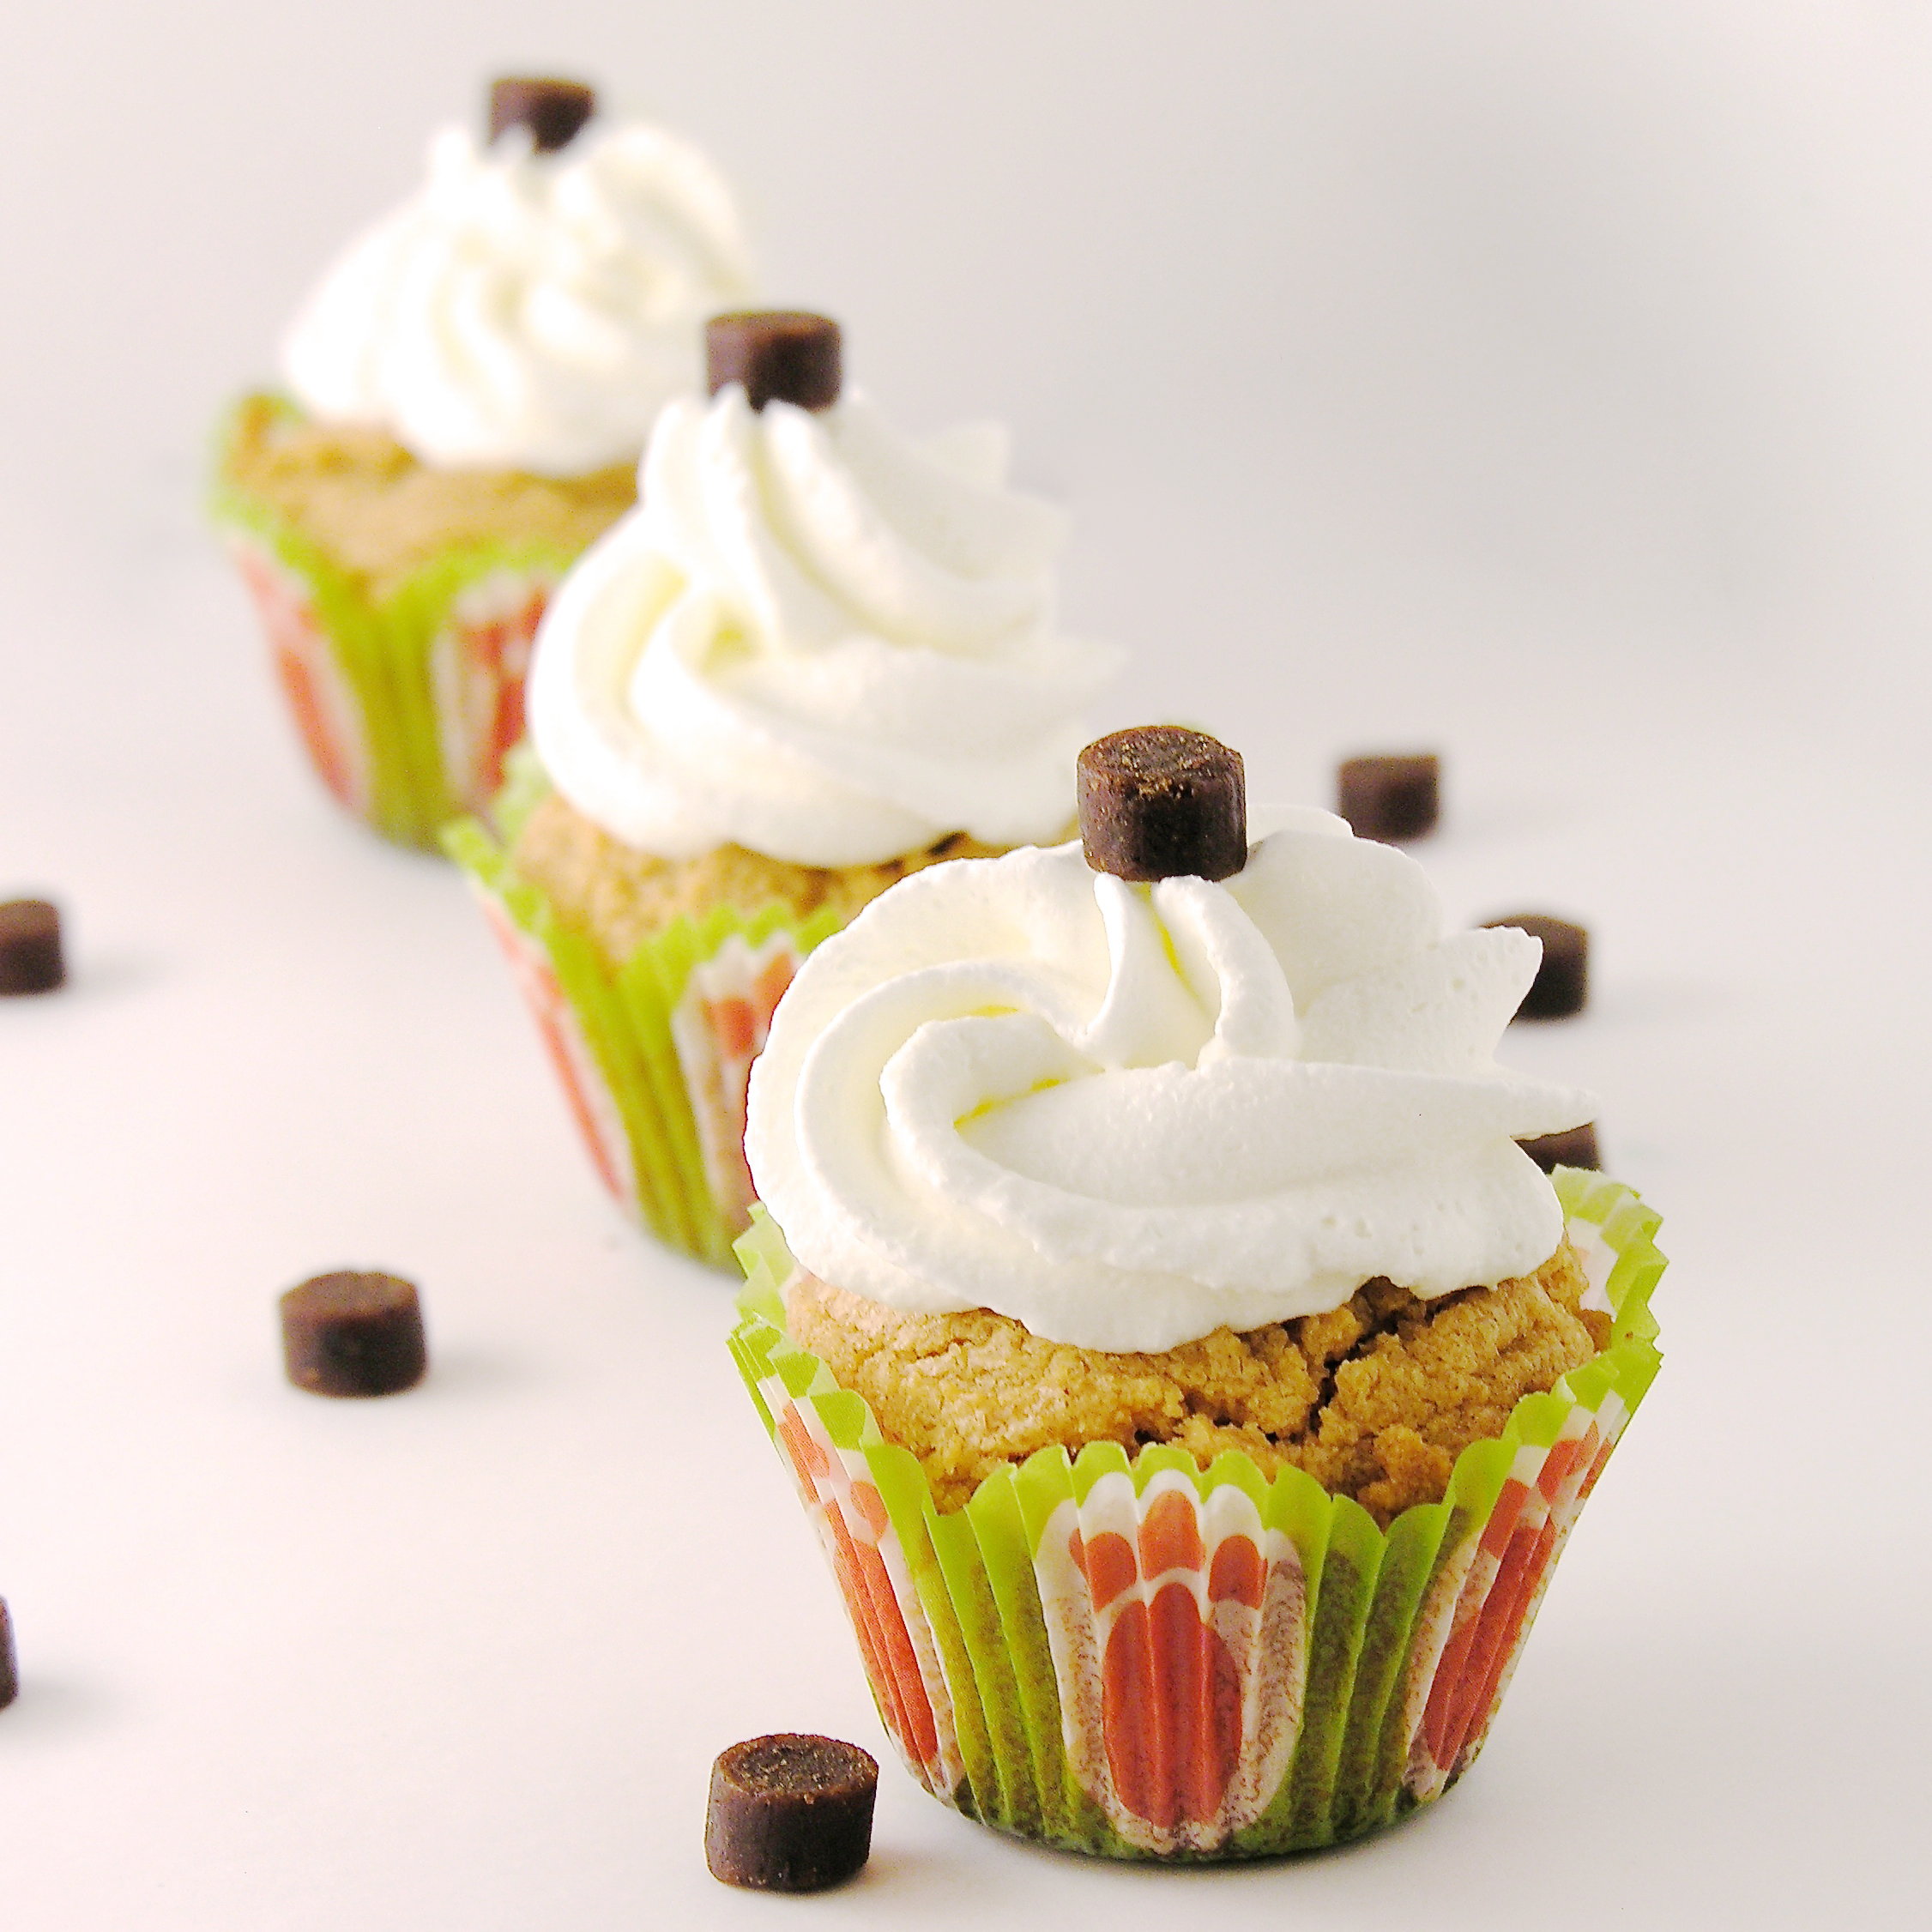
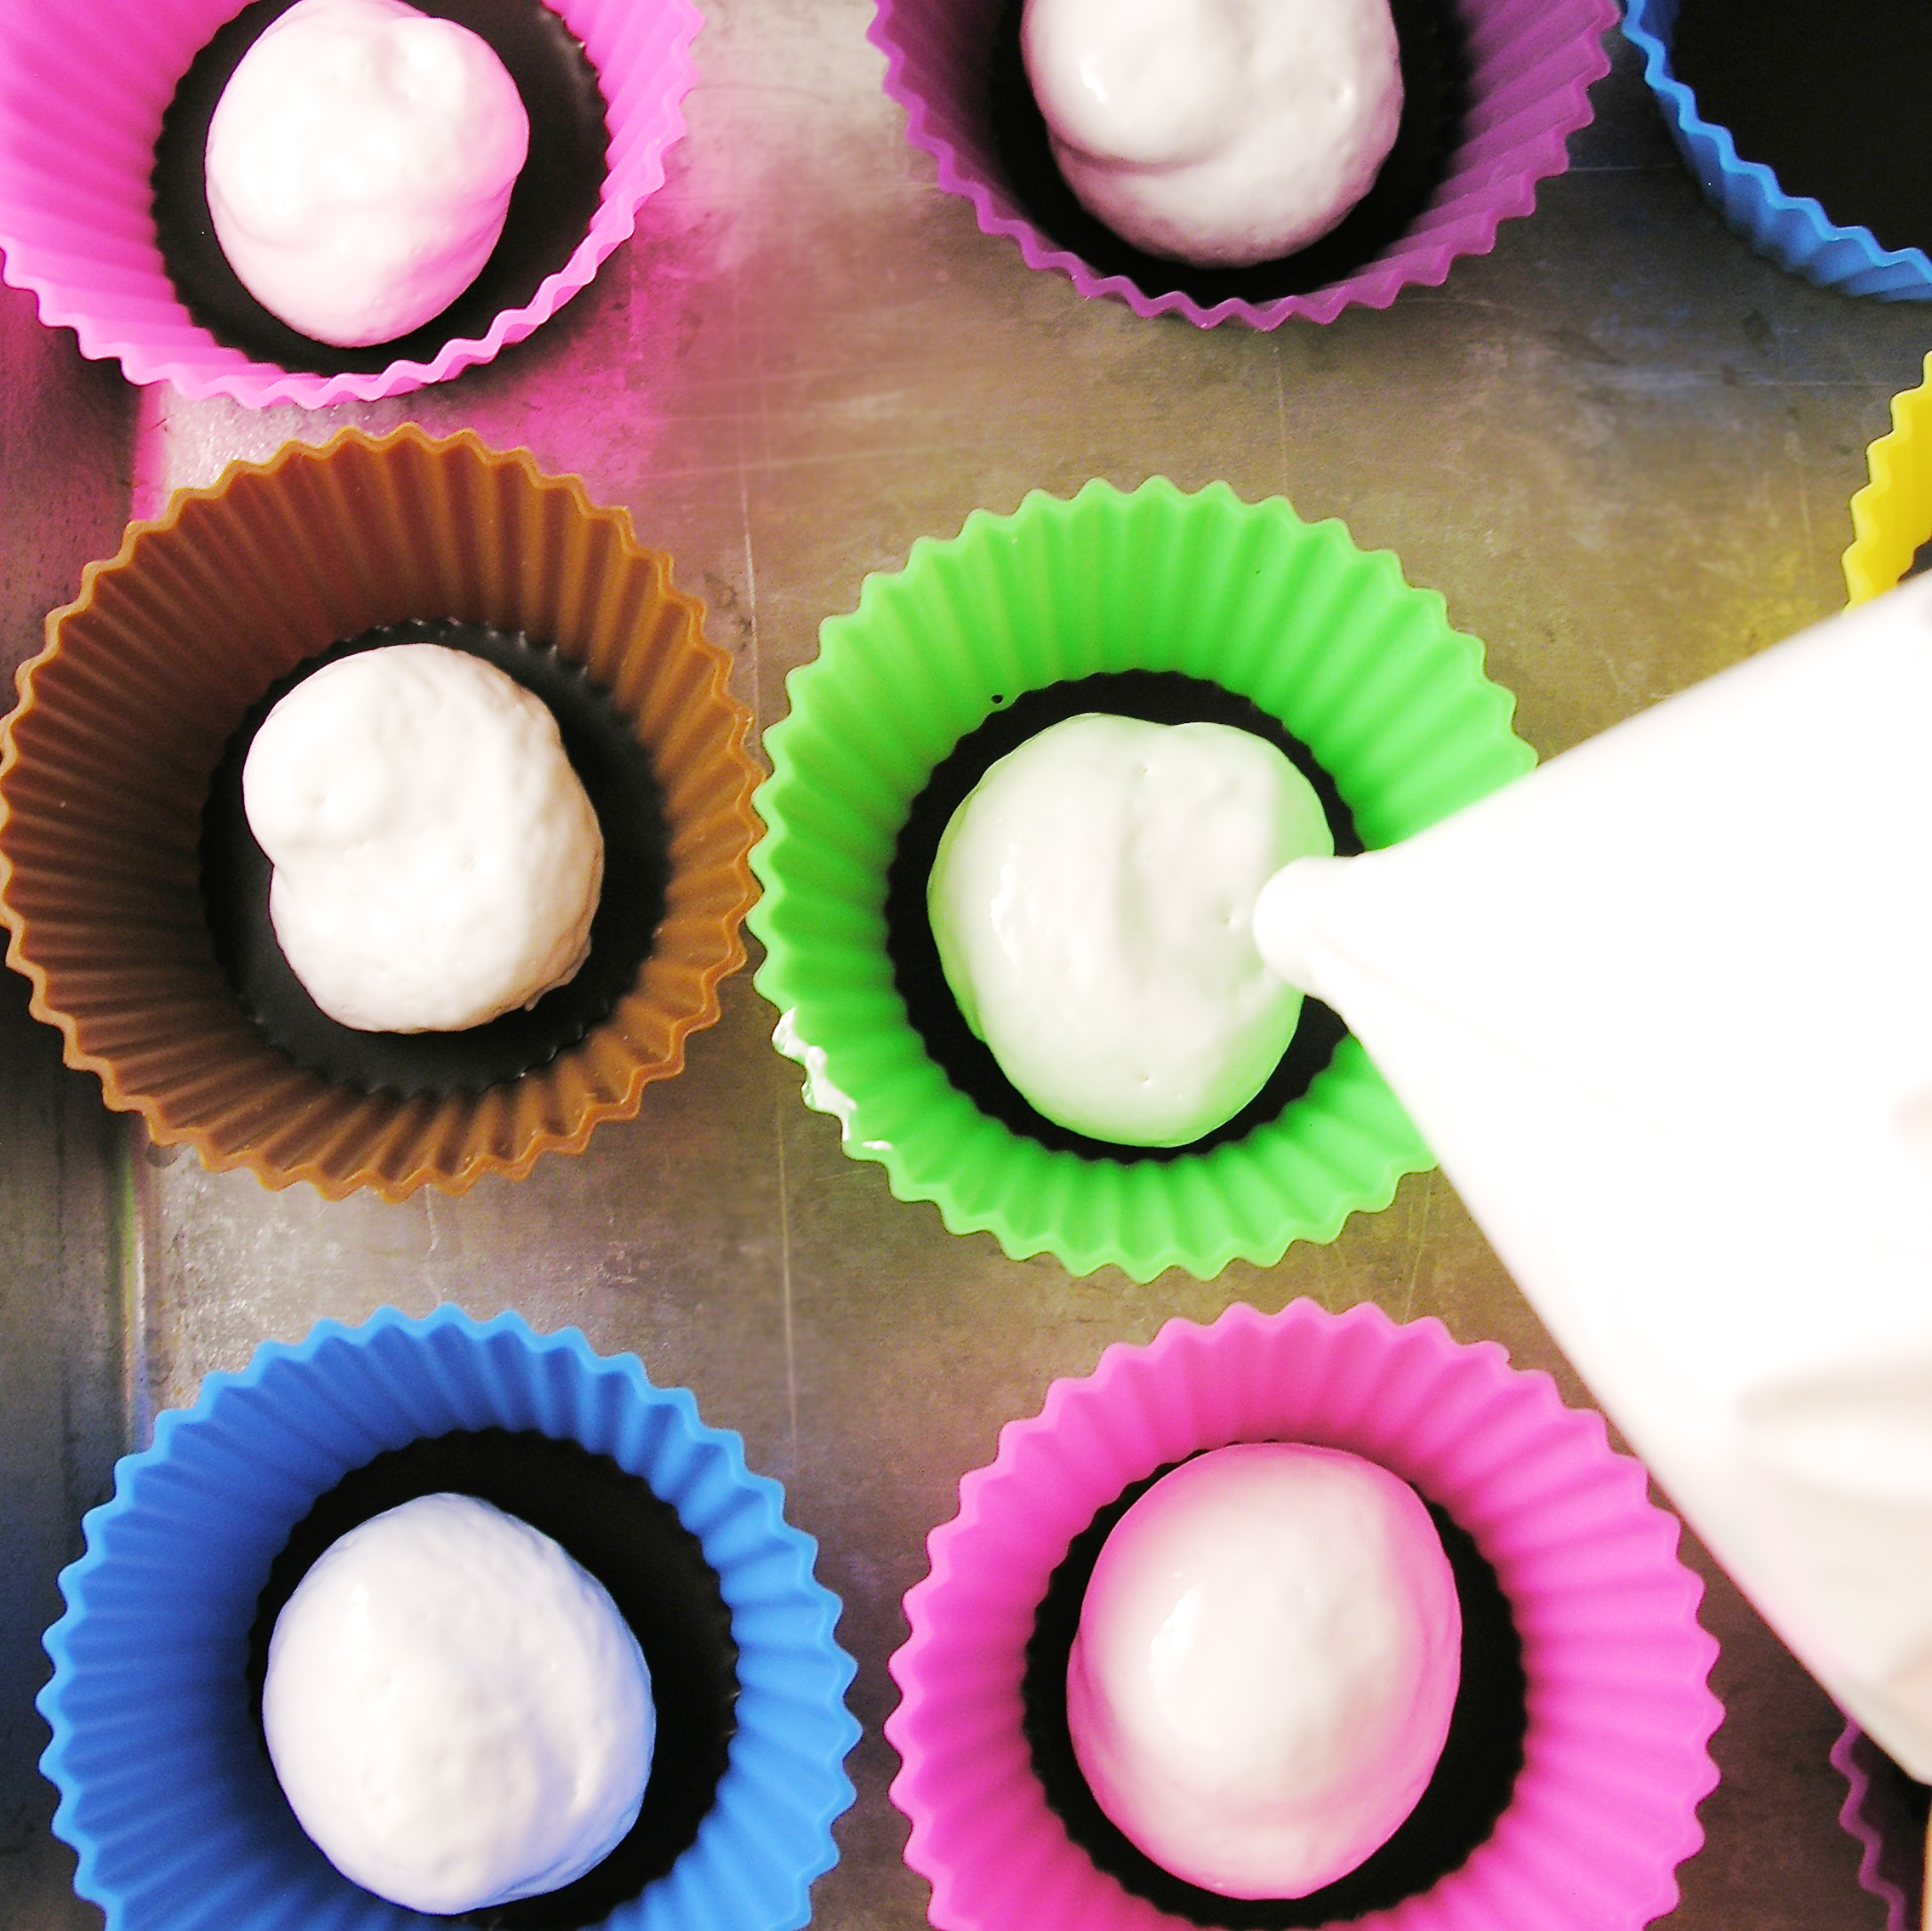
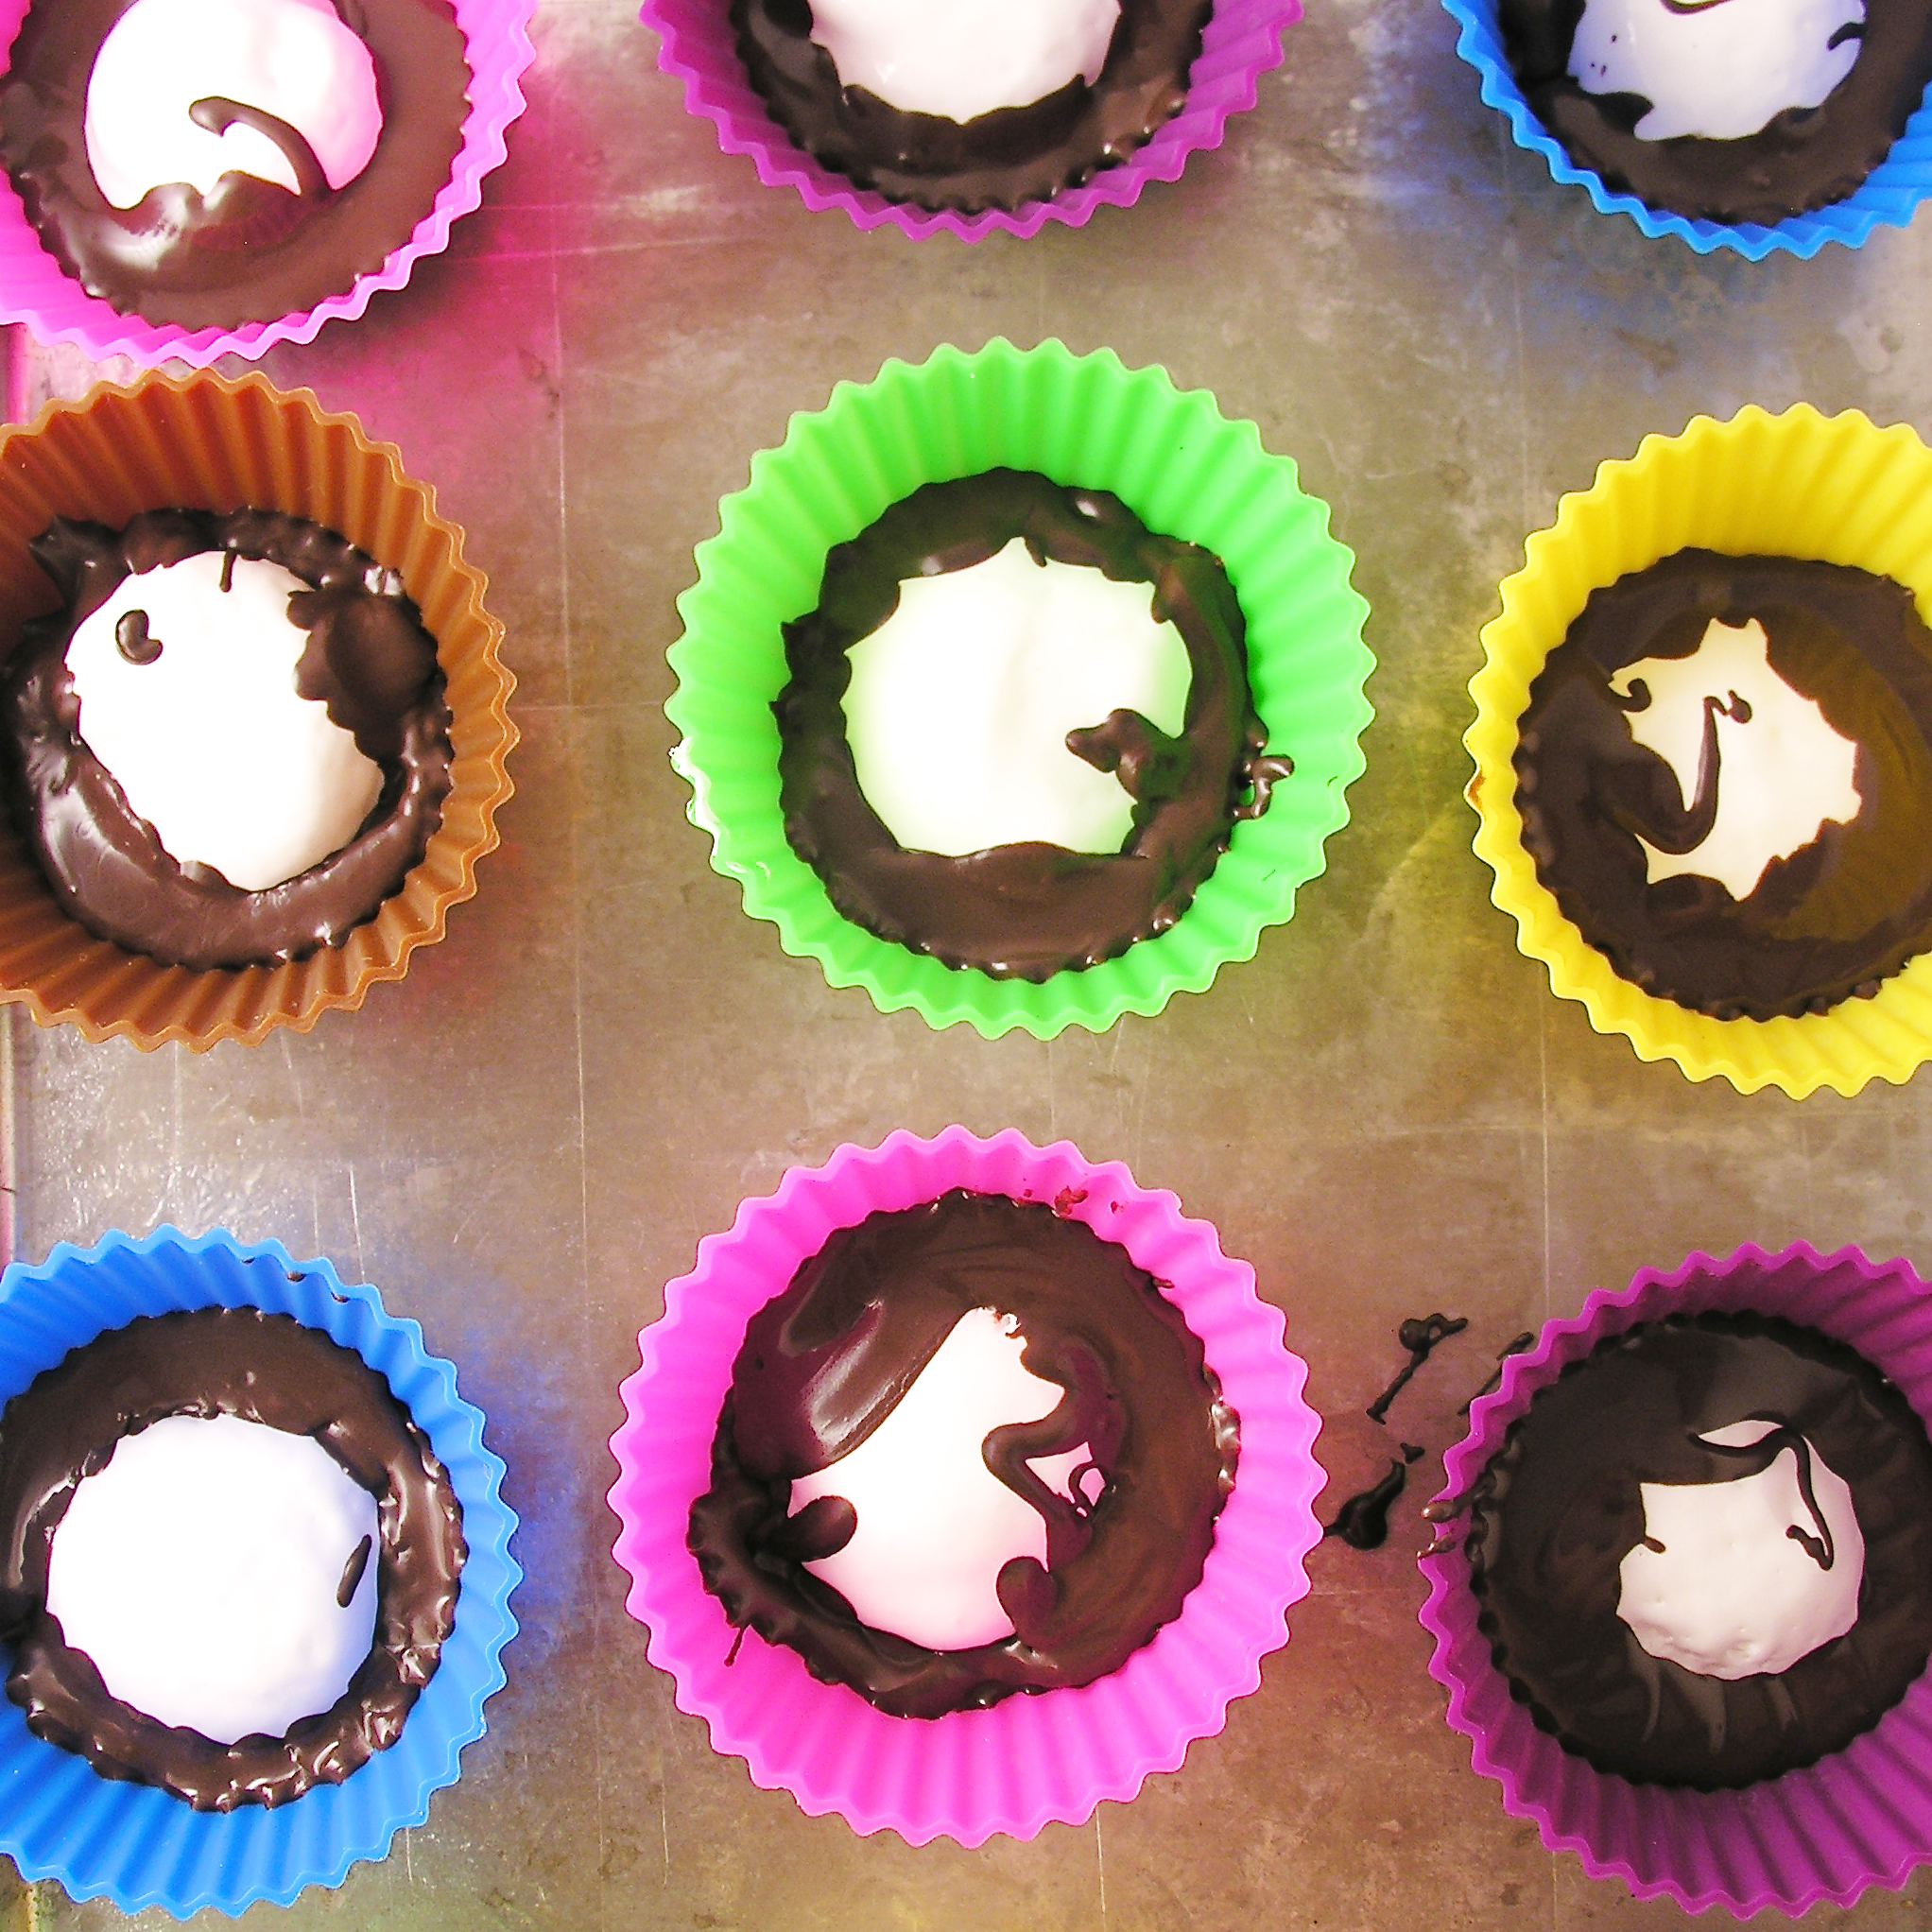
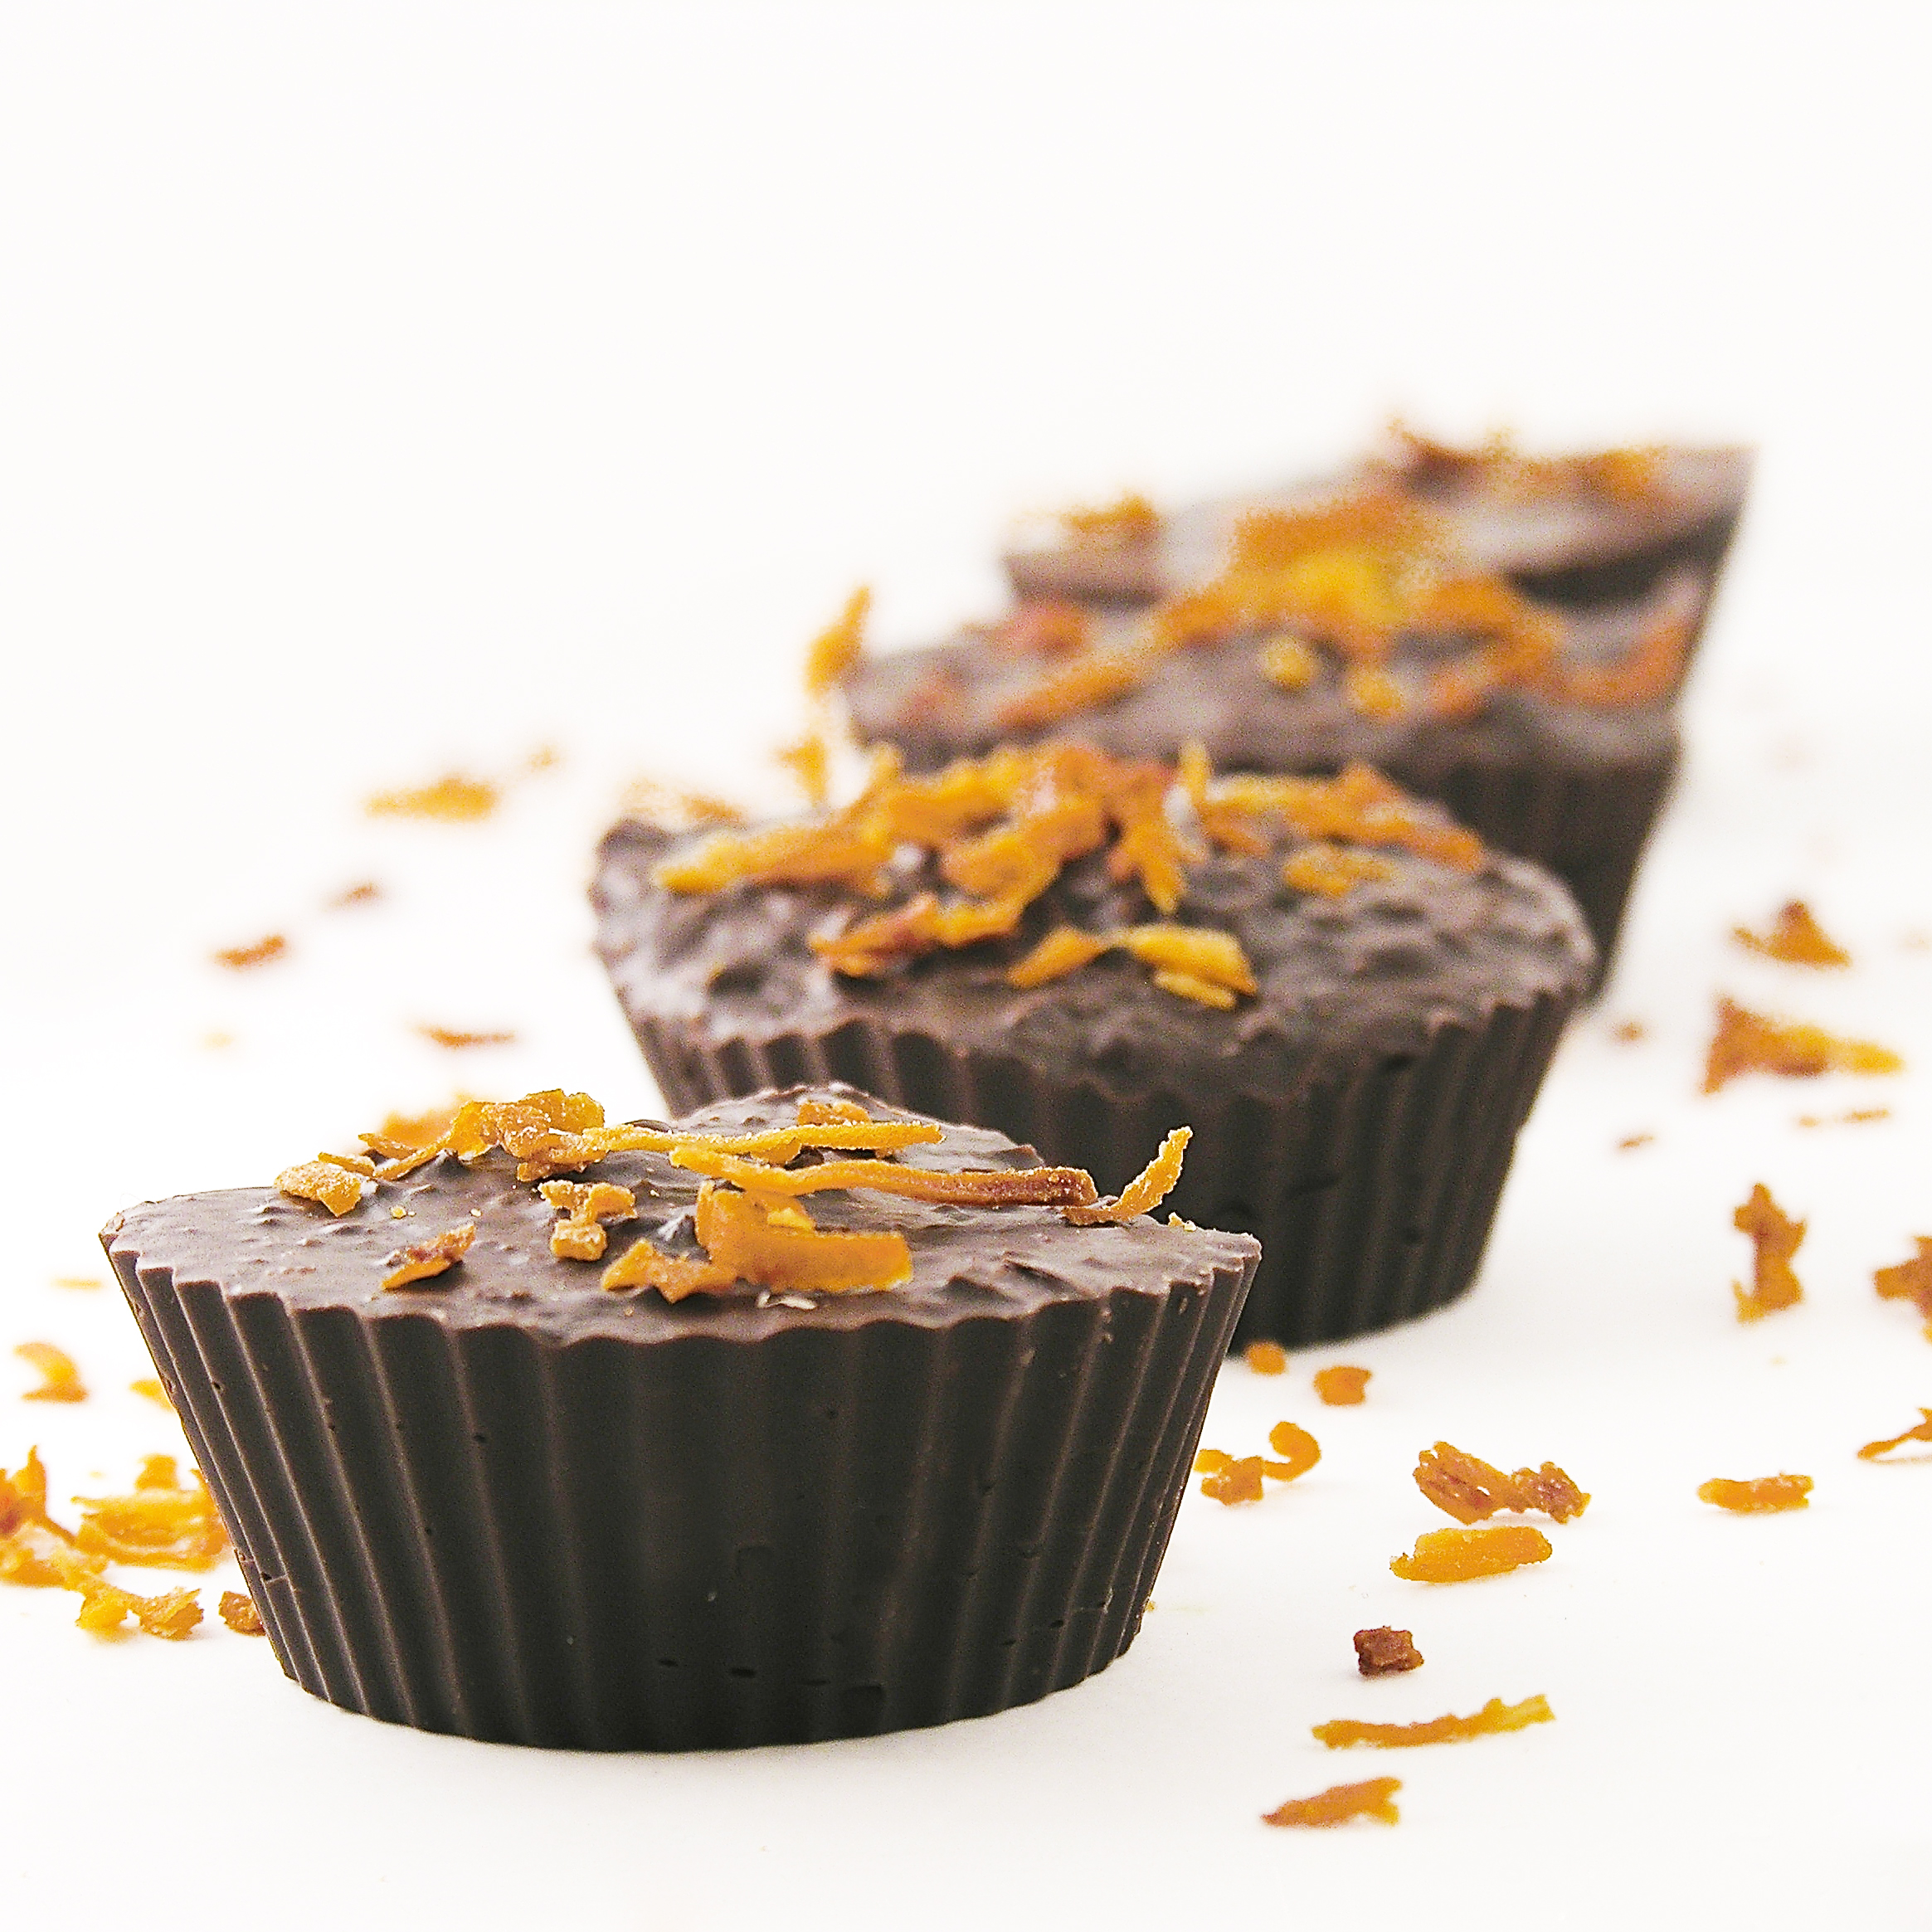
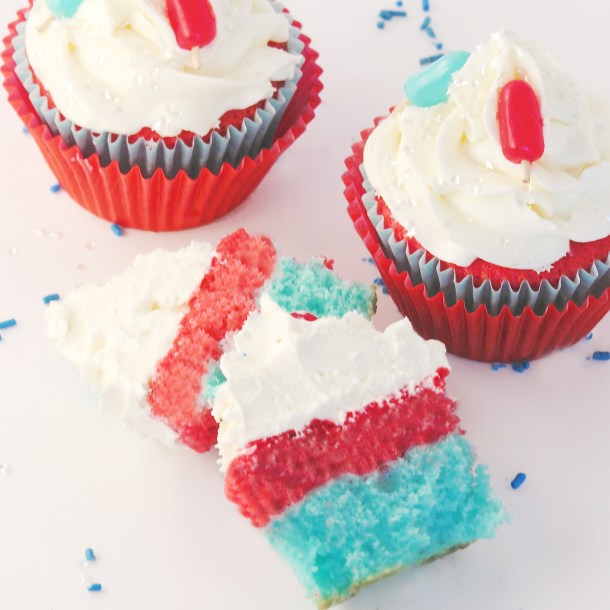
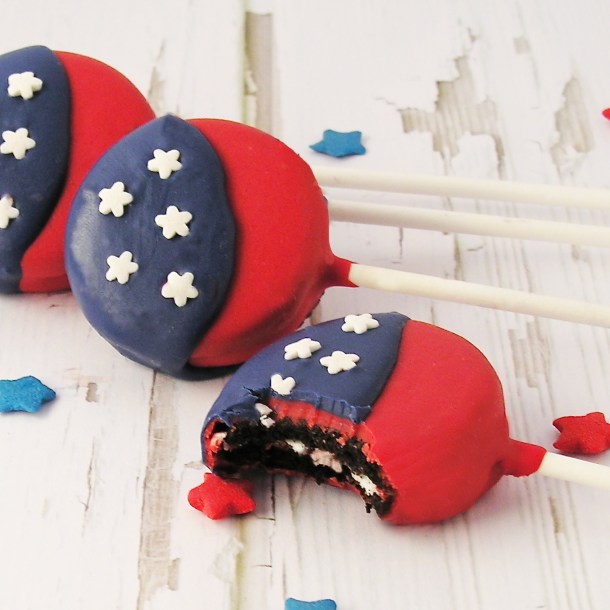
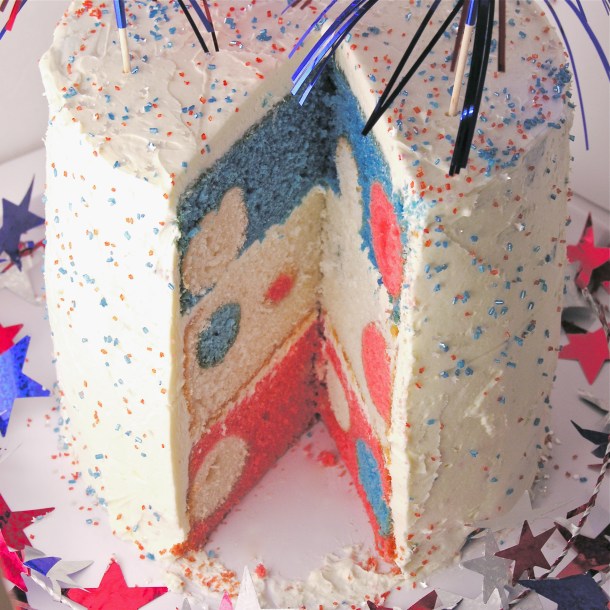
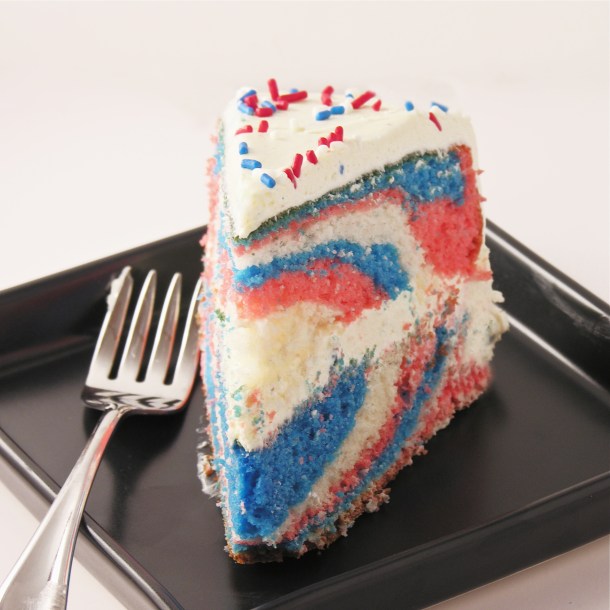
I know that these times are not forever over. This year is different, but once dad settles into his new place there will be other celebrations and family times over the fourth. This year though…my heart wasn’t in the “create something new and fun” place. So instead, I thought you might enjoy a collection of some of my previous red-white-and-blue recipes. You can click on the photo or the title, to be taken to the recipe.

American Flag Oreo Pops!!!!

American Flag Oreo Pops

Patriotic Polka Dot Cake!!!!

Patriotic Polka Dot Cake!!!

Patriotic Flip Flop Cookies!!!!

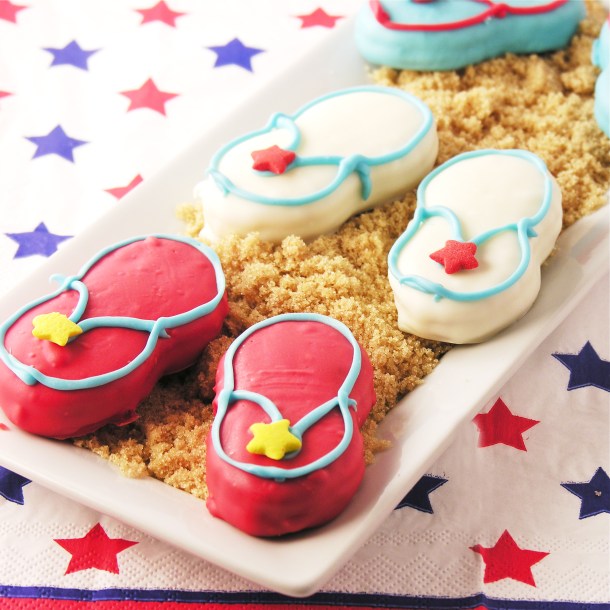
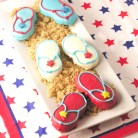
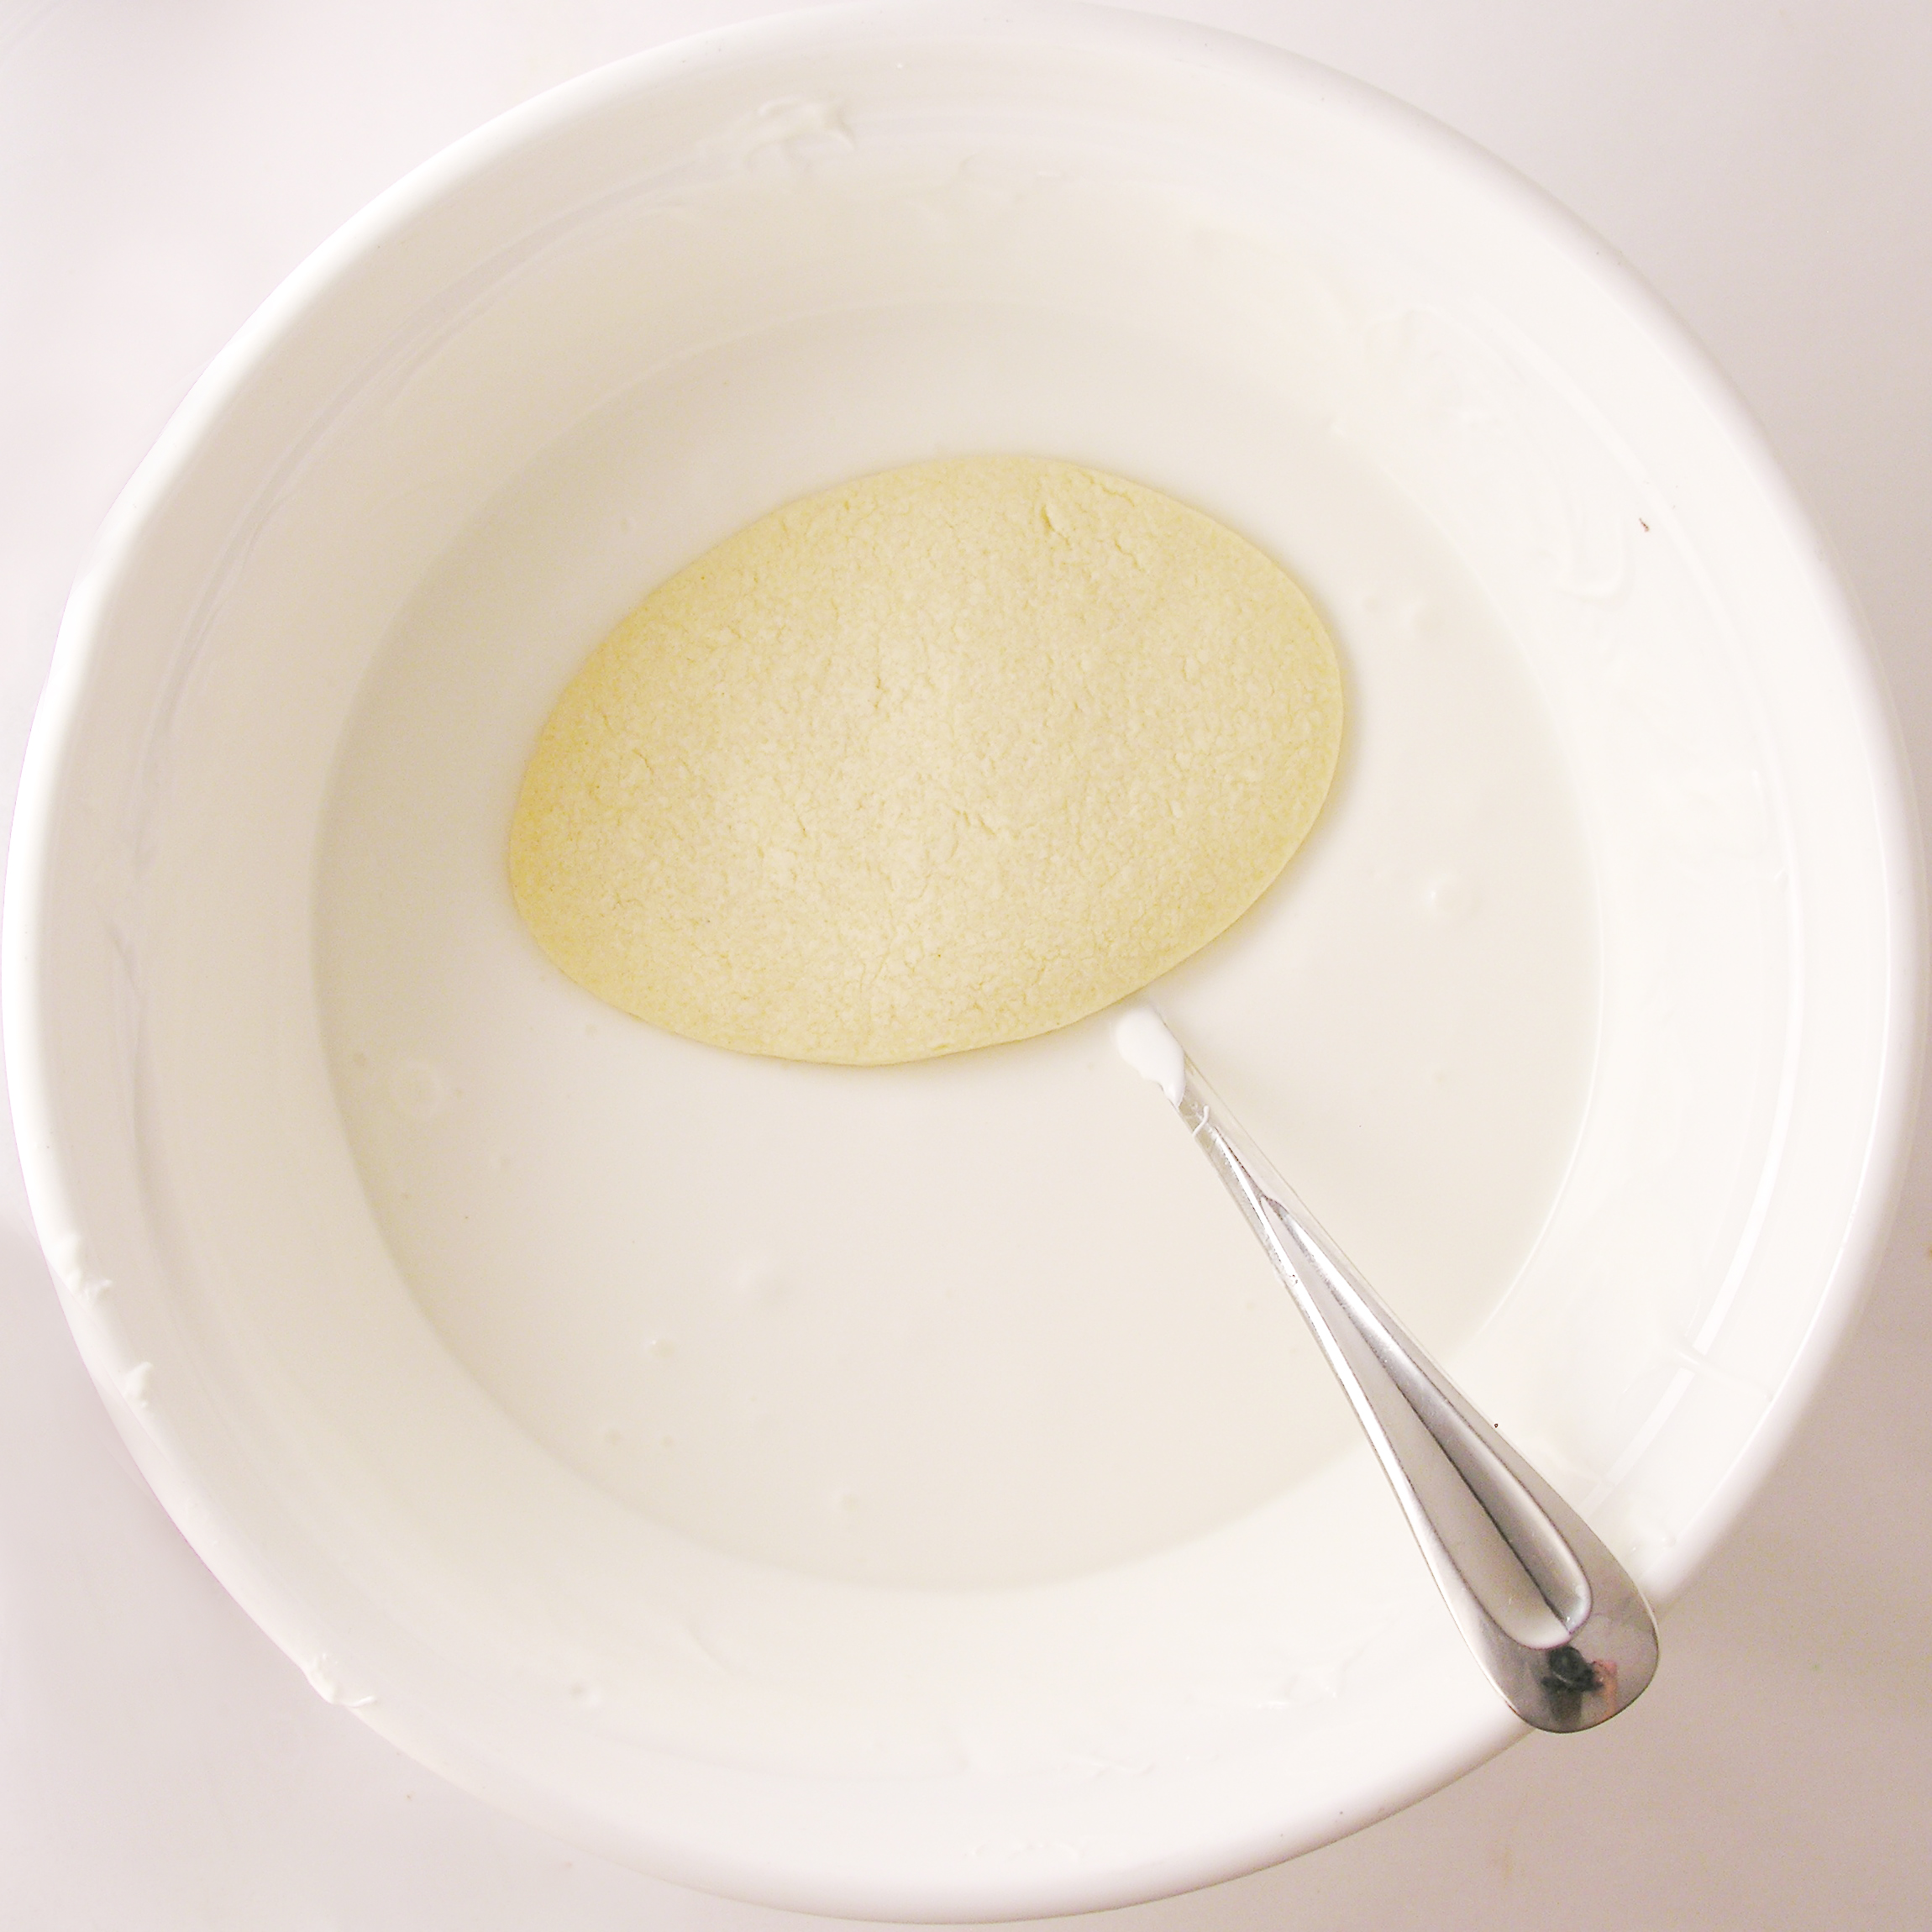
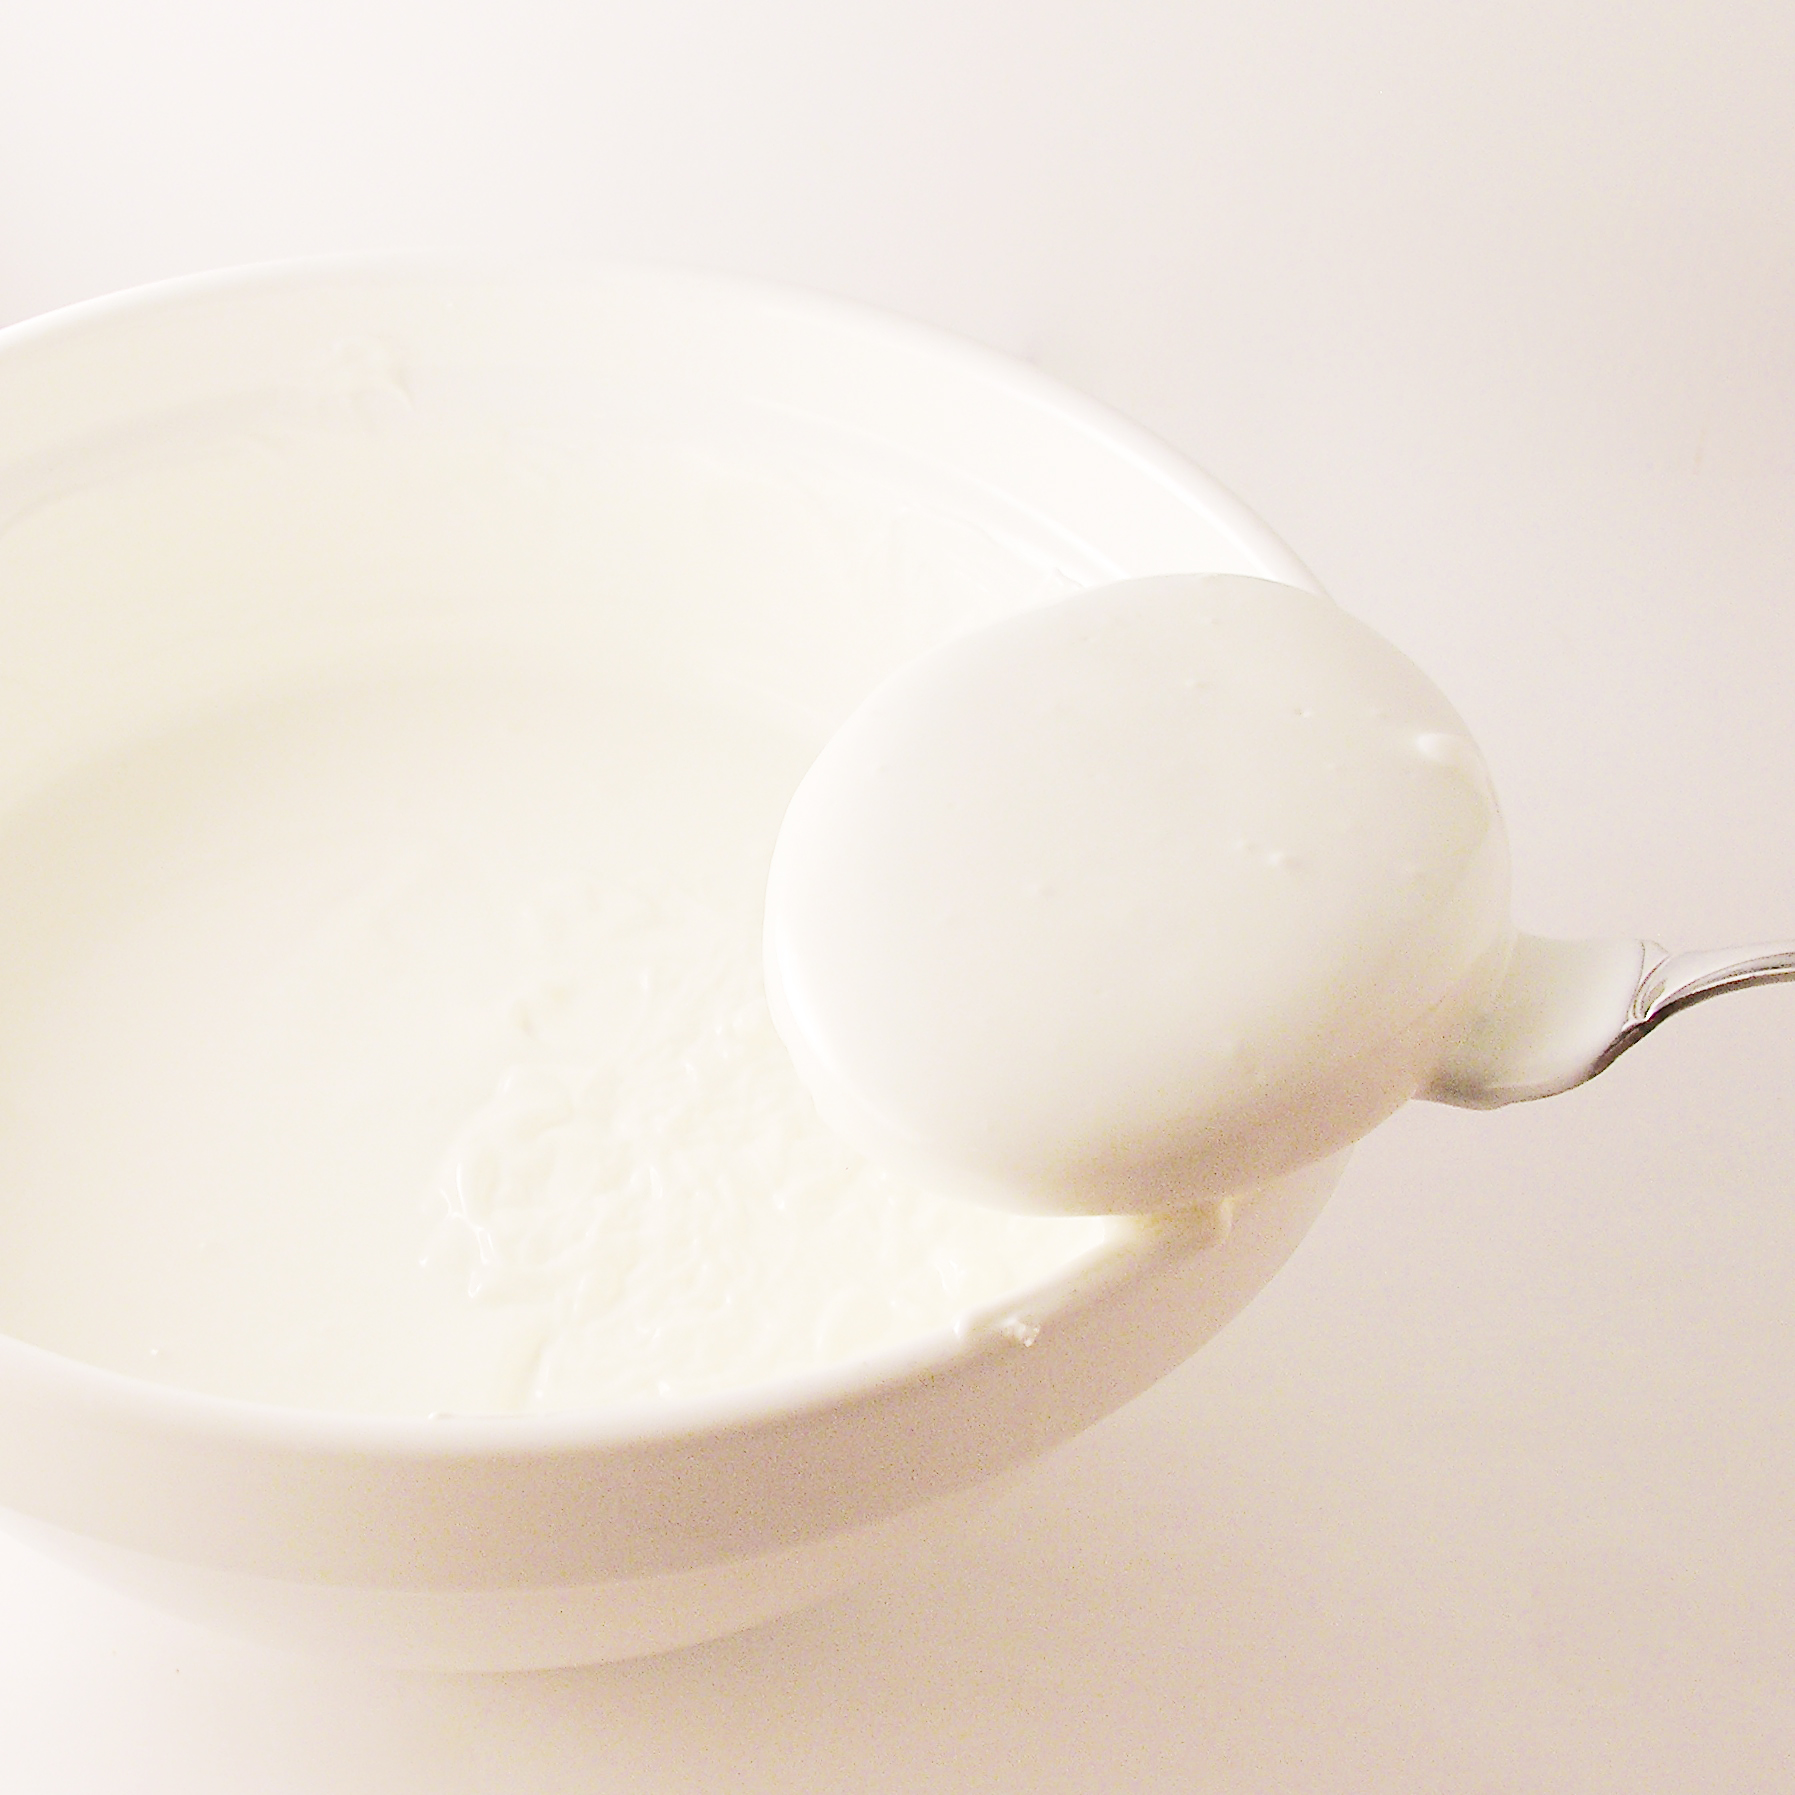
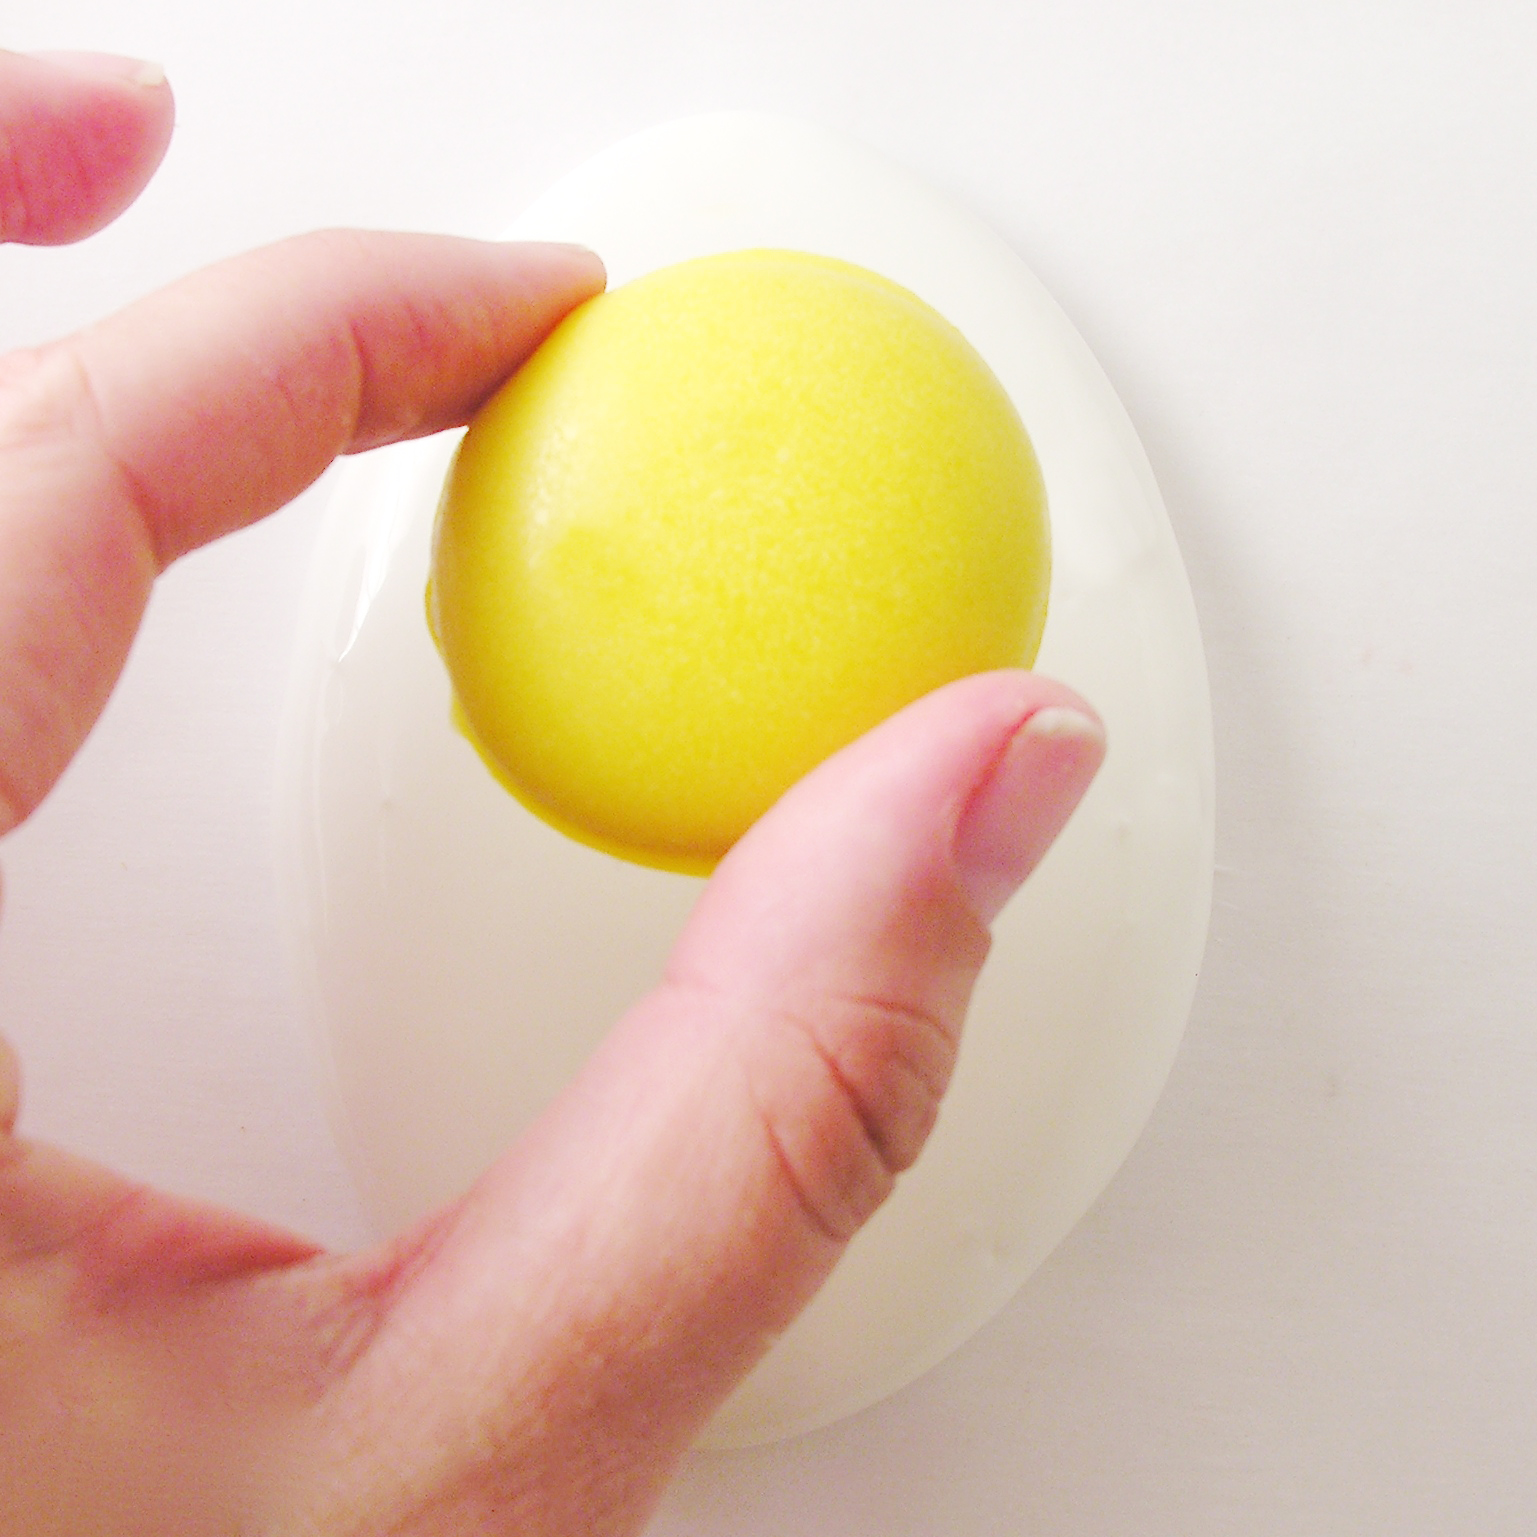
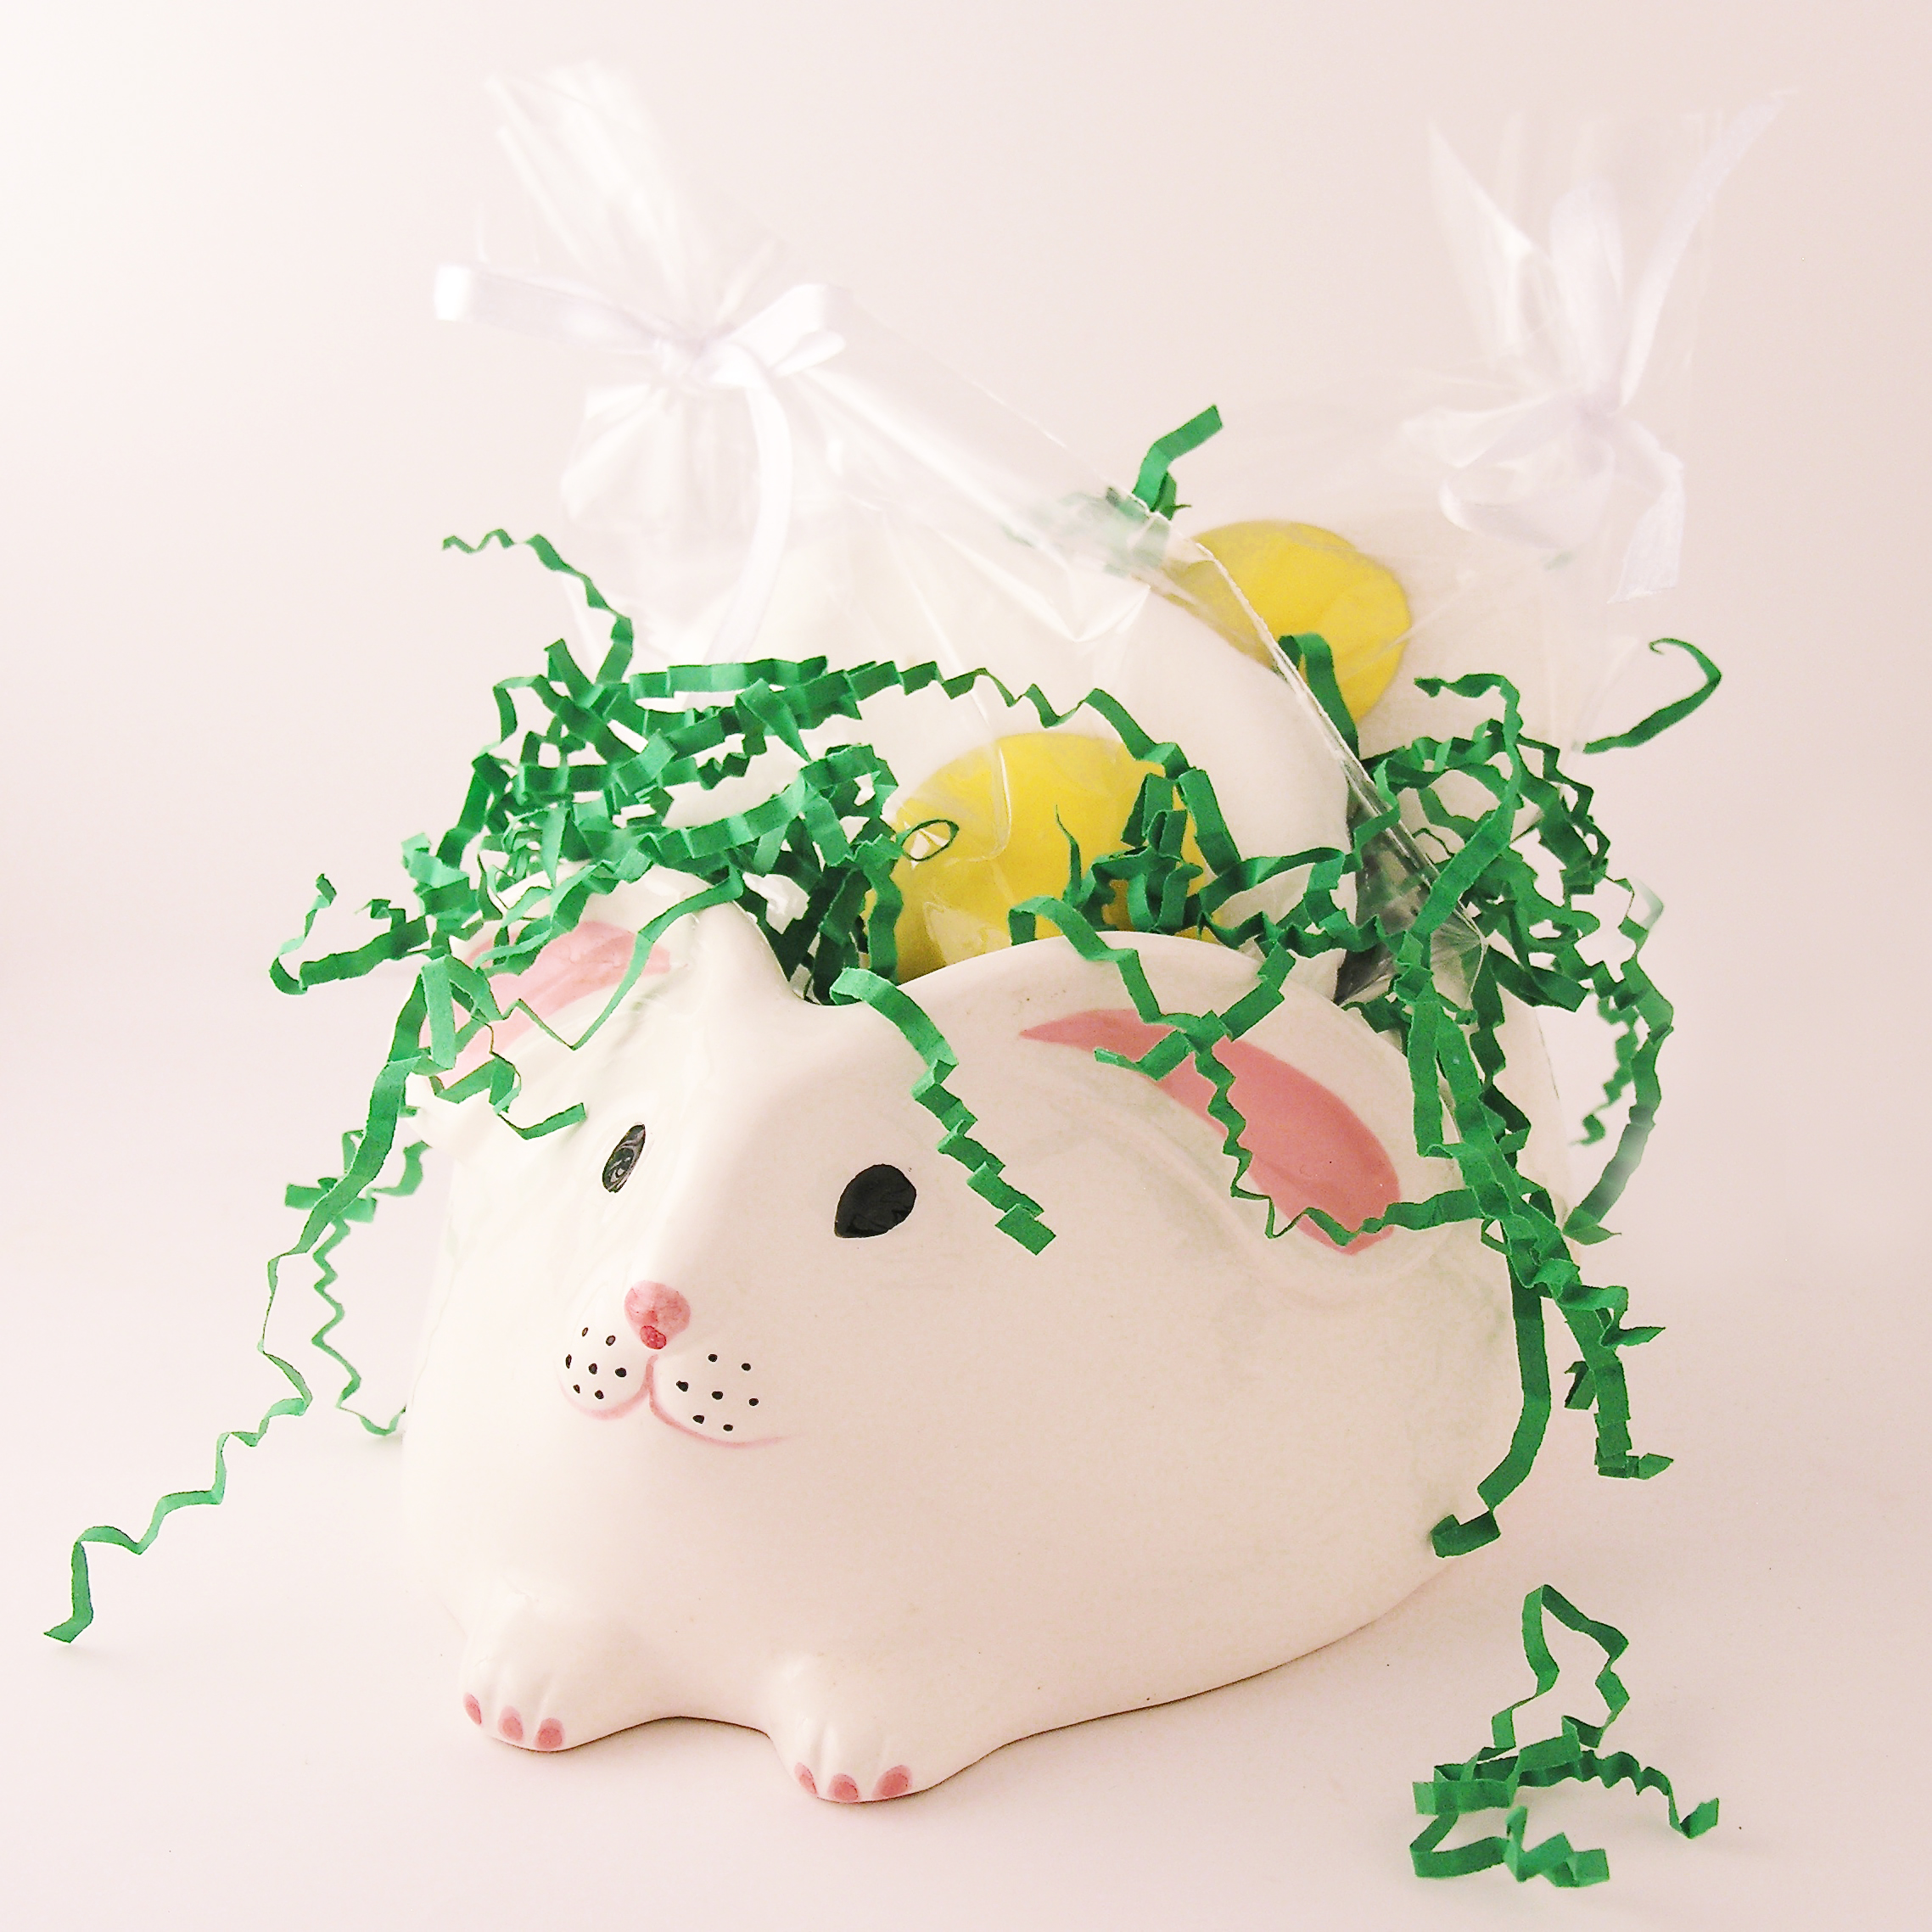
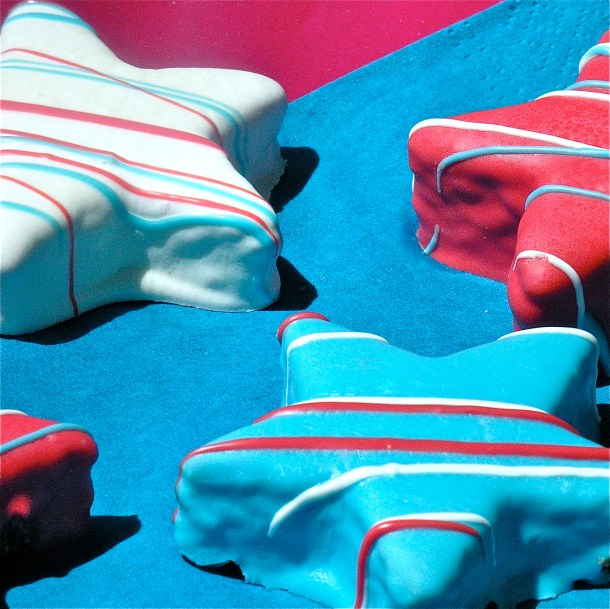
Flip Flop Cookies for the Fourth!

Patriotic Tie-Dye Cake!!!!

Patriotic Tie-Dye Cake!

Stars!!

Stars and Stripes Brownies!

Patriotic Bundt Cake!!!!

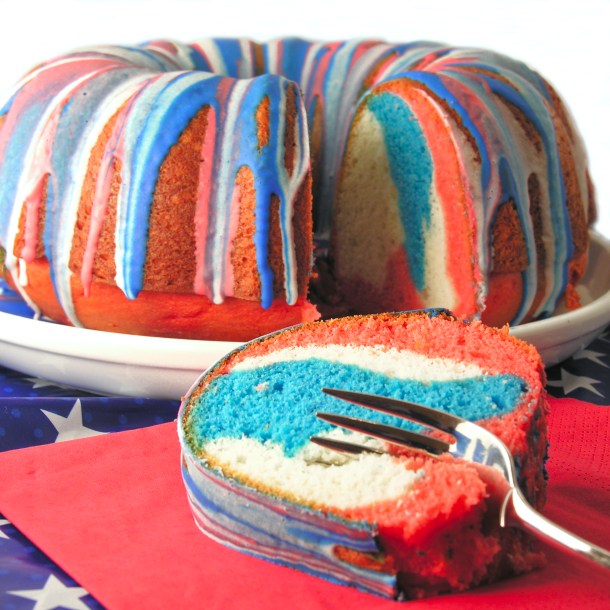
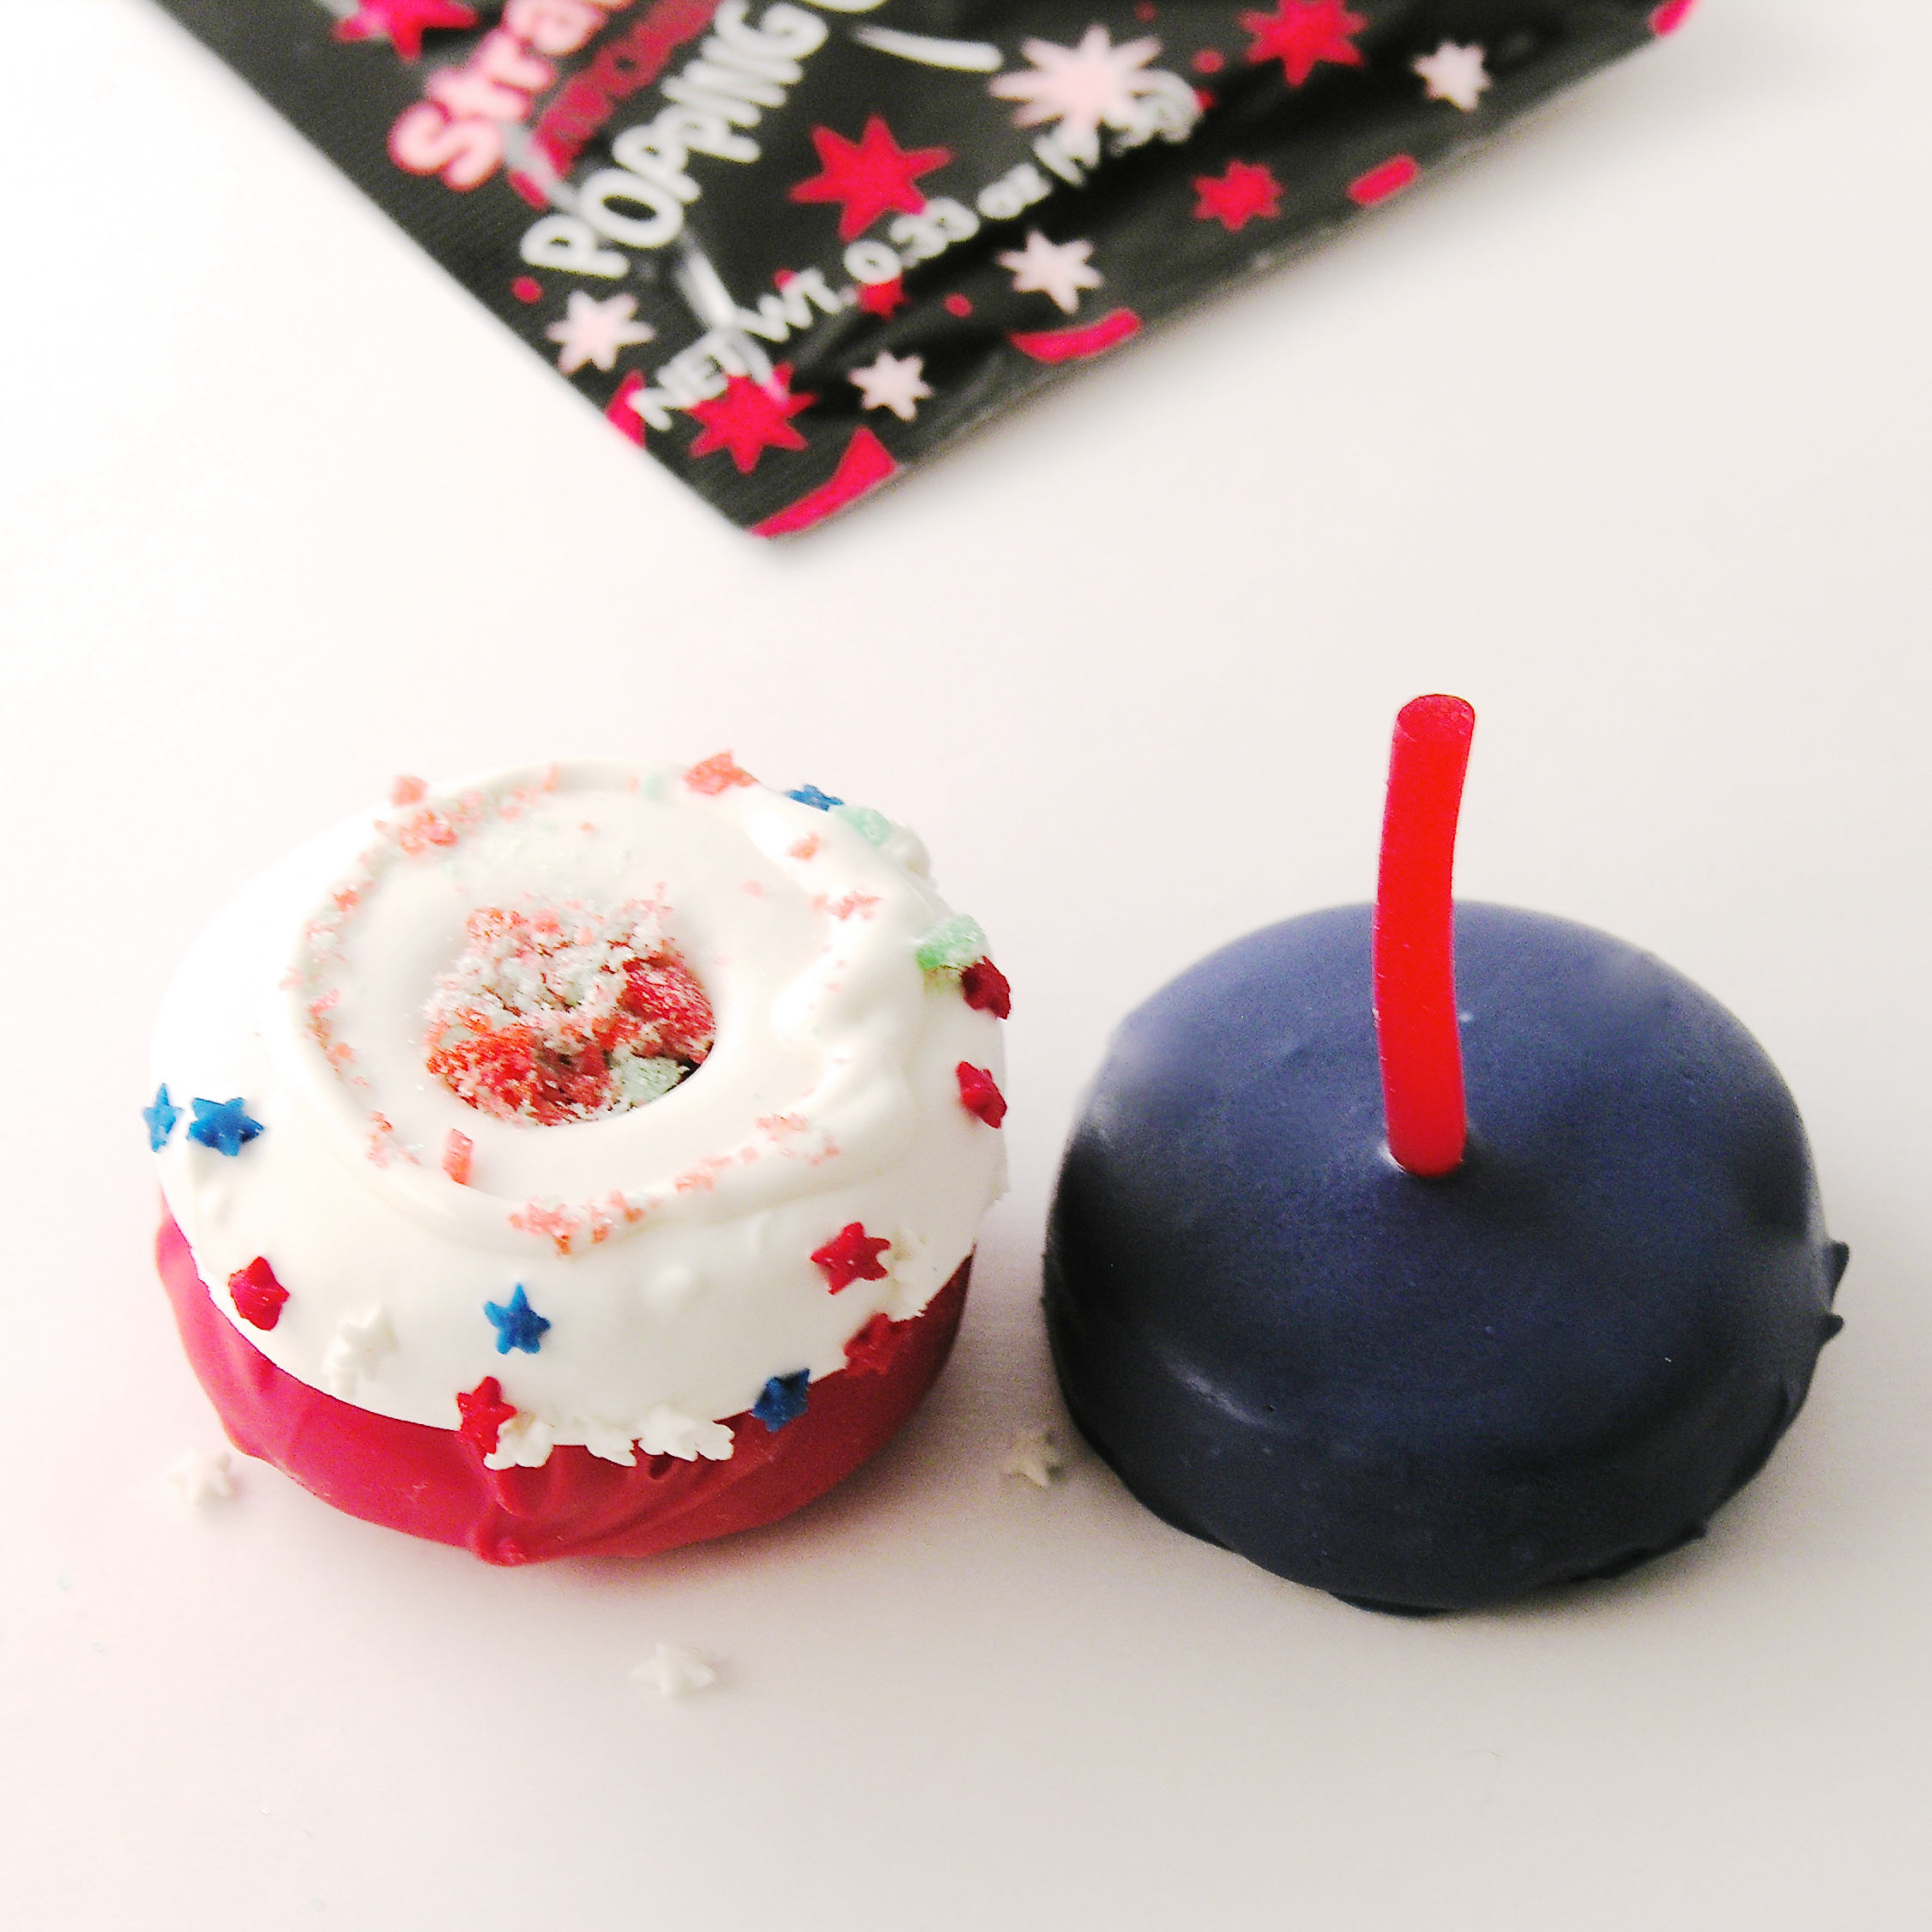
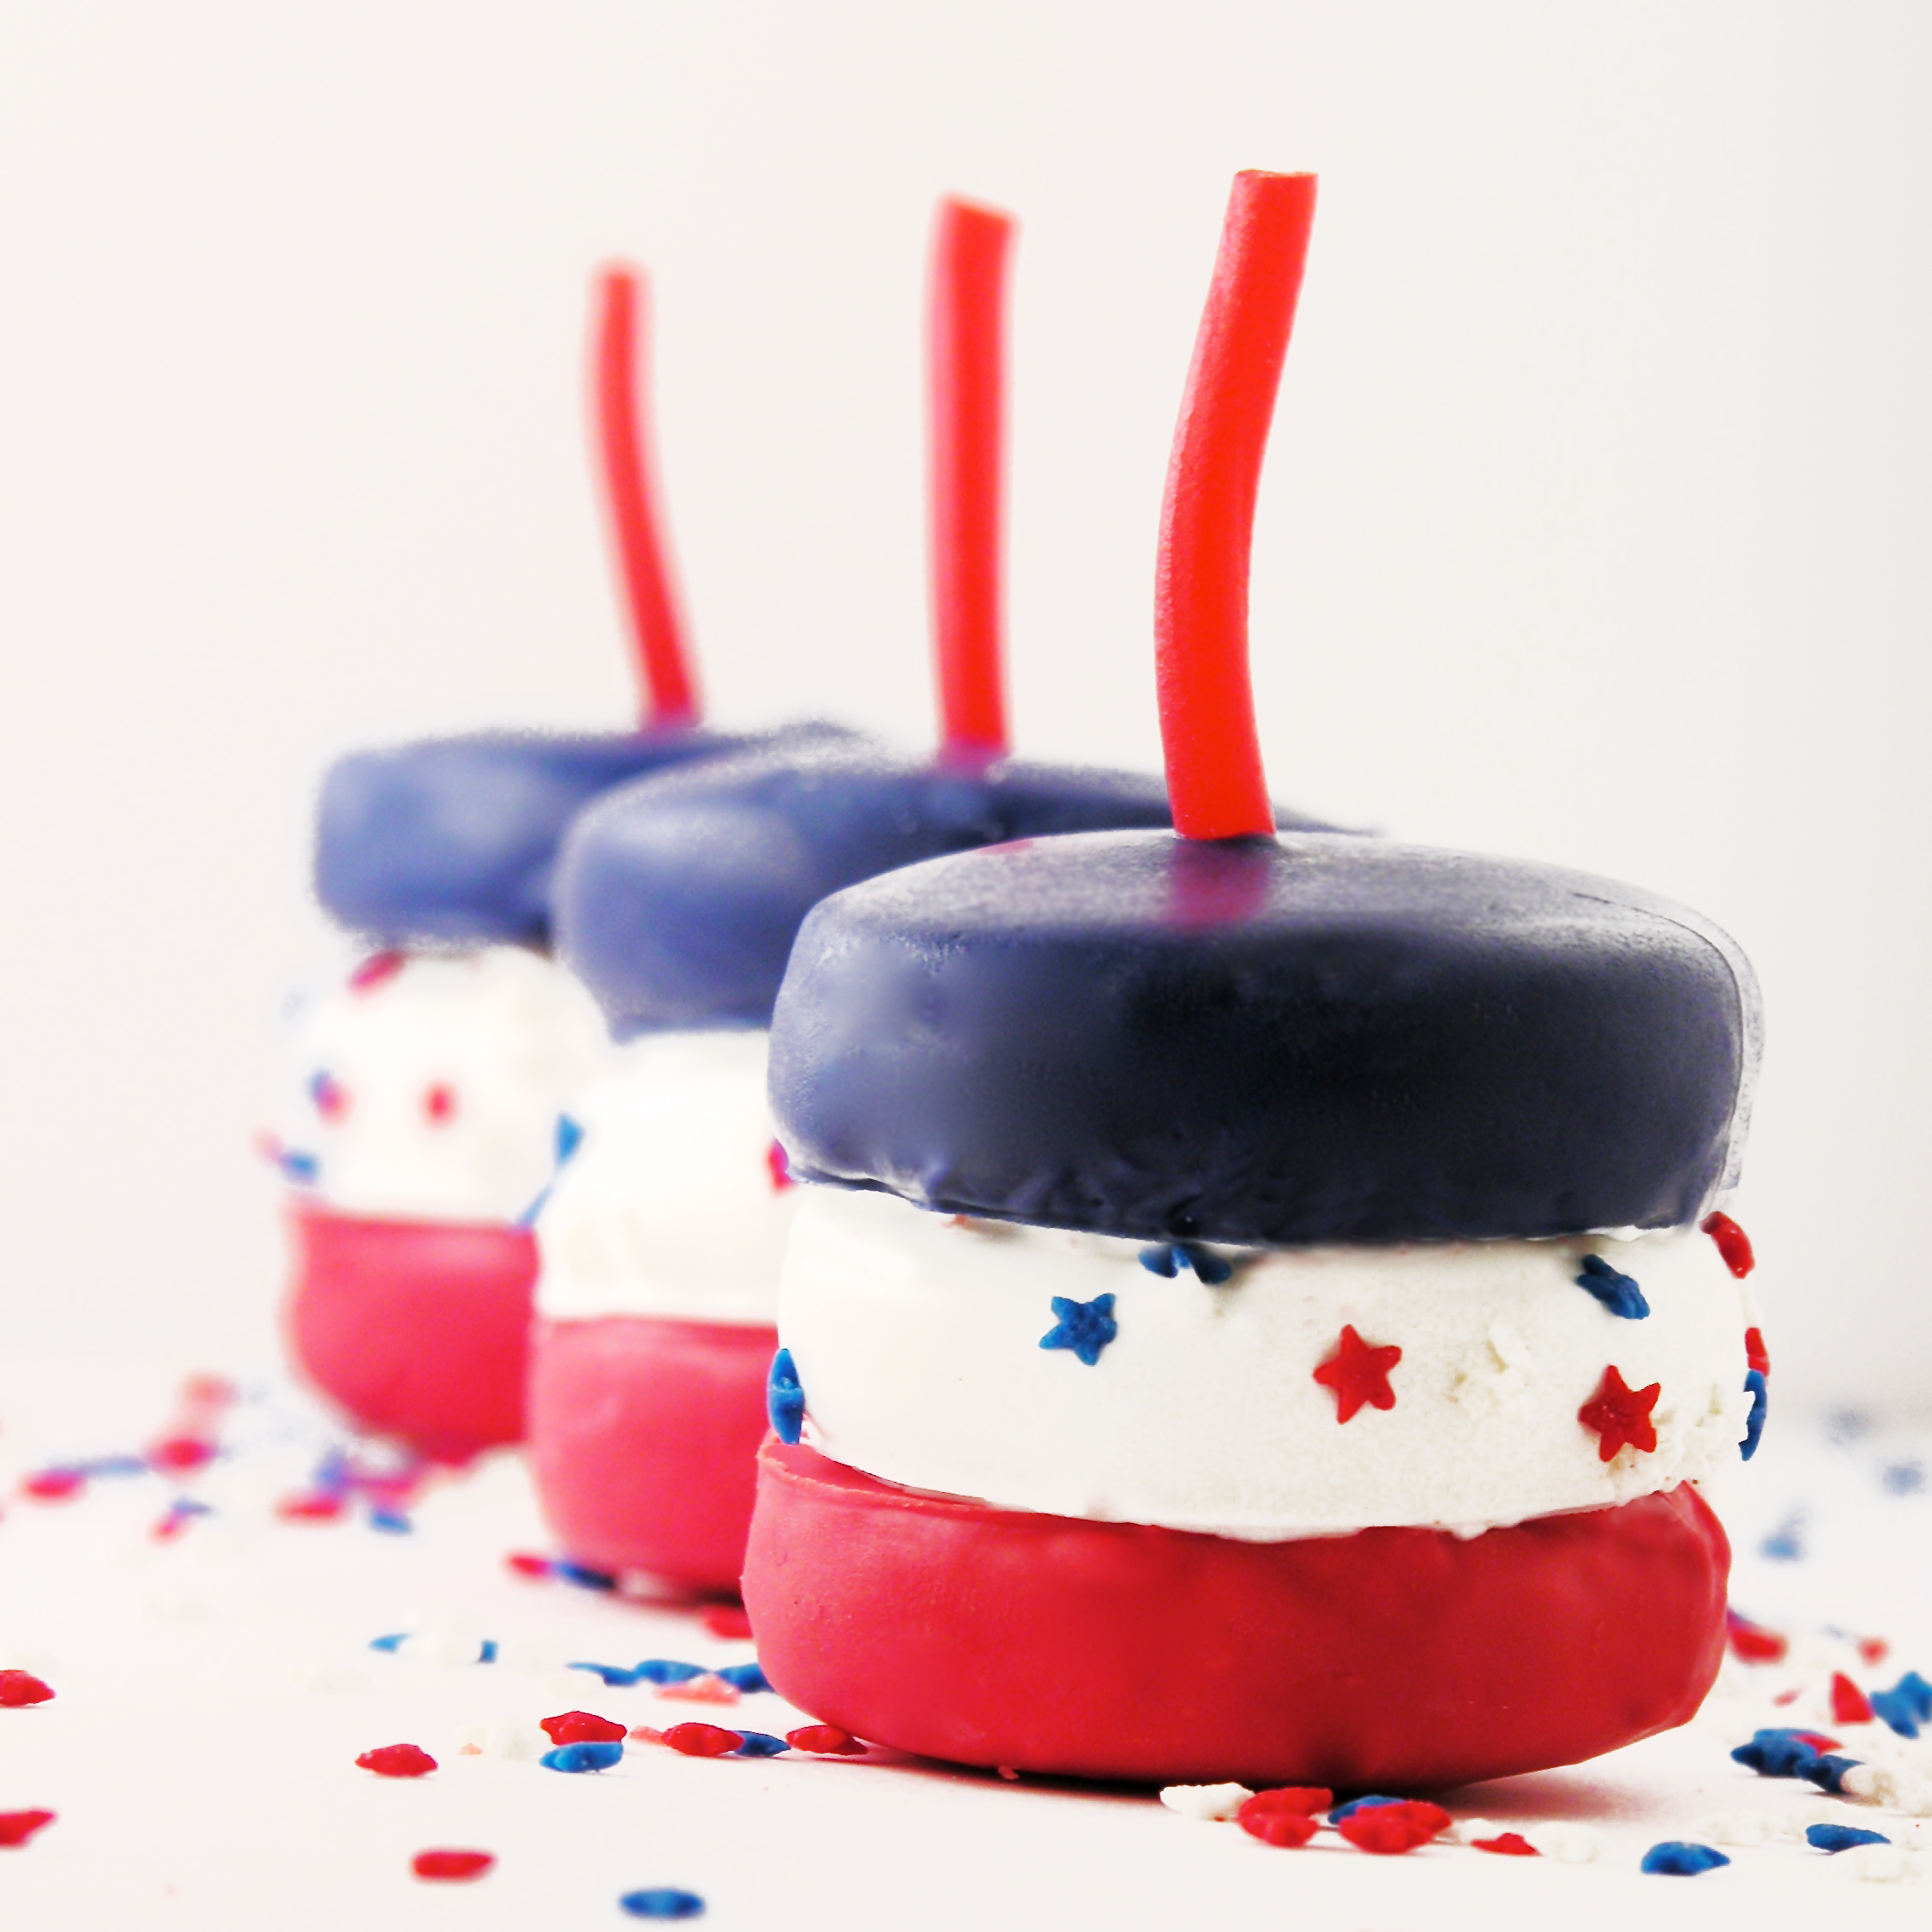
Red White and Blue Bundt Cake!

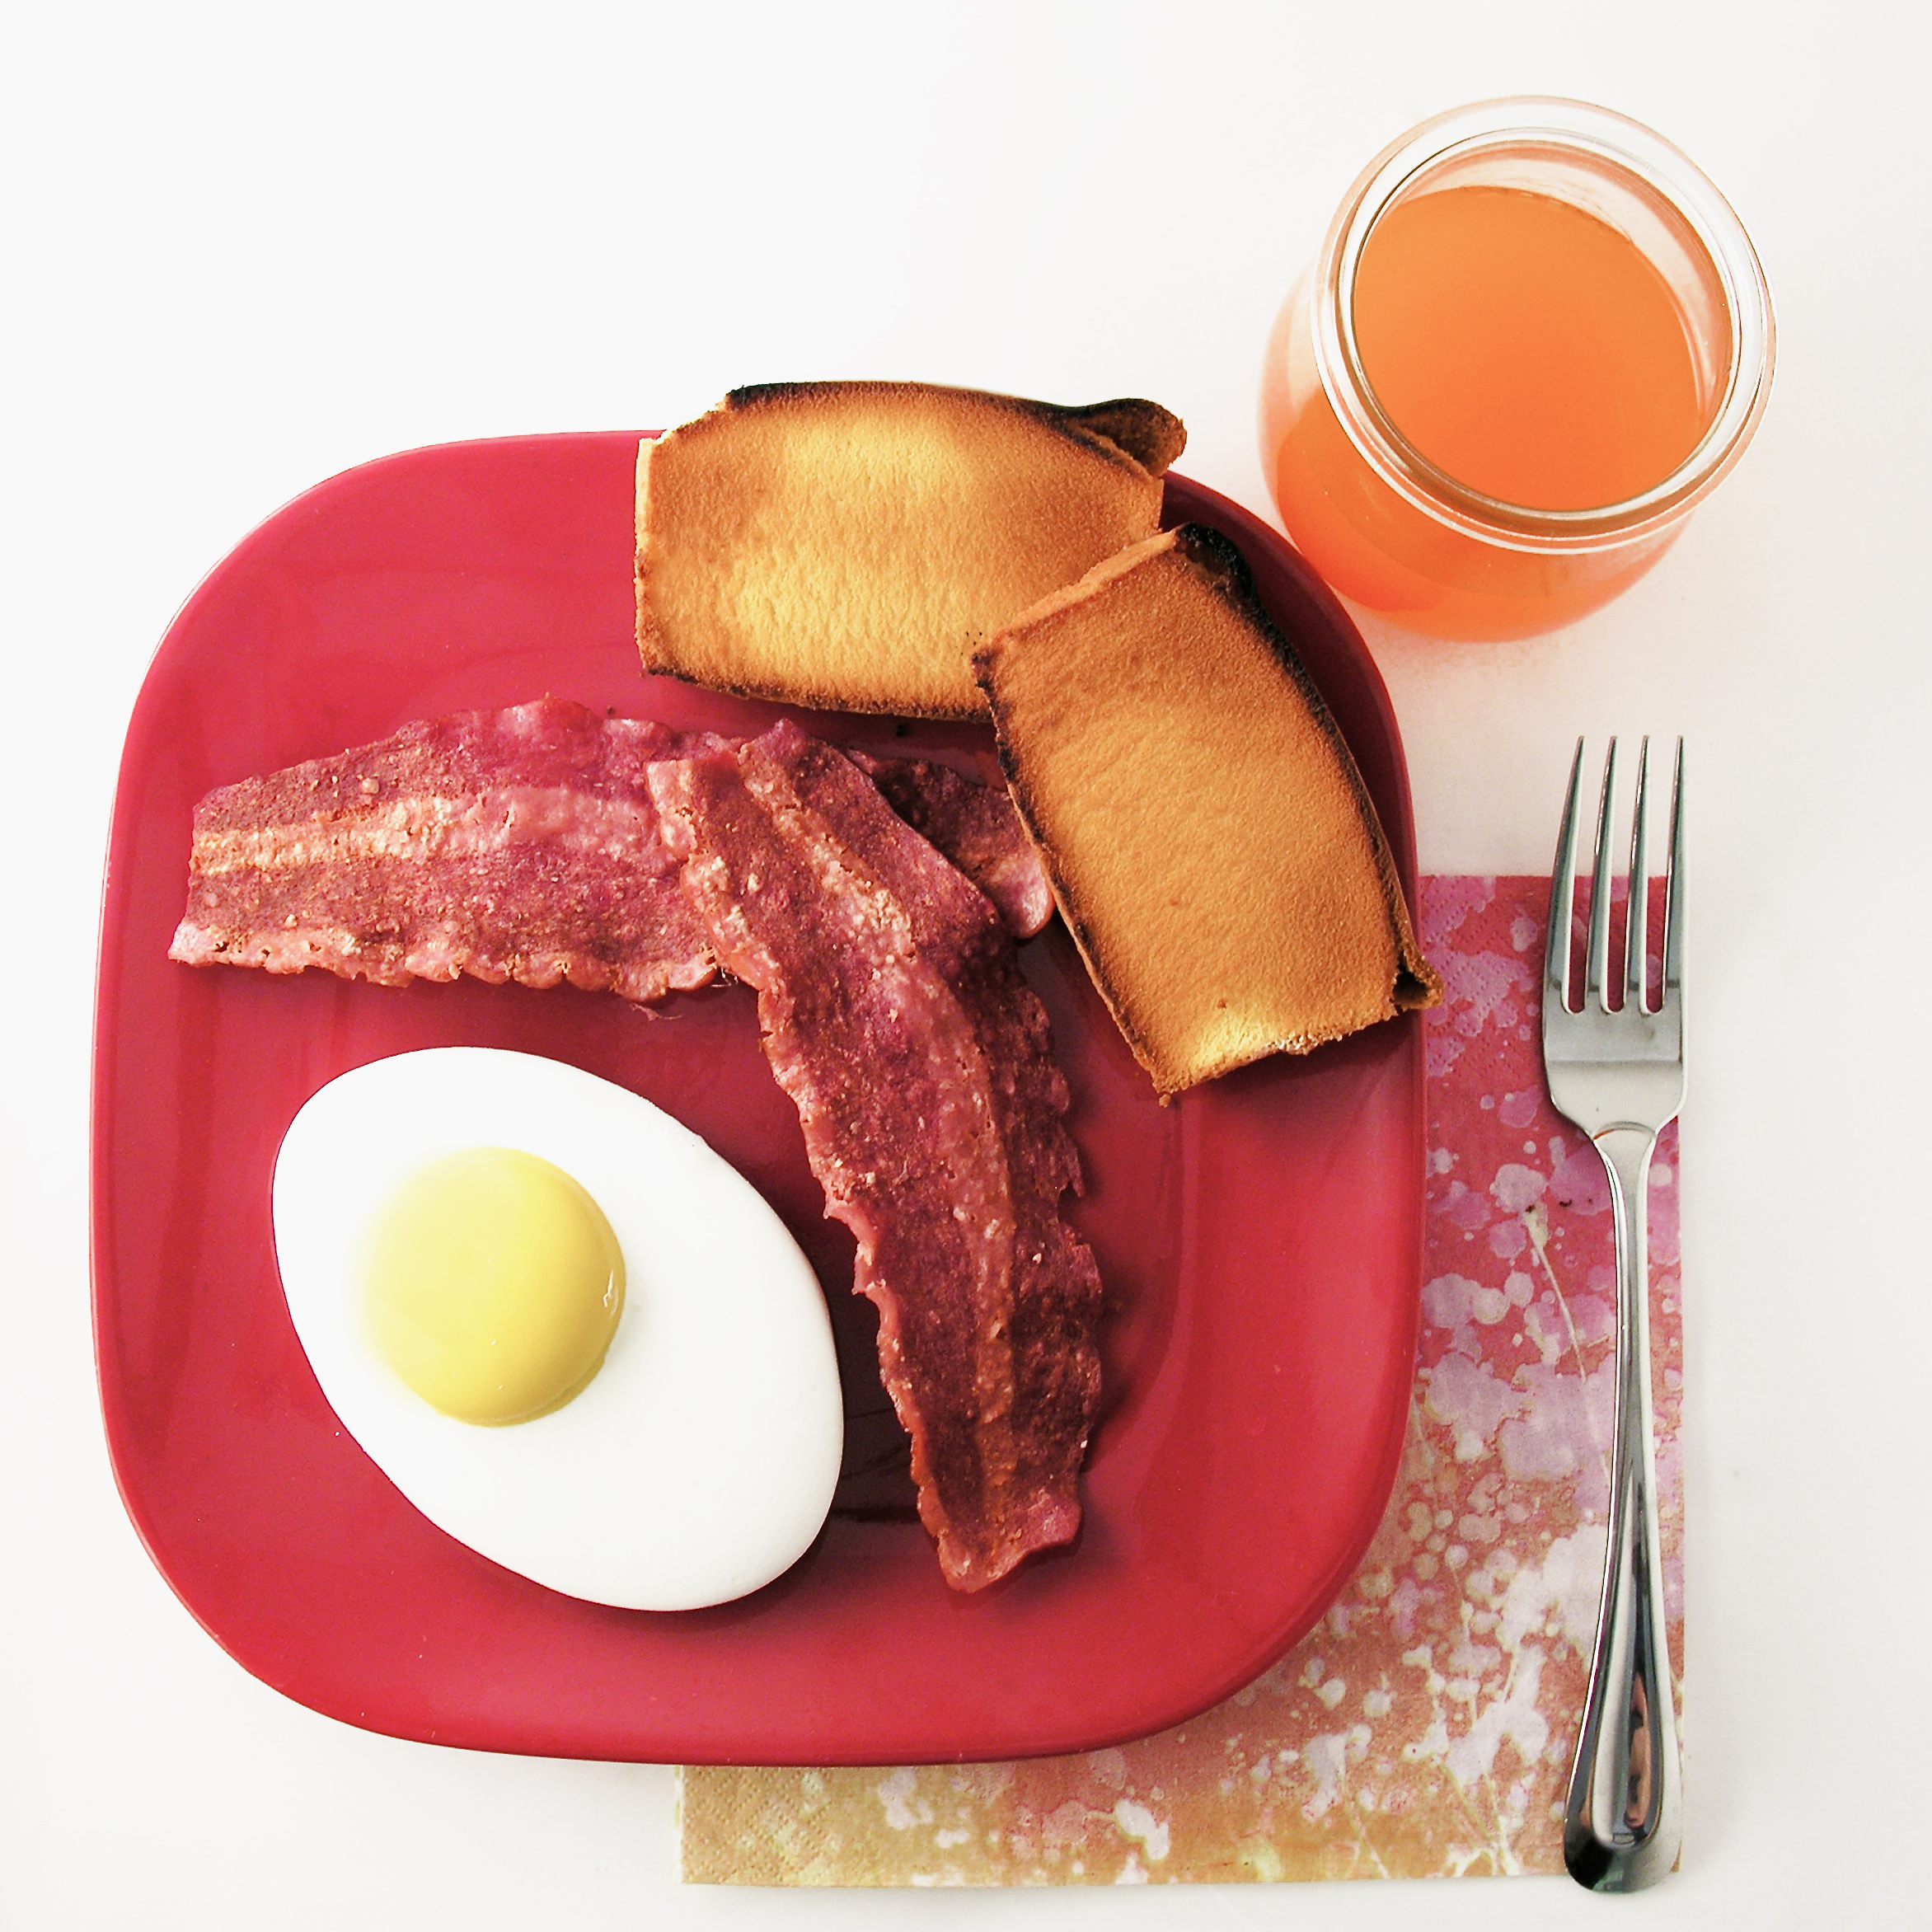
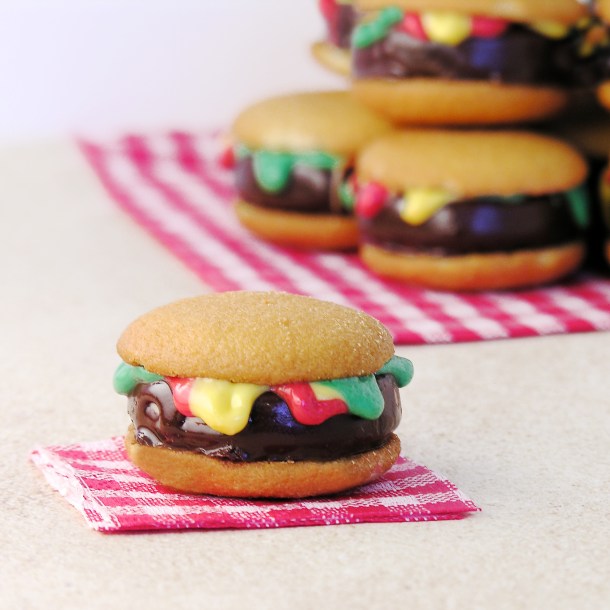
And if you are grilling out for the Fourth, you might need these…

BBQ Grill Cupcakes!!

BBQ Grill Cupcakes!

Hamburger Cookie!

Grilled Burger Cupcakes!

However you celebrate this summer, I hope you have fun making memories with your friends and family~ and I hope you enjoy trying fun, new recipes that become a part of your family traditions! ~r

73090_461339542512_3894329_n

Fire Cracker Cookies!!

Posted on

Fire Cracker Cookies


These fun little fire cracker cookies have a crackling surprise inside– pop rock candy! A perfect treat for your Fourth of July celebrations!!!

I can’t believe it’s almost July already- this summer is passing too fast…! These cookies were a HUGE hit among my friends- the experience of eating a cookie that is popping in your mouth is truly a unique one, and everyone was a huge fan!

Fire Cracker Cookies2


adore sugar cookies…especially in the summer. They are so…expected at Christmas- but the 4th of July? Such a fun treat! These are easy to make and cut just beautifully. The dipping in candy melts takes a little time, but the end result is just so fun!

Here’s how we made these: (printable recipe)

INGREDIENTS: (makes about 60 circles that end up at 20 completed cookies)

  • 2 sticks (1 cup) unsalted butter (softened)
  • 1 1/2 cups of granulated sugar
  • 2 eggs
  • 1 teaspoon of vanilla
  • 1 teaspoon of butter flavoring
  • 3 cups of flour
  • 1 teaspoon of baking powder
  • 1/2 teaspoon of salt
  • 3 bags of Wilton Candy Melts in red, white and blue
  • Star sprinkles
  • 3 packets of Pop Rocks in any flavor
  • String licorice (or the pull-apart kind works too)

DIRECTIONS:

  • Preheat oven to 350F degrees.
  • In a large mixing bowl, cream together butter and sugar until smooth.
  • Add eggs, vanilla and butter flavoring and mix well.
  • Add all dry ingredients and mix until able to knead into a firm ball of dough (add additional flour if necessary).
  • Roll out on a floured counter with a flour coated rolling pin to desired thickness (I made them fairly thick)
  • Cut about 60 circles using a cookie cutter (I used a 1″ cookie cutter)
  • Use a smaller circle cutter to cut out a center circle from 20 of these cookies.
  • Place cookies on cookie sheets covered in parchment paper and bake at 350F degrees for 8 to 10 minutes.
  • Slide baked cookies and parchment paper together onto a counter to cool completely.
  • Melt candy melts in microwave in 30 second increments, stirring in between until smooth.
  • Dip 1/3 of cookies into blue melts first and allow them to harden slightly before setting a snip of licorice on top. You may need to experiment with this a bit. The melts need to be soft enough to stick the licorice in, and hard enough to hold it upright.
  • Dip remaining cookies- 1/3 into red and 1/3 into white melts (add star sprinkles on the sides of the white cookies) and allow them to harden completely.
  • Put the cookies together by piping or spreading a little white candy melt on the bottom of the white piece and setting it on the red. Fill the open spot in the white cookie with pop rocks, pipe or spread a little white candy melt on the top ring of the white cookie and set the blue cookie on the very top. Allow cookies to harden together. Enjoy!!

Firecracker CookiesFirecracker cookies

My thoughts: These take a little time, but they are genuinely fun to make and SO fun to serve! I loved the giggles at those surprise Pop Rocks in the middle!!! I hope you get a chance to try them!!!

Fire Cracker Cookies!

Other fun summer cookie recipes: (click on a photo to see the recipe)

Goldfish Oreo Pops!Hamburger Cookie!Ladybug Oreo Pops!Patriotic Flip Flop Cookies!

Fishing Bobber Cupcakes!

Posted on

Bobber Cupcakes1

If your dad loves fishing, these fun bobbers on waves of blue buttercream frosting will make him smile!

A perfect Father’s Day treat!

The idea for this recipe began last year before Father’s Day. I was pondering the idea of cutting a hole in the top of a cupcake and finding (or making) an edible golf ball to set inside of it. One morning the lightbulb came on: Lindt White Chocolate Truffles! They were perfect, and as I unwrapped all that yummy chocolate I brainstormed for other ideas.

Golf Cupcakes!!

One of those ideas was another Father’s Day treat- fishing bobbers! I filed the idea away until this year came around and then gave it a go. I wasn’t sure if I would be able to dip the truffle in warm chocolate without it melting, and if it would actually look like a bobber– but I love them! My dad loved them too.

Bobber Cupcakes9

Here’s how we made these yummy treats for dad: (printable recipe)

INGREDIENTS:

  • One boxed cake mix (plus water, oil and eggs to make according to package)
  • Blue food coloring gel
  • 2 sticks (one cup) of salted butter
  • 2 sticks (one cup) of unsalted butter
  • 3 cups of powdered sugar
  • 2 teaspoons of clear vanilla flavoring
  • 24 Lindt white chocolate truffles
  • One bag of Wilton candy melts in red

DIRECTIONS:

  • Make cake mix according to package.
  • Divide out about 1/3 of batter and color it blue
  • Swirl the 2 colors together (don’t mix too much!) and scoop into 24 cupcake liners placed in a baking tin.
  • Bake according to package and cool cupcakes completely
  • Make frosting by placing butters, powdered sugar and vanilla into a large bowl and beating on high until light and fluffy. 
  • Divide frosting in half and color one half blue. Swirl together the blue and white frosting and place into a large zip-top bag, fitted with a decorating tip.
  • Pipe frosting on top of cupcakes.
  • To make toppers: Unwrap all Lindt truffles.
  • Melt red candy melts in a bowl in the microwave for 30 second increments, stirring in between, until melted and smooth.
  • Allow candy melts to cool a little before dipping.
  • Use a small skewer or fork to dip each truffle into red candy melts, covering the bottom half in red. Place these on clean parchment paper to cool and harden.

Bobber CupcakesBobber Cupcakes13


  • Place remaining melted red chocolate into a small zip-top bag. Clip a corner and carefully pipe a small circle of red on the top of each “bobber”, covering the hole made by the skewer used for dipping.
  • Once “bobbers” are completely cooled and hardened, place them on the top of each cupcake and enjoy!!!

Bobber Cupcakes

My thoughts: I really have the most incredible dad. He is funny (hilarious!) and smart and brave. He loves golf (last year’s cupcakes) and he loves fishing (this year’s cupcakes)~ he goes to Canada every summer to fish for GIANT Walleye and Pike and then he fries them up for us all when he gets back- and they are delicious! He does roll his eyes when I say that I like bobber fishing best….but in any case, these are for you dad! I love you!!!!!!!

484544_10150888332207513_696367834_n

Need more ideas for your Father’s Day celebration? Try some of these! (click on a photo to see the recipe)

Chocolate Pecan TartCookie Dough BrownieBBQ Grill Cupcakes!!Golf Cupcakes!!!!


Bobber Cupcakes4Bobber Cupcakes8Bobber Cupcakes10

Pecan Praline Cupcakes

Posted on

Praline Cupcakes1If you love pralines, you will love these pecan praline cupcakes with delicious homemade pralines on top!

Two desserts in one!

I’m a huge fan of pecan pralines. Our family has often traveled to the southeast part of the US and there’s just nothing better than a still-warm praline in Charleston or Savannah… YUM!  I’ve always wanted to try making homemade pralines, but I’ve never had a good recipe. Last month, we visited family friends, Dave and MaryAnne, and Dave told us he has the BEST pecan praline recipe. He whipped some up for us and oh my…. He shared his recipe and I had the idea to carry some of those flavors over into cupcakes.

Really, these two desserts stand alone, but are especially fun together!

Let’s start with those pralines (printable recipe):

Pecan Pralines

INGREDIENTS:

  • 3 cups of sugar
  • 1 1/4 cups of hot water
  • 1 1/4 cups of chopped pecans
  • 24-36 pecan halves
  • 1/4 teaspoon of cream of tartar
  • 1 teaspoon of maple extract

DIRECTIONS:

  • Use oil or butter to coat a mini muffin tin well.
  • Place all ingredients (except the whole pecans) into a large saucepan and heat over stove, stirring occasionally, until it reaches 234F degrees.
  • Remove from heat and stir for 5-8 minutes until the candy loses it’s glossy look and gets more cloudy and granular.
  • Spoon (carefully!!!) into well- greased muffin tin.
  • Press a pecan half into the top of each praline and allow to cool.
  • When cooled, tip onto clean surface and ENJOY!

Pecan Pralines

Now for those cupcakes…..! (printable recipe)

INGREDIENTS:

Cupcakes:

  • 2 1/2 cups flour
  • 3 teaspoons of baking powder
  • 1/2 teaspoon of salt
  • 1 1/2 cups granulated sugar 
  • 3/4 cups unsalted butter, softened
  • 3 eggs
  • 1 teaspoons of vanilla
  • 2 teaspoons of maple flavoring
  • 1/2 cup whipping cream
  • 1/4 cup of chopped pecans (as desired)

Praline Buttercream frosting:

  • 1/2 cup brown sugar (firmly packed)
  • 1/2 cup whipping cream
  • 2 sticks (one cup) butter
  • 5 cups powdered sugar

DIRECTIONS: (start the frosting first, as it needs to cool before beating)

Cupcakes:

  • Preheat the oven to 350 degrees. Line muffin tins with 24-30 cupcake liners 
  • In a large bowl, use a mixer to cream together the sugar and butter for about 3 minutes until light and fluffy.
  • Add eggs once at a time until incorporated and then mix in vanilla and maple flavoring.
  • In a different large bowl mix together the dry ingredients: flour, baking powder, and salt.
  • Add flour mixture to the sugar and butter, alternating with the cream.
  • Stir in pecans.
  • Fill cupcake liners about 2/3 full and bake for 15-18 min. Be careful to not over-bake.
  • Cool in pan for a few minutes before removing to finish cooling on the counter.

Frosting:

  • In a small sauce pan, heat brown sugar, cream and 2 tablespoons of butter on medium heat, stirring often, until sugar dissolves. Remove from heat and cool completely.
  • In a large bowl, beat together the cooled brown sugar mixture with remaining butter until smooth.
  • Add powdered sugar and beat on high until light and fluffy.
  • Place in a zip-top bag fitted with a decorator’s tip, and pipe frosting onto cooled cupcakes.
  • Top with a praline- or even a pecan half instead.
  • Enjoy!!

Praline Cupcakes

My thoughts: These are perfectly wonderful together in one beautiful dessert, or they can be made as individual recipes. Either way, if you love pecan pralines, you will love these yummy treats! Enjoy! ~r

Praline Cupcake5

Other fun cupcake recipes from Easybaked (click on the photo to see the recipe):

Malted Milkshake CupcakesKey Lime Cupcakes!Coconut Cupcakes!!!Rocky Road Cupcakes!!!!!


Banana Split Cupcakes!

Posted on

Banana Split Cupcakes

Do you like banana split sundaes? If so, you will love these little cupcake treats- tasty and oh, so cute!!

I love going out for ice cream- not the soft-serve window kind, but the sit-down in a cute parlor with a million combinations of ice creams and toppings to decide from kind. I usually skip the banana split, because I’m not a huge fan of bananas unless they are in bread (or, in this case a cupcake!). Banana splits are the gold-standard of ice cream though- they have that sundae “look” to them. They are pretty.

I wanted to capture the look, and flavor of a sundae in these cupcakes and I love how they turned out! YUM!!!!

A few months ago I made Root Beer Float Cupcakes using scoops of Cool Whip as ice cream. They were so easy and cute and DELICIOUS, that I used the same idea here~ with banana cupcakes and a yummy strawberry ice-cream-topping filling!

Banana Split Cupcakes2 Want to try them? Here’s how we made them: (printable recipe)

INGREDIENTS:

  • One boxed banana cake mix (I used Duncan Hines), plus water, oil and eggs to make according to box.
  • 1 stick (1/2 cup) of salted butter (softened)
  • 1 stick (1/2 cup) of unsalted butter (softened)
  • 1 1/2 cups of powdered sugar
  • 2 teaspoons of strawberry flavoring
  • 2 tubs of Cool Whip (frozen)
  • One jar of strawberry ice cream topping
  • One bottle of chocolate “shell” ice cream topping
  • 1/2 cup of chopped pecans
  • Sprinkles and spoons (optional)

DIRECTIONS:

  • Make cake mix according to package and bake in 24 cupcake liners in muffin tins.
  • Make frosting by combining butters, powdered sugar and strawberry flavoring in a large bowl and beating on high until light and fluffy. Place in a zip-top bag, fitted with a decorating tip.
  • When cupcakes are cool, remove a core from the center using a knife or a cupcake corer. Spoon about 1 tablespoon of strawberry ice cream topping into the middle (you could use pineapple here too, if you wanted) Place “top” of core back on cupcake.
  • Use a cookie scoop or a small ice cream scoop to scoop frozen Cool Whip onto the top of one cupcake. Immediately pipe frosting around the edges of the scoop to hold it in place. Keep cupcakes chilled as soon as they are frosted, and keep your second tub of Cool Whip in the freezer until ready to use.
  • Once all cupcakes are frosted, drizzle them with chocolate shell- this makes a little bit of a mess, but I just dropped them into a second cupcake liner to catch the drips 🙂

Banana Split CupcakesBanana Split Sundae

  • Immediately sprinkle with nuts and decorations.
  • Keep cupcakes refrigerated until serving.
  • Enjoy!!!

Banana Split Cupcakes

My thoughts: These are a little more time consuming that your average cupcake– but look at how fun they are!! The flavors and textures are just perfect too- that cold Cool Whip and those crunchy nuts with the banana cupcakes… YUM! I really hope you get a chance to try these little treats! ~r

Banana Split Cupcakes

Other ice cream- inspired treats here at Easybaked: (click on a photo to see the recipe)

Butterscotch Ice cream towers!!!!Heath Bar Ice Cream Dessert3Raspberry Lemon Cream Cups!!!Ice Cream Cake

Cupcakes for Puppies!!!

Posted on

Pupcakes

These delicious little peanut butter cupcakes are a yummy treat for puppies and people!

(Just don’t sprinkle the people-ones with dog treats!)

Pupcakes

So, I have this dog named Casper.

He was an answer to prayer 6 years ago and he has been making me smile and cheering my heart ever since. His 6th birthday is coming up in June and I wanted to celebrate with a dessert made just for him. I took my peanut butter cookie recipe (which is delightfully simple, using pup-friendly ingredients) and scooped it into mini-muffin tins to bake. They bake up into adorable little bite-size treats. I topped the puppy ones with whipped cream and puppy treats. Then I added a little chocolate on top of the “human” variety.

Peanut butter cookie cupcakes

Here’s how we made them: (printable recipe)

INGREDIENTS: (makes 24-30 mini cupcakes)

  • 1c. creamy peanut butter
  • 1c. sugar
  • 1 egg

DIRECTIONS:

  • Preheat oven to 350F degrees.
  • Mix peanut butter, sugar and eggs together in a mixing bowl.
  • Use a medium size cookie scoop to scoop dough into mini cupcake liners placed in a mini cupcake tin.
  • Bake at 350 degrees for 12-14 minutes.  Cool completely.
  • Serve plain, or top with a little whipped cream and dog treats (for dogs)
  • I like a little chocolate with my peanut butter (for humans ONLY though- chocolate makes puppies sick!)
  • Enjoy! (and help your pup with that paper wrapper!)

Pupcakes7

Pupcakes1

Just like that, his “pupcake” is gone! (he needed a little help with the paper wrapper…)

Then we played with the extra whipped cream a little bit…just for fun.

Pupcakes6Pupcakes5

Love him!!!!!

My thoughts: Easy, fun and yummy for both you and your furry friends. Casper and I shared these with both human and puppy friends and they were a hit! There are only 3 basic ingredients in these, but you’ll want to make sure that neither dog nor human have allergies to them before serving!  ~Enjoy!!!

Casper and his white-dog cupcakes

Don’t miss Casper’s other recipe feature here: “Cupcakes for Casper”

Chocolate Crossword Cookies

Posted on

Crossword Cookies1

These delicious chocolate cut-out cookies are the perfect way to spell out your love to Mom on Mother’s Day!

Goodness, I love these cut-out cookies. They are one of my very favorite chocolate cookies and they roll out and cut beautifully! I’ve used them often with various projects here on Easybaked.

This Mother’s Day is different. It is my very 1st Mother’s Day without a Mom. For those of you who follow me here at Easybaked, you know that we lost mom very suddenly last Christmas season to cancer. Almost every day feels strange without her here, but I guess Mother’s Day seems even more strange.

I’ve had a lot of people ask me if I would have a recipe this year here in celebration of Moms- and I said, “Yes!”

Moms are such a wonderful gift, and if you have one this weekend– give her a big hug and really enjoy having her in your life. I have no regrets about my time with my mom- we made so many wonderful memories together and I love thinking about all the times we spent talking and laughing in my 44 years.

This idea is for her. She was positively addicted to crossword puzzles, and I know that these cookies would have made her smile.

Crossword Cookies4

My icing skills are not something to be terribly proud of…man, I cannot draw a straight line!!!!

Here’s how we made them: (printable recipe)

INGREDIENTS: (makes about 30, 1 1/2” square cookies)

  • 1 sticks (1/2 cup) butter, softened
  • 3/4 cup sugar
  • 1 egg
  • 1/2 teaspoon vanilla extract
  • 1/3 cup unsweetened cocoa powder
  • 1 1/2 cups flour
  • 1/4 teaspoon salt
  • 1/4 teaspoon baking powder
  • Wilton’s candy melts (to mold or write letters with)

DIRECTIONS:

  • Preheat oven to 350F degrees.
  • Add butter, sugar, eggs, vanilla and cocoa together in  large mixing bowl.
  • Blend on medium speed with a mixer until smooth.
  • Gradually add dry ingredients and mix until smooth (use clean hands at the end, to knead into a soft ball of dough)
  • Roll out cookie dough on floured counter, using a floured rolling pin.
  • Cut into 1 1/2″ squares and place on a parchment-lined baking sheet.  
  • Bake for 8 to 11 minutes until the edges are firm.
  • Gently slide parchment paper off of cookie sheet and onto a flat surface. 
  • Before frosting, make letters by using a candy letter mold in 1″ letters. Pipe melted Wilton’s Candy Melts into the letters you need and allow them to harden completely before tapping to remove. You can also just “write” letters on the frosted cookies using melted chocolate or even use pens designed to write in edible ink.
  • Frost using Royal Icing.  Click here for my printable royal icing recipe and instructions for use.
  • As soon as you frost, lay letters in place before the frosting hardens (if you are “writing” directly on the cookie you will wait until the frosting is very hard 1st).
  • Decorate extra cookies with fun sprinkles.

Crossword Cookies

My thoughts: These are yummy little cut-outs! If you don’t want to go with a crossword theme, you can cut these into any shape and decorate them just for your mom!

Crossword Cookies

I will leave you with a (very!) old picture of my mom and I together. I’m so thankful for all the years between this picture and now.

photo

Happy Mother’s Day!!!

Looking for that perfect gift for moms and grandmas? Get them my cookbook- specially designed to use with kids and grandkids, teaching them both kitchen skills and about God’s love for them! Fun!!!

Life is Sweet Baking DevotionalLife Is Sweet: 12 Baking Devotions for Kids

Mud Pie!

Posted on

Mud Pie!

A layer of dense cake, topped with fudge, chocolate mousse and whipped cream. Yum.

Life is mud right now. At least if you live in the midwest and regularly walk a dog. My pup’s little white paws and belly are just caked in mud after every trip down our walking trail. There’s one kind of mud I don’t mind though- the edible kind!

Have you ever tried Mississippi Mud pie? I feel like there’s not an “official” recipe for this pie- sometimes pudding, sometimes marshmallow…I just put several things I love into an Oreo crust and called it mud. And it is delicious. I really think you’ll like it!

Mud Pie

Here’s how we did it: (printable recipe)

INGREDIENTS:

  • One pre-made Oreo crumb crust

Cake layer:

  • 1/2 bag of Nestle dark chocolate chips (this ends up being just a little less than 1 cup)
  • 2 egg yolks
  • 2 Tablespoons vanilla
  • 3 Tablespoons of heavy cream
  • 3 Tablespoons of powdered sugar

Fudge layer:

  • remaining 1/2 bag of Nestle dark chocolate chips (this ends up being just a little less than 1 cup)
  • 1/2 cup of heavy cream

Chocolate Mousse Layer:

  • 1 Packet of Dream Whip
  • 1/3 cup milk
  • 1/4 cup cocoa
  • 1/2 cup powdered sugar

White whipped topping:

  • 1 packet of Dream Whip
  • 1/2 cup milk

DIRECTIONS:

Cake Layer:

  • Unwrap Oreo crust and preheat oven to 350F degrees
  • Melt chocolate chips in the microwave in 30 second increments, stirring in between until smooth.
  • In a separate bowl combine eggs, cream, vanilla and powdered sugar.
  • Add cream mixture to chocolate and blend well.  Pour into crust and bake for 20 – 25 minutes until center is set. Cool completely.

Fudge Layer:

  • Melt remaining chocolate chips and cream together in microwave in 30 second increments, stirring between until melted and smooth.
  • Pour all but about 1/8 cup over cooled cake and allow this layer to firm up (I placed it in the refrigerator while I made the remaining 2 layers).
  • Pour remaining 1/8 cup into a small zip-top bag to use later for drizzle.

Chocolate Mousse Layer:

  • Add all ingredients to mixing bowl and beat on high for 3-4 minutes until light and fluffy.
  • Spoon on top of fudge layer and spread to edges.

Whipped topping:

  • Add all ingredients to mixing bowl and beat on high for 3-4 minutes until light and fluffy.
  • Spoon on top and spread to edges.
  • Take your small bag with 1/8 cup chocolate fudge filling (The one you set aside earlier), clip corner of bag and drizzle over the top. (I added a little shaved chocolate too)
  • Enjoy!

Mud Pie!

My thoughts: This is really as good as it looks…dense fudge bottom topped with the creamiest chocolate toppings. I usually eat that one bite I take off for a picture and give every bit of the rest away. But I ate the whole piece. Bad day for the diet, but a wonderful day to really savor this rich chocolate dessert. This is on my list of “must-make-again” recipes! I hope you get a chance to try it and enjoy it as much as I did!!!! Enjoy! ~r

Mud Pie!!!

Is chocolate the only way to do dessert in your house? Here are some other incredible chocolate treats from Easybaked~ just click on the photo to see the recipe!

Chocolate Mousse CakeTriple Chocolate Cheesecake 2Brownie Oreo Cookie CupGerman Chocolate Pie

Sunny Side Up Egg Cookies!!!

Posted on

Fried Egg Cookies

Whoever said you can’t have cookies for breakfast never tried these cookies!

A perfect April Fool’s treat!

Tomorrow is April Fool’s Day, and we all know that if you don’t catch people early, they will remember what day it is and call your bluff! That’s why these little “breakfast” cookies are the perfect trick. I served them with bacon (salty and sweet…) and toasted pound cake. They are easy to put together and they are the cutest little things in Easter baskets too!

Egg cookies for EasterTwo holidays covered by one recipe? Perfect.

These are perfectly tasty too~ and so easy to create for yourself! Here’s how we did them (printable recipe)

INGREDIENTS: (makes 24-36 cookies, depending on the size of your cookie cutter)

  • 2 sticks (1 cup) unsalted butter (softened)
  • 1 1/2 cups of granulated sugar
  • 2 eggs
  • 1 teaspoon of vanilla
  • 1 teaspoon of butter flavoring
  • 3 cups of flour
  • 1 teaspoon of baking powder
  • 1/2 teaspoon of salt
  • 3 bags of Wiltons candy melts in white
  • 1 bag of Wilton’s candy melts in yellow
  • 24-36 Nilla Wafers

DIRECTIONS:

  • Preheat oven to 350F degrees.
  • In a large mixing bowl, cream together butter and sugar until smooth.
  • Add eggs, vanilla and butter flavoring and mix well.
  • Add all dry ingredients and mix until able to knead into a firm ball of dough (add additional flour if necessary).
  • Roll out on a floured counter with a flour coated rolling pin to desired thickness.
  • Cut using an egg shaped cookie cutter.
  • Place cookies on ungreased cookie sheets and bake at 350F degrees for 8 to 10 minutes.
  • Slide baked cookies onto parchment paper to cool completely.
  • Melt 1/2 a bag of yellow candy melts in a small bowl in the microwave in 30 second increments, stirring in between, until smooth.
  • Gently dip Nilla wafers into yellow candy melts, covering completely and removing with a fork by tapping on the edge of the bowl and sliding bottom along edge. Place on parchment paper to harden completely. (I placed these in the fridge to harden more quickly so they would be ready to place on the egg “whites”)
  • Melt white candy melts in a larger bowl, using the same technique as melting the yellow ones.
  • Gently dip each cooled egg cookie into the white candy melts, using the same technique as with the Nilla Wafers. 

Fried egg cookieFried Egg Cookie

  • Place on parchment paper to harden, but before white egg hardens completely, place a yellow Nilla Wafer on top as a “yolk”.

Fried eggFried Egg cookies

  • Allow cookie to harden completely and serve up with bacon and toasted pound cake…and maybe coffee?
  • These can be placed into treat bags and put into Easter baskets too! Fun!!!

Fried egg cookie for Easter

My thoughts…oh goodness, I’ve had fun with these. They aren’t hard to make, they are very realistic, and they make everyone laugh! I think they are cute in little treat bags too. Have fun- April Fool’s!!! ~r

Fried egg cookies!We have lots of fun Easter treats here on Easybaked! Check them out by clicking on a photo to see the recipe!

Jelly Bean Cookies!!!!Cadbury Egg Cookie Cups!!!!Easter Cheesecake CupsEasy Easter cut out cookies

Homemade Mallo Cups

Posted on

Mallow Cups

Dark chocolate and toasted coconut cups filled with creamy sweet marshmallow-  YUM!

Last week we featured one use for silicone baking cups, and even gave two sets of them away! This week is another idea for these cups. If you missed the story last week, I was sent a set of these silicone cups to try out as an apology for a designer that stole one of my photos and used it in the product packaging of these cups. The cups I am using are Baketown Girls Silicone Baking Cups, and can be found on Amazon.com.

I was a little doubtful about the practicality of these cups (especially when I thought of doing cupcakes in them), but I’m having fun experimenting with the possibilities! I’m sure this won’t be the last recipe on Easybaked using these silicone cups.

Have you ever had Mallo Cups?

Mallo-Cup-Wrapper-SmallDear me, they are amazing. They are considered the very 1st candy cup created, and they were one of my favorite childhood treats. They are a little hard to find these days, so I thought I’d re-create them. They are actually not very hard to make.

Mallo Cups

Here’s how we put them together. (printable recipe)

INGREDIENTS: (makes about 12 cups)

  • 2 bags of Wilton’s Candy Melts (if you want a little better chocolate, try Country Kitchen chocolate. It’s a touch more expensive, but truly better in flavor (click here). )
  • 1 cup of toasted coconut (to toast refer to instructions here)
  • One large jar (13 oz) of Jet-Puffed Marshmallow Creme

DIRECTIONS:

  • Set 12 silicone liners on a cookie sheet with edges.
  • Melt one bag of candy melts in a bowl in the microwave in 30 second increments, stirring between until smooth.
  • Spoon carefully into a large zip-top bag and seal well.
  • Clip a corner off the bag of chocolate and pipe a little chocolate (about 1 tablespoon) into each cup.
  • Tip and/or tap each cup until chocolate covers the entire bottom of the cup.
  • Refrigerate for about 5 minutes until hard.
  • Carefully spoon marshmallow into a second zip-top bag and seal well.
  • Clip a corner off this bag and pipe a dollop of marshmallow into the center of each cup- do not let it touch the sides.
  • Use bag of melted chocolate to carefully pipe chocolate all the way around each dollop of marshmallow- this seals it into the center and keeps it from leaking out. Melt more chocolate, as needed.
  • Refrigerate for about 5 minutes until chocolate is hardened.
  • Melt remaining chocolate and add finely crushed toasted coconut to it (save a bit out to sprinkle on top later if desired)
  • Spoon this mixture into a zip top bag and seal well.
  • Clip a corner and pipe chocolate/coconut evenly over each cup.
  • Sprinkle with toasted coconut, or any decorative topping you desire.
  • Chill until cup is hardened and then peel away silicone cup and enjoy!

Mallo CupsMallow Cups7Mallow Cups5

Not too difficult- and the end result is so much fun (and delicious!)

Mallow Cups2

My thoughts: These are just fun little treats to put together and they really are so yummy with the crunchy coconut and creamy marshmallow. I even made an Easter batch of them!!! I hope you get a chance to try them! Enjoy!! ~r

Easter Mallow Cups

We love to celebrate spring! Here are some other fun springtime recipes: (click on photo to see recipe)

Koolaid PieFlower Pot OreosRaspberry Lemon Cream Cups!!!Fun fondant cupcake toppers