Tag Archives: recipe

Learning to make Scones

Chocolate Chip Scone4
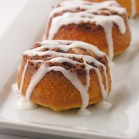
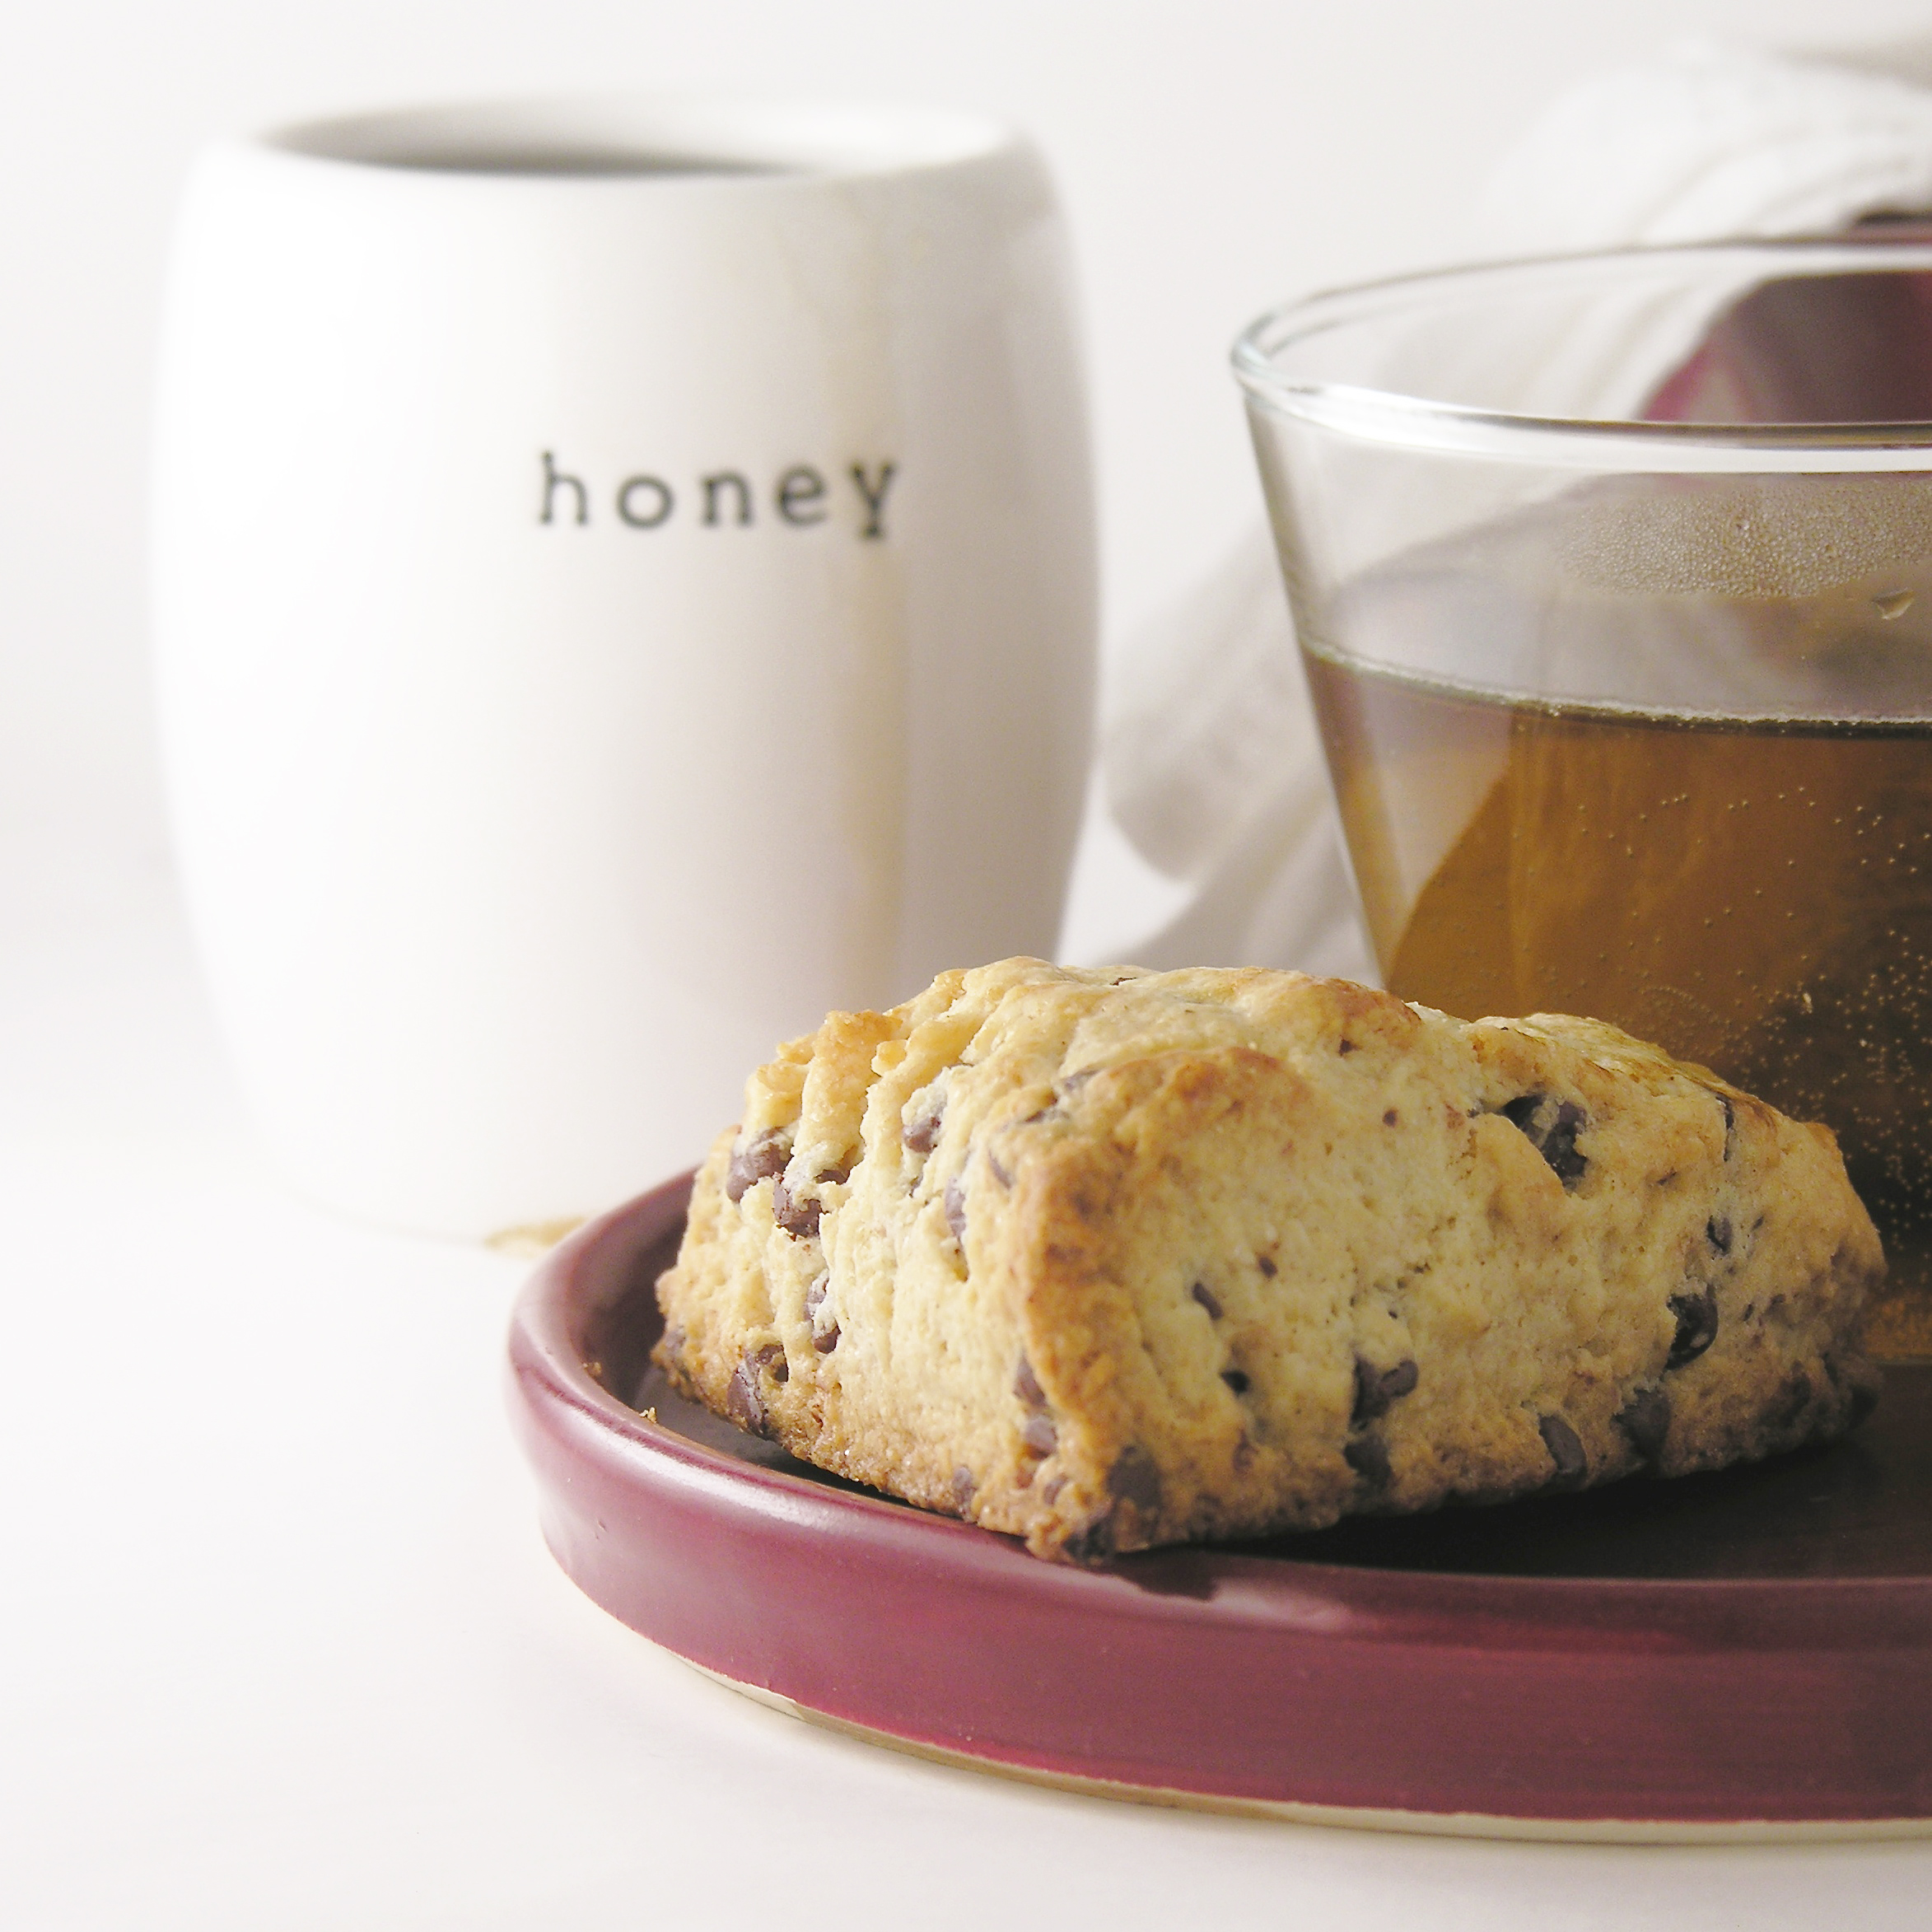
These dense, rich scones can be made with a variety of flavors, and they are SO good!

One month ago I could say that I had never even tasted a scone before, much less made one. Today I made nearly 80 of them and they are one of my new favorite treats!

About a month ago, I offered to help with a baby shower for my friend Heather. I asked if they needed help with food, thinking cake or cupcakes or fancy cookies- typical shower requests. Heather’s mom Sharla explained that they were having an English tea for Heather and could I please make scones?

Scones…? I agreed and started to read up on scones. They sounded difficult. They sounded dry and crumbly and b-o-o-o-ring…. yawn.

Apricot Scones1

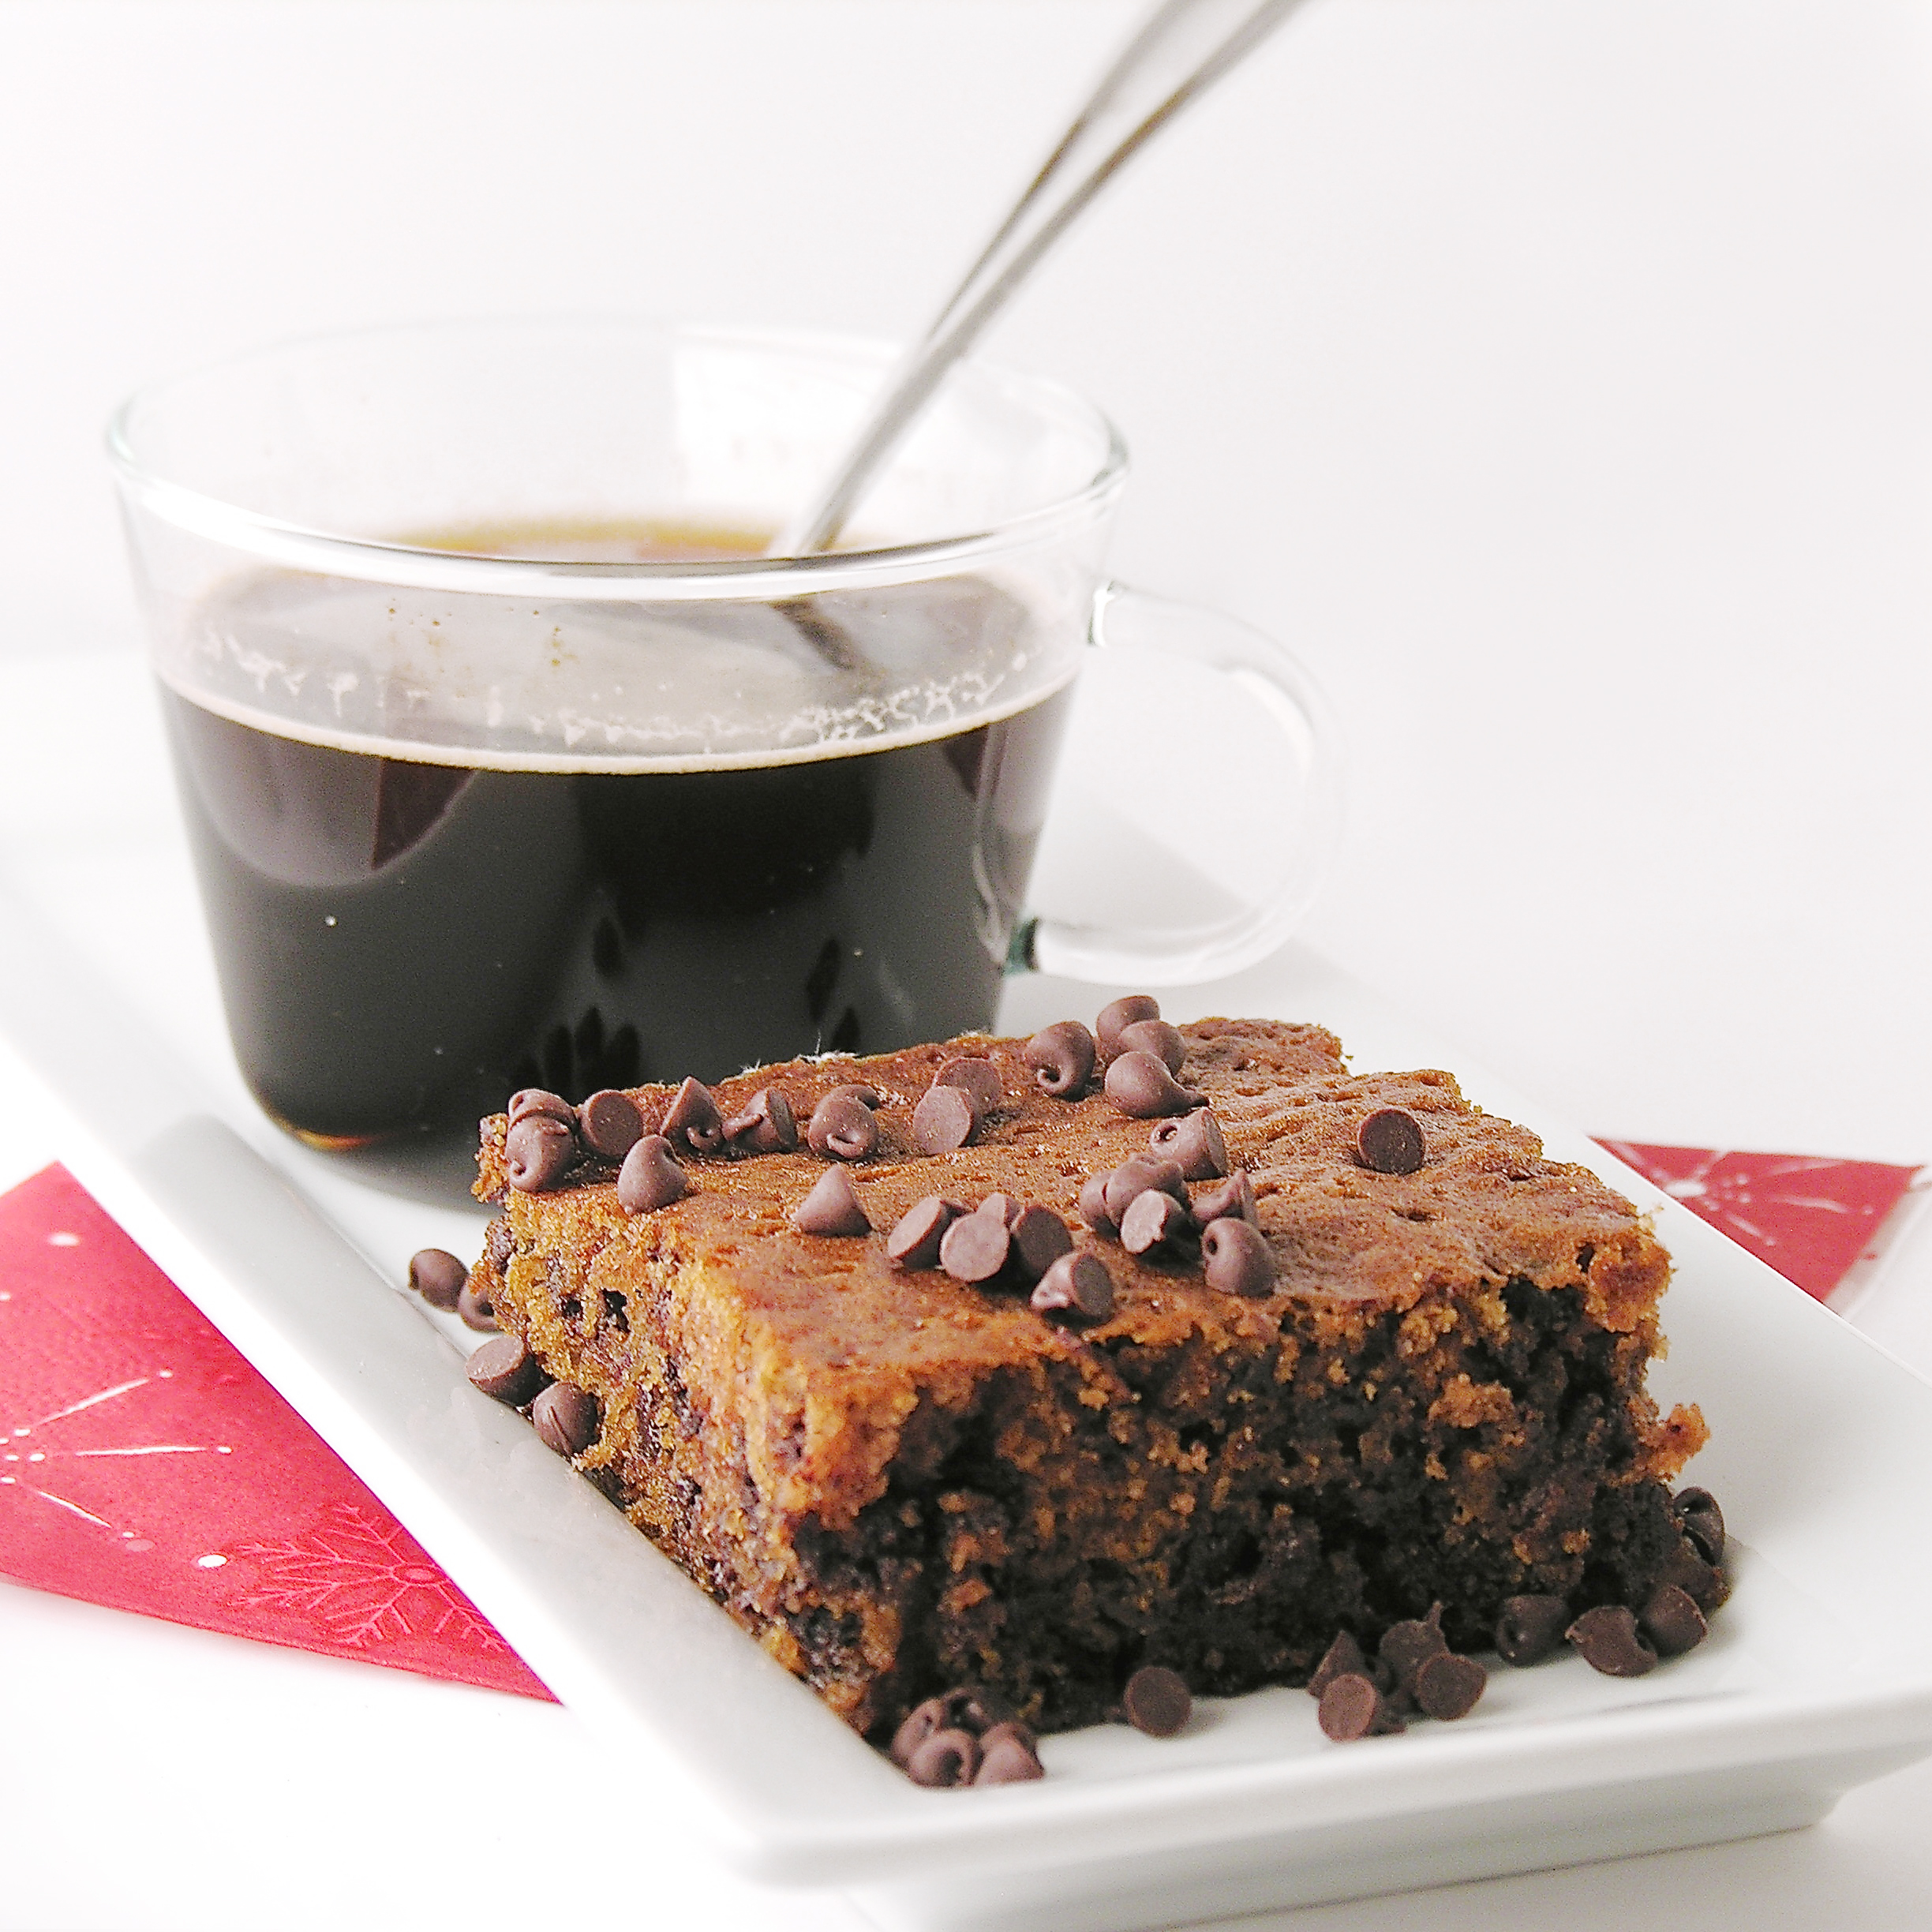
I started with a basic recipe for chocolate chip scones. I won’t tell you where I got it, because it wasn’t very good. At the time, I thought it must just be how scones are supposed to be (since I’d never tasted one before). Yuck.

I was explaining my dislike for scones in a group of friends one night, and one family started protesting that they make the best scones ever. The mom (my friend Beth), got the recipe from her mother-in-law, who sold them in a tea shop she ran years ago.

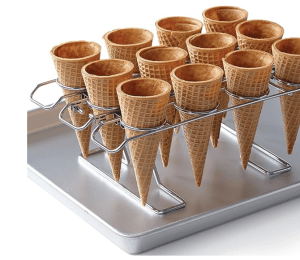
It sounded promising, and Beth sent me home armed with the recipe, tips and two scone pans (I didn’t even know those existed, but I LOVE them!).

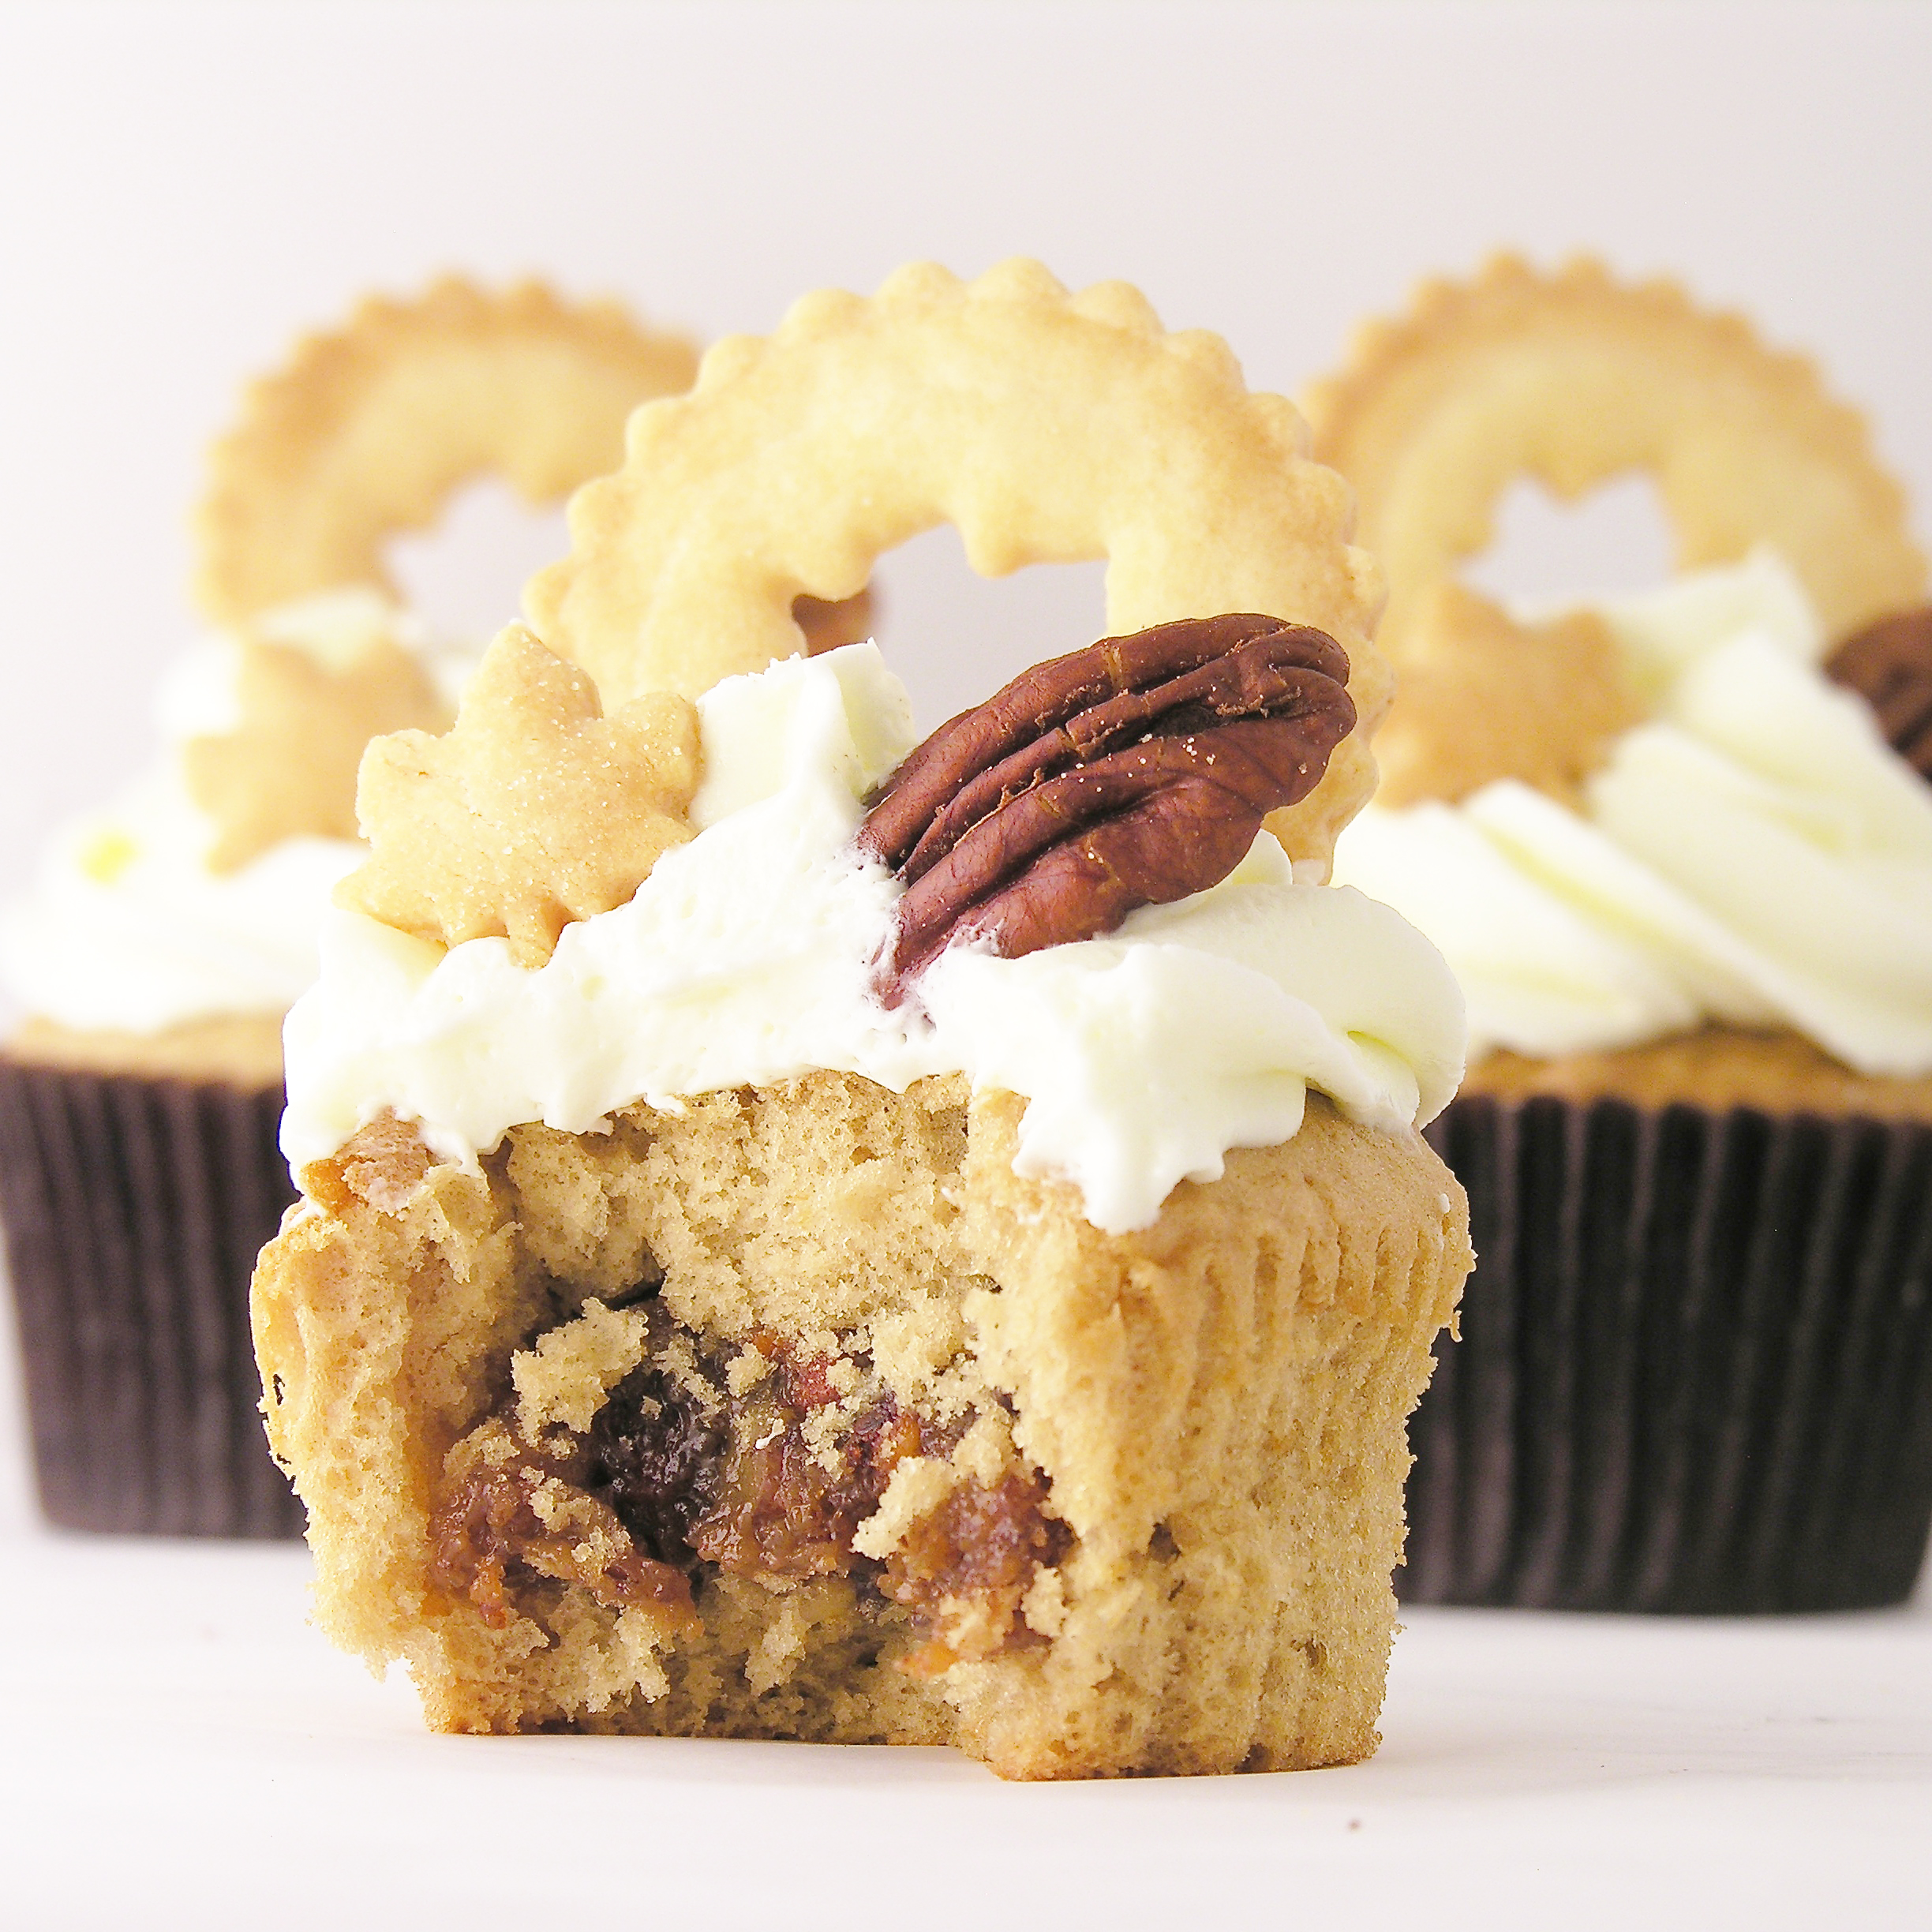
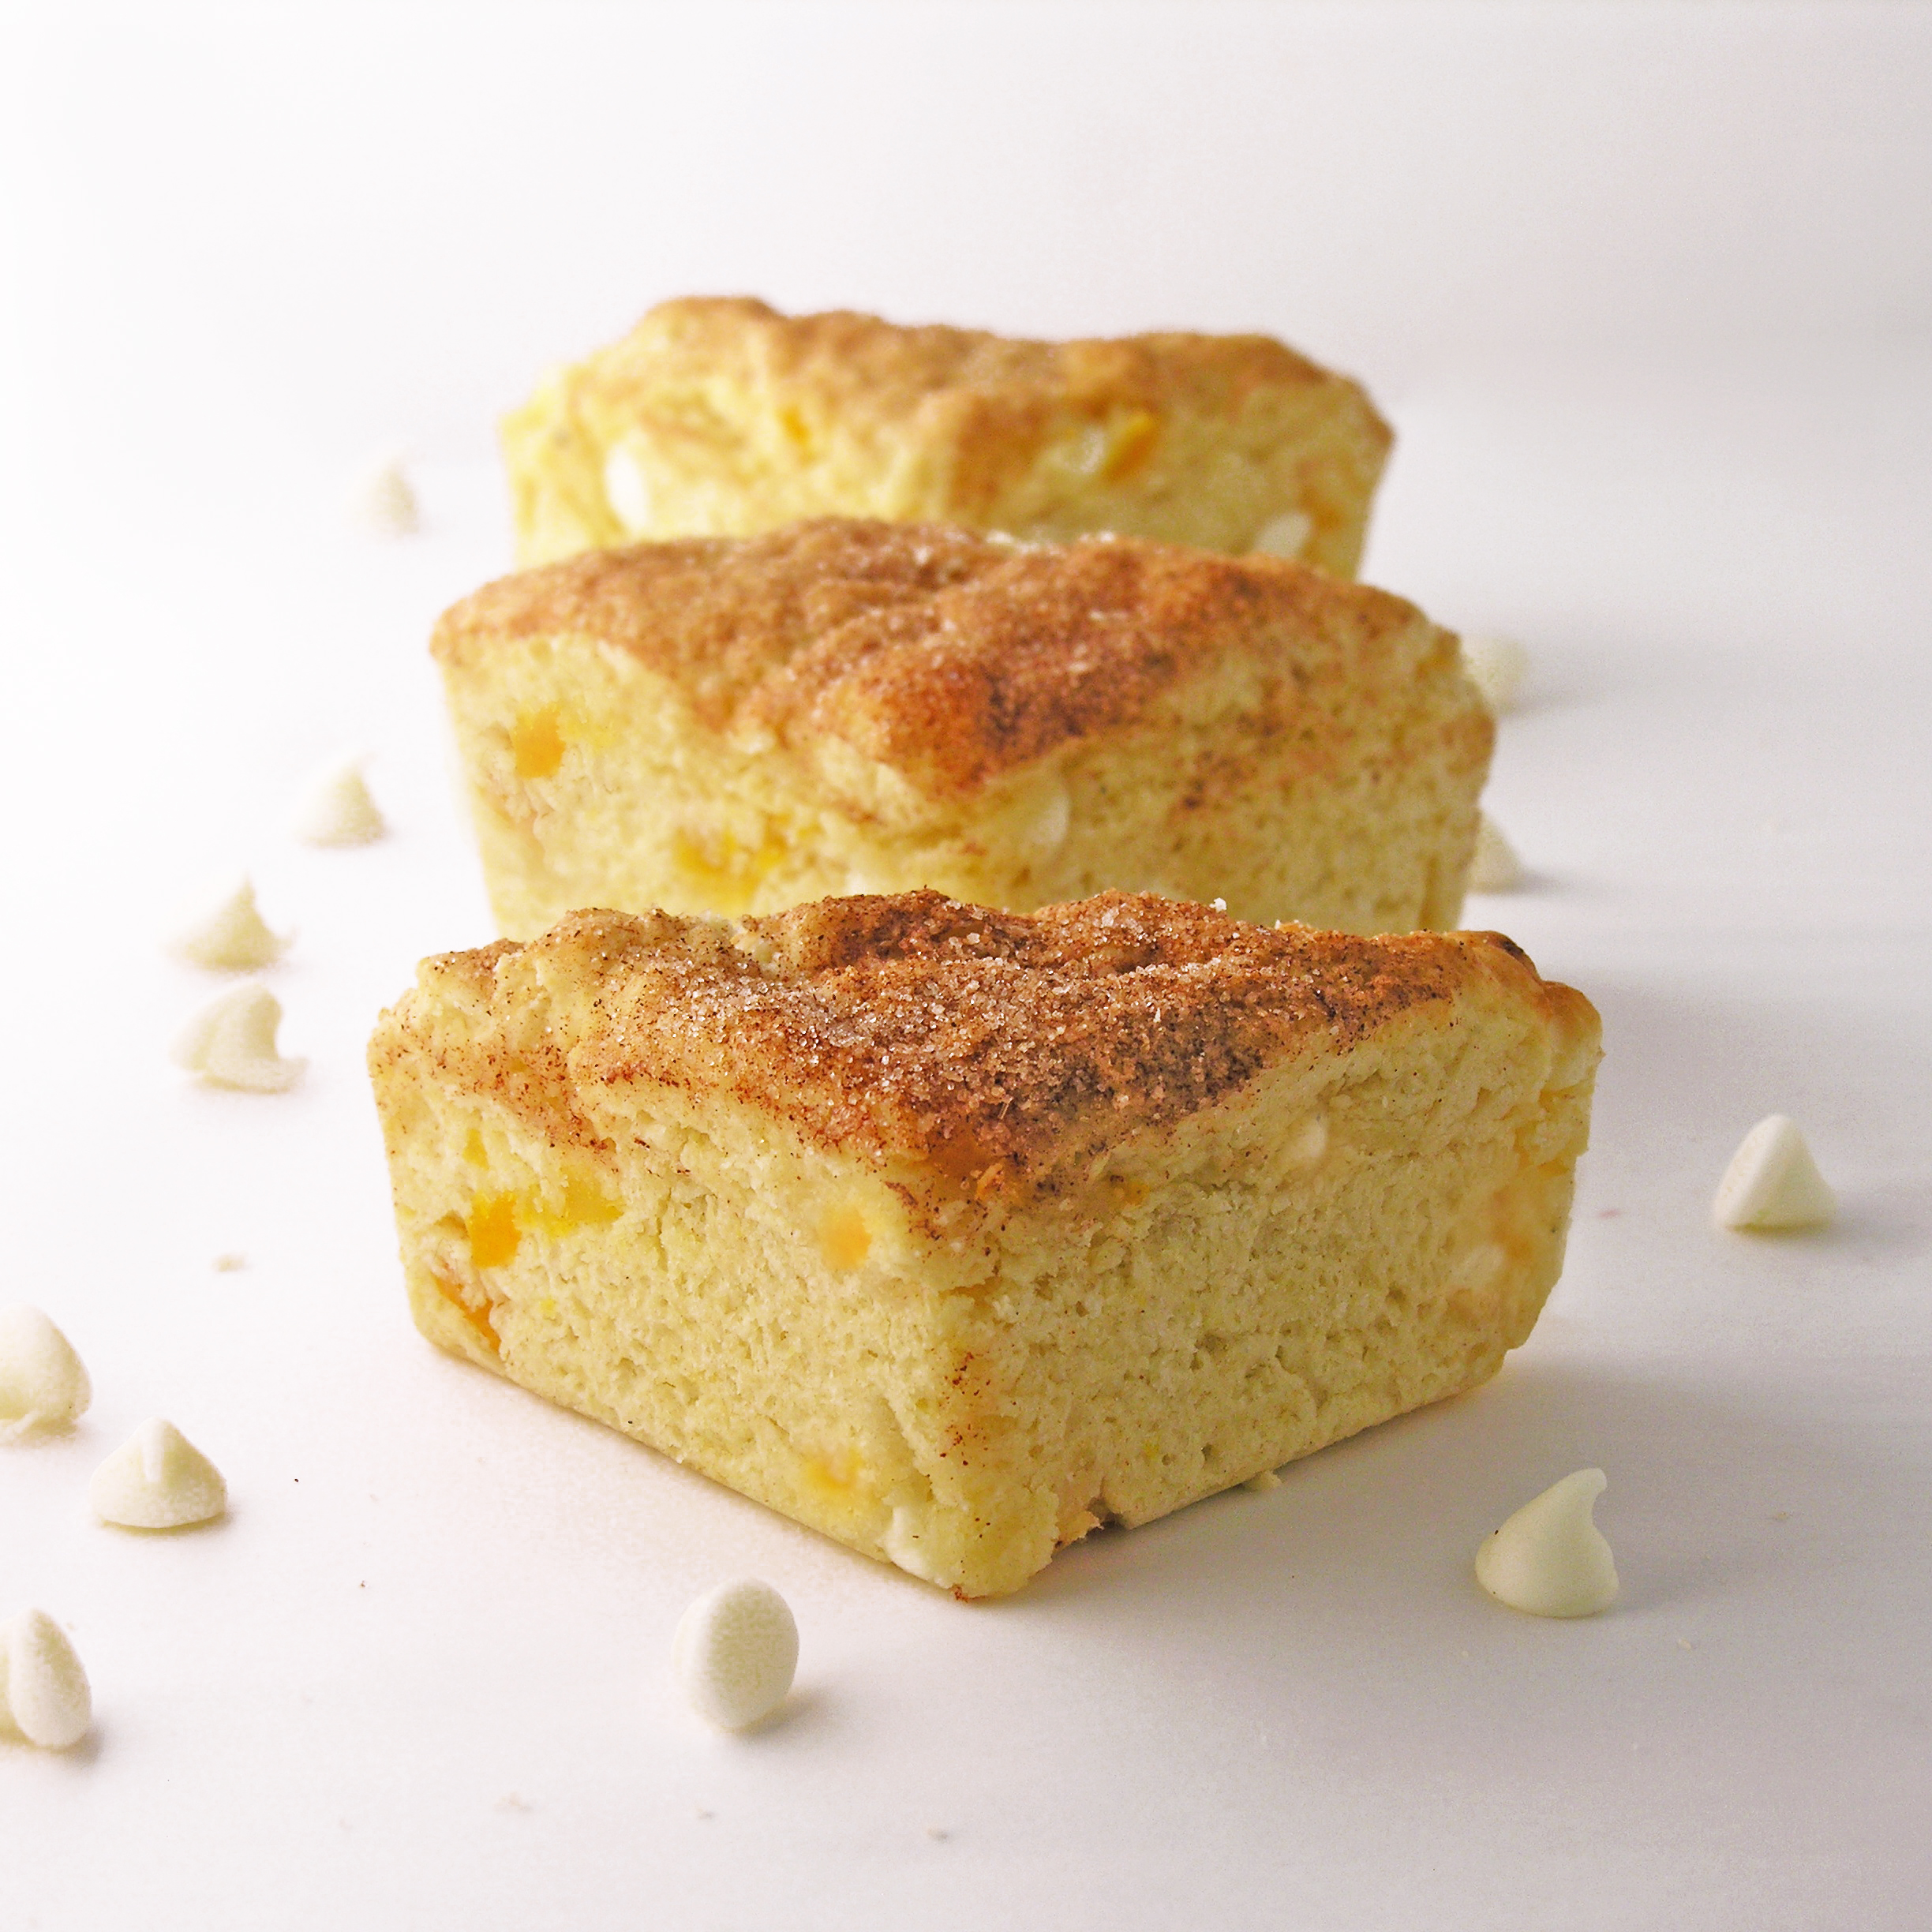
I started with Apricot White Chocolate Scones, and the rest is history. I love them. They are easier than cookies and so much yummier!

Apricot Scone

Here is how to make them: (printable recipe)

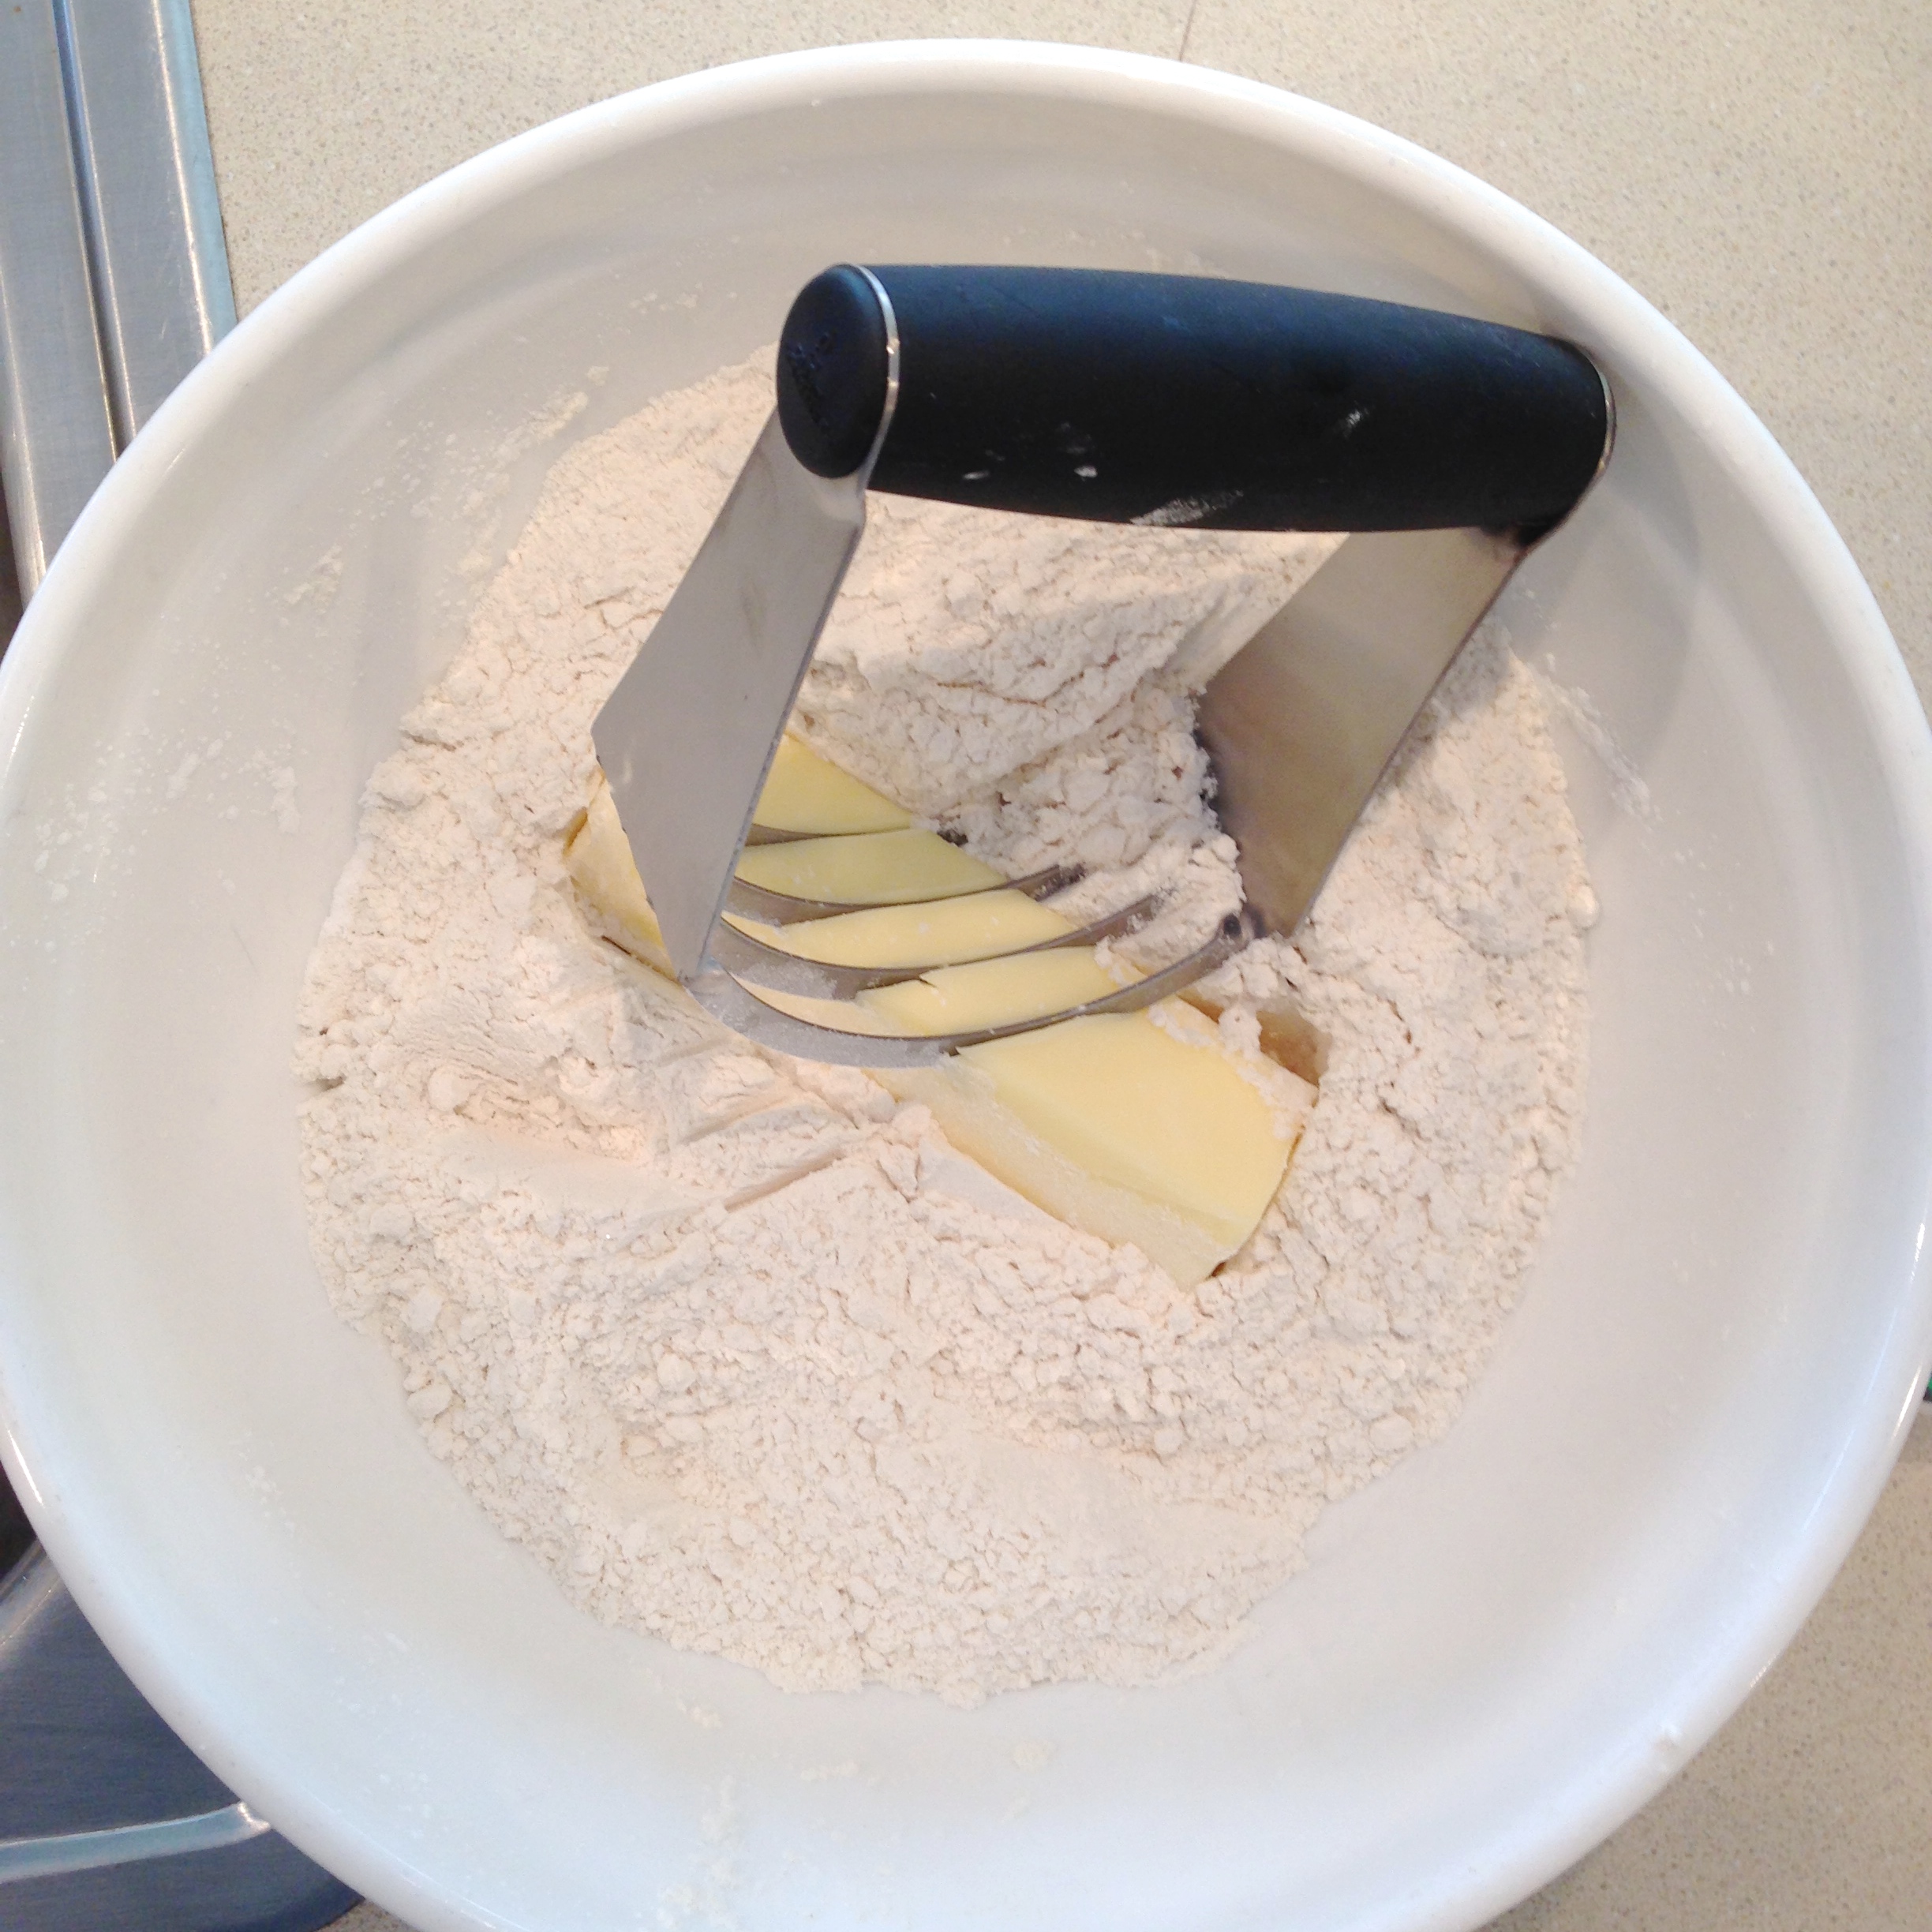
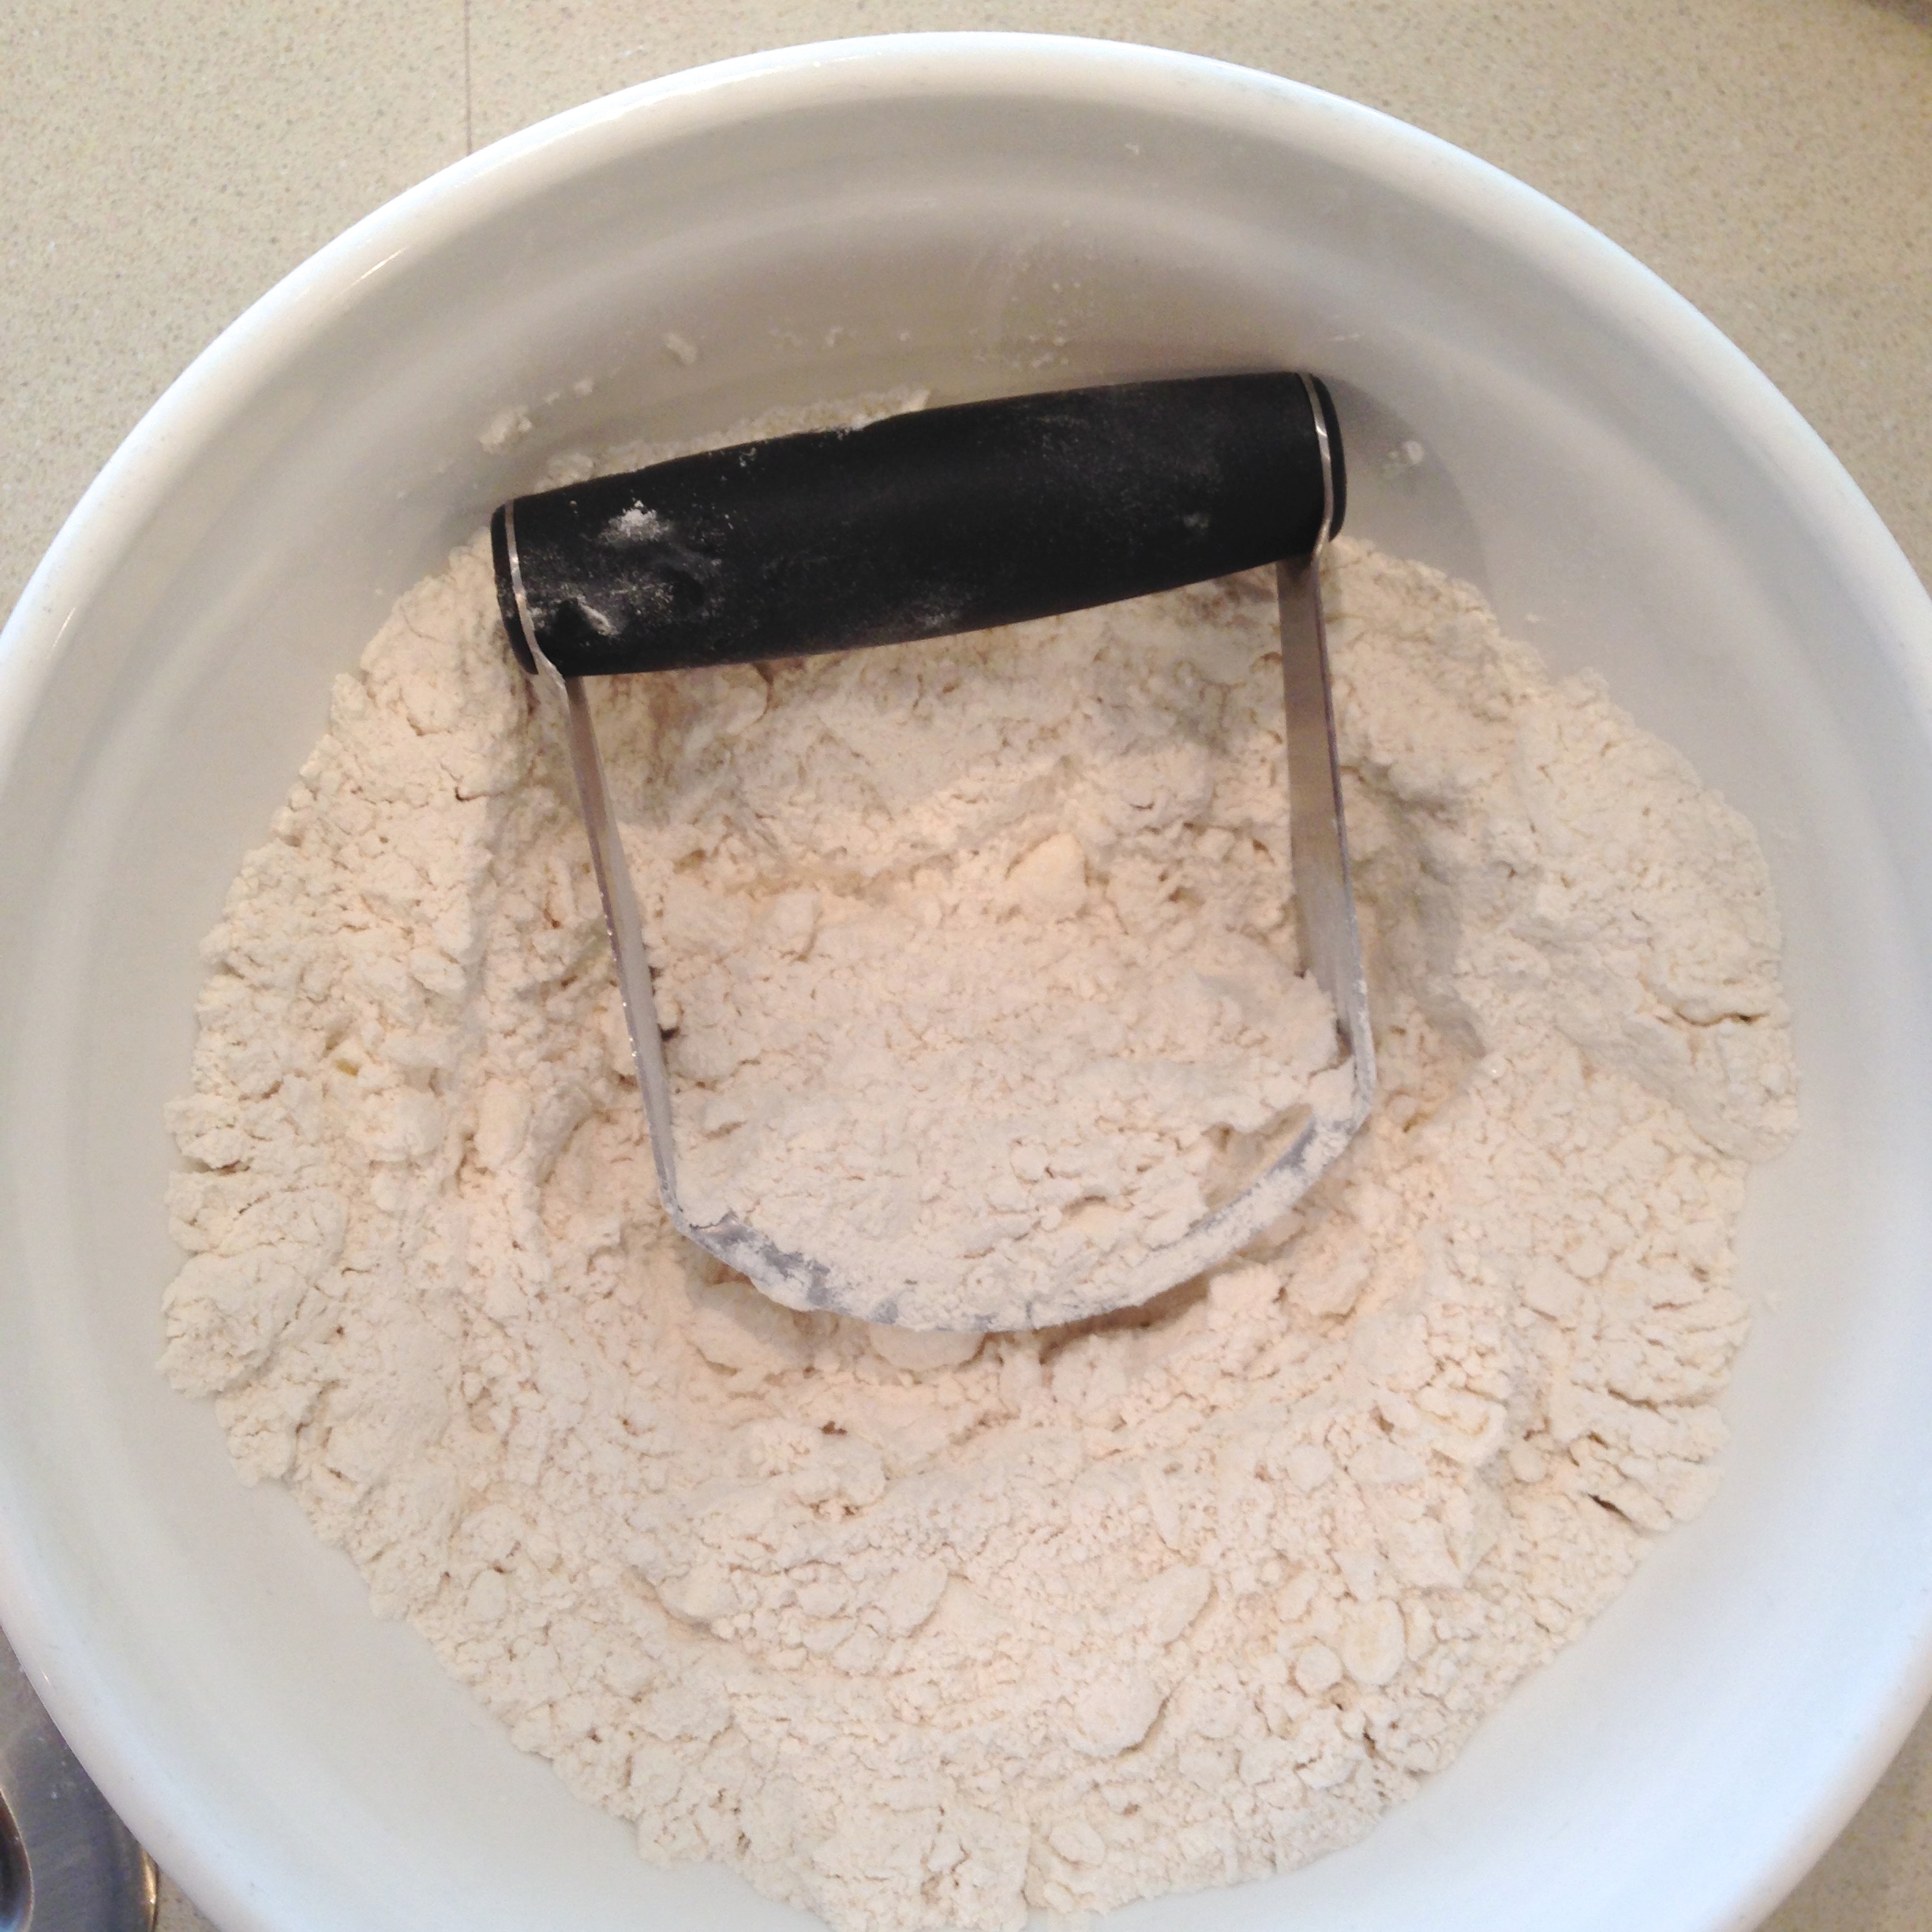
You really need to have a pastry cutter (you can cut cold butter in with a knife, but it is SO much harder). You might also want to consider a scone pan. Those links will take you to products on Amazon, and if you get them I will get like 6% of what you spend. And then I will buy a scone pan for myself. *smile* If you want, you can cut the scones and bake them on a cookie sheet too- but they aren’t quite as moist and amazing that way.

 INGREDIENTS:

  • 2 1/2 cups of all-purpose flour
  • 2 tablespoons of sugar
  • 4 teaspoons of baking powder (fresh!)
  • 1/4 teaspoon salt
  • 1 cup of dried fruit, chocolate chips, nuts, or any combination of those three
  • 1 stick (1/2 cup) of cold butter
  • 2 eggs (beaten)
  • 3/4 cup of whipping cream
  • Milk (as needed)
  • Sugar/ Cinnamon to sprinkle on top.

DIRECTIONS:

  • Preheat oven to 400 degrees F, and spray pan (or sheet) liberally with cooking spray.
  • In a large mixing bowl combine flour, sugar, baking powder, and salt.
  • Add stick of butter and cut into crumb-like pieces using the pastry cutter.
  • Add nuts or chips (if using) and toss together with dry mixture until coated.
  • In a medium mixing bowl, mix together whipping cream and eggs until well combined.
  • Add dried fruit (if using) and toss together with wet mixture until coated.
  • Make a “well” in the center of the dry ingredients and pour the wet ingredients into it.
  • Combine and then gently knead with hands until it holds together in a ball. Add milk if mixture is too dry (this is most often the case when no fruit is added). Don’t over-knead this dough (you’ll melt all those little pieces of butter with the heat of your hands!)

IMG_0122IMG_0127IMG_0128

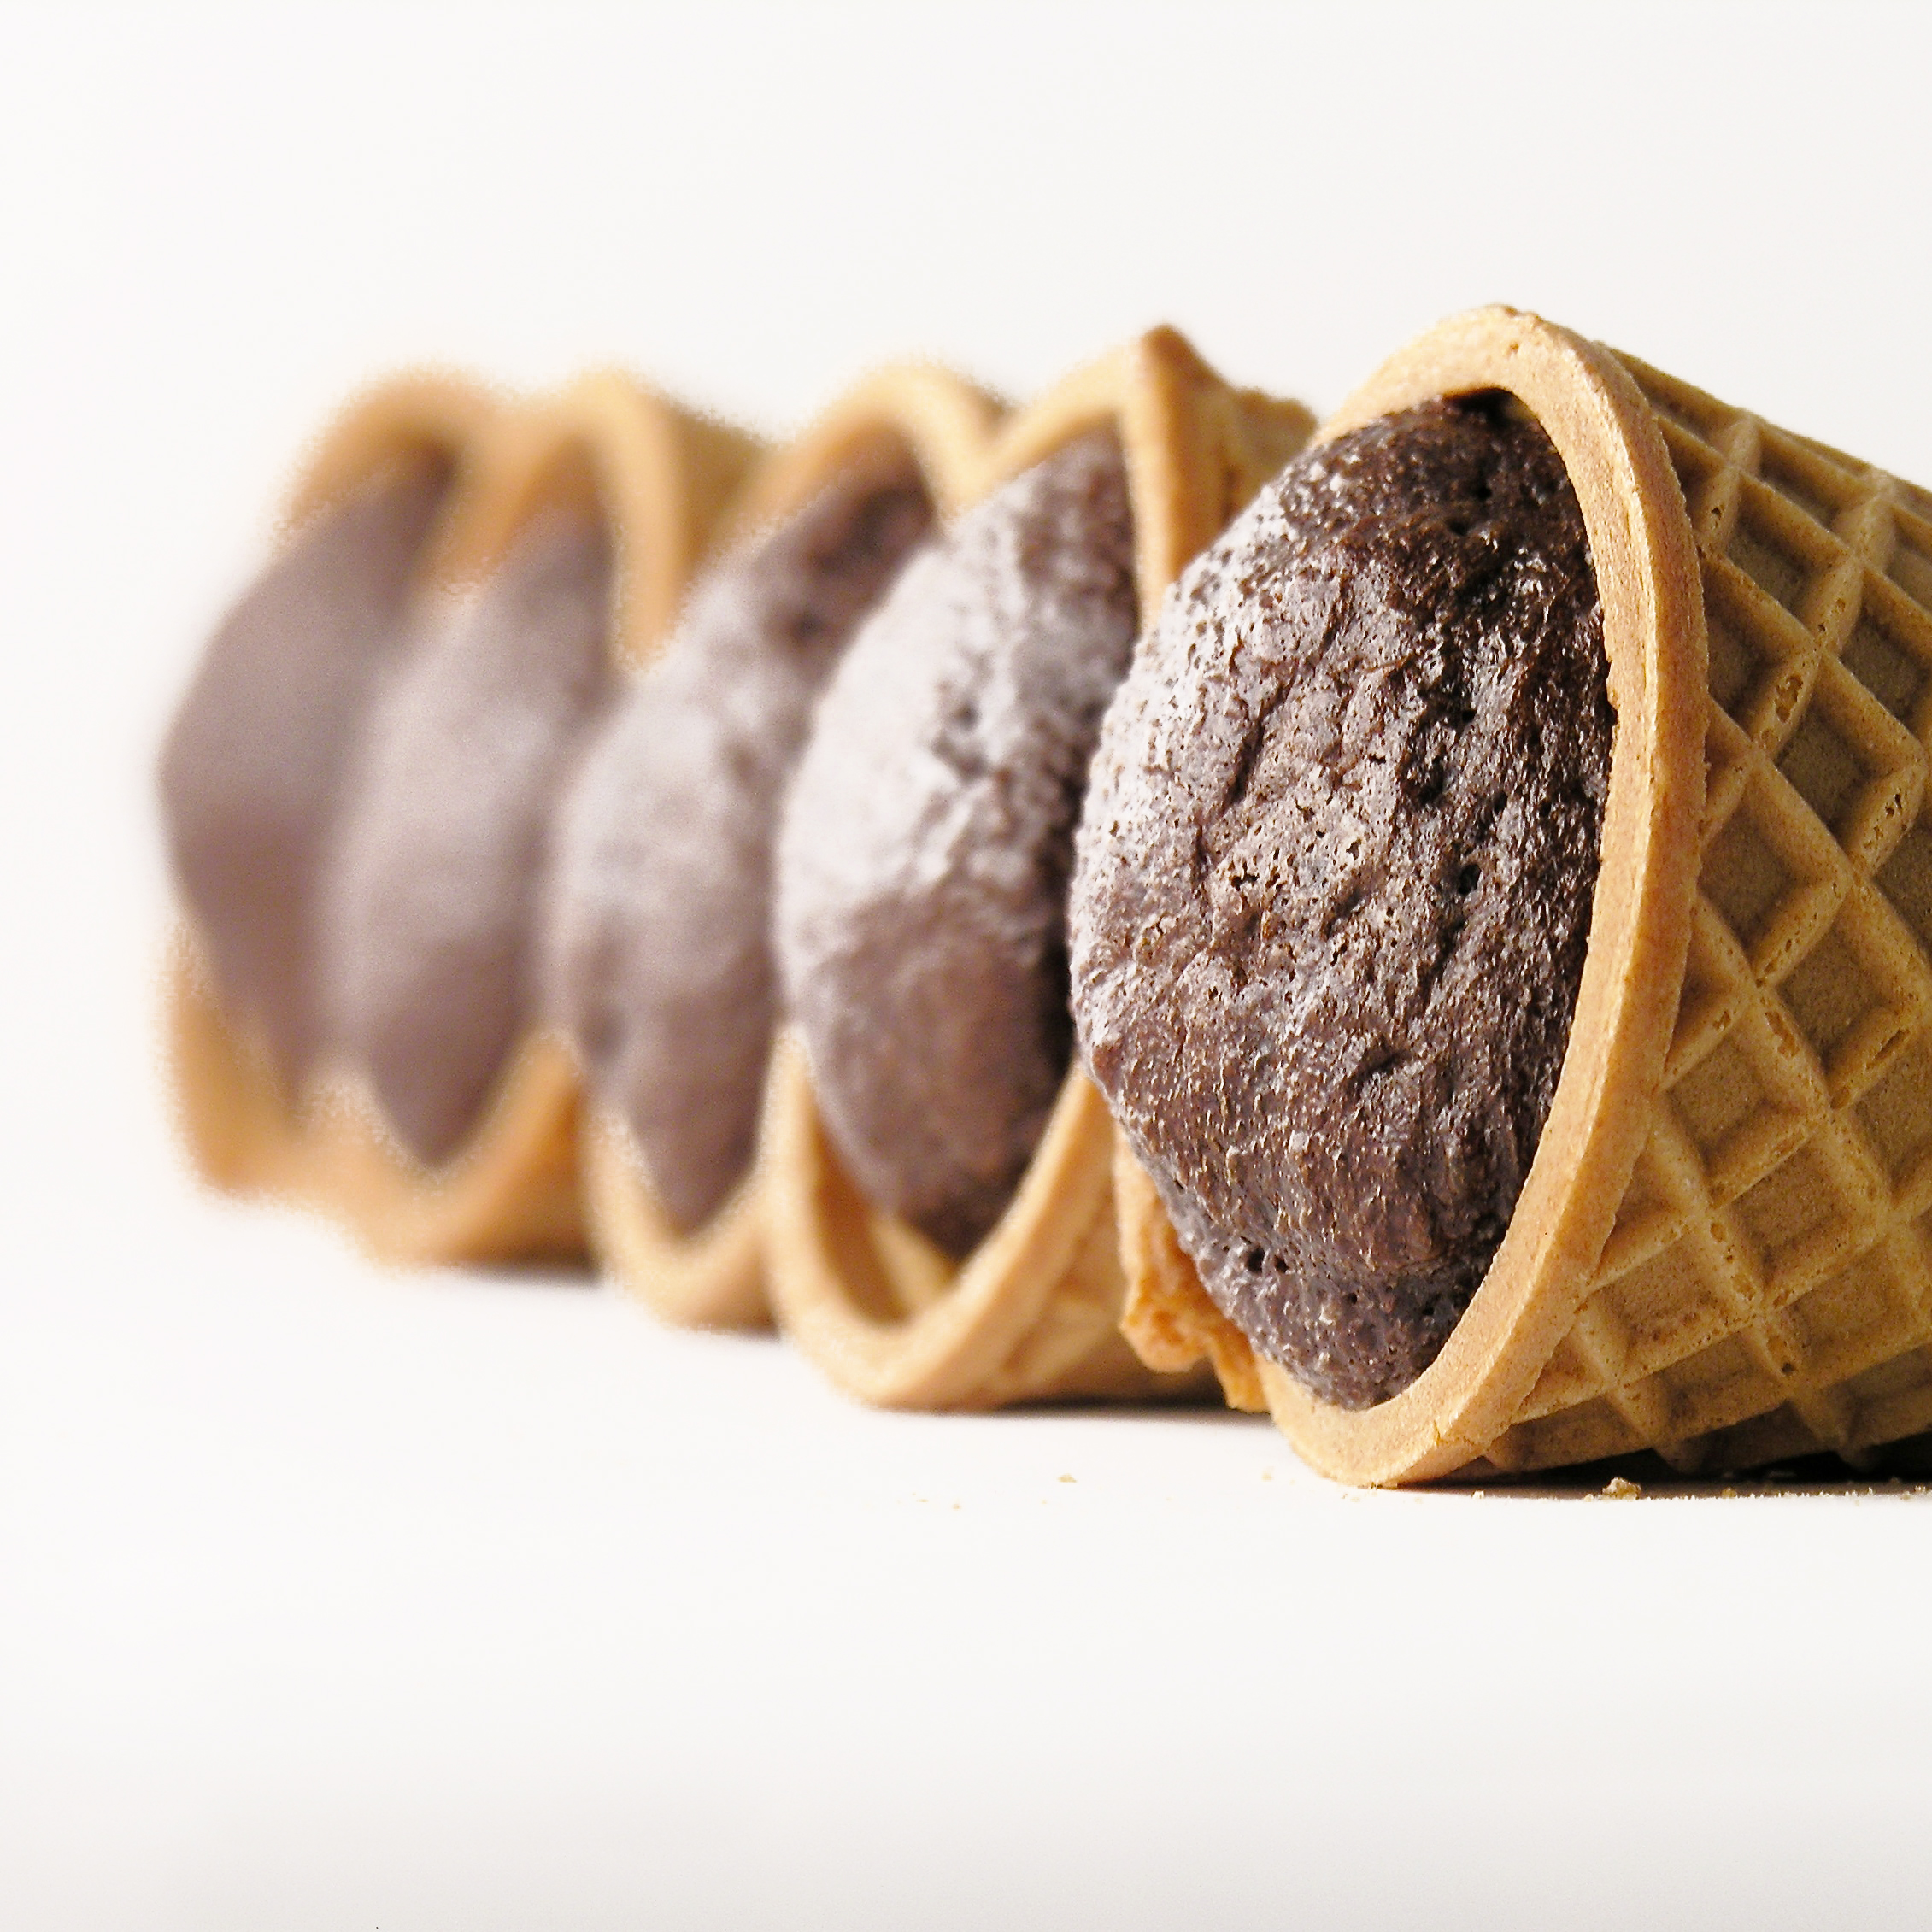
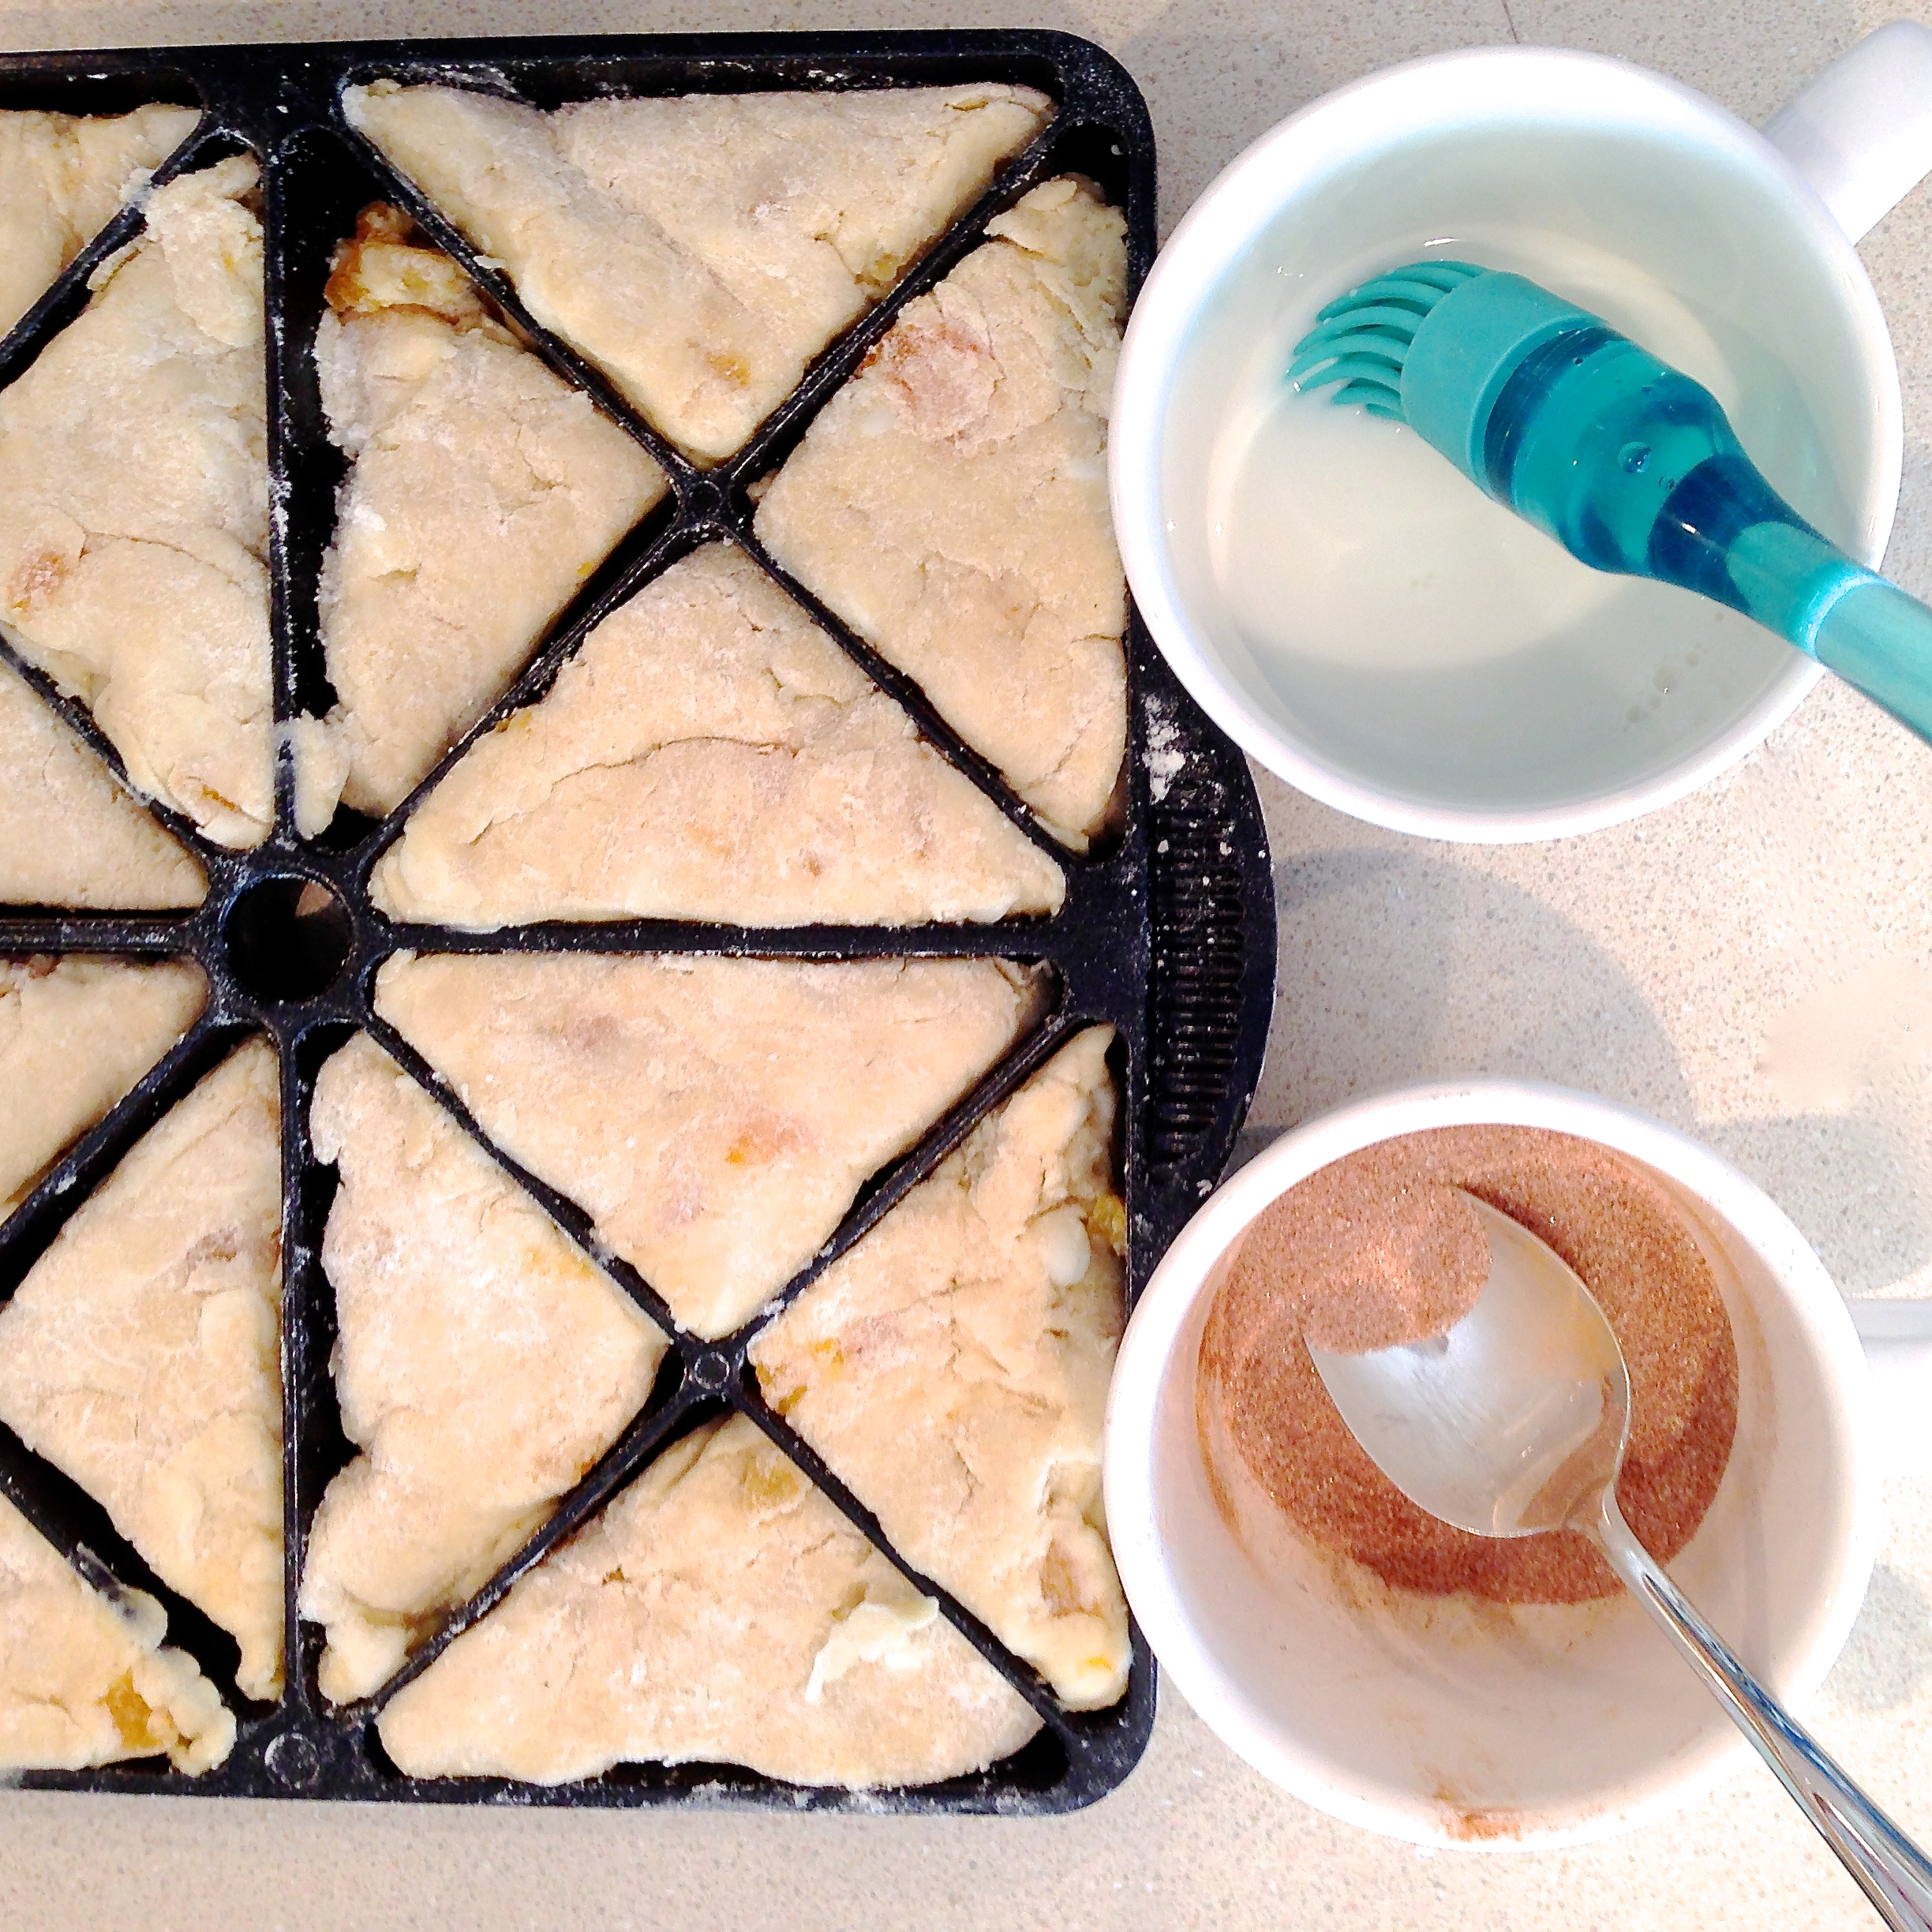
  • If using a scone pan, set aside about 1/4 of the dough to bake in a second batch. I overfilled my pan and they rose too high (as you can see in my pictures). When I made them for the shower, I used less dough and it was perfect!
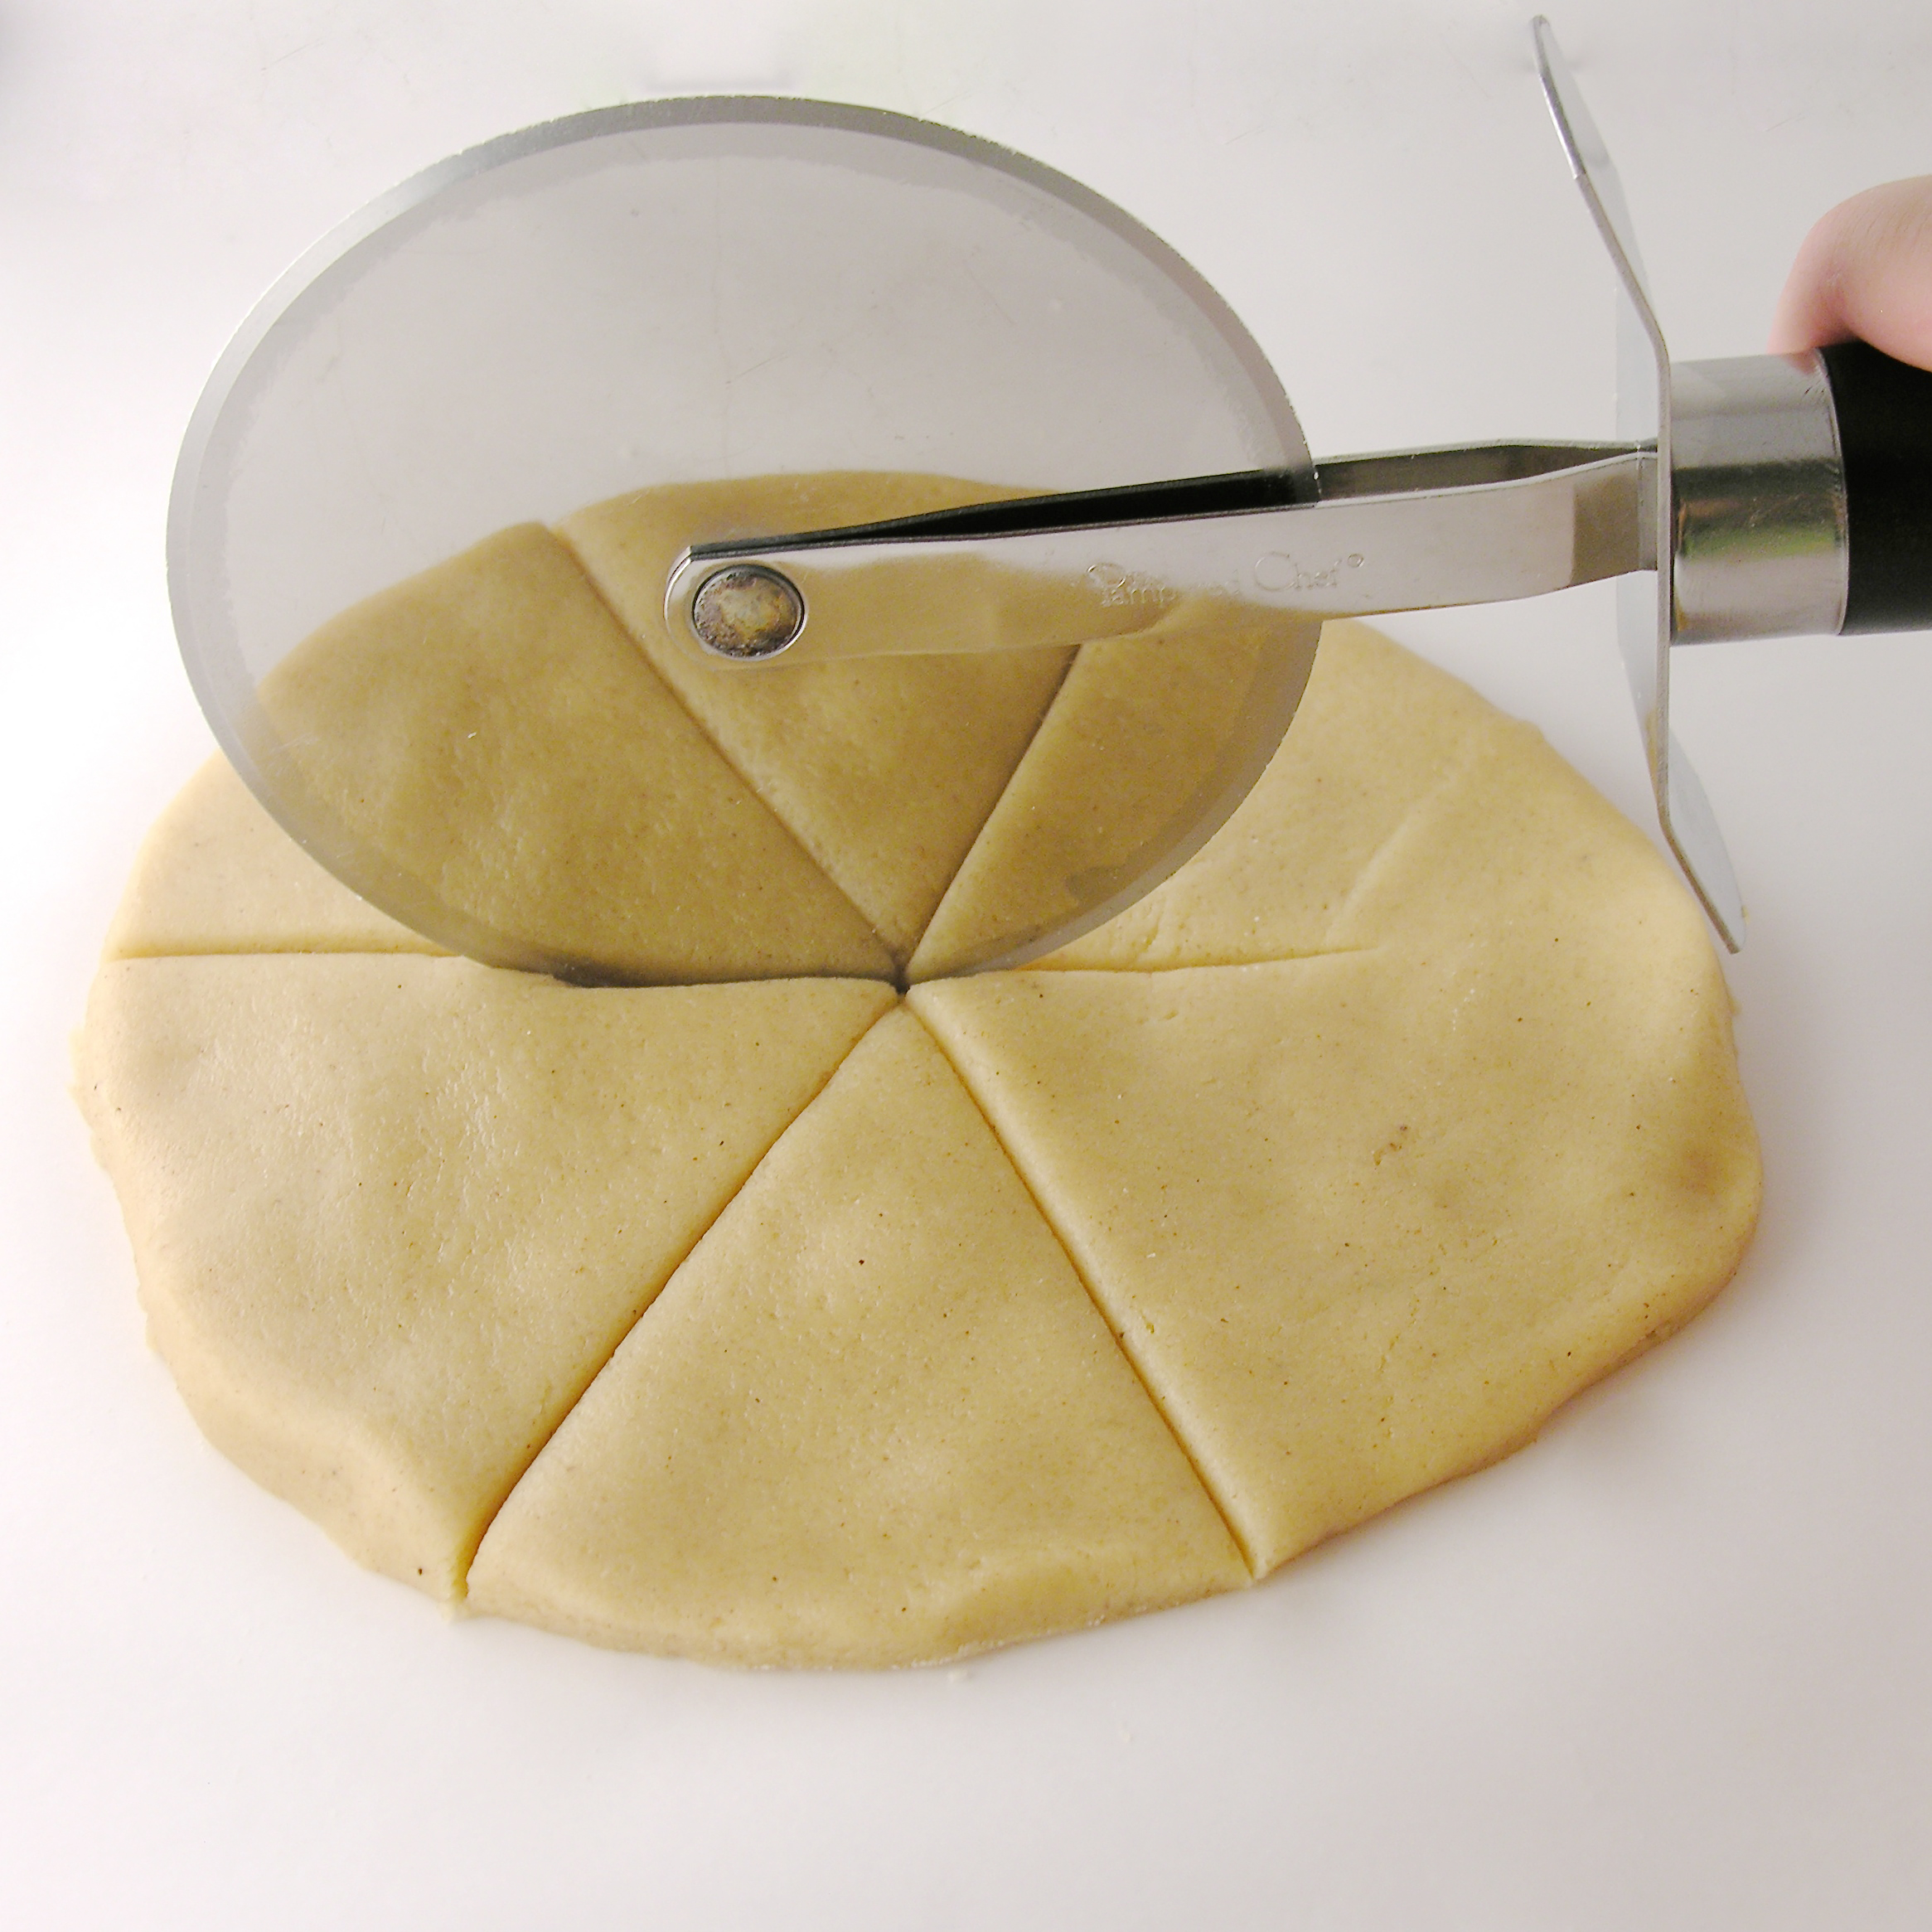
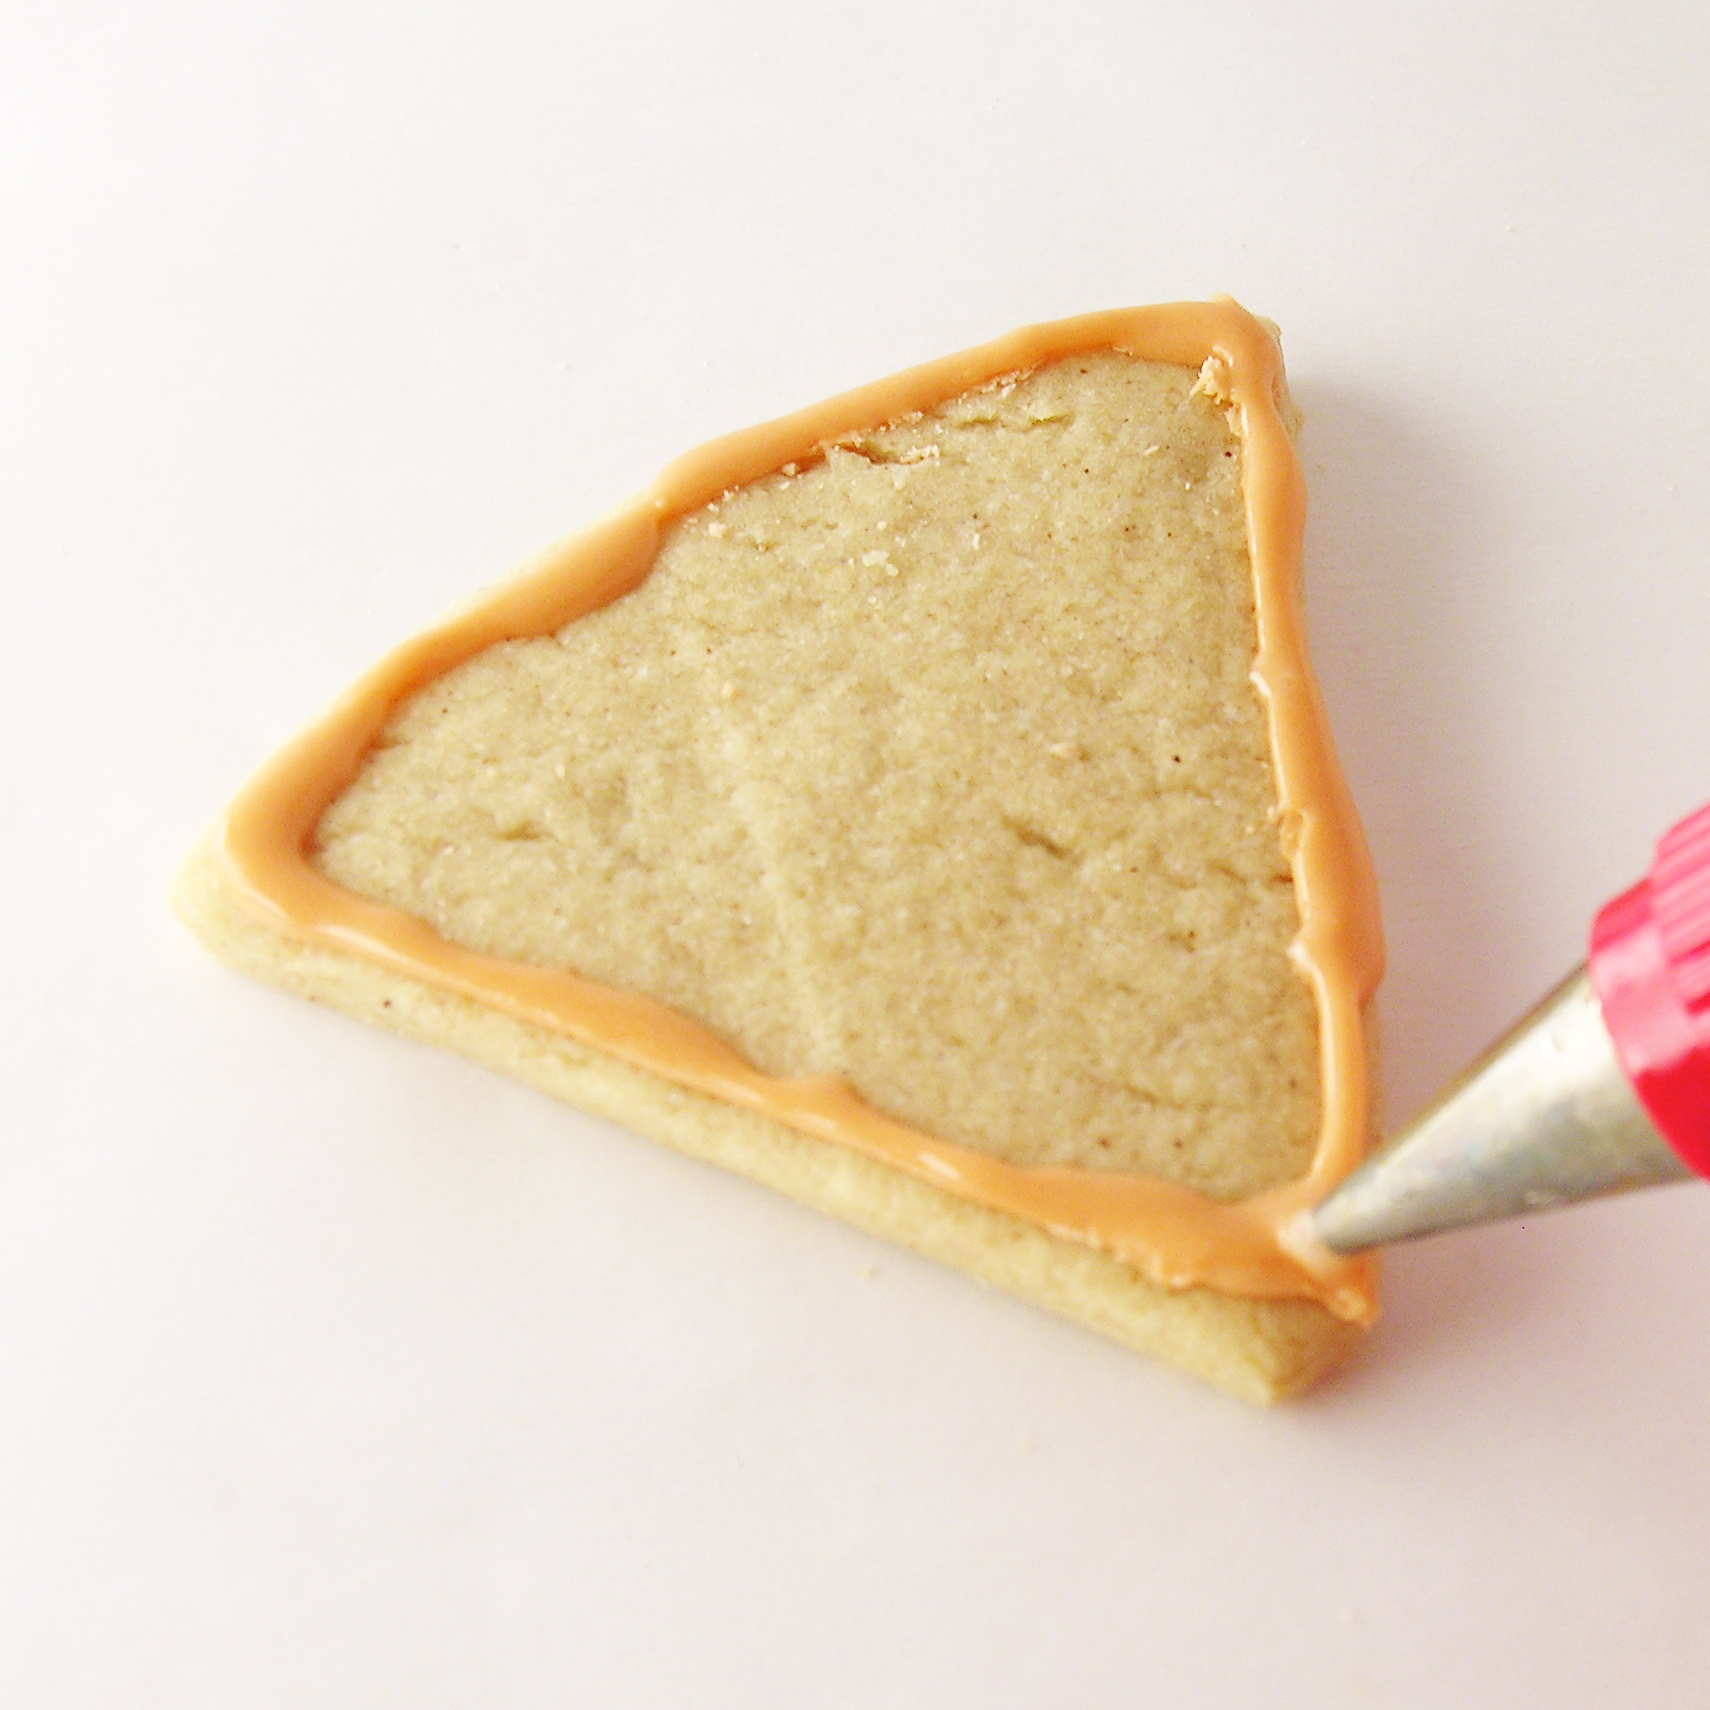
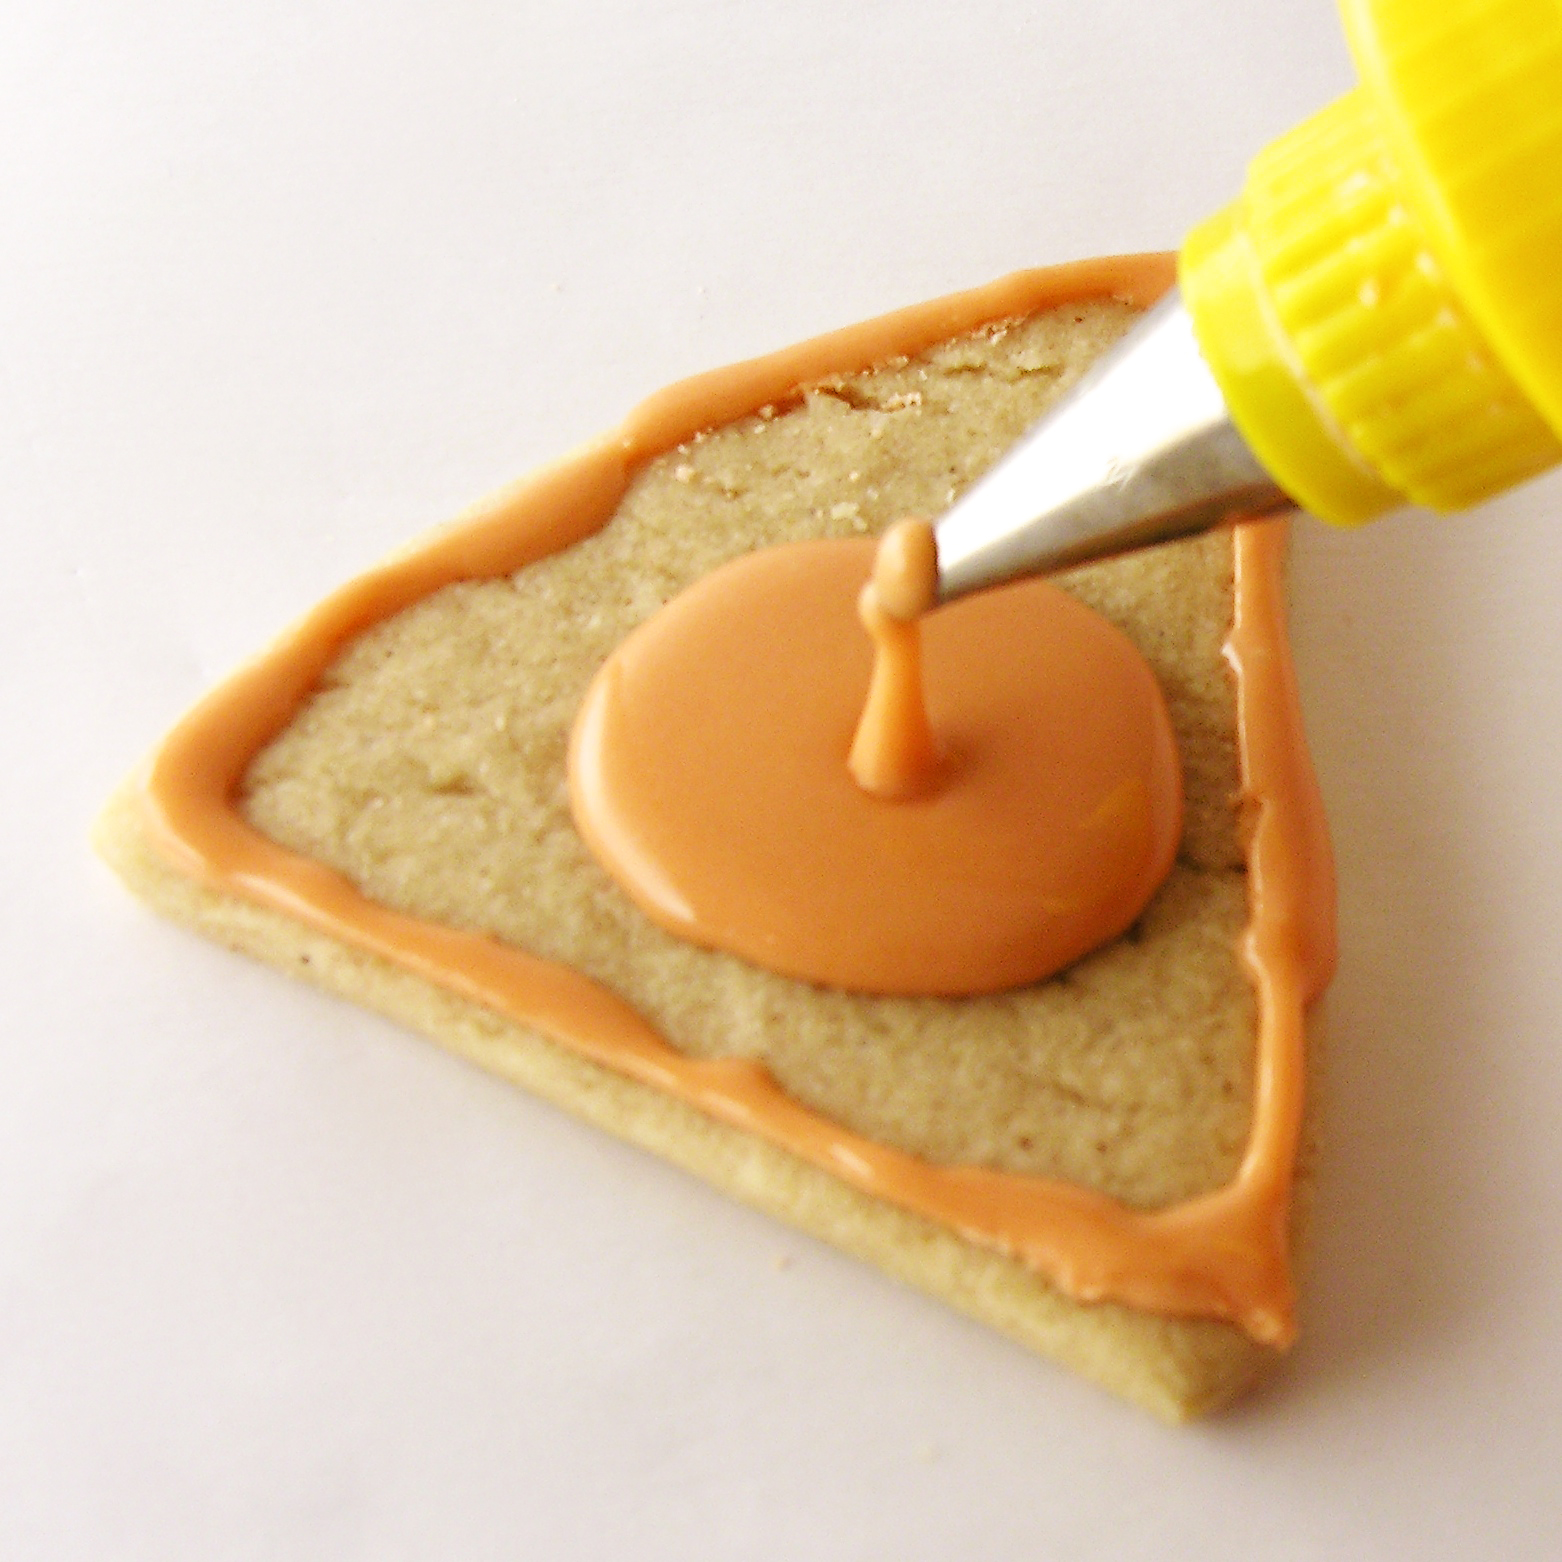
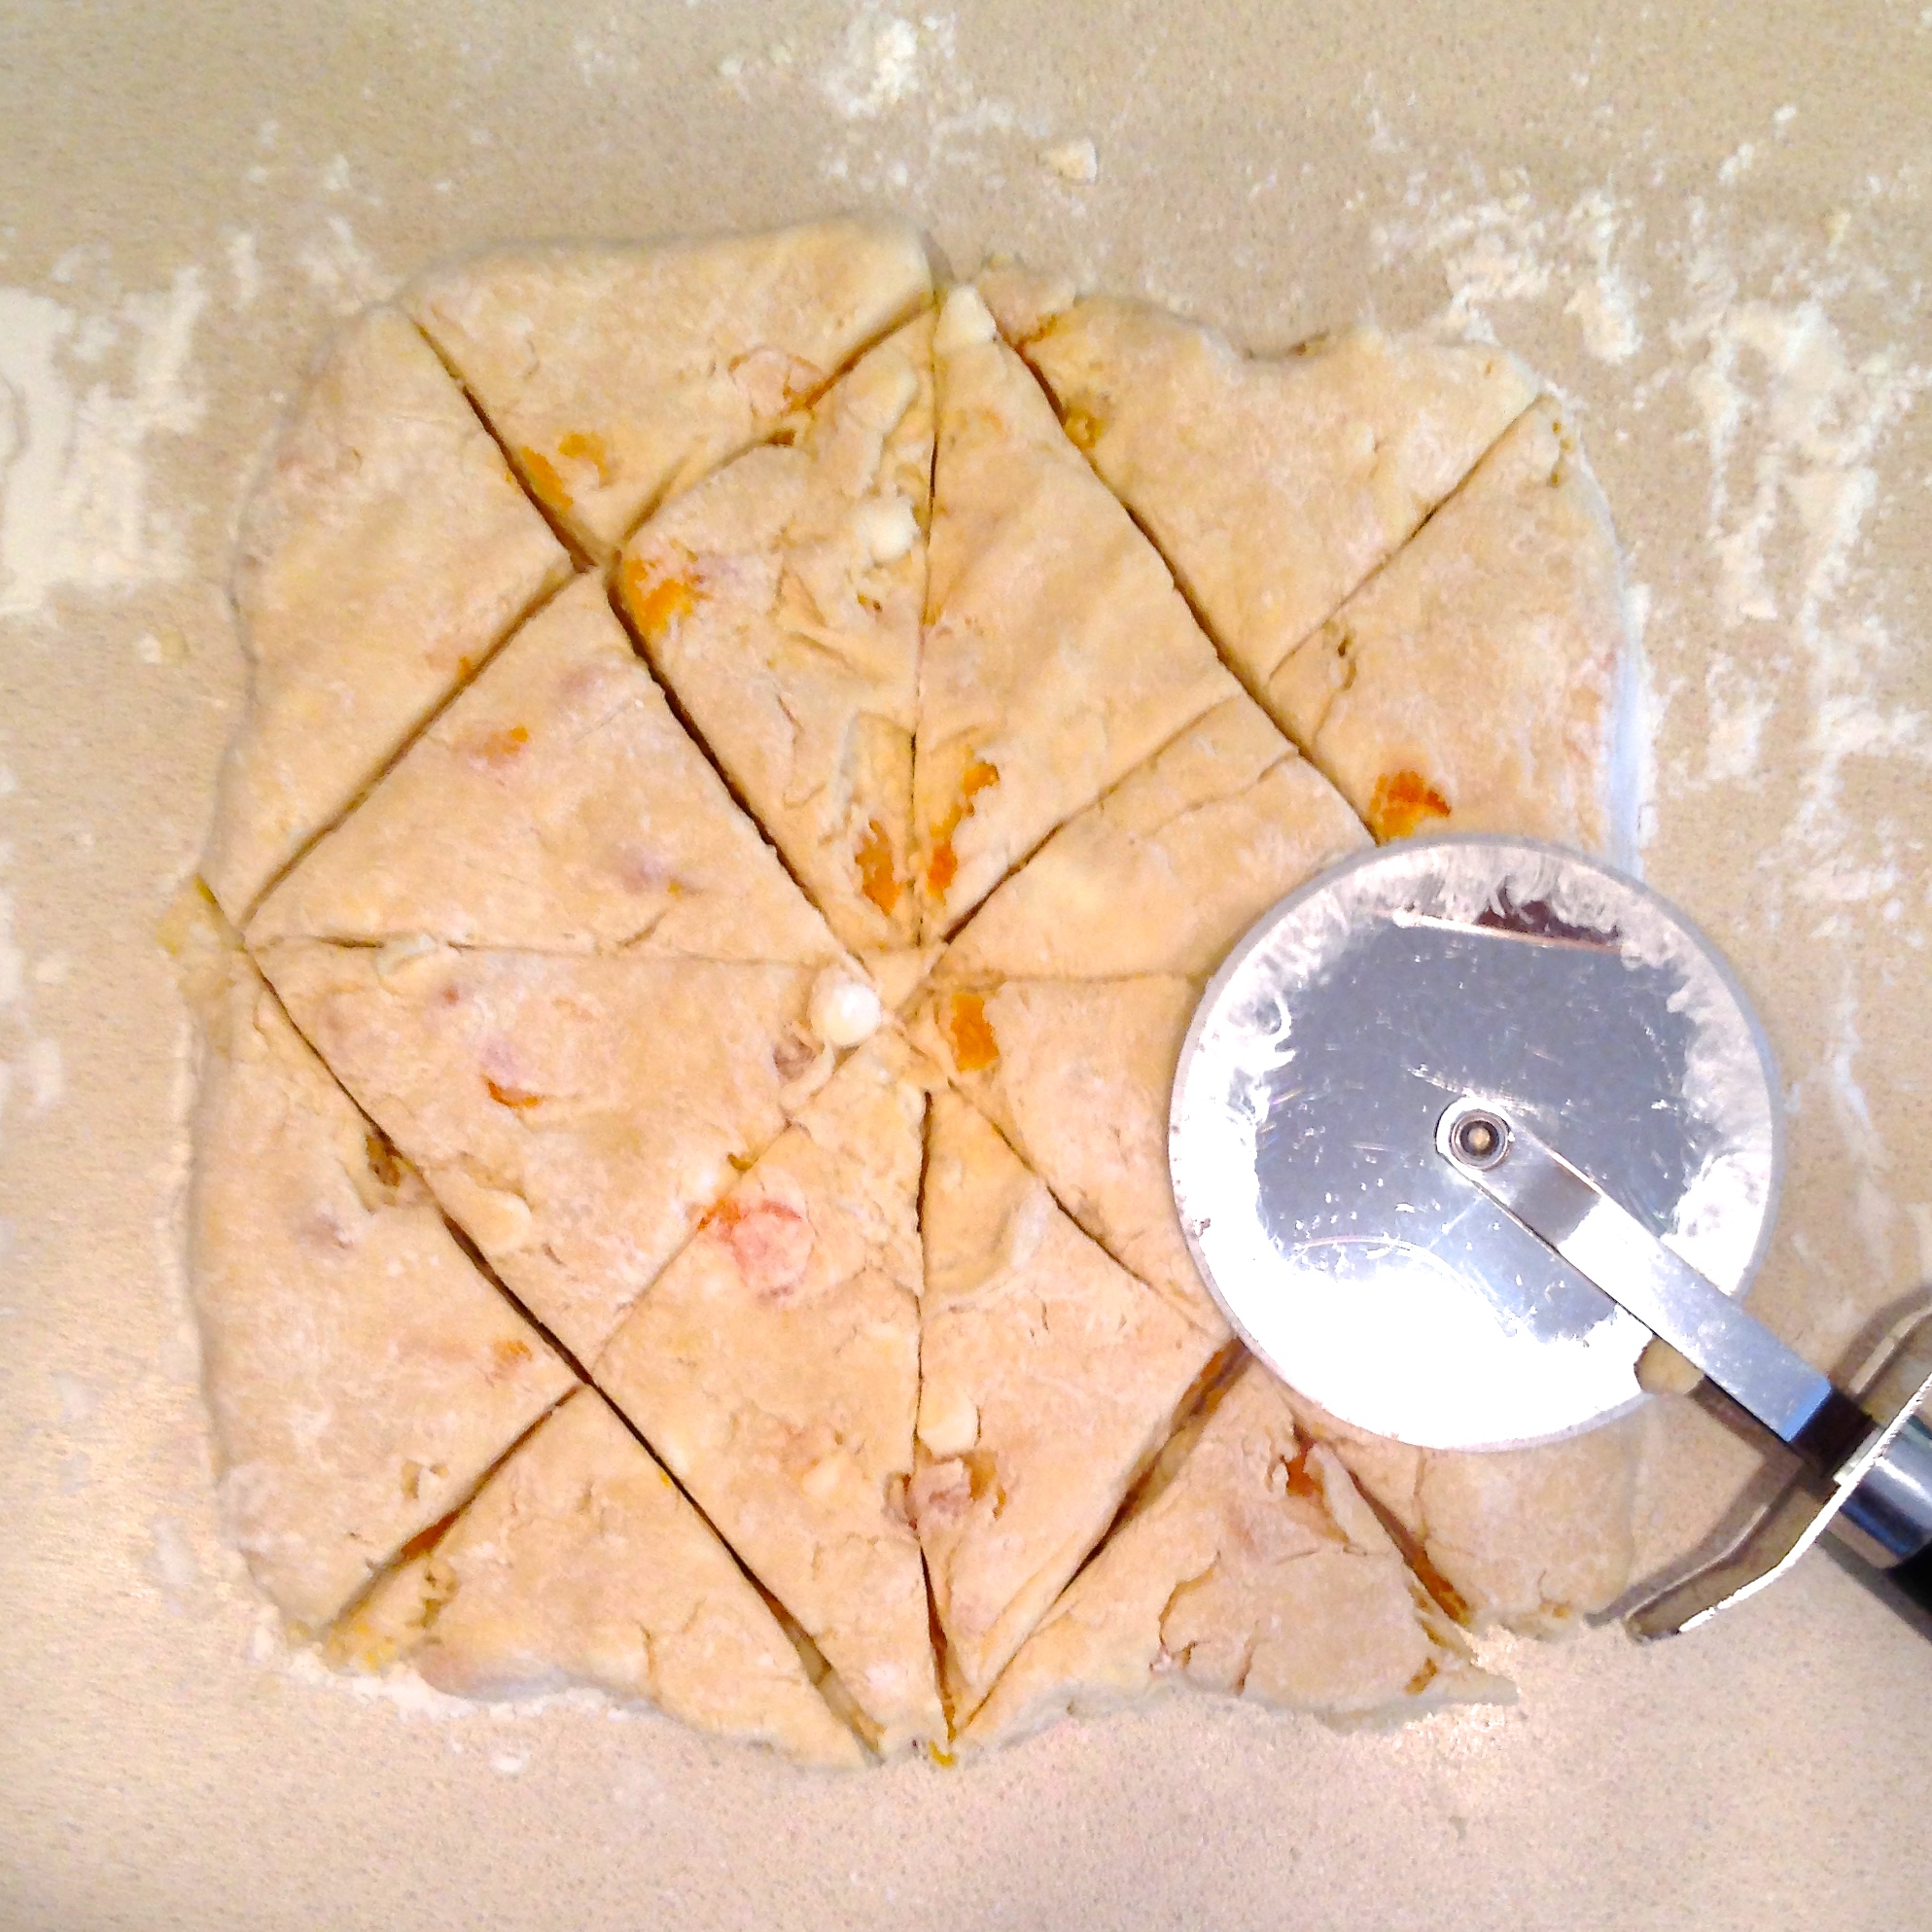
  • Press remaining dough into a square on a floured counter and cut into triangles as shown (I used a pizza cutter and a knife- both worked fine).
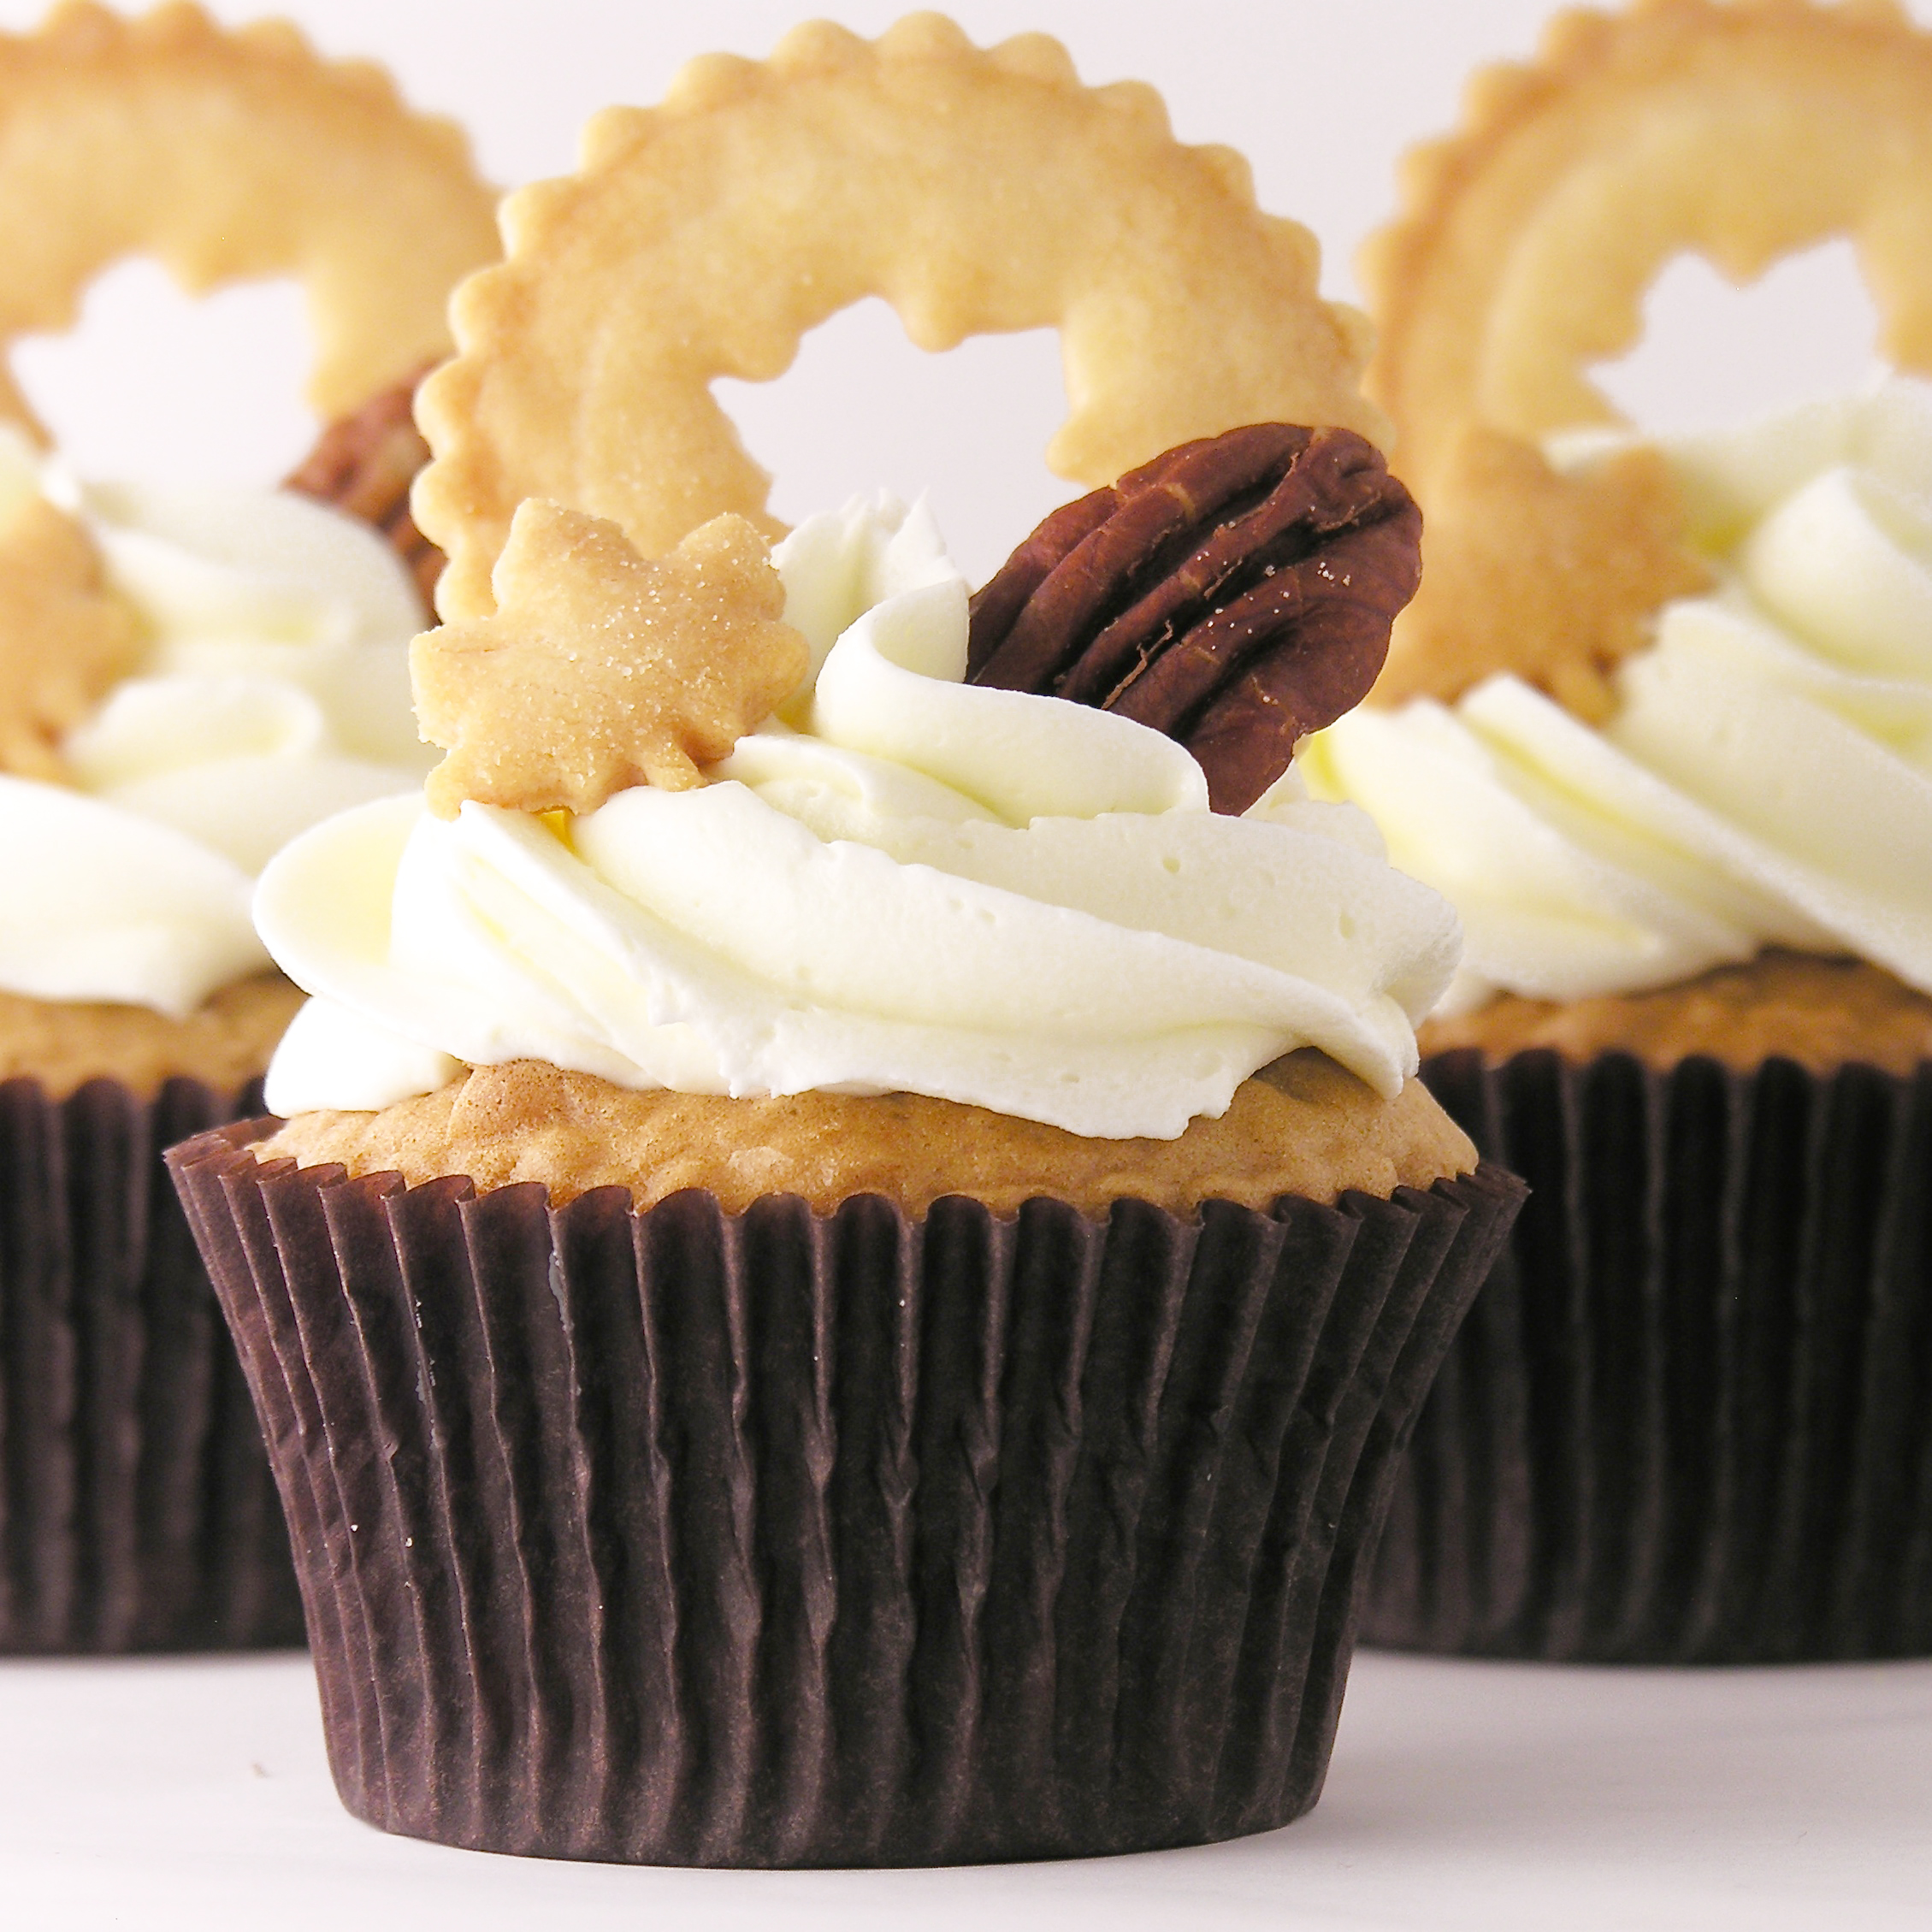
  • Set into pan (or on cookie sheet) and brush tops with milk. Sprinkle with sugar (I used cinnamon and sugar).
  • Bake at 400 degrees F for 12-15 minutes.

IMG_0135IMG_0137IMG_0142

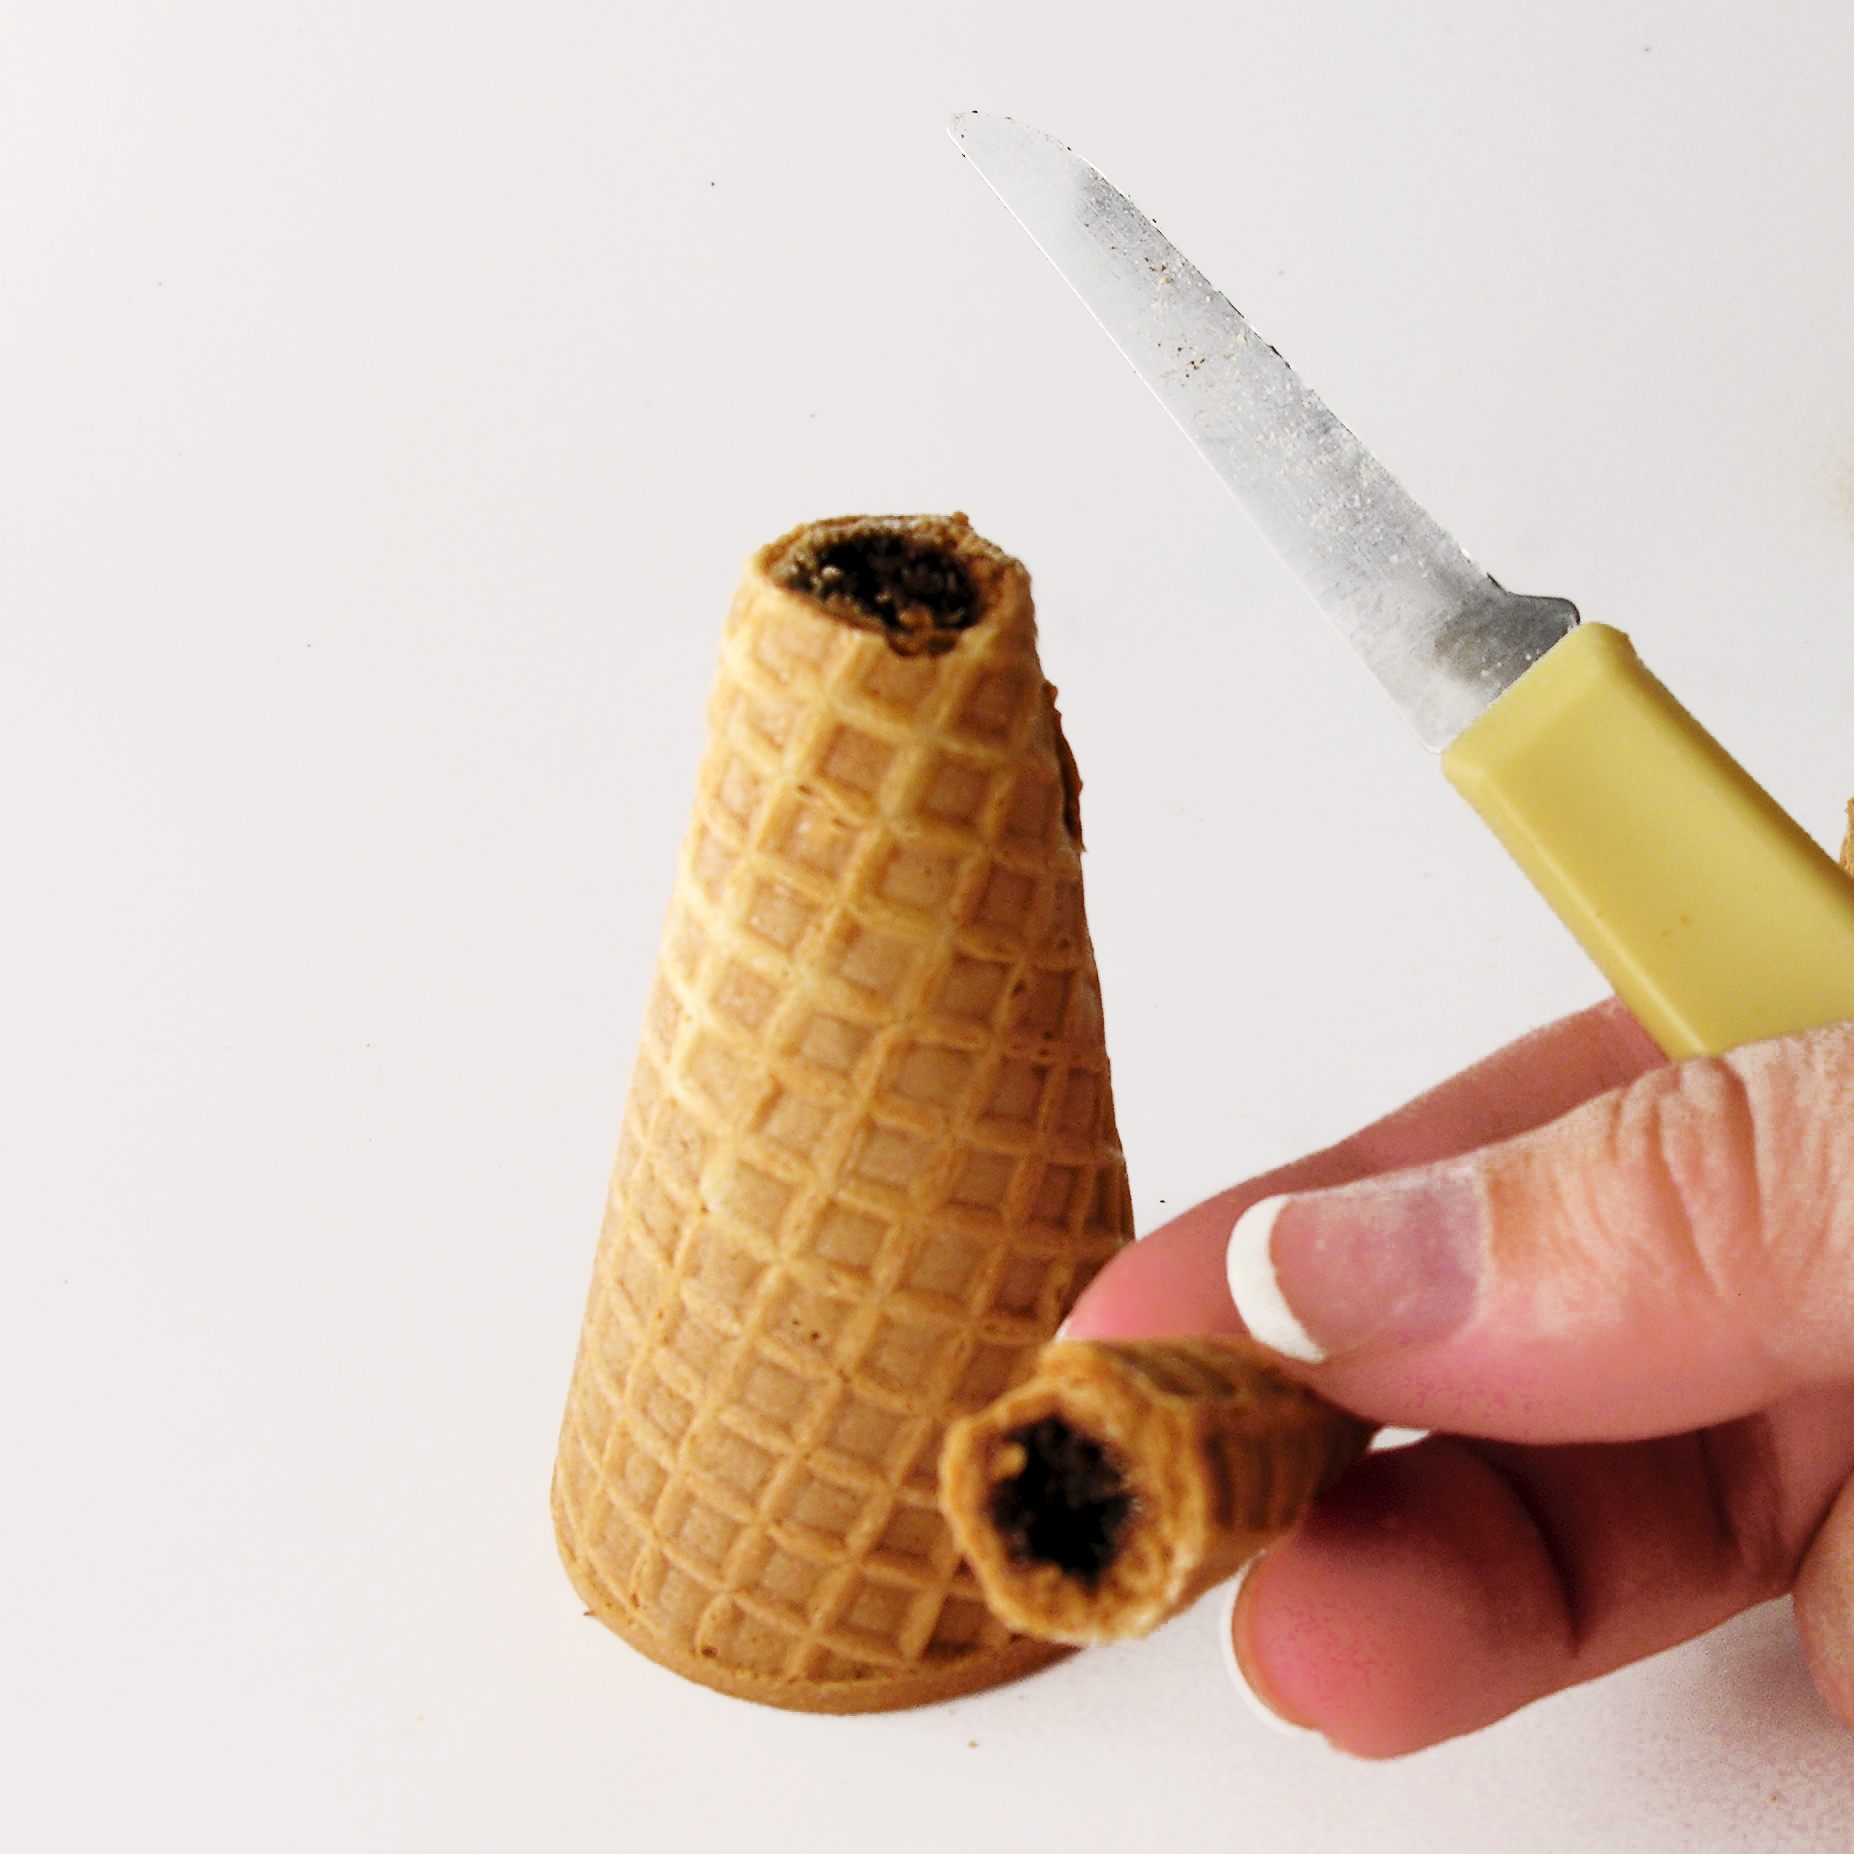
  • Allow them to cool in pan for about 5 minutes and pop out with forks.
  • Enjoy!!!

Apricot Scones3

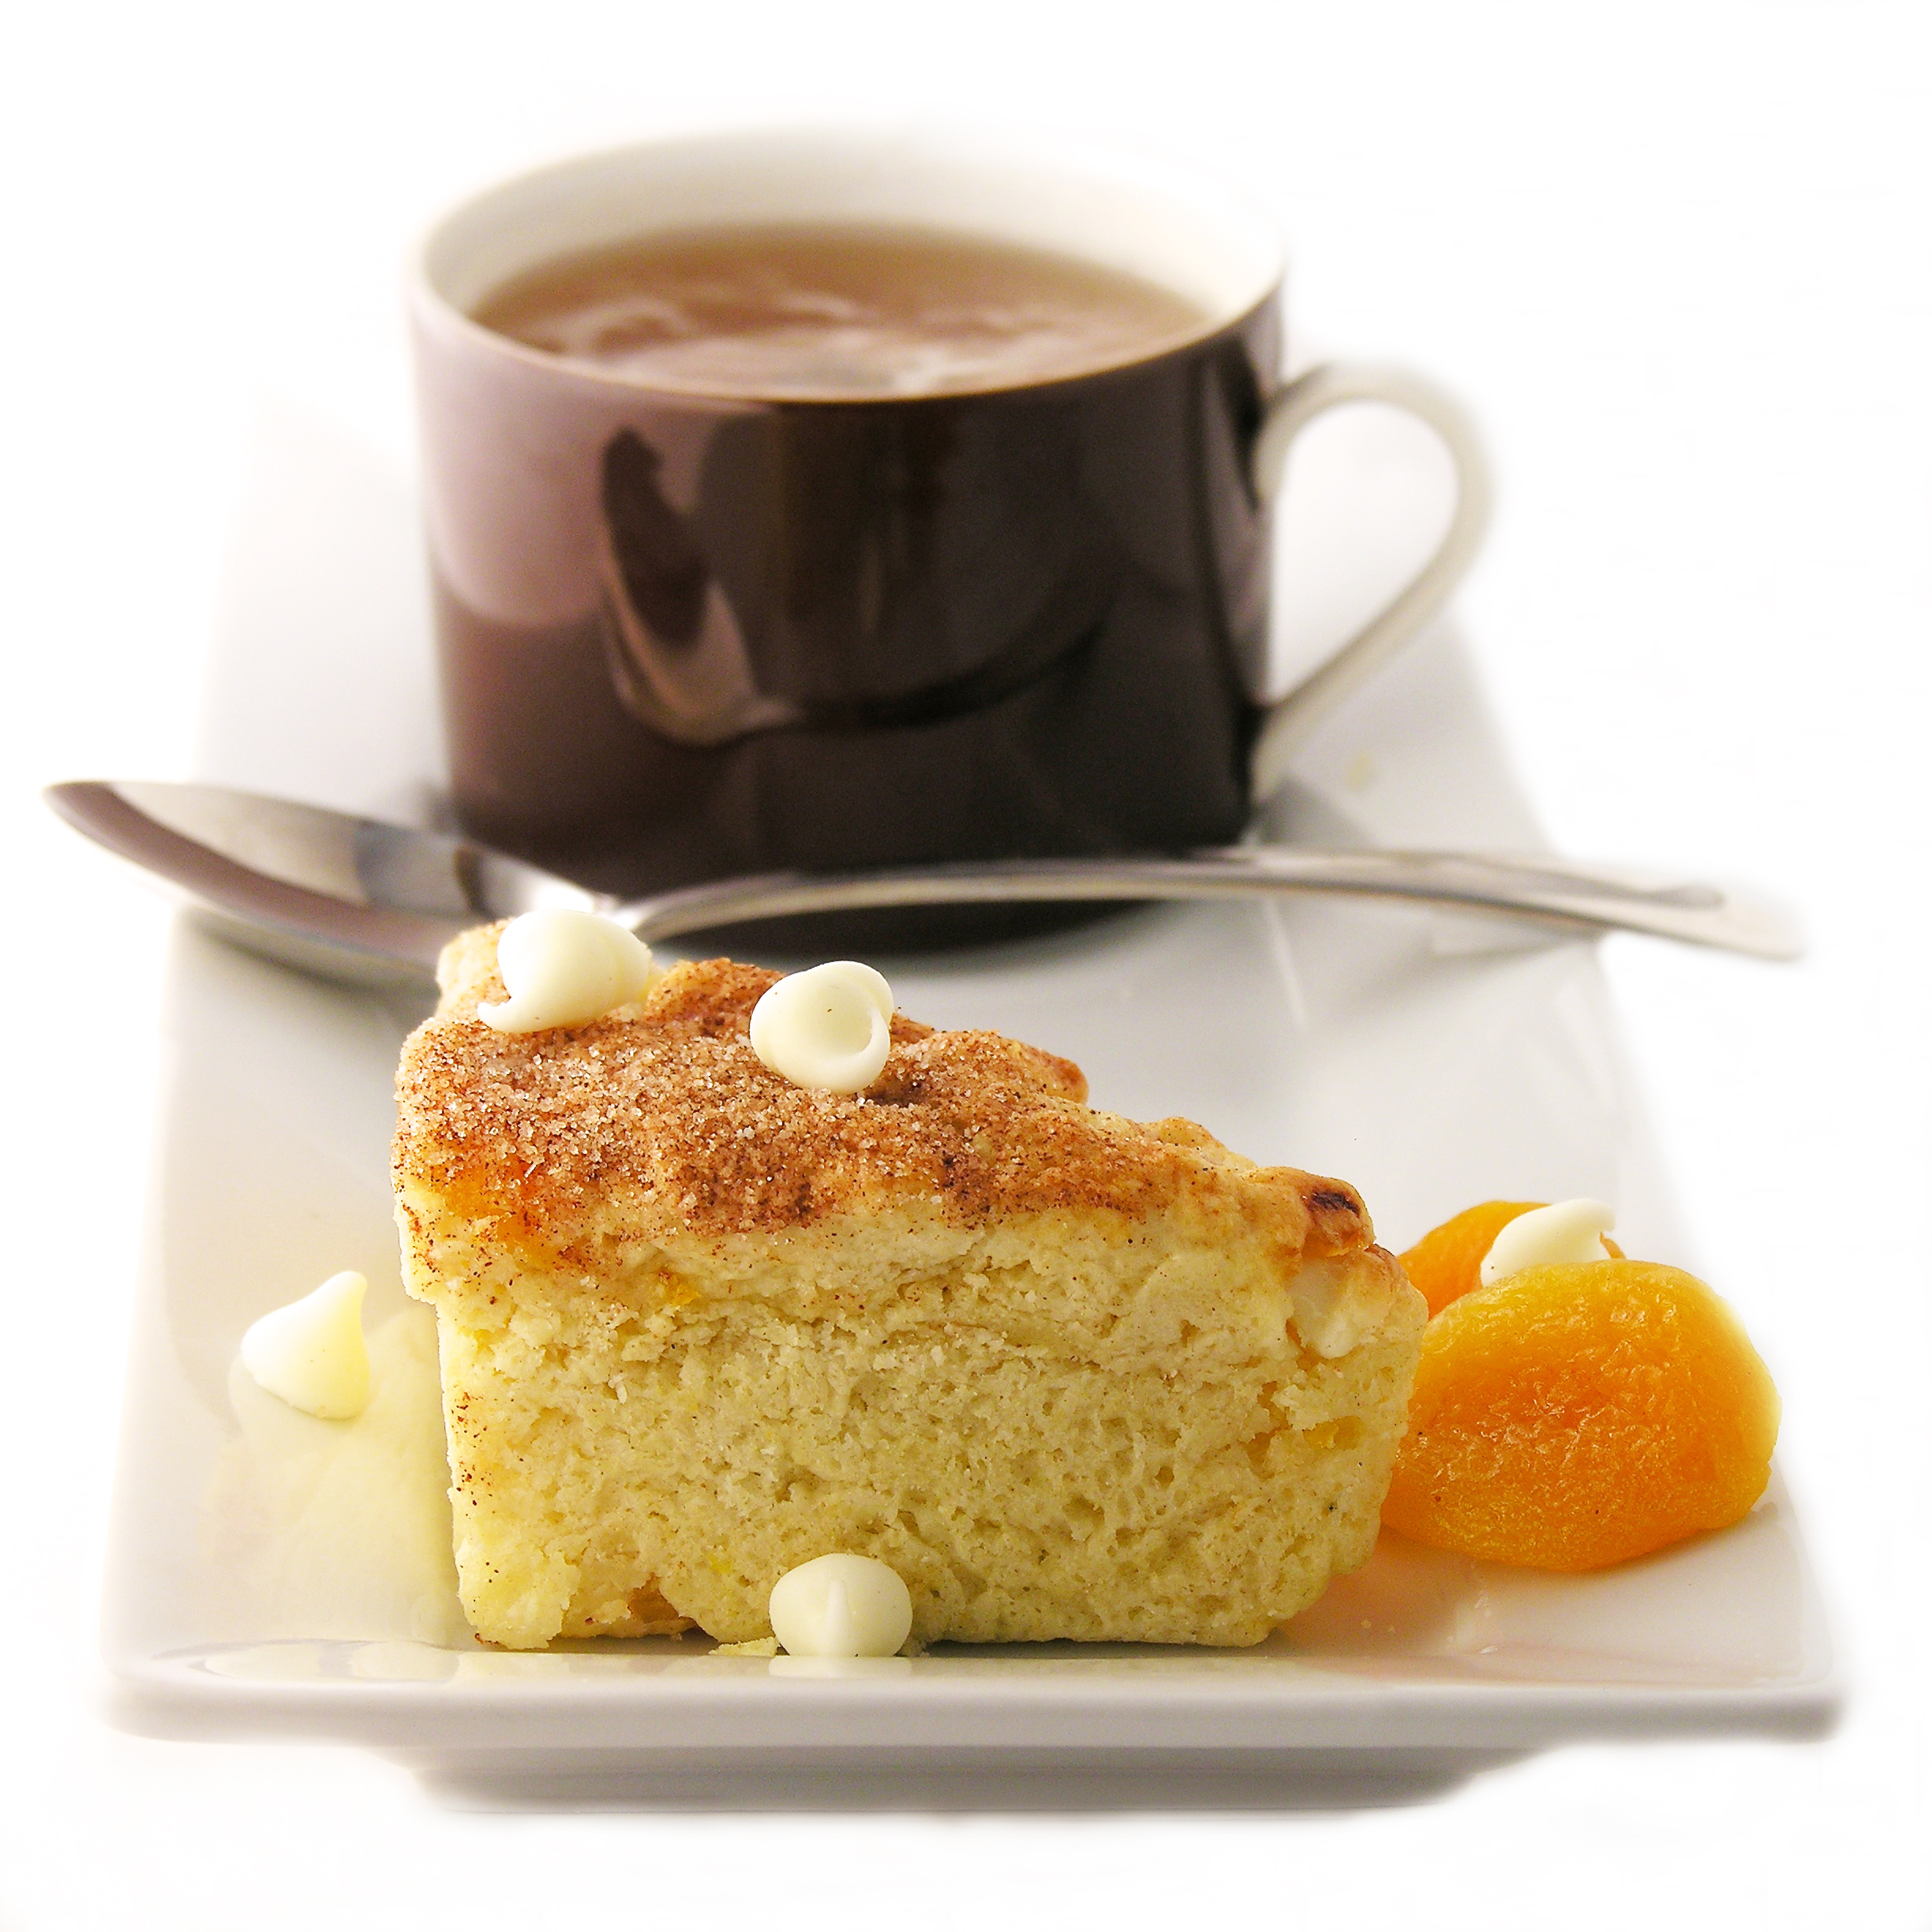
My thoughts: Goodness…this sounds complicated, doesn’t it? I thought so too, but now that I’ve made a bunch of them I really do think they are easier than cookies! Today for the shower I made 4 kinds. I added white chocolate chips and apricots to the first (I cut the dried apricots into smaller pieces using kitchen scissors).  I added dried berried (cherries, blueberries and cranberries) to the second. I added mini chocolate chips to the third, and I added Hershey’s cinnamon chips to the fourth.

DSC_0894
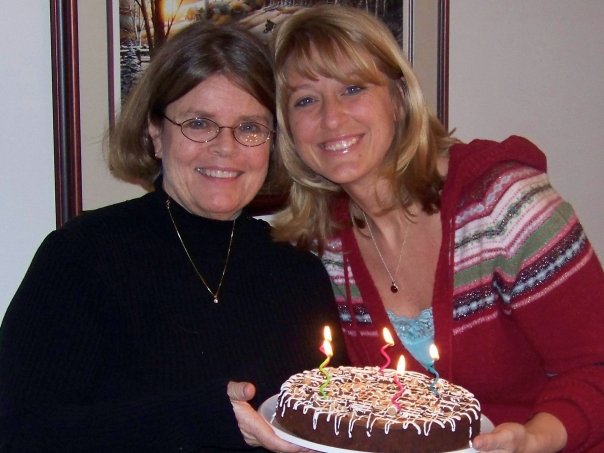
Here’s Heather, the beautiful mom-to-be at her English tea baby shower- SO much fun!  Enjoy!!~r

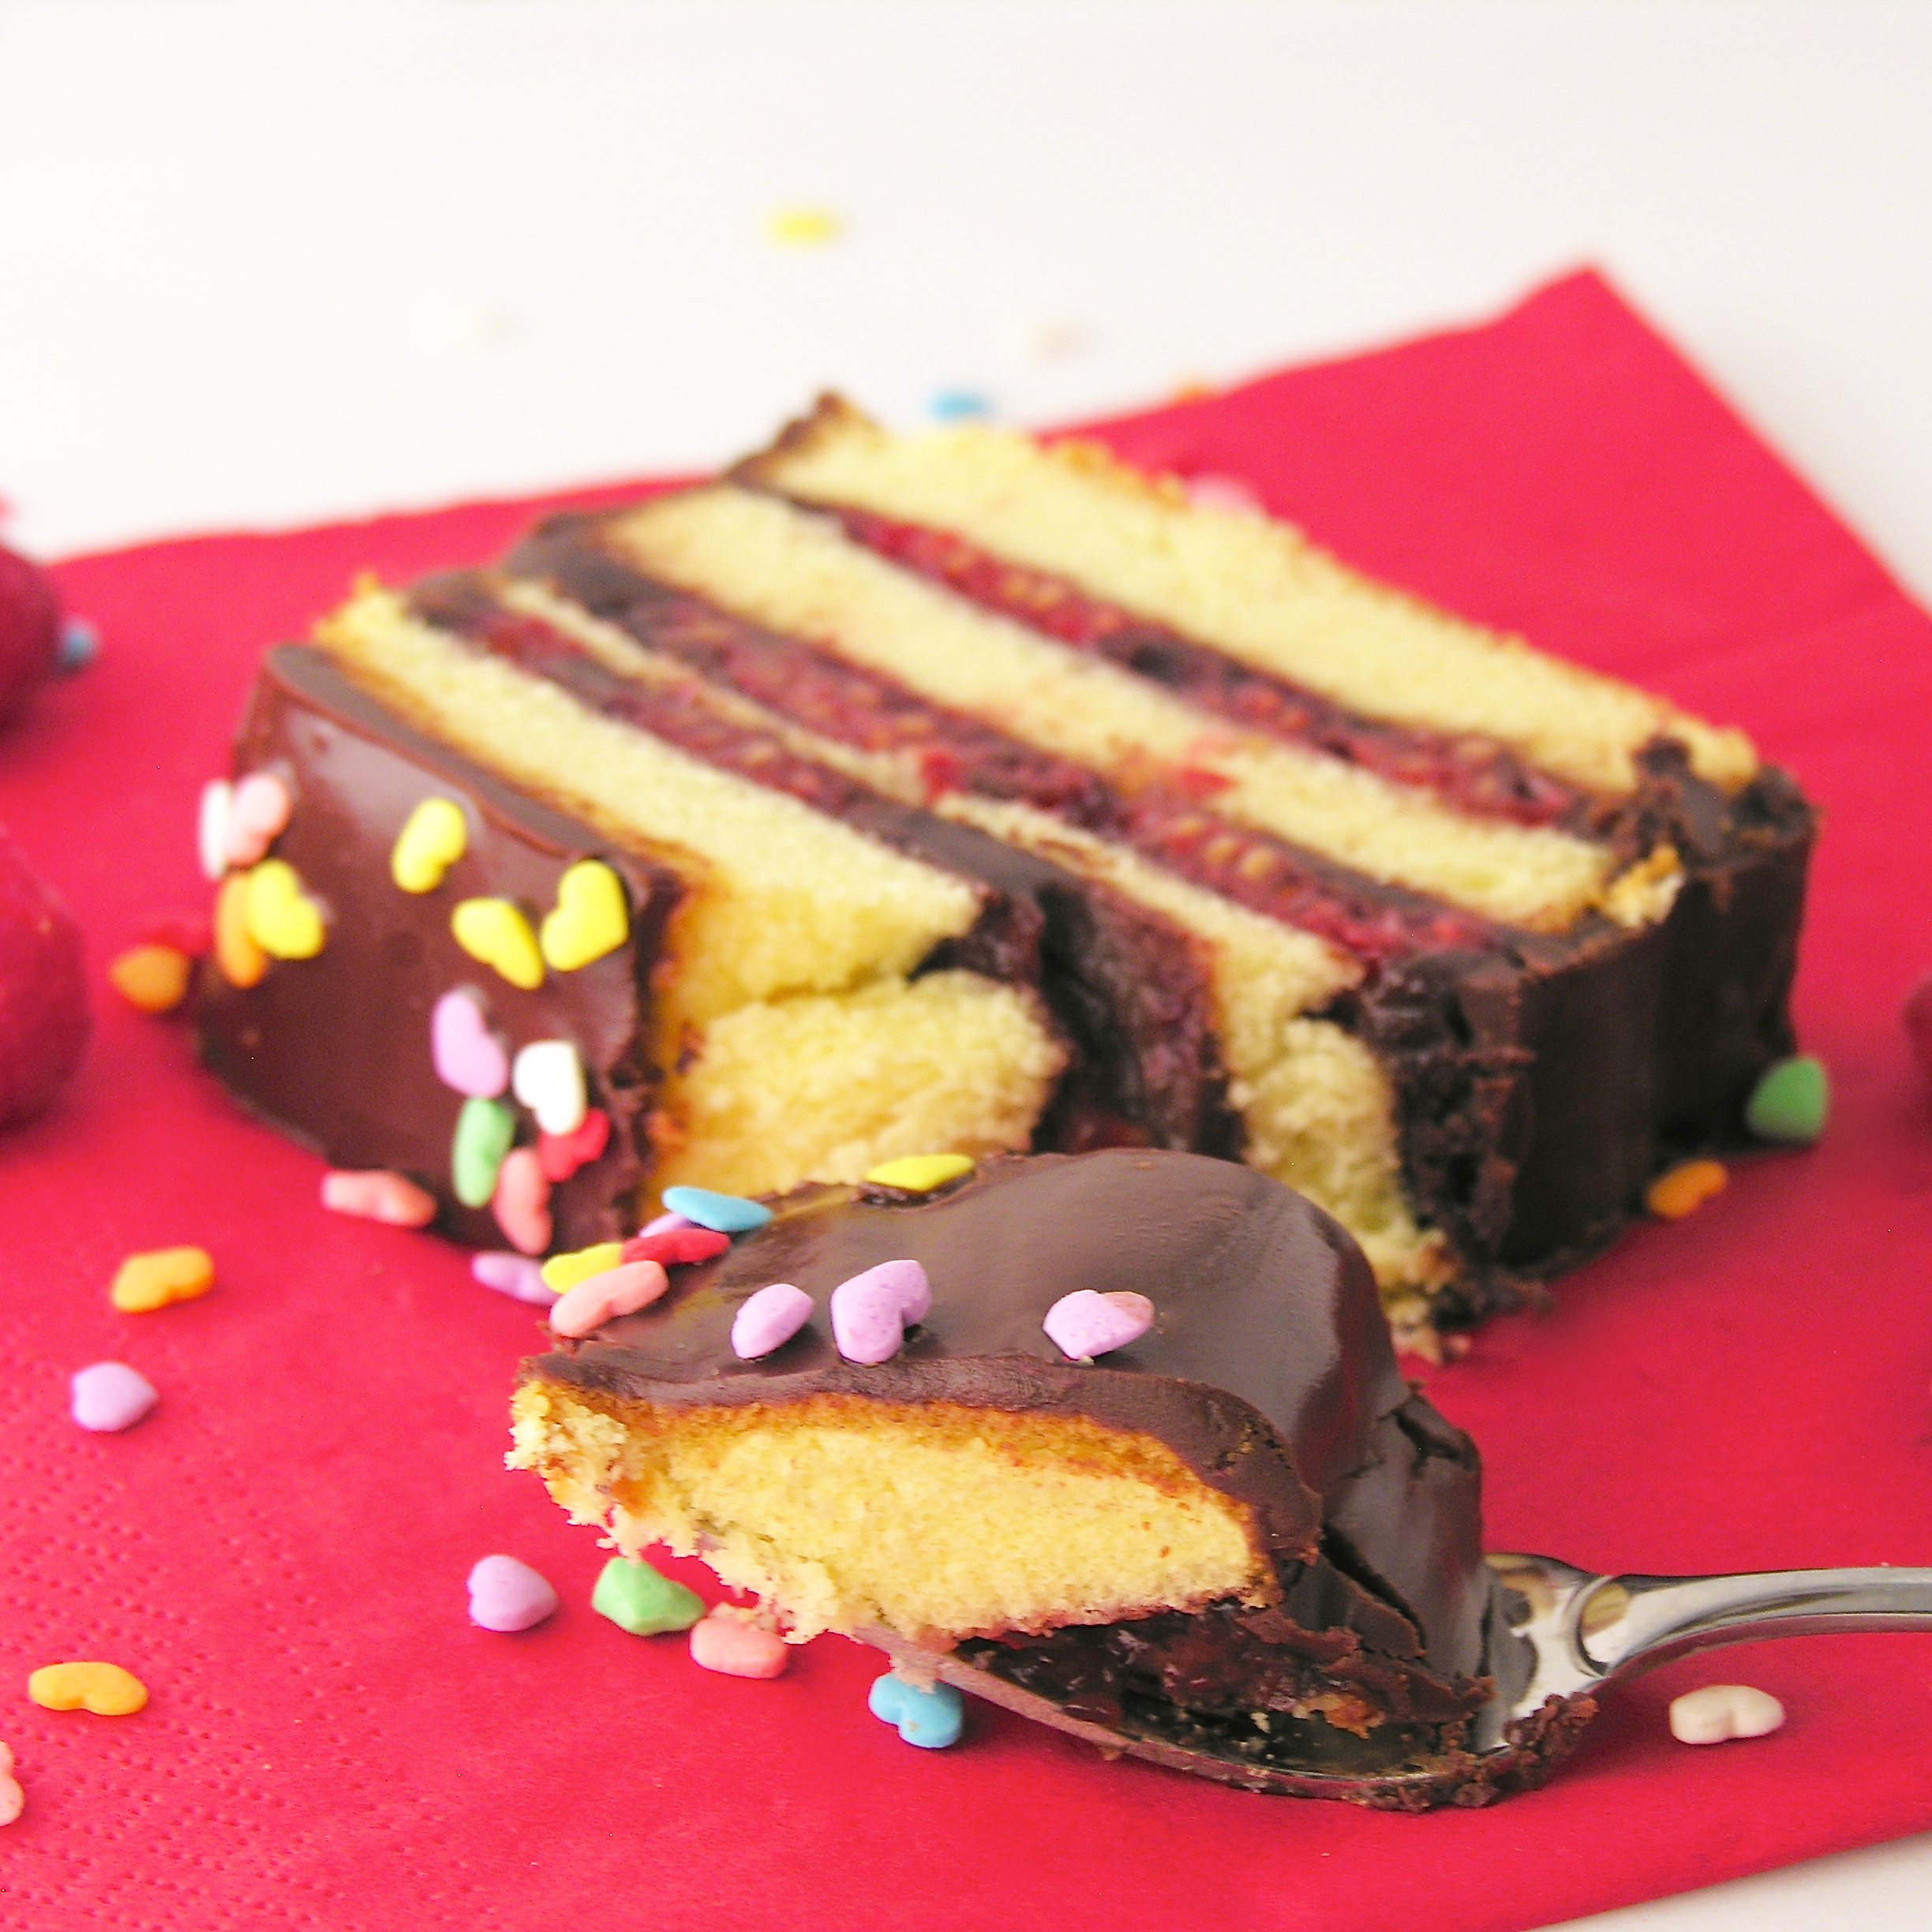
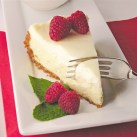
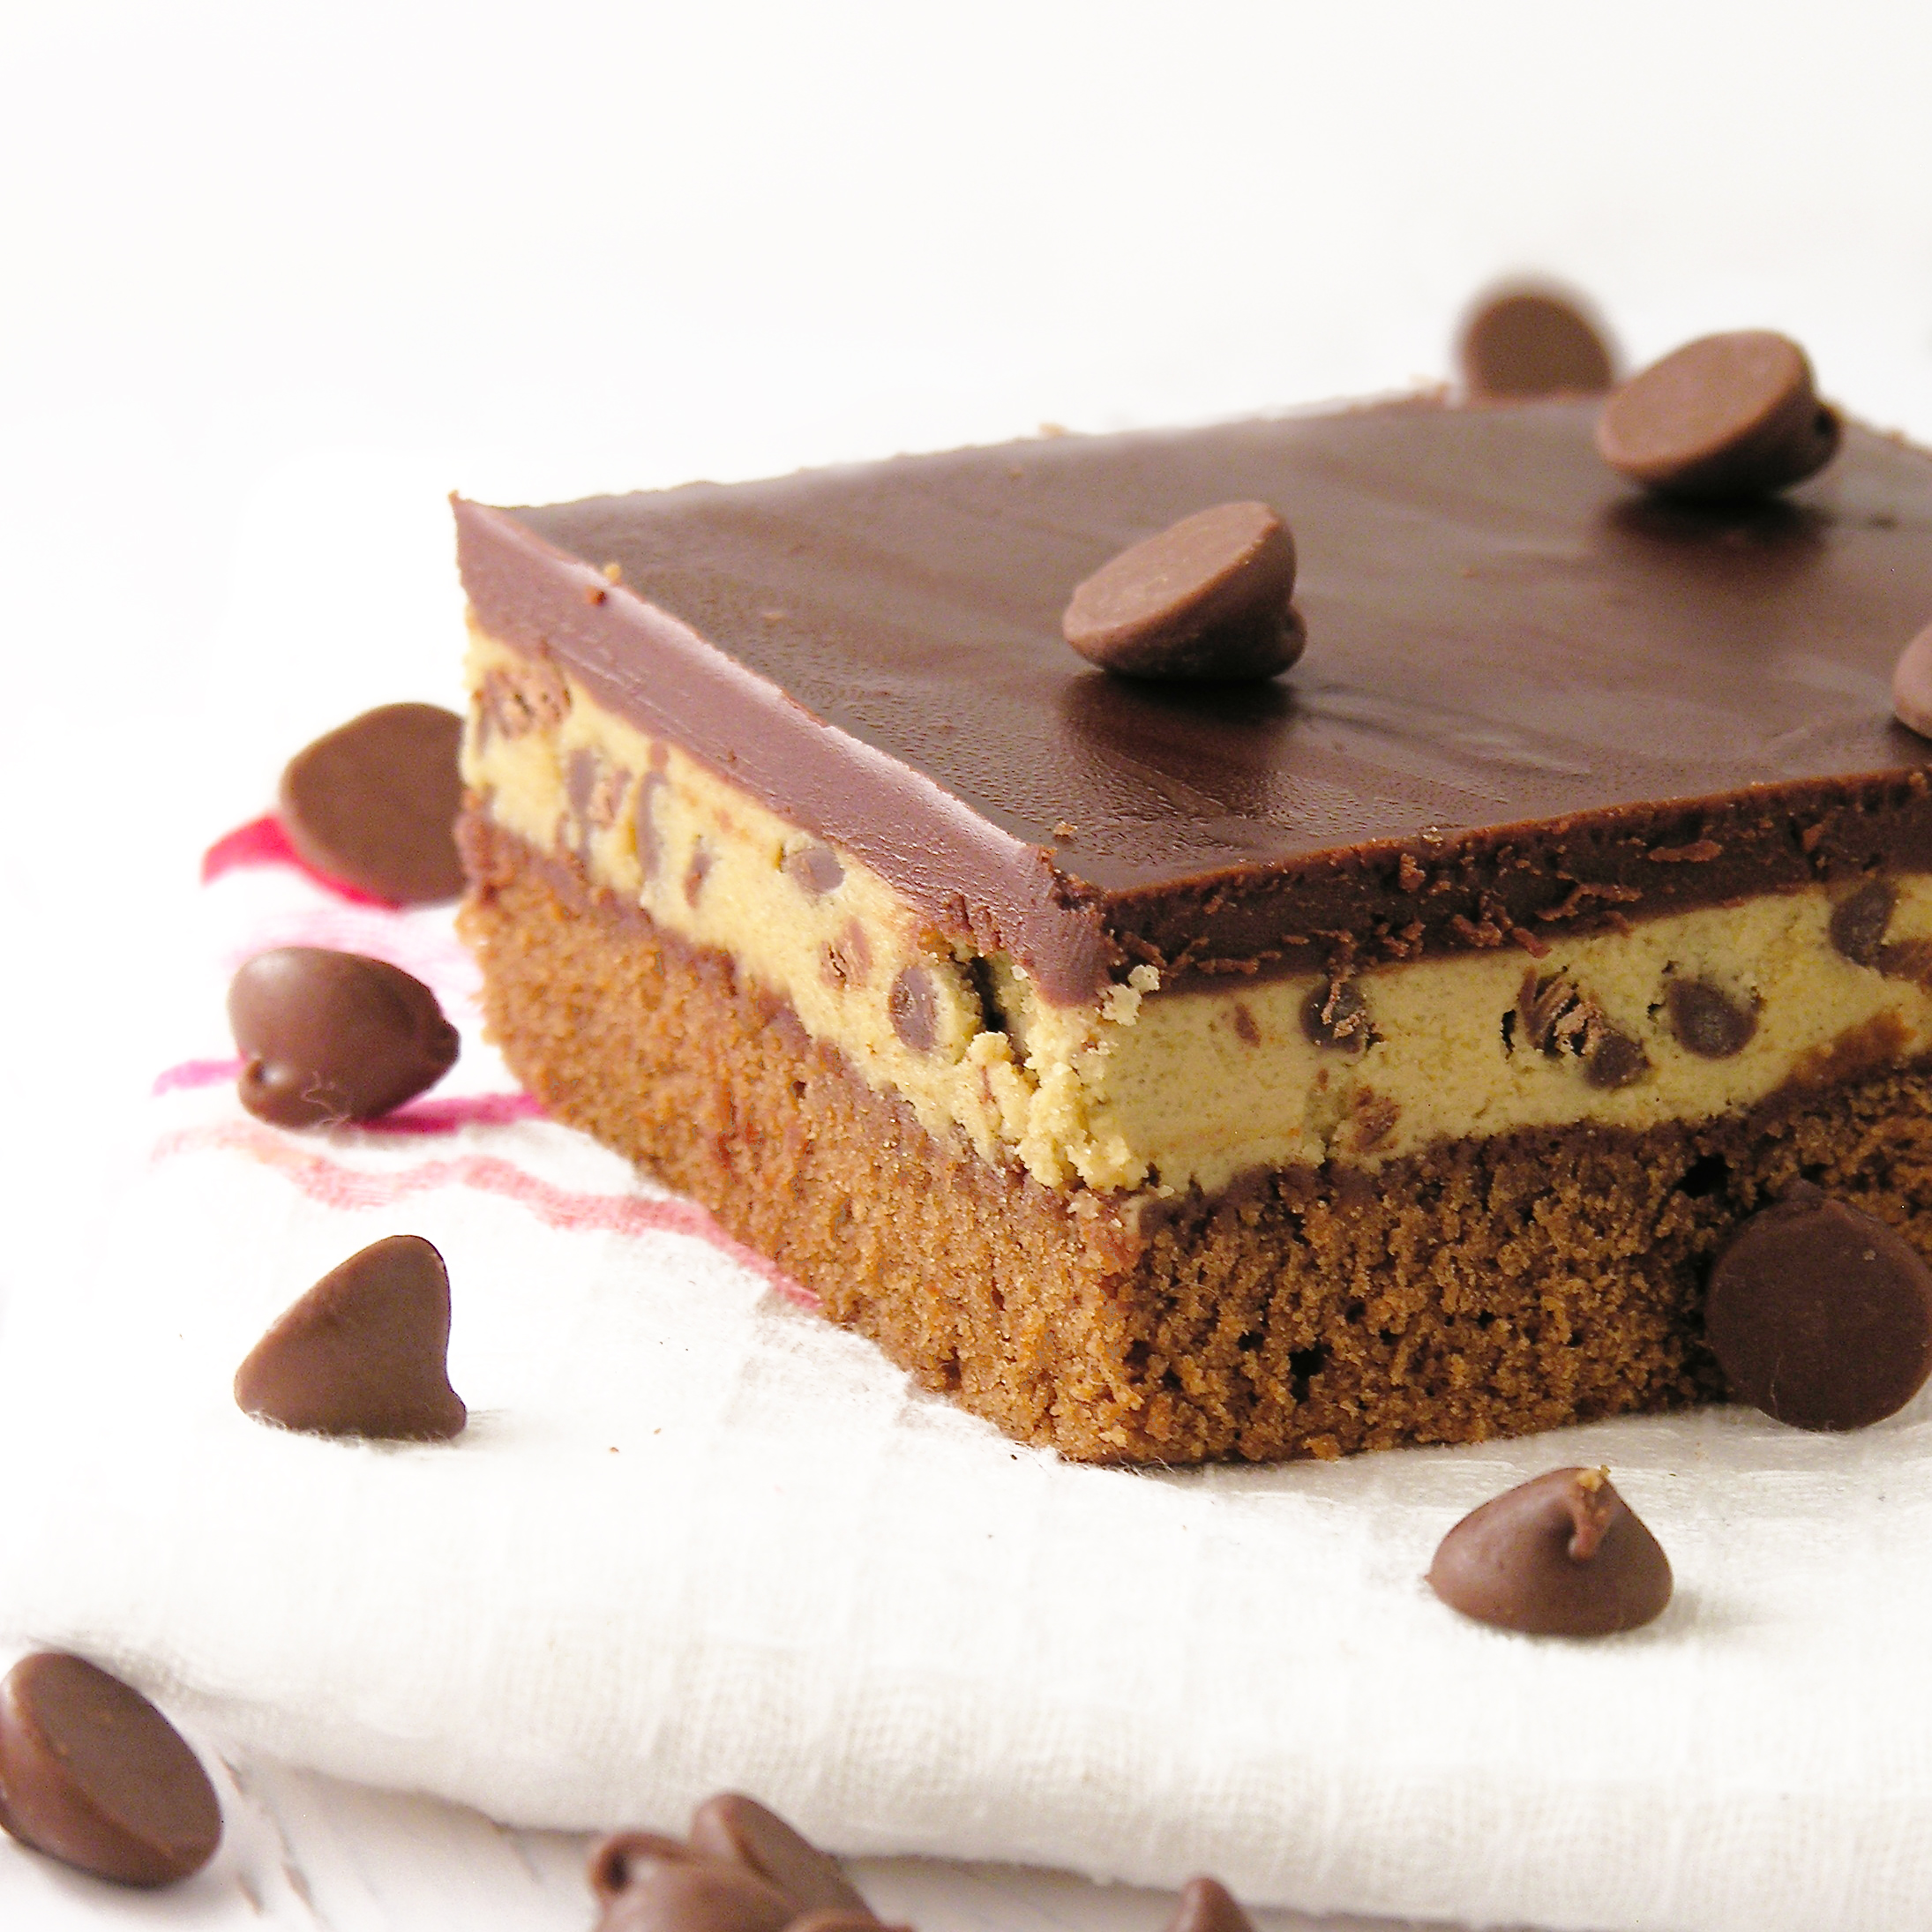
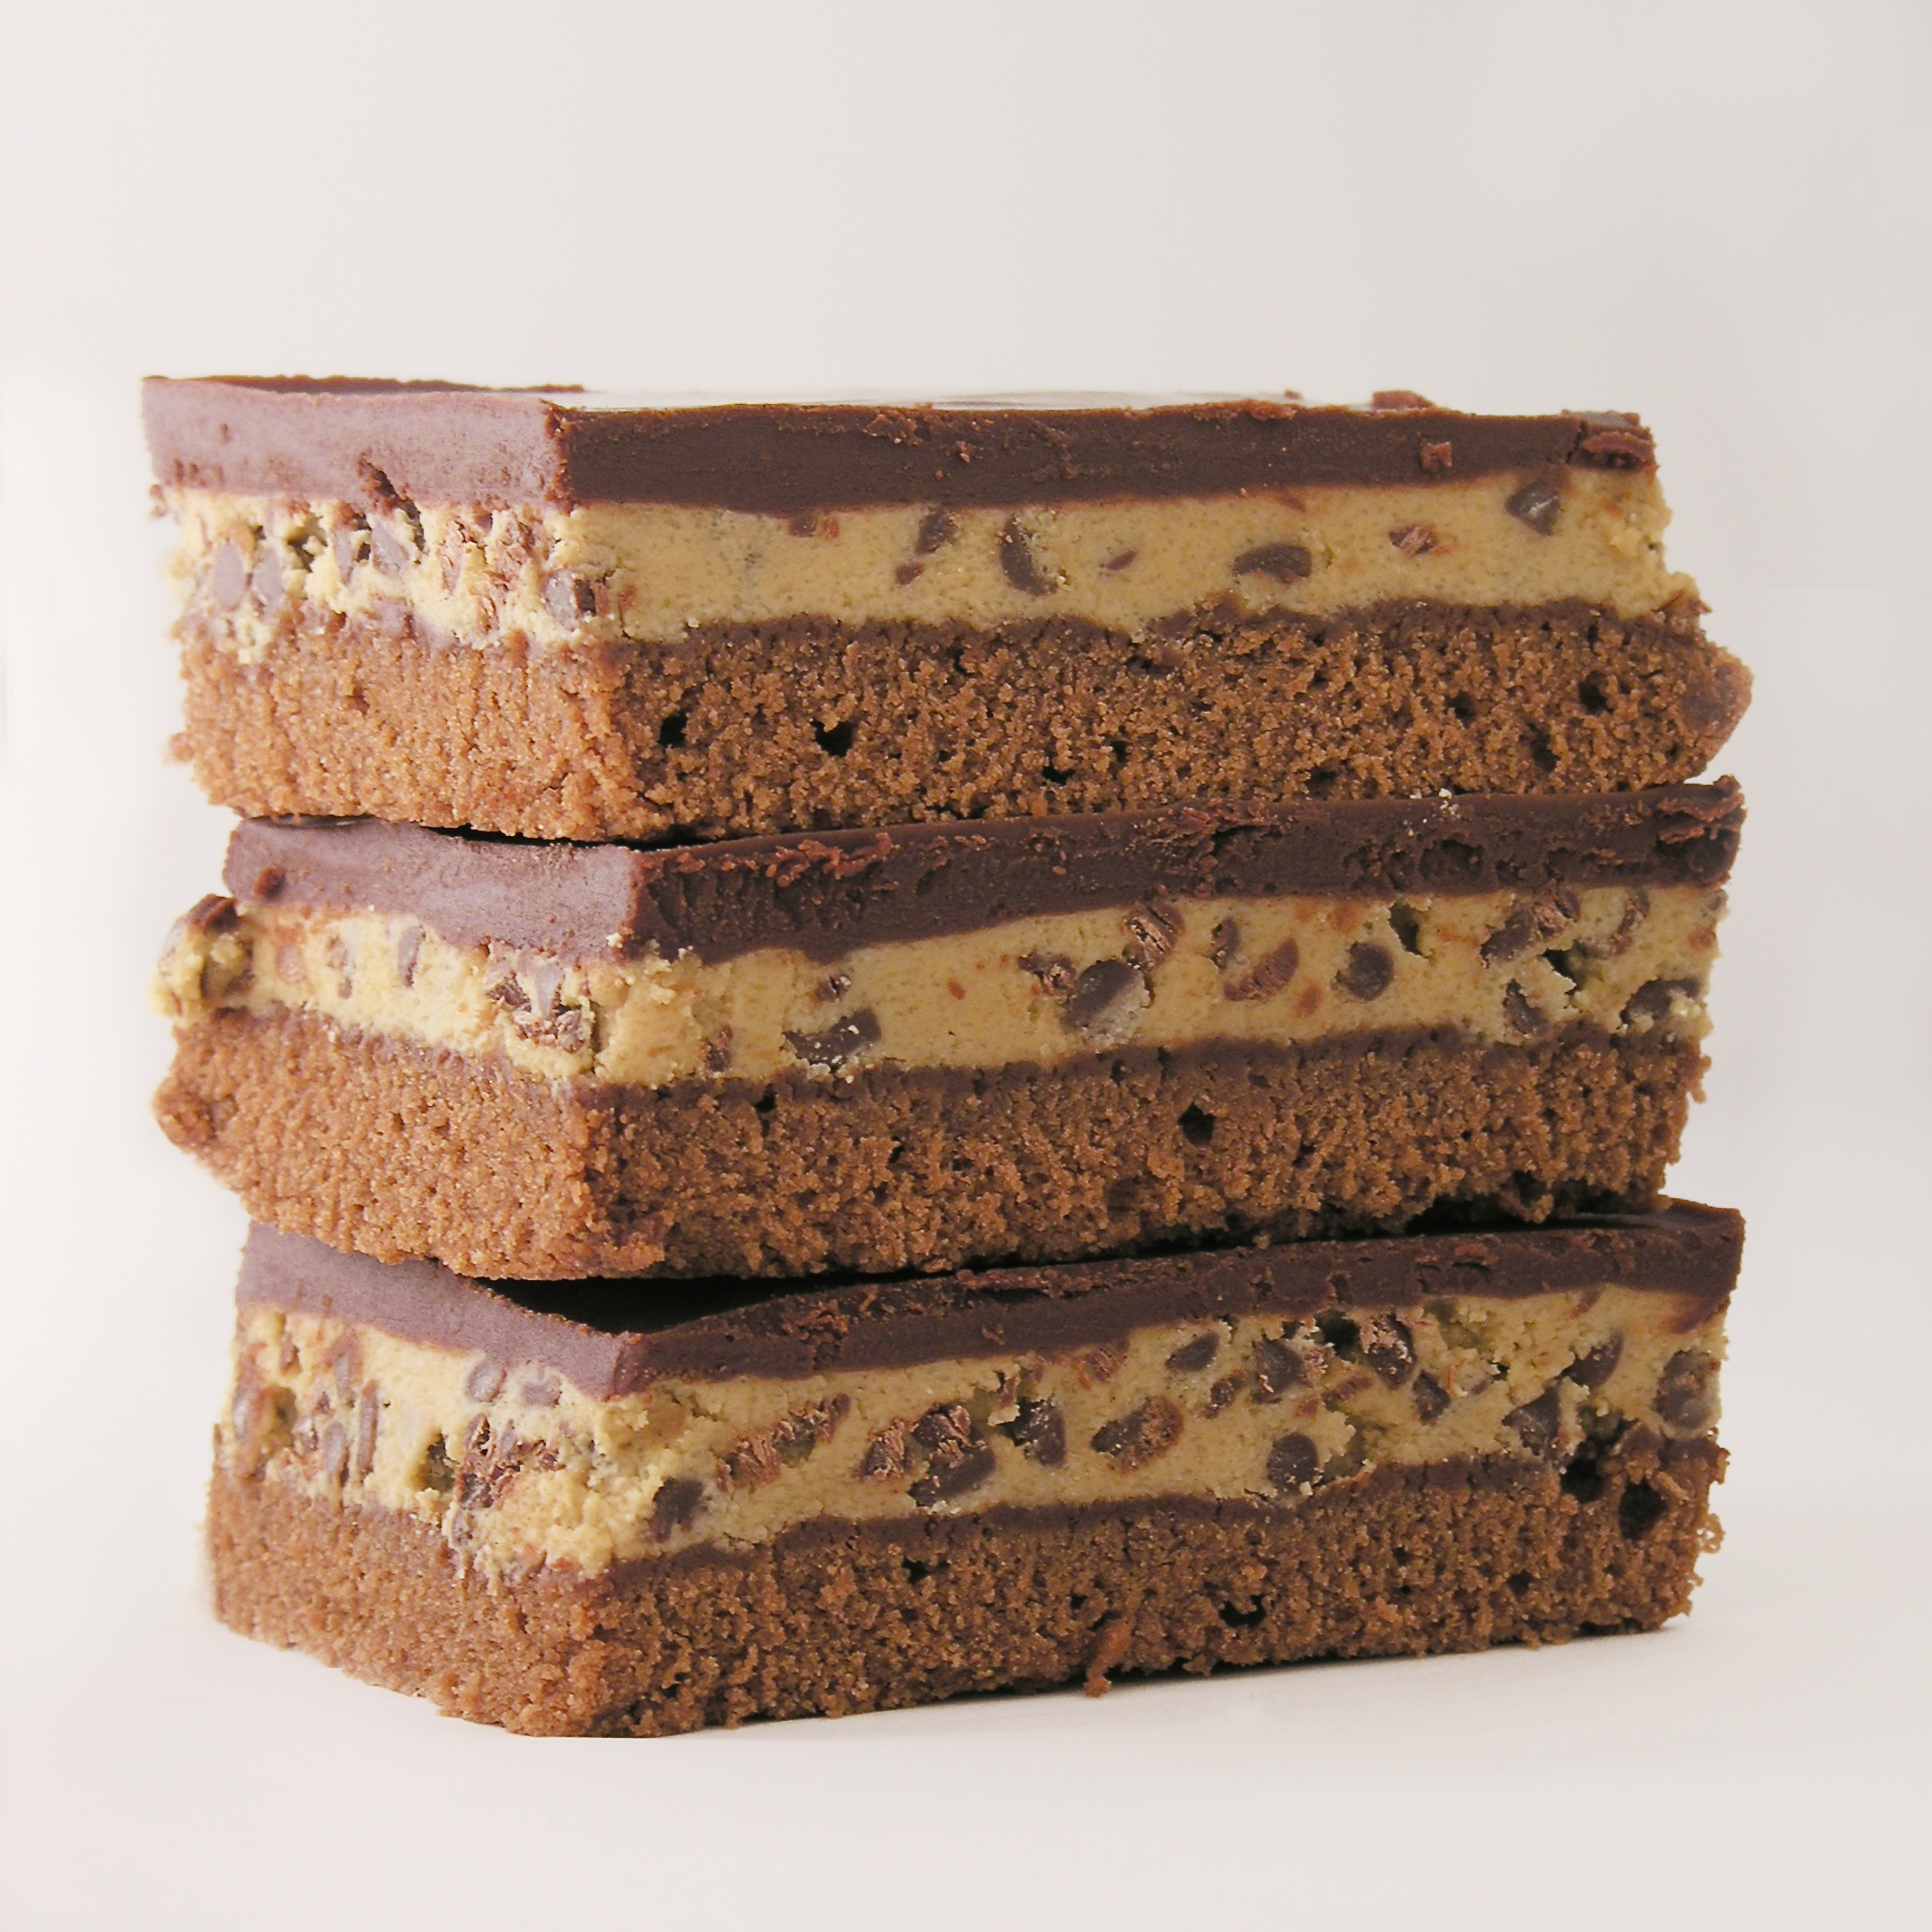
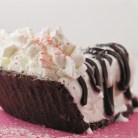
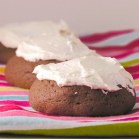
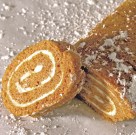
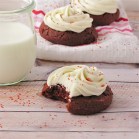
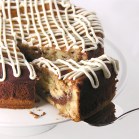
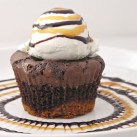
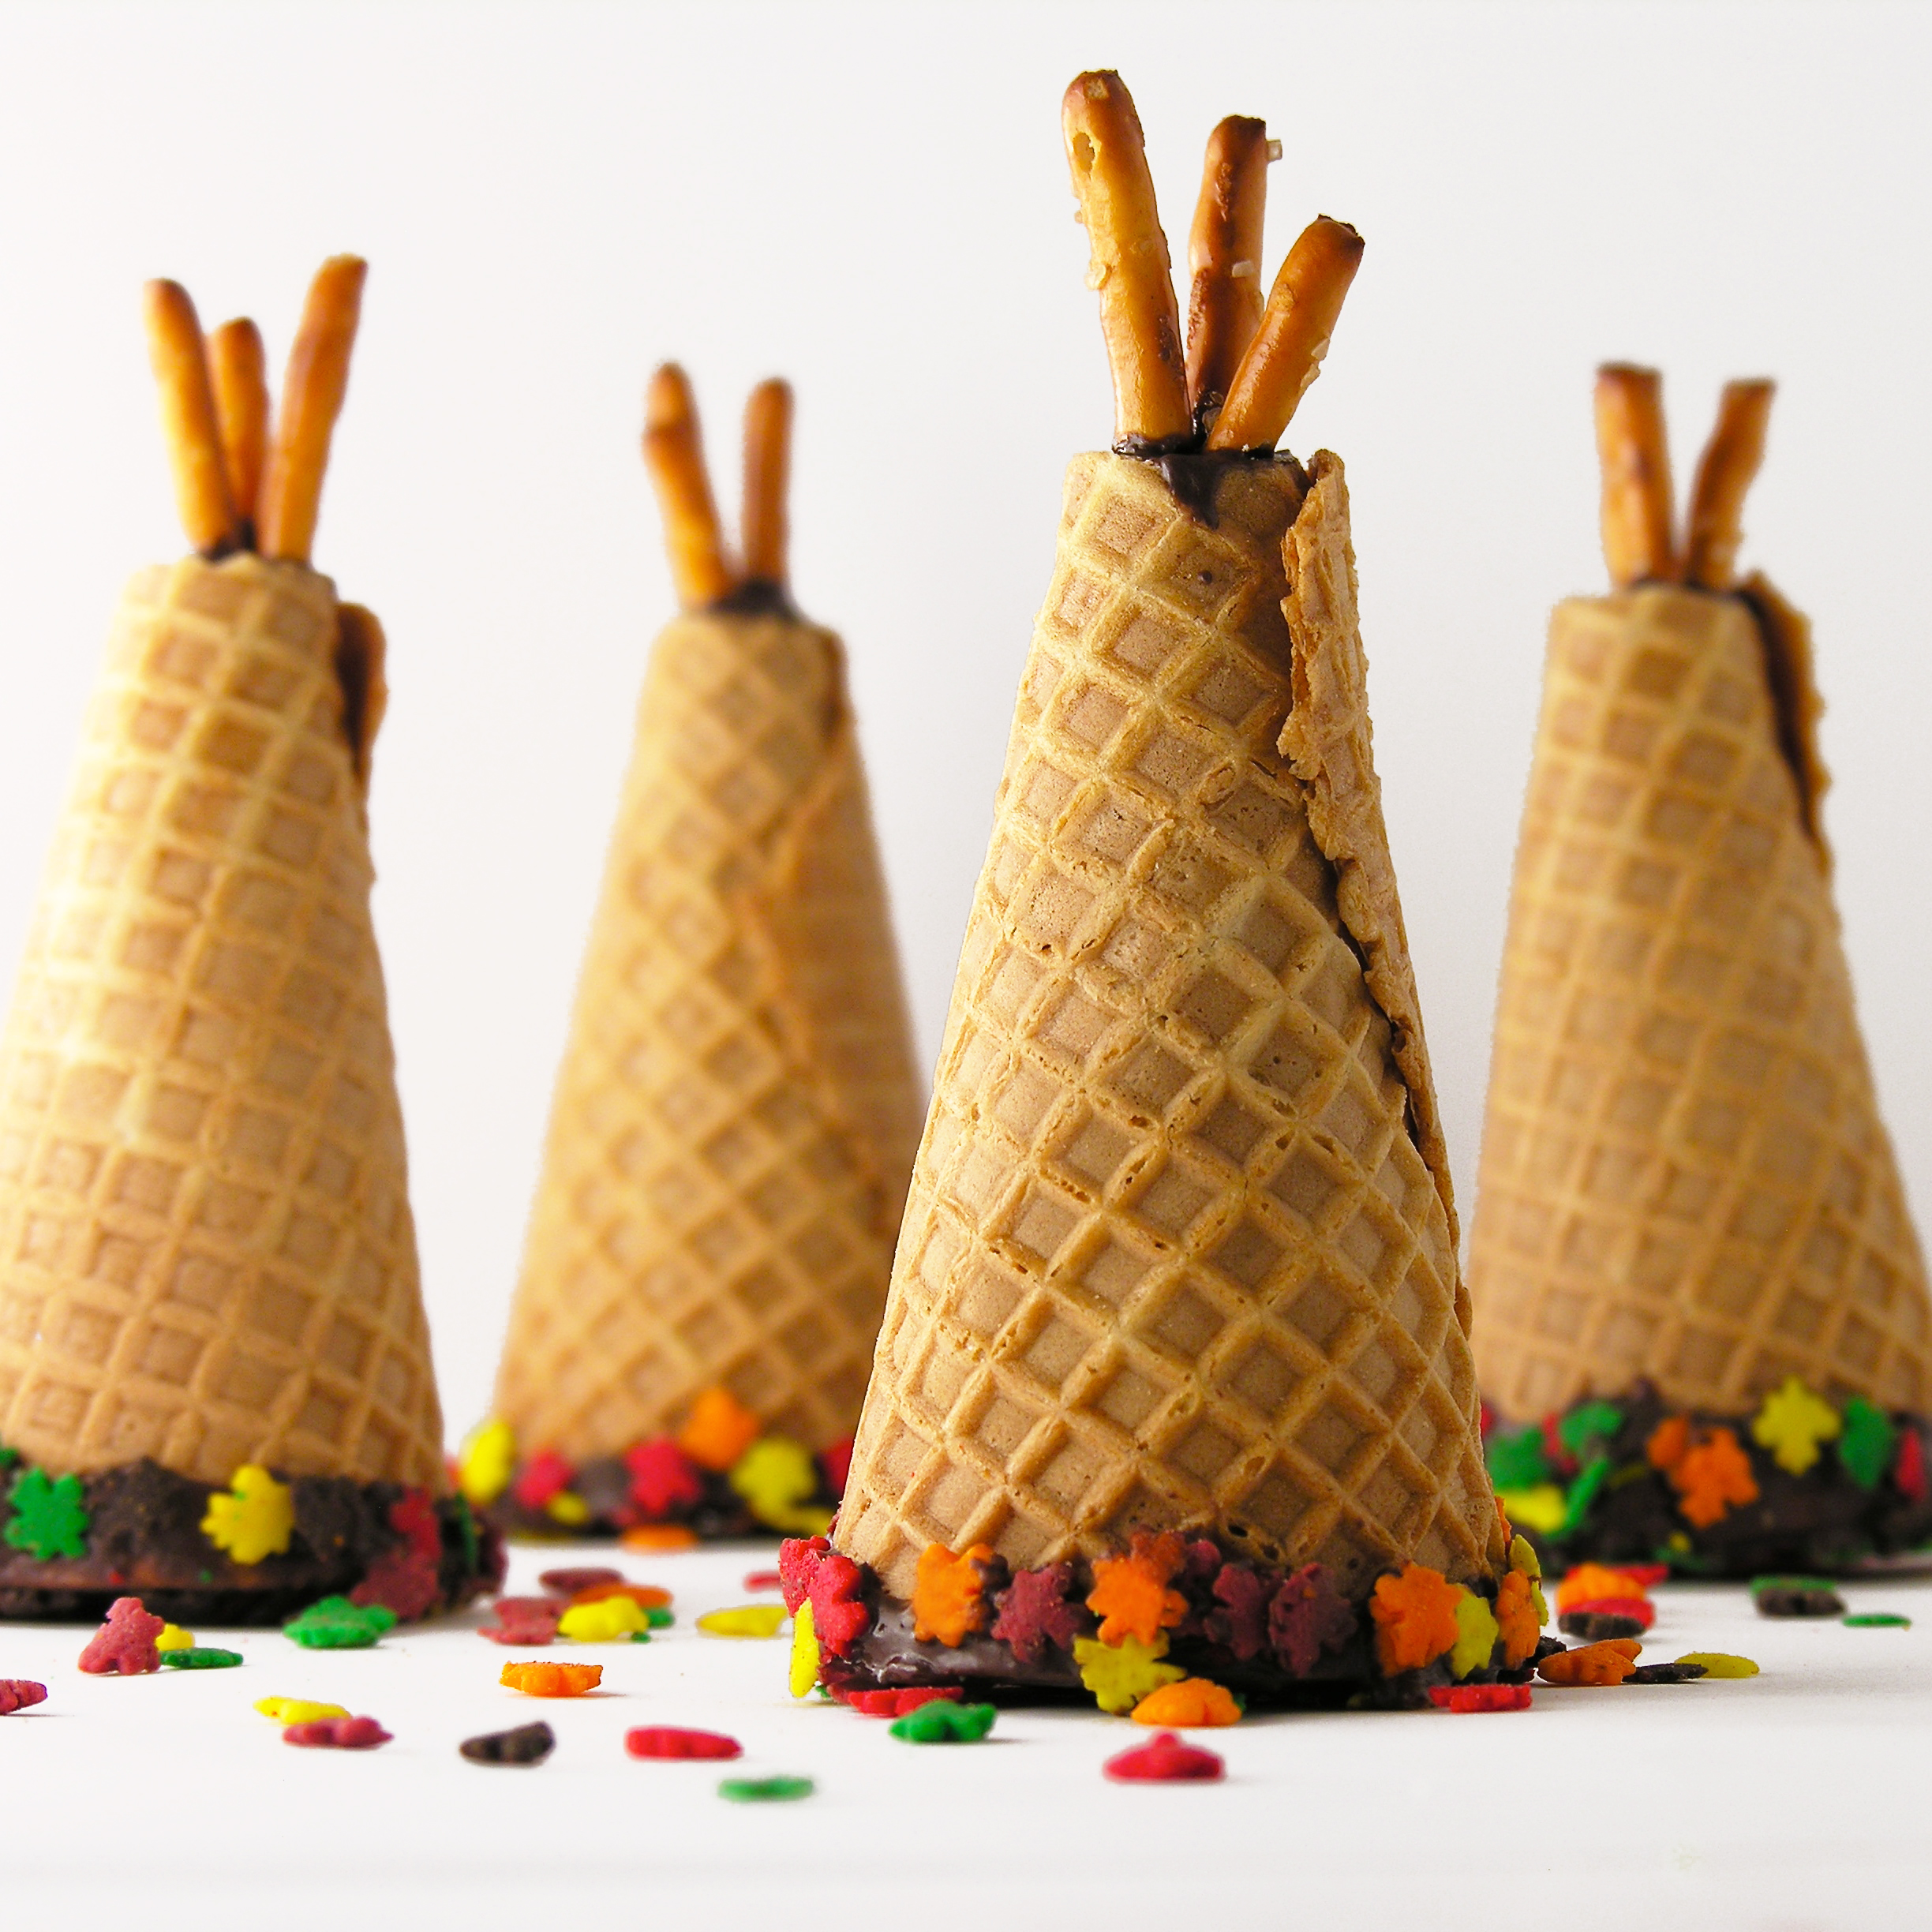
Other fun shower desserts here at Easybaked (click on a photo to see the recipe):

Gender reveal cookiesOriginal Oreo pops!!!!!Cotton Candy Fizz Gender reveal cupcakes

Raspberry Fudge Layer Cake

Raspberry Fudge Layer Cake1Layers of pound cake, chocolate and raspberry are sure you make your Valentine smile this year!

You know those desserts that look incredibly difficult and are super easy? This is one of those. The cake is simply a frozen pound cake sliced and stacked with chocolate and raspberries. Makes you smile, doesn’t it?

Raspberry Fudge Layer CakeHere’s how we made it: (printable recipe)

INGREDIENTS:

  • One frozen pound cake
  • 1 bag of semi-sweet chocolate chips
  • 1 cup of red raspberry jam
  • 1 cup of sliced red raspberries
  • 1 stick of butter
  • 1/2 cup of whipping cream

IMG_0147DIRECTIONS:

  • Remove pound cake from packaging and use a large serrated knife to slice it into 3 or 4 layers
  • Divide the bag of chocolate chips into 2 separate microwave-safe bowls.
  • Add the stick of butter to one, and the whipping cream to the other.
  • Melt each bowl of chocolate, one at a time, in the microwave, stirring every 30 seconds until melted and smooth.
  • Set aside the butter/chocolate glaze.
  • Lay the bottom layer of the pound cake on a baking rack set over a cookie sheet.
  • Spread chocolate/whipping cream mixture generously on the top of this layer and sprinkle with fresh raspberries.
  • On the “bottom” of the next layer, spread raspberry jam and then gently place (jam side down) on top of the raspberries.

IMG_0150IMG_0153IMG_0156

  • Repeat this process until all layers are used.
  • Refrigerate until layers firm up a little (10 minutes or so)
  • Pour remaining chocolate/butter glaze over the top and sides of cake, allowing excess to run through the baking rack and onto the cookie sheet below.
  • Refrigerate until glaze firms up.
  • Cut into slices and enjoy!!!

Raspberry Fudge Layer Cake5My thoughts: This is so easy. A tiny bit messy with all of that melted chocolate, but once it is made, it stores well for a couple of days and makes a beautiful layered dessert. I think you could fill these layers with so many different things for different times of the year. Yum. Enjoy!!! Happy Valentine’s Day! ~r

Raspberry Fudge Layer Cake3

Other fun (and creative!) Valentine’s treats, just click on a picture for the recipe:

White Chocolate Strawberry Cookies!!Chocolate covered strawberry Cake roll!!Frog Oreos!!Creamy cheesecake with sour cream topping

Chocolate Chip Cookie Dough Brownies!

Posted on

Cookie Dough BrownieThese soft brownies topped with cookie dough and fudge are an easy family favorite!!

I’m back! Thanks for your patience this past month. This was the 1st break I’ve taken from Easybaked in nearly 4 years, but there are just some times in life that knock you over and even your favorite things (like baking and blogging!) hold no appeal.

We lost my beautiful mom very quickly last month to aggressive cancer. She is woven through this collection of recipes in so many ways. She taught me how to bake, she shared her best dessert ideas, and she helped me brainstorm new and creative ways to remake a recipe.

She was my biggest fan. As I post this recipe later this week, I will miss her text; “Honey, I loved your blog post- are you bringing those home this weekend? They look so good!”

 1934081_25483287512_9140_nThese cookie dough brownies are mom’s recipe- with a new twist. Mom made these all the time, with mint filling. They have been featured here on Easybaked many times- with all kinds of different fillings. If you’d like to see these other recipes, just click on the photo!

Mint Creme Brownie CupsCaramel Fudge Brownies!!Coconut Brownie Cups!!!Peanut Butter Fudge Brownies!!!!!

As you can see, almost any filling is a wonderful addition to these dense, rich brownies. Cookie dough is no exception- it is WONDERFUL, cuts beautifully into squares, and can be kept refrigerated for three to four days or frozen for up to a month. (I love make-ahead desserts!!!) Want to know how to make these? Here you go: (printable recipe)

INGREDIENTS:

Brownie:

  • Two sticks (1 cup) butter
  • 2 cup sugar
  • 3 eggs
  • 2 teaspoons vanilla
  • 1/2 cup cocoa
  • 1/2 teaspoon salt
  • 2 cups flour
  • 1 cup milk

Filling:

  • 4 cups of powdered sugar
  • 1 stick (1/2 cup) of butter, melted
  • 1 tablespoon of vanilla
  • 1 cup of brown sugar
  • 1 cup of flour
  • 1/4 cup of water (more or less, to desired consistency)
  • 1 bag of mini chocolate chips

Chocolate Topping:

  • 12oz. semi-sweet chocolate chips
  • 12 tablespoons butter

DIRECTIONS:

Brownie:

  • Preheat oven to 350.
  • Cream butter and sugar together. 
  • Beat in eggs, cocoa, vanilla and salt.
  • Add flour and milk (alternating them and mixing well in between)
  • Pour batter into a jellyroll pan (12 1/2 x 17 1/2 x 1″)
  • Bake at 350 degrees for 14-16 minutes or until done in center and pulling slightly away from sides.
  • Cool.  

Filling:

  • Place powdered sugar and melted butter into a large mixing bowl, and use a mixer to beat on medium until crumbly.
  • Add vanilla, brown sugar and flour and continue mixing.
  • Add water, a little at a time, until a thick but spreadable consistency is reached.
  • Beat on high until smooth and creamy
  • Add bag of mini chocolate chips, and stir in on low until well blended.
  • Spoon over (cooled!!) brownies, and spread until evenly distributed over entire brownie top. (I used clean hands to press the dough into corners, and then I placed wax paper over the entire top and used my hands to press into a flat, even layer)
Chocolate Topping:
  • Melt butter and chocolate together in the microwave in 30 second increments, stirring in between until completely melted and smooth.
  • Pour over cookie dough filling and spread evenly over top
  • Chill until top layer is hard.
  • Cut into squares. Serve immediately, or stack in an air-tight container with parchment paper between each layer. Refrigerate for several days, or freeze for up to a month. (They are actually really yummy right out of the freezer!!)
  • Enjoy!


Cookies Dough Brownie My thoughts: These are as good as they look. If you like sneaking cookie dough out of the bowl, these are for you! This recipe makes quite a few brownies, and I love that they can be made ahead and some of them frozen for a later date. Enjoy!!

Cookie Dough Brownies

This one’s for you mom. I love you!

More of mom’s recipes here on easybaked:

Ice cream pie!!!!Chocolate drop cookies!Pumpkin RollChocolate Chip Cake

Peppermint ice cream pieone of our summer favorites!  Chocolate drop cookiesone of my first recipes with mom.  Pumpkin roll- people always asked her to bring this to family celebrations.  Chocolate chip cakeher go-to recipe for winning a bake off.

Have you ever visited Immeasurably More? It’s about my non-baking self and all the ways God is directing my steps. Stop by sometime by clicking the link below.

JV blog header

A Cut-out Cookie Collection!

Cut-out Cookie CollectionIt’s nearly Christmas, and those cute bells, stars and tree cookie cutters are begging to be used!  This post is dedicated to our favorite cut-out cookie recipes featured here on Easybaked. We have everything from gingerbread to mocha, simple sugar cookies to international favorites! Make this year’s cookies your best yet!

Let’s start with the family favorite. My mom’s thick and cake-like cutout cookie recipe features a hint of cinnamon flavor and is truly a part of our Christmas (and Easter, and 4th of July, and back-to-school and GO PACKERS!) traditions. These are easy, and freeze well- so you can make them ahead. Go ahead and click on that photo to see the recipe.

IMG_1195


Next, is my personal favorite: GINGERBREAD!  These, too, have been a part of our family Christmas traditions. This recipe is my grandmother’s, and she faithfully made them every year, cut them as Christmas trees and decorated them with red-hots! Click on the photo to see her oh-so-yummy recipe!

Gingerbread Cookies!Similar to gingerbread are my Pumpkin Spice Cookies. These are sweeter and bake very flat and easy to decorate.

Pumpkin Pie Cutout cookies!Chocolate cut-out cookies that taste like the richest brownie but roll out and cut like a dream? Yes, please!  I love how the frosting colors really stand out on that dark chocolate! These chocolate cut-outs have been in our family awhile too- but as drop cookies that I tweaked to make cut-outs. Click the photo to see this delicious recipe:

Chocolate cut-out cookies

That chocolate cut-out recipe is so yummy that I experimented a little more with it to create a chocolate espresso cut out cookie and…oh my…one of my favorites!

Dark Chocolate Espresso Cookies!I’ve spent some time overseas and discovered a wonderful dessert in Prague called Medovnic. Then I found these wonderful little honey-filled cut out cookies called Medovniky that are often made at Christmas. I made them for autumn, but they are a delicious flavor for any season!!

Honey cookies cut into leaf shapes!

Speaking of international cookies, these Alfajores from Peru add a totally unique (and deliciously caramel-filled) flavor to the holidays.

Alfajores (Peruvian caramel cookie)!

When it comes to cut-out cookies, the cookie cutters make all the difference! I absolutely LOVE the look created by Linzer cookie cutters. Typically they are layered with a fruit filling, but I just used colored frosting and you have beautiful cookies with very little fancy frosting technique!

Linzer Christmas CookiesOne other thing you’ll need are some good frosting recipes, which I’ve compiled right here in a post called: Frostings, fillings and fun!

mmm......frosting!

I hope that these recipes inspire fun-filled cookie making times with your family this season.

Merry Christmas! 

~r

12/19/14: On a personal note: I blog my recipes ahead, and I prepared this post and my next one (very fun New Years cookies) several weeks ago. Since that time, my mom has been diagnosed with very, very aggressive cancer and admitted to Hospice. I just wanted to ask for all of you who have followed this little blog and enjoyed these recipes to keep our family in your prayers as we say good bye to her this Christmas. After next week’s post (which is already scheduled),  I will probably take a little break from sharing recipes here. Many thanks, friends! ~r

(My personal and ministry blog is at: www.thenavajojourney.com, if you want to keep up with me there.)

Upside Down Oreo Cupcakes

Upside Down Oreo Cupcakes

Turn these cupcakes upside down and find a cute “winter” Oreo on the top! Add a little bit of frosting in the middle and you have a delicious and beautiful winter dessert!

I saw this cute idea on the Oreo site and decided to “winterize” the idea. You’ll have to find the Winter Oreos- they have red filling and the most adorable designs on them, or you can use plain Oreos too- either way they are delicious!

Oreo Cupcakes!!

These aren’t difficult to make, but you will definitely need to keep them in a sealed container until serving them. I put all of mine away, but 2 didn’t fit and since that cupcake liner is pulled off, they got all hard and stale. In a container they kept fine for a couple of days!  On a side note: I used the Duncan Hines Blue Velvet mix and it was delicious! You could use Red Velvet or a White cake mix with food coloring too. Here’s how we made them: (printable recipe)

INGREDIENTS:

  • One box of Duncan Hines Blue Velvet cake mix (plus water, butter and eggs required by mix)
  • One package of “winter” Oreos
  • One tub of white frosting
  • Sprinkles as desired

DIRECTIONS:

  • Make cake mix as directed on box.
  • Place one Oreo each into 24 cupcake liners placed into muffin tins- making sure that cute winter design is facing down!
  • Spoon cake batter evenly into liners, making sure it get down around the sides of the Oreo
  • Bake cupcakes as directed by box and allow them to cool completely.
  • Remove cupcake liners, use a small knife to slice each one in half and spread some frosting between the 2 layers.
  • When cupcake is reassembled, sprinkle with fun sparkly sugars.
  • Store in an airtight container. I ADORE my cupcake carrier – it’s one of my favorite kitchen belongings and you should totally ask for one for Christmas!!!
  • Enjoy!!!!!!!

Oreo Cupcakes!

Aren’t those fun winter colors?  I love reds and blues for Christmas!

My thoughts: These are really easy and fun- I think with the lighter cake mix color you get a little more discoloration or “browning” around the Oreo cookie itself, that was my only disappointment. I think if you used a darker cake batter you wouldn’t notice it so much. The flavor was wonderful though. Thanks for the fun idea Oreo!!!!  Enjoy!

Oreo Cupcakes2

Other Christmas recipe ideas~ click on a photo to be taken to the recipe:

Hot Chocolate Pop!Peppermint Hot Chocolate Cupcakes!!!Gingerbread Cake RollReindeer Oreo Pops!!!

Need a fun and unique gift idea? Easybaked has adorable boxed sets of notecards. They have an Easybaked dessert photo on the front and a recipe on the back! The come in a cute box and the best part? They are ON SALE for Christmas, include free shipping and the site that is hosting them offers $10 off a $50 purchase! Enjoy!!! (Click on photo for more information)

Easybaked Card sale

Caramel Crisp Cookies

Posted on

Caramel Ritz Cookies

These crisp, caramel- filled cookies are absolutely delicious, can be decorated for any season and are SO easy!

These cookies have made a bigger impression on people than almost any dessert I’ve made. Everyone LOVES these! I love them too and they really are one of the easiest cookie ideas I’ve ever posted. Plus they are cute, and cute always gets bonus points in my book!

Caramel Ritz Cookies

These are made by pressing melted Rolos between Ritz crackers and then dipping them in chocolate… as easy as that! You almost don’t need a recipe, but for those of you who like having one, here you go: (printable version)

INGREDIENTS: (makes about 50 cookies)

  • One box of Ritz Crackers
  • One bag of Rolo caramel candies
  • Two bags of Wilton’s Candy Melts in dark chocolate

DIRECTIONS:

  • Unwrap all those little Rolos…this is the hardest part of this recipe….booooring!
  • Preheat oven to 350F degrees.
  • Place Ritz Crackers, bottom side up, on a cookie sheet and set one unwrapped Rolo on each one.
  • Put these into the oven and leave them for one to two minutes until the Rolo is soft enough to press flat with another cracker- I actually just kept checking until they were soft enough.
  • Remove them from the oven and use another Ritz cracker to make a little sandwich of that soft Rolo.
  • Allow these to cool completely- I put mine in the fridge for 20 minutes or so until they were nice and firm
  • Melt Candy Melts in the microwave in 30 second increments, stirring in between until they are completely melted and smooth.
  • Cover each cookie with melted chocolate and use a fork to lift the cookie up. Tap the fork against the side of the bowl to allow excess chocolate to drain off, slide bottom of cookie along edge of bowl to remove extra off bottom, and tip gently off fork and allow cookie to slide onto parchment or wax paper. Sprinkle/ decorate as desired and allow cookie to harden completely.

Caramel Rolo Ritz CookiesCaramel Ritz Cookies

If you want to skip the chocolate-dipped part, these are still a fun and yummy treat:

Caramel Rolo Ritz Cookies

My thoughts: As I said earlier, these are really yummy. I like that you can decorate them any way you want for any season- they are like Oreo pops- and you ALL know how much fun I have decorating those here! Use any color of Candy Melt, use sprinkles or drizzles….sky is the limit! My dad tried them and said, “When you put these on your blog, tell people they are the best cookies I’ve ever had.” So there you go. The best ever. Thanks dad!

Caramel Rolo Ritz CookiesOther Christmas cookie recipes you’ll have fun trying~ just click on the photo to see the recipe:

Chocolate bonbonsChristmas Cut-outsSnowman Oreo PopsChocolate Espresso Cookies!!!

Need a fun and unique gift idea? Easybaked has adorable boxed sets of notecards. They have an Easybaked dessert photo on the front and a recipe on the back! The come in a cute box and the best part? They are ON SALE for Christmas, include free shipping and the site that is hosting them offers $10 off a $50 purchase! Enjoy!!! (Click on photo for more information)

Easybaked Card sale

Chocolate Chip Cake

Chocolate Chip CakeThis delicious chocolate chip cake recipe is a tried-and-true family favorite and a go-to for a winning bake-off recipe!

This recipe is my grandma’s, but my mom made it a lot when I was growing up. She didn’t tell me her secret ingredients until I loved it too much to care that there were dates in it. Man, do I hate dates. I’m not sure what happens to them in this recipe though- they are magically transformed into chocolatey goodness that doesn’t resemble dates in the slightest!

Chocolate Chip CakeIt’s an ugly cake. I mean, it’s just a plain old chocolate cake, and it’s sweet enough without frosting. I was hoping my photos could adequately convey how delicious it is. My mom used to lay paper lace doilies on top, just before serving, and sprinkle it with powdered sugar. When she removed the paper lace it really was pretty. Plus it routinely won our church bake-offs each year… I love beautiful desserts, but for this one it truly is the inside that counts! Plus it is ridiculously easy to make.  Here’s how: (printable recipe)

INGREDIENTS:

  • 1 cup of pitted and chopped dates
  • 1 cup of hot water
  • 1 teaspoon of baking soda
  • 1 cup of margarine
  • 1 cup of sugar
  • 2 eggs
  • 1 3/4 cups of flour
  • 2 teaspoons of cocoa powder
  • 1 teaspoon of salt
  • 1 bag of semi-sweet chocolate chips (I used mini- chips because it was all I had- and they worked great!)

DIRECTIONS:

  • Preheat oven to 350F degrees and spray a cake pan with non-stick spray.
  • In a medium bowl, combine the dates, water and baking soda, and allow the dates to soak while you put the rest of the ingredients together.
  • Cream together margarine and sugar. Add eggs and blend together.
  • Add dry ingredients (except for chocolate chips) and blend well.
  • At the end, add date and water mixture. Blend well and add chocolate chips.
  • Pour into cake pan and bake 40-50 minutes, until a tooth pick inserted in the center comes out clean.
  • Enjoy!

Chocolate Chip CakeOur family recipe made me smile. Oleo (??) is margarine… and bake “til done” is nice too. Gotta love the way grandmas bake! This is my mom’s recipe card and she graciously added  “40 minutes” at some point in the history of making this cake for us.

Chocolate Chip Cake My thoughts: Well, I love this cake. It is so moist and sweet (probably from those dreaded dates!) and it genuinely doesn’t need frosting. (As a frosting addict, that is saying something!) This is SO easy to put together and it is great served warm with a little ice cream! Yum… I hope you get a chance to try it and make it one of your family favorites!  Enjoy! ~r

Chocolate Chip CakeOther family tried-and-true recipes~ just click on a picture to see the recipe:

Creamy cheesecake with sour cream toppingHeath Bar Ice Cream Dessert3Peanut Brittle!!Grandma's Chocolate Cream Cake

Need a fun and unique gift idea? Easybaked has adorable boxed sets of notecards. They have an Easybaked dessert photo on the front and a recipe on the back! The come in a cute box and the best part? They are ON SALE for Christmas, include free shipping and the site that is hosting them offers $10 off a $50 purchase! Enjoy!!! (Click on photo for more information)

Easybaked Card sale

Caramel Pecan Pie Cupcakes

Pecan Pie Cupcake3

If you like pecan pie, you will go nuts over these cupcakes! With caramel pecan pie filling in the middle and crisp pie crust decorating the top, these say Happy Thanksgiving in a fun new way!

There’s nothing more yummy than a warm caramel pecan pie in the fall. I have a favorite- and it’s here already on Easybaked as my Christmas Eve Caramel Pecan Pie. These cupcakes take that pie up a notch and they turned out better than I even imagined they would~yum!

Pecan Pie Cupcakes

There are a couple of steps to this recipe, so it is a little more time consuming, but well worth the effort~ I promise!

Here’s how we made them: (printable recipe)

INGREDIENTS:

Cupcakes:

  • One boxed caramel cake mix (plus water, oil and eggs to make according to box)

Pie filling:

  • 2/3 cup granulated sugar
  • 1/4 cup (1/2 stick) butter (melted)
  • 3 eggs (these are in addition to the eggs used for cake mix)
  • 1 (12 oz) jar of caramel topping
  • 2  cups chopped pecans (plus 24 pecan halves for decorating if desired)

Frosting and pie crust toppers:

  • One refrigerated pie crust
  • 1 cup (2 sticks) of salted butter
  • 1 cup (2 sticks) of unsalted butter
  • 3 cups of powdered sugar
  • 2 teaspoons of clear vanilla flavoring

DIRECTIONS:

Pie Filling:

  • Make pie filling 1st. Start by preheating oven to 350F degrees
  • In a large mixing bowl, beat 3 eggs together lightly with a fork.
  • Add sugar, stirring until dissolved
  • Stir in caramel topping and butter
  • Stir in chopped pecans
  • Pour into a greased casserole dish and bake for 50-60 minutes.
  • Cool completely (I placed this in the fridge to cool more quickly)

Cupcakes:

  • As the pie filling bakes, make cake mix according to directions on boxed mix and divide evenly among 24 cupcake liners placed in a tin.
  • Once pie filling is finished, bake cupcakes according to box.
  • Remove cupcakes from oven and tins and allow them to cool completely.

Frosting and pie crust toppers:

  • Unroll pie crust onto counter and use any cookie cutter you like to cut into 24 pieces. I used a fall leaf Linzer cookie cutter and added the leaf cut-outs on the cupcakes too.
  • Place pie pieces on a cookie sheet and spray lightly with non-stick spray.
  • Bake until slightly browned and crispy. Cool.

Pecan Pie Crust Cut-outs

  • Make frosting by combining butter, powdered sugar and vanilla in a large mixing bowl and beating on high for 3 to 4 minutes until light and fluffy.

Assembling Dessert:

  • To assemble cupcakes, make sure everything has cooled. Use a cupcake corer to remove a core out of the center of each cupcake.
  • Scoop or spoon some pie filling into each cupcake and replace the top of the core back on top of the filling.

Pecan Pie Cupcake1Pecan Pie Cupcake2

  • Place frosting into a zip-top bag fitted with a decorating tip and pipe swirls of frosting on the top of each cupcake.
  • Add a pie crust topper and a pecan half and ENJOY!!!!

Pecan Pie Cupcakes

My thoughts: These really do capture the delicious flavor of pecan pie. They were a big hit with everyone who tried them. I really liked the pie crusts on top- so yummy in that buttercream frosting! I hope you have a chance to try this recipe out!  Enjoy! ~r
Pecan Pie Cupcakes

Love pecans? We do too!  Here are some other yummy pecan recipes. Just click on a photo to see the recipe!

Turtle Cheesecake SquareCaramel Turtles!!!Caramel Pecan CookiesToffee Pecan Crunch!!!!!!

Need a fun and unique gift idea? Easybaked has adorable boxed sets of notecards. They have an Easybaked dessert photo on the front and a recipe on the back! The come in a cute box and the best part? They are ON SALE for Christmas, include free shipping and the site that is hosting them offers $10 off a $50 purchase! Enjoy!!! (Click on photo for more information)

Easybaked Card sale


Pumpkin Pie Spice Cookies

Pumpkin Pie Cutout cookies!

These cute little pumpkin cutout cookies are chock-full of pumpkin spices and capture the tastes of fall in every bite!

I really dislike pumpkin pie. This time of year it is found everywhere! I’ve discovered that it is truly the pumpkin I dislike though- not the spices. These cookies offer all the yummy spices of pumpkin pie without a hint of actual pumpkin… plus they are cute as can be! These cookies can be cut into any shape you like and decorated accordingly. I had a hard time not eating them all up before  I decorated them- so use frosting…or don’t…. maybe just cut them in circles and add a few sugar sprinkles to make them really easy!

Pumpkin Pie Cutout CookiesHere’s how we made the cookies- and how we decorated them. (printable recipe)

INGREDIENTS:

  • 2 sticks (1 cup) unsalted butter (softened)
  • 1 1/2 cups of granulated sugar
  • 2 eggs
  • 1 teaspoon of vanilla
  • 1 teaspoon of butter flavoring
  • 3 cups of flour
  • 1 teaspoon of baking powder
  • 1/2 teaspoon of salt
  • 2 Tablespoons of pumpkin spice seasoning

DIRECTIONS:

  • Preheat oven to 350F degrees.
  • In a large mixing bowl, cream together butter and sugar until smooth.
  • Add eggs, vanilla and butter flavoring and mix well.
  • Add all dry ingredients and mix until able to knead into a firm ball of dough (add additional flour if necessary).
  • Roll out on a floured counter with a flour coated rolling pin to desired thickness.
  • Cut using a large (I used a 6″) round cookie cutter
  • Use a knife or pizza cutter to divide circle into even triangle “pie” pieces.
  • Place cookies on ungreased cookie sheets and bake at 350F degrees for 8 to 10 minutes.
  • Slide baked cookies onto parchment paper to cool completely.
  • To decorate, use royal icing (so it will harden into a firm shell) my recipe for that is here.
  • Use thicker icing to outline the shape of the cookie and then flood the inside of the outline with thinner icing.

Pumpkin Pie Cut-out CookiesPumpkin Pie Cutouts CookiesPumpkin Pie Cutout cookies

  • Allow icing to harden up and then make the “crust” by using royal icing colored to match the cookies and swirling a loose “m” pattern across the end of each cookie.
  • Use a star tip to add a little white icing as “whipped cream”

Note: I wanted to add some cute factor to these yummy cookies and saw sugar cookies done as slices of pie on a REALLY fun blog called sweetsugarbelle.com. She does a GREAT job of showing the decorating process step-by-step, and I highly recommend you visit her site if you decide to make these cookies in slice form. The hardest part is the crust. I’m NOT a cake decorator and I really had to practice to get the crust to look acceptable. Her pictures and instruction were a big help! Plus the rest of this site is so addictive. Beautiful creations! Love it!

Slice of Pumpkin Pie CutoutsMy thoughts: YUM. Seriously yummy cookies. If you are up for a challenge make them into pie slices, but if you just want some simply delicious and EASY cookies just cut these into fun fall or Christmas shapes and sprinkle with a little colored sugar. Don’t omit that butter flavoring- you can find it with other flavors and extracts at the grocery- it adds such a yummy flavor!  Hope you get a chance to try these!!! Enjoy! ~r


Pumpkin Spice CookiesOther fun Thanksgiving recipe ideas~ click on a photo to see the recipe:

Cinnamon Upside Down Cakes!!Red velvet cookies with cream cheese icing!!Cinnamon Roll Cheesecake!!Brownie Oreo Cookie Cup

Tepee Cupcakes!

Posted on

Tepee CupcakesThese adorable little tepees are filled with yummy chocolate cake and are sure to make everyone smile at YOUR Thanksgiving feast!

Since I spent 8 months on the Navajo Nation and learned to love their culture and traditions, I thought I’d skip the Pilgrim themes and go straight for the Indians this Thanksgiving. My first trip out to the reservation I wondered if Tepees were even used by the Navajo. They are- but only for special ceremonies. The Navajo traditionally lived in round or multi-sided structures called hogans.

AZ-92DSC_0815

Here is a picture of a ceremonial tepee and of my friend Rod by his family’s hogan.

I had quite a time making these cute little desserts, but I hope that my experimenting will help you make this perfectly the 1st time! They really aren’t difficult once you figure out what the best system is! I will give you my recipe 1st (that’s what you’re here for, right??) But after the recipe I will share my trials and tribulations in the process!

Teepee4

Here’s how to make these cute little treats: (printable recipe)

(The links to Amazon in this recipe are affiliate links. Your purchases help to support future recipe creations here on Easybaked- thank you!!!)

INGREDIENTS:

  • 24 pointed ice cream cones
  • One boxed cake mix in chocolate (or any flavor you like!), plus water, oil and eggs to make according to box.
  • One bag (12 oz) of Wilton Candy Melts in dark chocolate.
  • Leaf sprinkles (at least one to two cups of them)
  • Straight pretzel sticks
  • DIRECTIONS: 
    Cover the entire top of a large springform pan with aluminum foil, wrapping it around several times.
  • Use a small knife or scissors to make a tiny slit in the center.
  • Push the pointed tip of one ice cream cone through the slit until the tip rests on the inside bottom of the pan.
  • Repeat this with the rest of the cones (depending on the size of your pan you may need to bake these in two batches).

Baking pointed cones

Update 11.17.25!!! New equipment has been created that you can use to bake cones. You can still use the above method to bake these if you don’t wish to purchase anything new, but Wilton has created a cone holder just for this purpose. Find it here

Directions (continued)

  • Preheat oven to 350F degrees.
  • Make cake mix according to box, and spoon or pipe into cones, filling them about 2/3 full.
  • Bake at 350F degrees for about 15-20 minutes.
  • Allow them to cool before removing.

Ice cream cone cupcakes

  • Use a knife to cut the points off of each cone. I scored around the edge with the knife and then just snapped the tip off with my fingers.
  • Trim off tops of cupcakes to make a flat “bottom”
  • Melt candy melts in microwave in 30 second increments, stirring in between, until melted and smooth.
  • Dip the flat end of the cone into the chocolate, coating it completely.
  • Dip chocolate into a bowl filled with leaf sprinkles.
  • Set coated cone on parchment paper to harden up.
  • Place remaining chocolate into a small zip-top bag and clip a corner.
  • Pipe a bit of chocolate on the top of each tepee and then stick 3 pretzel sticks into the top.
  • After chocolate has hardened up, serve and enjoy!!!

Teepee cupcakeTeepee CupcakeTeepee Cupcake

Teepee cupcakesThe story behind the cupcakes:

These are the result of much experimenting. I saw a picture of tepee cupcakes on Pinterest and was intrigued by this idea, but I couldn’t imagine how you would bake cake batter into a pointed cup…? So I googled the idea and discovered that nobody really has any very good ideas for this…? I wondered if I could maybe cut the top point off 1st, stick the bottom into something like cookie dough and pipe batter in to bake upside down? I tried this with the following result:

Recipe fail!These really made the most beautiful exploding volcano-type effect in the oven. It was very entertaining, although not what I was hoping for!

Many sites recommended poking the cones into disposable tin foil pans, but they all said to watch them closely because they tip…and to be careful of the hot cake batter when righting them. Oh my. Not my sort of recipe. Sounds like one big mess in my oven!

Eventually I tried the foil and springform pan idea and it was not only easy but very sturdy. Nothing tipped even a tiny bit!

Teepee Cupcakes

My thoughts: YUM! These are just delicious and fairly easy to make once you know how to get those cupcakes baked. My only advice: make sure you cut enough off the top that all three of those pretzels fit into the opening. A few of mine were too tight, and I had to use the chocolate melts to cement them in place. I hope you have fun making these! I certainly did!  Enjoy!! ~r

Other fun fall recipes here on Easybaked (click on a photo to see the recipe):

Caramel Pecan CookiesPeanut butter Acorn Cookies!Honey cut-out cookiesPumpkin Pie Dip!