Tag Archives: candy

Candy Corn Peanut Bars

Posted on

Candy Corn Peanut Bars!!
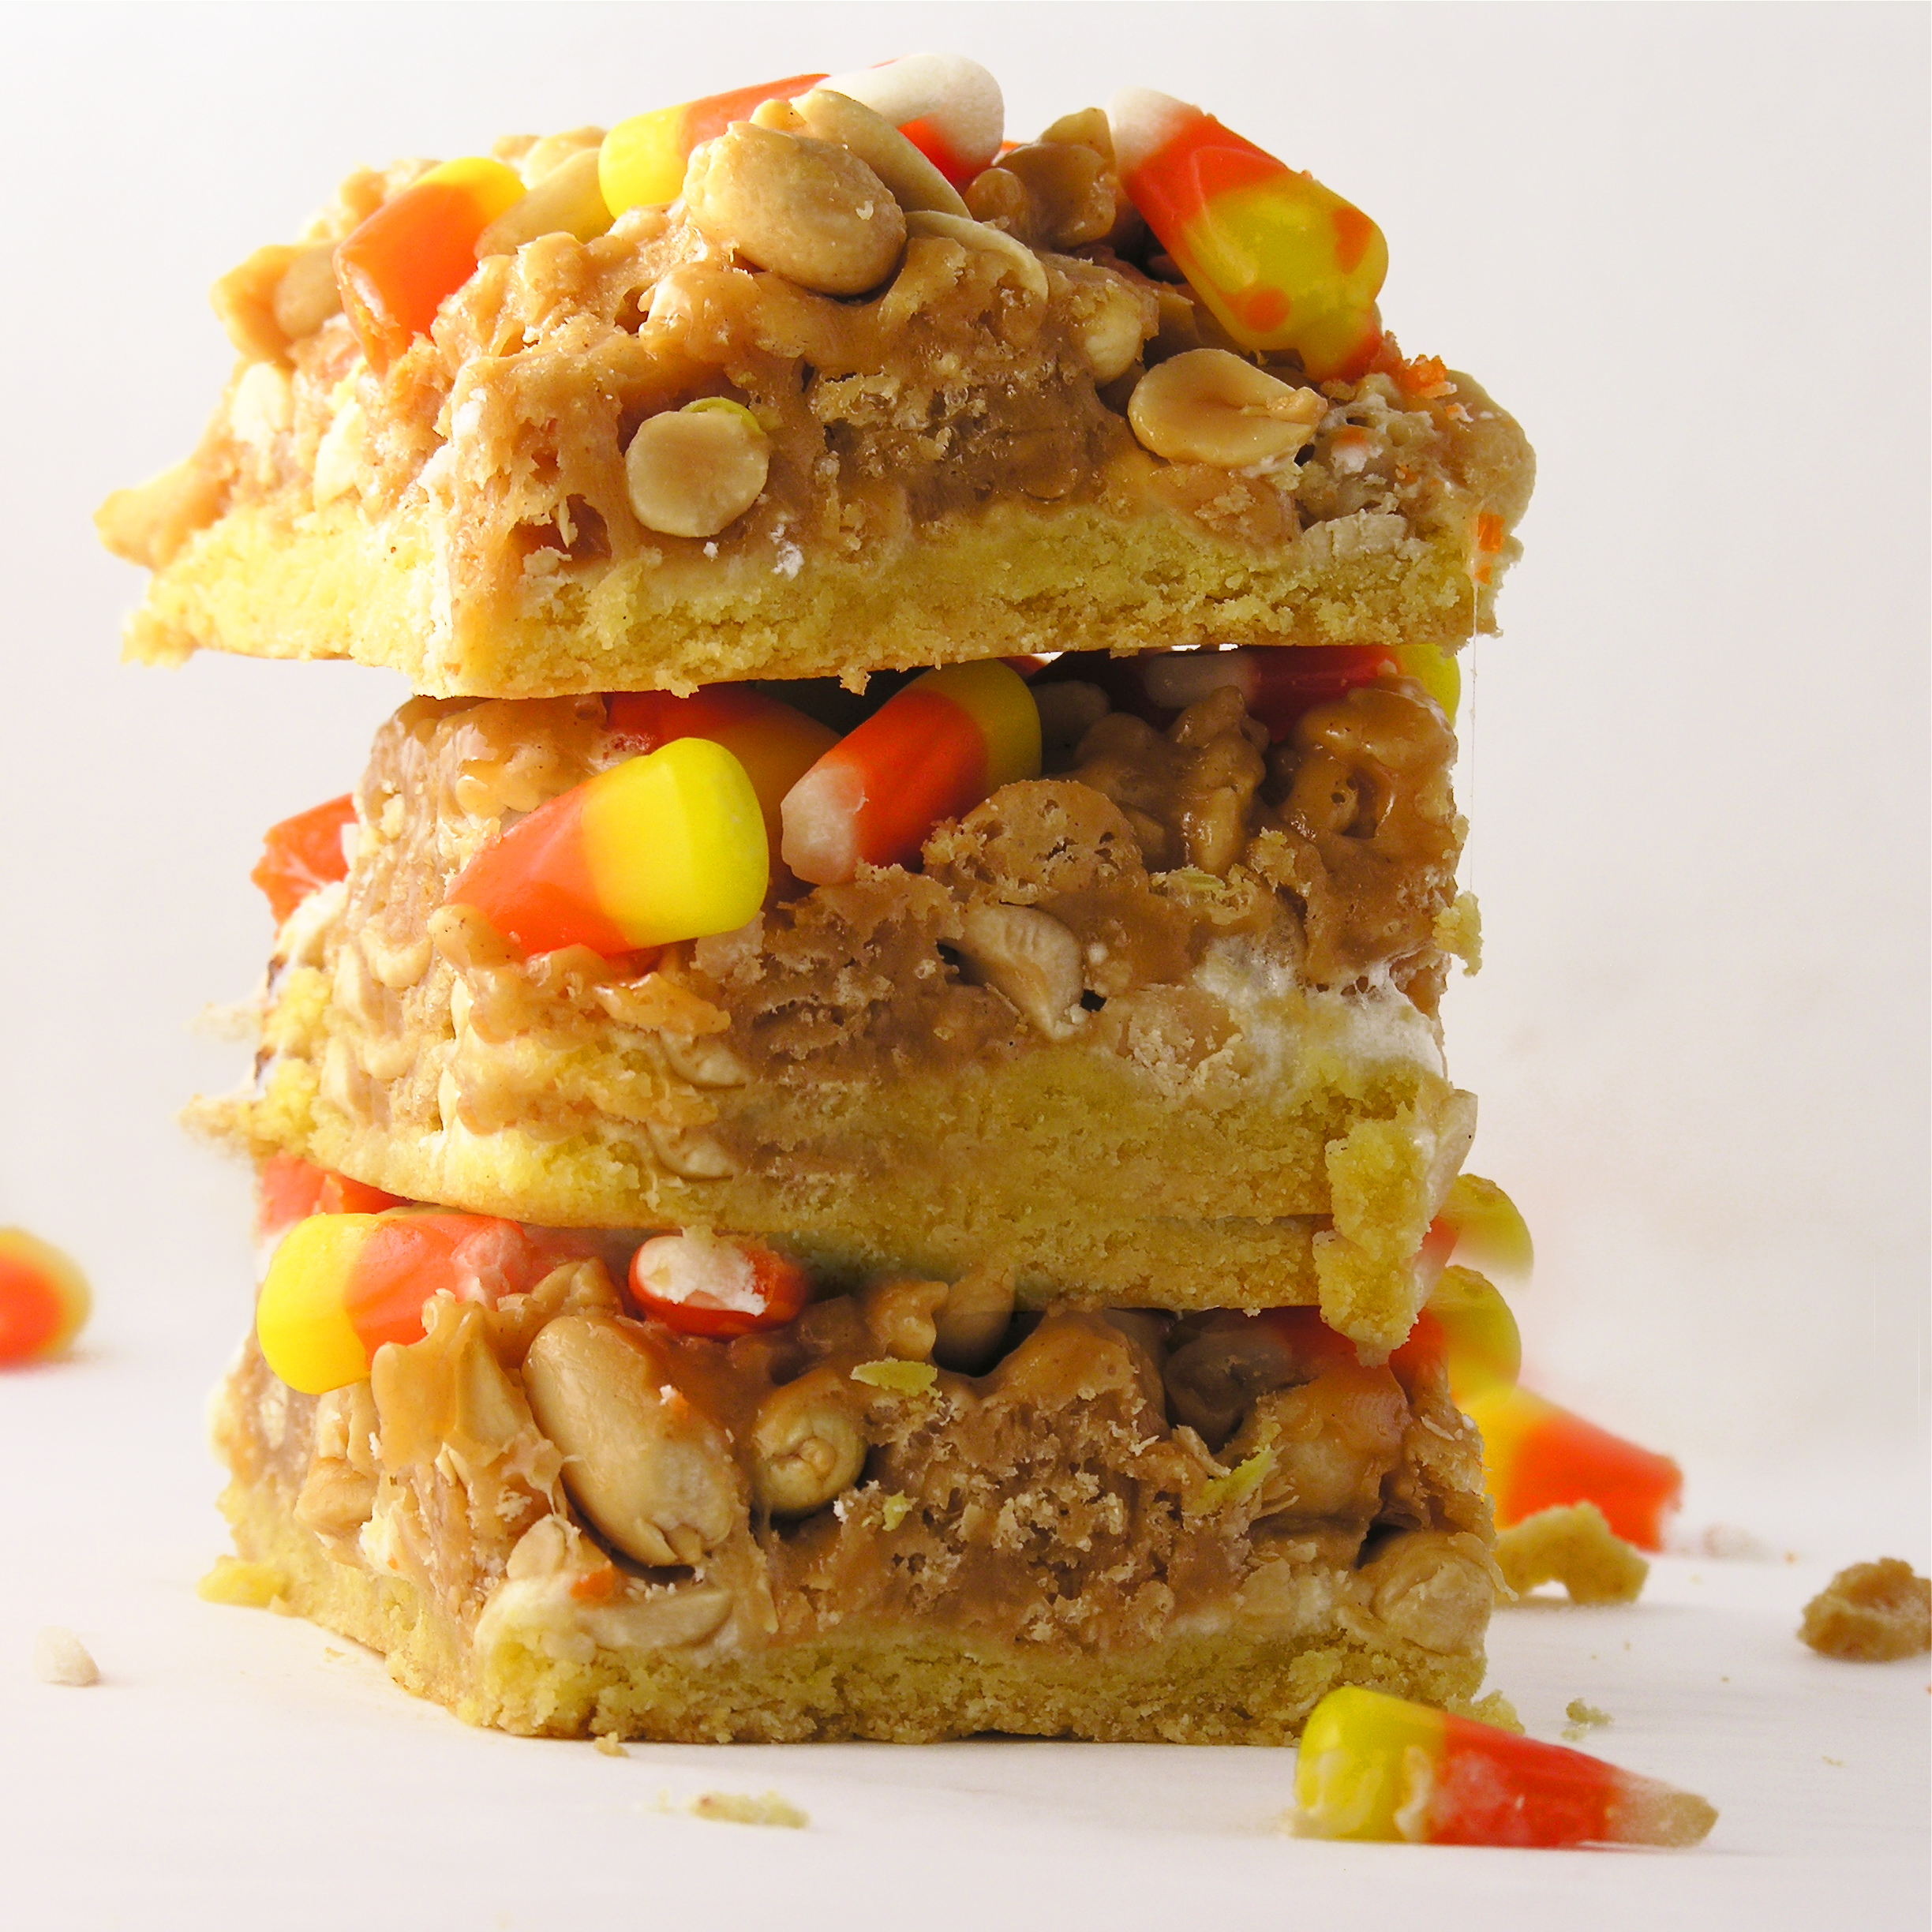
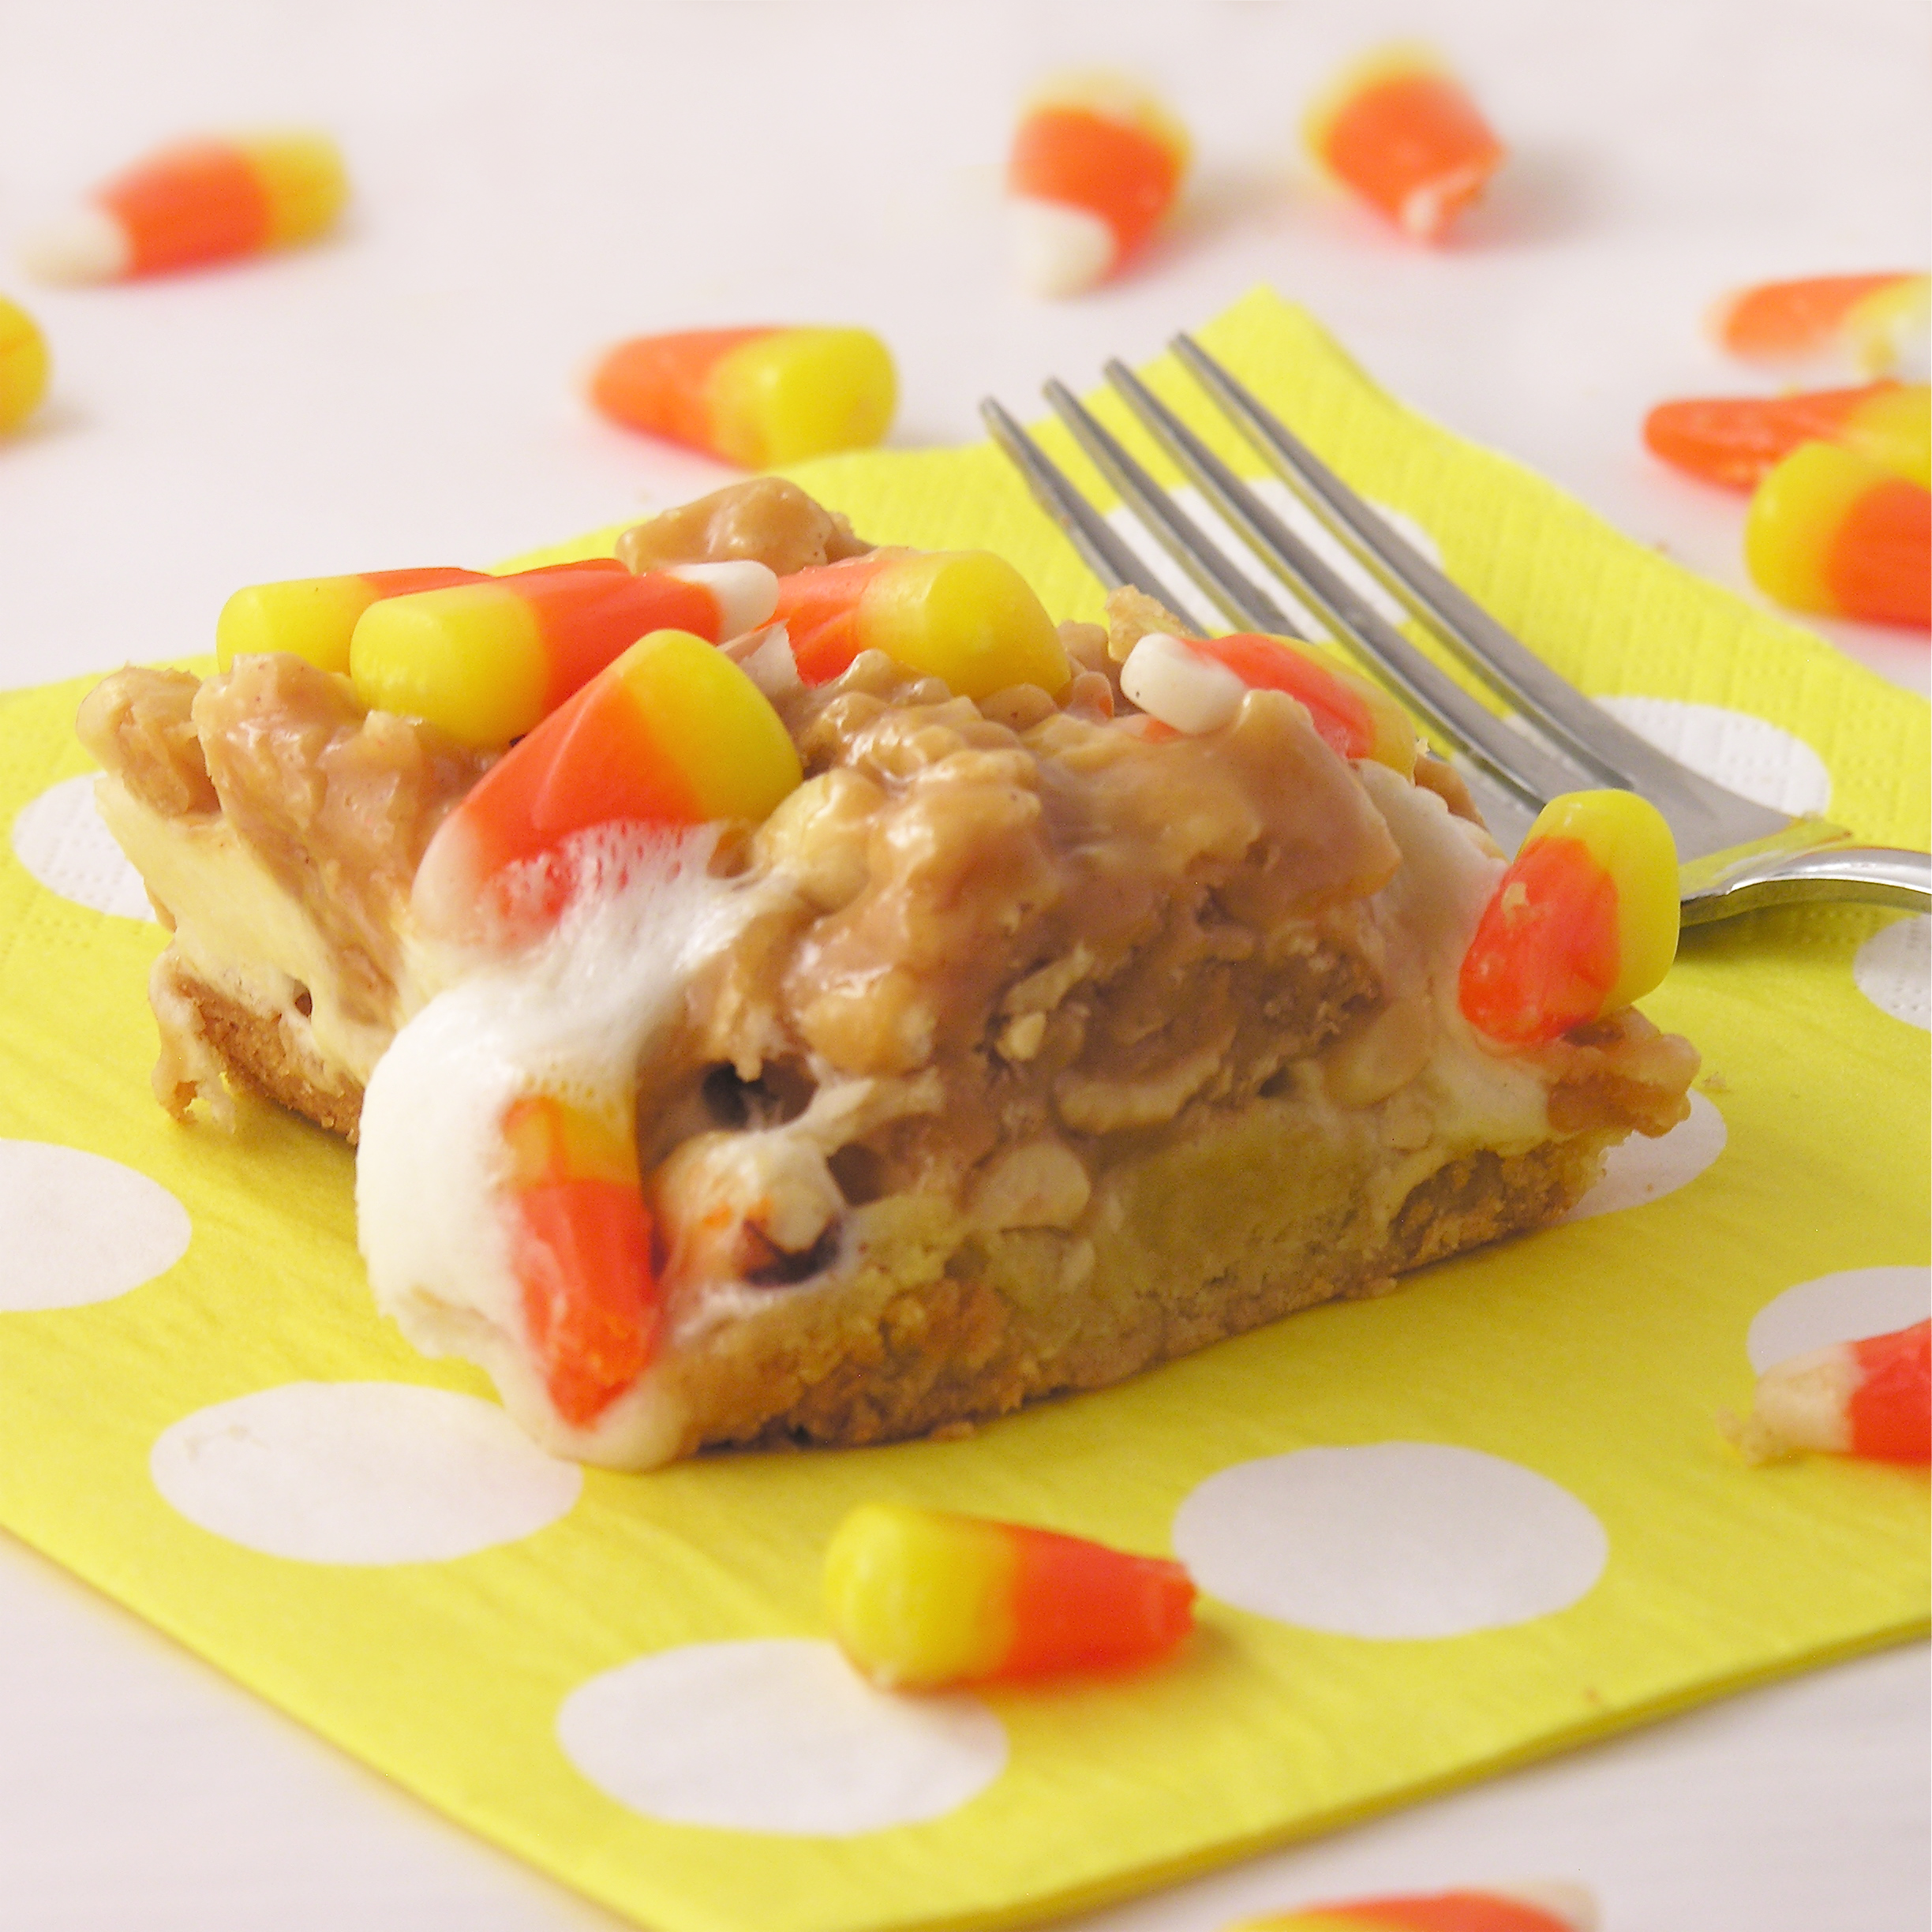
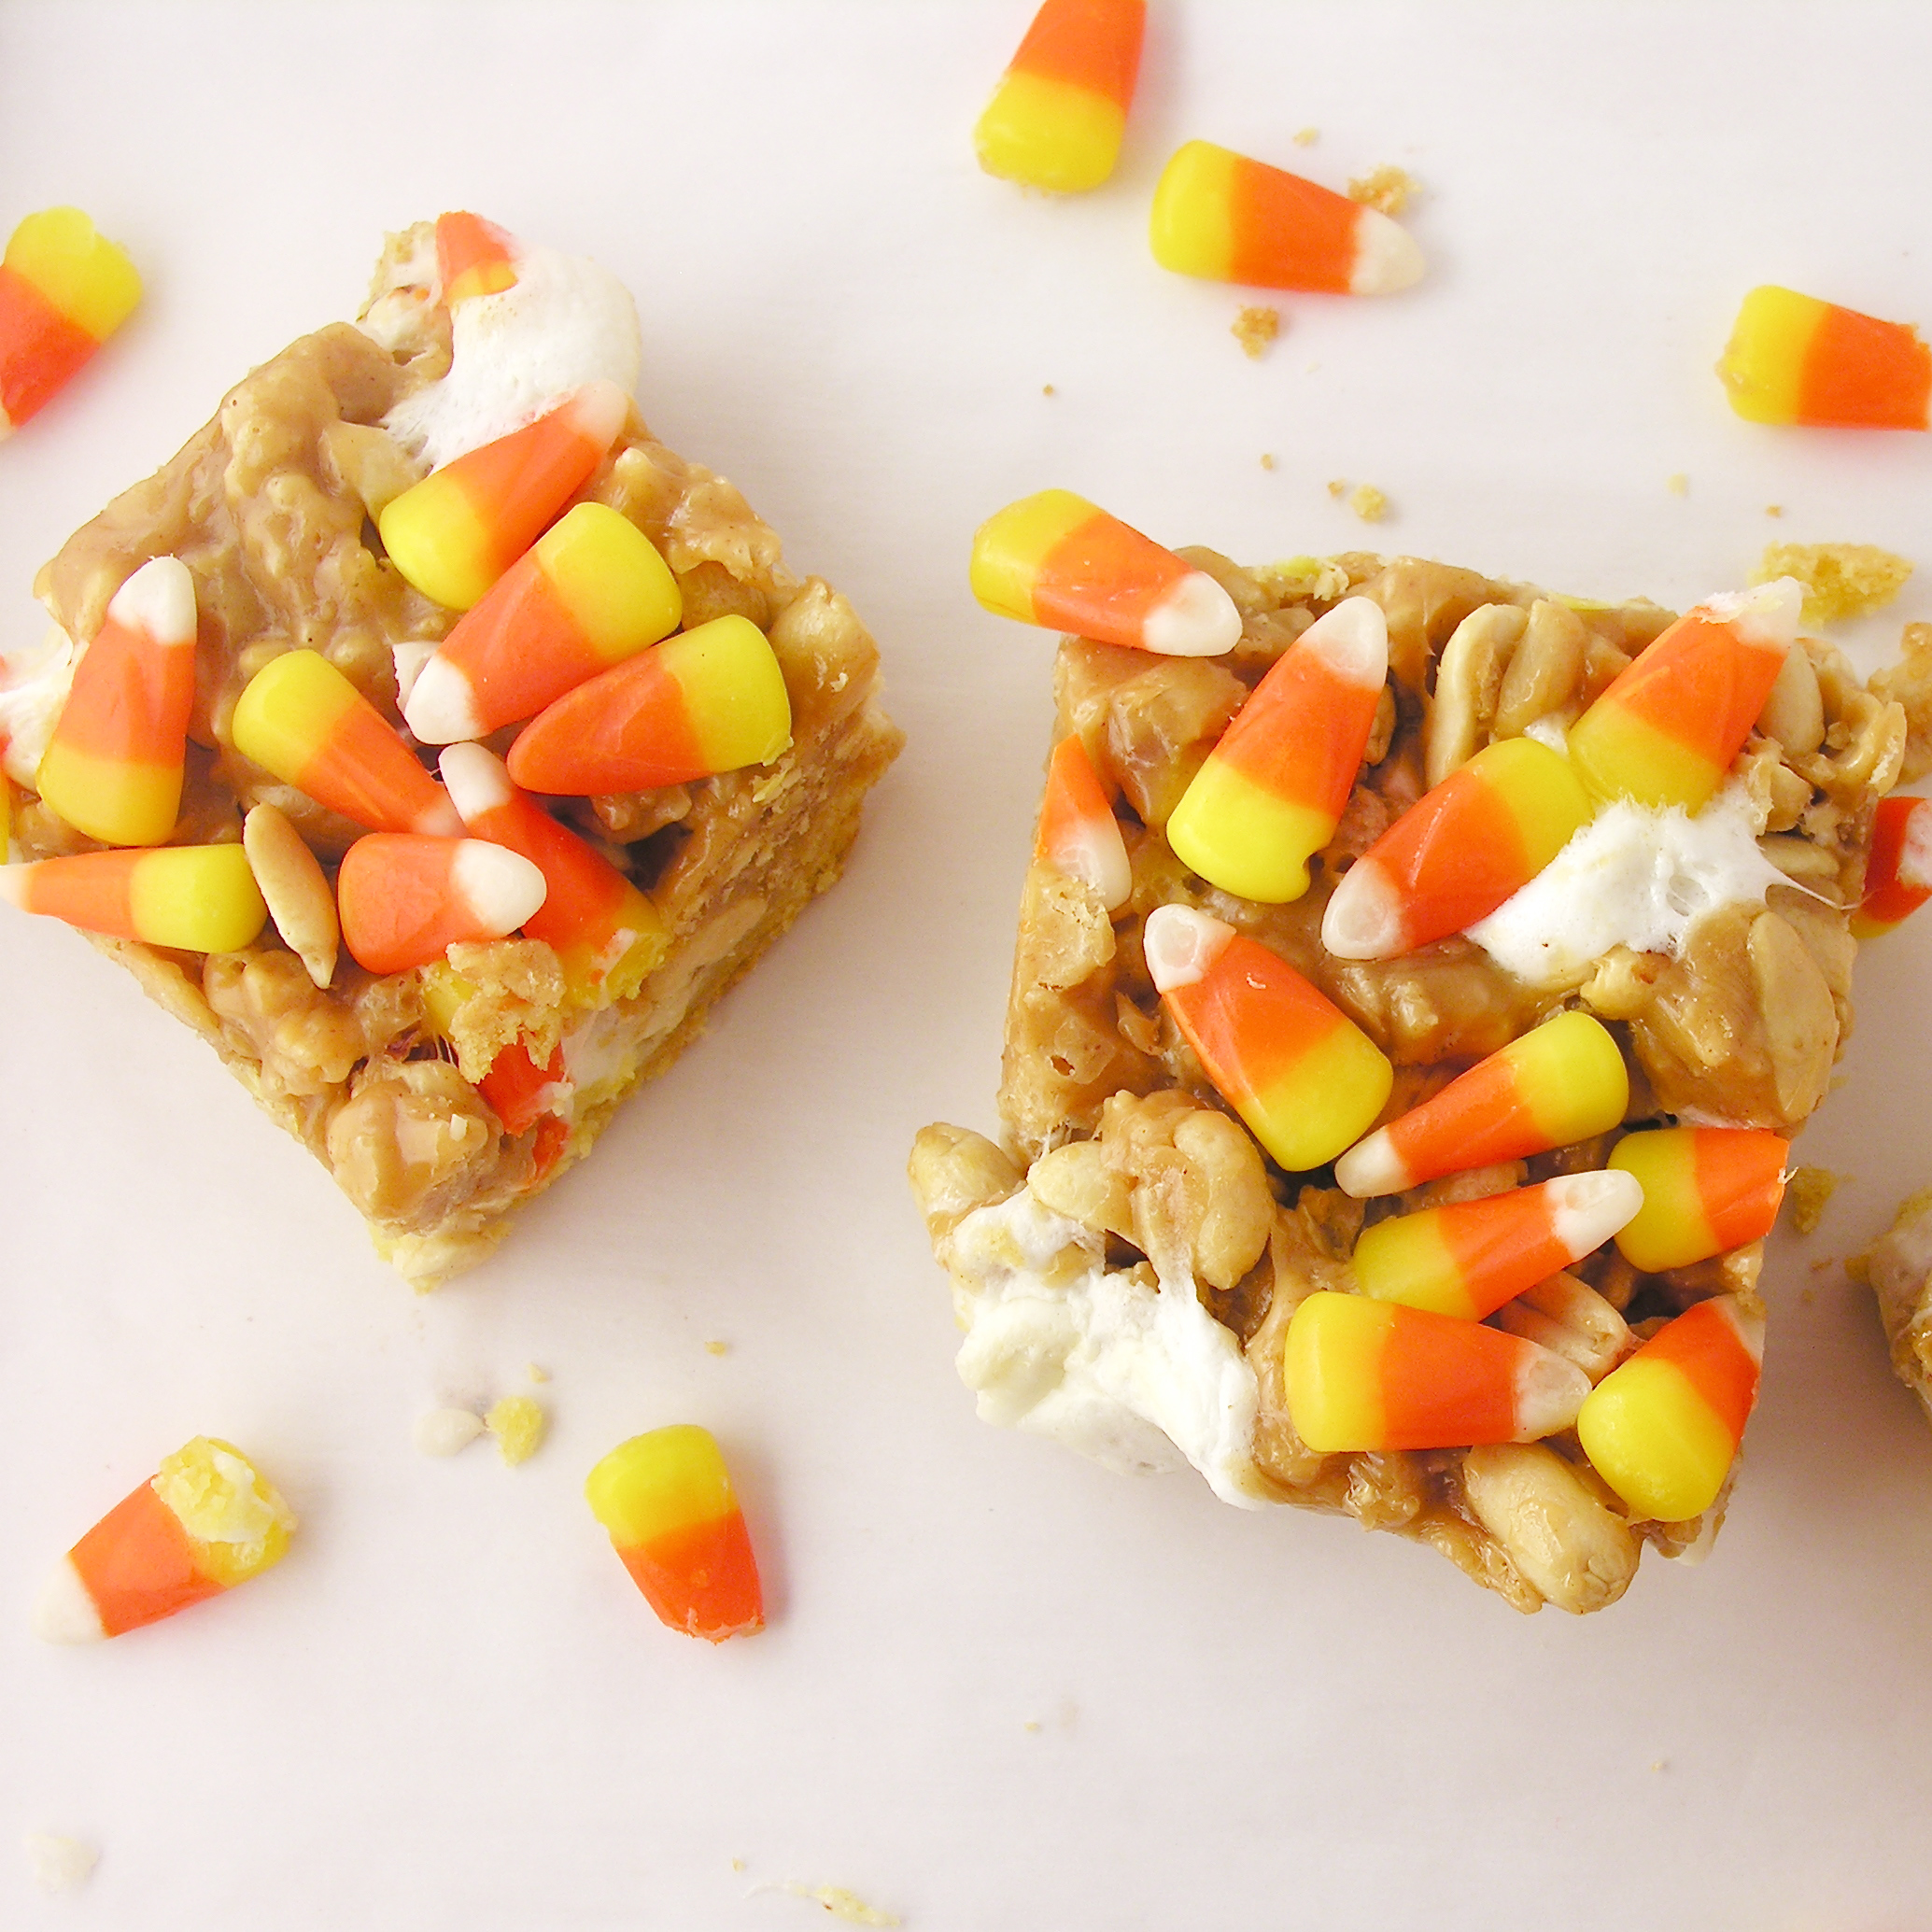
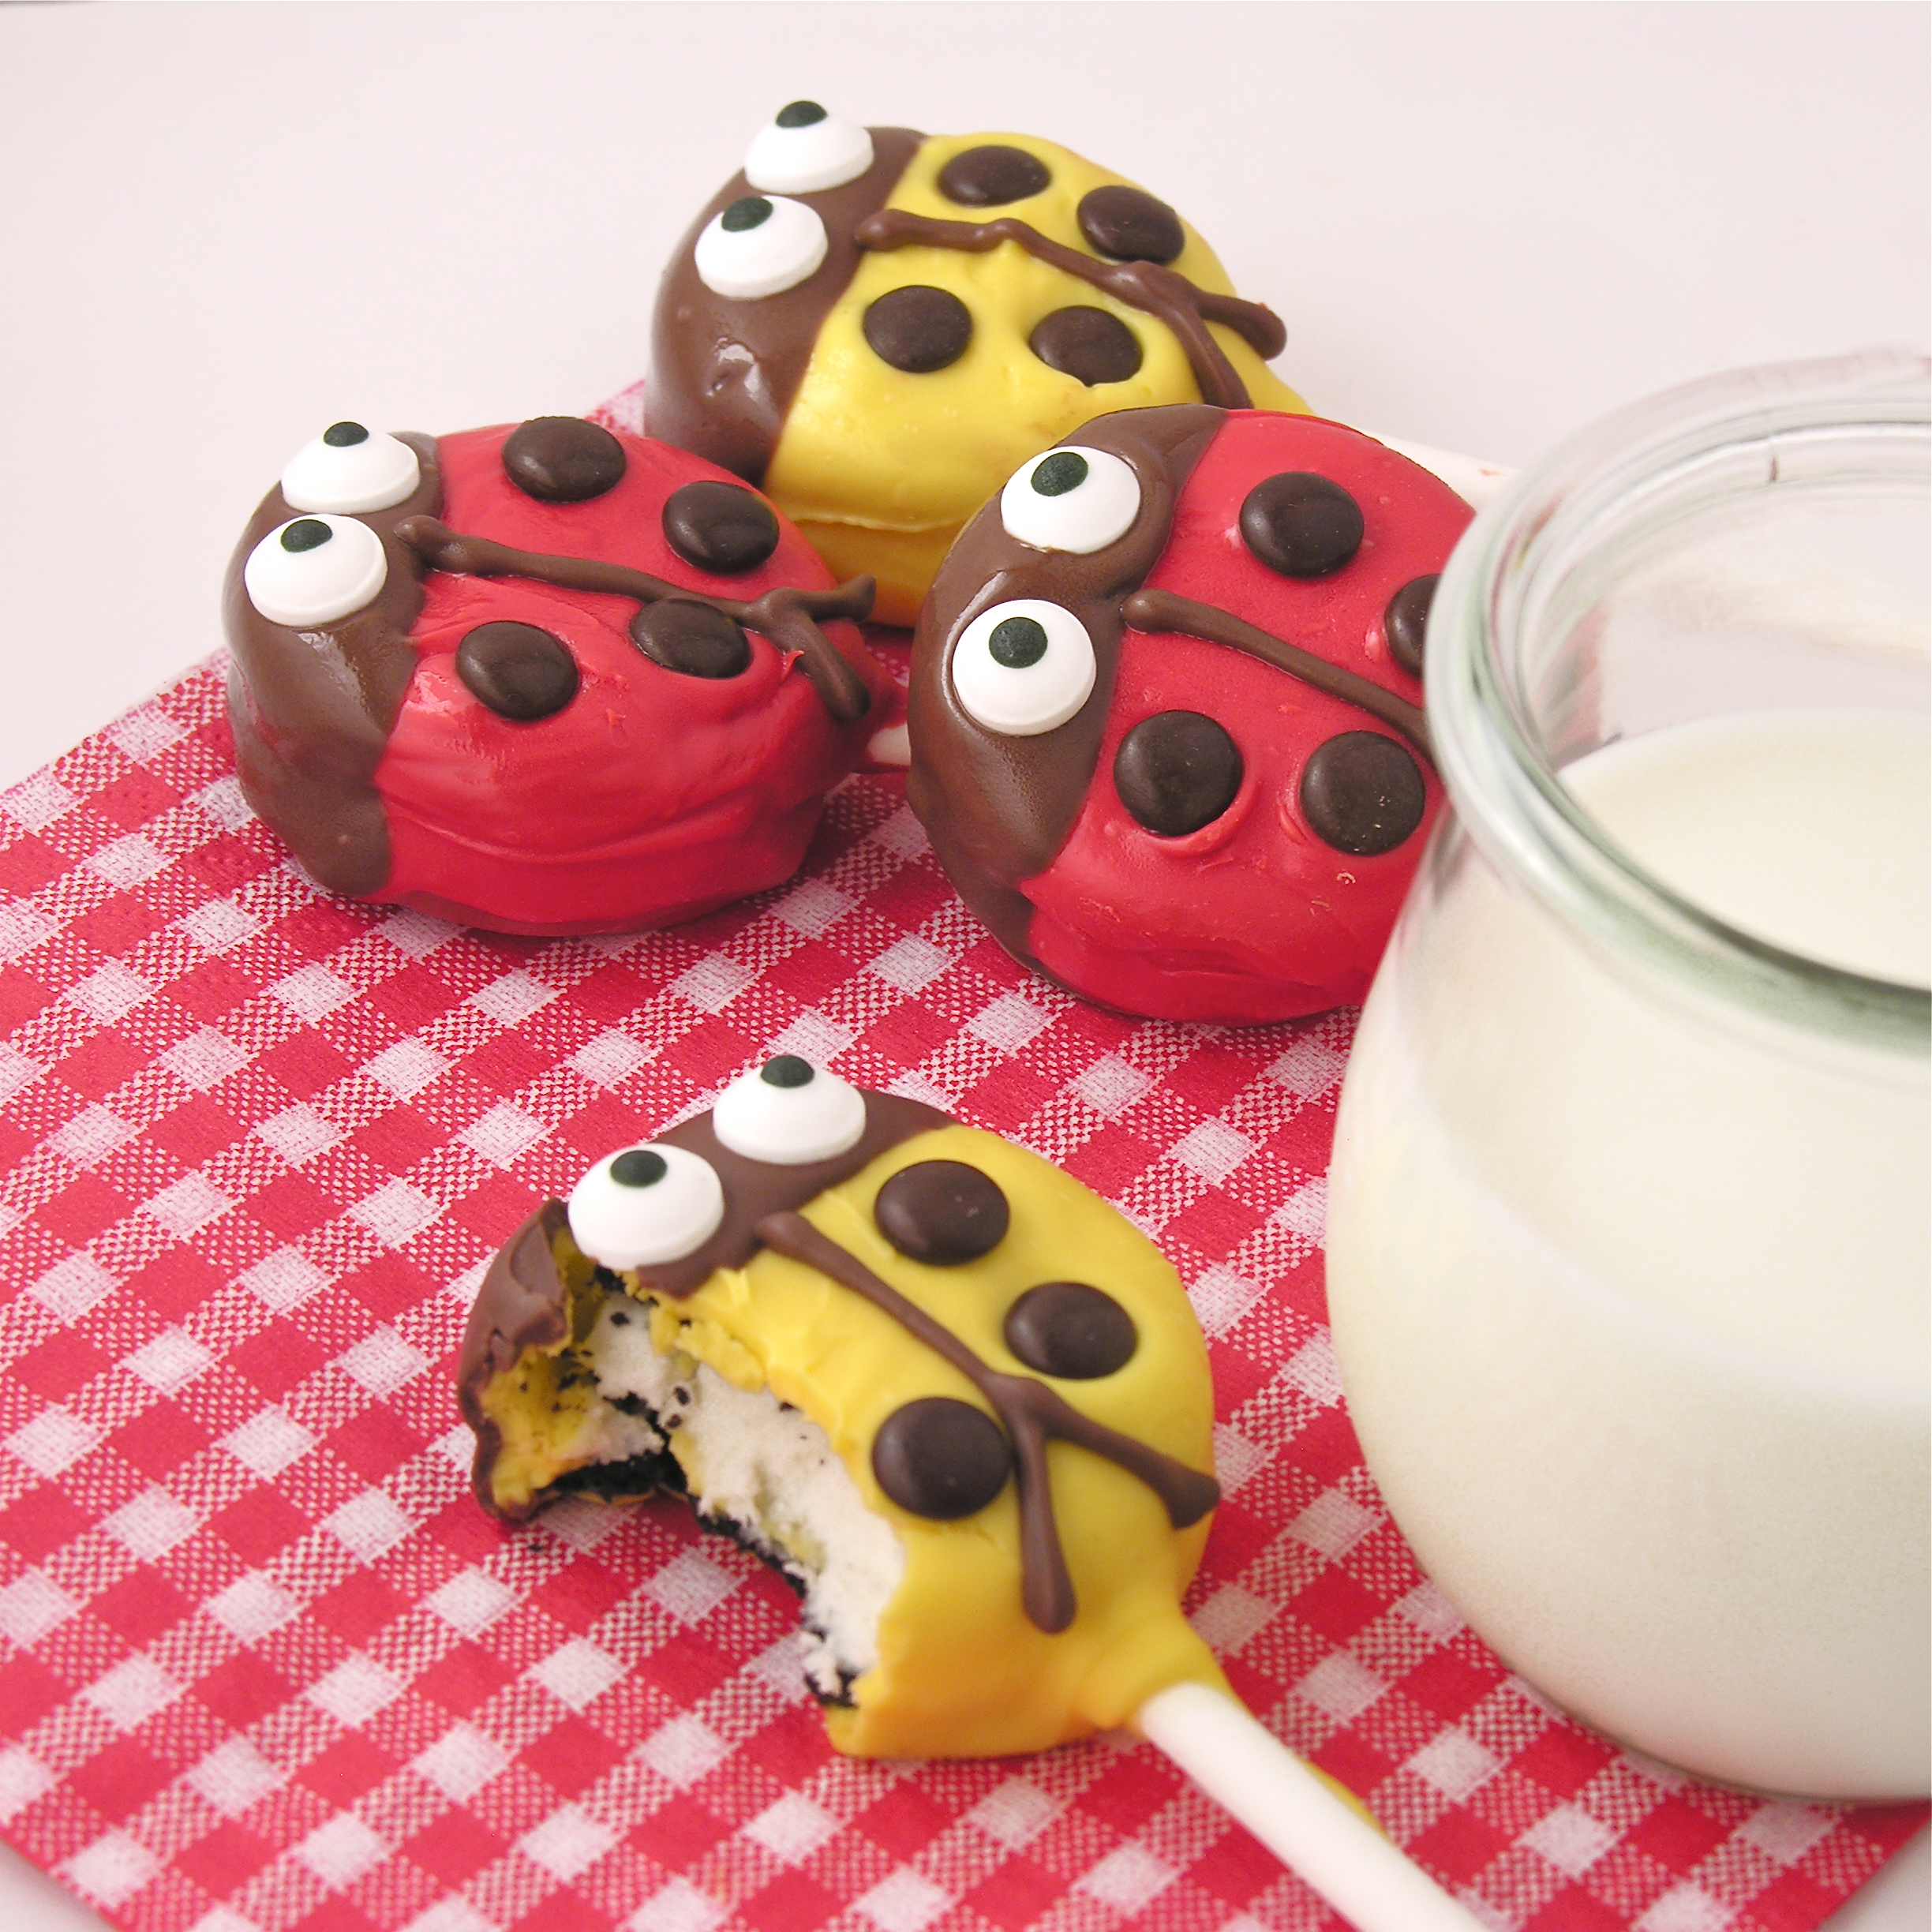
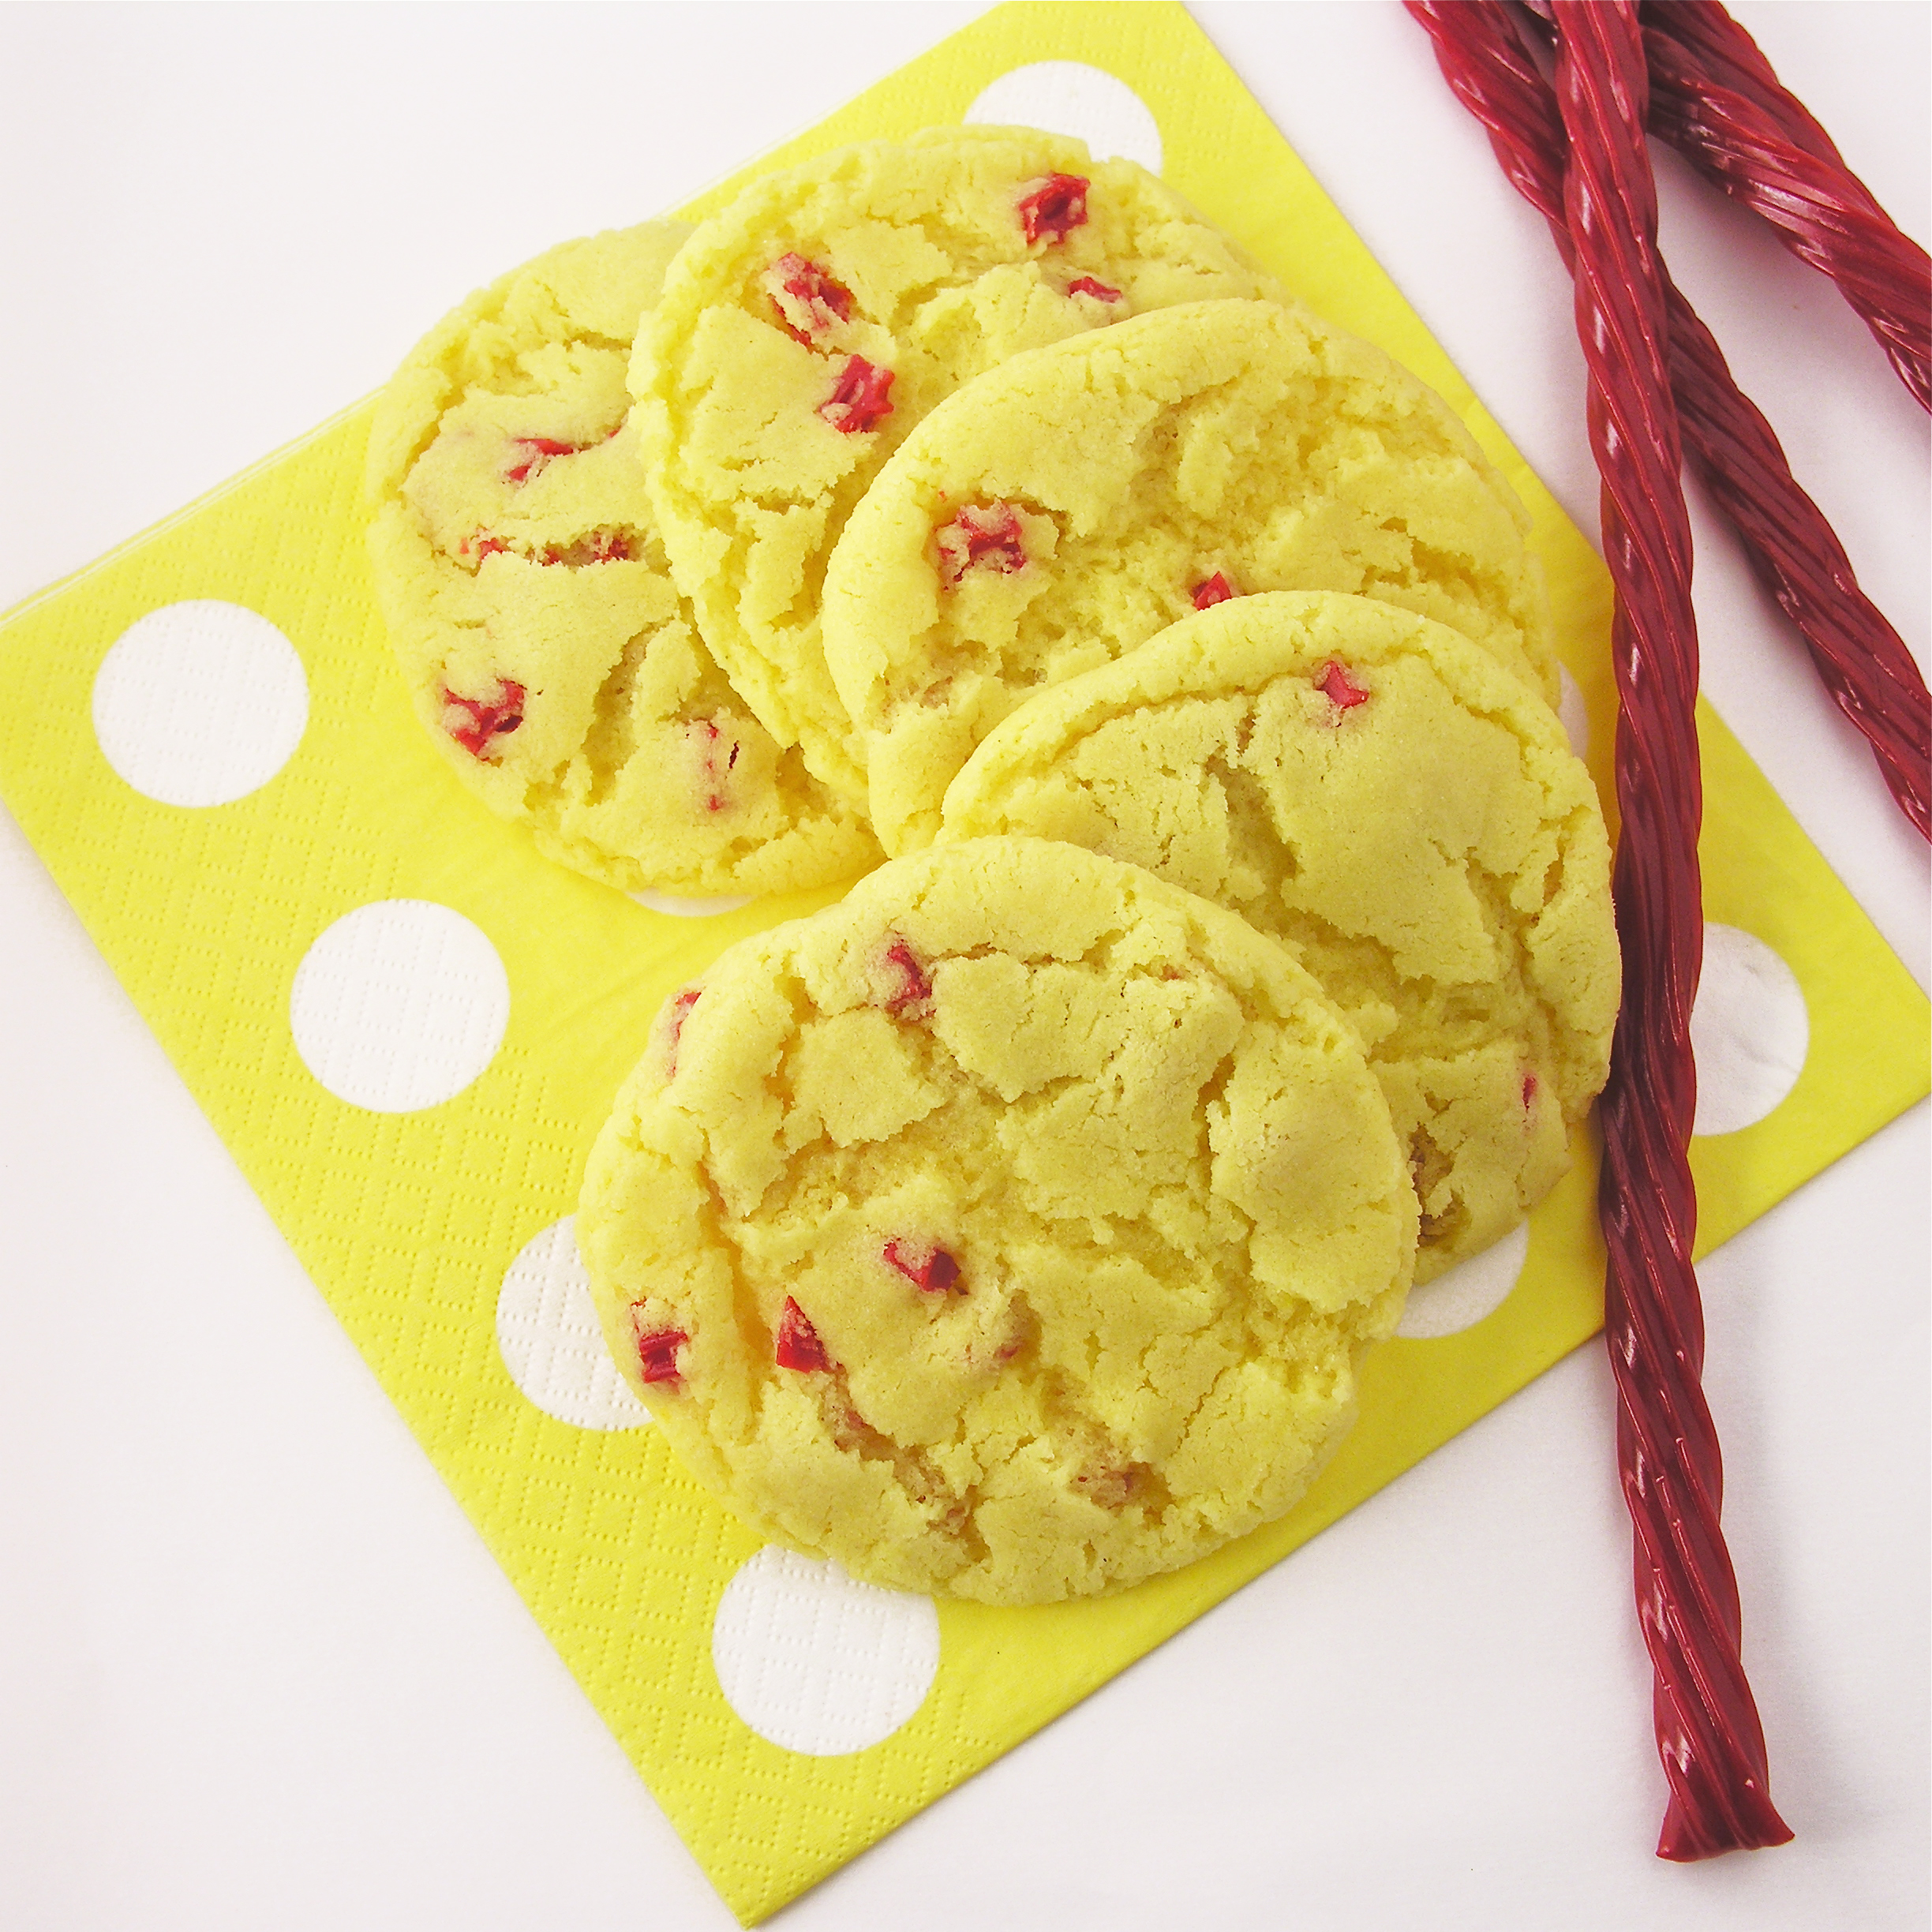
A chewy cookie crust topped with peanuts and sweet candy corn.  So many fun fall flavors in one  little bar cookie!

I confess.  I hate candy corn.  Everyone I know loved these cookie bars, but I had to make a little section of no-candy-corn just for me.  This recipe is easily made with or without the candy corn.  The candy makes it pretty though…and that counts for a lot!

Candy Corn Peanut Bars!!

Want to know how to make these easy little cookie bars?

Here you go (printable recipe)

INGREDIENTS: (makes about 24 bar cookies)

Crust:

  • 1 boxed yellow cake mix
  • 1/3 cup butter (melted)
  • 1 egg

Topping:

  • 3 cups mini marshmallows
  • 1 (10 oz) package of peanut butter chips
  • 2/3 cup light corn syrup
  • 2 teaspoons vanilla
  • 1/4 c. butter
  • 2 cups Rice Krispies
  • 2 cups salted, roasted peanuts
  • One bag of candy corn

DIRECTIONS:

  • Preheat oven to 350F degrees
  • In a mixing bowl, combine cake mix, 1/3 cup of melted butter and one egg.  Mix well, kneading with clean hands at the end.
  • Carefully press crust into the bottom of a greased 9×13 pan. (I line mine with parchment paper)
  • Bake at 350F degrees for 12-14 minutes.
  • Carefully pour mini marshmallows over top of hot crust and place in oven for about 5 minutes (until marshmallows puff up)
  • Cool.
  • In a large saucepan, heat peanut butter chips, corn syrup, vanilla and 1/4 cup of butter until all chips are melted and smooth.
  • Add Rice Krispies and peanuts and combine well.
  • Working quickly, spoon topping over marshmallows and then press candy corn on top.
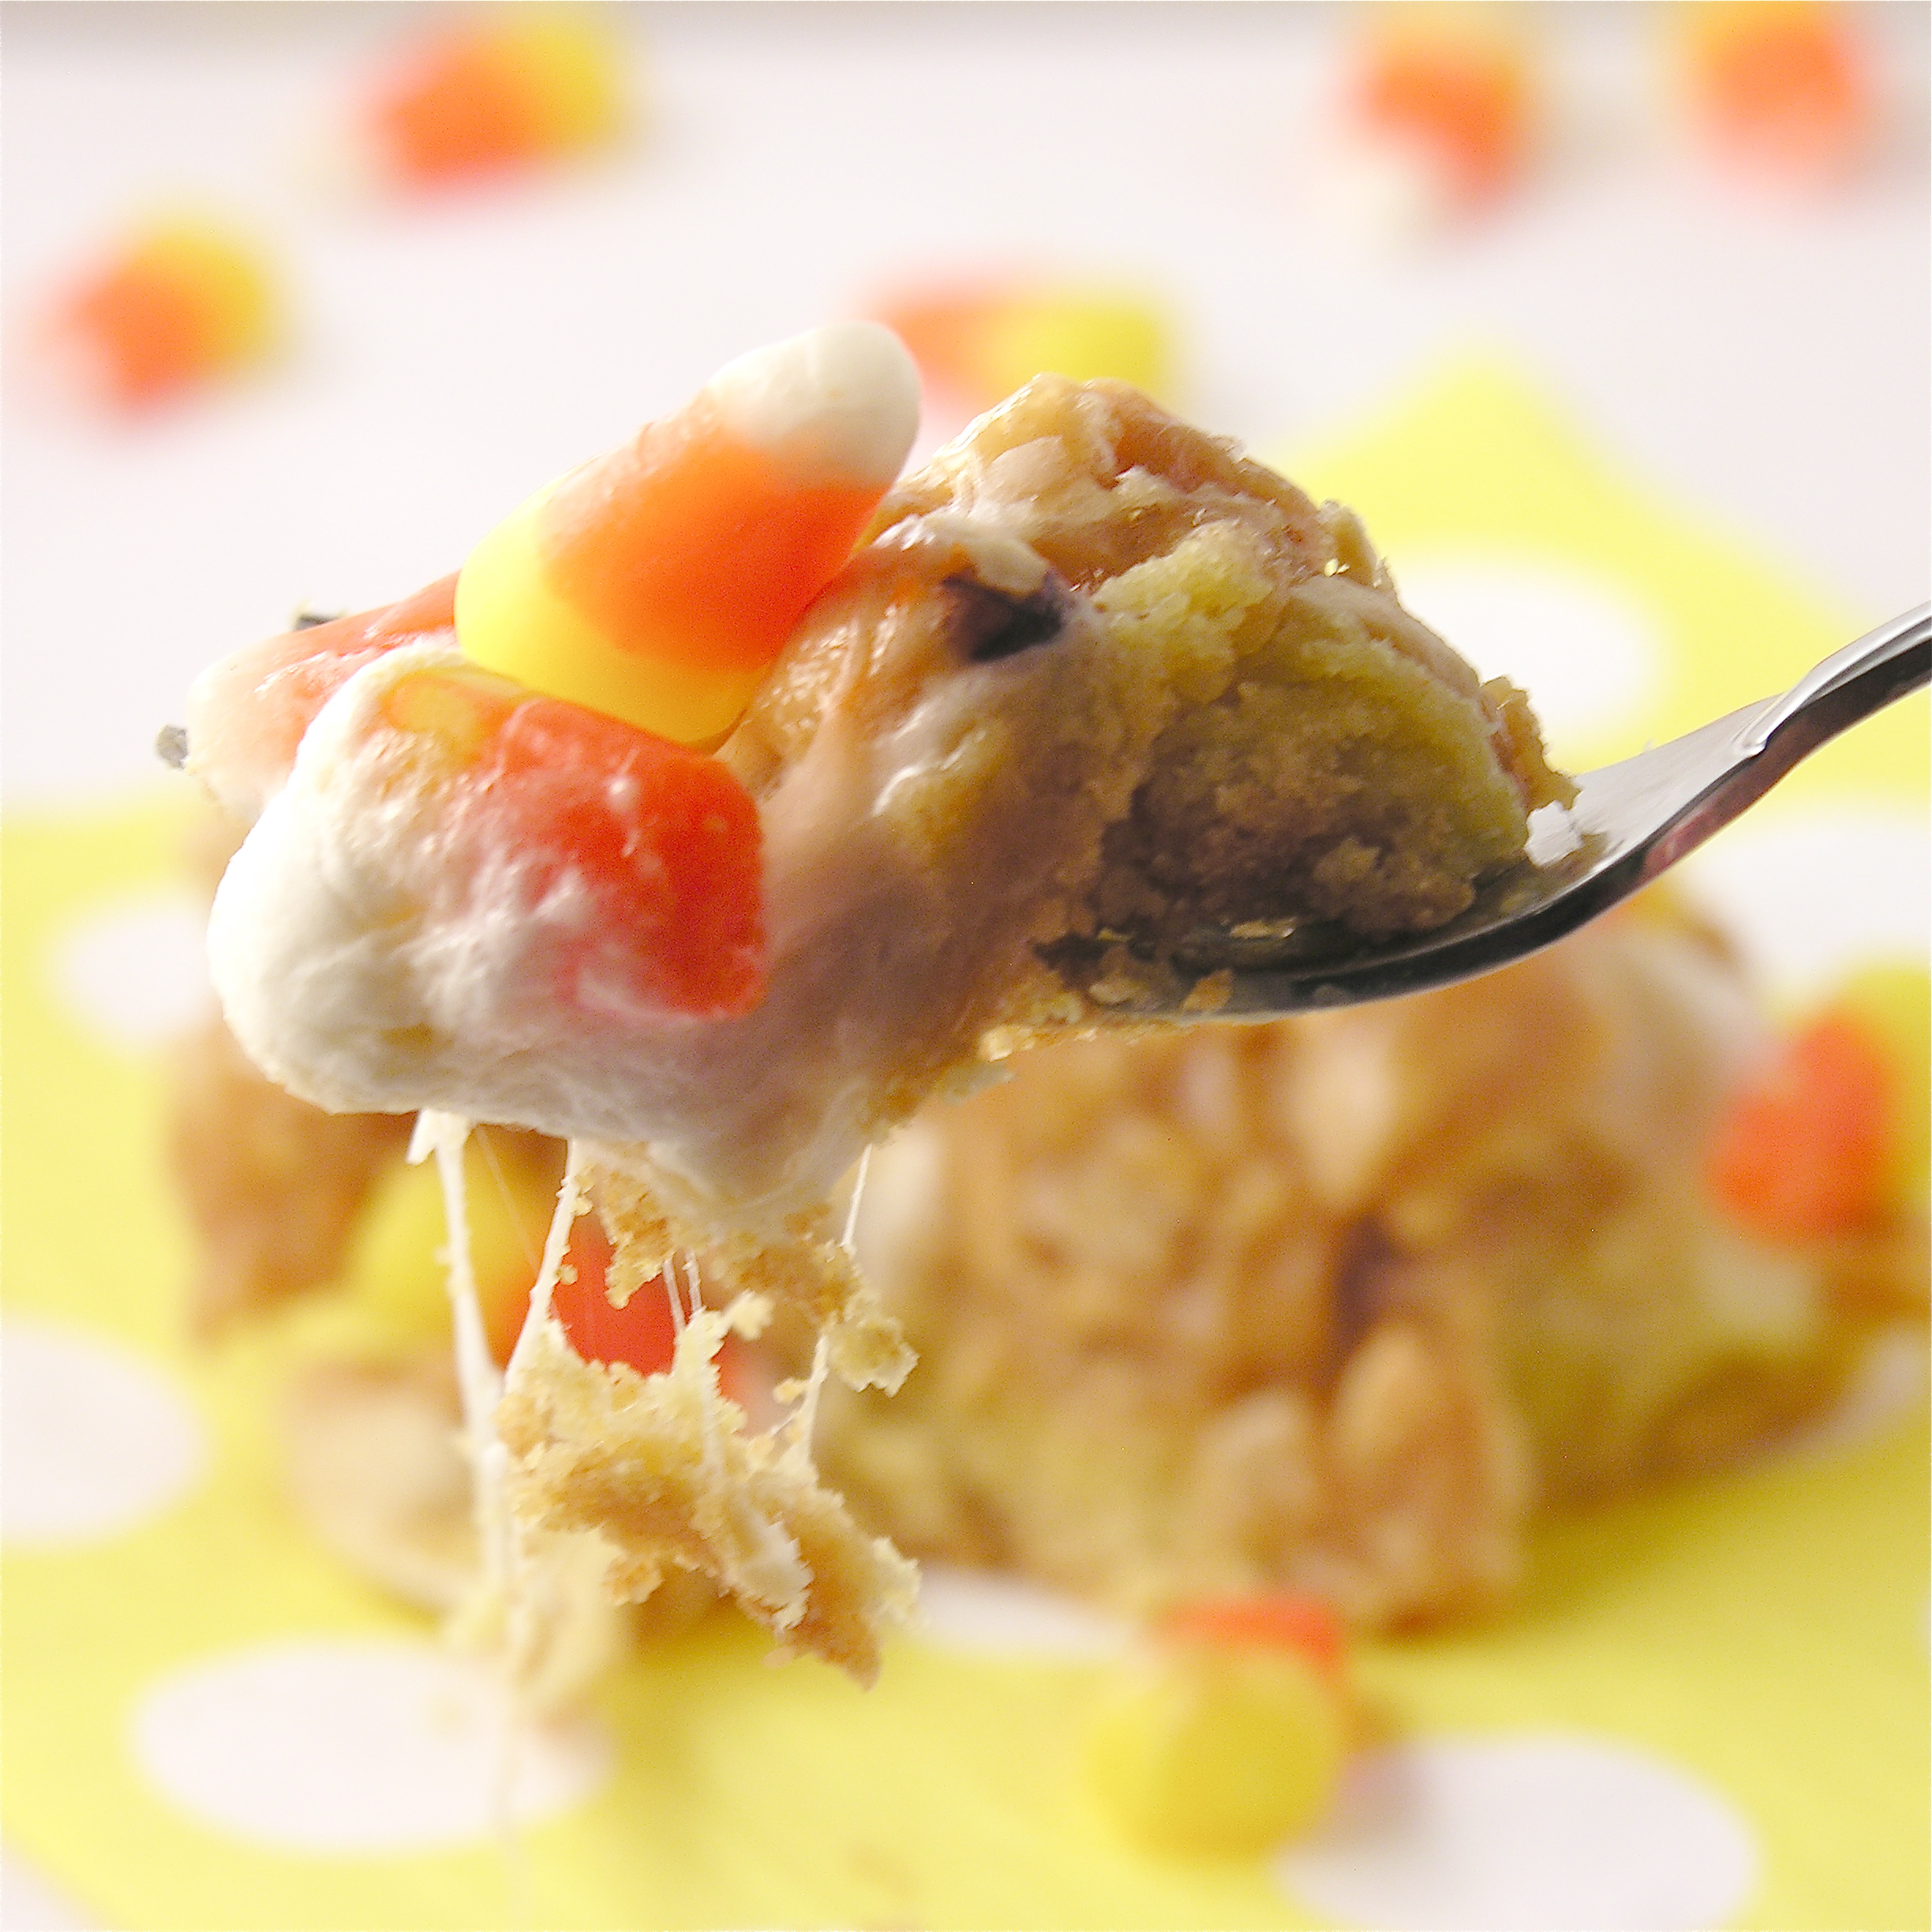
  • Chill before cutting and ENJOY!

Candy Corn Peanut Bars!!


My thoughts:  I can’t believe it is already October.  When I spotted candy corn at the store I did a double take.  October….already?  These are an easy and fun treat for all of your fall parties and events.  Hope you love them!! ~r

Candy Corn Peanut Bars!!!
Other fun fall recipes:

Inside-out Caramel Apple!!Honey cut-out cookiesFall Acorn Cupcakes!Peanut butter Acorn Cookies!

Lady Bug Oreo Pops!!

Ladybug Oreo Pops!
What could be better than a cute ladybug cookie on a stick?  Biting in and finding an OREO!!!!!

These cookies are such a fun treat!  Perfect as favors and prizes at parties- they just make you smile.

We’ve done lots of Oreo Pops here at Easybaked.  The technique is the same for these as for our Original Oreo pops.  To see the how-to photos and technique, click here.

Here’s what you will need for about 24 Oreo Pops.

INGREDIENTS:

  • One box of Double Stuff Oreos
  • One 12 oz. bag of Wiltons candy melts in yellow
  • One 12 oz. bag of Wiltons candy melts in red
  • One 12 oz. bag of Wiltons candy melts in dark chocolate.
  • One bag of mini M&Ms.
  • 24 lollipop sticks
  • Candy Eyes (if desired)

Oreo Pops!

DIRECTIONS:

  • Carefully twist apart all of the Oreo cookies.
  • Using one of the pop sticks, make an indentation in the white filling of each cookie.
  • Melt the red Candy Melts in the microwave in 30 second increments, stirring until completely melted and smooth.
  • Dip the end of one stick into the melted candy melts, drizzle a little in the center of the white cookie filling and then gently press it into the indentation made.
  • Place the top of the cookie back on and allow white chocolate to harden (5 minutes or so), cementing the cookie back together with a stick inside.
  • Holding the stick, lower the entire Oreo into the bowl of melted red chocolate, spooning it over the top and sides to cover it completely.
  • Allow the excess chocolate to drain off and gently place covered Oreo on a piece of parchment paper to harden.  
  • Add two brown mini M&Ms to each half of the pop (use the photos as a guide– leave room for the top to be dipped in chocolate and for a line to be drawn down the middle.)
  • Dip half of the pops in the red chocolate and then melt the yellow chocolate and repeat the process with the 2nd half of the pops.
  • When candy melts have completely hardened, melt a the dark chocolate melts.  
  • Use a spoon to gently scoop chocolate over the top tip of the cookie, making a head on your ladybug.
  • Set each pop on parchment paper and add candy eyes (if desired) before chocolate hardens.  
  • After dipping the tops of all pops, and placing eyes, spoon remaining chocolate into a small ziptop bag and clip a corner.
  • Pipe a line from the head of the ladybug across the top toward the stick.  (use photos as a guide).
  • Allow pops to harden completely.
  • Enjoy!!!

Ladybug Oreo Pops!!!
My thoughts:  I’m addicted to Oreos.  I keep making Oreos into pops because it gives me an excuse to eat the extra Oreos that break.  

True confession.  

The other reason: they make people smile.  It never fails, you hand one of these crazy fun pops to anyone and they smile.  Even if they can’t or won’t eat dessert….they smile.  These pops are like puppies.  They make people happy!  Every few months I feel an overwhelming urge to make a different variety to share with you….so I hope that you enjoy them– and that you smile 🙂  ~r

Lady bug Oreo Pops!
Other Oreo Pop ideas we have tried:

Original Oreo pops!!!!!Mummy Oreo Pops!Snowman Oreo PopsPatriotic Oreo Pops- yum!!!

Lemonade Cookies…with a twist!

Posted on

Lemonade Cookies with Strawberry Bits!

Chewy lemonade cookies made with bits of strawberry licorice…a fun treat that every kid (or kid at heart) in your life will love!

Months ago I received a baking challenge from an 8 year old boy named Zao.  His mom Erika works with me and he asked her, “Do you think Ruthanne could make cookies with red licorice in them?”  Well, of course we can!

Now, as a little warning to you:  the bits of licorice are yummy, but they are very chewy and you end up eating licorice after the cookie is all gone in your mouth.  Remember bubble gum ice cream?  It’s a little like that sort of dilemma.  The taste combination is wonderful though and if you can get past the consistency you will love these!

For those of you not-so-brave folks out there….the cookies are soooooo yummy without the licorice too!  I made two batches– one with and one without the licorice.  I loved both varieties (and it gave me an excuse to eat TWO cookies instead of one!)

Lemonade cookies!

Here’s how to make them:  (printer- friendly recipe)

INGREDIENTS:

  • 1 1/2 cups granulated sugar
  • 1 cup butter, at room temperature
  • 1 large egg
  • 1/2 teaspoon vanilla extract
  • 1 packet (0.23oz.) Kool Aid Lemonade
  • Yellow food coloring gel 
  • 2 3/4 cups flour
  • 1 teaspoon baking soda
  • 1/2 teaspoon baking powder
  • 1/2 teaspoon salt
  • 1 cup of chopped Twizzler Strawberry Licorice. (I just chopped them into chocolate chip-size bits using a sharp knife)

DIRECTIONS:

  • Preheat oven to 350F degrees
  • Using a mixer, beat together butter and sugar until smooth and creamy.
  • Add egg and vanilla extract and mix until combined.
  • Add Lemonade powder and coloring gel (if needed) to create a nice yellow color. Mix well.
  • Blend in the dry ingredients, using clean hands to knead the dough together at the end.
  • Add chopped strawberry licorice bits at the very end and blend well (this step can be skipped if you aren’t feeling wild and crazy– you’ll just have yummy lemonade cookies!)
  • Roll rounded tablespoons of dough into balls and place on baking sheets that have been covered in parchment paper.
  • Bake for 8 to 10 minutes or until cookies are set. 
  • Slide parchment paper (with the cookies still on top) onto a cool counter and allow cookies to cool right on paper.

lemonade cookies!


My thoughts:  With or without the strawberry bits, these are great cookies.  I think they balance perfectly between sweet and tart. I was surprised at how many people loved the idea of putting licorice bits into cookies. I think they would be great with a strawberry or raspberry icing on top.  Yum….!  Enjoy!

Enjoying his cookies-- thanks for the recipe idea Zeo!

Enjoying his cookies– thanks for the recipe idea Zeo!

 Lemonade cookies with licorice


You might also enjoy:

Yummy Lime Cupcakes with Lemon Butter cream Frosting!Lemon-Lime and graham cracker truffleLemon Drop3Confetti Cups

Opera Creams

Opera Cream Candy 
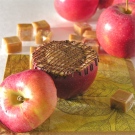
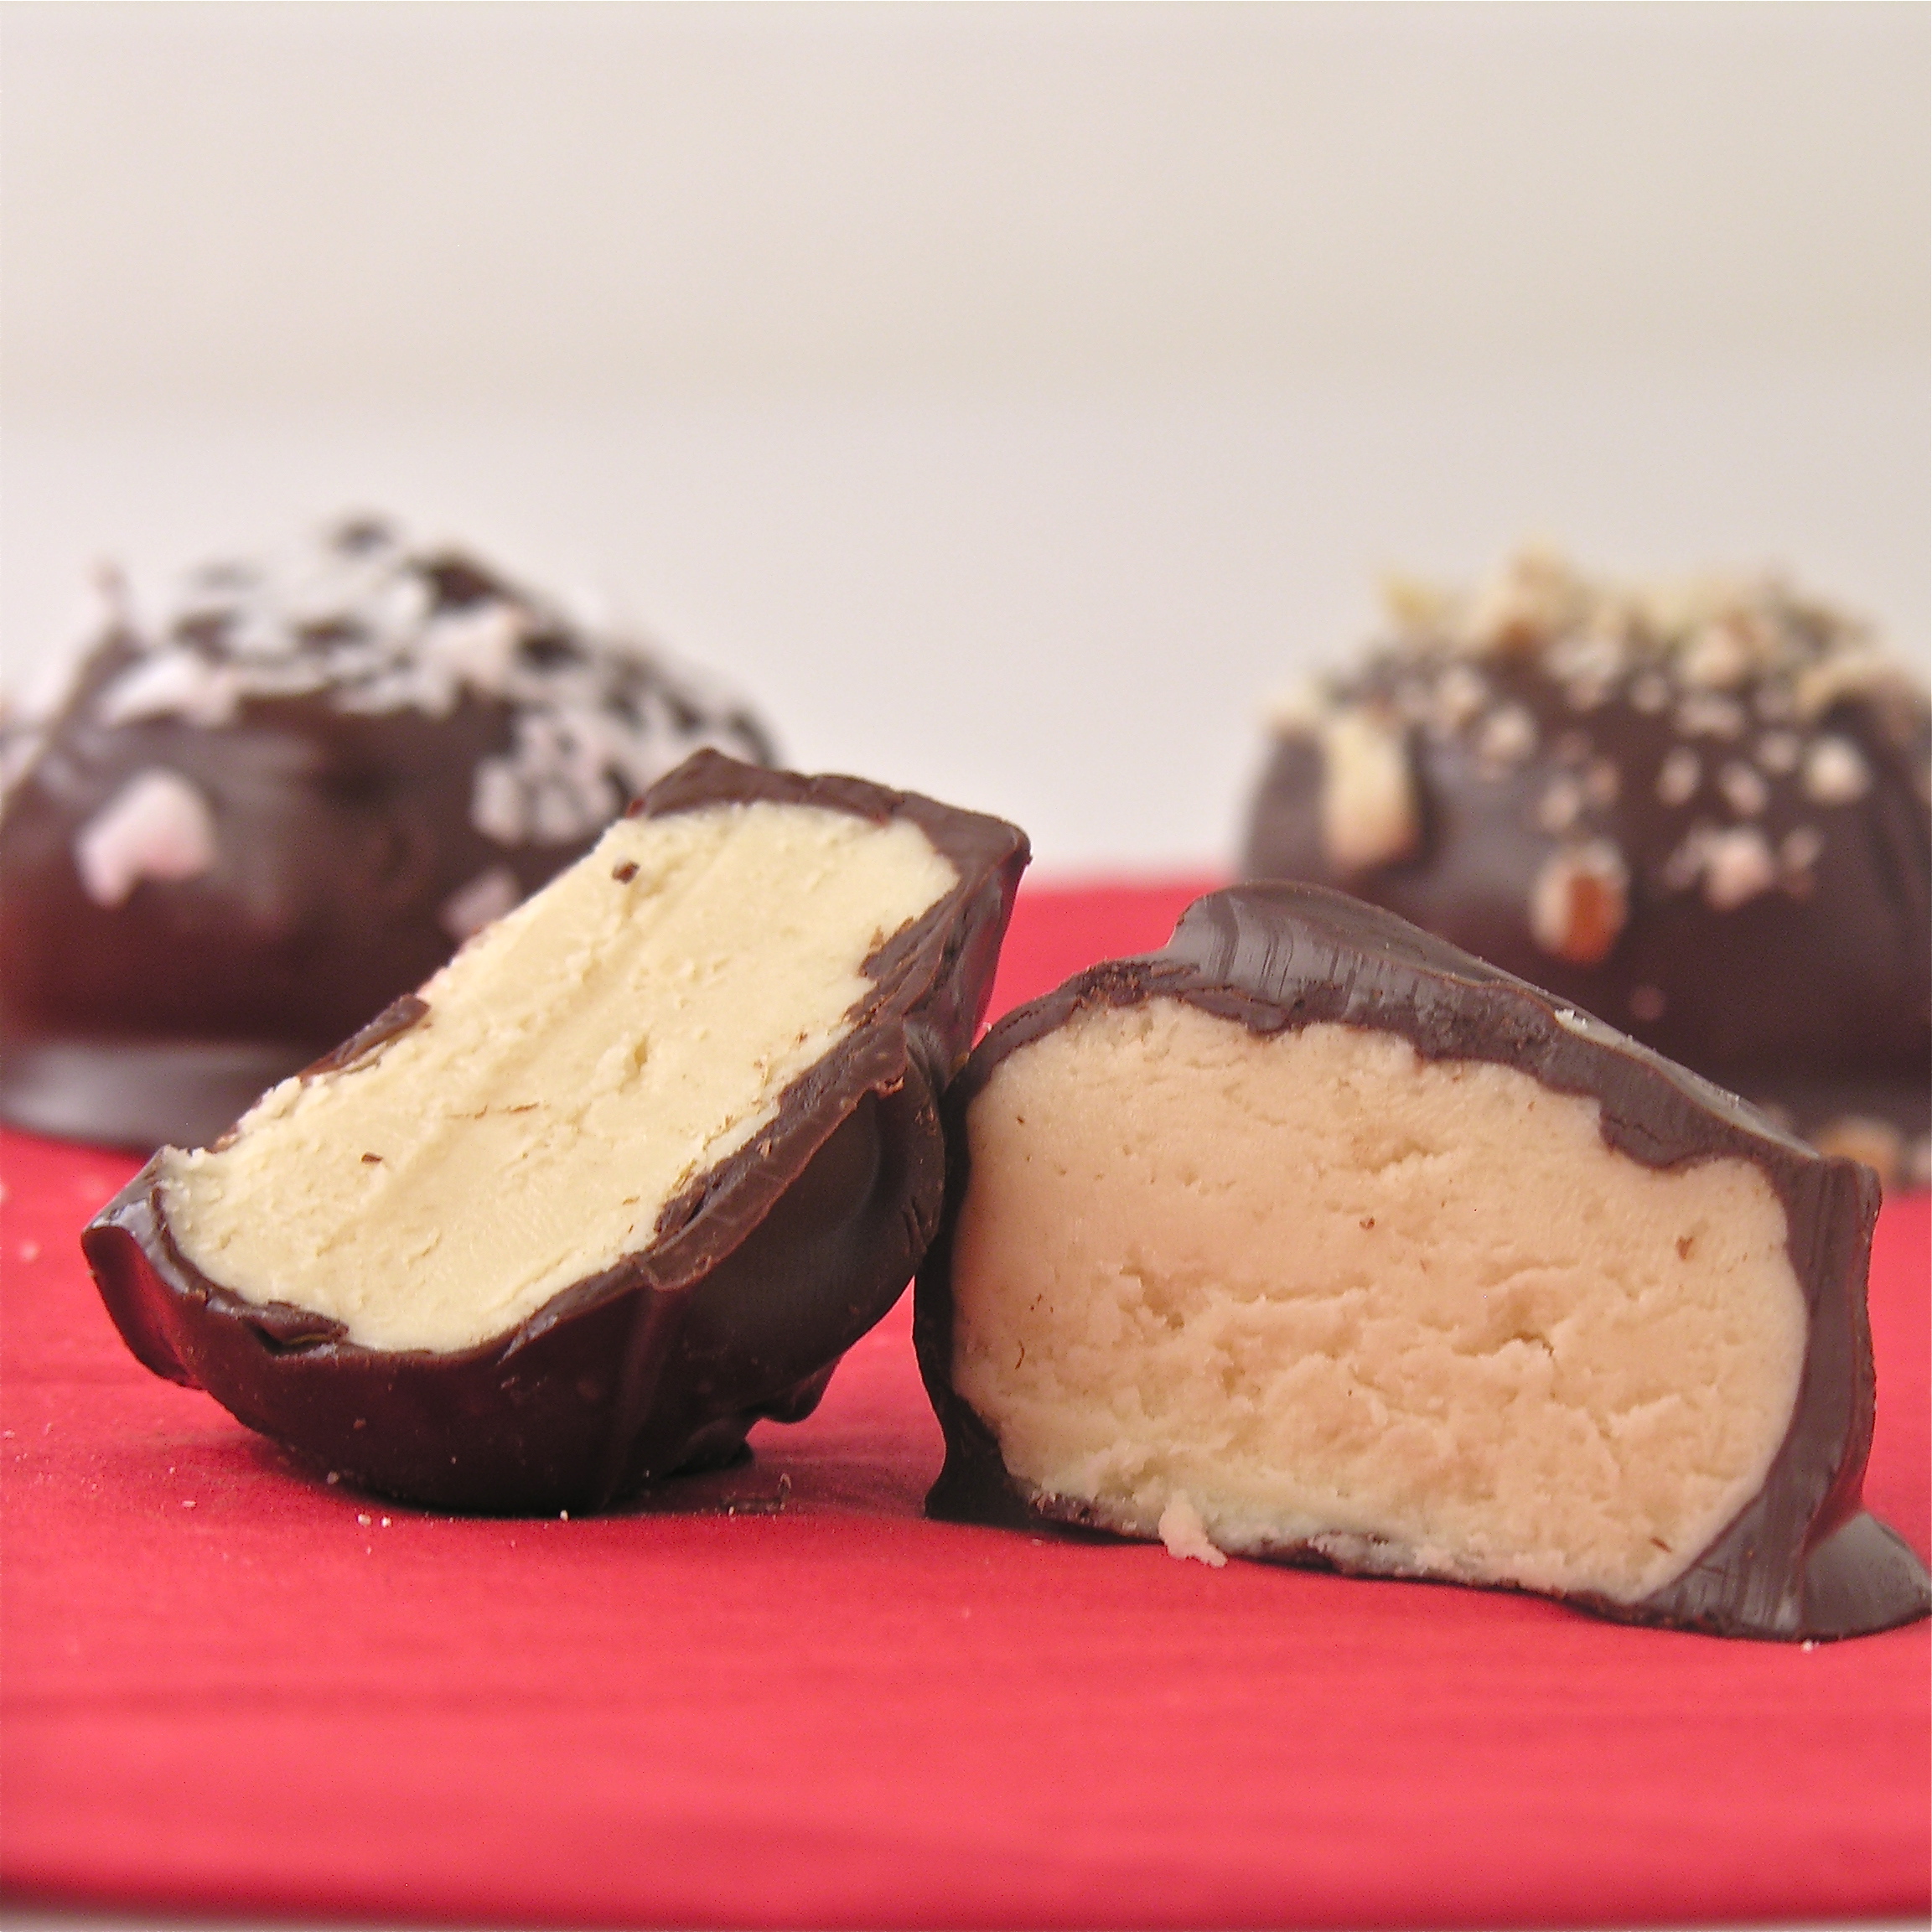
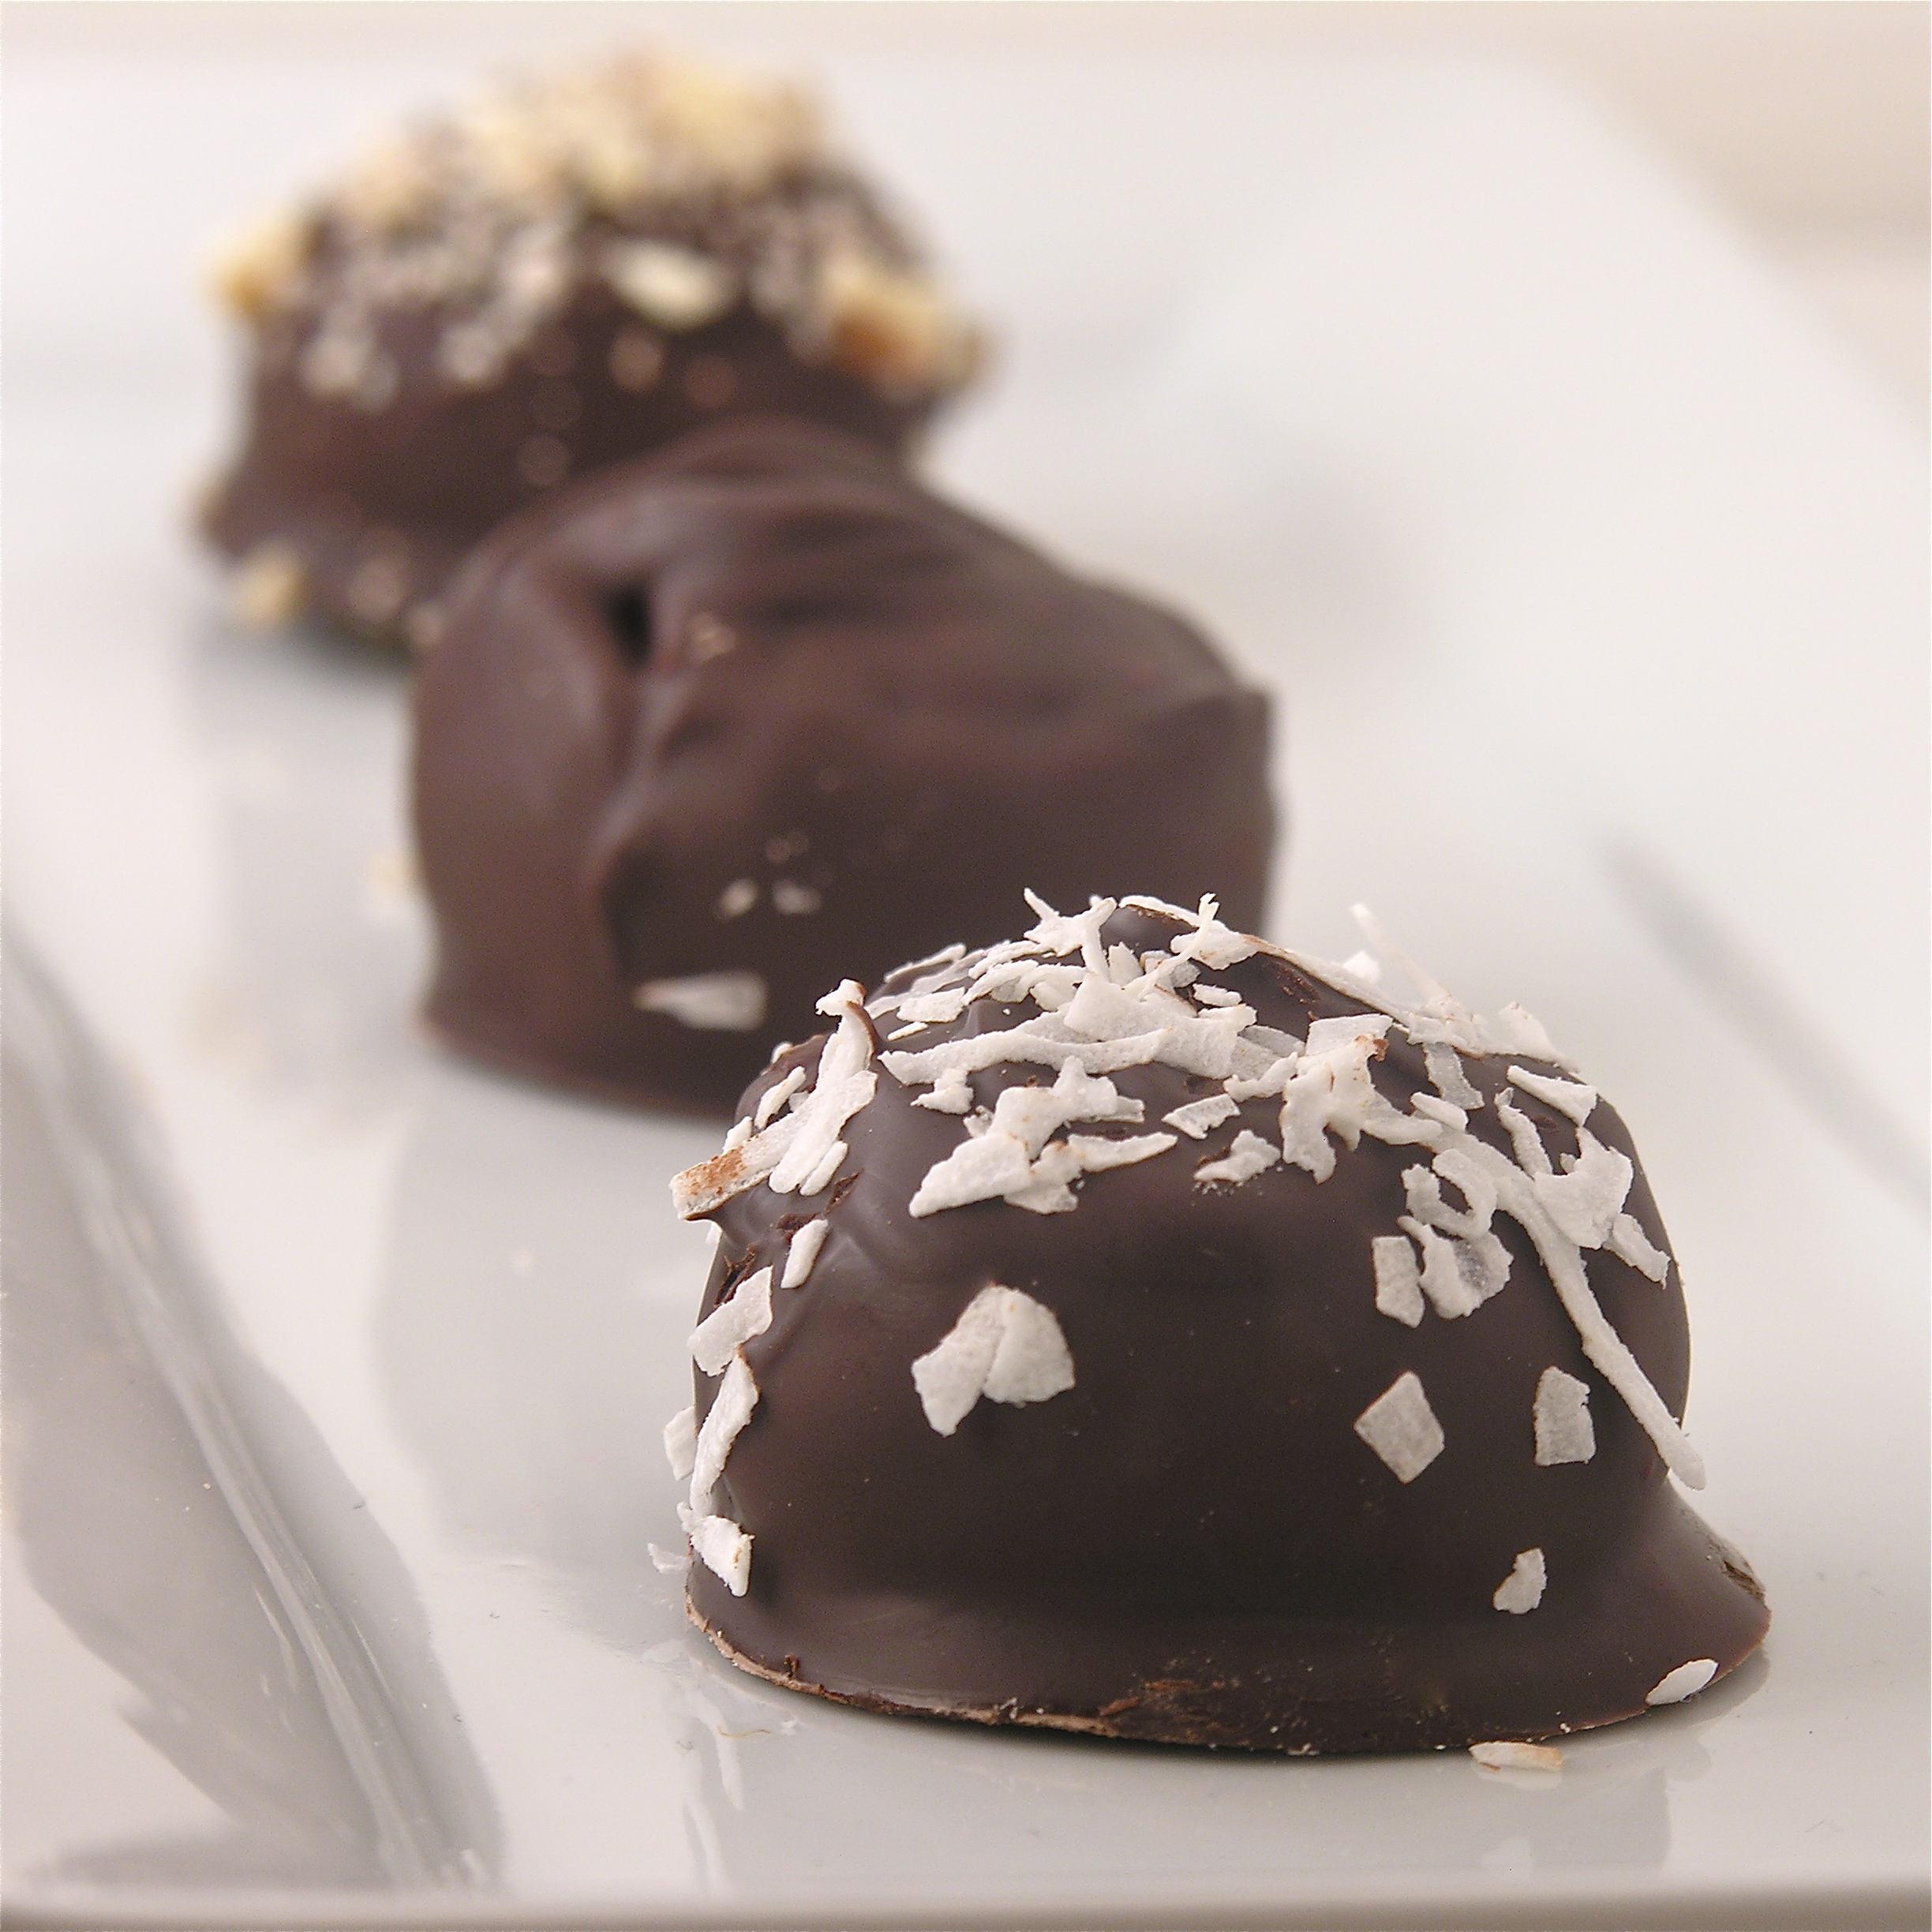
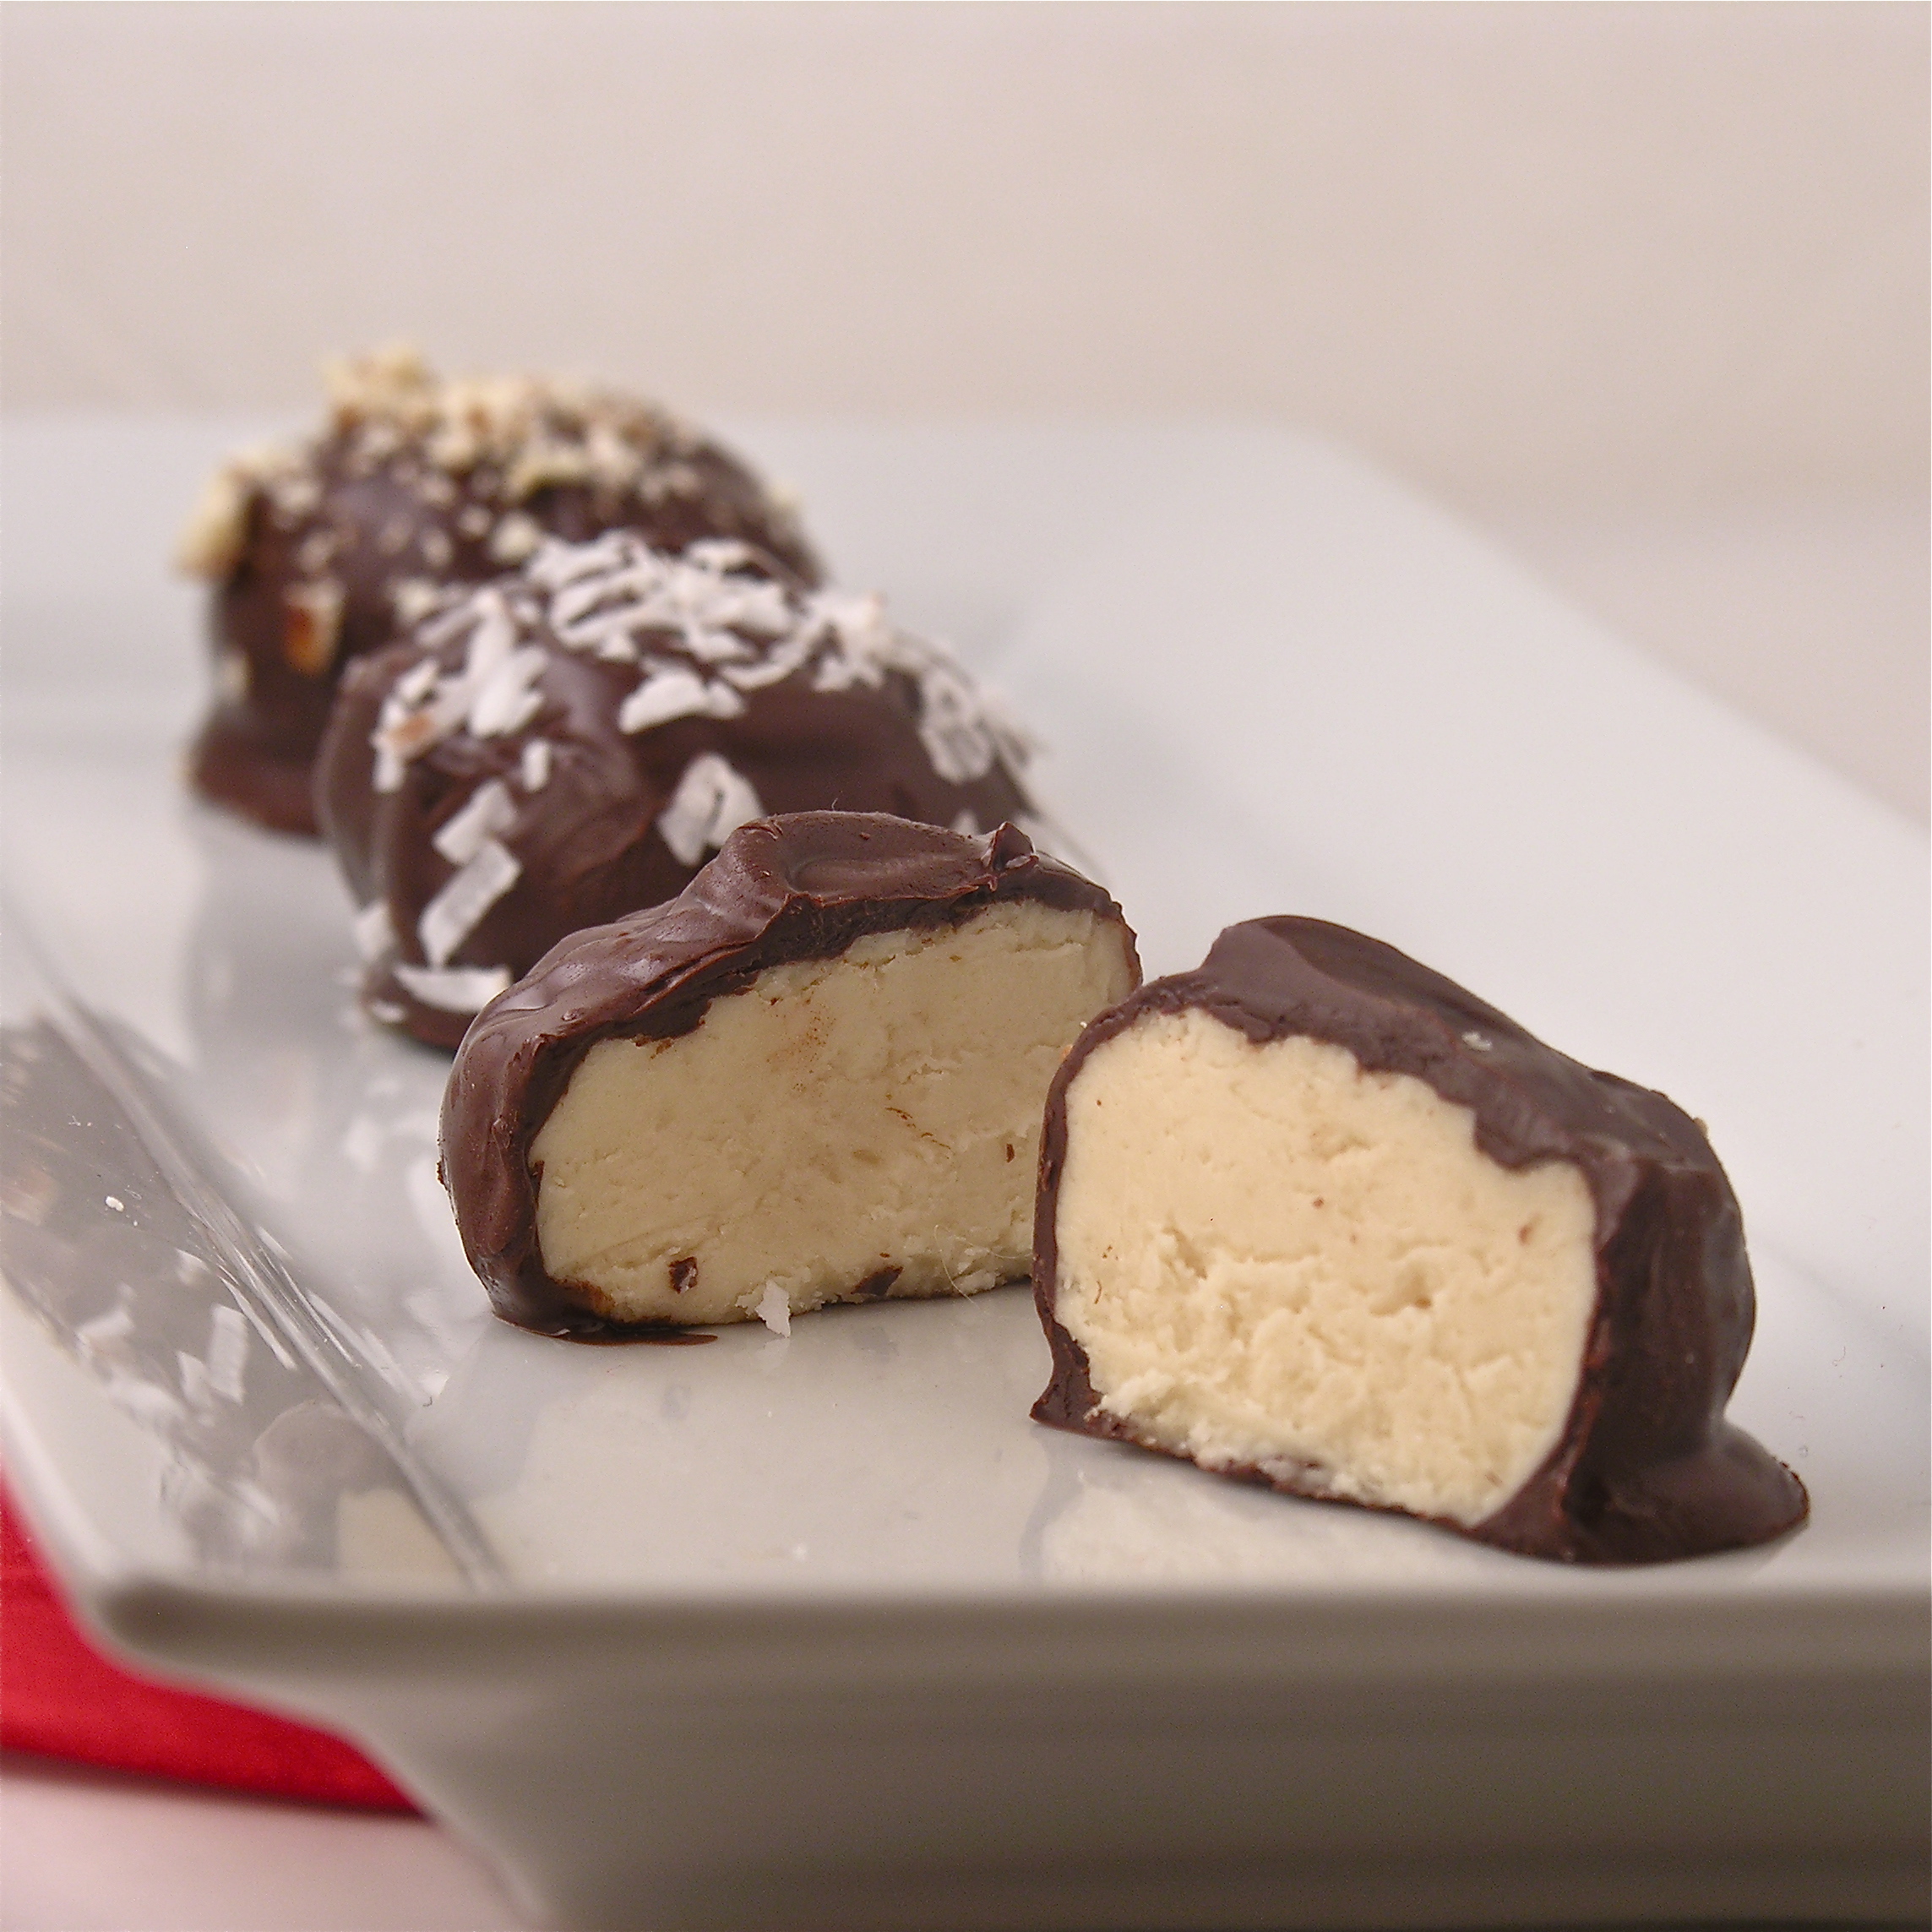
These cream-filled chocolates are so smooth and rich you won’t be able to stop at just one!

I work in a genetics lab.  Every year at Christmas my co-worker Gail brings in the most wonderful candy I’ve ever eaten.  Every year I ask for the recipe and she smiles and says that she can give me the recipe but that I’d need to visit and learn the recipe from her.  Now that I’ve made it, I understand.  This is not a typical Easybaked recipe, it’s very involved.  It’s fun and challenging and oh- soooo worth the effort though!

Gail recently retired and about a week ago I visited her in her kitchen to learn how to make opera creams.

This is a recipe passed down to her from her mom, who had all kinds of thoughts about the making of this candy.  My favorite was that the recipe works best on sunny days and if it’s raining you might as well just wait to make it another day.  We had a beautiful sunny December day to make our candy on, so I’m sure she would have approved.

Lets start with the recipe– that’s the easy part.  I’m going to post it twice– once with pictures and videos and once just straight so you can read it easier.

Gail's moms recipe card

INGREDIENTS:

  • 4 c. sugar
  • 2 c. heavy cream
  • 1/8 t. cream of tartar
  • 2 T light corn syrup
  • 1 1/2 t. vanilla
  • 1 t butter
  • 1/4 t. salt
  • Chocolate (of your choice) for dipping- we used tempered dark chocolate bits

DIRECTIONS:

  • Put sugar, cream, cream of tartar and corn syrup into a large saucepan and mix well.
  • Use a pastry brush and a little water to brush all of mixture down the sides of the pan to remove any sugar stuck to the sides.

Use a pastry brush to brush water down sides of panGail and her moms candy thermometer

  • Cover pan and bring to a boil.
  • When boiling, uncover and clip a candy thermometer to the side of the pan.
  • Bring mixture to 240F degrees
  • (While you are waiting for this to come to temp, butter the bottom and sides of a shallow glass or ceramic dish.)

Bring to 240F degreesDon't stir!!!

  • Remove from stove and add salt, butter and vanilla– do not stir!
  • Pour mixture into buttered dish (don’t use plastic!) and allow this to cool completely (we put it on the back porch where it was cool and this took 2 hours)
  • Spoon cooled mixture onto clean countertop (it will be like a very sticky caramel)

Pour into a non-plastic dishCooled mixtureKnead into a soft cream

  • Work with hands until firm and creamy- it takes 20-30 minutes and this is pure craziness….here are the stages to expect:
  1. sticky caramel- fairly firm
  2. slimy/ buttery texture– almost like its falling apart
  3. sticky but workable
  4. so sticky that you literally cannot move your fingers and you are sure you will have to get the mixture surgically removed.
  5. no longer sticky- but like playdough with little crumbs falling off at the edges…keep kneading!
  6. Finally creamy and smooth- kneads together in one beautiful dough- like ball.

I filmed Gail as she went through this process.  Click HERE to see the near-miraculous transformation from sticky to creamy smooth!

  • Place this ball of filling in a dish, cover with a damp towel and refrigerate for 2 days….yes. TWO DAYS.
  • Bring cream filling back to room temp and roll into balls.

Roll into ballsDip into chocolate...

  • Dip into melted chocolate and cool.
  • You can mix nuts or coconut into the cream if you like, or just leave them plain.


Opera Cream CandyMy thoughts: amazingly yummy.  The cream is just like no other candy I’ve tried.  It is worth every bit if the effort it took us to make these.  I found myself cringing as people popped them whole into their mouths though…I kept thinking, “SAVOR those!!!  You’ve no idea how hard I worked on them!!!”  So hard, in fact that I took a two hour nap when I got home!

Opera cream CandyNow for the recipe in an easy-to-read format:

INGREDIENTS:

  • 4 c. sugar
  • 2 c. heavy cream
  • 1/8 t. cream of tartar
  • 2 T light corn syrup
  • 1 1/2 t. vanilla
  • 1 t butter
  • 1/4 t. salt
  • Chocolate (of your choice) for dipping- we used dark tempered chocolate bits

DIRECTIONS:

  • Put sugar, cream, cream of tartar and corn syrup to a large saucepan and mix well.
  • Use a pastry brush and a little water to brush all of mixture down the sides of the pan to remove any sugar stuck to the sides.
  • Cover pan and bring to a boil.
  • When boiling, uncover and clip a candy thermometer to the side of the pan.
  • Bring mixture to 240F degrees
  • (While you are waiting for this to come to temp, butter the bottom and sides of a shallow glass or ceramic dish.)
  • Remove from stove and add butter and vanilla– do not stir!
  • Pour mixture into buttered dish (don’t use plastic!) and allow this to cool completely (we put it on the back porch where it was cool and this took 2 hours)
  • Spoon cooled mixture onto clean countertop (it will be like a very sticky caramel)
  • Work with hands until firm and creamy.
  • Place this ball of filling in a dish, cover with a damp towel and refrigerate for 2 days.
  • Bring cream filling to room temp and roll into balls.
  • Dip into melted chocolate and cool.
  • You can mix nuts or coconut into the cream if you like, or just leave them plain.

Opera Cream Candy

A huge “thank-you” to Gail for spending so much time teaching me her family recipe!  We had such a fun day together cooking AND trying lime phosphates while we waited for candy to cool!

Having fun while the candy cools!

Enjoy!!!!!  ~r

Other (easier!) Christmas recipe ideas from Easybaked~ Click on the image to be taken to the recipe:

Chocolate molten lava cupcakesCake balls filled with cream cheese frostingChocolate bonbonsHot Chocolate Pops!

Dulce de Leche Caramel Sauce

This creamy sweet caramel sauce couldn’t be easier to make.  Ingredients?  One can of Sweetened Condensed Milk and a very brave spirit…..


I had heard from several people about the “boil a can of condensed milk to make caramel” idea, and I knew someday I would try it.  That “someday” arrived when I was asked to bring a birthday cheesecake for my brother this weekend.  He likes PLAIN cheesecake.  For those of you who have followed easybaked for awhile, you know I don’t do “plain” anything.  I take plain and add peanut butter, chocolate, glazes, ganache, frosting, candy….nothing plain.  But for my wonderful brother John….I present:  a plain white cheesecake…..

so…..plain.  In case you are wondering, this recipe is the basis for almost all of my cheesecakes, and you can click on one of the following pictures to get the recipe using white chocolate (plus fun toppings!!!!) Using other chip flavors gives you chocolate, peanut butter, cinnamon or even butterscotch cheesecakes.

In any case, I made the plain cheesecake, but I wanted a fun topping sauce to serve with it.  Dulce de Leche.  Now, I don’t know about you, but in my mind boiling a can of any sort sounds like a disaster….so I looked up the technique- just to be sure I did it right and didn’t explode anything.

I found a cute blog called Not Without Salt that gave instructions….scary instructions….and I quote:

“In a large pan, completely submerge the can of sweetened condensed milk in water. Make sure it is covered by at least one inch of water and remains covered throughout the entire process – this is VERY important otherwise it could explode. Cover the pan with a lid and bring to a boil. Reduce heat and simmer for three hours. Continually check to make sure the can is completely covered with water.”

Yes, it could explode.  Needless to say, I obsessively checked my water level for 3 hours.  I never needed to add any…but I imagined lovely dulce de leche covering my ceiling and walls and I obsessed.

After 3 hours of fear, I took the pan off the stove and had a debate with my friend Danielle about if I should leave it in the hot water to cool…or take it out…?  I took it out.  And I set it outside on my sunporch to cool- or explode.

It cooled beautifully and when I opened the can….oh my.

I love it.  I would do this again in a heartbeat— it is SO good.  I’m so excited to serve it with my cheesecake in a few hours.  It would be good over ice cream or apples…so many possibilities.  ENJOY!!! (and be very careful that your water doesn’t evaporate!!)    ~r

Happy Birthday!!!

Dulce de Leche in your coffee???


Other recipes you might enjoy: Click on the image to be taken to the recipe.


Shop Amazon – Cyber Monday Deals Week

DIY Caramel Corn and other great gift ideas from Easybaked!

I love making and getting creative edible gifts. I’m not talking just a plate of Christmas cookies here…I’m talking unique and different.  Take Caramel Corn, for example.  It is my grandmother’s favorite and I remember spending long evenings watching my parents try various caramel corn recipes in search of the perfect (yet not too messy!) one.  There was the giant brown sack method (where you shake the caramel in) and the cookie sheet one where you pour the caramel on and try to mix it on the sheet (my dog liked that method– lots of popcorn on the floor!)

A few years ago a friend handed me an adorable little Christmas package with mysterious items inside (all tied up with a cute tag and bow) and when I opened it I found ingredients for caramel corn.  All I needed was butter….. I promptly made it and YUM!!!  Quick, easy, delicious and SUCH a creative gift.  This post is dedicated to the recipes you can use this Christmas to make creative and memorable gifts for your friends and families.

CARAMEL CORN:

  • Place  1/2c. packed brown sugar in a small bag and zip or tie it tightly.
  • Place 8 large marshmallows in a small bag and zip or tie it tightly.
  • Place both of the above ingredients in a larger bag or gift box with one packet of microwave popcorn.


Close the bag or box with the following directions:

  • Pop corn in microwave according to package
  • Place brown sugar, marshmallows and 1/2 stick (4T) butter into a 2 qt. bowl
  • Microwave for 3 minutes, stirring well at 1 and 1/2 minutes.  Syrup should be smooth and bubbly.
  • Pour over popped corn and enjoy!

Click on the photo below to get free printable tags to use with this gift:

OREO POPS:

These fun chocolate-covered Oreos on a stick are great for any season.  I made them for the 1st time last spring for a baby shower.  Change up the sprinkles and tie some cute Christmas tags on and you have a great stocking stuffer- or even a holiday centerpiece bouquet!  All the how-to tips, including pictures are available if you just click HERE.  I also made up some free tags for you to tie on your pops~   Click on the picture below to get the free printable file:

HOT CHOCOLATE POPS:

I made these as gifts for SO many people last year.  I made extra for myself.  These are so easy and SO delicious~ everyone will LOVE them.  What are they?  Chocolate (in a variety of flavors and colors) hardened over a marshmallow on a stick.  You stir them into hot milk and make the most creamy, delicious hot chocolate ever.  The best part?  You can make them WAY ahead.  I made some in December and used them in March…still wonderful.  The recipe and directions can be found by clicking HERE.  If you want to print some free tags to tie on your pops click on the image below:

SPICED MOCHA MIX:

My cousin Eden made little jars of this wonderful mix for us several years ago at Christmas and I’ve used the recipe ever since.  It’s just wonderful, easy to make, keeps for months in a sealed bag or jar and makes a great gift.  Want the recipe and easy directions?  Click HERE.  Free printable tags?  Click on the picture below to get them: (I actually printed these on full-sheet labels, cut them apart and made stickers for my jars…just another idea…)

I hope that these ideas have inspired you to create your own fun and unique Christmas gifts!!!  Enjoy!  ~r

Want to try some other fun Christmas recipes by Easybaked?  Click on an image below to be taken to the recipe:

Shop Amazon – Black Friday Deals Week

Candy Surprise Cake!

Imagine the moment you cut into a cake and pull that first piece out.  Now imagine a waterfall of candy pouring out of the center of the cake.  Every child’s dream come true!  This recipe was inspired by a conversation at work; my friend Mary was telling us how she liked to surprise her kids with candy-filled cakes on their birthdays.  She used a variety of candies and one time actually filled the cake with runny orange frosting and called it a volcano!  I loved the idea and decided to bake my cake in a bowl to make it tall enough to fill (Mary used layers).  What a fun idea for the upcoming Halloween season- the possibilities are as endless as the candy on the shelves!  Here’s how it was made:

INGREDIENTS:

  • One boxed cake mix (any flavor you’d like- I used confetti)
  • Water, eggs and oil to make mix according to box
  • Candy to fill center of cake (I used Skittles and it took about 1 1/2 cups of candy)
  • 1 stick of salted butter
  • 1 stick of unsalted butter
  • 1 1/2 c powdered sugar
  • 1 t. clear vanilla flavor
  • Sprinkles to decorate with if desired.

DIRECTIONS:

  • Preheat oven to 325 degrees.
  • Prepare cake according to package and pour into a greased and floured 2 quart glass bowl (I used my 2 Quart Batter Bowl from Pampered Chef)
  • Bake at 325 degrees for 1 hour and 10 minutes- or until a cake tester inserted into the middle comes out clean.
  • Cool for 15 minutes.
  • Run a knife around edges to loosen, and gently tip out onto a wire cake rack to cool completely.
  • Once cool, trim flat edge even and set on serving plate with dome side up.
  • Cut a round opening in the top of the cake, gently pulling the cake out.  Keep the top layer, but spoon out the core, leaving about an inch of cake at the bottom.

  • Gently pour candy into the center of the cake and place the top back on (like a pumpkin!)
  • Make frosting by beating softened butters, powdered sugar and vanilla on high until light and fluffy. 
  • Frost cake and decorate as desired.

  • Cut a slice and watch the smiles start!

My thoughts:  This is SO much fun to cut into and serve- it made everyone laugh when the skittles started pouring out!  It serves up messy (be prepared to scoop skittles out for each serving).   The Skittles started to get soft inside the moist cake eventually- they still tasted great- but if you want them fresh just serve this within a few hours of making it.  You’ll want to think this through for other candy types as well.  I’m guessing most would be best served right away.  Believe me— it is worth the surprise factor!!!!  Enjoy!!!! -r

9-24-12 My friend Angie from the Czech Republic just sent this picture of her cupcakes using this recipe:

SO fun!  Great job Angie!!  If you want to try a cupcake version of this cake, save some time with a Cupcake Corer to remove the centers!


Coconut Lemon Drop Cookies


These crunchy little cookies are full of sweet coconut and tart lemon drop flavor- yum!!!

INGREDIENTS:

  • 12 T. (1 and 1/2 sticks) butter -room temp.
  • 1/2 c. sugar
  • 1 t. vanilla extract
  • 6 t. lemon juice
  • 1 1/2 c. flour
  • 1 c. finely crushed cornflakes
  • yellow food coloring (to desired shade)
  • 1 c. shredded coconut
  • 1/2 c. Wilton’s candy melt in white chocolate
  • 15 lemon drops (or other lemon-flavored hard candy)

DIRECTIONS:

  • Heat oven to 250 degrees.
  • Place 1 c. shredded coconut on a small cookie sheet and place in oven for 10-15 minutes until it is dried and crunchy— not browned– just dry and crunchy.  Remove from oven and cool.
  • When coconut is cool, use your hands to crush it up  into smaller pieces, set aside.
  • Heat oven to 350 degrees.
  • Line two cookie sheets with parchment paper.
  • Cream sugar and butter together, add vanilla.
  • Add lemon juice, food coloring, flour and coconut, beating until well combined.
  • Add crushed cornflakes and mix (use clean hands if you want!) until well combined.
  • Use a small cookie scoop to spoon batter onto parchment paper. Press tops down a little to make the cookie flat on top.
  • Bake at 350 degrees for 12-16 minutes.
  • Allow cookies to cool.
  • Crush candies in a small zip-top bag using a hammer.
  • Melt Wilton’s candy melts in a small bowl in the microwave in 30 second increments until smooth and completely melted.
  • Spoon melted white chocolate into a zip top bag, clip a corner off and drizzle over each cookie.
  • Before chocolate hardens, sprinkle generously with crushed candy.  Allow chocolate to harden and ENJOY!!

My thoughts:  These cookies were really a stretch as far as inventing goes– I was really unsure if they would be any good at all.  They are SO yummy- I’ve had 4 now…(shhh….) I took them to a Labor Day picnic and everyone loved them– especially the “crunchiness”.  Well, everyone but my Uncle Keith who hates coconut….who hates coconut?  Just seems wrong.  Anyway– if you like lemon and candy and coconut and cookies—you are gonna love these little treats!!!!  Enjoy!  -r

Kool-Aid Truffles

Posted on

These chocolate-dipped truffles have creamy sweet centers made with the unique flavors of Kool-Aid drink mixes!  Your kids will love them!!!

INGREDIENTS:

  • 1 (8 oz) package of cream cheese (softened to room temperature!)
  • 3 cups of powdered sugar
  • 3 cups of white chocolate chips
  • 1 tsp vanilla
  • 1 (0.16oz) packet of Kool-Aid drink mix (any flavor- see my choices below)
  • 2 bags of Wiltons Candy Melts in White chocolate or Dark chocolate
  • Sprinkles, cookie crumbles or colored candy melts (I used Blue and Red)

Blue Raspberry Truffle

Lemon-Lime and Graham Cracker Truffle

Chocolate-covered Black Cherry Truffle

White chocolate Mango-Peach Truffle

DIRECTIONS:

    • Cream together cream cheese, powdered sugar and Kool-Aid in a large mixing bowl.
    • Melt white chocolate chips in the microwave in 30 second increments (stirring in between) until smooth and creamy.
    • Add melted chips and vanilla to cream cheese mixture and combine until completely smooth.
    • Refrigerate for at least one hour.
    • Remove mixture from refrigerator and use a small cookie scoop to make small balls of filling (I placed these on a plate and put them back in the fridge to chill while I prepared my chocolate to dip)
    • Melt the Wilton’s Candy Melts in the microwave in 30 second increments until smooth and creamy.
    • Dip chilled balls of filling in the melted chocolate, draining away excess and placing on parchment paper to harden (if you want pictures of how I dip things click here for a previous recipe)
    • Decorate with sprinkles, cookie crumbles or drizzles of fun colored chocolate. 

My thoughts:  These are so much fun to make!!  I just love them.  I actually divided the recipe in half (and used just 1/2 of a packet of Kool-Aid) so that I could try lots of flavors and not make 4 full batches.  One batch makes quite a few truffles- about 40 if you use a small cookie scoop to measure them out.  

My warning????  These are SO sweet. (SOOOOOOOO sweet!)  They almost make your teeth hurt they are so sweet.  They are great with a cup of coffee though, and they will cure you of your sugar cravings fast!  

Dipping them in chocolate is always the hard part if you haven’t done much candy making.  Keeping the fillings chilled helps and (of course) practice helps.  They are MUCH easier to dip than cake pops though.  If you don’t want to dip them, I’d suggest chopping chocolate up fine (or cookie bits, or candy bits) and just rolling the finished truffle filling in toppings instead.  Be amazing and create your own flavor combinations– I’d LOVE to hear about what you and your family create!!!  Enjoy!  -r

Raspberry Confetti Kisses

Happy New Year!!!!

Nothing says New Years Eve like confetti, and these crisp melt-in-your-mouth raspberry cookies will be everyone’s party favorite!!!

INGREDIENTS:

  • 3 egg whites
  • 1/8t. salt
  • 3 1/2 T. raspberry Jell-O
  • 3/4 c. sugar
  • 1T. vinegar
  • Confetti sprinkles

INSTRUCTIONS:

  • Preheat oven to 250 degrees
  • Beat egg whites with salt until foaming.
  • Add Jell-O and sugar as you beat mixture and beat until it stands in peaks.
  • Add vinegar and gently mix.
  • (if you want, you can add a few mini chocolate chips at this point! yum!)
  • Spoon or pipe into small circles on a cookie sheet covered in parchment paper.
  • Sprinkle with confetti sprinkles or jimmies.
  • Bake at 250 degrees for 25 minutes, turn oven off and allow to sit for an additional 20 minutes.
  • Remove from oven and allow cookies to cool completely.

My thoughts: These are great with chocolate chips in them if you like raspberry and chocolate together. I opted for confetti for a fun New Years treat!  These are like cotton candy- light and fluffy sugar that melts in your mouth and is a tiny bit chewy at the end.  A unique and fun “end-of -the-year” party cookie.

HAPPY NEW YEAR!!!!!


Want another confetti-themed dessert idea?  Try Confetti Cups made with sugar cookies and Fruit Loops—make them in mini-muffin tins for bite-sized New Years fun!

Enjoy!  r-