These cream-filled chocolates are so smooth and rich you won’t be able to stop at just one!
I work in a genetics lab. Every year at Christmas my co-worker Gail brings in the most wonderful candy I’ve ever eaten. Every year I ask for the recipe and she smiles and says that she can give me the recipe but that I’d need to visit and learn the recipe from her. Now that I’ve made it, I understand. This is not a typical Easybaked recipe, it’s very involved. It’s fun and challenging and oh- soooo worth the effort though!
Gail recently retired and about a week ago I visited her in her kitchen to learn how to make opera creams.
This is a recipe passed down to her from her mom, who had all kinds of thoughts about the making of this candy. My favorite was that the recipe works best on sunny days and if it’s raining you might as well just wait to make it another day. We had a beautiful sunny December day to make our candy on, so I’m sure she would have approved.
Lets start with the recipe– that’s the easy part. I’m going to post it twice– once with pictures and videos and once just straight so you can read it easier.

INGREDIENTS:
- 4 c. sugar
- 2 c. heavy cream
- 1/8 t. cream of tartar
- 2 T light corn syrup
- 1 1/2 t. vanilla
- 1 t butter
- 1/4 t. salt
- Chocolate (of your choice) for dipping- we used tempered dark chocolate bits
DIRECTIONS:
- Put sugar, cream, cream of tartar and corn syrup into a large saucepan and mix well.
- Use a pastry brush and a little water to brush all of mixture down the sides of the pan to remove any sugar stuck to the sides.


- Cover pan and bring to a boil.
- When boiling, uncover and clip a candy thermometer to the side of the pan.
- Bring mixture to 240F degrees
- (While you are waiting for this to come to temp, butter the bottom and sides of a shallow glass or ceramic dish.)


- Remove from stove and add salt, butter and vanilla– do not stir!
- Pour mixture into buttered dish (don’t use plastic!) and allow this to cool completely (we put it on the back porch where it was cool and this took 2 hours)
- Spoon cooled mixture onto clean countertop (it will be like a very sticky caramel)


- Work with hands until firm and creamy- it takes 20-30 minutes and this is pure craziness….here are the stages to expect:
- sticky caramel- fairly firm
- slimy/ buttery texture– almost like its falling apart
- sticky but workable
- so sticky that you literally cannot move your fingers and you are sure you will have to get the mixture surgically removed.
- no longer sticky- but like playdough with little crumbs falling off at the edges…keep kneading!
- Finally creamy and smooth- kneads together in one beautiful dough- like ball.
I filmed Gail as she went through this process. Click HERE to see the near-miraculous transformation from sticky to creamy smooth!
- Place this ball of filling in a dish, cover with a damp towel and refrigerate for 2 days….yes. TWO DAYS.
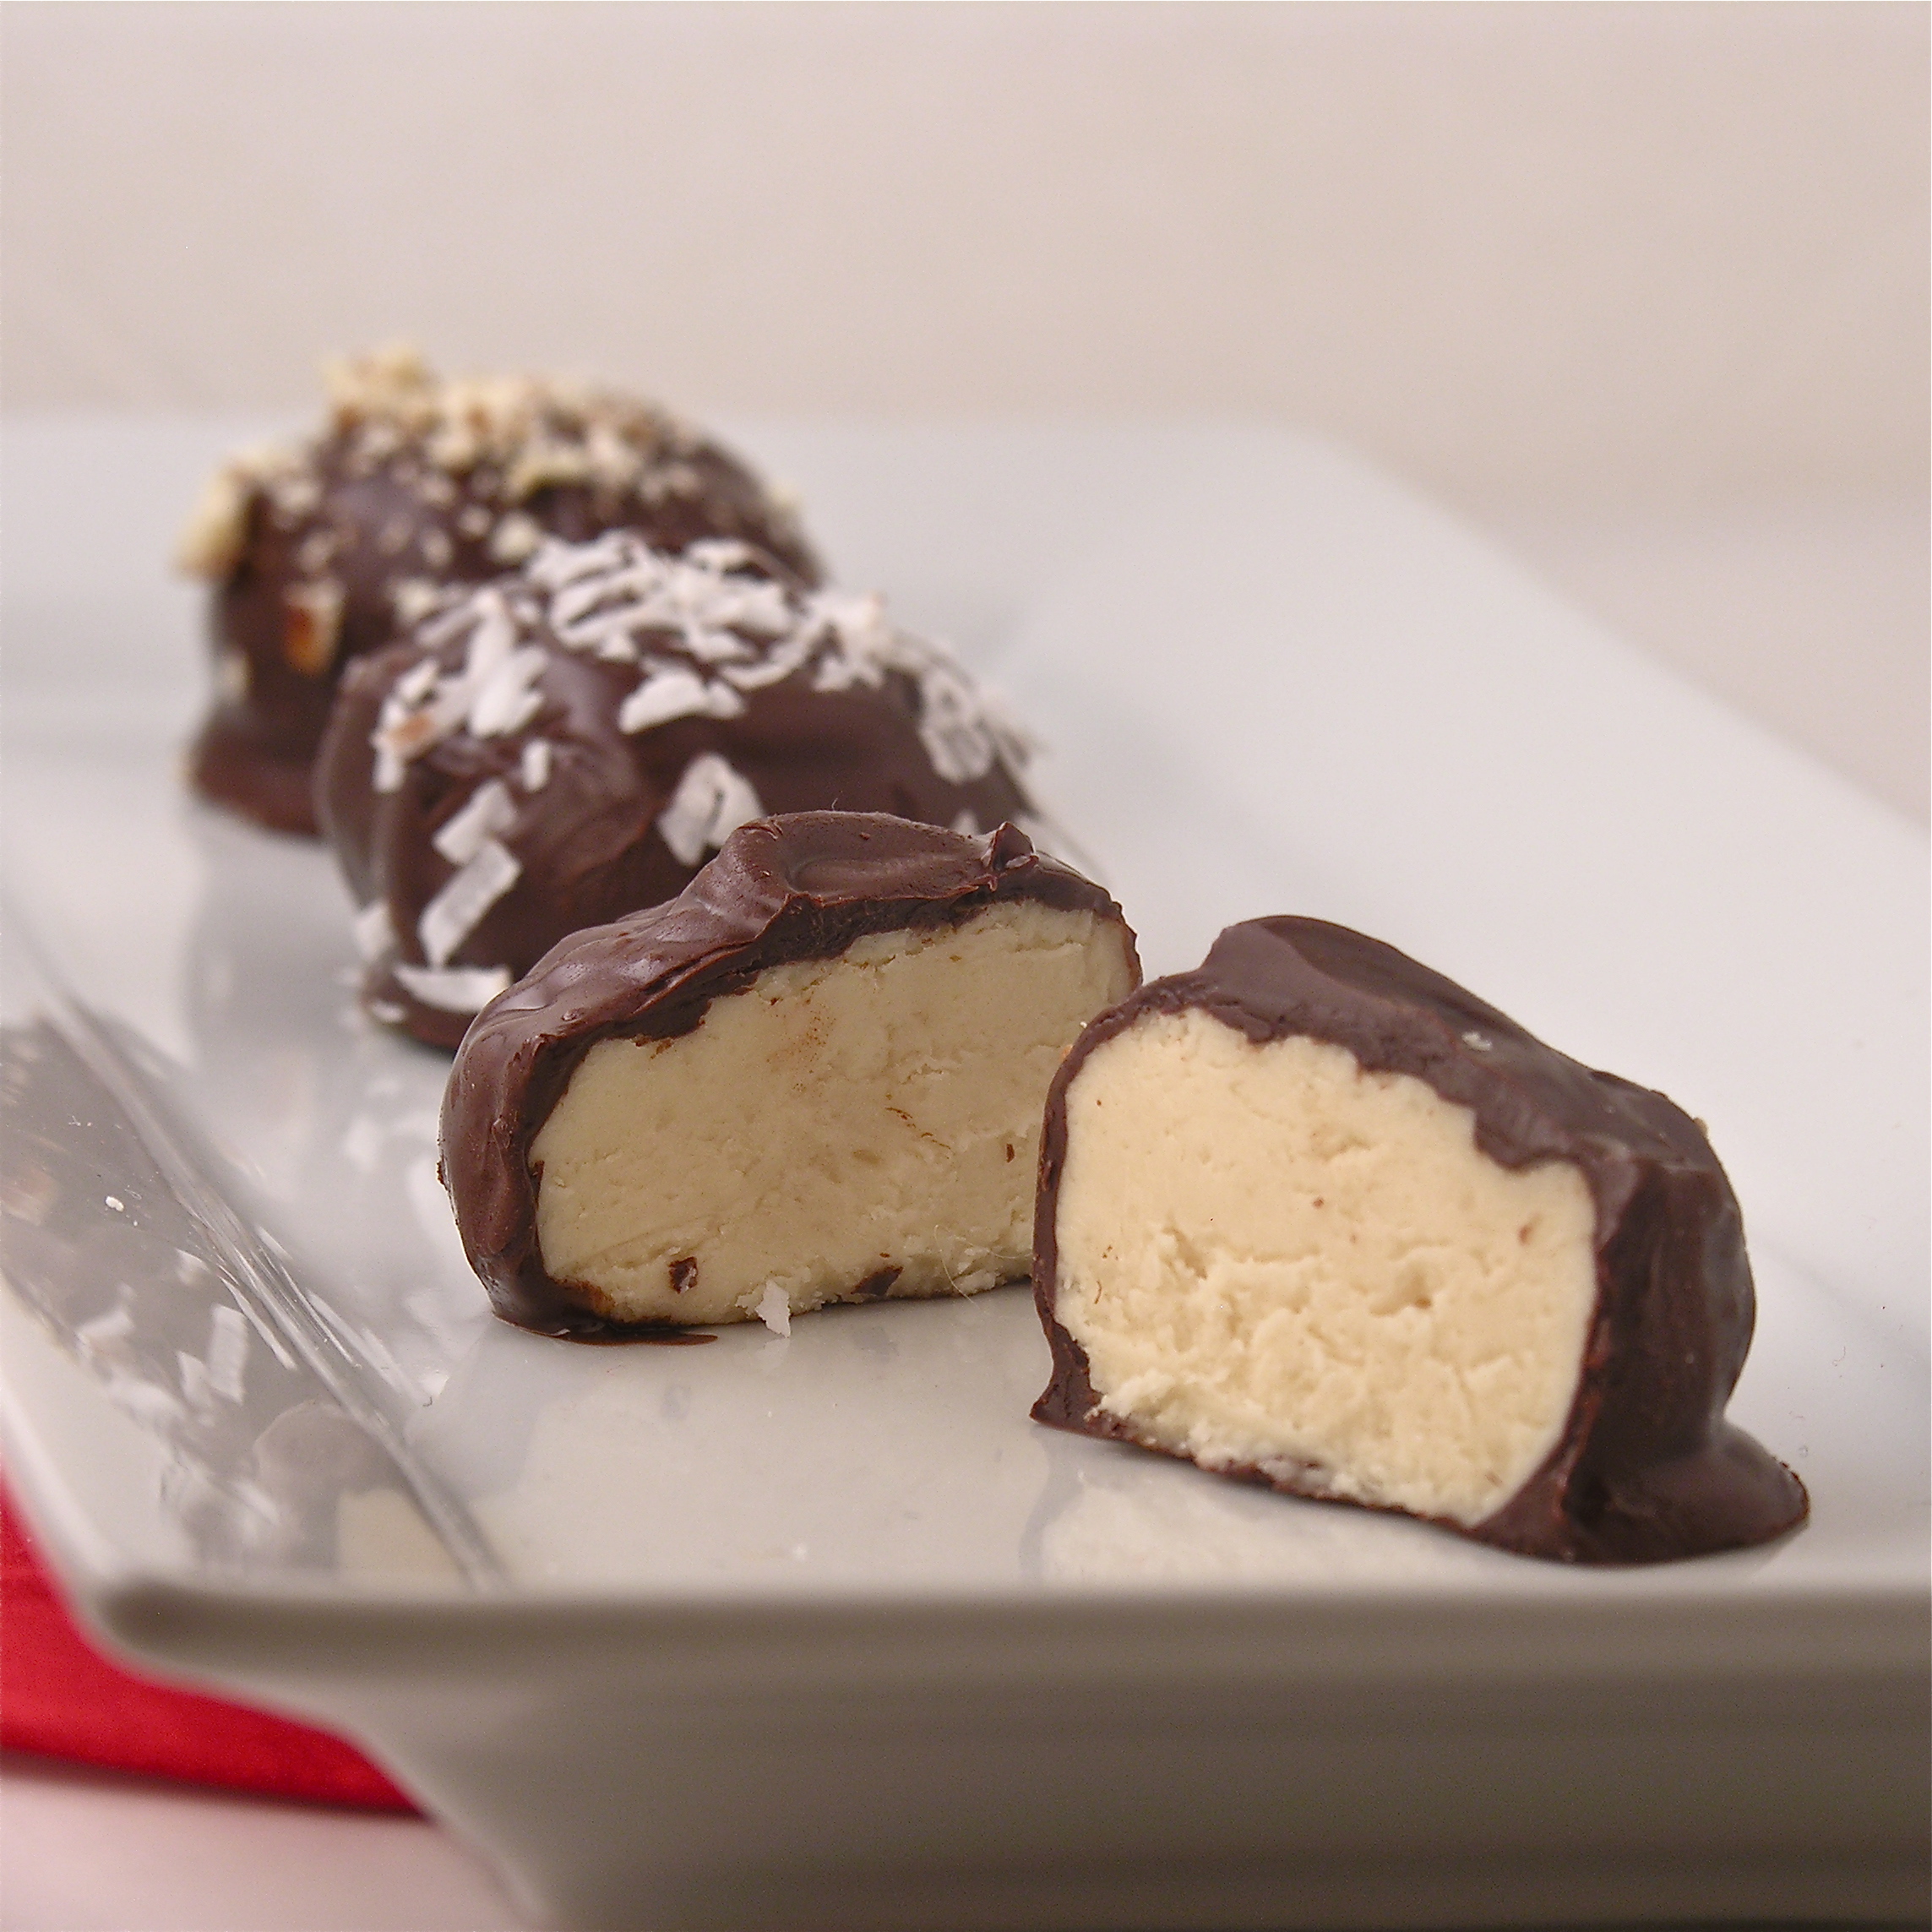
- Bring cream filling back to room temp and roll into balls.


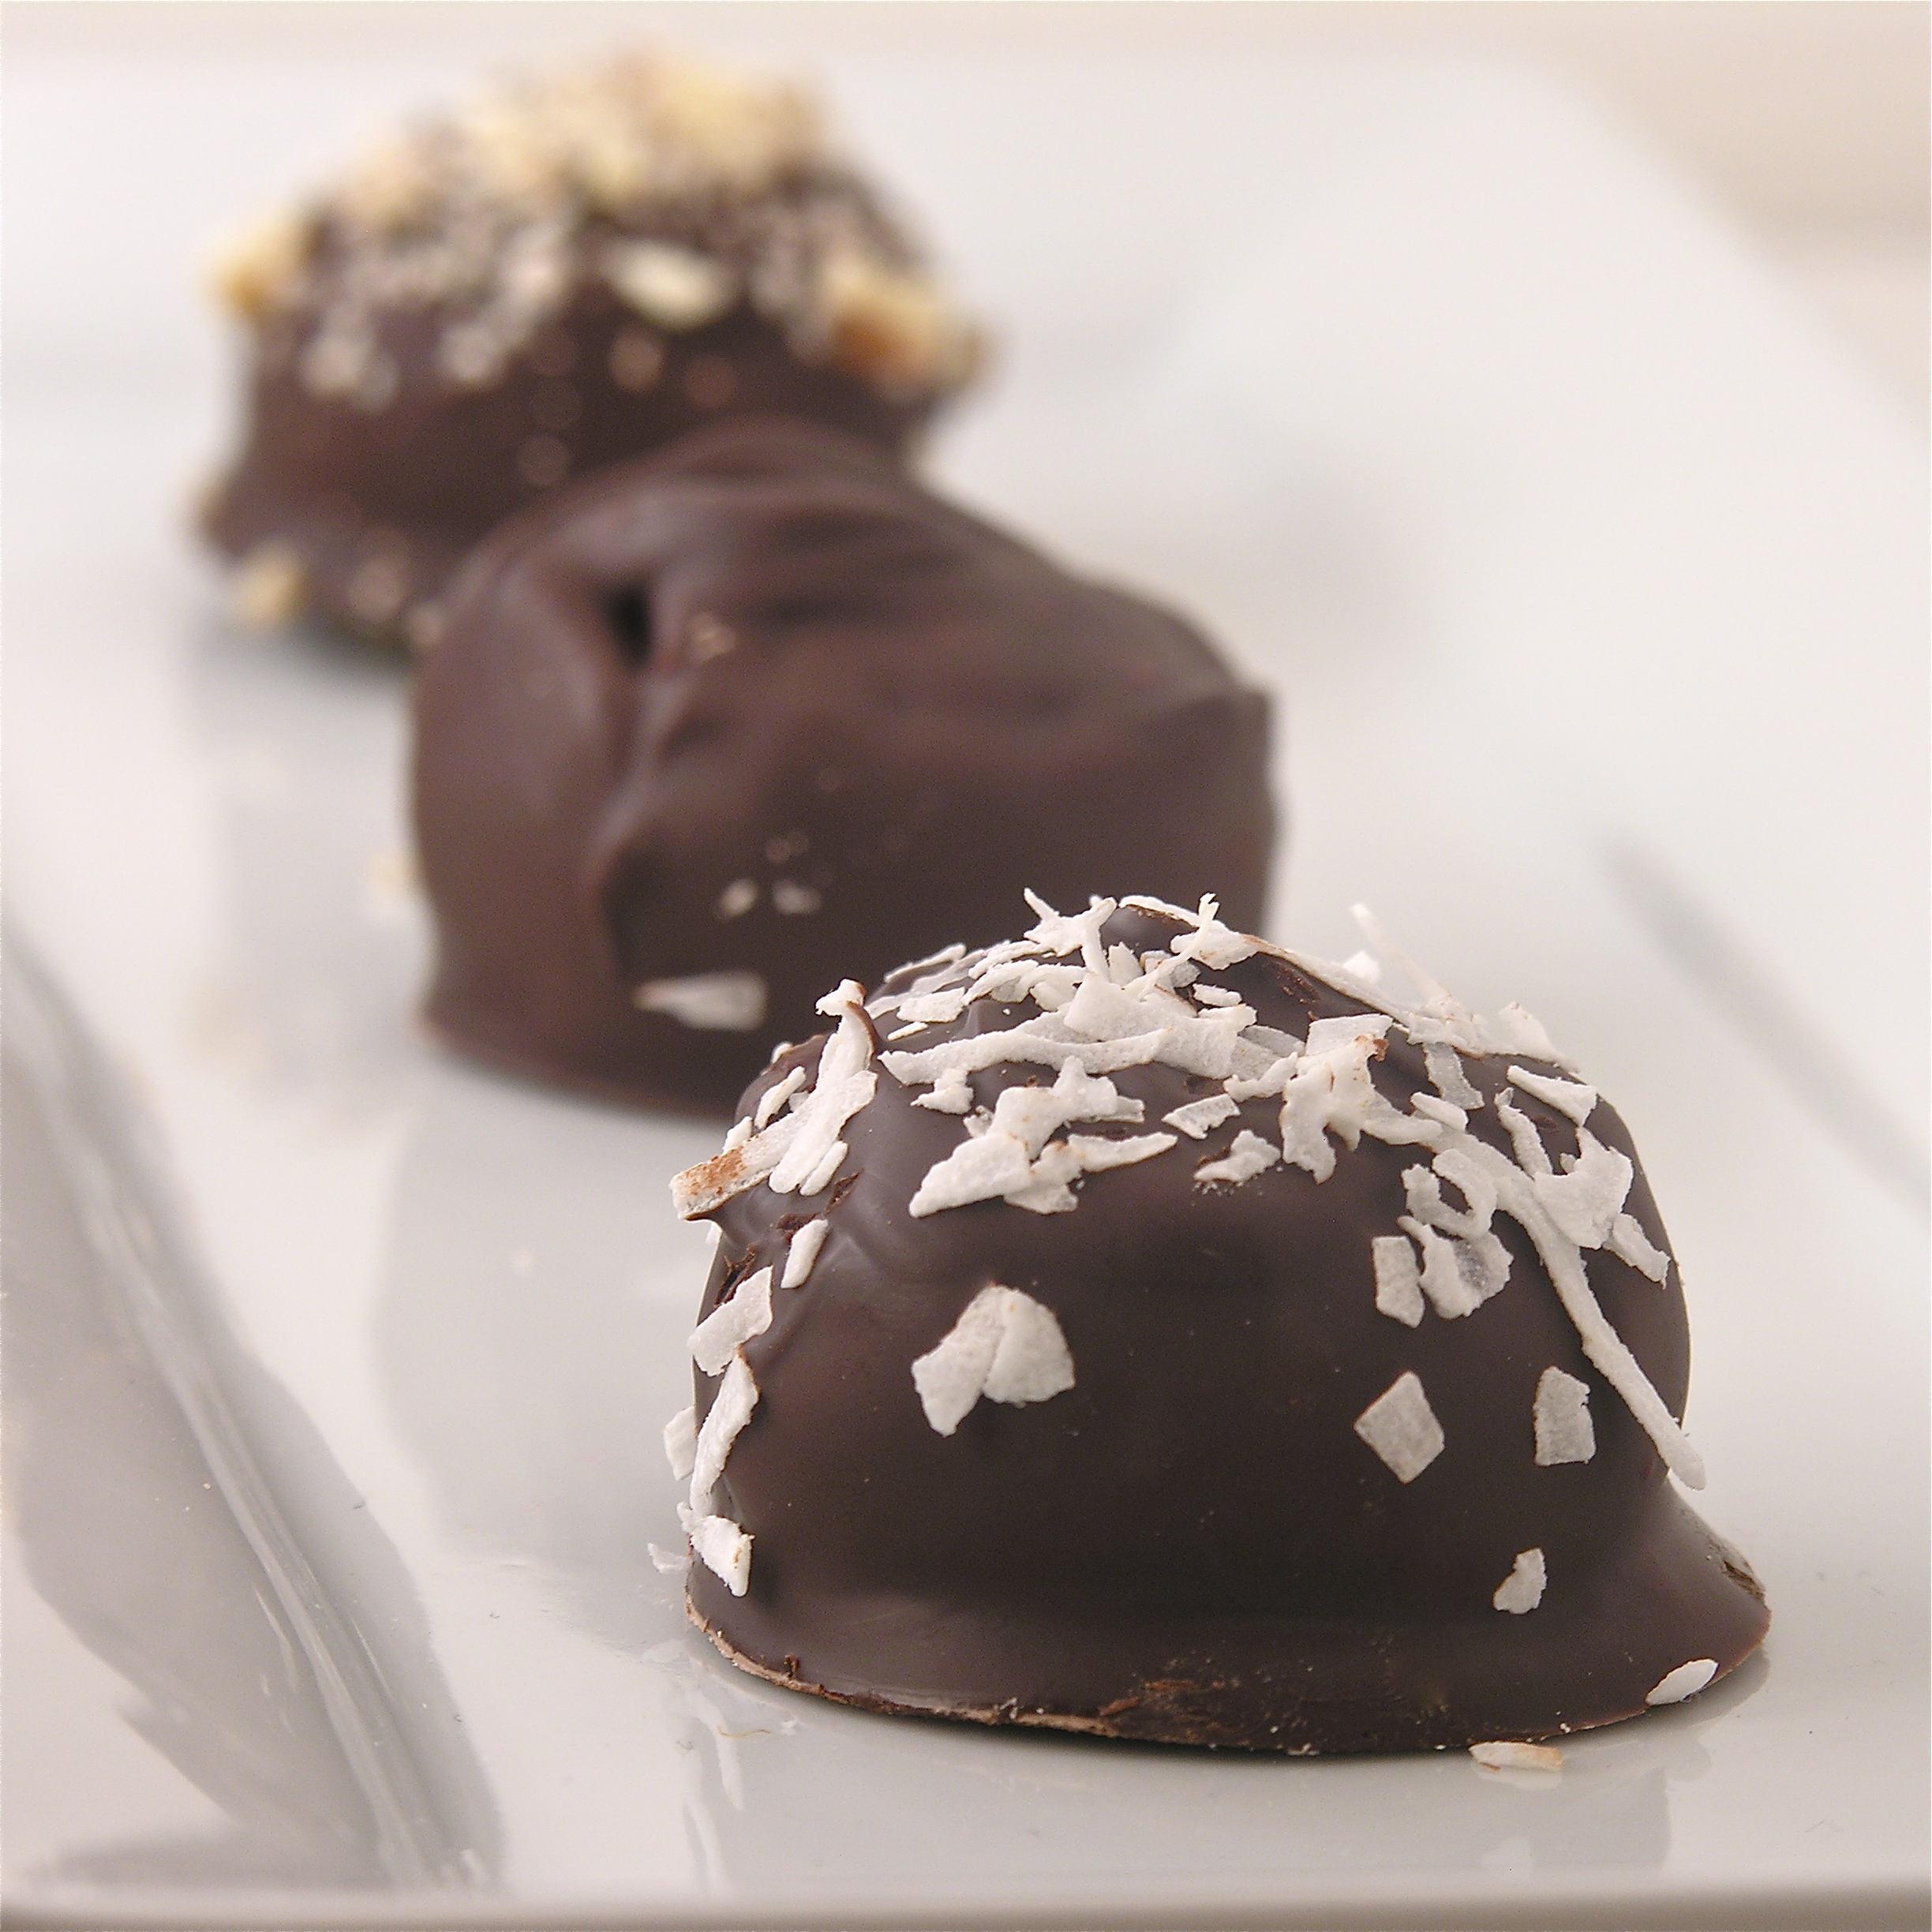
- Dip into melted chocolate and cool.
- You can mix nuts or coconut into the cream if you like, or just leave them plain.

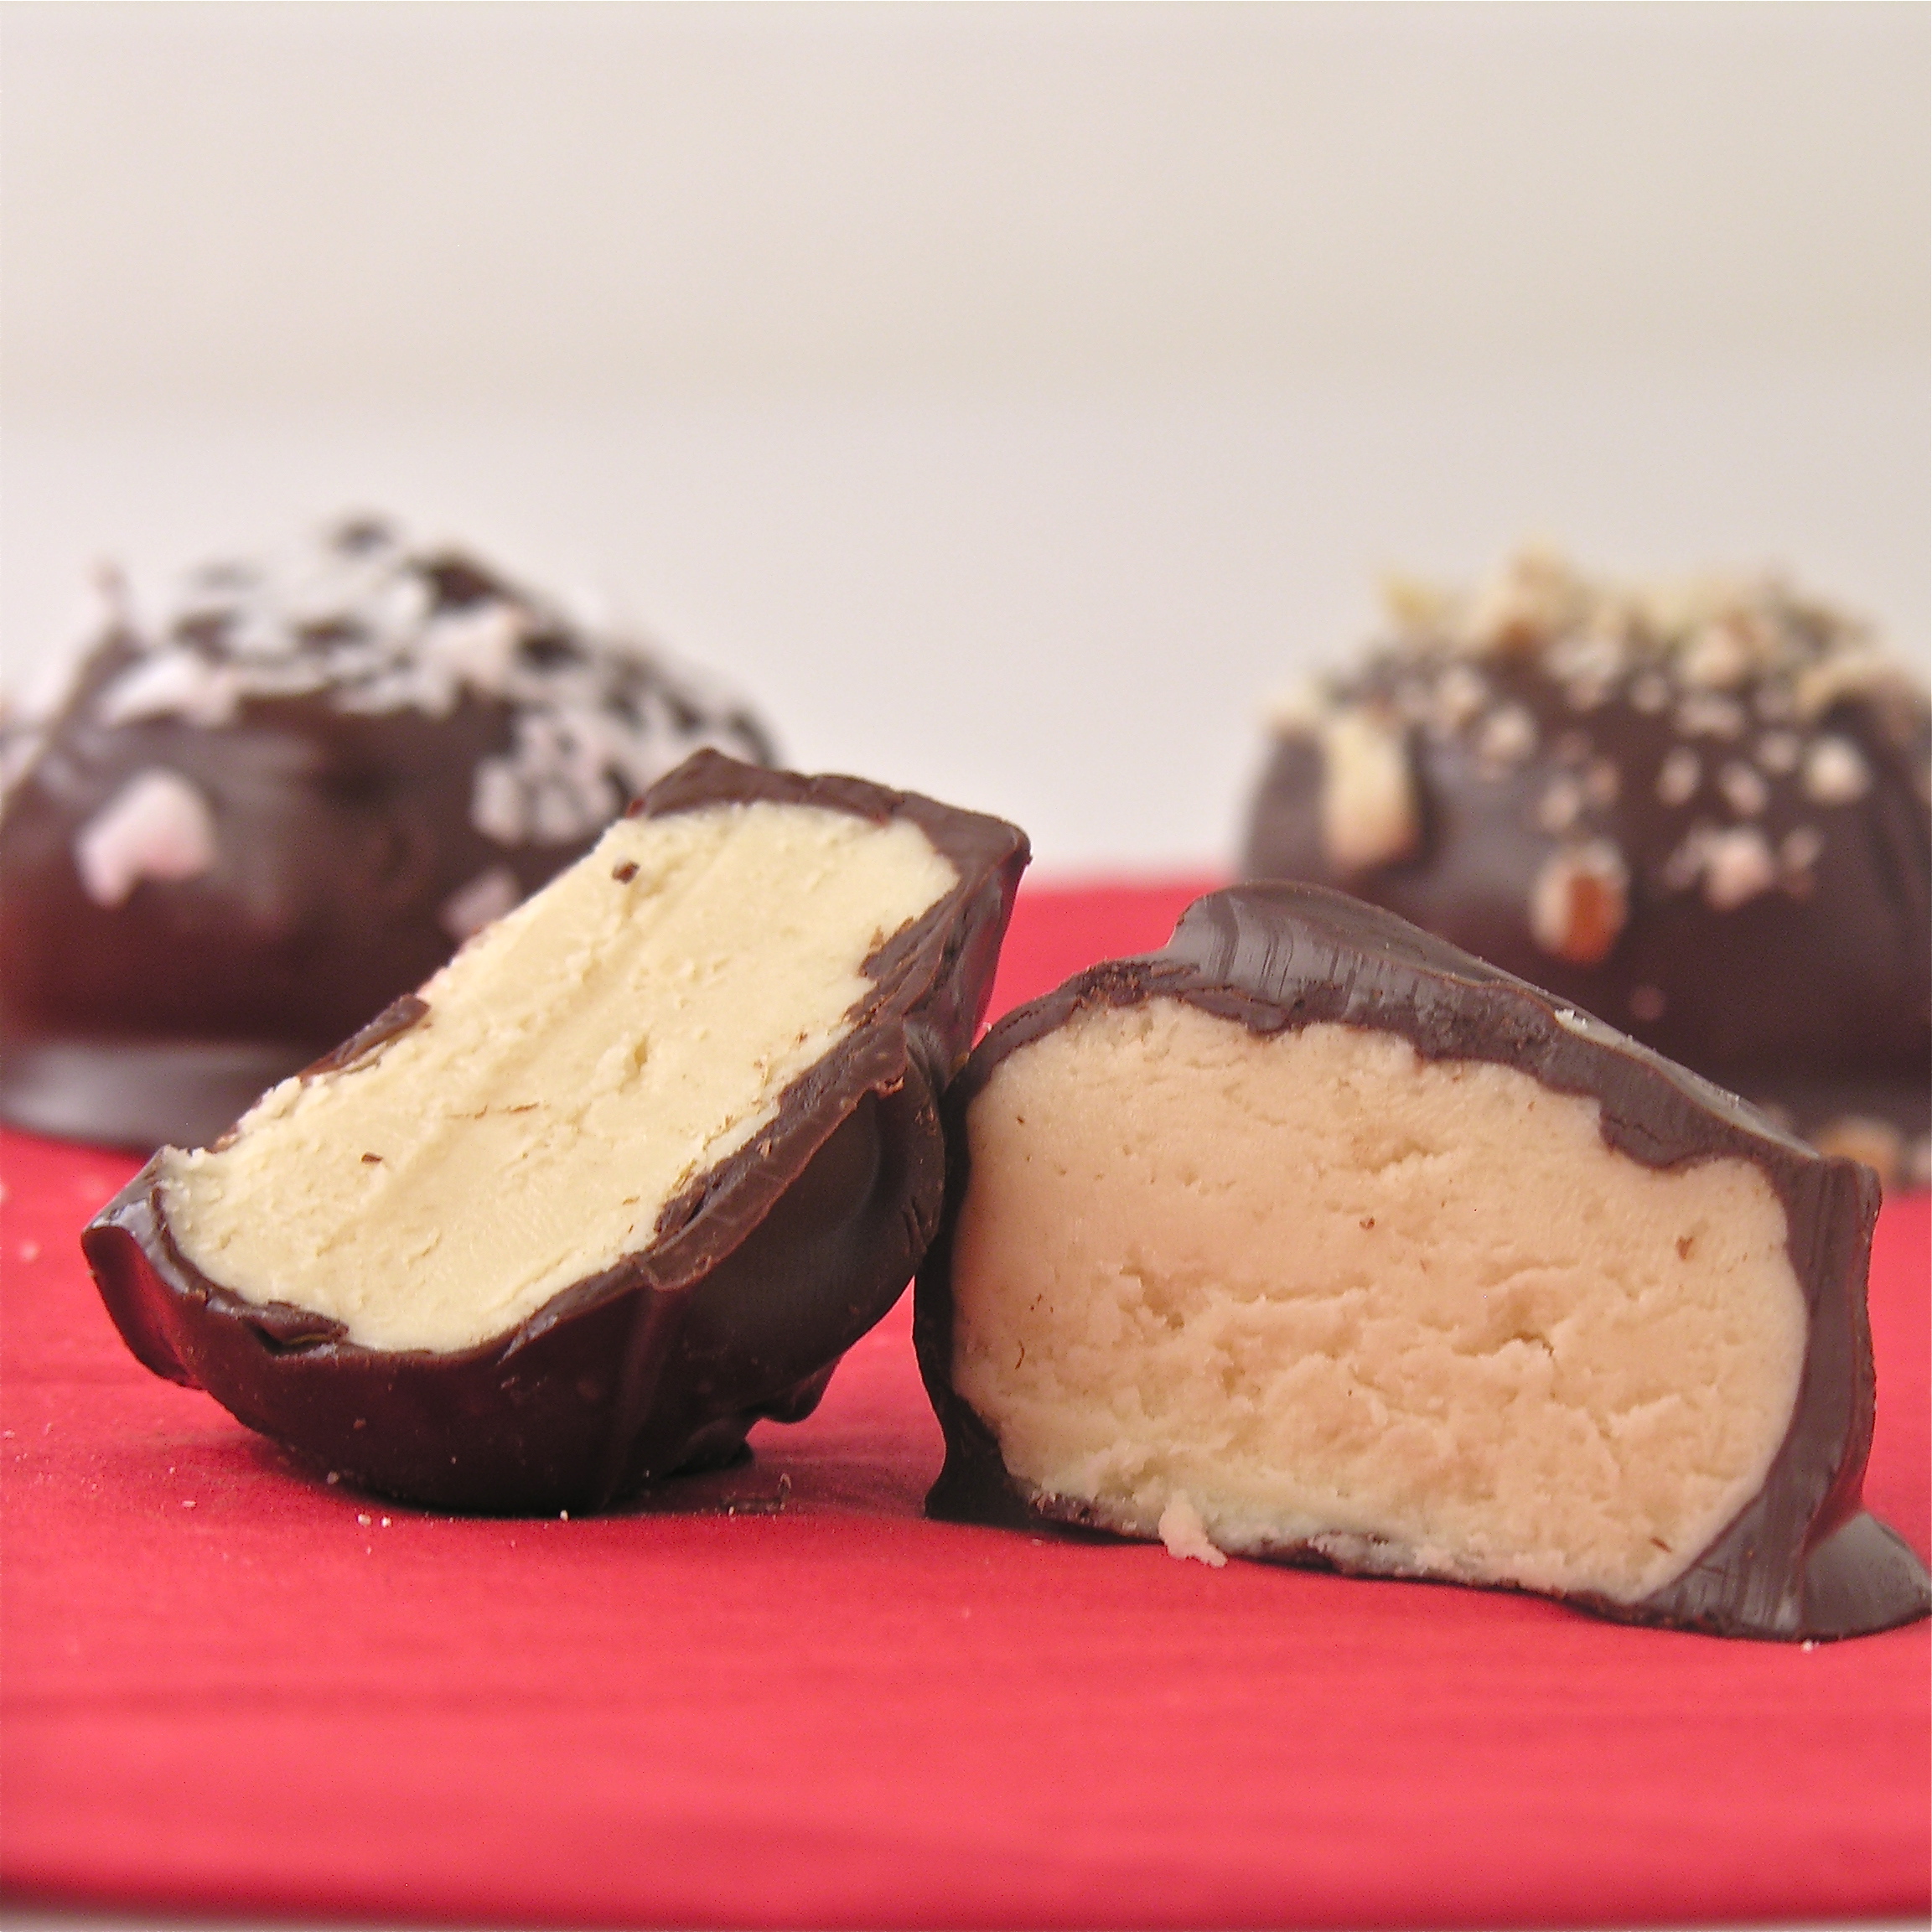 My thoughts: amazingly yummy. The cream is just like no other candy I’ve tried. It is worth every bit if the effort it took us to make these. I found myself cringing as people popped them whole into their mouths though…I kept thinking, “SAVOR those!!! You’ve no idea how hard I worked on them!!!” So hard, in fact that I took a two hour nap when I got home!

 Now for the recipe in an easy-to-read format:
INGREDIENTS:
- 4 c. sugar
- 2 c. heavy cream
- 1/8 t. cream of tartar
- 2 T light corn syrup
- 1 1/2 t. vanilla
- 1 t butter
- 1/4 t. salt
- Chocolate (of your choice) for dipping- we used dark tempered chocolate bits
DIRECTIONS:
- Put sugar, cream, cream of tartar and corn syrup to a large saucepan and mix well.
- Use a pastry brush and a little water to brush all of mixture down the sides of the pan to remove any sugar stuck to the sides.
- Cover pan and bring to a boil.
- When boiling, uncover and clip a candy thermometer to the side of the pan.
- Bring mixture to 240F degrees
- (While you are waiting for this to come to temp, butter the bottom and sides of a shallow glass or ceramic dish.)
- Remove from stove and add butter and vanilla– do not stir!
- Pour mixture into buttered dish (don’t use plastic!) and allow this to cool completely (we put it on the back porch where it was cool and this took 2 hours)
- Spoon cooled mixture onto clean countertop (it will be like a very sticky caramel)
- Work with hands until firm and creamy.
- Place this ball of filling in a dish, cover with a damp towel and refrigerate for 2 days.
- Bring cream filling to room temp and roll into balls.
- Dip into melted chocolate and cool.
- You can mix nuts or coconut into the cream if you like, or just leave them plain.

A huge “thank-you” to Gail for spending so much time teaching me her family recipe! We had such a fun day together cooking AND trying lime phosphates while we waited for candy to cool!

Enjoy!!!!! ~r
Other (easier!) Christmas recipe ideas from Easybaked~ Click on the image to be taken to the recipe: