Tag Archives: food

Cookie Dough Frosted Cupcakes

Cookie Dough Cupcakes
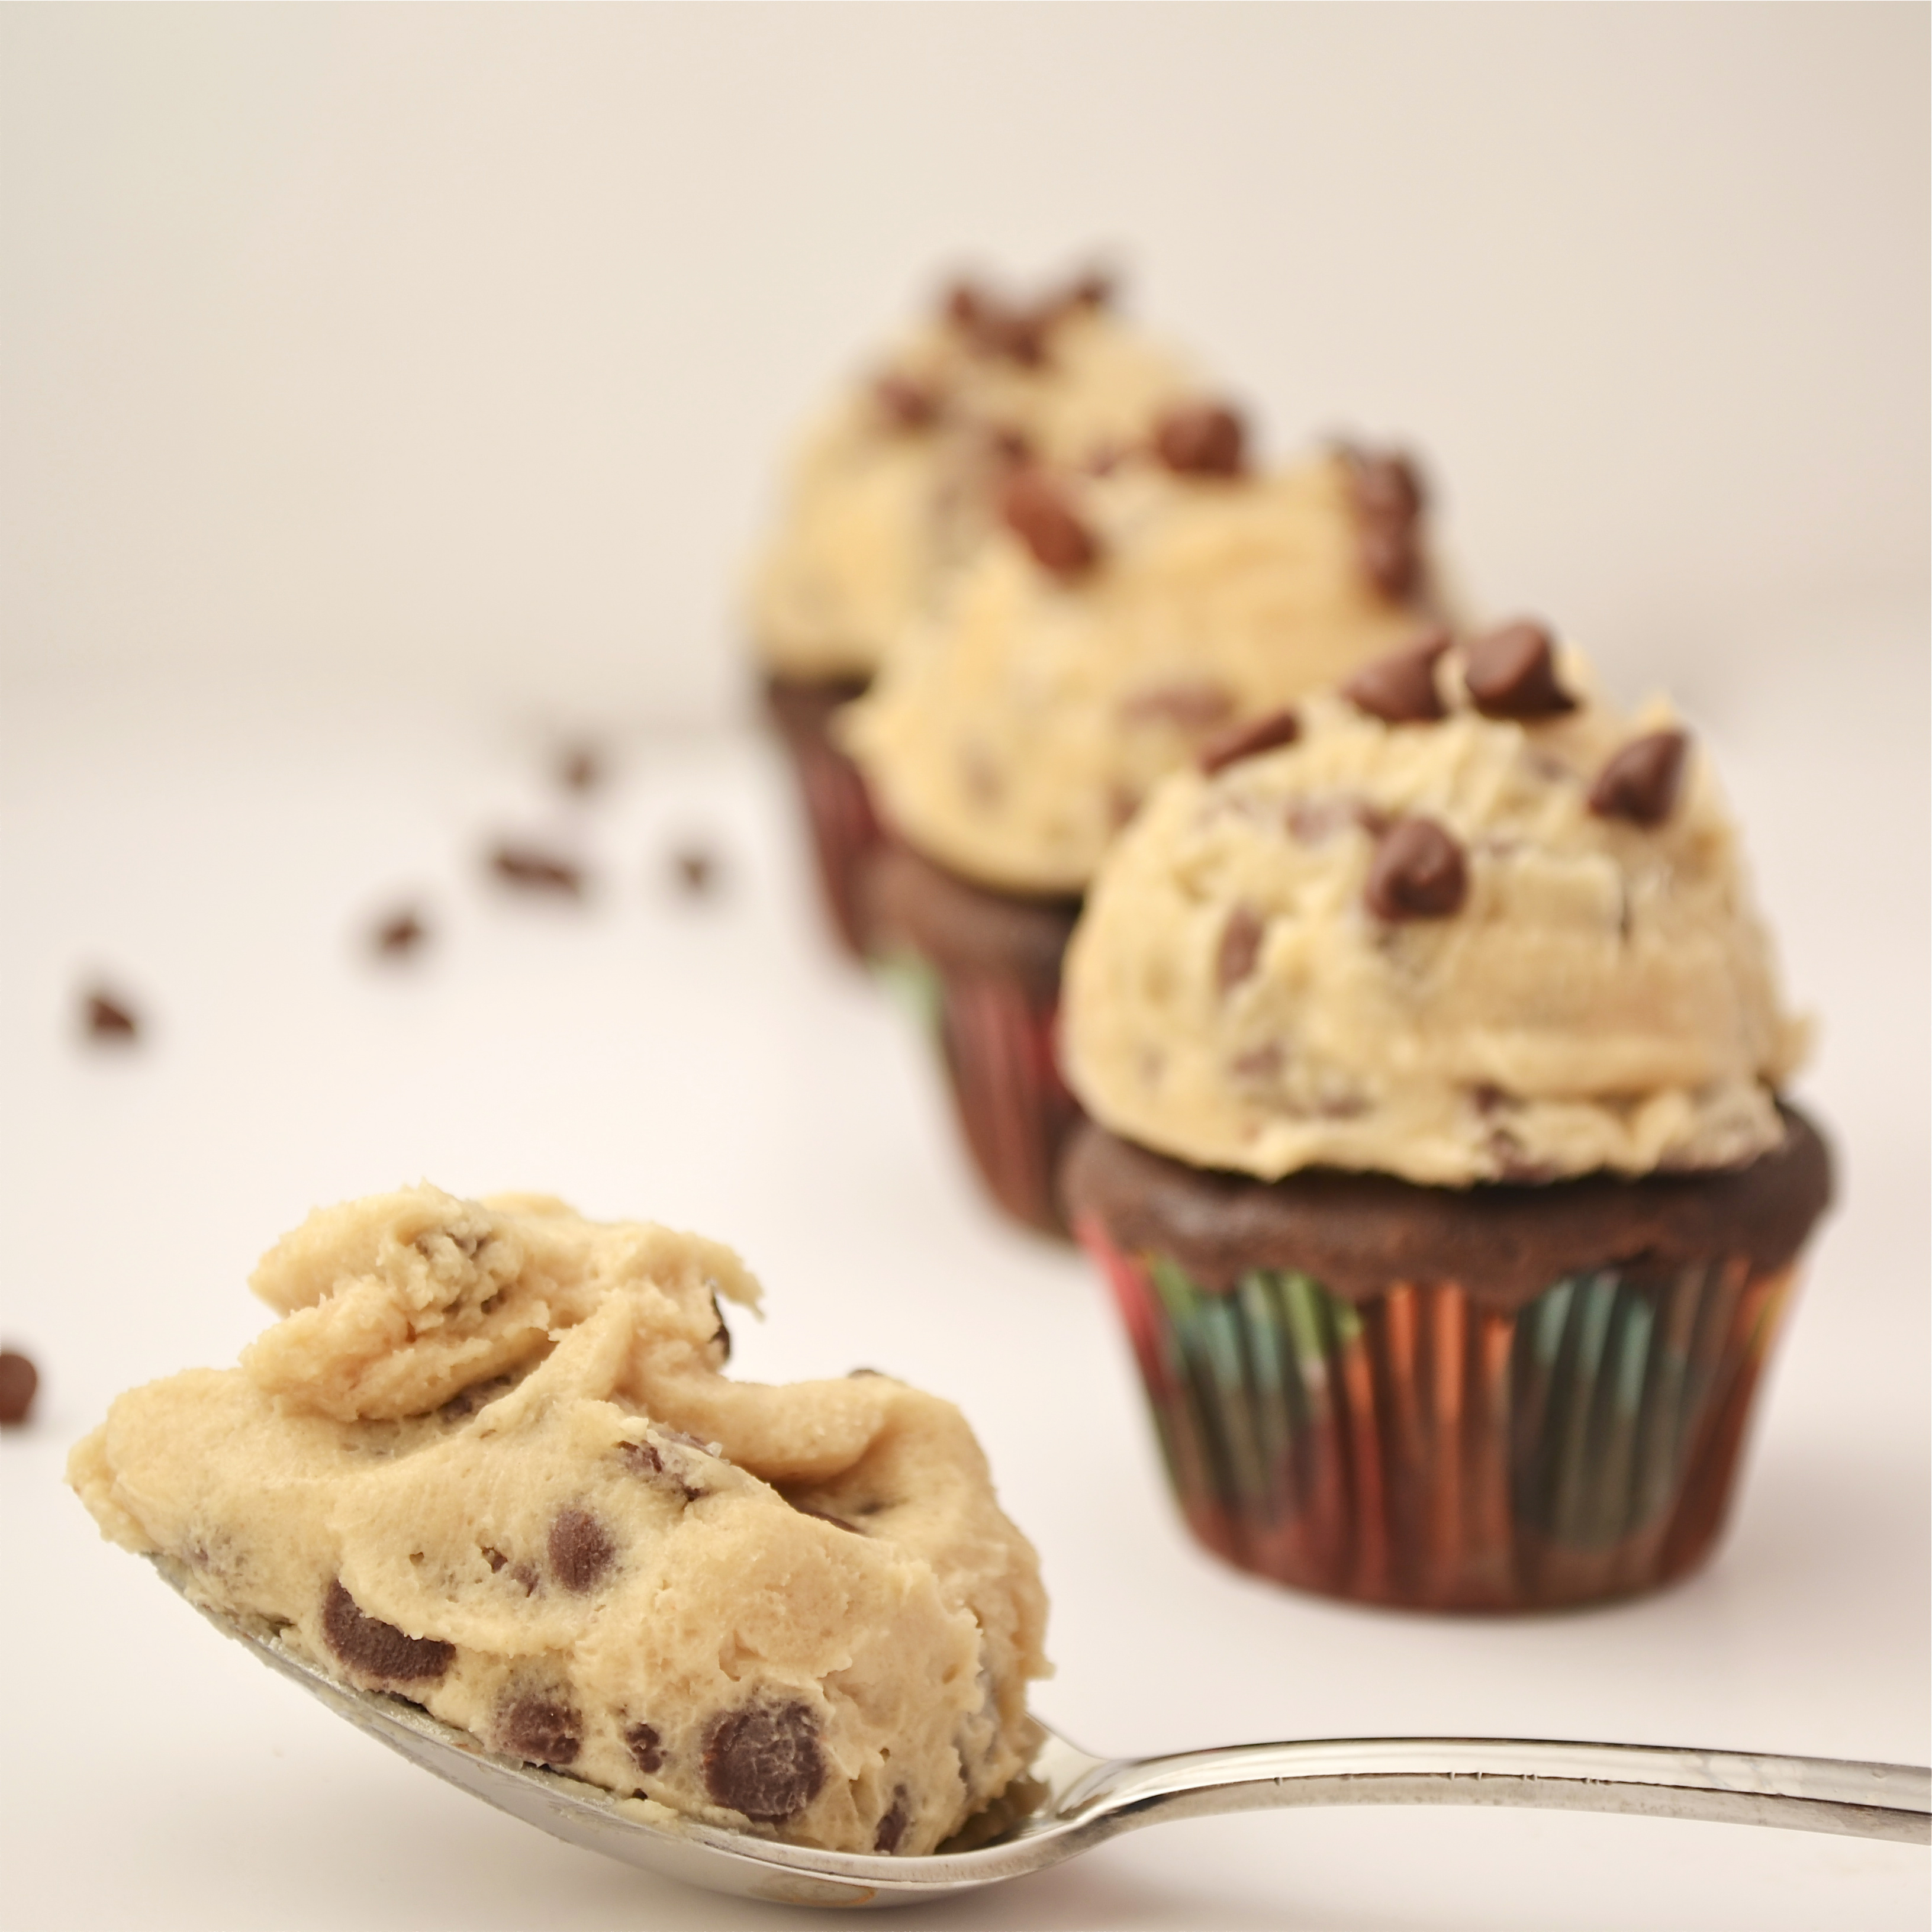
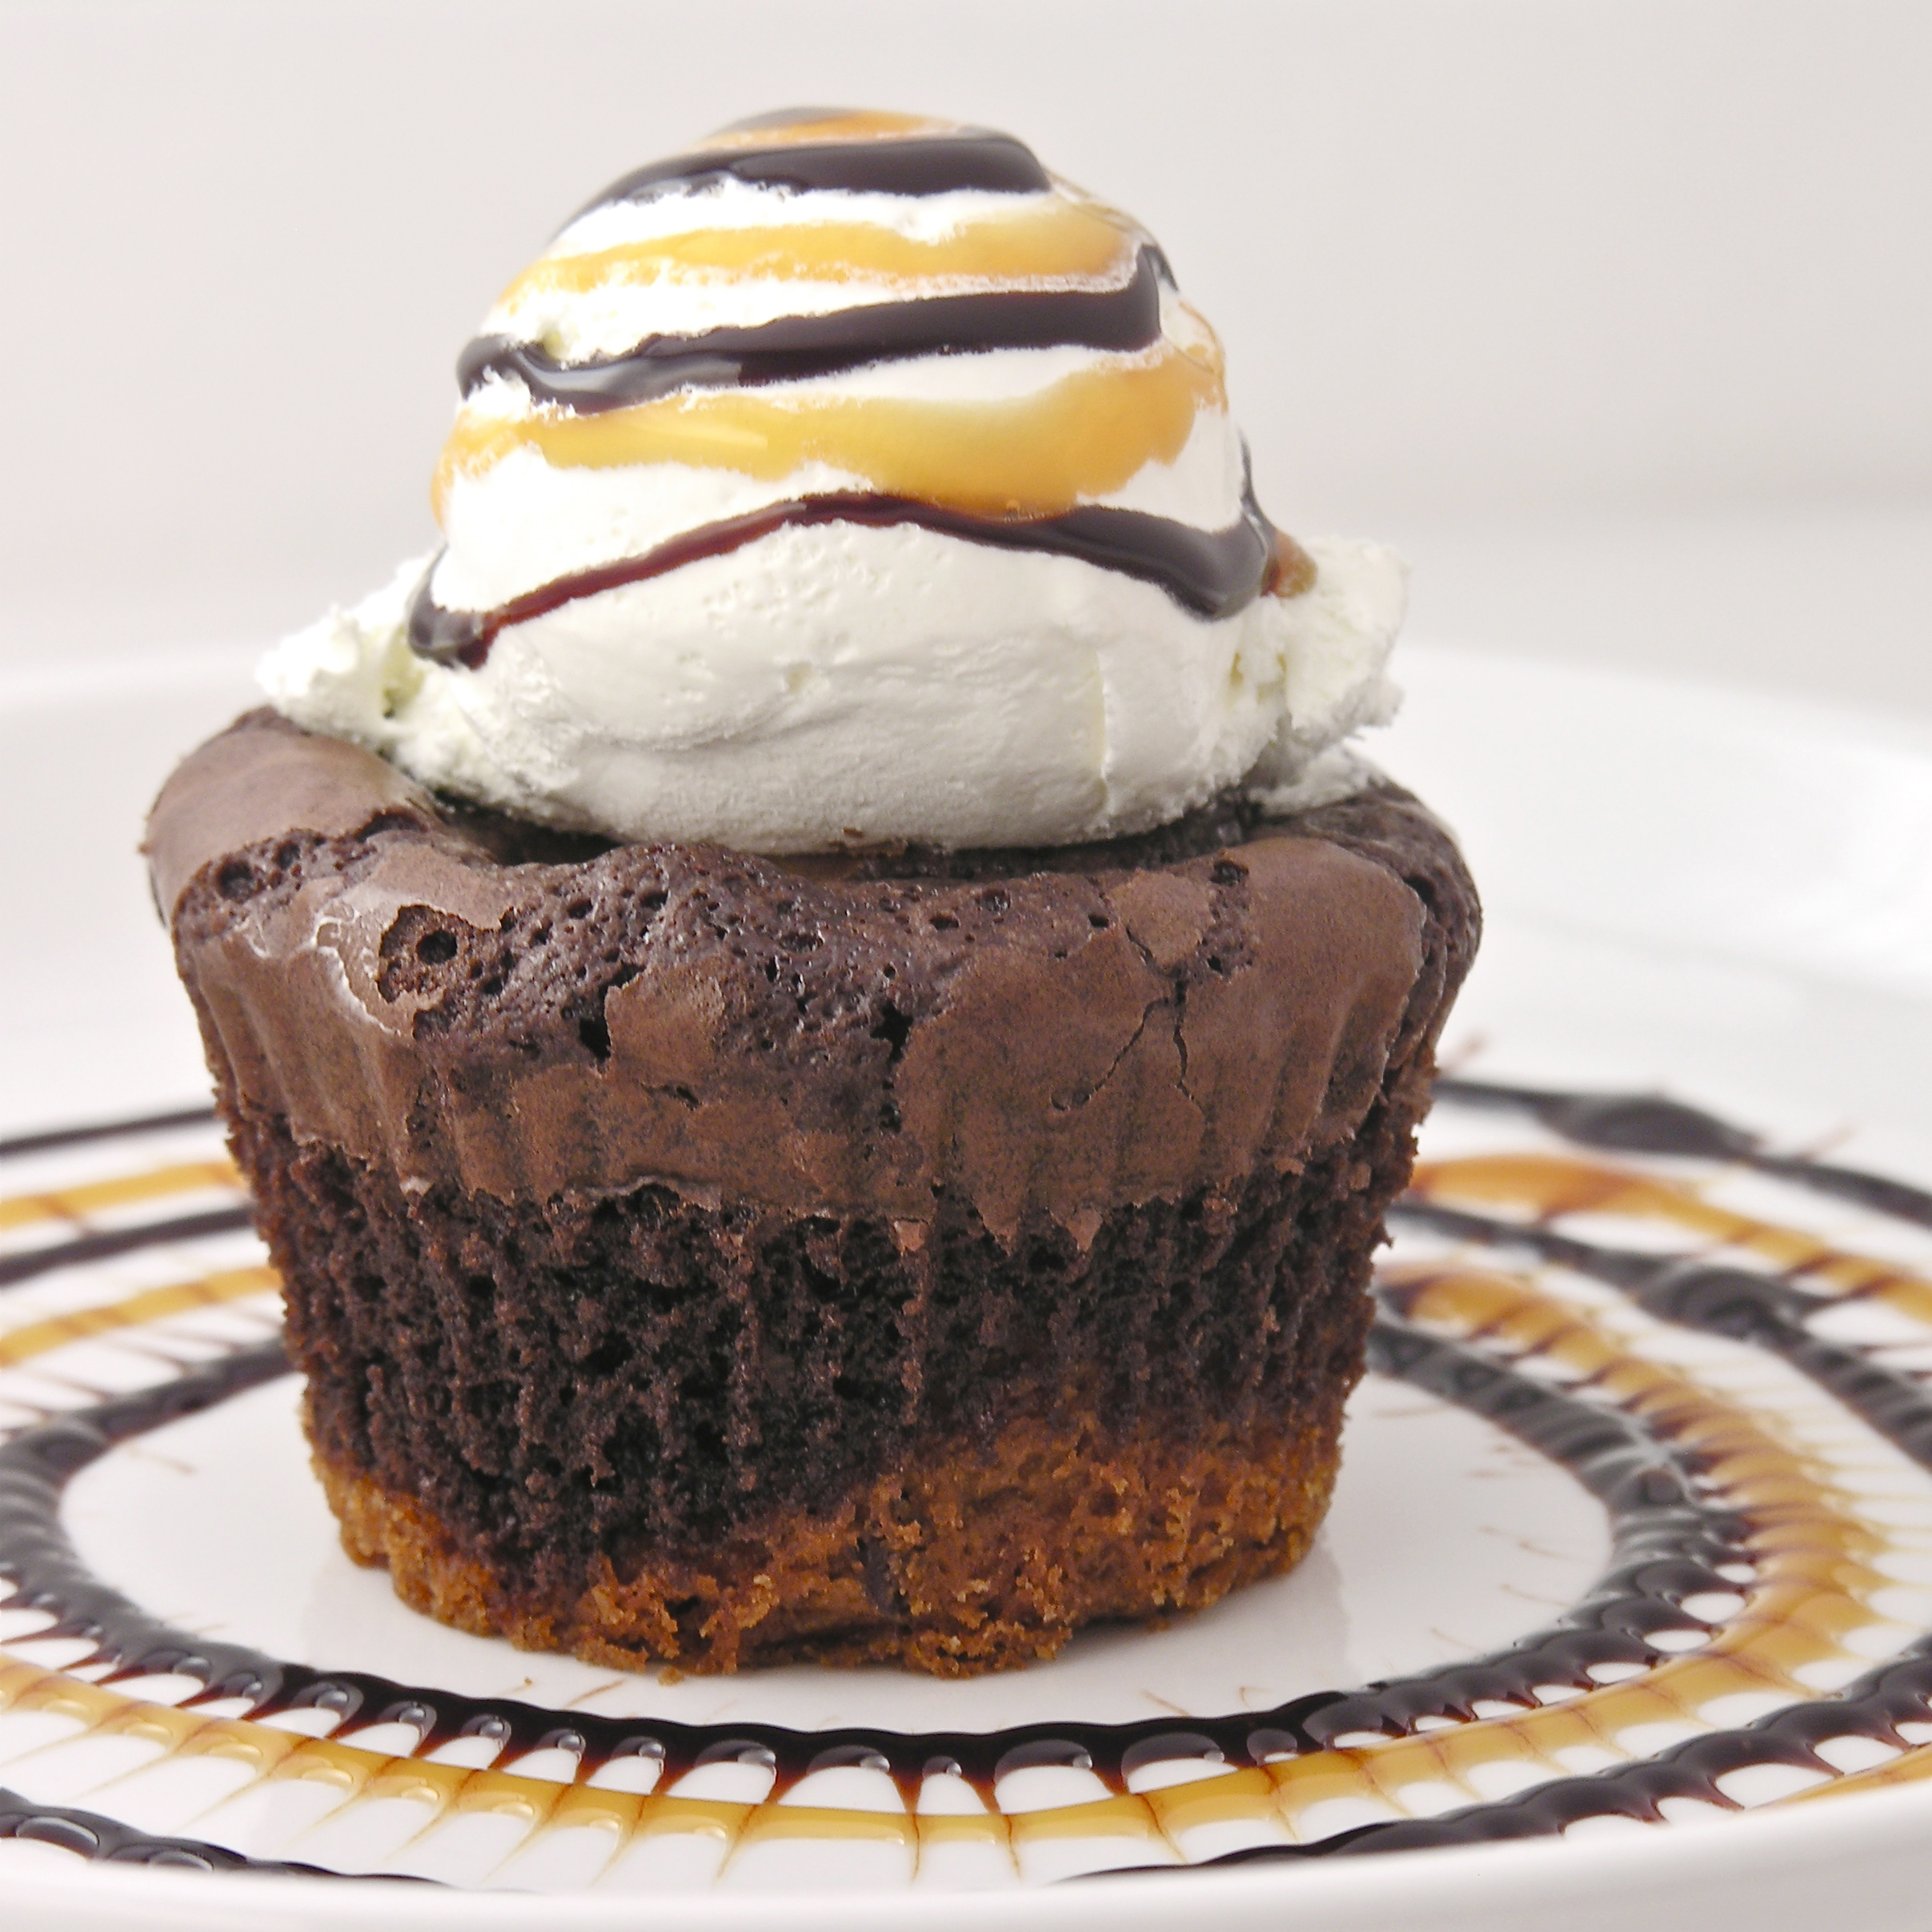
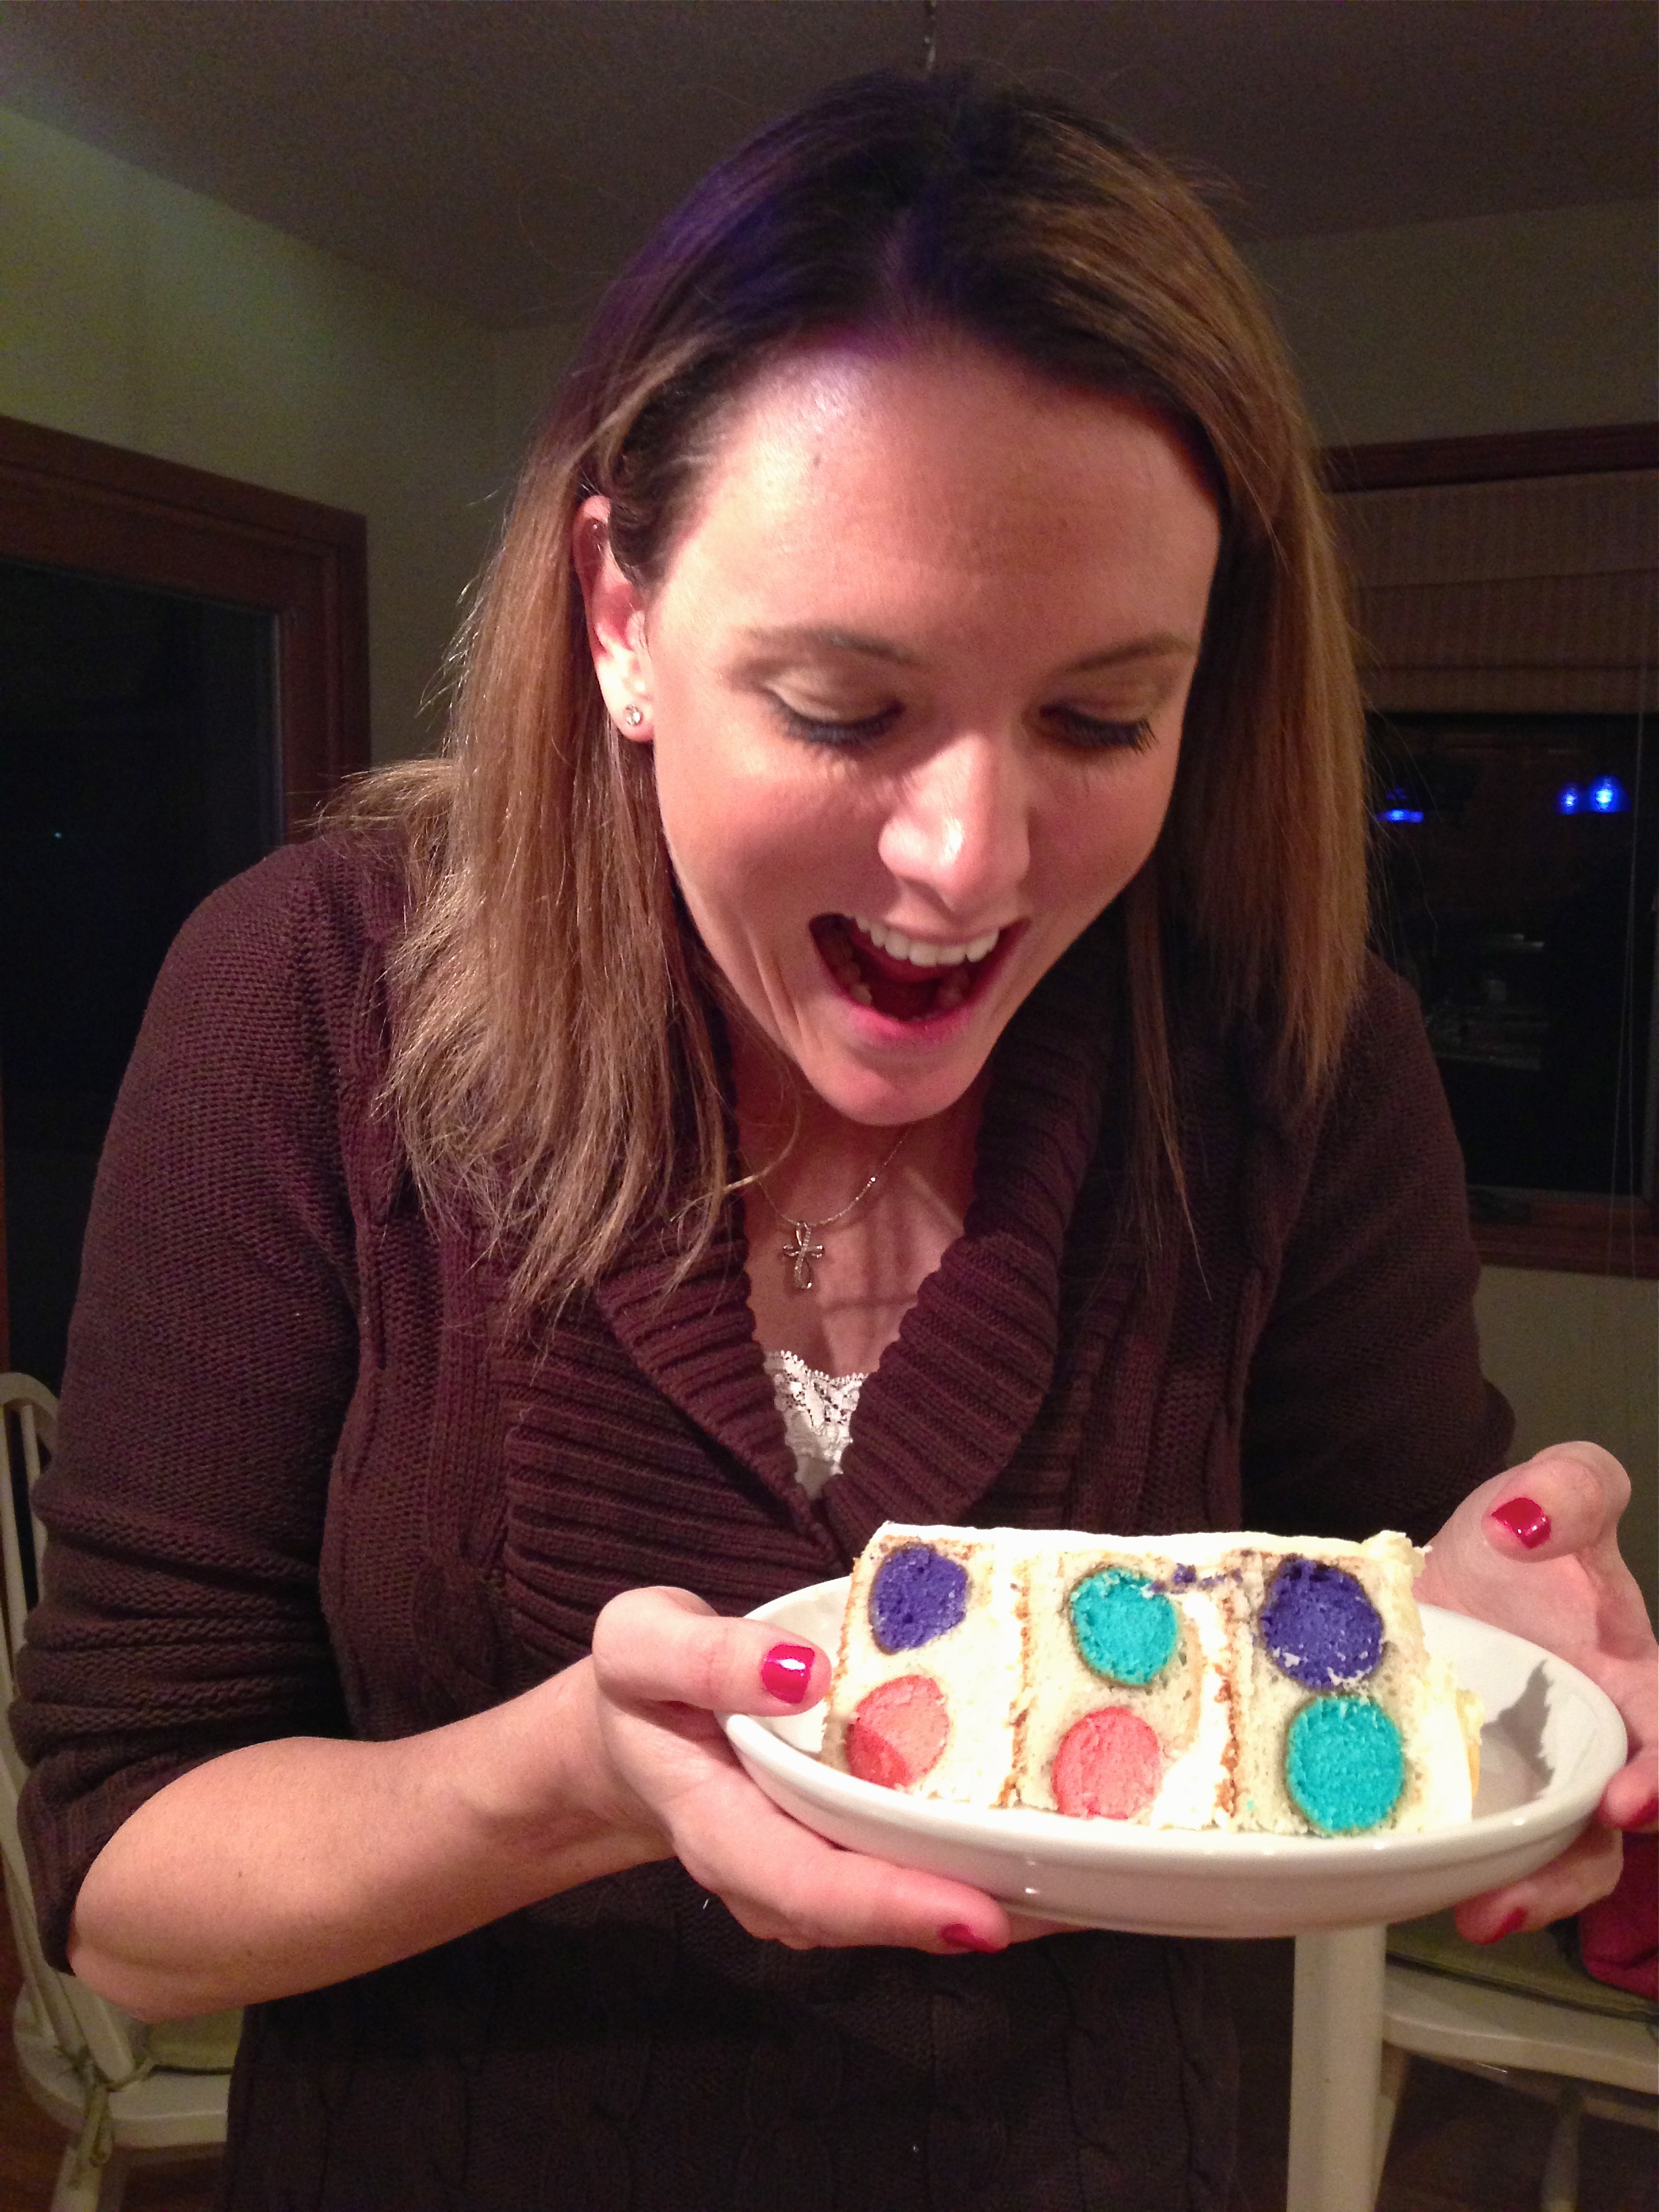
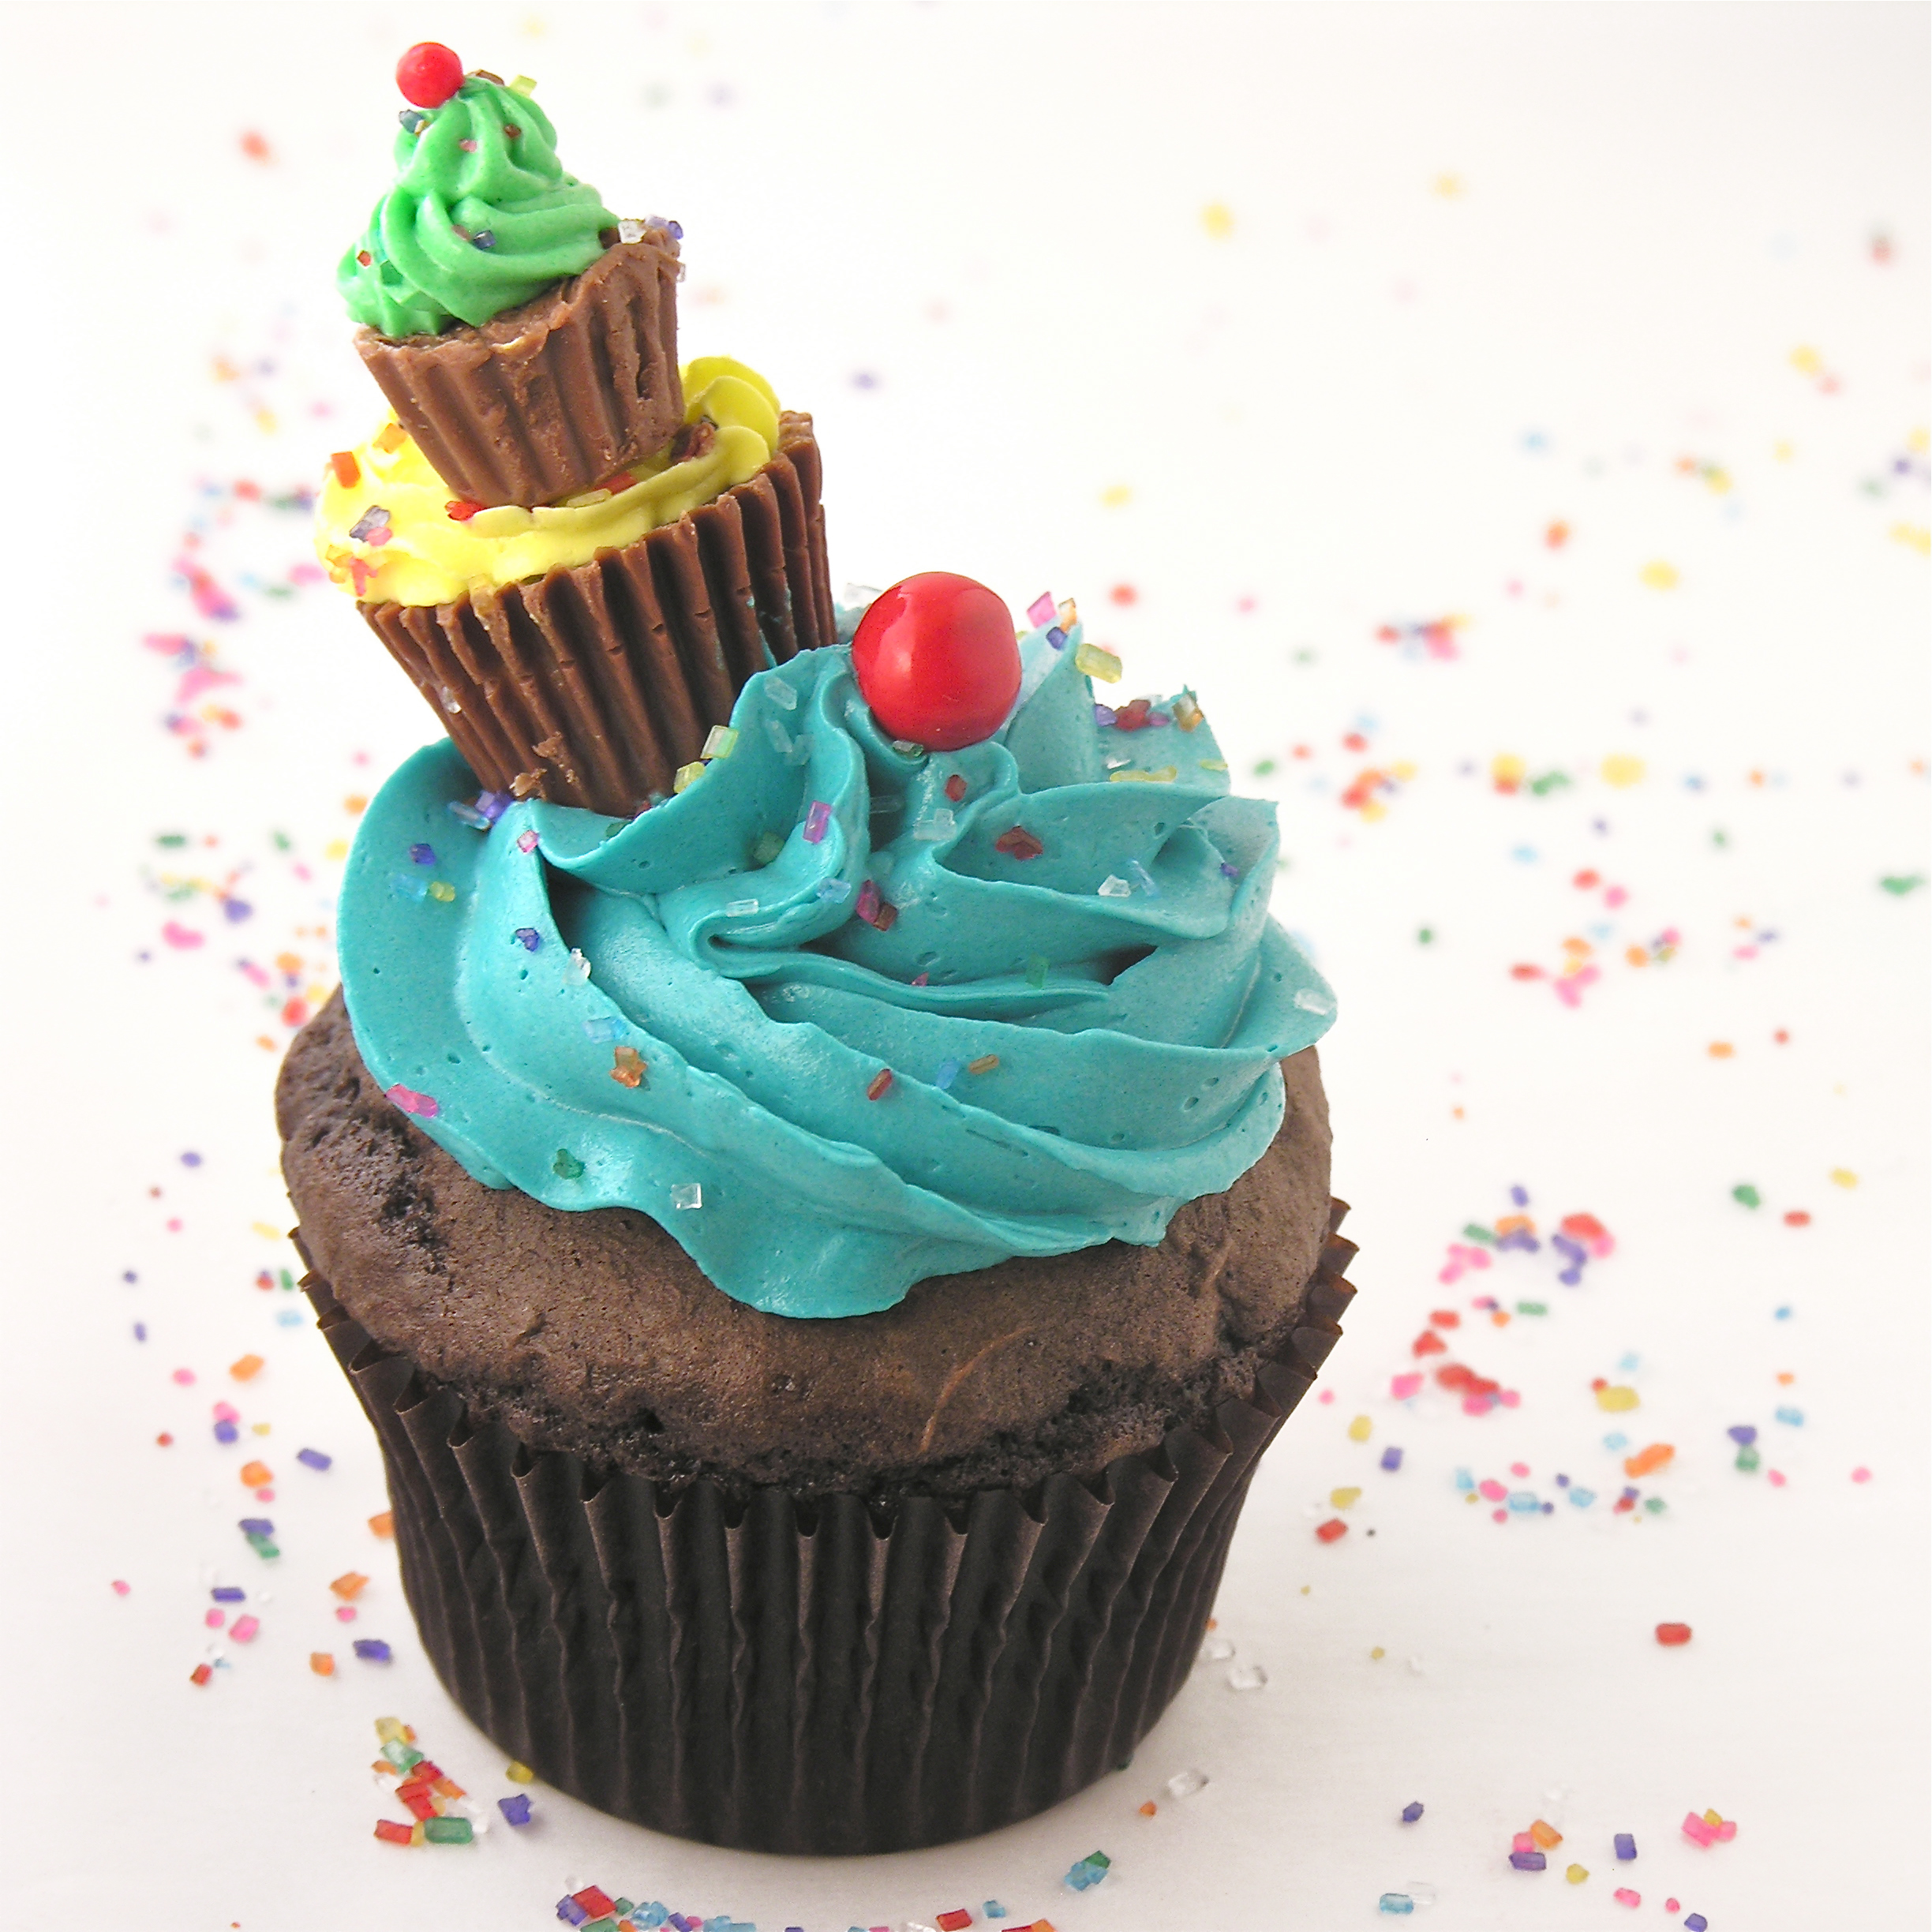
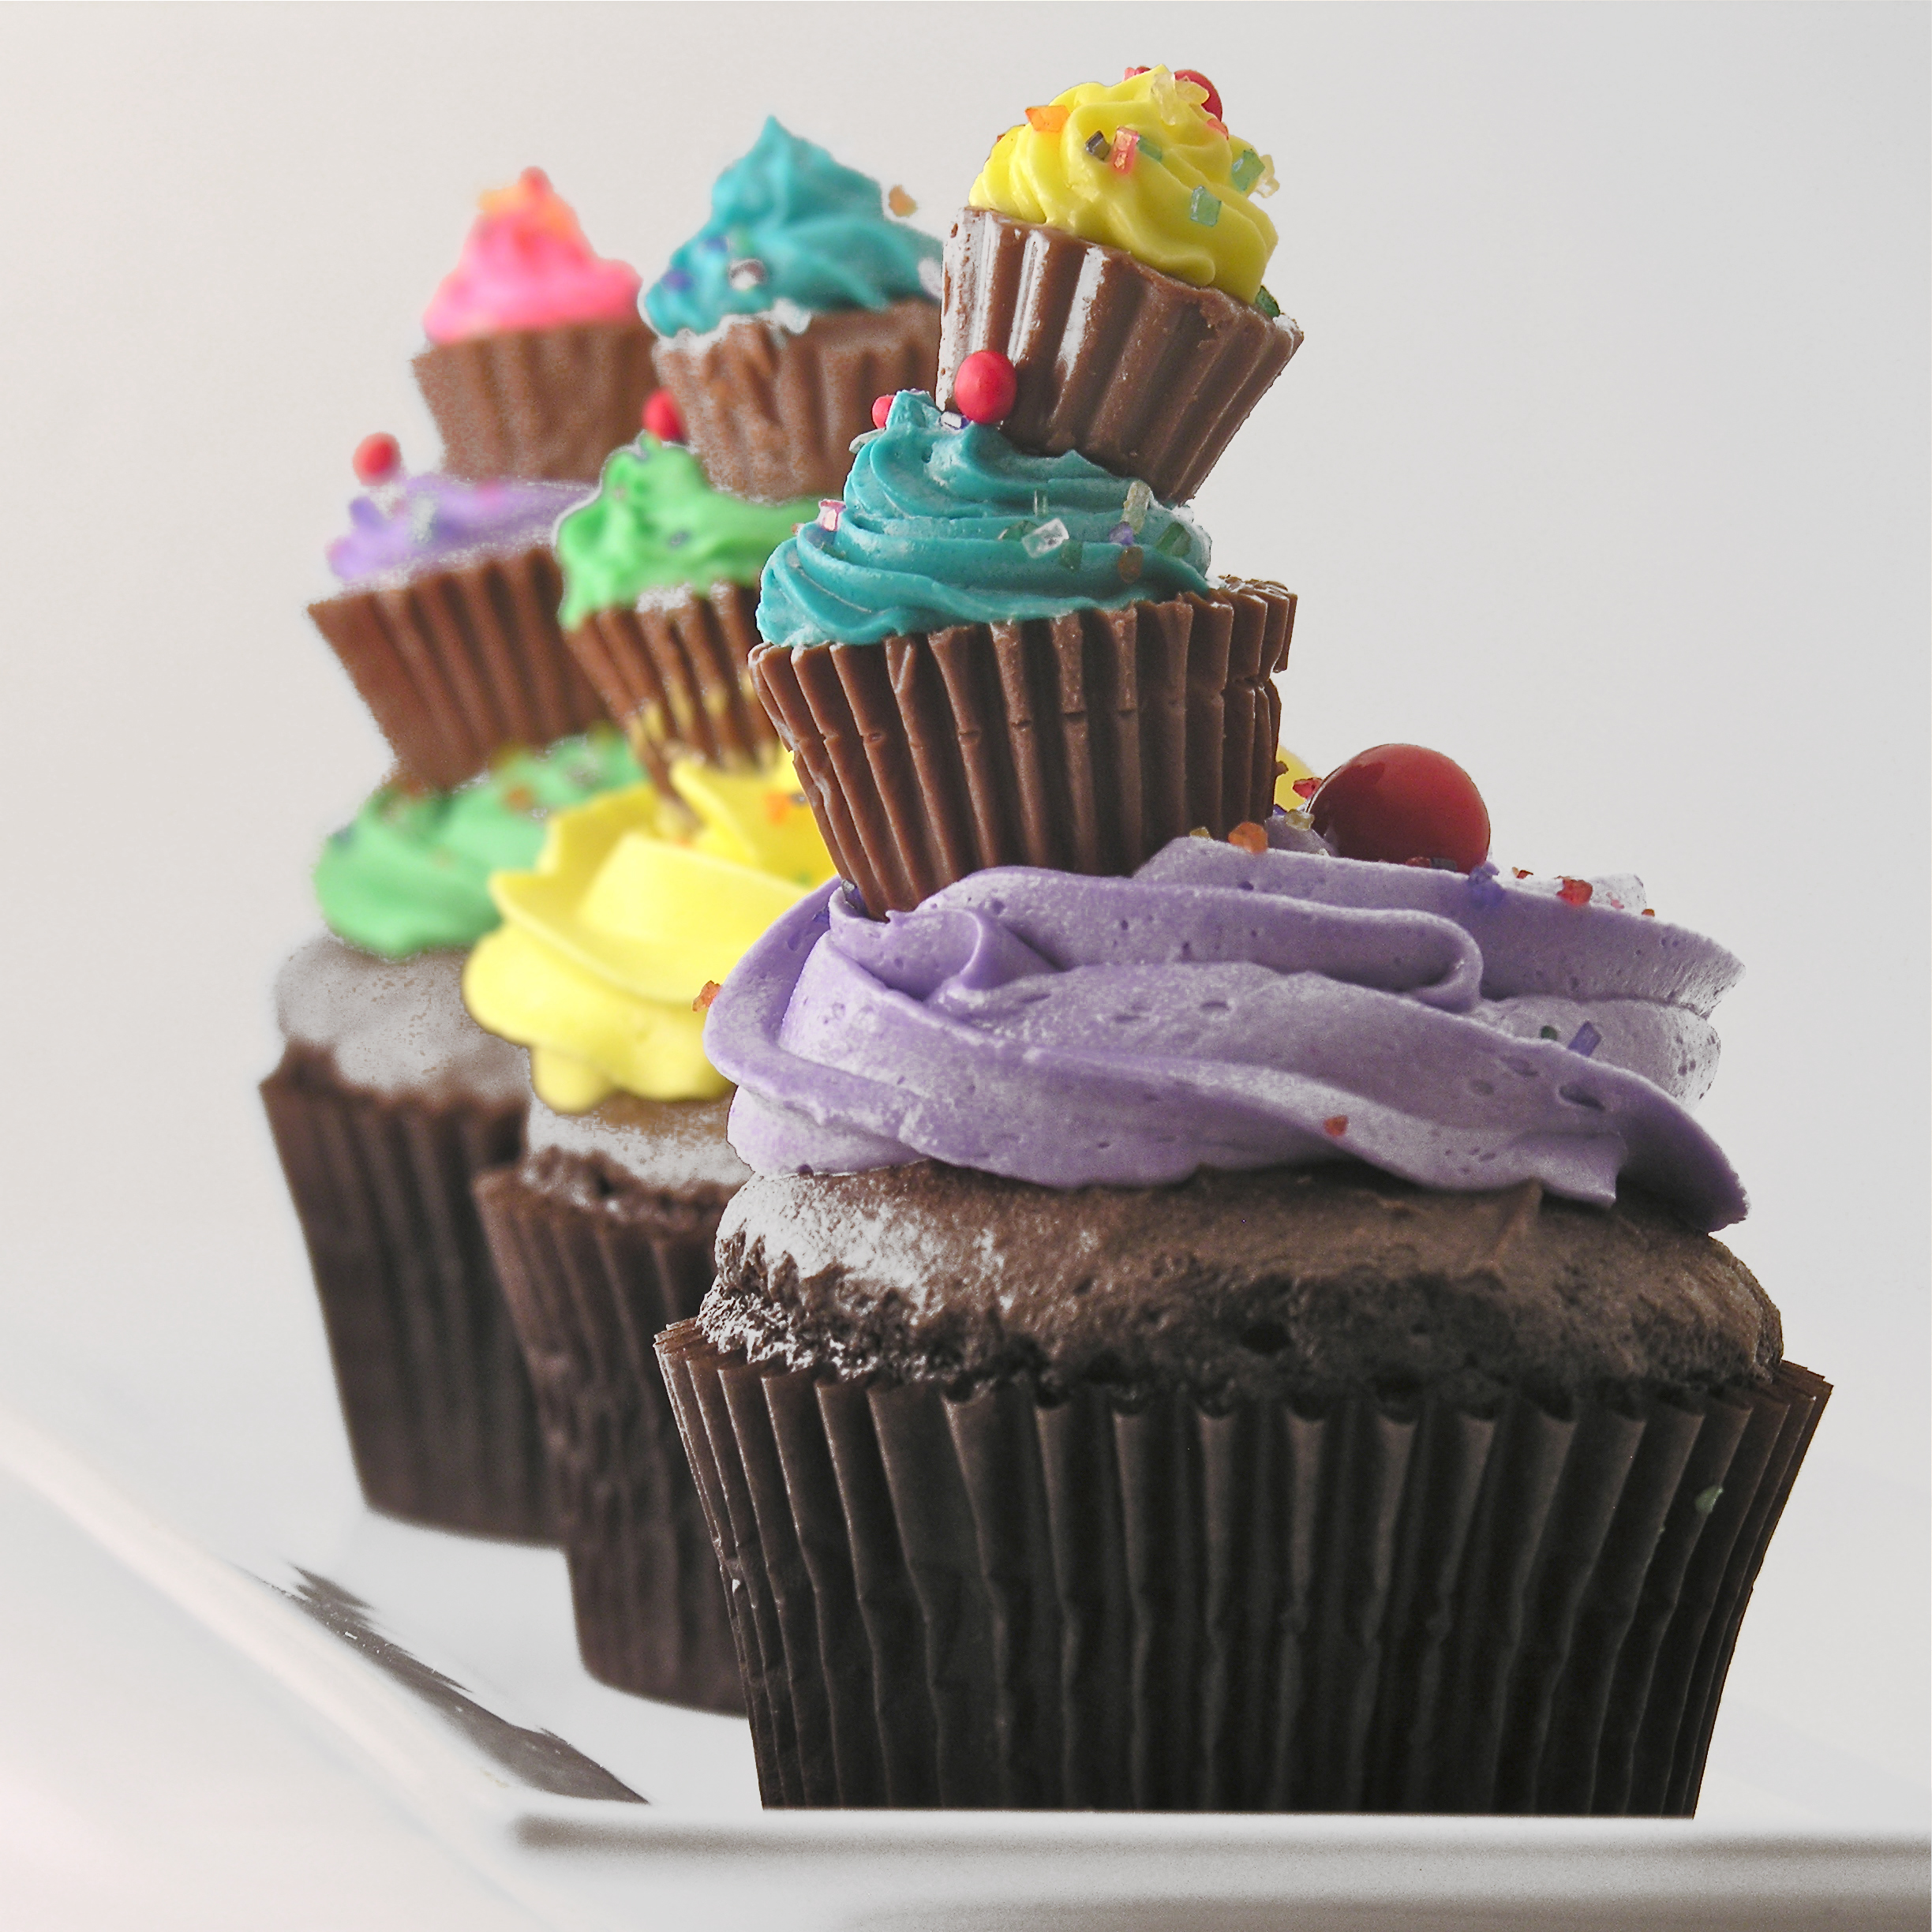
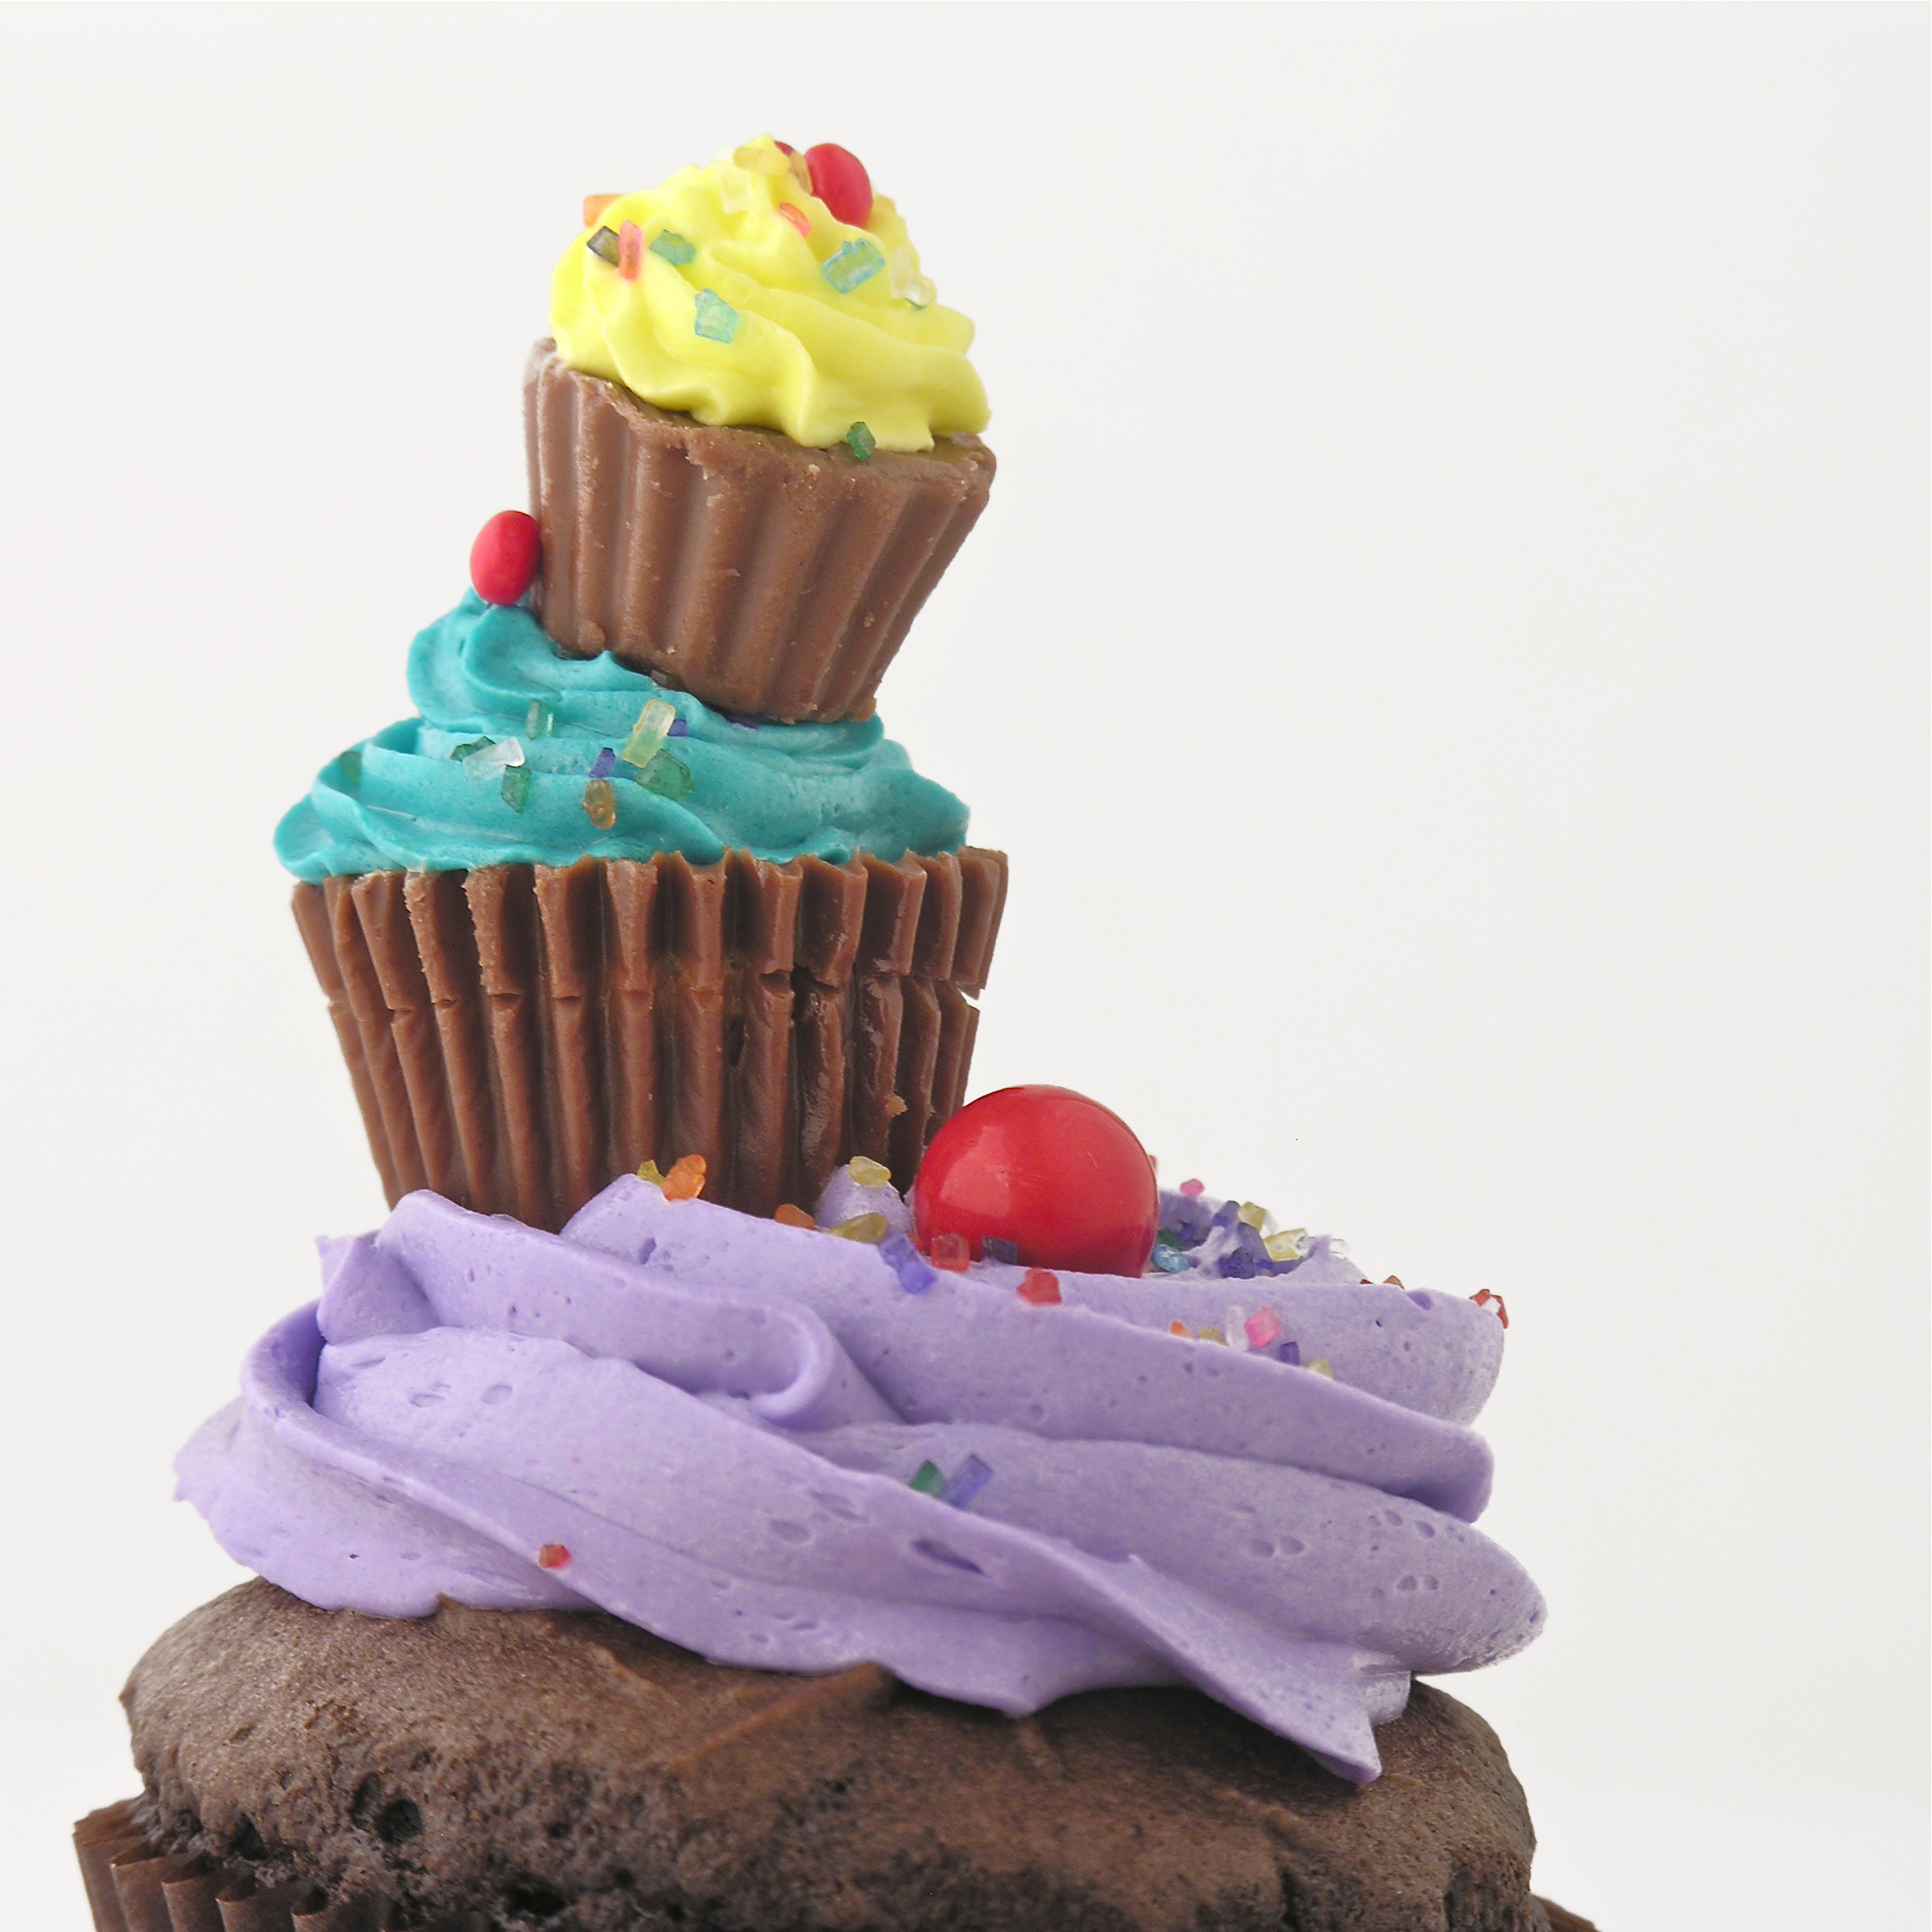
Chocolate cupcakes topped with rich chocolate chip cookie dough frosting….my new favorite thing!

I love cookie dough.  When I was a little girl we always got little nibbles of it when mom was baking.  Now, of course, we know that those raw eggs could kill us…but I think that cookie dough might be worth that risk!!  

The best part of this recipe is that the frosting truly tastes like cookie dough (a light creamy cookie dough) and there are NO eggs in it.  So you could just eat it straight out of the bowl and forget the cupcakes….not that I would do that….ever….well…maybe just a little….

I made my cupcakes into minis- simply because I wanted to put a “scoop” of frosting on top and a full-size scoop would be a HUGE amount of frosting…I don’t have a problem with that, but I think most people might 😉
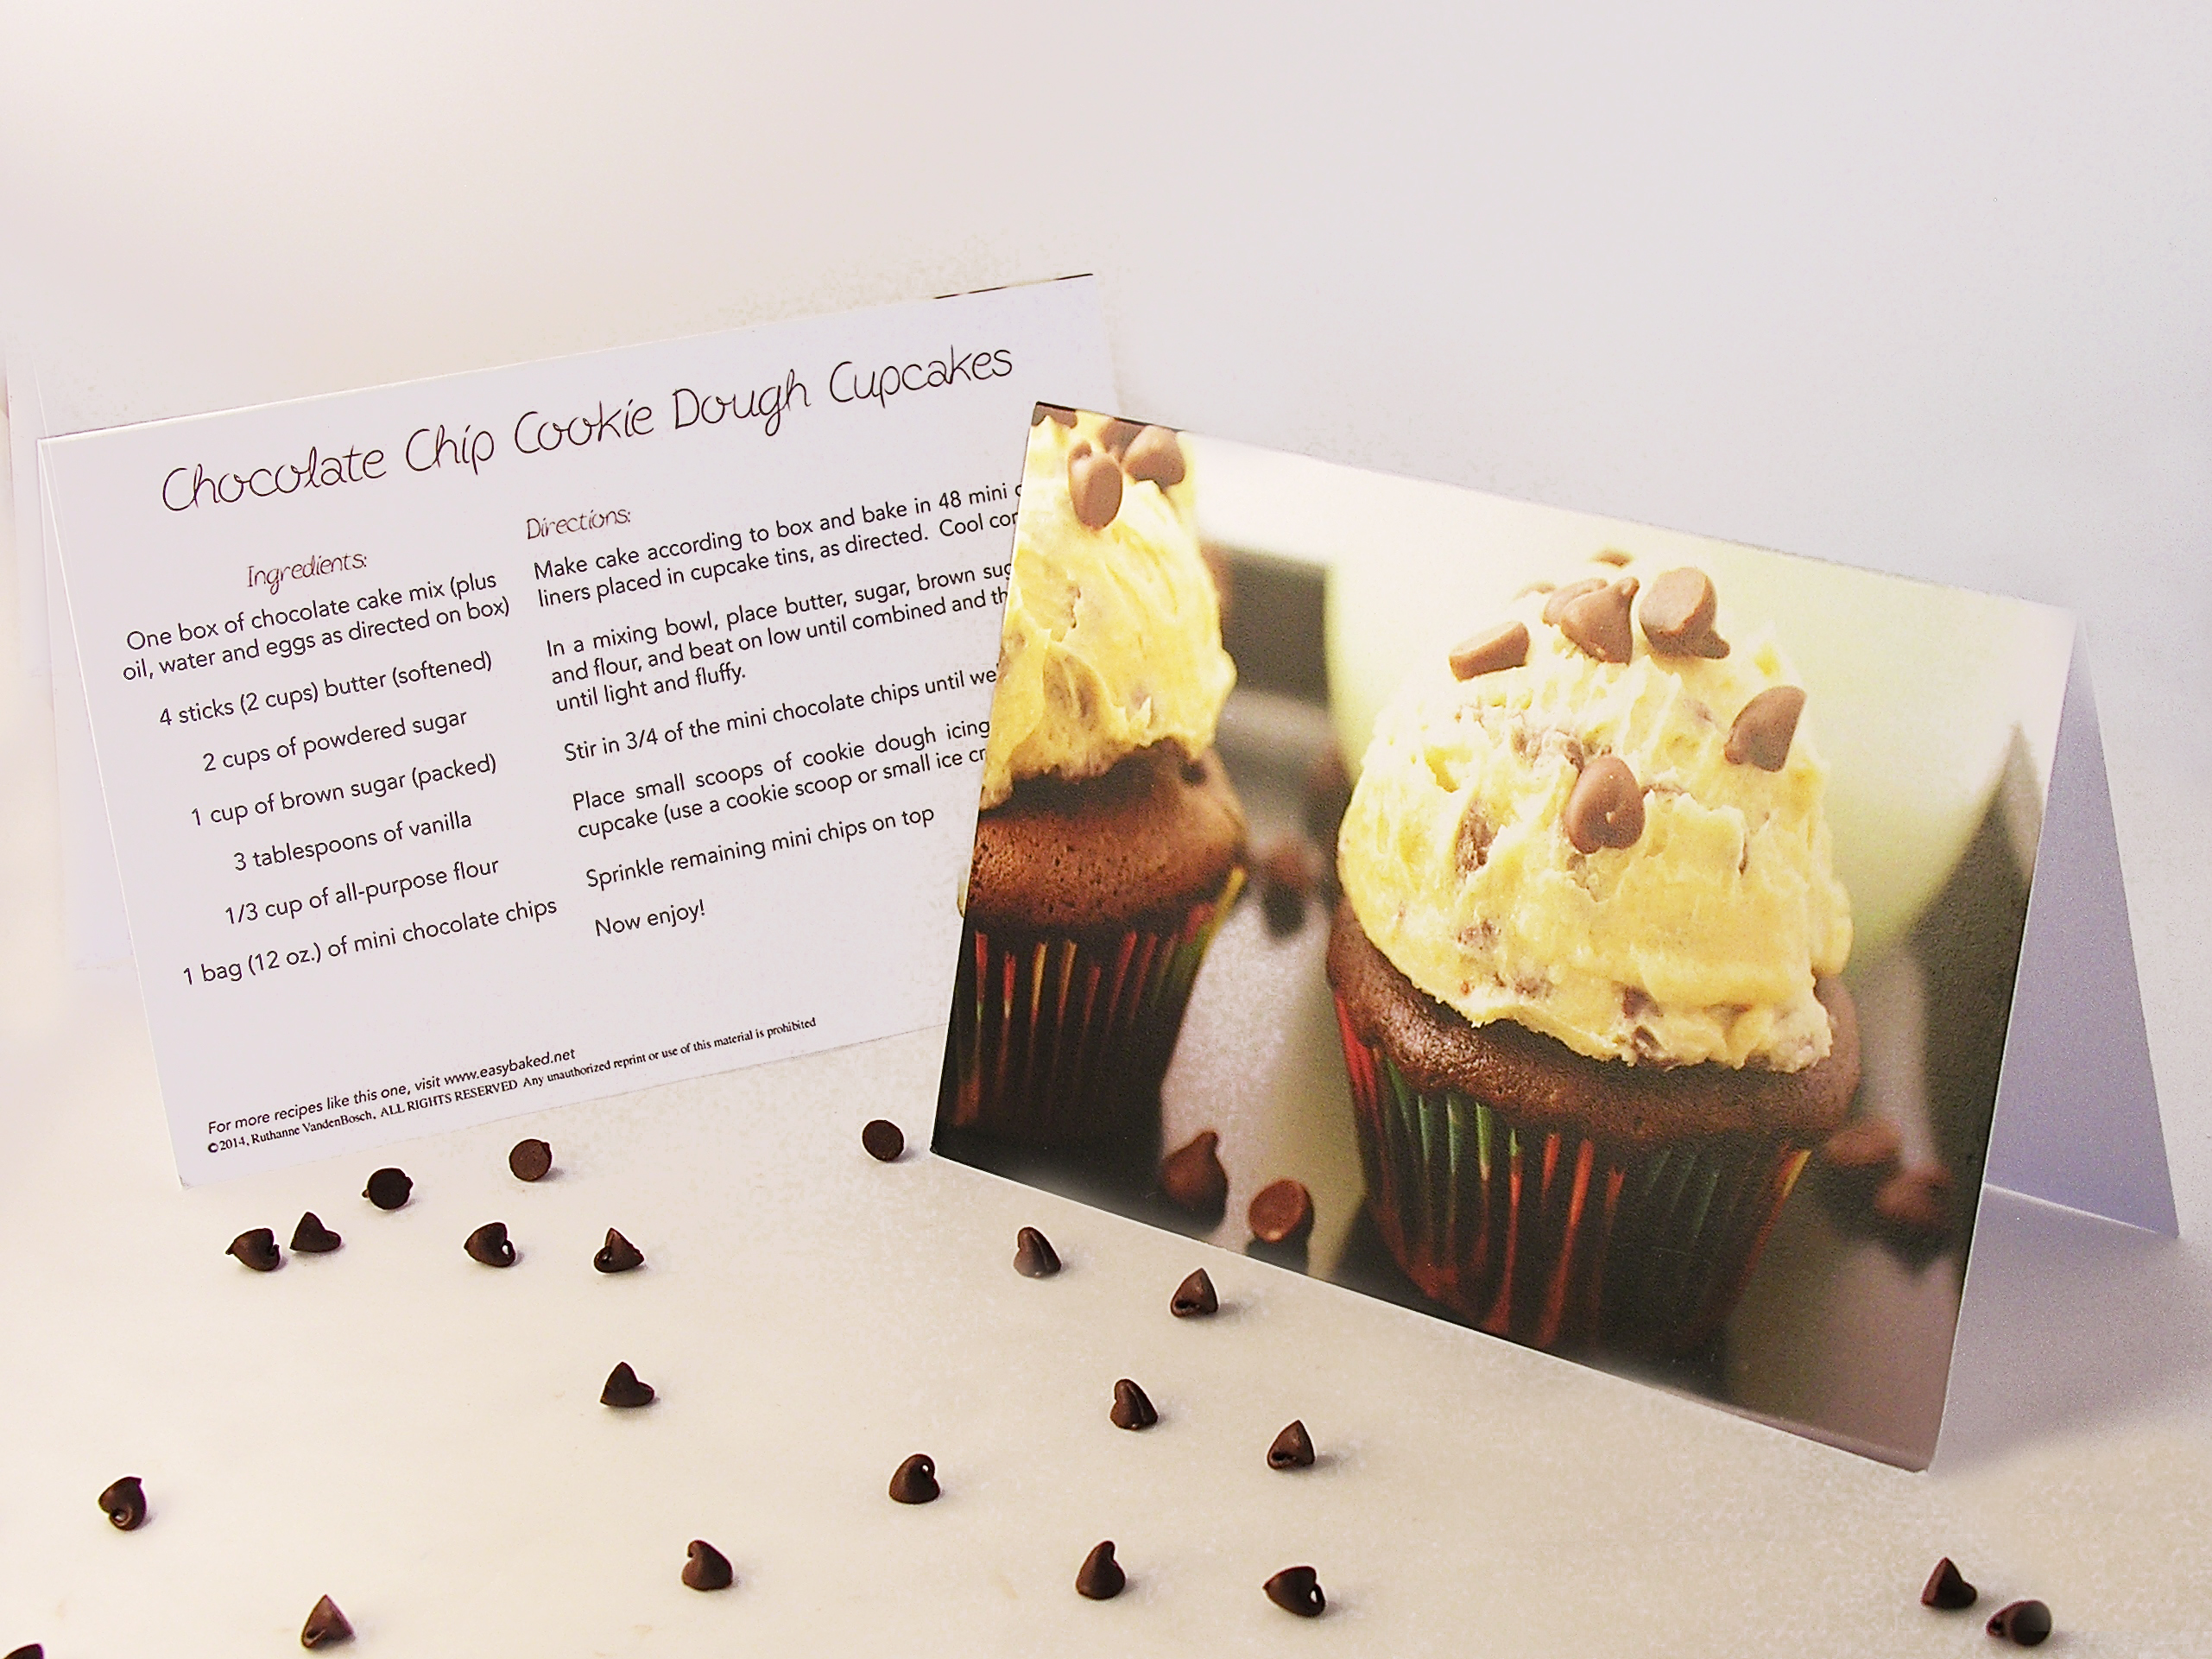
Cookie Dough Cupcakes3

INGREDIENTS:

  • One boxed chocolate cake mix (plus water, oil and eggs to make according to box)

***OR use your favorite cupcake recipe.  This is really all about the frosting– so do your favorite thing with the cupcake recipe/ flavor***

  • 2 sticks (8 oz.) unsalted butter(softened)
  • 2 sticks (8 oz.) salted butter(softened)
  • 2 c. powered sugar
  • 1 c. brown sugar (packed)
  • 3 T. vanilla
  • 1/3c. flour
  • 1 12 oz bag of mini chocolate chips.

DIRECTIONS:

  • Make cake mix (or your favorite cake recipe) and divide into mini cupcake liners in a mini cupcake tin. (makes about 48 mini cupcakes)
  • Bake according to box/recipe (mini cupcakes take less time, so adjust accordingly!)
  • Cool cupcakes completely.
  • Place all frosting ingredients except mini chips into a large mixing bowl and beat with mixer on low until combined and then high until light and fluffy.
  • Add mini chips (keep about 1/4 of a cup aside to sprinkle on top) and beat on low until fully combined.
  • Frost cupcakes.  You can use a knife to just spread it on or use a small or medium Cookie Scoop to make your cupcakes look like mine do.
  • Sprinkle remaining chips on top and gobble these cupcakes up!!!

Cookie Dough Cupcakes2My thoughts: These are dangerous cupcakes for me.  I had to get them out of my house FAST.  I seriously wanted to eat them all.  Ah….cookie dough….sigh.  Enjoy these so much!!!!  ~r

Chocolate Chip Cookie Dough Cupcakes Front and Back6-13-14: Did you know that this yummy recipe is available on adorable blank notecards?  With a photo of the cupcakes on the front, the recipe on the back, and plenty of room to write a message inside, these are the PERFECT gift!  Why send just a card, when you can send the gift of a recipe as well?!?  Click here for more information and to order.

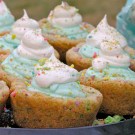
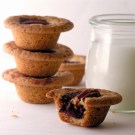
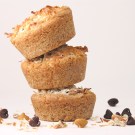
Chocolate chips are an important ingredient here at easybaked~  click on an image to be taken to the recipe:

Chocolate chip cookies!!!Mini chocolate chip cookie cheesecakesGooey filling in Seven layer cups!Mini Cookie Dough Cheesecake

Chocolate Chip Oreo Brownie Cups

Posted on

Brownie Oreo Cookie CupChocolate chip cookie dough topped with an Oreo cookie topped with a chewy brownie… does dessert get better than this?  Plus they are just so cute- and fun to eat!

These little dessert cups are incredibly easy to make.  All you need is refrigerated cookie dough, Oreos and brownie mix (plus the oil water and eggs to make the brownies!)

Dessert Ingredients!They are so easy to put together:

DIRECTIONS:

  • Preheat the oven to 350F degrees.
  • Put 24 cupcake liners into cupcake tins.
  • Break apart refrigerated cookie dough (the Nestle brand comes already divided into 24 pieces)
  • Press cookie dough into the bottom of each cupcake liner so it covers the bottom of each cup (I thought that as the dough warmed a little bit to room temperature that this was easier).
  • Press an Oreo cookie on top of each bit of cookie dough.

Break apart cookie dough bits....Press Oreo on top of cookie dough..

  • Prepare the brownie mix as directed on box and scoop batter evenly into all 24 cups, covering the Oreo completely.


Scoop brownie batter over Oreo.

  • Bake at 350F degrees for 20-30 minutes.  Check often and be sure you don’t over bake the brownie.  They are much better a little chewy!
  • Remove from oven and serve warm or at room temperature.
  • I served with a little whipped topping and chocolate/ caramel drizzle.


Brownie Oreo Cookie Cup3

My thoughts: These are a really easy and yummy treat.  They are fun right out of the cupcake wrapper (eaten like a cupcake), or they are fun to dress up as a fancy dessert with pretty drizzles and toppings.  The three layers of different flavor and consistency make this a truly unique dessert!  Enjoy!! ~r

Brownie Oreo Cookie Cup2

Other dessert cup recipes you might enjoy: (click on the image to be taken to the recipe)

Fruit Loop Confetti Cups!!Salted Caramel Cookie Cups (2)Pecan Pie cookie cups with dark chocolateSeven Layer Cups

Chocolate Covered Strawberry Cake Roll!

Posted on

Chocolate covered strawberry Cake roll!!This strawberry cake rolled with vanilla buttercream and dark chocolate ganache is not only a pretty Valentines Day treat, but such a yummy one!  Plus, it looks A LOT harder to make than it really is!

February 1st.  How can the first month of this year be gone already?  I had already written a post for for this week when I looked at the calendar and thought, oh my- it’s time for a Valentine’s dessert!  I had an unexpected day off of work this week and decided to experiment with turning an ordinary cake mix into a cake roll.  I absolutely loved the results!  Cake rolls will always be a little fussier than plain old cakes, but look at how cute it is…!  If you’ve never made a cake roll, I will try to explain it as we go.  I have a few pictures, but if you want a few more click here for my pumpkin roll recipe.

INGREDIENTS:

  • One boxed strawberry cake mix (I used Pillsbury this time)
  • Water, oil and eggs (we will adjust the amounts from the box just a bit!)
  • 1/2c. heavy whipping cream
  • 1 c. dark chocolate chips
  • 2 sticks (8 oz) butter
  • 1 1/2 c. powdered sugar
  • 1 T. clear vanilla flavoring.

DIRECTIONS:

  • Preheat oven to 350F degrees
  • Make boxed cake mix, but add just a little less oil and water.  The Pillsbury mix called for 1 cup of water and 1/3 cup of oil.  I used 3/4 c. water and 1/4 c. oil instead.  I used the same # of eggs (3)
  • Cover the bottom of a standard jellyroll pan (mine is about 12″ by 17″, and about 1″ deep) with waxed paper- allowing the paper to extend just a bit over each end.
  • Lightly spray with non-stick cooking spray.
  • Pour cake batter into pan and gently spread it out to cover the entire bottom in a thin, but even layer of cake.
  • Bake at 350F degrees for 15-20 minutes- checking often to make sure it isn’t browning too much.
  • Remove pan from oven, sprinkle a clean kitchen towel with powdered sugar, lay it powder side down on the top of the cake and holding the towel in place, flip the pan over onto a flat surface.  You will have your powdered towel, the cake on top and wax paper on top of the cake.
  • Peel the wax paper off and gently roll the cake up in the towel, rolling from one short end to the other- keep the towel on the bottom and wrap it up with the cake.
  • Refrigerate for one hour.
  • While this is in the fridge, make your ganache and butter cream.
  • For the ganache: heat 1/2 c. of whipping cream in a medium saucepan until it starts to bubble around the edges.  Turn off the heat. Add the dark chocolate chips and cover for 5-10 minutes.  Stir until smooth and creamy.
  • For the buttercream: Place (softened) butter, powdered sugar and vanilla in a large mixing bowl and beat on high until very fluffy and creamy.
  • After chilling for one hour, remove cake roll from fridge and gently unroll on a flat surface.
  • Gently and evenly spread ganache over entire surface of the cake roll.
  • Gently and evenly spread the buttercream over the ganache.  This part was a little tricky- I wanted to make sure I didn’t mix the two layers, so I scooped the buttercream in little bits all over the top and then spread it a little at a time.

Spread chocolate over the cake roll...Add buttercream over chocolate!!  YUM!

  • Gently roll the cake back up, leaving the towel behind.  Carefully lift it on to a large plate and refrigerate it until the buttercream and ganache harden up.

The 1st time I made this it rolled beautifully and I just sprinkled it with powdered sugar….then when I made it for taking photos it cracked as I rolled.  This sometimes happens with cake rolls and there’s an easy fix: make another batch of ganache and pour it right over the top!  I think I actually liked it better this way!  You can’t even tell it cracked, see:

Cake roll cracked!!!!Chocolate covered Strawberry cake roll-- all fixed!!!

When it is chilled, slice it and serve it with whipped cream and maybe even some chocolate covered strawberries?  So yummy!!!!

Chocolate Covered Strawberry Cake Roll!!!My thoughts: I really had fun making this dessert.  There’s just something about the pink cake and all that gooey chocolate that makes me smile!  I hope this cake brings a smile to the faces of all the ones you love this Valentine’s Day!  Enjoy!!!   ~r

Want some other fun Valentines Day ideas?  Click on the picture to be taken to the recipe.

Dark Chocolate Ganache CupcakesPeppermint marshmallow crunch barsSweetheart browniesOld Fashioned Red Velvet Cake

Polka Dot Cake!!!

Posted on


Polka Dot Cake!!!It just makes you smile, doesn’t it?  I don’t think I can adequately express how happy this cake makes me.

I made this cake for my friend Nikki’s birthday and it made her happy too…

Happy Birthday!!!                      Surprise!!!!

I simply can’t take credit for the idea behind this cake,  that credit goes to an adorable blog called “Once Upon a Pedestal”.  I can’t even take credit for finding the idea… that goes to my wonderful Pinterest addicted friend Laura.  I can tell you this: it is NOT hard to make.  It does take some time, but it is very easy to put together, and the “wow” factor?  Incredible!

Polka Dot Cake!!!!!!

The 1st question everyone asks is “How did you get the polka dots INSIDE the cake?” They are cake balls.  To make this recipe, you will need one piece of special equipment: a cake pop/ doughnut hole maker.  I feel like I walked by those like 100 times over the holidays in various stores and every time I thought, “I wonder why you would ever buy one of those?”  Now I know!  Here’s the one I got: Bella Sensio Cake Pop Maker

Cake pop maker

There are several brands and varieties- I’m sure they all work great- I would look for one that does 12 at once, just as a time saver!  The good news?  Once you make this cake, your friends will all want to borrow your cake pop maker and you won’t have to store it anywhere!

Are you ready to see how this is done?  Here we go: (printable recipe)

INGREDIENTS:

  • 2 boxed white cake mixes (plus the oil, water and eggs to make them according to the package)
  • You favorite frosting (I used my buttercream recipe, doubled, which you can get by clicking here)
  • Sprinkles or candy to decorate the cake.

DIRECTIONS:

  • Plug in/turn on your cake pop maker to warm it up.
  • Make one of the cakes according to package directions.
  • Divide batter evenly into smaller bowls based on the number of colors you want to use (I did 4)
  • Color the batter using color gels (I love the Wilton brand in particular because it gives such a vivid color)
  • Following the directions for your particular cake pop maker, make cake balls using each of the colors.

(with mine I sprayed it with Pam, used a small (2 tsp) cookie scoop, rapidly scooped batter in and immediately closed the lid.  My directions said 4-5 minutes and they all were burnt to a crisp– about 2 minutes worked perfectly for me.  I just set them out on a plate to cool then…be prepared to experiment a little with this– you will have some extra pops at the end, so its ok if you mess some up!)

Polka Dot Cake Pops

  • While cake balls are cooling, preheat oven to 350F, and make the second cake mix according to package.
  • Spray 3 – 6″ round pans with non-stick spray and set a circle of parchment paper in the bottom of each one (to keep your layers pretty!)
  • Spread a thin layer of batter in the bottom of each pan, place cake balls on top in any pattern you choose and divide remaining batter over the top of the balls so they are completely covered.

Assembling a Polka Dot Cake

Ready to bake!


  • Bake layers at 350F degrees for about 30 minutes.  You can use the toothpick test (I recommend it!) but be careful to hit cake and not cake balls….you can kind of tell where they are- they bump up just a bit.
  • When cooked all the way through, tip over on a cake rack to cool completely.
  • Trim, if needed, to flatten layers and use frosting to stack all three layers and cover the entire cake with frosting.
  • Decorate as desired.


Polka Dot Cake!!!!!My thoughts:  I’m not a cake decorator, and my buttercream is a whipped frosting that is OH so yummy, but not very good for a smooth cake surface….it still makes me smile…bumps and all.  You can decorate your cake however you like.  I used Wilton Jumbo Confetti Sprinkles on this one.  I really hope you give this cake a try– if you have any questions about the process just ask!!  — or check out “Once Upon a Pedestal”, as her pictures were very helpful.  She also uses a different type of cake pop pan than I did.  I hope this recipe idea made you smile on this cold winter morning– enjoy!!!!!  ~r

Polka Dot Cake!!!!

Polka Dot Cake Tips

Other Easybaked cake recipes you might enjoy: (click on the photo to see the recipe)

Chocolate Mousse CakeOld fashioned Red velvet cakeStrawberry-Lemonade CakeTie-Dye Cake with Blue Raspberry Frosting!

Chocolate Chip Oatmeal Cookies

Posted on

Chocolate Chip Oatmeal CookiesEveryone will love this classic oatmeal cookie (with chocolate instead of those yucky raisins!). It’s crisp on the edges and chewy in the middle-YUM!!!  COOKIES!!!!!!!

My friend Laura kept telling me about a chocolate chip oatmeal cookie recipe from when she was a little girl.  Her friend’s mom would make them and they are still one of Laura’s favorites.

DSCN0028Whenever a treat stays in someone’s mind from childhood you know it has to be a good one, so I asked for the recipe.

I texted Laura in the middle of the grocery store standing in front of the oatmeal (yes, I am one of those people…)  She immediately scanned in the recipe and sent it to me, and here you have it….truly amazing oatmeal and chocolate cookies (Thank you Laura!!)

INGREDIENTS:oatmeal recipe

  • 1 c. margarine
  • 1 c. brown sugar (packed)
  • 1 c. sugar
  • 2 eggs
  • 1 tsp. vanilla
  • 2 c. flour
  • 1 tsp. baking soda
  • 3/4 tsp. salt
  • 3 cups uncooked old-fashioned oatmeal (plain, and not instant!)
  • 2 cups of chocolate chips (I added all my leftover chips- some milk chocolate, some dark, some semisweet.  The original recipe calls for only a cup.  That is crazy.  I think I added 2 (maybe 3!) You need at least three chips for every cookie bite in my opinion!)
  • 1/2 c. nuts (If desired ~I didn’t add them)

DIRECTIONS:

  • Preheat oven to 375F degrees.
  • Line cookie sheet(s) with parchment paper – you don’t have to do this, but my cookies stuck a little bit to the sheets, so I did my next batch with paper and they slid right off.
  • Beat margarine and sugars together in a large mixing bowl until creamy.
  • Blend in eggs and vanilla
  • Add flour, soda and salt to cream mixture and beat well
  • Stir in oats, lots of chocolate and nuts (if desired)
  • Mix until well combined. I just used my hands at this point as it was such a stiff dough and I wanted to fully incorporate the two million chocolate chips I added.
  • Drop by about one tablespoon of dough (I used a Medium Cookie Scoop and it was a lifesaver!) onto parchment lined cookie sheets and bake at 375F for 10-14 minutes.  Remove from cookie sheets while warm and cool completely on parchment paper or a wire rack.


chocolate chip oatmeal cookies

My thoughts:  These were really good cookies. You’ll notice a few differences in my recipe and the original.  

I used margarine, not butter.  I generally prefer butter in baking, but cookies are one exception.  I nearly always use margarine as butter seems to make the cookies “spread” more, giving you flat, crunchy cookies instead of thick, chewy ones.

I never “sift” ingredients.  I know that makes some of you shudder in horror, but I just never do.  I put my flour in and sprinkle the other ingredients on top and hope for the best.  I blame my mom for this.  She never taught me to sift 😉  In this recipe if it makes you feel better to sift, by all means do it!!

I did not double this recipe.  It overflowed my biggest mixing bowl.  The handwritten notes on this recipe recommend making a double batch and freezing.  I can only assume she mixed the batch up in her bathtub, as it would be a tremendous amount of cookie dough.  I do NOT recommend doubling this.  I did freeze some and I thought they were ok- a little dry.  I’d stick with making them fresh, and in a reasonable amount.

I hope you enjoy these cookies as much as all of us here did!  Happy baking!!!  ~r

Oatmeal Cookie recipeWant to try more cookie recipes from Easybaked?  We have a lot of them!  Click on an image to be taken to the recipe:

Lemon Drop Cookies with CoconutNew Zealand Chocolate cookiesStrawberry Cookies with Sweet Tart FrostingChocolate chip cookies!!!Chocolate drop cookies!Gingerbread Cookies!Peppermint Chocolate CookiesGerman Chocolate Cookie

German Chocolate Pie

Posted on

German Chocolate Pie This rich chocolate pie is filled with creamy chocolate and coconut, and it is SO easy to make!

My apologies to those of you who have commented or asked questions here in the past few weeks~  the holidays got the better of me this year.  I got terribly sick on Christmas day and my sweet little Casper got sick a week later.  We are both still recovering, but SO much better!  As one of my friends said, “You can tell she’s really sick when she doesn’t even want to bake!”

Poor Casper in his cone of shame!

Poor Casper in his cone of shame!

This recipe just couldn’t be easier, and easy is what I needed this week!  Our family likes to eat at a wonderful Amish restaurant called Das Dutchmen Essenhaus and they have a german chocolate pie there that is AMAZING.  It is by far my favorite pie.  I’ve been looking for recipes that come close to recreating this pie and so far I’ve had no luck duplicating it.  This recipe is worth noting though, as it is easy and really yummy.  It is sooooo rich- serve it with ice cream or whipped topping, and in small slices.

(this slice is too big!!!)

(this slice is too big!!!)

INGREDIENTS: (recipe taken from here)

  • 1 8-ounce package Baker’s semi-sweet chocolate
  • 1/4 cup butter or margarine
  • 1 13-ounce can sweetened condensed milk
  • 1-1/3 cups  shredded coconut
  • 3 eggs, slightly beaten
  • 1/2 cup sugar
  • 1 9-inch unbaked pie shell (you’ll need a deep-dish)
  • whipped cream or ice cream (optional, but this is so rich, you’ll need it)

DIRECTIONS:

  • Preheat oven to 400F degrees.
  • In a saucepan, melt chocolate and butter over medium heat.
  • Add sweetened condensed milk, coconut, eggs and sugar. Stir until blended.
  • Pour into unbaked pie shell (I used a frozen one, and the filling came all the way up to the top!)
  • Set pie on a cookie sheet and bake in a preheated 400 deg oven for 30 -40min.
  • Cool or serve warm with a dollop of whipped cream or ice-cream.
  • Store in refrigerator.


Das Dutchmen Essenhaus German Chocolate Pie German Chocolate Pie!

My thoughts:  A simple and delicious dessert, this is a great “need something at the last minute” recipe to have on hand.  Enjoy!!!! ~r

German Chocolate Pie!Other pie recipes you might enjoy from Easybaked: (click on the image to be taken to the recipe)

Peanut butter pieFruit Loop Pie!Blackberry Tart!Chocolate Pecan Tart

A big pile of cupcakes!

Pile of Cupcakes!Make everyone smile with a stack of three colorful cupcakes!  Made with peanut butter cups, these mini-cupcake decorations are SO yummy with the chocolate cupcake they top.  The occasions you could serve these at are endless.  What a fun New Year’s Eve party treat, or birthdays?  What about a Dr. Seuss themed party?  SO much fun!!!!  Here’s how to put them together:

INGREDIENTS:

  • One boxed dark chocolate cake mix (with oil, water and eggs to make according to box)
  • 2 sticks (8 oz) salted butter (softened)
  • 2 sticks (8 oz) unsalted butter (softened)
  • 3 cups of powdered sugar
  • 2 tsp clear vanilla
  • 24 Reese’s miniature peanut butter cups (unwrapped)
  • 24 Reese’s minis peanut butter cups
  • Wilton Icing Colors
  • sprinkles, jimmies to decorate cupcakes

DIRECTIONS:

  • Make cupcakes according to the box.  I used brown cupcake liners to match the chocolate on the peanut butter cup toppers.
  • Cool cupcakes completely.
  • Make butter cream frosting by combining butters, powdered sugar and vanilla in a large mixing bowl.
  • Beat on high until frosting is light and fluffy.
  • Divide frostings into bowls and color using icing gels.  I made 5 colors, but you can do however many you want.
  • Pipe frostings on top of cupcakes and (using a smaller tip) pipe frosting on top of the two sizes of peanut butter cups.  (I clipped both corners of a zip top bag and put the large tip in one and the small in the other.  I piped the large cupcakes 1st and then squeezed the remaining frosting into the other corner and piped the frosting on the Reese’s cups.)
  • Gently stack the tiny cupcake on the medium and the medium on the full-size. (this buttercream recipe worked GREAT for these- it is nice and firm and hardens just a bit as it sets.  I didn’t lose even ONE topping!)
  • Decorate with sugars and jimmies as desired I used Red Sixlets Candy  for the large cupcakes and they looked so cute- like cherries!


Dr. Seuss Cupcakes!Aren’t they fun?  I just couldn’t stop taking pictures!

Fun Birthday Cupcakes!My thoughts: Goodness these cupcakes made me happy.  My friend Danielle and I made them together and we both kept saying, “Ah! They are so CUTE!”  My neighbors and coworkers were the recipients of these treats and the smiles when they saw them made my day!  I love easy ideas that are high on the “WOW” factor.  To give credit where it is due, my friend Megan from Happily Ever After Cakes pointed this idea out to me on Edible Crafts.  They had only used one cupcake topper, but I love it so much with two!!  Enjoy!!!!!!  ~r

Cupcake toppers

Need some ideas for your upcoming New Years Eve Party?  Try these fun treats!  Click on the image to be taken to the recipe:

Raspberry Confetti KissesConfetti CupsStrawberry Lemonade Birthday Cake!Cotton Candy Fizz

Opera Creams

Opera Cream Candy 
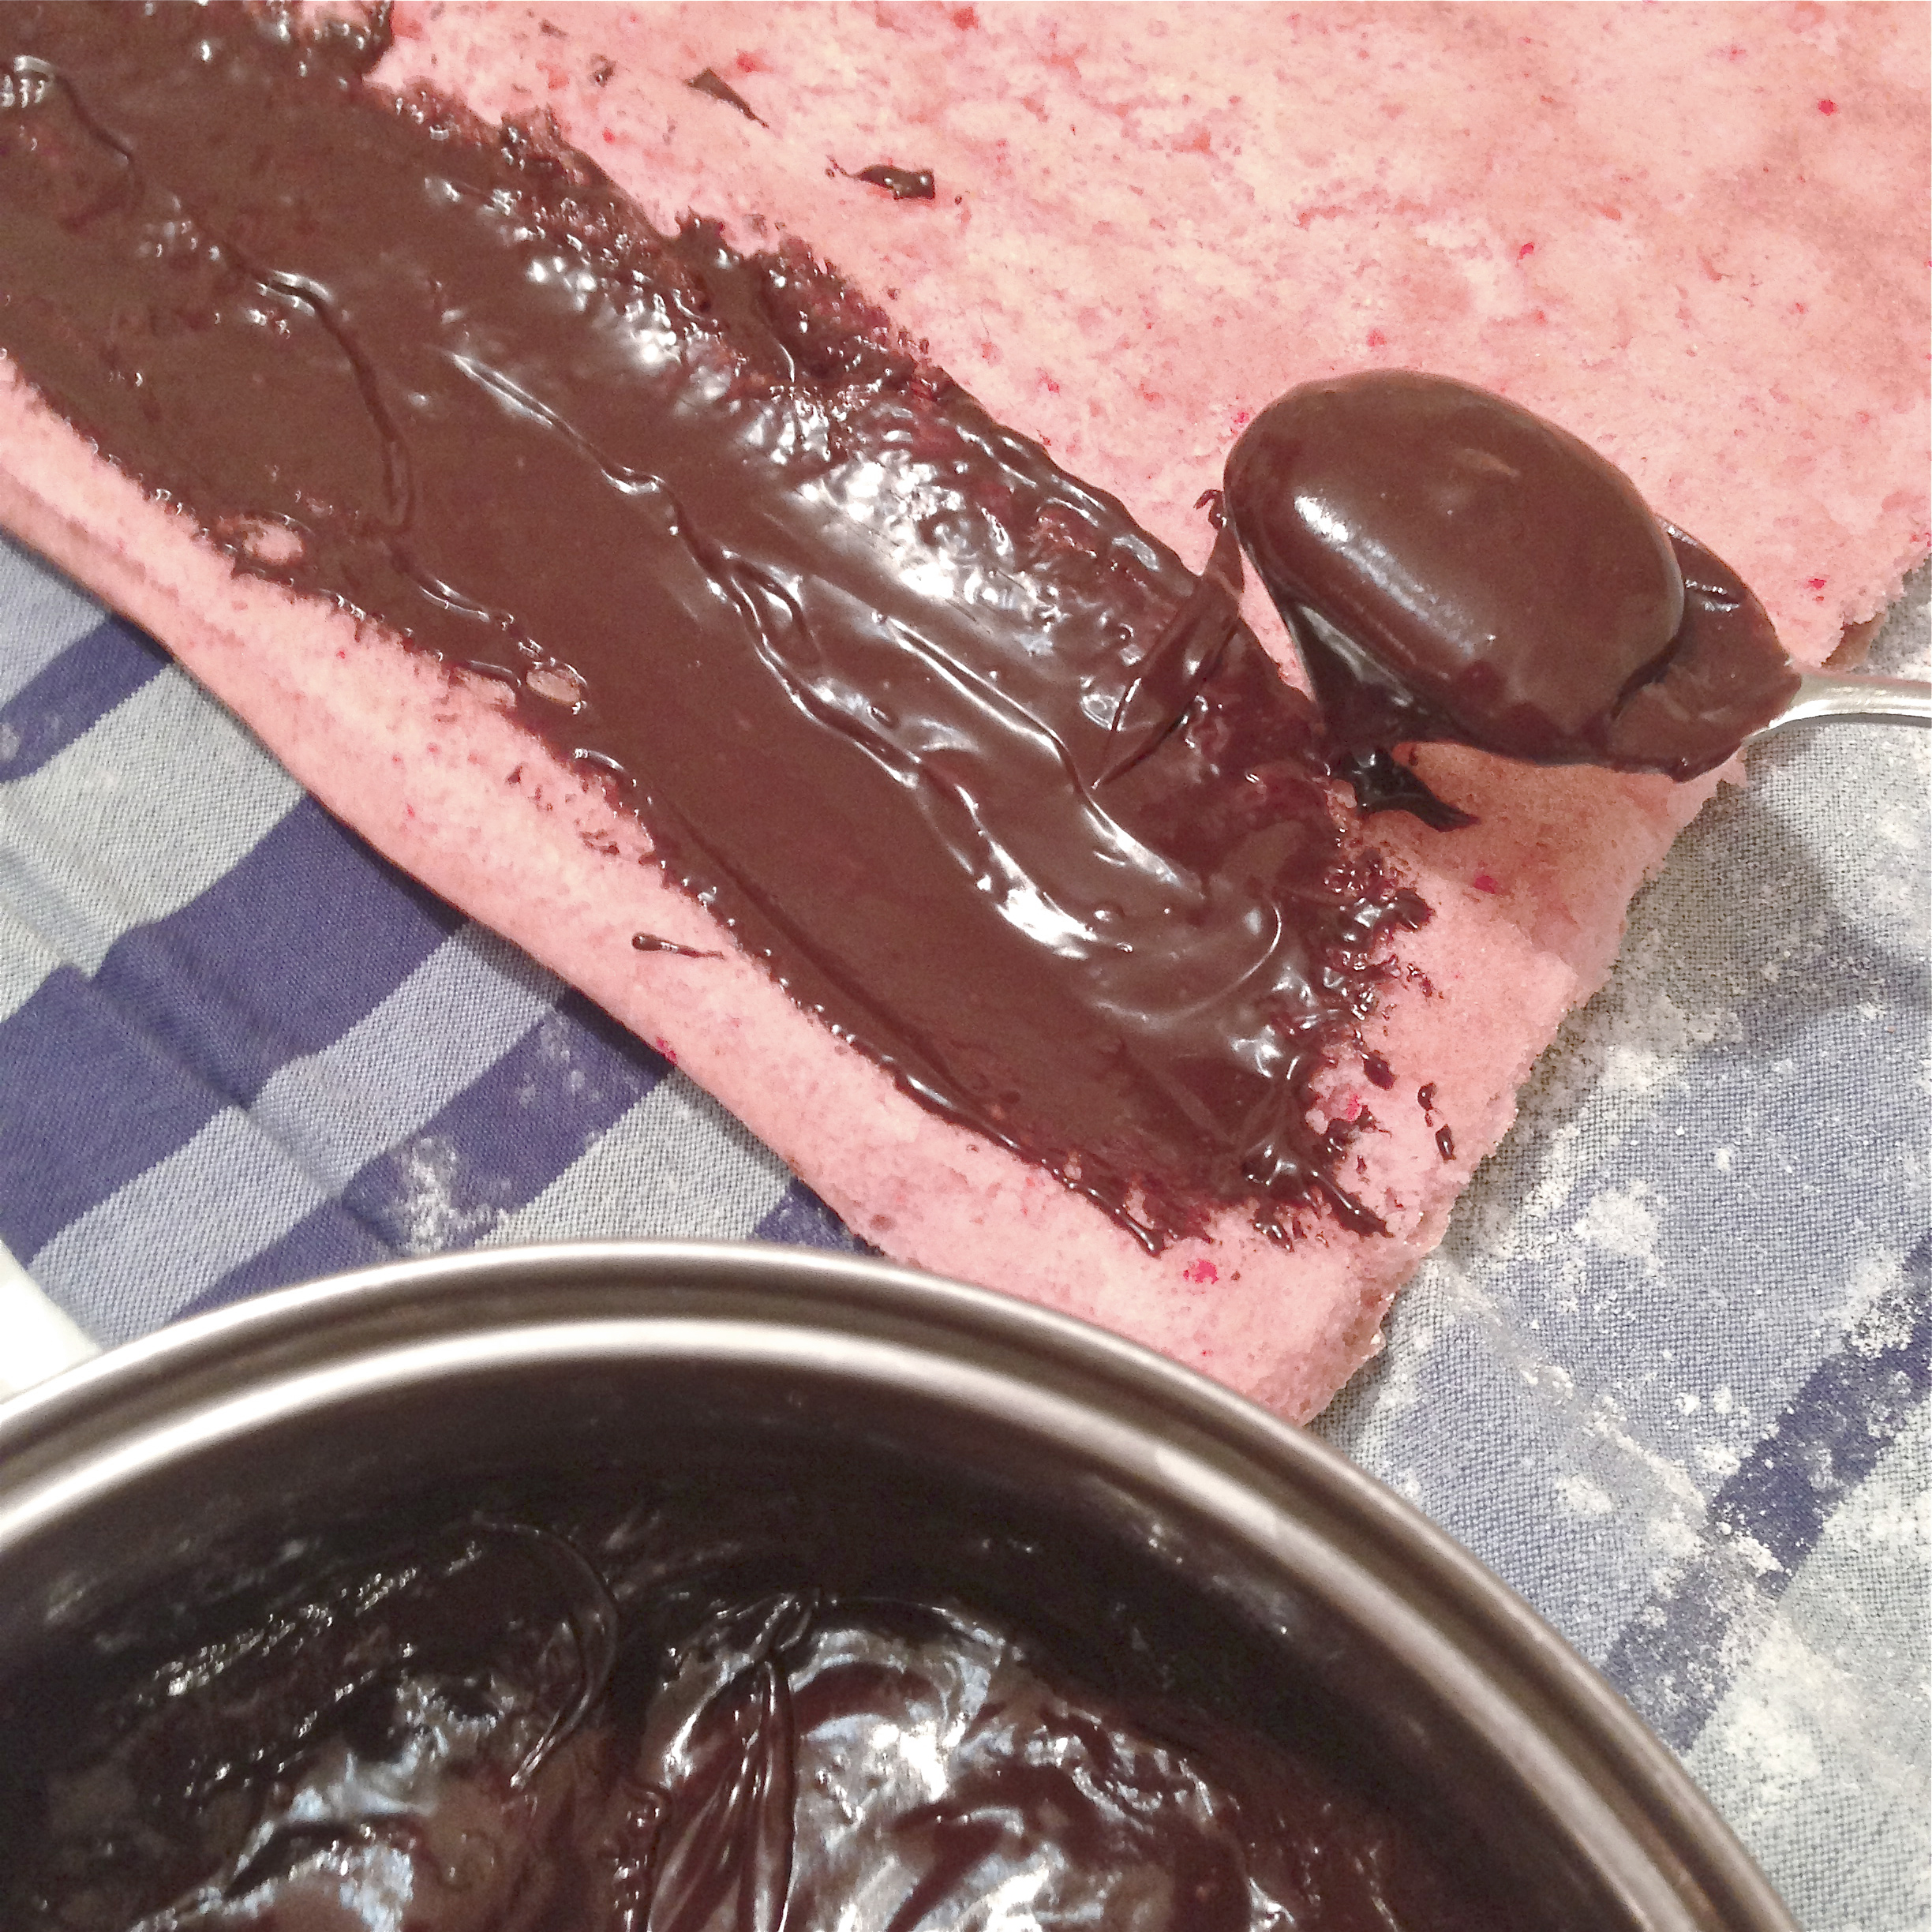
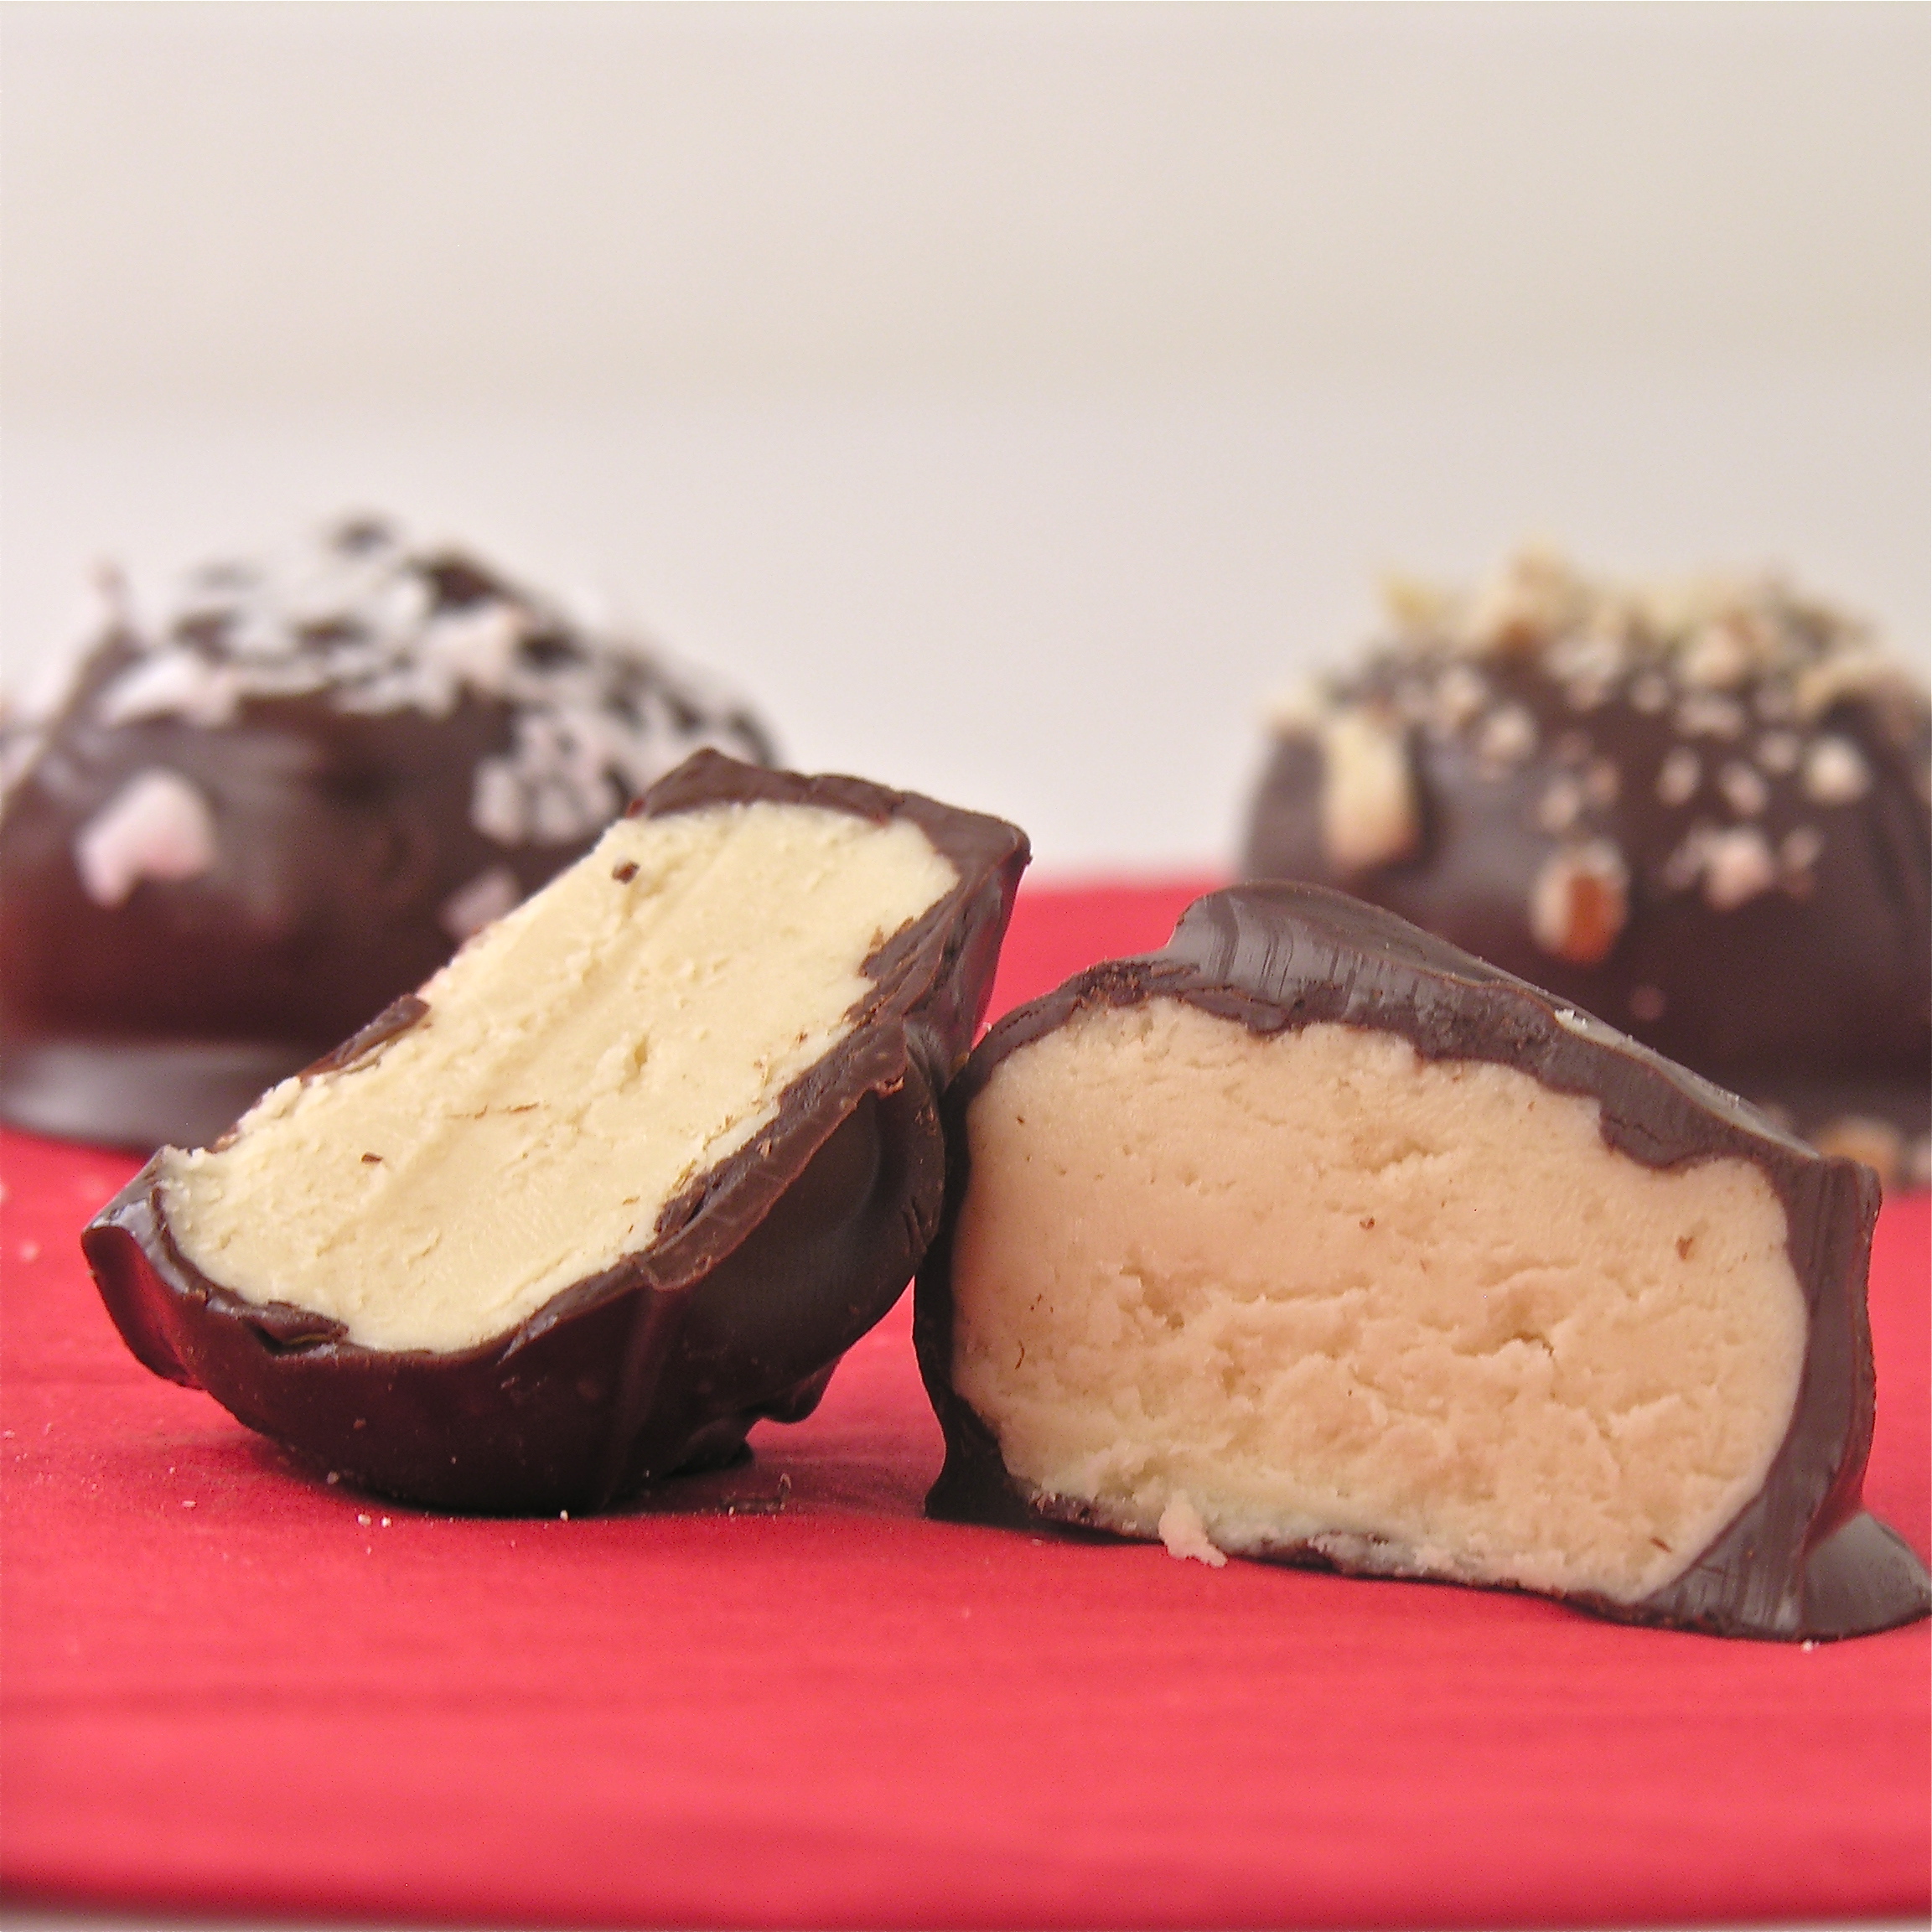
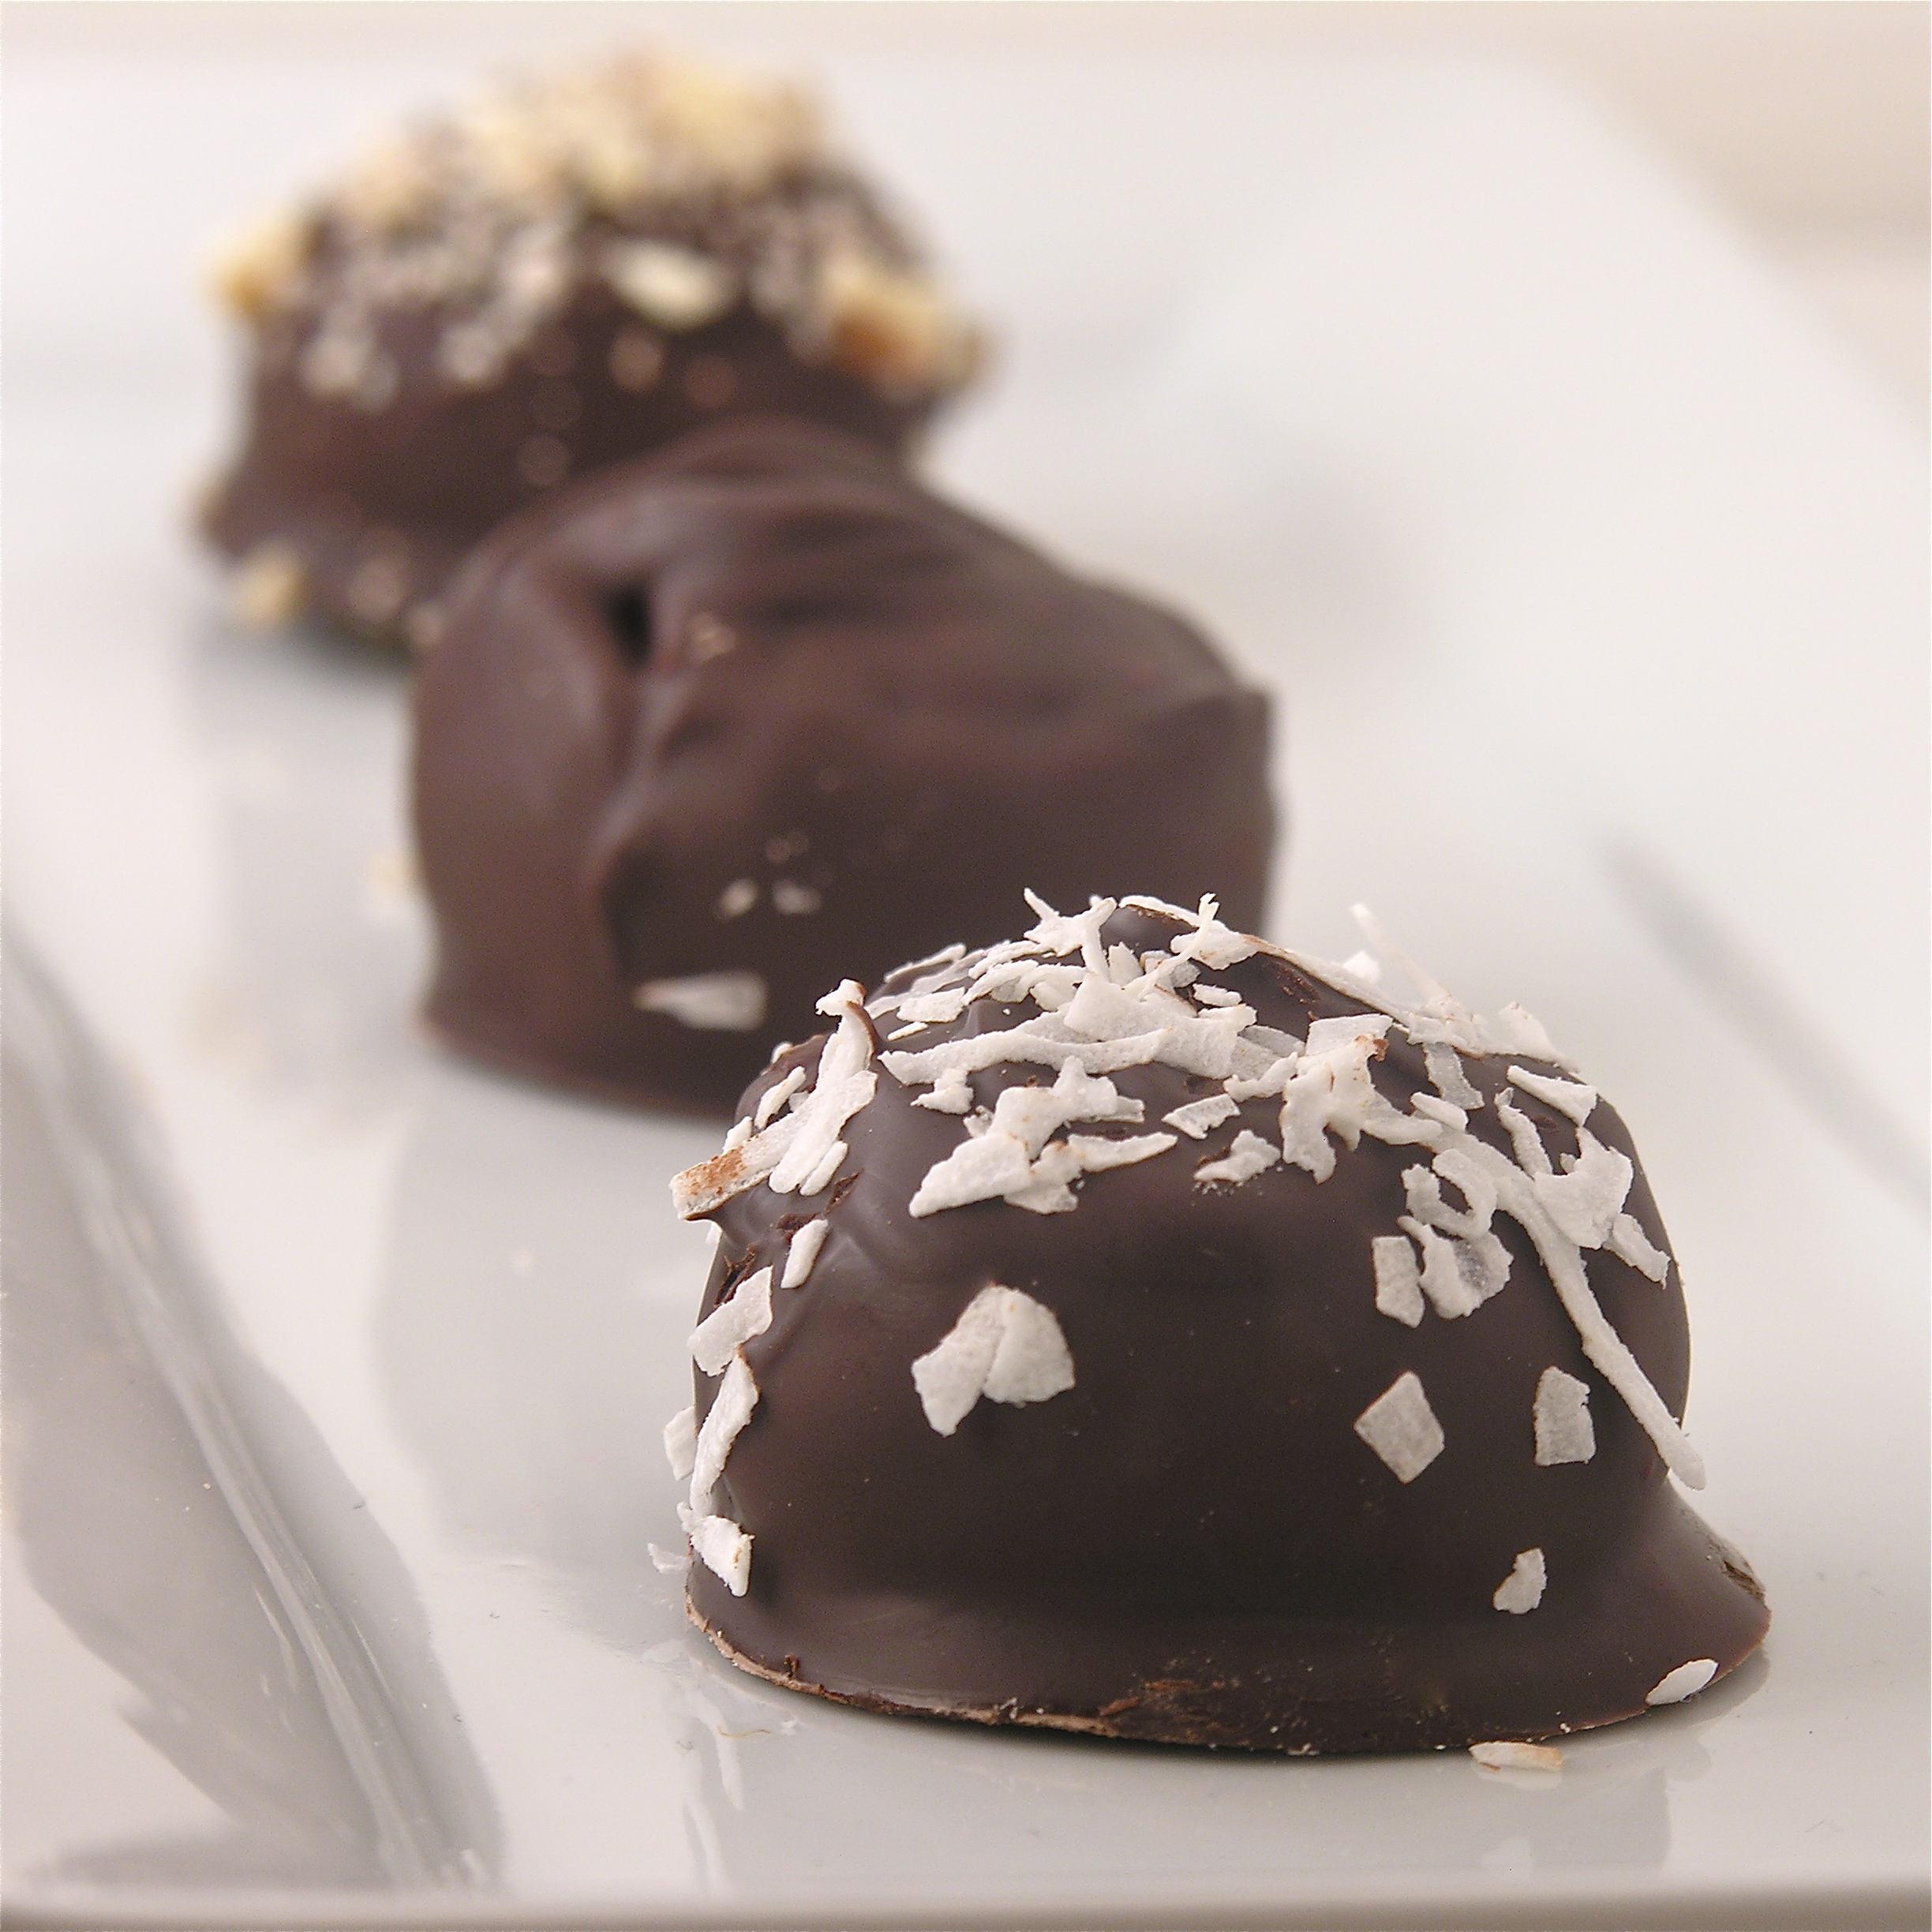
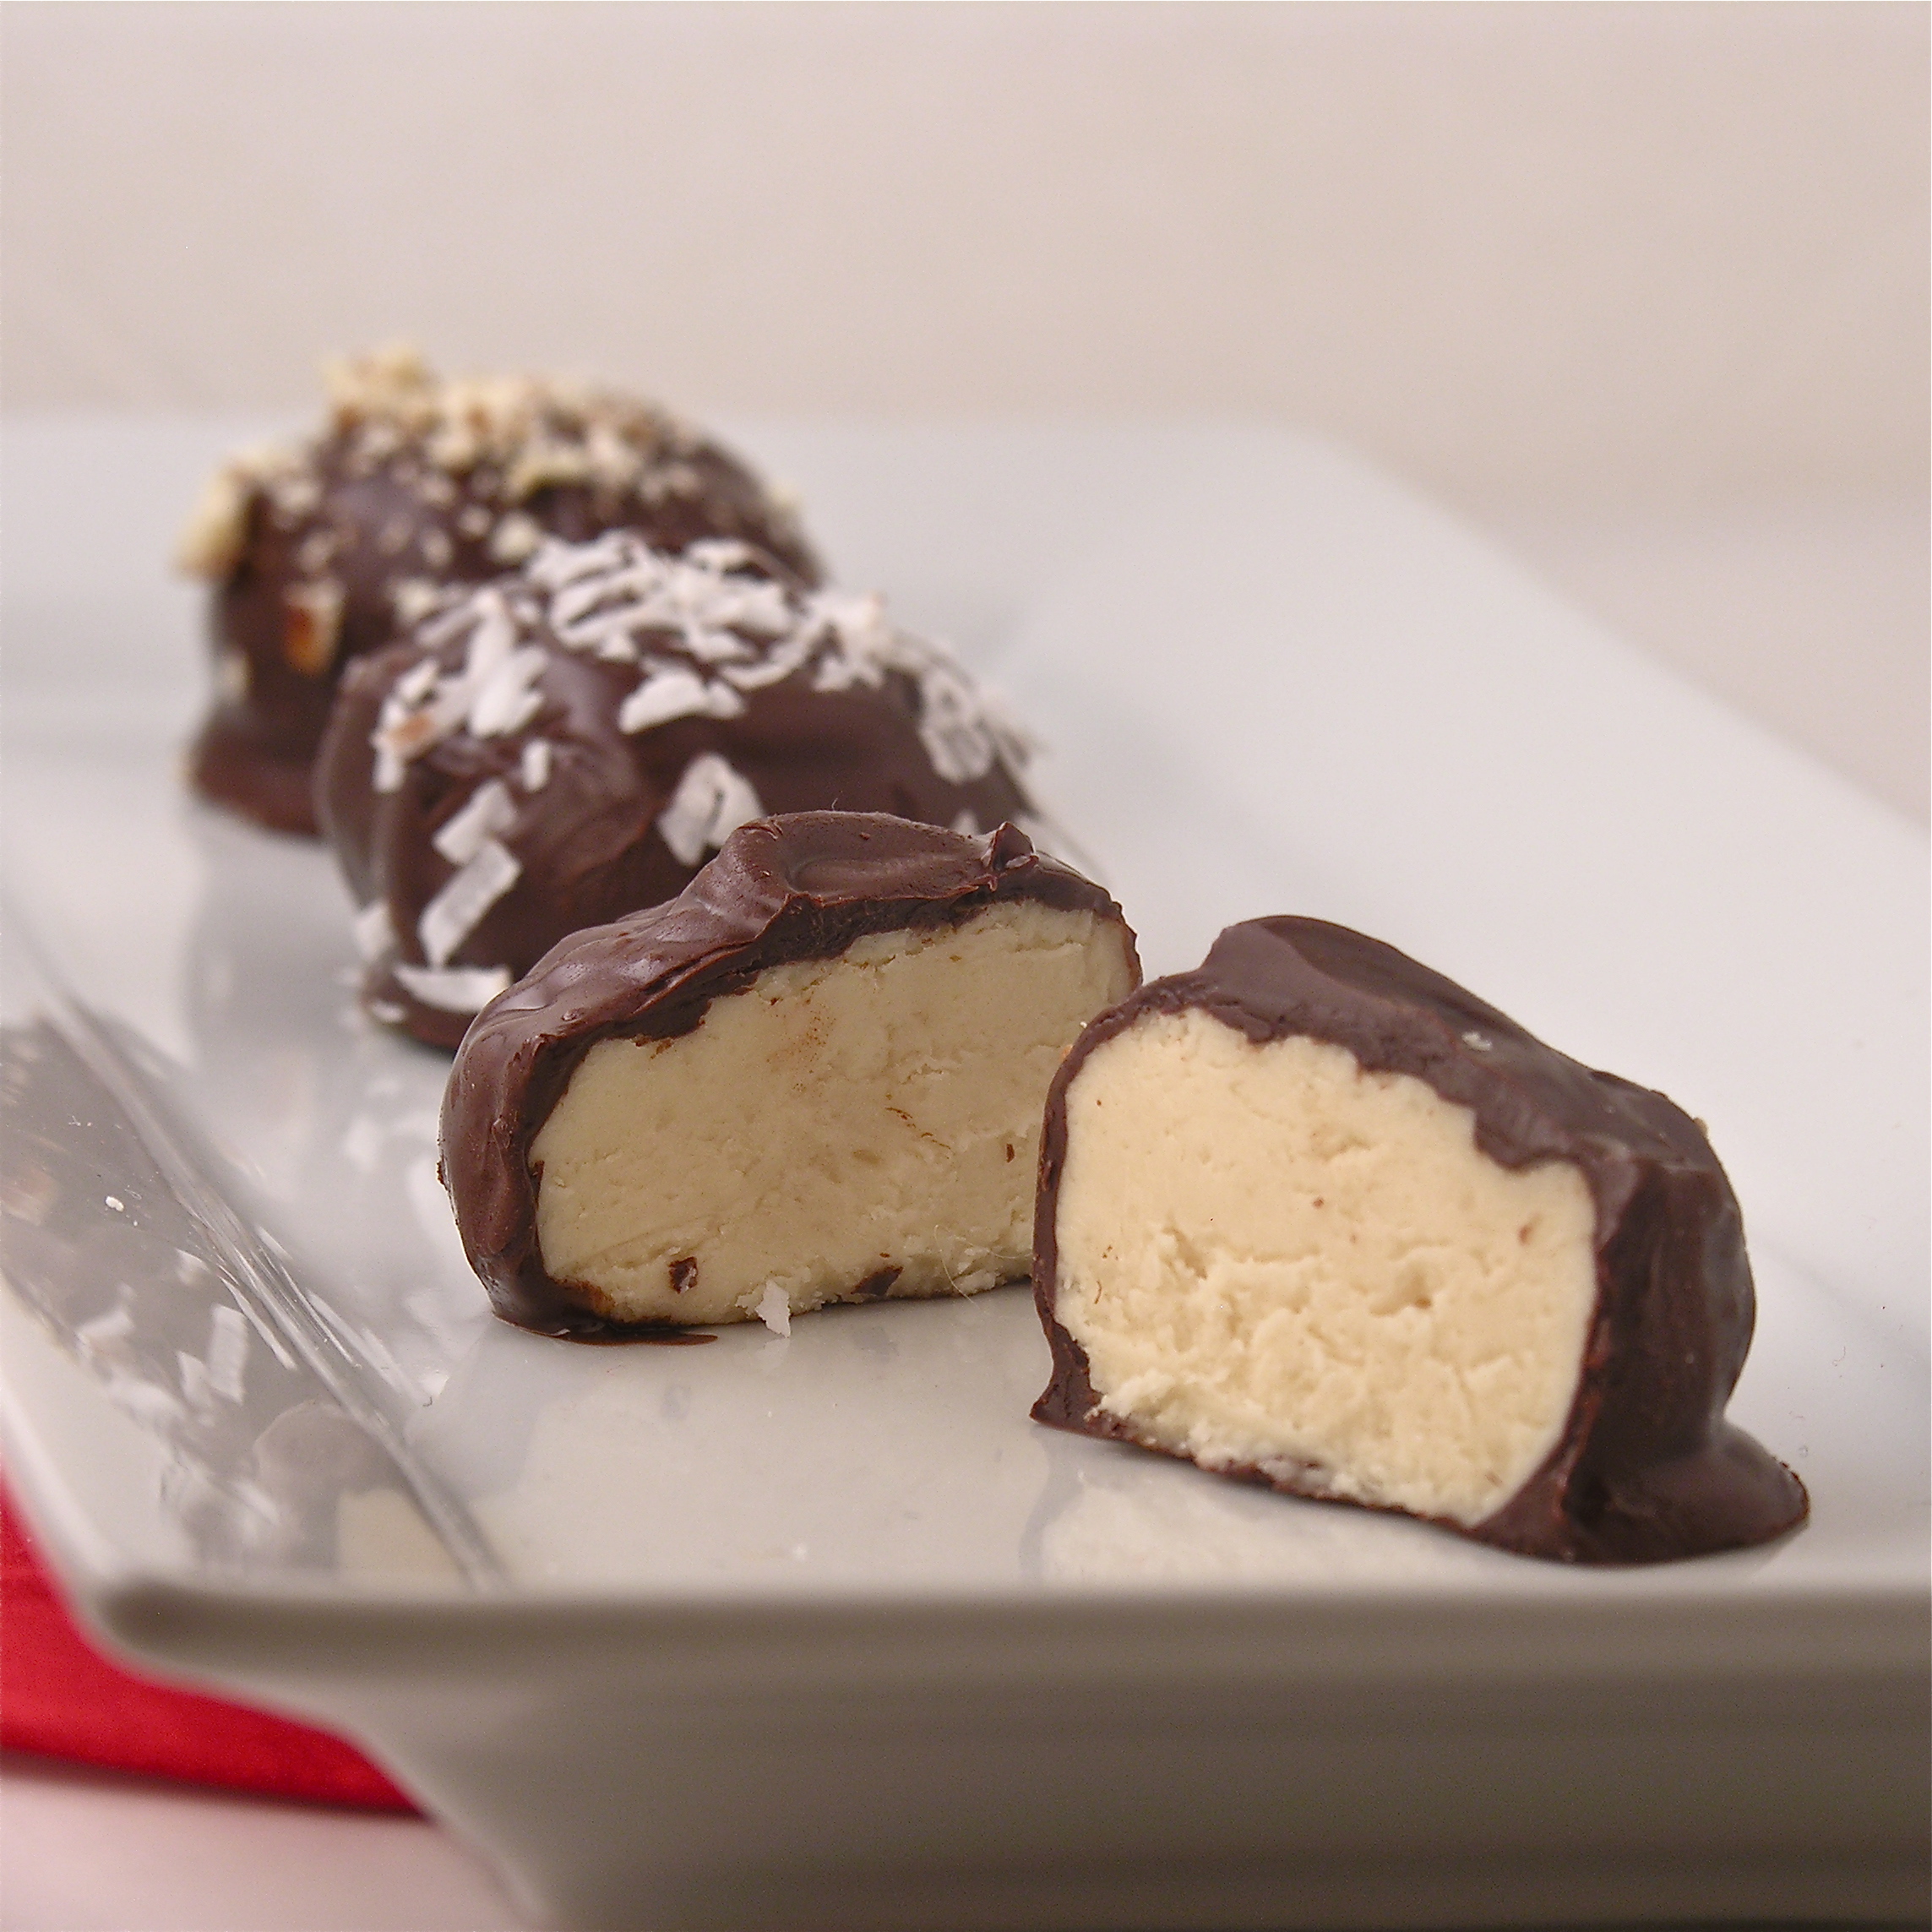
These cream-filled chocolates are so smooth and rich you won’t be able to stop at just one!

I work in a genetics lab.  Every year at Christmas my co-worker Gail brings in the most wonderful candy I’ve ever eaten.  Every year I ask for the recipe and she smiles and says that she can give me the recipe but that I’d need to visit and learn the recipe from her.  Now that I’ve made it, I understand.  This is not a typical Easybaked recipe, it’s very involved.  It’s fun and challenging and oh- soooo worth the effort though!

Gail recently retired and about a week ago I visited her in her kitchen to learn how to make opera creams.

This is a recipe passed down to her from her mom, who had all kinds of thoughts about the making of this candy.  My favorite was that the recipe works best on sunny days and if it’s raining you might as well just wait to make it another day.  We had a beautiful sunny December day to make our candy on, so I’m sure she would have approved.

Lets start with the recipe– that’s the easy part.  I’m going to post it twice– once with pictures and videos and once just straight so you can read it easier.

Gail's moms recipe card

INGREDIENTS:

  • 4 c. sugar
  • 2 c. heavy cream
  • 1/8 t. cream of tartar
  • 2 T light corn syrup
  • 1 1/2 t. vanilla
  • 1 t butter
  • 1/4 t. salt
  • Chocolate (of your choice) for dipping- we used tempered dark chocolate bits

DIRECTIONS:

  • Put sugar, cream, cream of tartar and corn syrup into a large saucepan and mix well.
  • Use a pastry brush and a little water to brush all of mixture down the sides of the pan to remove any sugar stuck to the sides.

Use a pastry brush to brush water down sides of panGail and her moms candy thermometer

  • Cover pan and bring to a boil.
  • When boiling, uncover and clip a candy thermometer to the side of the pan.
  • Bring mixture to 240F degrees
  • (While you are waiting for this to come to temp, butter the bottom and sides of a shallow glass or ceramic dish.)

Bring to 240F degreesDon't stir!!!

  • Remove from stove and add salt, butter and vanilla– do not stir!
  • Pour mixture into buttered dish (don’t use plastic!) and allow this to cool completely (we put it on the back porch where it was cool and this took 2 hours)
  • Spoon cooled mixture onto clean countertop (it will be like a very sticky caramel)

Pour into a non-plastic dishCooled mixtureKnead into a soft cream

  • Work with hands until firm and creamy- it takes 20-30 minutes and this is pure craziness….here are the stages to expect:
  1. sticky caramel- fairly firm
  2. slimy/ buttery texture– almost like its falling apart
  3. sticky but workable
  4. so sticky that you literally cannot move your fingers and you are sure you will have to get the mixture surgically removed.
  5. no longer sticky- but like playdough with little crumbs falling off at the edges…keep kneading!
  6. Finally creamy and smooth- kneads together in one beautiful dough- like ball.

I filmed Gail as she went through this process.  Click HERE to see the near-miraculous transformation from sticky to creamy smooth!

  • Place this ball of filling in a dish, cover with a damp towel and refrigerate for 2 days….yes. TWO DAYS.
  • Bring cream filling back to room temp and roll into balls.

Roll into ballsDip into chocolate...

  • Dip into melted chocolate and cool.
  • You can mix nuts or coconut into the cream if you like, or just leave them plain.


Opera Cream CandyMy thoughts: amazingly yummy.  The cream is just like no other candy I’ve tried.  It is worth every bit if the effort it took us to make these.  I found myself cringing as people popped them whole into their mouths though…I kept thinking, “SAVOR those!!!  You’ve no idea how hard I worked on them!!!”  So hard, in fact that I took a two hour nap when I got home!

Opera cream CandyNow for the recipe in an easy-to-read format:

INGREDIENTS:

  • 4 c. sugar
  • 2 c. heavy cream
  • 1/8 t. cream of tartar
  • 2 T light corn syrup
  • 1 1/2 t. vanilla
  • 1 t butter
  • 1/4 t. salt
  • Chocolate (of your choice) for dipping- we used dark tempered chocolate bits

DIRECTIONS:

  • Put sugar, cream, cream of tartar and corn syrup to a large saucepan and mix well.
  • Use a pastry brush and a little water to brush all of mixture down the sides of the pan to remove any sugar stuck to the sides.
  • Cover pan and bring to a boil.
  • When boiling, uncover and clip a candy thermometer to the side of the pan.
  • Bring mixture to 240F degrees
  • (While you are waiting for this to come to temp, butter the bottom and sides of a shallow glass or ceramic dish.)
  • Remove from stove and add butter and vanilla– do not stir!
  • Pour mixture into buttered dish (don’t use plastic!) and allow this to cool completely (we put it on the back porch where it was cool and this took 2 hours)
  • Spoon cooled mixture onto clean countertop (it will be like a very sticky caramel)
  • Work with hands until firm and creamy.
  • Place this ball of filling in a dish, cover with a damp towel and refrigerate for 2 days.
  • Bring cream filling to room temp and roll into balls.
  • Dip into melted chocolate and cool.
  • You can mix nuts or coconut into the cream if you like, or just leave them plain.

Opera Cream Candy

A huge “thank-you” to Gail for spending so much time teaching me her family recipe!  We had such a fun day together cooking AND trying lime phosphates while we waited for candy to cool!

Having fun while the candy cools!

Enjoy!!!!!  ~r

Other (easier!) Christmas recipe ideas from Easybaked~ Click on the image to be taken to the recipe:

Chocolate molten lava cupcakesCake balls filled with cream cheese frostingChocolate bonbonsHot Chocolate Pops!

Gingerbread Cake Roll with Maple Cream Filling

Gingerbread Cake Roll A moist gingerbread cake rolled around sweet maple cream filling– a perfect Christmas treat!

Over a year ago I made gingerbread cookies with a maple cream filling for Halloween.  I’ve had so many requests for those cookies that I decided to use those flavors again in a cake form.  If you’re turning your nose up at the ginger/ maple flavor combination you simply MUST try one of these two recipes.  The flavors together are wonderful!  Cake rolls are really very easy to make. If you’ve never made one click here to get some photos of my technique with a pumpkin cake roll.

INGREDIENTS:

Roll:

  • 1 1/4c. flour
  • 1 1/4 t. baking soda
  • 1 T. ground ginger
  • 1 T. ground cinnamon
  • 1 t. ground cloves
  • 1 egg
  • 1/2 c. warm water
  • 1/3 c. sugar
  • 1/3 c. molasses

Filling:

  • 2 c. powdered sugar
  • 1/3 c. butter (melted)
  • 1 t. maple flavoring
  • 1/2c. white chocolate chips (melted)
  • 1-2 T. water to get spreadable consistency.

DIRECTIONS:

  • Preheat oven to 350F degrees. Line a 10×15 inch jellyroll pan with waxed paper and spray lightly with non-stick spray.
  •  Blend together flour, baking soda, ginger, cinnamon and cloves.
  • Beat together egg and warm water in a large bowl, then whisk in white sugar, and molasses.
  • Fold in the blended dry ingredients until smooth, then pour batter into prepared pan.
  • Bake for 15 minutes (until the cake springs back to the touch).
  • Remove from oven and immediately -with wax paper on- roll gingerbread cake up from short end of pan to short end of pan (you will probably burn your fingers a little- I usually do!) Roll this up in a clean towel to hold it tightly together.
  • Refrigerate for 1 hour.
  • While roll is chilling, make filling:
  • Add powdered sugar, melted butter, melted chips and maple flavoring together and blend.
  • Add a little bit of water to make filling into a spreadable consistency.
  • After one hour, remove roll and unroll it carefully.
  • Spread filling over top of opened roll and then re-roll this up *removing the wax paper as you roll*
  • Place this back in the refrigerator for about 4-6 hours minimum.
  • Drizzle with a little powdered sugar glaze or sprinkle with powdered sugar and cut into slices to serve.

Gingerbread Cake RollMy thoughts:  YUM!!!  I can’t wait to make this again- its really fun to put together and to serve.  It’s such a unique and memorable dessert.  If you want something that will stand out on the dessert table this Christmas, this is it!  ENJOY!!!  ~r

Want to try this in cookie form?  I made these with Halloween Linzer cookie cutters, but they would be really fun with Christmas ones!  Click on the photo and you’ll be taken to the recipe….enjoy!

Ginger Maple Cookies

Peppermint Hot Chocolate Cupcakes

Posted on

Rich chocolate cupcakes filled with peppermint cream and topped with a chocolate frosting made with hot chocolate mix ~ a perfect winter treat!

(the hot cocoa frosting is to DIE for…just thought you should know that right up front….!)

I love hot chocolate…. it is one of my favorite parts of winter.  My friend Dawn recently suggested we participate in a Hot Chocolate Run.  If you’ve never heard of this (I hadn’t!) let me show you a little of the amazingness that makes up a Hot Chocolate Run.

Hot Chocolate RaceStarting line of the Hot Chocolate Race

Finisher's MugYUM!!!!

Nothing motivates better than chocolate, I always say!  Who needs a medal when you can have a big cup of cocoa and warm chocolate fondue after a race?

In any case, I’ve been moderately addicted to hot cocoa ever since that weekend.  We all know what happens when I get a flavor stuck in my mind right?  Cupcakes happen.  Hot Chocolate Cupcakes in this case– with some peppermint as a bonus.  If you don’t like peppermint you can easily leave it out of this recipe, but I love the combination!  Are you ready to make these?  Here we go.

INGREDIENTS:

  • One boxed dark chocolate cake mix (plus oil, water and eggs needed to make mix according to box)
  • One packet of Dream Whip (what is Dream Whip? Click HERE)
  • 1/2c. cold milk
  • 3 t. vanilla (divided)
  • 3 tablespoons of finely crushed peppermint candies (I used Peppermint Sprinkles )
  • 1 stick (4 oz.) of salted butter at room temp.
  • 1 stick (4 oz.) of unsalted butter at room temp.
  • 1 cup powdered sugar
  • 1/2 cup of hot cocoa mix (I used Nestle)
  • Kraft Mallow Bits  and peppermint candies to decorate as desired.

DIRECTIONS:

  • Make cake mix according to box, and bake in 24 cupcake liners in muffin tins.
  • Cool cupcakes completely.
  • Make cream filling by placing Dream whip, milk and 1 t. vanilla in a mixing bowl and beating on high until light and fluffy.
  • Add finely crushed  peppermint candy and gently fold in until well combined.
  • Hollow a core out of each cupcake (I used a Chicago Metallic Cupcake Plunger that was recommended to me by a friend– LOVED it!)

Chicago Metallic Cupcake PlungerSo easy to core cupcakes!

(If you have baking friends this is SUCH an inexpensive and fun stocking stuffer idea– it only took me about 5 minutes to core all 24 cupcakes– and I stopped to take pictures!)

  • Pipe filling into each cupcake core.
  • Make frosting by combining butters, powdered sugar, cocoa mix and 2 t. vanilla in a large bowl and beating on high until fluffy.
  • Pipe frosting over cupcakes and decorate as desired.  (The mallow bits were really yummy with this frosting!


Peppermint Hot Chocolate Cupcakes!!!

My thoughts:  Fun and yummy winter treat!!  Not a fan of peppermint?  Just leave the crushed peppermint out of the filling and you have a yummy whipped cream taste with your hot chocolate frosting instead!  

One note:  Put the peppermints on just before serving as the frosting eventually makes them a little sticky.  I hope you and your family love these little treats!  Enjoy!!!  ~r