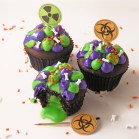
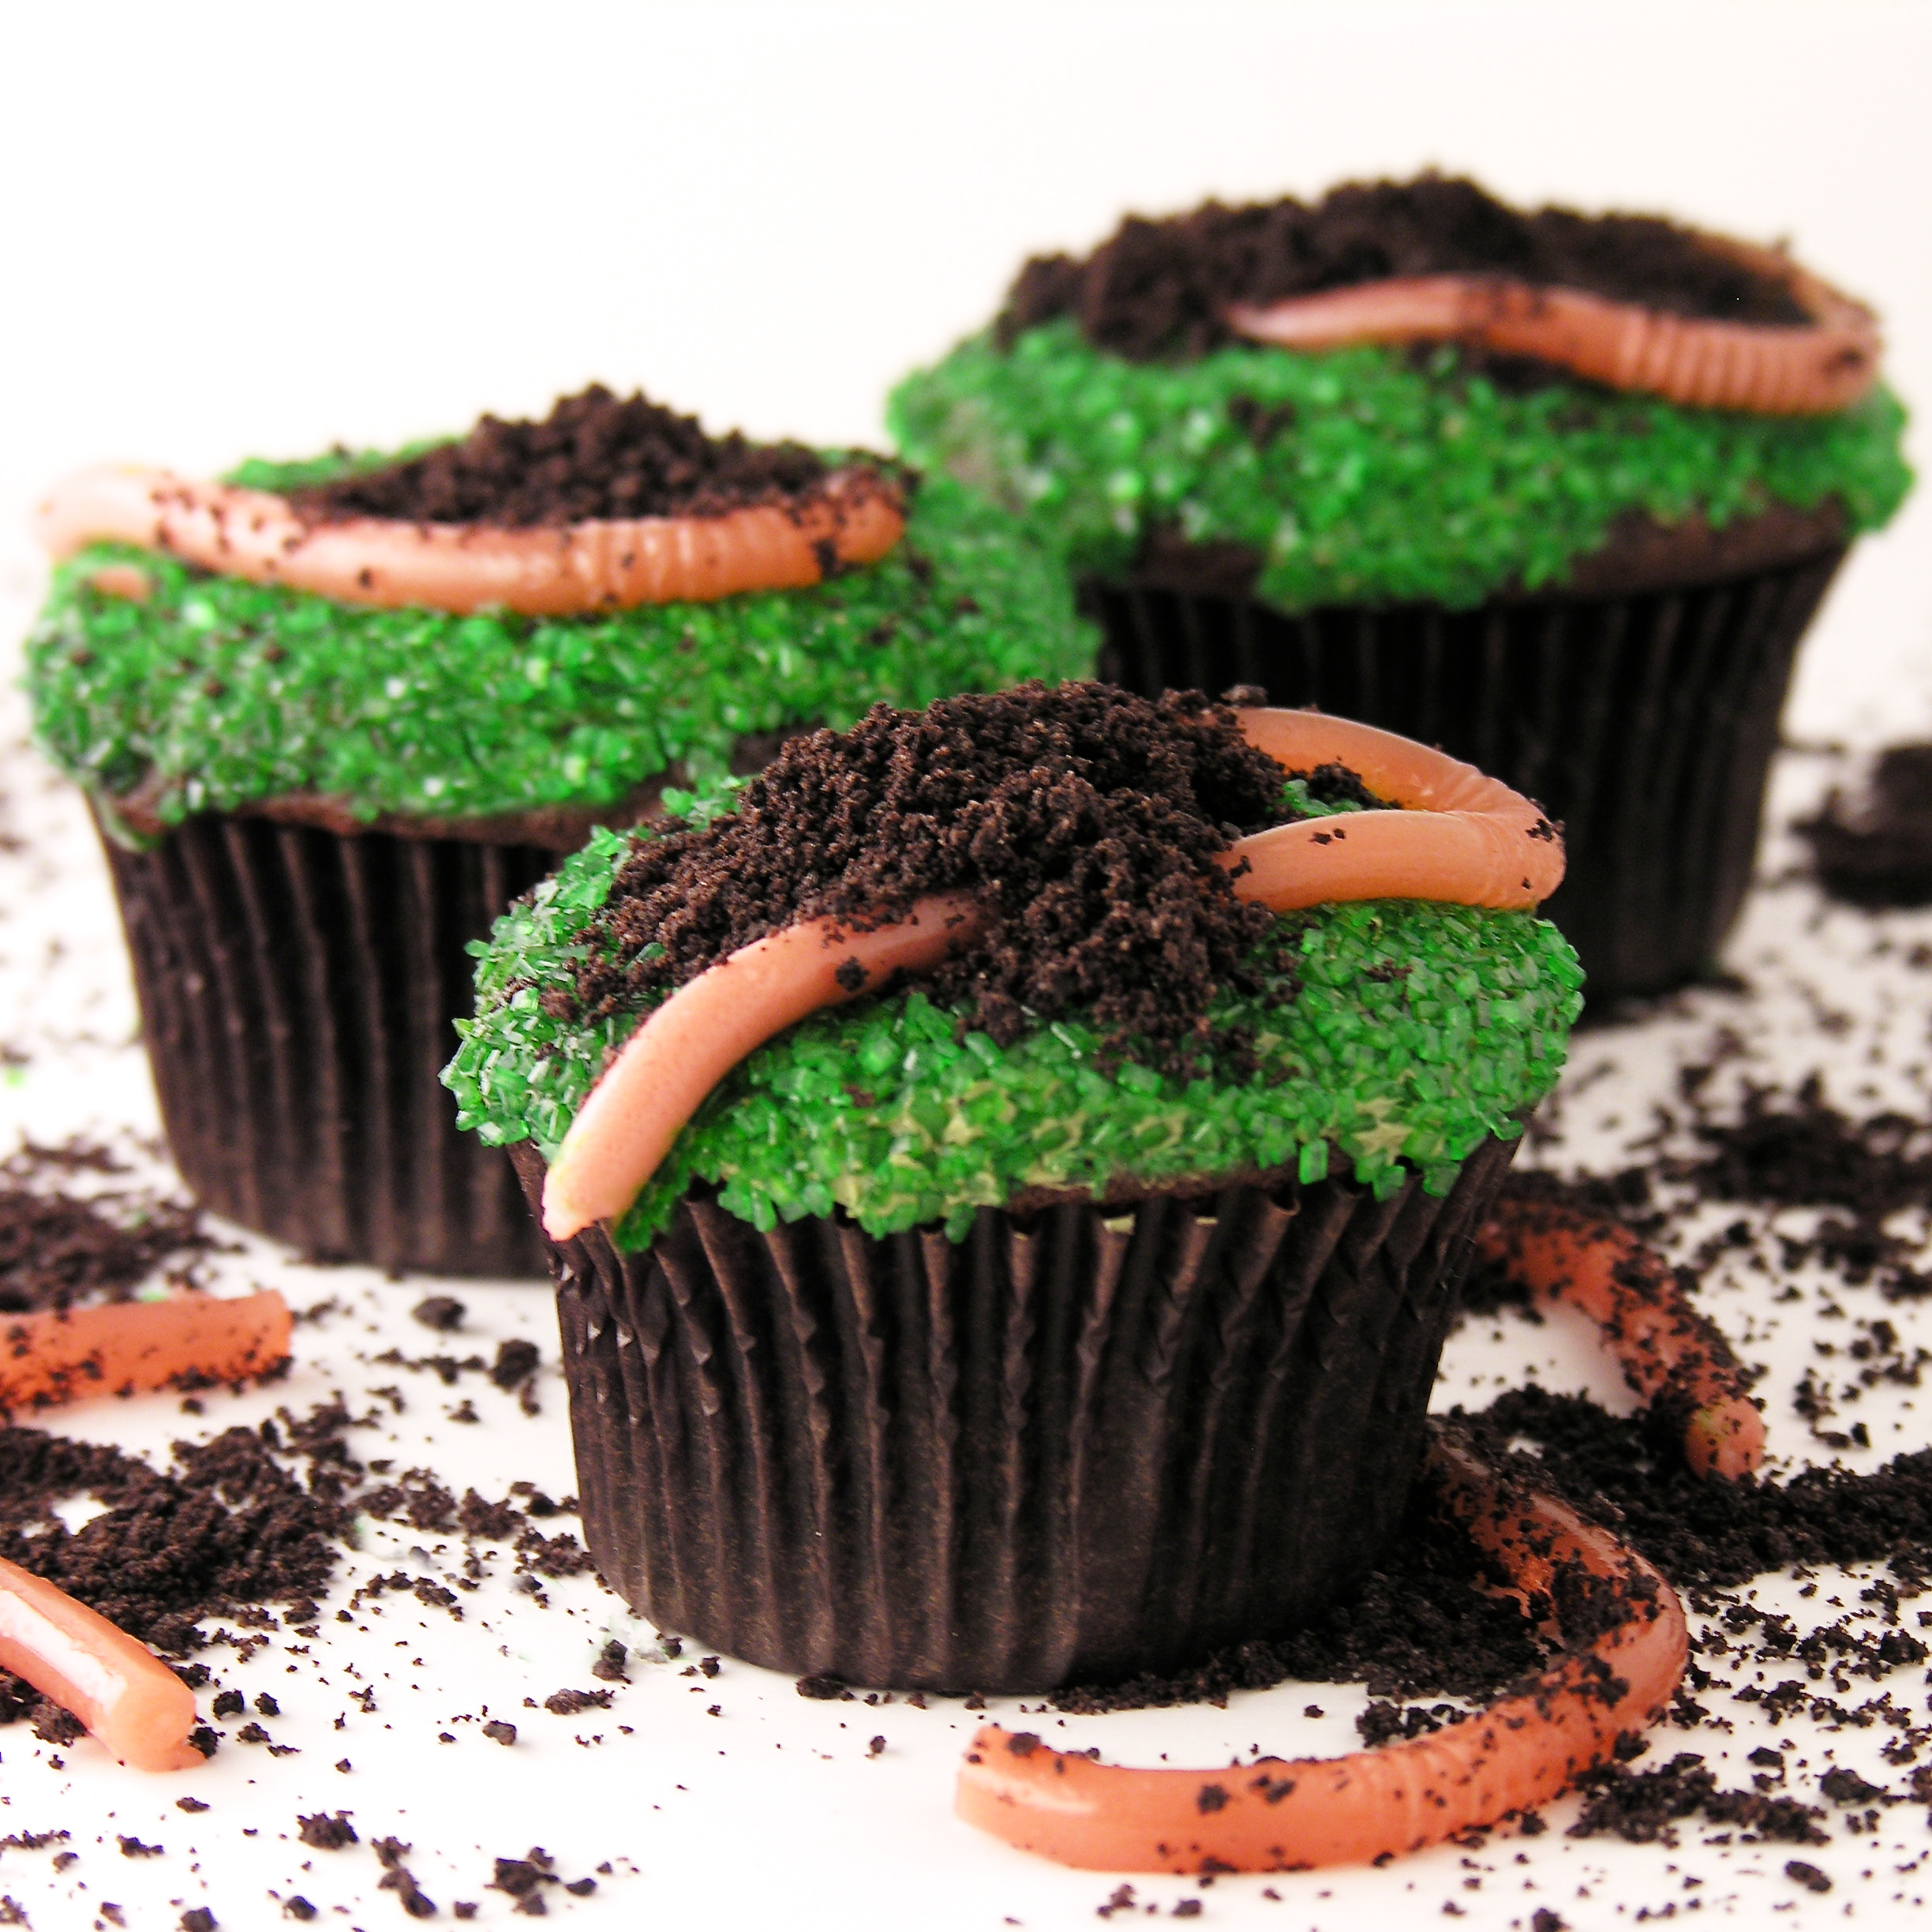
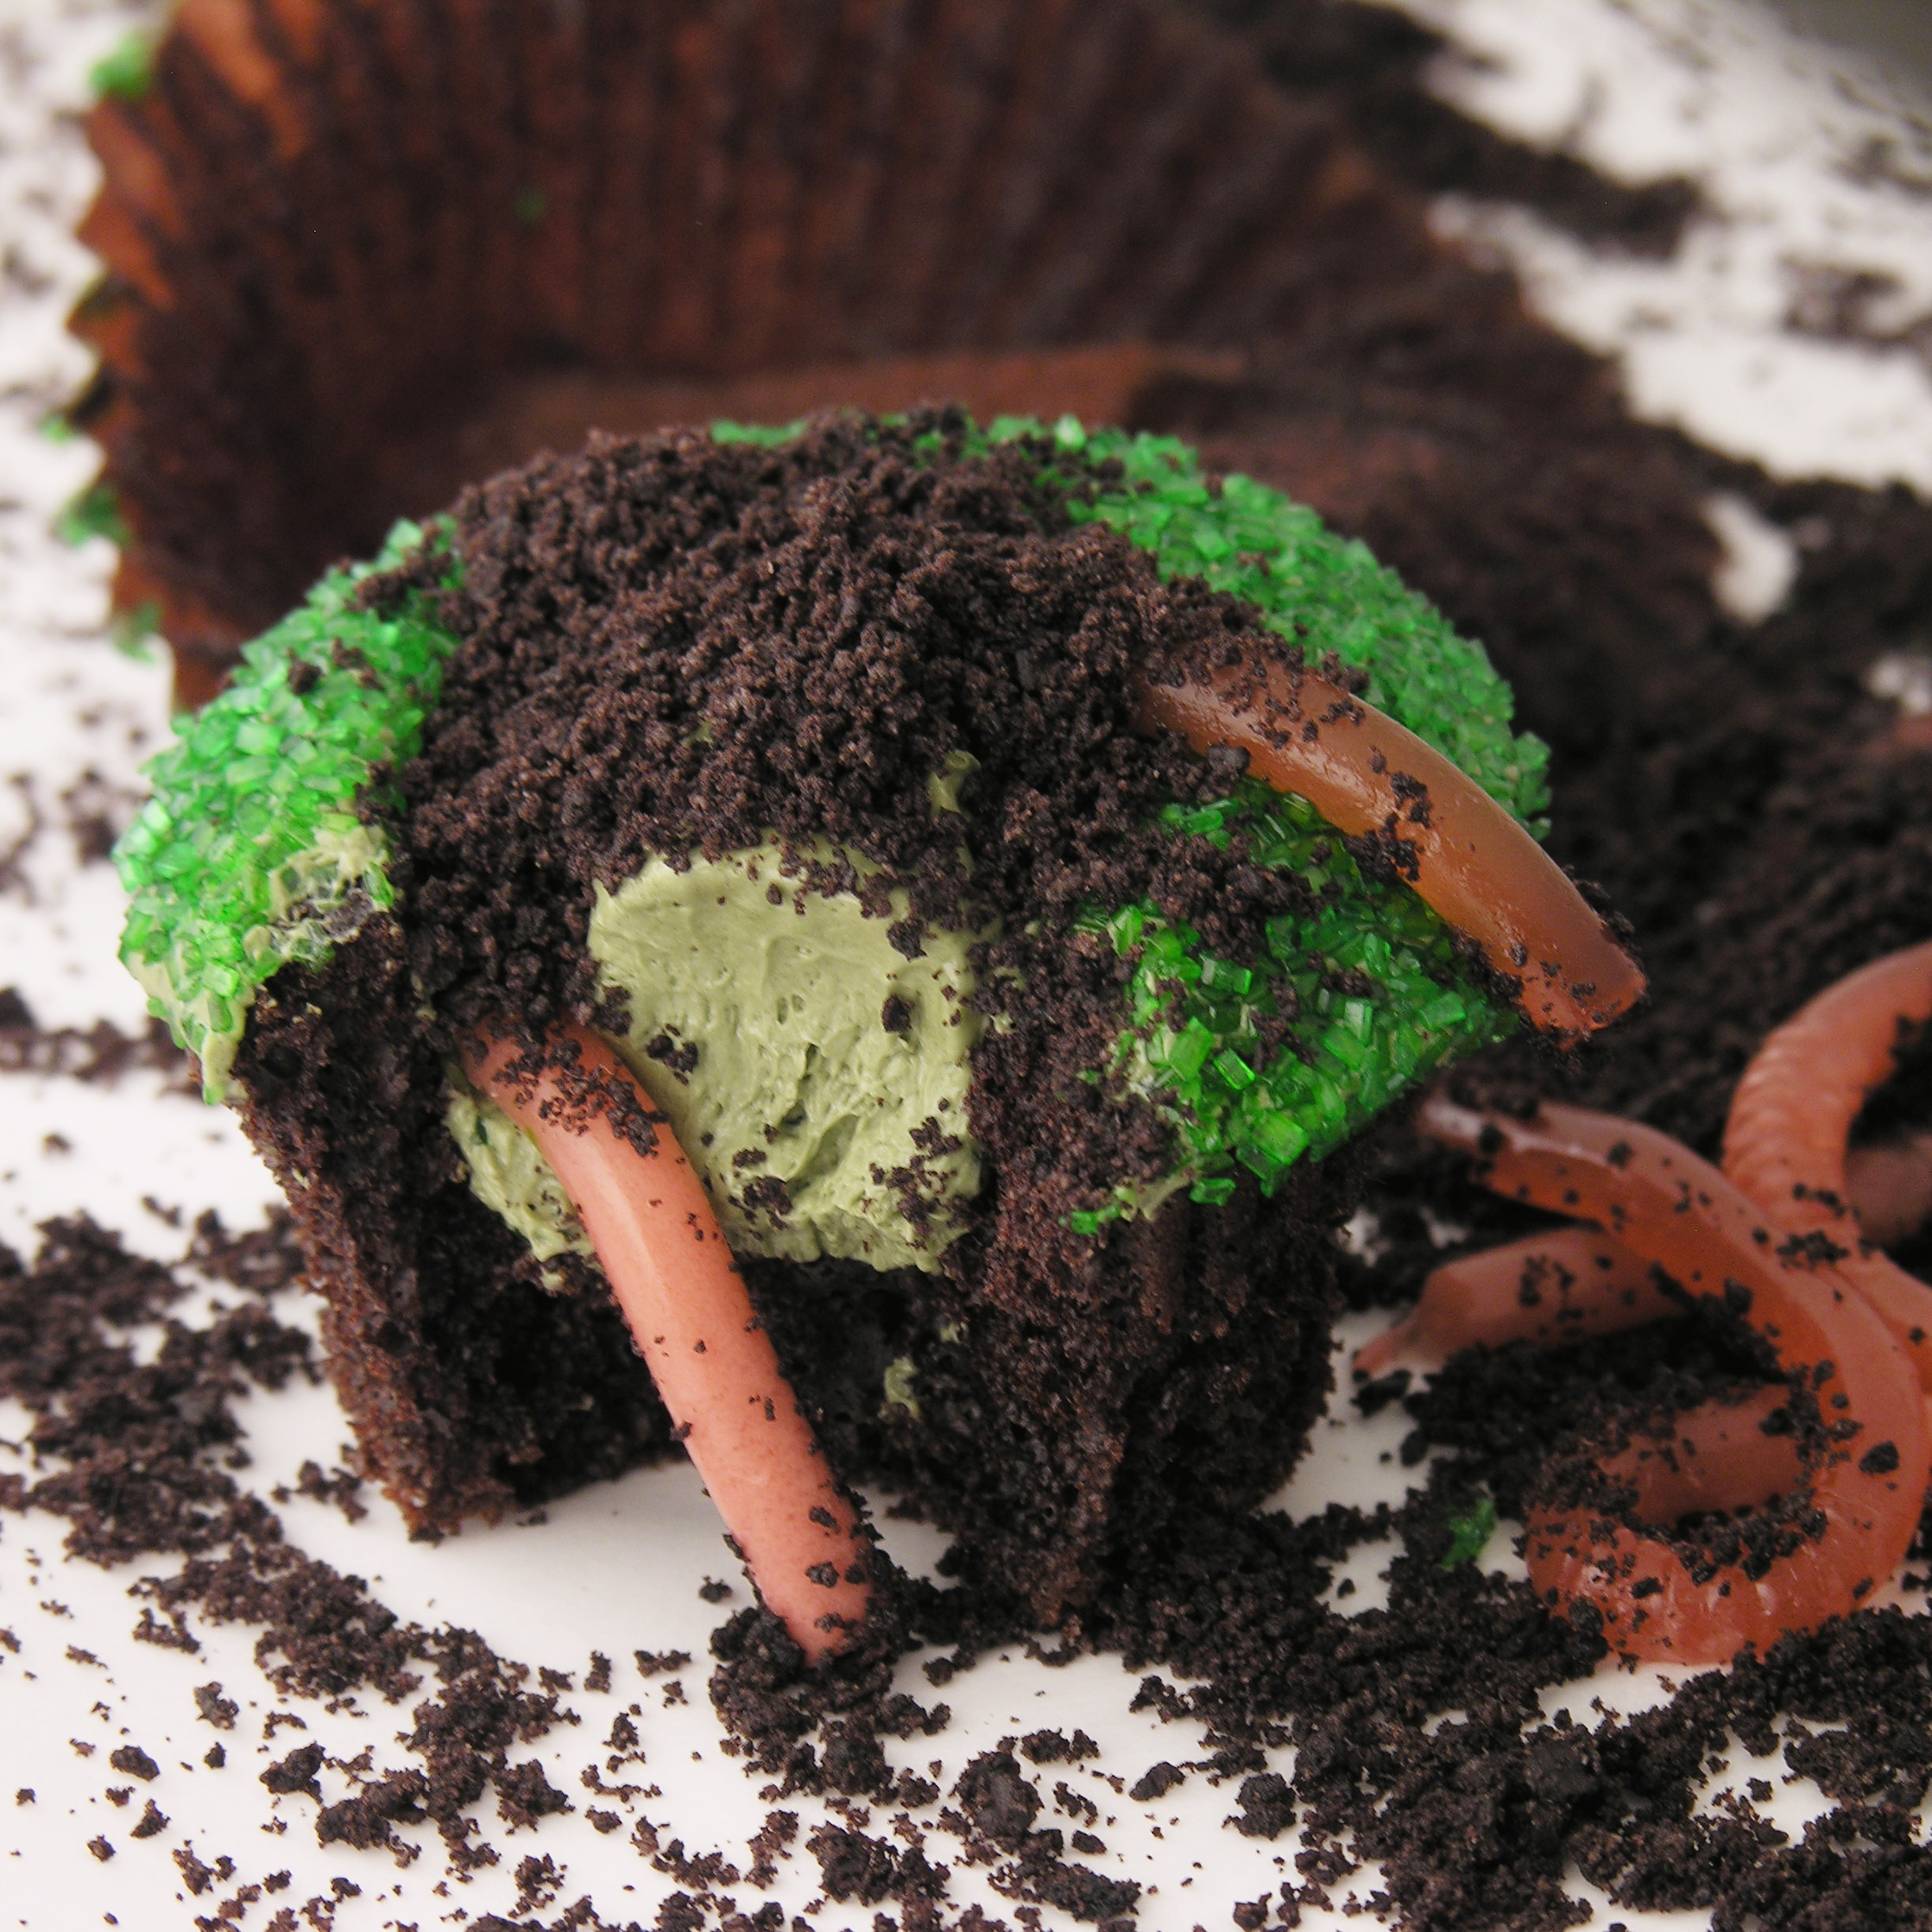
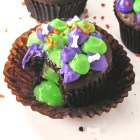
 These fun little cupcakes will entertain your family and friends with slimy (raspberry!) earthworms poking out of the top!
Well, it’s October, and that means it is time for creatively creepy edibles! Last year I had SO much fun with my Broken Glass Cupcakes and my Toxic Slime Cupcakes! Oh my goodness, I love both of those recipes so much that it was hard to think of anything that fun and creepy for this year!!!
I loved the idea of worm-filled cupcakes and decided that gummy worms are way too cheery, with all their fun bright colors. I wanted WORMS- big fat earthworms- in my cupcakes.
I’m not sure why these are not readily available for purchase in the candy aisle of my grocery store, but fortunately I found a TON of recipes for make-your-own gummy earthworms online. I read about 10 recipes (they were all very similar) and gave it a shot.

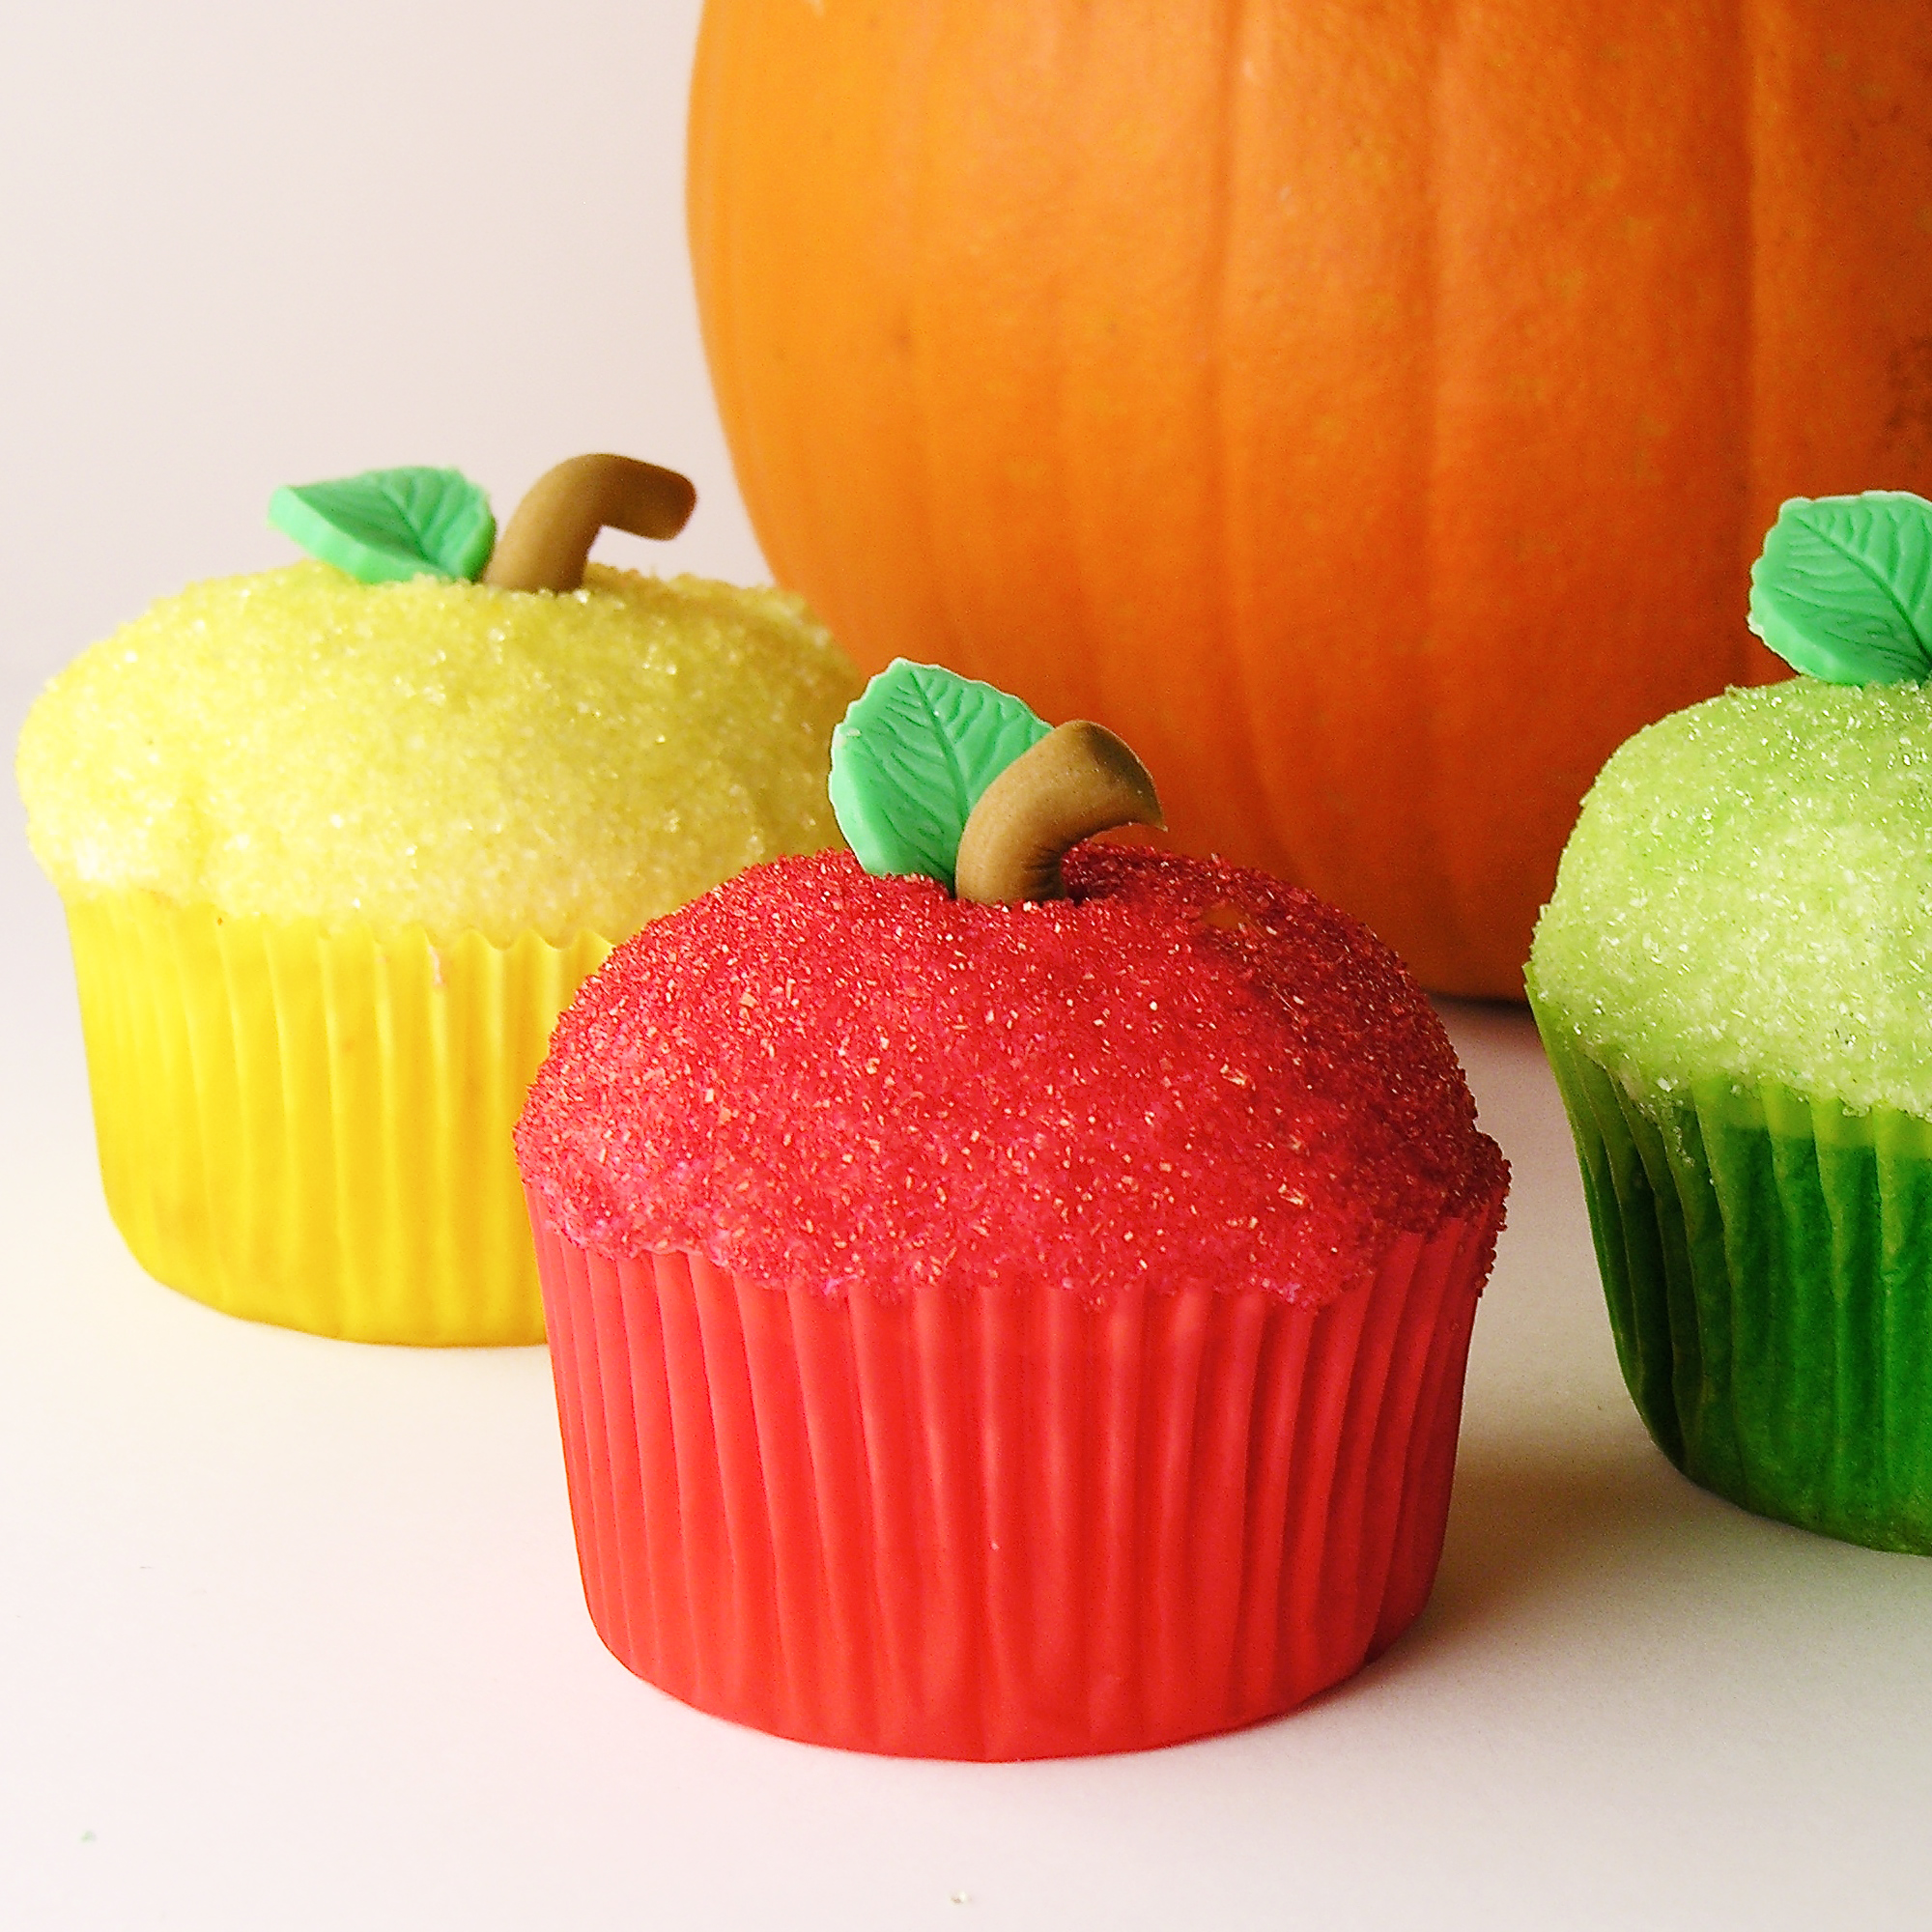
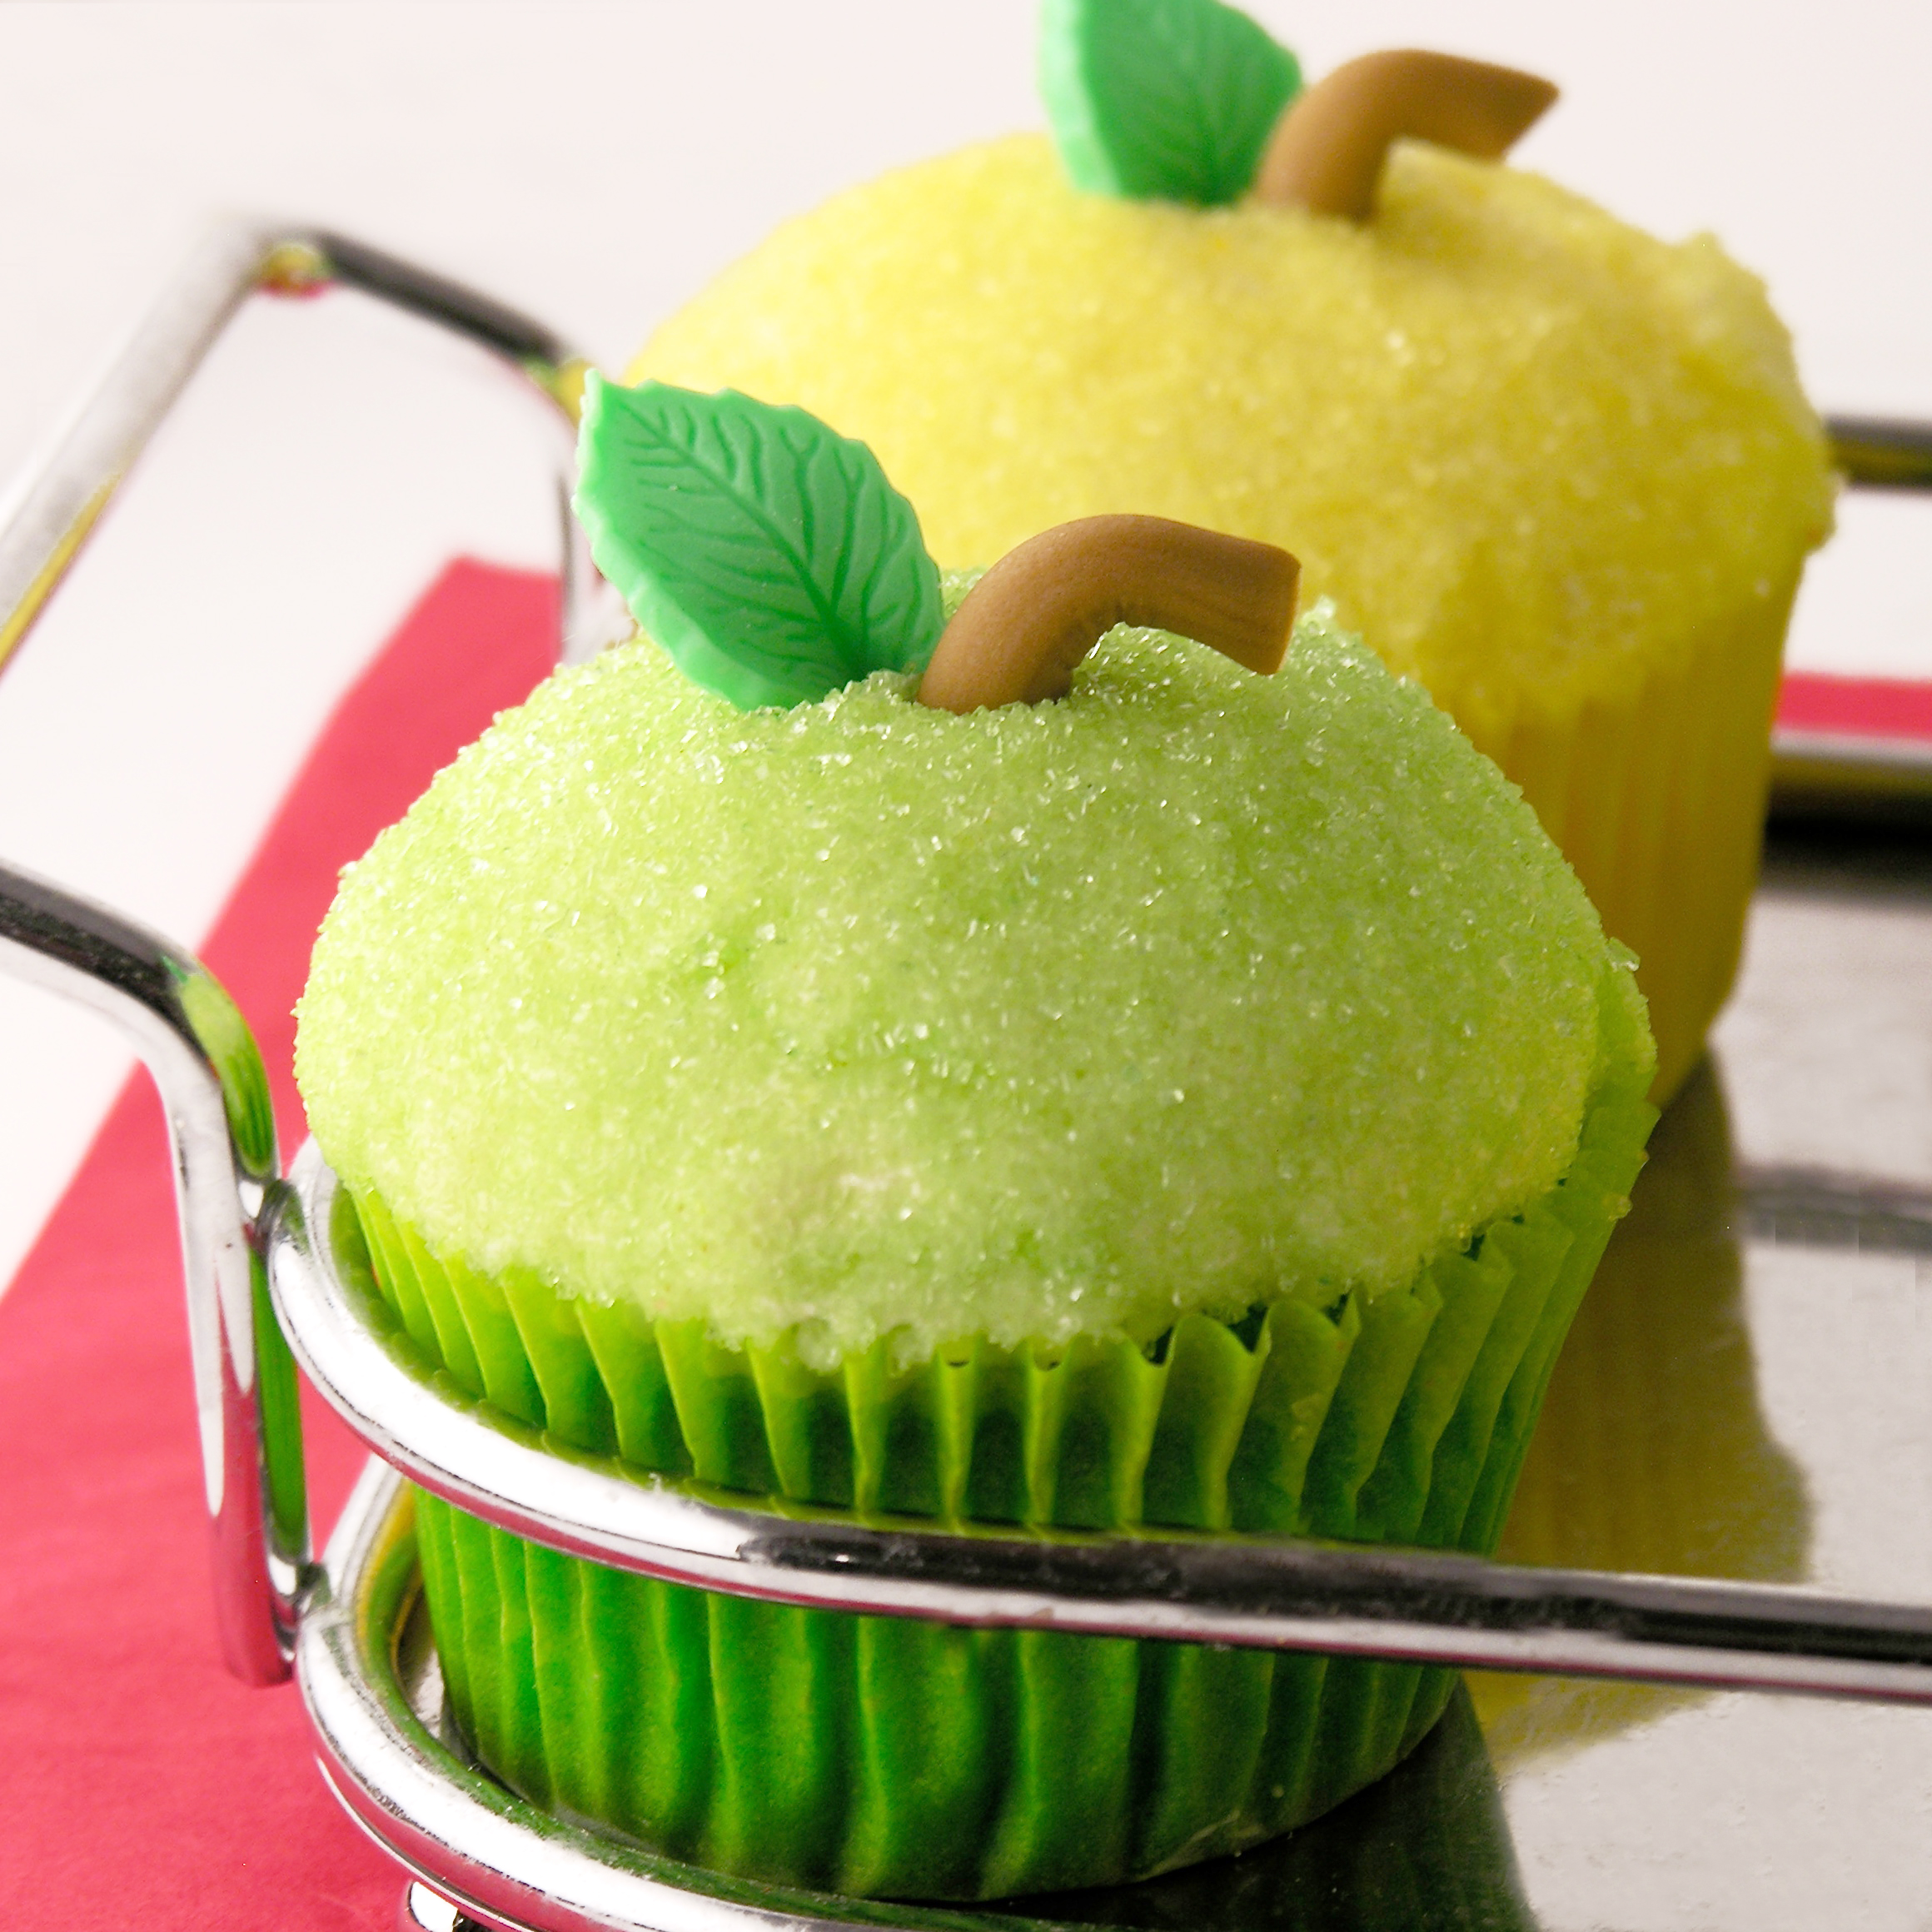
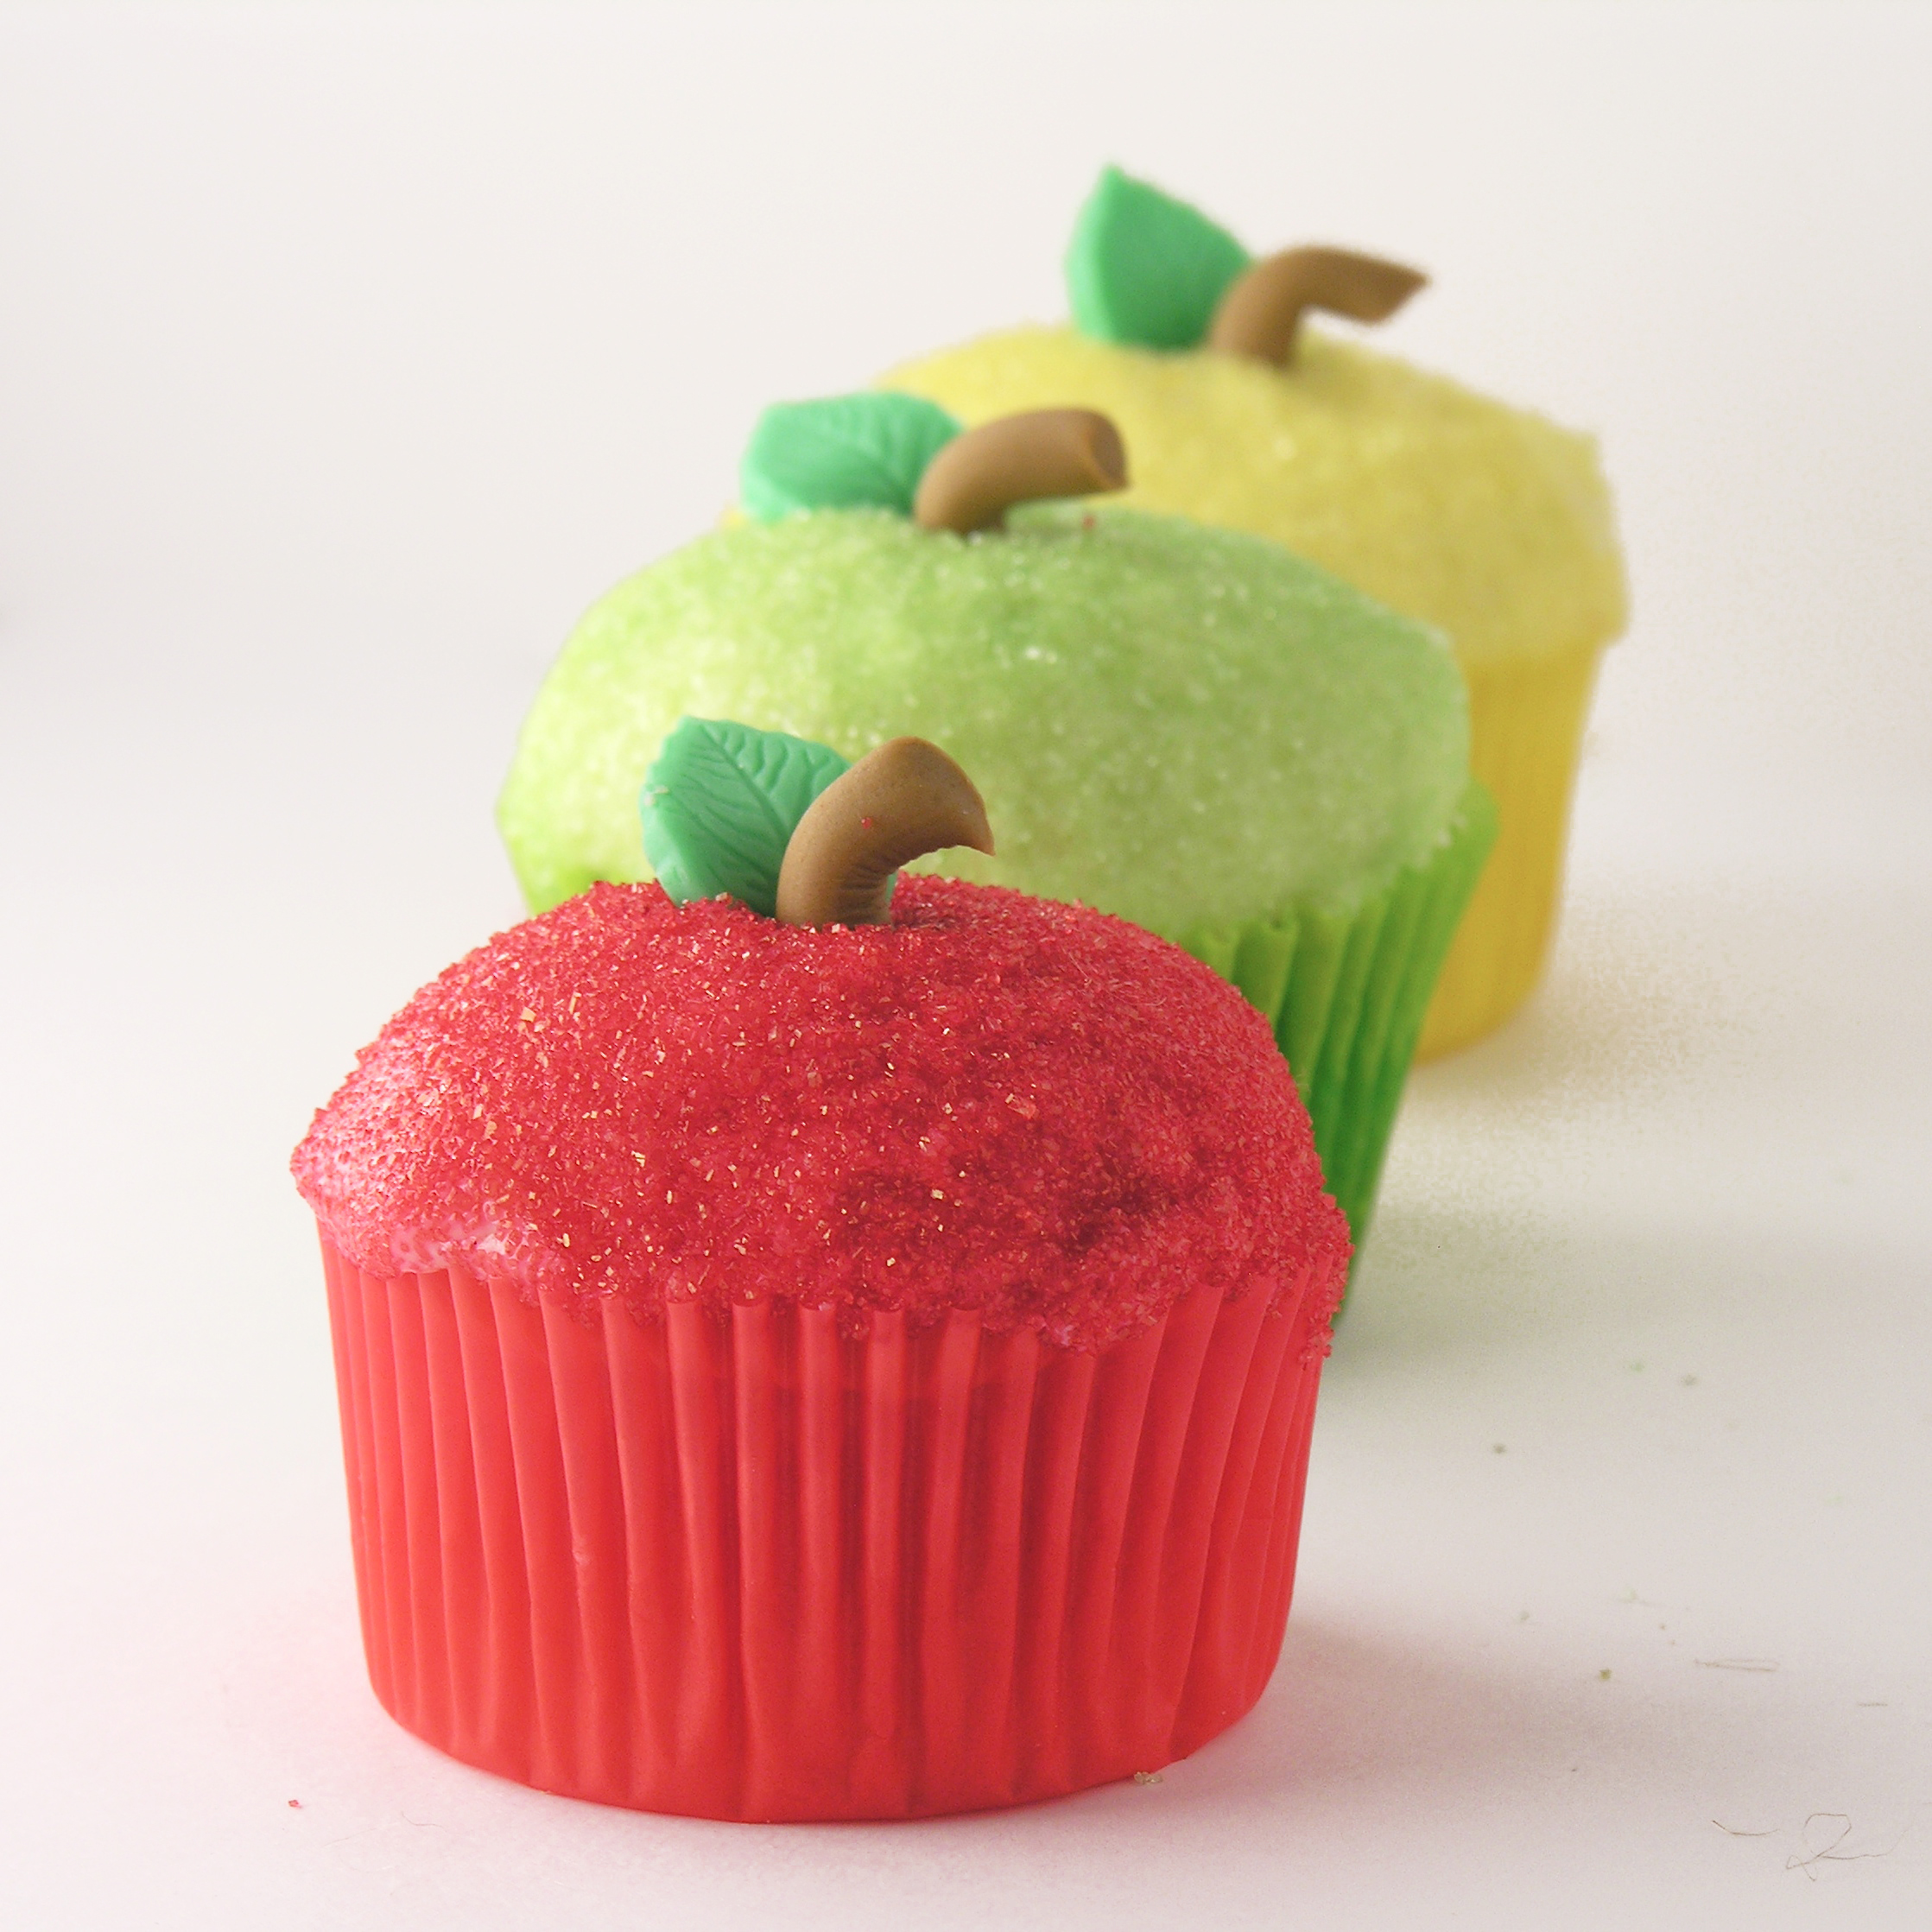
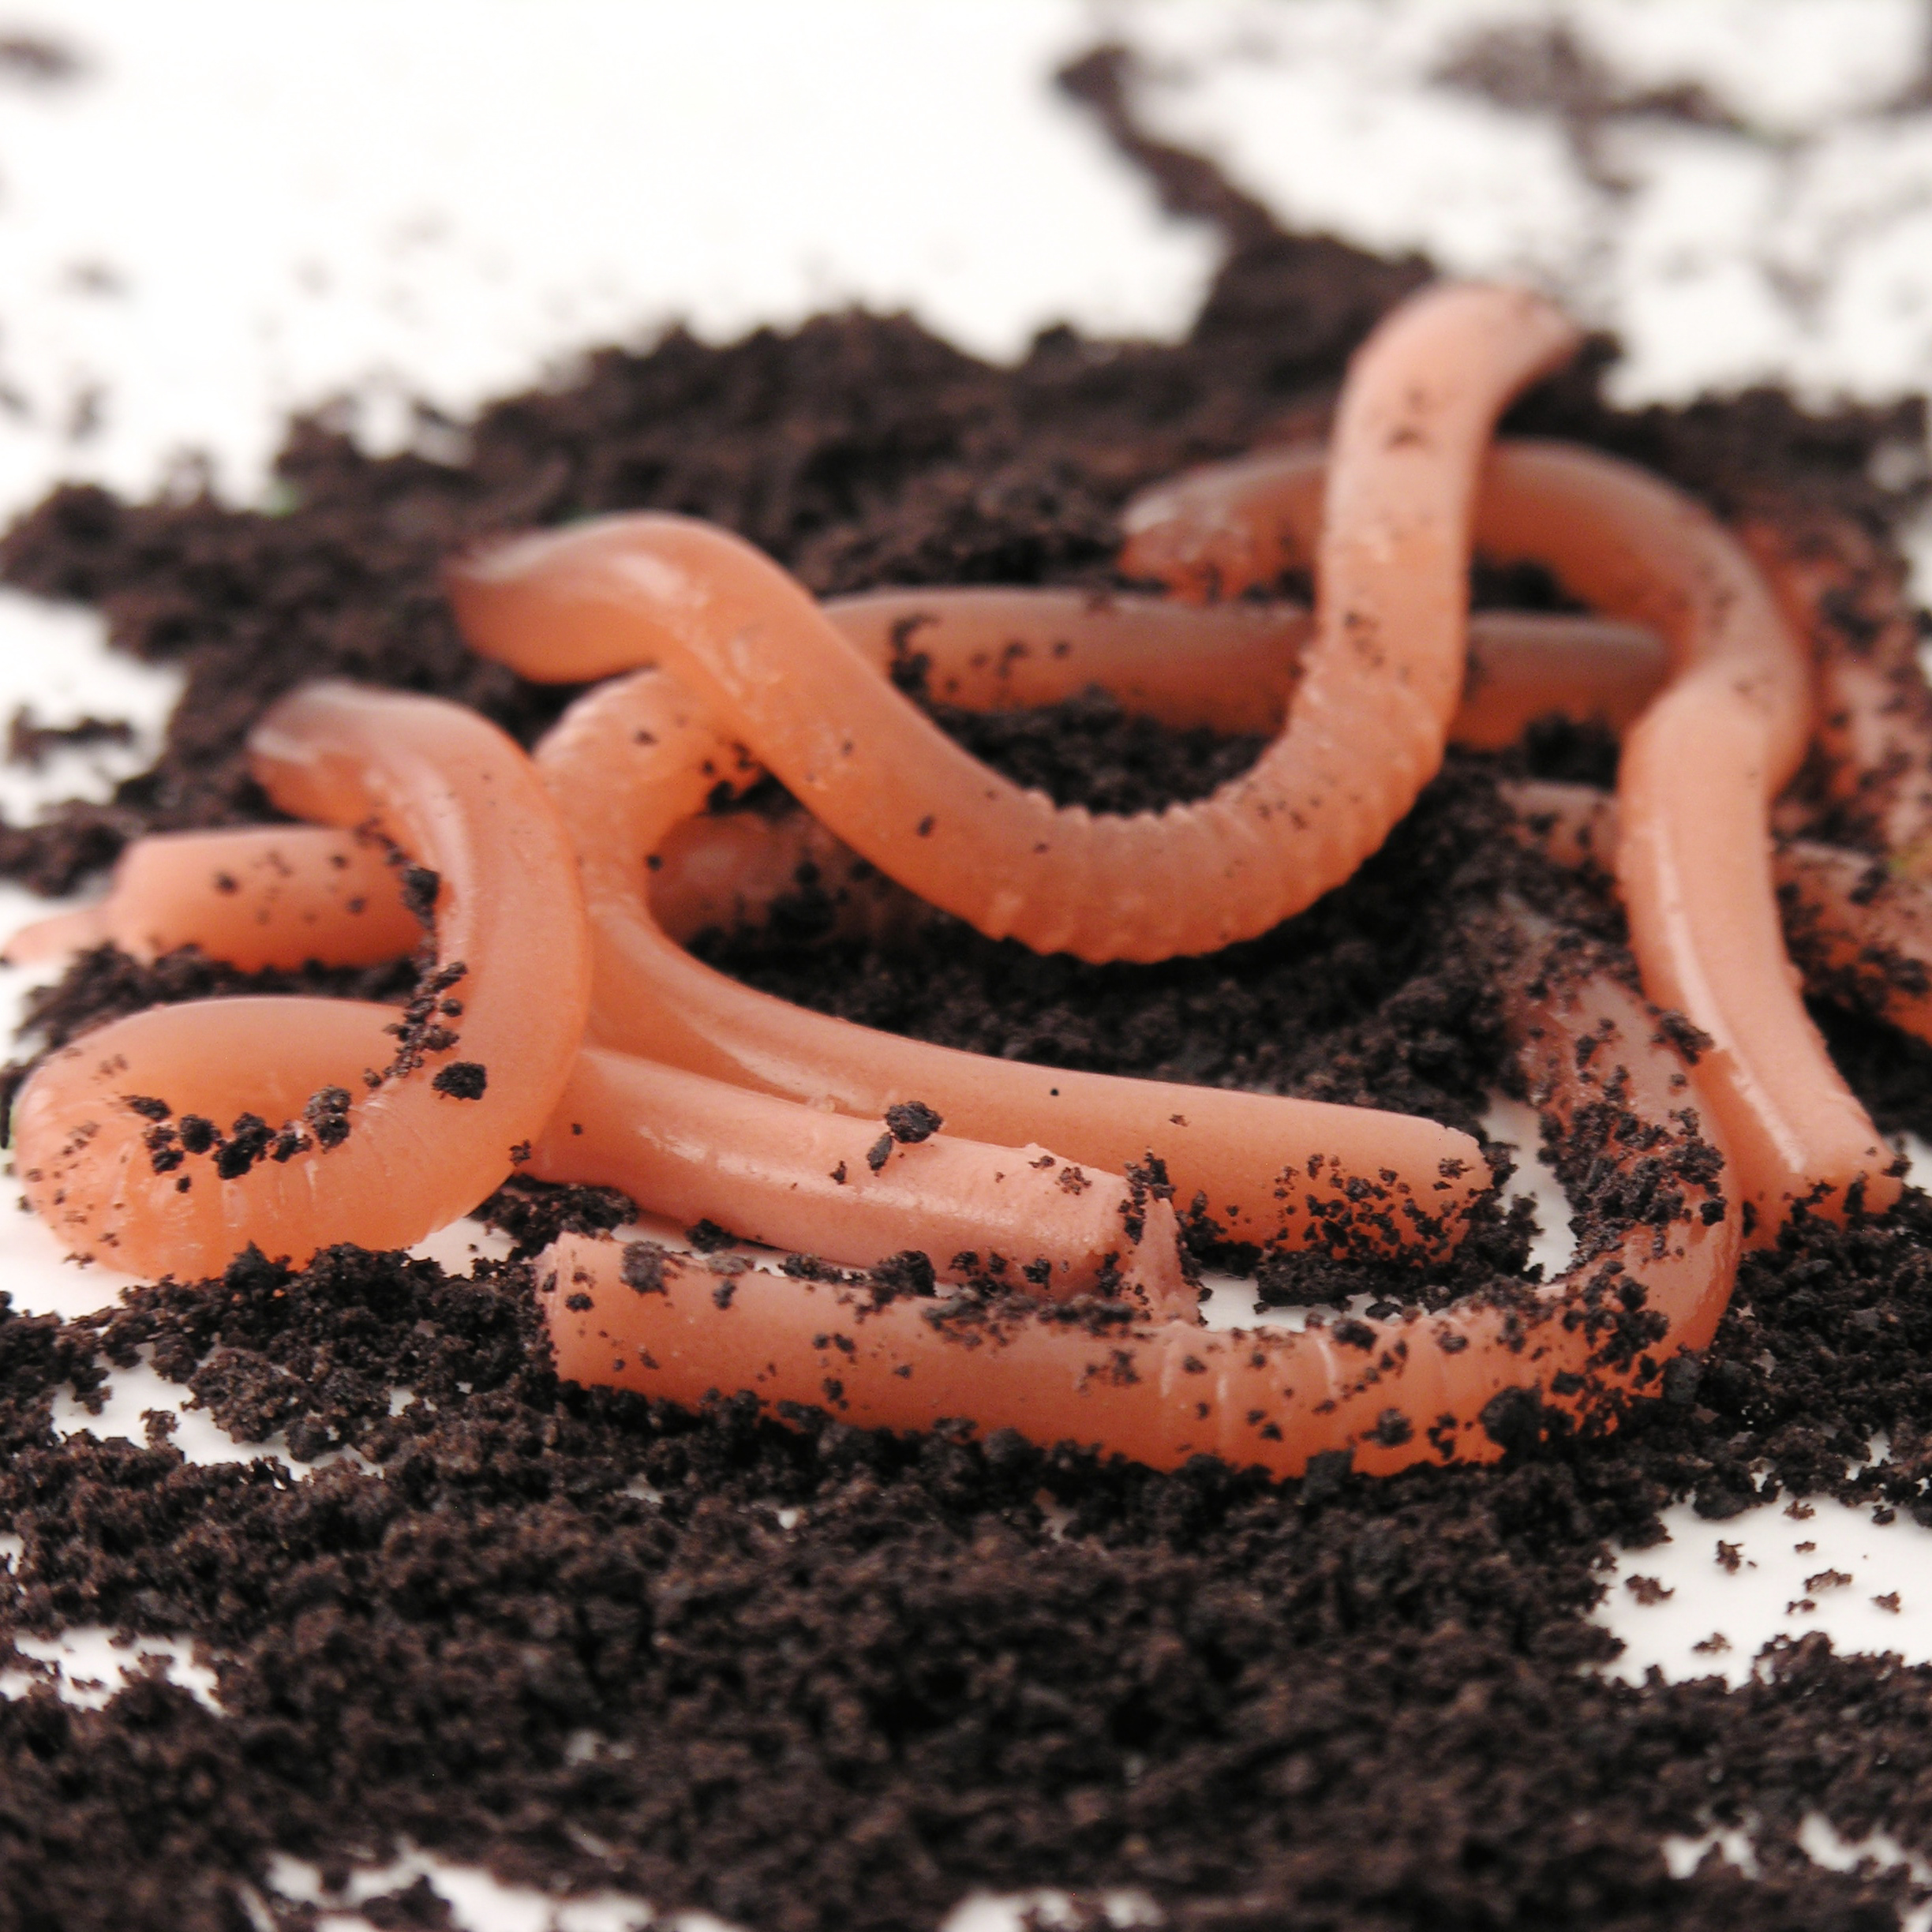 I love them!!!! I had a hard time biting into one to try out the flavor because they were so realistic! These are really not very hard to make, and I can think of a TON of desserts these would be fun to serve with. These are even Father’s Day friendly (I realized this when the men who were eating the cupcakes started talking about fishing with earthworms…) or maybe you could “dress up” my apple cupcakes from last week with a few worms! 🙂
Here’s how to make these fun little desserts: (printable recipe)
INGREDIENTS:
- 1 boxed chocolate cake mix (plus water, oil and eggs to make according to package)
- 2 sticks (1 cup) of butter (softened)
- 1 1/2 cups of powdered sugar
- 2 tablespoons of vanilla
- Green sugar crystals
- About 15 Oreo cookies crushed into crumbs
- brown and green food color gels
- 1 (6 oz) packet of raspberry jello
- 4 (1/2 oz) packets of unflavored gelatin
- 1/2 cup heavy cream
- 3 cups boiling water
DIRECTIONS:
WORMS: (make the day before)
- Take about 40-60 bendable plastic straws and pull them out to full length.
- Place them each in a tall glass with the bendable part down.
- Put a rubber band around the top to hold them together and upright.
- Mix jello and unflavored gelatin together in a mixing bowl and add boiling water.
- Stir until dissolved and refrigerate for about 20 minutes until cooled.
- Place cream and a little bit of green food coloring in a separate bowl and mix well.
- Mix cream with gelatin mixture until well combined.
- Gently pour the mixture over the tops of the straws until they, and the glass are full.
- Refrigerate overnight.
- Place a sheet of parchment paper on a cookie sheet, and lightly spray it with cooking spray.
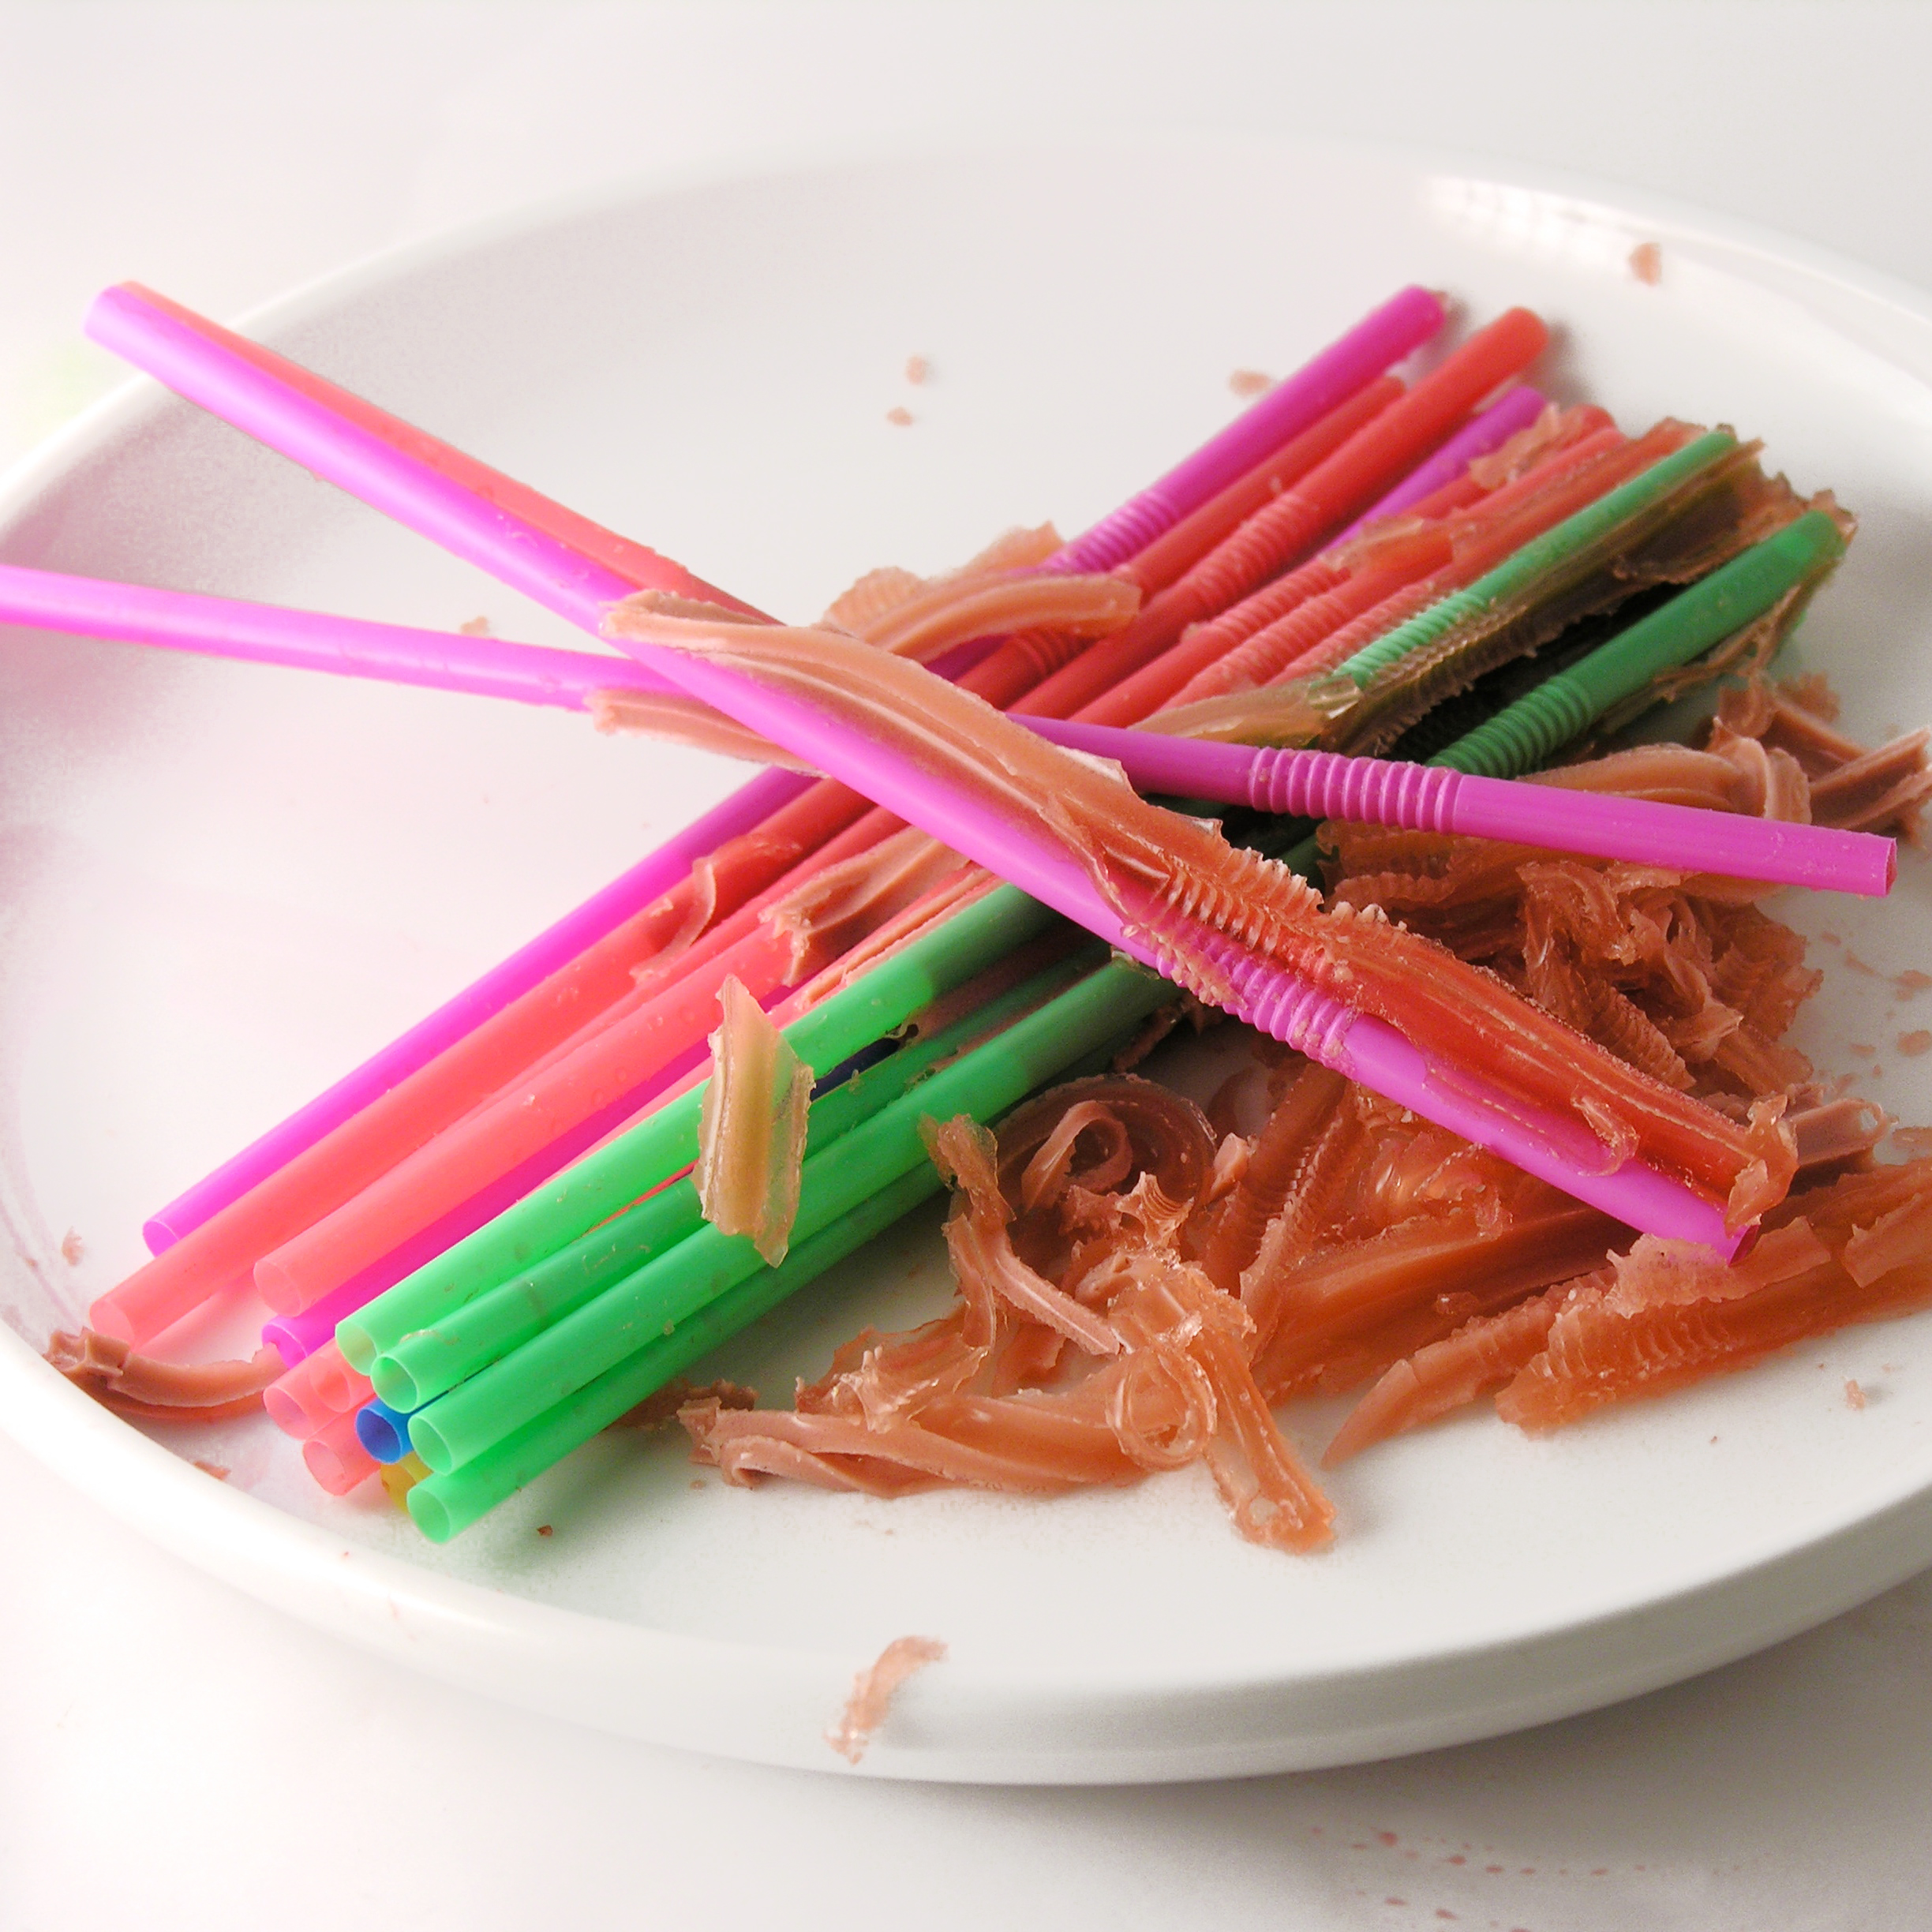
- Run warm water over the glass until you can pull the entire jello mold out (straws and all!)
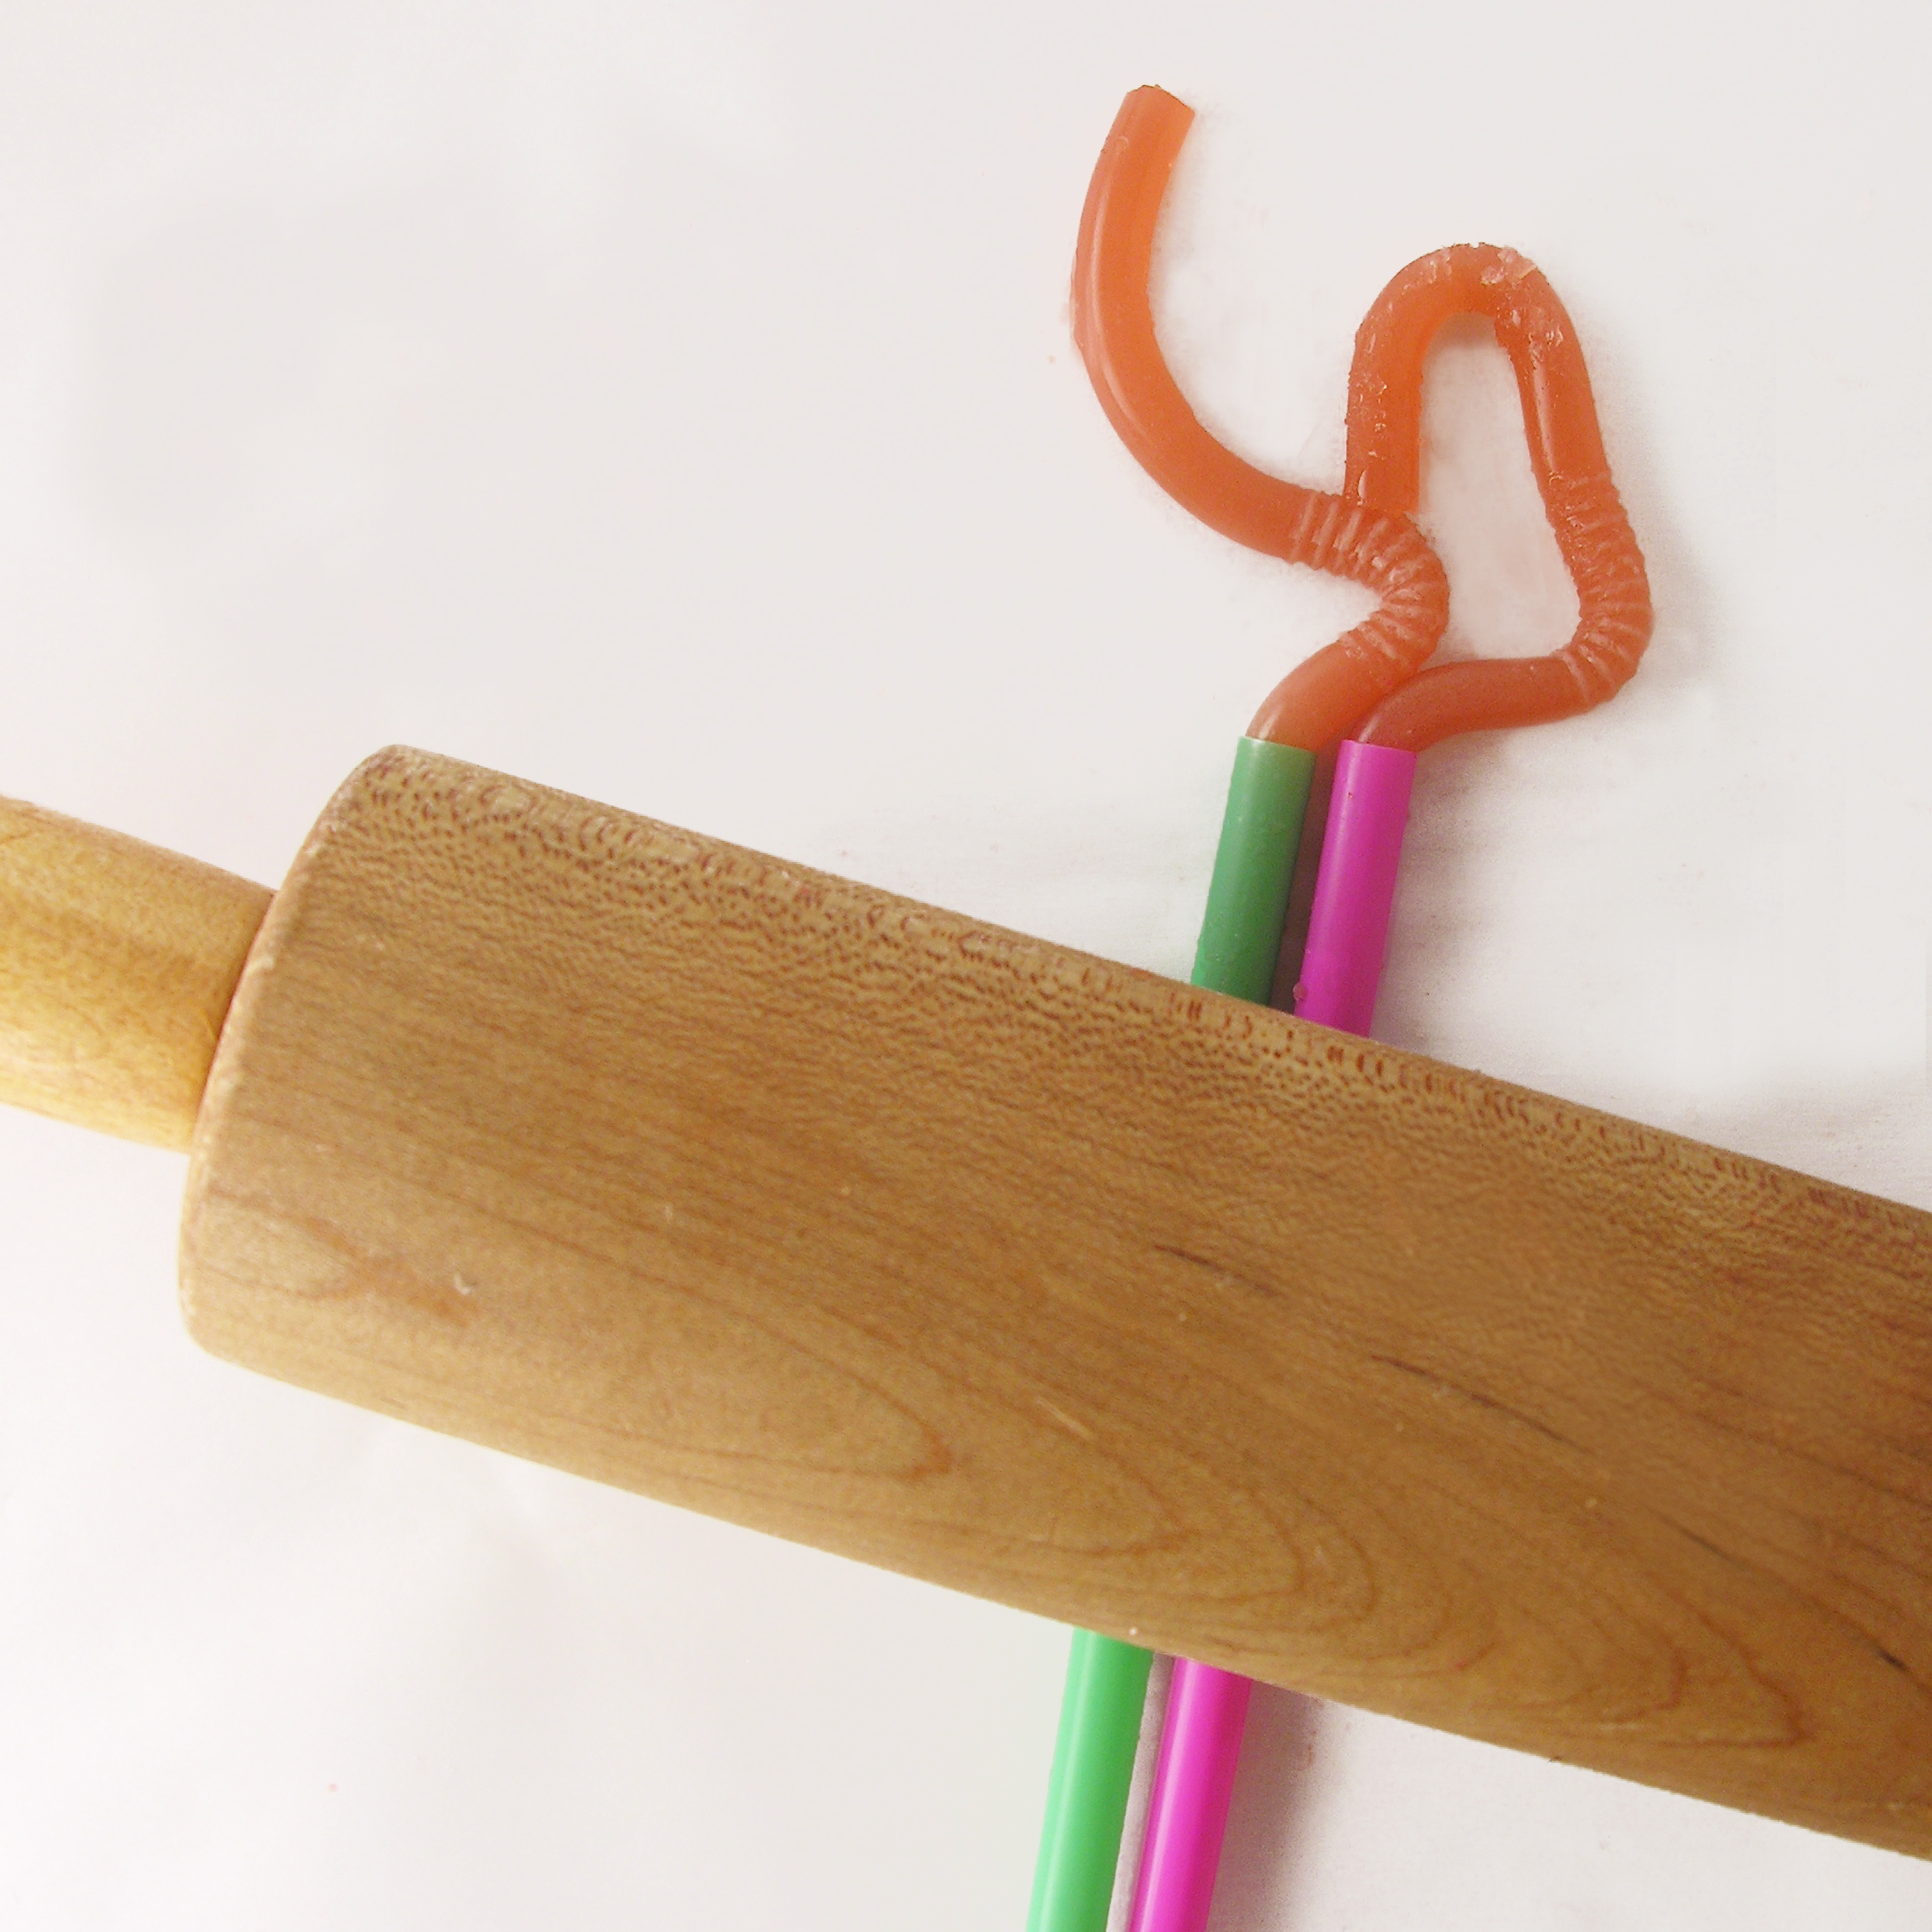
- Gently pull apart straws and use a rolling pin to roll each little worm out.
- Place each worm on the parchment paper until all of them have been removed from the straws.
- Keep covered and refrigerated until use.

CUPCAKES:
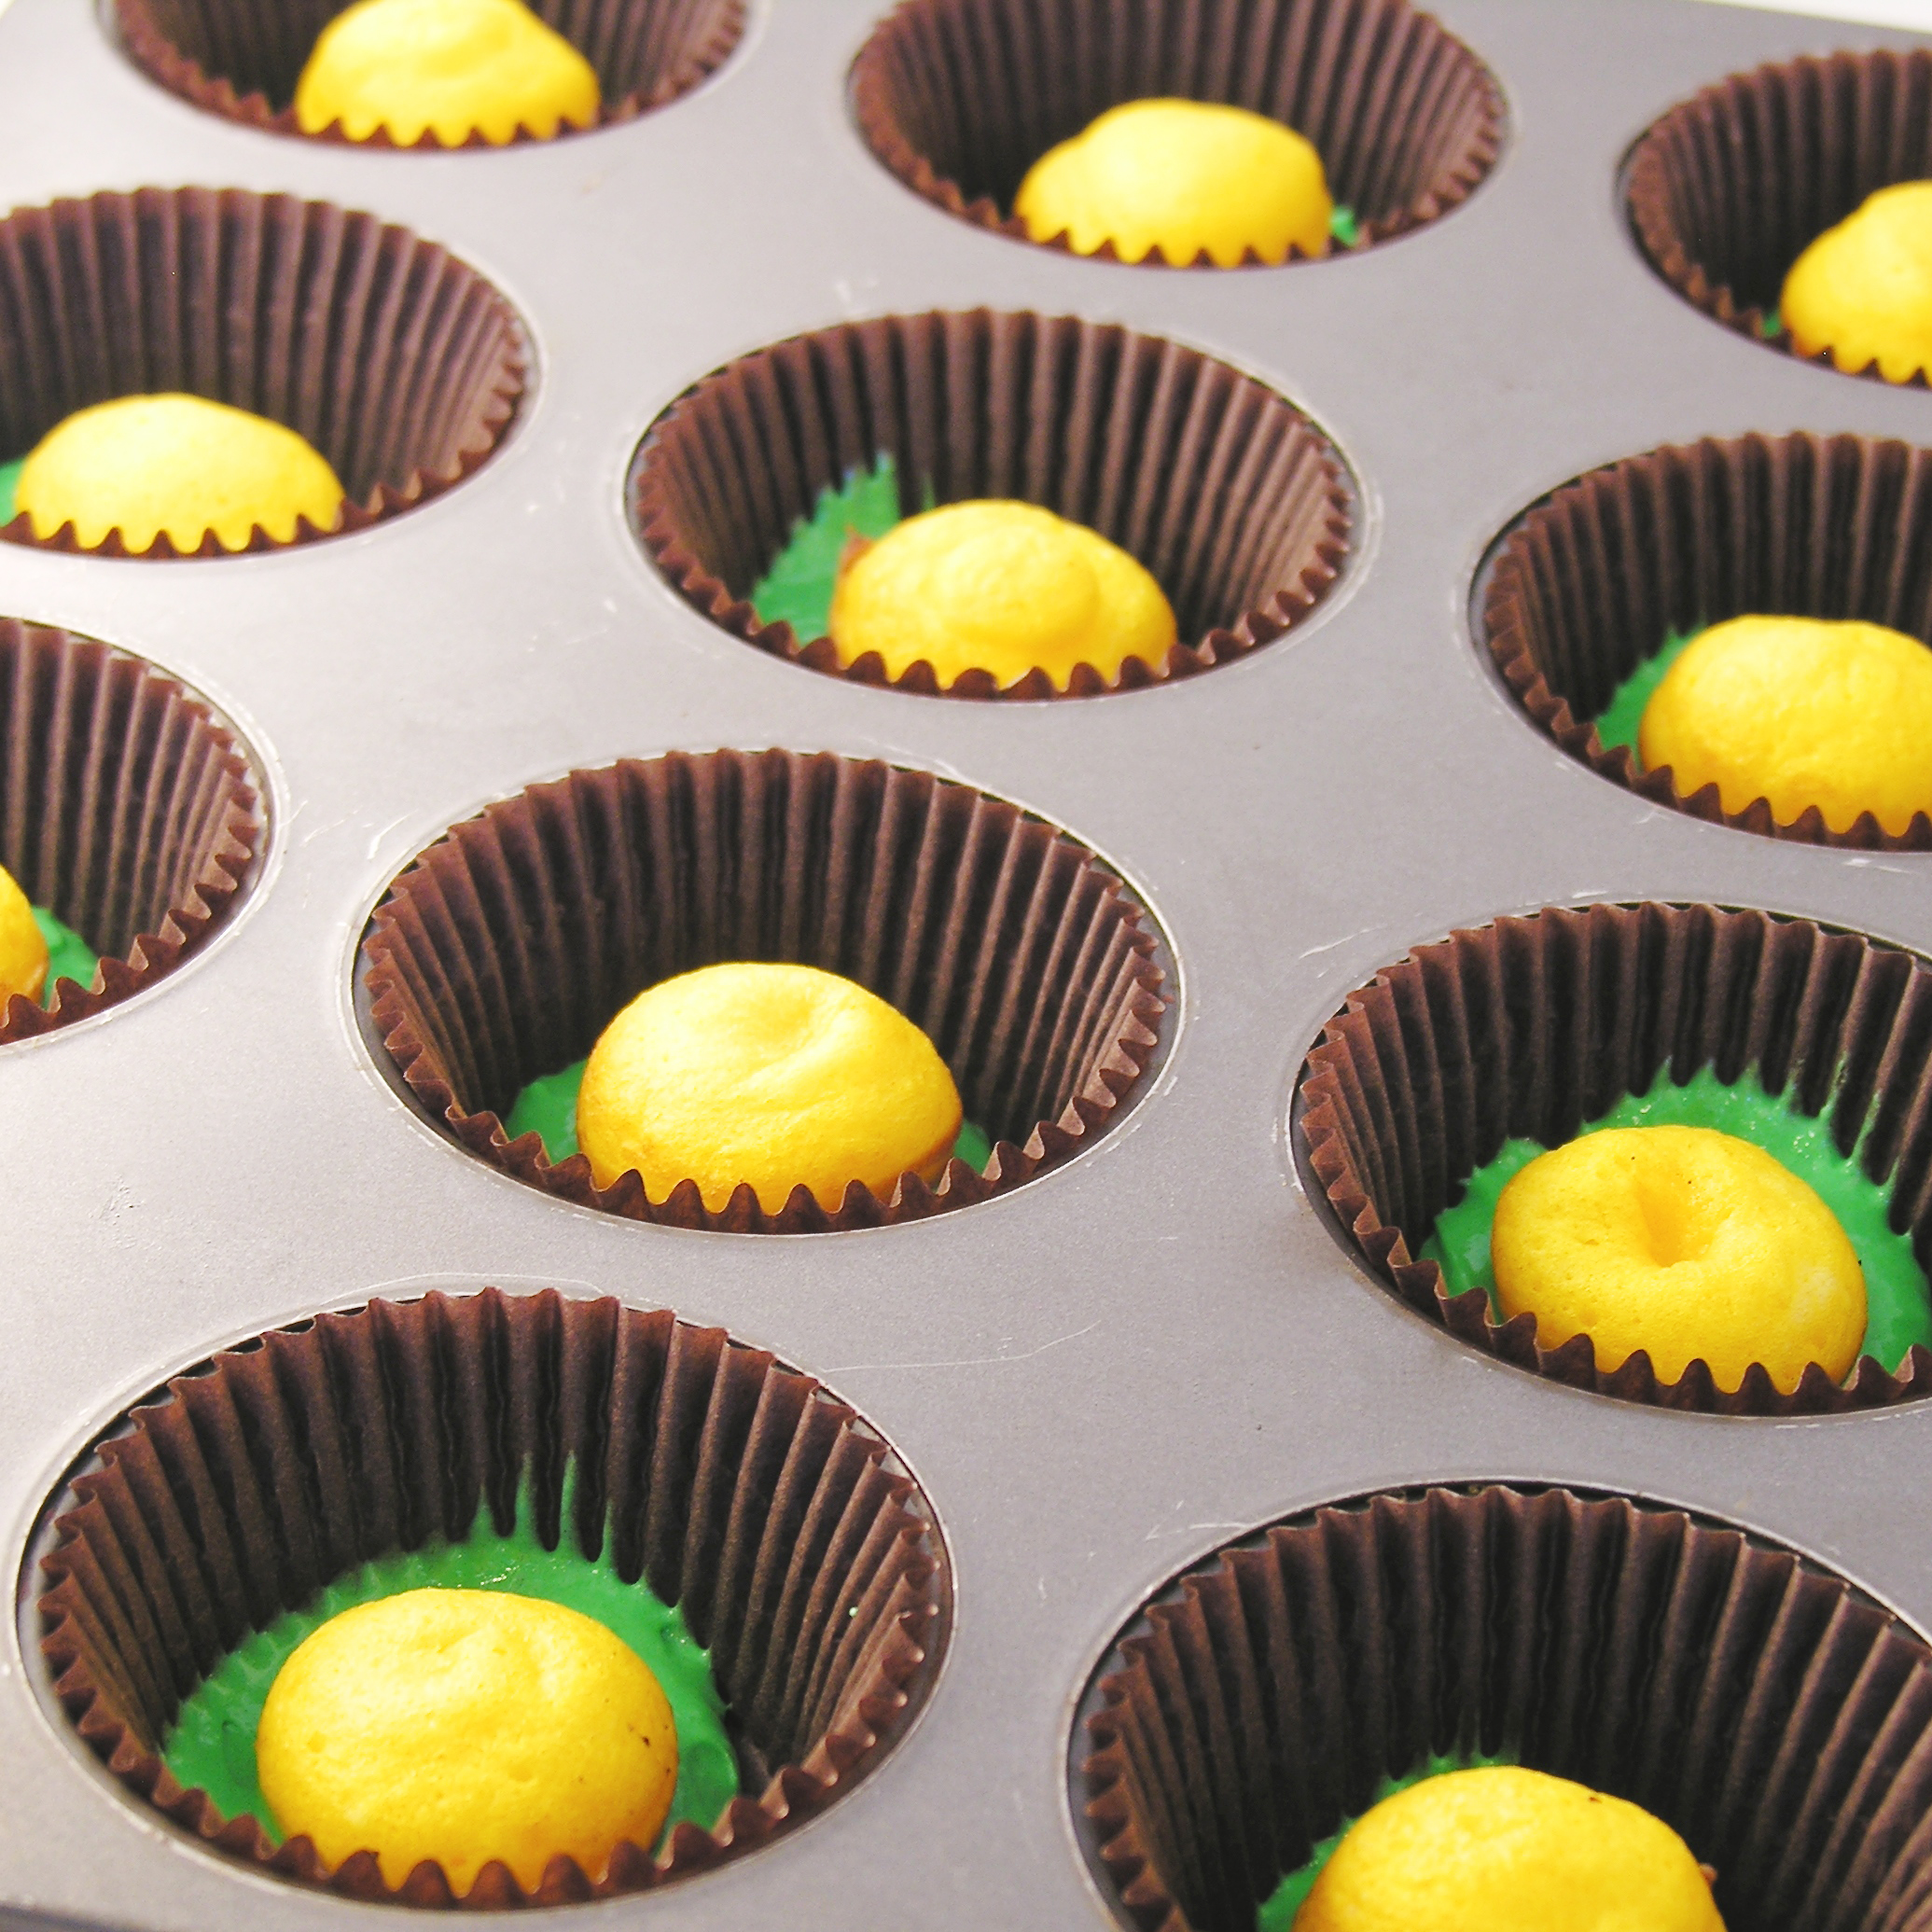
- Make cake mix according to box and divide evenly among 24 cupcake liners placed in tins.
- Bake according to package, and allow them to cool.
- Make frosting by placing butter, powdered sugar and vanilla in a large mixing bowl and beating it on high for about 3 minutes, until light and fluffy.
- Color frosting using a combination of green and brown to make a clay-like color for inside the cupcakes
- Use a cupcake corer or a small knife to cut a core out of each cupcake.
- Pour green sugar into a small bowl.
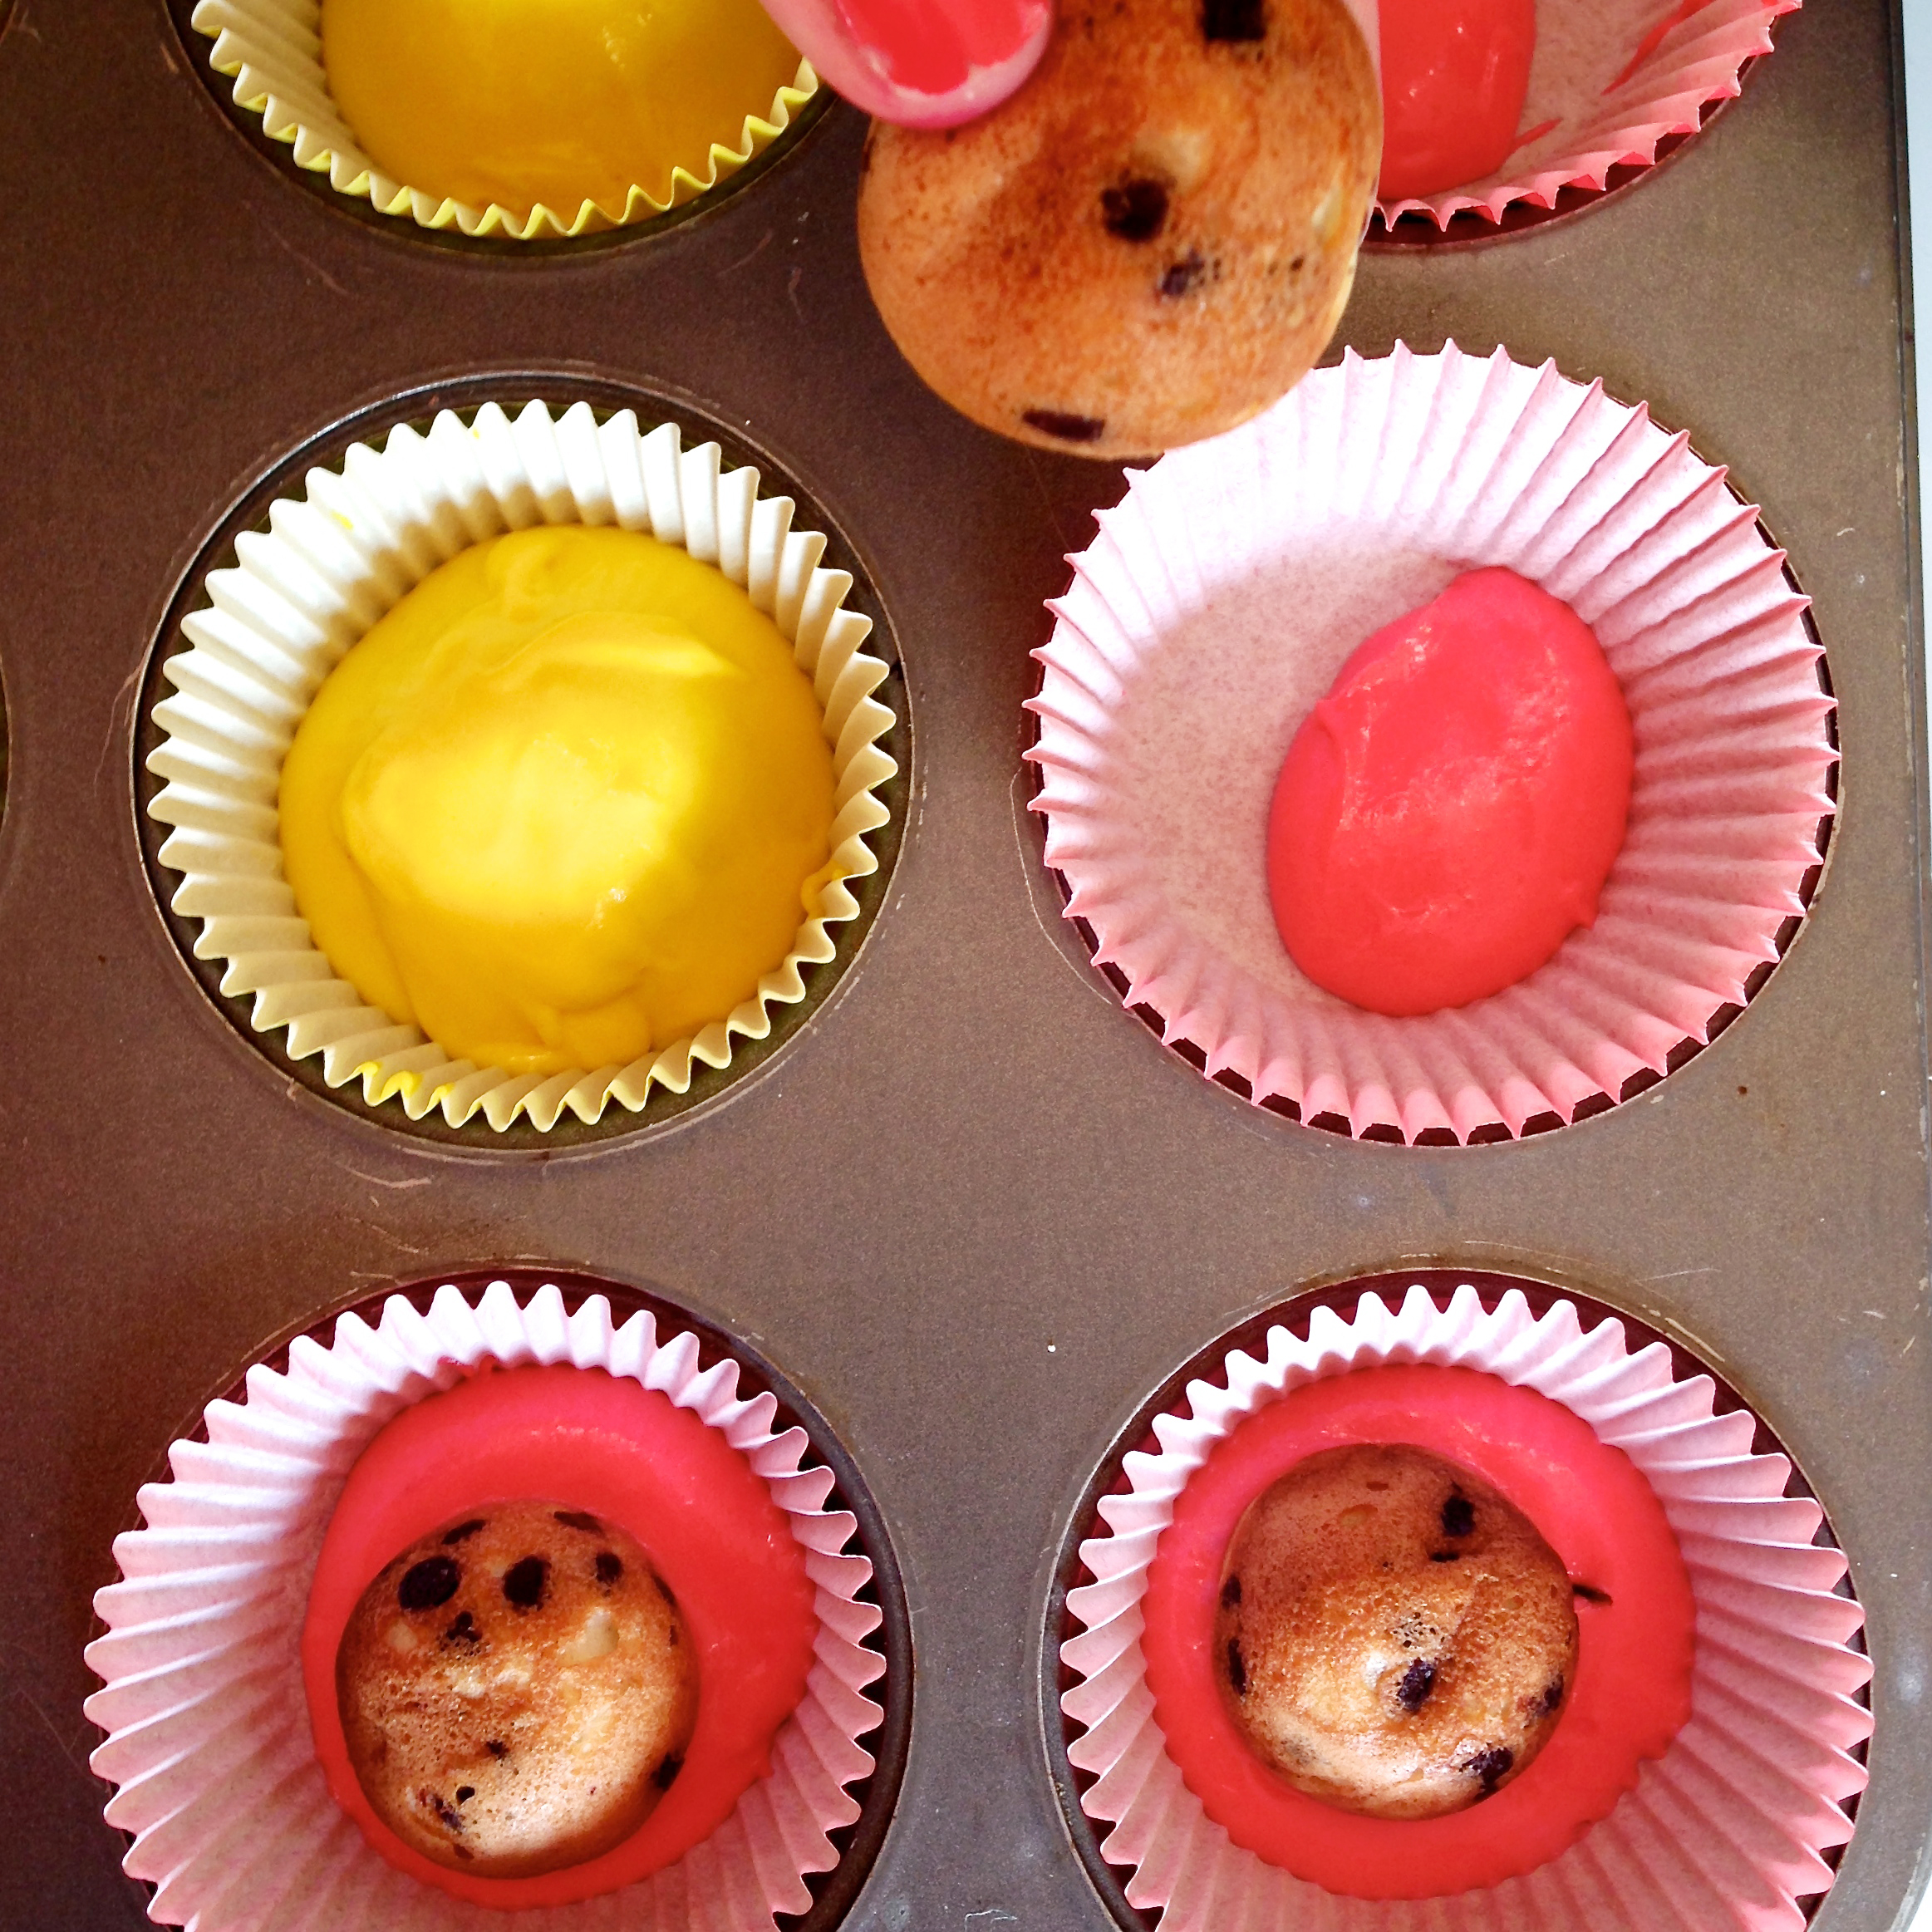
- Use a knife to spread a thin layer of frosting on the top of each cupcake, around the hole cut out by the corer.
- Turn the cupcake top down into the green sugar, coating the frosting entirely.
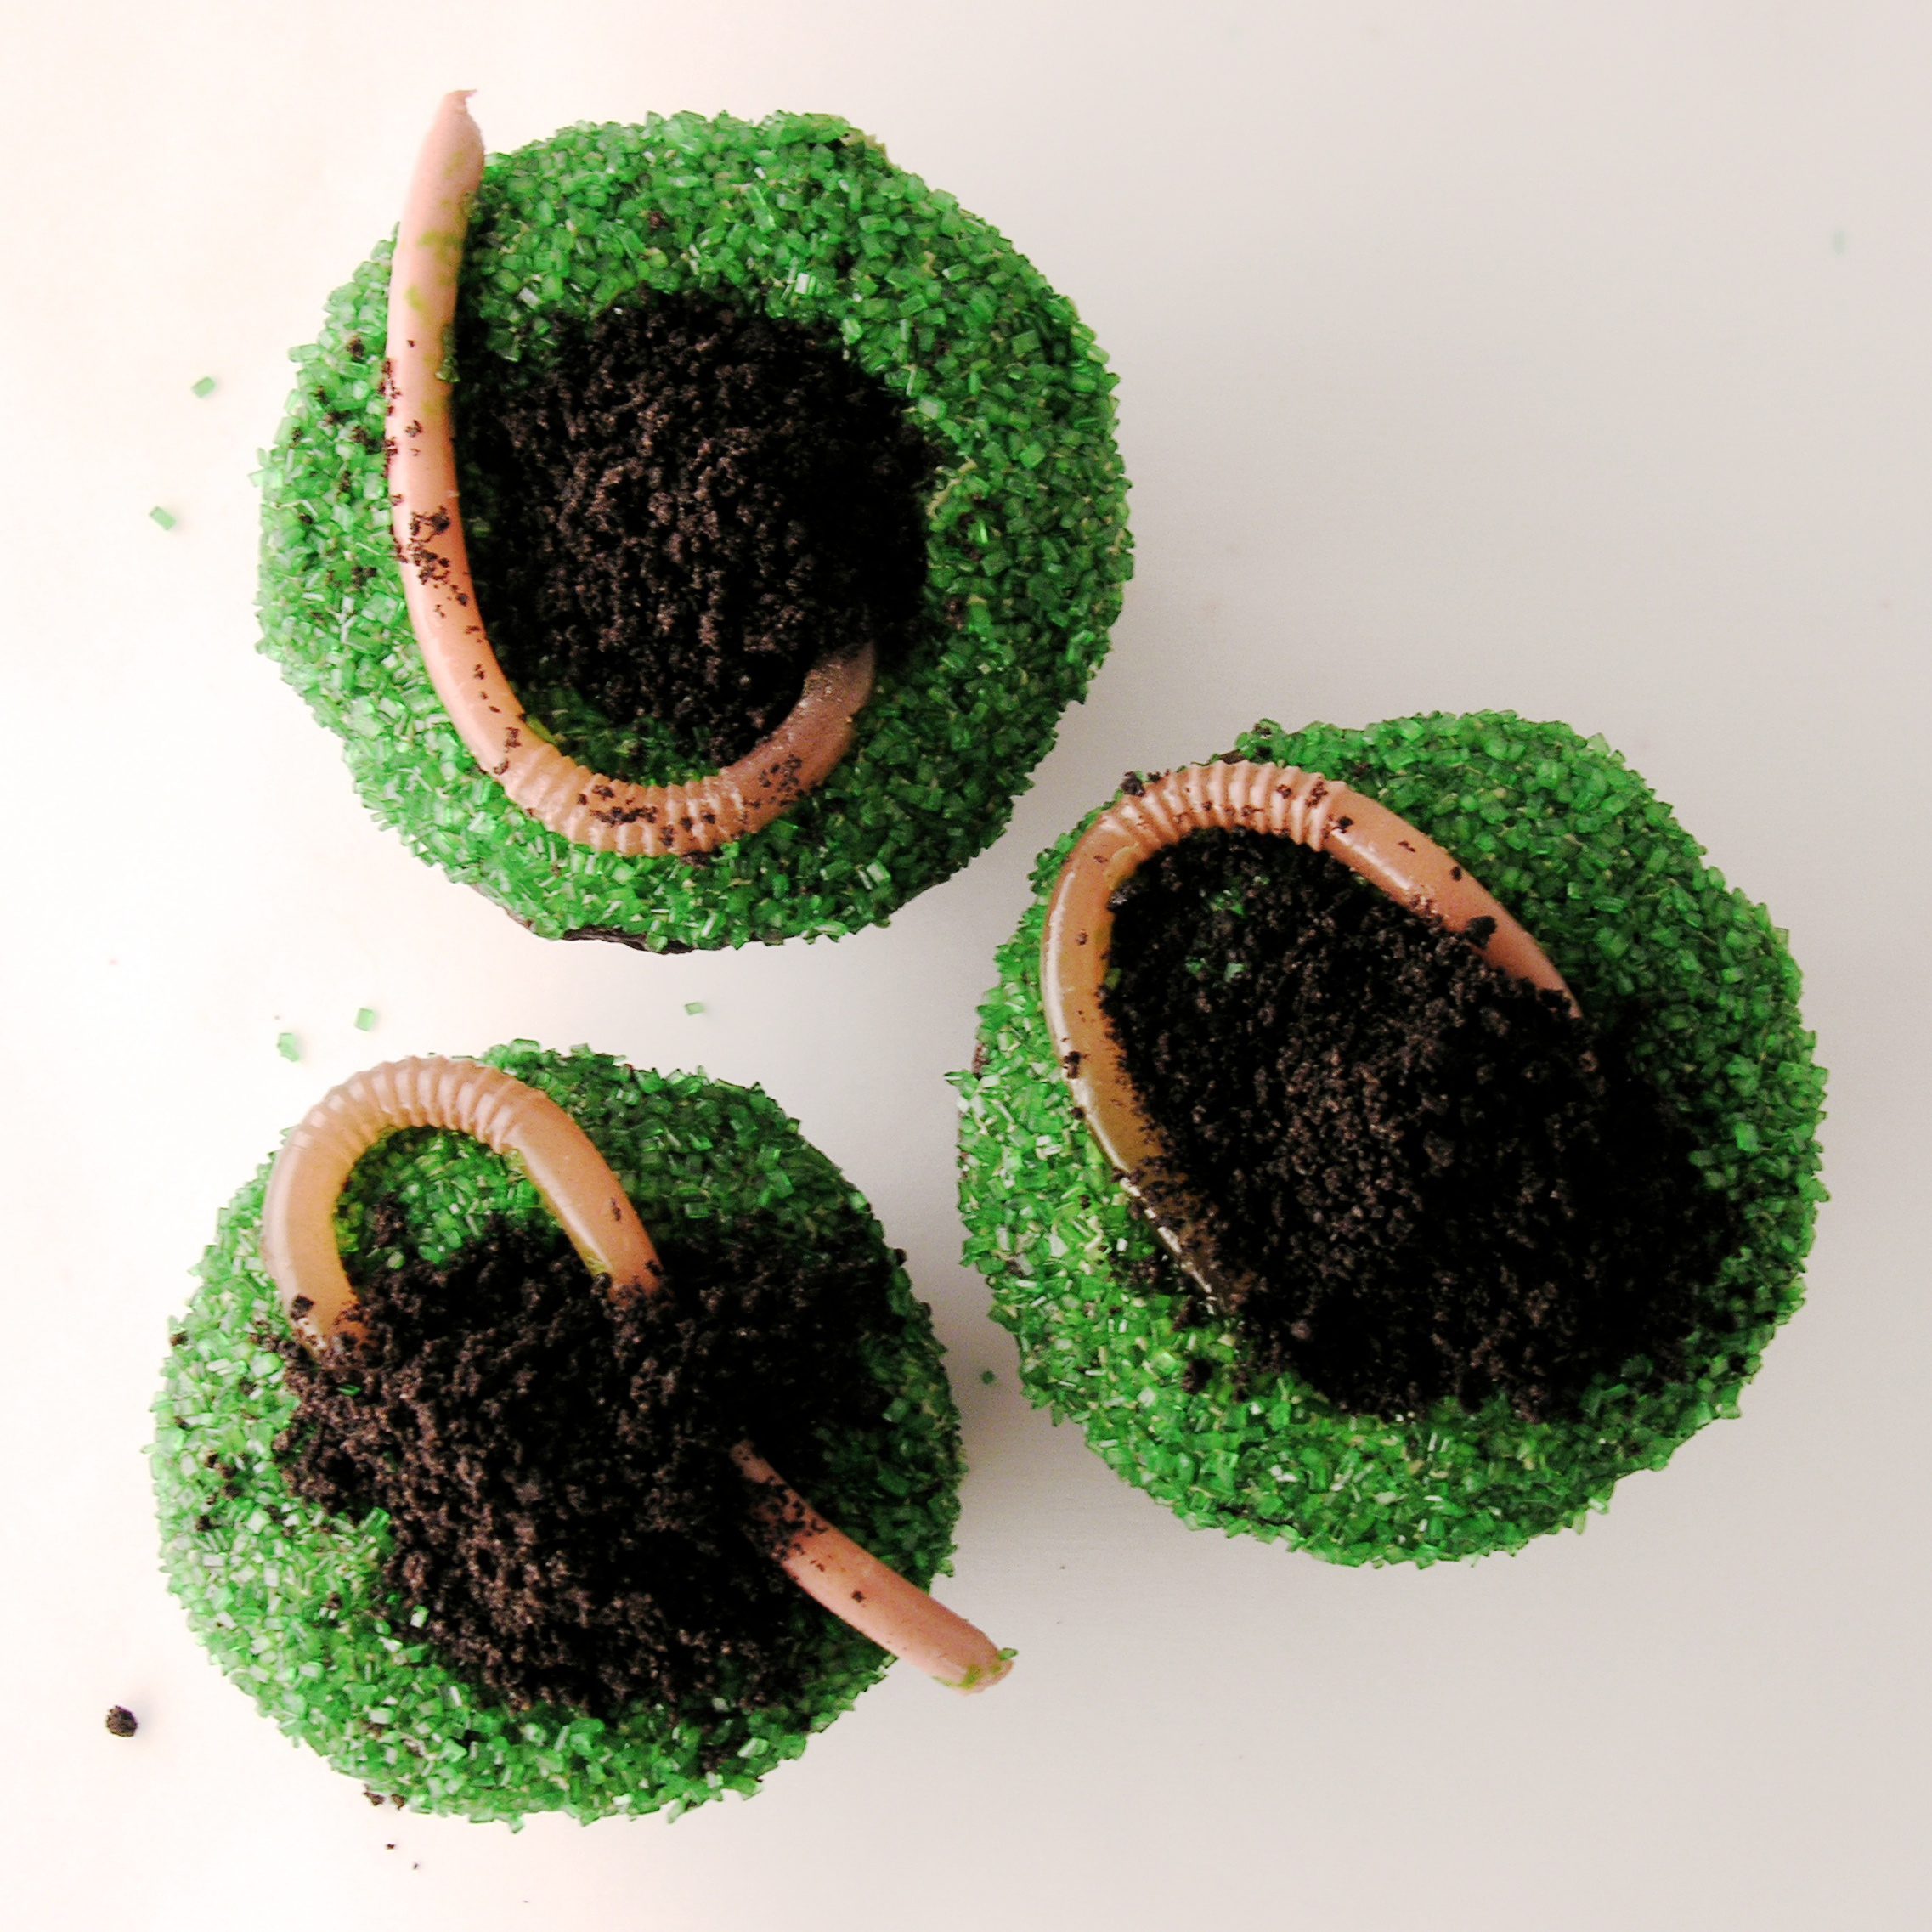
- Spoon or pipe a small amount of frosting into each cored cupcake.
- Set a worm into the frosting, letting it “stick” and be held in place.
- Spoon Oreo crumbs over the worm and frosting, filling up the rest of the hole in the cupcake.
- Keep refrigerated until serving.
- Enjoy!!

My thoughts: These crack me up. Everyone loves them, but kids are SO suspicious that you might have used real worms! One of my friends gave some to her grandkids and the oldest just sat and stared at hers and finally declared, “I saw one move!” They are disturbingly life-like. These are great covered in the fridge for a day, but at room temperature the worms start to dry out after a few hours. I hope you get a chance to try this creepy little treat! Enjoy!!! ~r

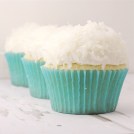
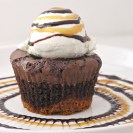
Other creepy recipes for your October fun: (click on a photo to see the recipe)


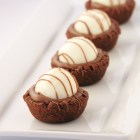
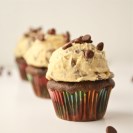
 My thoughts: These are really good. The sweet cupcake with that salty bacon….yum! I was a little skeptical about the bacon, but it really adds a wonderful flavor to these! If you are short on time, skip the mini pancakes on top and just frost these and sprinkle them with bacon. You could even use a bottle of those real bacon bits, but I suspect that the freshly cooked bacon tastes best. Happy Pancake Day to YOU!!! Enjoy!! ~r
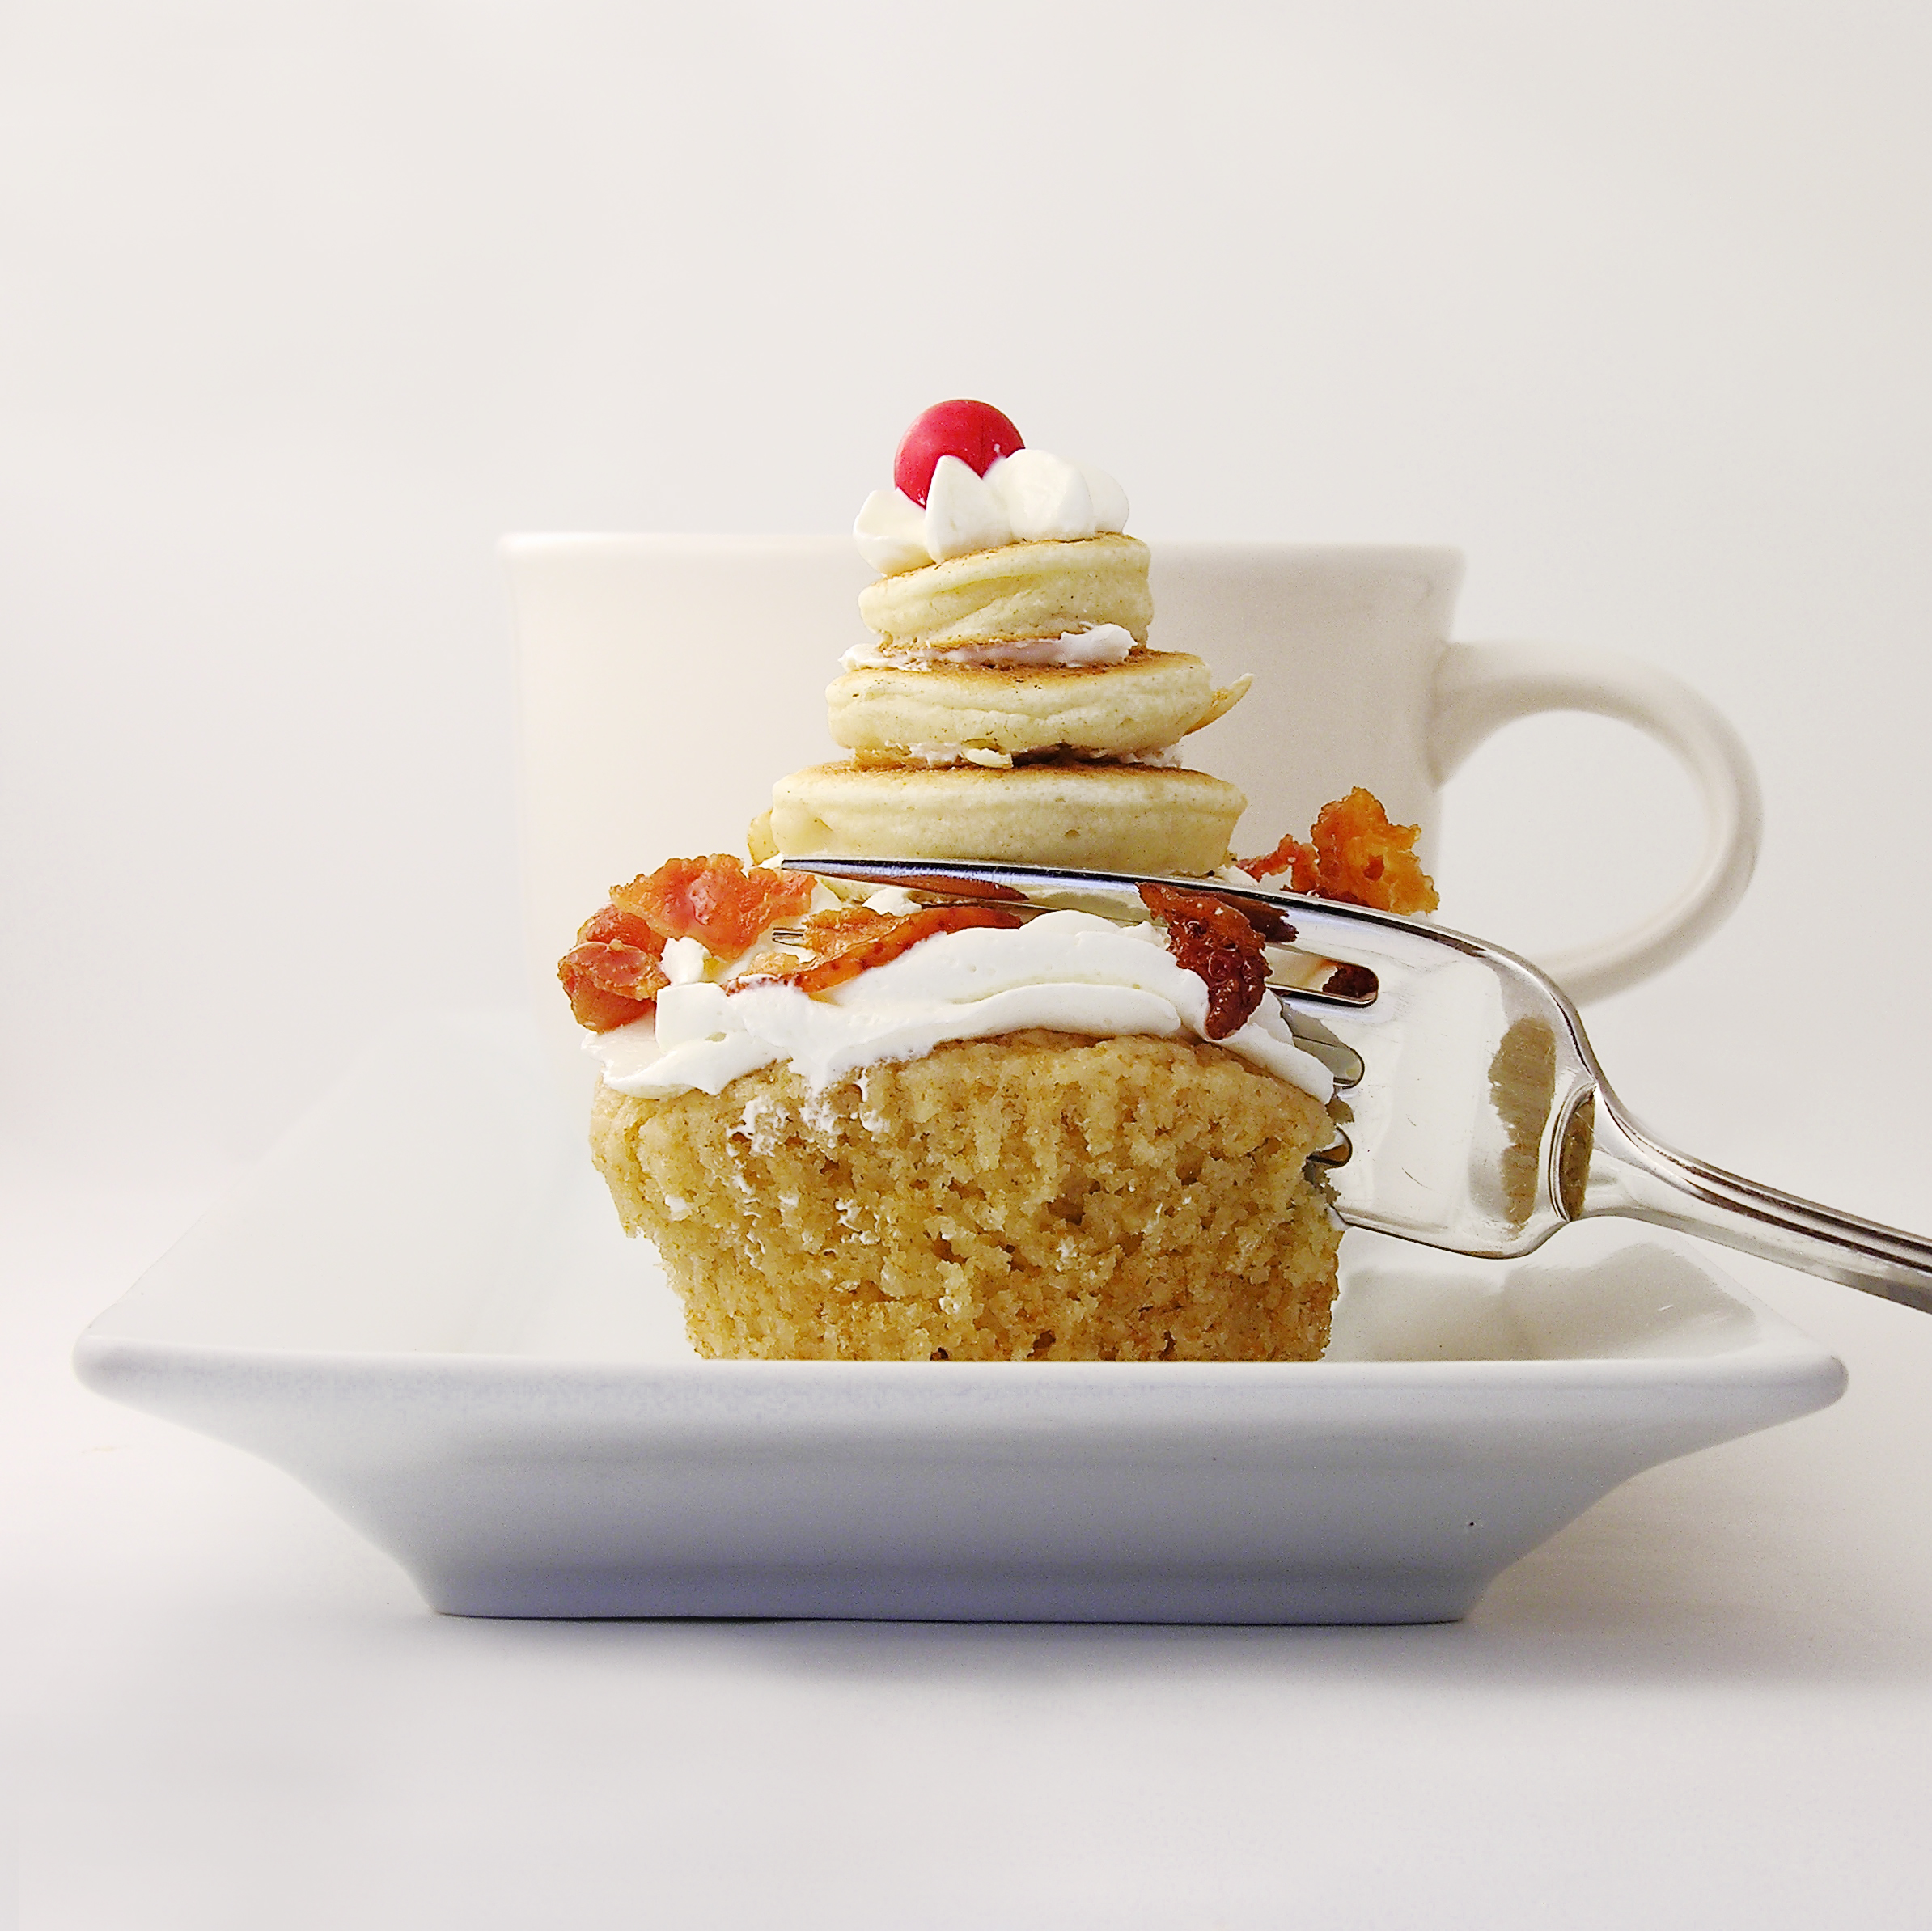


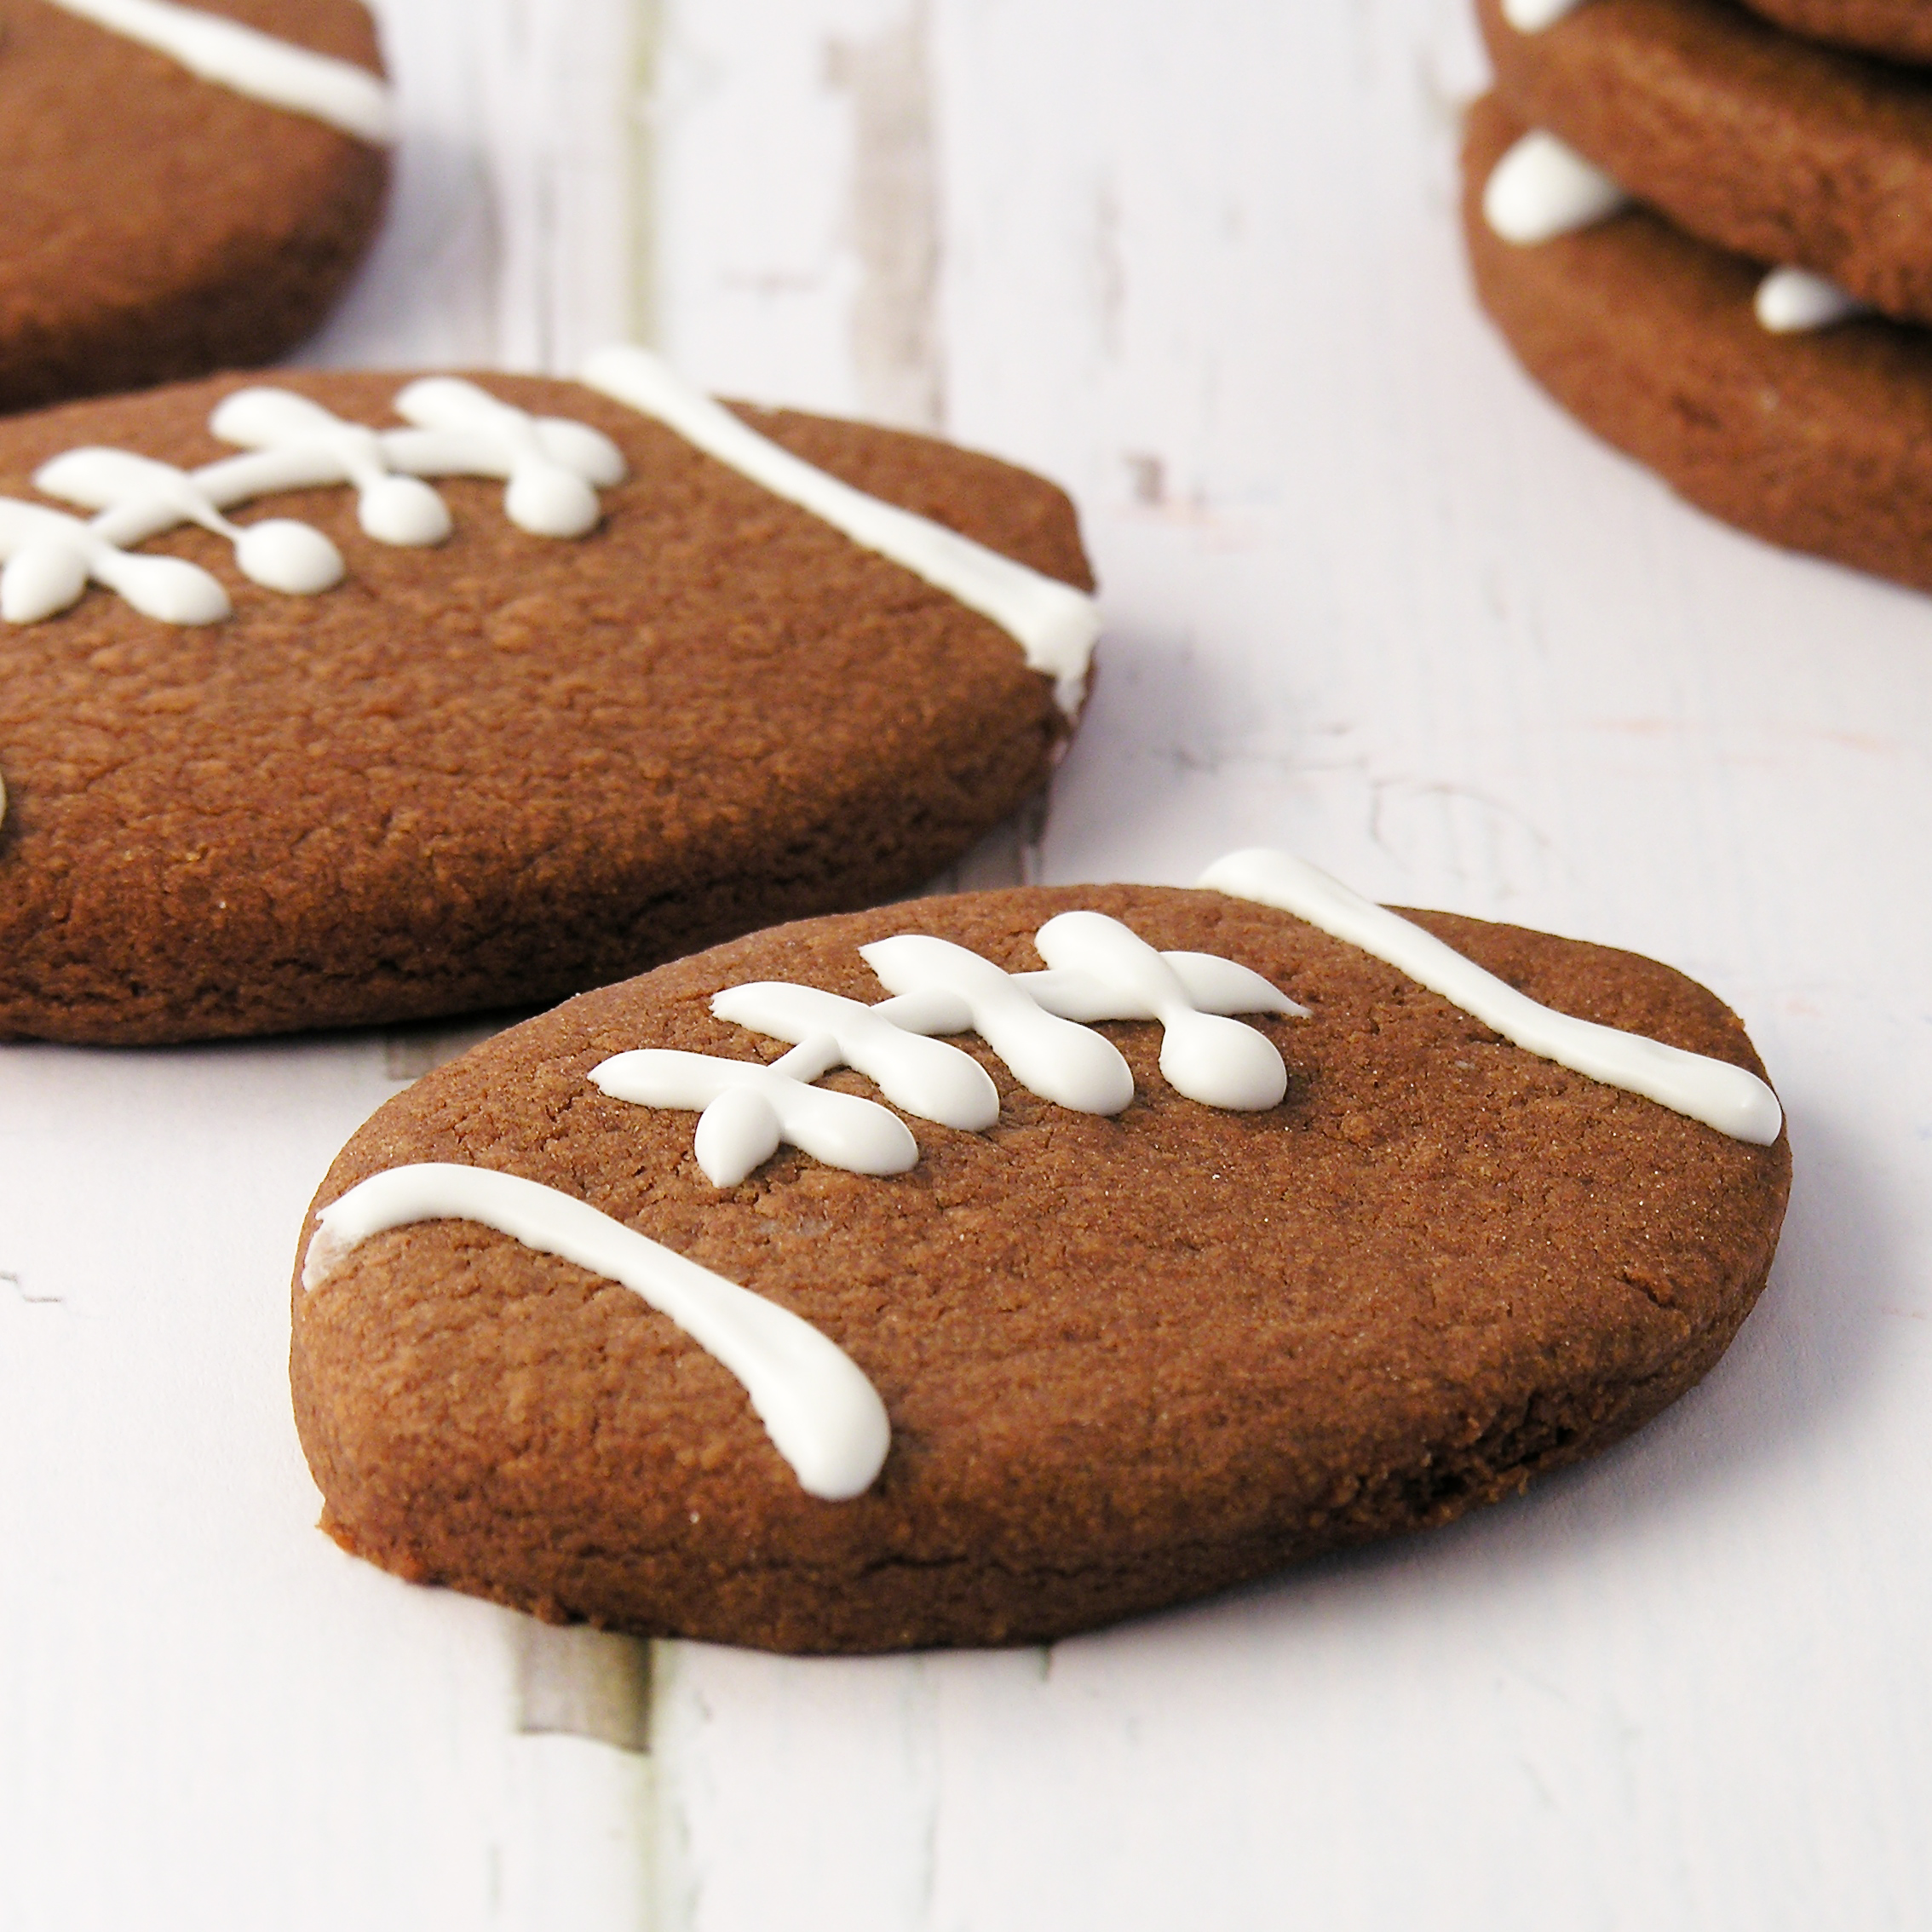
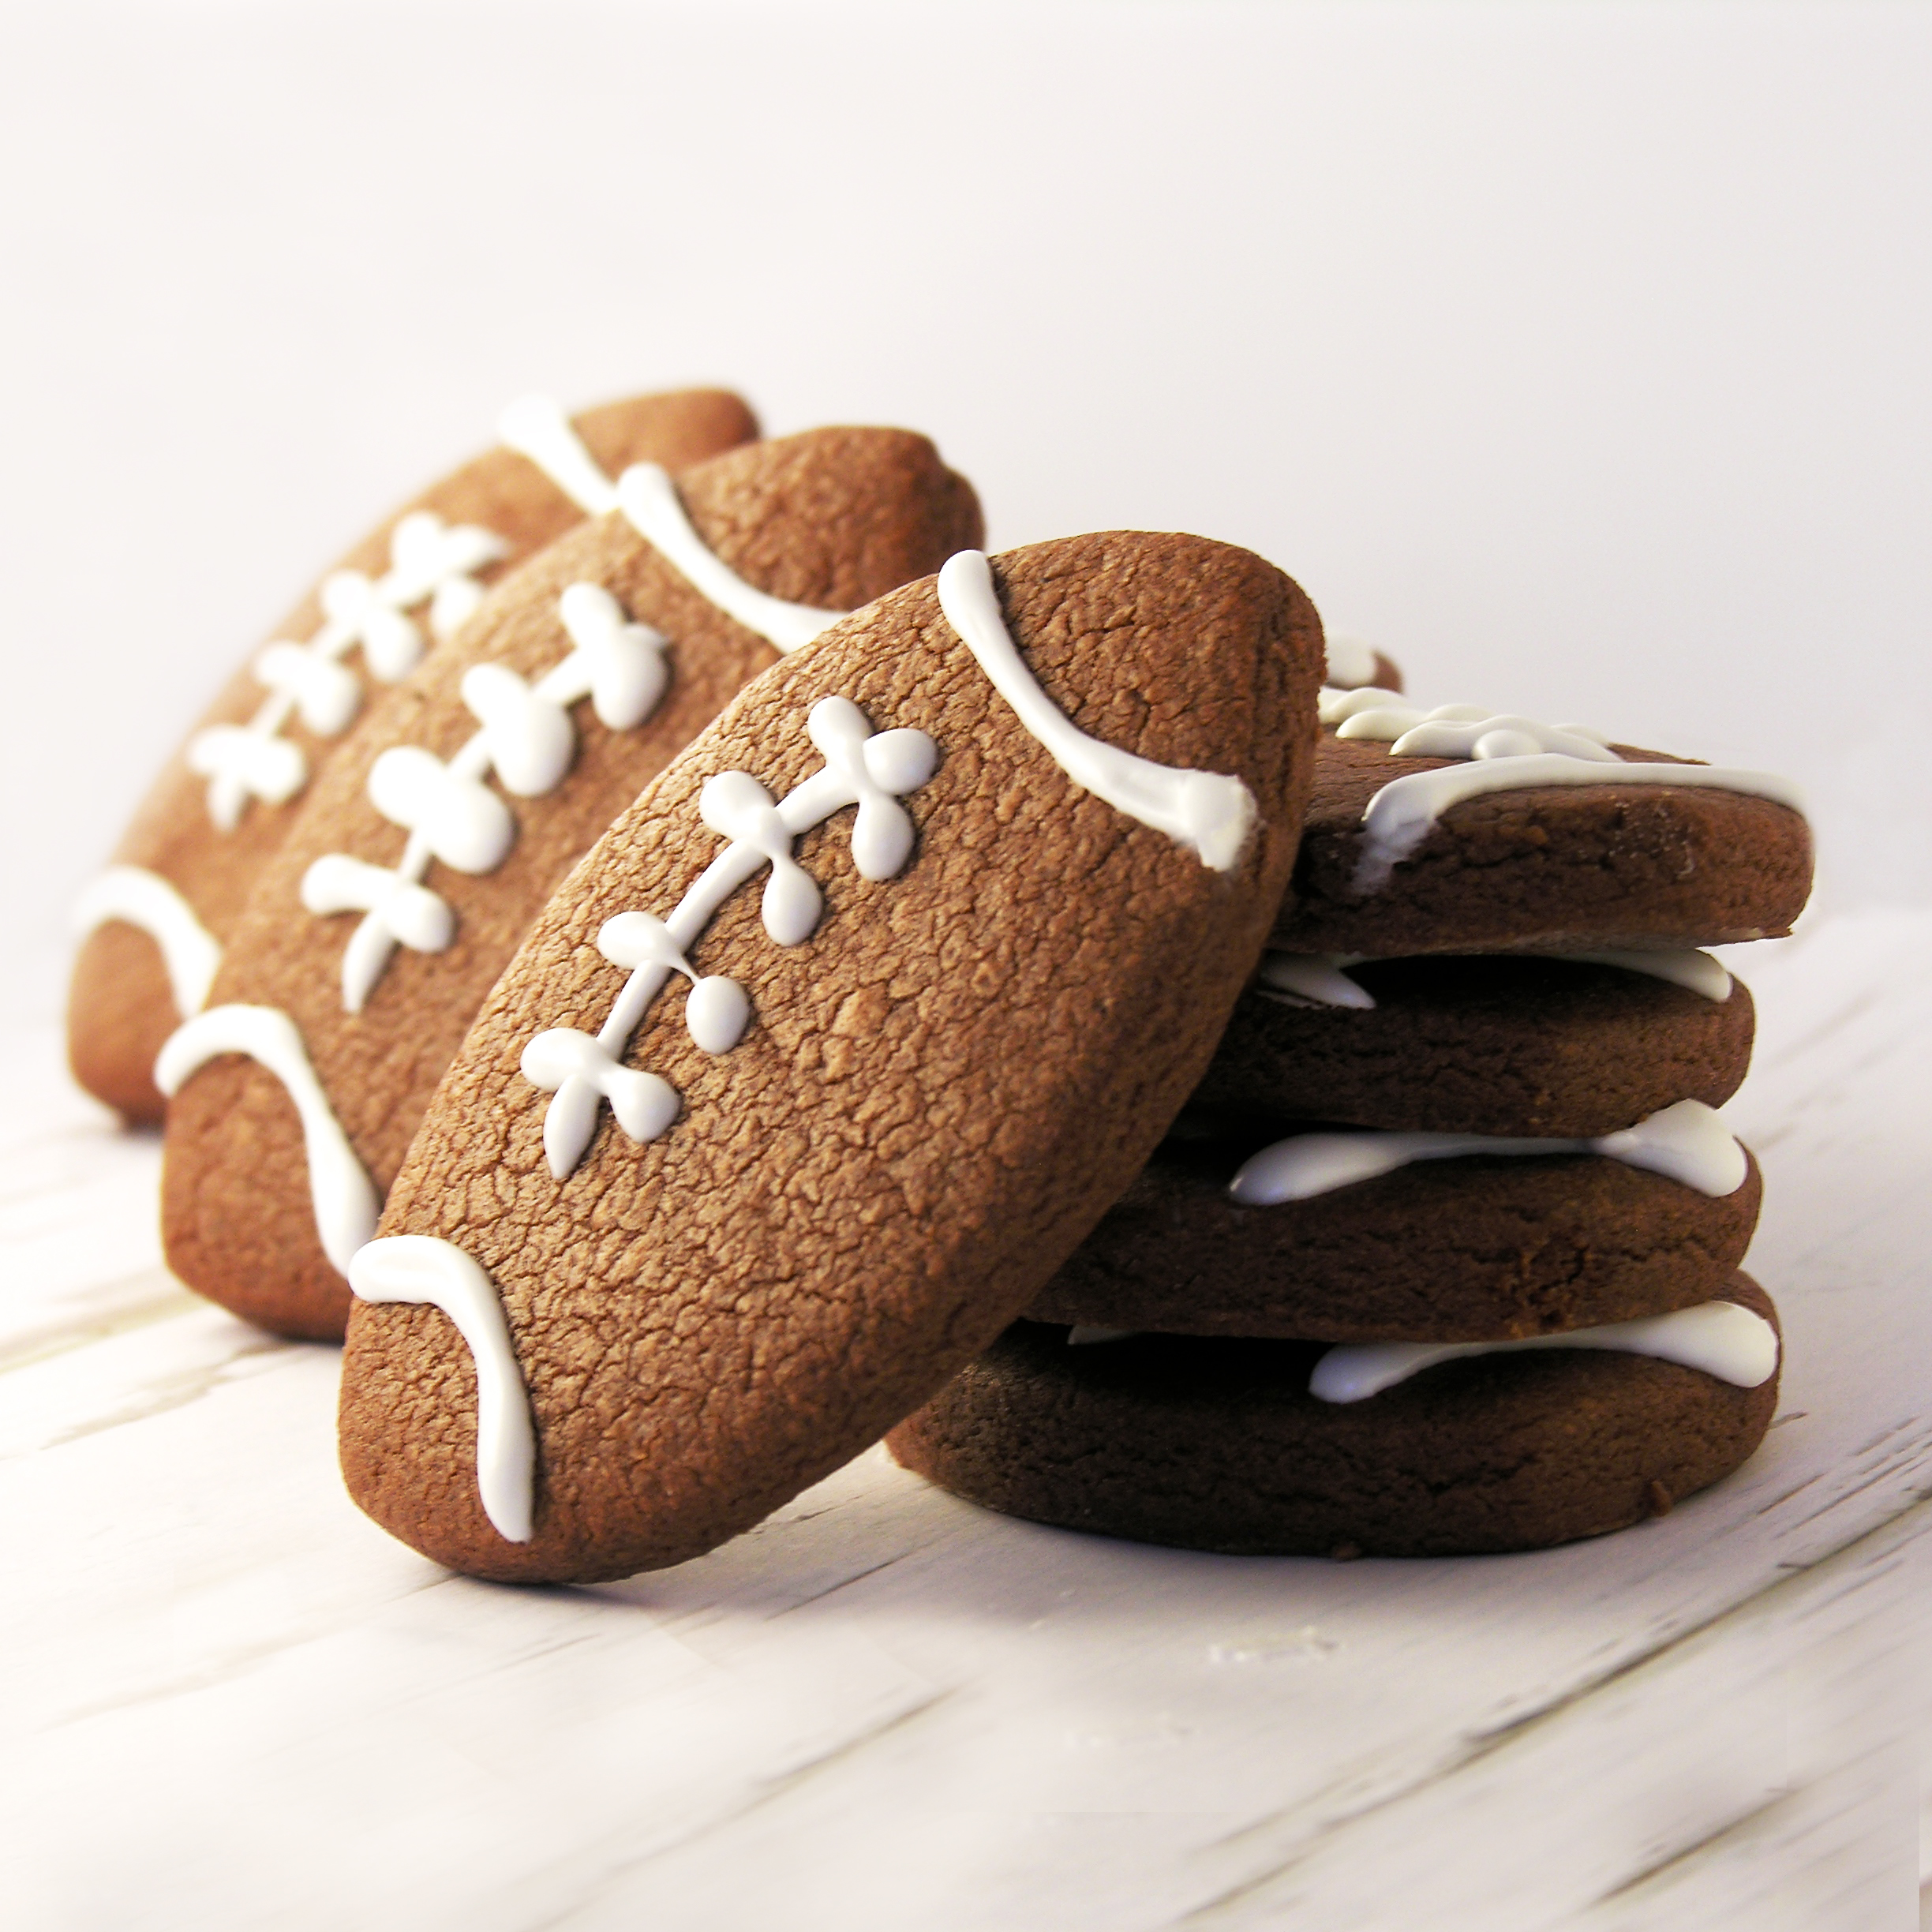
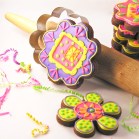
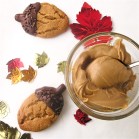
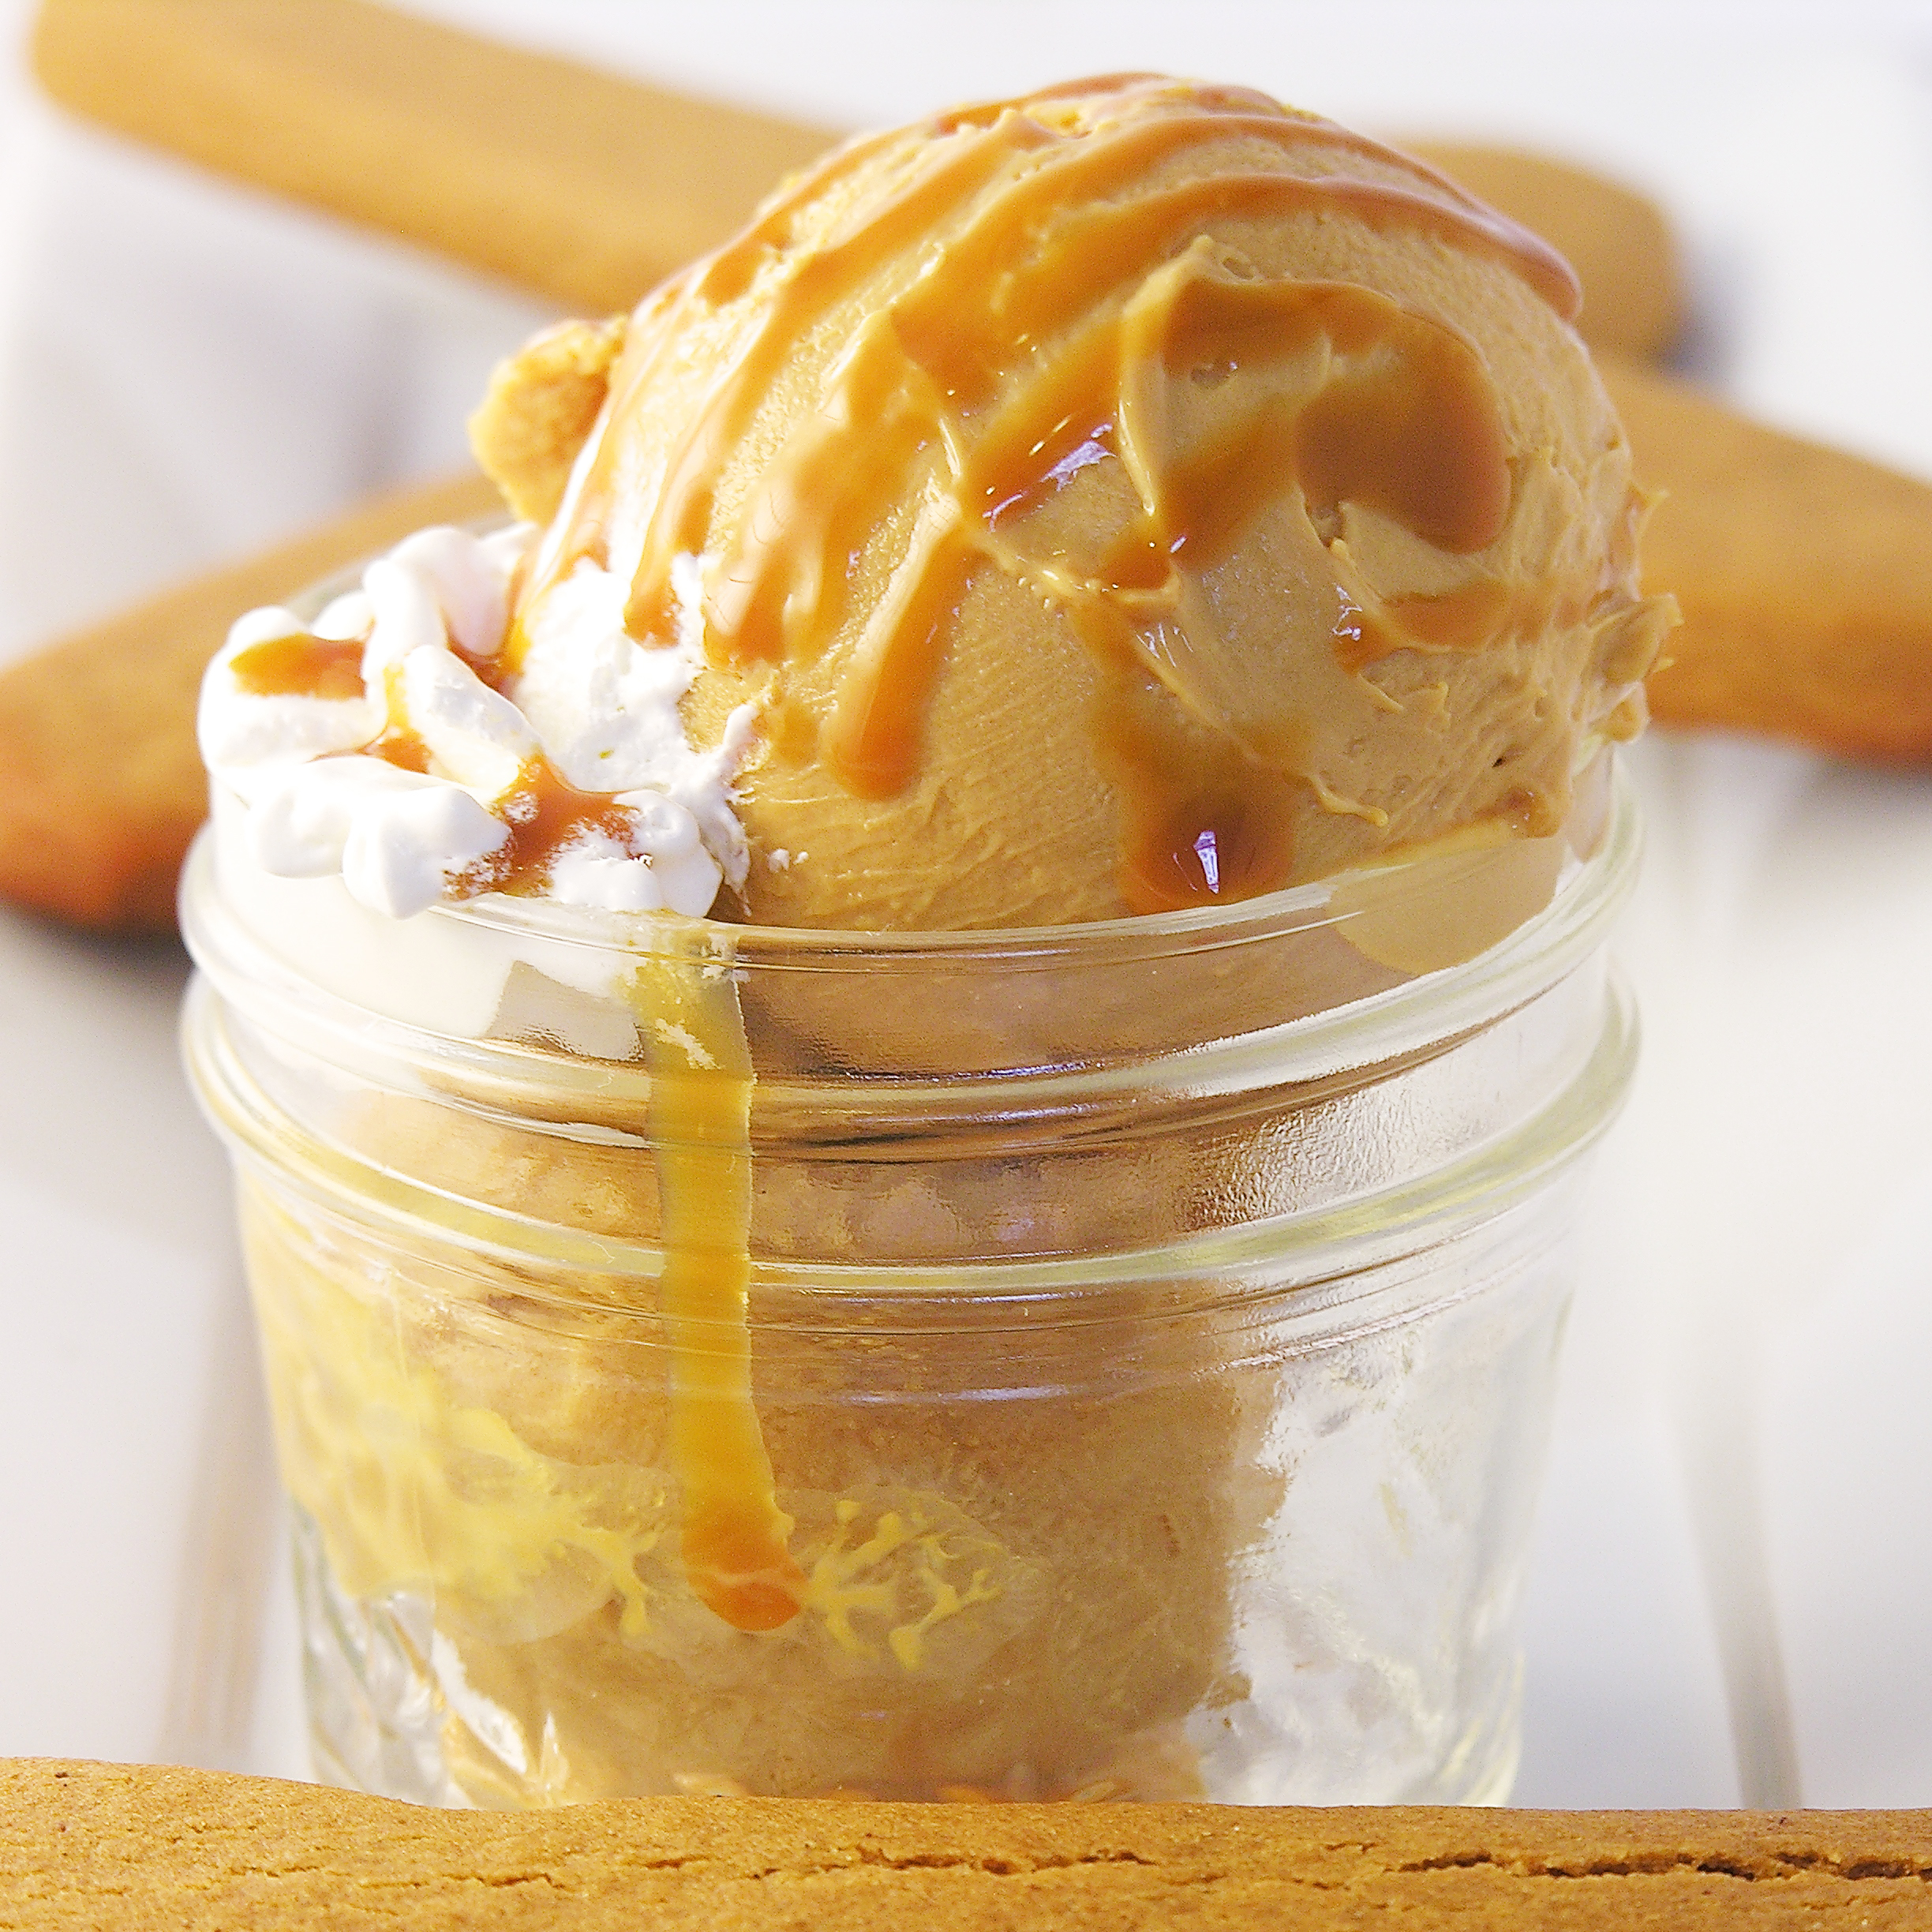
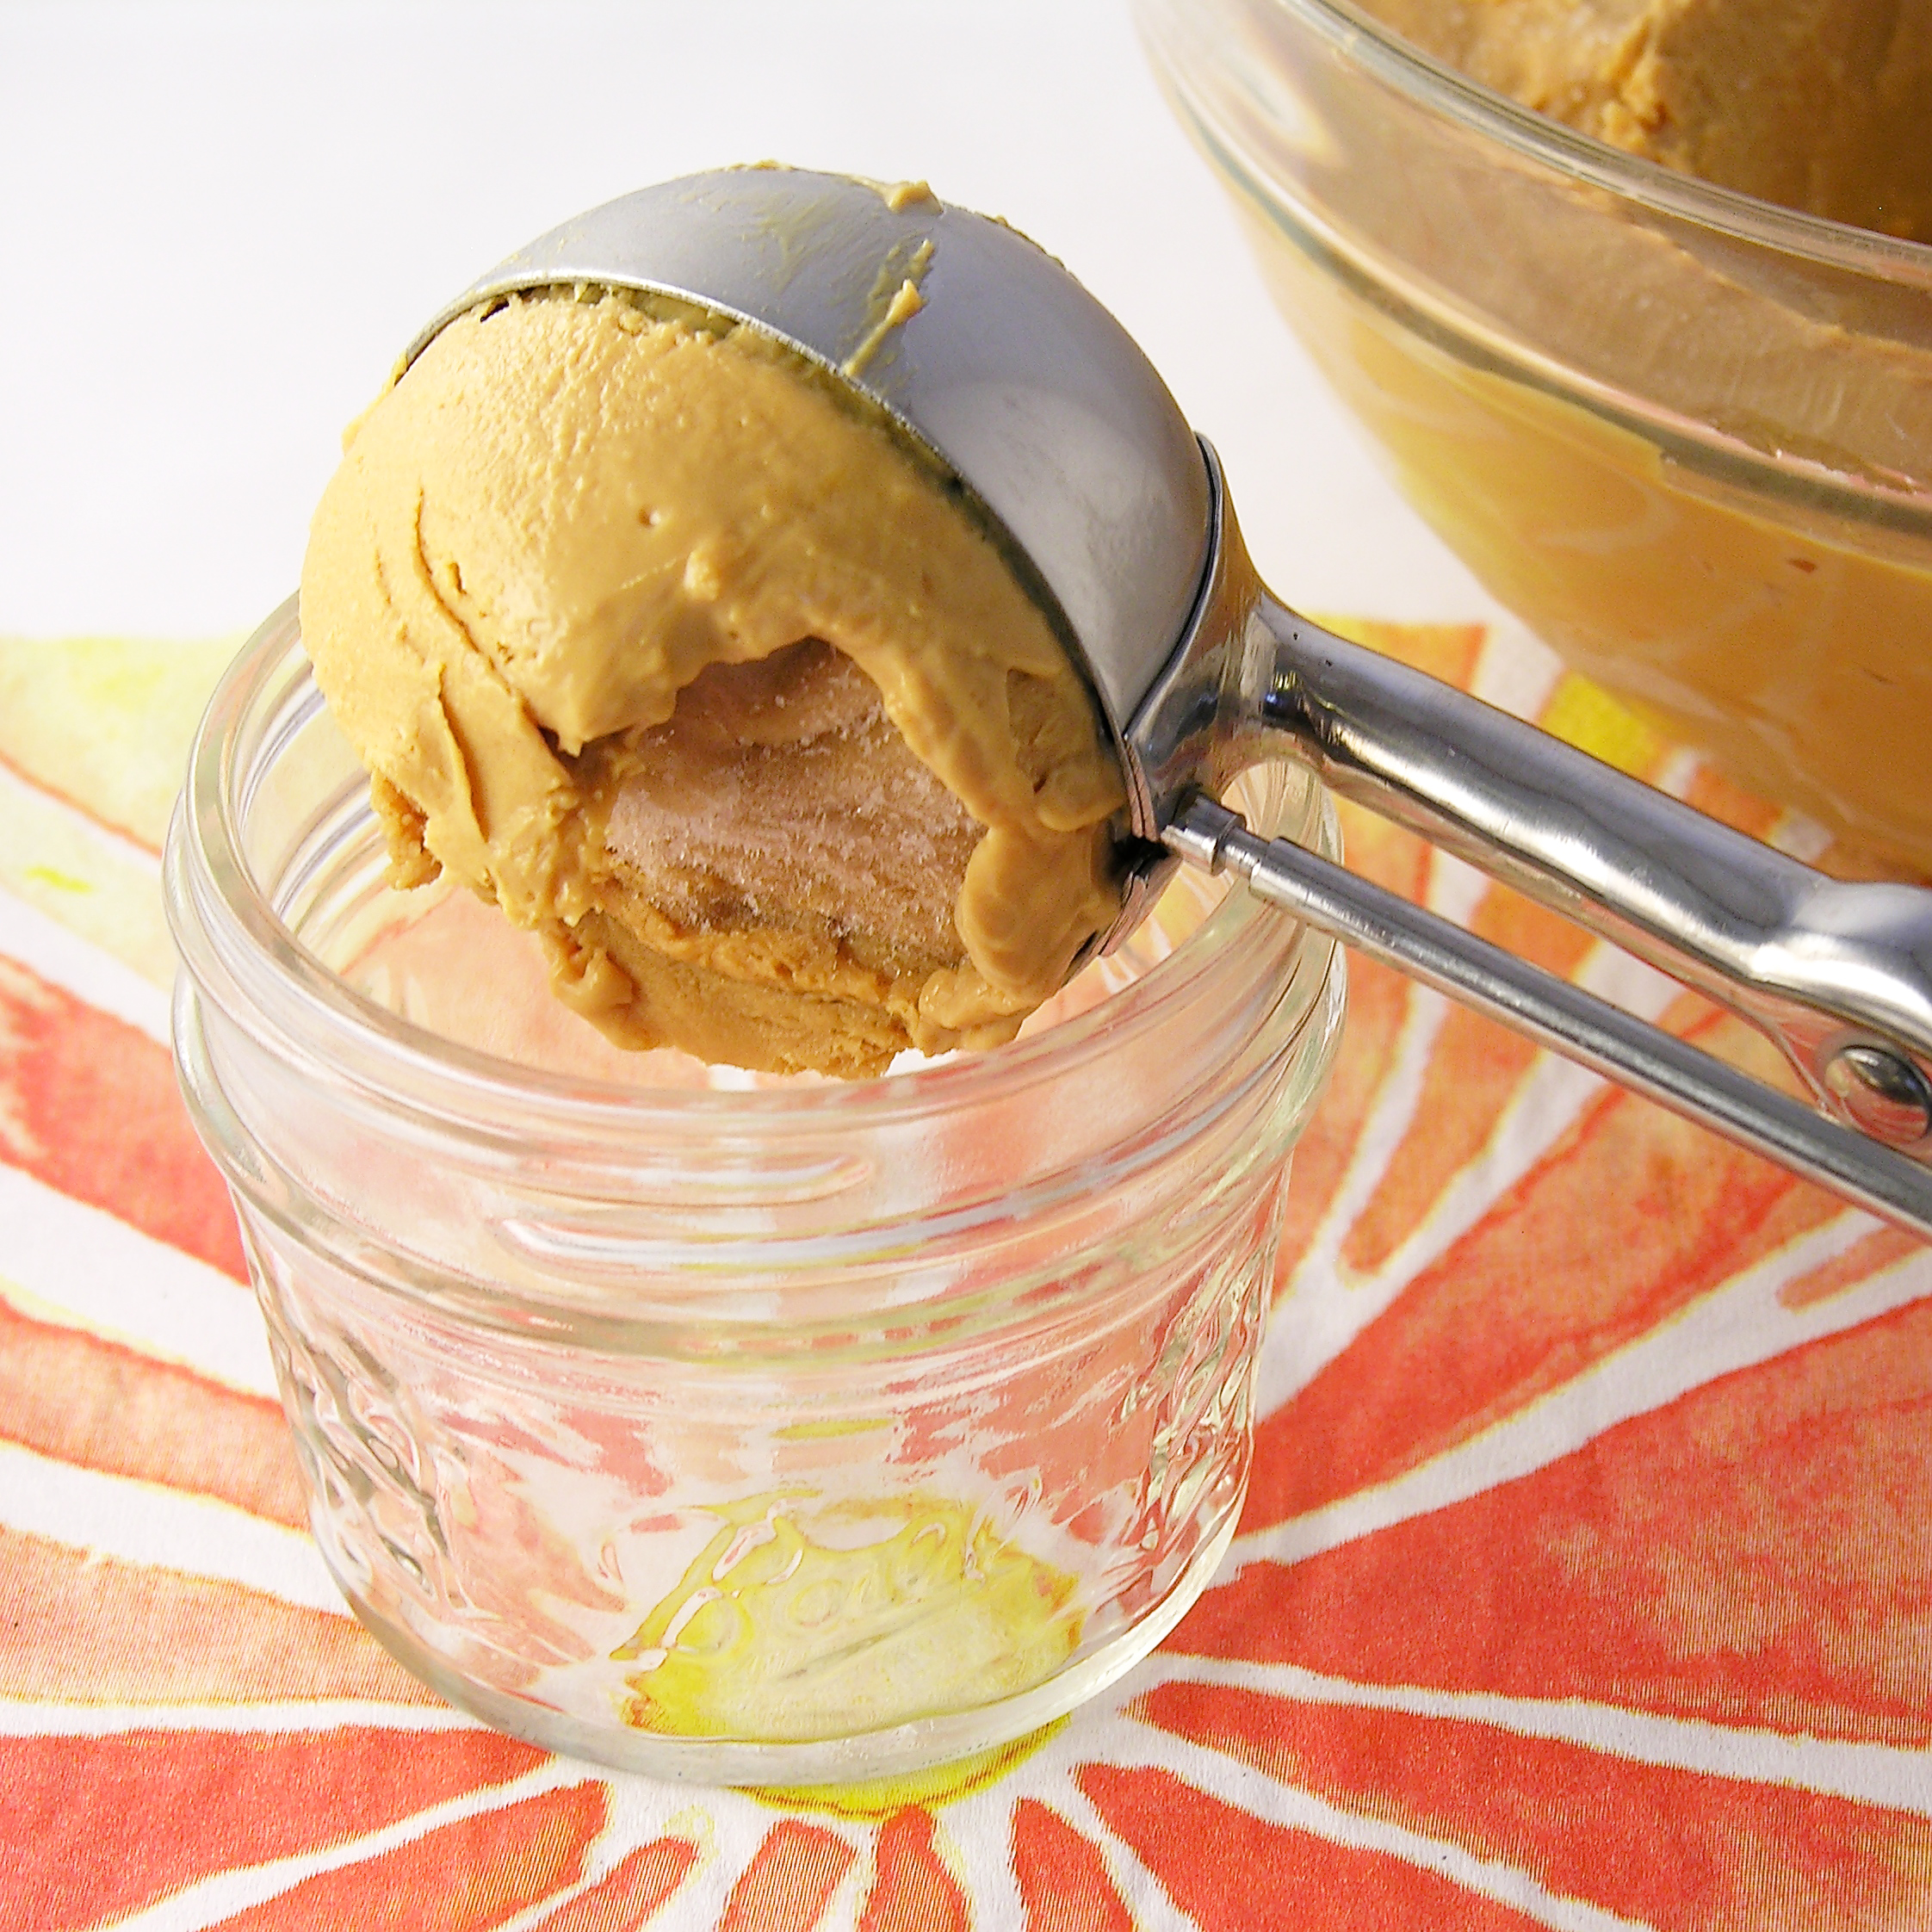
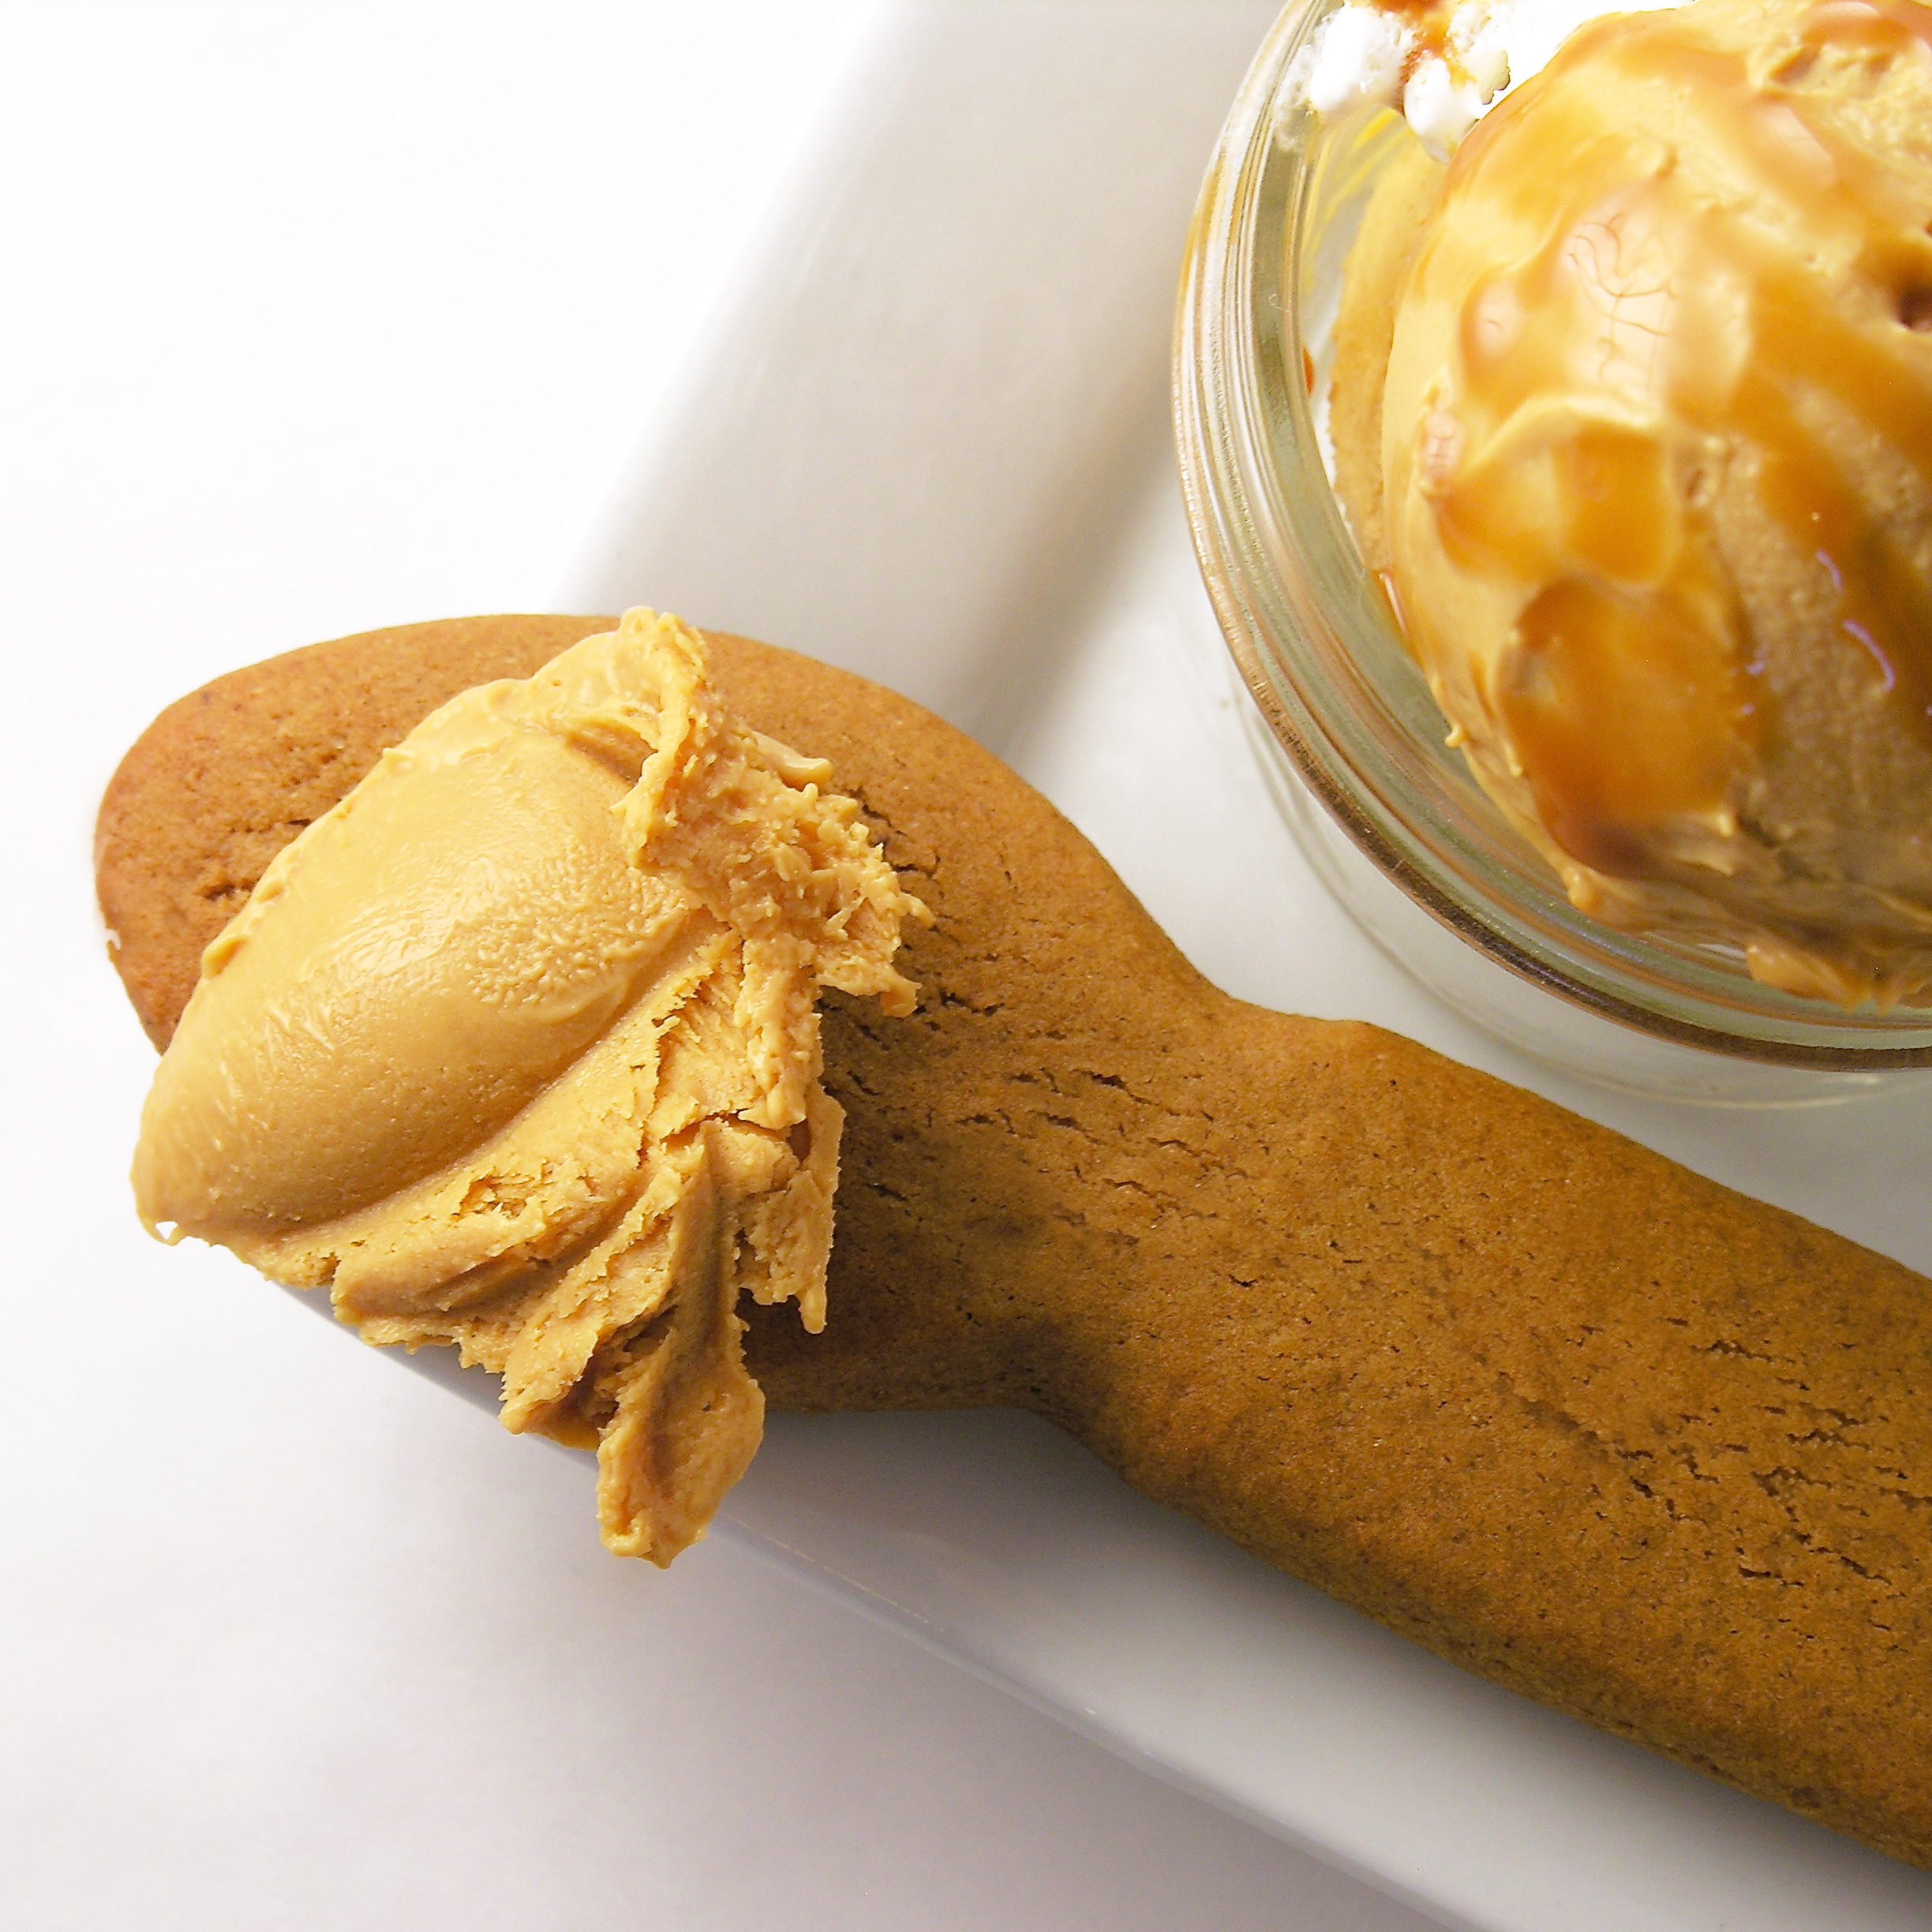
%20with%20Gingerbread%20Spoons%20Easybaked.net)
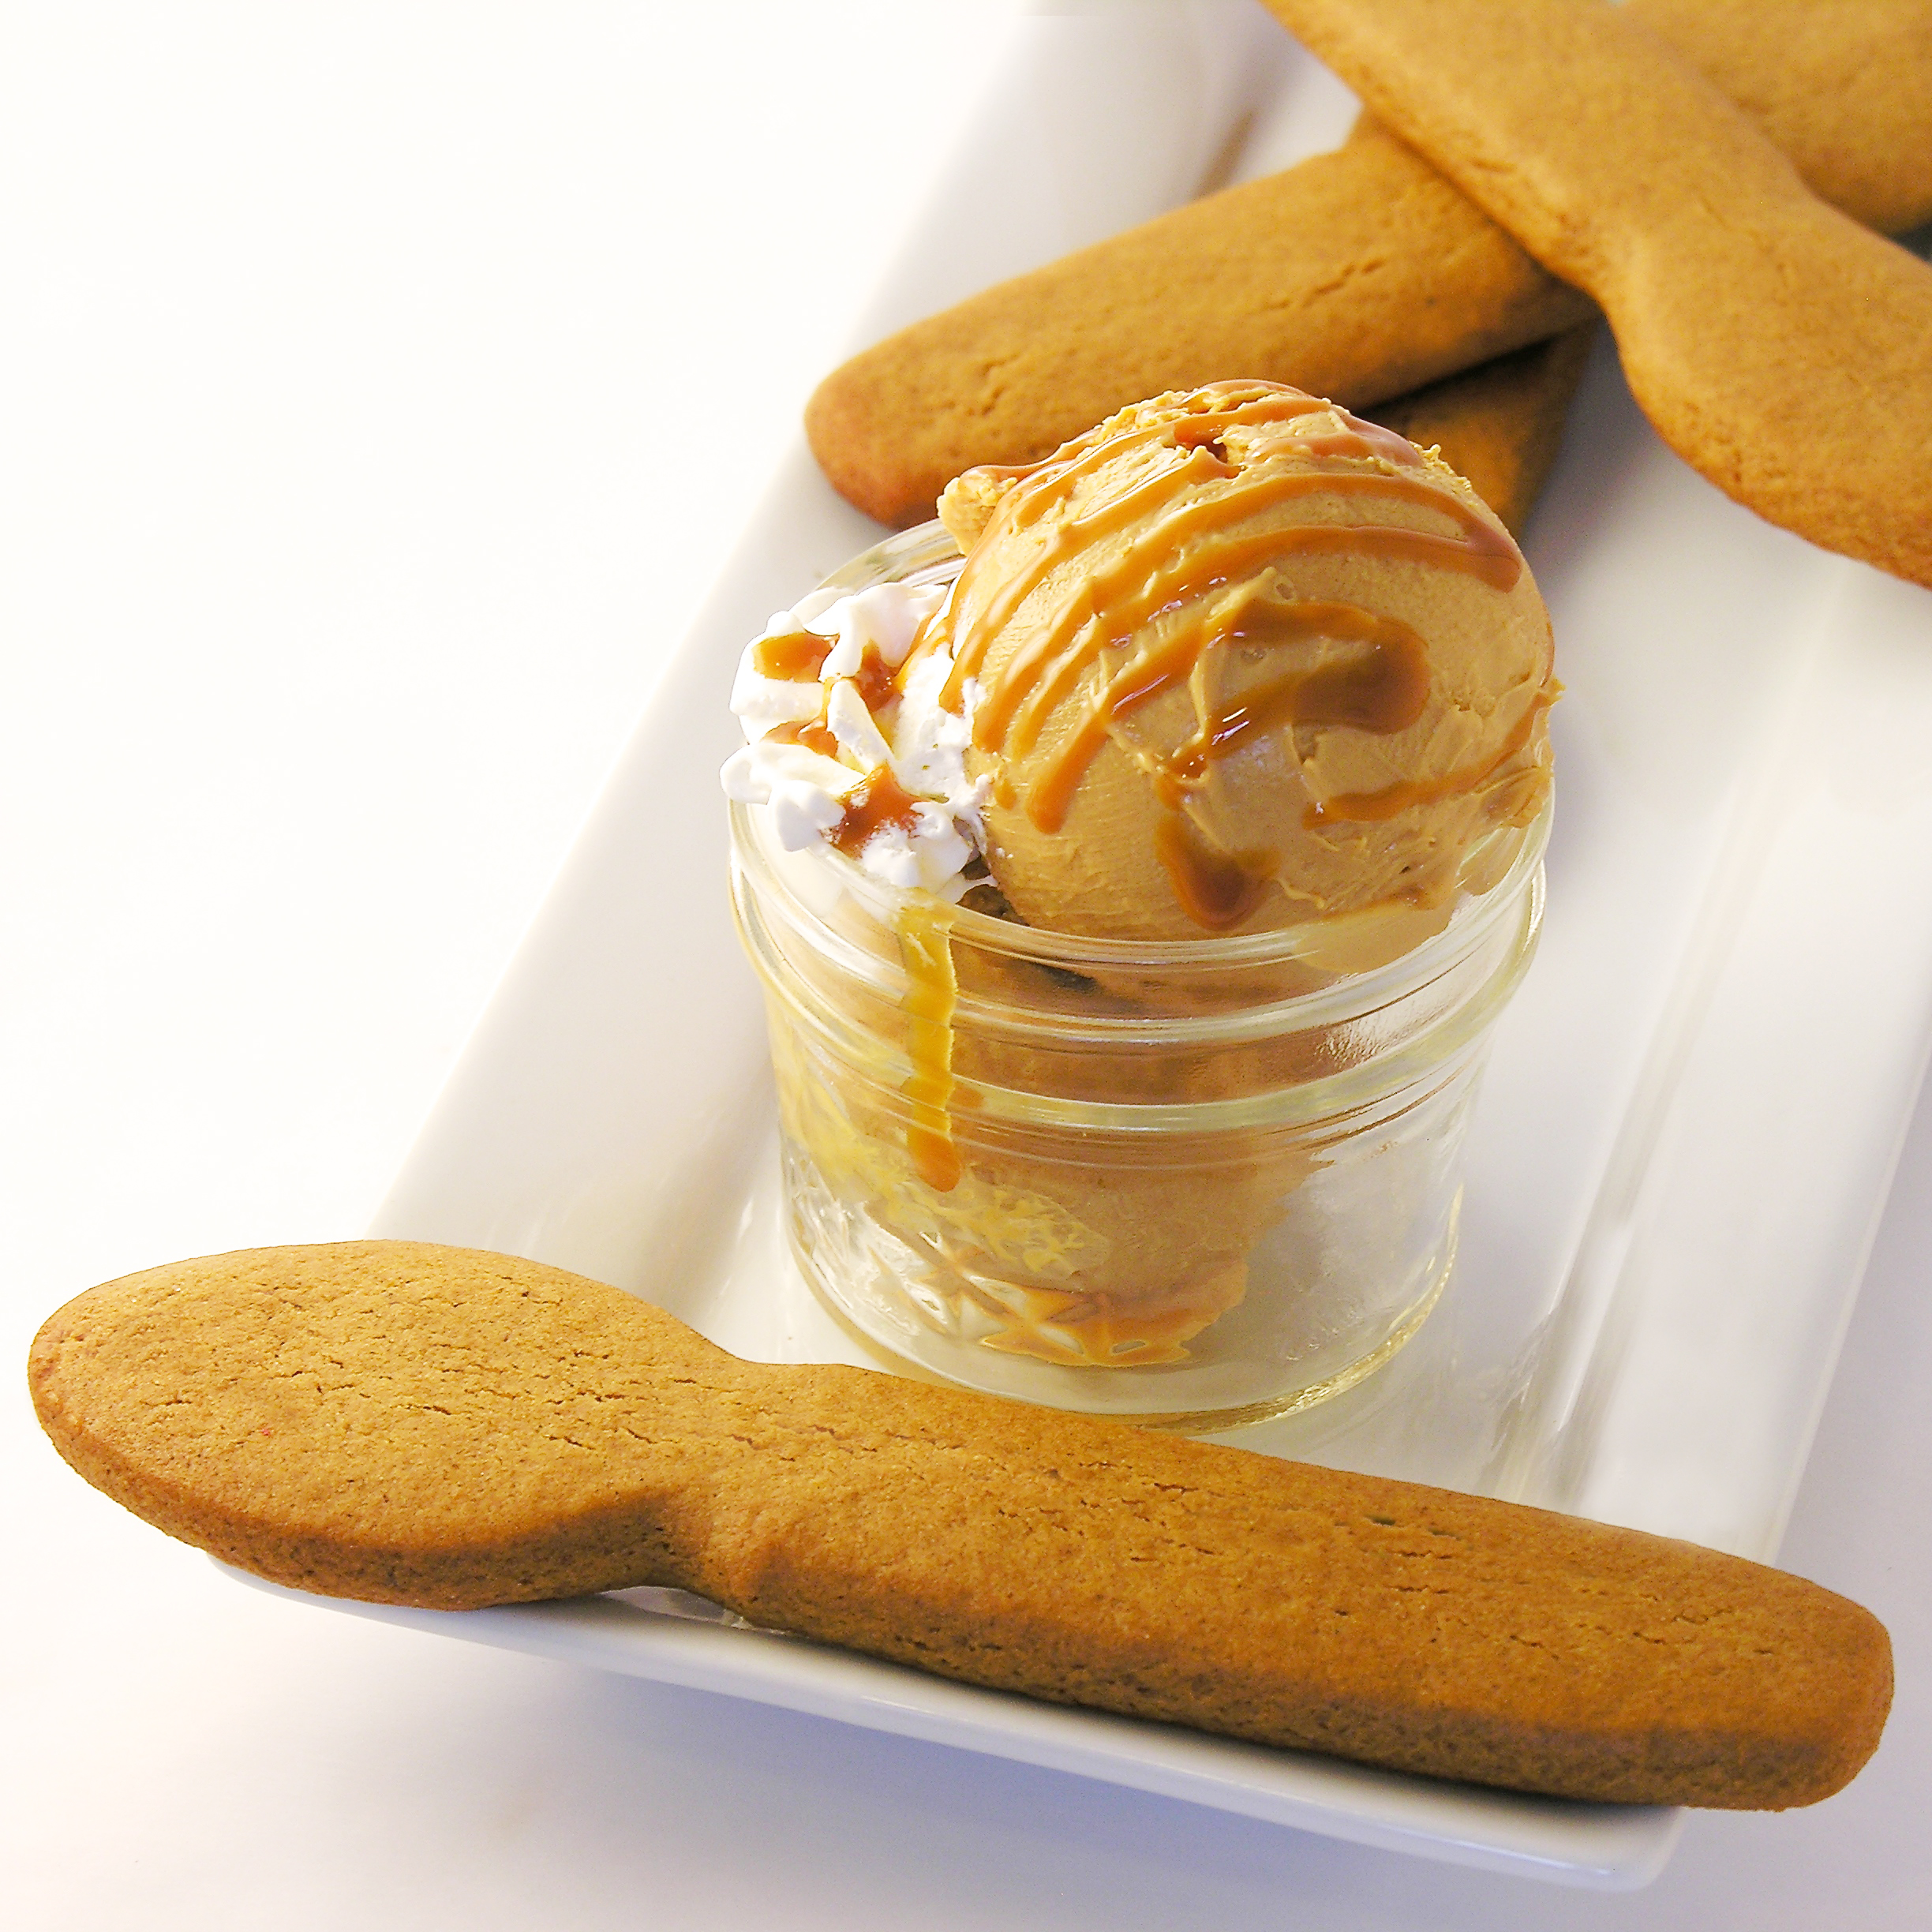
%20with%20Gingerbread%20Spoons%20Easybaked.net)
%20with%20Gingerbread%20Spoons%20Easybaked.net)
%20with%20Gingerbread%20Spoons%20Easybaked.net)


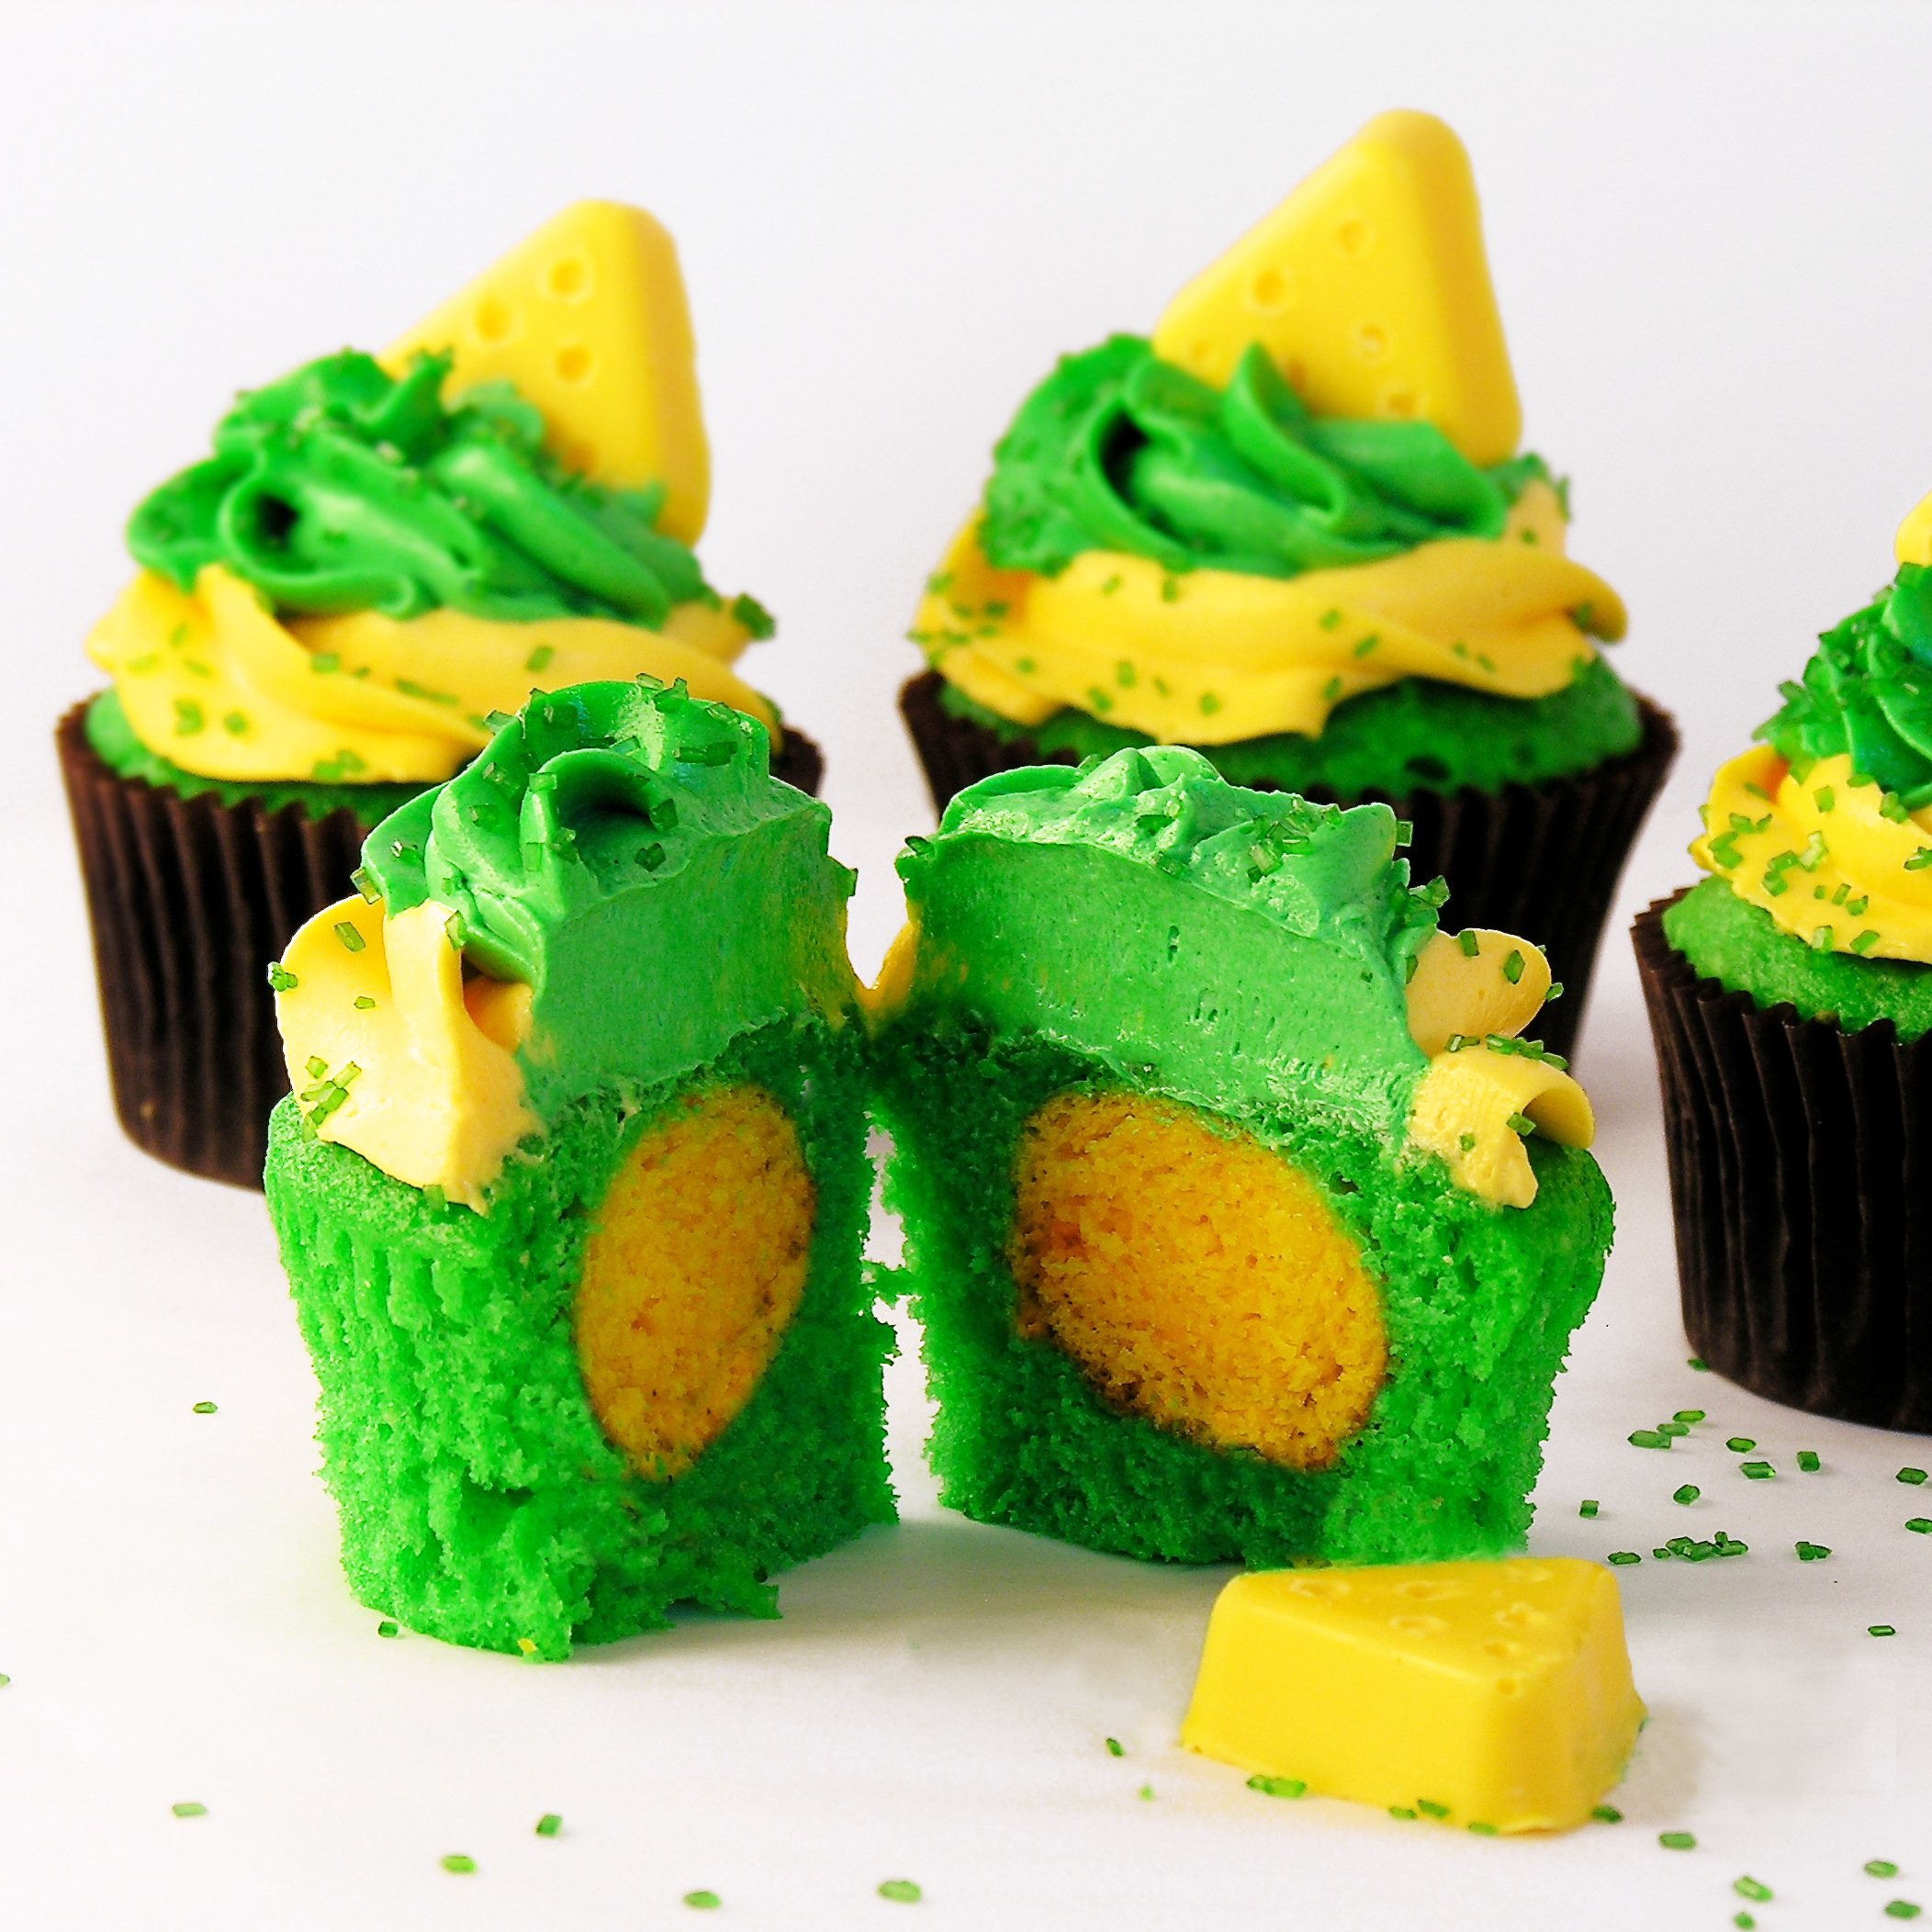
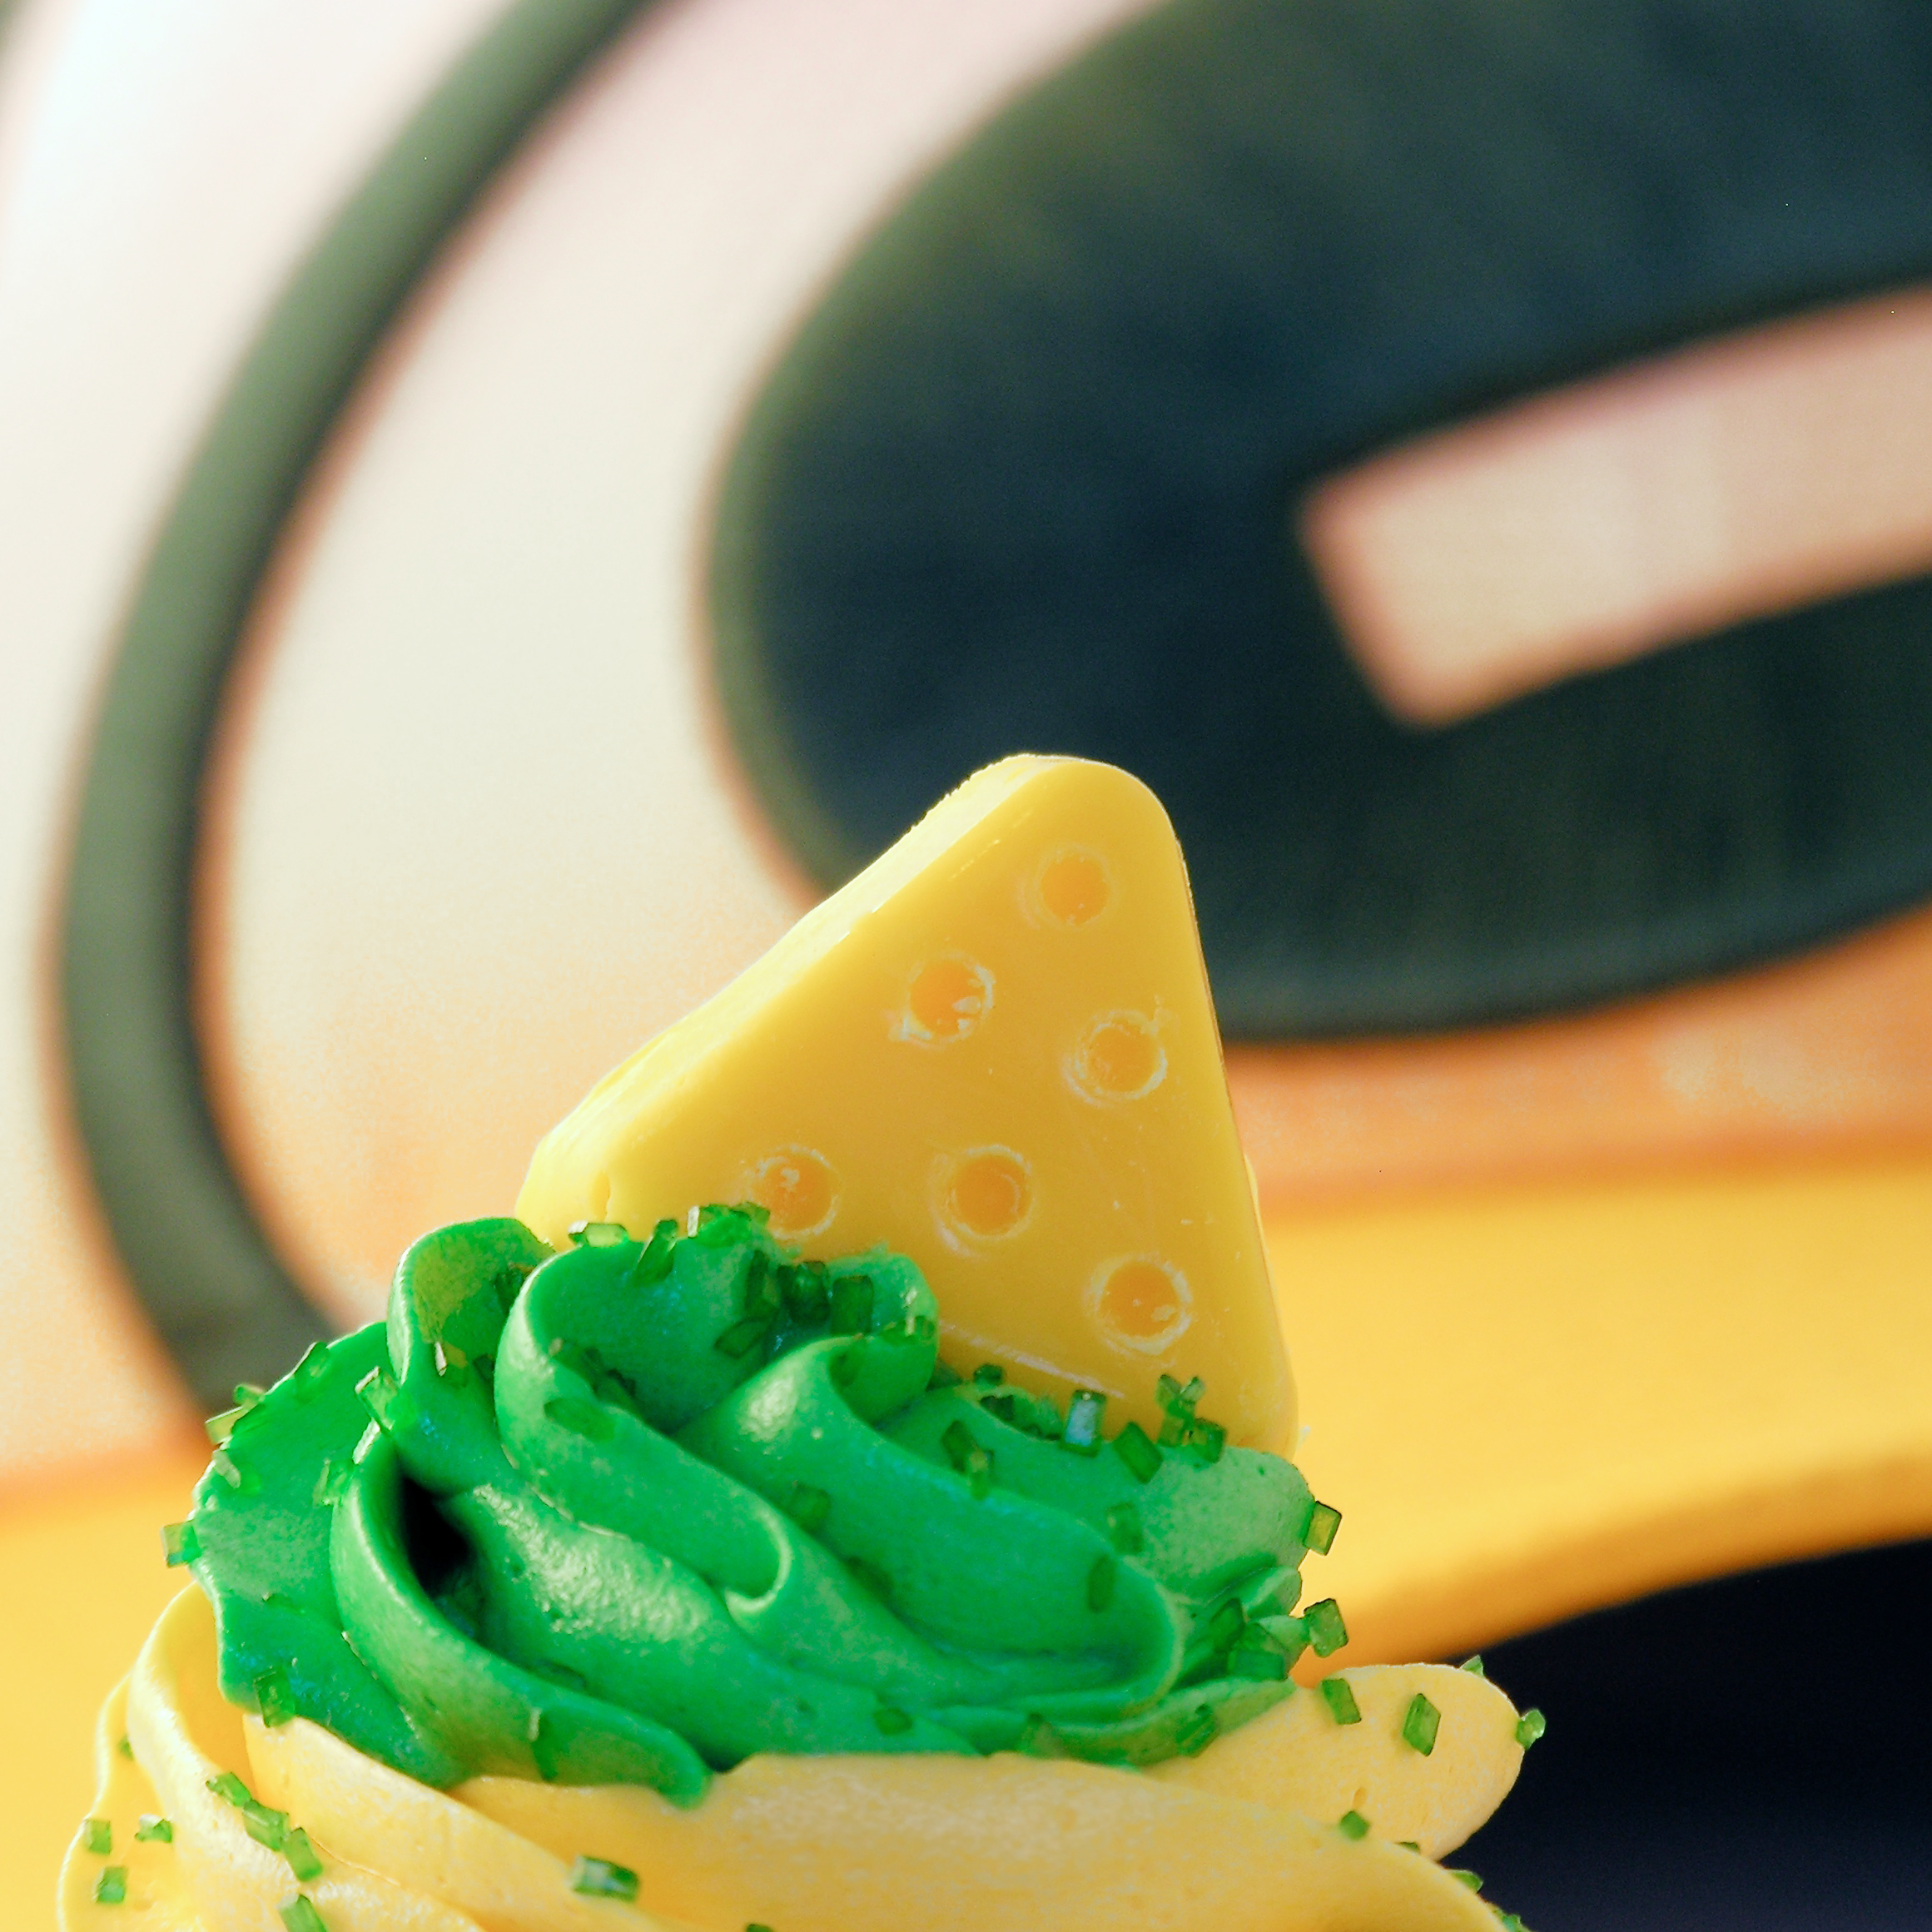
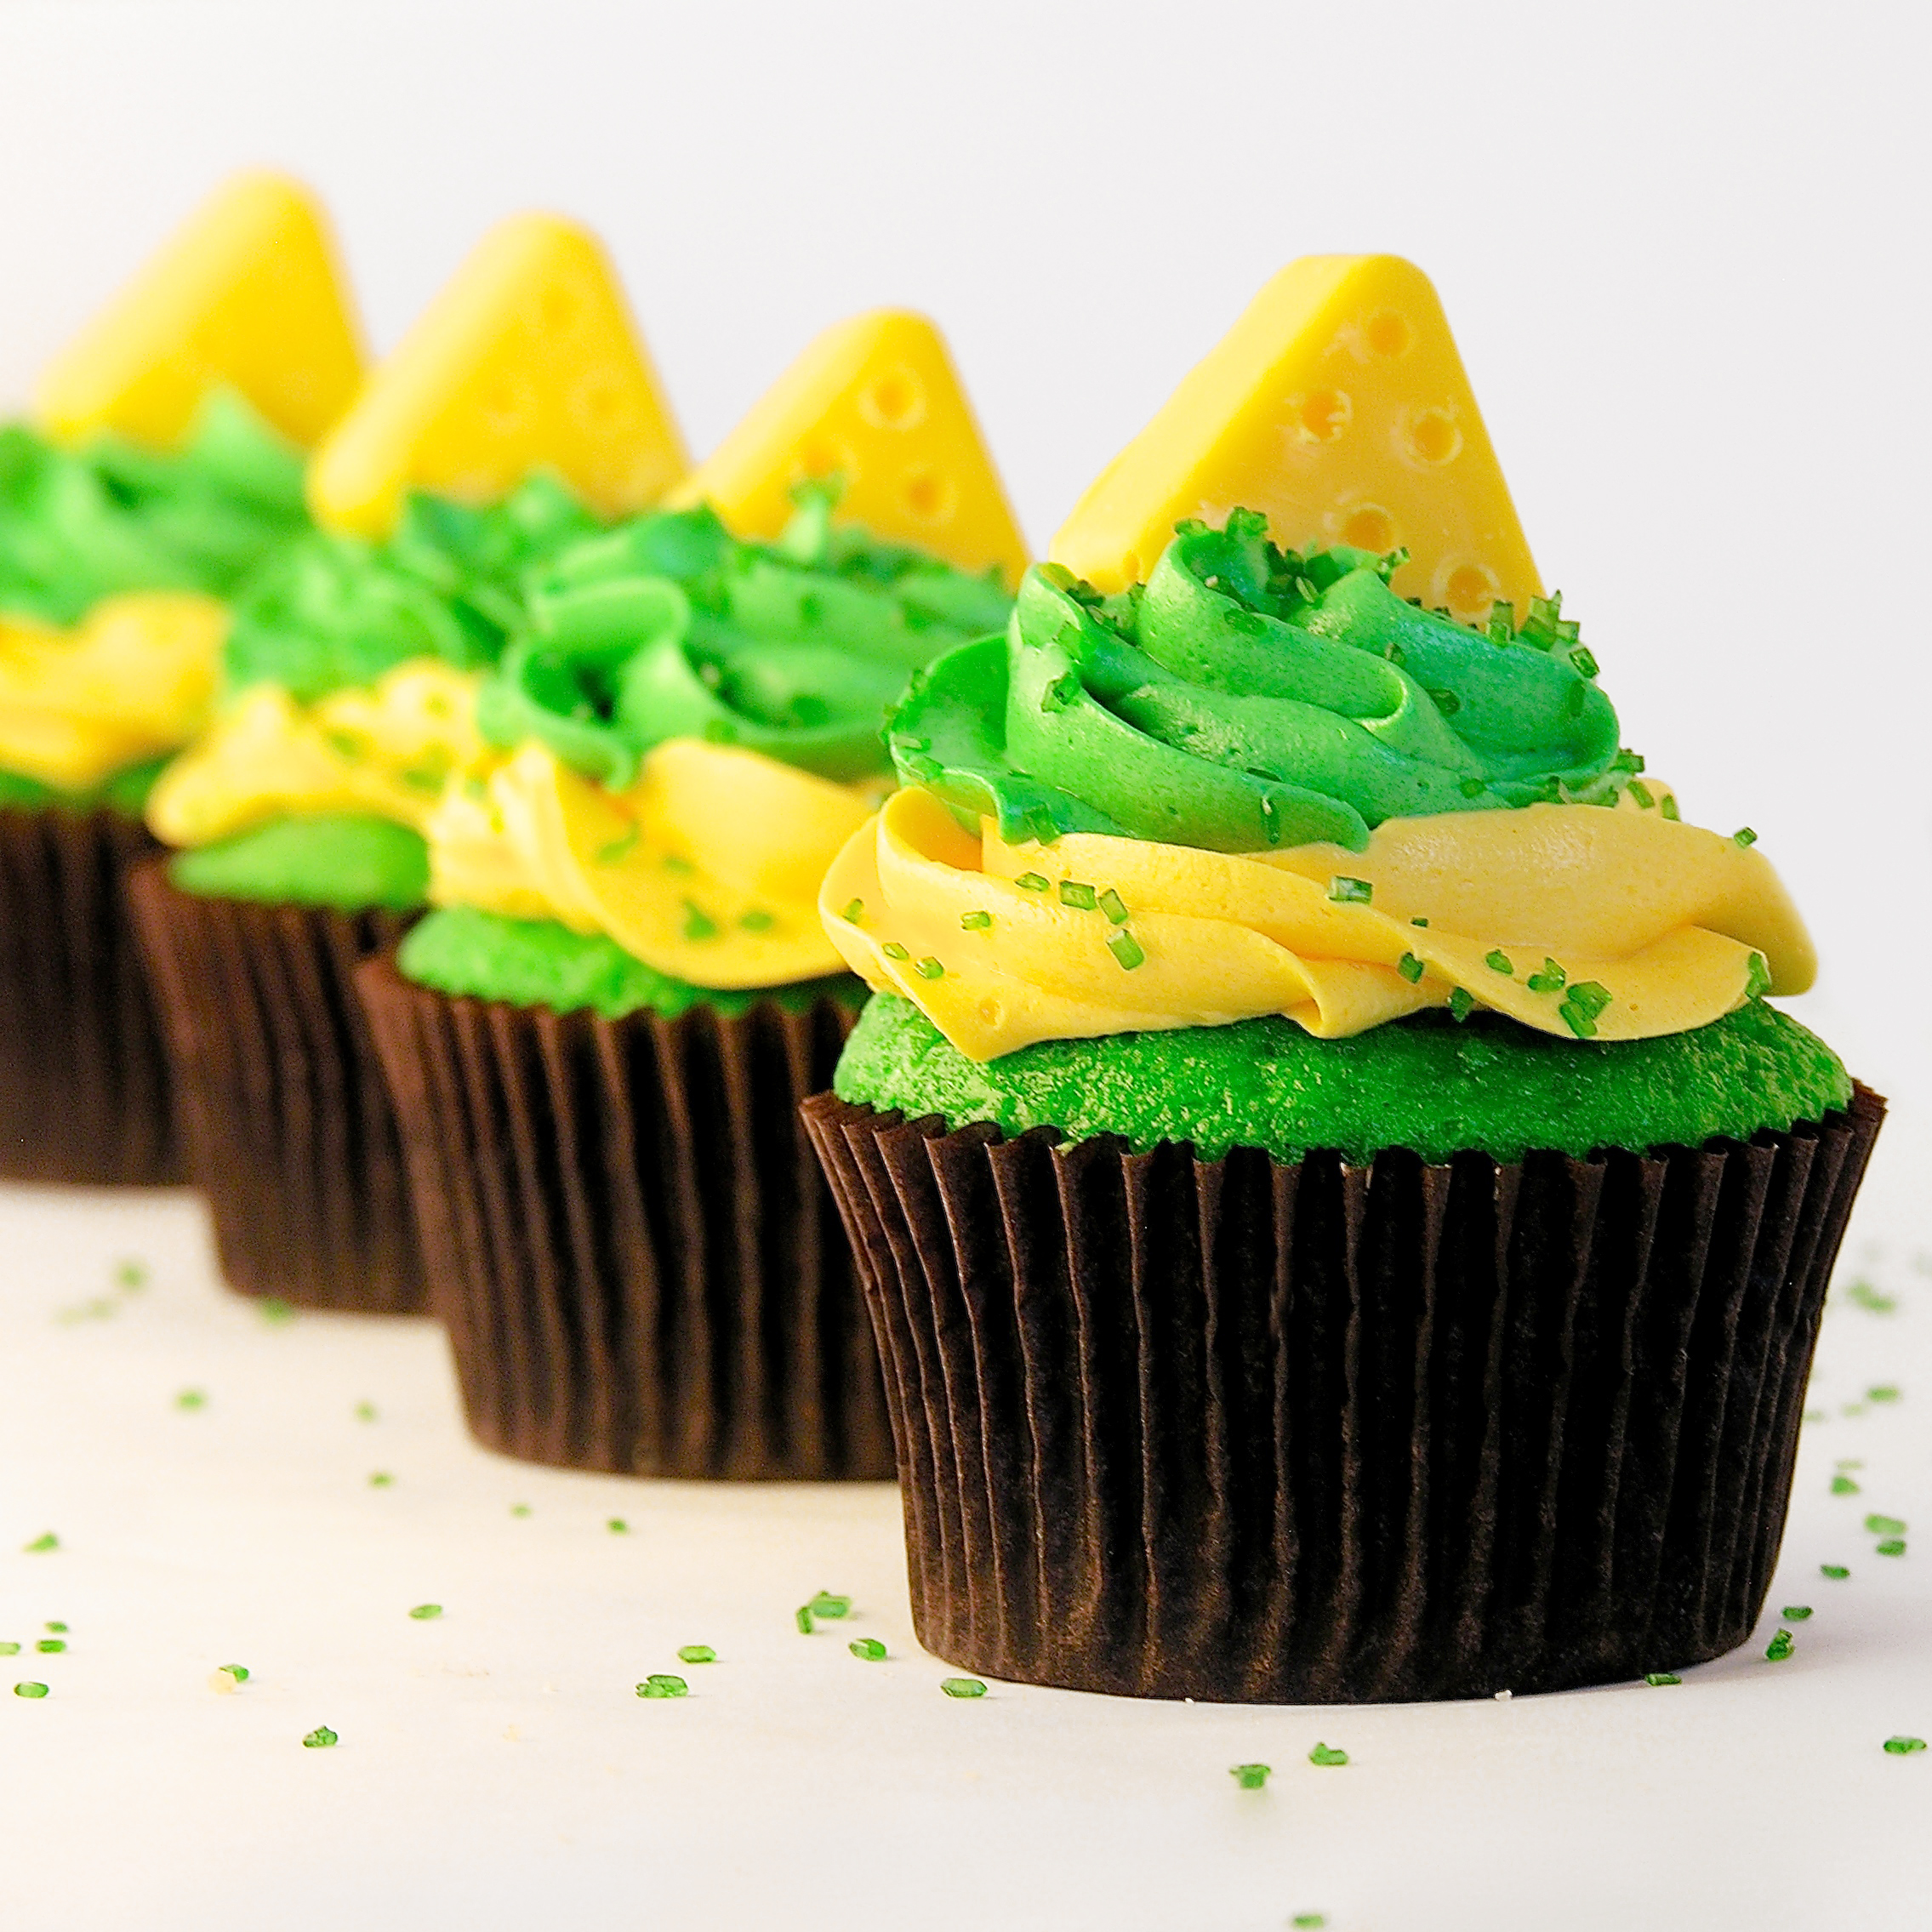
 These colorful Green Bay Packer CHEESEHEAD cupcakes are the perfect treat for game day!!! Make them in YOUR team colors and start the season off with some fun!