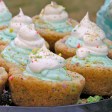
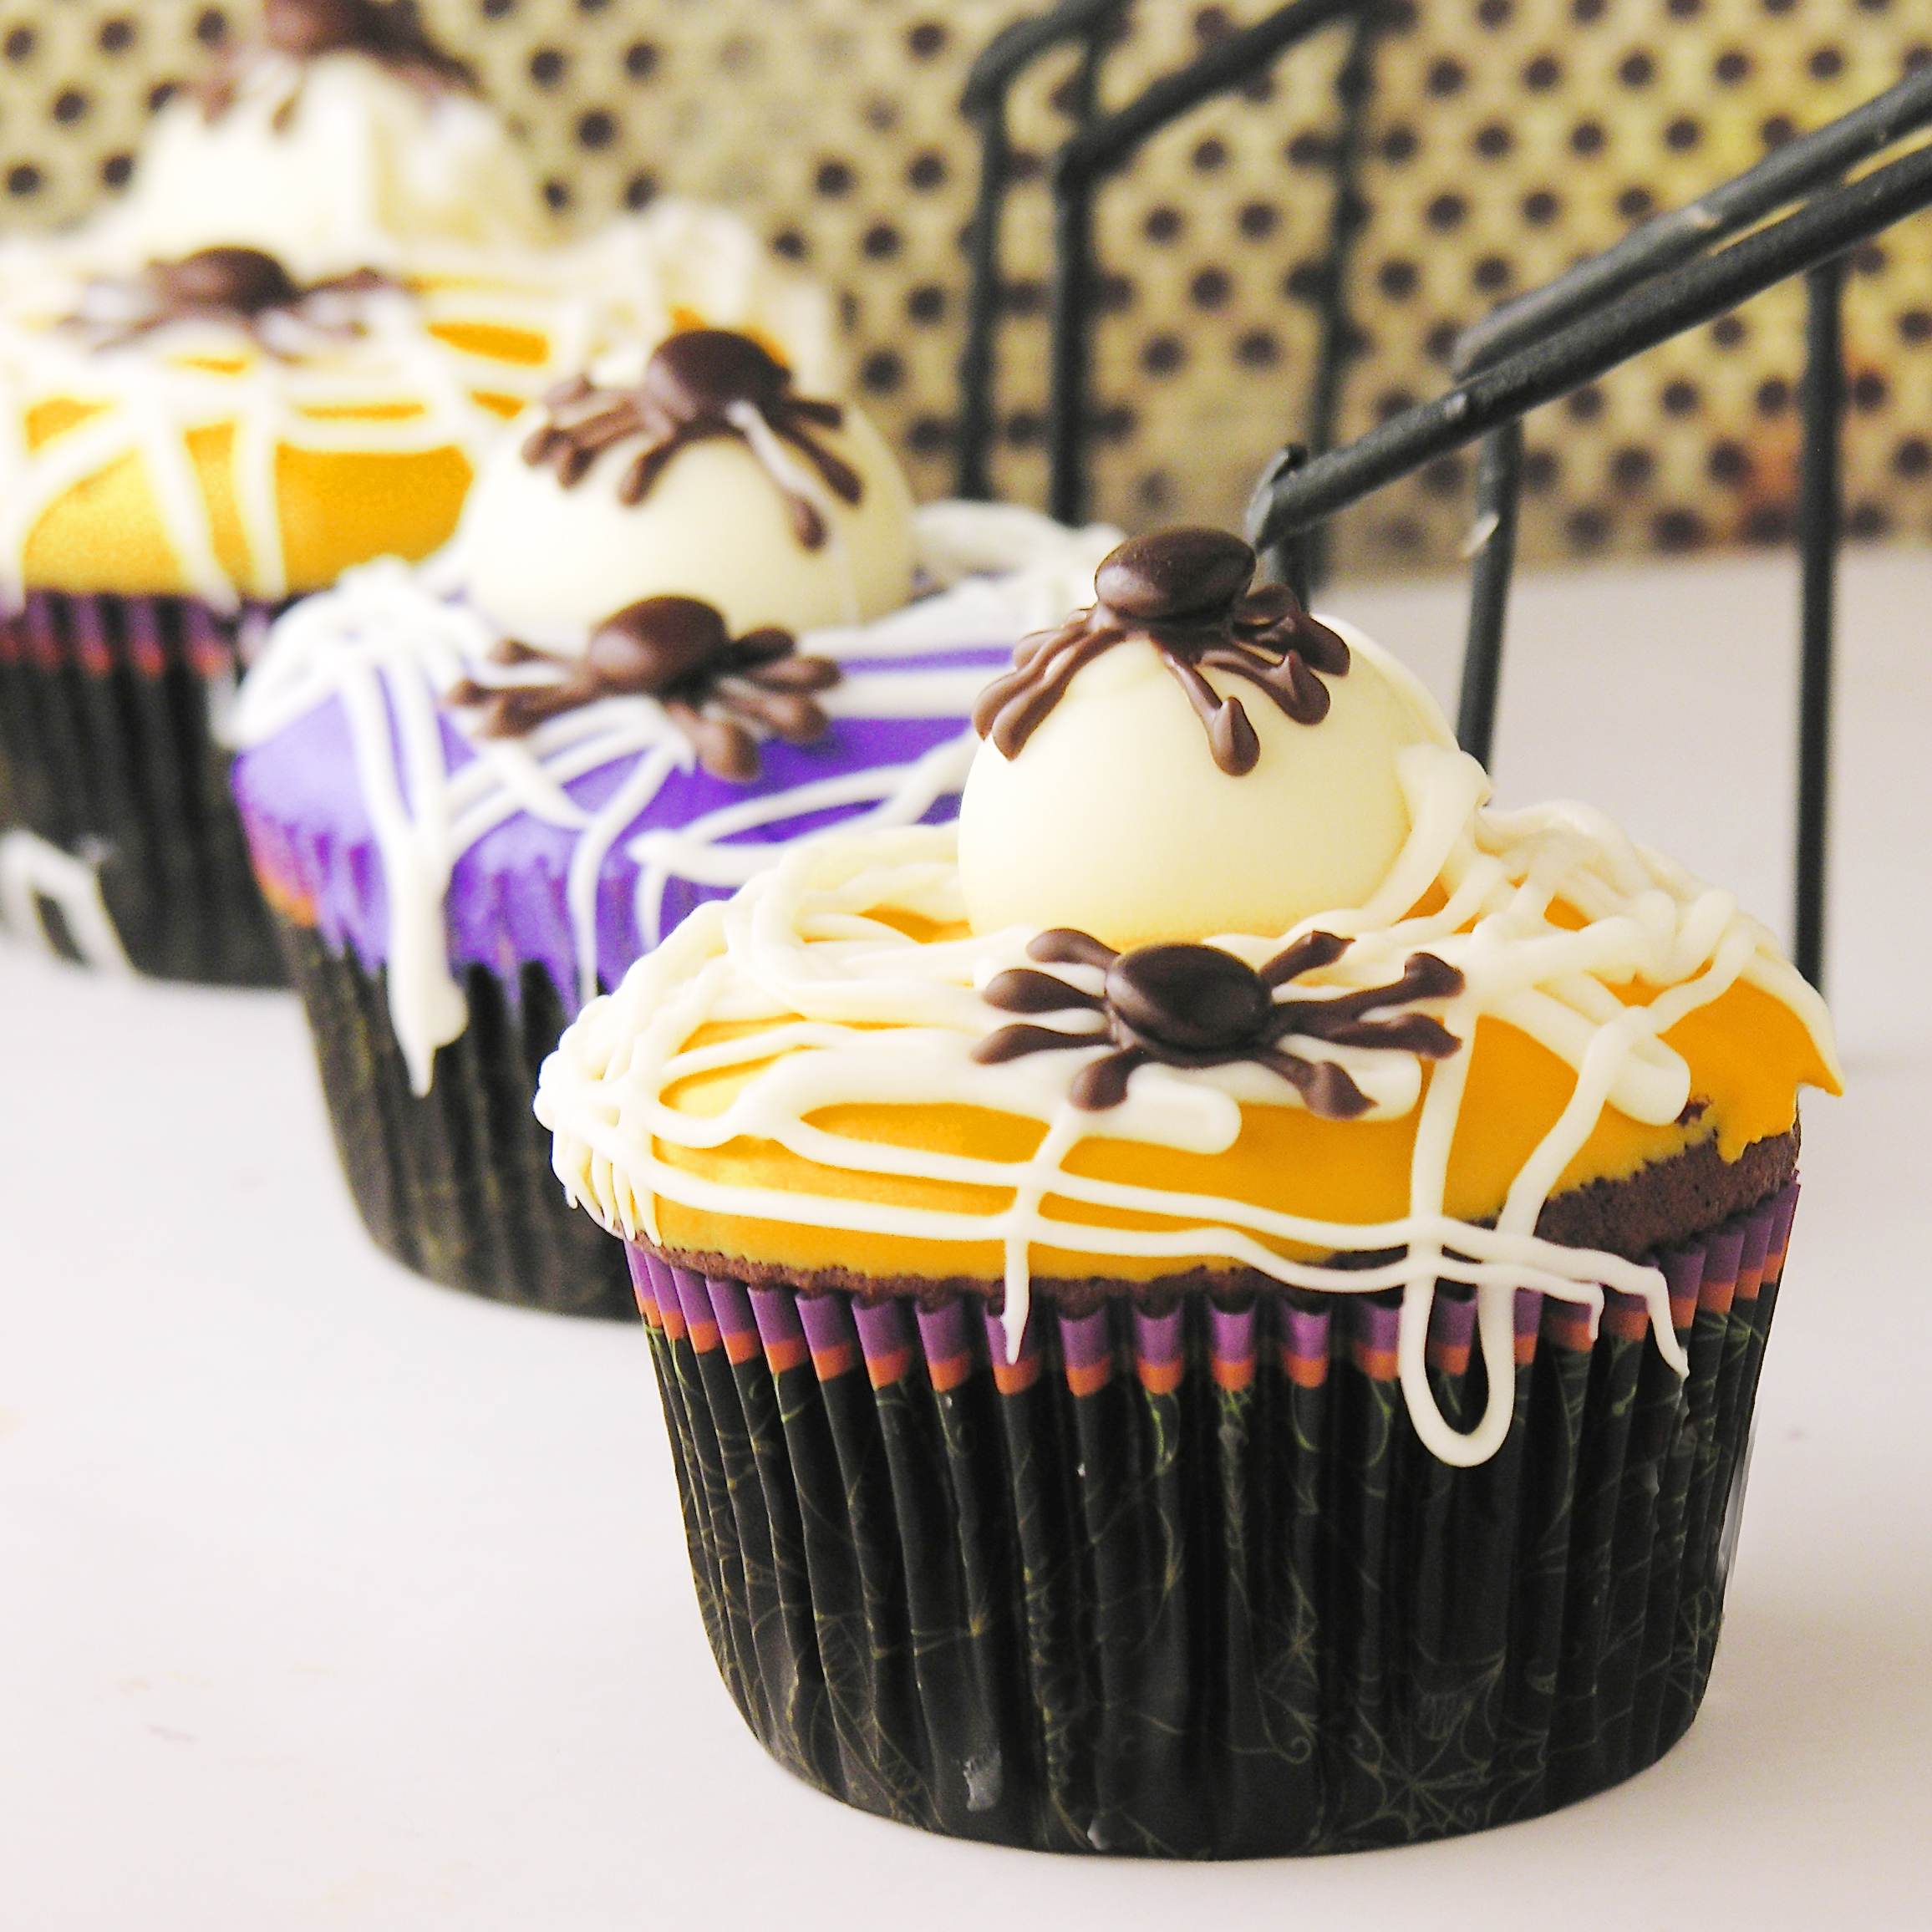
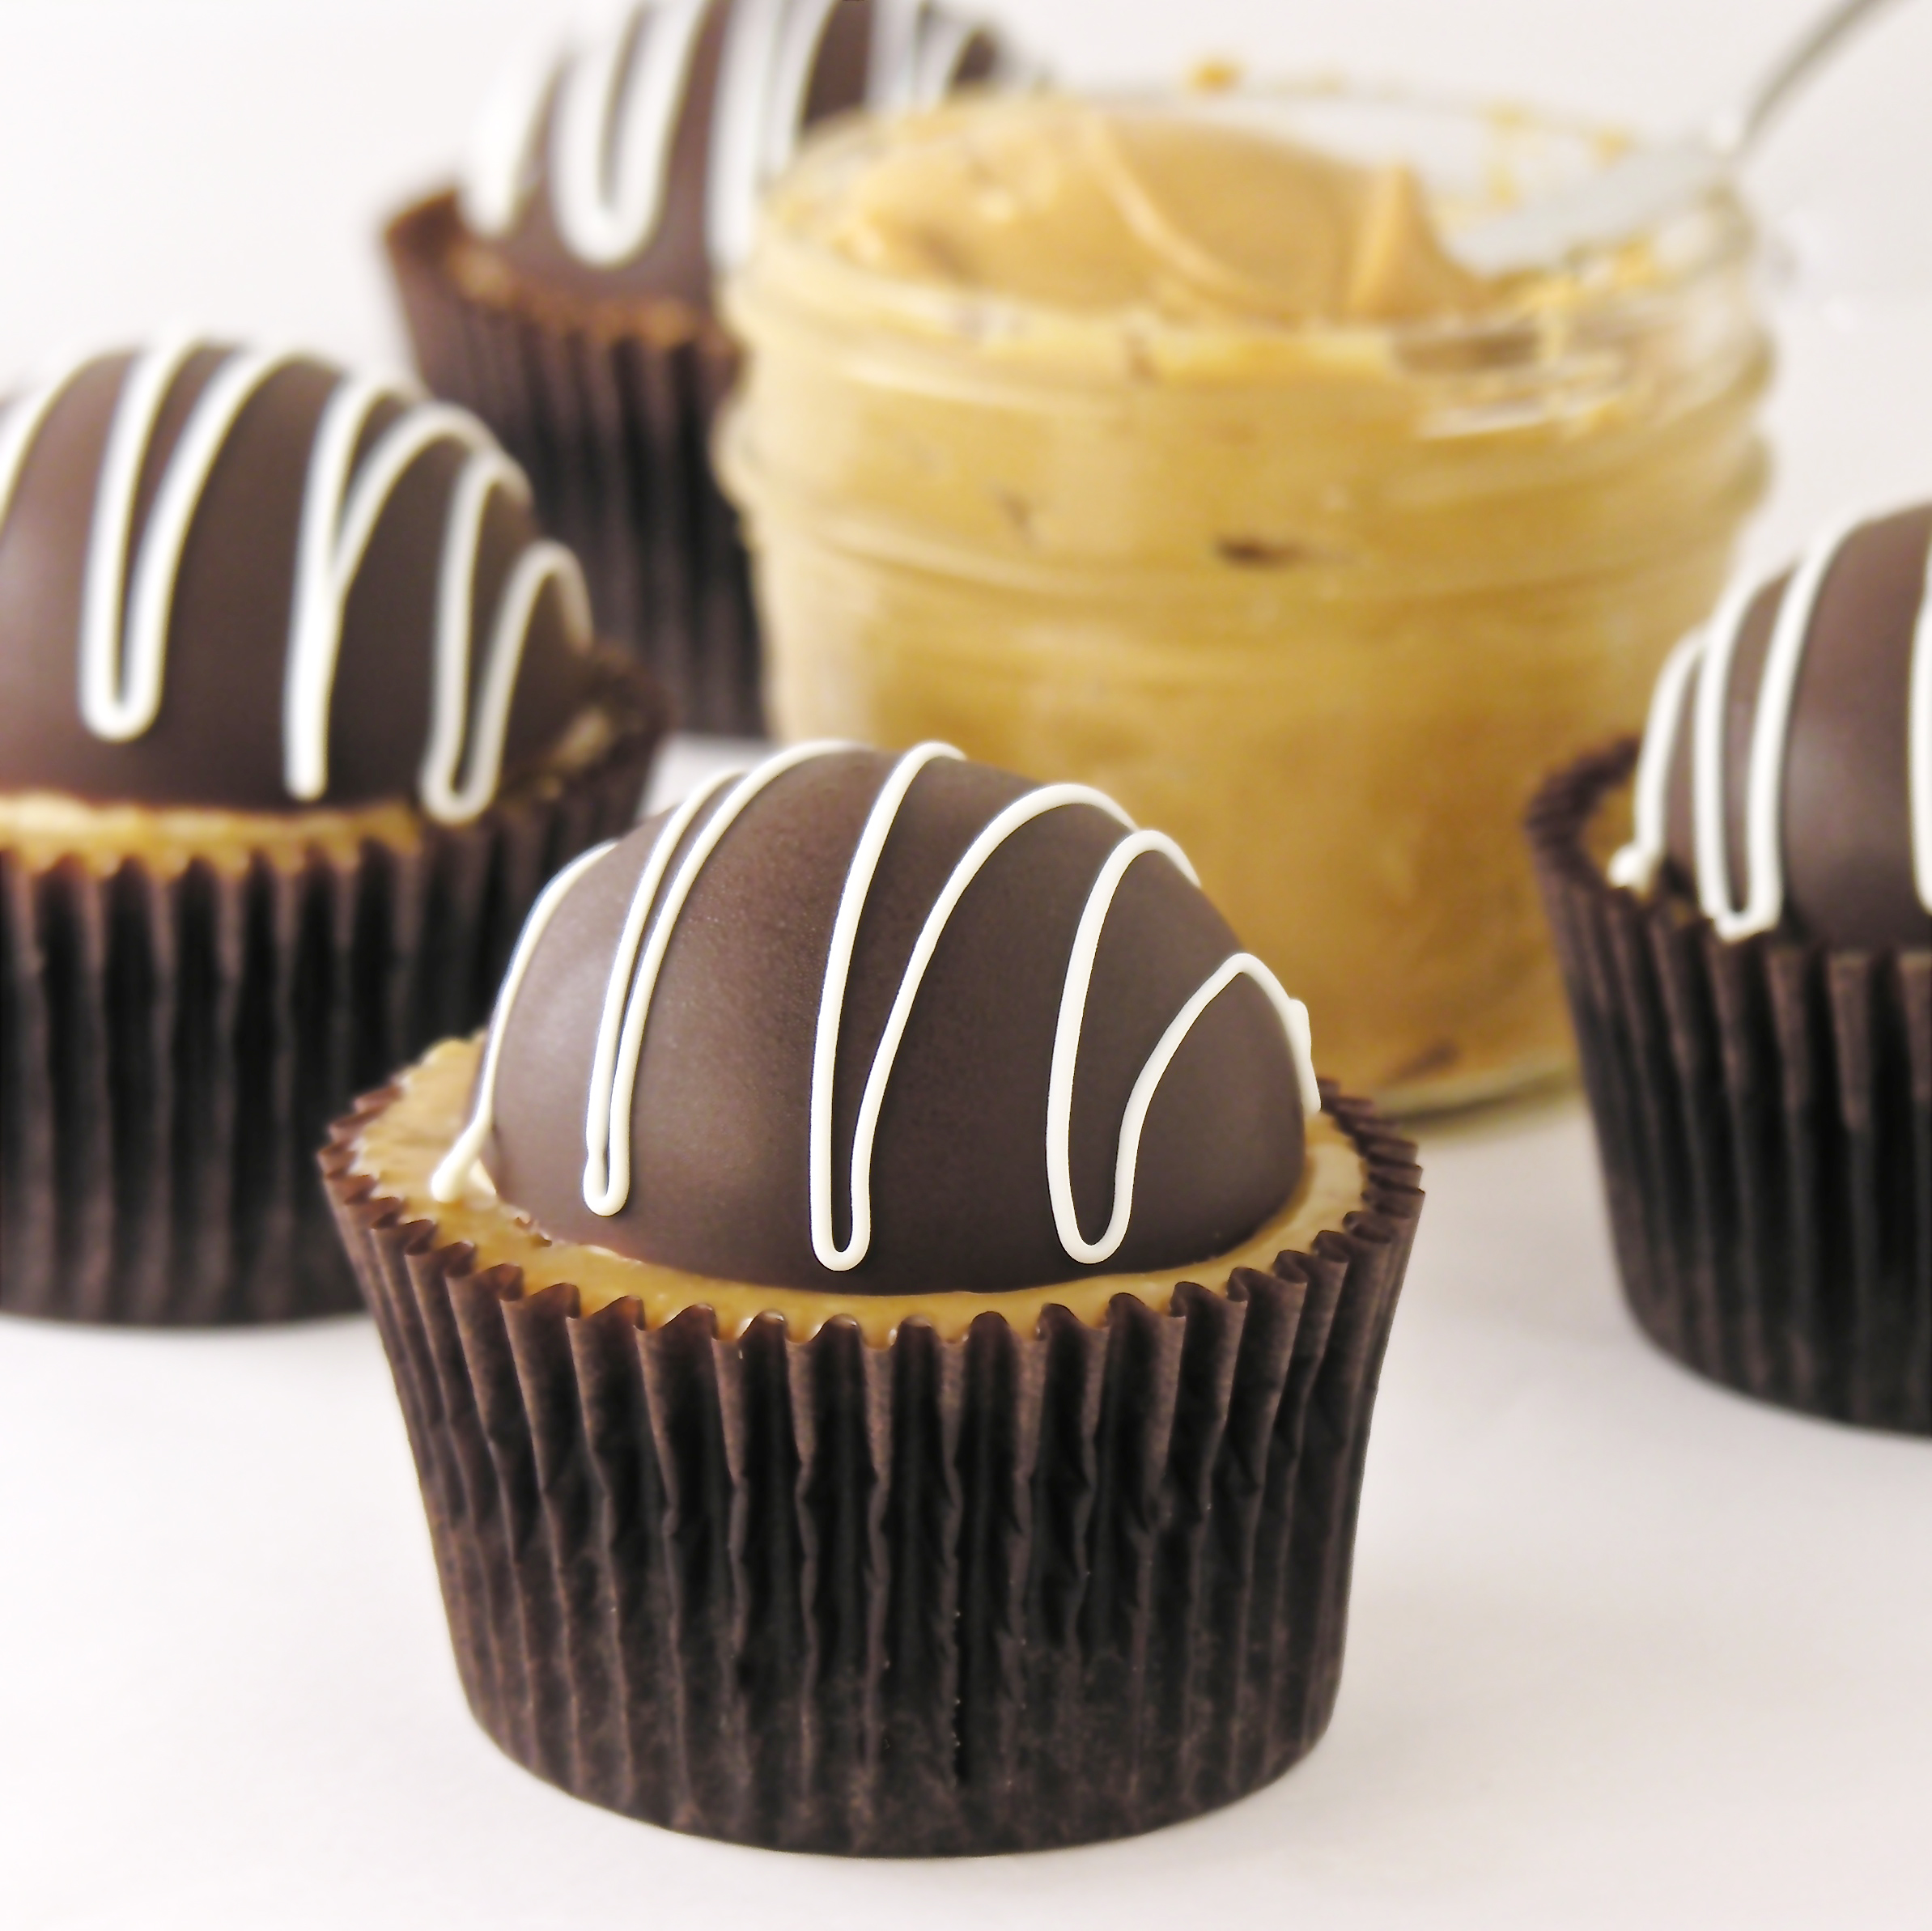
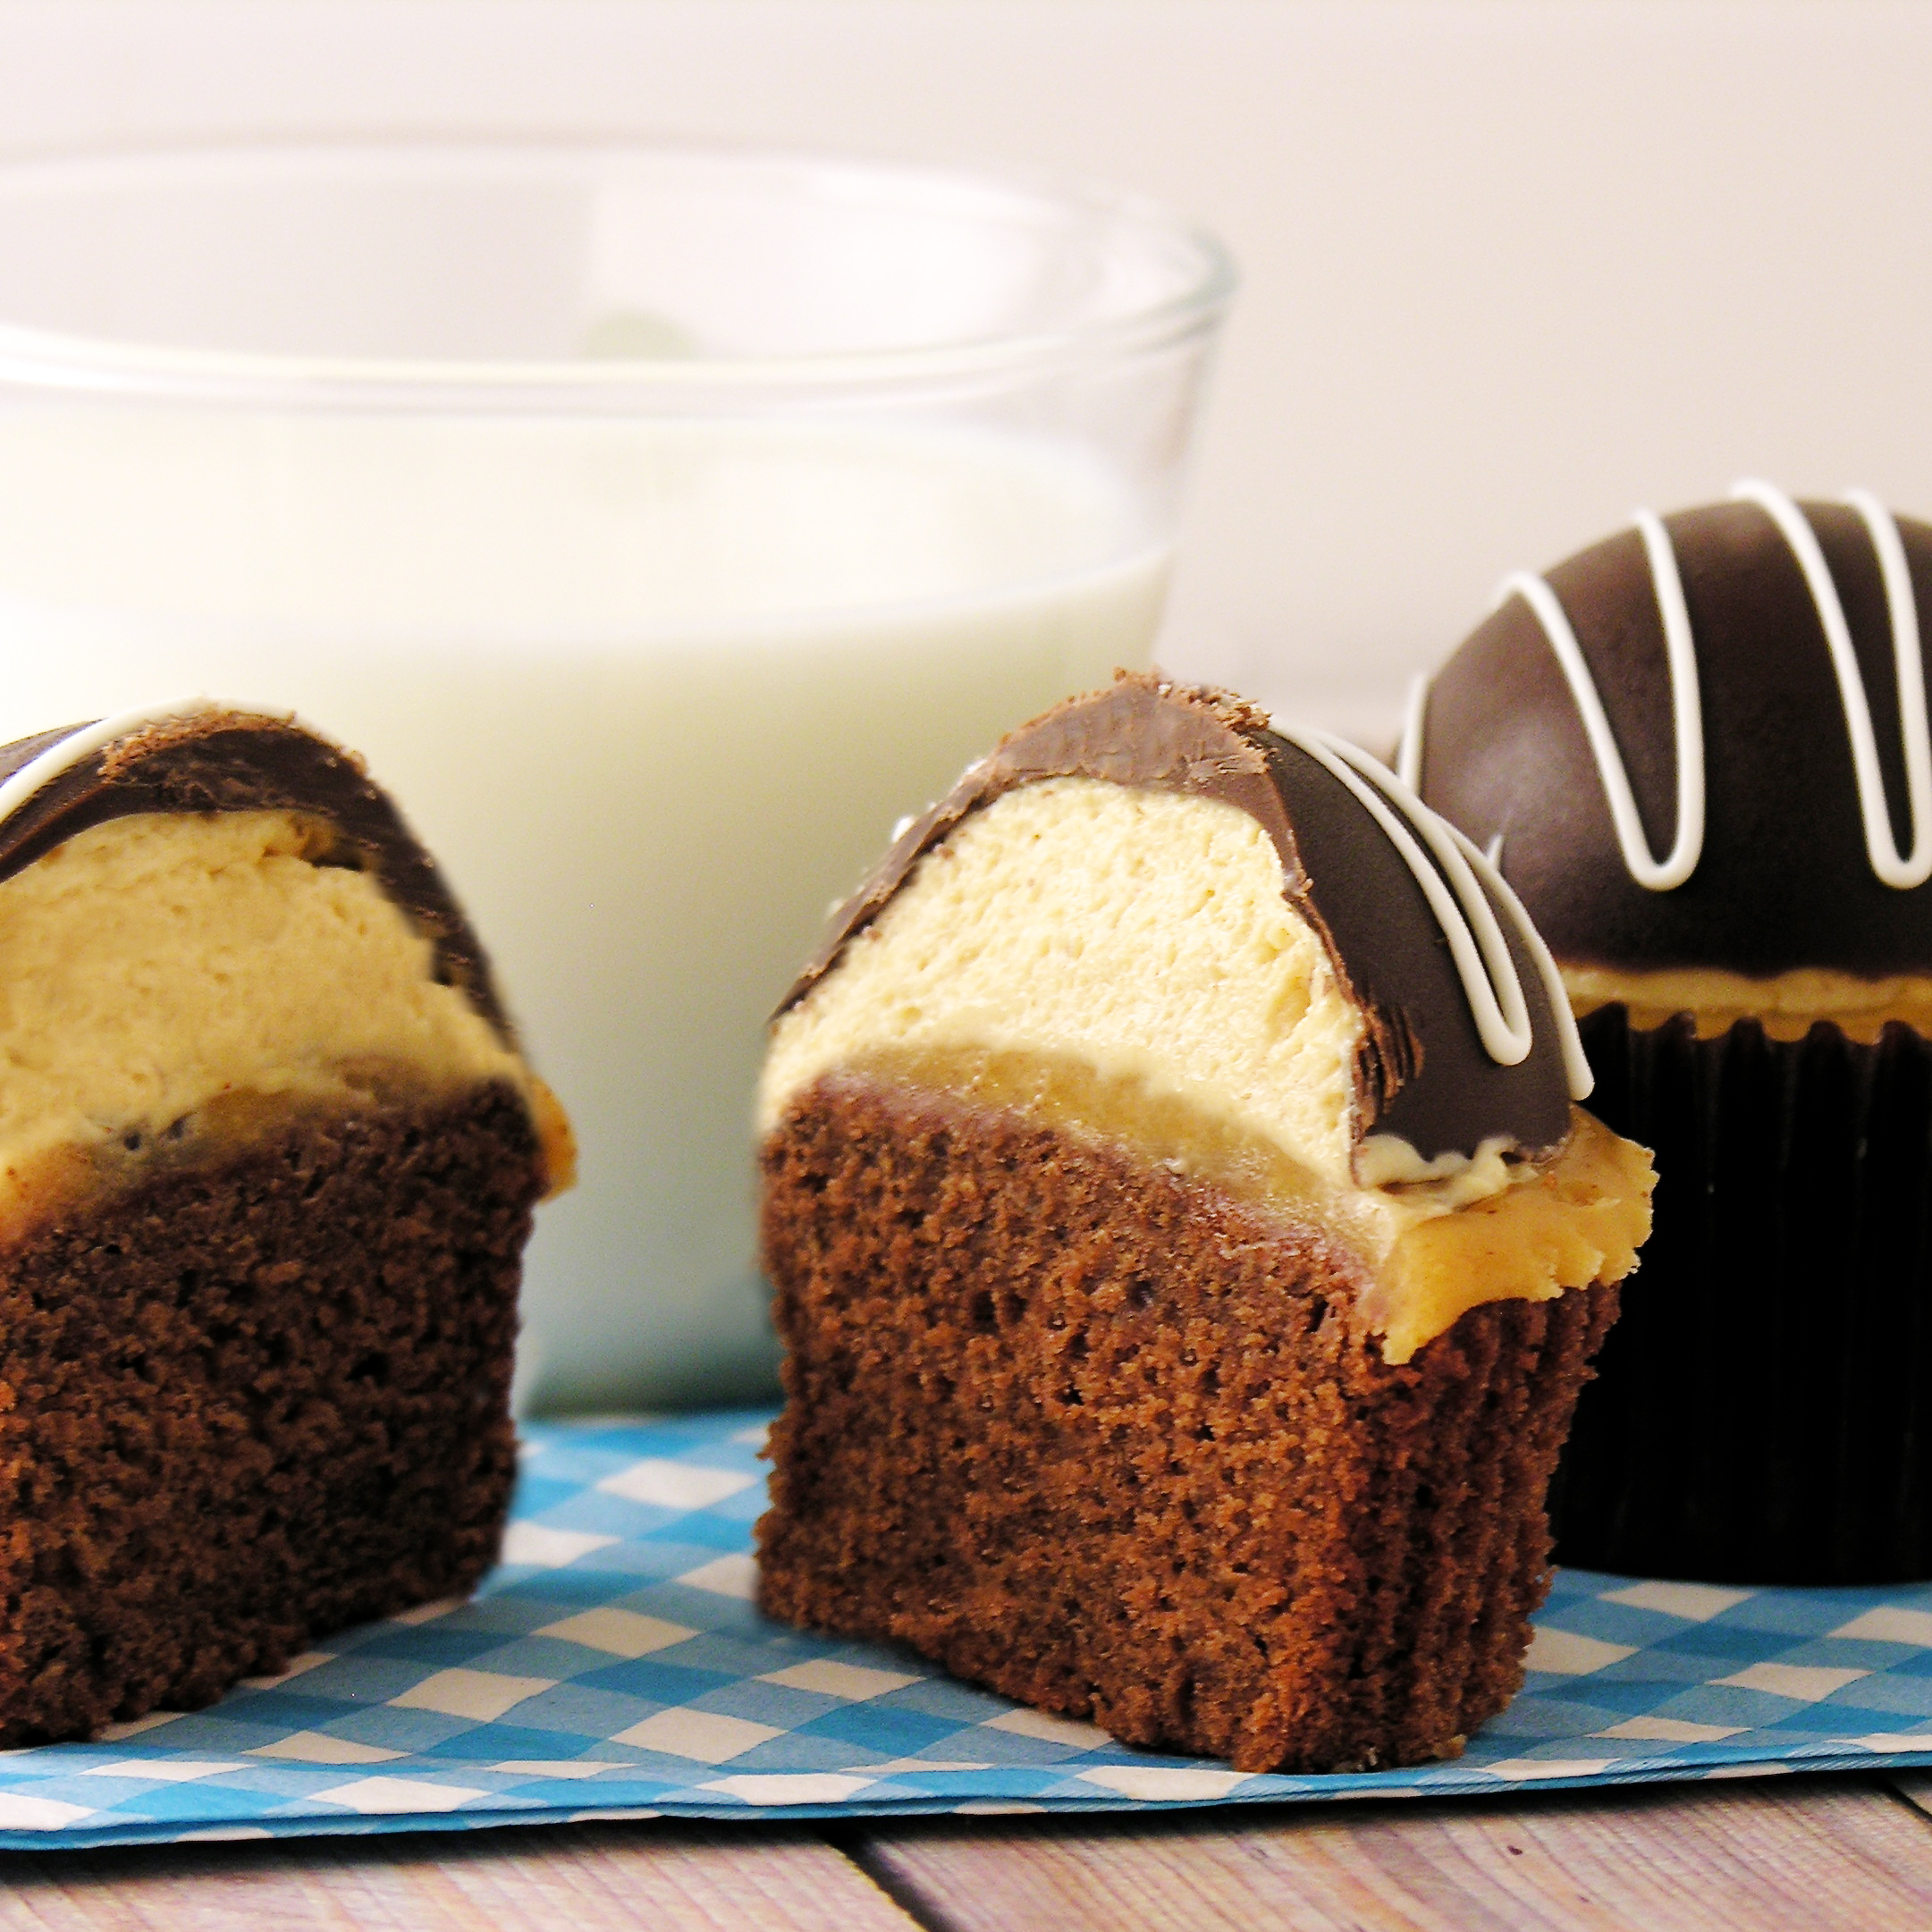
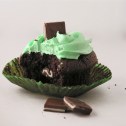
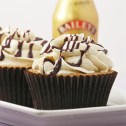
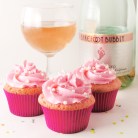
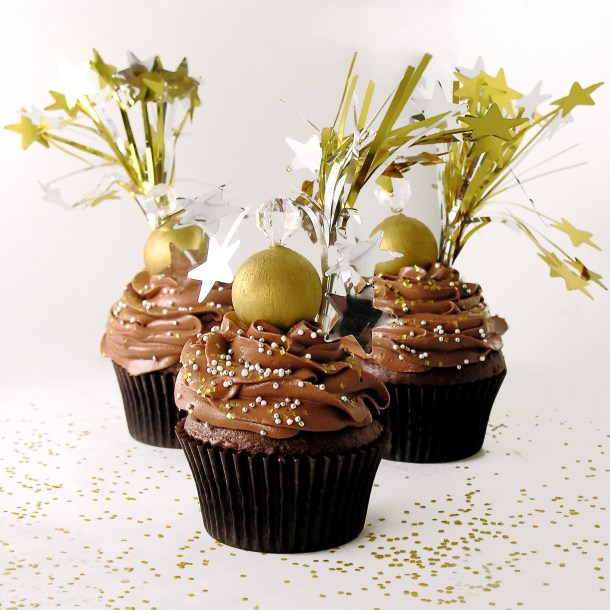
Delicious chocolate cupcakes topped with whipped chocolate buttercream and a white chocolate truffle all dressed up for New Year’s Eve! Happy New Year to you!
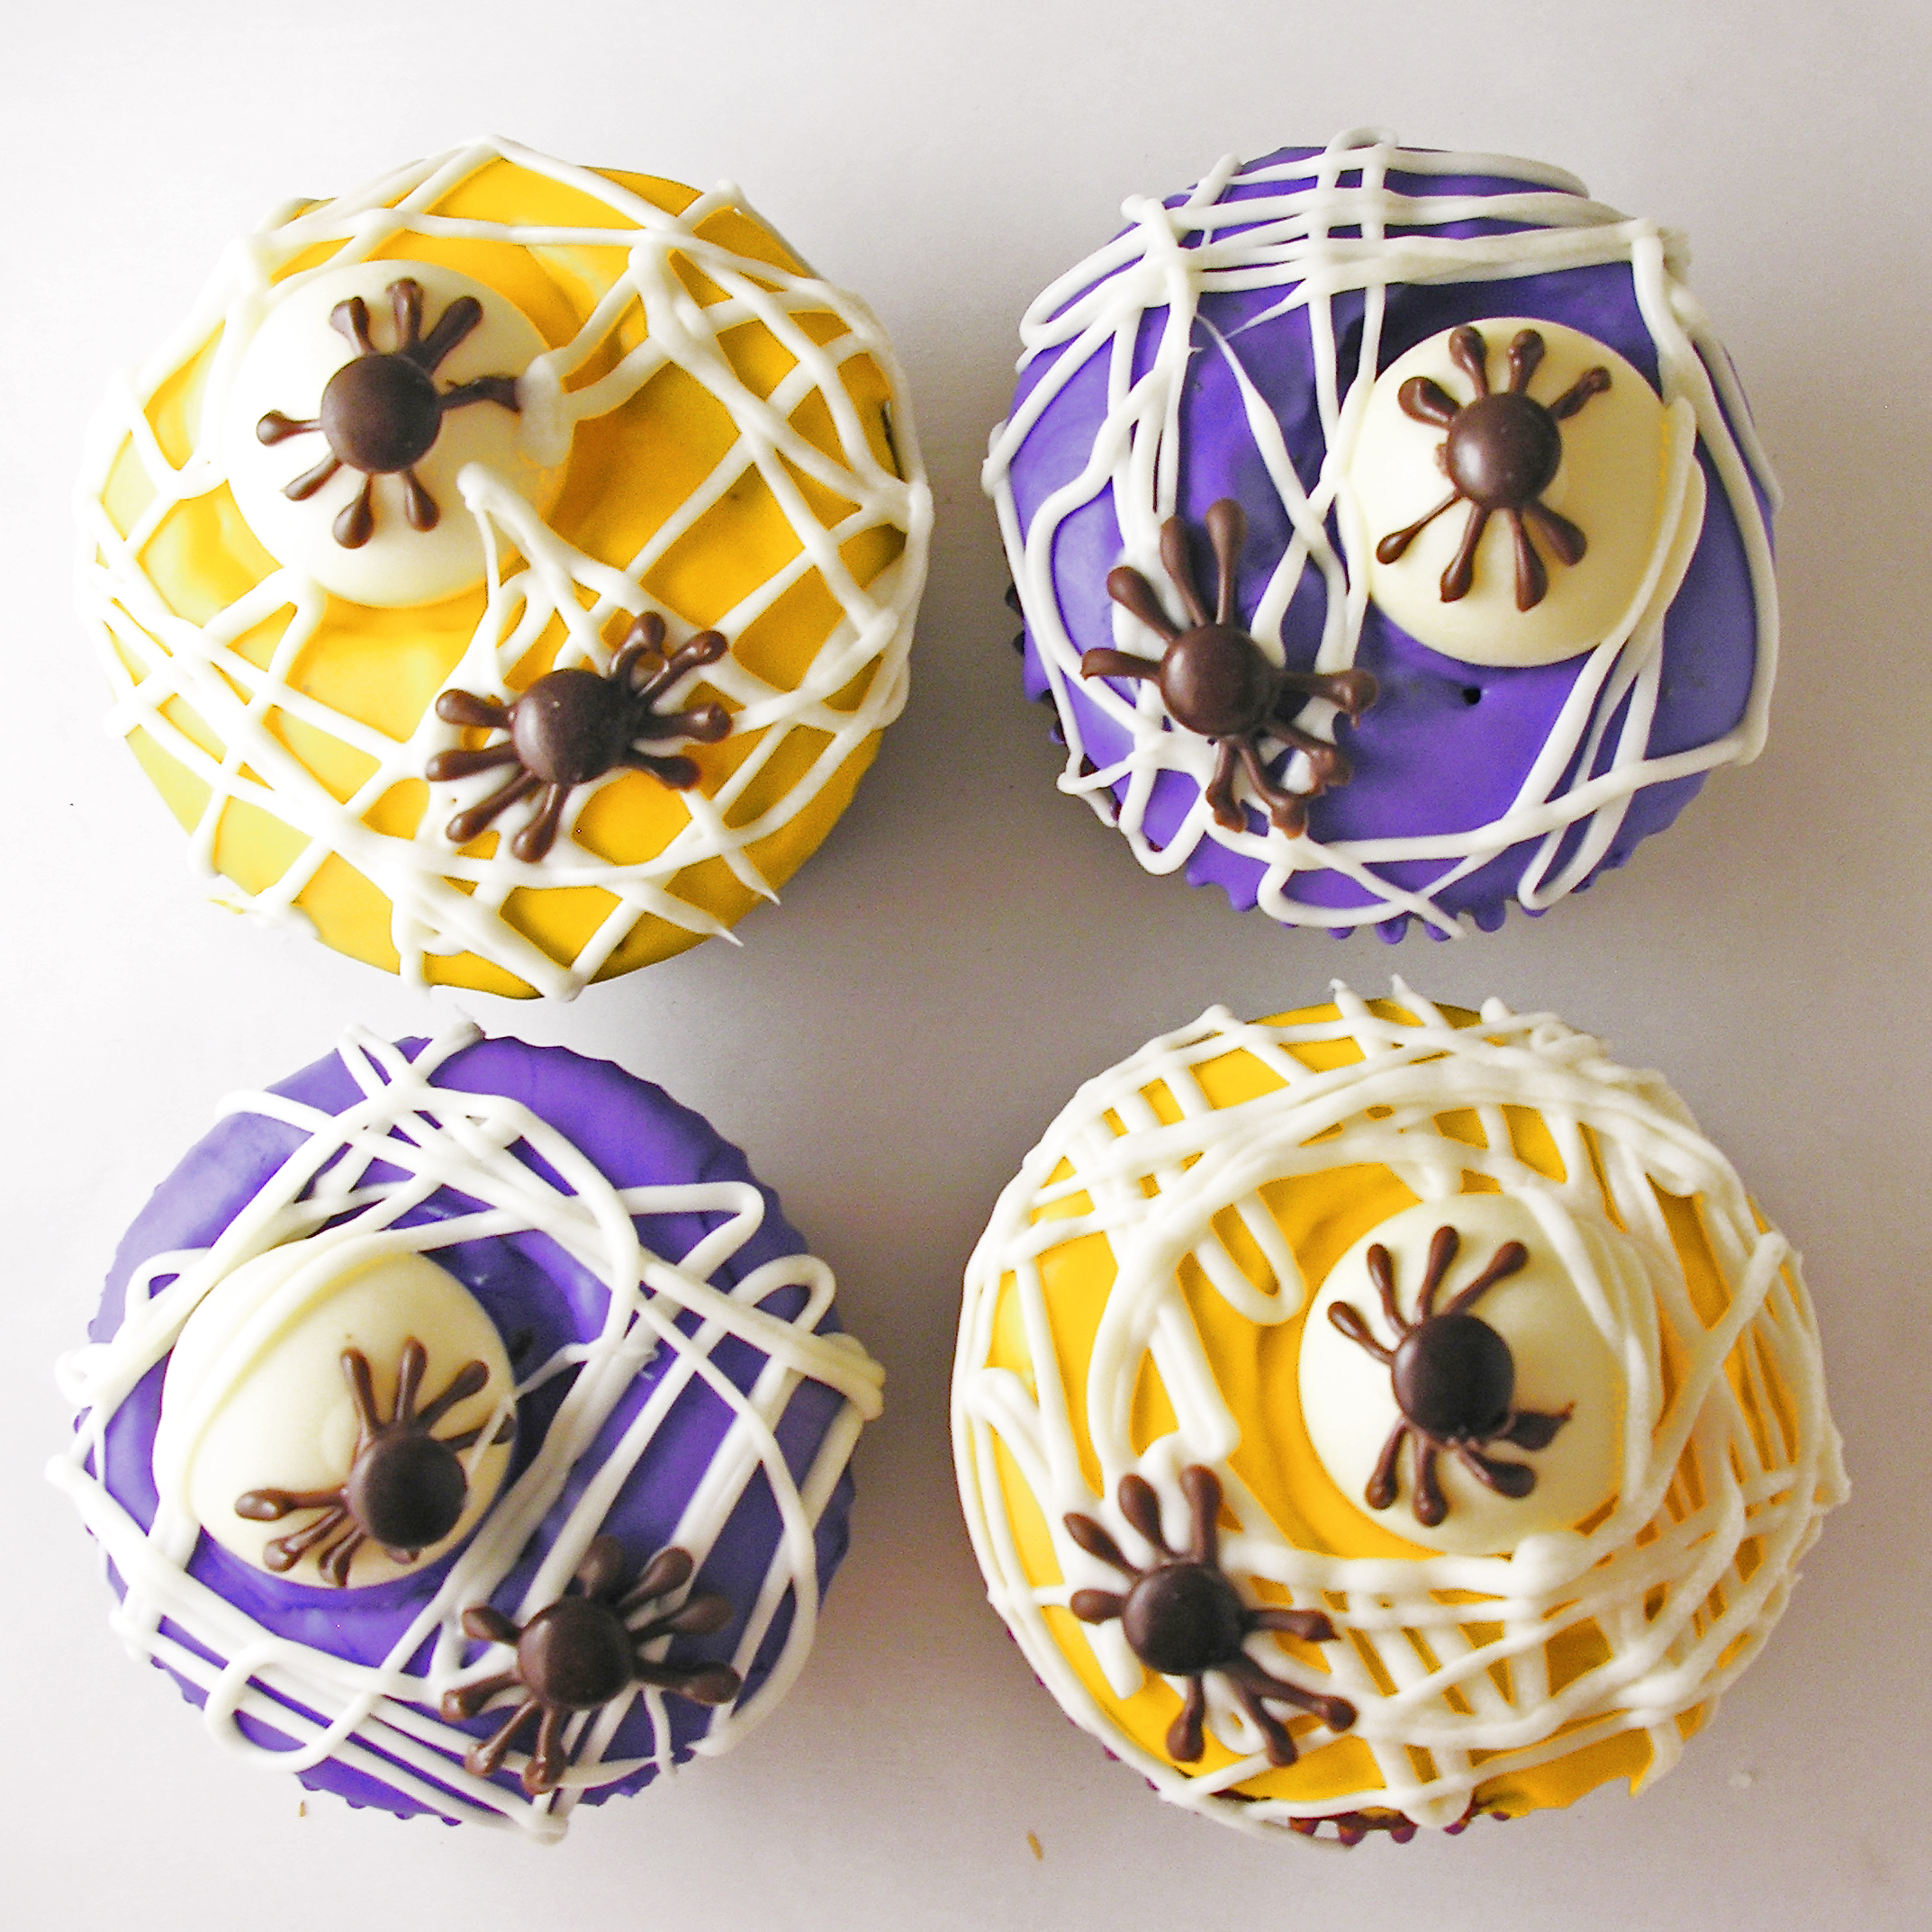
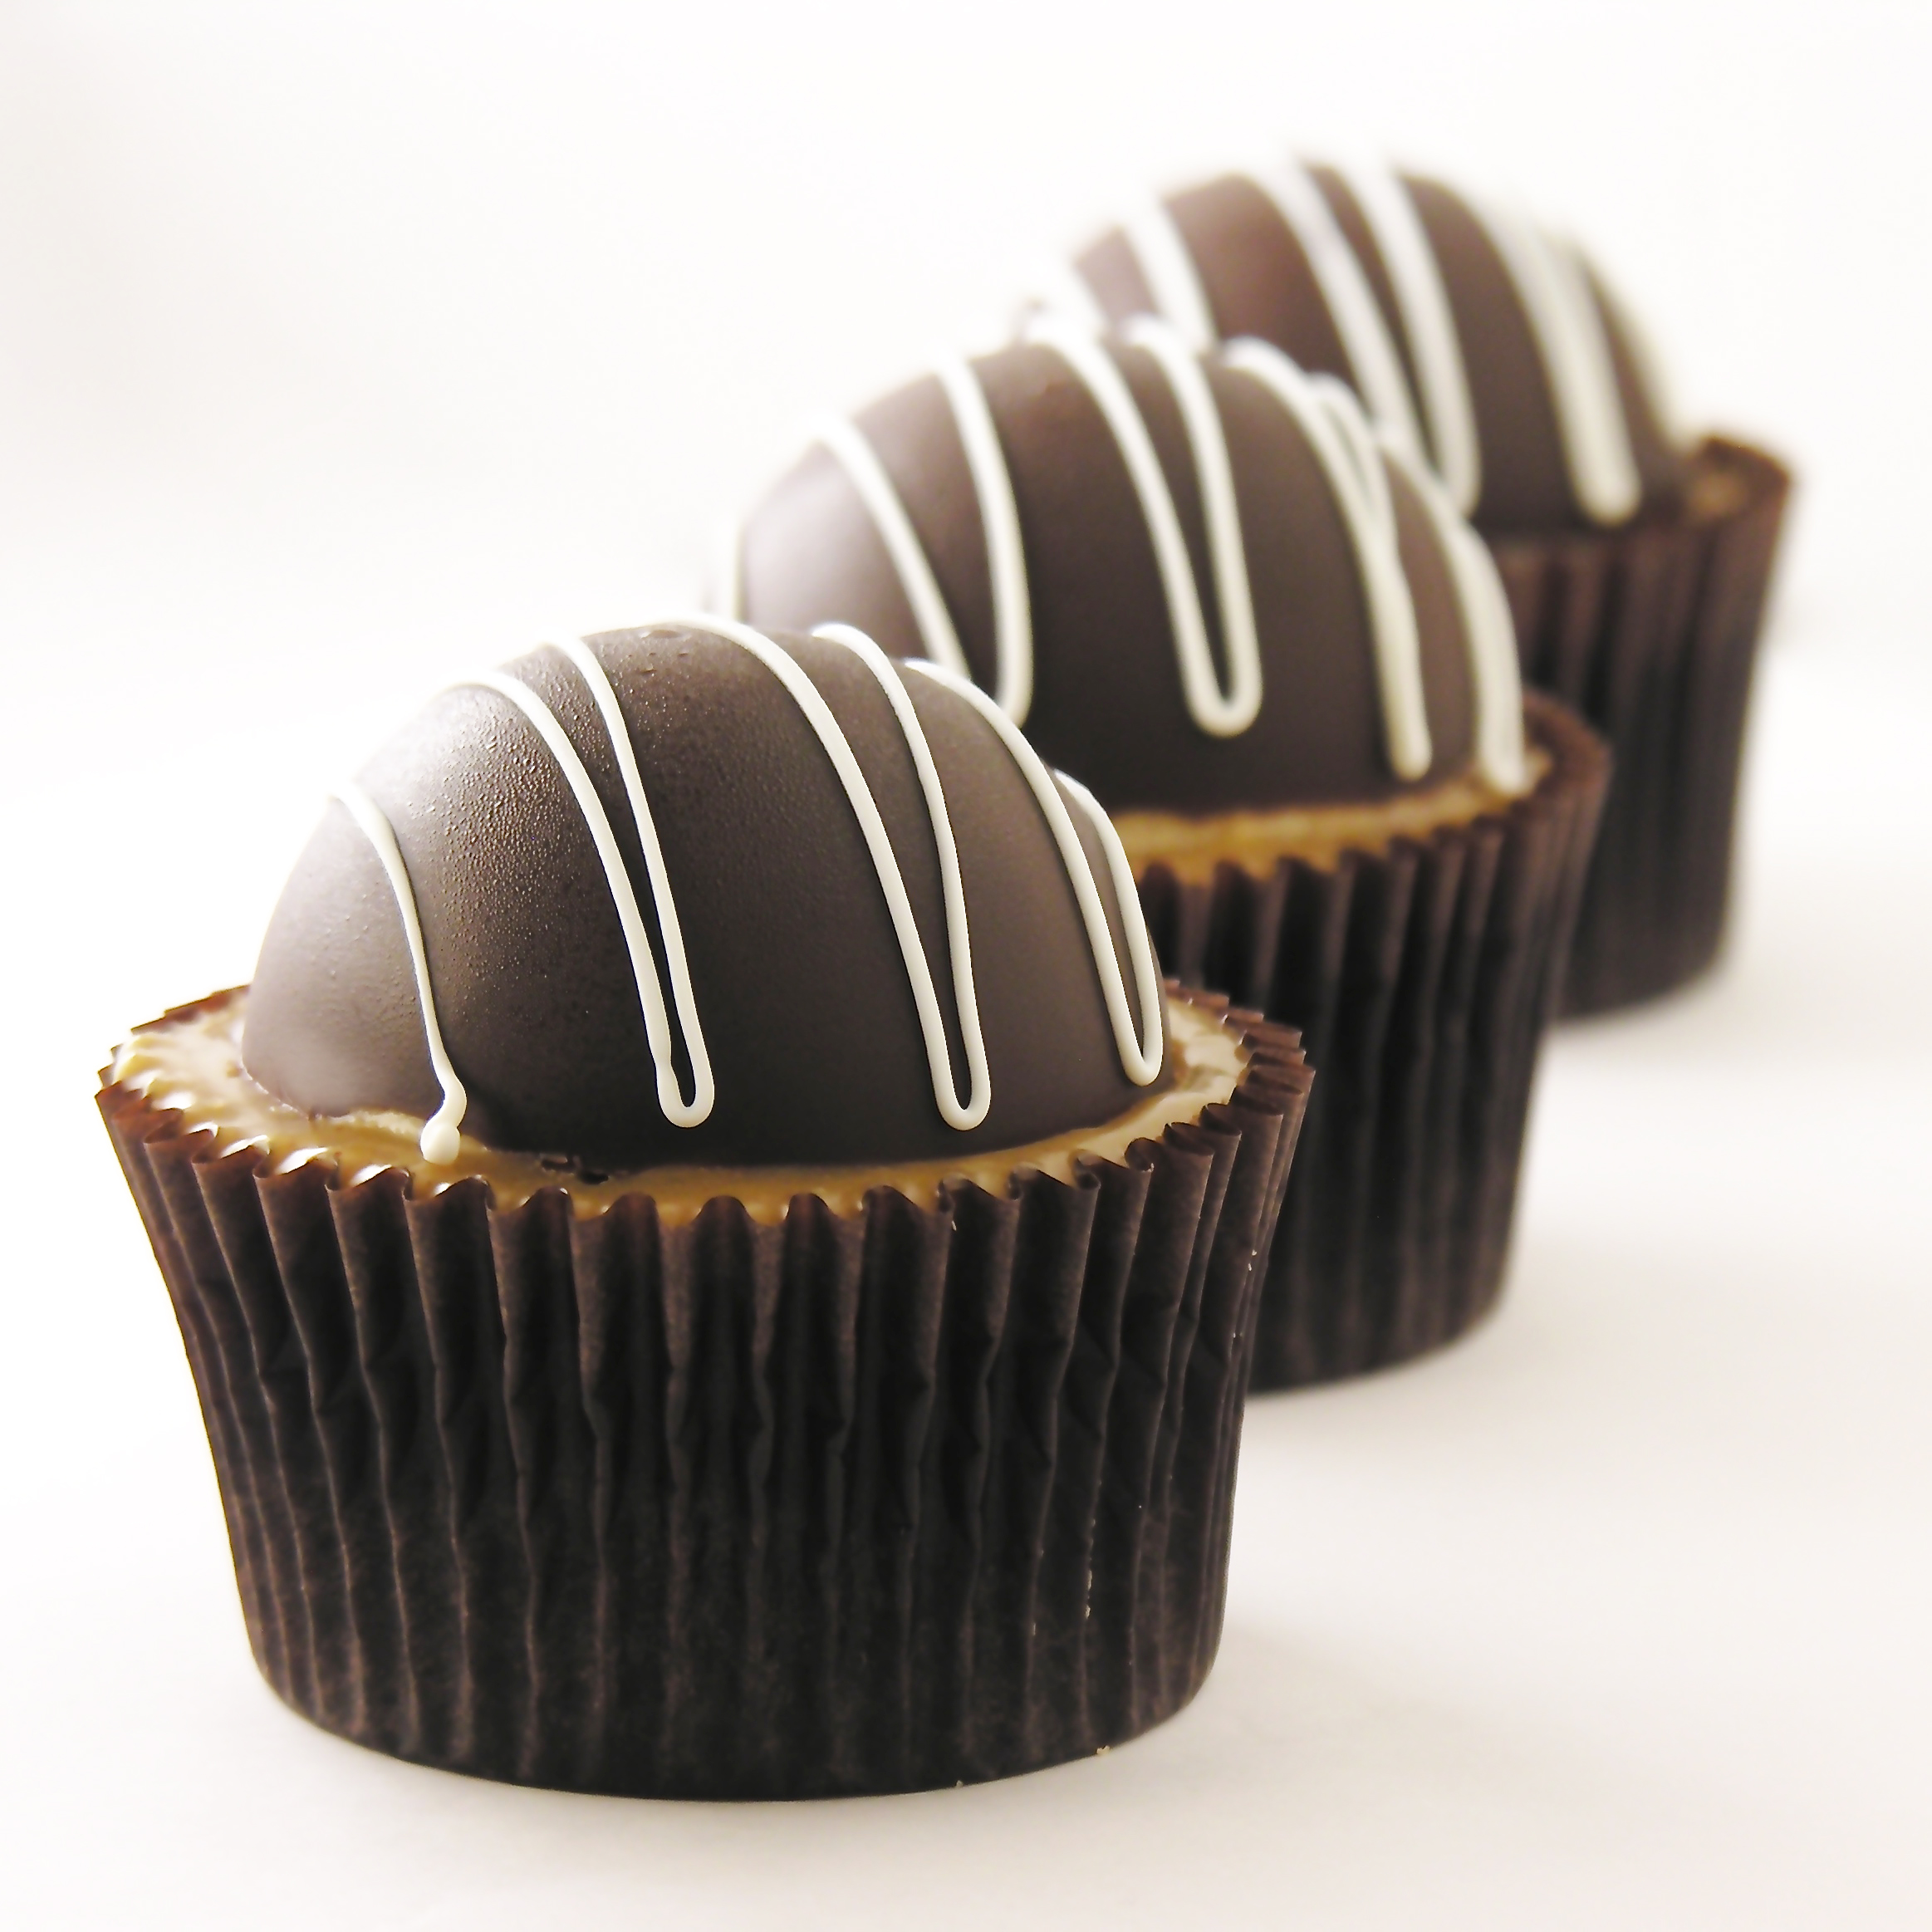
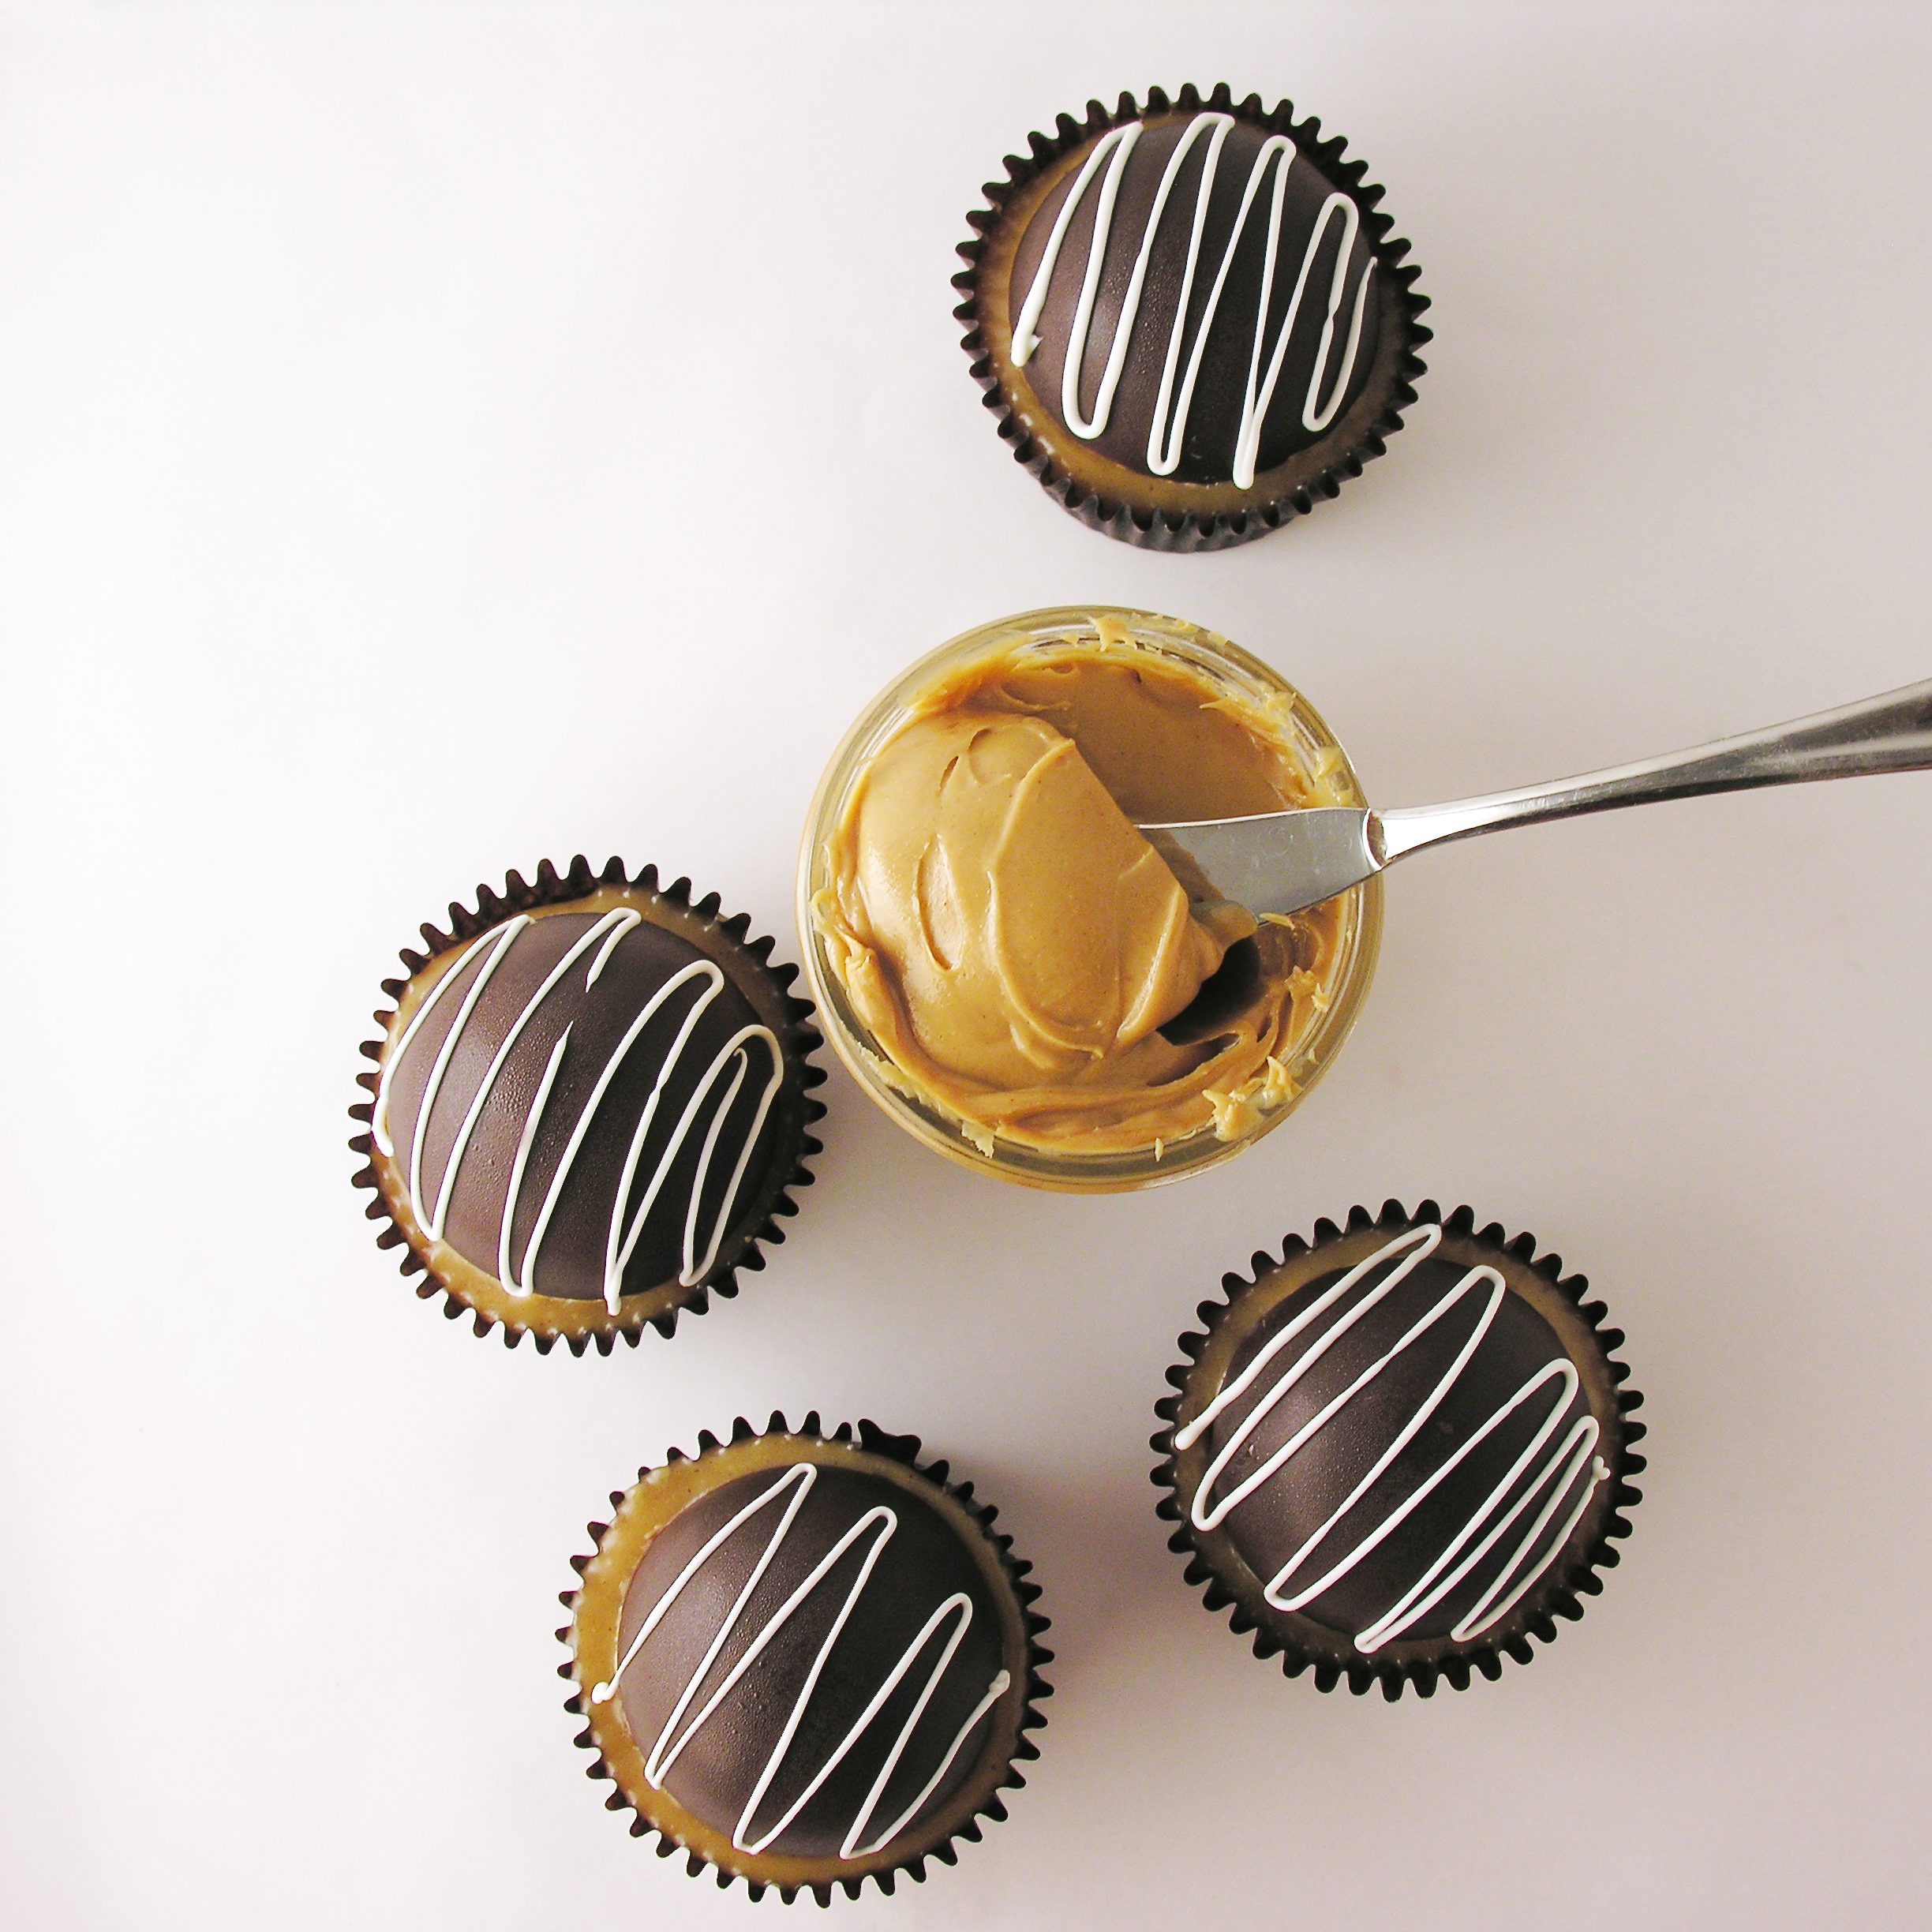
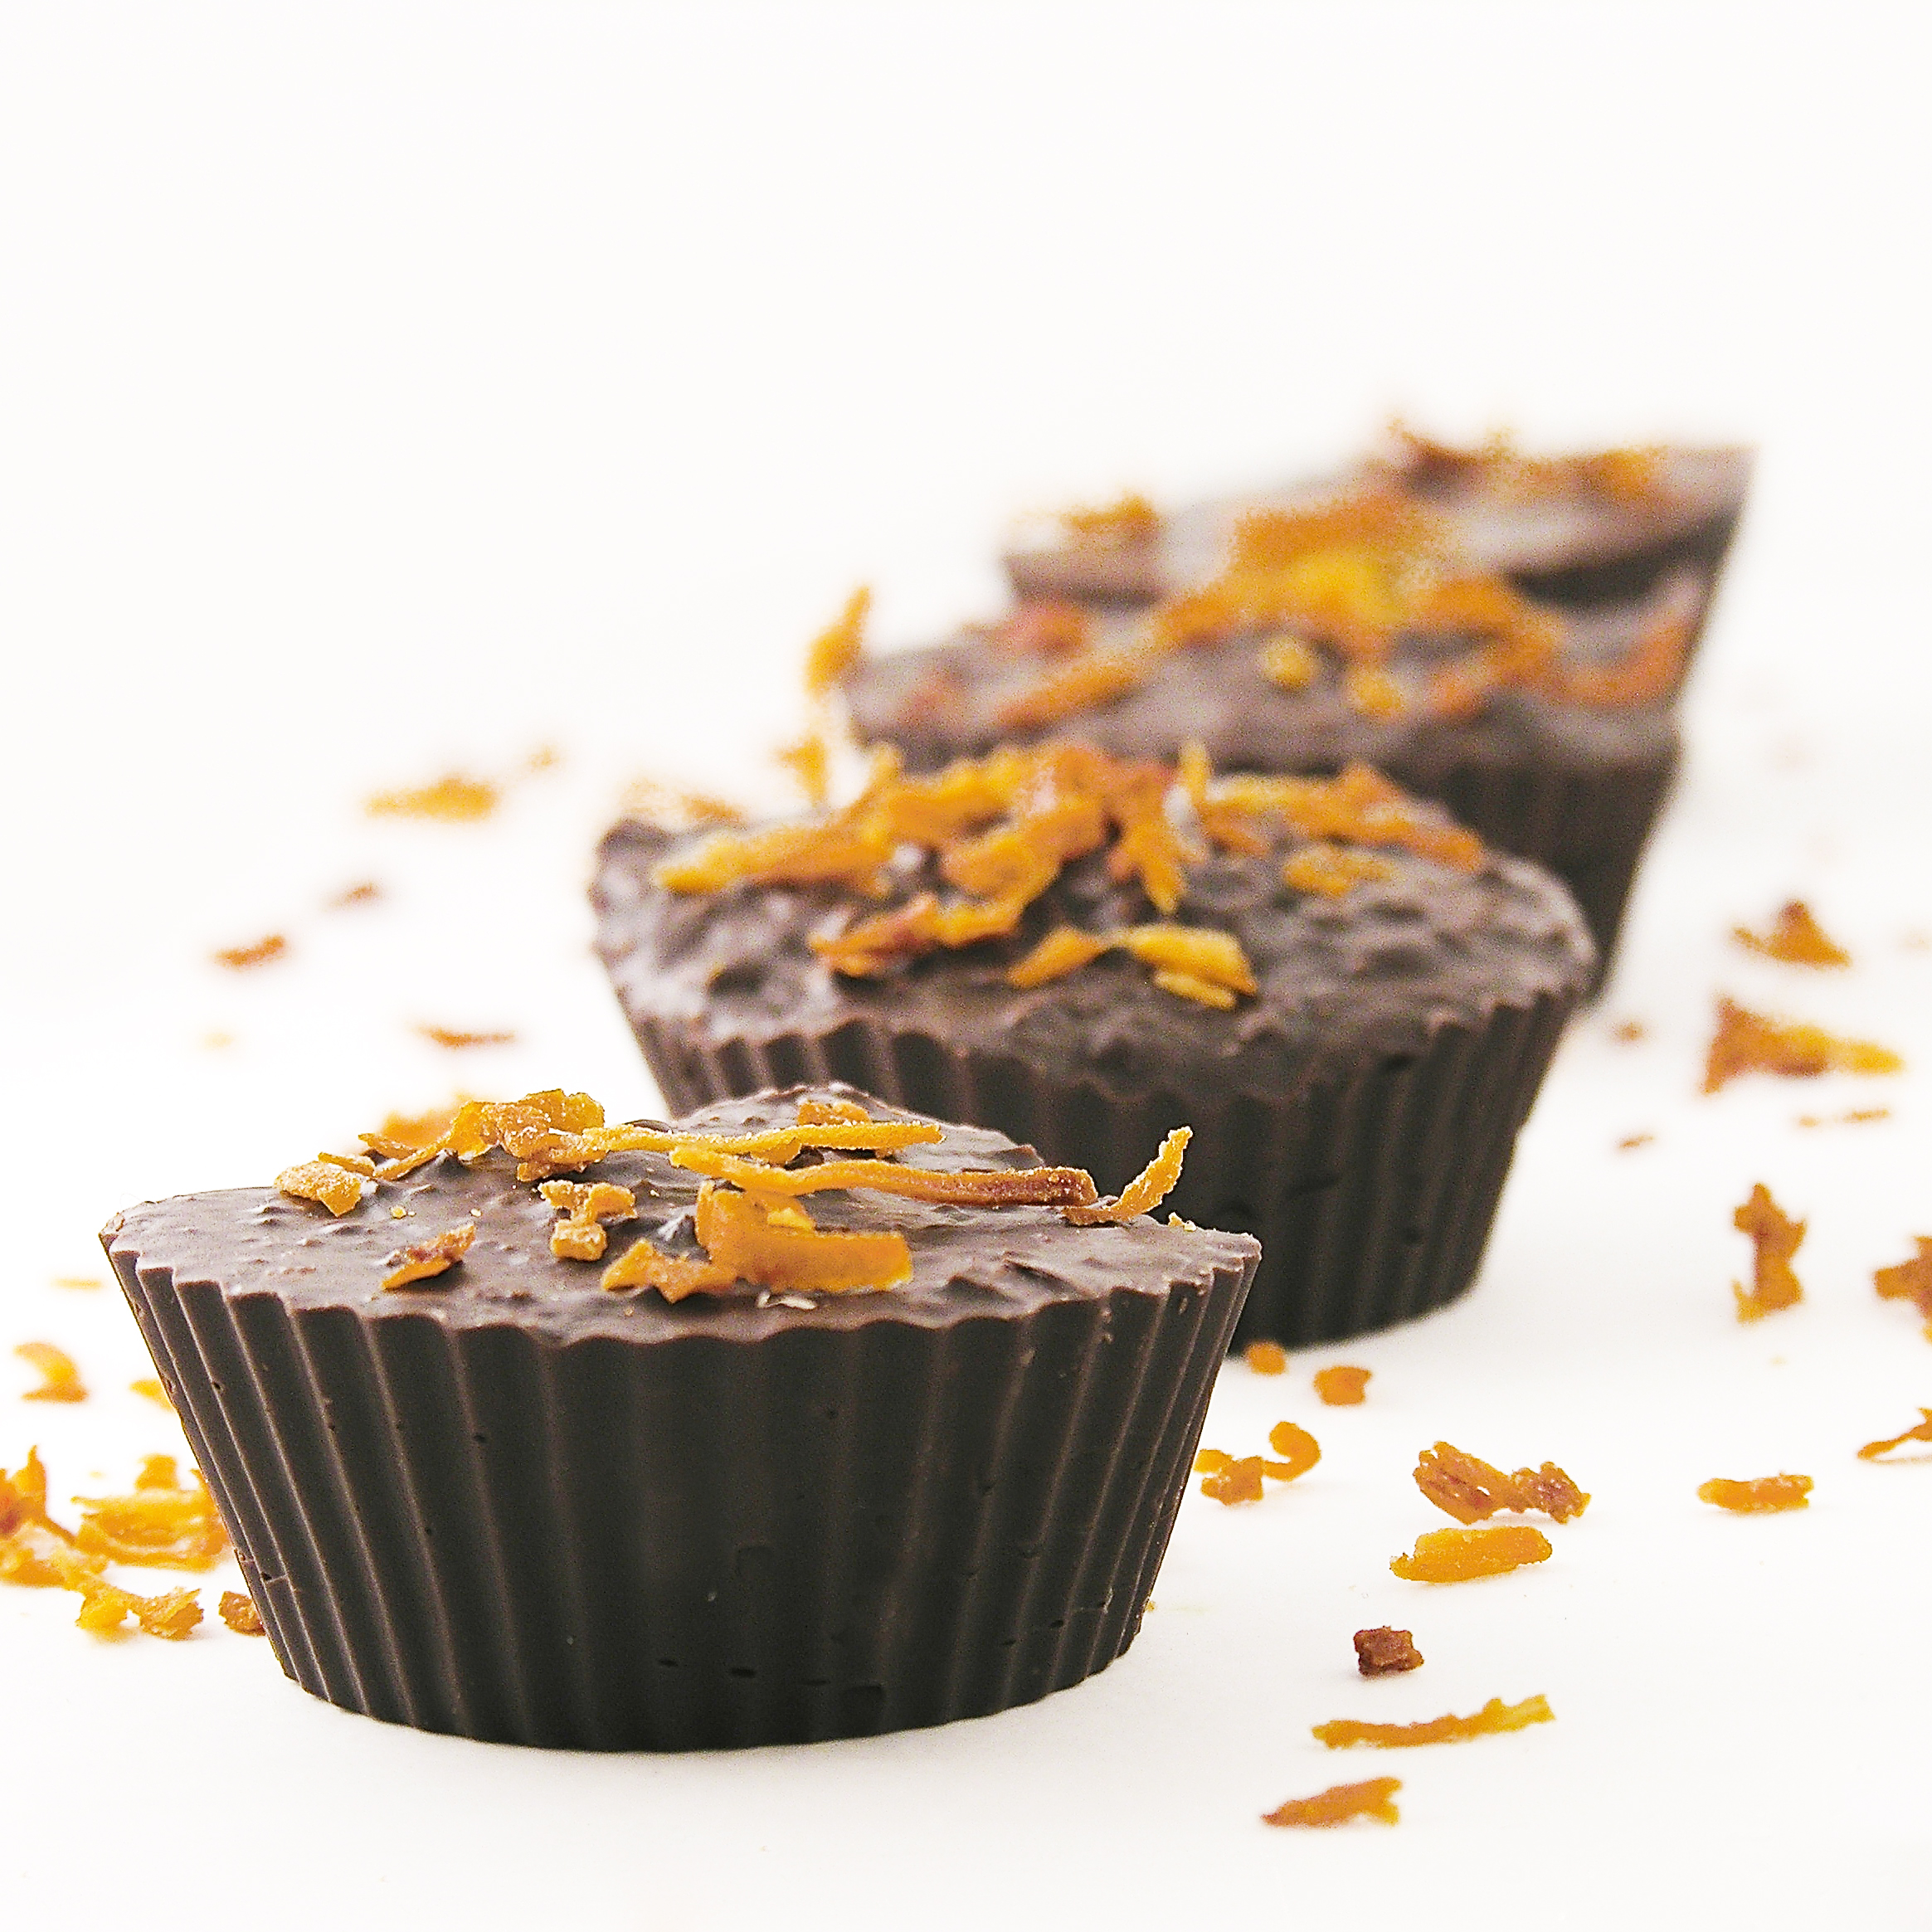
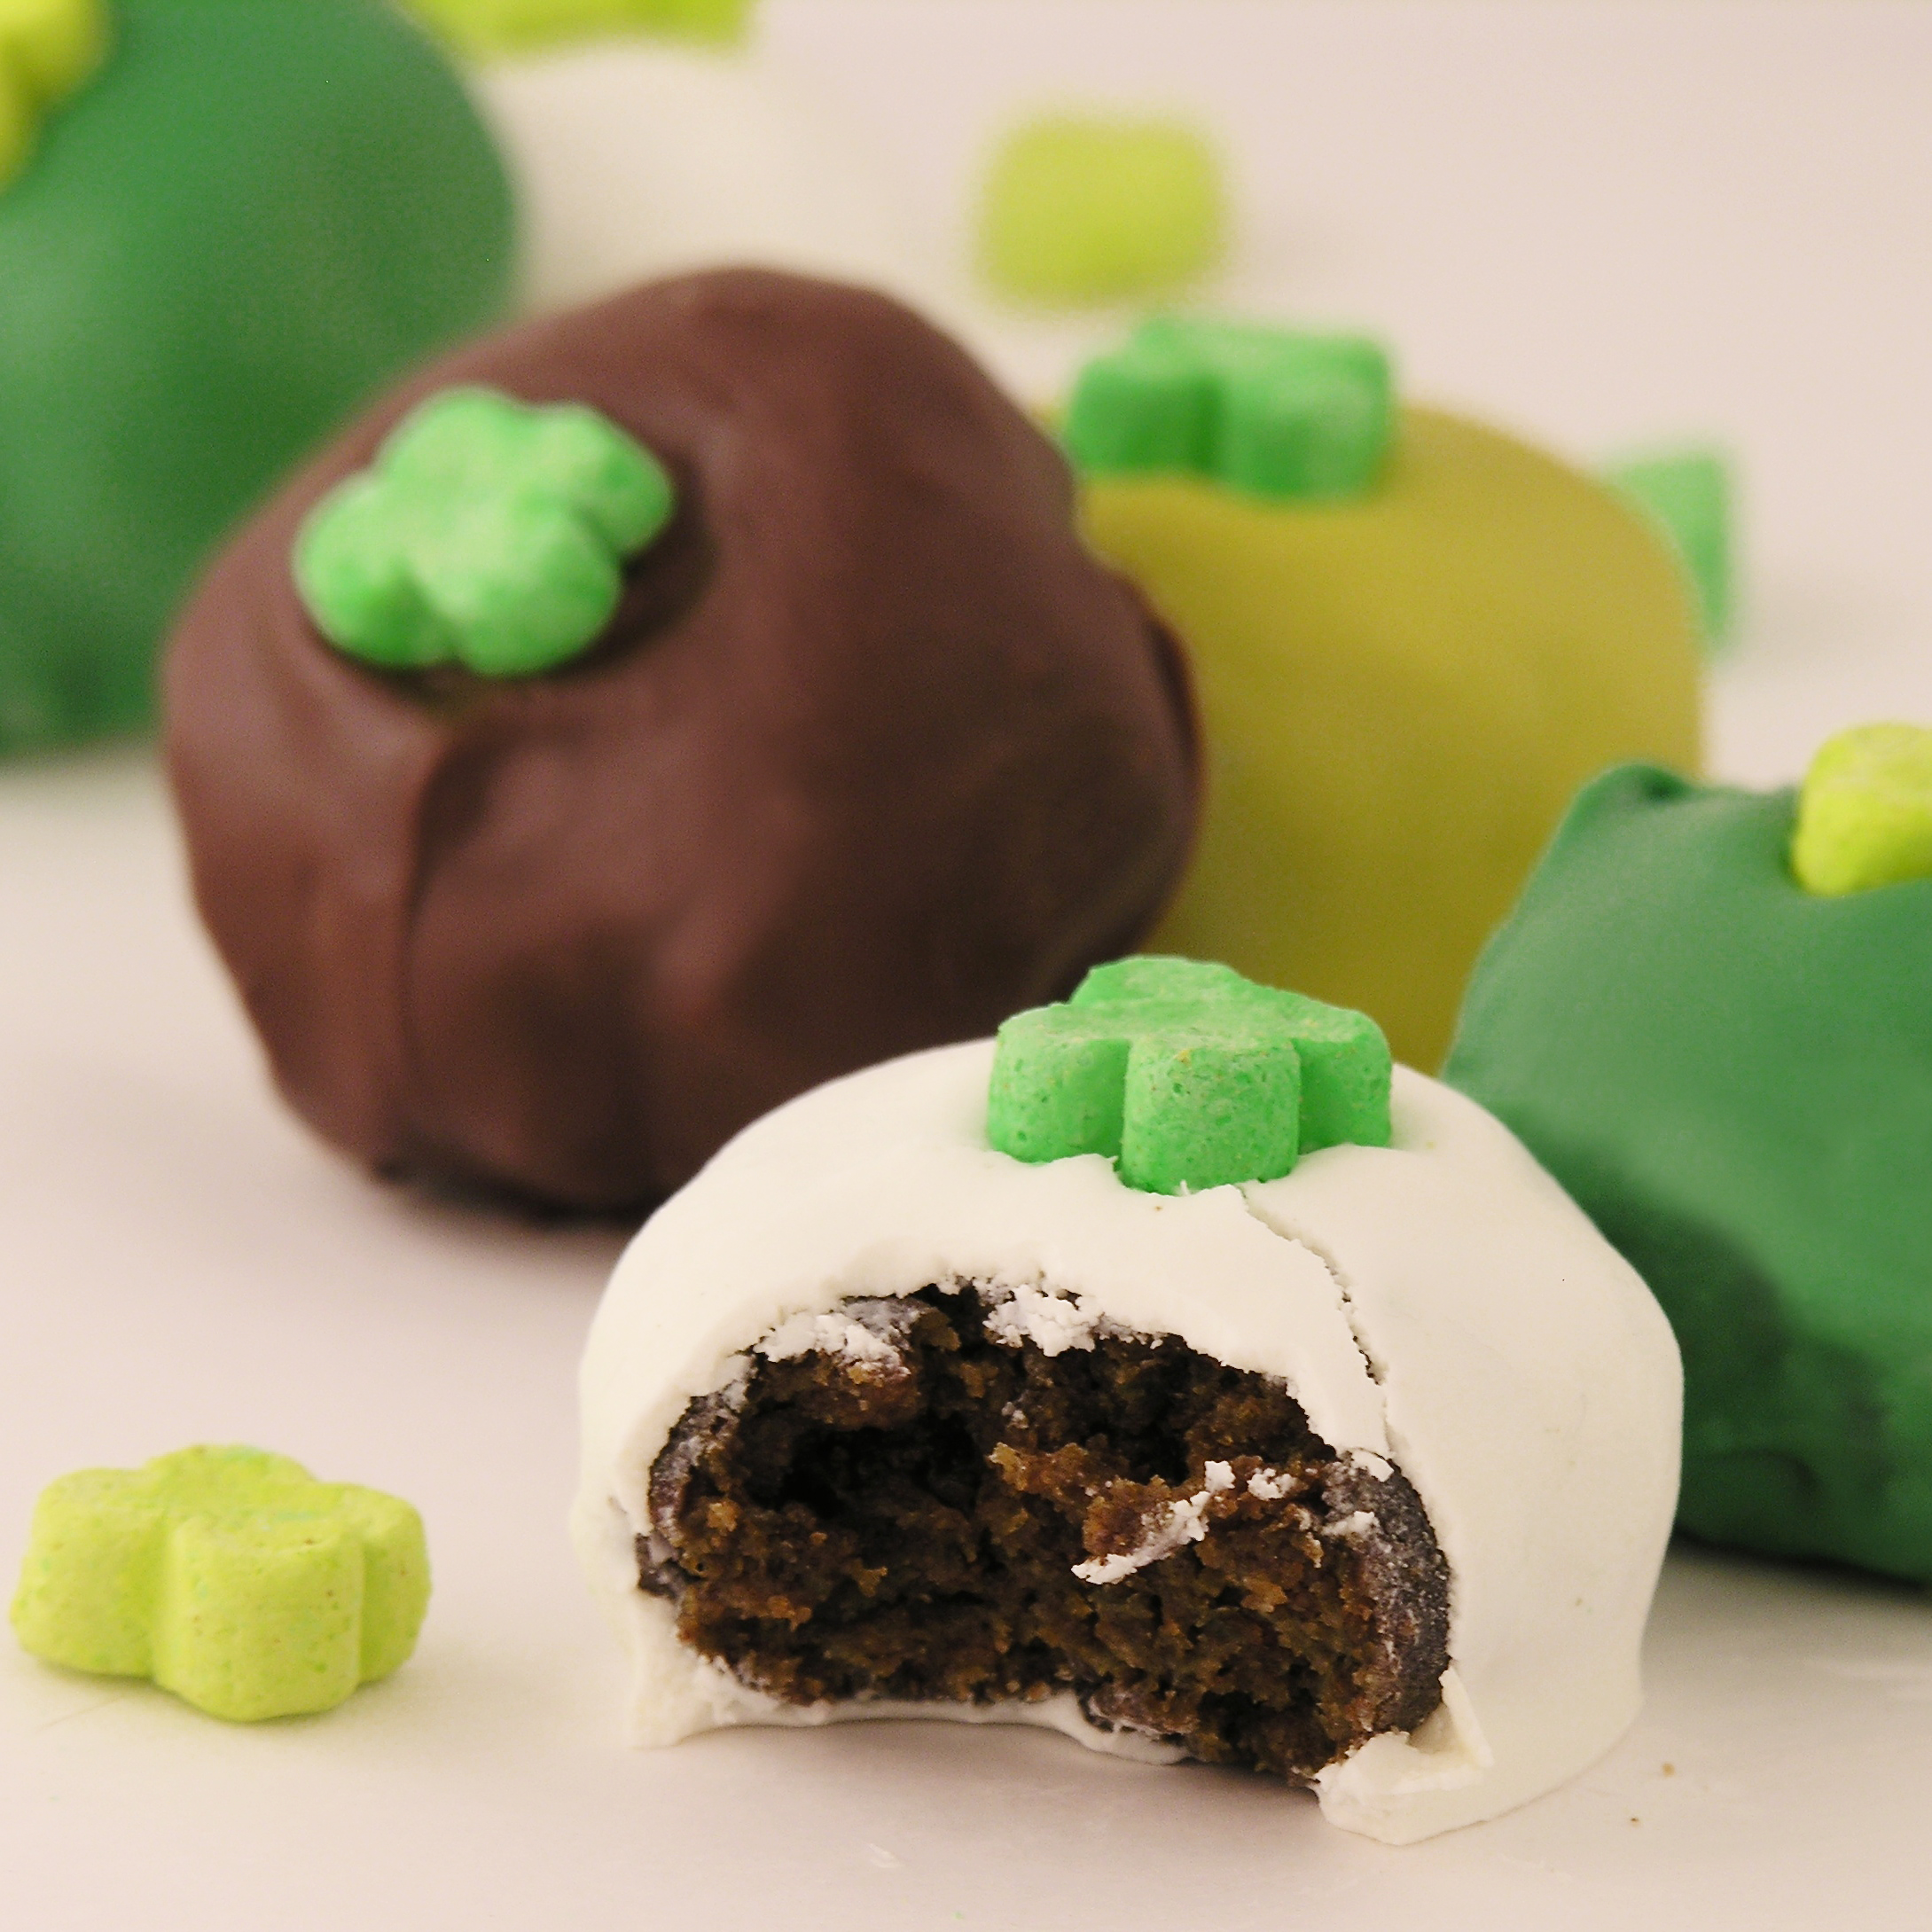
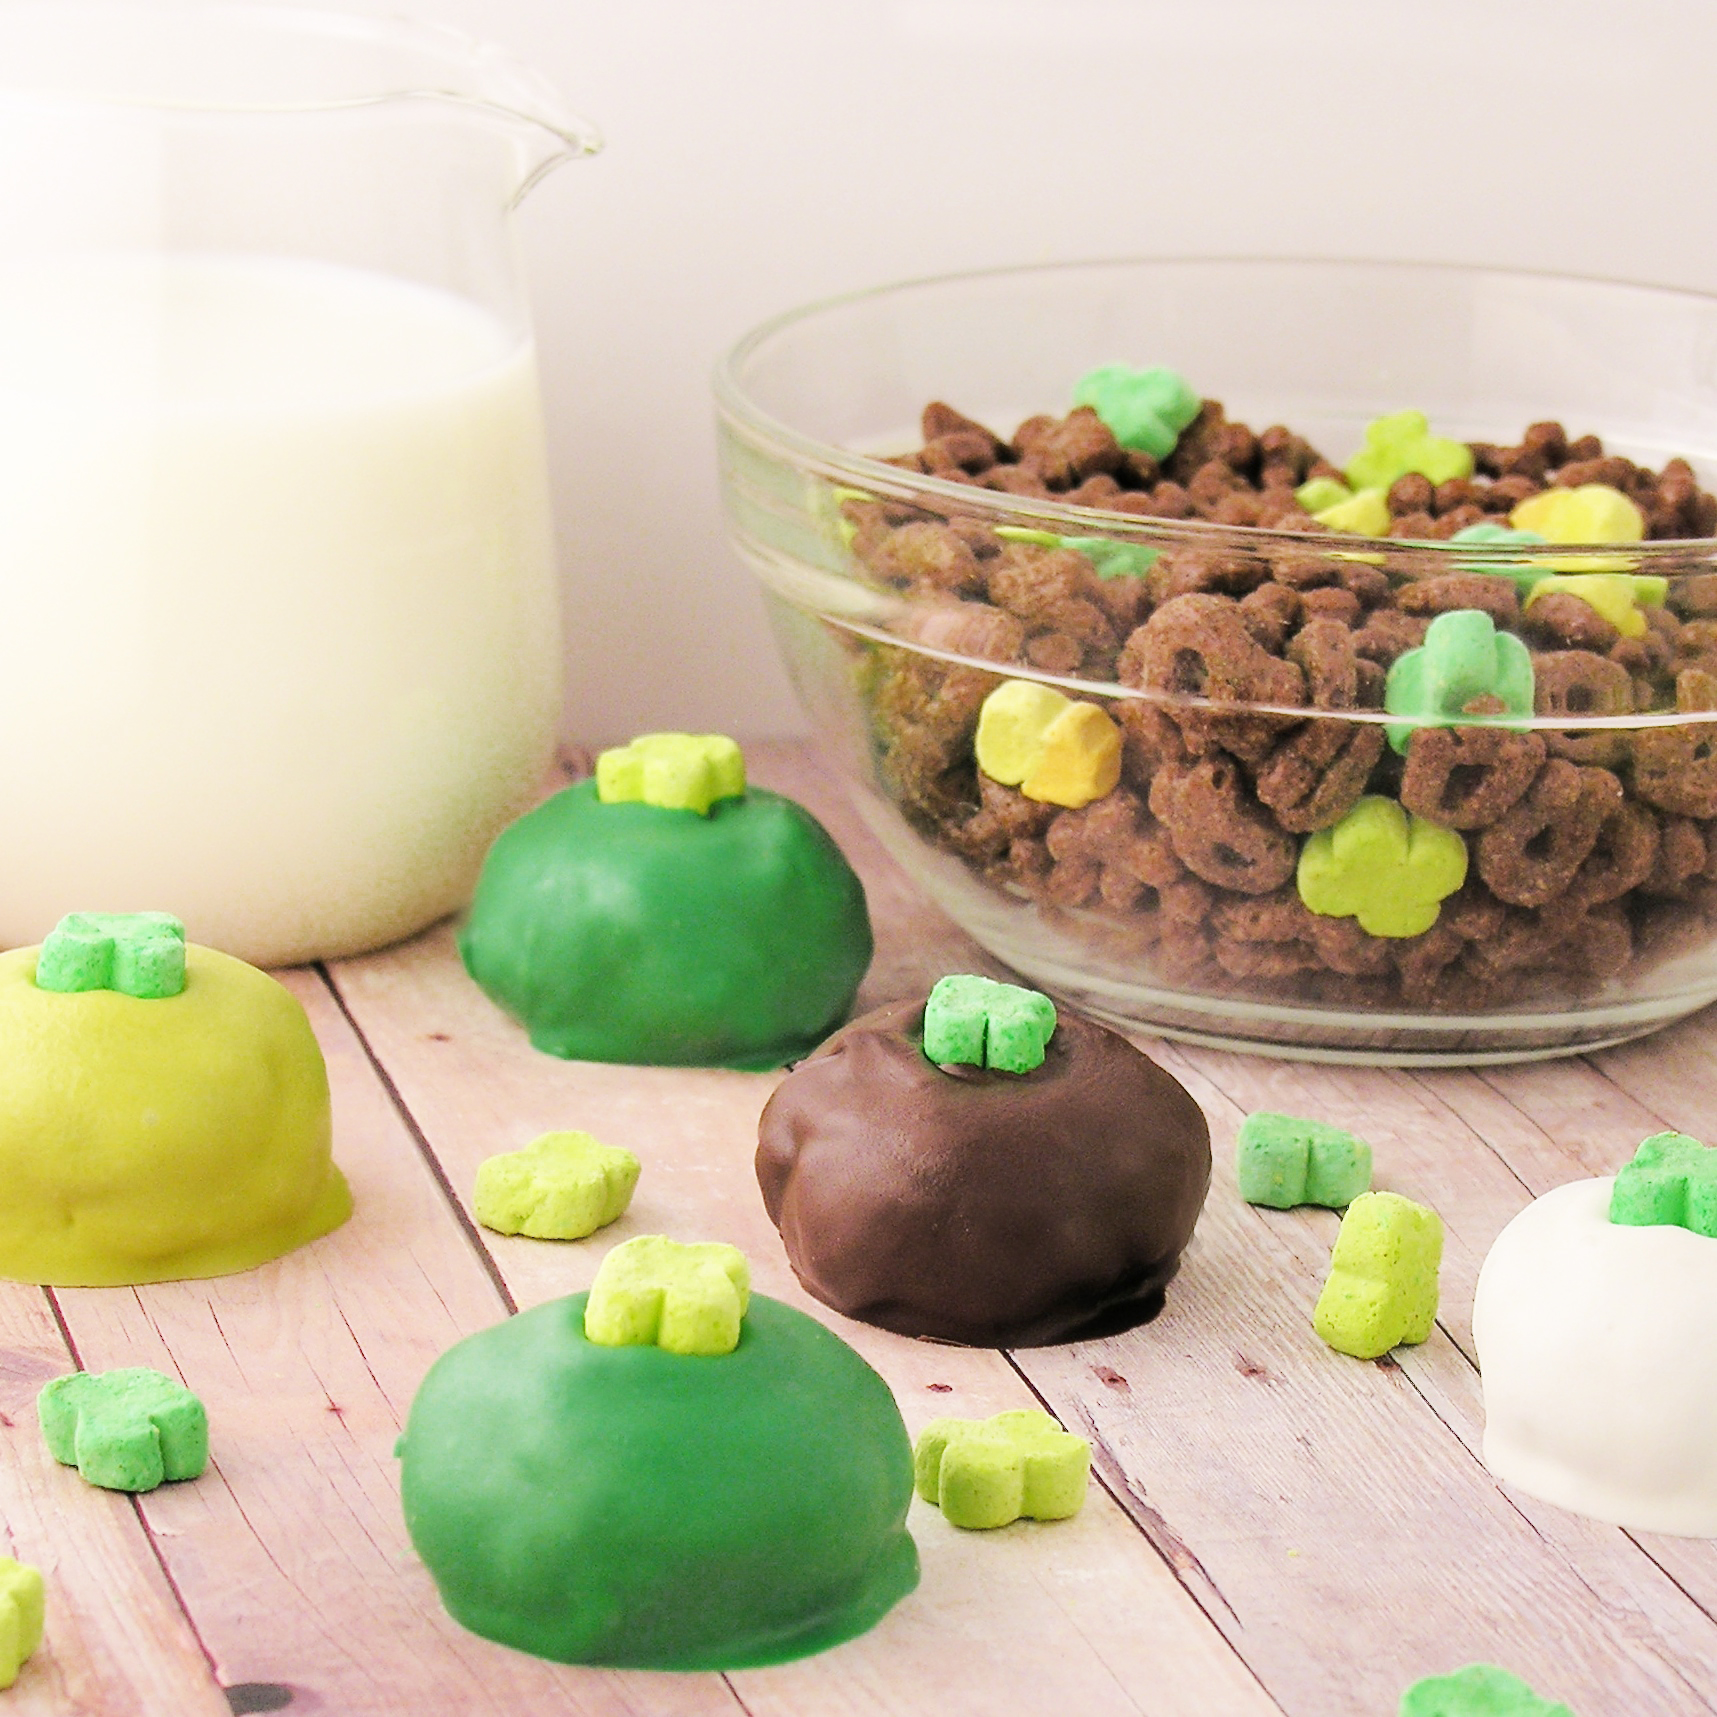
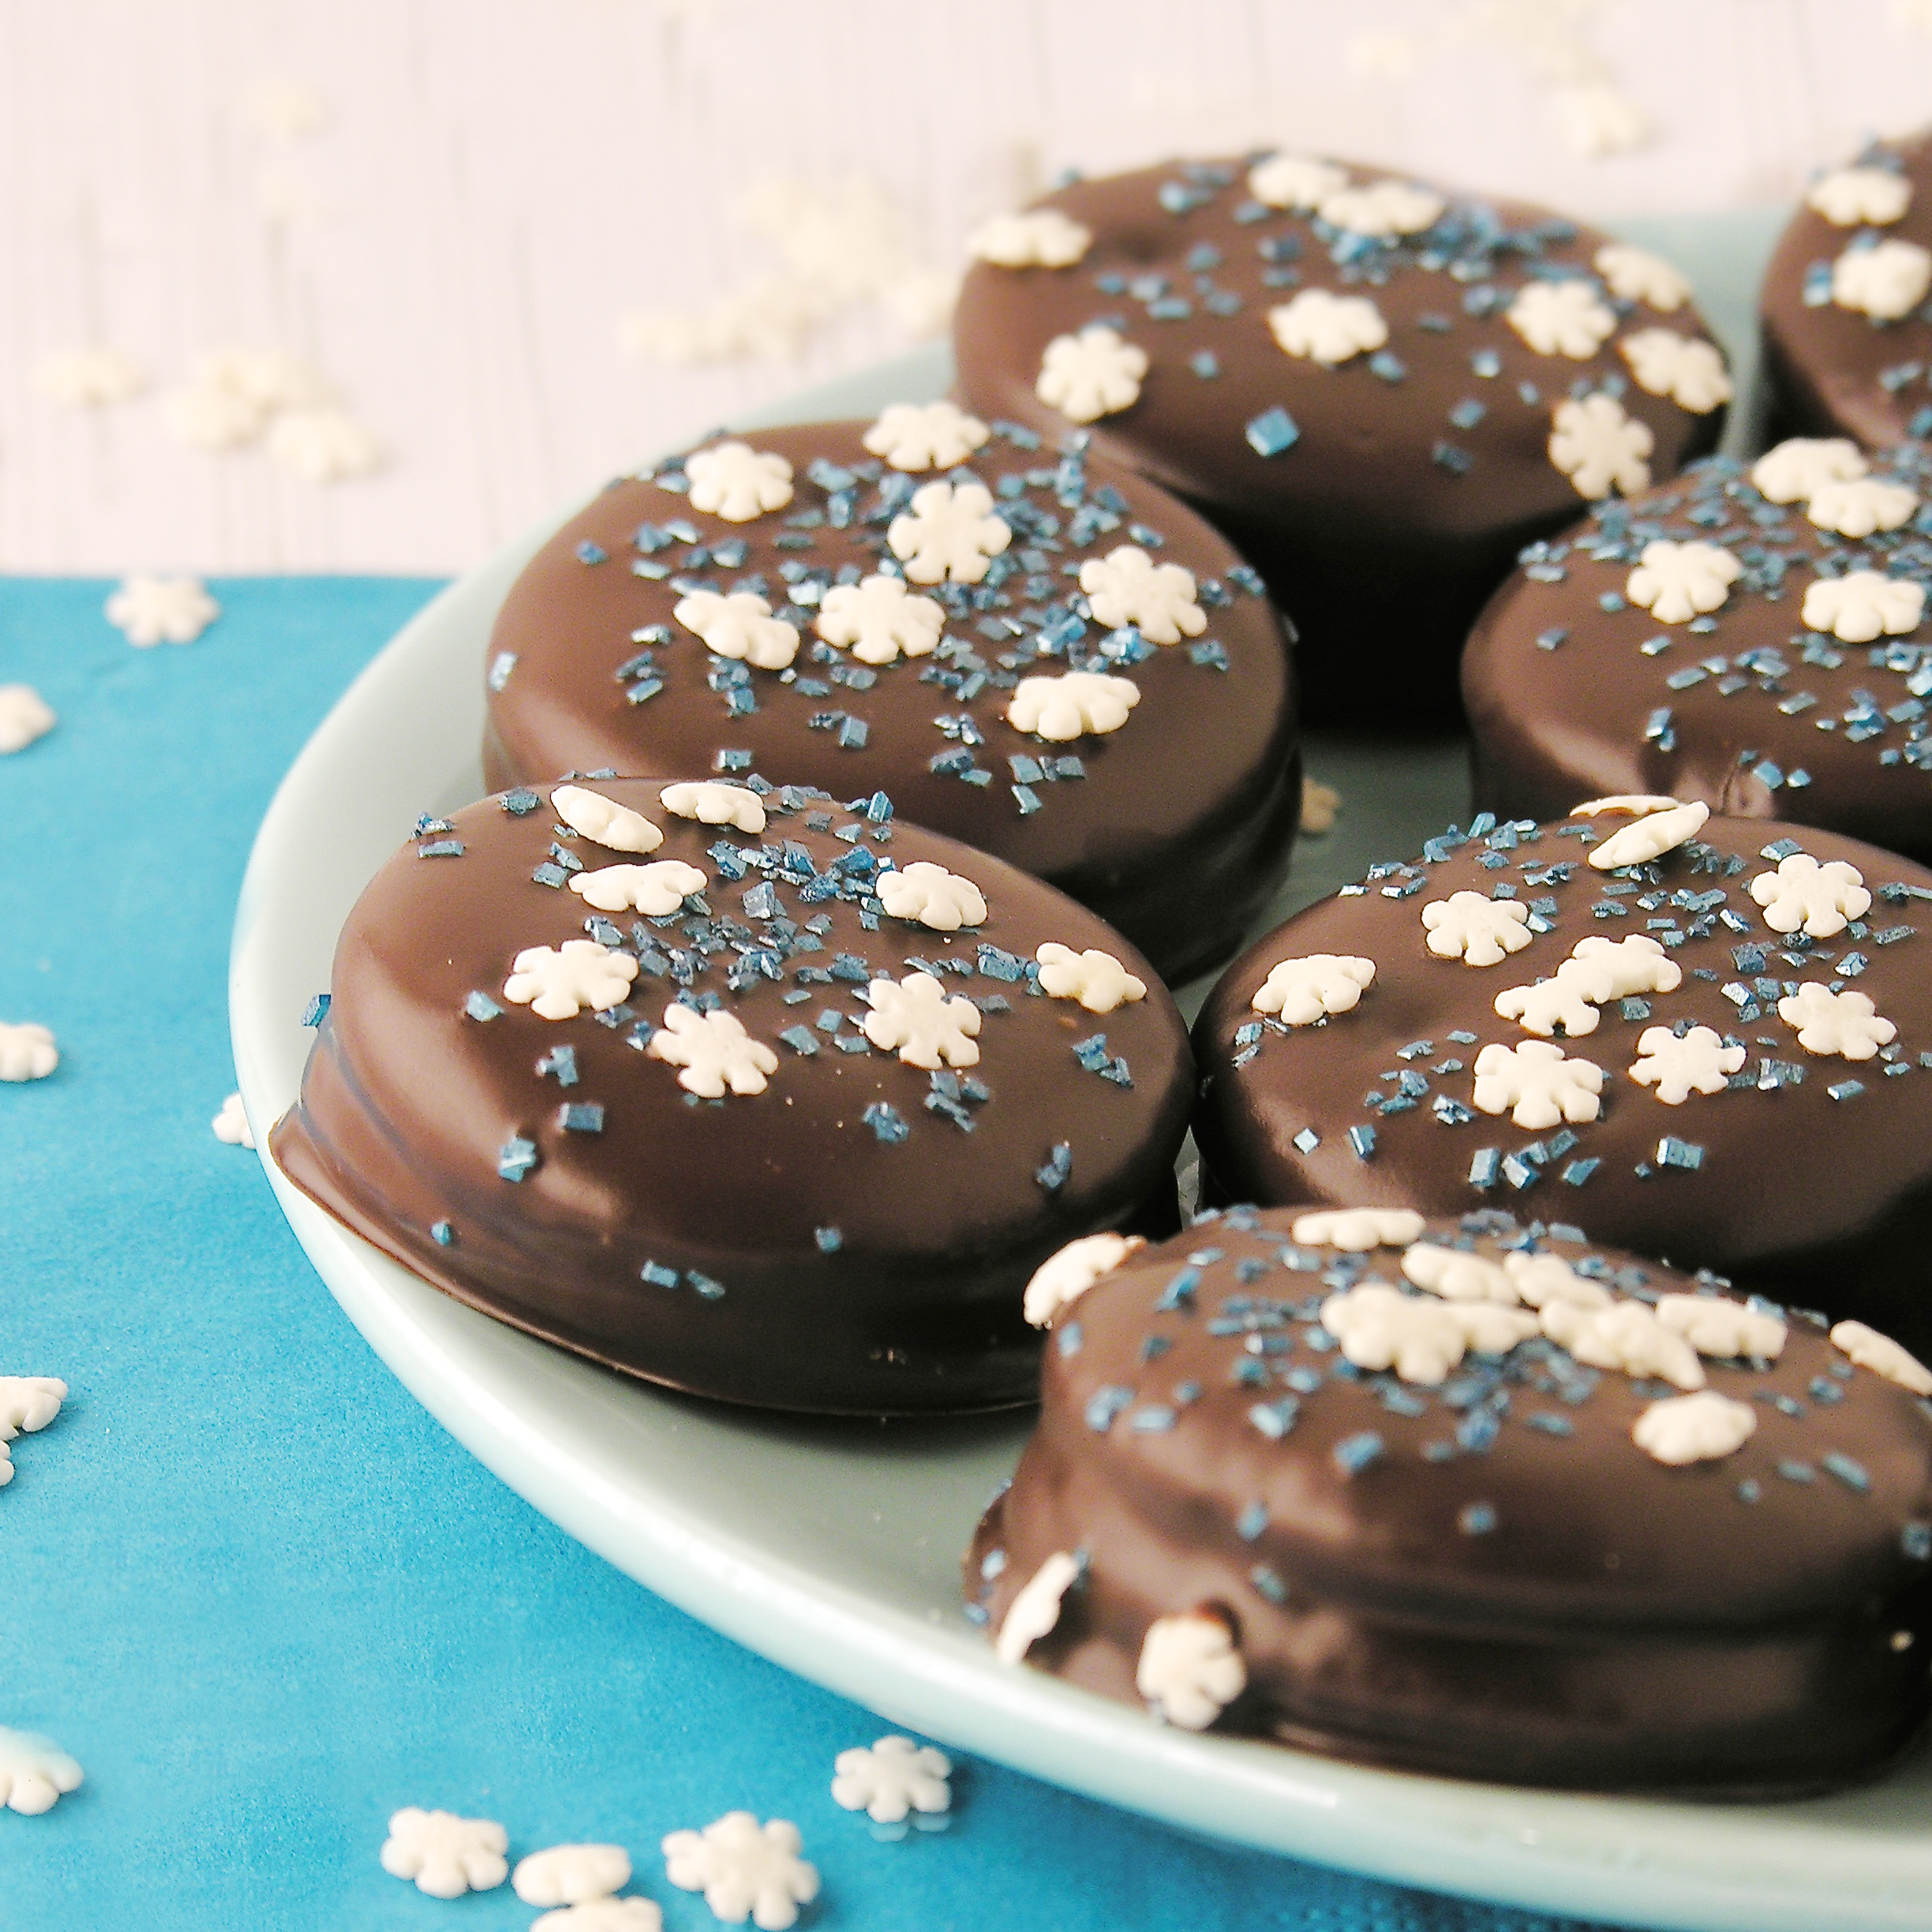
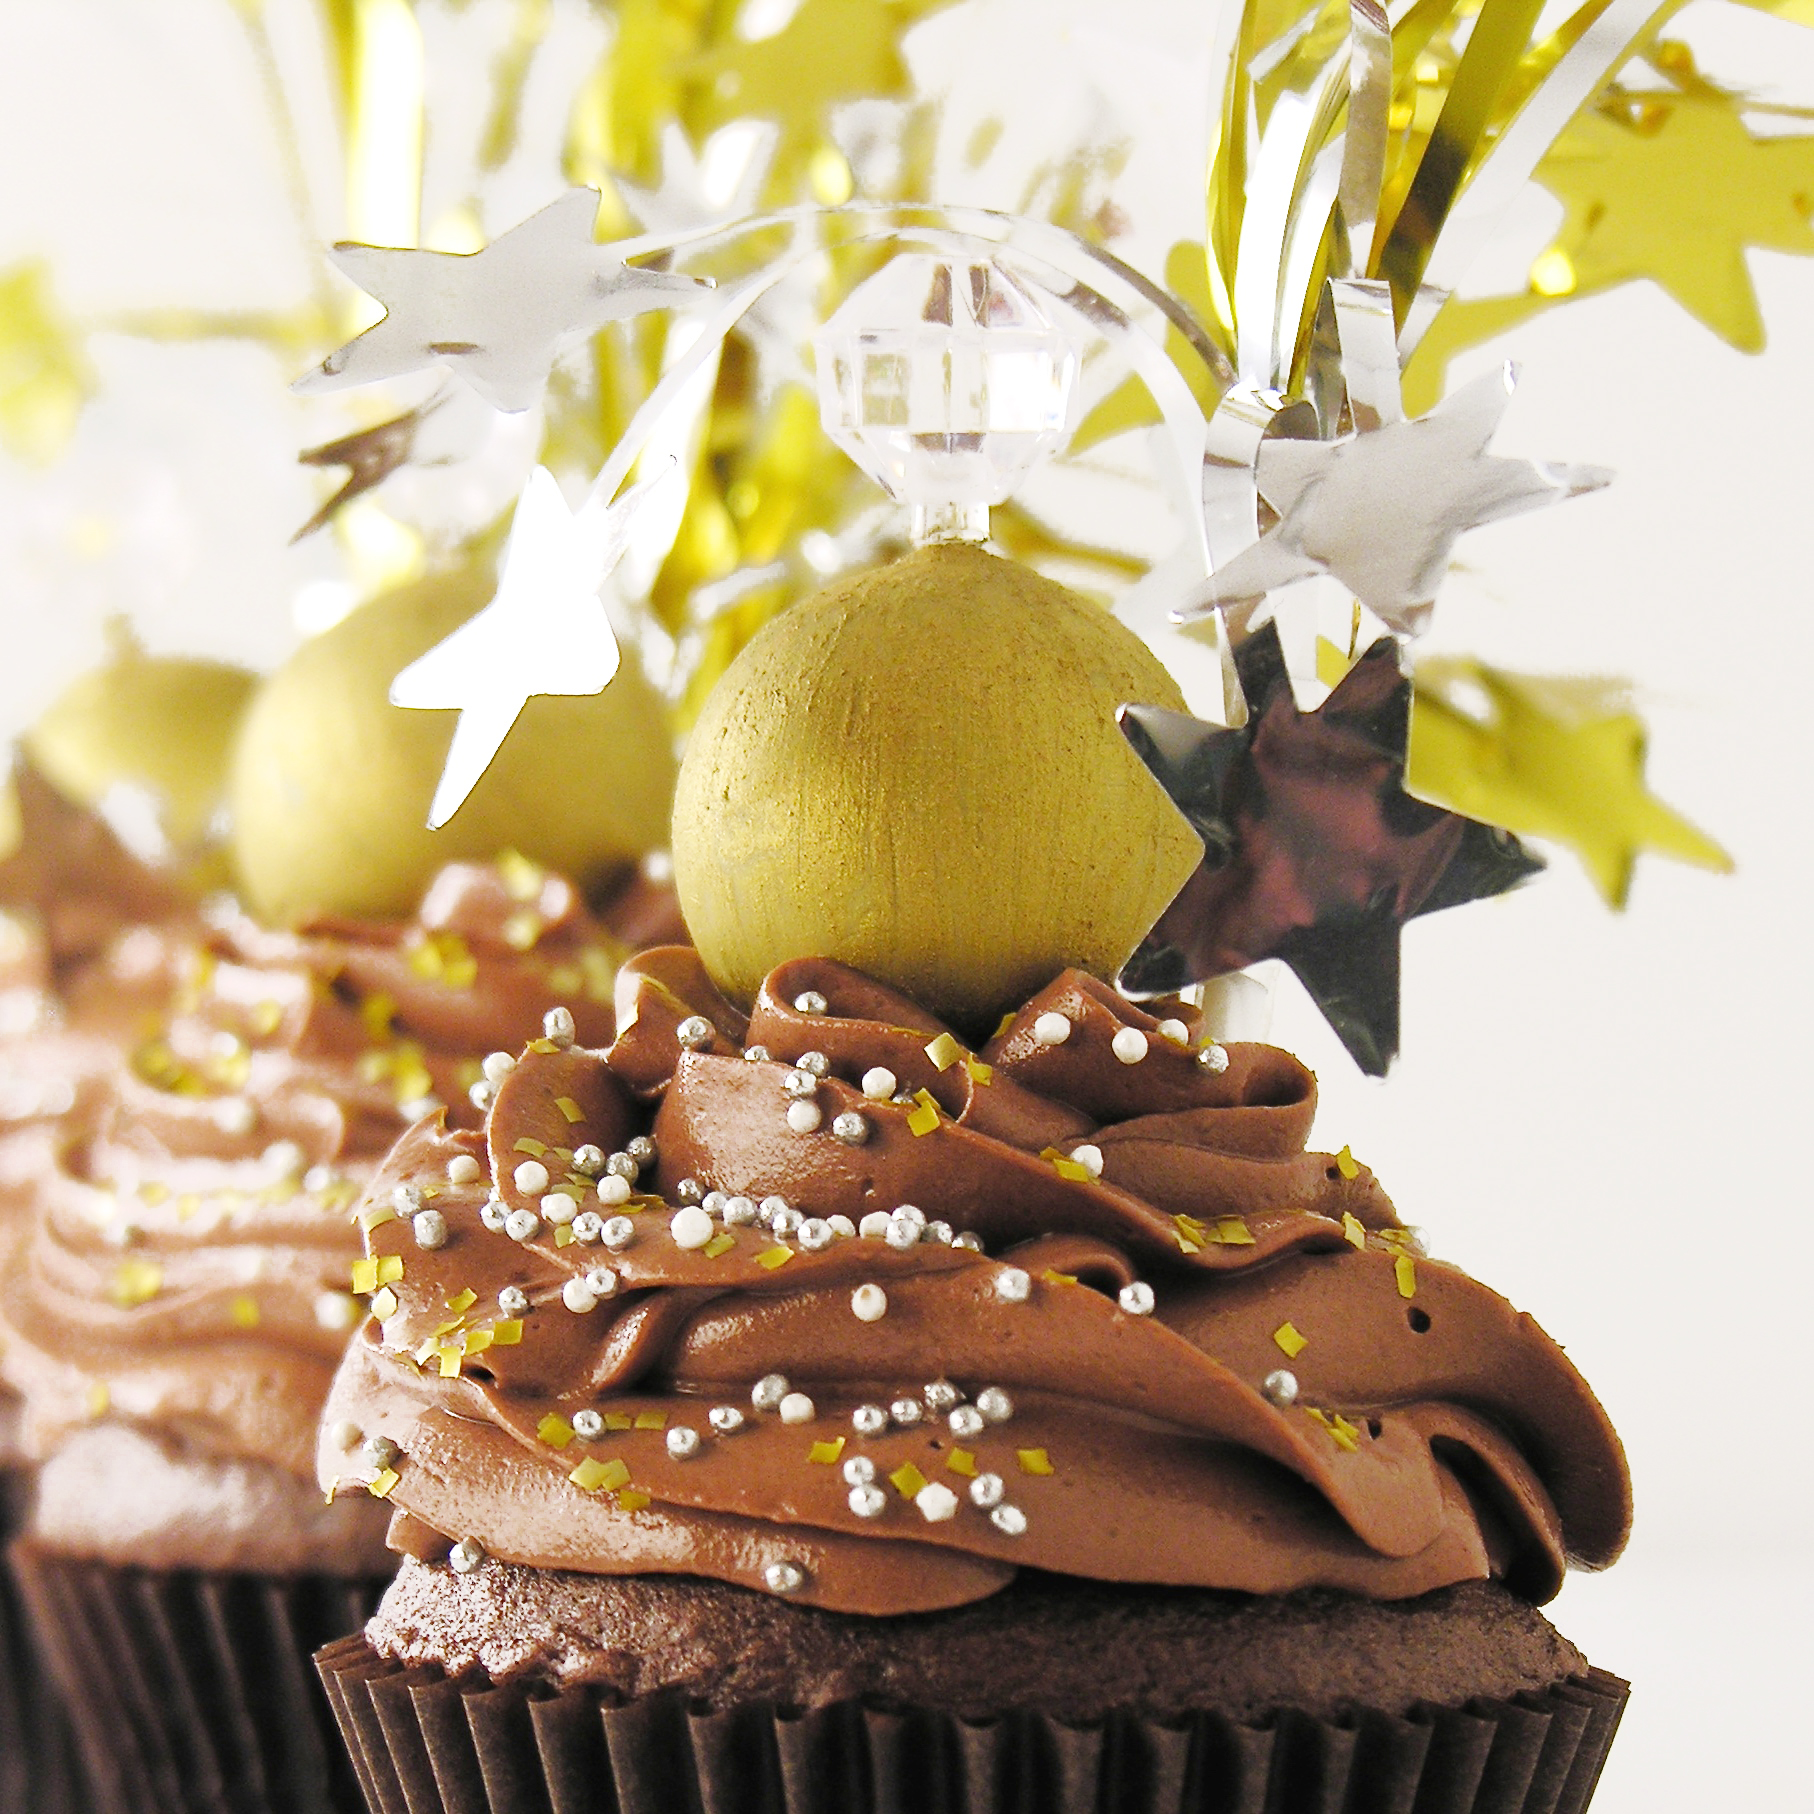
These fun little cupcakes are an easy and fun way to ring in the New Year. I used Lindt White Chocolate Truffles for the NYE ball, and my very yummiest chocolate buttercream. Aren’t they cute???
Here is how we put these fun little party desserts together:
INGREDIENTS:
- One boxed chocolate cake mix (or your favorite recipe) plus eggs, water and oil to make according to package.
- 2 sticks of salted butter, softened
- 2 sticks of unsalted butter, softened
- 3 cups of powdered sugar
- 1/2 cup of cocoa powder
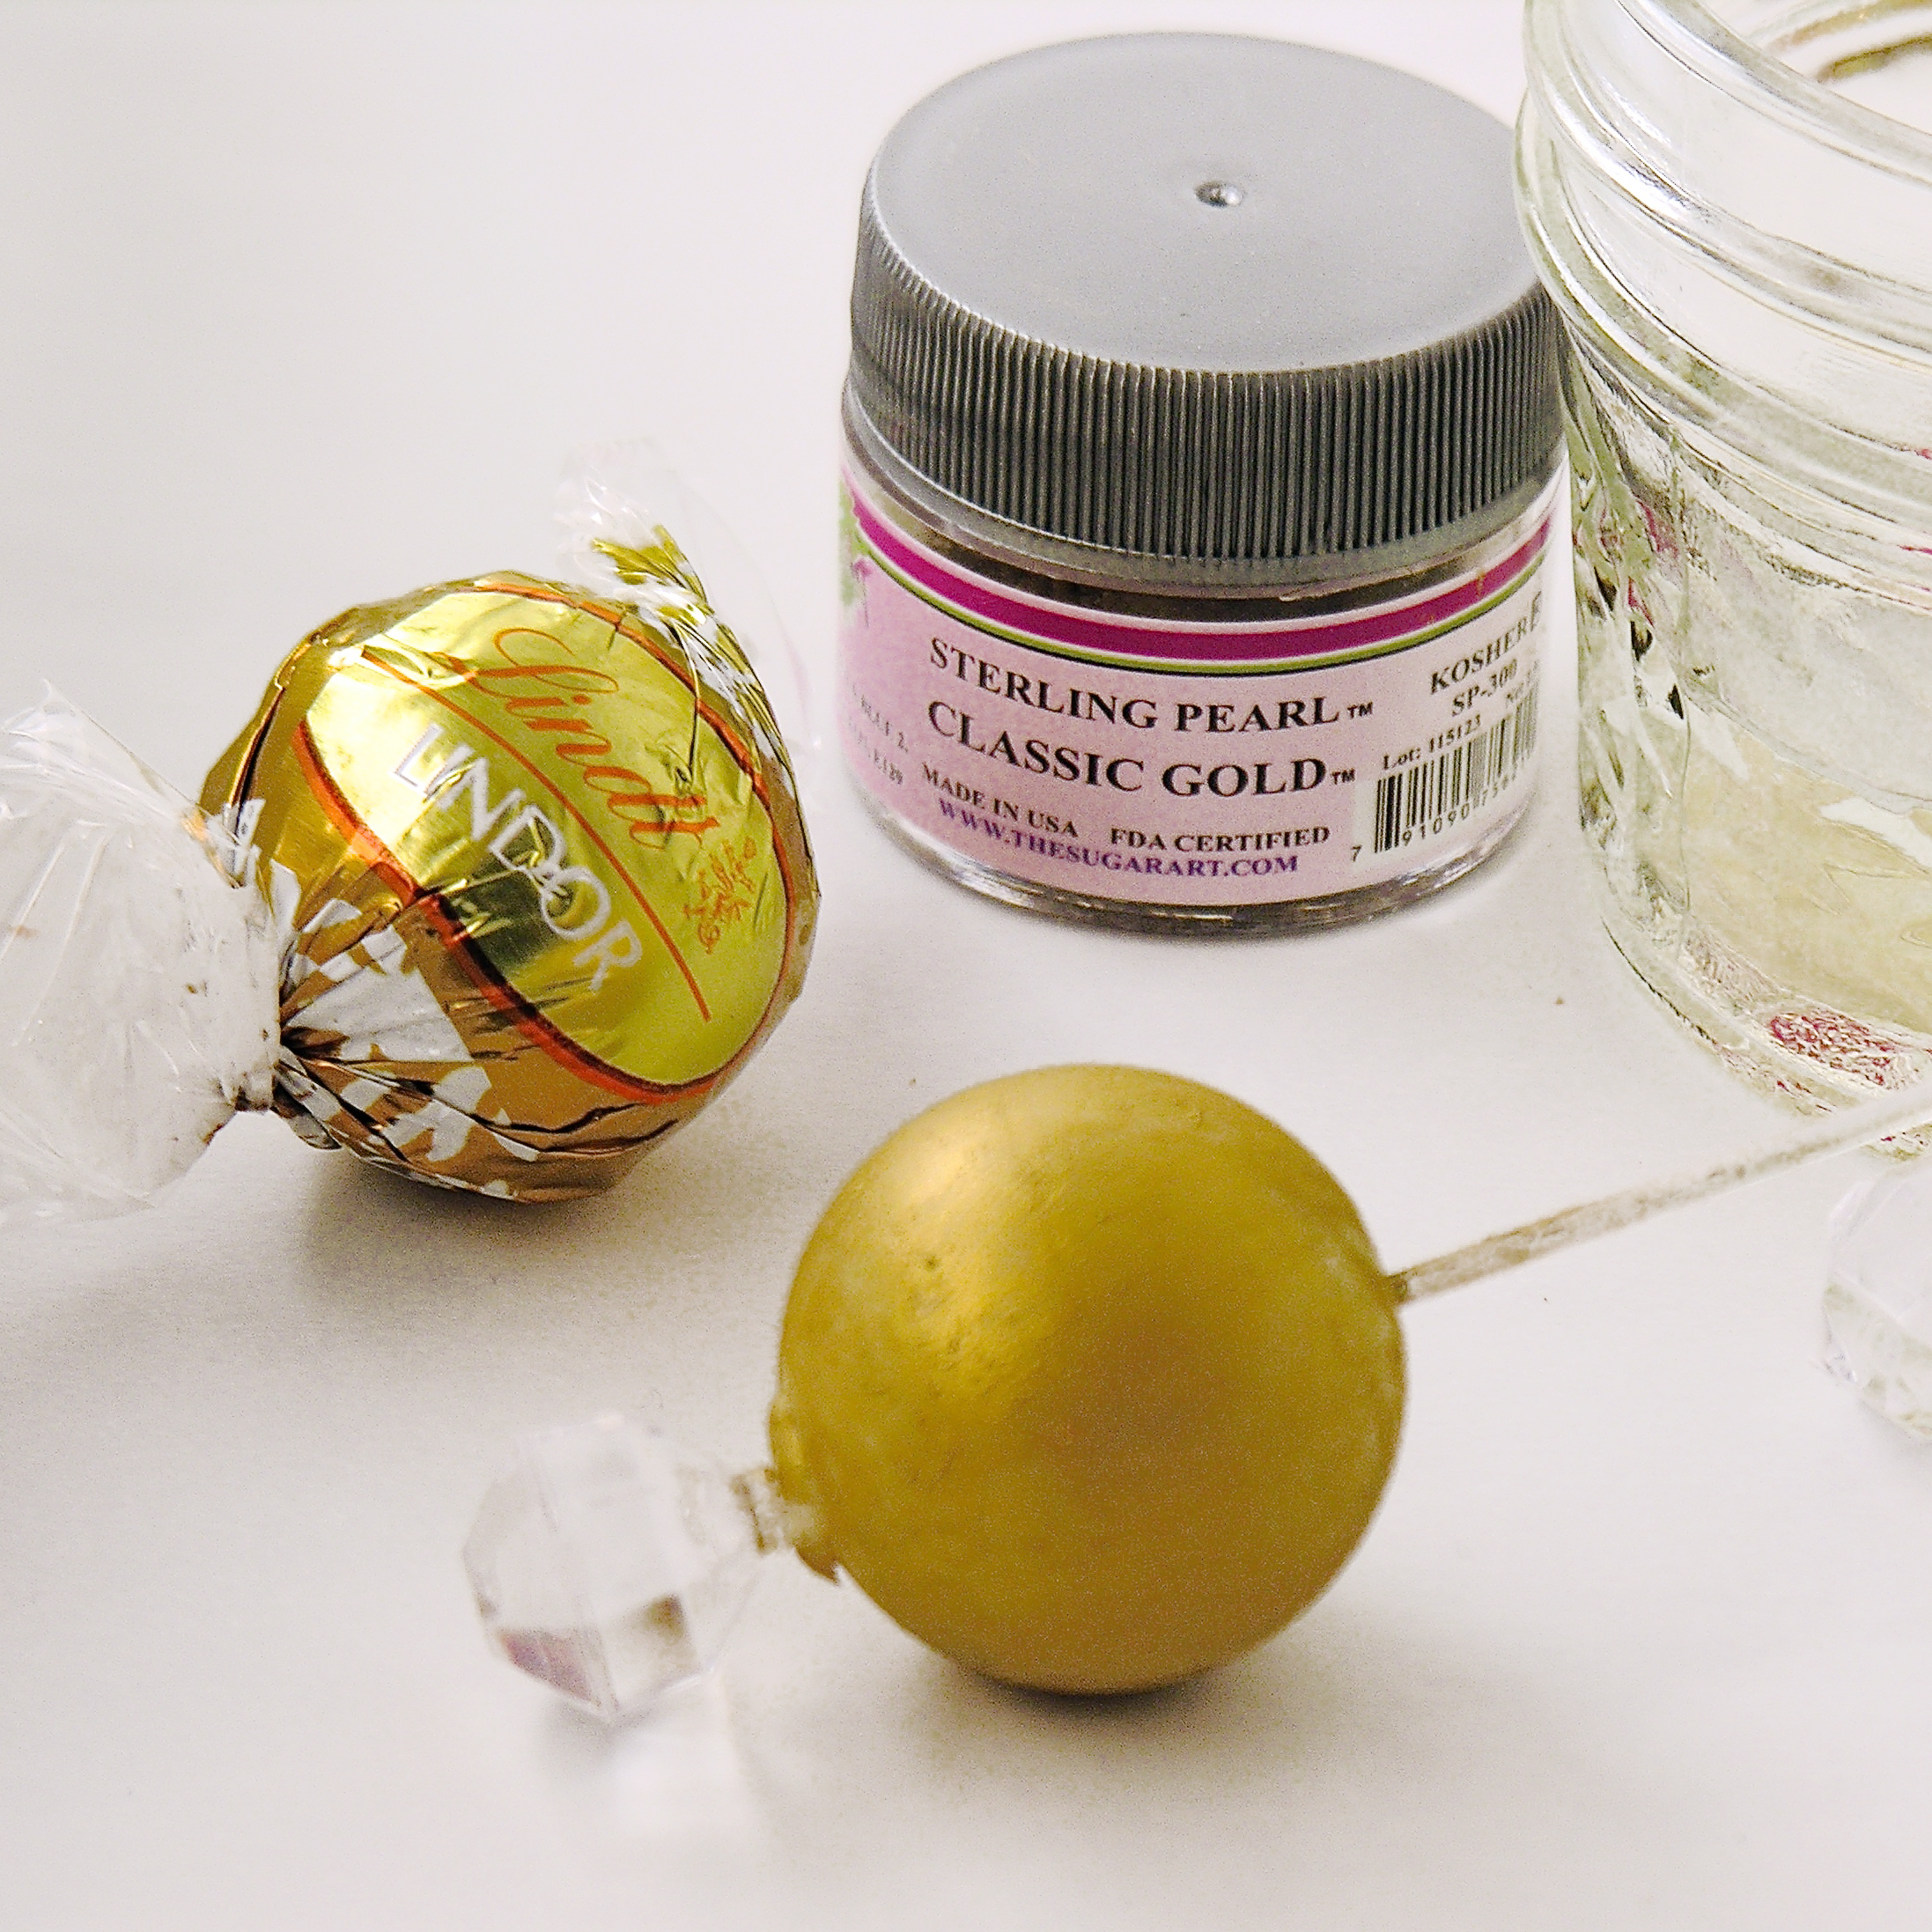
- 24 Lindt white chocolate truffles
- 24 decorative picks (I got mine at Target)
- 24 New Year picks (I got mine at CK products)
- Gold food coloring dust (I got mine at CK products)
DIRECTIONS:
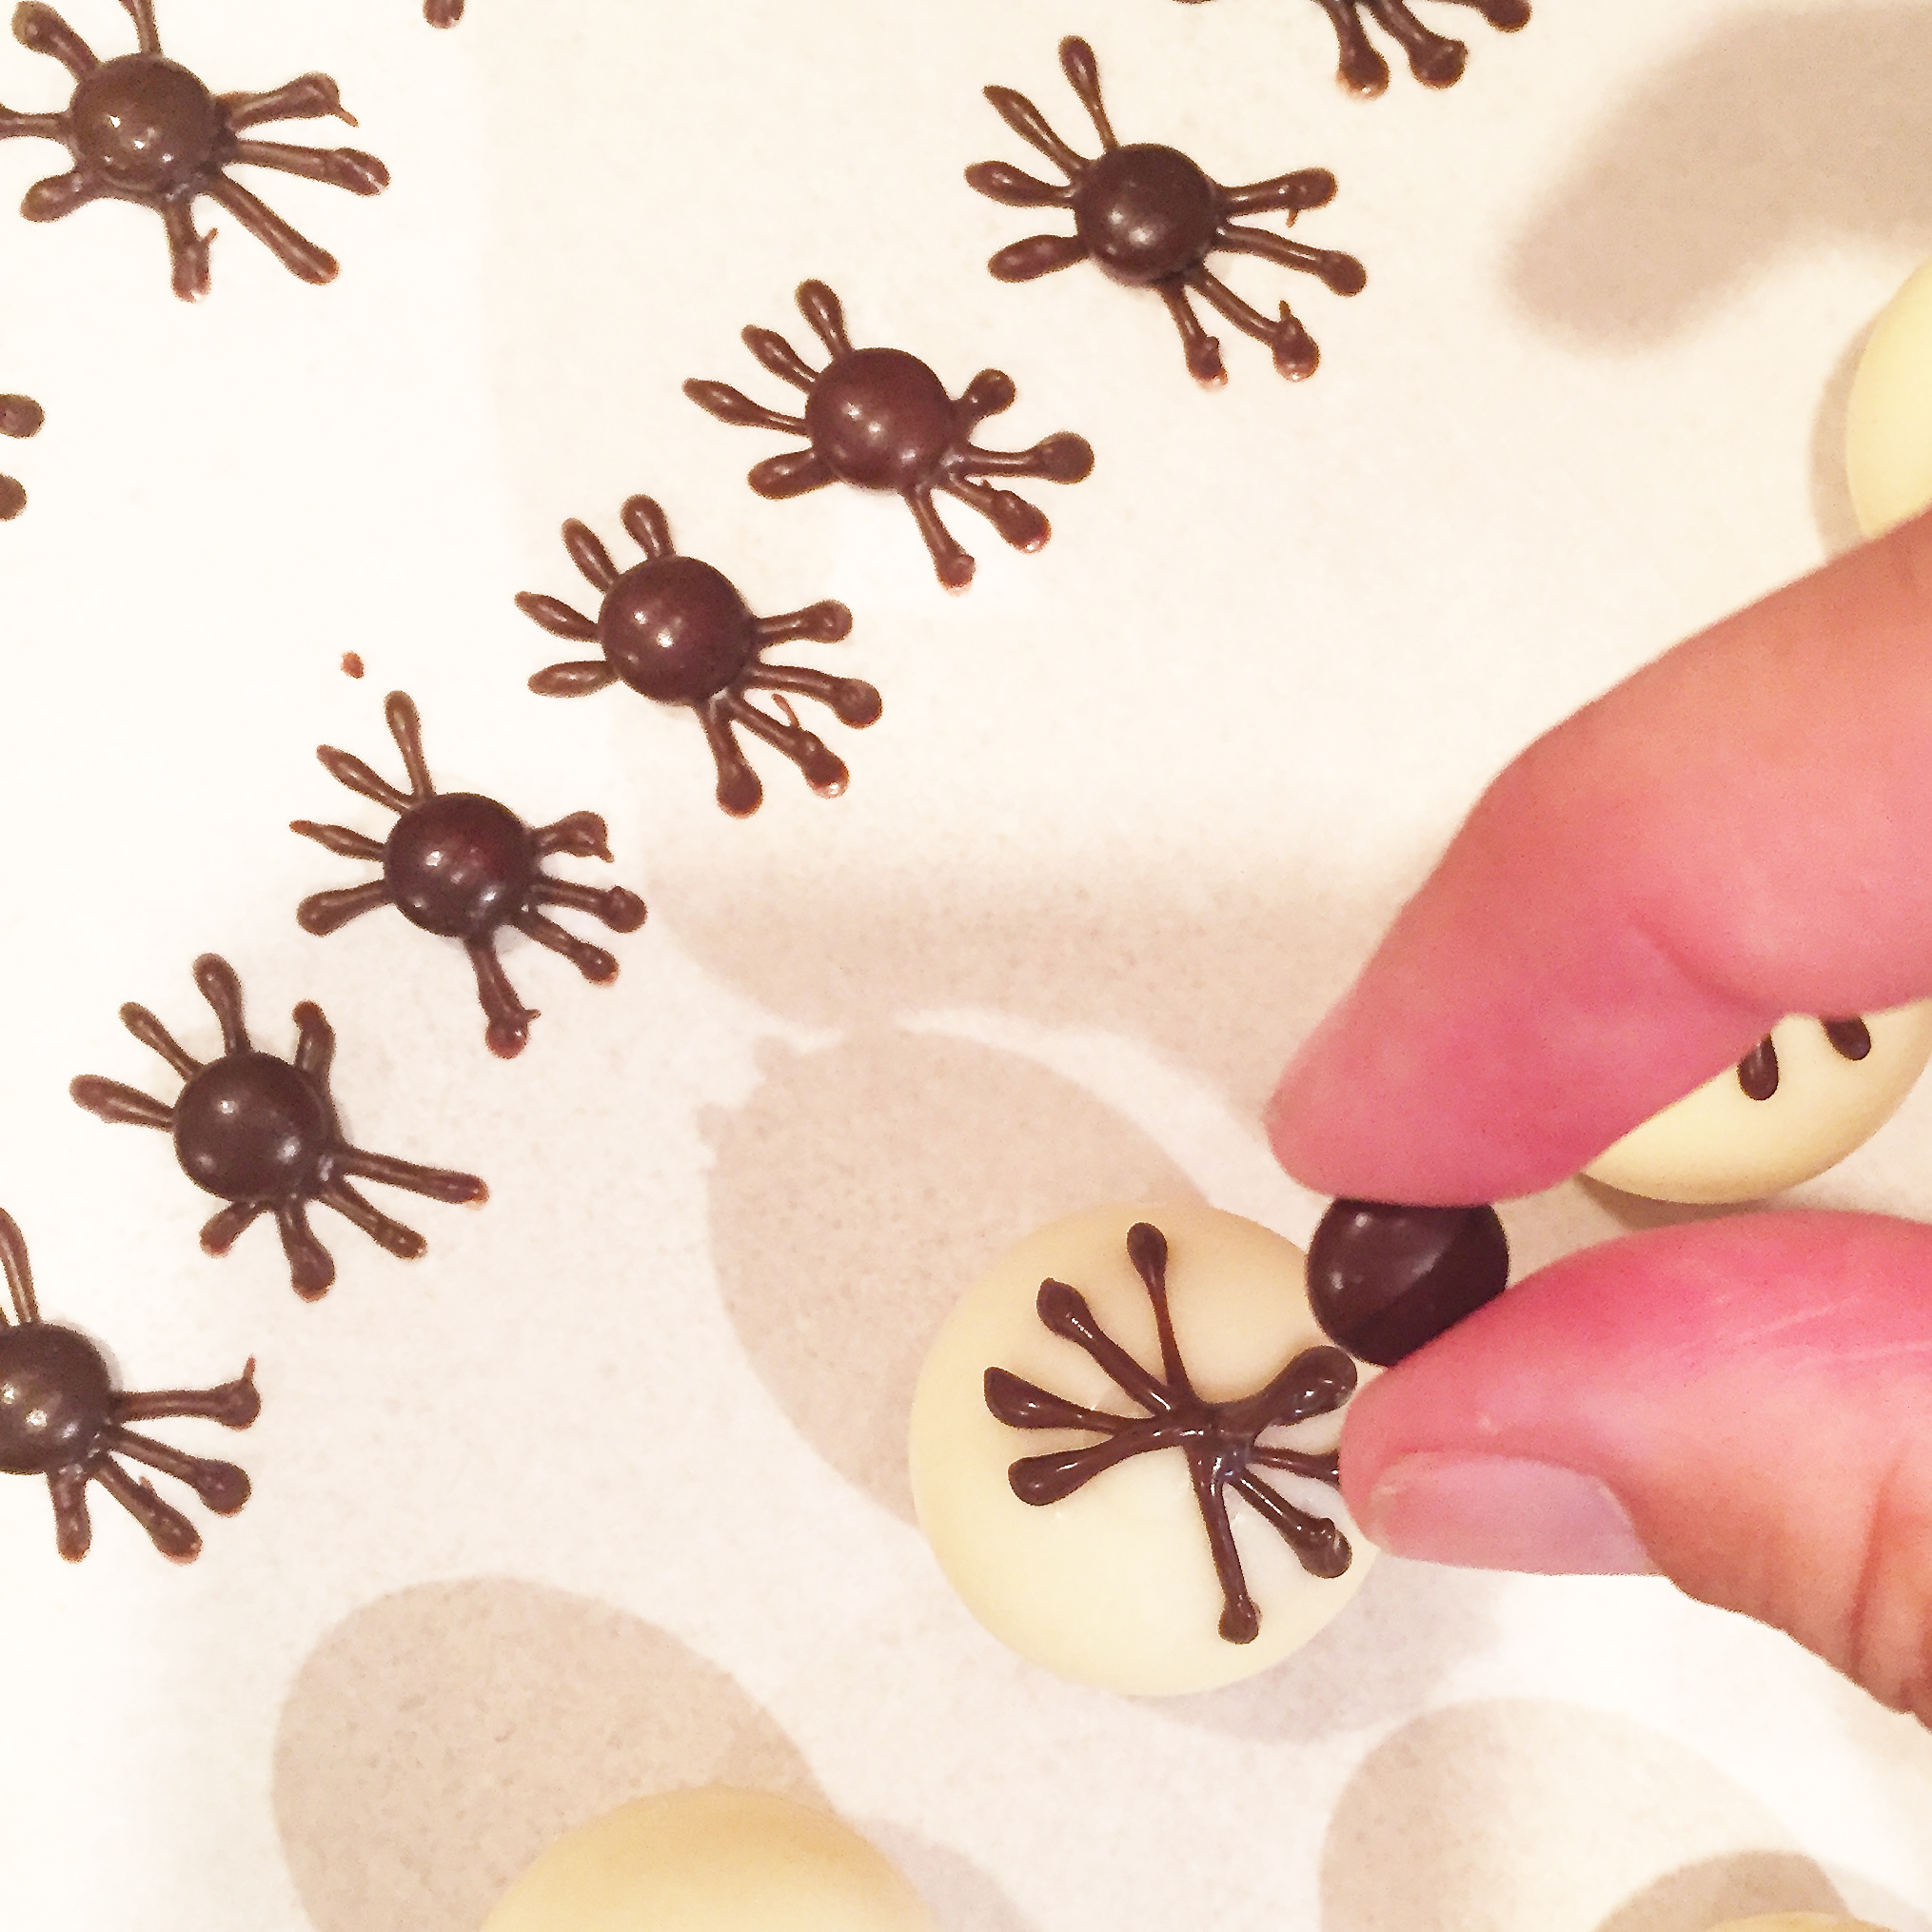
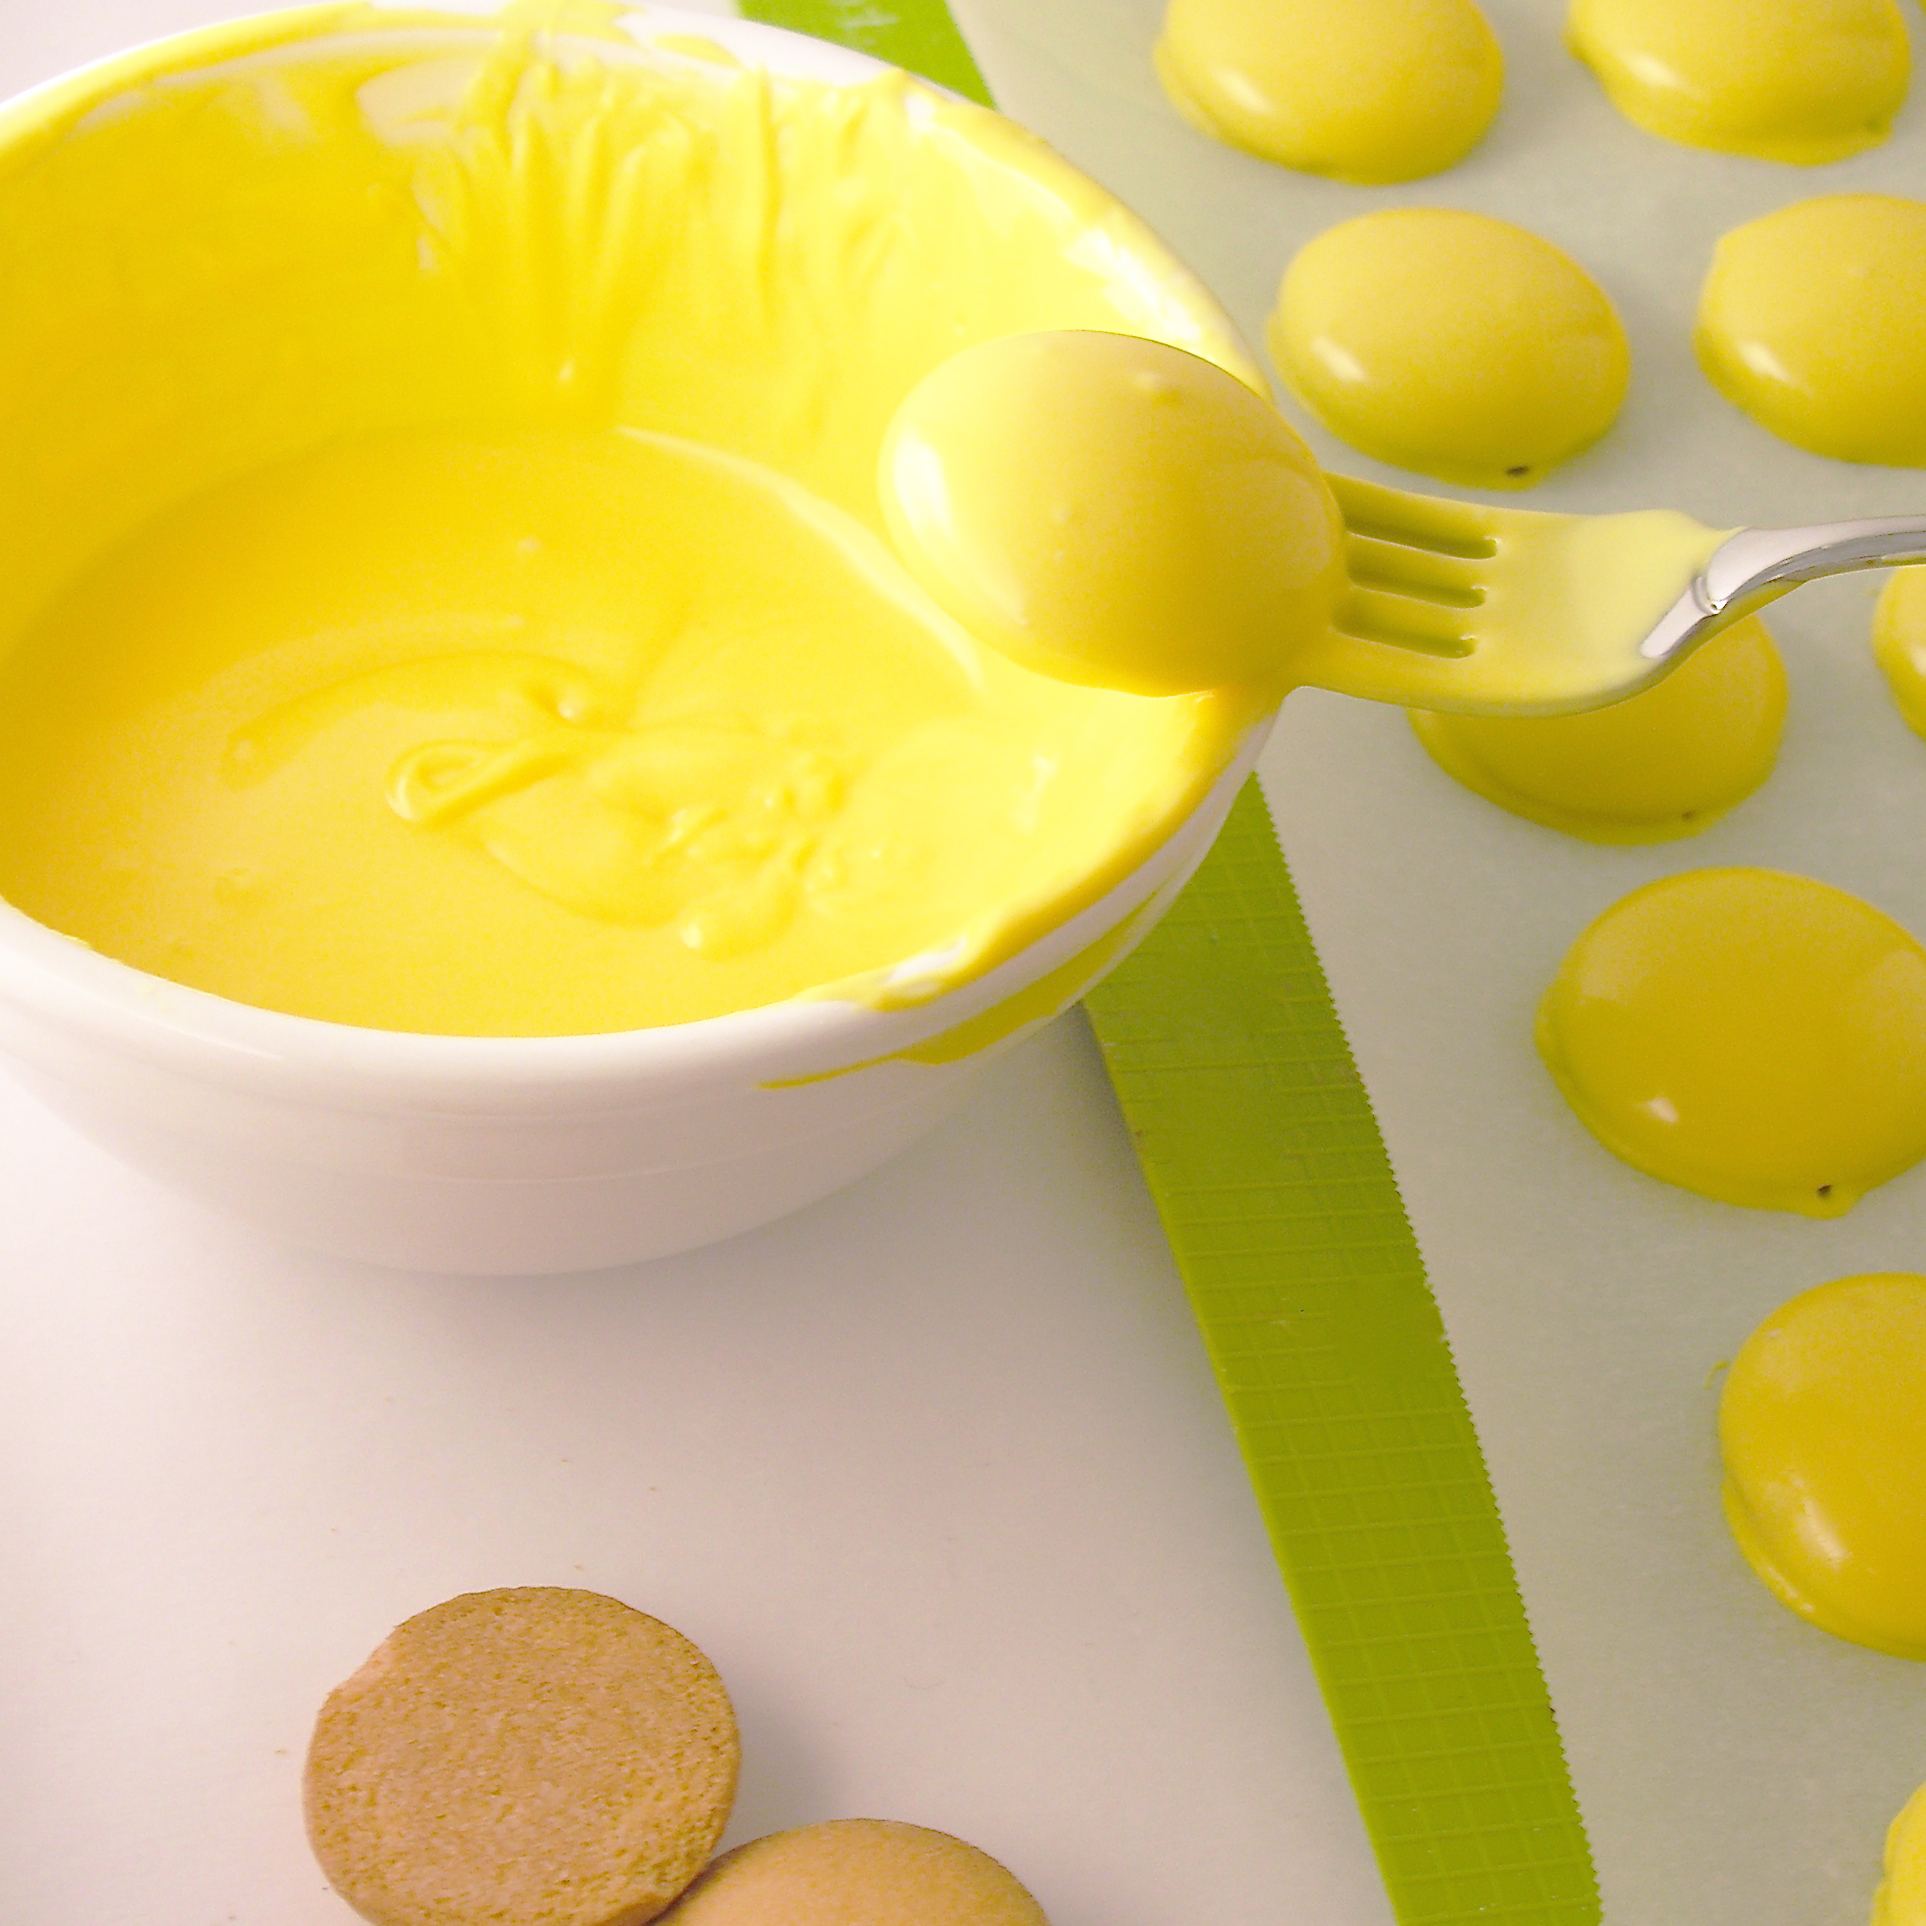
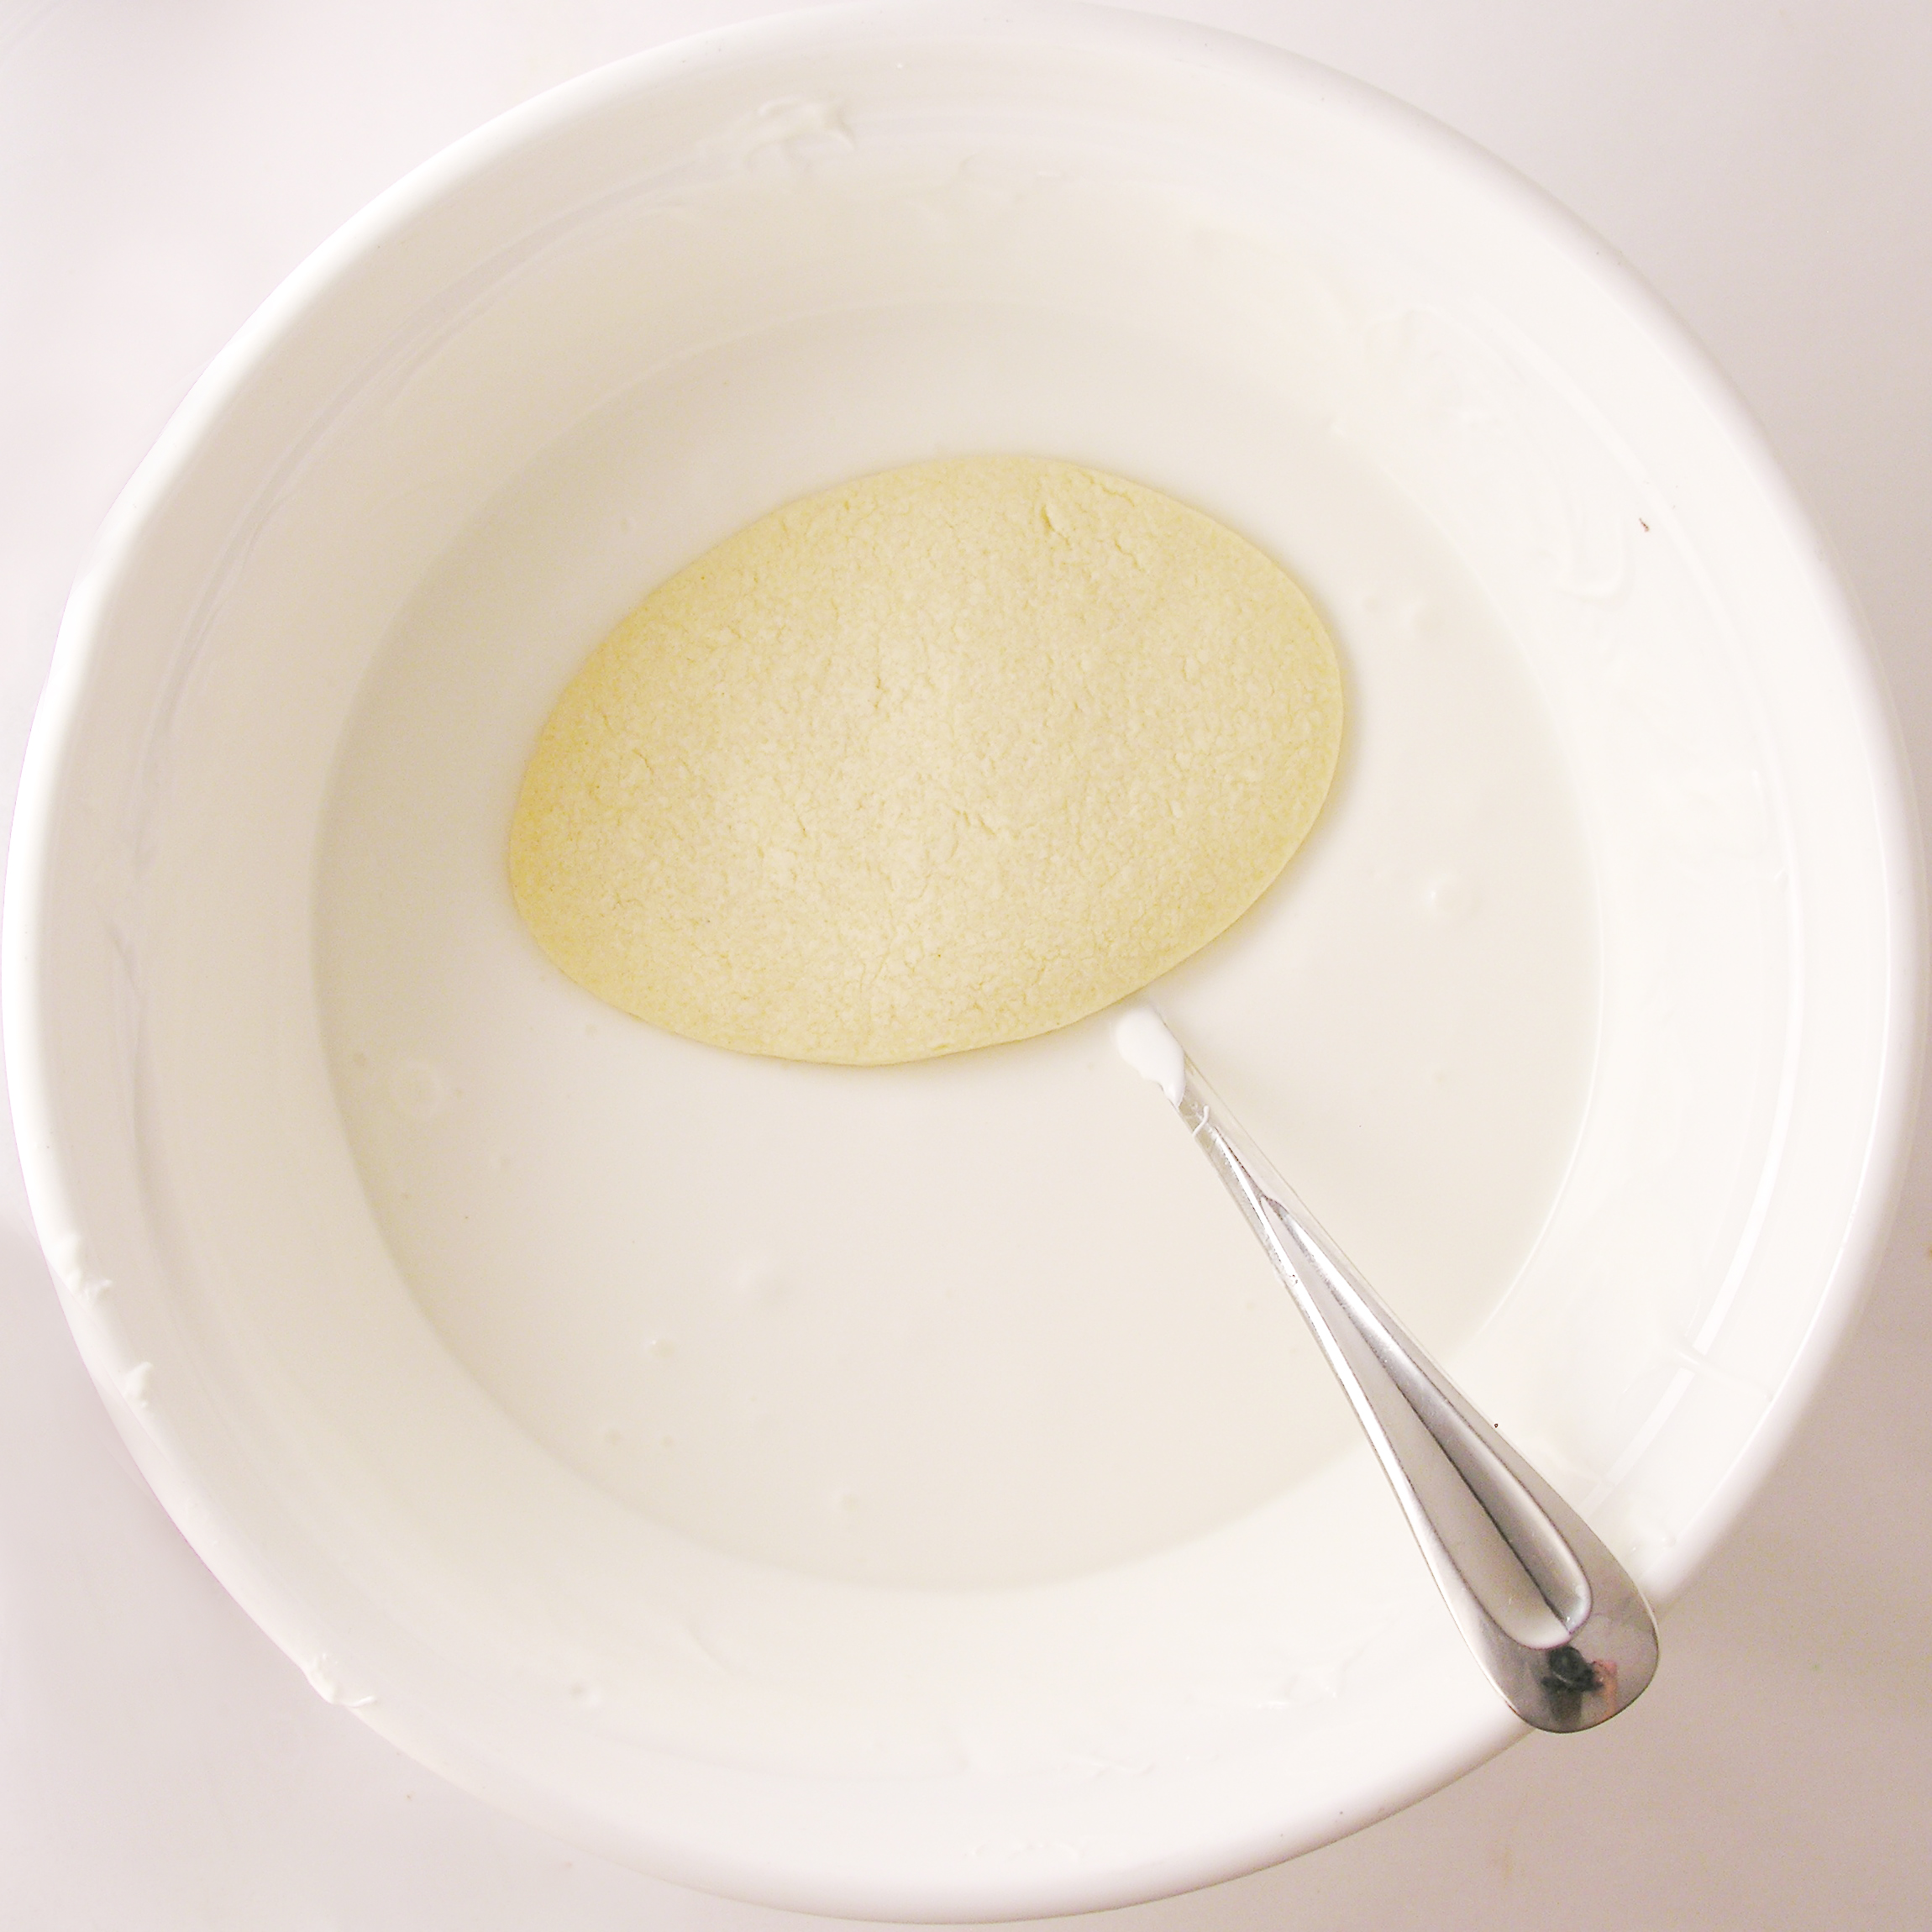
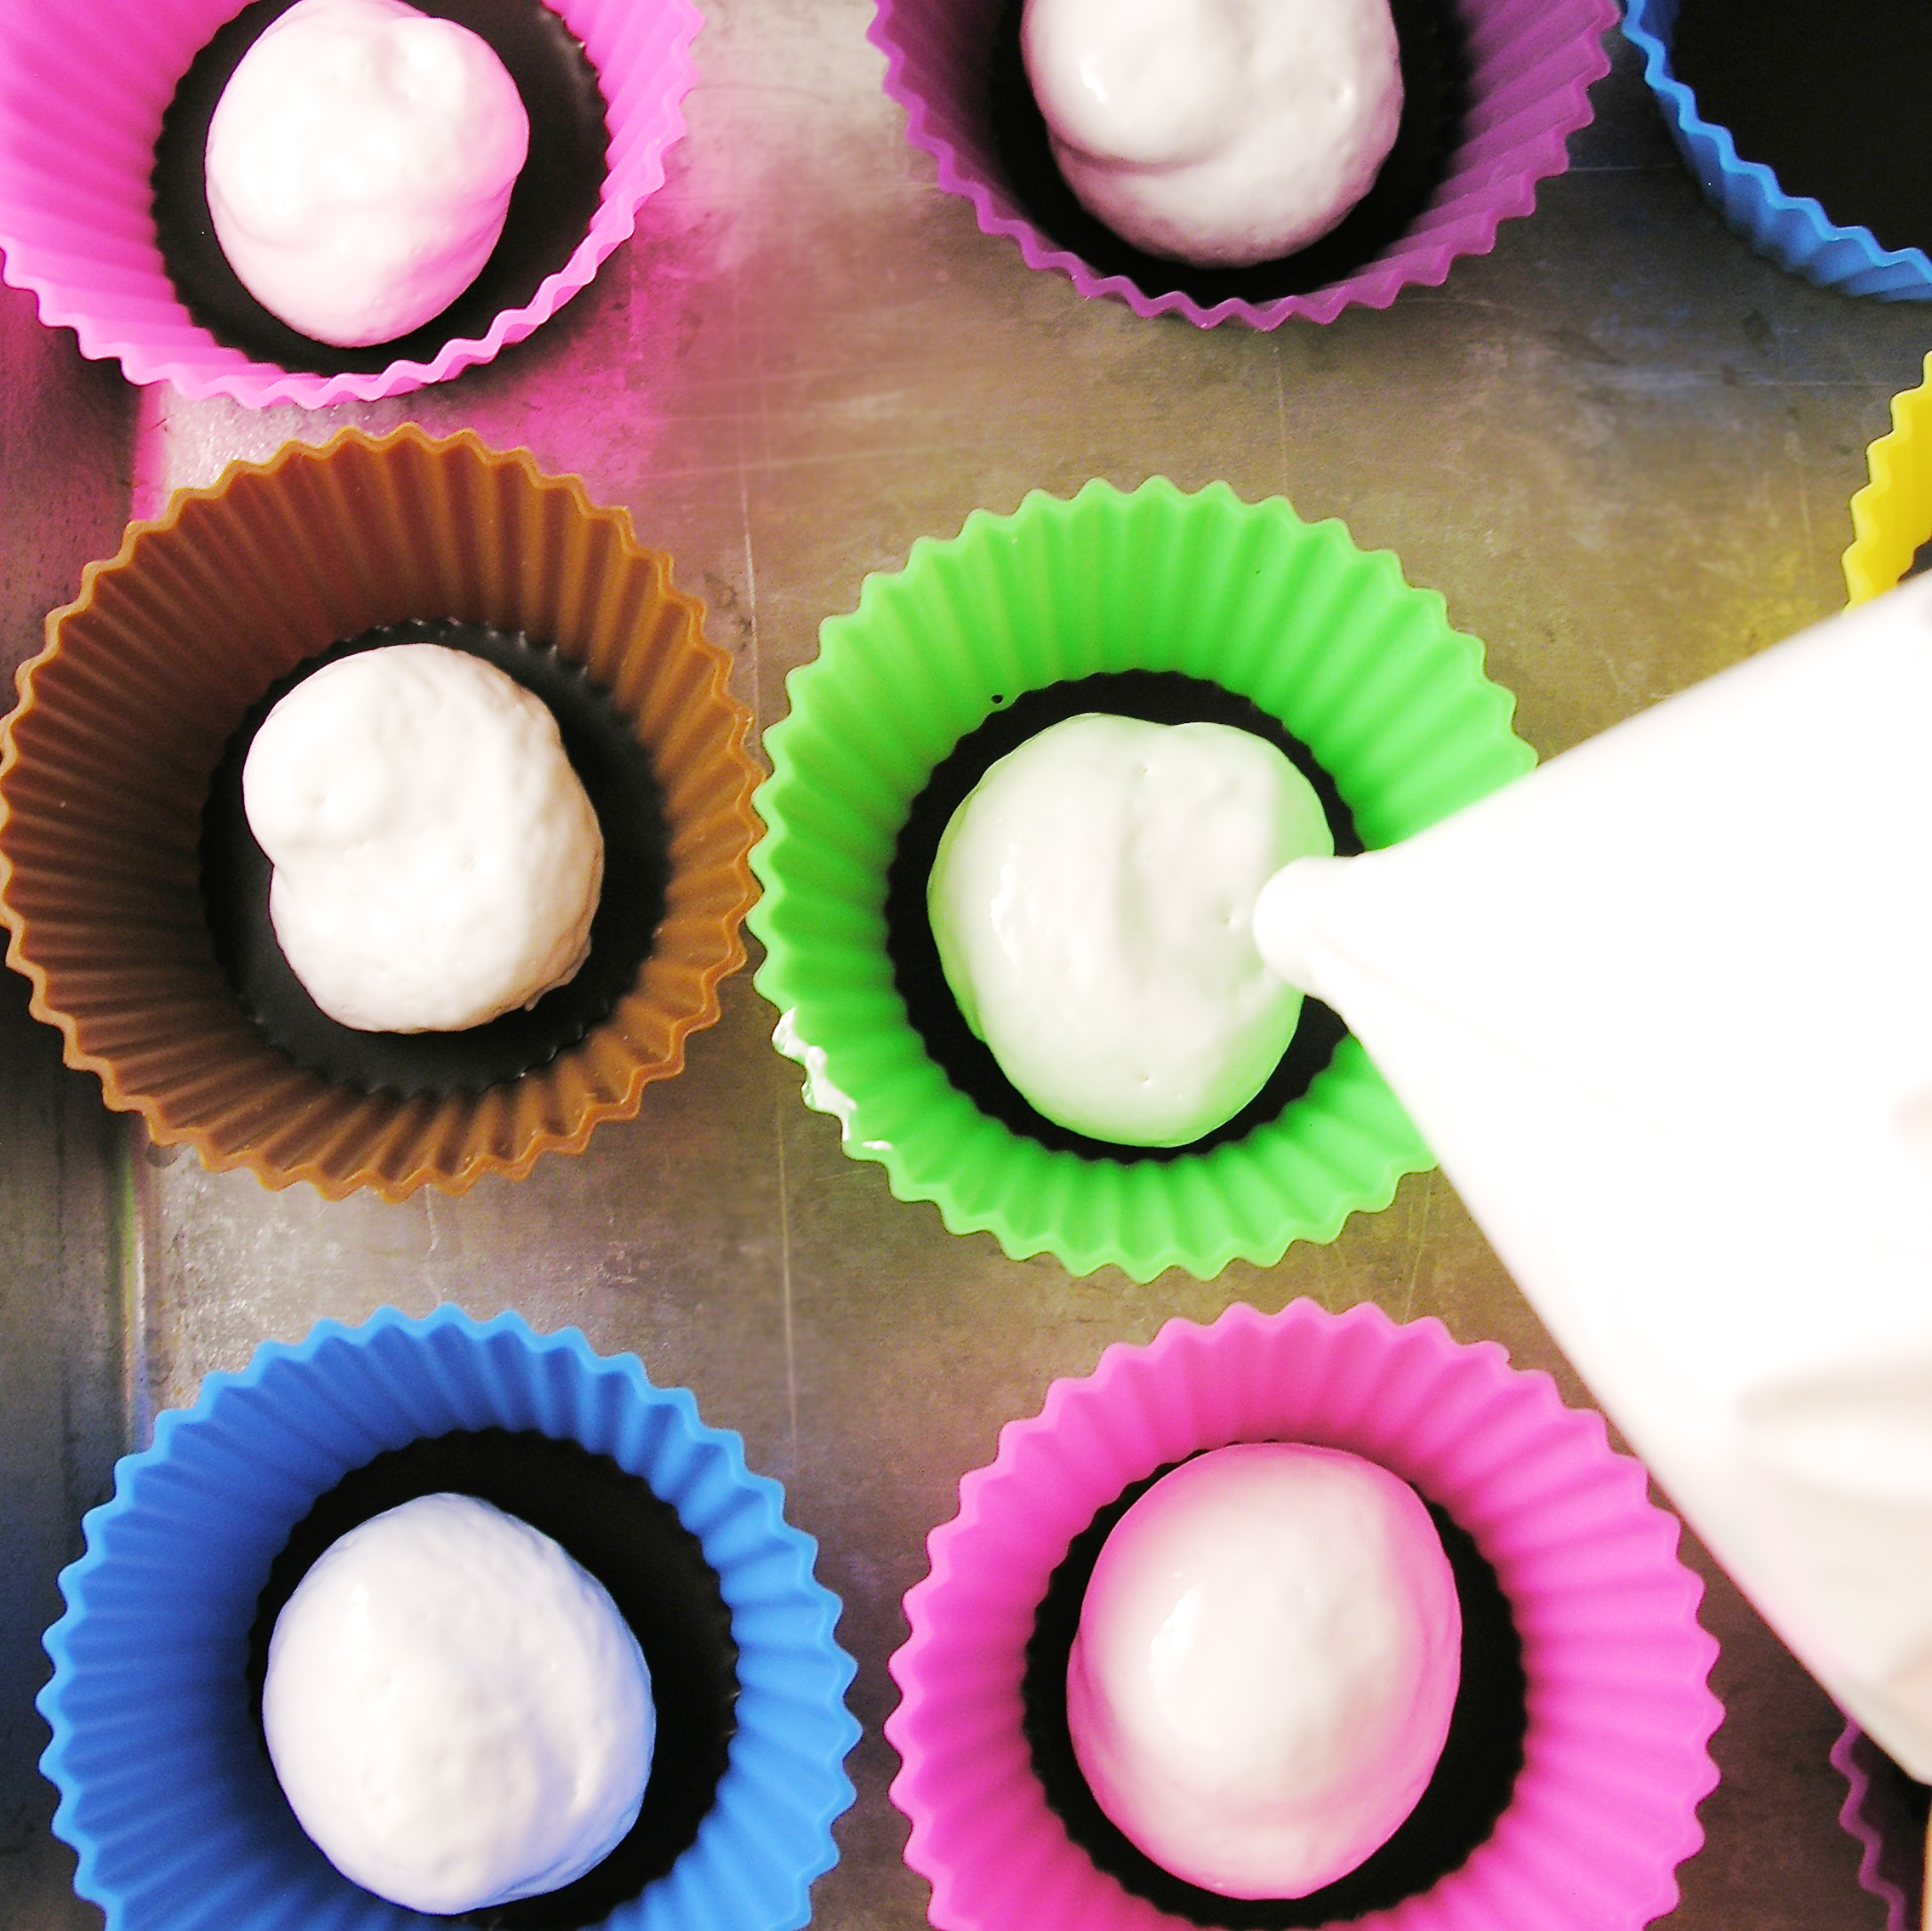
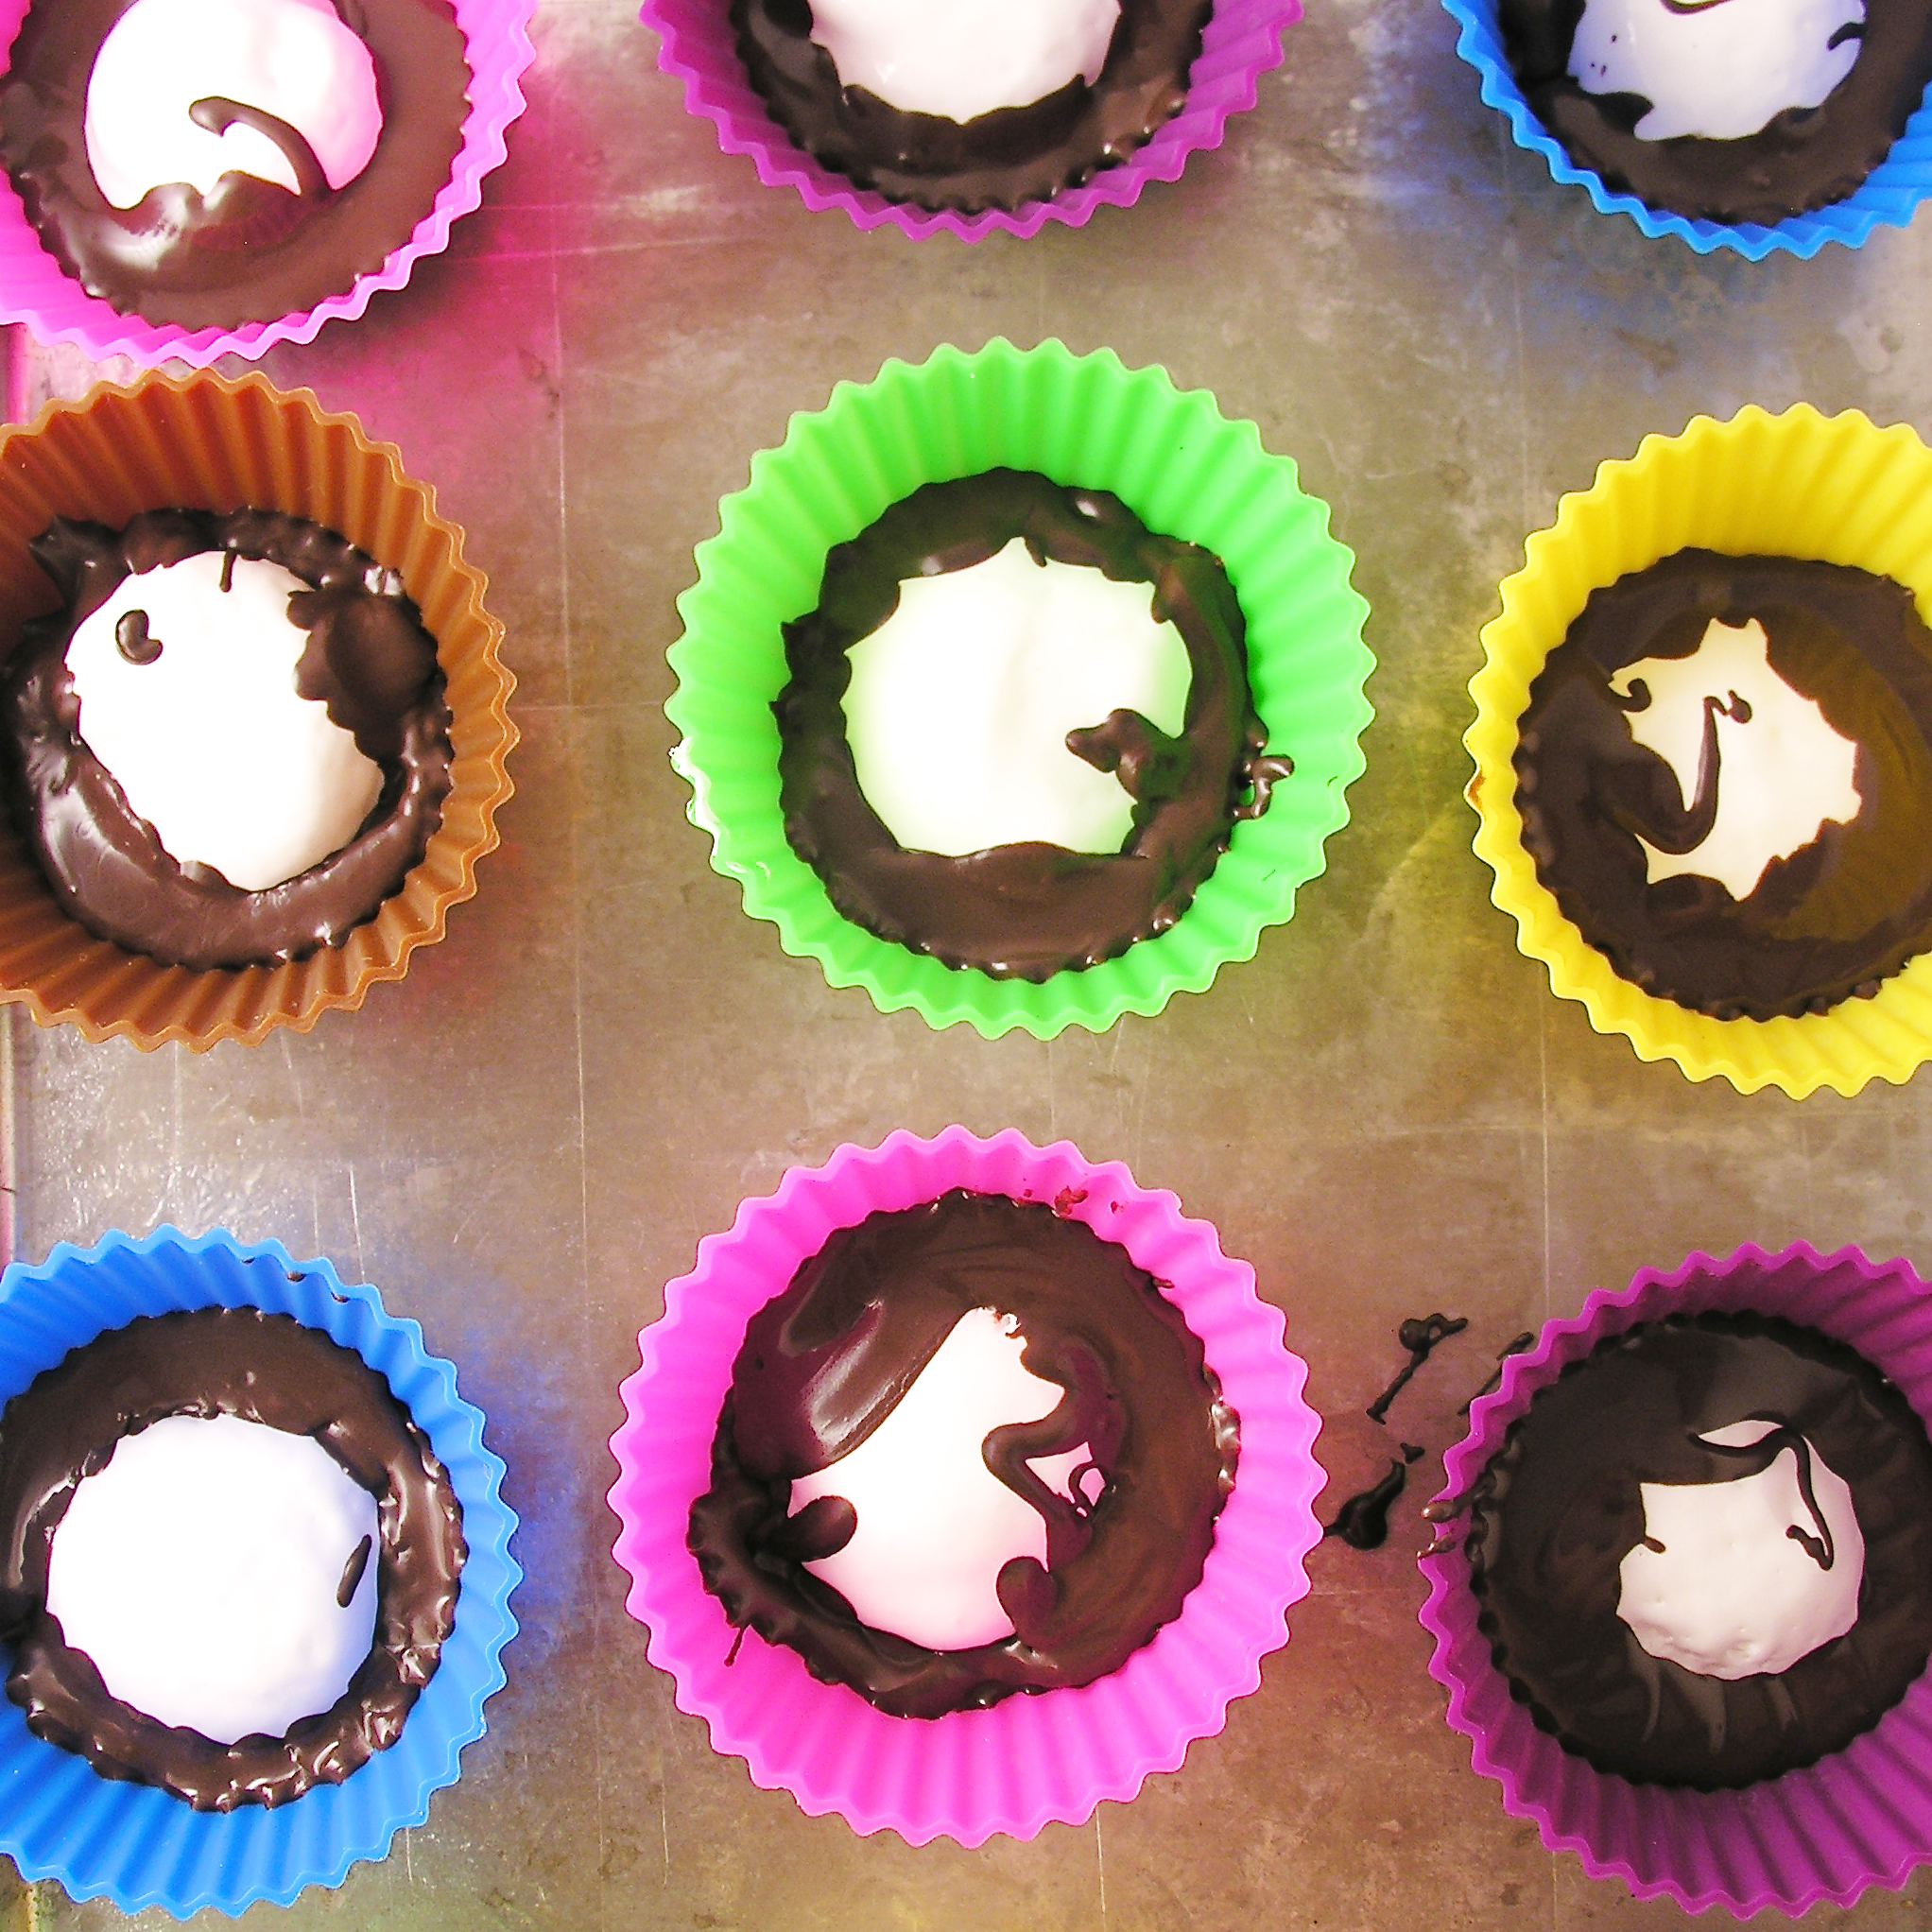
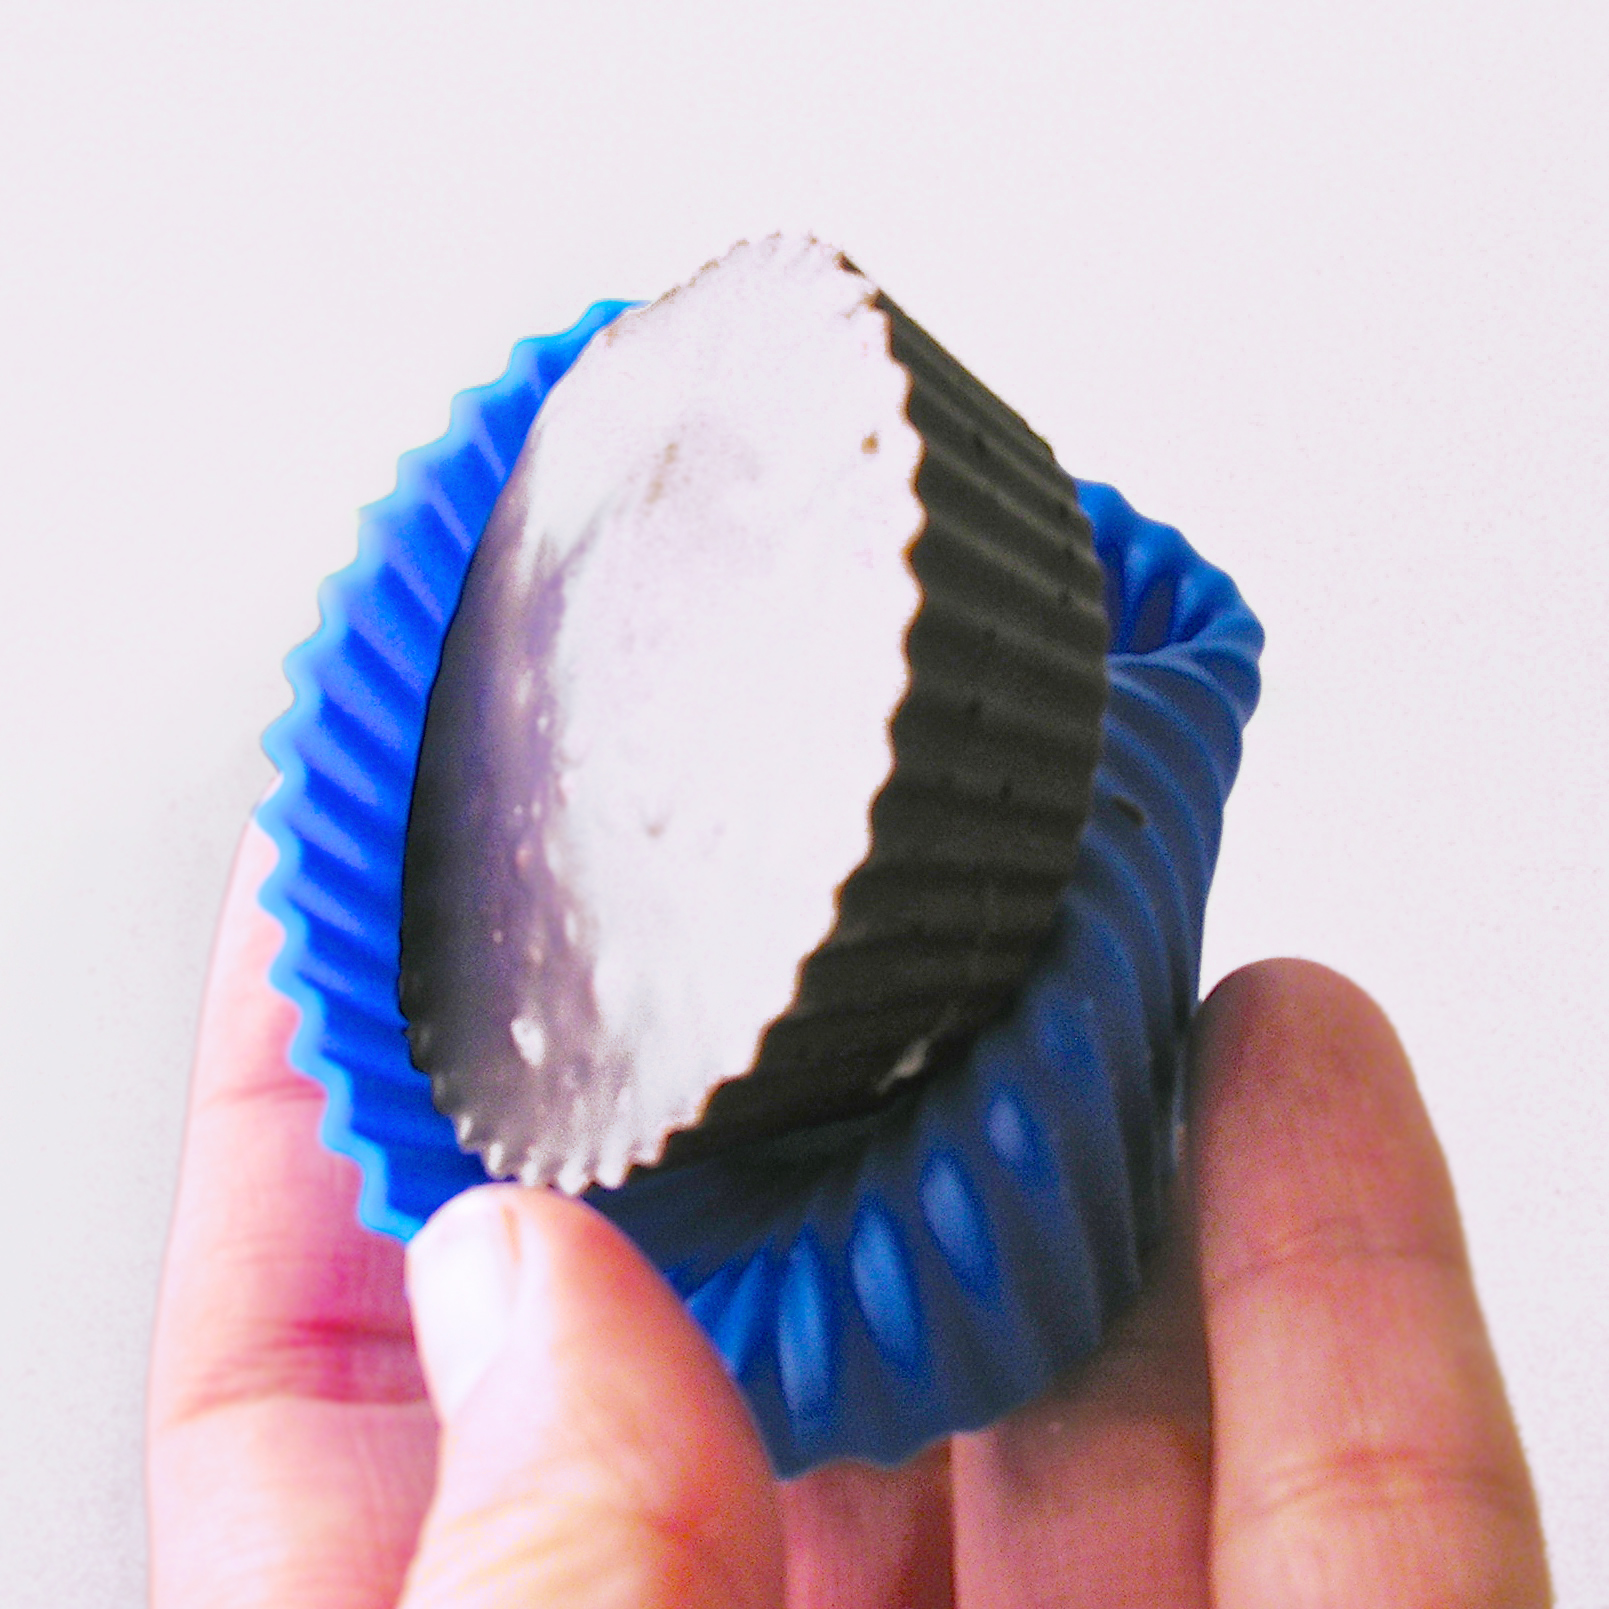
- Unwrap 24 Lindt truffles and put a decorative pick all the way through each one.
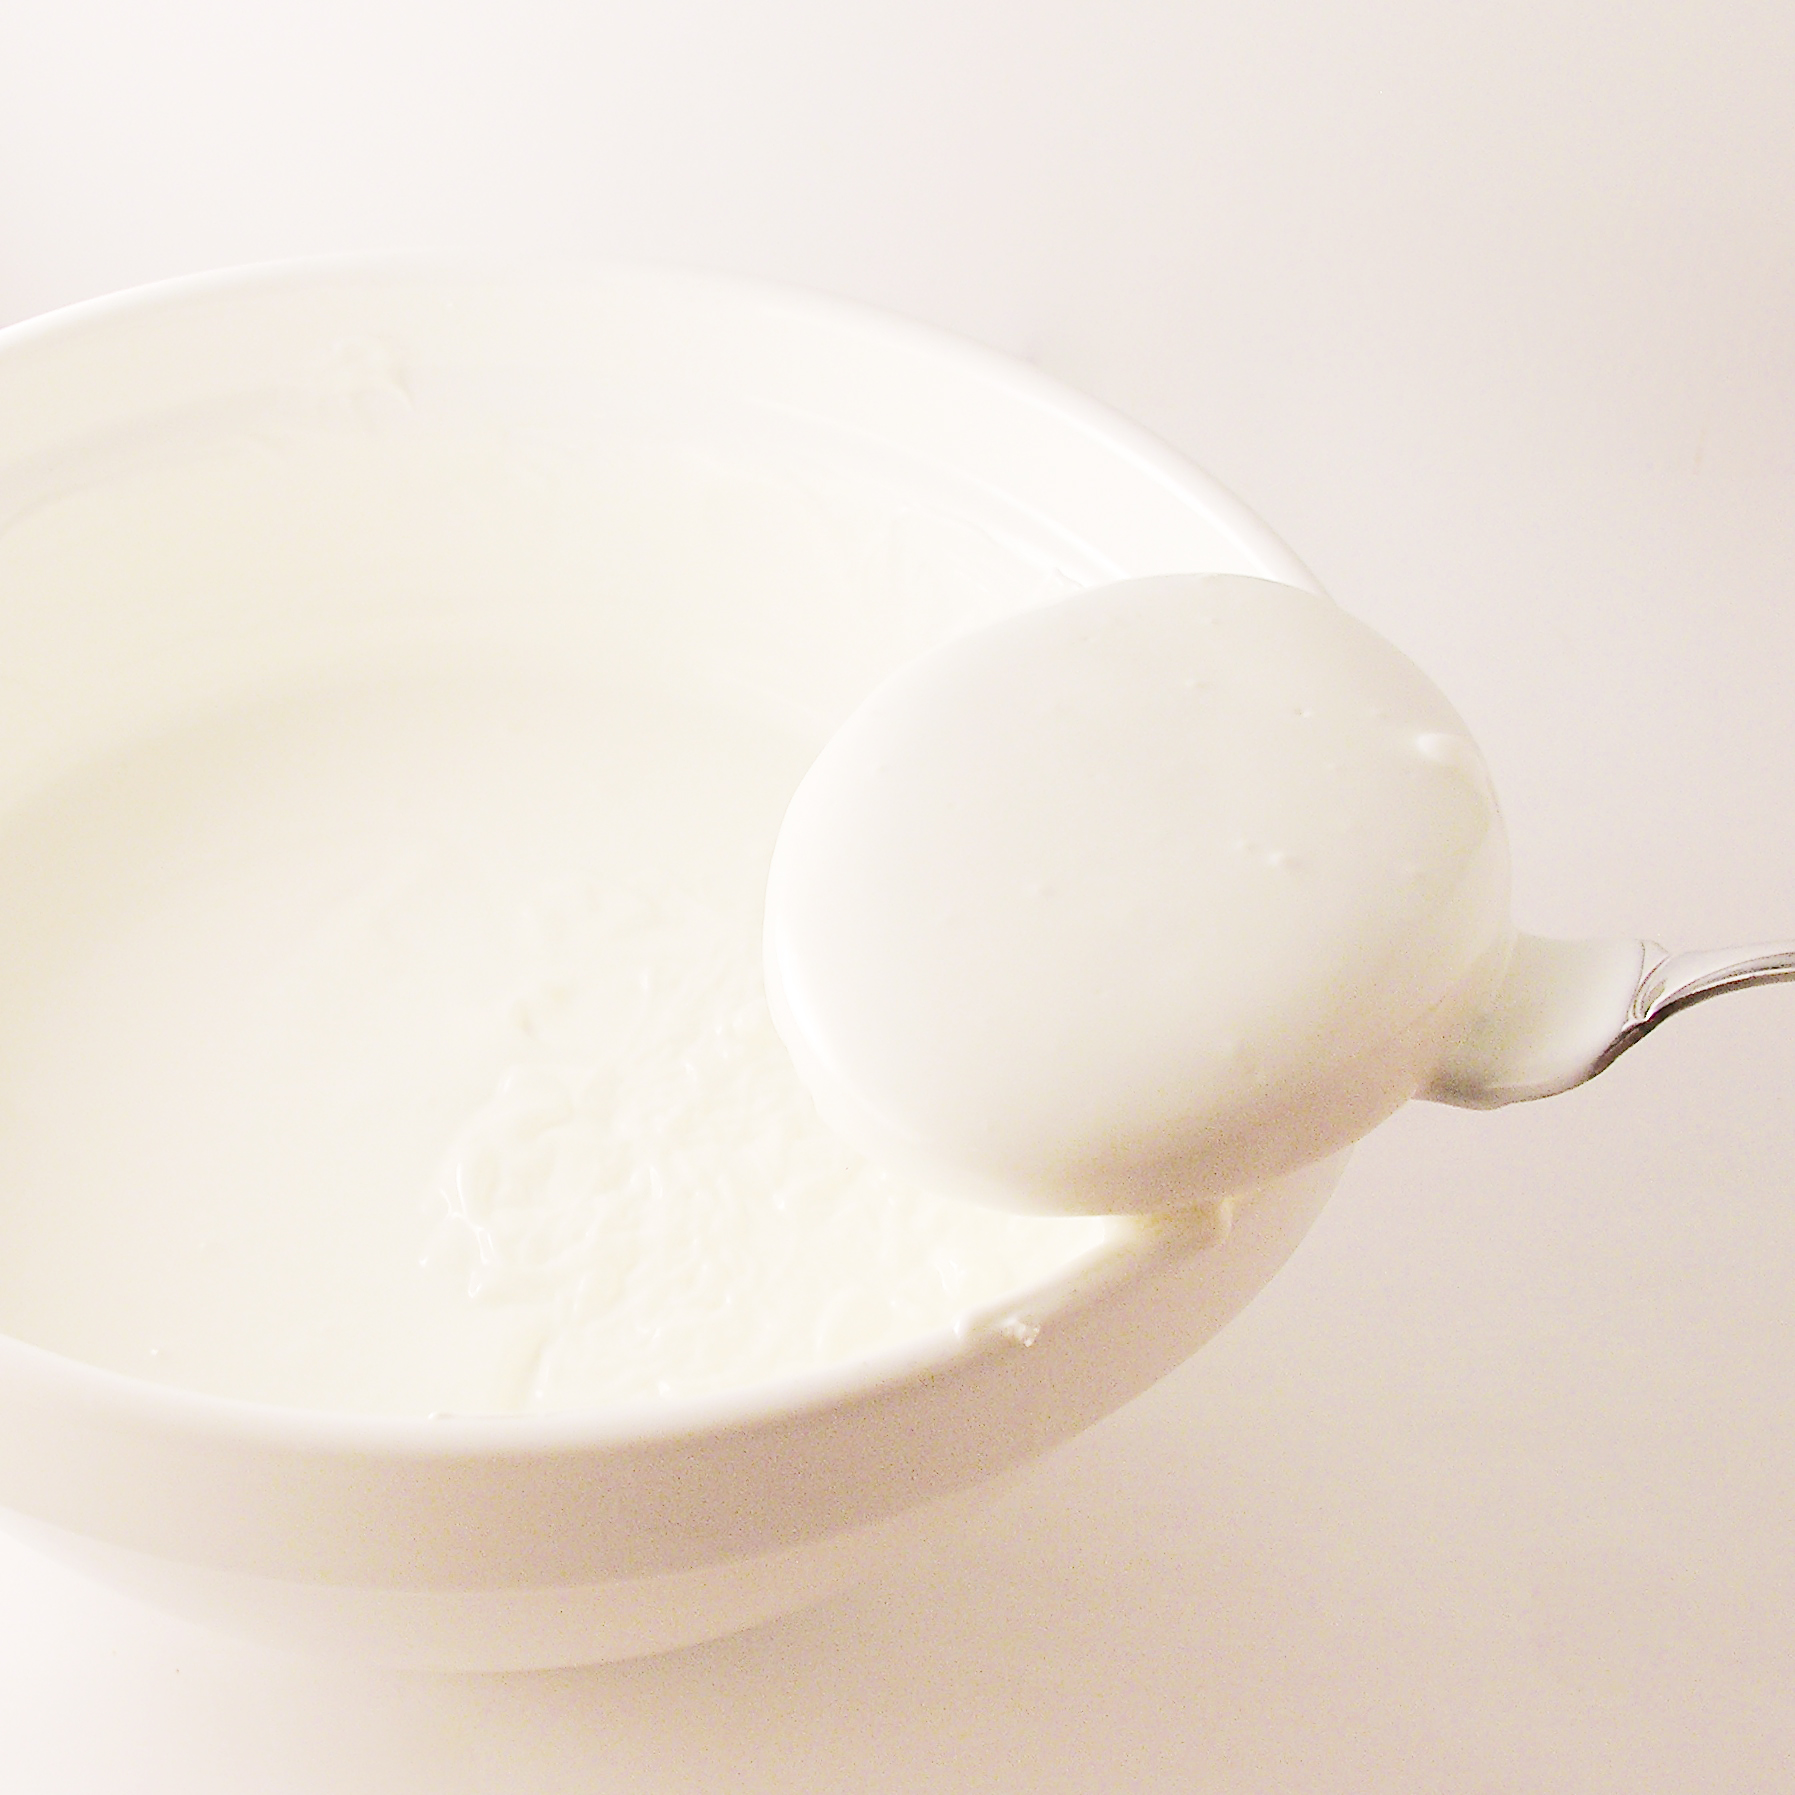
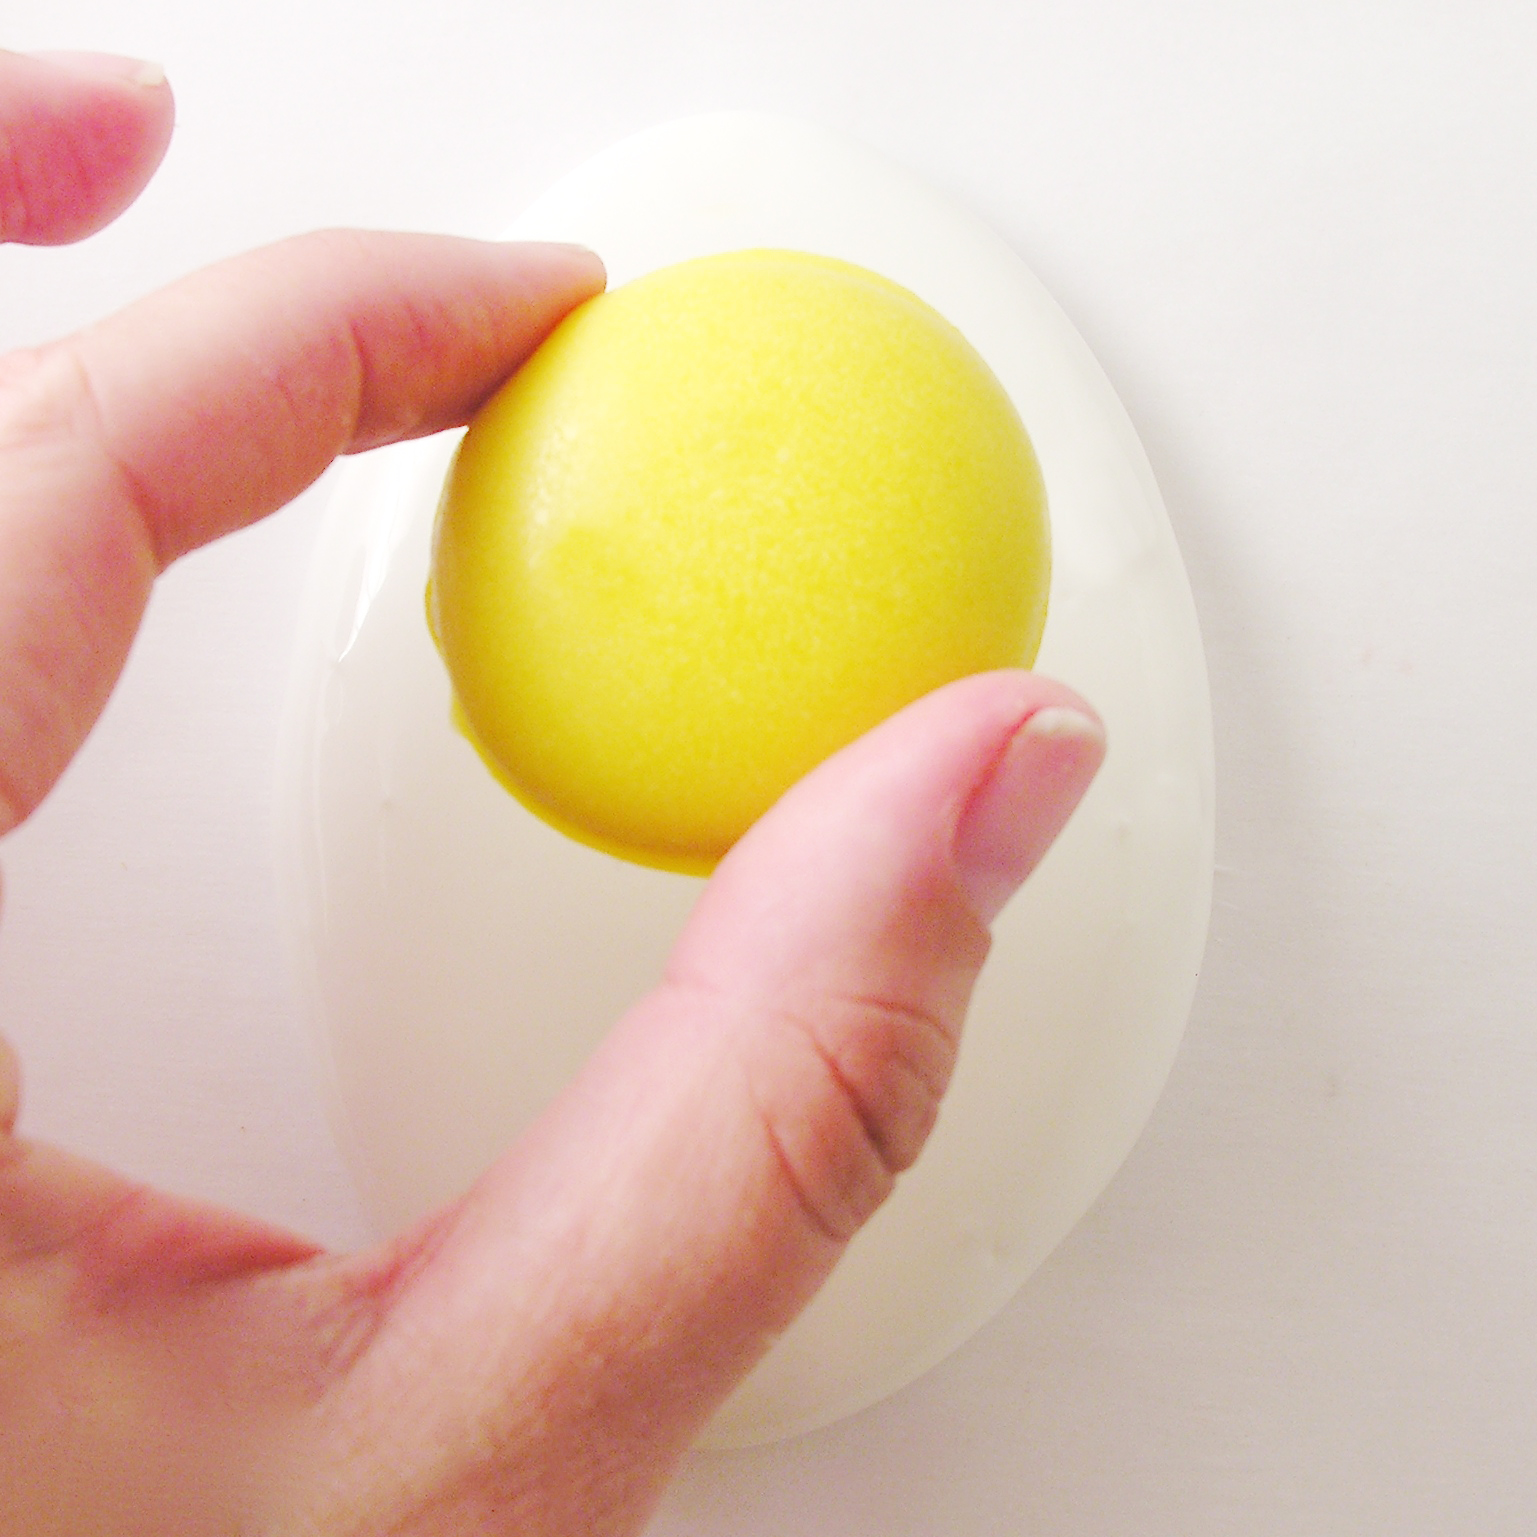
- Use a clean (food only) paint brush and some water to paint the truffle gold using the coloring dust. Hold the truffle by the pick and mix dust with water until it forms a thick paste and can be painted onto the truffle. This may take two coats to smooth it out.
- Allow painted truffle to dry on a plate or some parchment paper.


- Make cake mix according to box instructions and divide evenly among 24 cupcake liners placed in a cupcake tin.
- Bake according to box, and cool completely.
- Make frosting by adding softened butter, powdered sugar and cocoa together in a large mixing bowl and beating on high until light and fluffy.
- Place frosting in a large zip-top bag fitted with a decorating tip, and pipe frosting on each cooled cupcake.
- Decorate with a truffle and with NYE cupcake picks.
- Enjoy! (and remind everyone to NOT eat the picks!) 🙂
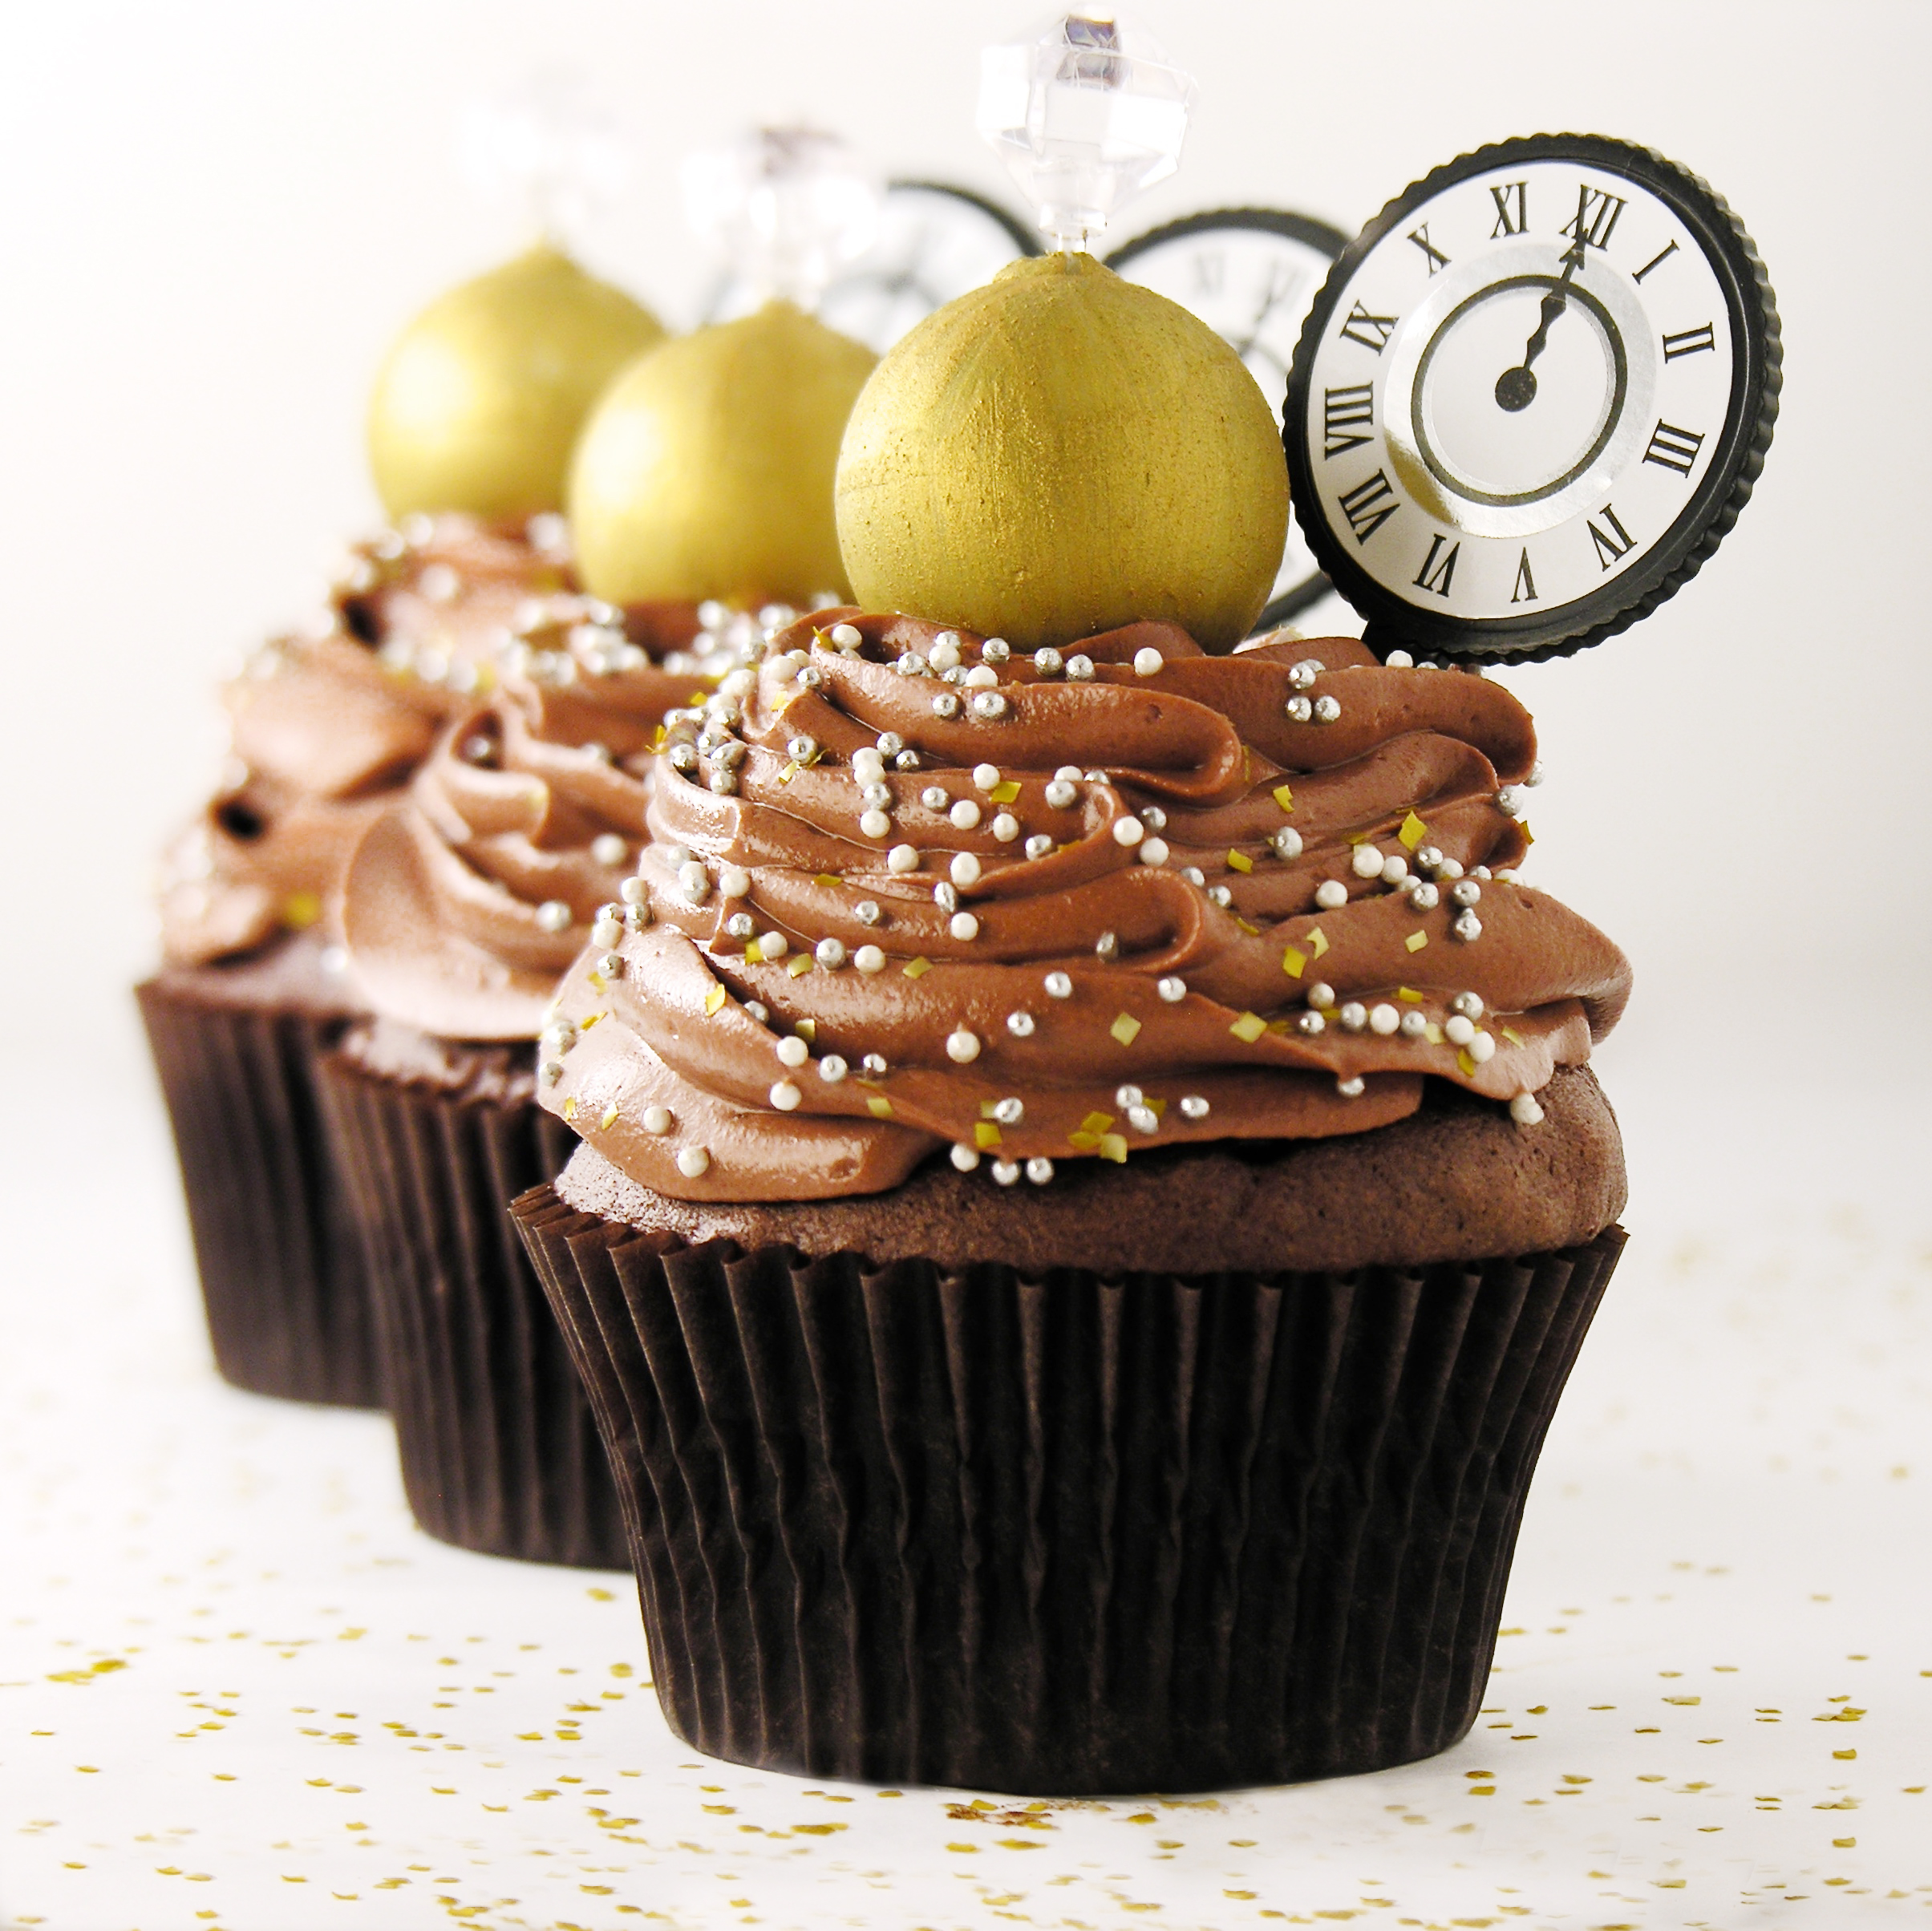
My thoughts: These are fun and yummy treats!!! It takes a little time to paint the truffles, but they are such a creamy and yummy addition to this cupcake!
So, Happy 2016 to each of you!!! Enjoy!!! ~r
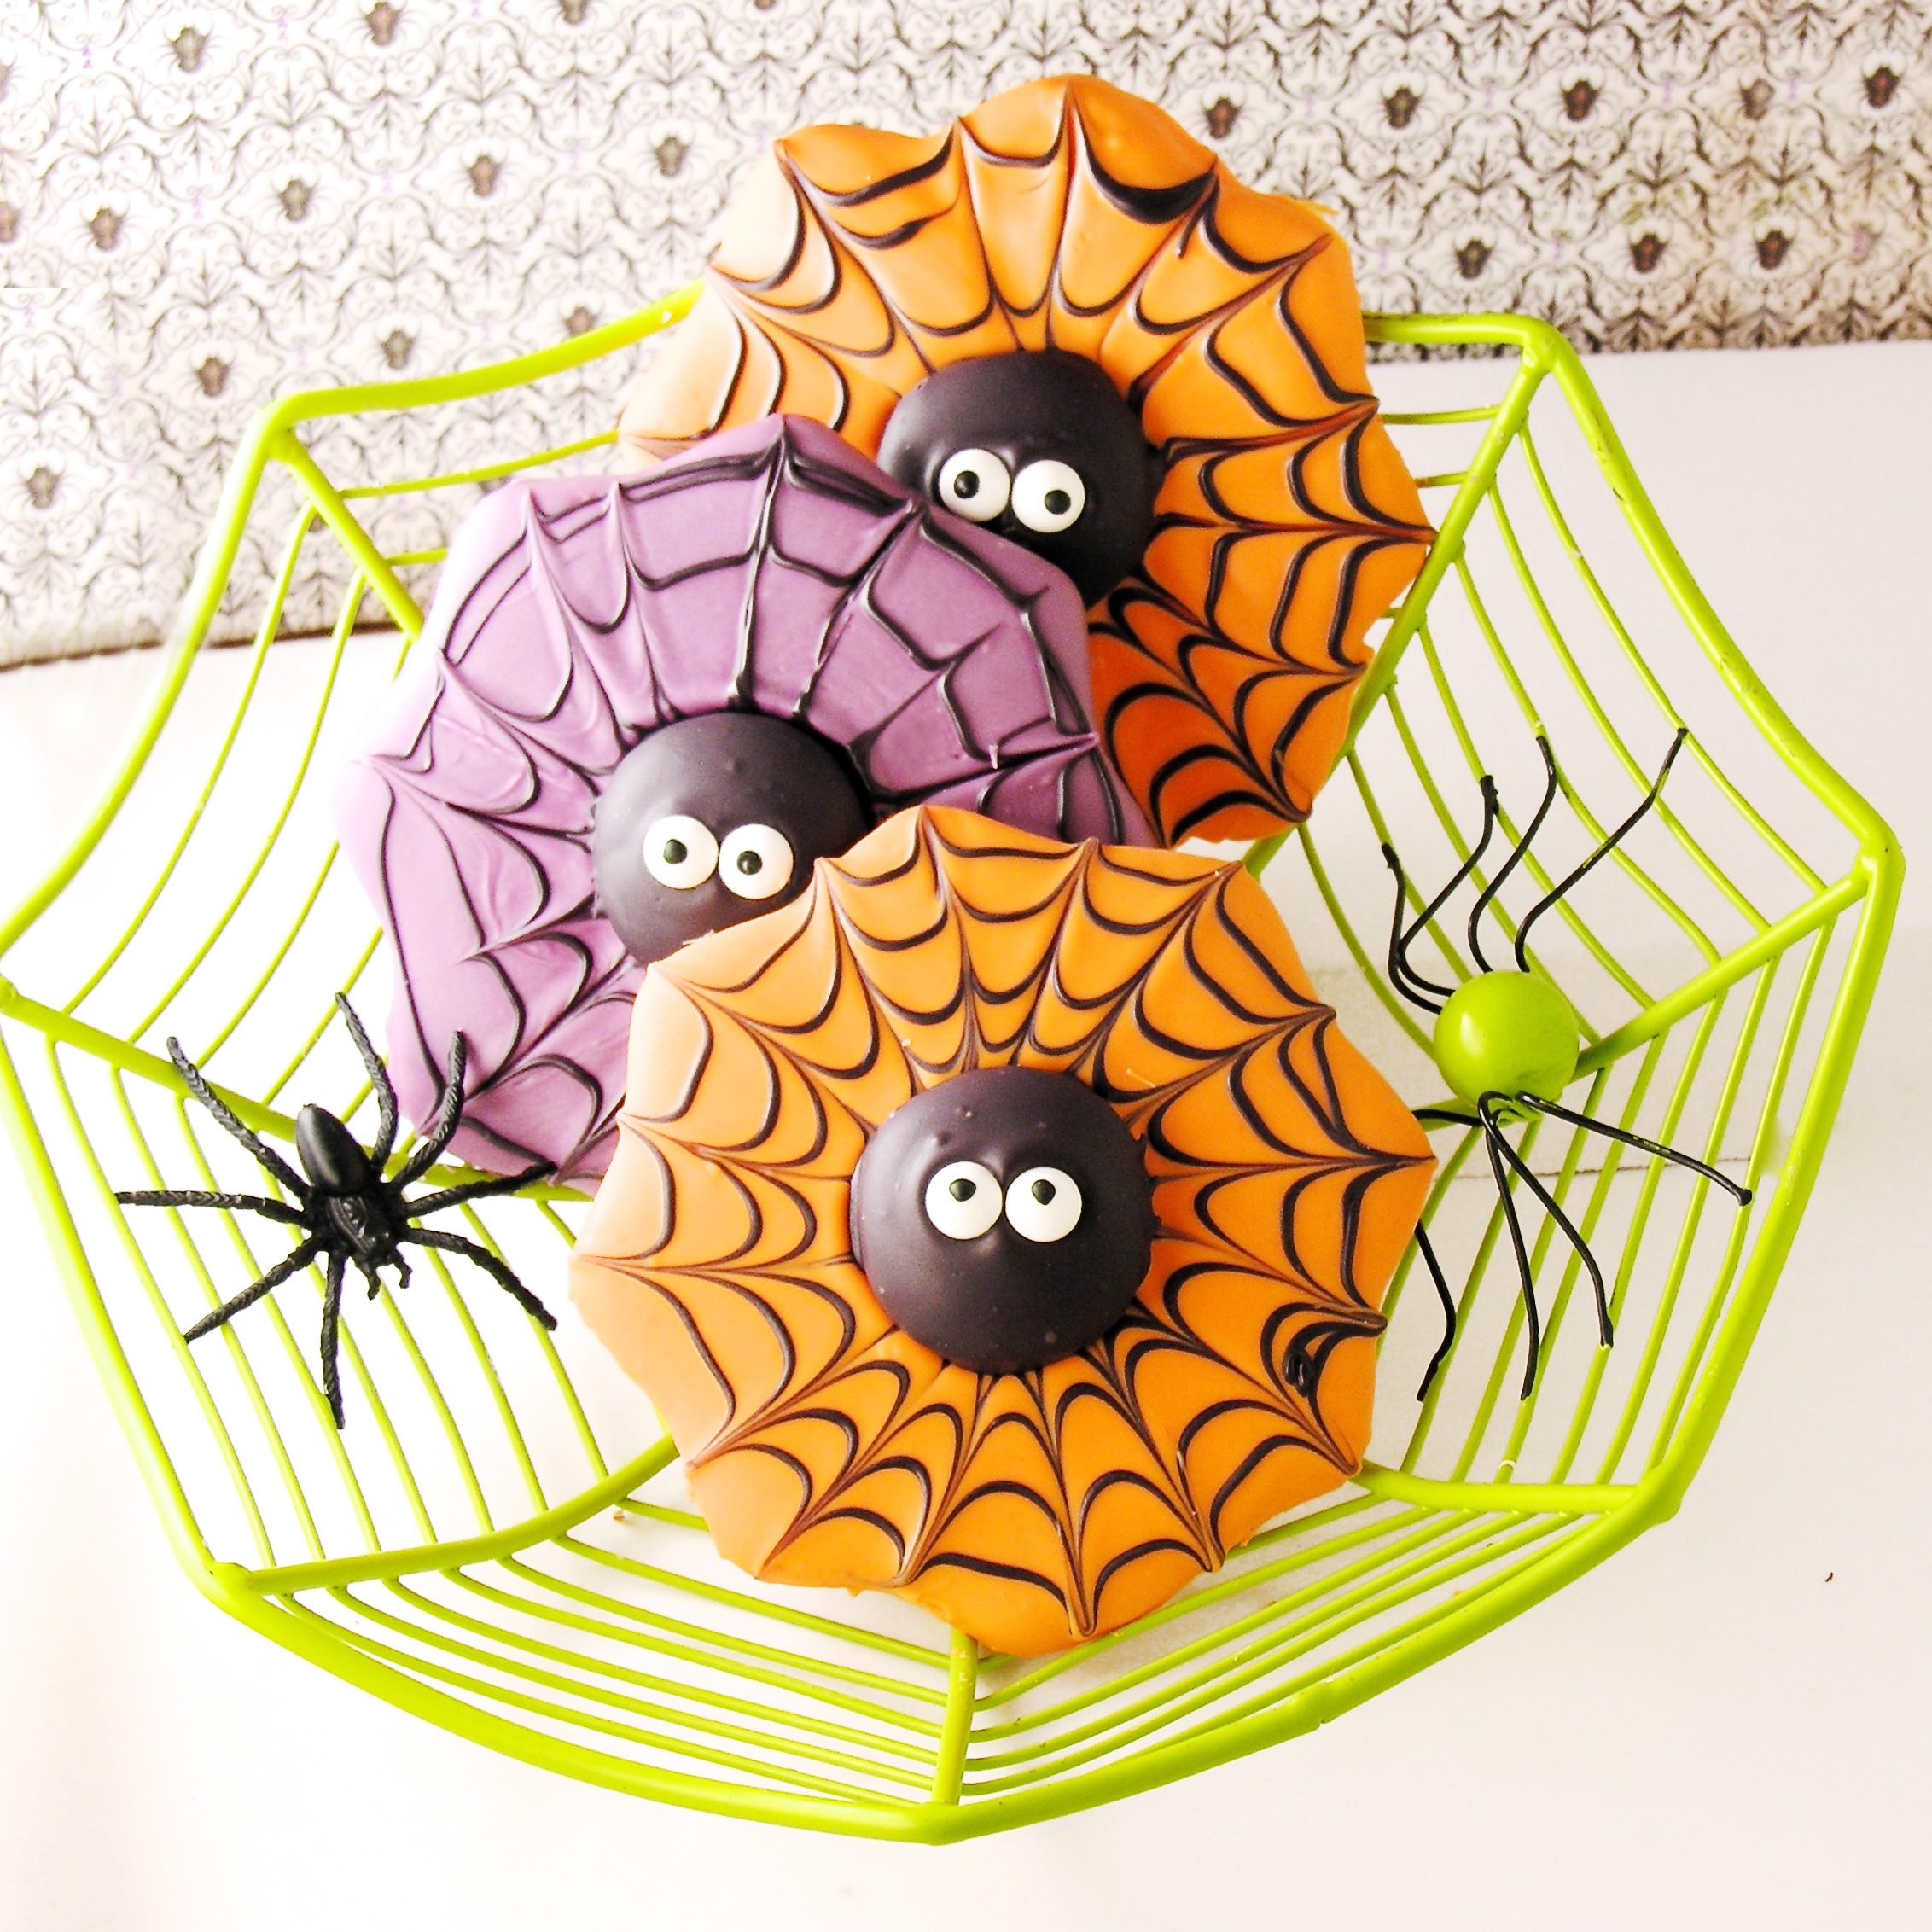
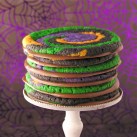
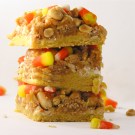
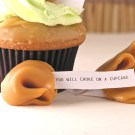
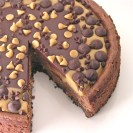
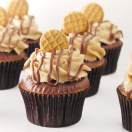
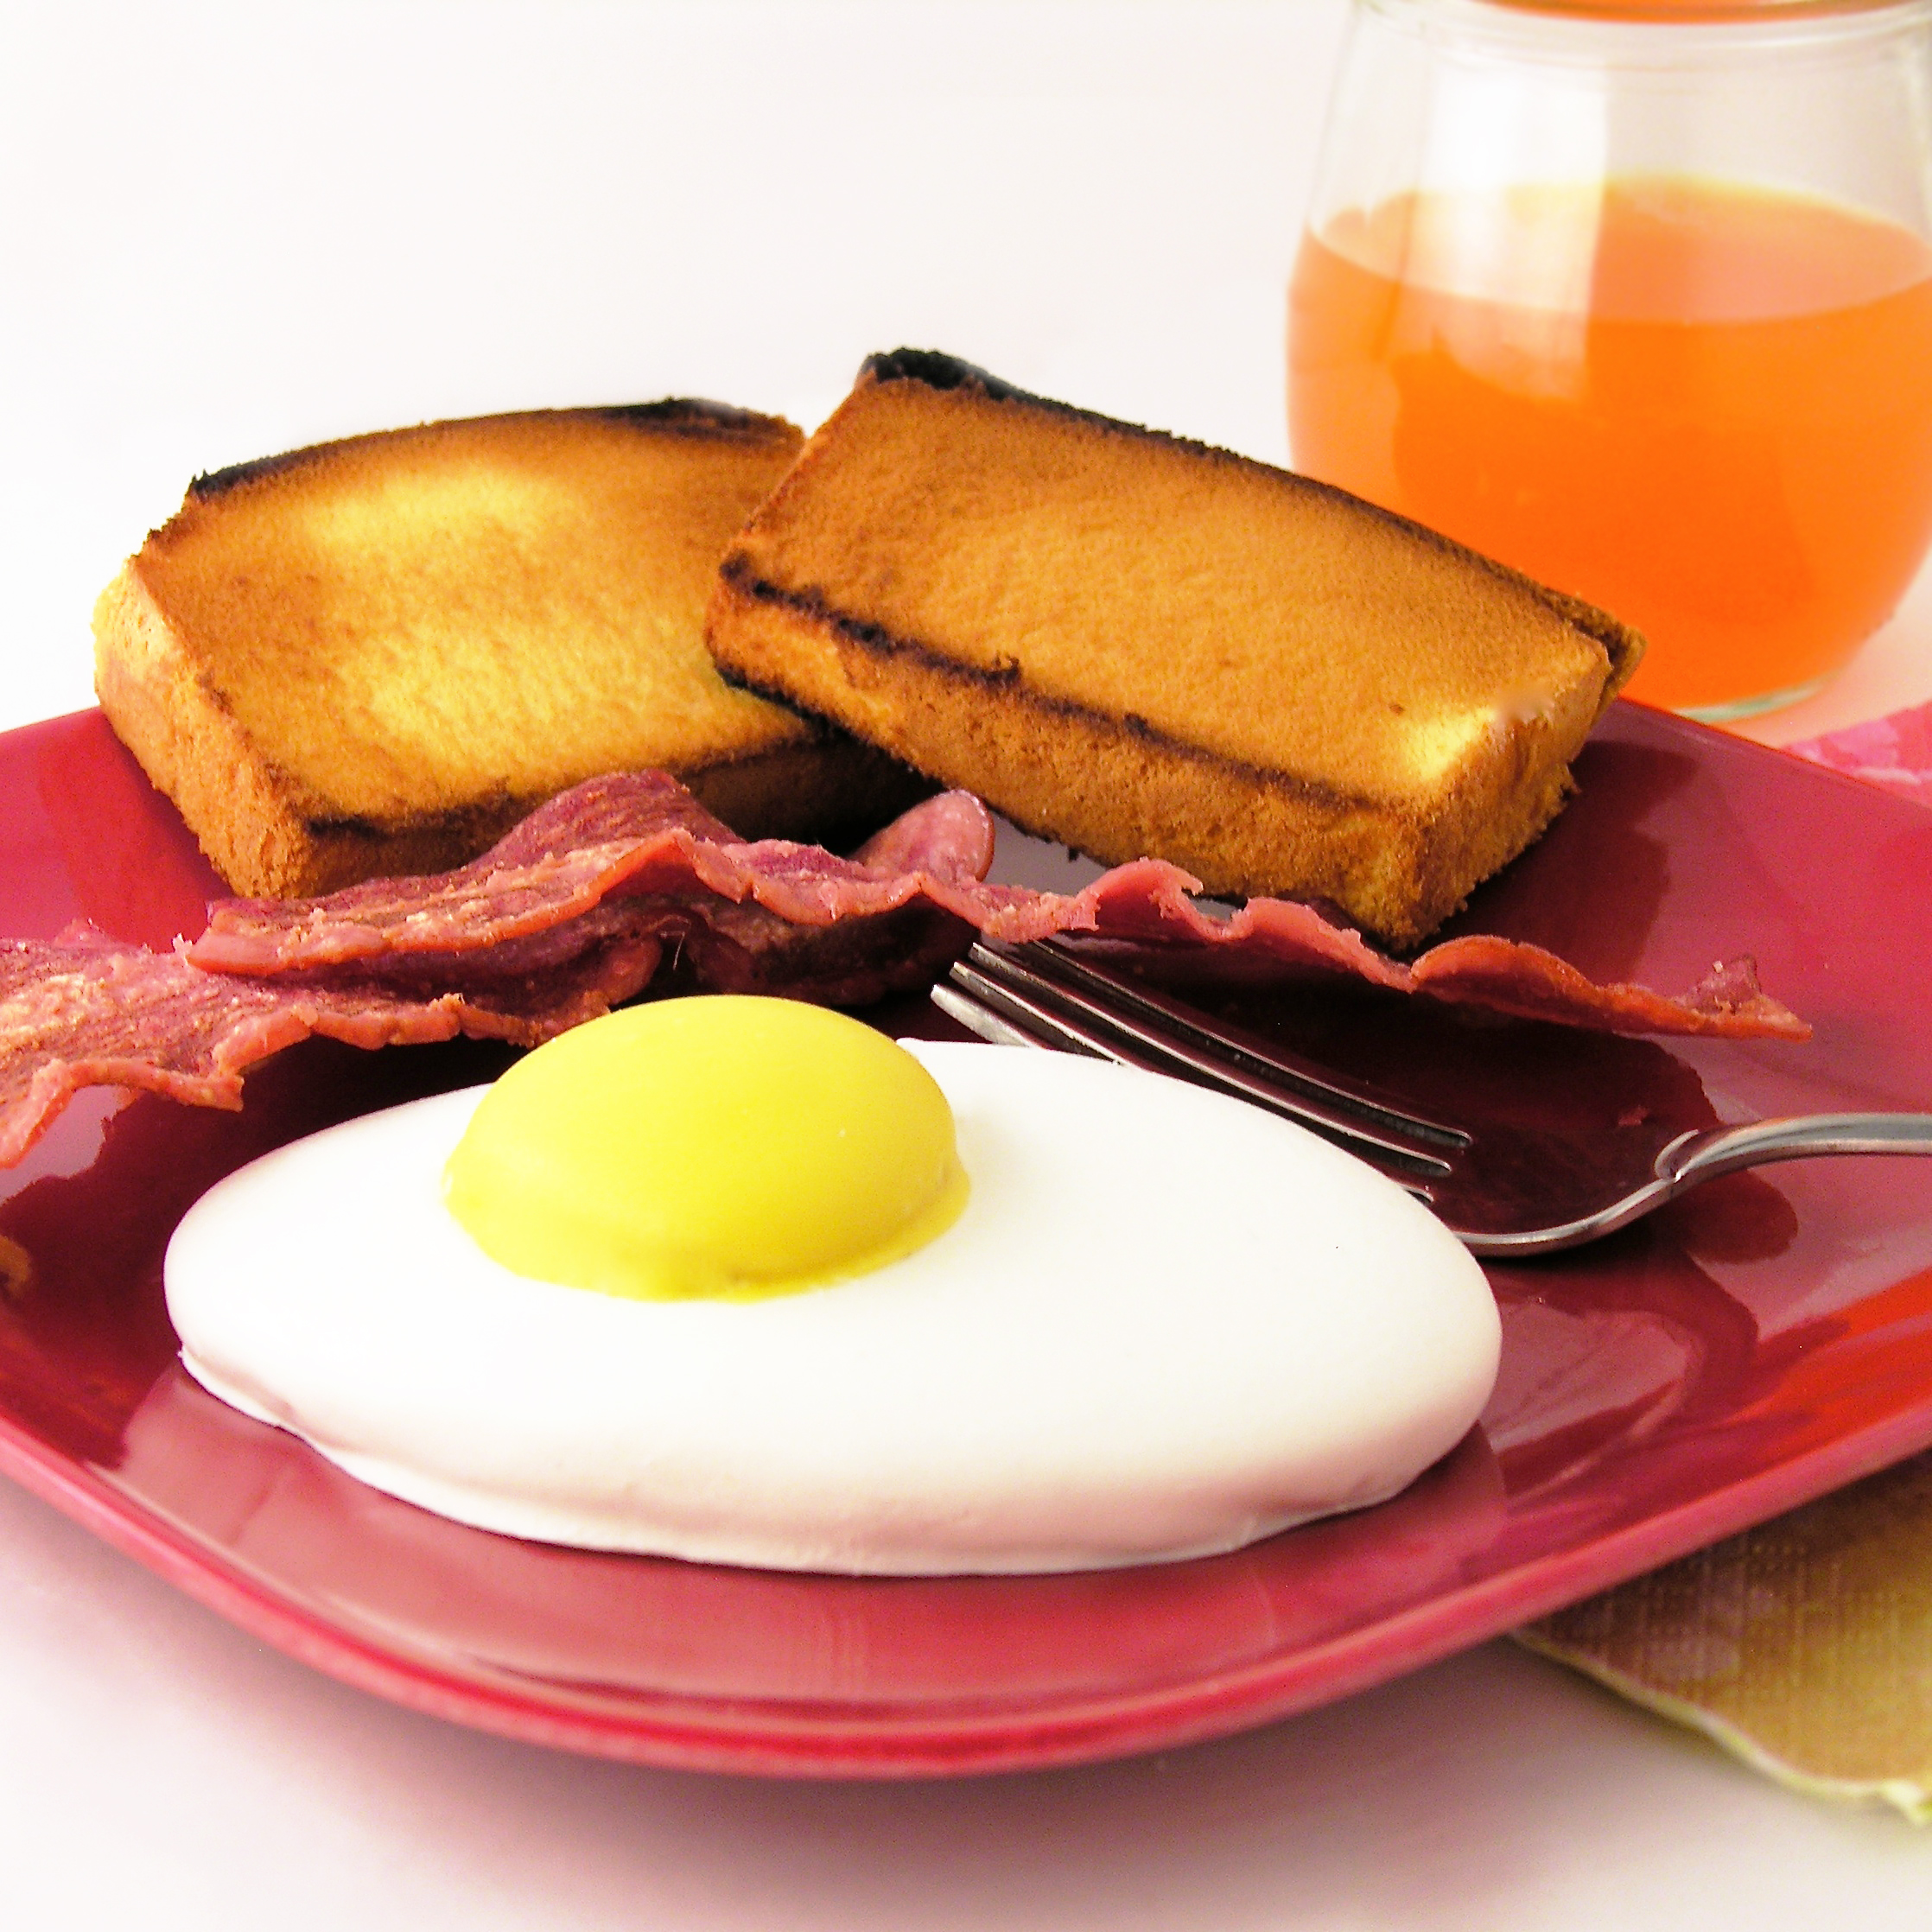
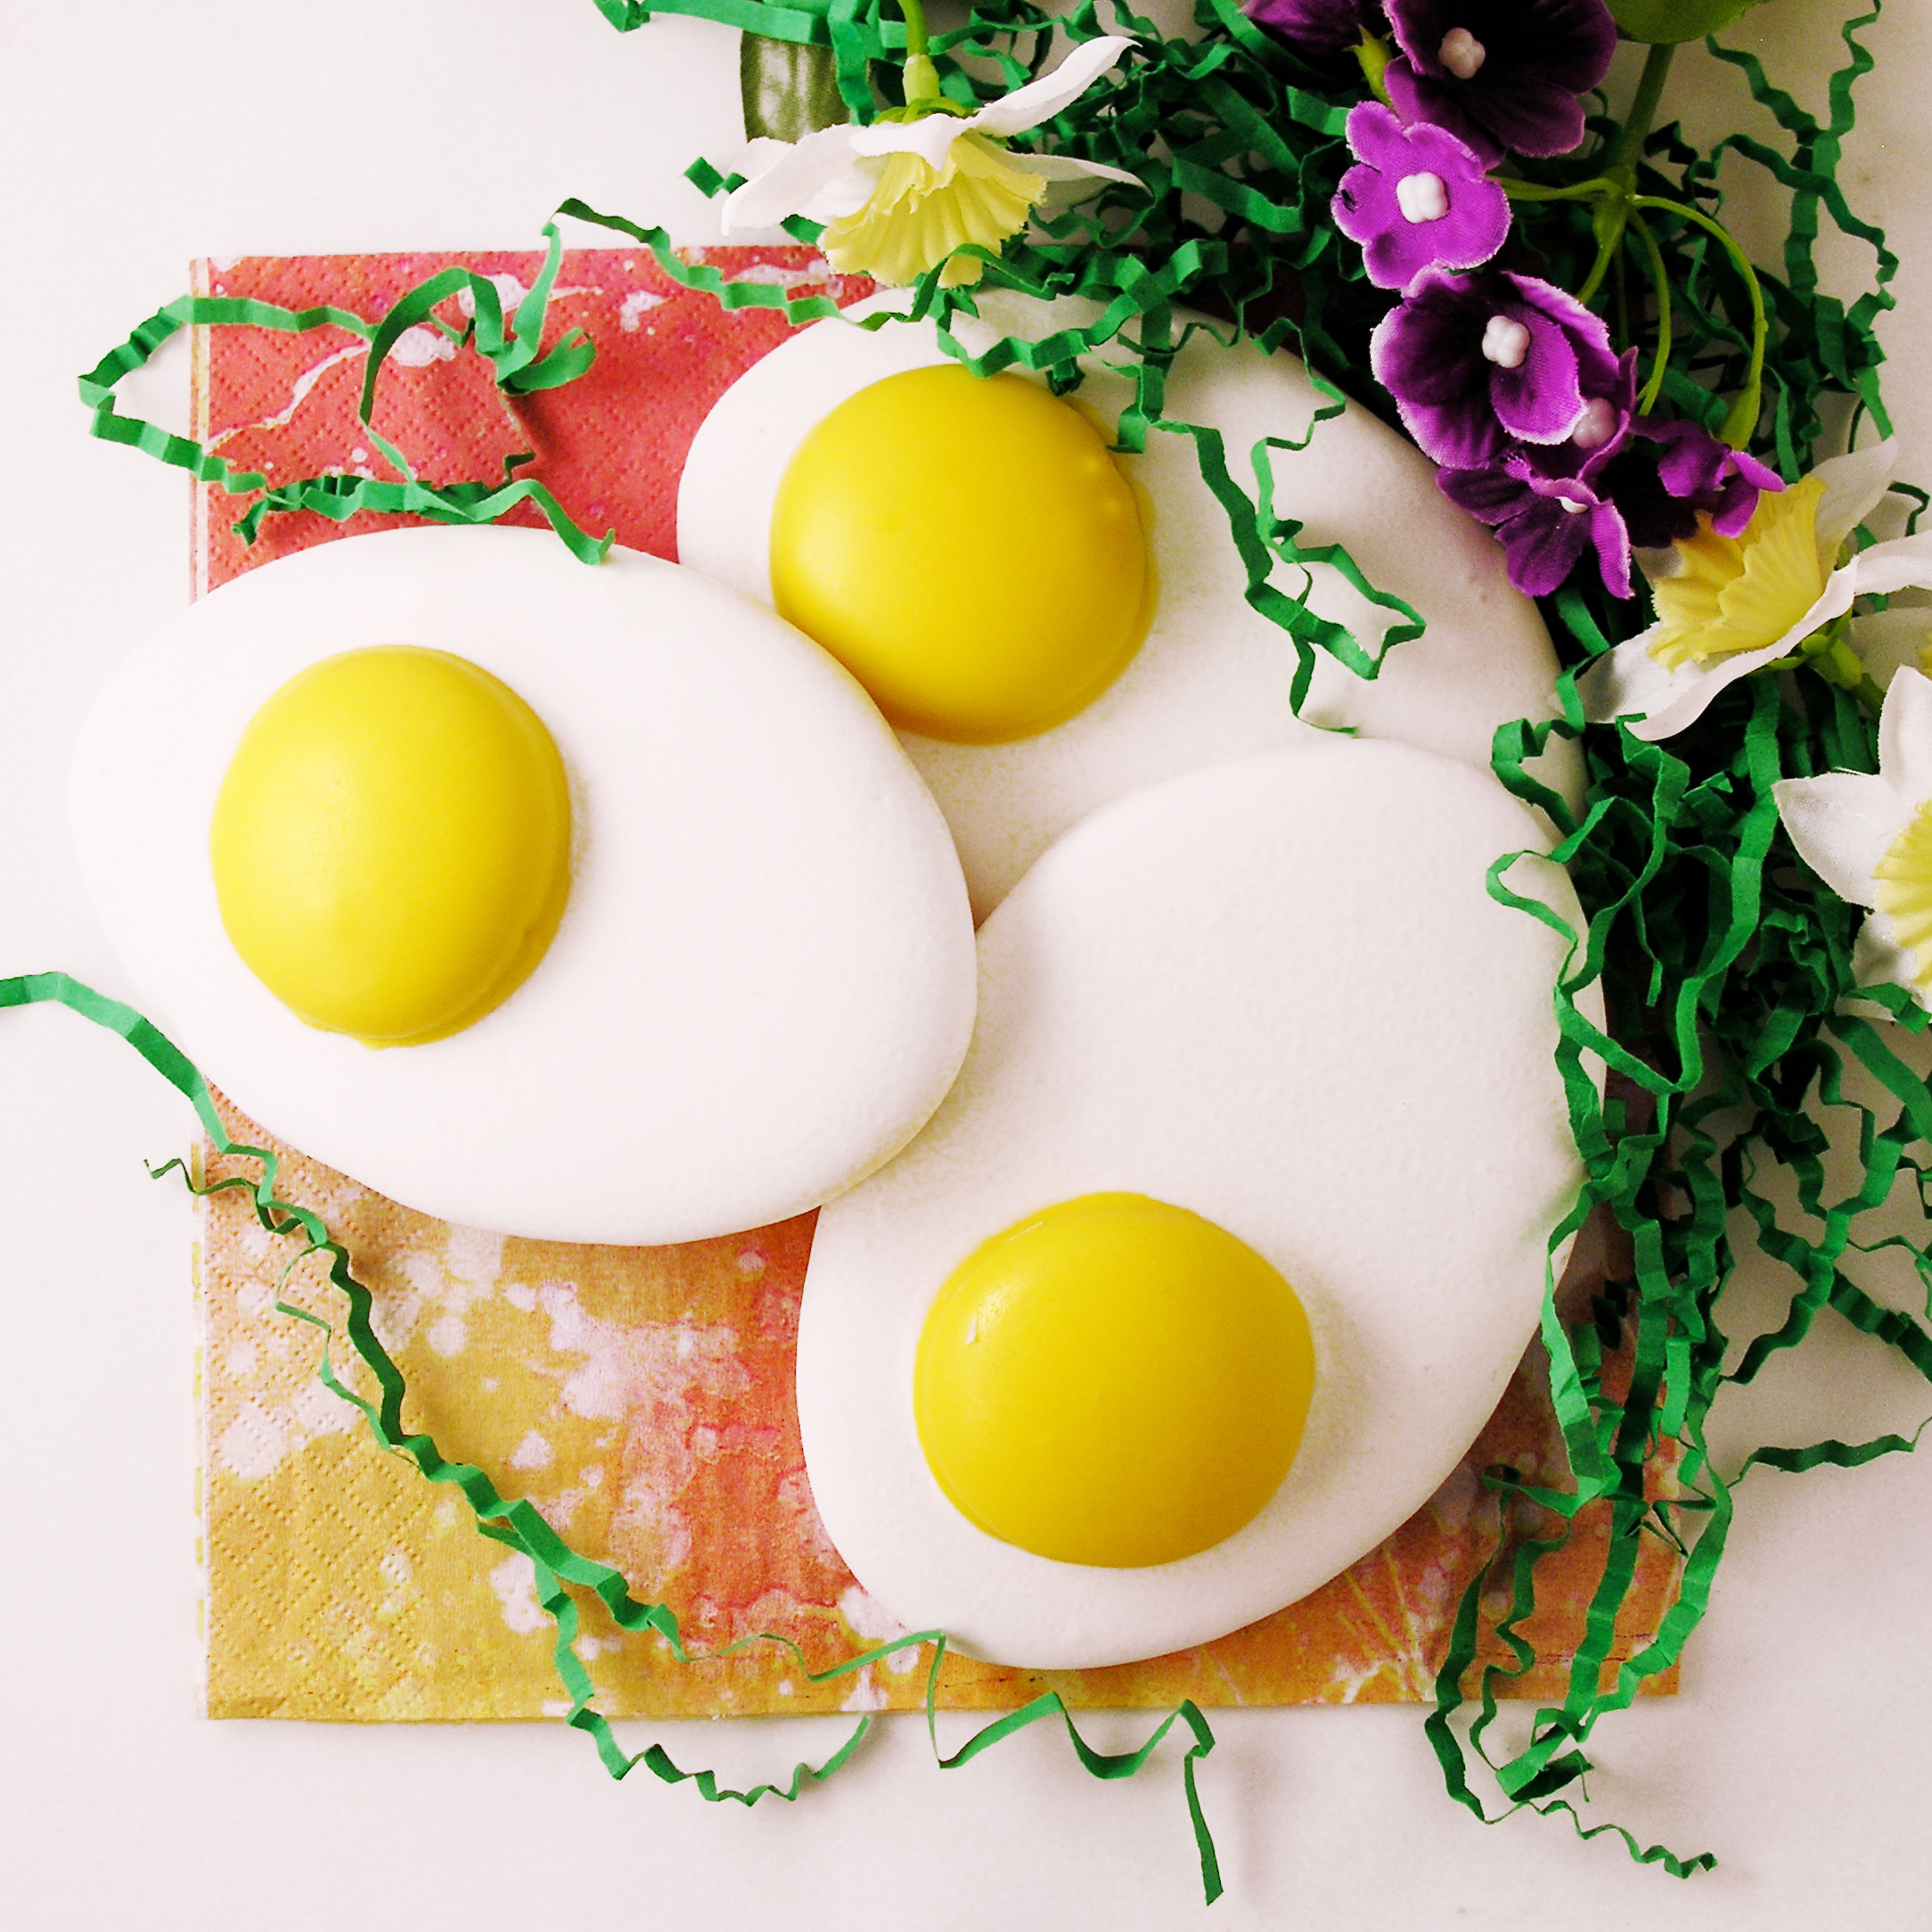
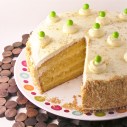
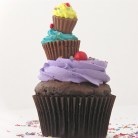
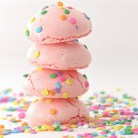
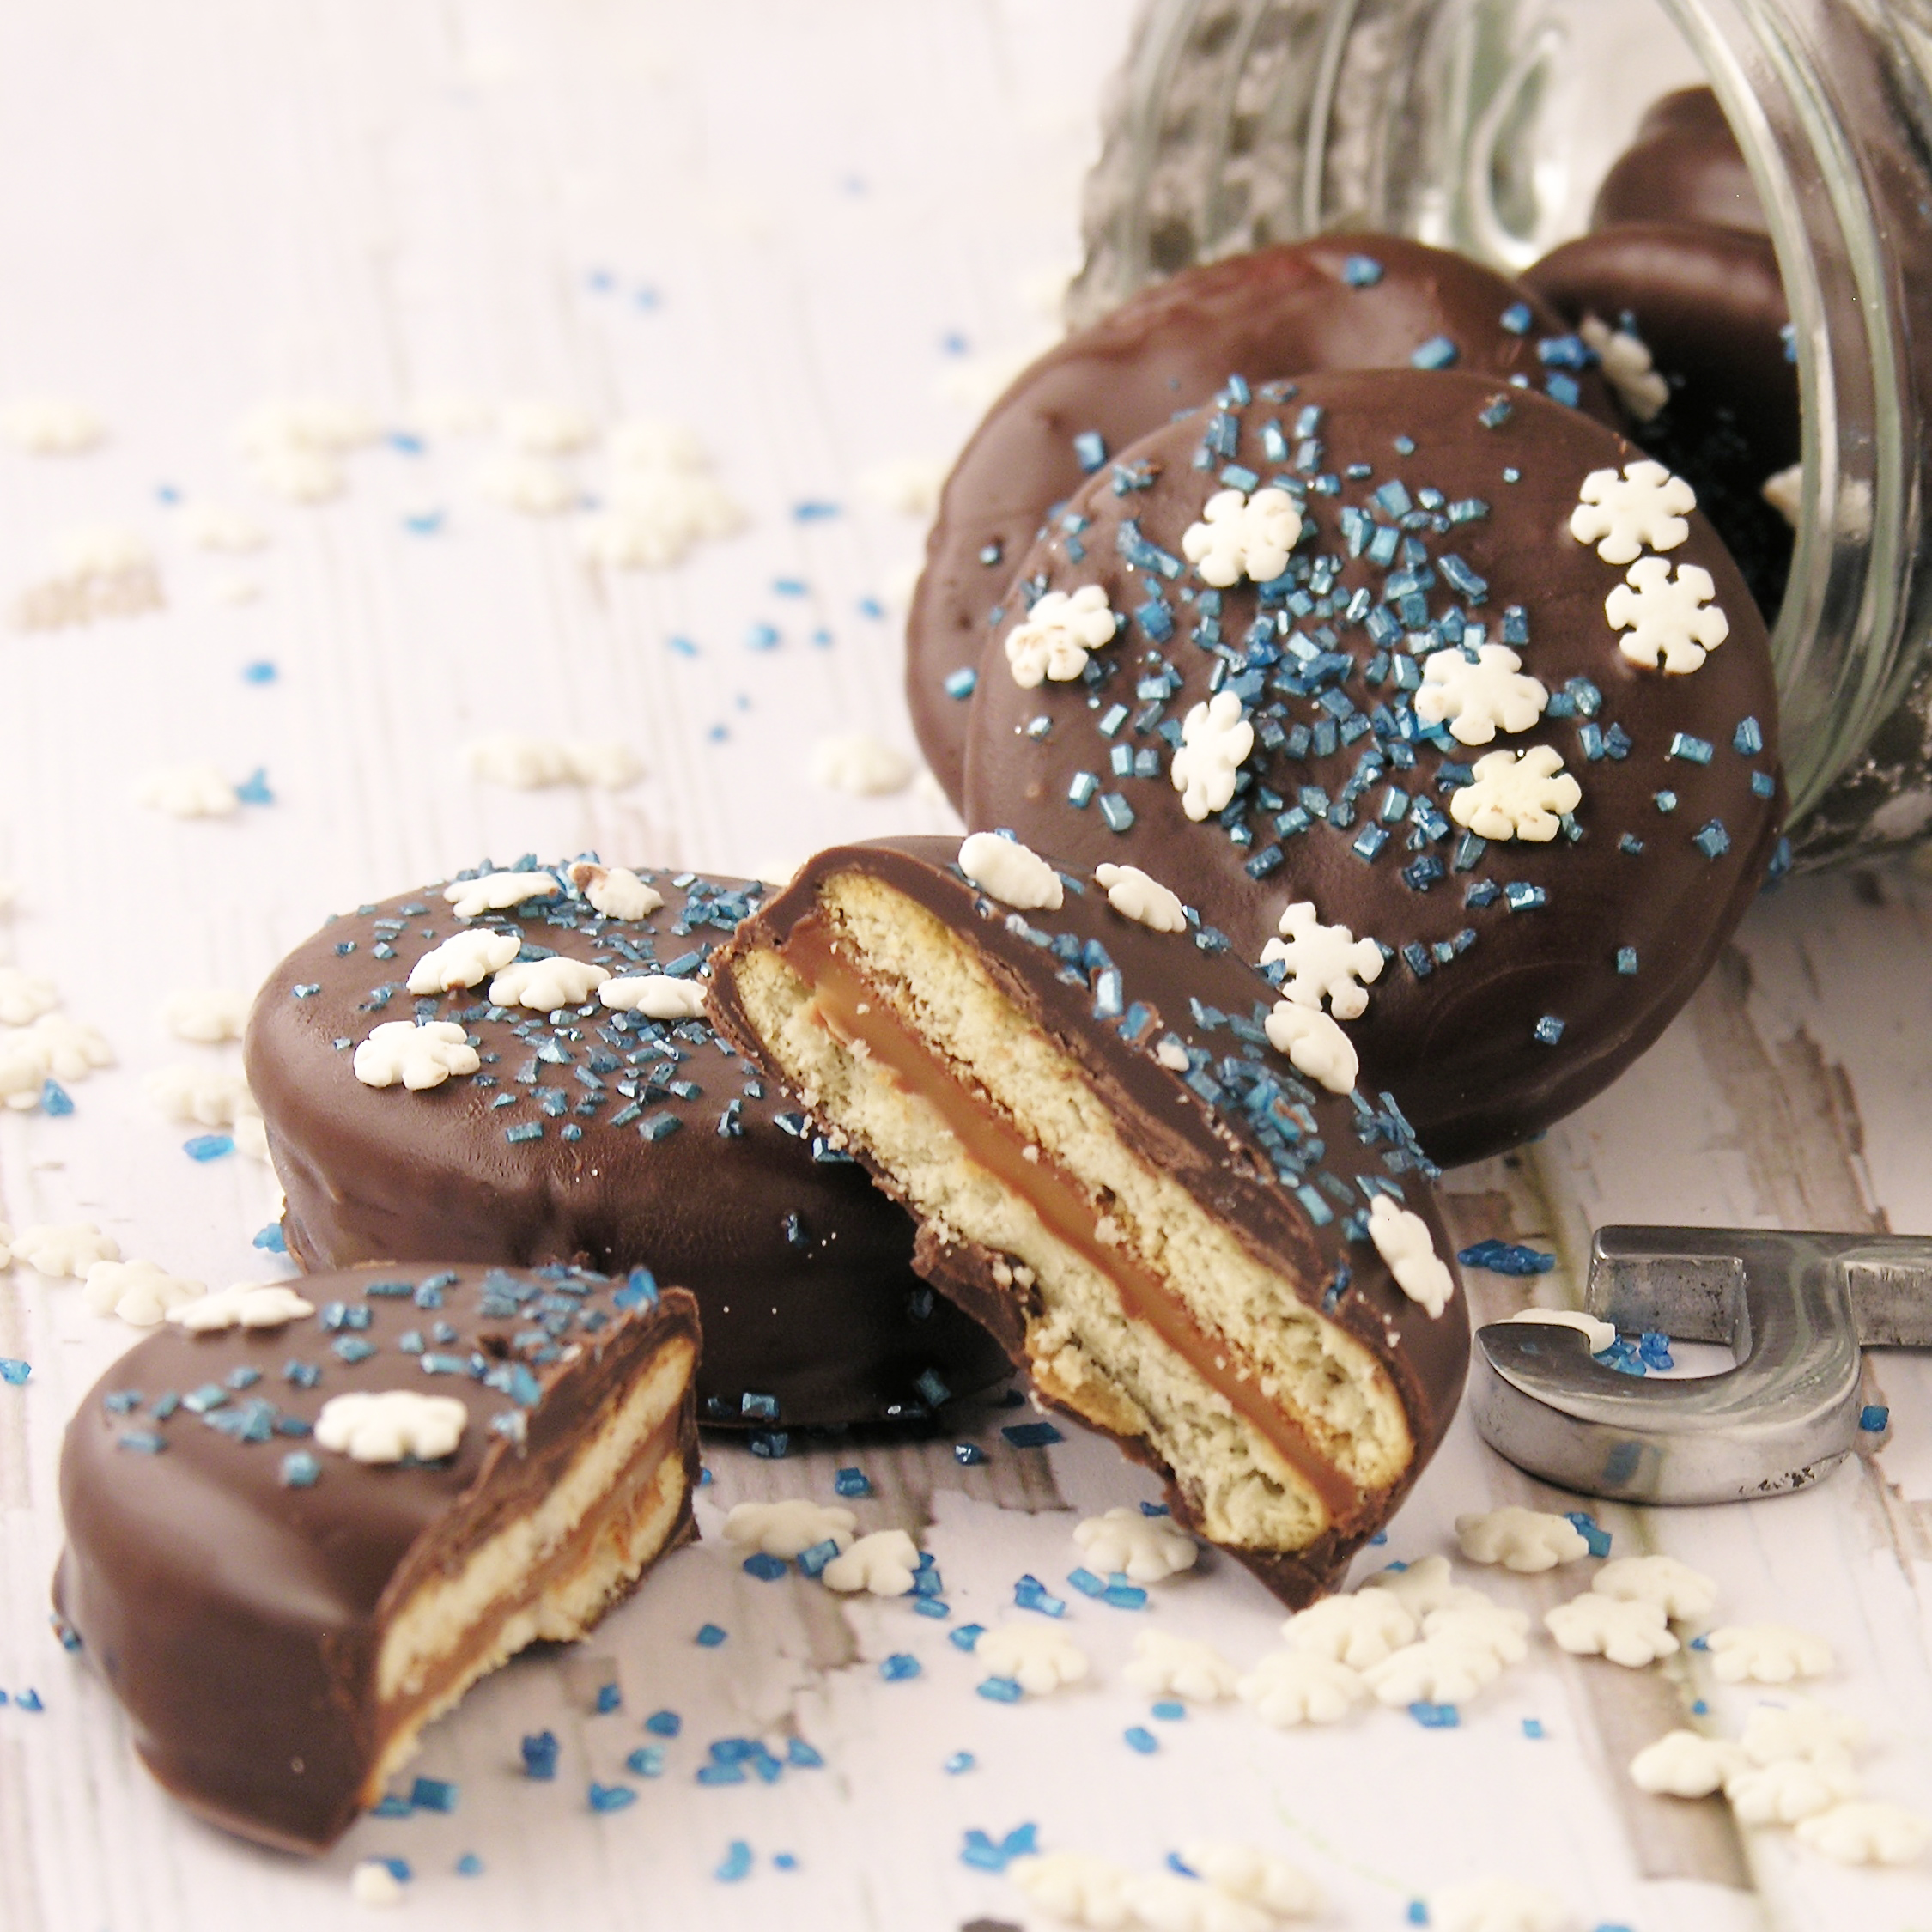
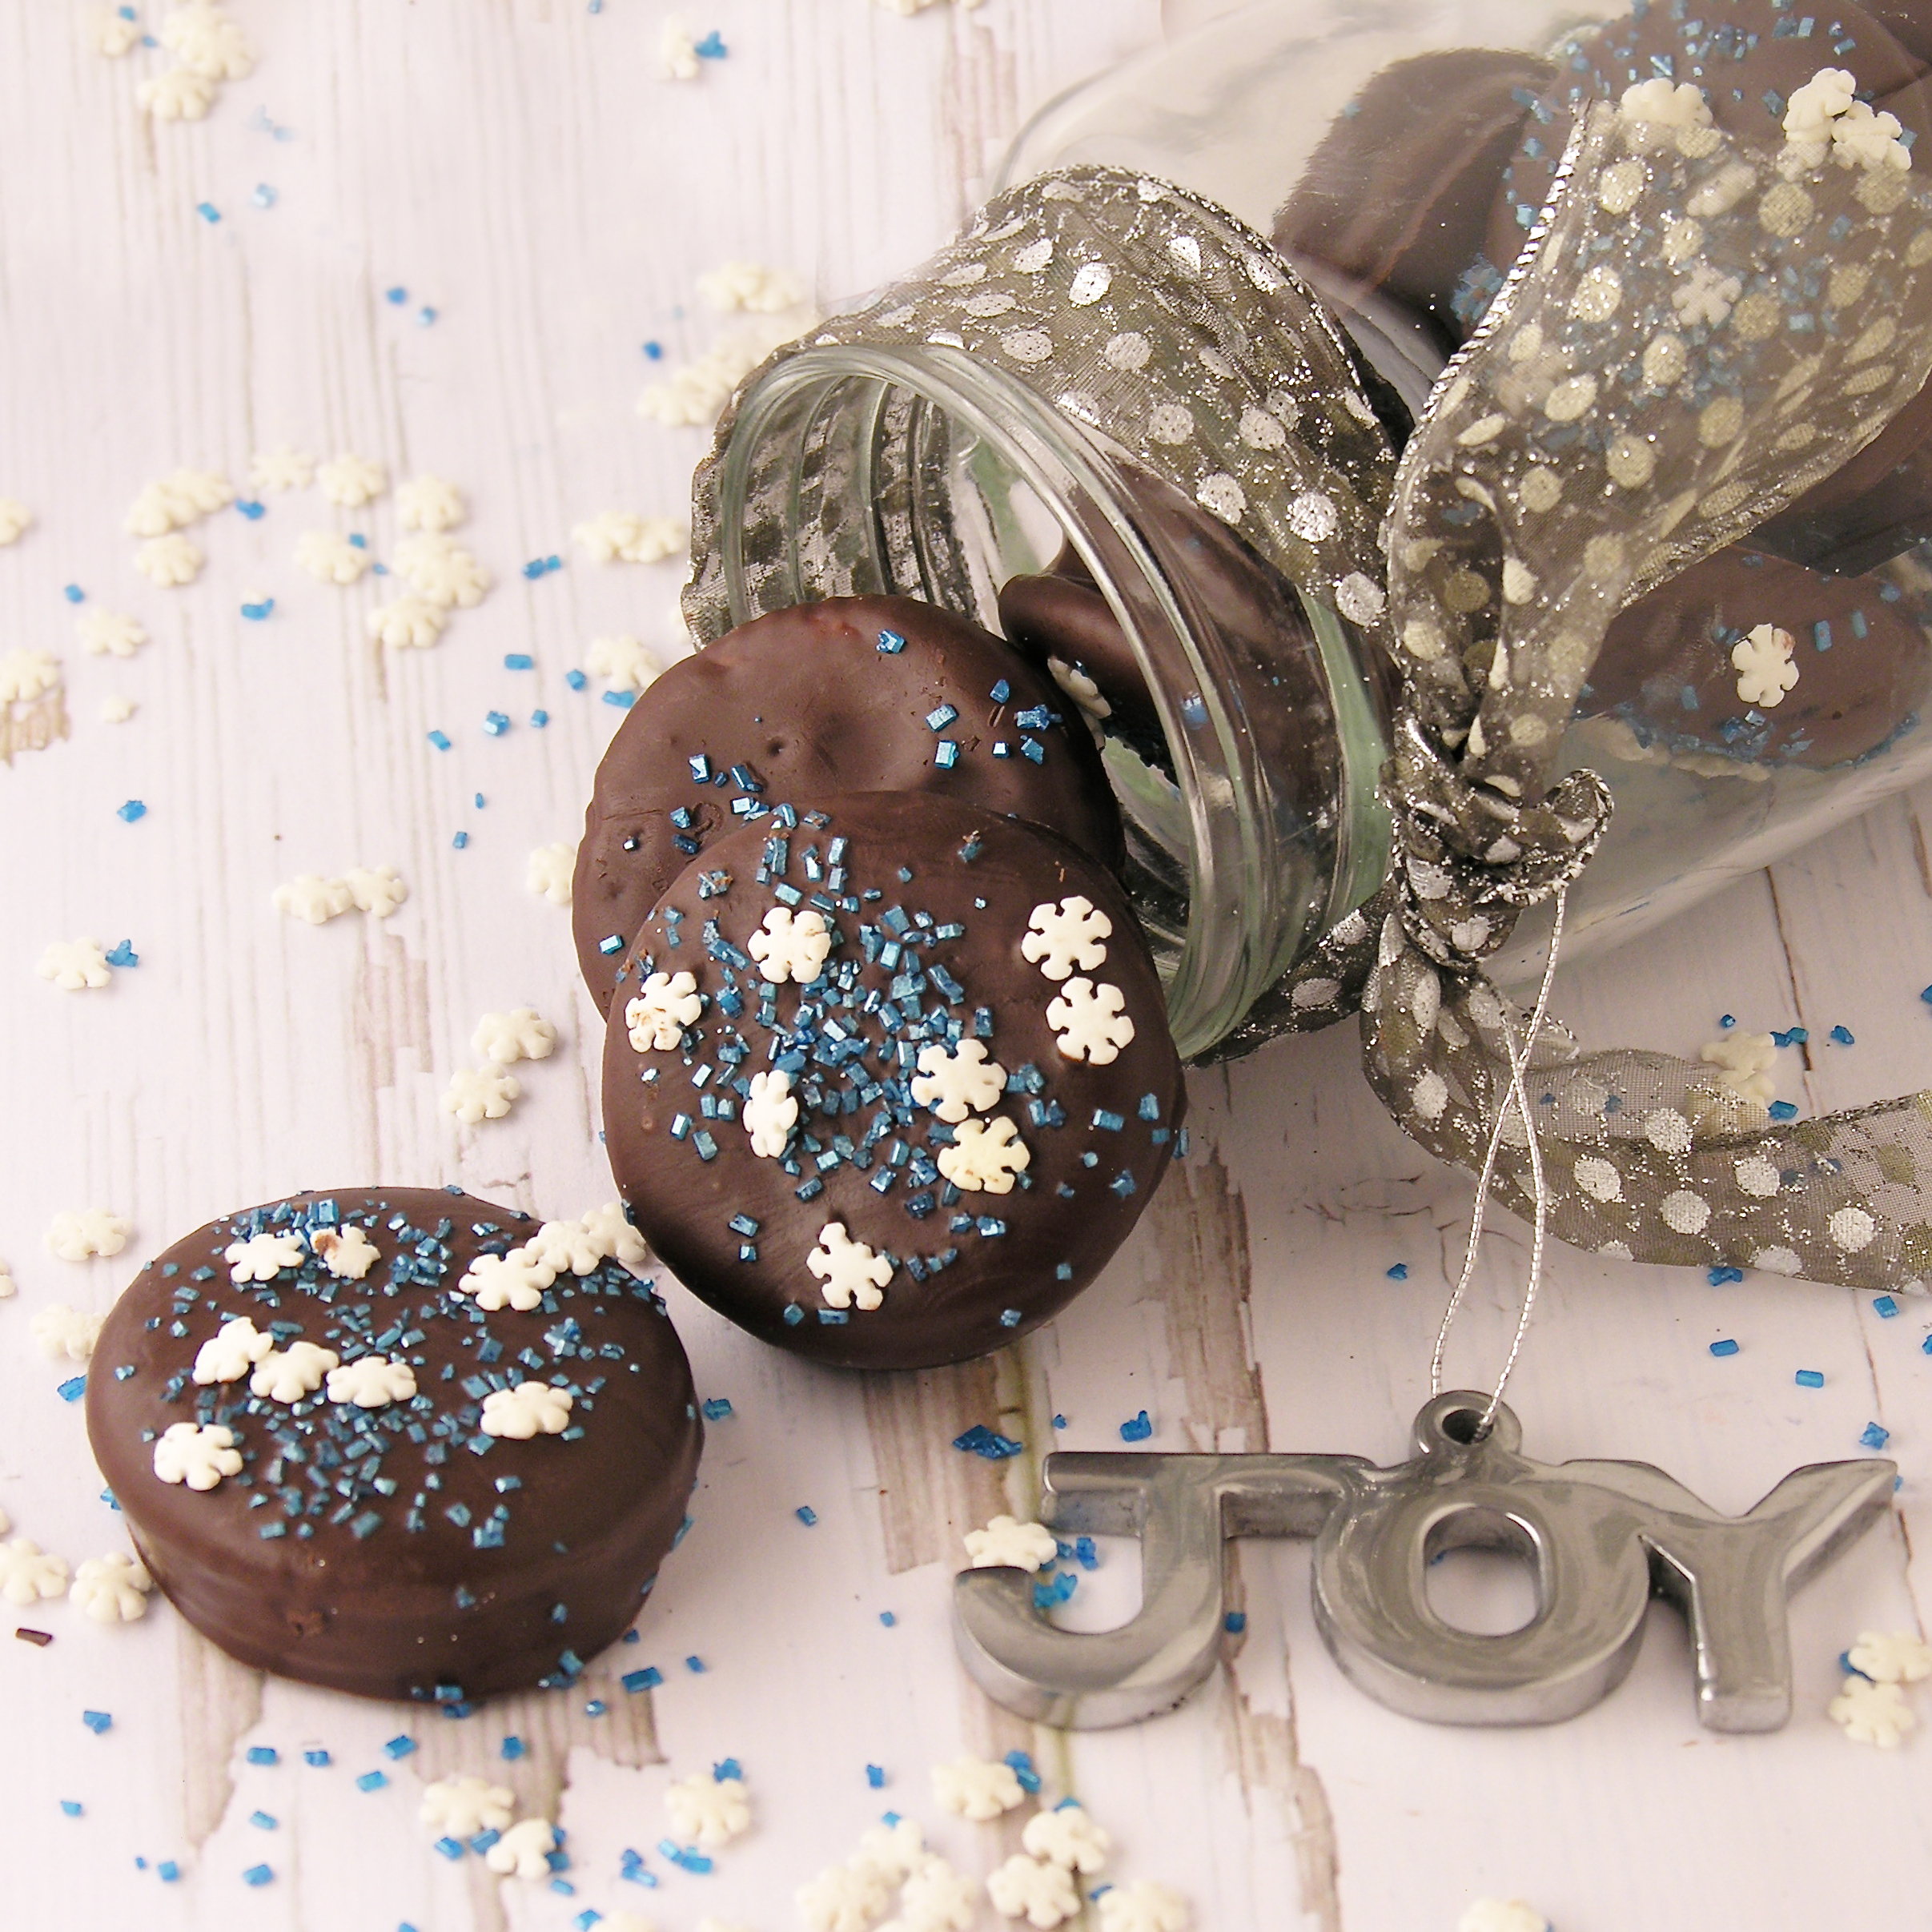
Other fun New Year’s dessert ideas: (click on the photo to see the recipe)