Salty Caramel Cheesecake Bars

Caramel Cheesecake6

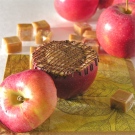
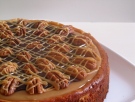
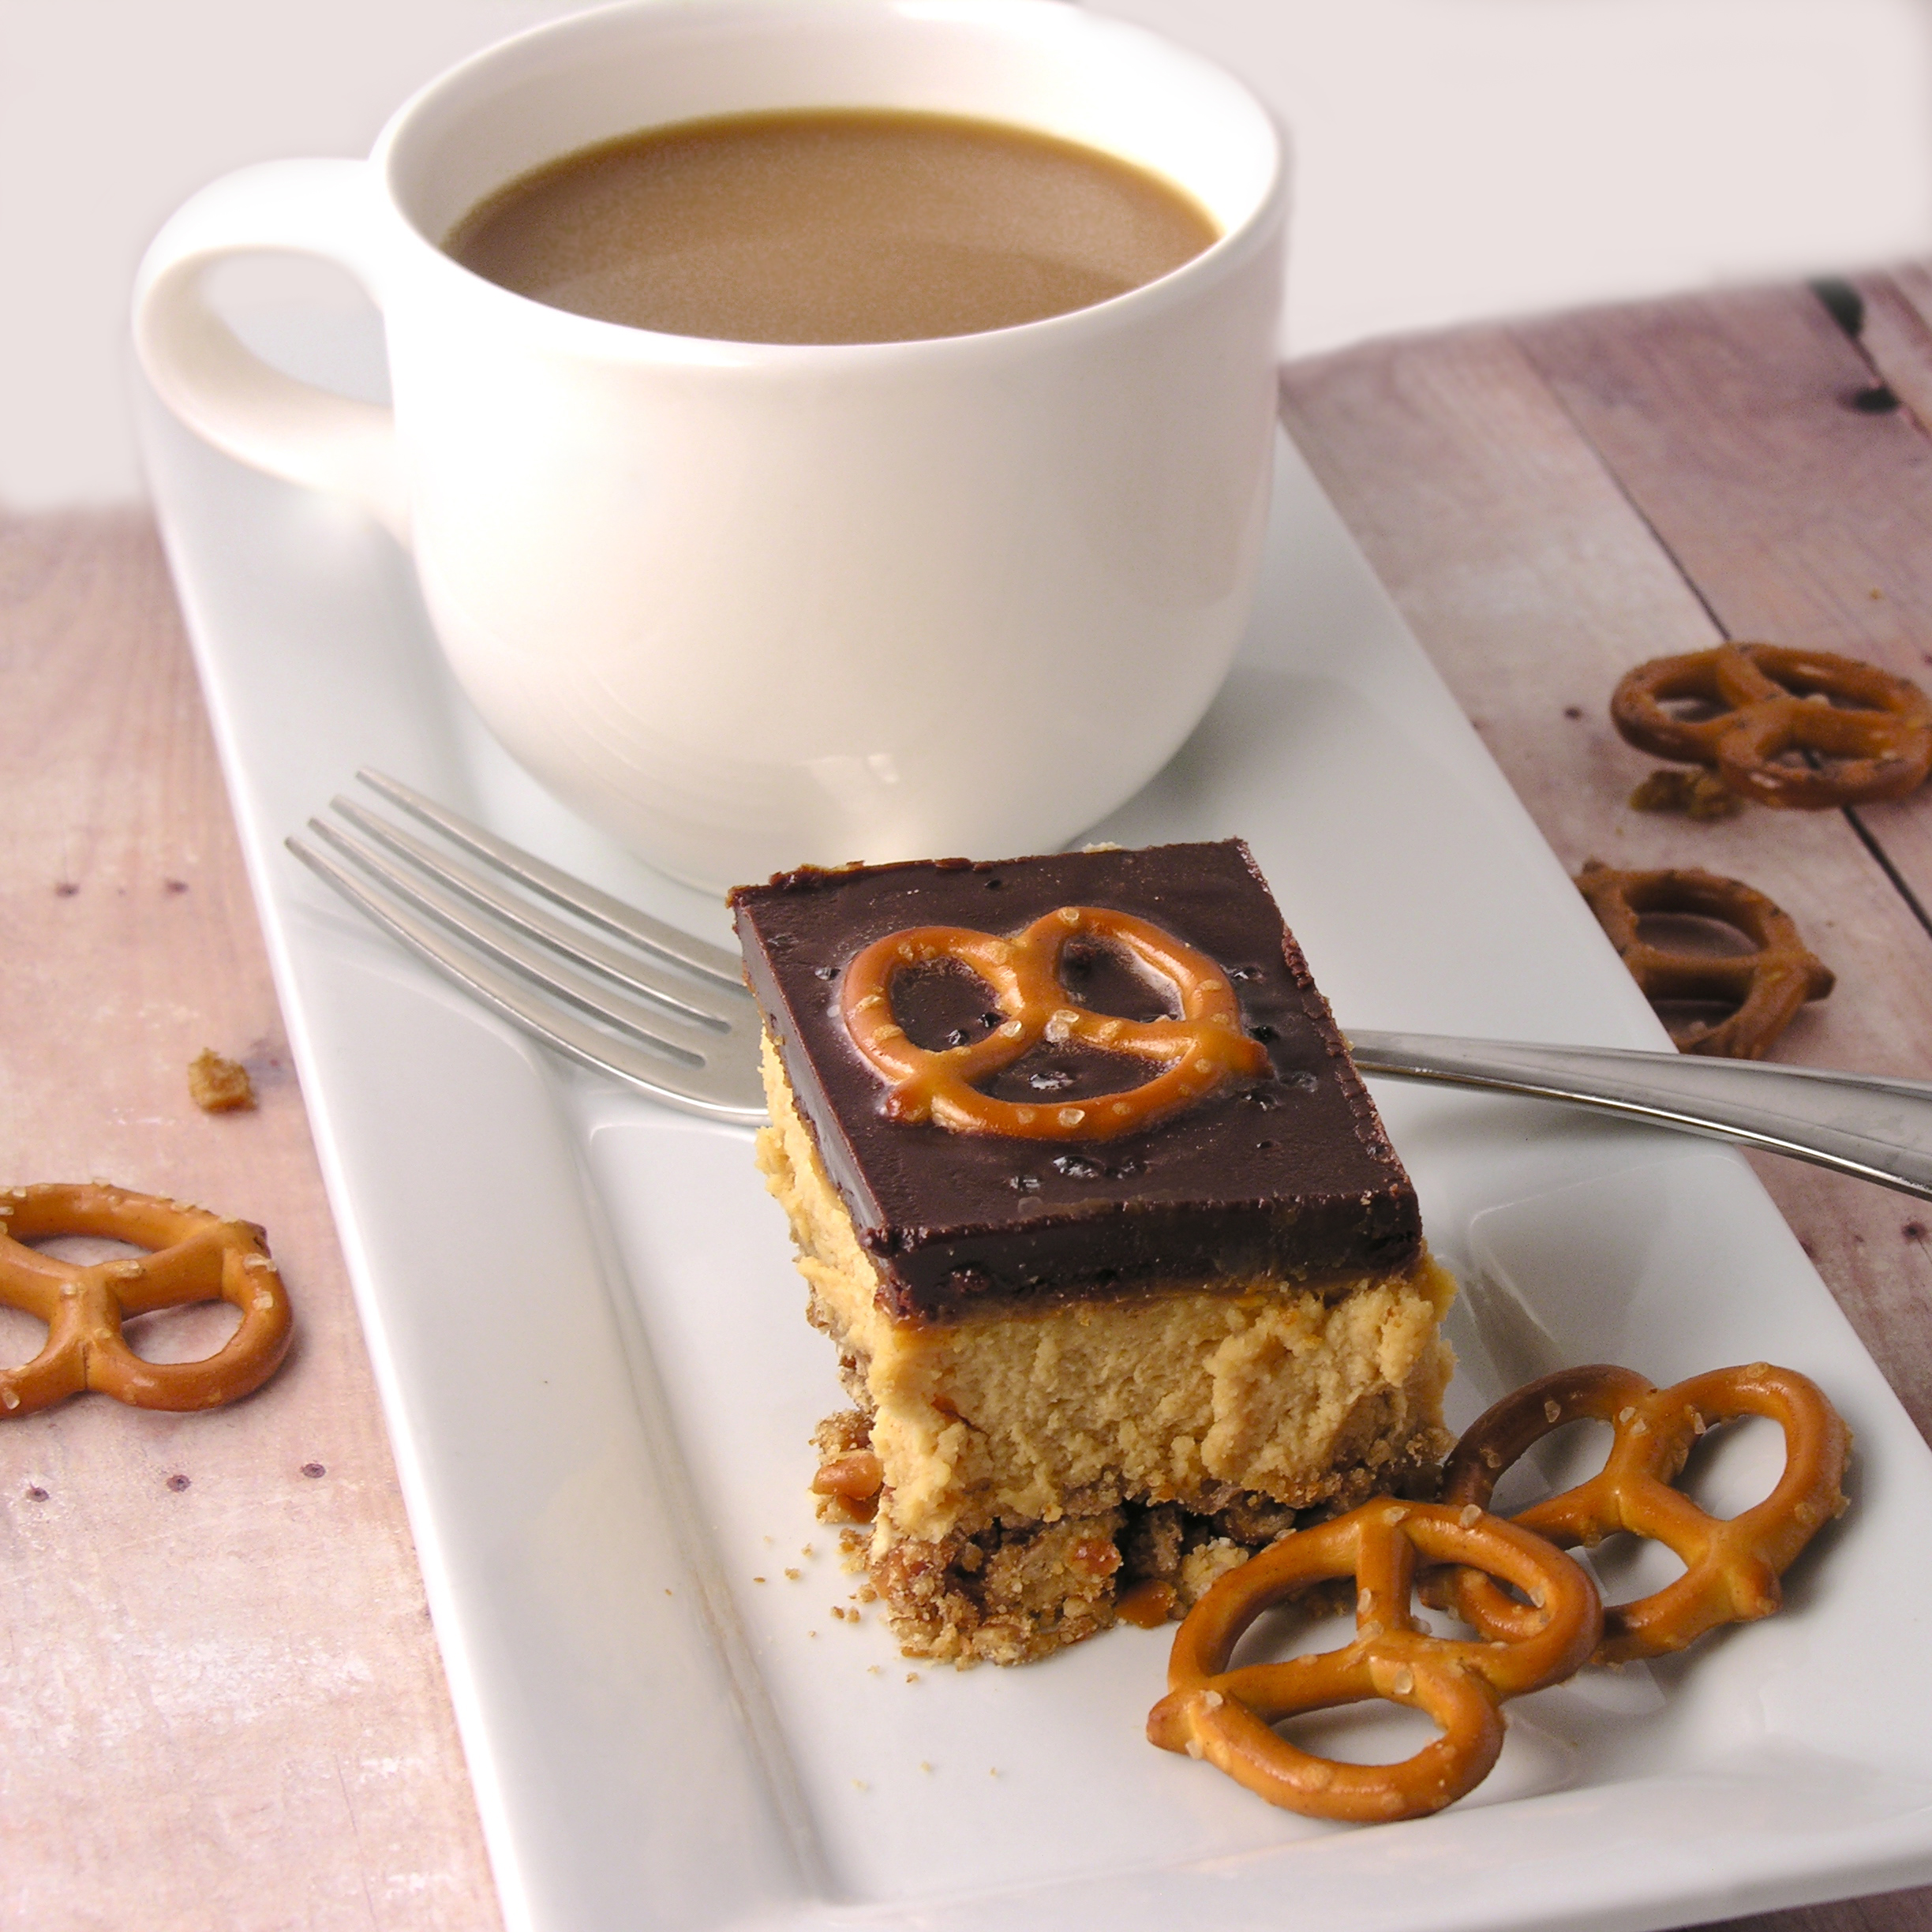
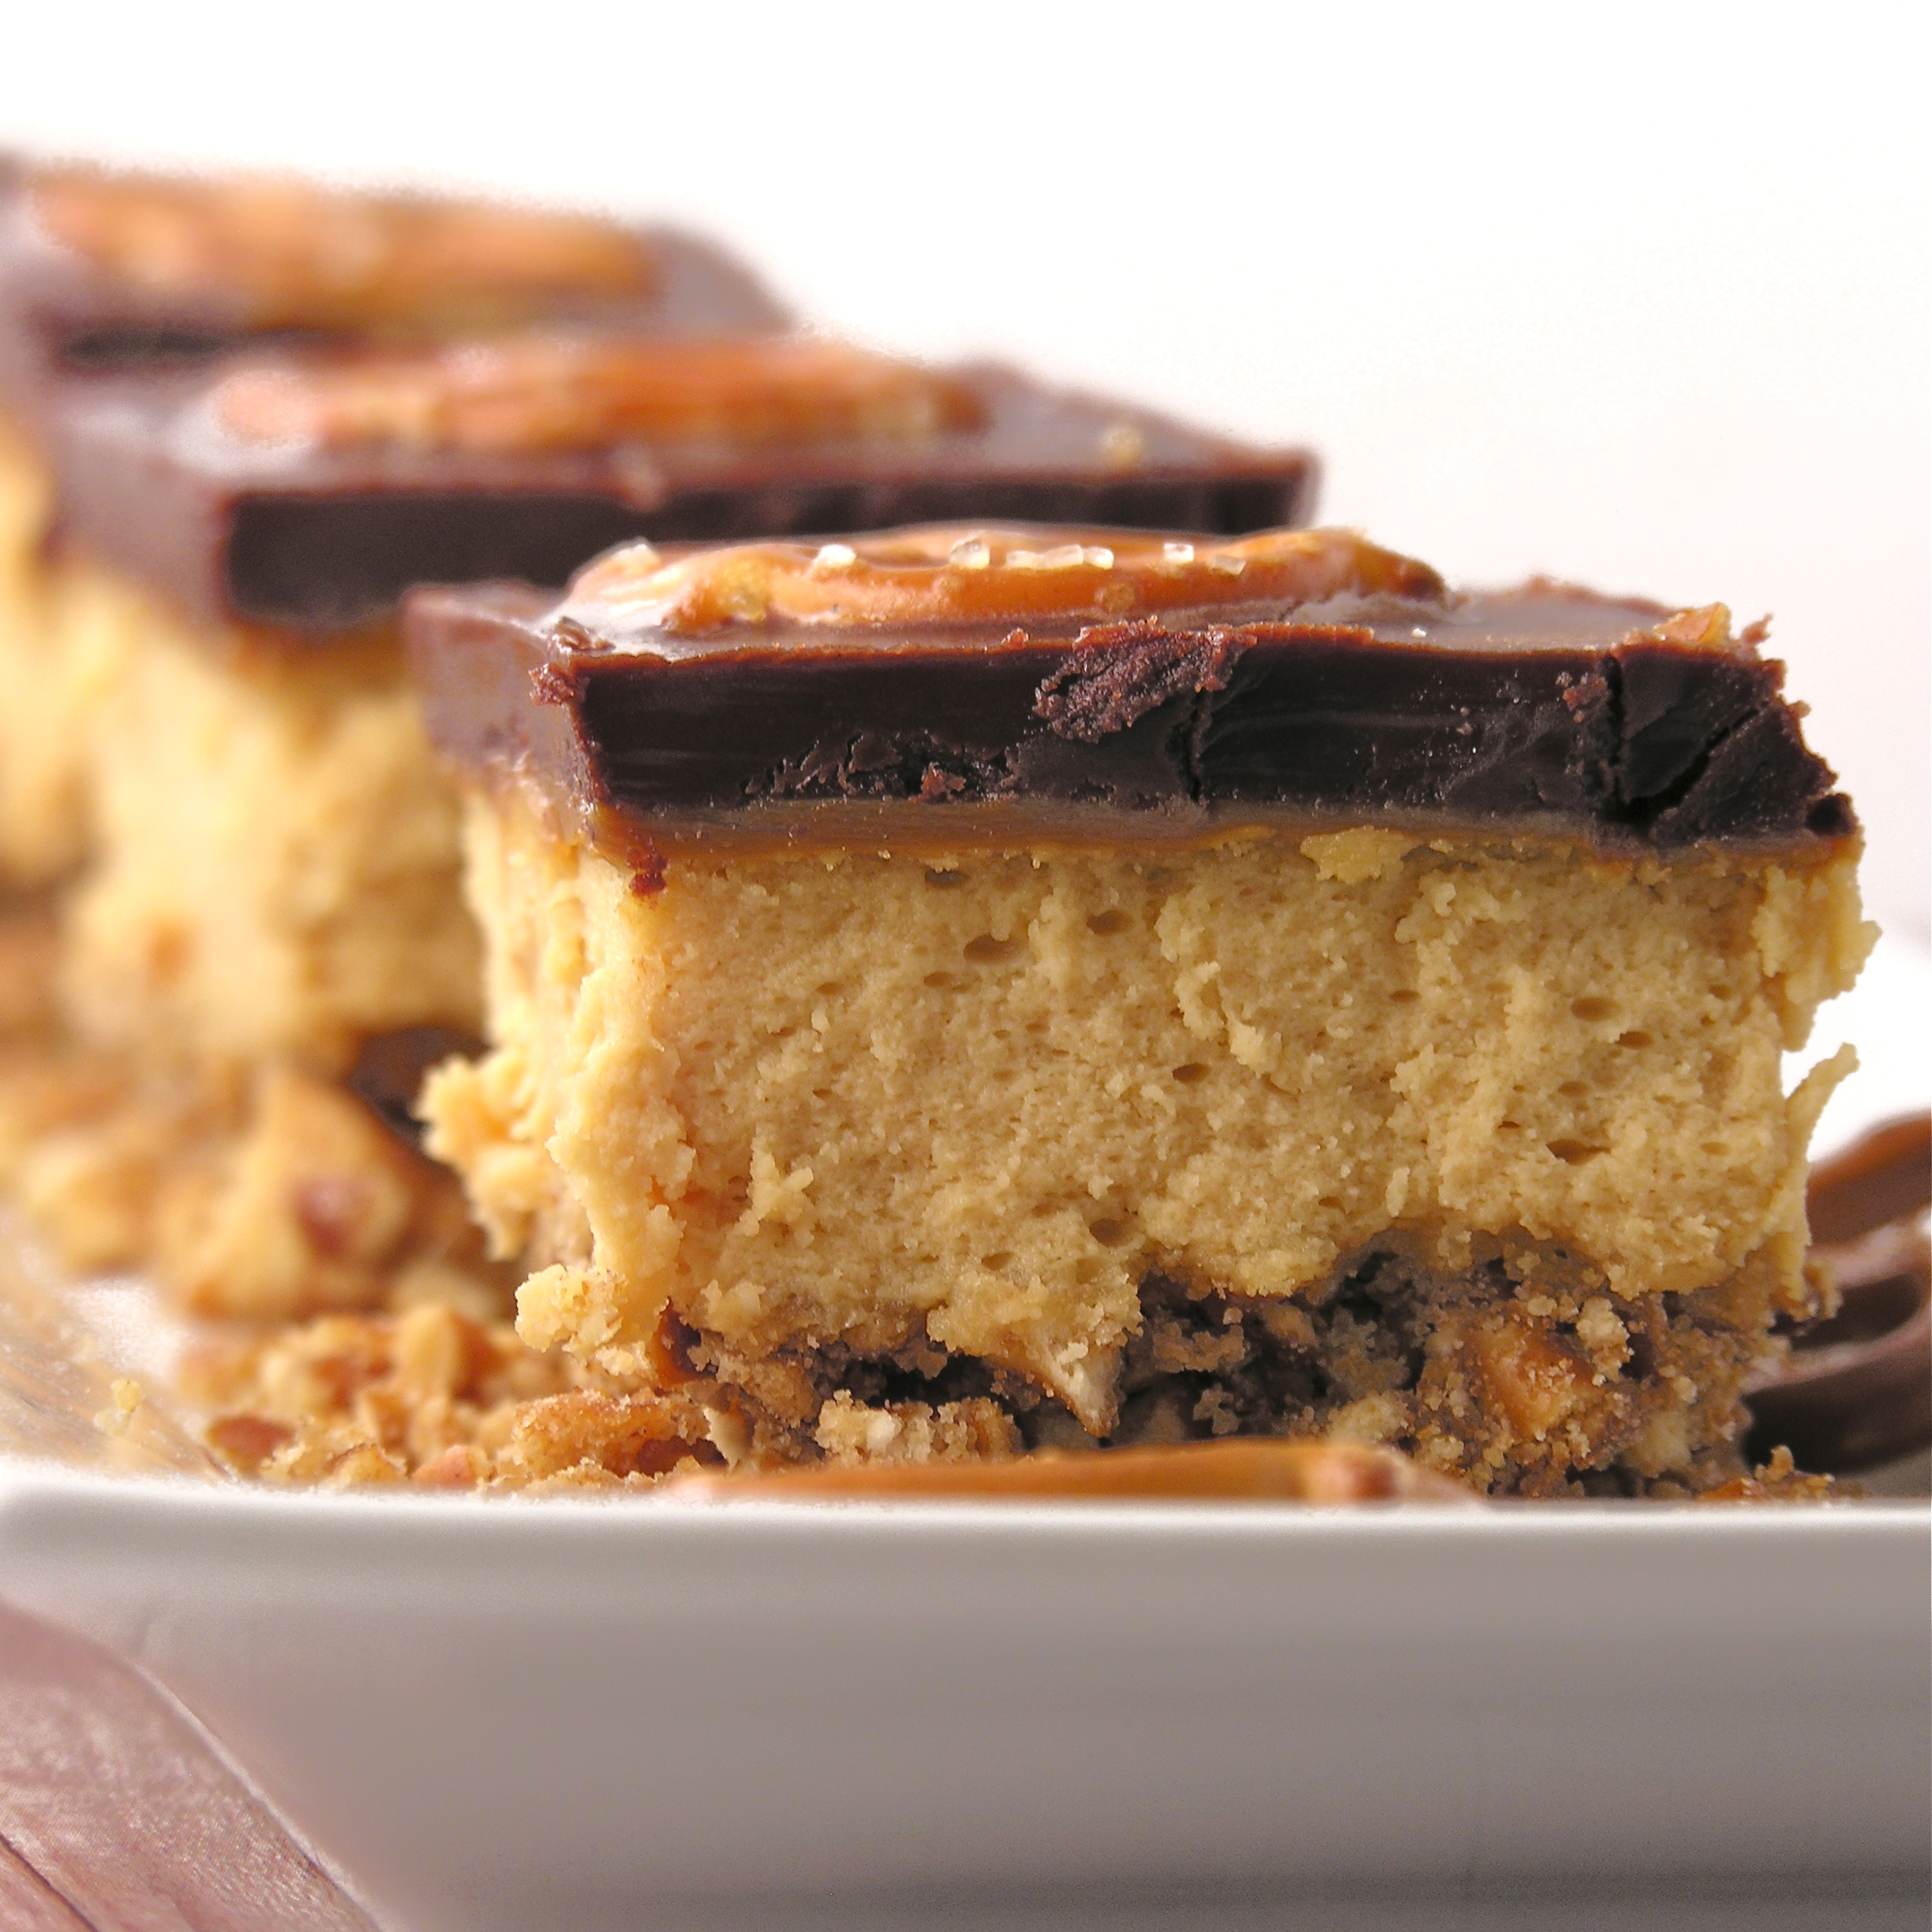
Creamy caramel cheesecake over a pretzel crust is topped with a layer of dulce de leche and dark chocolate.  Sweet and salty perfection!

I’ve been craving caramel lately.  Maybe because it’s fall now and caramel seems to be a fall treat.  Whatever the reason, I went on a hunt for caramel cheesecake and found this one at Bon Appetite.  I wanted to add salty to the recipe, so I used a pretzel crust instead of grahams and added dark chocolate.  It is really good.  A subtle caramel flavor with just a hint of salt from the crust.

Caramel Cheesecake5

Want to know how these are made?  Here you go:  (Printable recipe)

INGREDIENTS: (makes 24 cheesecake squares)

Crust:

  • 3 cups of crushed pretzels
  • 2 Tablespoons of sugar
  • 1  stick (1/2 cup) of butter

Cheesecake:

  • 3 packages of cream cheese (8 oz.), softened to room temperature.
  • 1 cup sugar
  • 3 eggs
  • 2 teaspoons of vanilla
  • 1 can (13.4 oz) of Nestle La Lechera Dulce de Leche (or 1 cup of your own- find recipe here)

Topping:

  • 1 bag (10 oz.) Nestle Dark Chocolate Morsels.
  • 12 Tablespoons of butter

DIRECTIONS:

  • Preheat oven to 325F degrees.
  • Make crust by combining crushed pretzels, butter and sugar together and pressing into a greased 9×13 pan.
  • Bake at 325F for about 10 minutes.  Cool completely.
  • In a large bowl, cream together sugar with cream cheese.
  • Add eggs, one at a time, beating on low speed between each one.
  • Add vanilla and 1/2 of the can (about 1/2 cup) of Dulce de Leche.
  • Beat on medium until completely combined.
  • Pour cheesecake over cooled crust and bake at 325F for 45 minutes. (Until center is set)
  • Cool at room temperature.
  • Carefully spread remaining Dulce de Leche over the top of the cooled cheesecake.
  • Melt 12 Tablespoons of butter with dark chocolate chips until smooth.
  • Pour over top, carefully spreading chocolate to cover entire cheesecake.
  • Carefully set pretzels on top of chocolate.  Each one will be in the center of one piece when it is cut, so place them according to how big you want your pieces.
  • Lightly sprinkle with coarse salt.
  • Refrigerate overnight.
  • Before serving, allow cheesecake to warm a little and then using a sharp knife, cut into squares with a pretzel centered in each.
  • Enjoy!

Salted Caramel Cheesecake

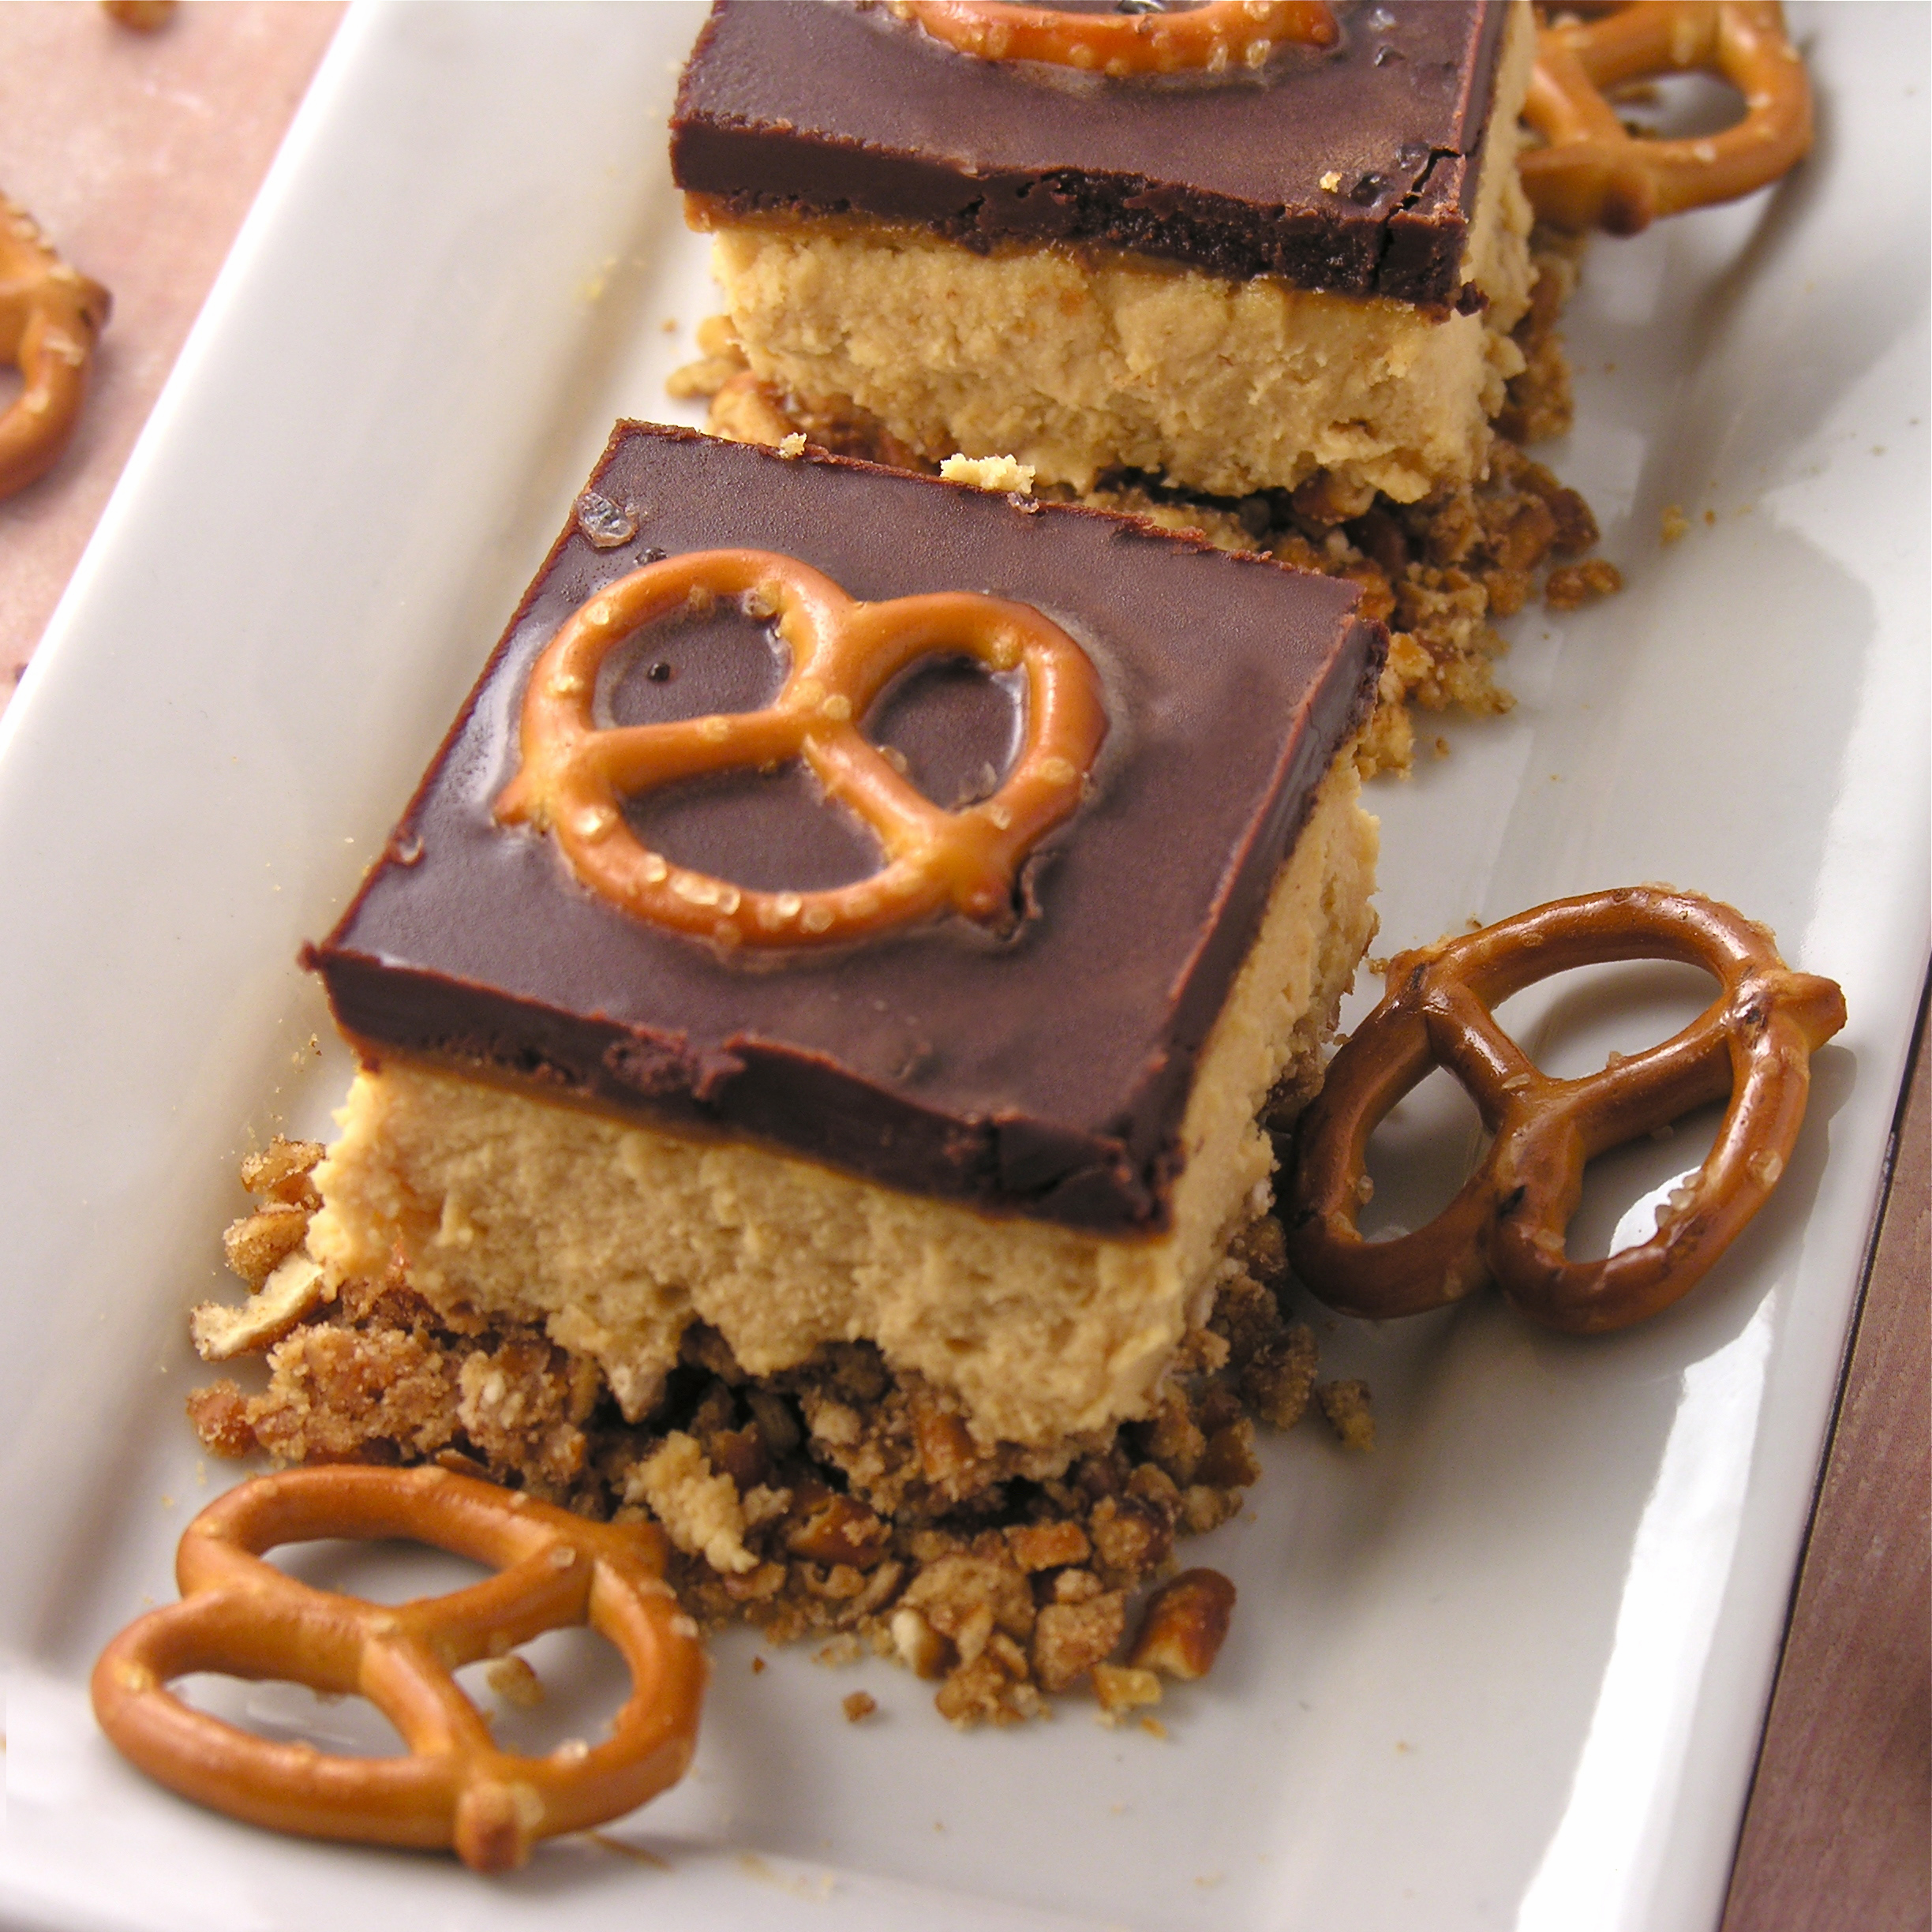
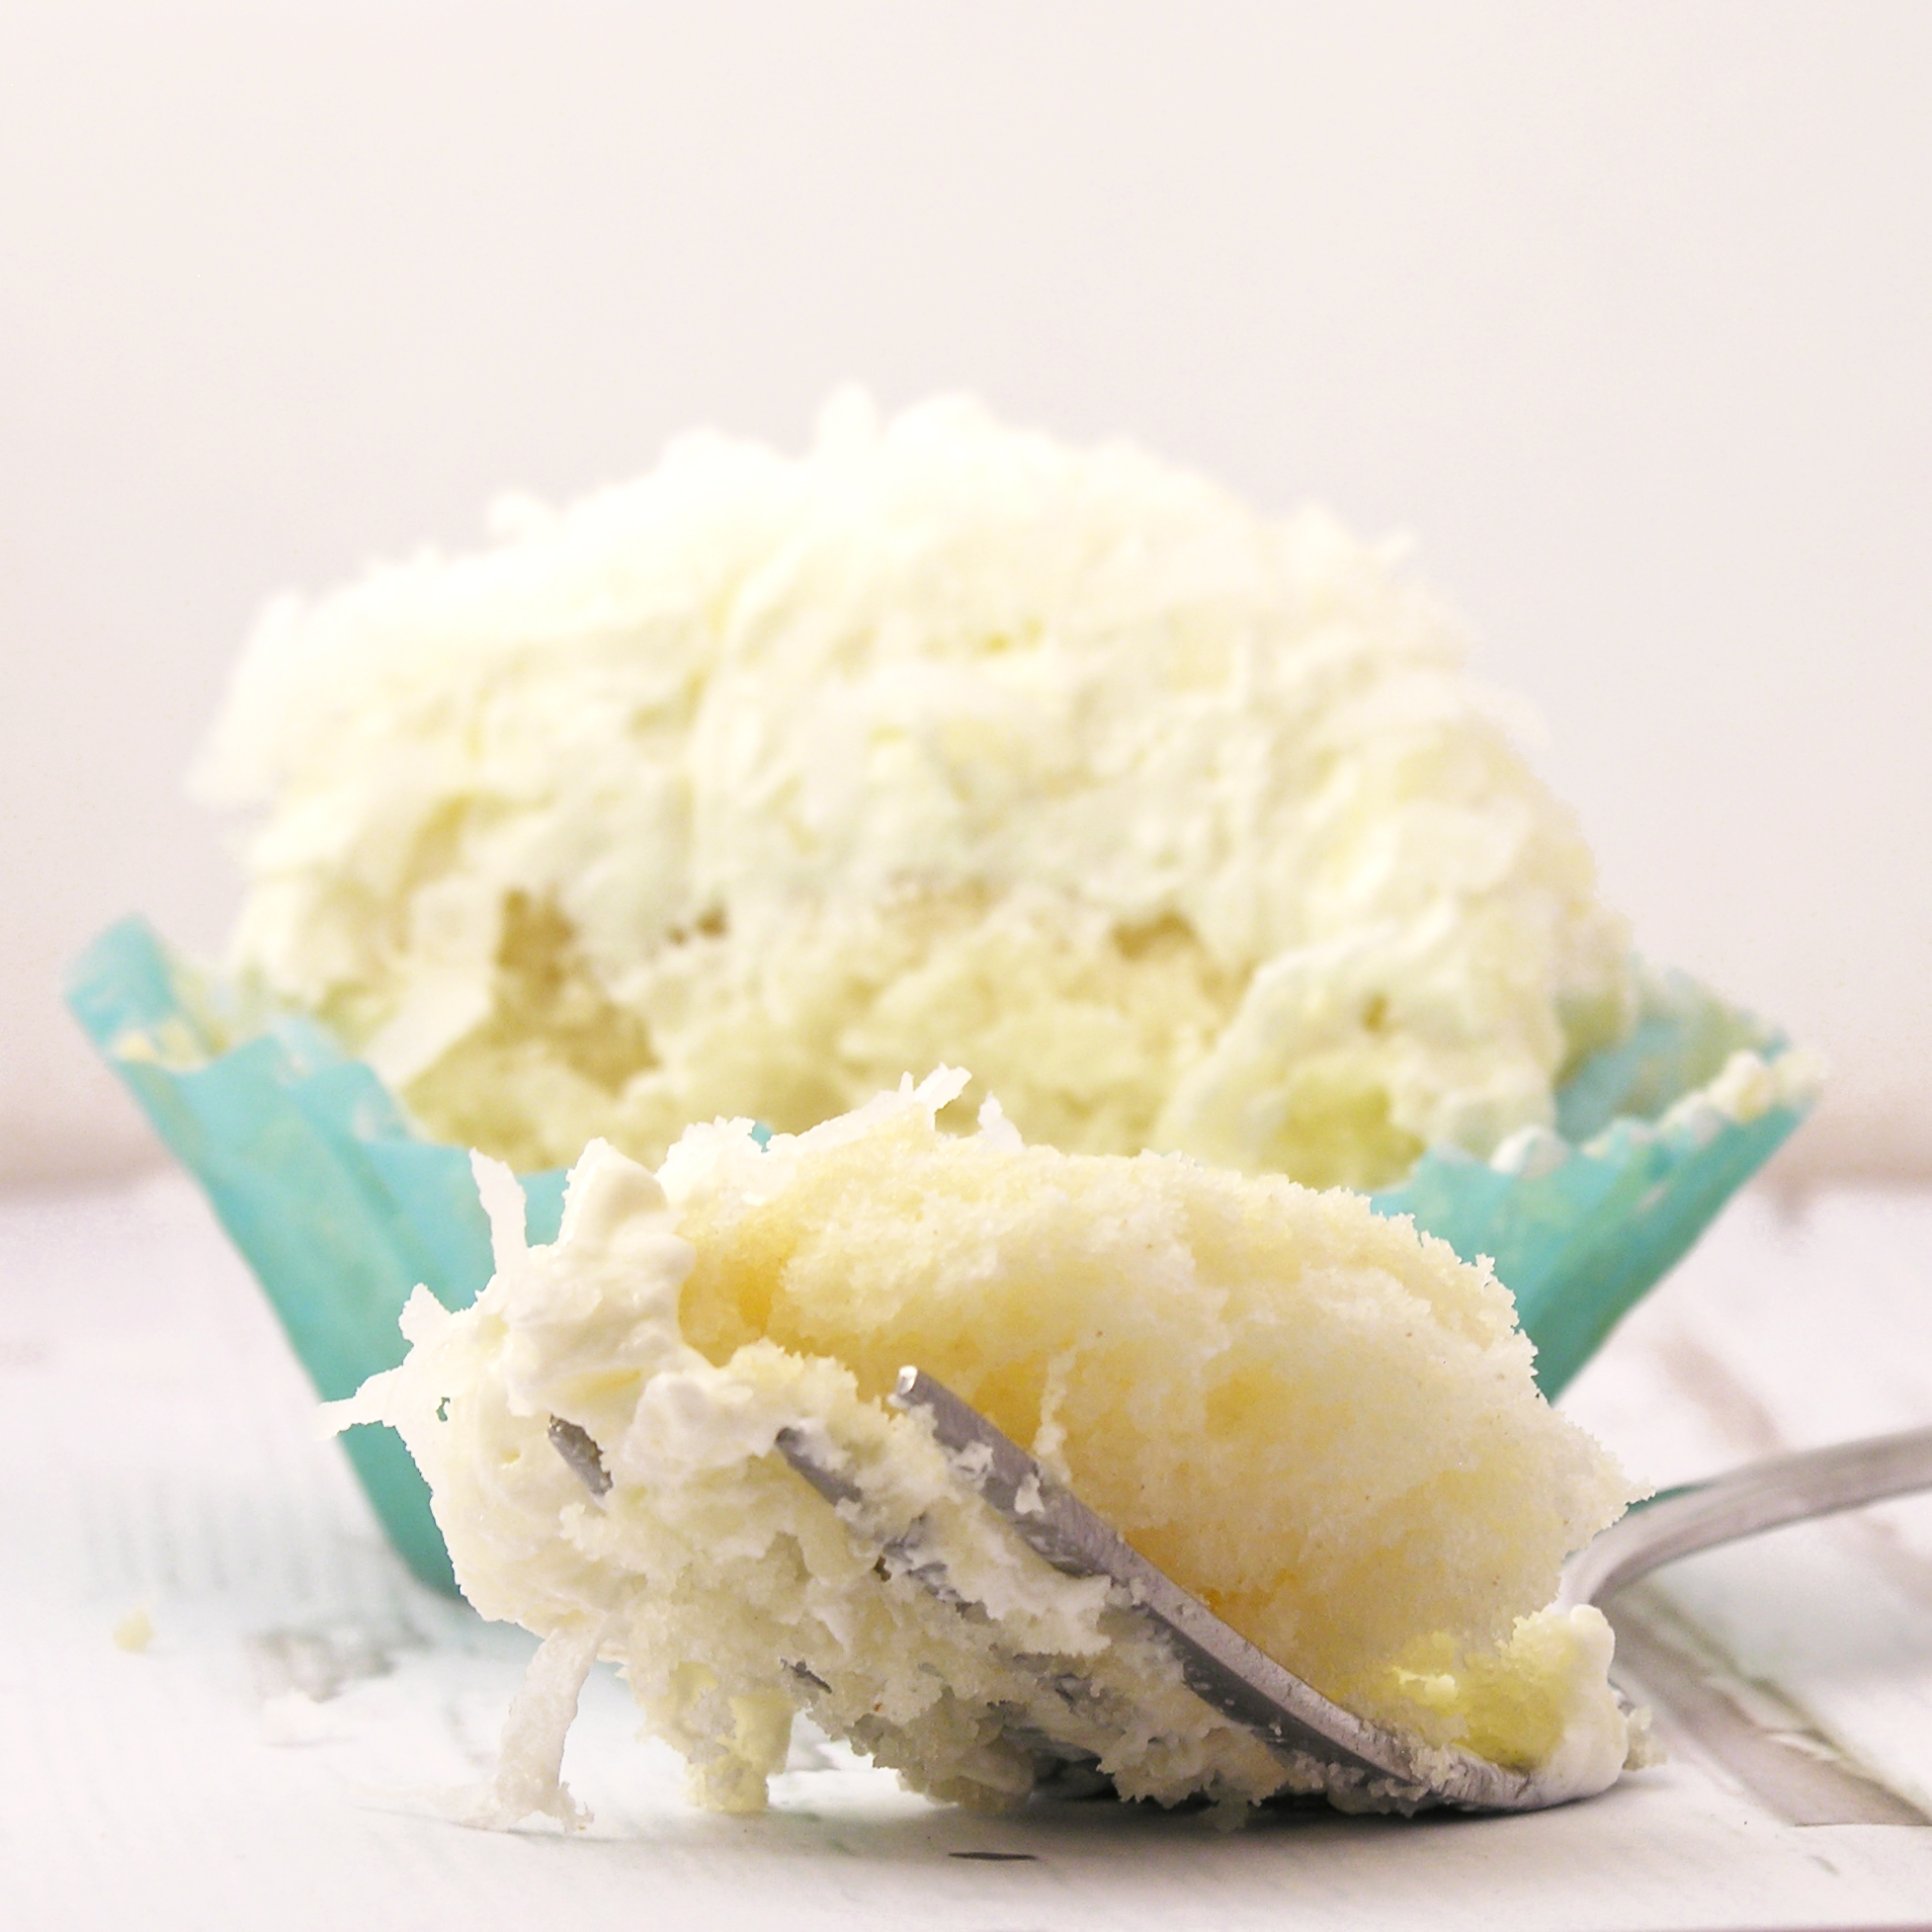
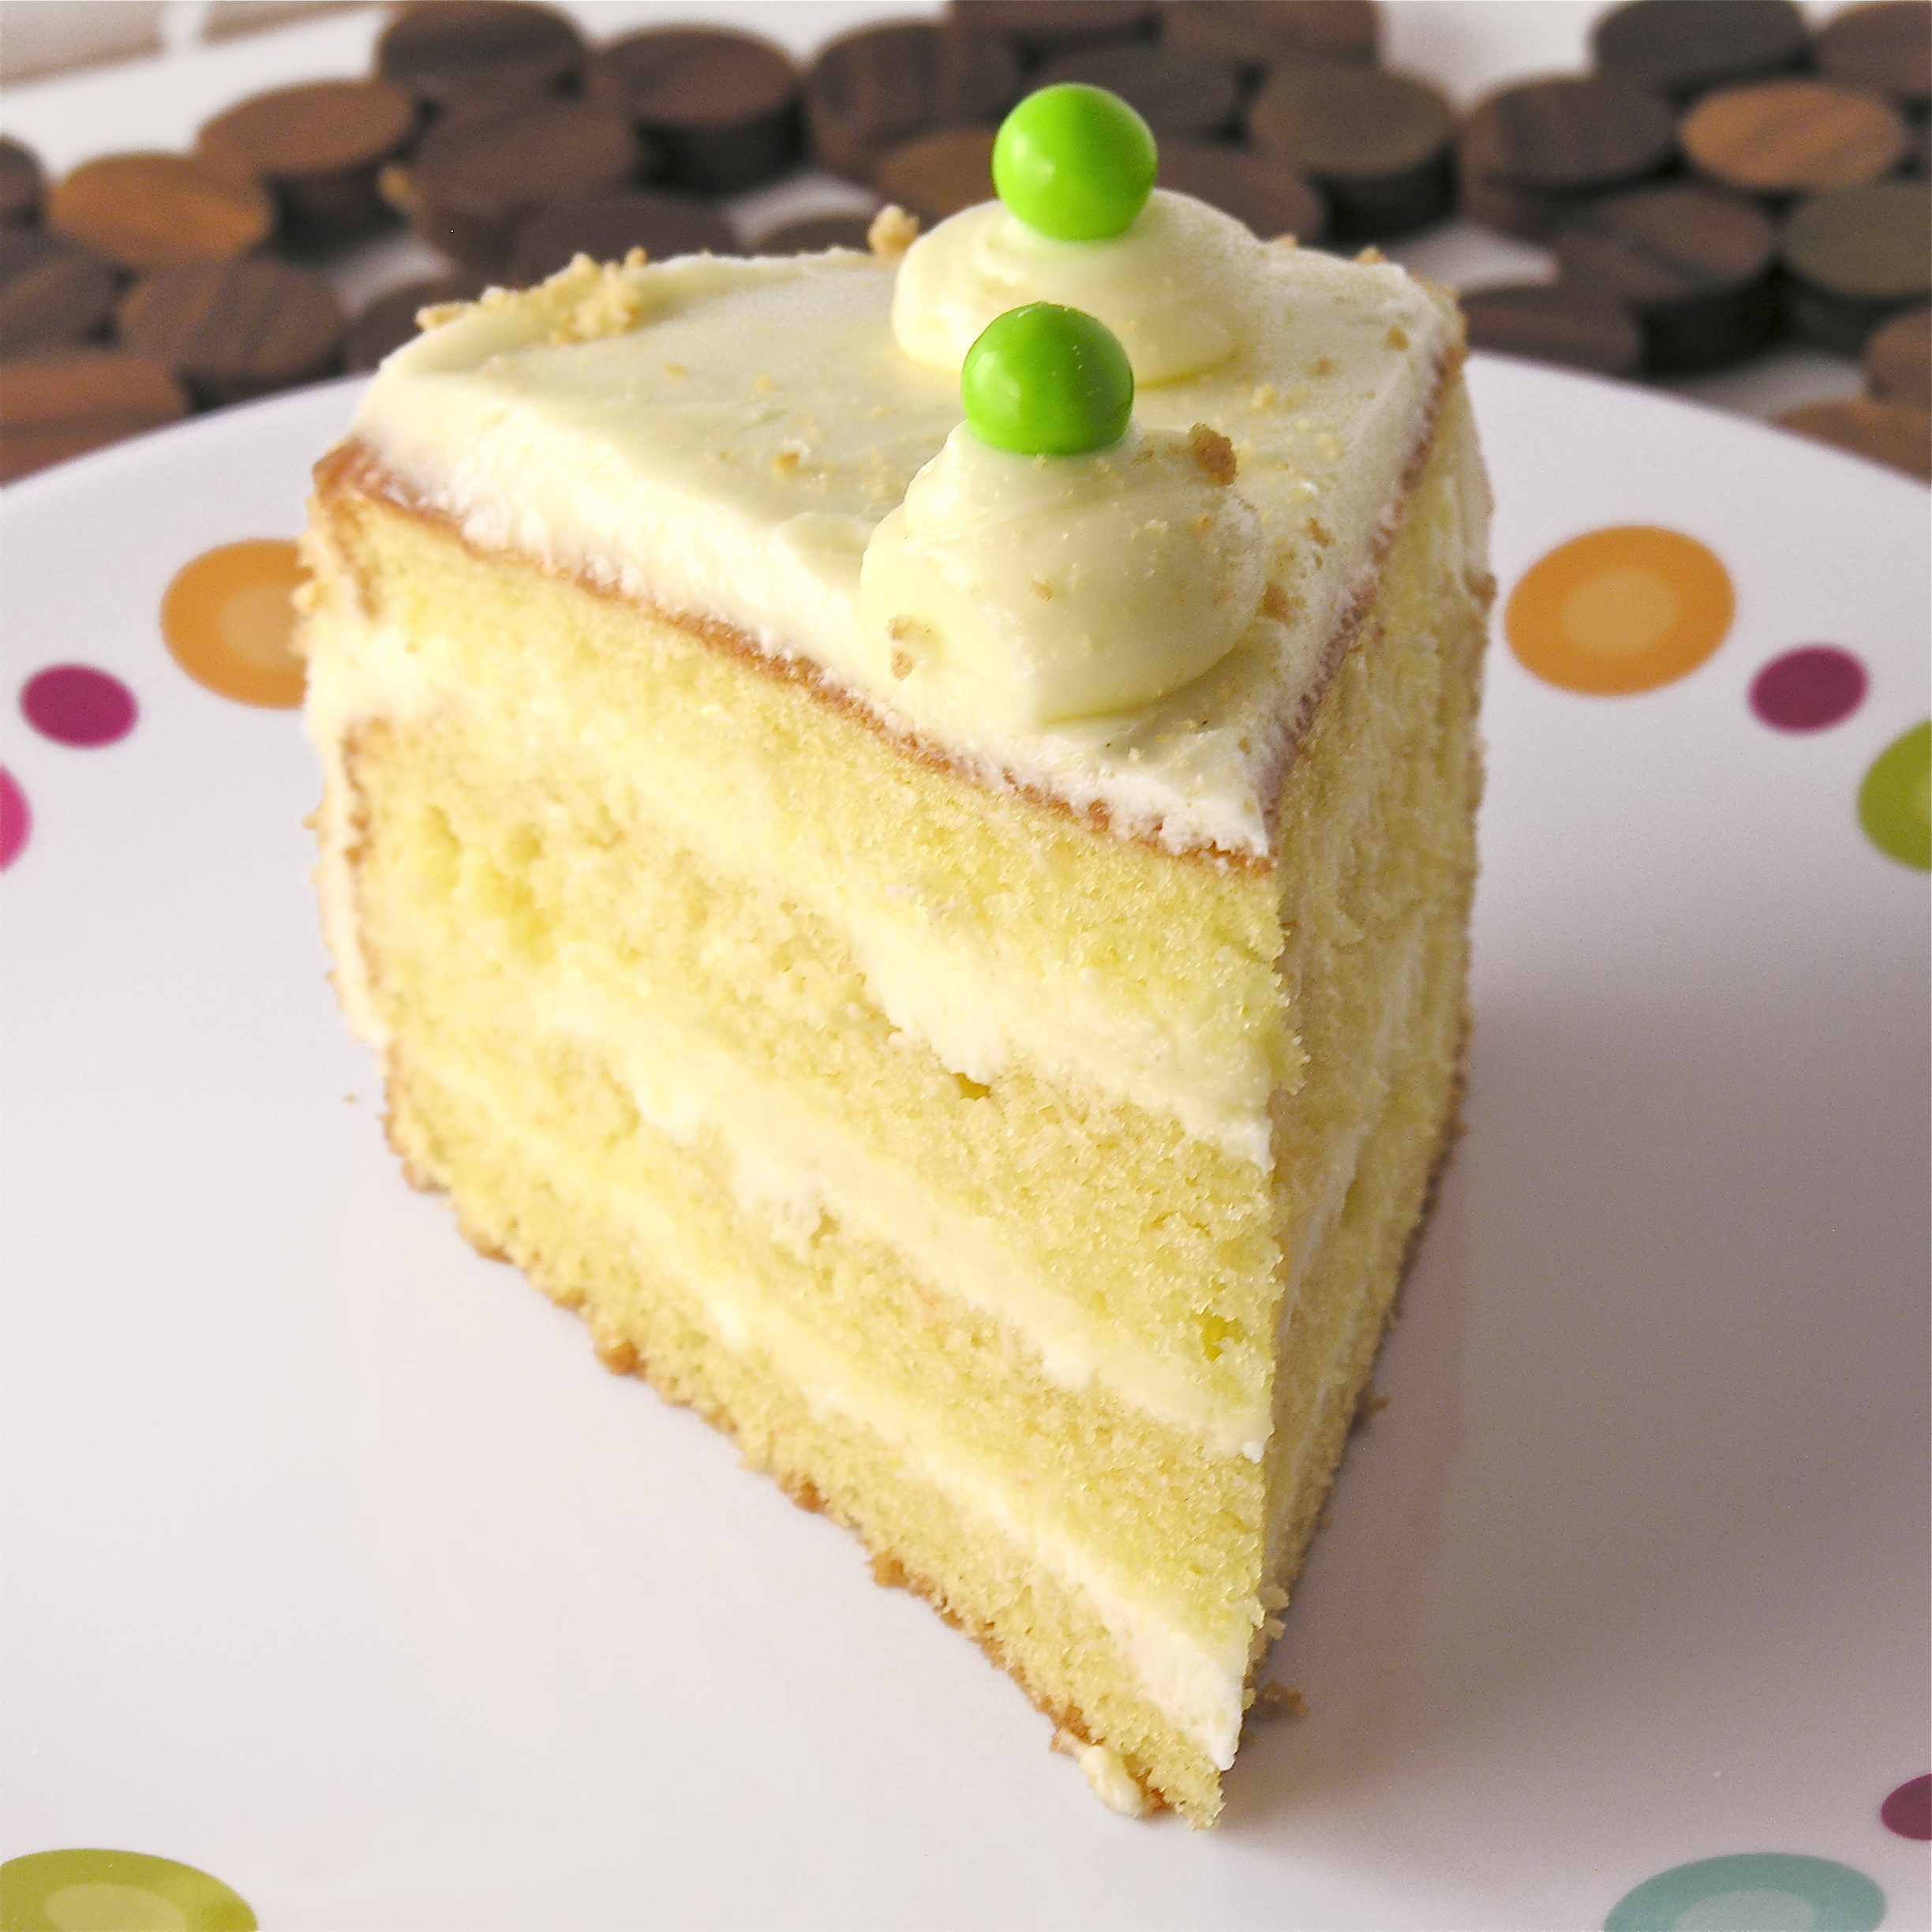
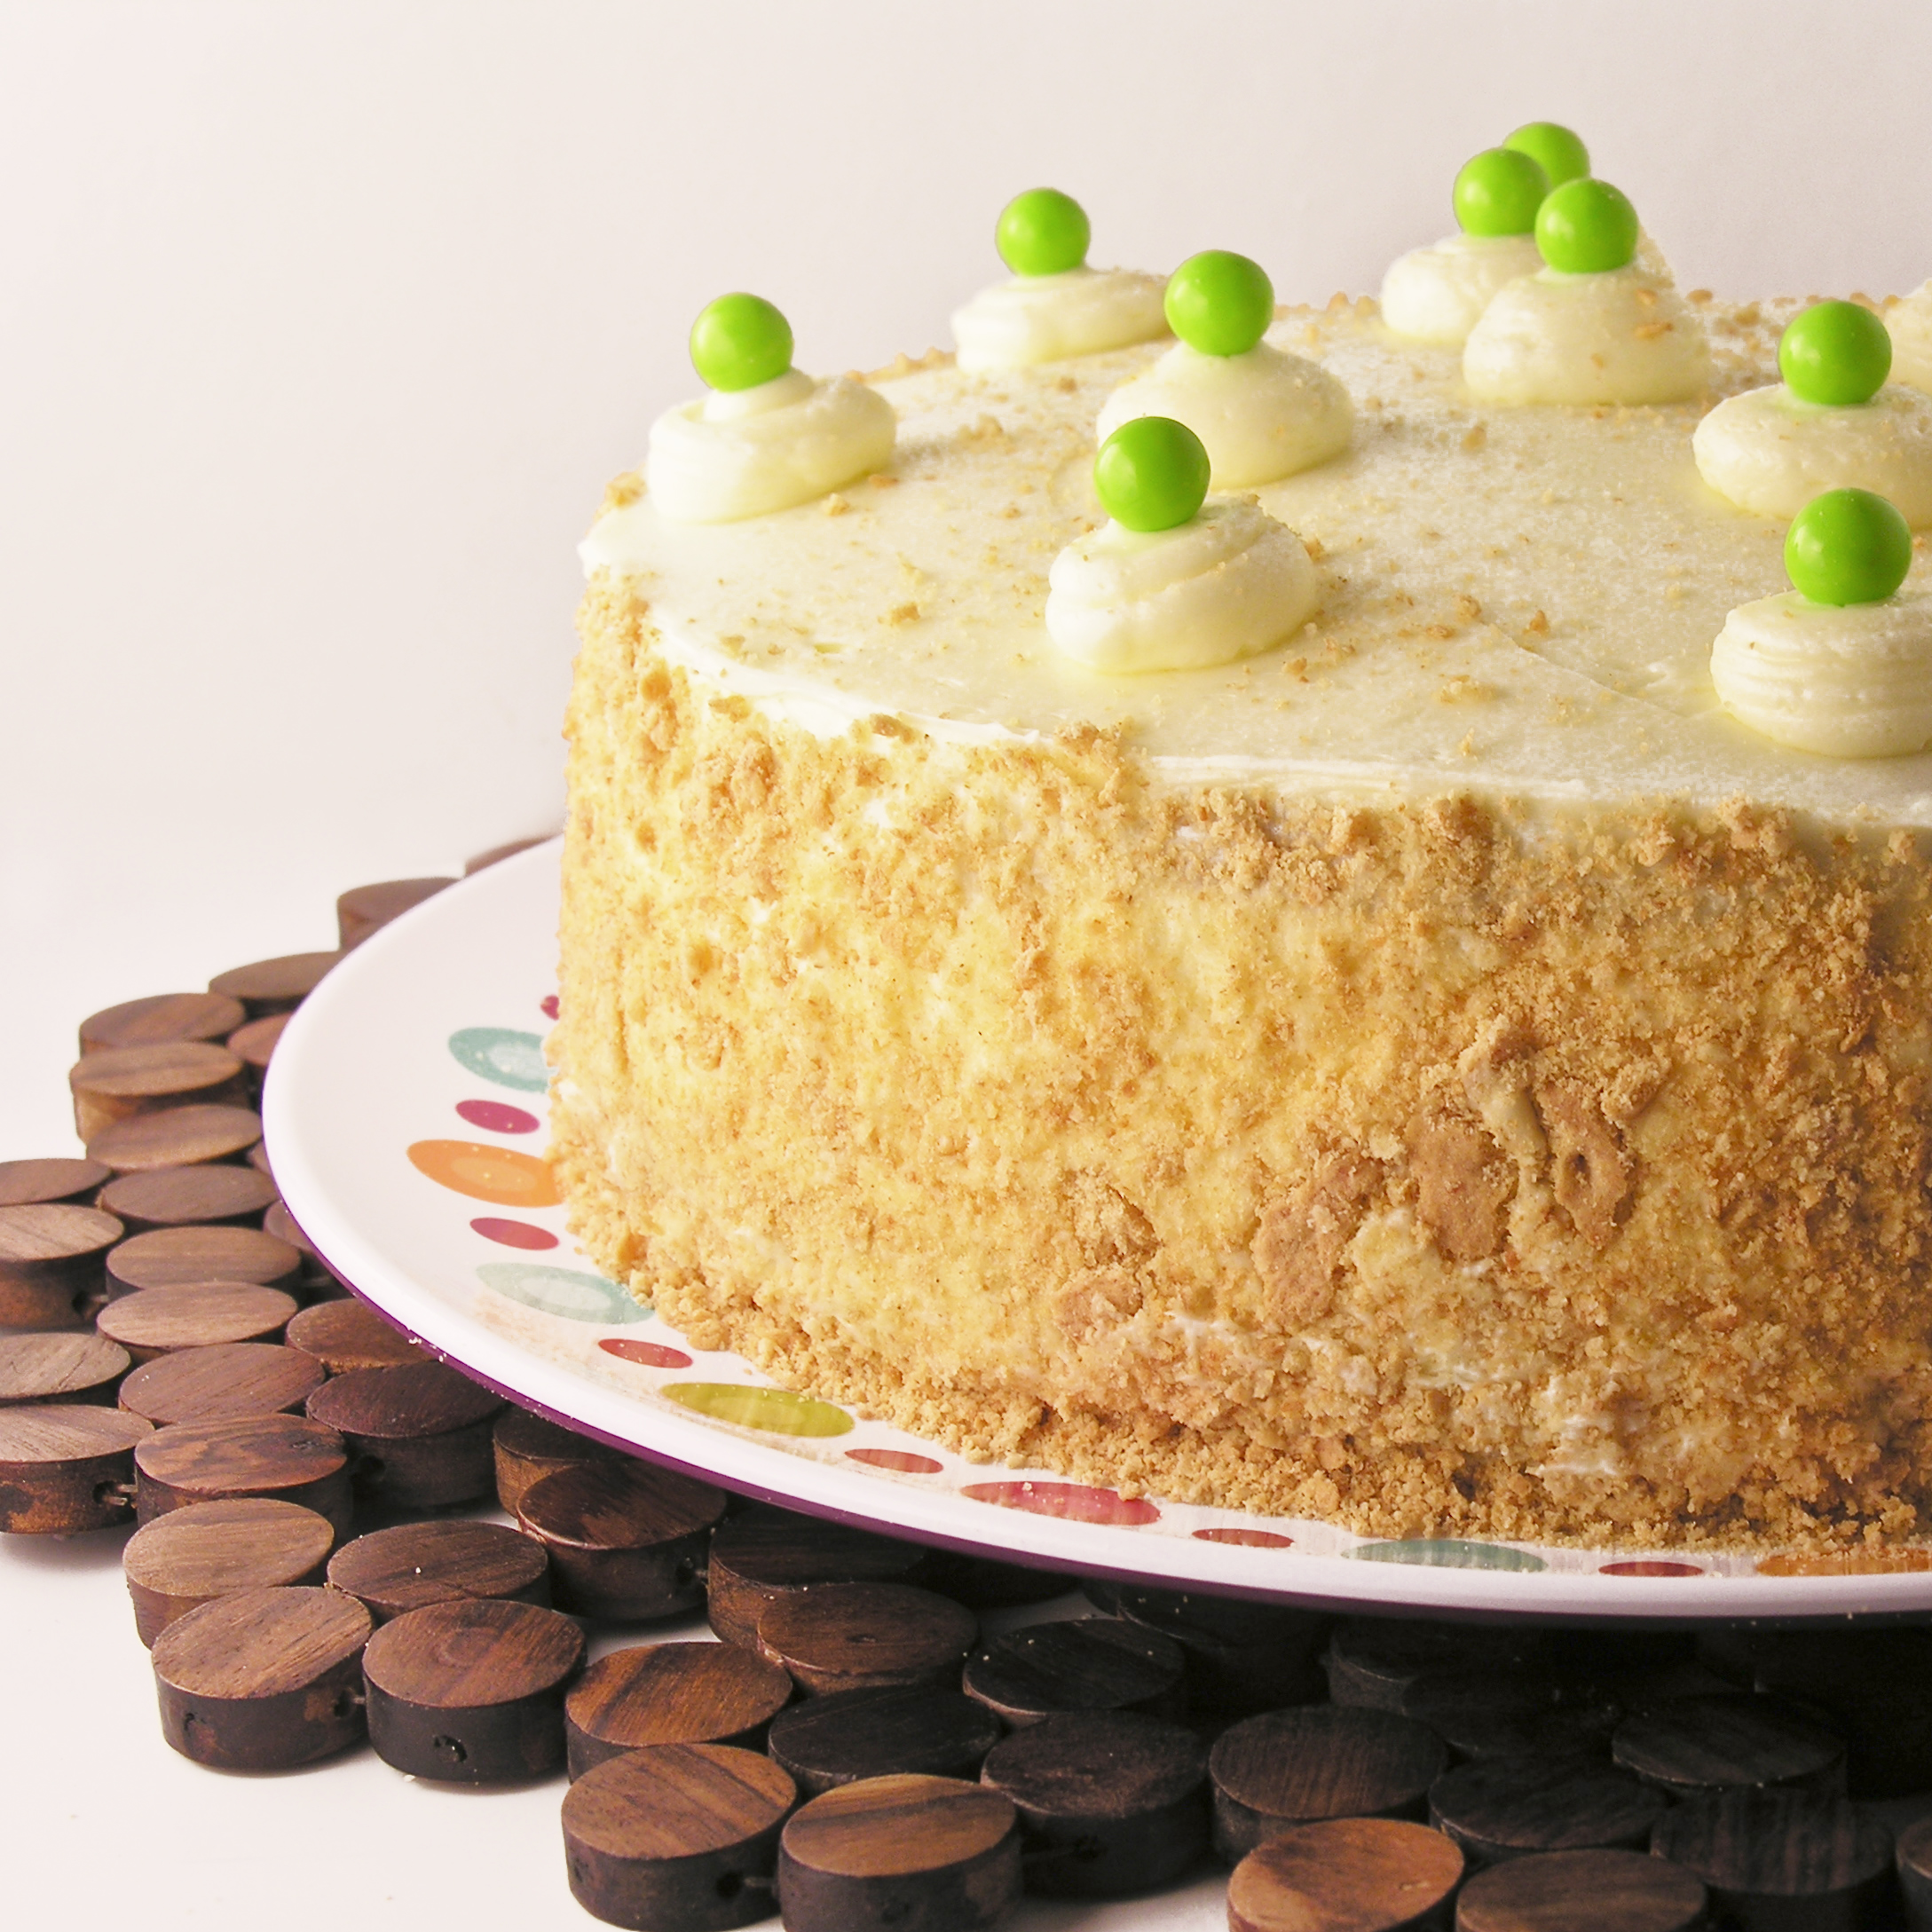
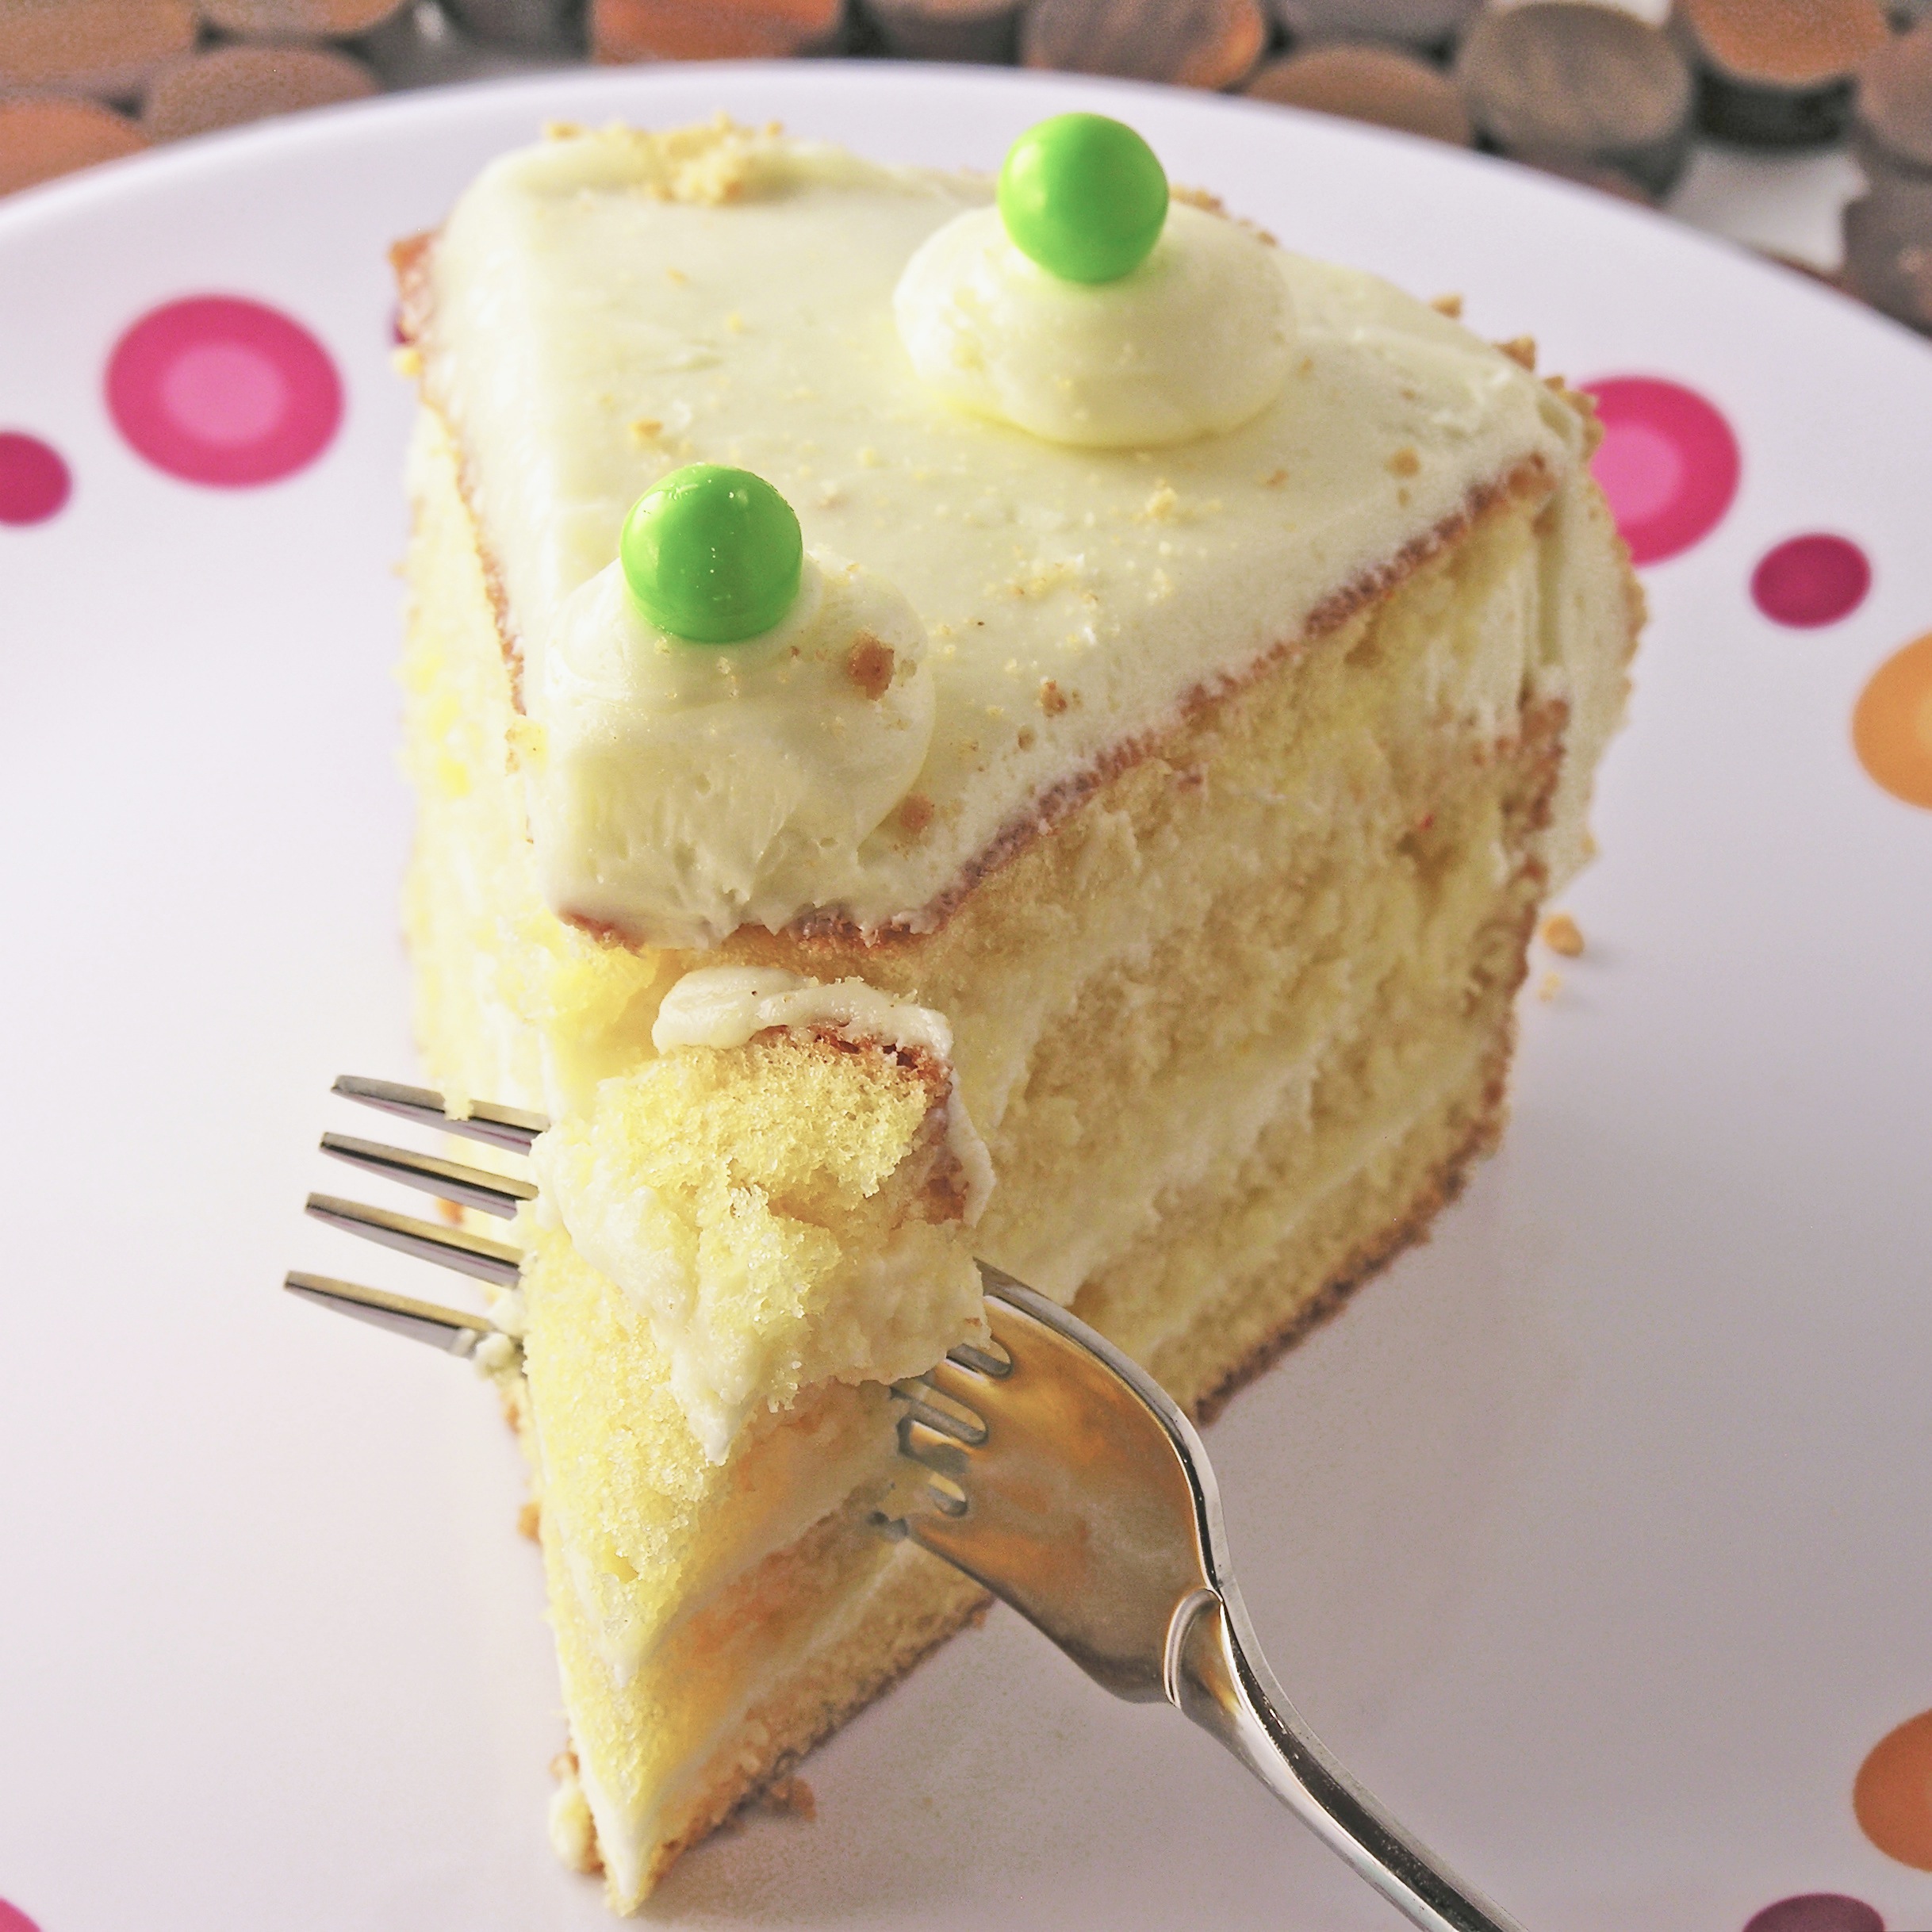
My thoughts:  These are really so yummy.  My only problem?  The crust was a little crumbly (you can see in the pictures).  I’m almost positive I didn’t get my pretzels chopped fine enough.  Make sure you chop/food process them into FINE bits- not coarse.

If you don’t want a salty crust just use graham crackers– or Oreos…oh my, caramel cheesecake over Oreos?  Yes, please!  The cheesecake is delicious.  It would be good over any crust.  I hope you enjoy trying it!!!  ~r

Salted Caramel Cheesecake!

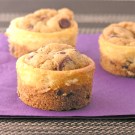
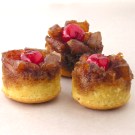
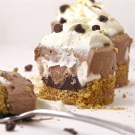
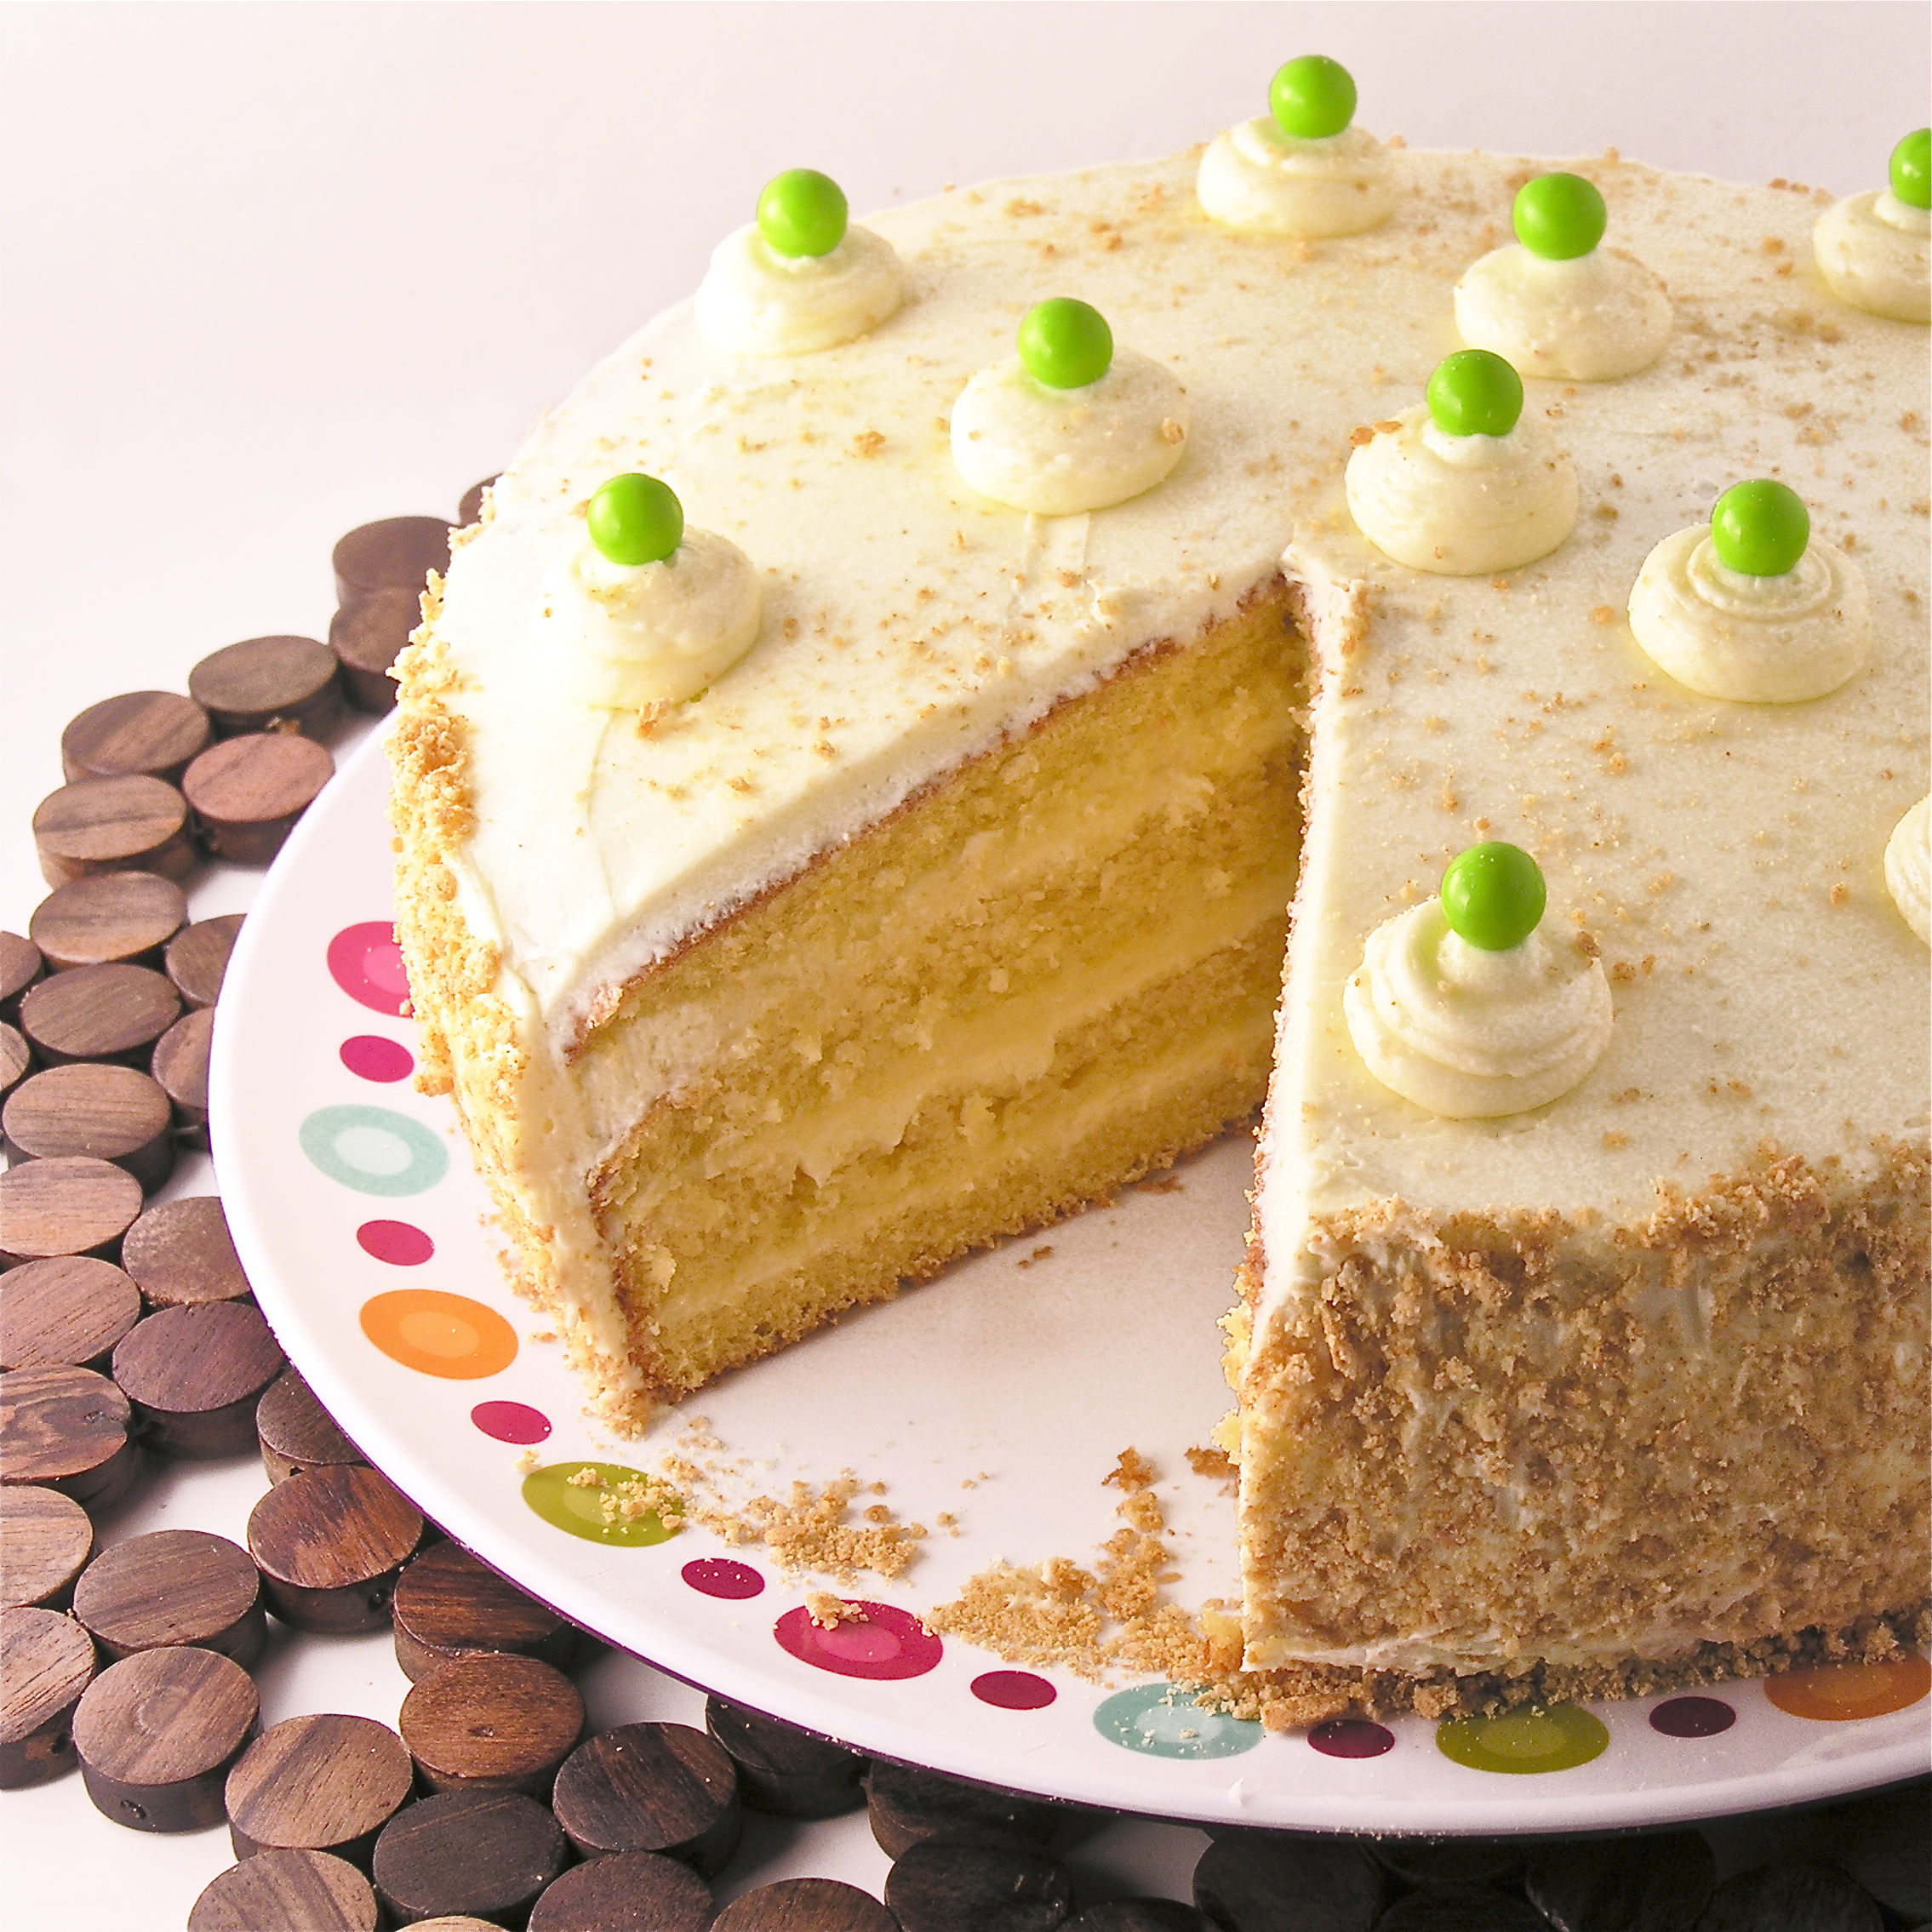
Other caramel desserts you might enjoy:

Salted Caramel Cookie Cups (2)Inside-out Caramel Apple!!Caramel Fudge Brownies!!Turtle Cheesecake

Lady Bug Oreo Pops!!

Ladybug Oreo Pops!
What could be better than a cute ladybug cookie on a stick?  Biting in and finding an OREO!!!!!

These cookies are such a fun treat!  Perfect as favors and prizes at parties- they just make you smile.

We’ve done lots of Oreo Pops here at Easybaked.  The technique is the same for these as for our Original Oreo pops.  To see the how-to photos and technique, click here.

Here’s what you will need for about 24 Oreo Pops.

INGREDIENTS:

  • One box of Double Stuff Oreos
  • One 12 oz. bag of Wiltons candy melts in yellow
  • One 12 oz. bag of Wiltons candy melts in red
  • One 12 oz. bag of Wiltons candy melts in dark chocolate.
  • One bag of mini M&Ms.
  • 24 lollipop sticks
  • Candy Eyes (if desired)

Oreo Pops!

DIRECTIONS:

  • Carefully twist apart all of the Oreo cookies.
  • Using one of the pop sticks, make an indentation in the white filling of each cookie.
  • Melt the red Candy Melts in the microwave in 30 second increments, stirring until completely melted and smooth.
  • Dip the end of one stick into the melted candy melts, drizzle a little in the center of the white cookie filling and then gently press it into the indentation made.
  • Place the top of the cookie back on and allow white chocolate to harden (5 minutes or so), cementing the cookie back together with a stick inside.
  • Holding the stick, lower the entire Oreo into the bowl of melted red chocolate, spooning it over the top and sides to cover it completely.
  • Allow the excess chocolate to drain off and gently place covered Oreo on a piece of parchment paper to harden.  
  • Add two brown mini M&Ms to each half of the pop (use the photos as a guide– leave room for the top to be dipped in chocolate and for a line to be drawn down the middle.)
  • Dip half of the pops in the red chocolate and then melt the yellow chocolate and repeat the process with the 2nd half of the pops.
  • When candy melts have completely hardened, melt a the dark chocolate melts.  
  • Use a spoon to gently scoop chocolate over the top tip of the cookie, making a head on your ladybug.
  • Set each pop on parchment paper and add candy eyes (if desired) before chocolate hardens.  
  • After dipping the tops of all pops, and placing eyes, spoon remaining chocolate into a small ziptop bag and clip a corner.
  • Pipe a line from the head of the ladybug across the top toward the stick.  (use photos as a guide).
  • Allow pops to harden completely.
  • Enjoy!!!

Ladybug Oreo Pops!!!
My thoughts:  I’m addicted to Oreos.  I keep making Oreos into pops because it gives me an excuse to eat the extra Oreos that break.  

True confession.  

The other reason: they make people smile.  It never fails, you hand one of these crazy fun pops to anyone and they smile.  Even if they can’t or won’t eat dessert….they smile.  These pops are like puppies.  They make people happy!  Every few months I feel an overwhelming urge to make a different variety to share with you….so I hope that you enjoy them– and that you smile 🙂  ~r

Lady bug Oreo Pops!
Other Oreo Pop ideas we have tried:

Original Oreo pops!!!!!Mummy Oreo Pops!Snowman Oreo PopsPatriotic Oreo Pops- yum!!!

Red Chocolate Cream Cake

Grandma's Chocolate Cream Cake


This dense chocolate cake is filled with a wonderful cream (think twinkies!) and covered in a rich fudge frosting.  Every bite is soooo delicious!

This recipe is a little slice of my past (no pun intended).  This is my grandmother’s Red Chocolate Cream Cake.  It is the cake I’ve had nearly every birthday of my life.  Every time I eat it I remember being a little girl at grandma’s house.  It is definitely an old-school recipe.  Don’t file this one under “easy”, but it is worth every minute of effort in putting it together.  I just love family recipes!

Red chocolate cream cake!

Ruthanne at 6!!Yep- that’s my cute little six-year-old self with a birthday cake from grandma!  Fun memories!

Want to know how to make this?  Here we go:   (printable recipe)

INGREDIENTS:

Cake

  • 1/4 cup Crisco
  • 1/4 cup salted butter (at room temp)
  • 1 1/2 cups sugar
  • 2 unbeaten eggs
  • 2 1/4 cups cake flour
  • 3/4 teaspoon salt
  • 1 cup buttermilk
  • 2 squares (1 oz. each) of unsweetened baking chocolate (melted and cooled)
  • 1 teaspoon red food coloring
  • 1 teaspooon baking soda
  • 1 Tablespoon vinegar

Cream Filling:

  • 2 Tablespoons flour
  • 1/2 cup milk
  • 1/4 cup Crisco
  • 1/4 cup salted butter (at room temp)
  • 3/4 cup sugar
  • 1/2 teaspoon vanilla
  • pinch of salt

Icing:

  • 1/2 cup milk
  • 1/4 cup salted butter (cut into cubes)
  • 1 cups semi sweet chocolate chips
  • 1 teaspoons vanilla
  • 2 1/4 cups powdered sugar

DIRECTIONS:

Cake:

  • Preheat oven to 350F degrees.
  • Cream shortening and butter together and add sugar.  Mix well.
  • Add eggs, one at a time, beating on low between each one.  Beat until creamy.
  • Sift flour and salt together.
  • Add flour/salt, alternating with buttermilk, beating on low speed.  Do not over-beat.
  • Add food coloring and warm (not hot!) melted chocolate.  Mix on low speed.
  • Lastly, in a small cup mix together baking soda and vinegar and add to the batter while foamy.
  • Mix but do not over-beat.
  • Divide into two 9-inch pans that have been sprayed with cooking spray and have a circle of parchment paper set in the bottom.
  • Bake at 350F degrees for 25-30 minutes.  Check at 25 by inserting a toothpick.  When it comes out clean, cake is finished.
  • Remove cakes from oven and allow them to set in pans for 5-10 minutes.
  • Tip cakes out of pans on a cake rack and cool completely.

Filling:

  • While cake is baking, start to make filling.
  • In a small saucepan, cook flour and milk together on stove, stirring often until thick and smooth. Cool completely.
  • Add the rest of ingredients to a mixing bowl and cream together.
  • Add cooled flour mixture and beat on high until a light whipped cream consistency (about 5 to 8 minutes).
  • Trim layers of cooled cake and place filling between the two layers.

Icing:

  • In a saucepan on the stove, heat milk, butter (cut into cubes) and chocolate until completely melted and smooth.
  • Cool completely.  Add powdered sugar and vanilla and beat on high.  Frost top and sides of cake.
  • Enjoy!!!

Grandma's Red Chocolate Cream Cake!
My thoughts:  I have a lot of thoughts… At the front of my mind is this:  My grandma Ann is 95 years old and she made this cake well into her late 80’s for us.  At age 42 I am barely able to keep track of all these steps…I am very impressed by her baking and multi-tasking abilities!!!  Wow.

Chocolate Cream Cake!

Ok- other thoughts:  This cake tends toward dry.  Mine turned out great this time, but sometimes it’s a bit dry.  Be meticulous with your measurements and err toward less rather than more with the dry ingredients.  I also read that you can add a bit of oil to any cake recipe to moisten it up.  Might be worth trying?  That said- the flavor of this cake is out of this world- really, no other cake I’ve had tastes like this one.  It’s wonderful!

The filling….beat it FOREVER.  The biggest mistake I’ve made with this cake over the years is the cream filling.  You really do need to beat it for 5-10 minutes.  For a girl without a stand mixer this is an ETERNITY of beating filling, but you really have to.  It is soooooooooo good.  I think I need to double it next time, I like it so much.

The frosting is a glaze-type frosting.  It is very soft at first.  The best thing to do is to refrigerate about half of it until it is spreadable, frost the tops and sides, and then pour the remaining soft frosting over the top and just smooth it over the whole thing.  Eventually all of it hardens into a spectacular smooth fudge icing.  You will love it!

Grandma's chocolate cake!!

I hope you get a chance to try this incredible cake!  

Many thanks to grandma Ann for the wonderful recipe (and for celebrating my birthday by making this cake for so many years!)~  Love you!!

Grandma!

Celebrating grandma’s 95th birthday this year!

Cakes!!!  Other fun cake recipes!!!

Tie-Dye Cake with Blue Raspberry Frosting!Key Lime CakeStrawberry layer cakeChocolate Mousse Cake

Coconut Cupcakes

Posted on

Coconut Cupcakes!!

These coconut cupcakes are infused with coconut cream and topped with smooth coconut buttercream frosting….YUM!!!

Coconut Cupcakes!!!

Coconut is one of my very favorite flavors.  So many people dislike it and I just can’t understand!!  Starbucks used to have the most amazing coconut mochas– discontinued due to lack of interest.  Recently, Cheesecake Factory discontinued my favorite cheesecake- coconut cream pie.  What is this world coming to?

If you like coconut, you will enjoy these cupcakes so much- they are positively bursting with coconut flavor.  Honestly, they are my new favorite cupcake, followed closely by cookie dough cupcakes.  If you don’t like coconut you should make cookie dough cupcakes.  You need cupcakes today.

Yum…..

Coconut Cupcakes!!!

Here’s how to make them: (printable recipe)

INGREDIENTS: (makes 12 cupcakes)

Cupcakes

  • 1 ¼ cups of cake flour
  • 1/2 cup of sugar
  • 2 teaspoons baking powder
  • ¼ teaspoon salt
  • 6 tablespoons unsalted butter at room temperature
  • 3 egg whites and ½ egg yolk at room temp
  • 1 teaspoon clear vanilla extract
  • 1 teaspoon coconut extract
  • 1/3 cup cream of coconut (plus a little to brush on top)
  • 2 teaspoon water

Coconut Buttercream Icing:

  • 2 sticks (1 cup) of butter at room temperature.
  • 2 cups powdered sugar
  • 3 teaspoons coconut extract
  • 1/2 cup shredded coconut
  • White food coloring gel.

DIRECTIONS:

Cupcakes:

  • Preheat oven to 325F
  • Add flour, sugar, baking powder and salt to a large mixing bowl and using an electric mixer combine these dry ingredients well.
  • Cut (room temp!) butter into 1 tbs pieces.
  • Add these pieces one at a time to dry ingredients while blending on low speed.
  • Mix until butter pieces are separated into small bits (no bigger than pea-sized)
  • In a smaller bowl, whisk together the rest of ingredients.
  • Slowly add half of liquid mixture to dry, while mixing on medium.  Mix until completely combined.
  • Slowly add the rest of the liquid and mix on high for about a minute until well combined.
  • Divide batter into 12 cupcake liners in a cupcake tin.
  • Bake for 15-18 minutes until a toothpick inserted into middle comes out clean.
  • Allow cupcakes to cool in pan for about 5 minutes before transferring to a wire rack to cool completely.
  • Poke holes into tops of each cupcake and use a pastry brush to brush coconut cream on top of each cupcake.
  • Allow coconut cream to soak in while you make icing.

Coconut cupcakes!!

Icing:

  • Add all ingredients except shredded coconut into a mixing bowl and combine with a mixer on low.  Then whip on high until light and fluffy.
  • Frosting will be an off-white color because of the butter.  To make it more “coconut” colored you can add white food coloring gel to your desired shade of white.
  • Add shredded coconut and blend well.
  • Scoop icing on top of each cupcake using a cookie scoop.  Evenly divide icing among the 12 cupcakes.
  • Press coconut on top and sides of entire scoop of frosting.
  • Enjoy!

Coconut Cupcakes!!!

My thoughts:  There are so many fun little cupcake stores out there.  I’ve been trying them out and picking my favorites.  I’ve come to the conclusion that made-from-scratch cupcakes have more potential than boxed mixes.  Potential for both good and bad.  I’ve had some terrible cupcakes and some absolutely heavenly ones.  I’ve decided that I need to be brave and venture into developing my own from-scratch recipes for cupcakes.  This was my 1st attempt and I was really excited they turned out well!  If you need a QUICK coconut cupcake recipe, use a white cake mix with some coconut flavoring and this coconut buttercream.  Here’s to new adventures in life!  Enjoy!!  ~r

Coconut Cupcakes!!!
Love cupcakes?  Try one of our four most-viewed recipes!

NFL Cupcakes!!!!!!!!!  Strawberry Lemonade Cupcakes!!!!Gender reveal cupcakesDark Chocolate Ganache Cupcakes

Dark Chocolate Espresso Cookies

Posted on

Espresso Cookies!!!

Dark chocolate cookies infused with espresso powder.  Once you’ve had one you will be craving a plateful!!!  They are really easy to make, and since they are a cut-out cookie they can be made in any shape you want.  Aren’t the plain round ones so fun though???

Espresso Cookies!!!

Here’s how to make them:  (printable recipe)

INGREDIENTS: (makes 36 medium cookies)

  • 2 sticks (1 cup) butter, softened
  • 1 1/2cups sugar
  • 2 eggs
  • 3 teaspoons vanilla extract
  • 3 teaspoons instant Espresso Powder
  • 2/3 cup unsweetened cocoa powder
  • 3 cups flour
  • 1/2 teaspoon salt
  • 1/2 teaspoon baking powder

DIRECTIONS:

  • Cream together butter and sugar in a large mixing bowl.
  • Mix in eggs and then cocoa.
  • Place vanilla and Espresso Powder together in a small cup until coffee dissolves.  Add this mixture to the batter and mix until completely incorporated.
  • Gradually add dry ingredients and mix until smooth (use clean hands at the end, to knead into a soft ball of dough)
  • Wrap in plastic and chill for at least one hour.
  • Allow cookie dough to soften a little at room temperature
  • Preheat oven to 350F degrees.
  • Roll out cookie dough on floured counter.  
  • Cut into desired shapes and place on a parchment-lined baking sheet.  
  • Bake for 8 to 11 minutes until the edges are firm.
  • Gently slide parchment paper off of cookie sheet and onto a flat surface.  Cool completely before removing cookies from paper.

Dark Chocolate Espresso Cookies!

You can serve these cookies plain, or with a little cocoa powder sprinkled on top, or you can ice them.

I iced these with royal icing that I added a little espresso powder to.

For my royal icing recipe and techniques, click here.

To get the tiny heart shape at the center I used a little melted chocolate.  While the icing is still liquid, pipe a little circle just a bit above the center of the cookie.  Use a tooth pick to pull down through the icing and the chocolate, making a heart.  Allow the icing and chocolate to harden completely.  Enjoy!!

Chocolate Espresso Cookies!!!

My thoughts:  These are SO GOOD!!!!  I’m on a diet….and I wanted to eat them all….but I didn’t.  I gave them away.  sigh.  

These are simple to make and probably the easiest cut-out cookie dough I’ve ever worked with.  Not sticky or fussy at all!  I adore anything with coffee in it, so I would add even more espresso powder next time.  Make them to your taste by adjusting the amount you add.  Paired with a cup of coffee, they are  just…..perfect!  Enjoy!!!  ~r

Espresso Cookies!!!

A few other desserts that would go well with your coffee:

Brownie Oreo Cookie CupCinnamon Roll Cheesecake!!Chocolate molten lava cupcakesGerman Chocolate Pie!

Red Velvet Cookies with Cream Cheese Icing

Posted on

Red Velvet Cookies!!

These rich red velvet cookies are covered in a smooth cream cheese icing.  Add a glass of milk and you have the perfect dessert!

I like to experiment in the kitchen.  Usually it takes a few tries before I get something exactly the way I like it (ok, sometimes more than a few tries!)  These cookies were perfect the 1st time.  They are just beautiful cake-like cookies right out of the oven, and they are sooo easy to make.  They honestly could stand alone if you aren’t an icing fan.  The cream cheese icing is incredibly yummy though….so if you are like me and want icing on everything you eat, be sure to try this one!

Red Velvet Cookies!!!

Here’s how to make these yummy cookies: (printable recipe)

INGREDIENTS: (makes 24 medium cookies)

Cookies:

  • 1 cup brown sugar
  • 1 stick (1/2 cup) of butter (softened)
  • 1 egg (beaten)
  • 1/2 cup evaporated milk
  • Red food coloring (to desired shade)
  • 2 cups flour
  • 1/2 teaspoon baking soda
  • 1/2 teaspoon salt
  • 2 squares (1 oz. each) of unsweetened baking chocolate (melted)
  • 1 teaspoon of vanilla

Icing:

  • 4 oz (1/2 package) cream cheese (softened)
  • 1/4 cup of butter (softened)
  • 1/2 teaspoon vanilla
  • dash of salt
  • 2 cups powdered sugar
  • 1/2 cup white chocolate chips (melted)

DIRECTIONS:

Cookies:

  • Preheat oven to 375F degrees.
  • Cream together butter and brown sugar.
  • Add egg and blend well.
  • Put evaporated milk into a small bowl and stir in food color until a deep shade of red.
  • Add dry ingredients, alternating with the red evaporated milk.  (I used a mixer at this point to fully incorporate the red)
  • After batter is well combined, add the vanilla and melted chocolate and blend on low speed until completely combined.
  • Cover cookie sheets with parchment paper and use a medium cookie scoop to spoon dough on sheets.
  • Bake at 375F degrees for 10 minutes.
  • Slide cookies off sheet with parchment paper and allow them to cool on paper completely.

Icing:

  • On medium speed, beat together cream cheese, butter, vanilla, and salt until creamy.
  • Gradually add powdered sugar, beating until smooth.
  • Melt white chocolate chips in the microwave in 30 second increments, stirring between, until smooth.
  • Add melted white chocolate to icing and beat on low until completely combined.
  • Place in a zip-top bag fitted with a decorating tip and pipe frosting on top of cooled cookies.

Red velvet cookies with cream cheese icing!!

My thoughts:  These are easy and really so moist and flavorful.  Perfect with a cold glass of milk or a cup of coffee!  Hope you enjoy them!  ~r

Other fun cookie ideas:

Chocolate Chip Oatmeal CookiesGerman Chocolate CookieGingerbread Cookies!New Zealand Chocolate cookies

Malted Milkshake Cupcakes

Posted on

Malted Milkshake Cupcakes

Dark chocolate cupcakes topped with the creamiest malt frosting ever.  Like a malted milkshake minus the cup!

I have an addiction to chocolate malts.  Not chocolate shakes, just malts.  The creamy, chocolatey kind that you drink through a striped straw at the pool.  My mom makes the best chocolate malts ever.  They are really simple to make, but there’s just something about her leaning out of the patio door and asking, “Anyone want a malt?” that makes me smile.  It’s one of our summer traditions.

Moms Malts!!{Her easy recipe? Ice cream, malt powder, cocoa and milk~ a blender full of ice cream plus cocoa and malt to taste, and milk to desired consistency}

I wanted to make a frosting that tastes like a malt.  It took me a couple of tries, but I finally hit the mark.  It’s wonderfully creamy and smooth.  It is also a very soft whipped icing that must be kept refrigerated because it has milk in it, and because it will not keep a pretty piped finish if it gets warm.

Believe me, the flavor and texture are worth it!

Malted Milk Cupcakes

Here’s how to make these yummy cupcakes! (printable recipe)

INGREDIENTS:

  • One boxed dark chocolate cake mix (plus water, eggs and oil to make according to box)
  • 4 packets of Dream Whip
  • 1 1/2 cups of cold milk
  • 6 Tablespoons of unsweetened cocoa powder
  • 6 Tablespoons of malt powder
  • 1/2 -1 cup of powdered sugar (to desired consistency)

DIRECTIONS

  • Make cake mix according to box and bake in 24 cupcake liners placed in muffin tins.
  • Cool cupcakes completely.
  • Put Dream Whip, milk, cocoa powder, malt powder and powdered sugar into a mixing bowl and blend together.
  • Using a mixer, beat until stiff peaks form (3-4 minutes) 
  • Add extra powdered sugar if needed, to desired consistency.  This is a soft whipped frosting, so it won’t be the consistency of a stiff buttercream~ even with lots of powdered sugar.  (believe me, I tried!)
  • Spoon frosting into a zip-top bag fitted with a decorating tip and pipe frosting on cupcakes.
  • Refrigerate until serving and just before serving add a malted milk ball and sprinkle with cocoa powder if desired for garnish.

ENJOY!!!

Malted milk cupcakes!!!!

My thoughts:  these are *almost* as good as my moms malts.  This frosting is really yummy.  It would be a great filling for a layer cake too~ or even a filling for cupcakes.  You could fill chocolate cupcakes with this and then just spoon some chocolate ganache over the top.  Oh the possibilities!  Hope you get to try these and enjoy them as much as we did!  ~r

Malted Milk Cupcakes!!!More recipes you might like:

Chocolate Mousse CakeStrawberry layer cakeMini chocolate chip cookie cheesecakesCake balls filled with cream cheese frosting

Raspberry Lemon Cream Cups

Posted on

Raspberry Lemon Cream Cups!!!

These adorable chilled lemon and raspberry treats are creamy, sweet summer dessert perfection!

I love lemon and raspberry together and I just couldn’t resist trying a new flavor combination in my mini cheesecake pan !  The sweet raspberries and tart lemon cream are a perfect ending to any meal!  Want to try them???

Here’s how:  (printer friendly recipe)

Ingredients:

  • 40 Nilla Wafers
  • 4 Tablespoons of melted butter
  • 1 package (4-serving size) of instant lemon pudding
  • 1 1/2 cups of cold milk
  • 1 container of Cool Whip topping
  • 2-3 cups of fresh raspberries (about 60 berries)

Directions:

  • In a food processor or a large food chopper, crush Nilla wafers to fine crumbs.
  • Add melted butter to crumbs and pulse a few more times to combine.
  • Prepare mini cheesecake pan by placing metal disks in the bottom of each cup.
  • Evenly divide crumbs between all 12 cups.
  • Press firmly into bottom of each cup using a mini tart shaper or the end of a wooden spoon.
  • In a large mixing bowl, combine cold milk with packet of pudding mix.  Beat on medium for 2 minutes.
  • Mix in HALF of the Cool Whip topping (the rest will be used on top once dessert is frozen, so you can return it to the refrigerator).
  • Spoon/pour pudding mixture into a large zip-top bag and carefully clip a corner off.
  • Pipe filling into each cup, covering crust and filling only half way.
  • Place 4 to 5 fresh raspberries on top of filling in each cup.
  • Pipe filling over raspberries until it reaches top of cup (be sure to push filling down around berries and not just on top of them). You will probably have a little lemon filling left at the end. I can tell you from experience that Nilla Wafers dipped in this filling are AMAZING!!
  • Use a knife to level the tops of each cup.
  • Cover with plastic wrap and freeze for several hours (or overnight!)
  • Once frozen, (and just before serving) allow pan to warm just slightly at room temperature and then use your fingers to push up on metal disk and push each dessert out of the pan.
  • Remove metal disks from bottom crust.
  • Pipe remaining Cool Whip on top and garnish with remaining raspberries on top.

Raspberry Lemon Cream Cups!!!

These can be served frozen, or allowed to warm at room temperature for a little while before serving.  Don’t leave them at room temperature for longer than an hour or so, or your crust will start to get soggy!

My thoughts:  I cannot even think of the words to describe how yummy these little cups are.  Plus they are EASY to make and quick (except for the freezer time, of course!)  If you do not have a mini cheesecake pan, you can make these in cupcake liners in a muffin tin…or you could get a mini-cheesecake pan and add to the fun in your life.  I absolutely love mine!!!  So many possibilities!!

Raspberry Lemon Cream Cup!!!

Other recipes that use the mini-cheesecake pans:

Frosty Almond Joy Cups!Mini Cookie Dough CheesecakeMini Pineapple Upside Down CakesFrozen S'mores Cups

Key Lime Layer Cake

Posted on

Key Lime Cake

Moist cake layered with buttercream and tart key lime filling.  A perfect summer treat!

Key lime pie is one of my favorite desserts.  It’s just so refreshing and fun!  Whenever I am pondering the question of what dessert to try in a restaurant I am always caught between chocolate and anything key lime.

I’ve already done a few key lime recipes here on Easybaked, but never a cake.  Until today…..

Key Lime Cake

The key lime filling is tart, but the sweet buttercream layered with it makes each bite a refreshing treat!

Here’s how to make it: (printable recipe)

INGREDIENTS:

  • One boxed yellow cake mix (with eggs, oil and water to make according to package)
  • 1 cup of key lime juice
  • 1 can (14 oz) of sweetened condensed milk
  • 1 egg
  • 2 sticks (8 oz.) of salted butter
  • 2 sticks (8 oz.) of unsalted butter
  • 3 cups of powdered sugar
  • 2 teaspoons of clear vanilla
  • 1/4 cup crushed graham crackers

DIRECTIONS:    (make filling 1st to save time)

Cake:

  • Make cake mix according to package and bake in two 8 or 9 inch round pans.
  • Turn cakes out of pans onto a cooling rack and cool completely.

Filling:

  • In a medium mixing bowl blend together key lime juice, sweetened condensed milk and egg until combined.
  • Pour into a small casserole dish and bake at 325F degrees for 15-20 minutes until center is set.
  • Cool completely (I make this 1st and place it in the fridge while I make the cake and frosting)

Frosting:

  • In a large mixing bowl, add softened butters, powdered sugar and vanilla.
  • Beat on high for several minutes until frosting is light and very fluffy.

Putting the cake together:

  • Trim the tops of cakes to make them flat using a large serrated knife.
  • Cut each cake into 2 layers using the same serrated knife.
  • Place 1st layer on a serving plate and lightly layer with frosting.
  • Spread 1/3 of the cooled key lime filling over layer
  • Place 2nd layer on top and repeat until last layer has been placed on top.
  • Frost entire cake (top and sides) with buttercream frosting.
  • Crush a few graham crackers and gently press the crumbs along the sides of the cake.
  • Decorate as desired.  I used little dollops of extra frosting and little lime green chocolates.

Key lime cake!!!(Aren’t they cute?!?)

Key Lime Cake!!

Key Lime Cake!!

Key Lime Cake!! 

My thoughts:  I love this cake so much!  It’s not only one of my favorite flavors, but it’s pretty and it holds together so well and cuts beautifully!  If you love key lime like I do, this is the cake for you!  I hope you get a chance to try it!!!    Enjoy!  ~r

Key Lime Cake!!!

Other layer cake recipes you might enjoy:

Strawberry layer cakePeanut Butter Cup Layer CakeStrawberry-Lemonade Layer CakeMedovnik in Prague

K-cup Cupcakes

Posted on

K-cup cupcakes!!

These  mini vanilla cupcakes are topped with the yummiest fondant and decorated like Keurig K-cups!  So fun!!!

My friend and coworker Mary just got a new job.  When I was thinking about her going-away party I just kept wondering how I could make a dessert that looked like a K-cup coffee pod.  Mary is known in our lab as the K-cup supplier.  Anyone who finds themselves without a coffee pod can find one in Mary’s supply…she literally orders by the case online and at any given time she has maybe 10 different flavors.  Now that she’s gone we really miss her (and her coffee!)
This is less of a recipe and more of an “idea” post.  It was a good chance for me to practice with the fondant recipe my friend Megan gave me a couple of months ago and a fun little art project to challenge my (terrible!) painting skills!
K-cup cupcakes!!!!

(It was also really a fun project to take pictures of!!!)
Want to know how to do this crazy edible art project?
Here it is:

  • Make thick buttercream icing and fondant first.  It’s easiest if I just send you to my original fondant recipe for the tutorial and directions.  Just click here to open that page.
  • For the cupcakes just use your favorite cupcake recipe (which for me was a white cake mix!)
  • I used little cocktail nut cups as my cupcake liners, because they look like the sides of the K-cup pods, but you could certainly use mini white cupcake liners.
  • Place the liners in mini muffin tins and fill about halfway up with cake batter (under-fill them a little, so that the tops bake relatively flat and not mounded up like a typical cupcake)
  • Bake according to your recipe.  My mini cupcakes baked for 12 minutes at 350F degrees.
  • Color fondant as desired and roll it flat.  Cut it into circles that are the size of the cupcake tops.  I used a small round cookie cutter.
  • Use thick buttercream to frost a smooth layer on the top of a cooled cupcake and then immediately press a fondant circle on top of the buttercream.
  • Cut colored fondant into any shapes you might need on top and use a small amount of water  to attach these  shapes to the top of the fondant circle.

K-cup cupcakeK-cup cupcakes!

  • Once those extra pieces are attached, use a small brush to wipe away excess powdered sugar and then use gel food coloring and a fine tipped brush to paint on the fondant.  I used an actual pod as a model to paint from.

Paint cupcake with food color gels.

(note: you might need to add a little white food coloring to the dark colors to make them show up- otherwise your dark blues and greens will look like black when used as paint.)

Be creative and use your imagination!  I just pulled all of my pod flavors out and tried to pick ones that were fun – but also ones I thought I could handle copying!  I wanted to do a Starbucks pod- but that logo…!  Yikes.  No way I could paint anything that looked like that!!

K-cup cupcakes!!!!K-cup cupcakes!!

My thoughts:  These aren’t what I would qualify as easy, but they are really a fun afternoon project.  Very relaxing.  I’m POSITIVE you all can paint better than I, and if you like to just create and paint and color you will love this project!  Take your time and enjoy the process. (and don’t actually try to brew one- lol!  I had someone ask me about that and I had to explain that the above picture is simply a creative presentation of a cupcake!!)

I’m dedicating this post to you Mary!!  I miss working with you and I hope your new coworkers realize how lucky they are to have you!!!

This is also a shout out to Keurig and the genius of those delicious little coffee pods– you make every morning so much happier for me!!!  Lots of love from Easybaked to all of you!  ~r

K- cup cupcakes!!!

Other mini desserts you might enjoy:

Cookie Dough CupcakesChocolate Raspberry Mini CupcakesRich Chocolate Ganache Mini CupcakesMint Creme Brownie Cups