Category Archives: Cupcakes

Baked Alaska Cupcakes

Posted on

Baked Alaska Cupcakes!!!!
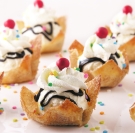
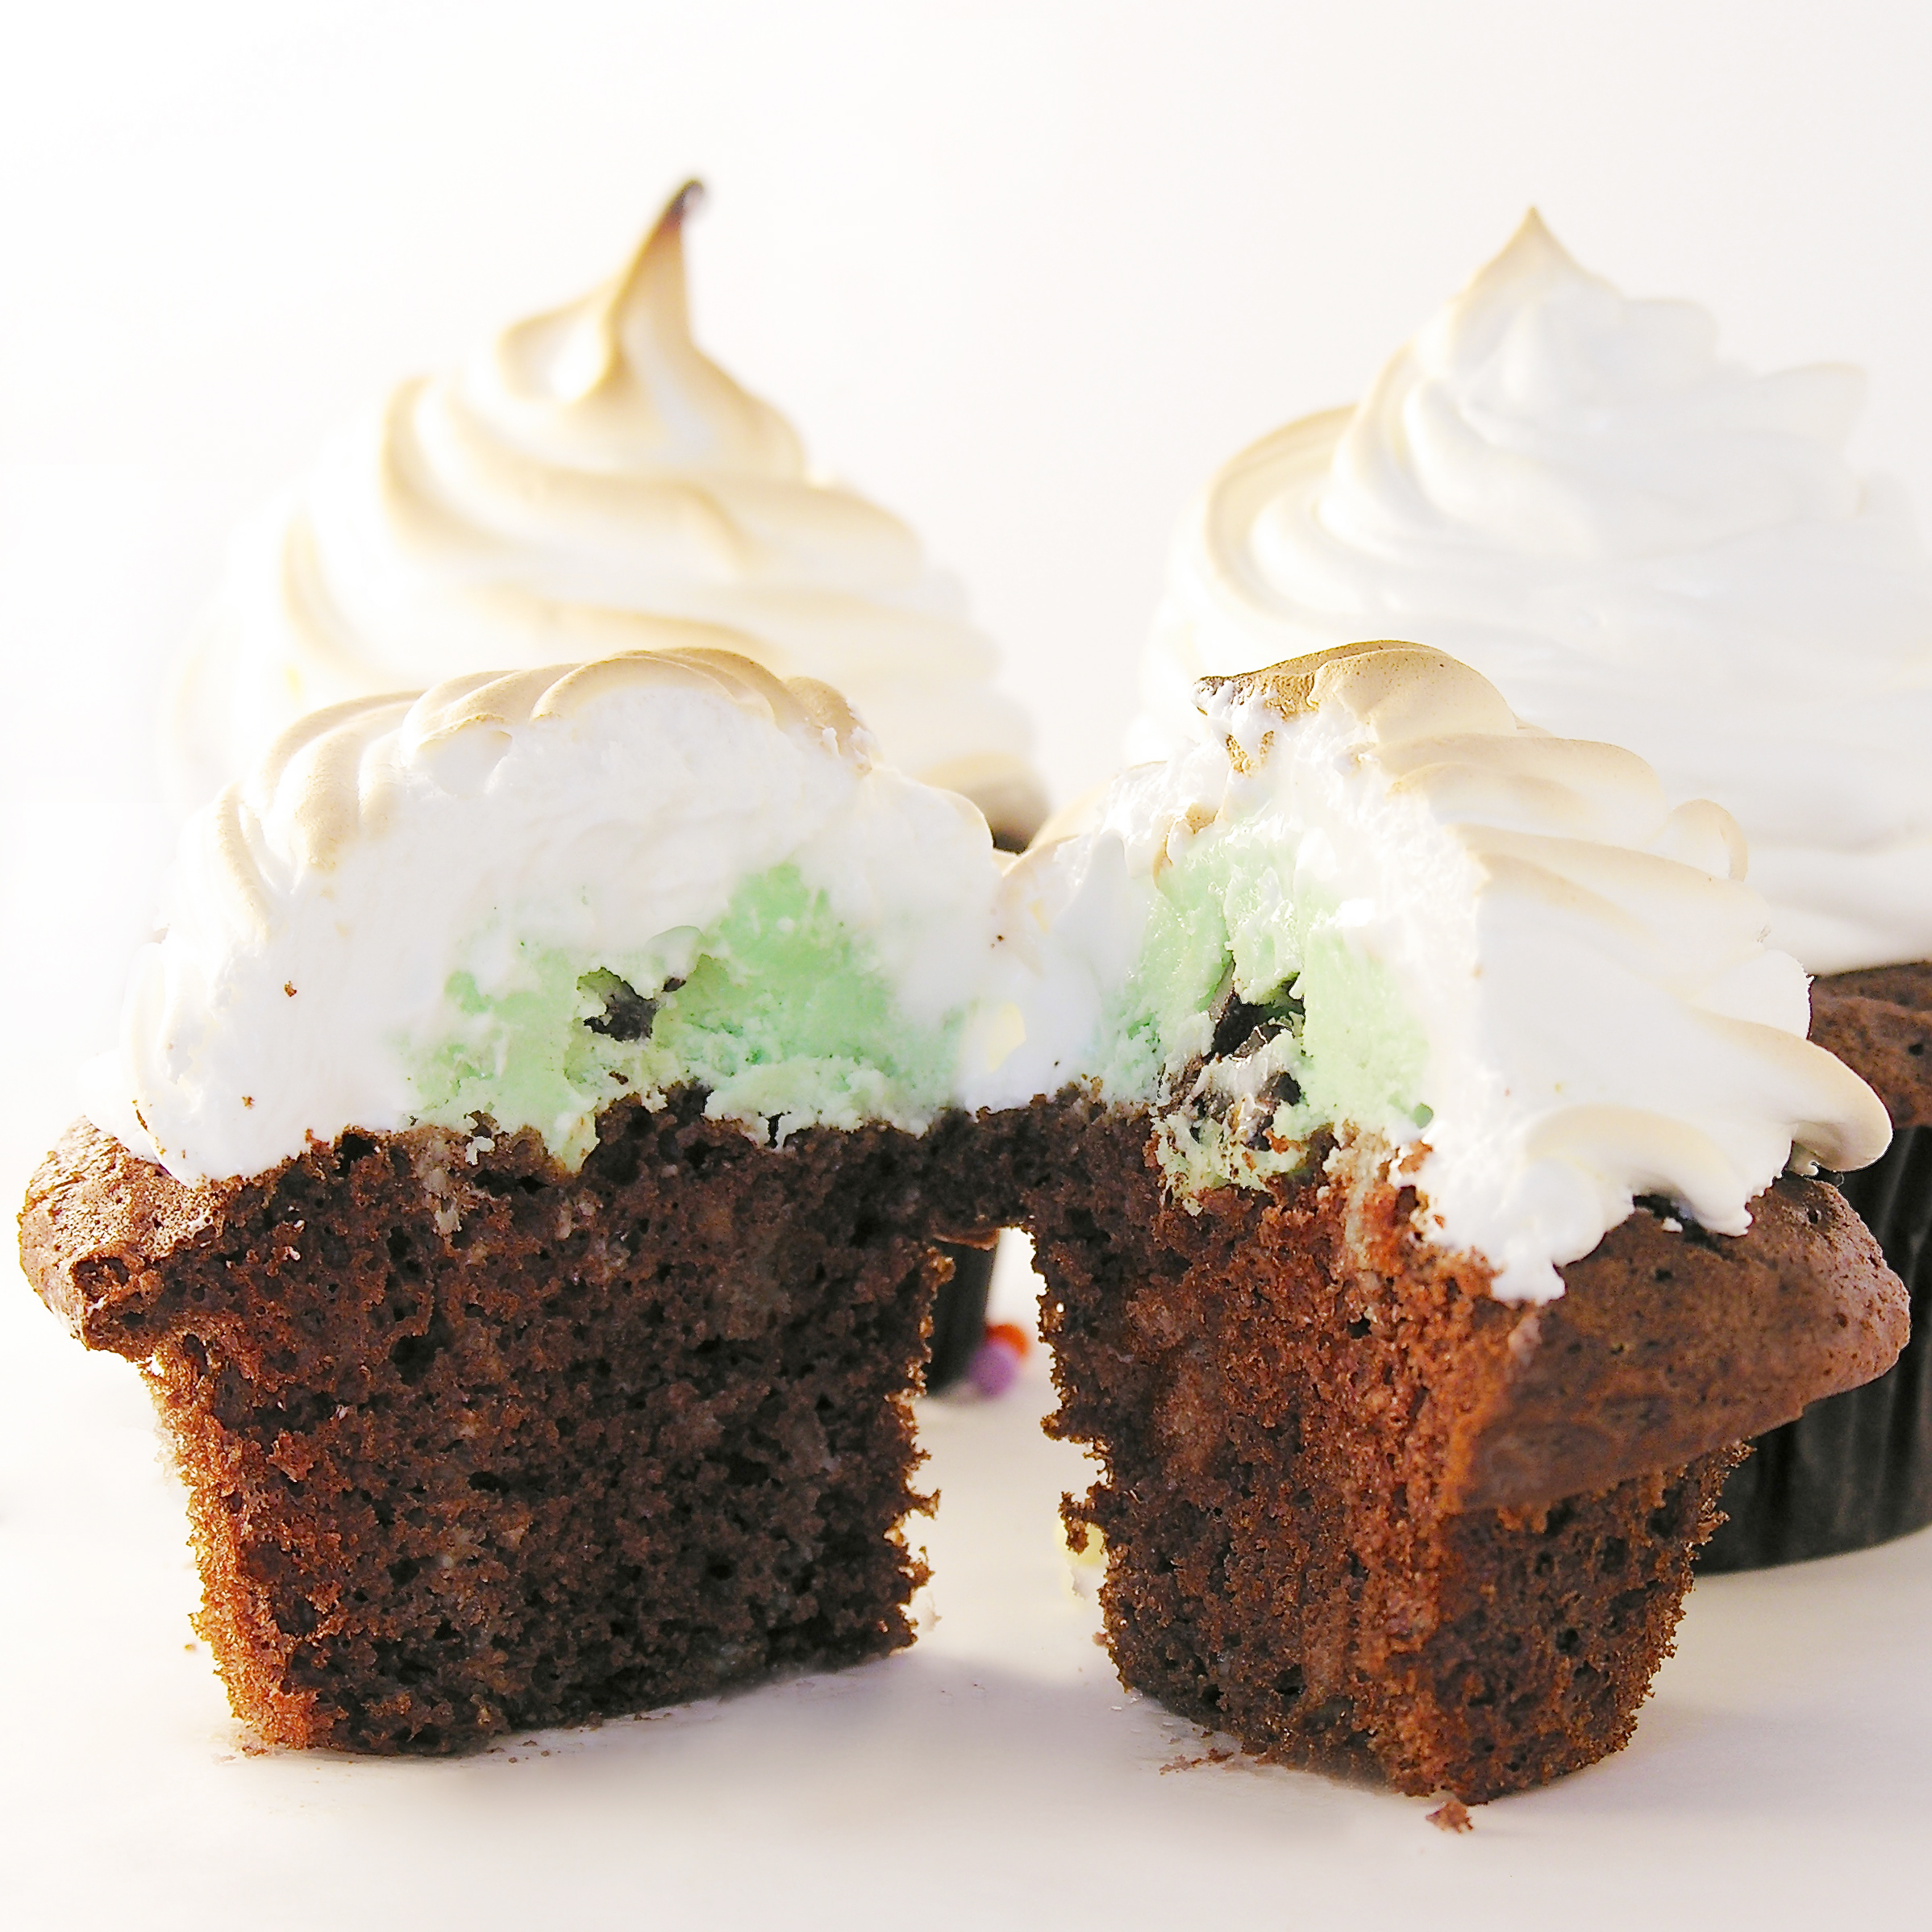
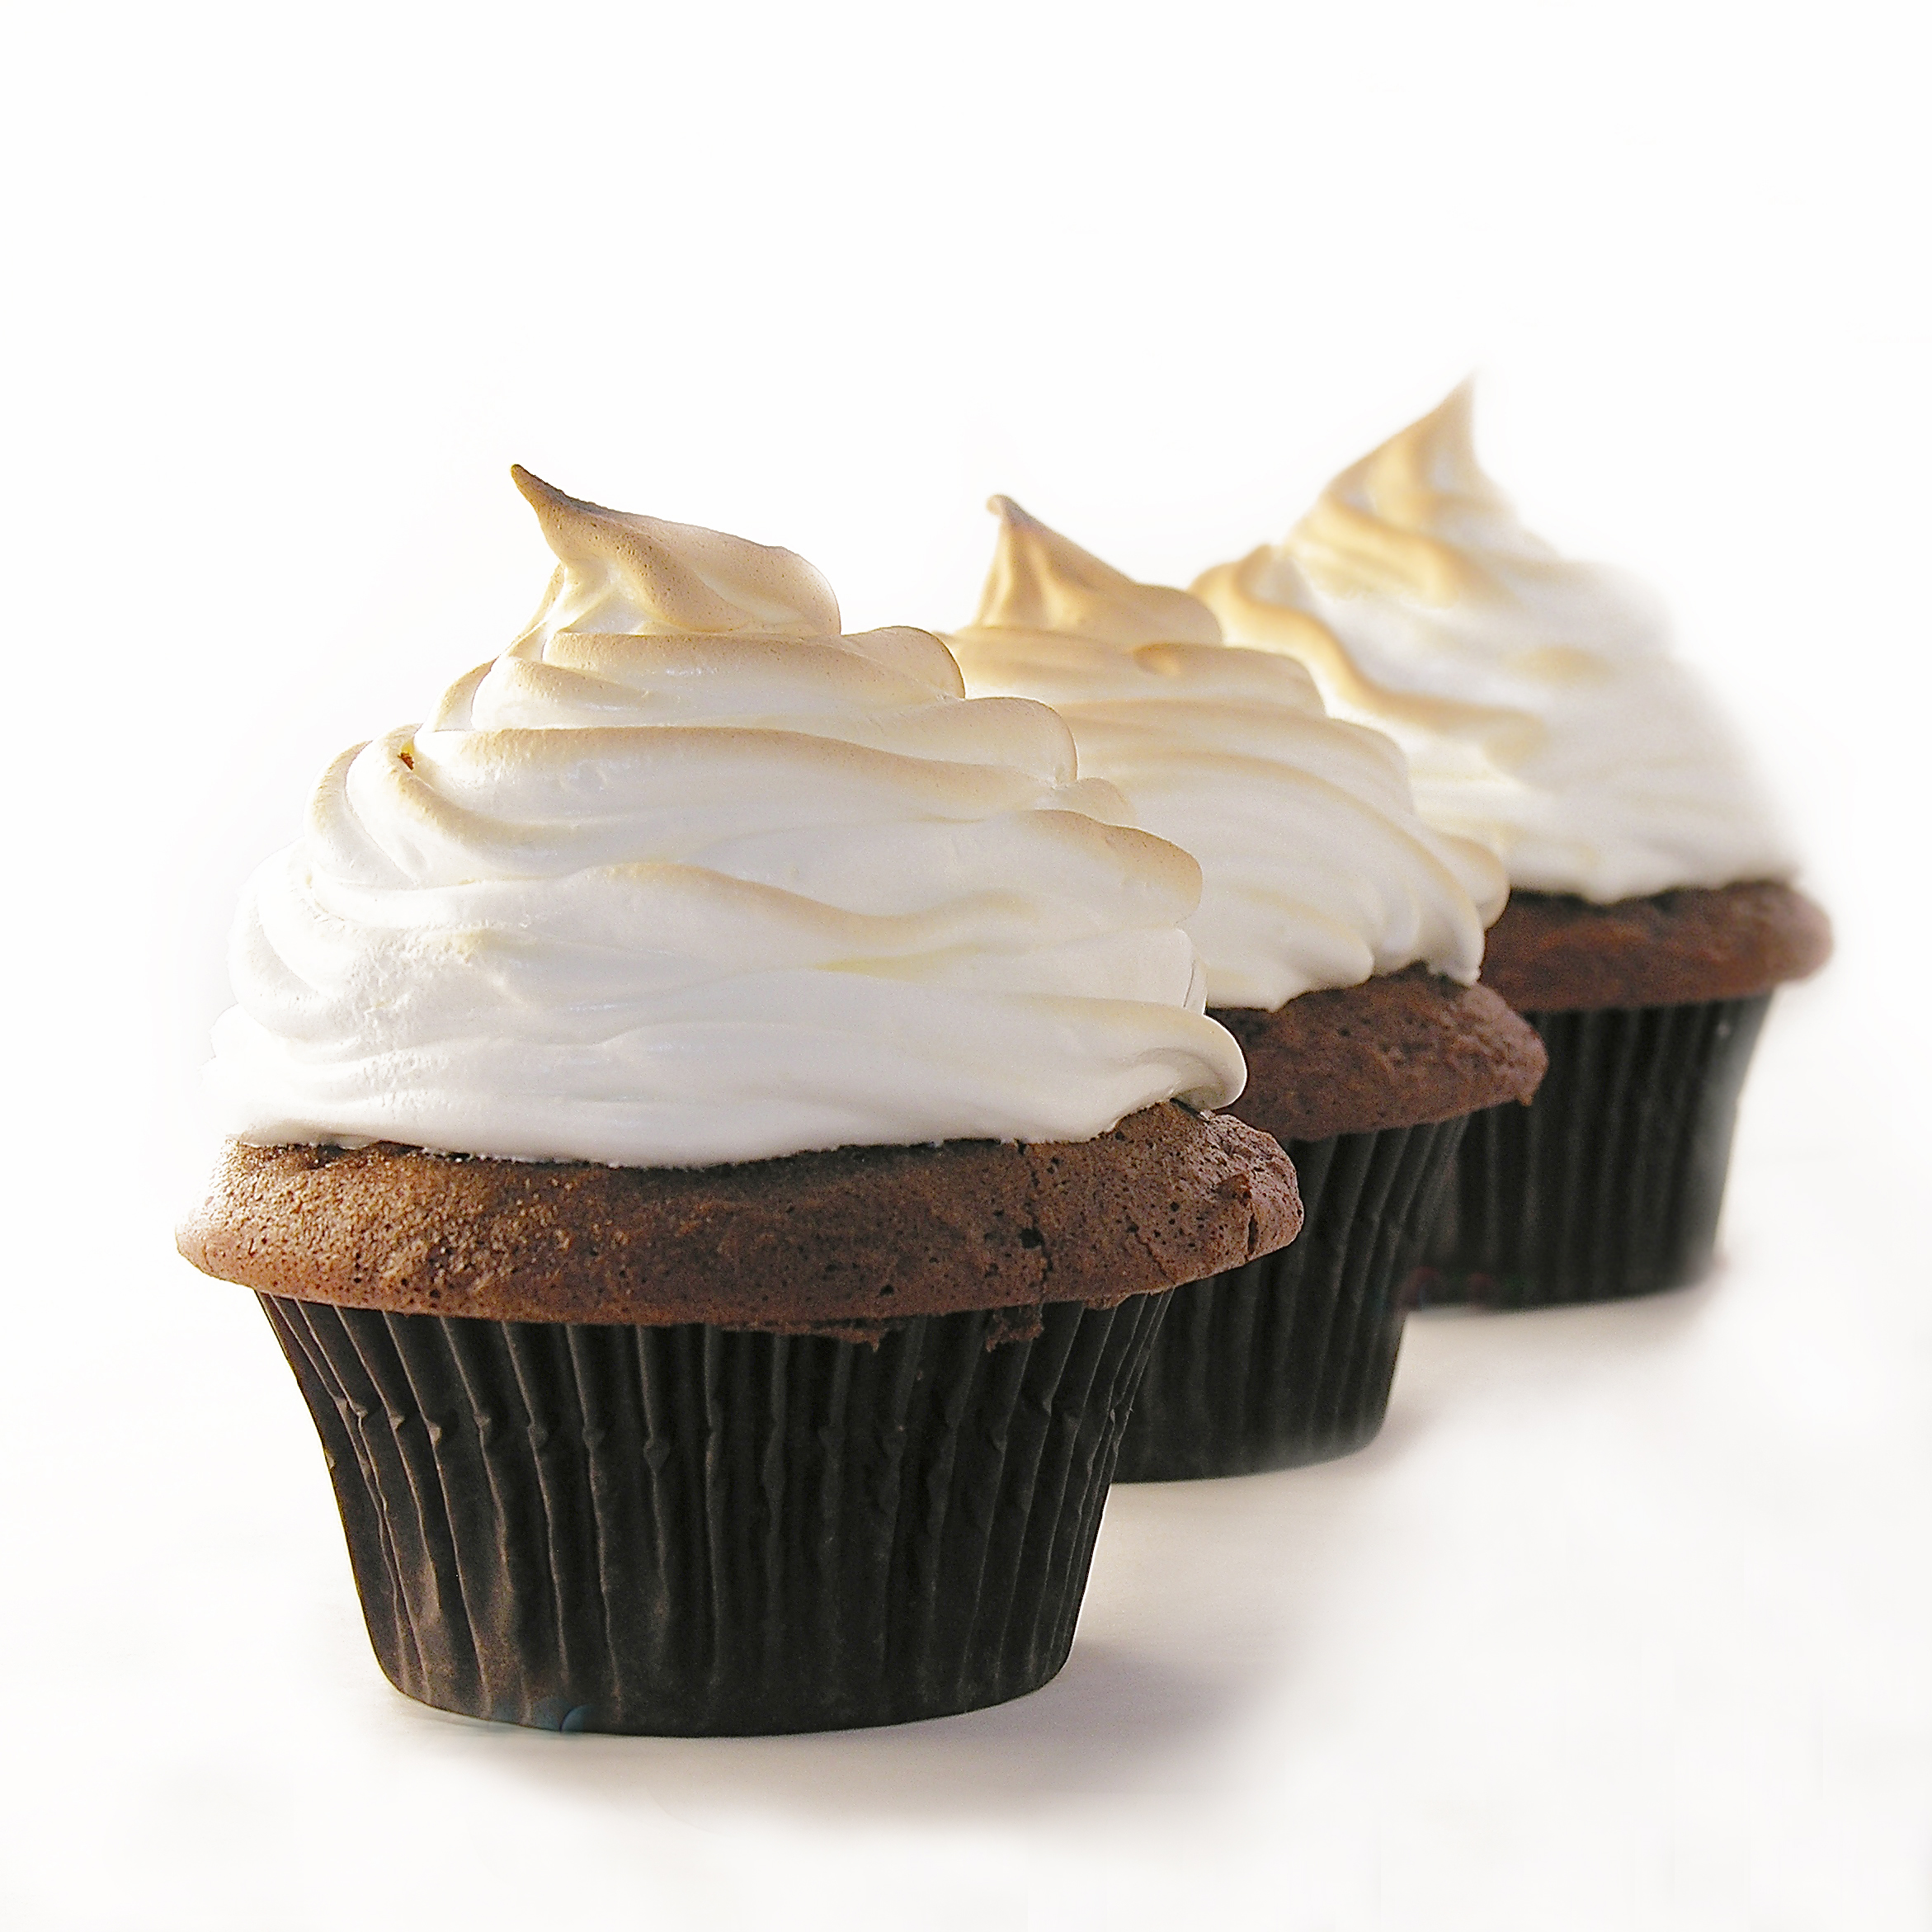
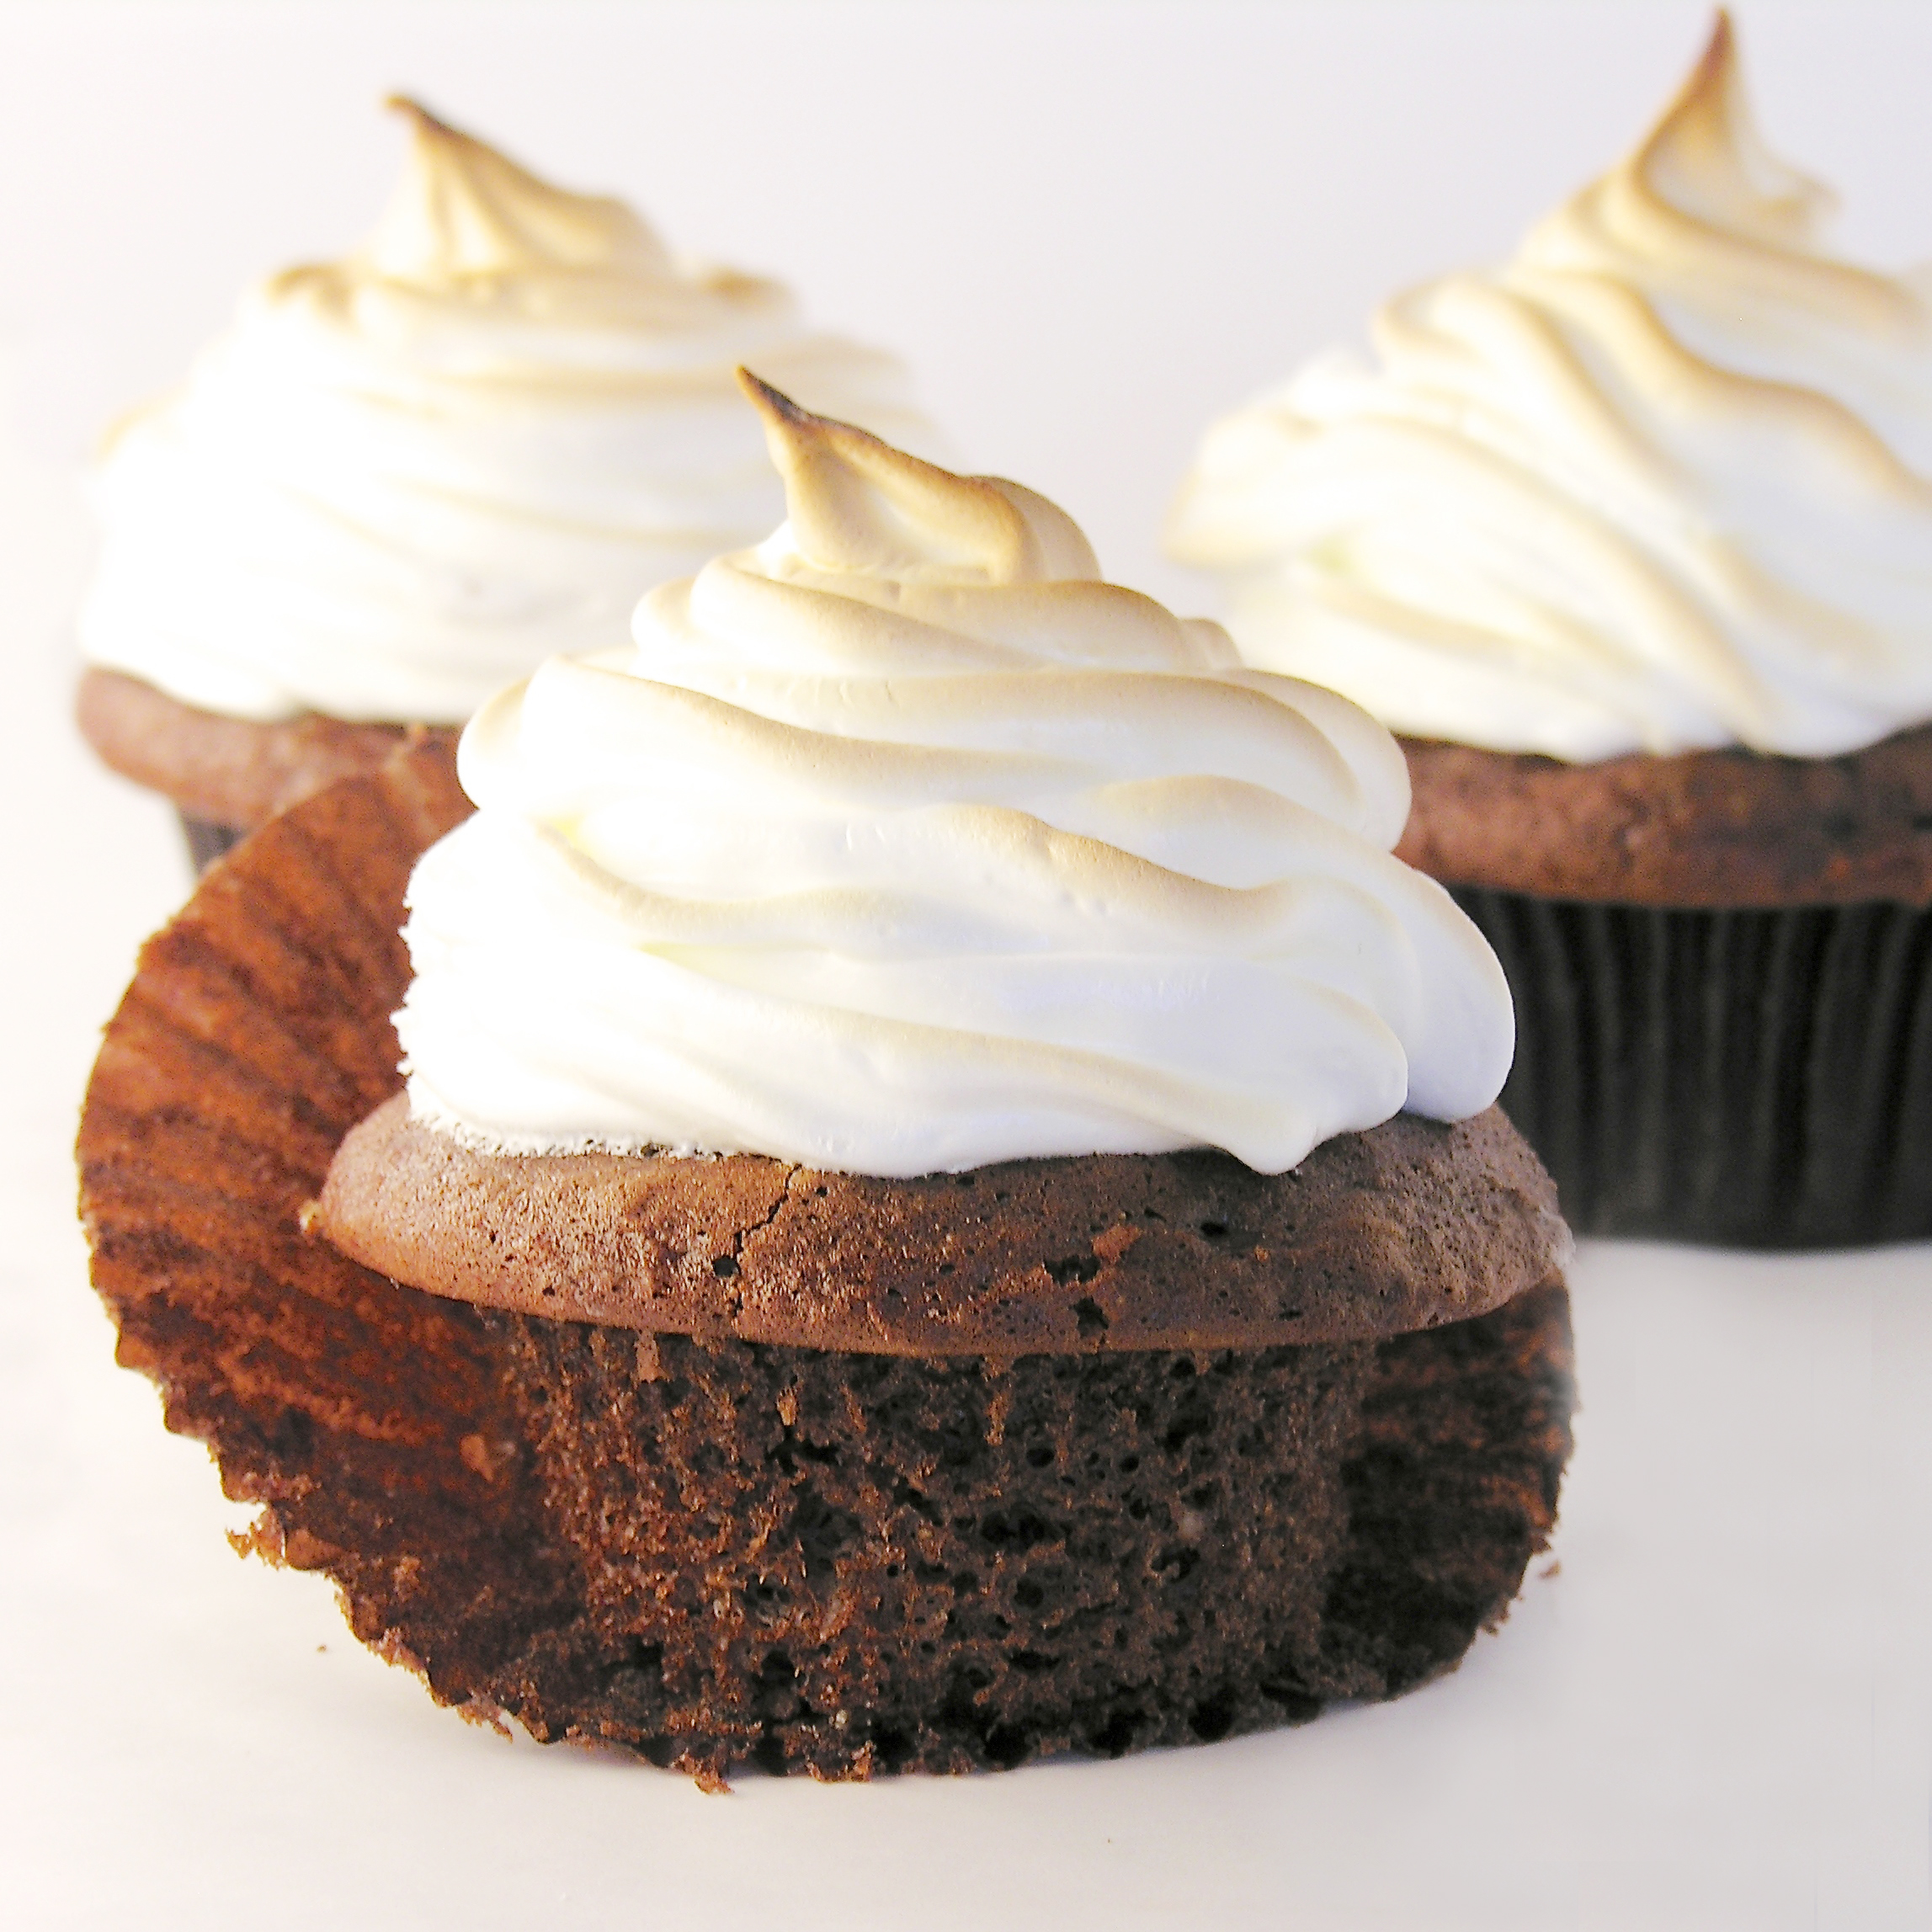
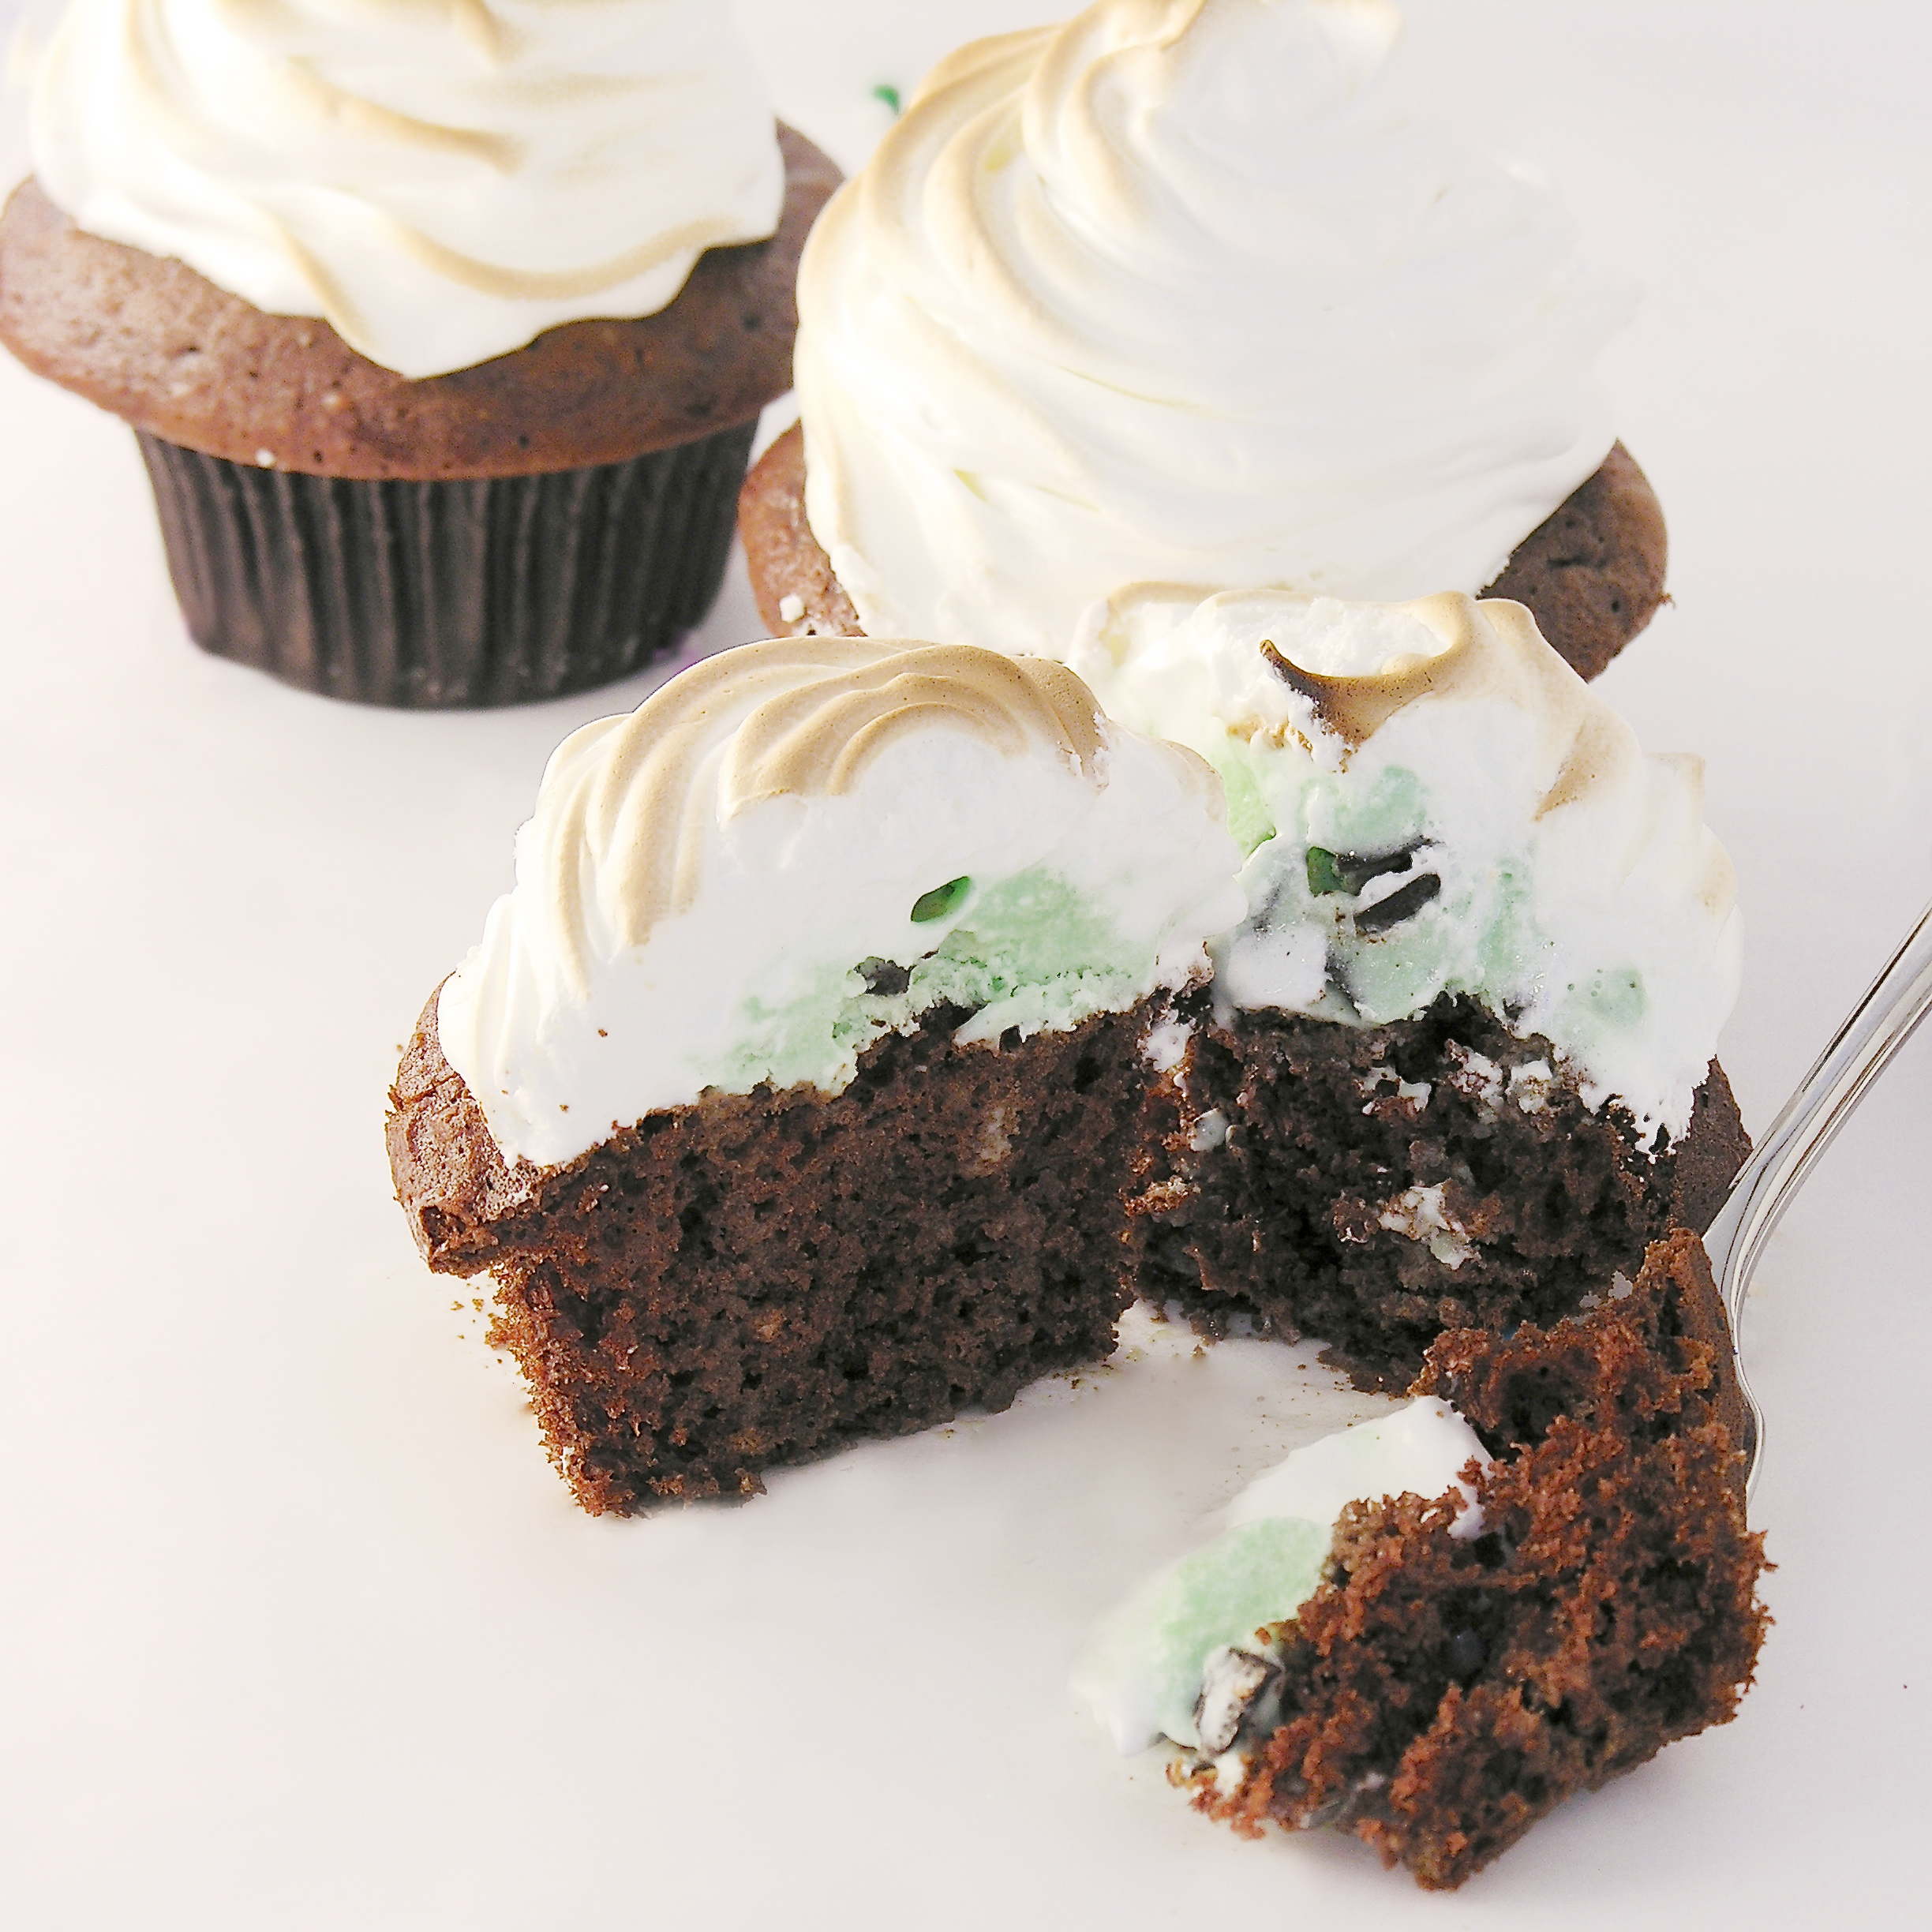
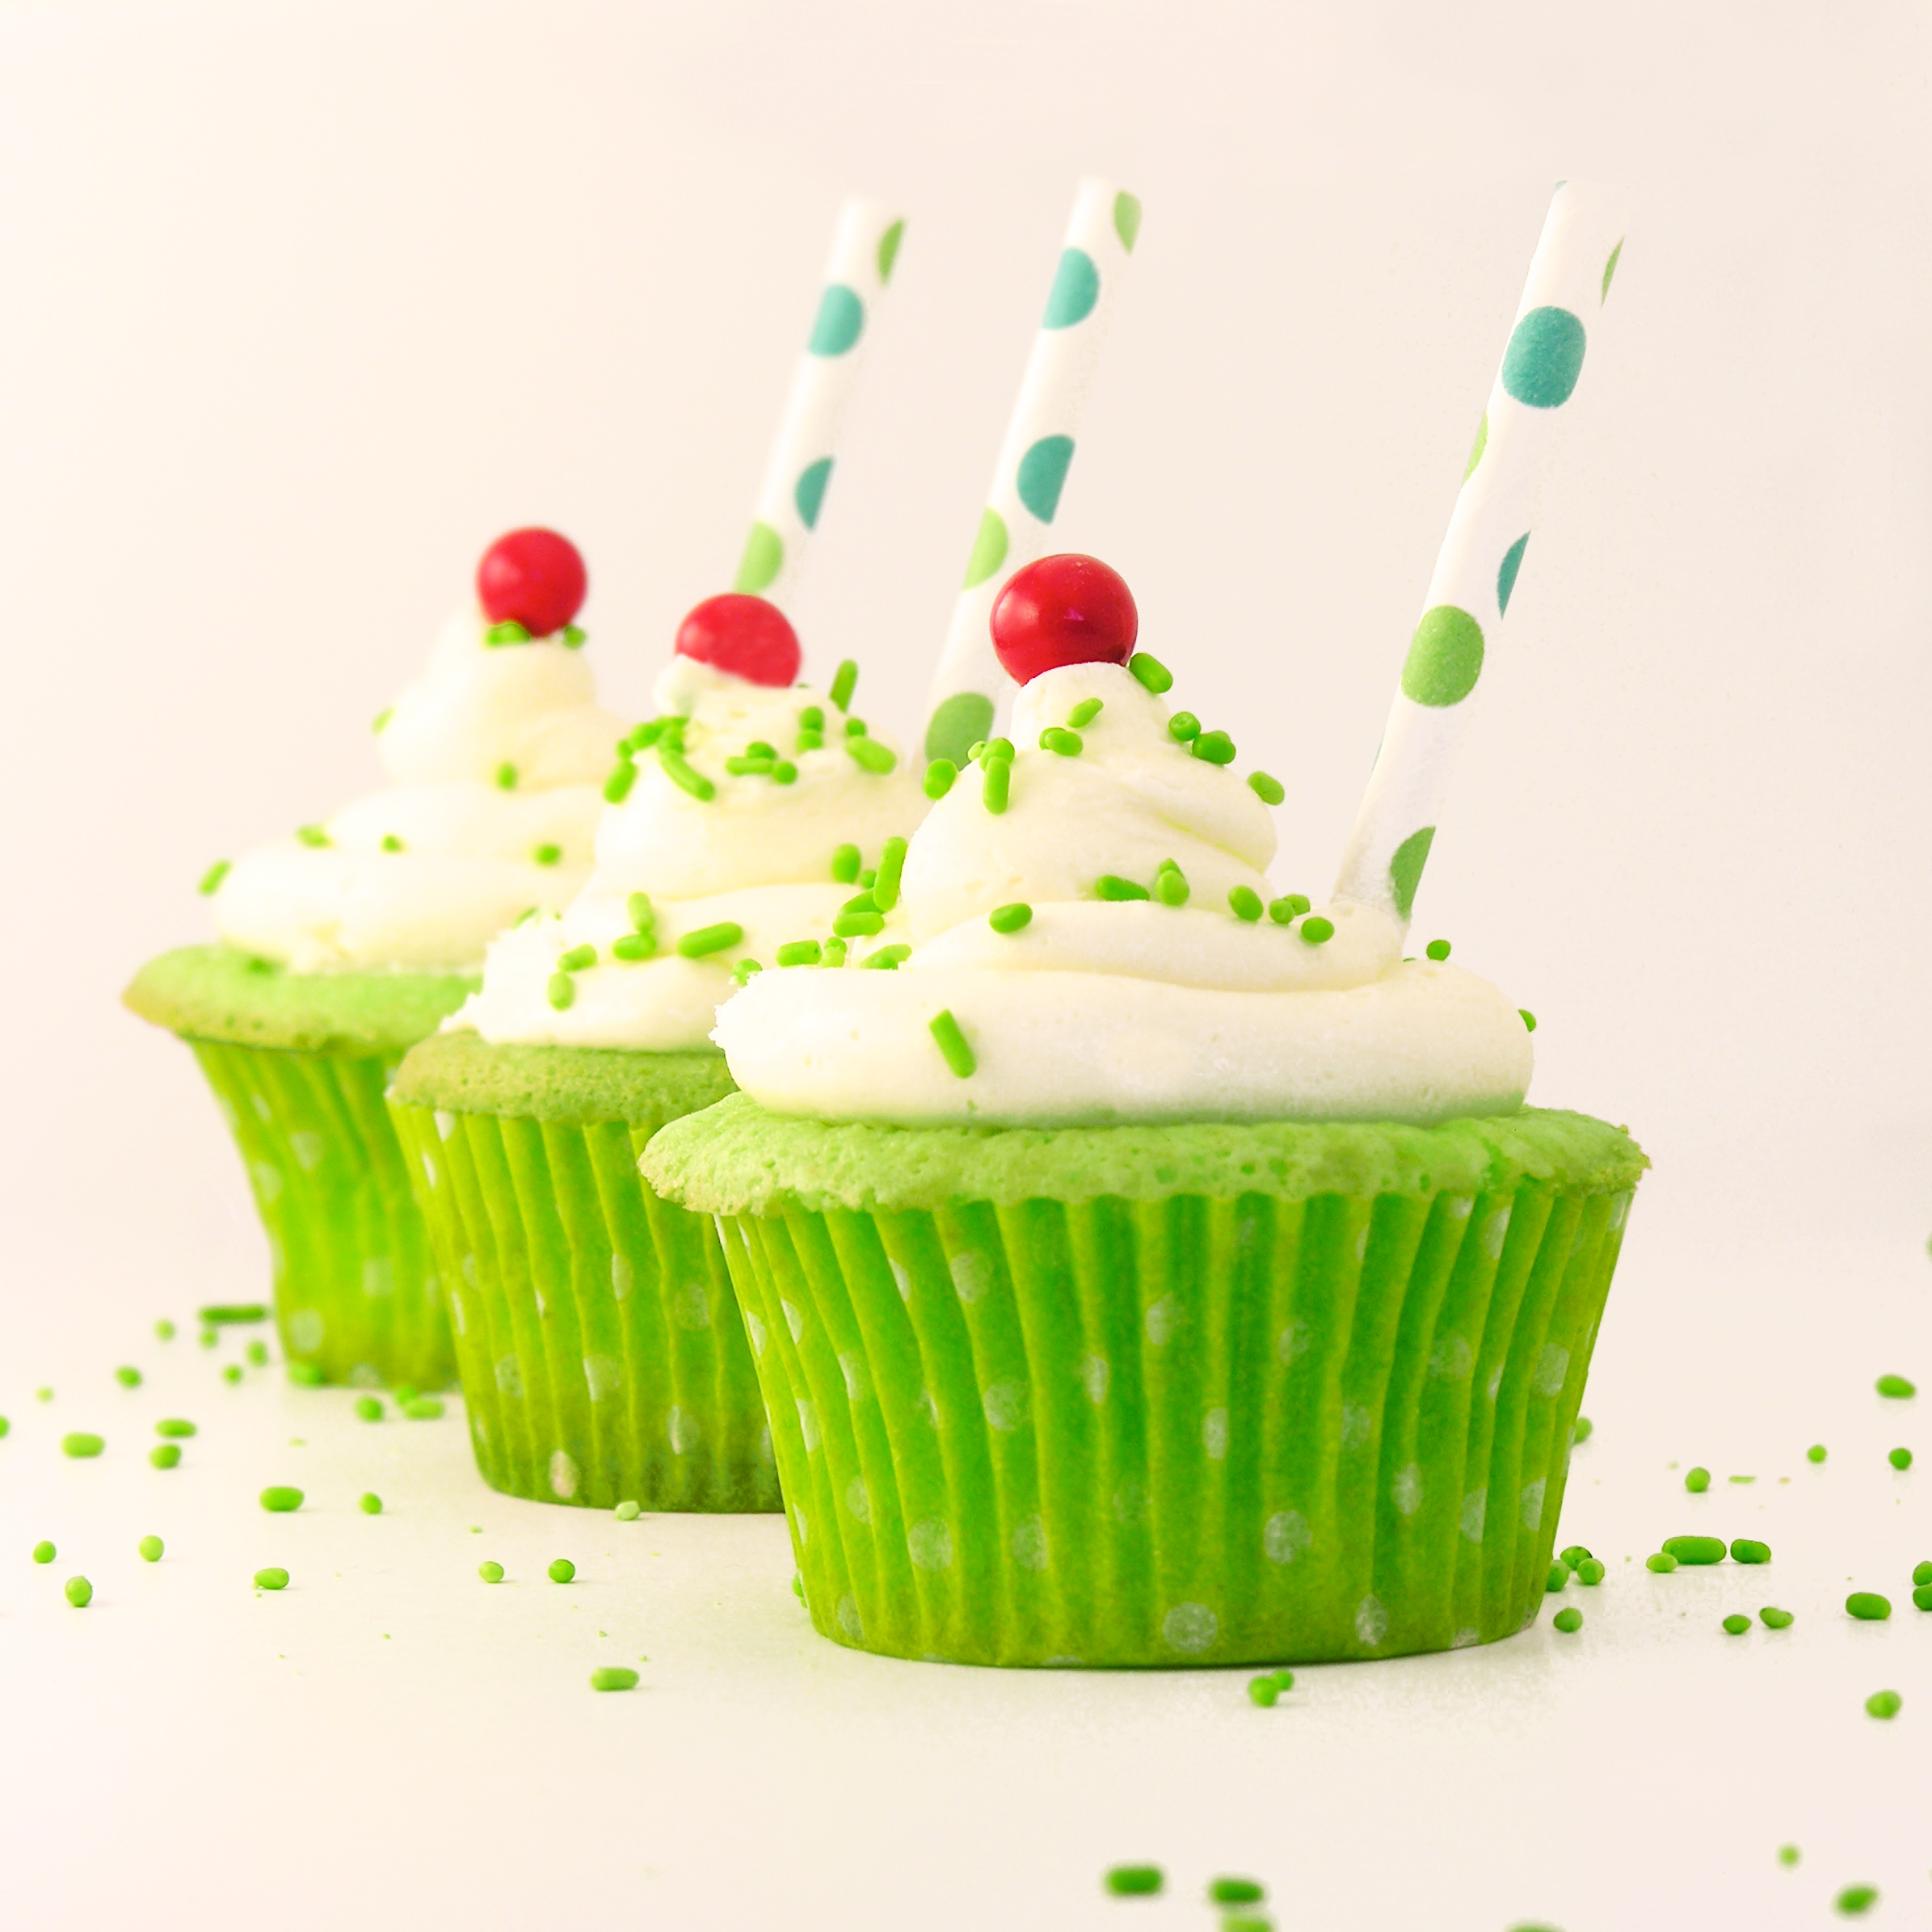
Rich chocolate cupcakes topped with a scoop of ice cream and a cloud of toasted marshmallow meringue. Best. Dessert. Ever!!!!!

Every year for Christmas our family goes out to an incredible restaurant near Marshall, MI called Win Schulers. They have the most amazing prime rib…oh my.  Anyway, within a week of Christmas it is my birthday, my mom’s birthday and my sister-in-law’s birthday.  Schuler’s gives you a Baked Alaska for your birthday….so it’s a feast of Baked Alaska and it is SO good.  About 2 weeks ago I was craving it and suddenly was struck by the idea of making it in cupcake form.  A.M.A.Z.I.N.G.  Just go and make these.  Use your favorite ice cream.  You will love them…!

Baked Alaska Cupcakes!

Here’s the recipe: (printable version)

INGREDIENTS:

  • One boxed chocolate cake mix (plus the oil, water and eggs to make according to package)
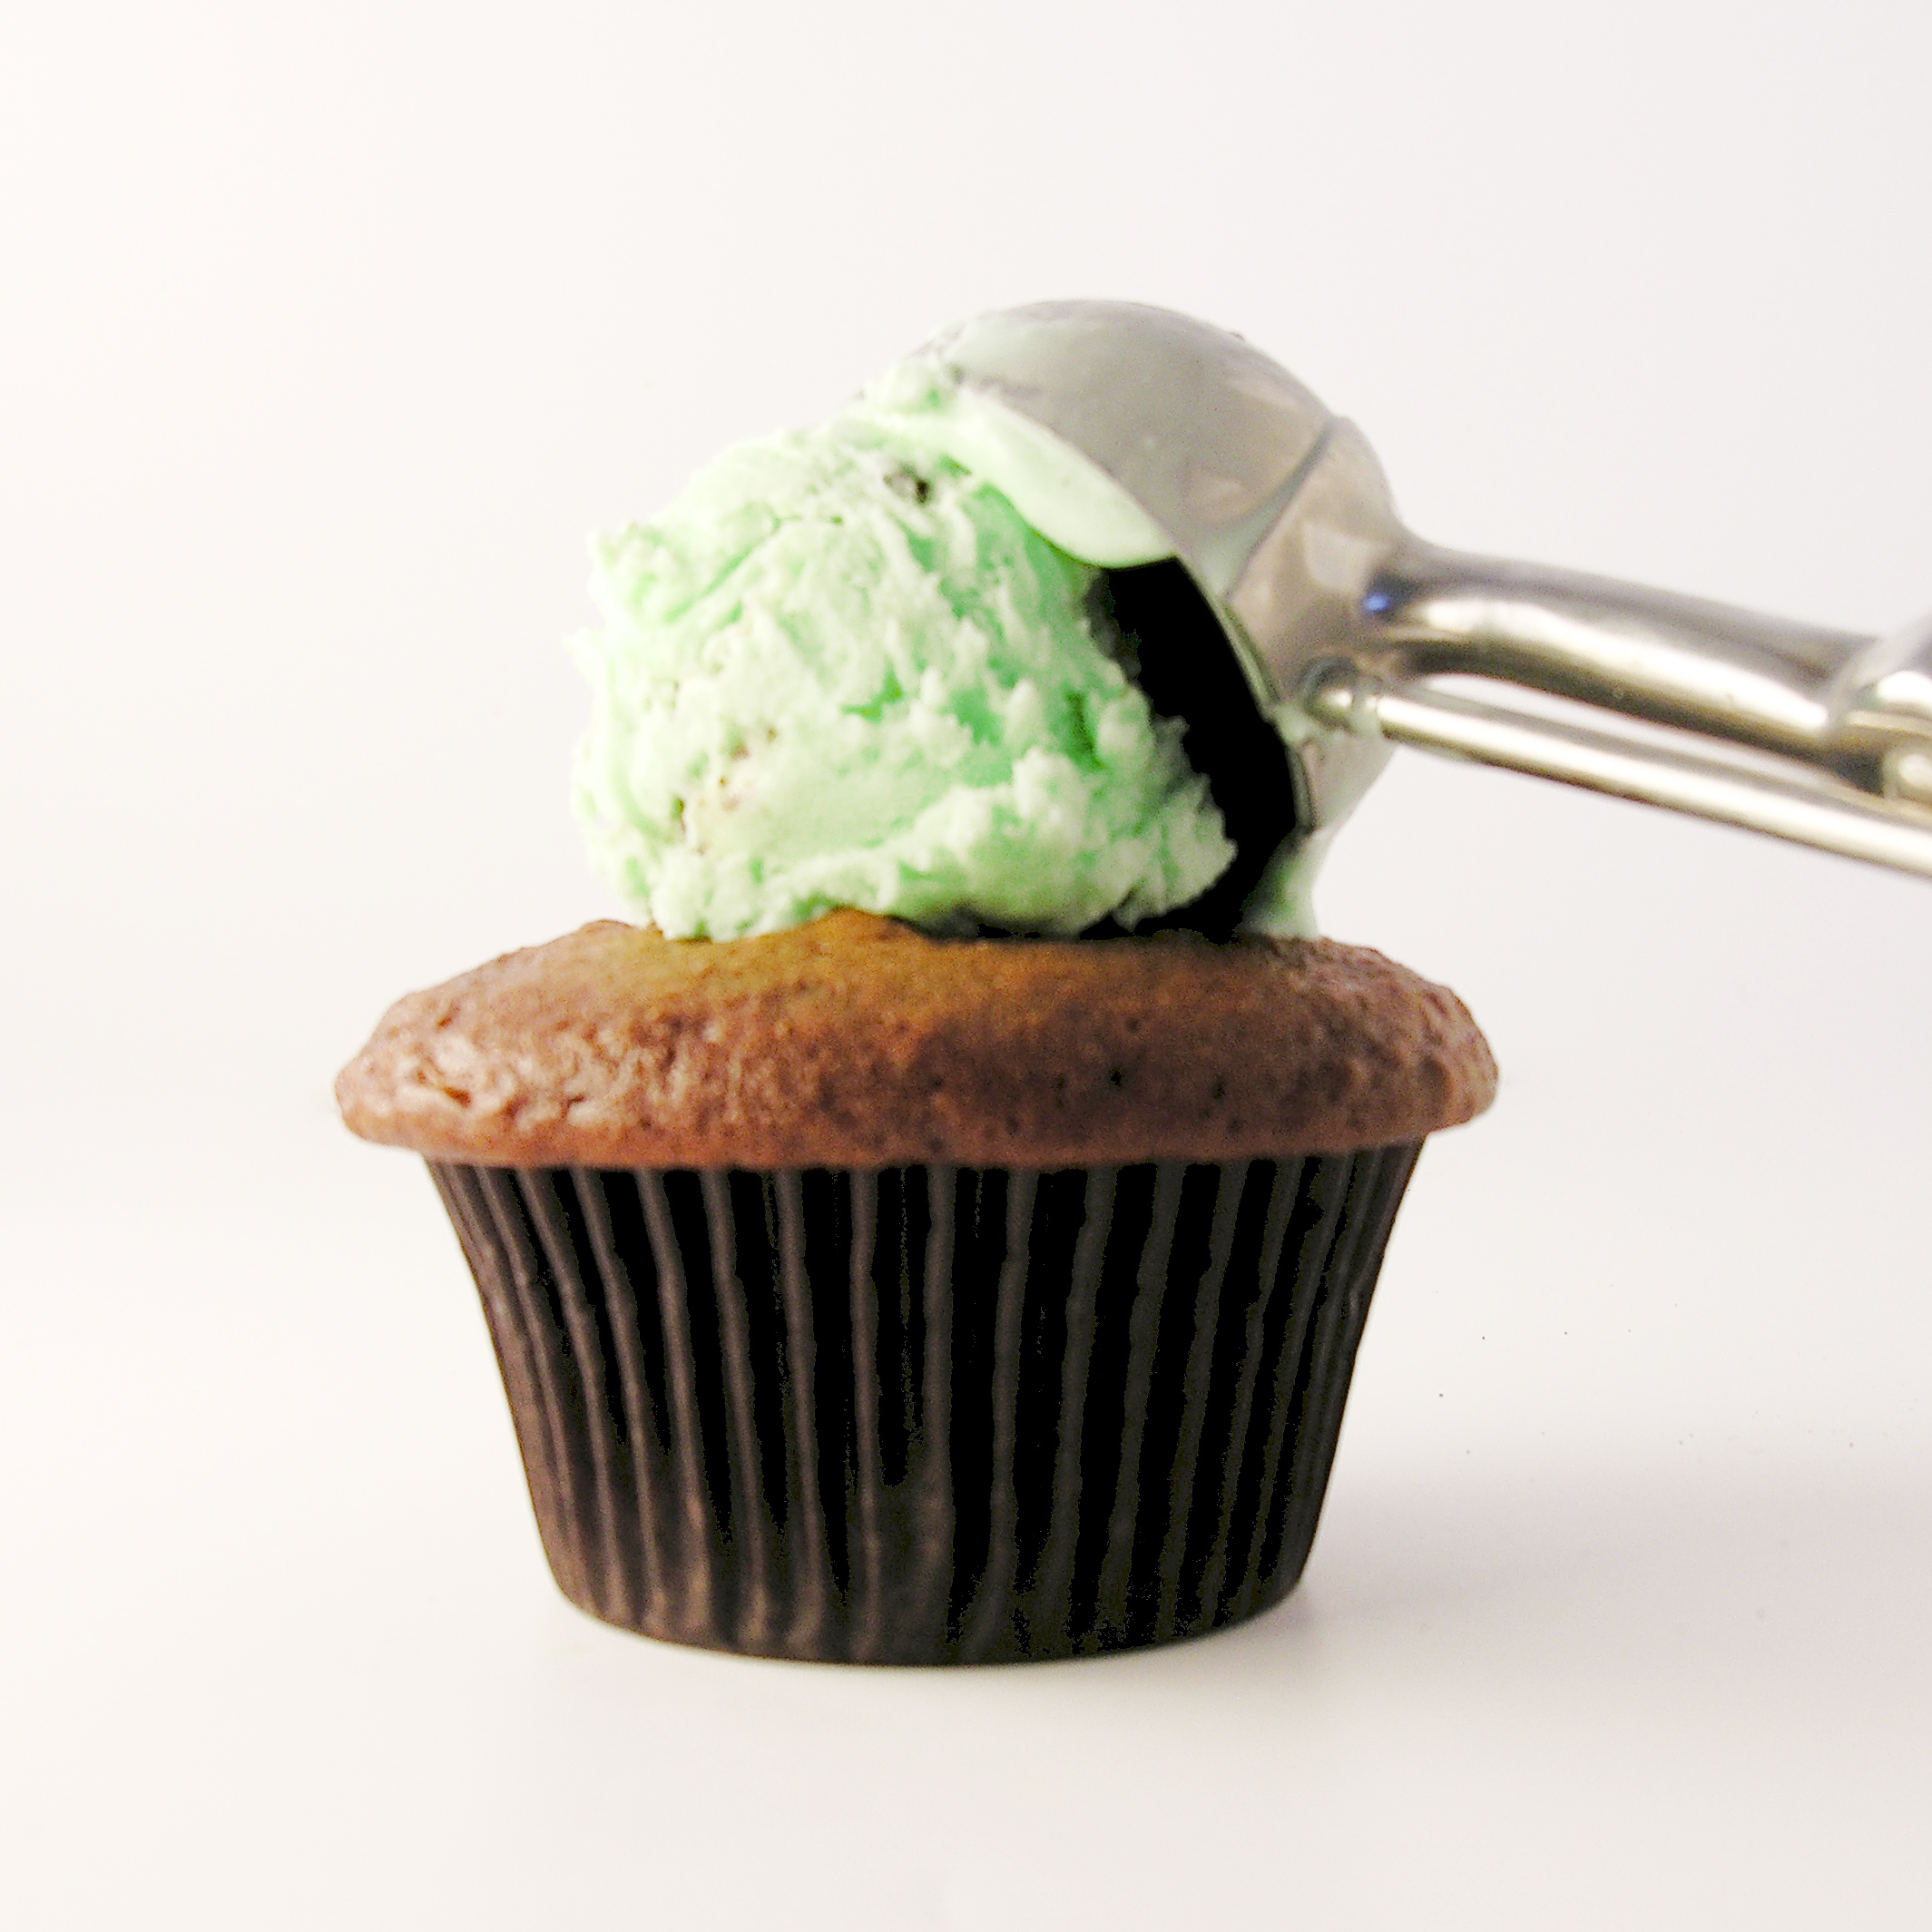
  • One quart of your favorite ice cream (I used mint chip)
  • 8 egg whites
  • 2 cups of granulated sugar
  • 1/4 teaspoon of cream of tartar

DIRECTIONS:

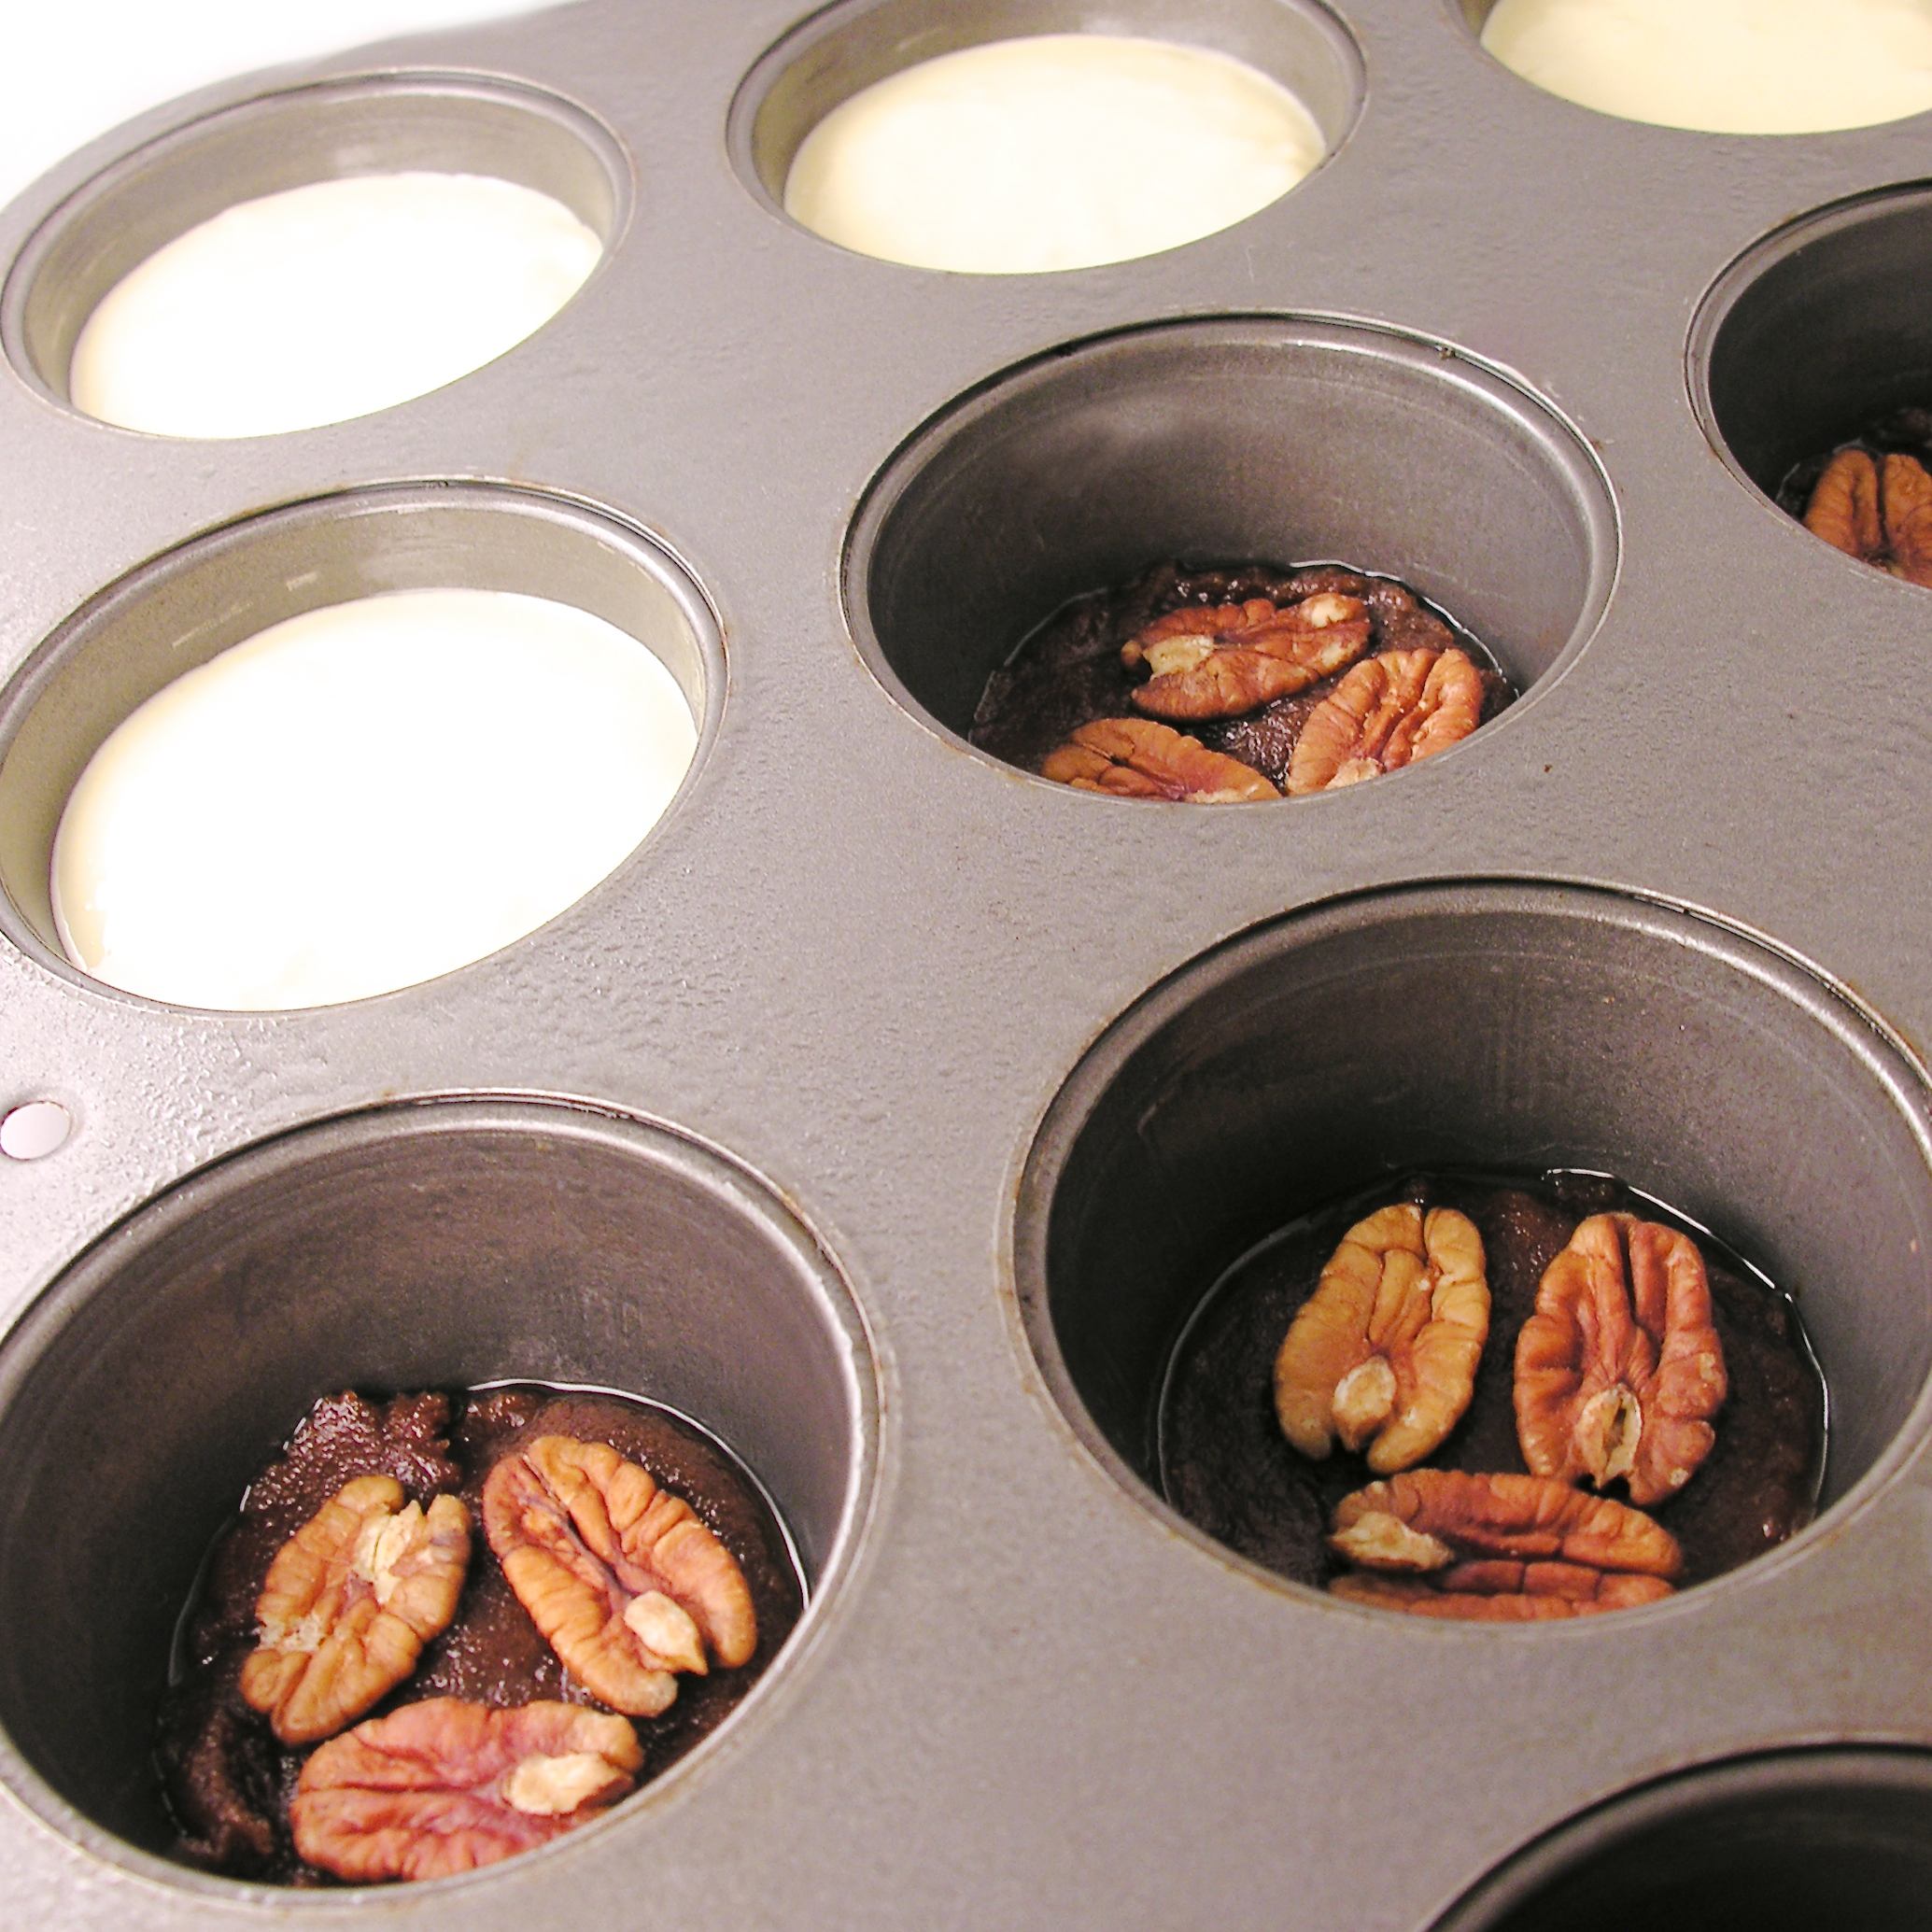
  • Make cake mix according to box directions and divide equally into 24 cupcake liners in cupcake tins.
  • Bake according to package.
  • Cool completely (I refrigerated mine to get them nice and cold before adding the ice cream)
  • While they are baking and cooling, make the marshmallow meringue (I got my recipe here)

(Don’t be afraid….I was afraid to try this, it sounded complicated, but it isn’t hard- it just takes time with a mixer in your hand if you are like me and not fortunate enough to have a stand mixer!  It is actually kind of fun!  Make sure your bowl and beaters are free of any oils.  I swiped mine with a little lemon juice 1st)

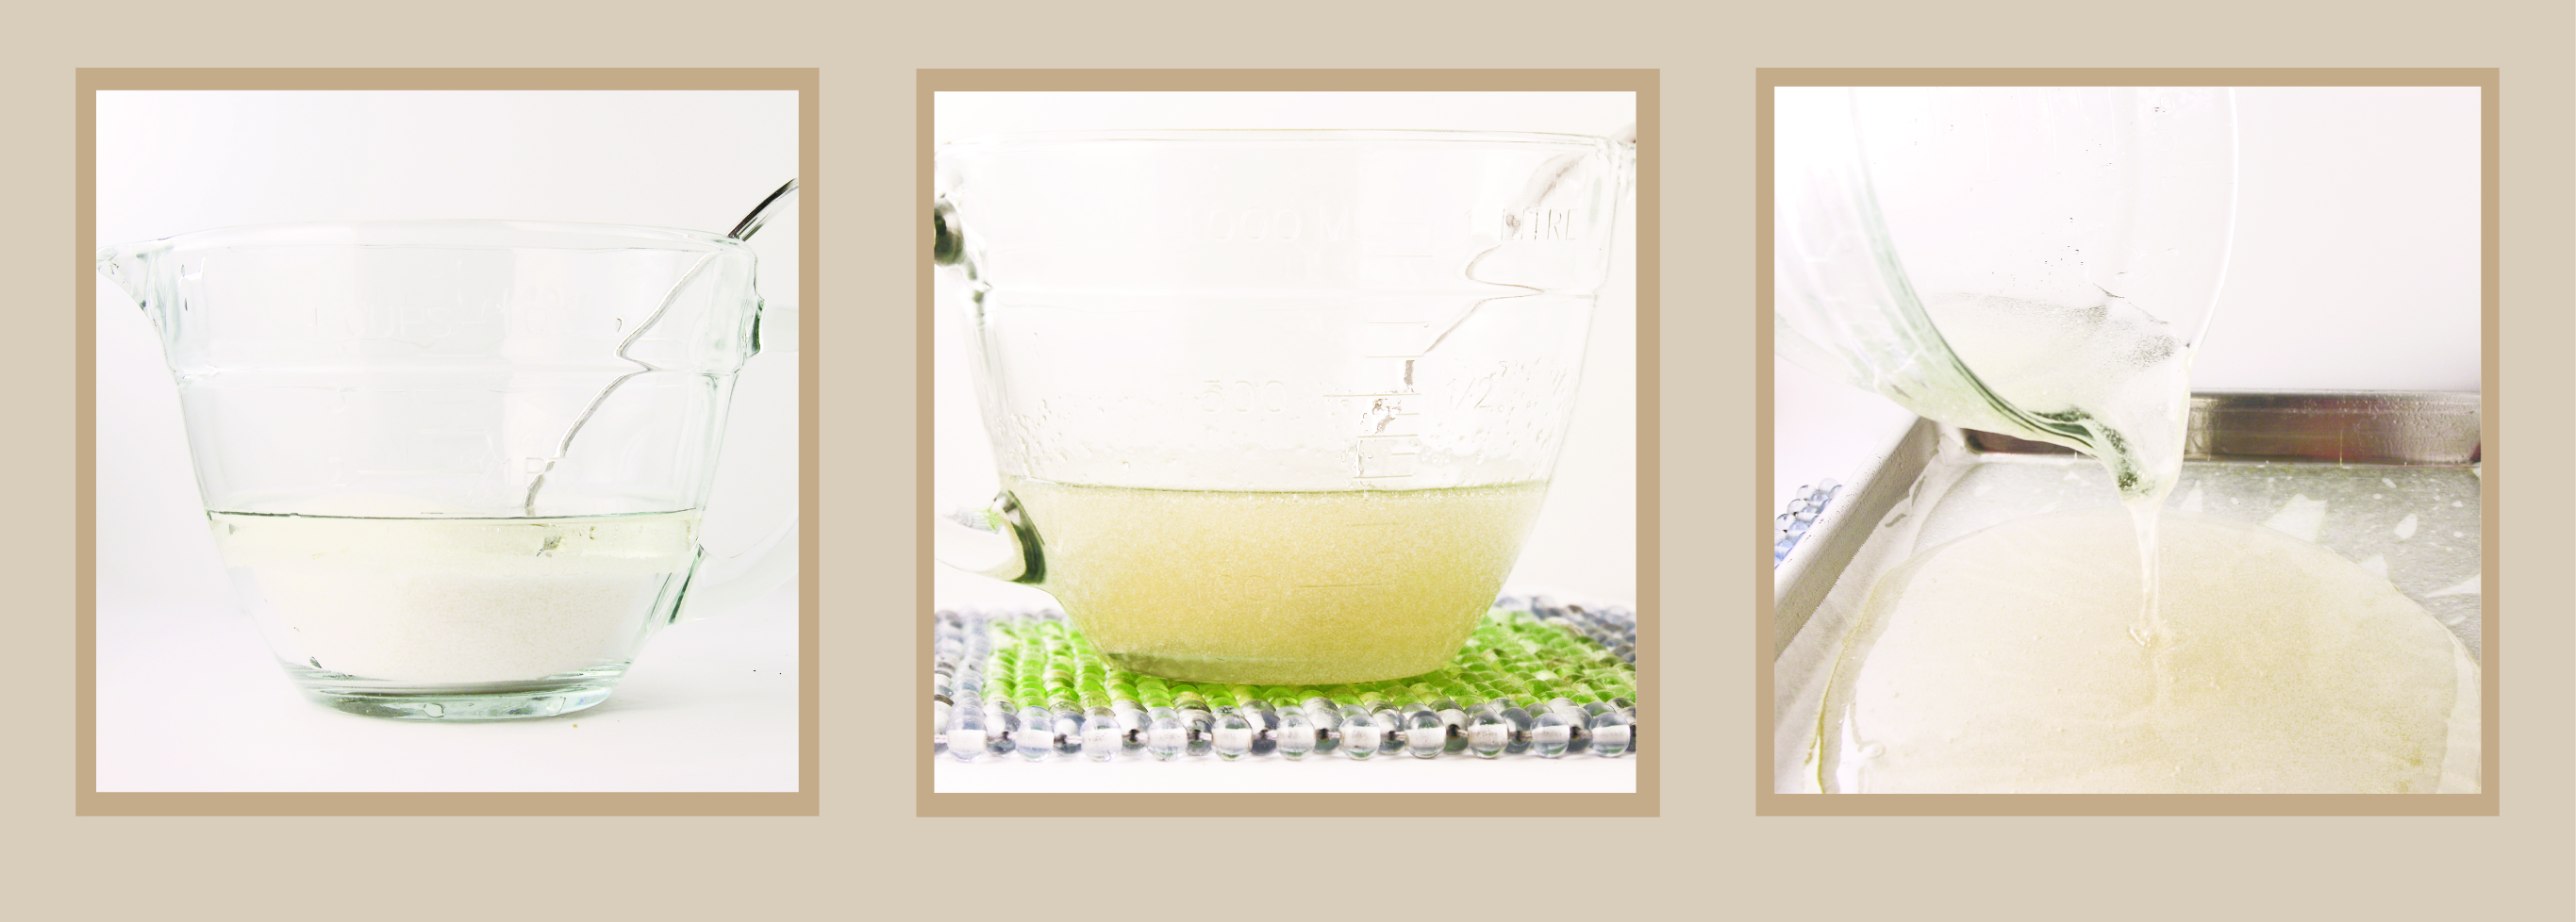
  • Place egg whites, sugar and cream of tartar in a medium heat-proof bowl that will set on the top of a sauce pan of boiling water without touching the water.  (I had to experiment a bit to find a good fit)
  • Bring water to a boil in the saucepan and set the bowl on top.
  • Whisk ingredients together for about 3-4 minutes.  Sugar will be dissolved and egg whites should be heated to 145F degrees.
  • Remove bowl from top of sauce pan and beat on low until the mixture thickens a little, then beat on high for about 10 minutes.  The meringue will become the most beautiful, white, glossy mixture.  It should form stiff peaks before you stop beating it.
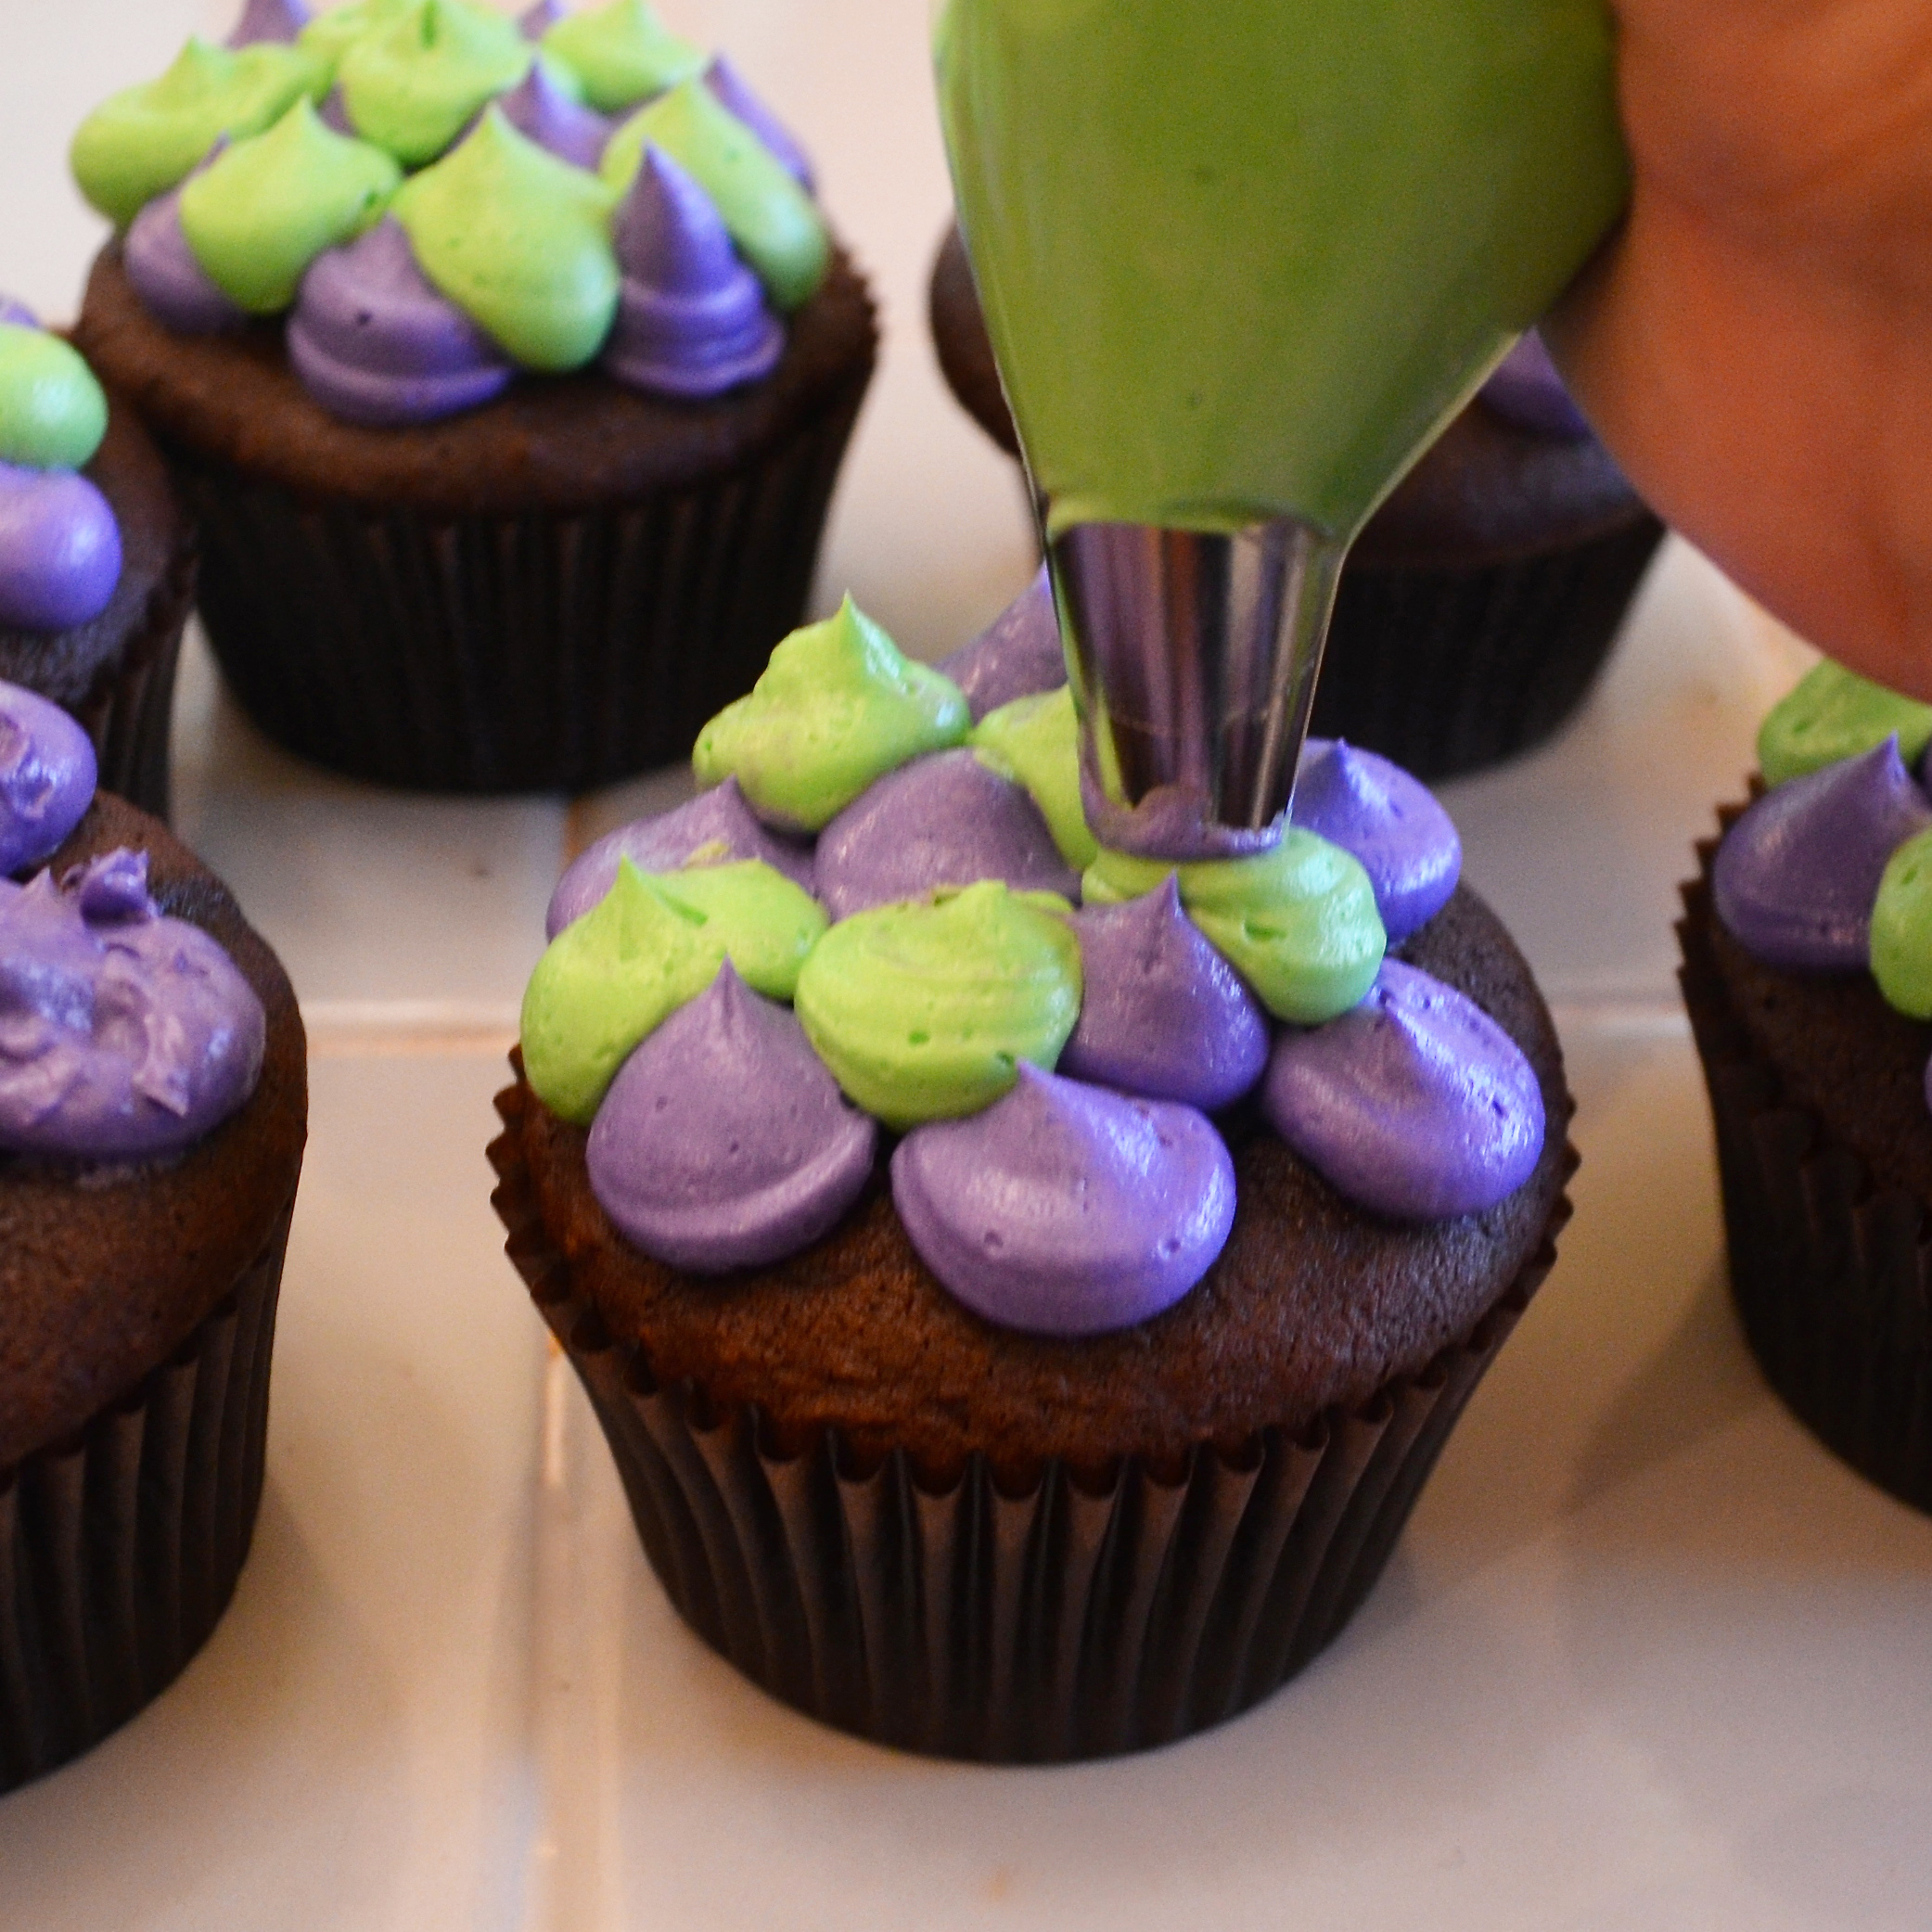
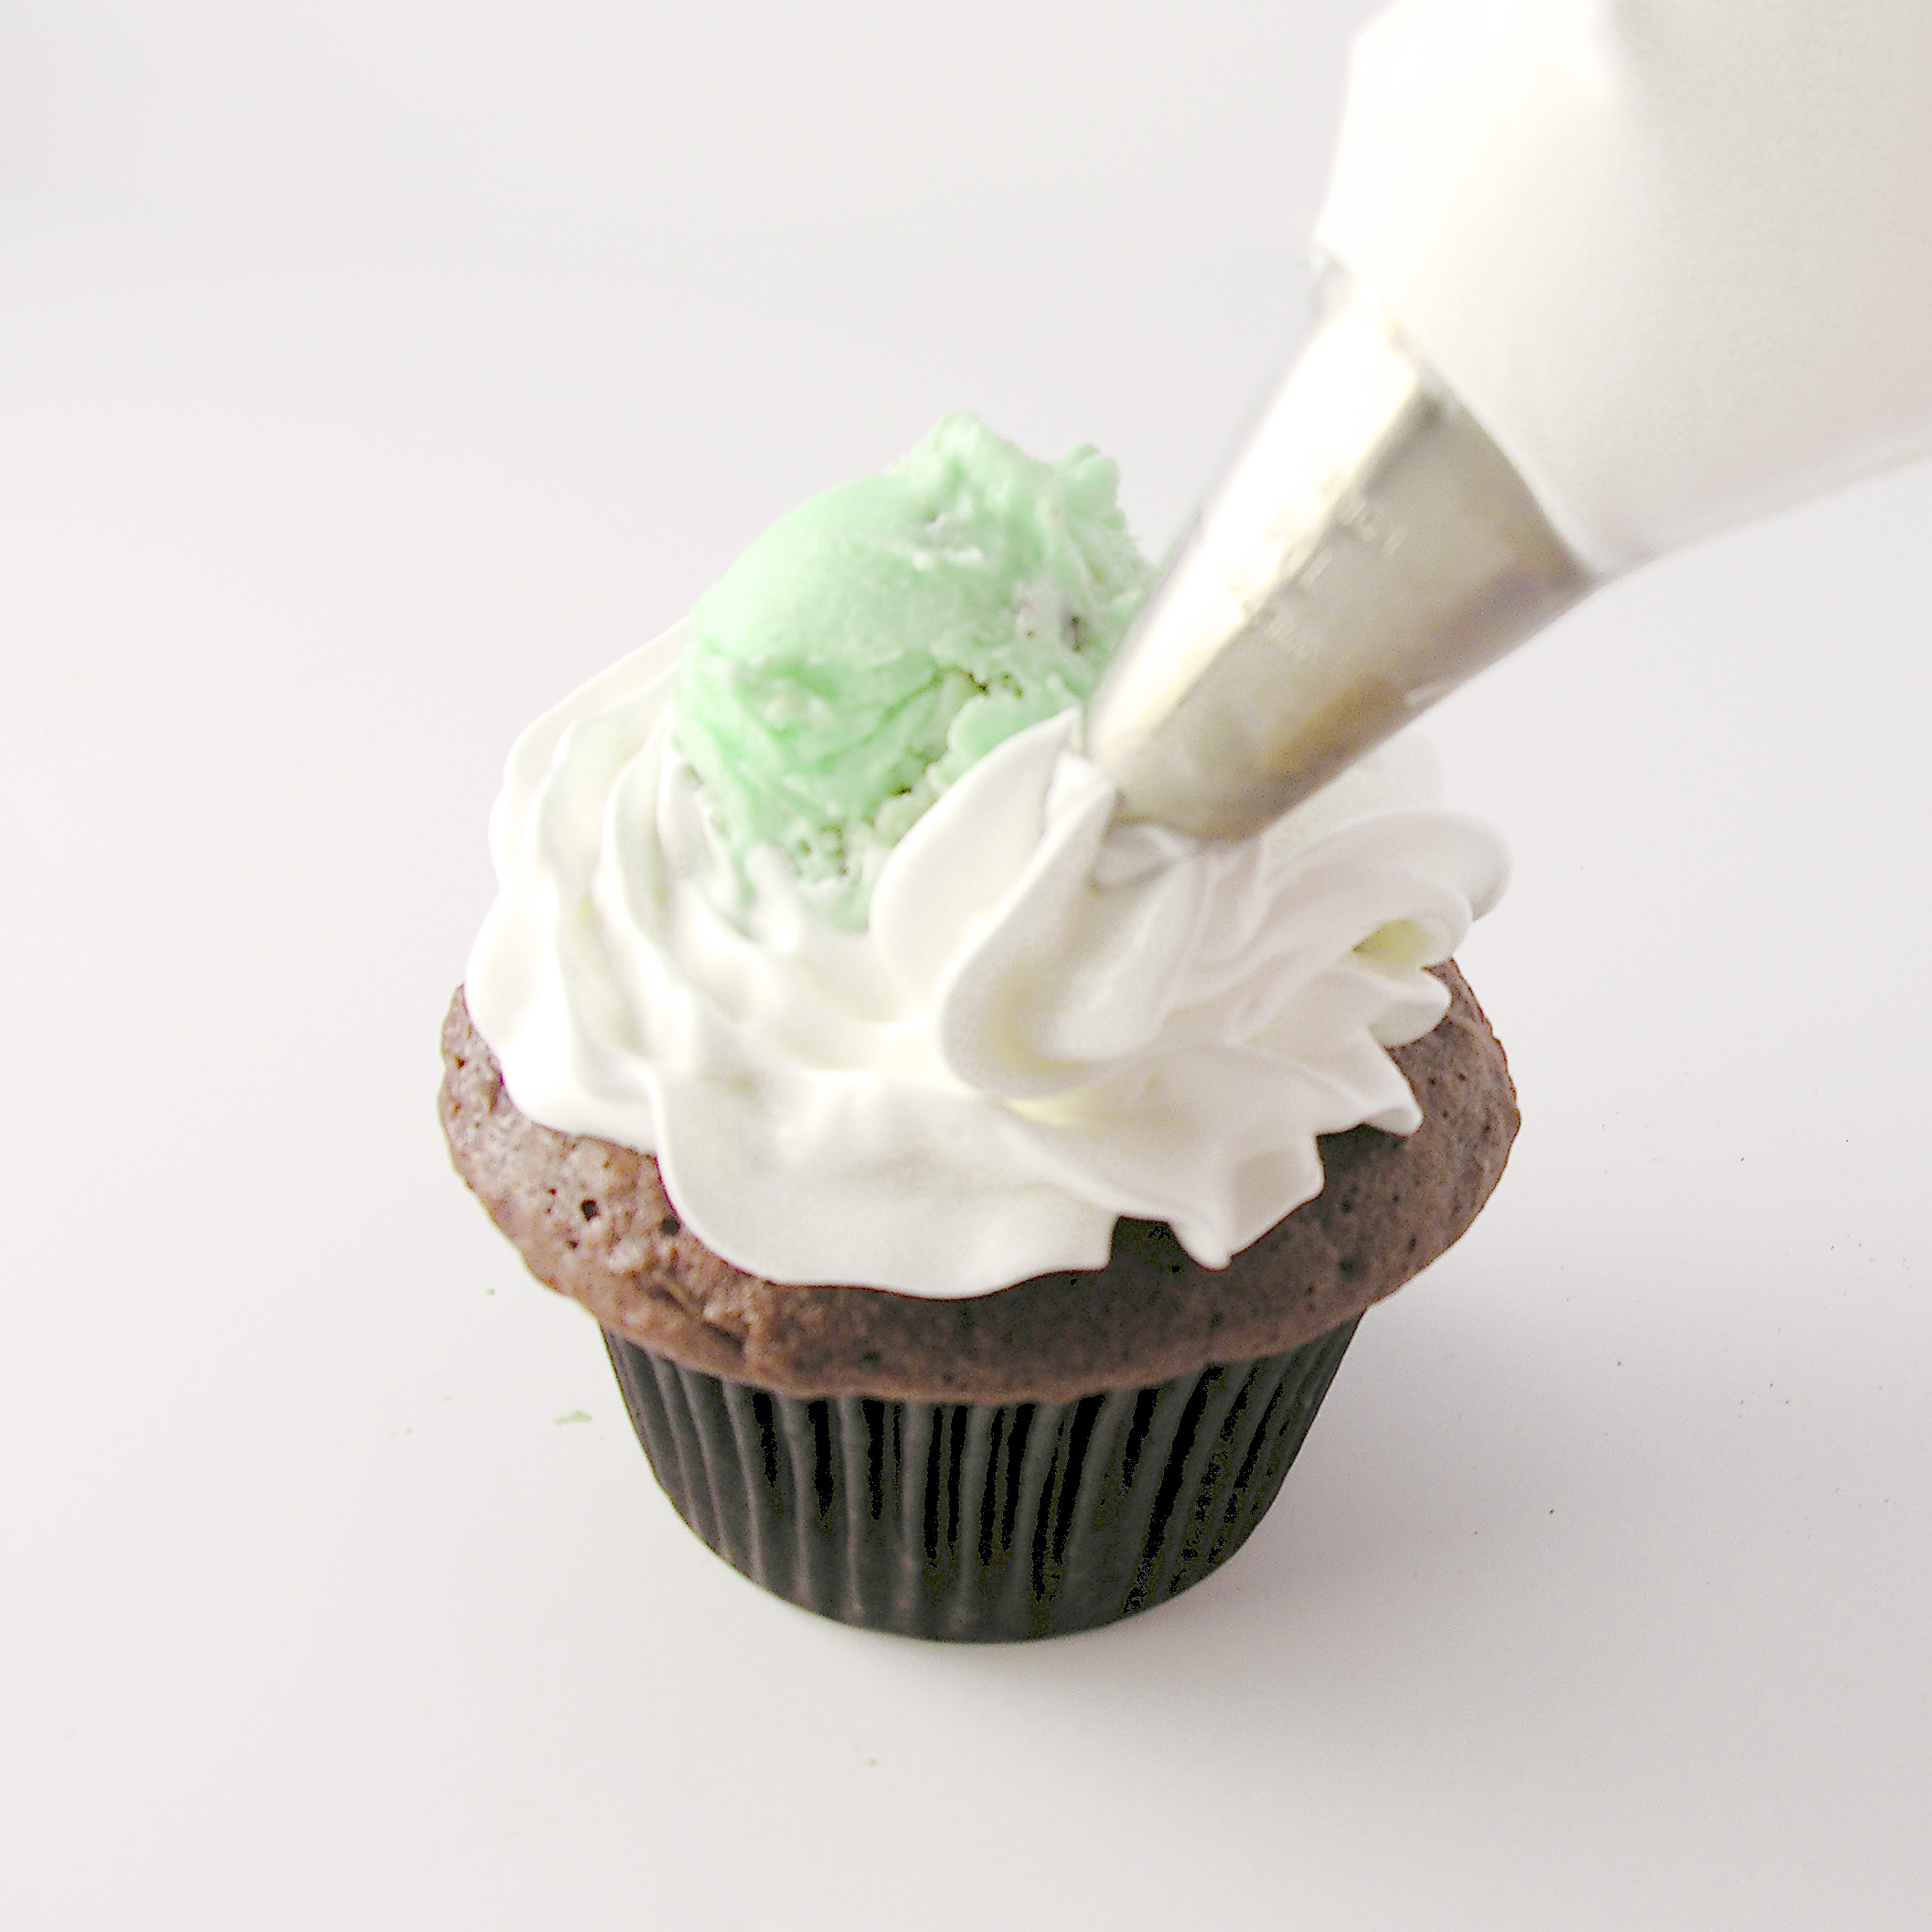
  • Spoon all that wonderful marshmallow yumminess into a bag fitted with a decorating tip.
  • Assemble one cupcake at a time, and then pop it into the freezer immediately.
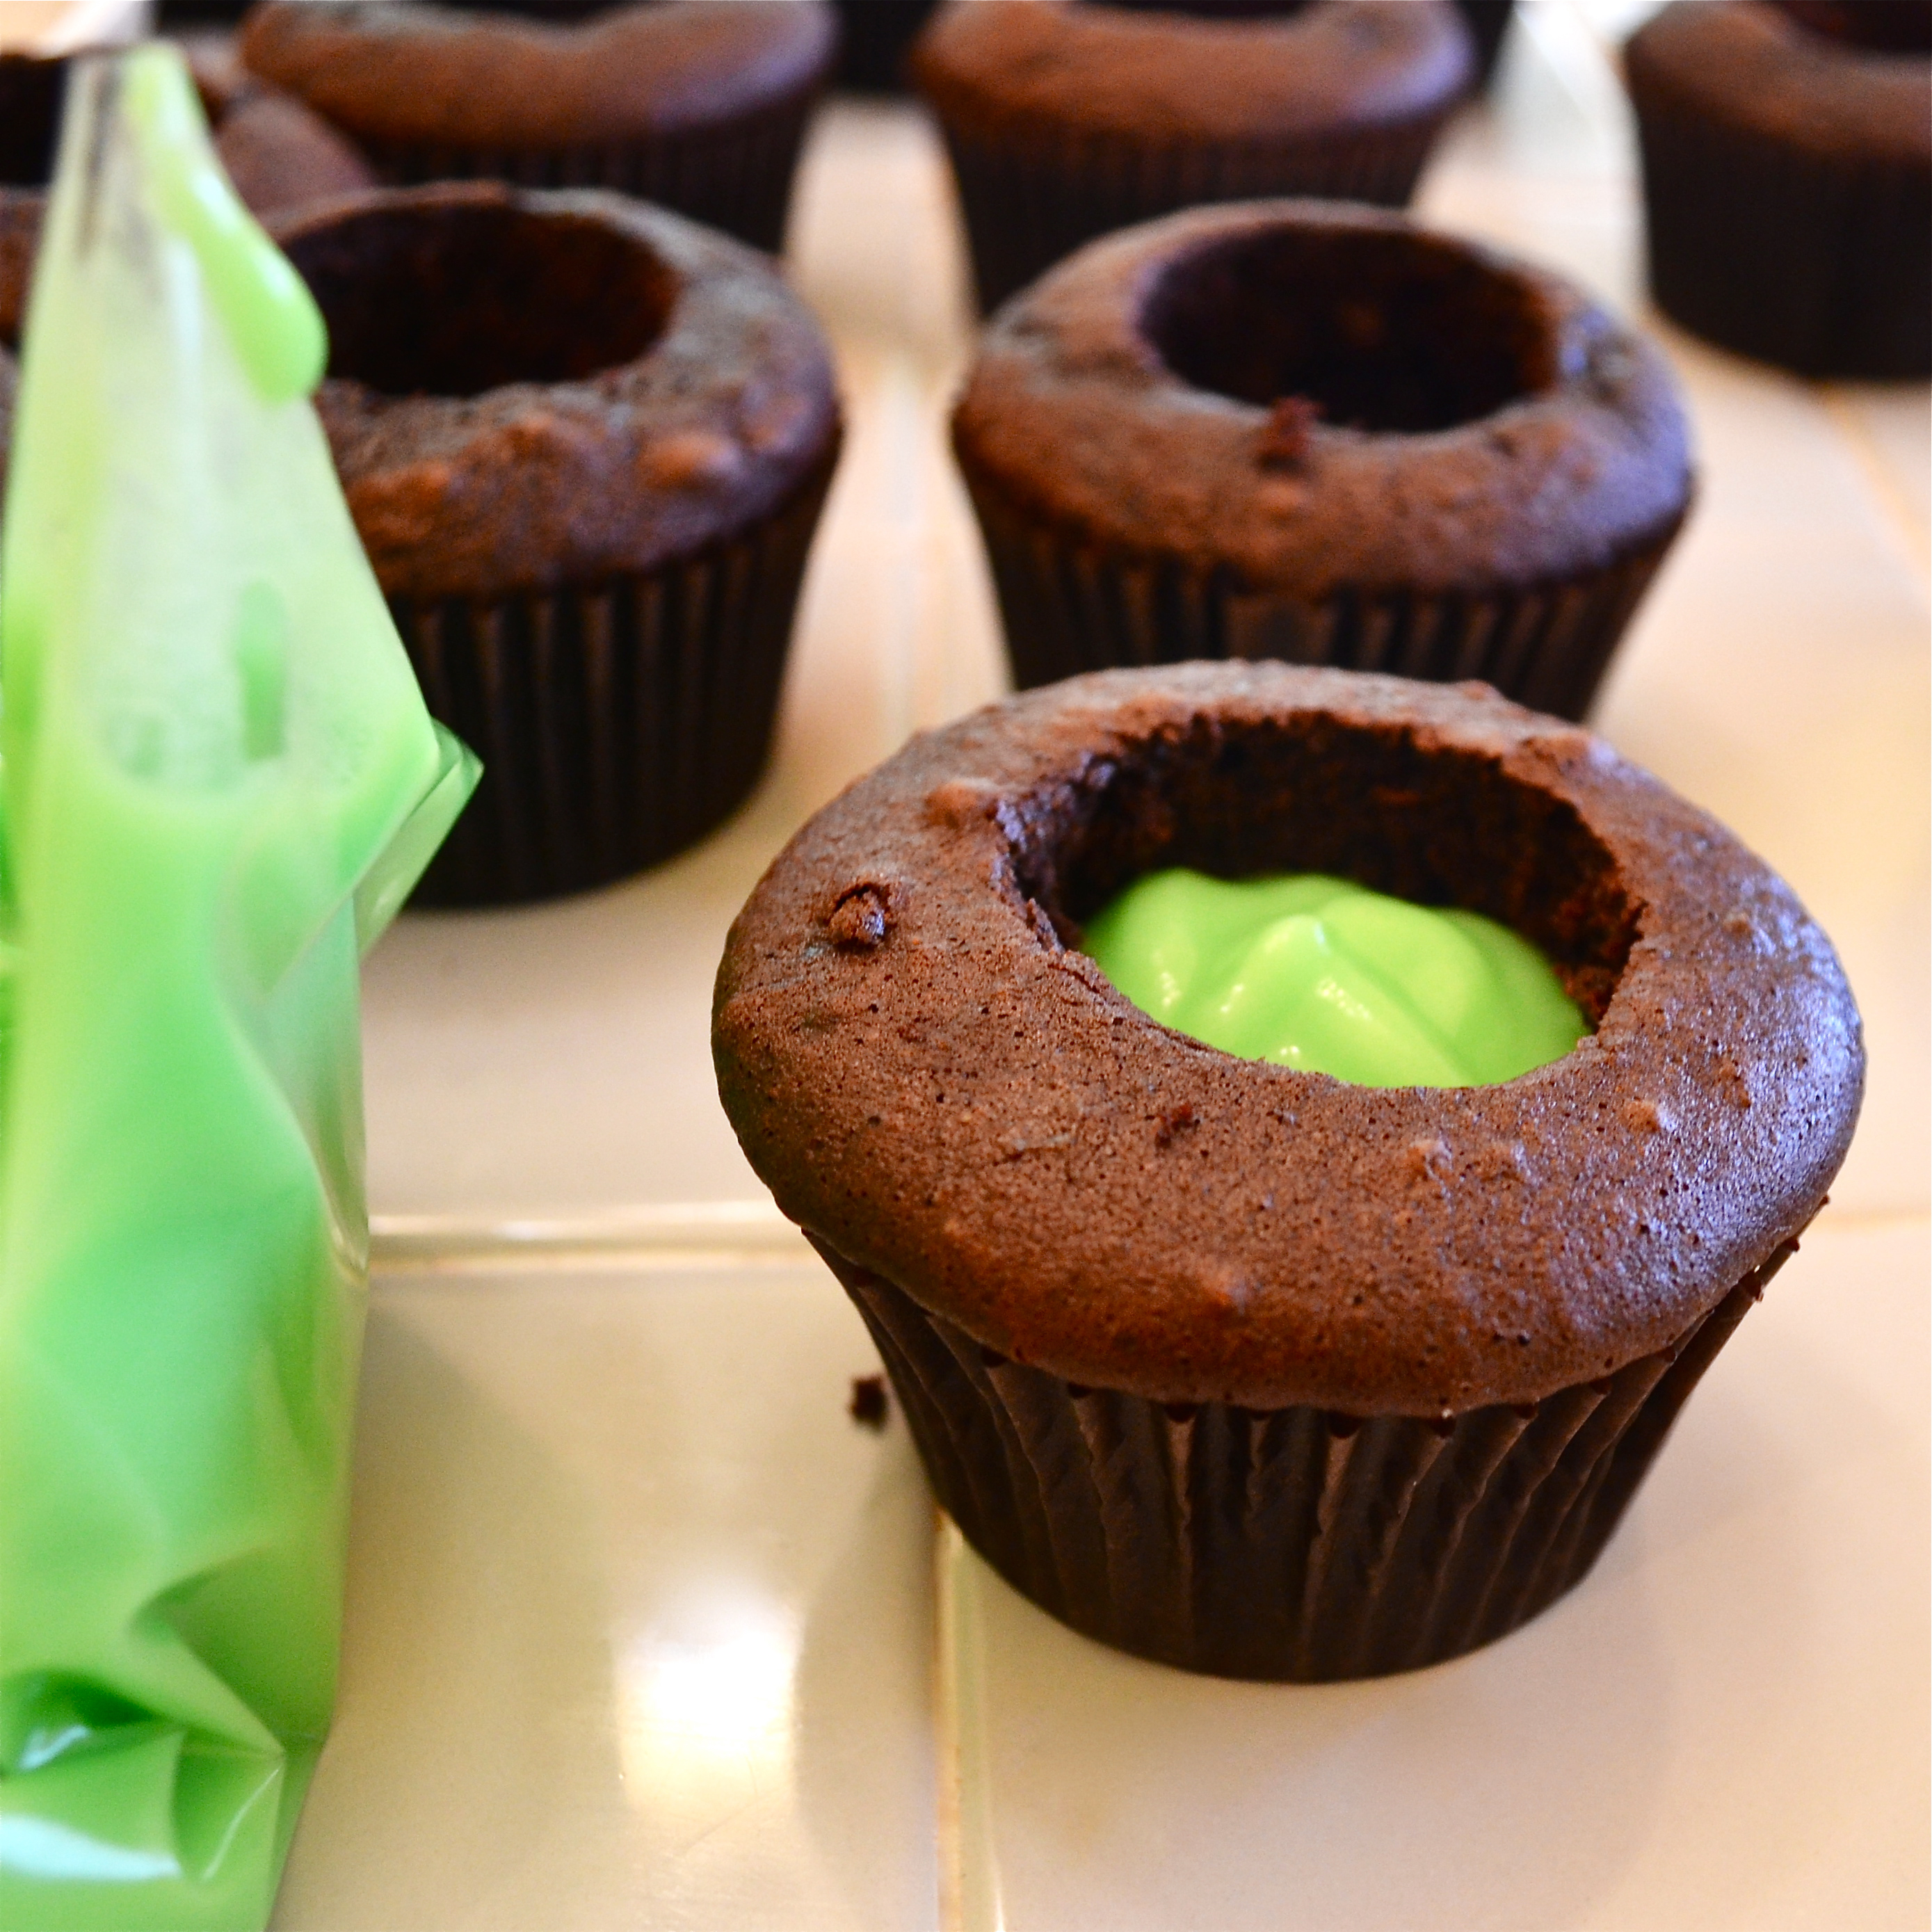
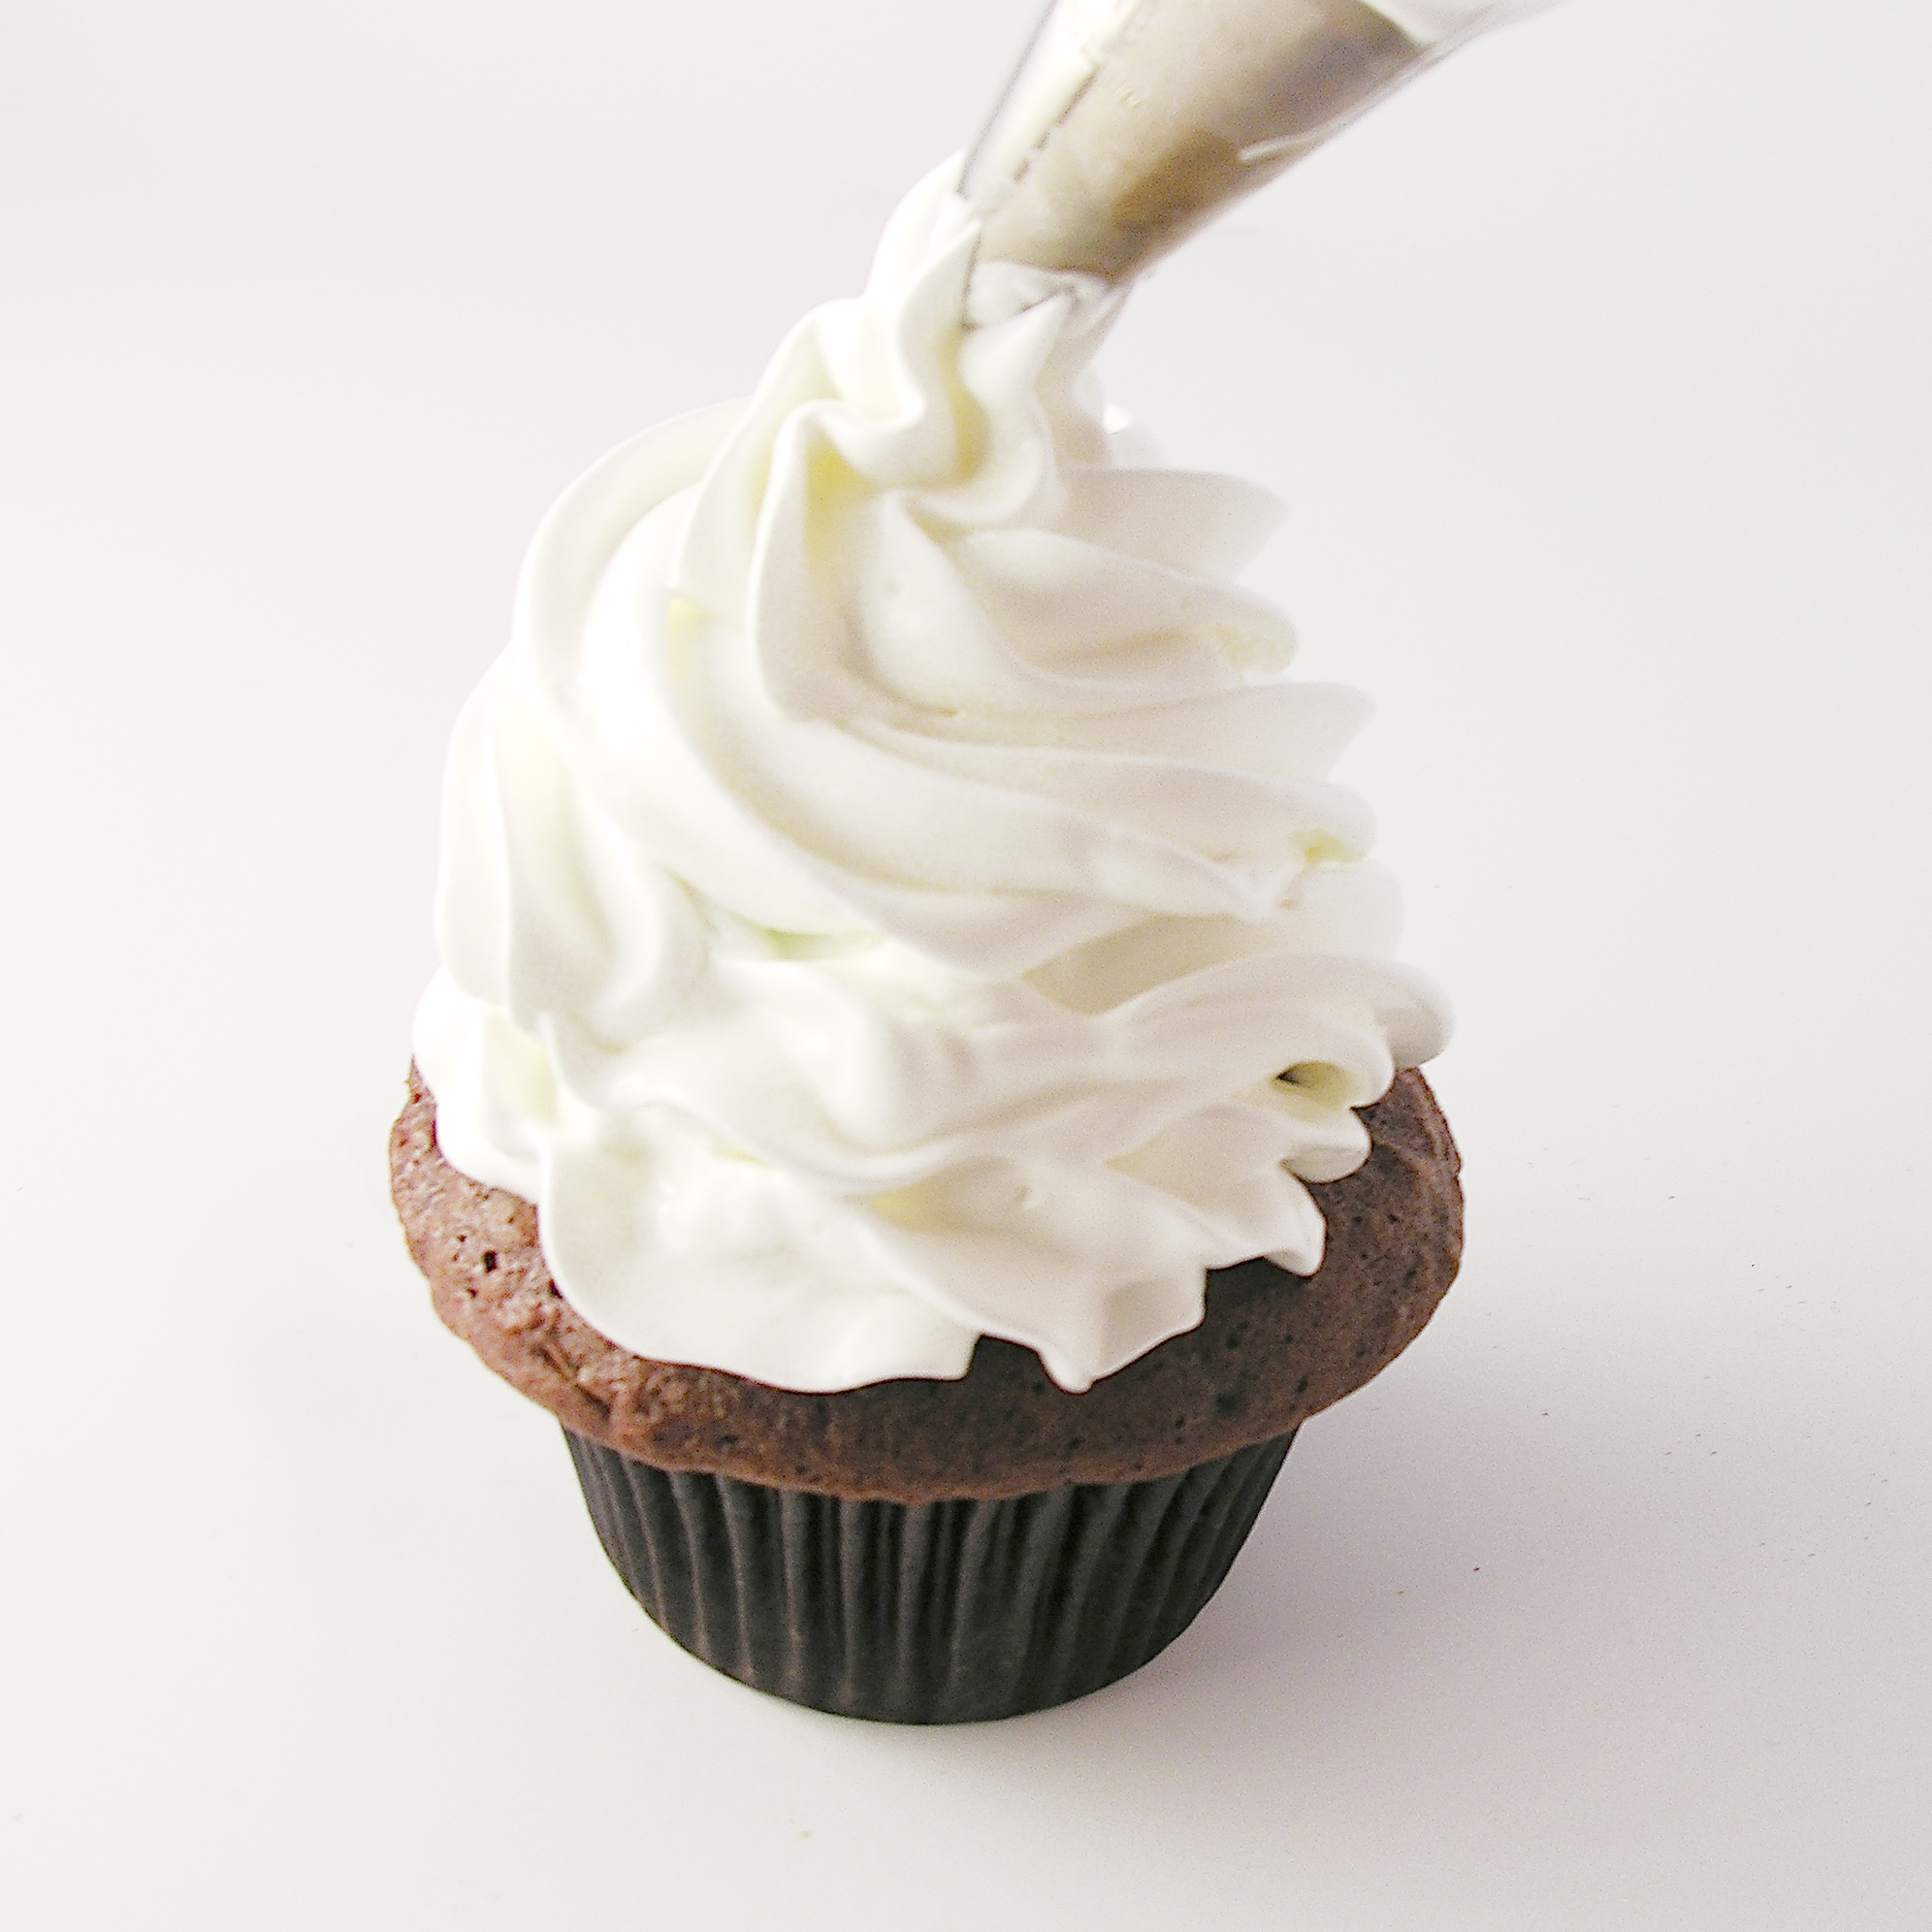
  • Take a cupcake, use a small cookie scoop or melon baller and place a scoop of ice cream in the center of the cupcake.  Pipe meringue all around it, being careful to seal up all the ice cream at the bottom and them working your way up to a swirled top!

Marshmallow Meringue!Marshmallow Meringue!Marshmallow Meringue!!

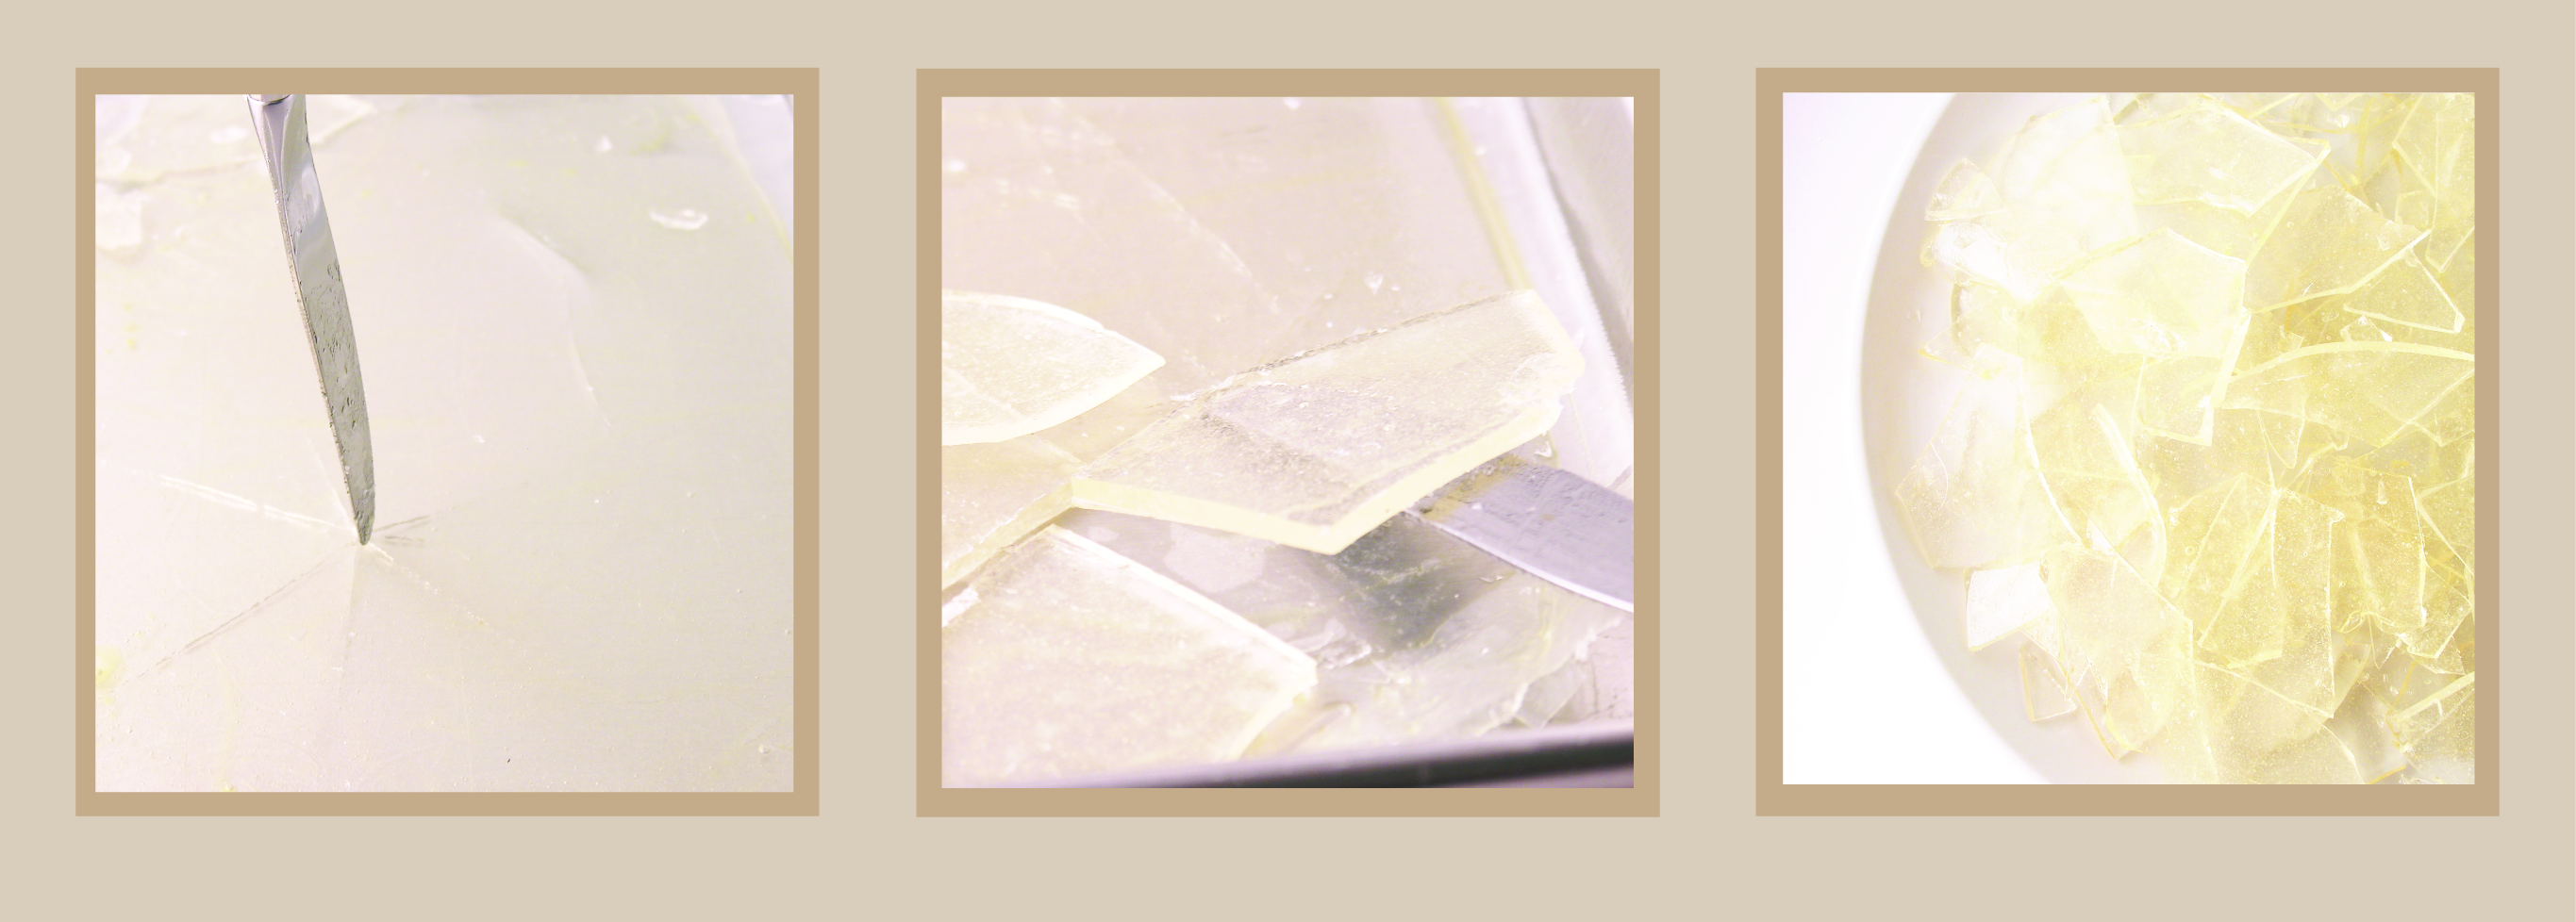
  • When all cupcakes are prepared and in the freezer, use a kitchen torch
    to toast the marshmallow just before serving.
  • These are best served within a couple of hours of making them.  

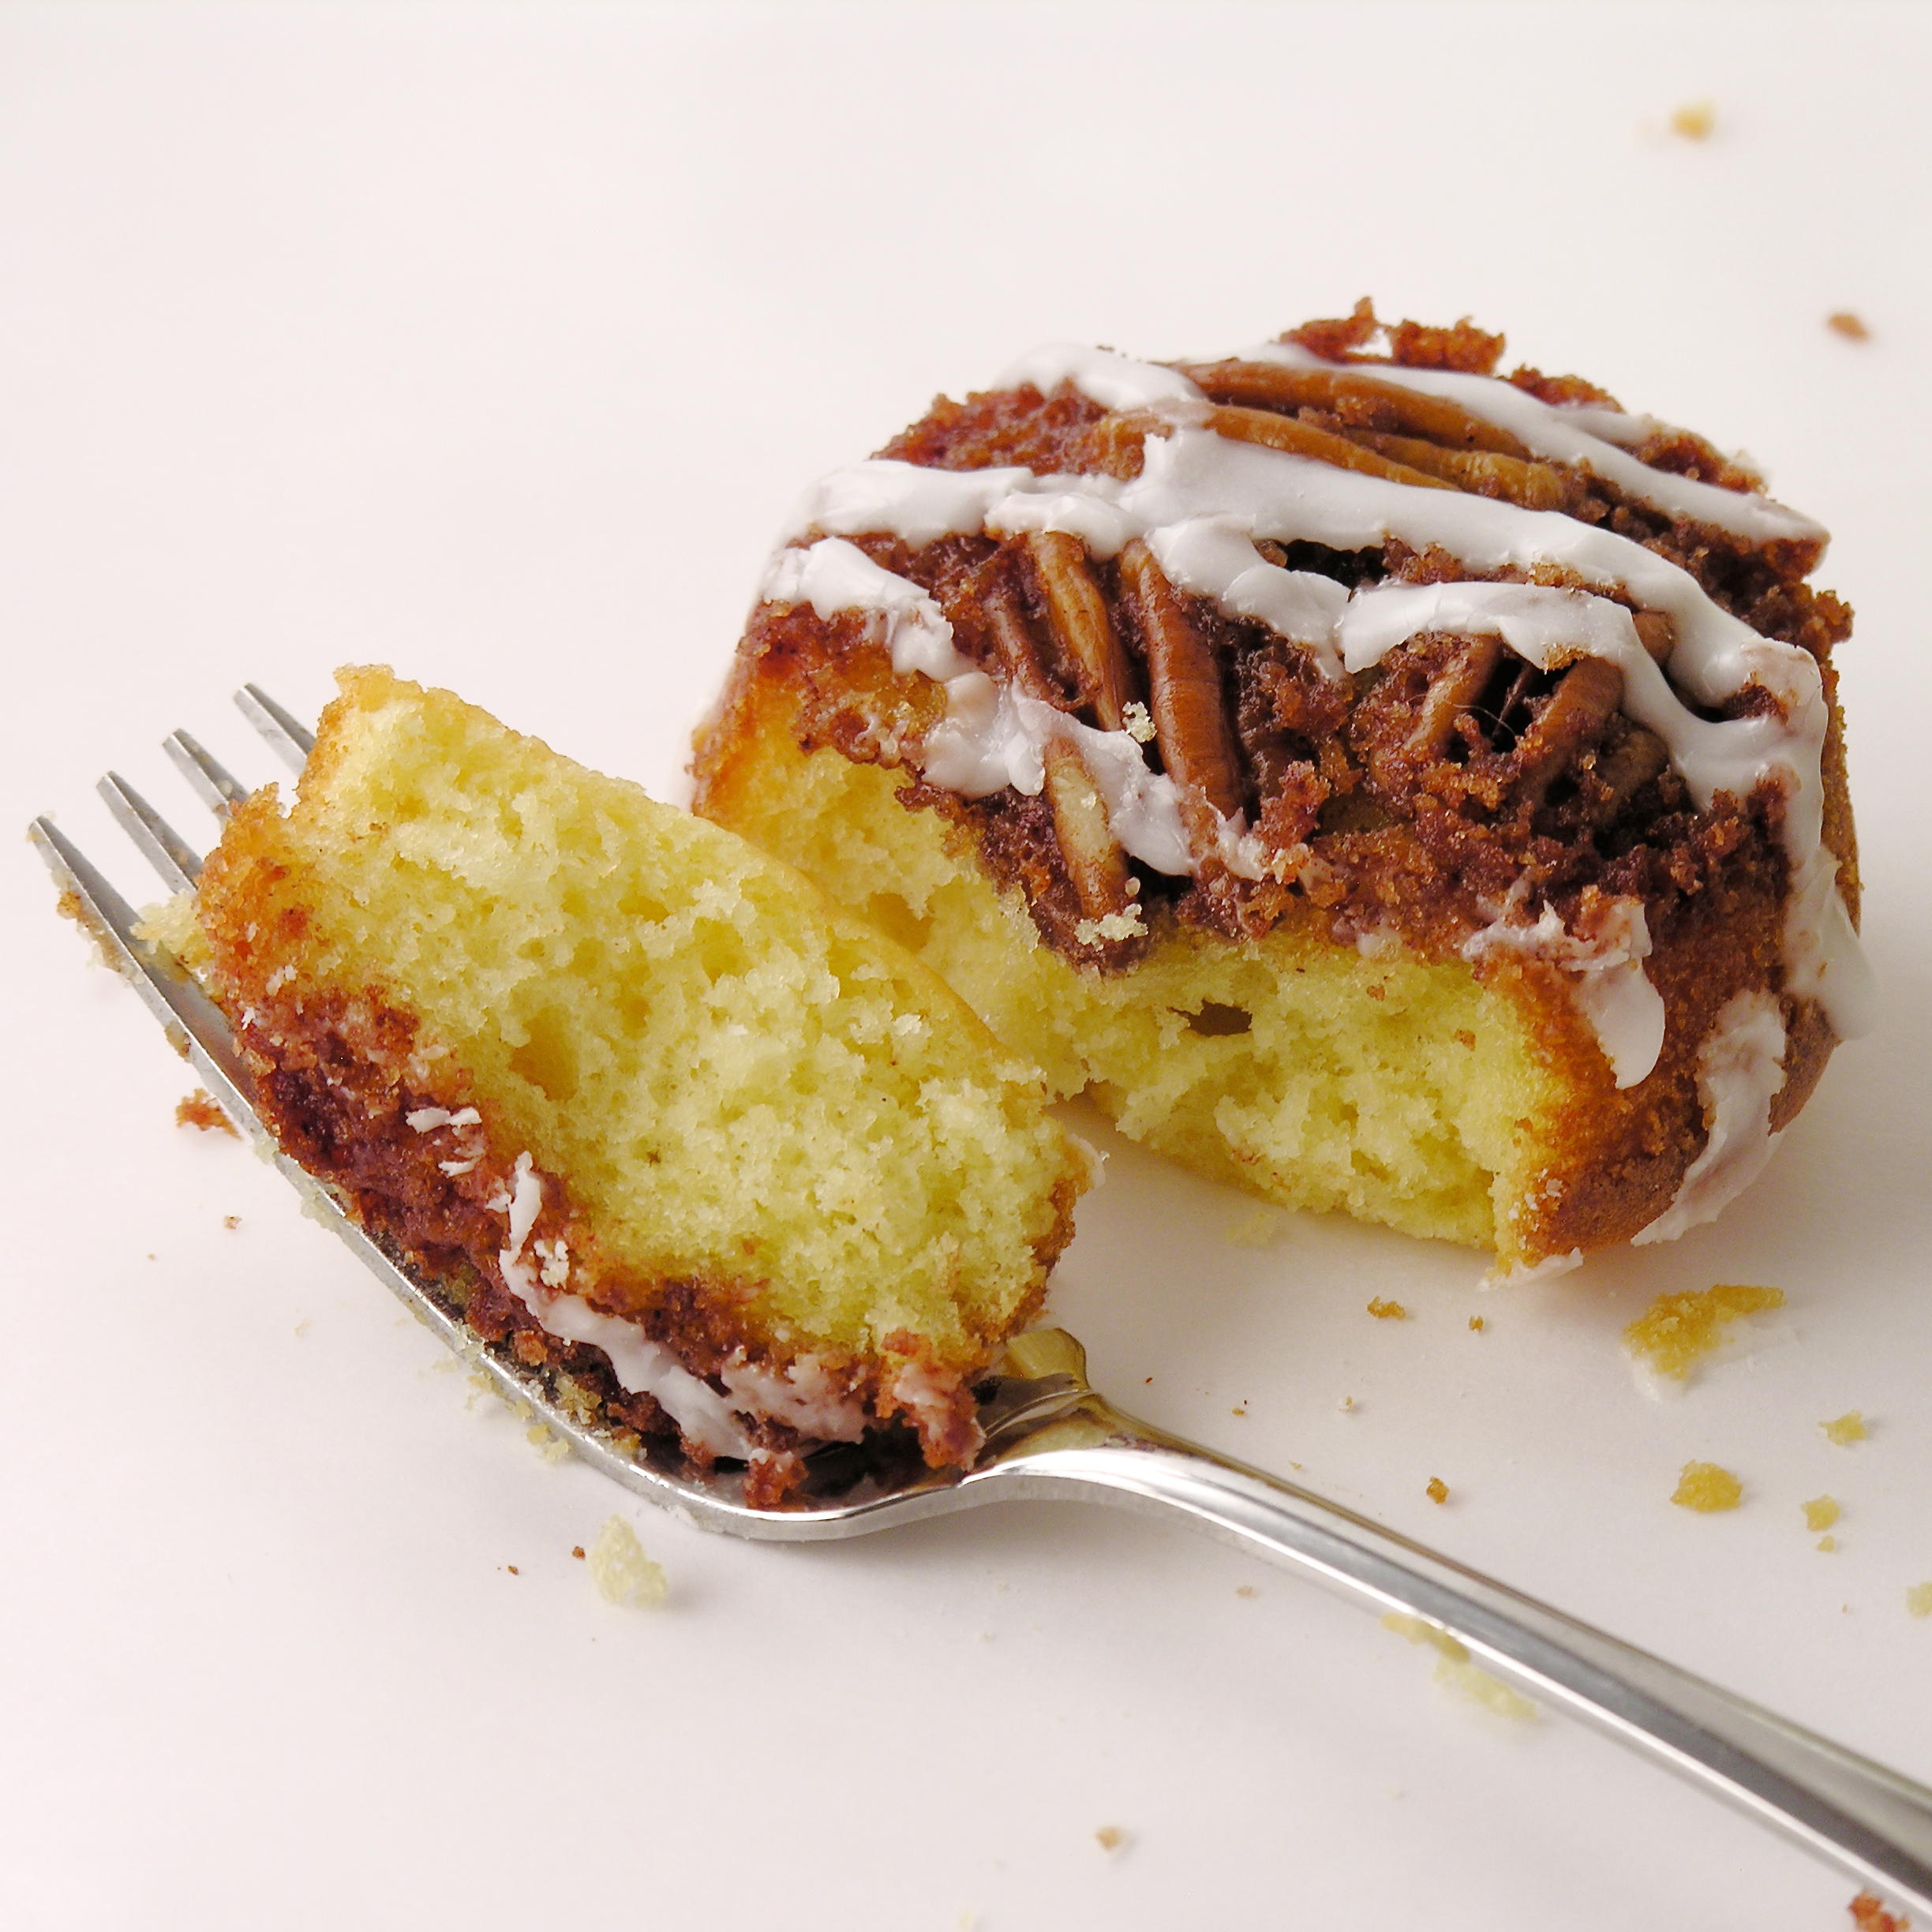
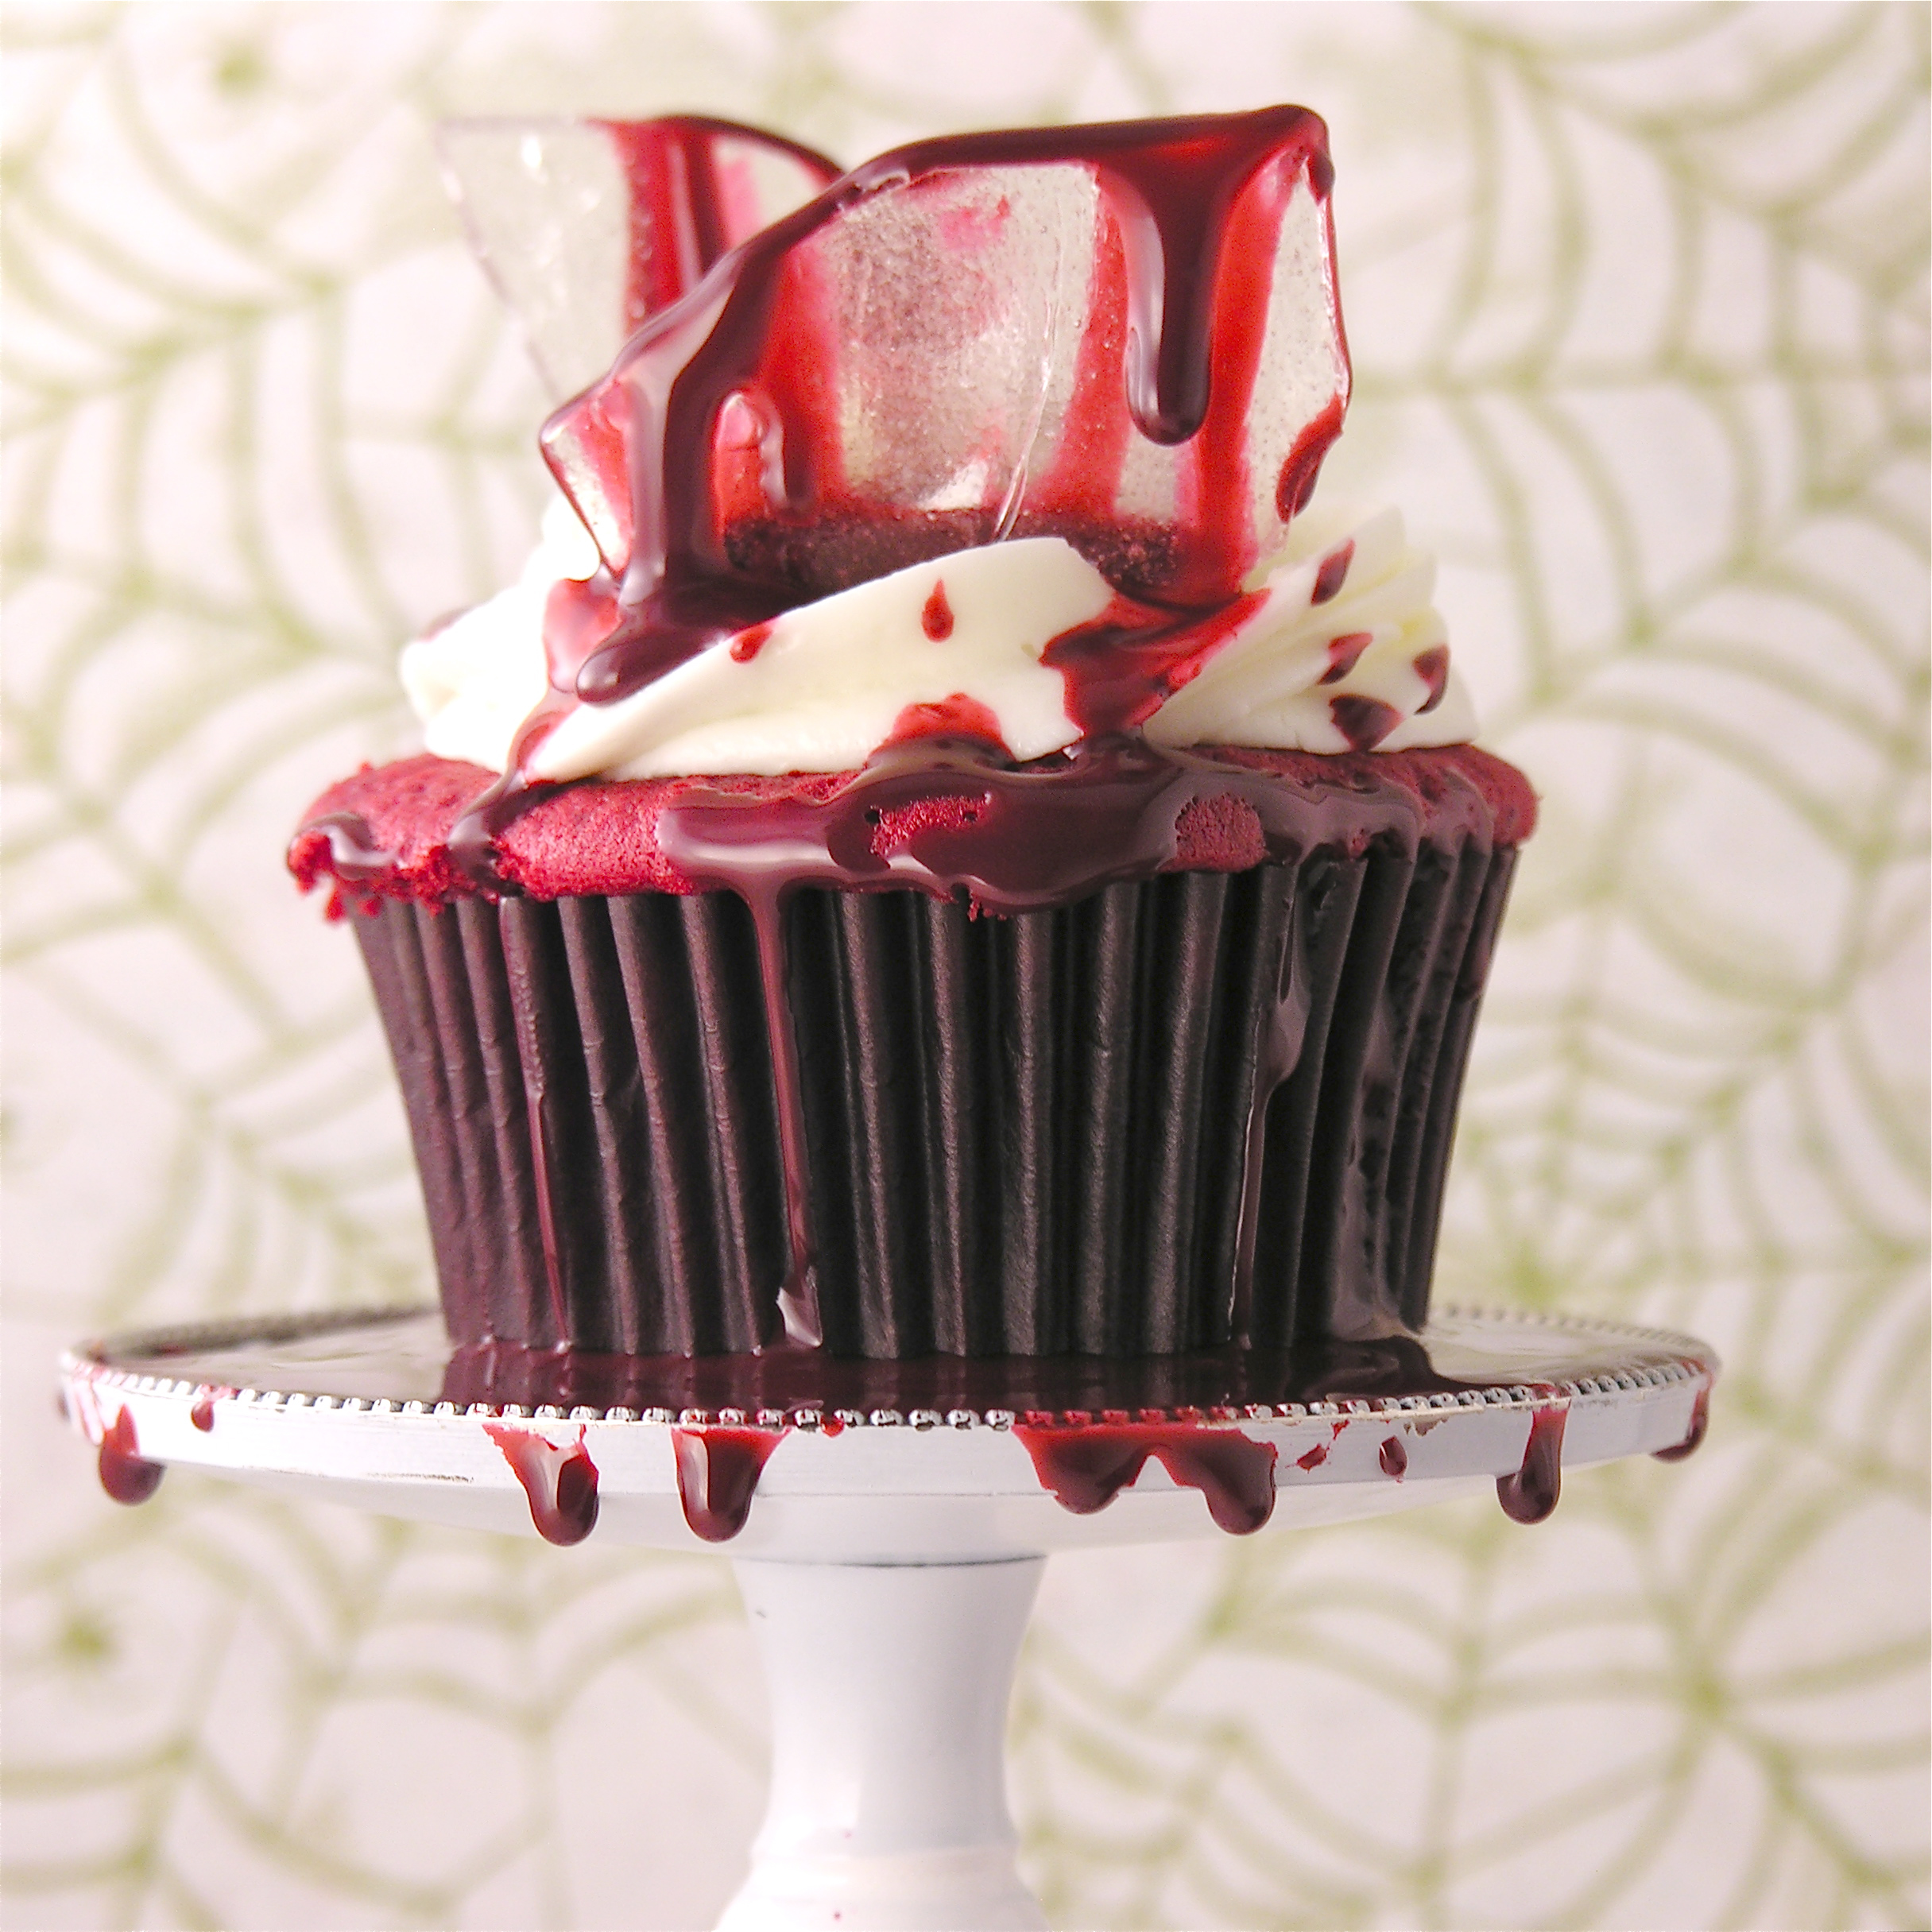
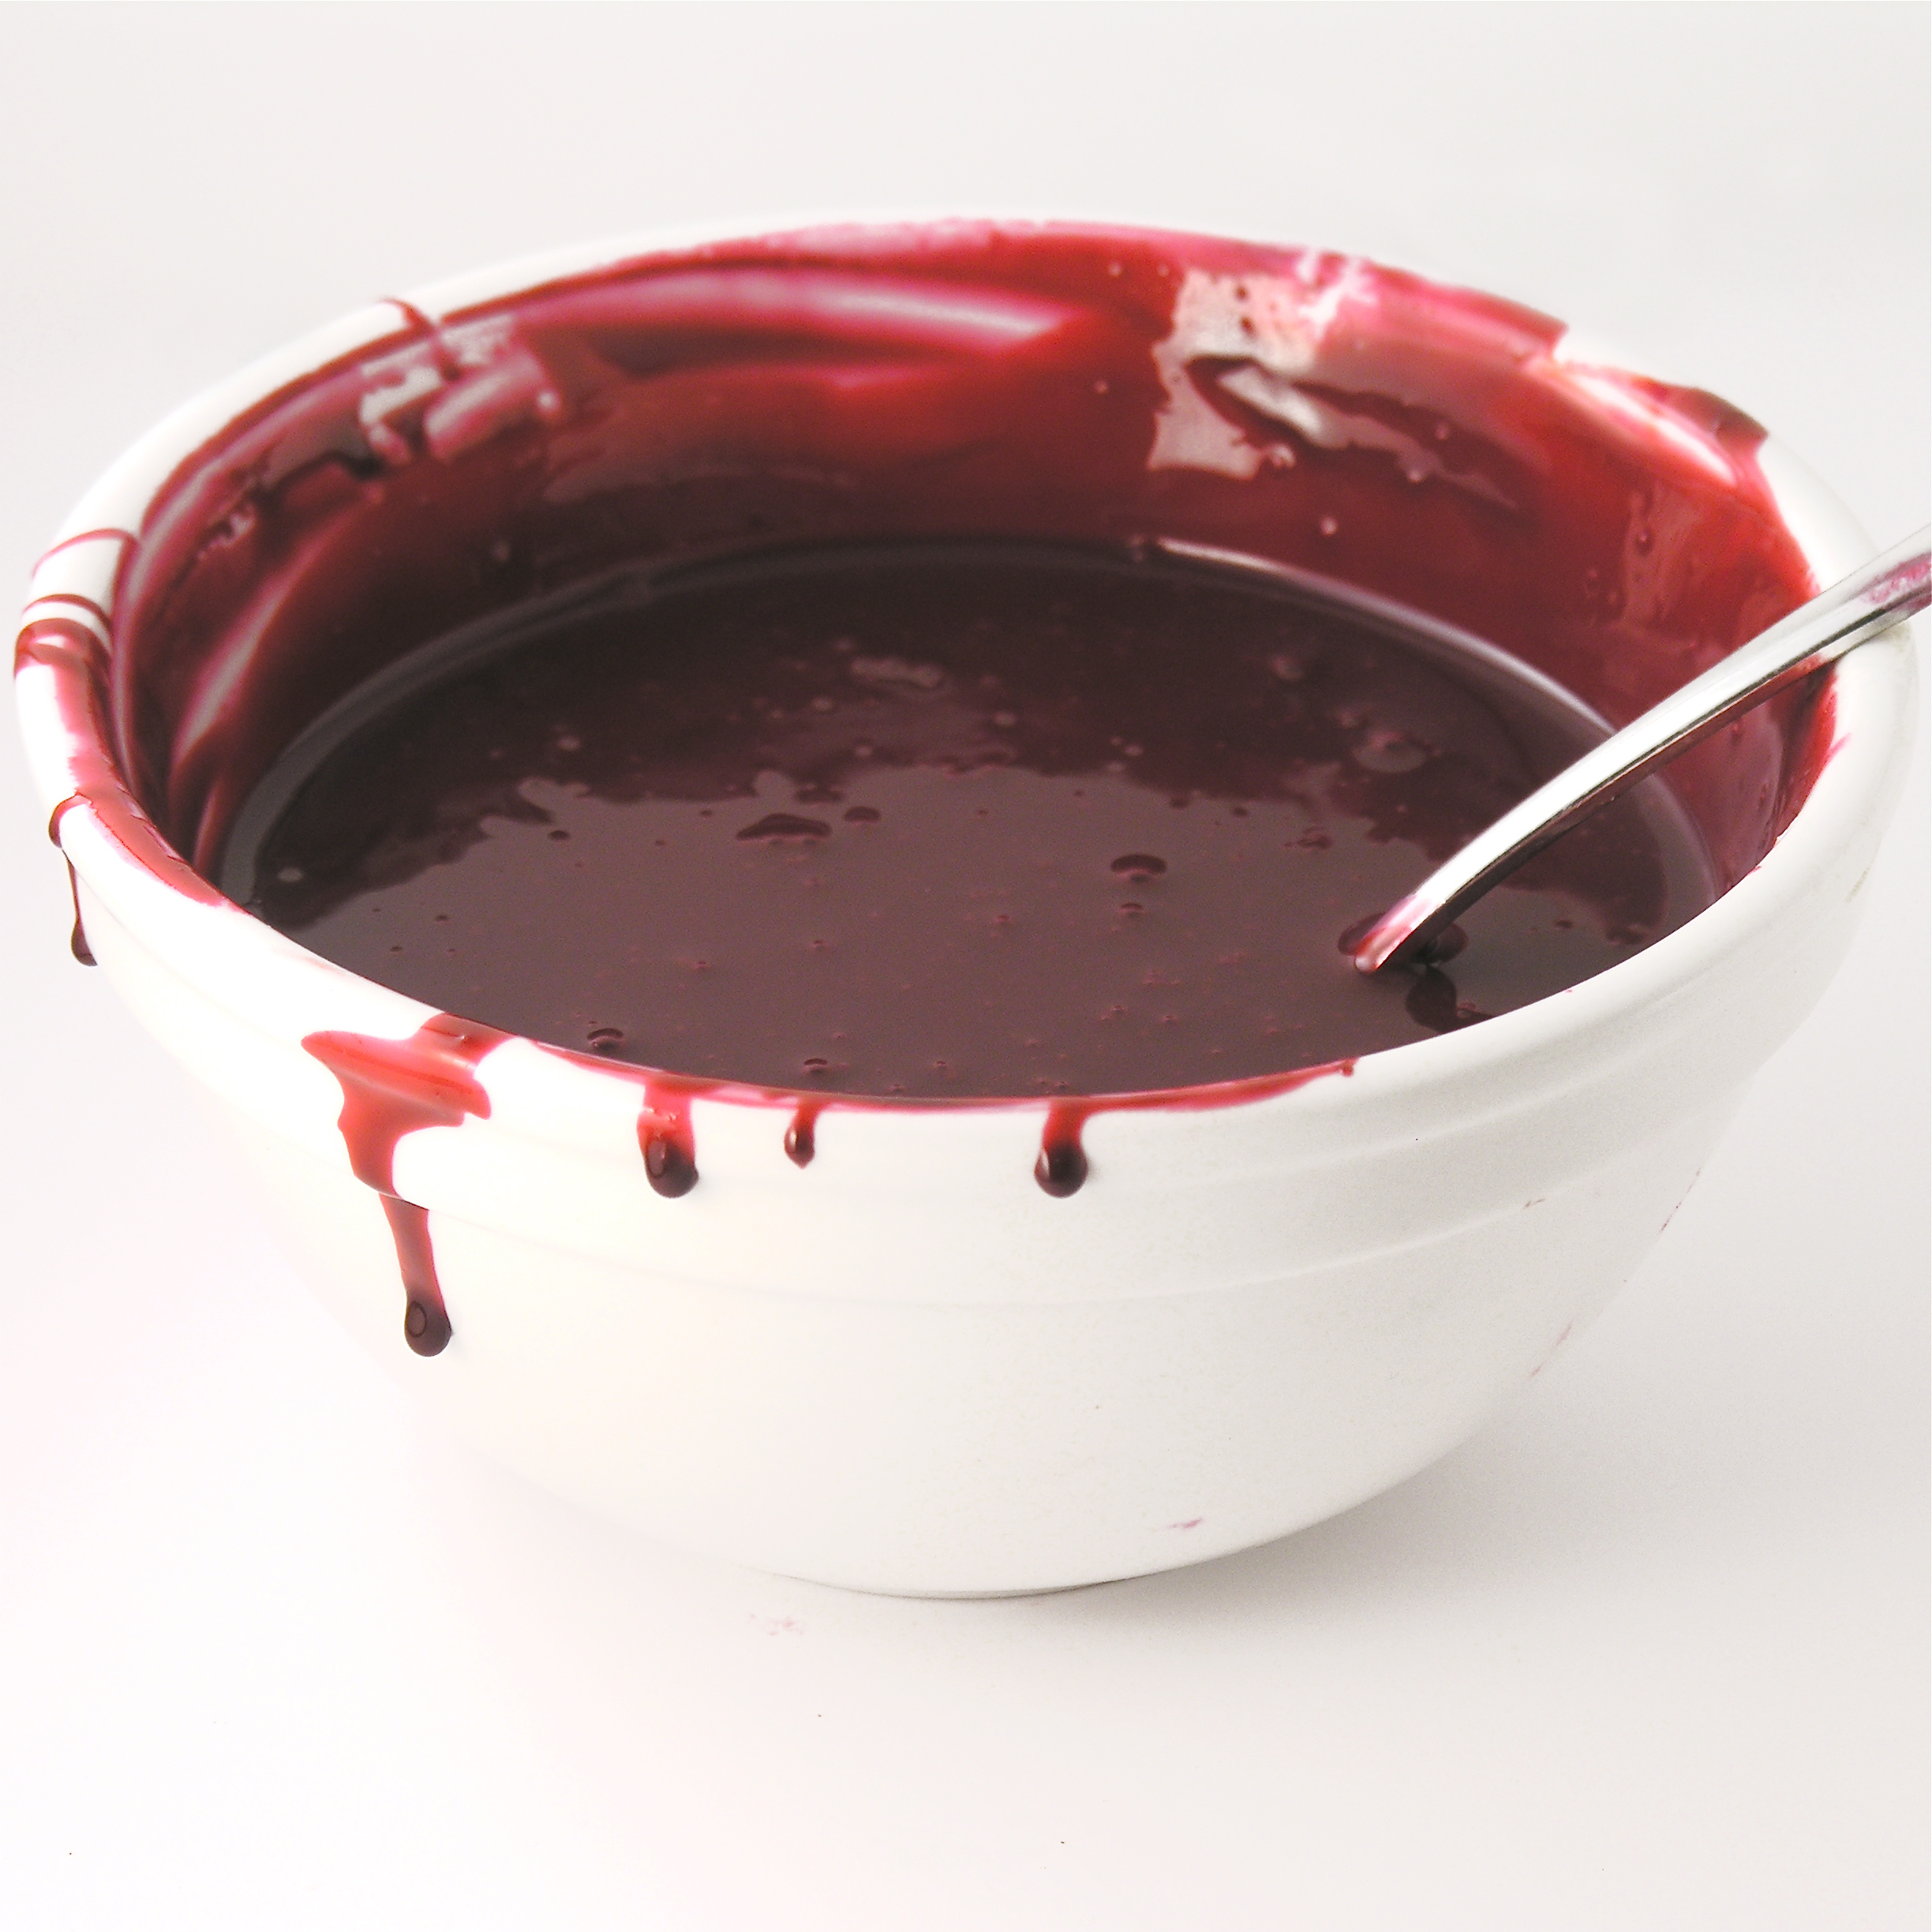
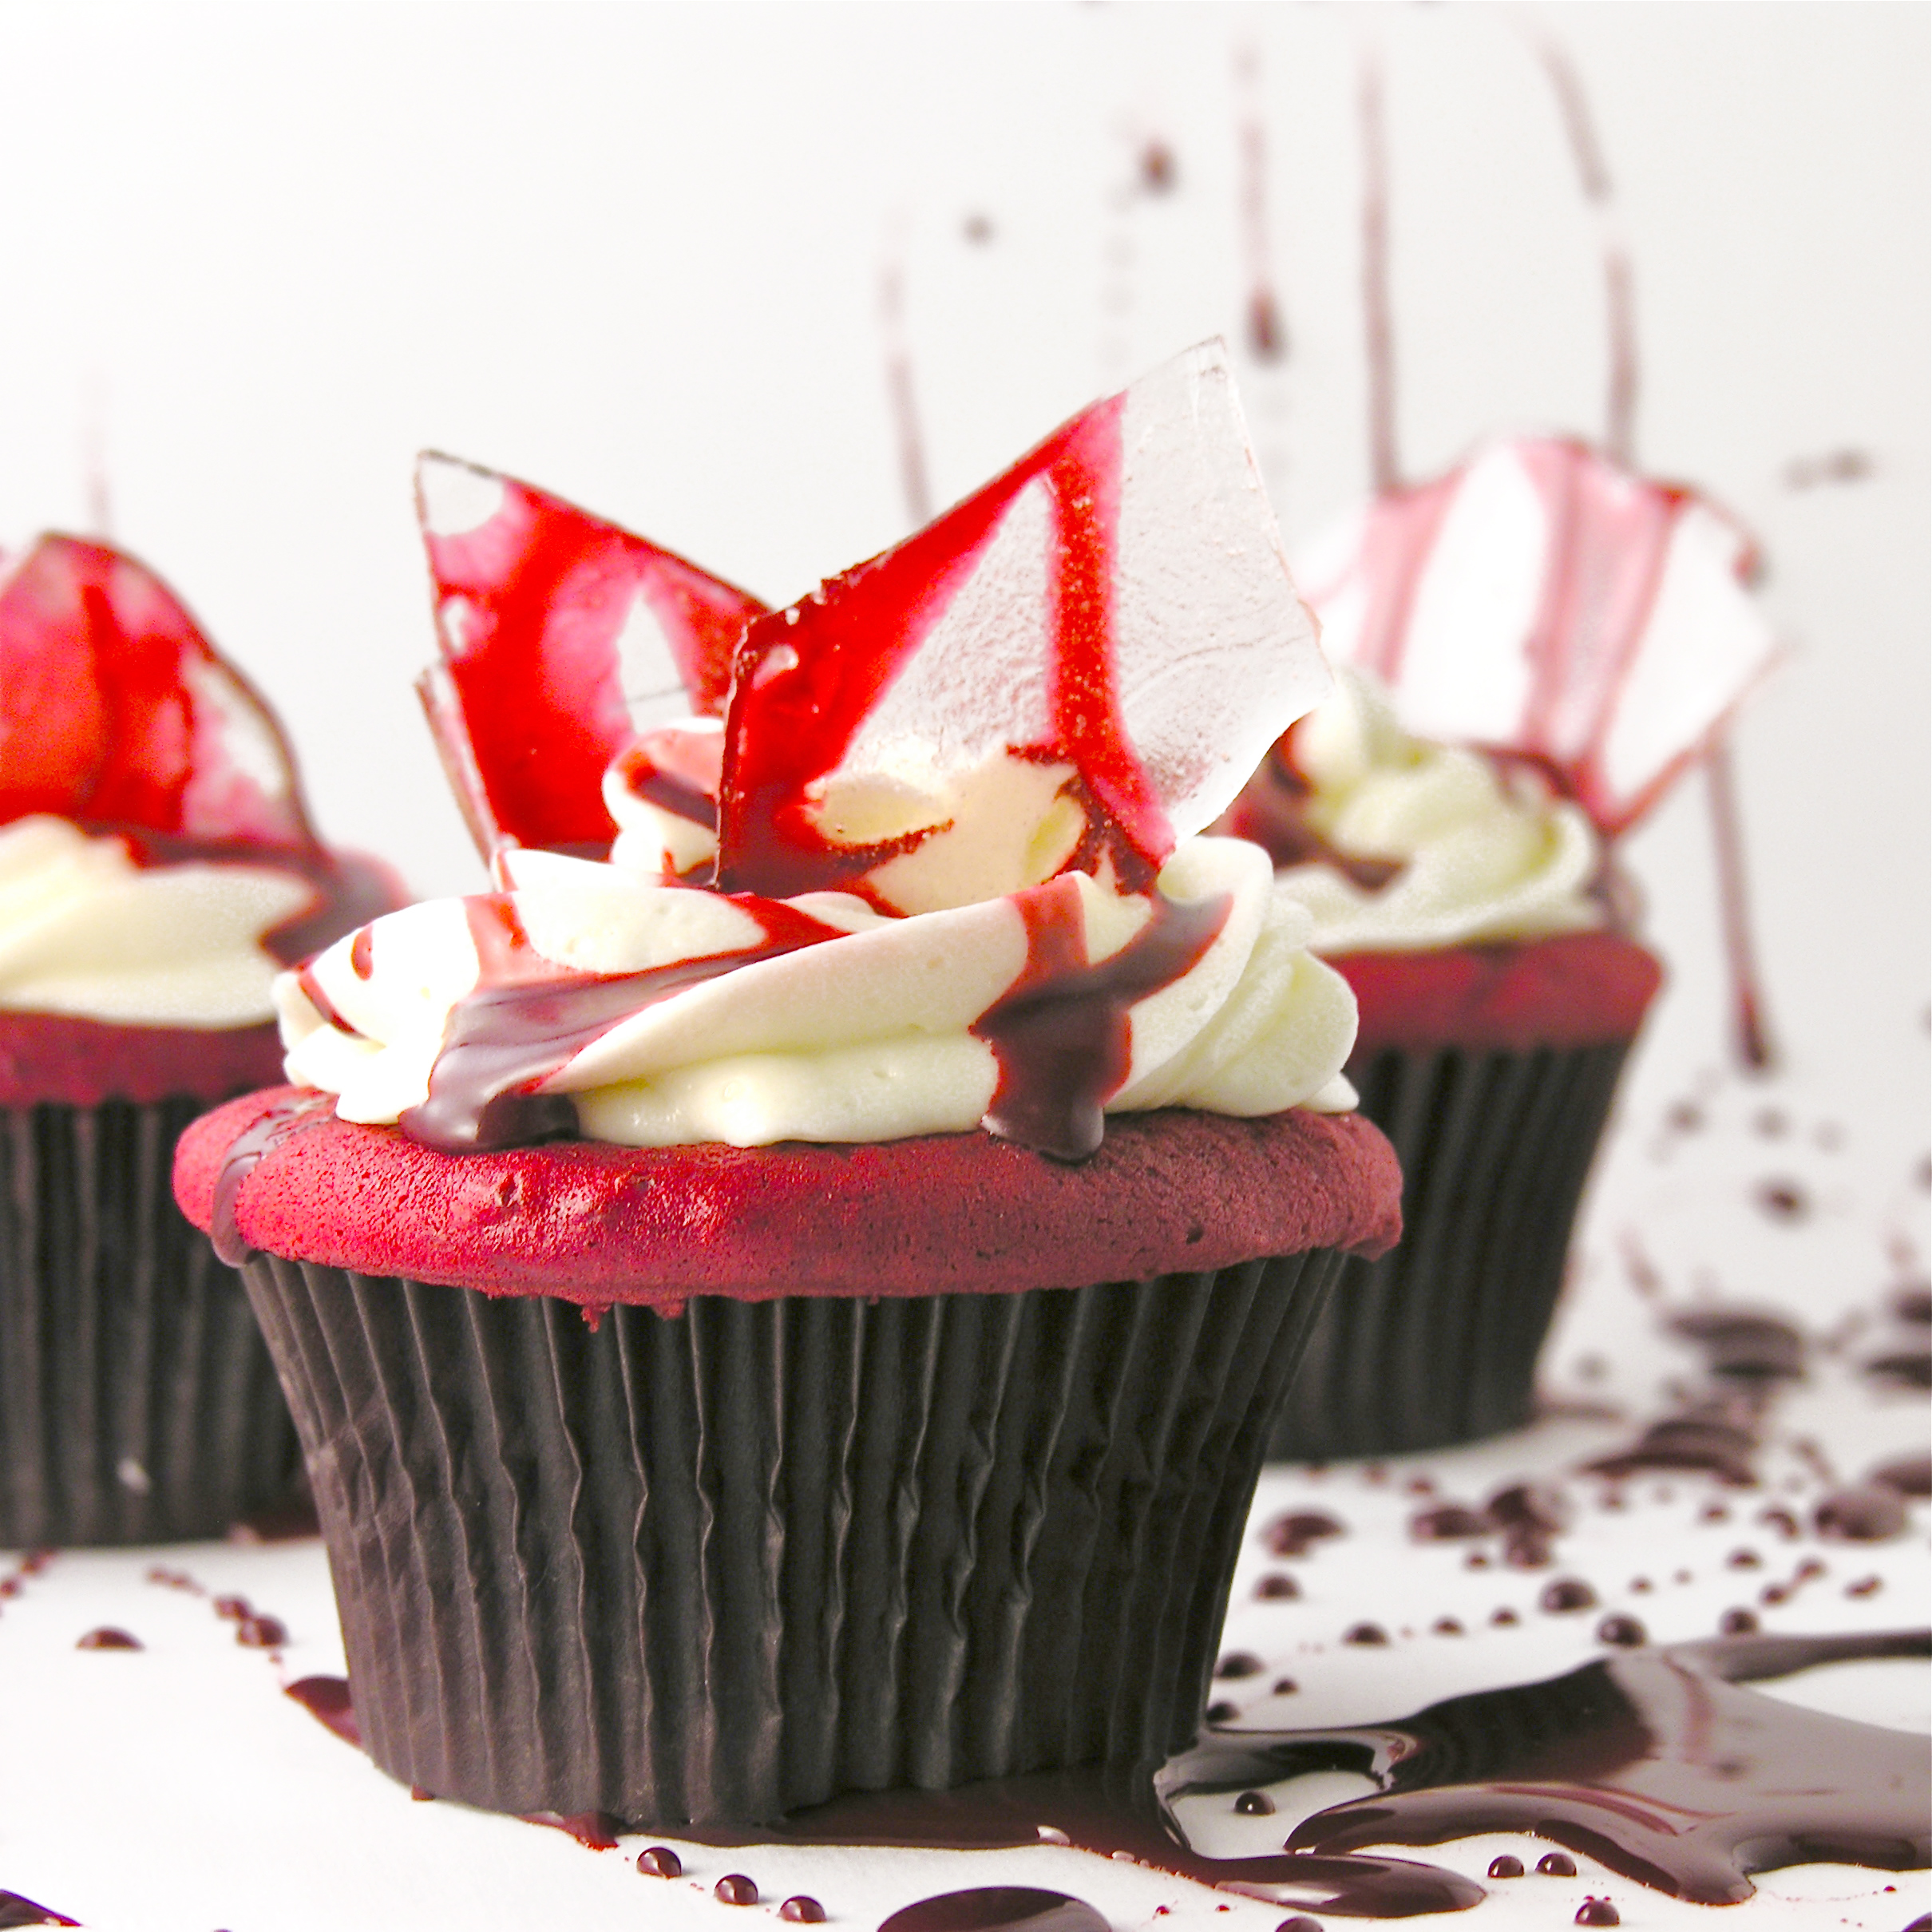
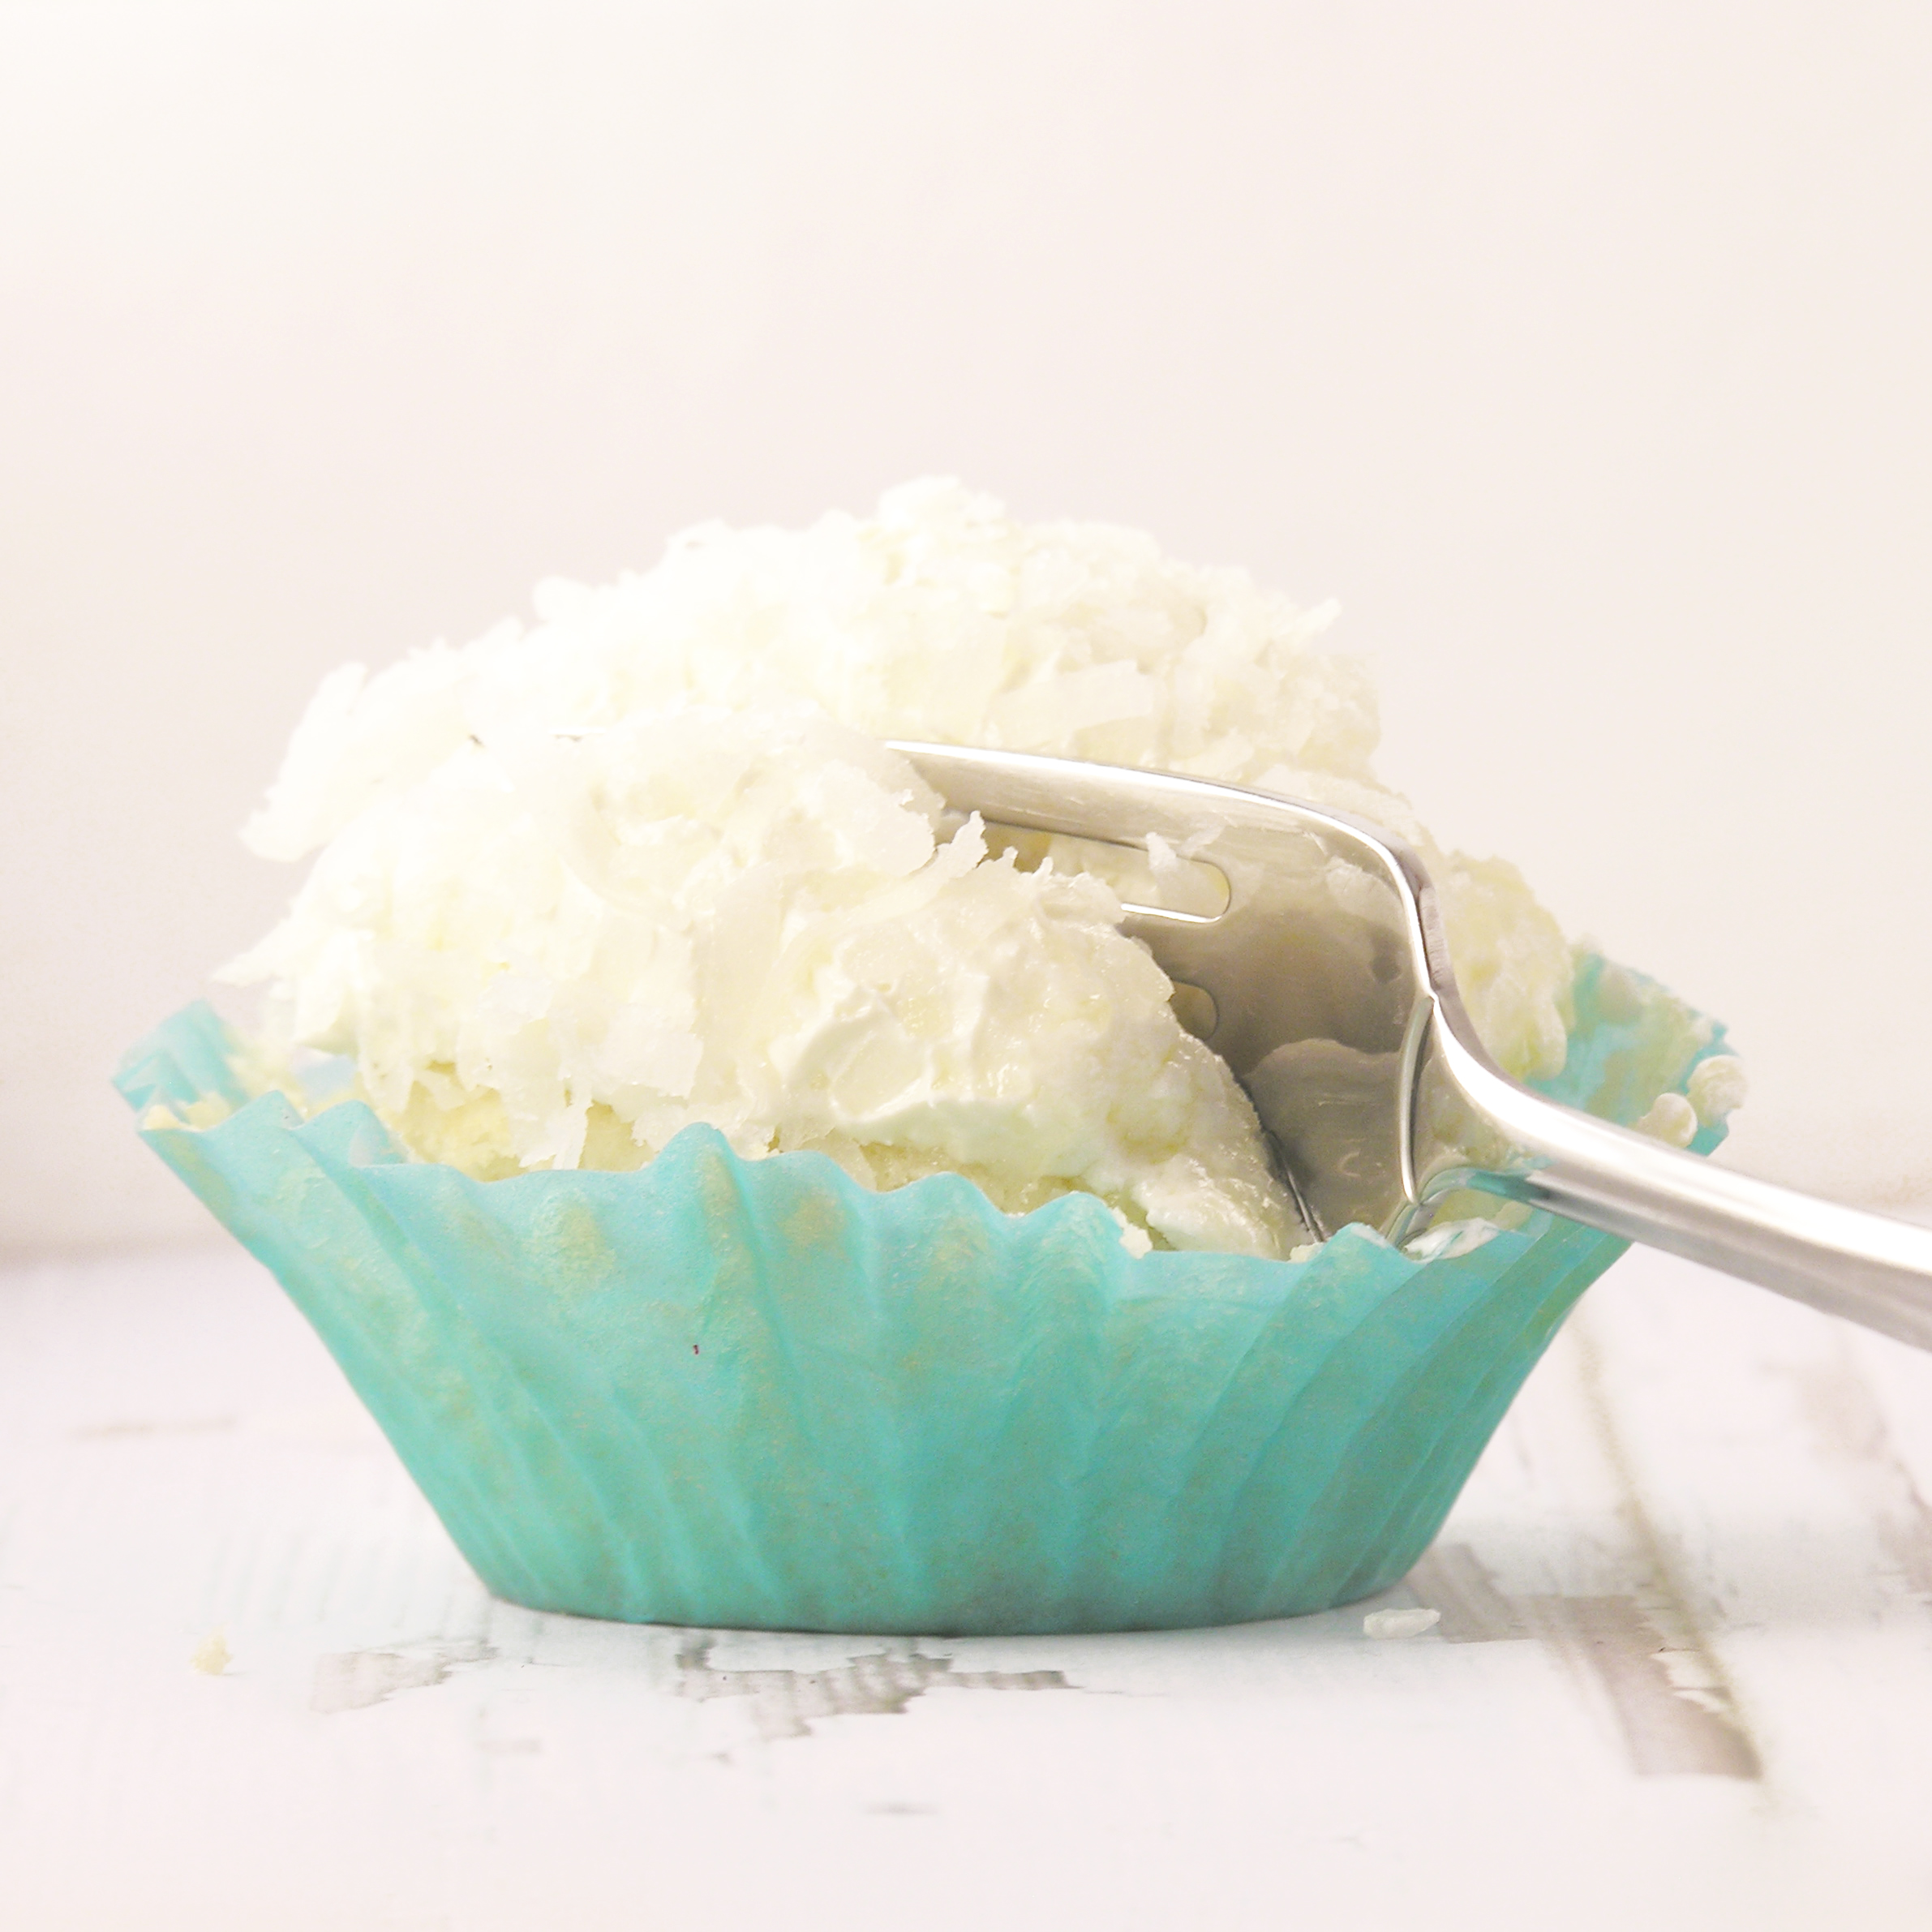
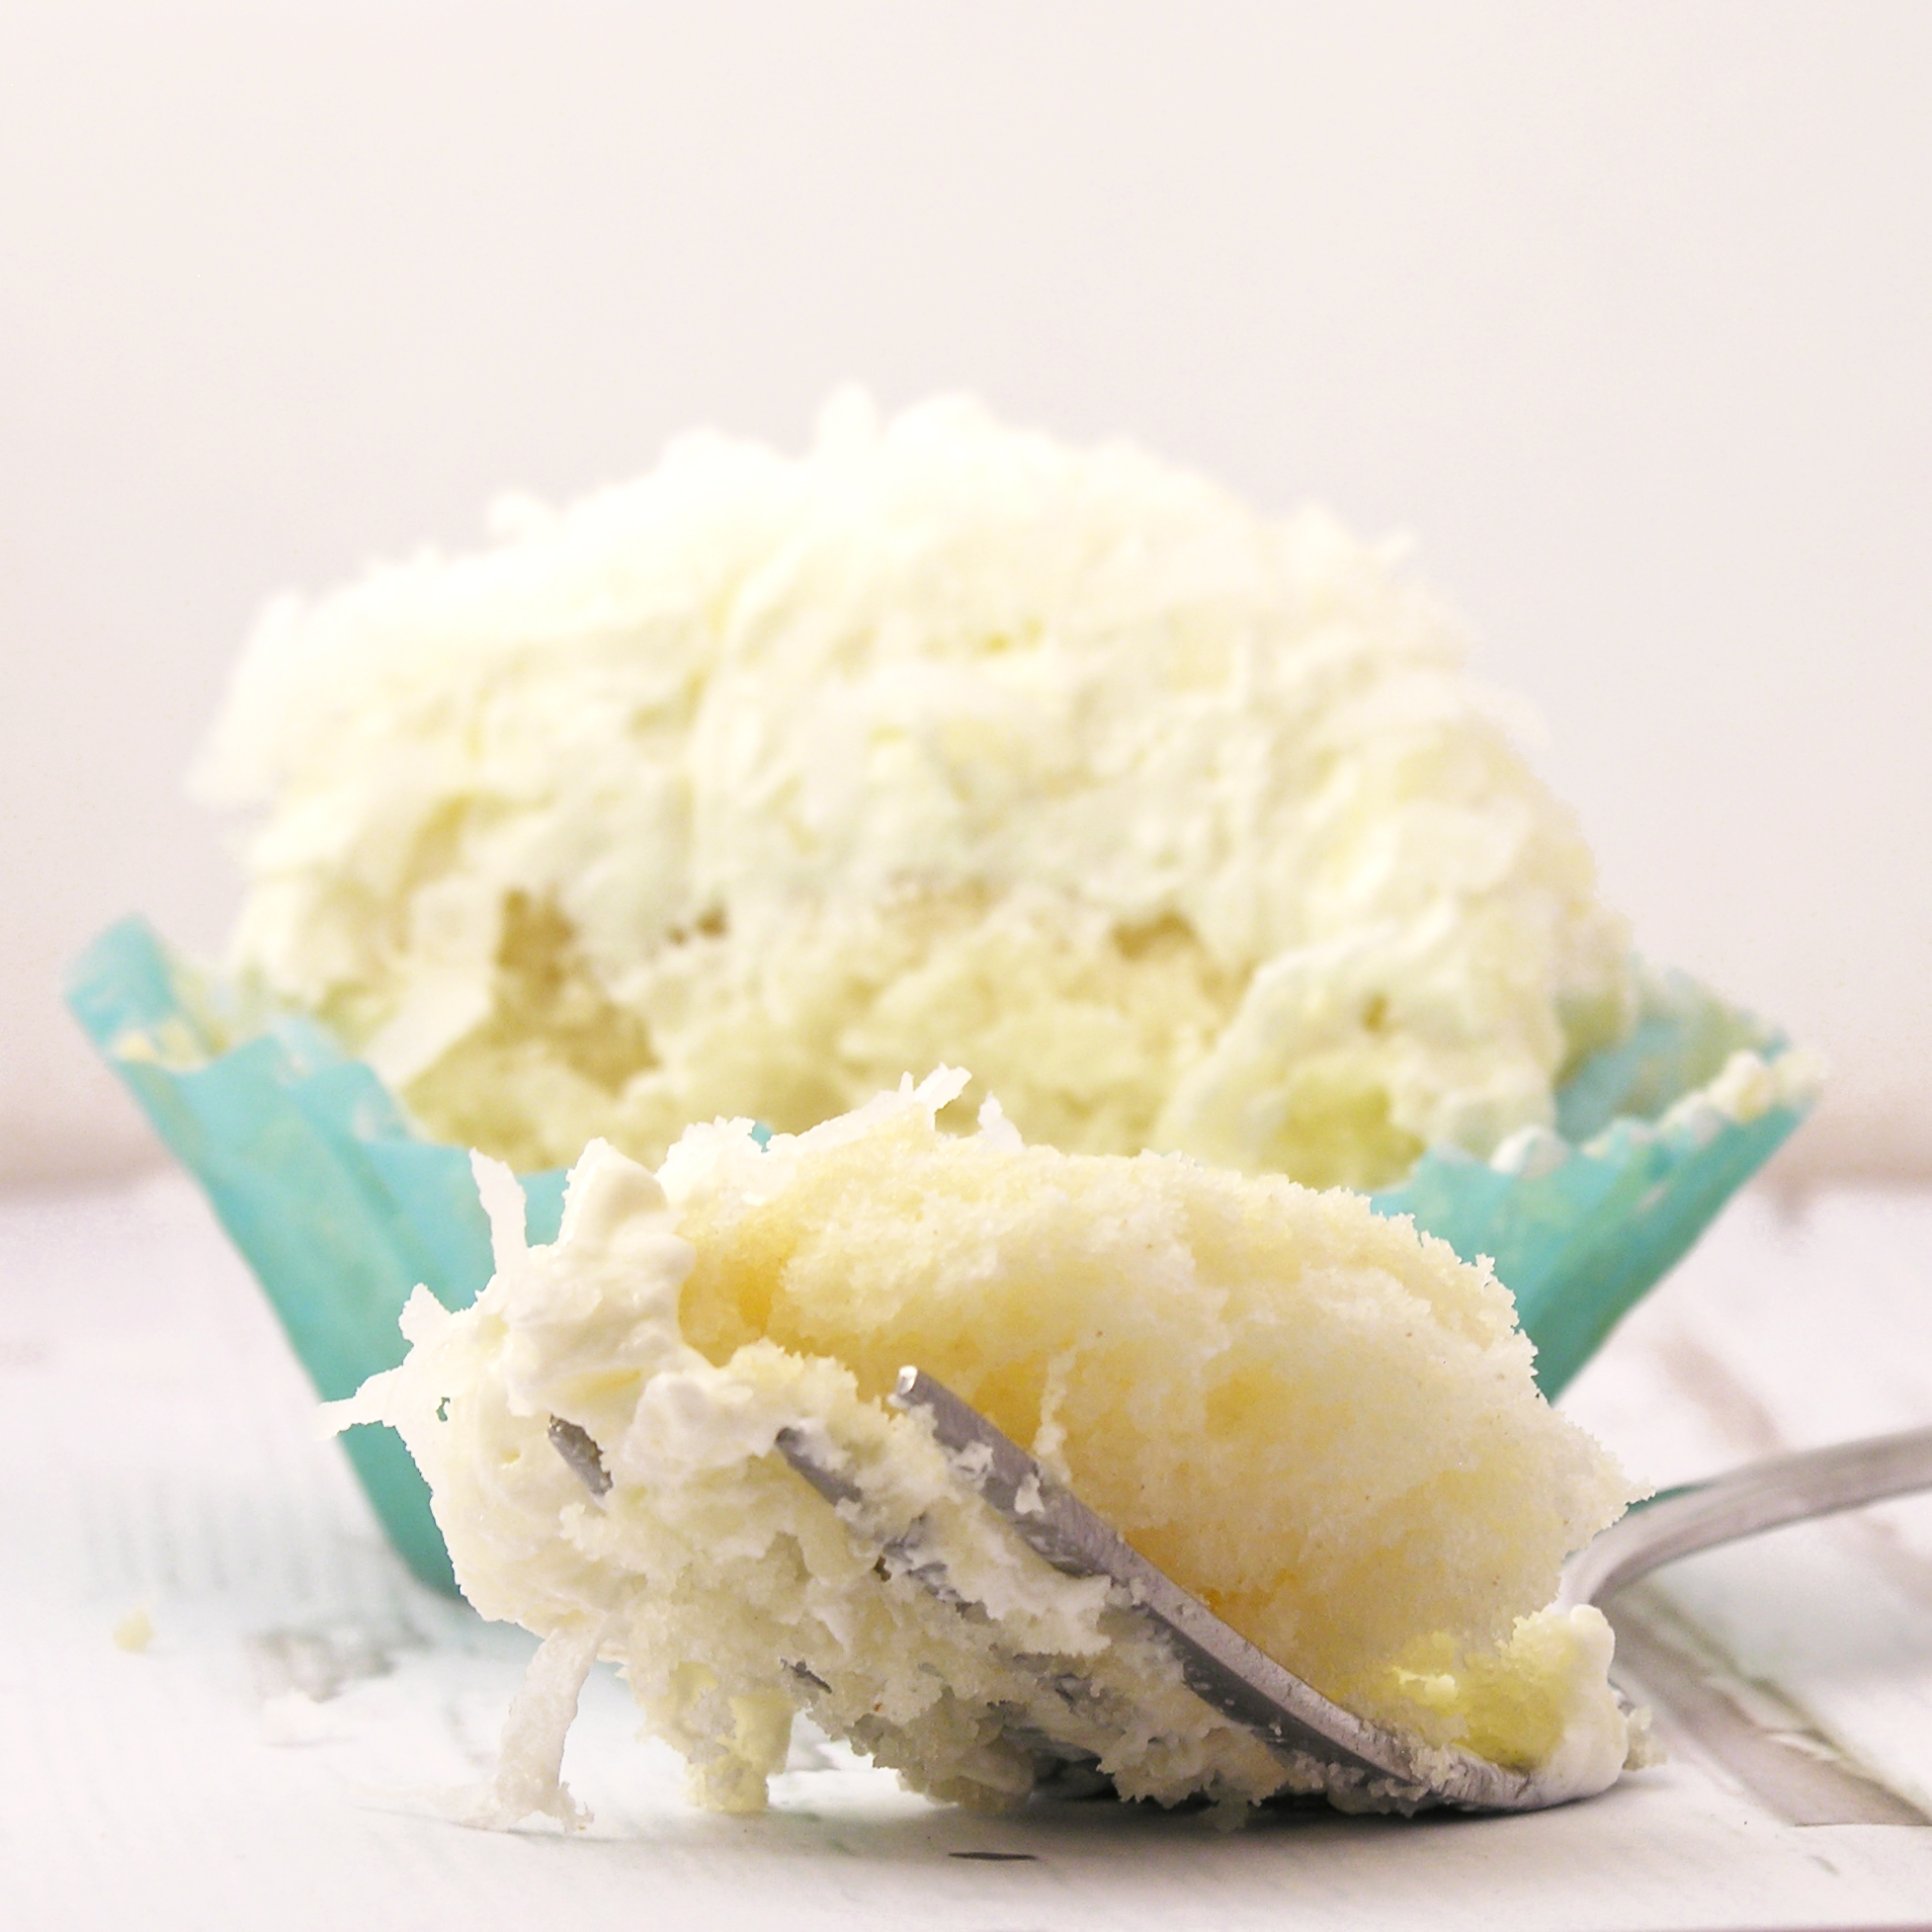
Since they are a fork-eating-cupcake anyway, I see no harm in adding hot fudge….

Baked Alaska Cupcakes!!My thoughts: I loved them.  They satisfied my craving for a baked Alaska plus they have the cute factor of a cupcake!  Fun, fun, FUN!!!!! Enjoy!!!  ~r

Baked Alaska Cupcakes!!!
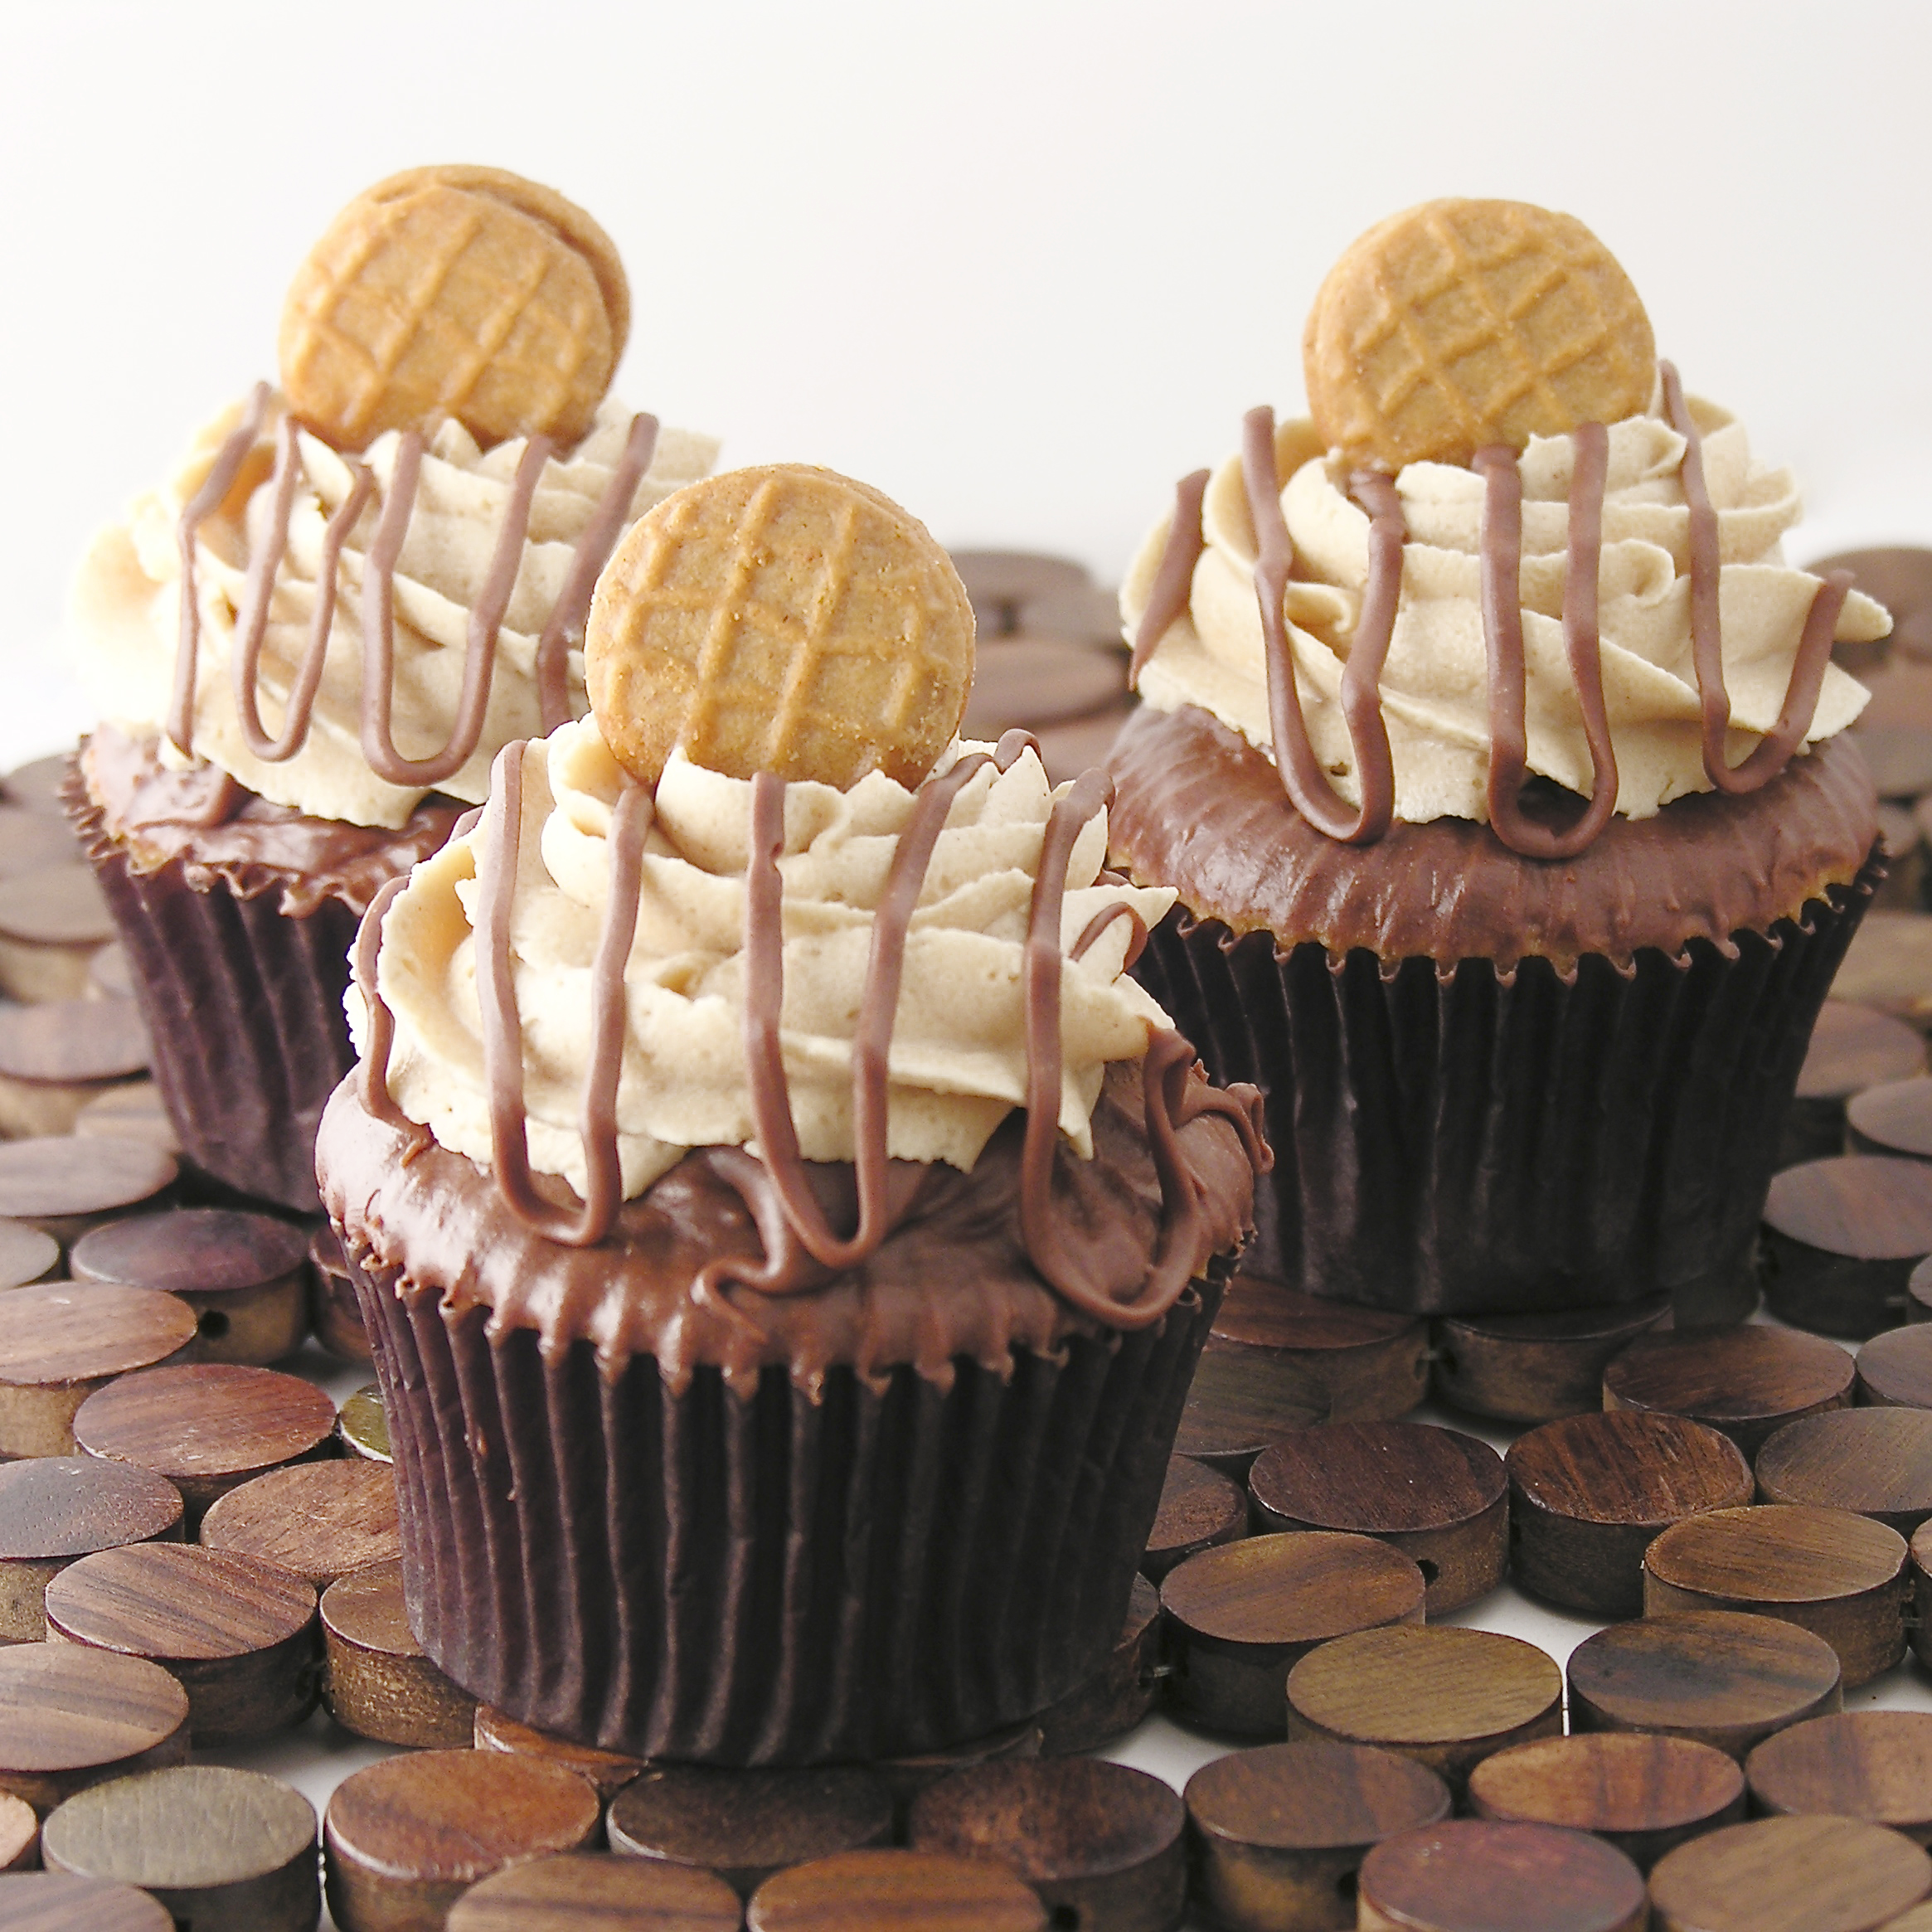
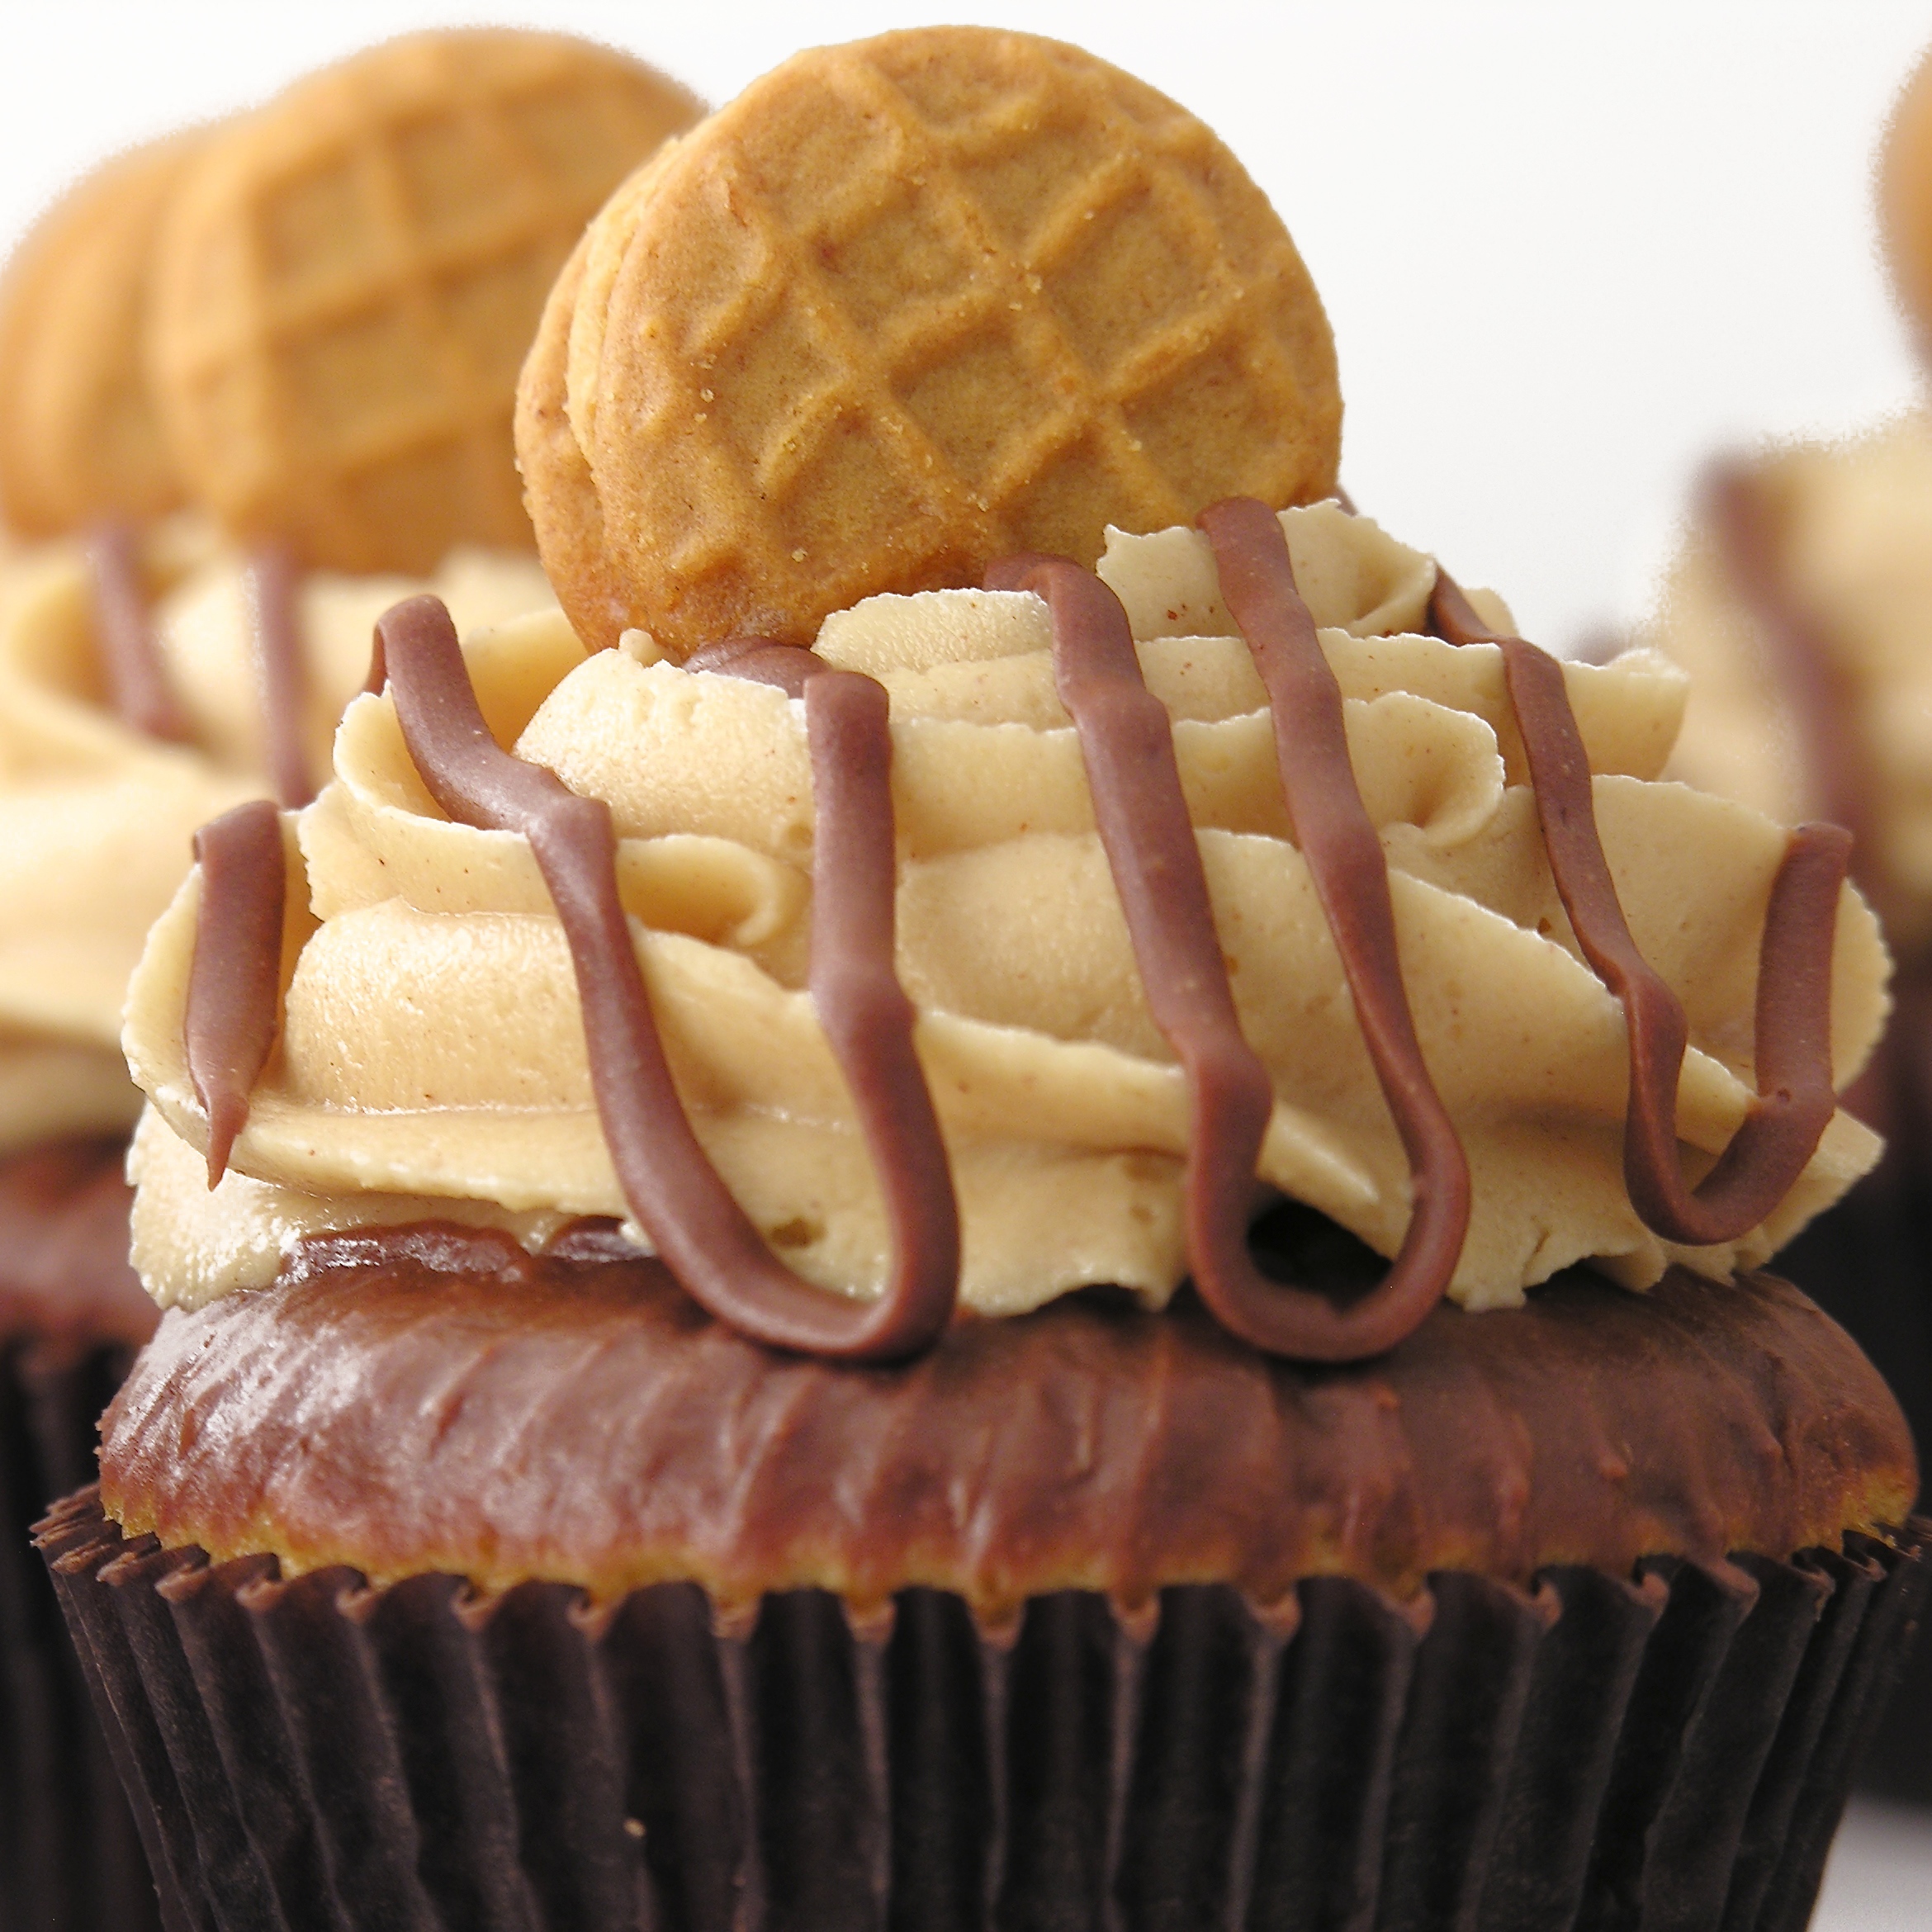
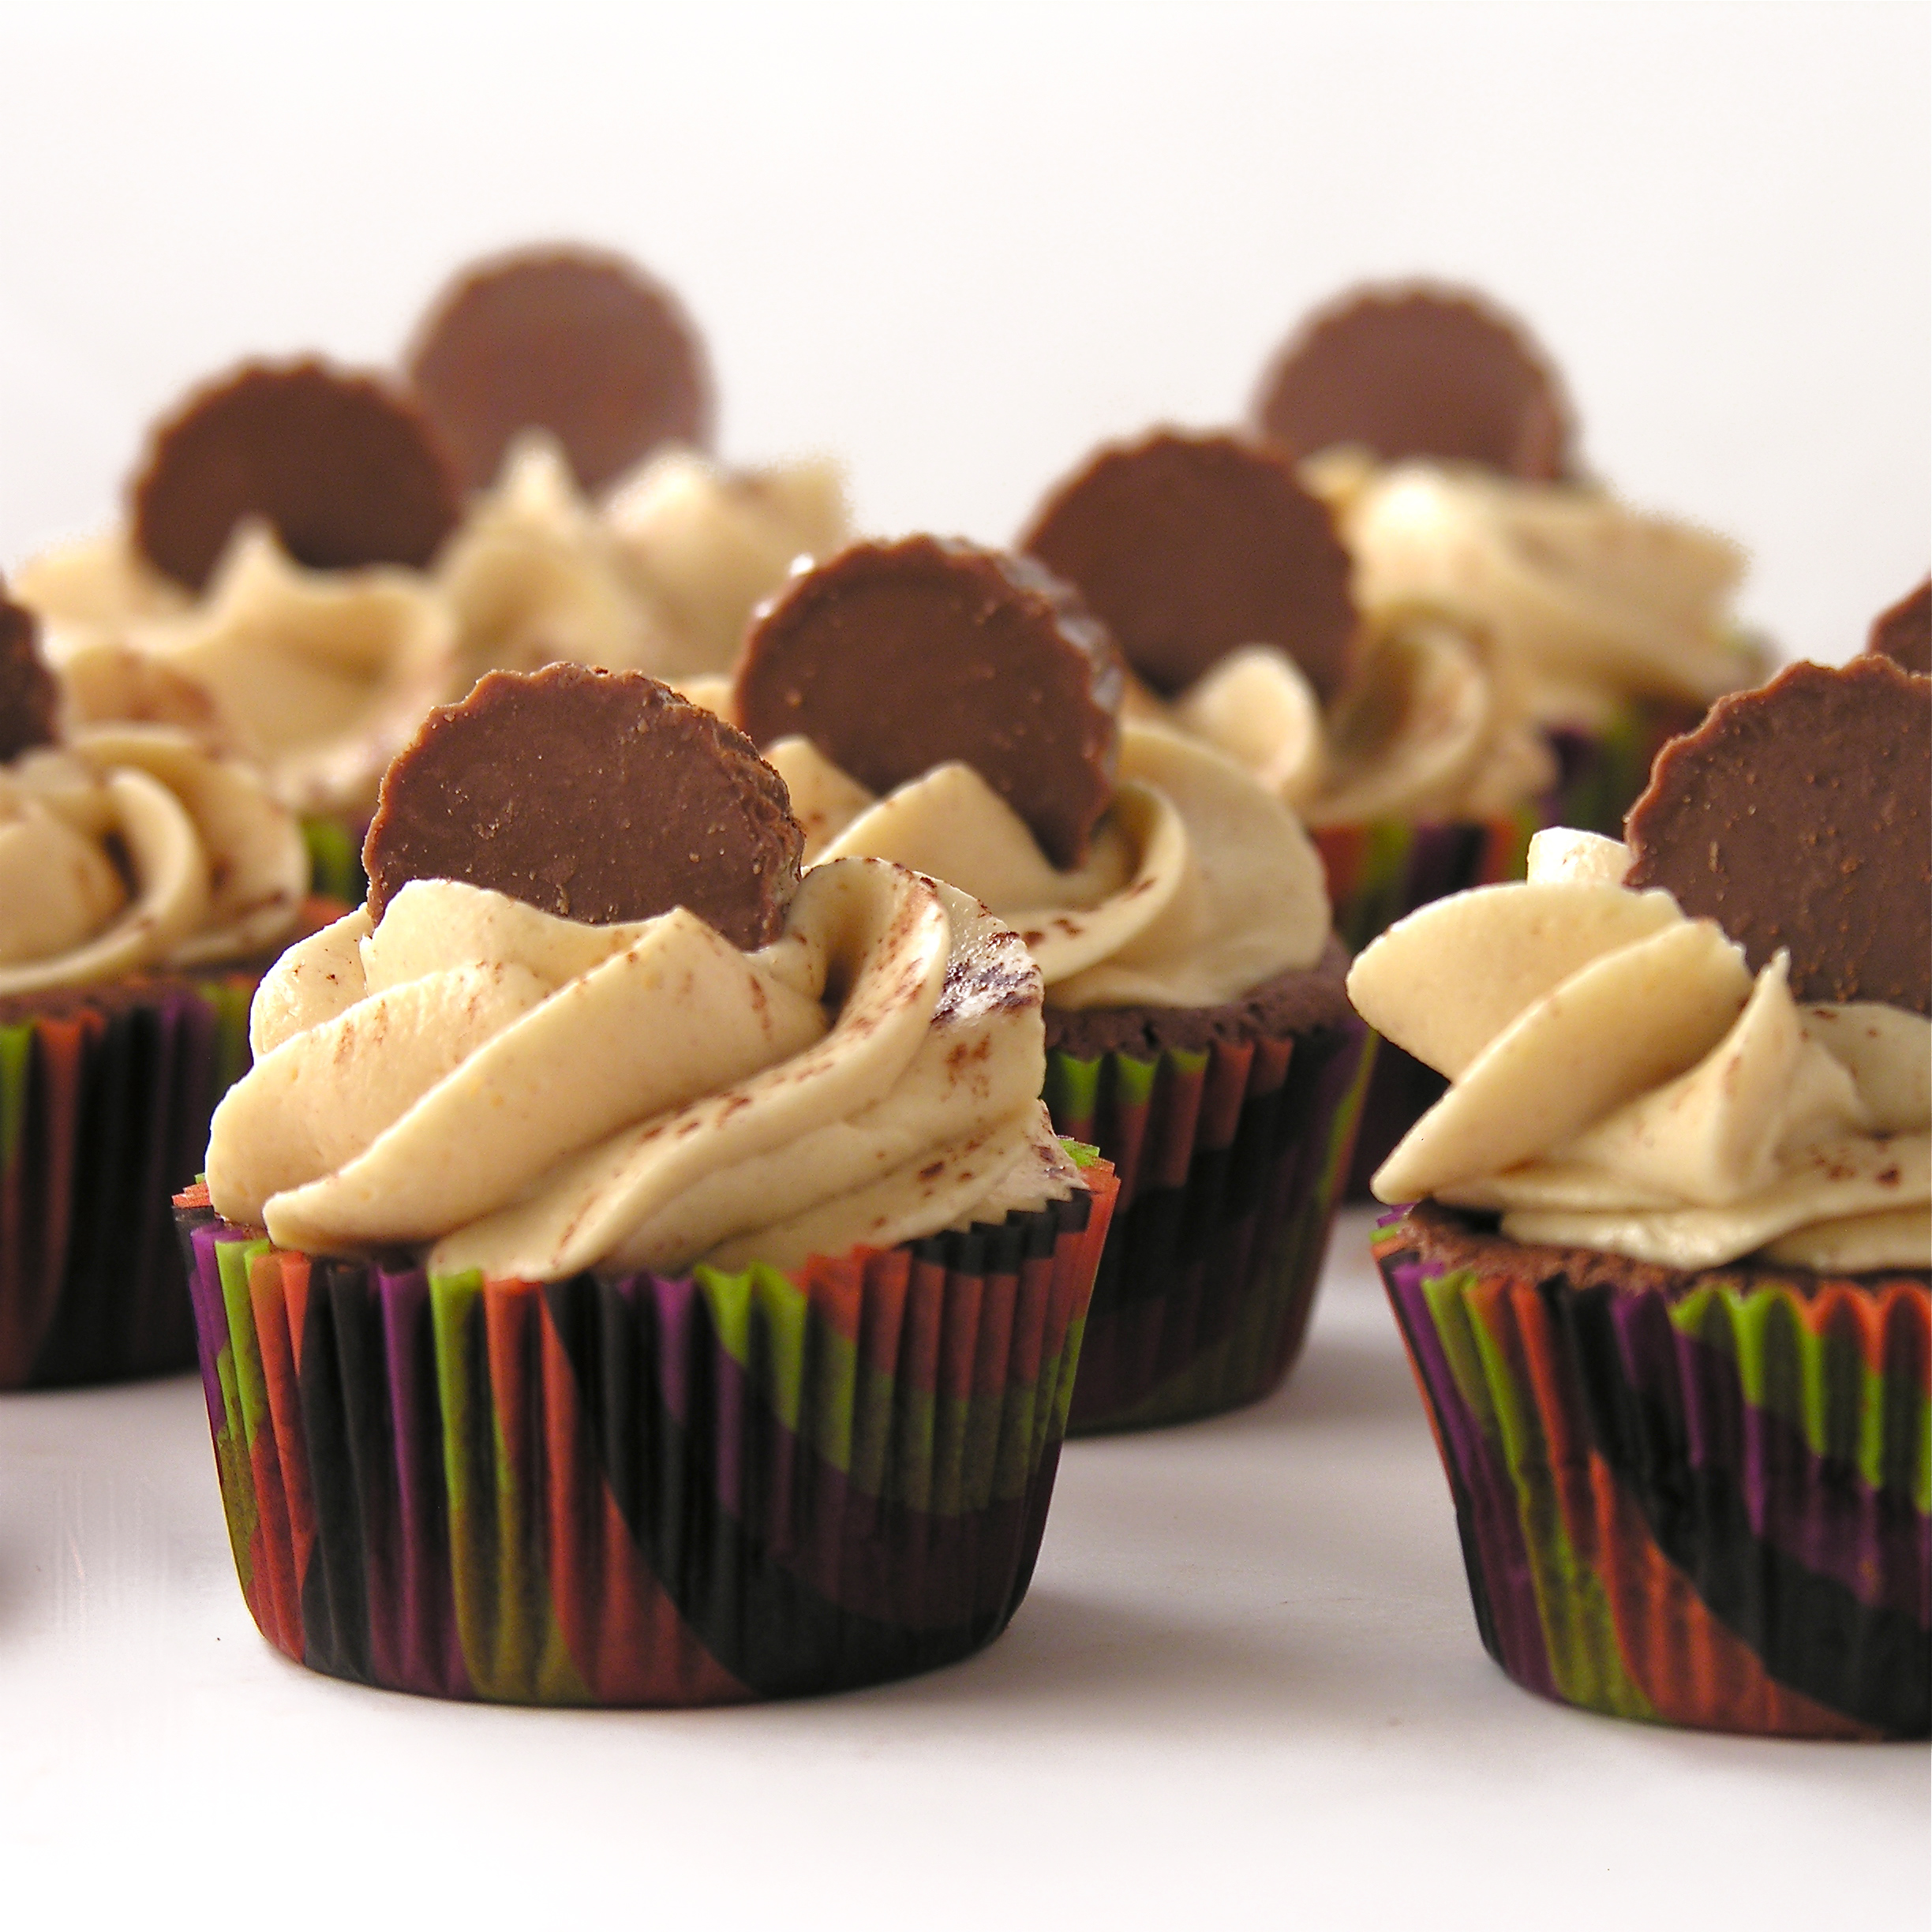
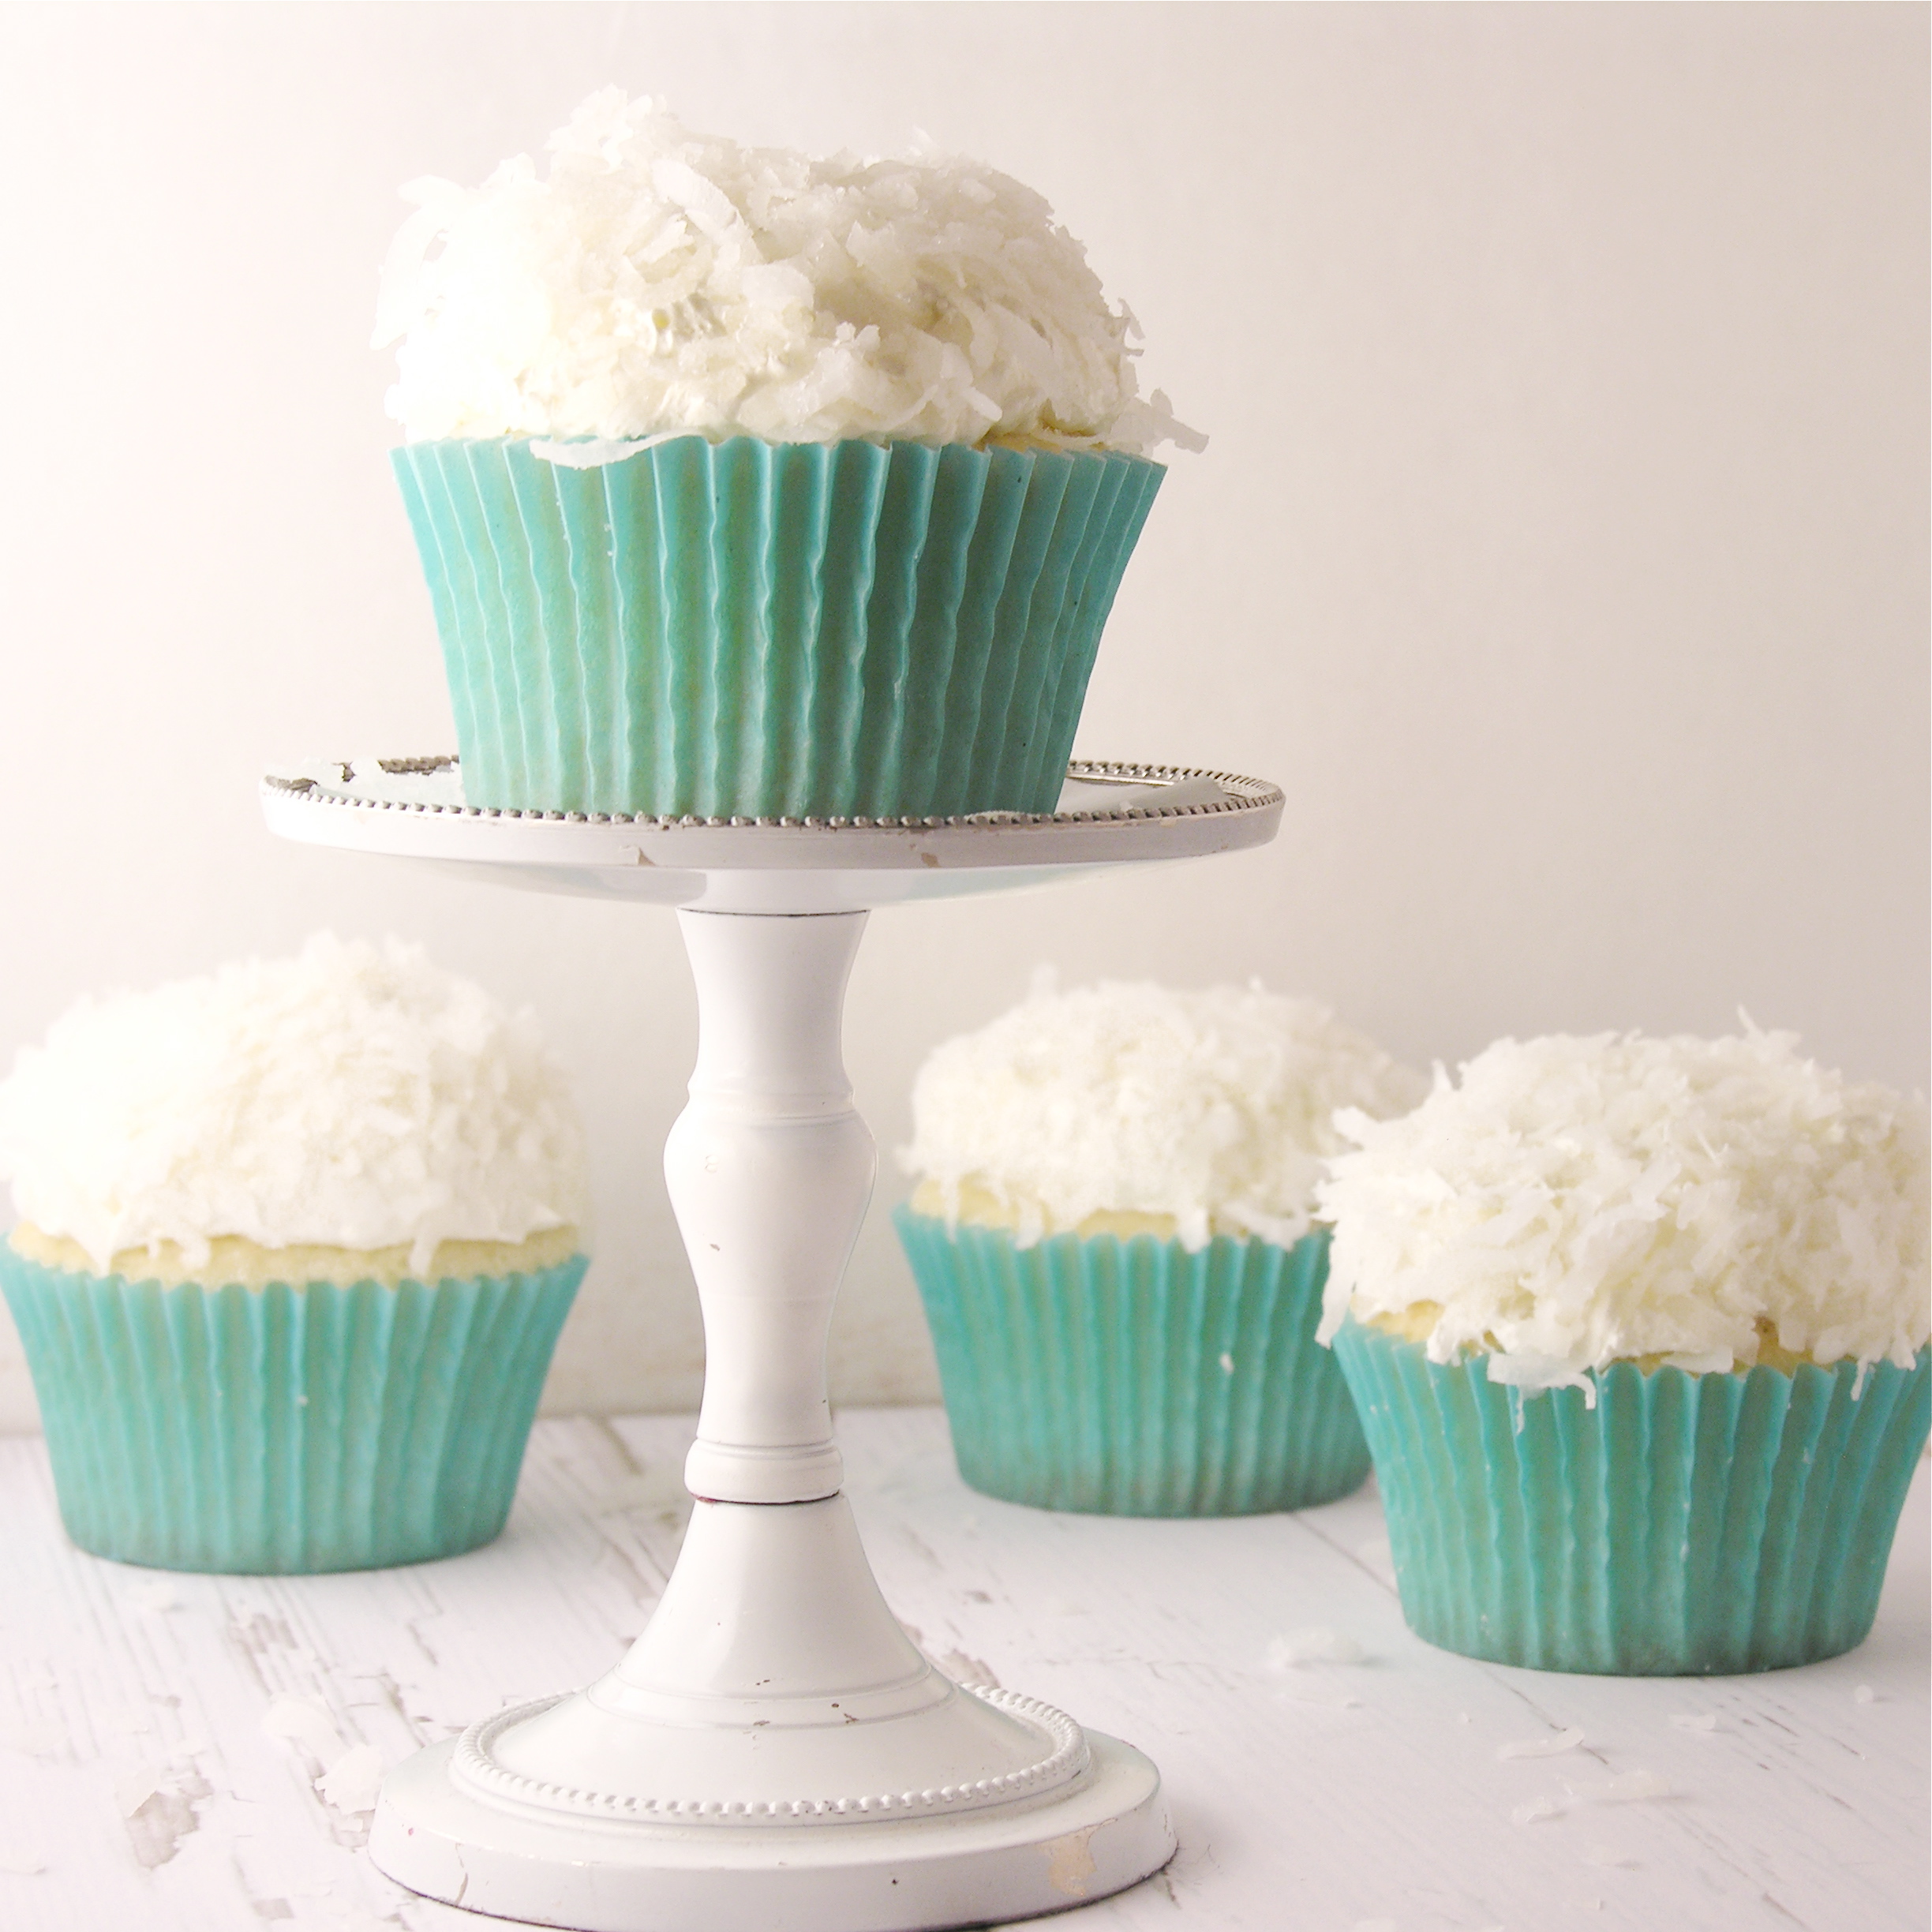
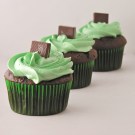
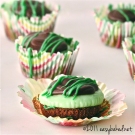
Other yummy cupcakes:

Peanut Butter Cupcakes!!Key Lime Cupcakes!Doughnut cupcakes!!Chocolate molten lava cupcakes

Lime Soda Cupcakes!

Posted on

Lime Soda Cupcakes!!Sweet lime cupcakes topped with a swirl of marshmallow buttercream.
A perfect flavor combination!

A while back, I shared with you an impossibly difficult (but amazingly yummy!) candy recipe from my friend Gail.  It was a recipe for Opera Creams passed down to her from her grandmother.  We spent the entire day together, candy making. For lunch we ran up to a little soda fountain from the 50s that is still in business. (Arnolds Drive In, for you folks that live near Indiana)  They have burgers and fries— and yummy soda fountain drinks.  Gail recommended the “Ole Green River” and I got the most wonderful lime phosphate topped with marshmallow cream.  It was beautiful and as that marshmallow dissolved into the drink…?  Unbelievably good.  Here’s my Instagram record of it:

Ole' Green River at Arnold's Drive-InI’m not sure what brought it to mind the other day, but I decided to use those flavors to create a cupcake version of that yummy Ole Green River.  I think they turned out great.  Nice and green for St. Patricks Day!!!

Lime Soda Cupcakes!!

Here’s the recipe: (printable version)

INGREDIENTS (makes 24 cupcakes)

  • One boxed white cake mix, plus oil, water and eggs to make according to box.
  • One small packet of Lime Jell-O.
  • 4 sticks of salted butter (at room temperature)
  • 2 teaspoons of clear vanilla
  • 3 cups of powdered sugar
  • 2 jars (7 oz. each) of Jet-puffed marshmallow creme
  • White food coloring (optional- only if you want that bright white marshmallow color.)
  • Sprinkles and decorations as desired.

DIRECTIONS:

  • Make cake mix according to box, but add Jell-O along with other ingredients.
  • Divide batter evenly into 24 cupcake liners in muffin tins.
  • Bake according to box, a toothpick inserted into the center of one should come out clean.
  • Allow cupcakes to cool while you prepare frosting.
  • Combine (room temperature) butter, vanilla, and powdered sugar in a large mixing bowl and beat on low until combined.
  • Beat on high for several minutes until light and fluffy.
  • (optional) add white food coloring at this point, to whiten up all that butter- I did not have any, so you can see my icing is more of an ivory color.
  • Add marshmallow creme to frosting and beat until completely incorporated.
  • Spoon frosting into a large zip top bag that has been fitted with a decorating tip, and pipe frosting over cupcakes.
  • Decorate as desired (paper straws are fun!!!!!!)
  • Enjoy!

Lime Soda Cupcakes!!!!My thoughts: I really loved these flavors together.  Marshmallow and lime.  So yummy.  The cupcakes are very moist because of the Jell-O, so take care unwrapping them, they are a little more likely to fall apart than other cupcakes.  I experimented with the marshmallow butter cream, just adding the fluff to my usual buttercream recipe, and I thought it was fabulous.  The marshmallow flavor was not lost!  I hope you enjoy these little treats, and if you’re ever near a soda shop that has lime phosphates on the menu, ask for one with marshmallow cream on the top!  Enjoy!  ~r

Lime Soda Cupcakes!!Other fun St. Patrick’s Day treats you might want to try:

Grasshopper Mint CupcakesRainbow Cake RollMint Creme Brownie CupsBaileys Irish Cream Cupcakes

Coconut Brownie Cups

Coconut Brownie CupsThese moist little brownie cups have a layer of creamy coconut and a yummy fudge topping.  Beautiful and easy to make, these are sure to impress!

I’m addicted to coconut.  I really do love it in everything.  Have you seen the coconut Oreos? The coconut M&Ms?  The coconut Hershey kisses?  Yeah….there’s no better flavor in my book!  That said, if you hate coconut (as many of my friends do), these little brownie cups can be made with other flavorings.  I’ve made them with mint, maple and raspberry flavorings and all of them are delicious!  You can add a little food coloring to make them pretty too.  This is a really fun, easy and versatile recipe- and I think you are going to love it!!Coconut Brownie Cups!!!

Here’s the recipe, it makes 24 cups: (printable version)

Brownie:

  • 1cup butter
  • 2 cup sugar
  • 3 eggs
  • 2 teaspoons vanilla
  • 2 cups flour
  • 1/2 cup cocoa
  • 1/2 teaspoon salt
  • 1 cup milk

Coconut filling:

  • 5 cups powdered sugar
  • 8 tablespoons melted butter
  • 2 teaspoons coconut extract
  • 1/2 cup shredded coconut

Chocolate Topping:

  • 12oz. semi-sweet chocolate chips
  • 12 tablespoons butter (do not substitute margarine here!)

DIRECTIONS:

Brownie:

  • Preheat oven to 350.
  • Cream butter and sugar together. 
  • Beat in eggs, cocoa, vanilla and salt.
  • Add flour and milk (alternating them and mixing well in between)
  • Spoon evenly into 24 cupcake liners in a cupcake tin.
  • Bake at 350 degrees for 10-12 minutes (don’t over bake- they will start to pull away from the liner)
  • Cool.  

Coconut Filling:

  • Add melted butter to sugar and extract.
  • Mix well, using water to bring it to a thick but spreadable consistency.
  • Add coconut and blend well.
  • Scoop filling into a large zip top bag fitting with a large round tip and pipe filling over the top of each brownie.
Coconut Cup Filling
Chocolate Topping:
  • Melt butter and chocolate together in the microwave in 30 second increments, stirring in between until completely melted and smooth.
  • Pipe over coconut filling and spread evenly over top
  • Chill until top layer is hard and use any extra topping to pipe fine lines on the top if desired~ be creative!!
  • Enjoy!!

Coconut Brownie Cup!
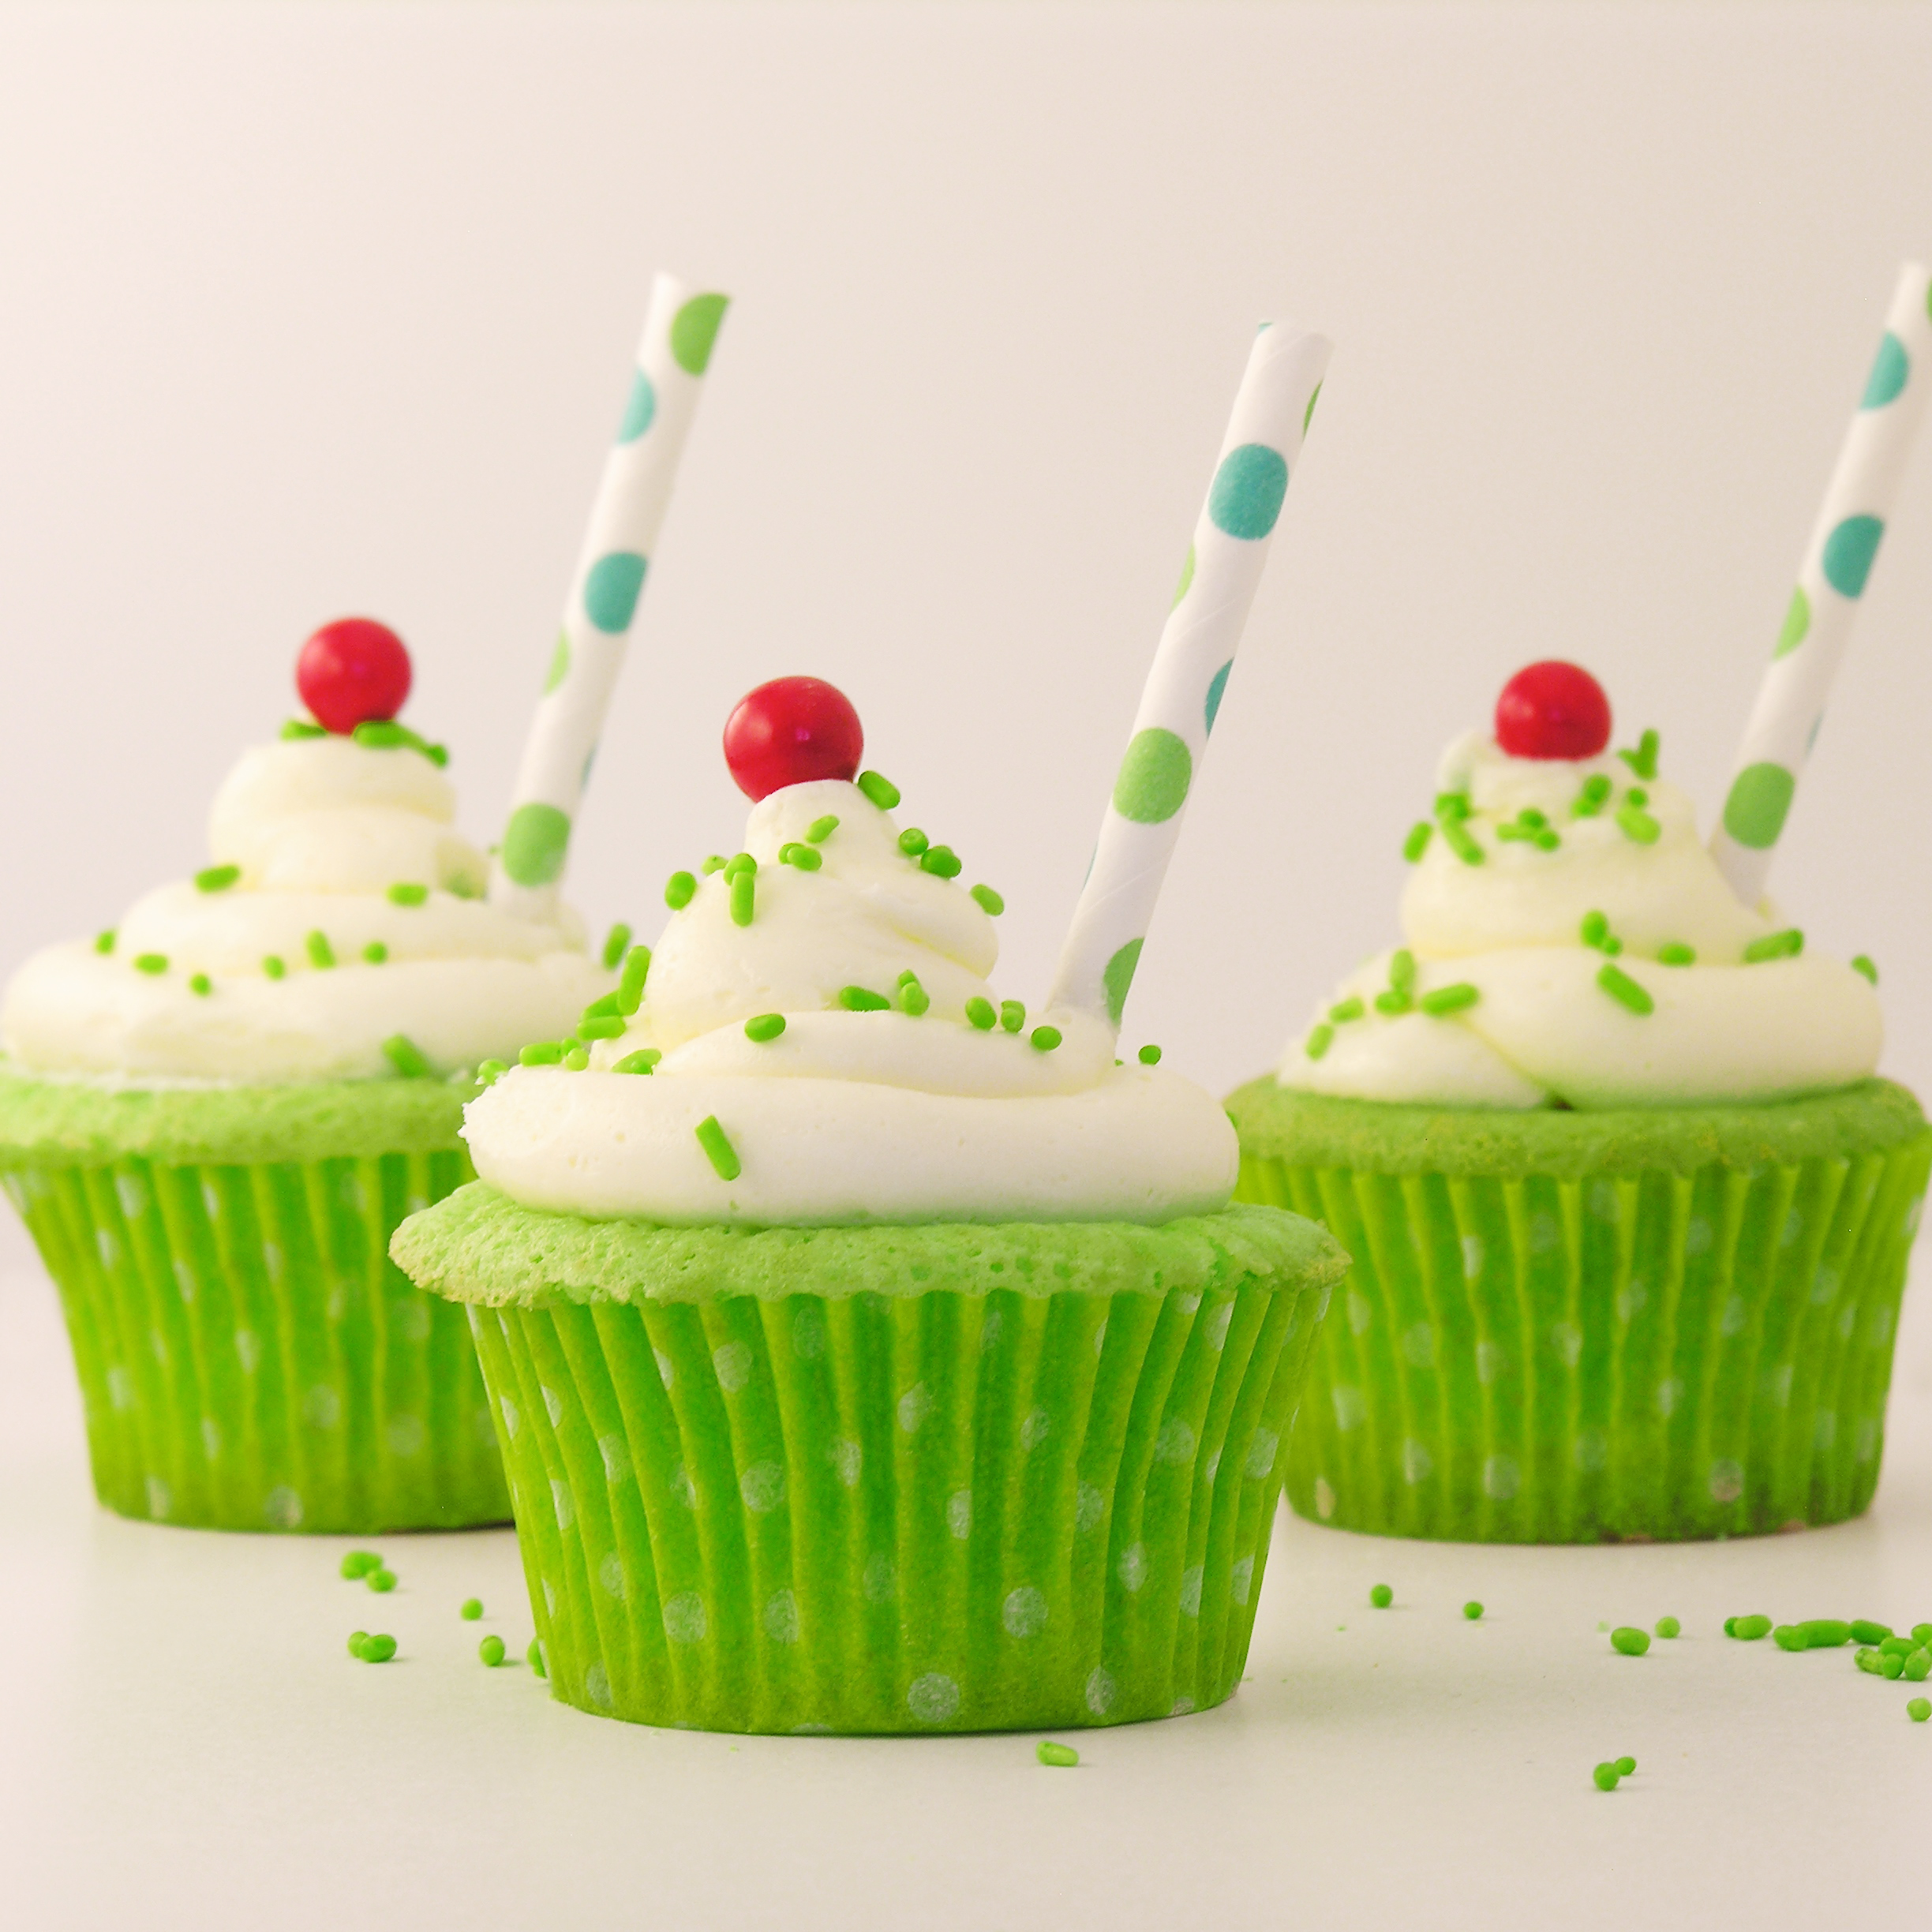
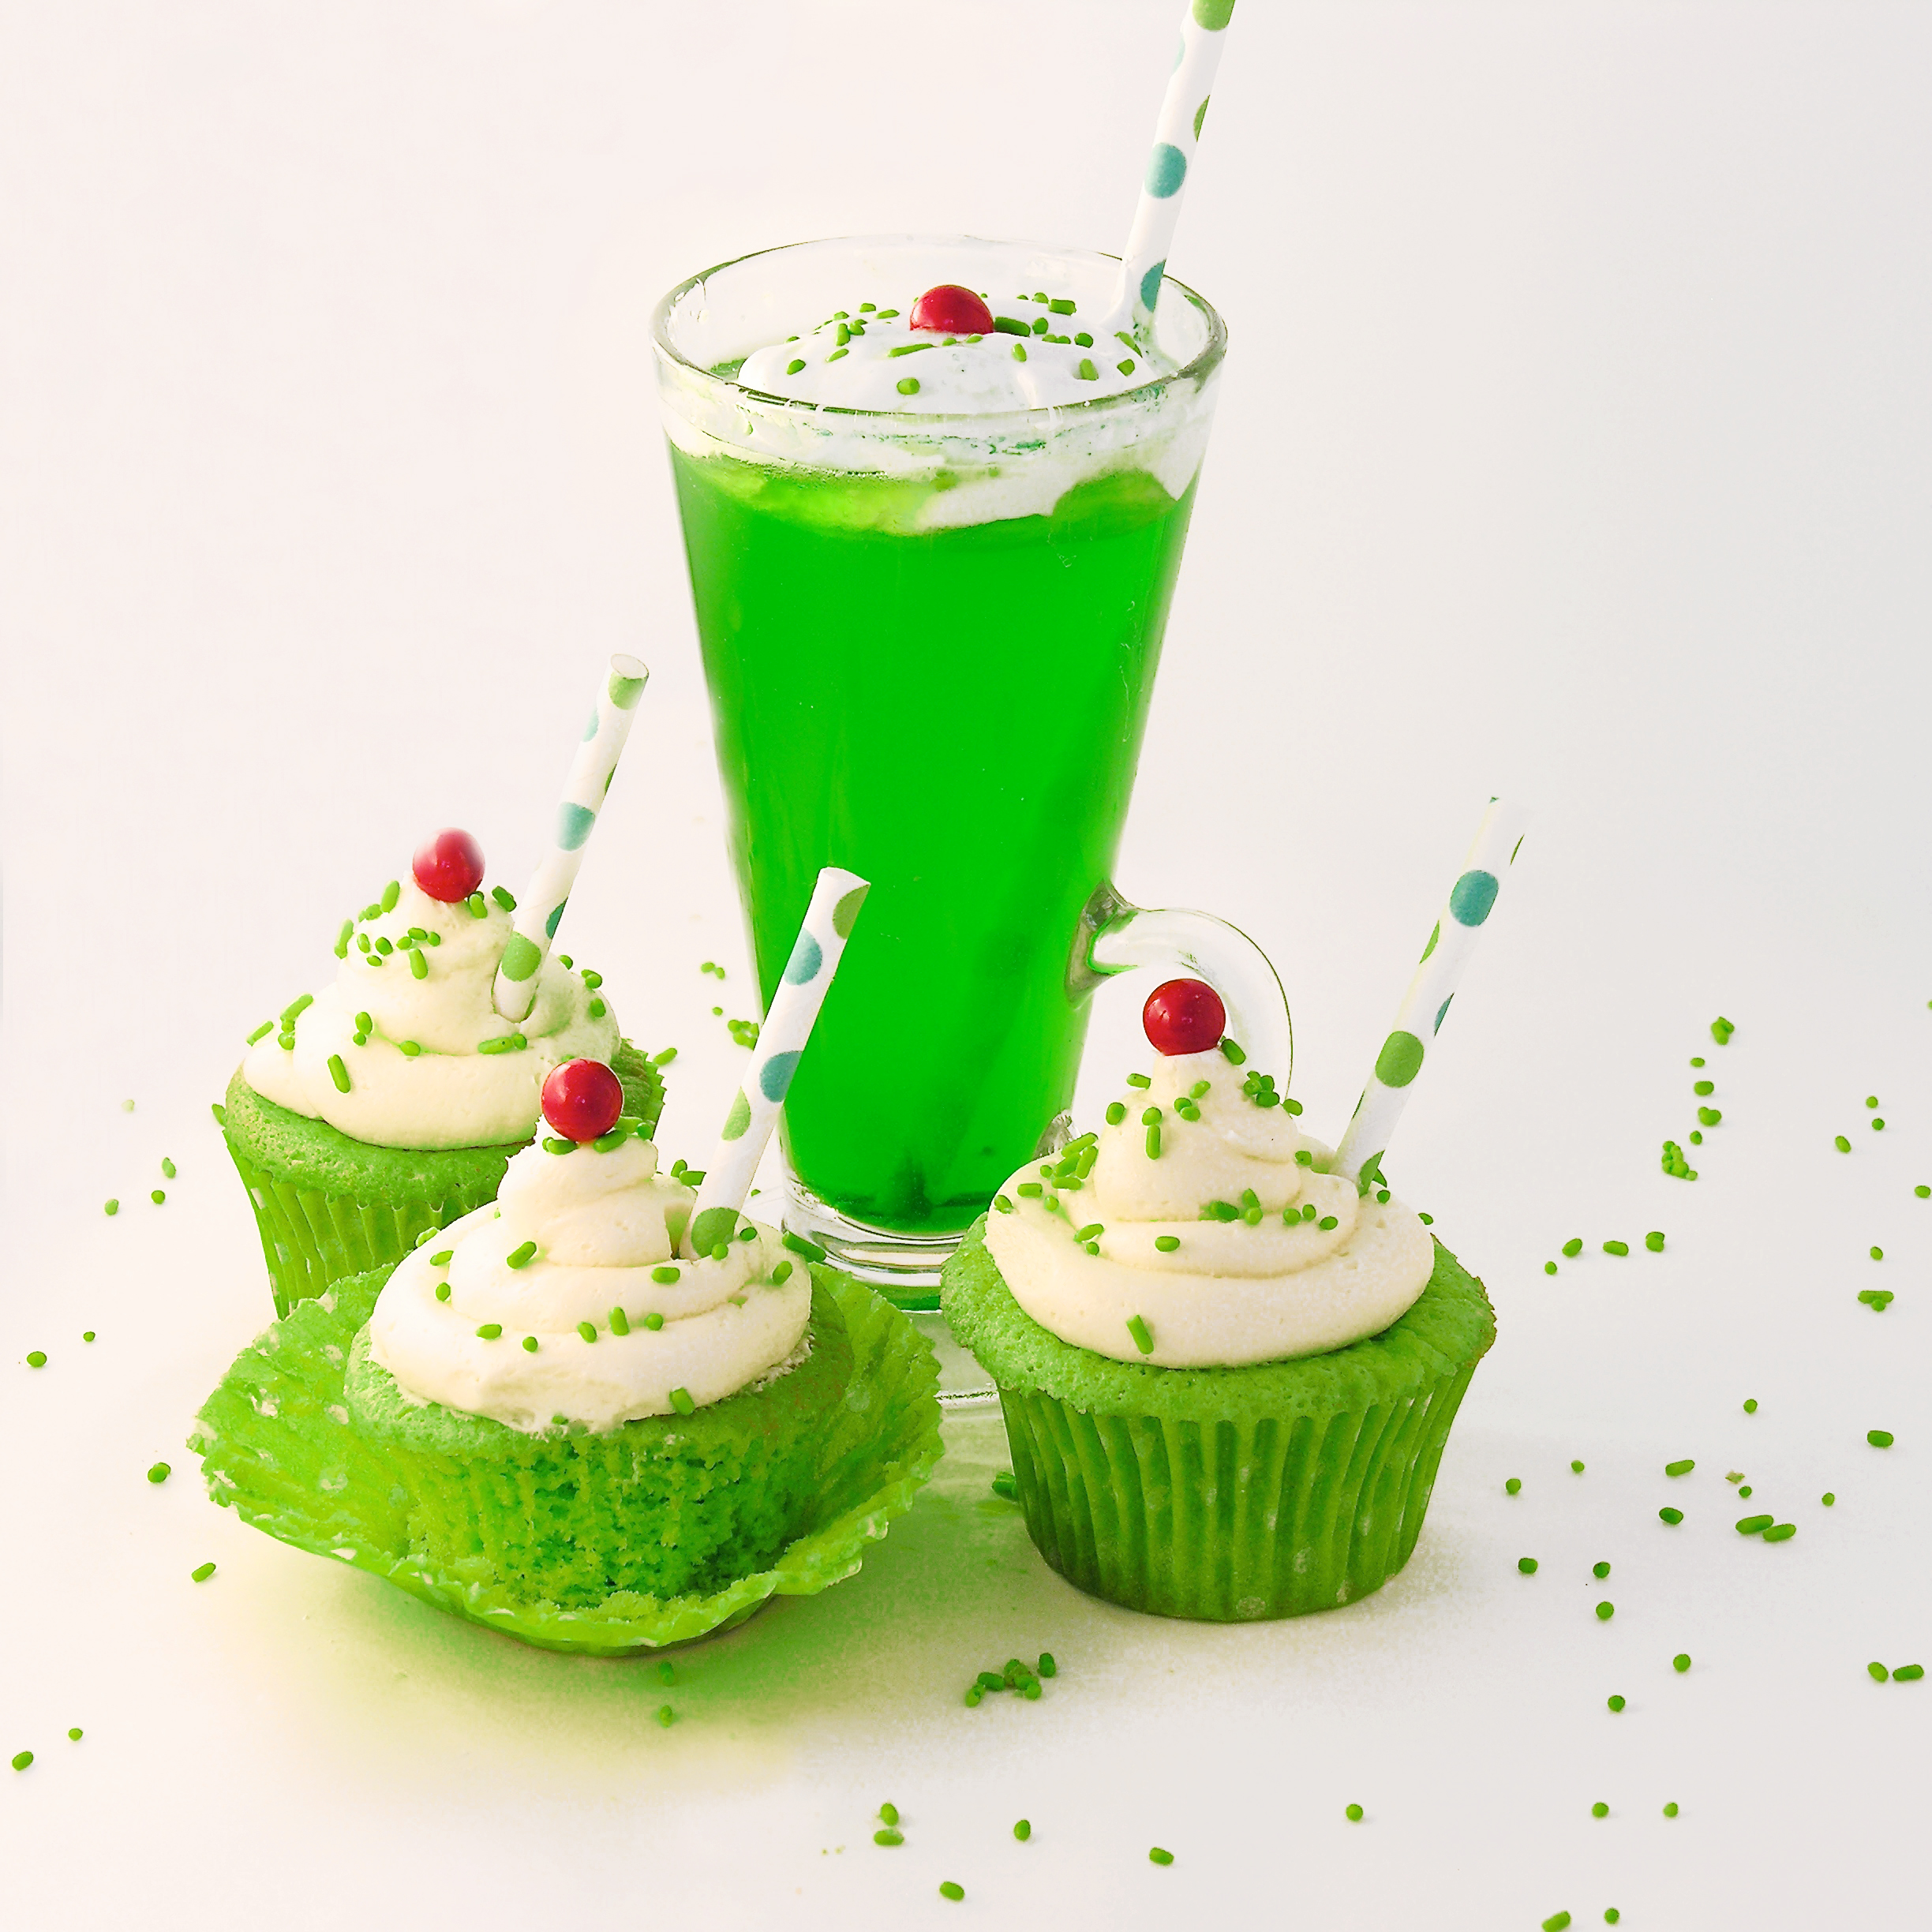
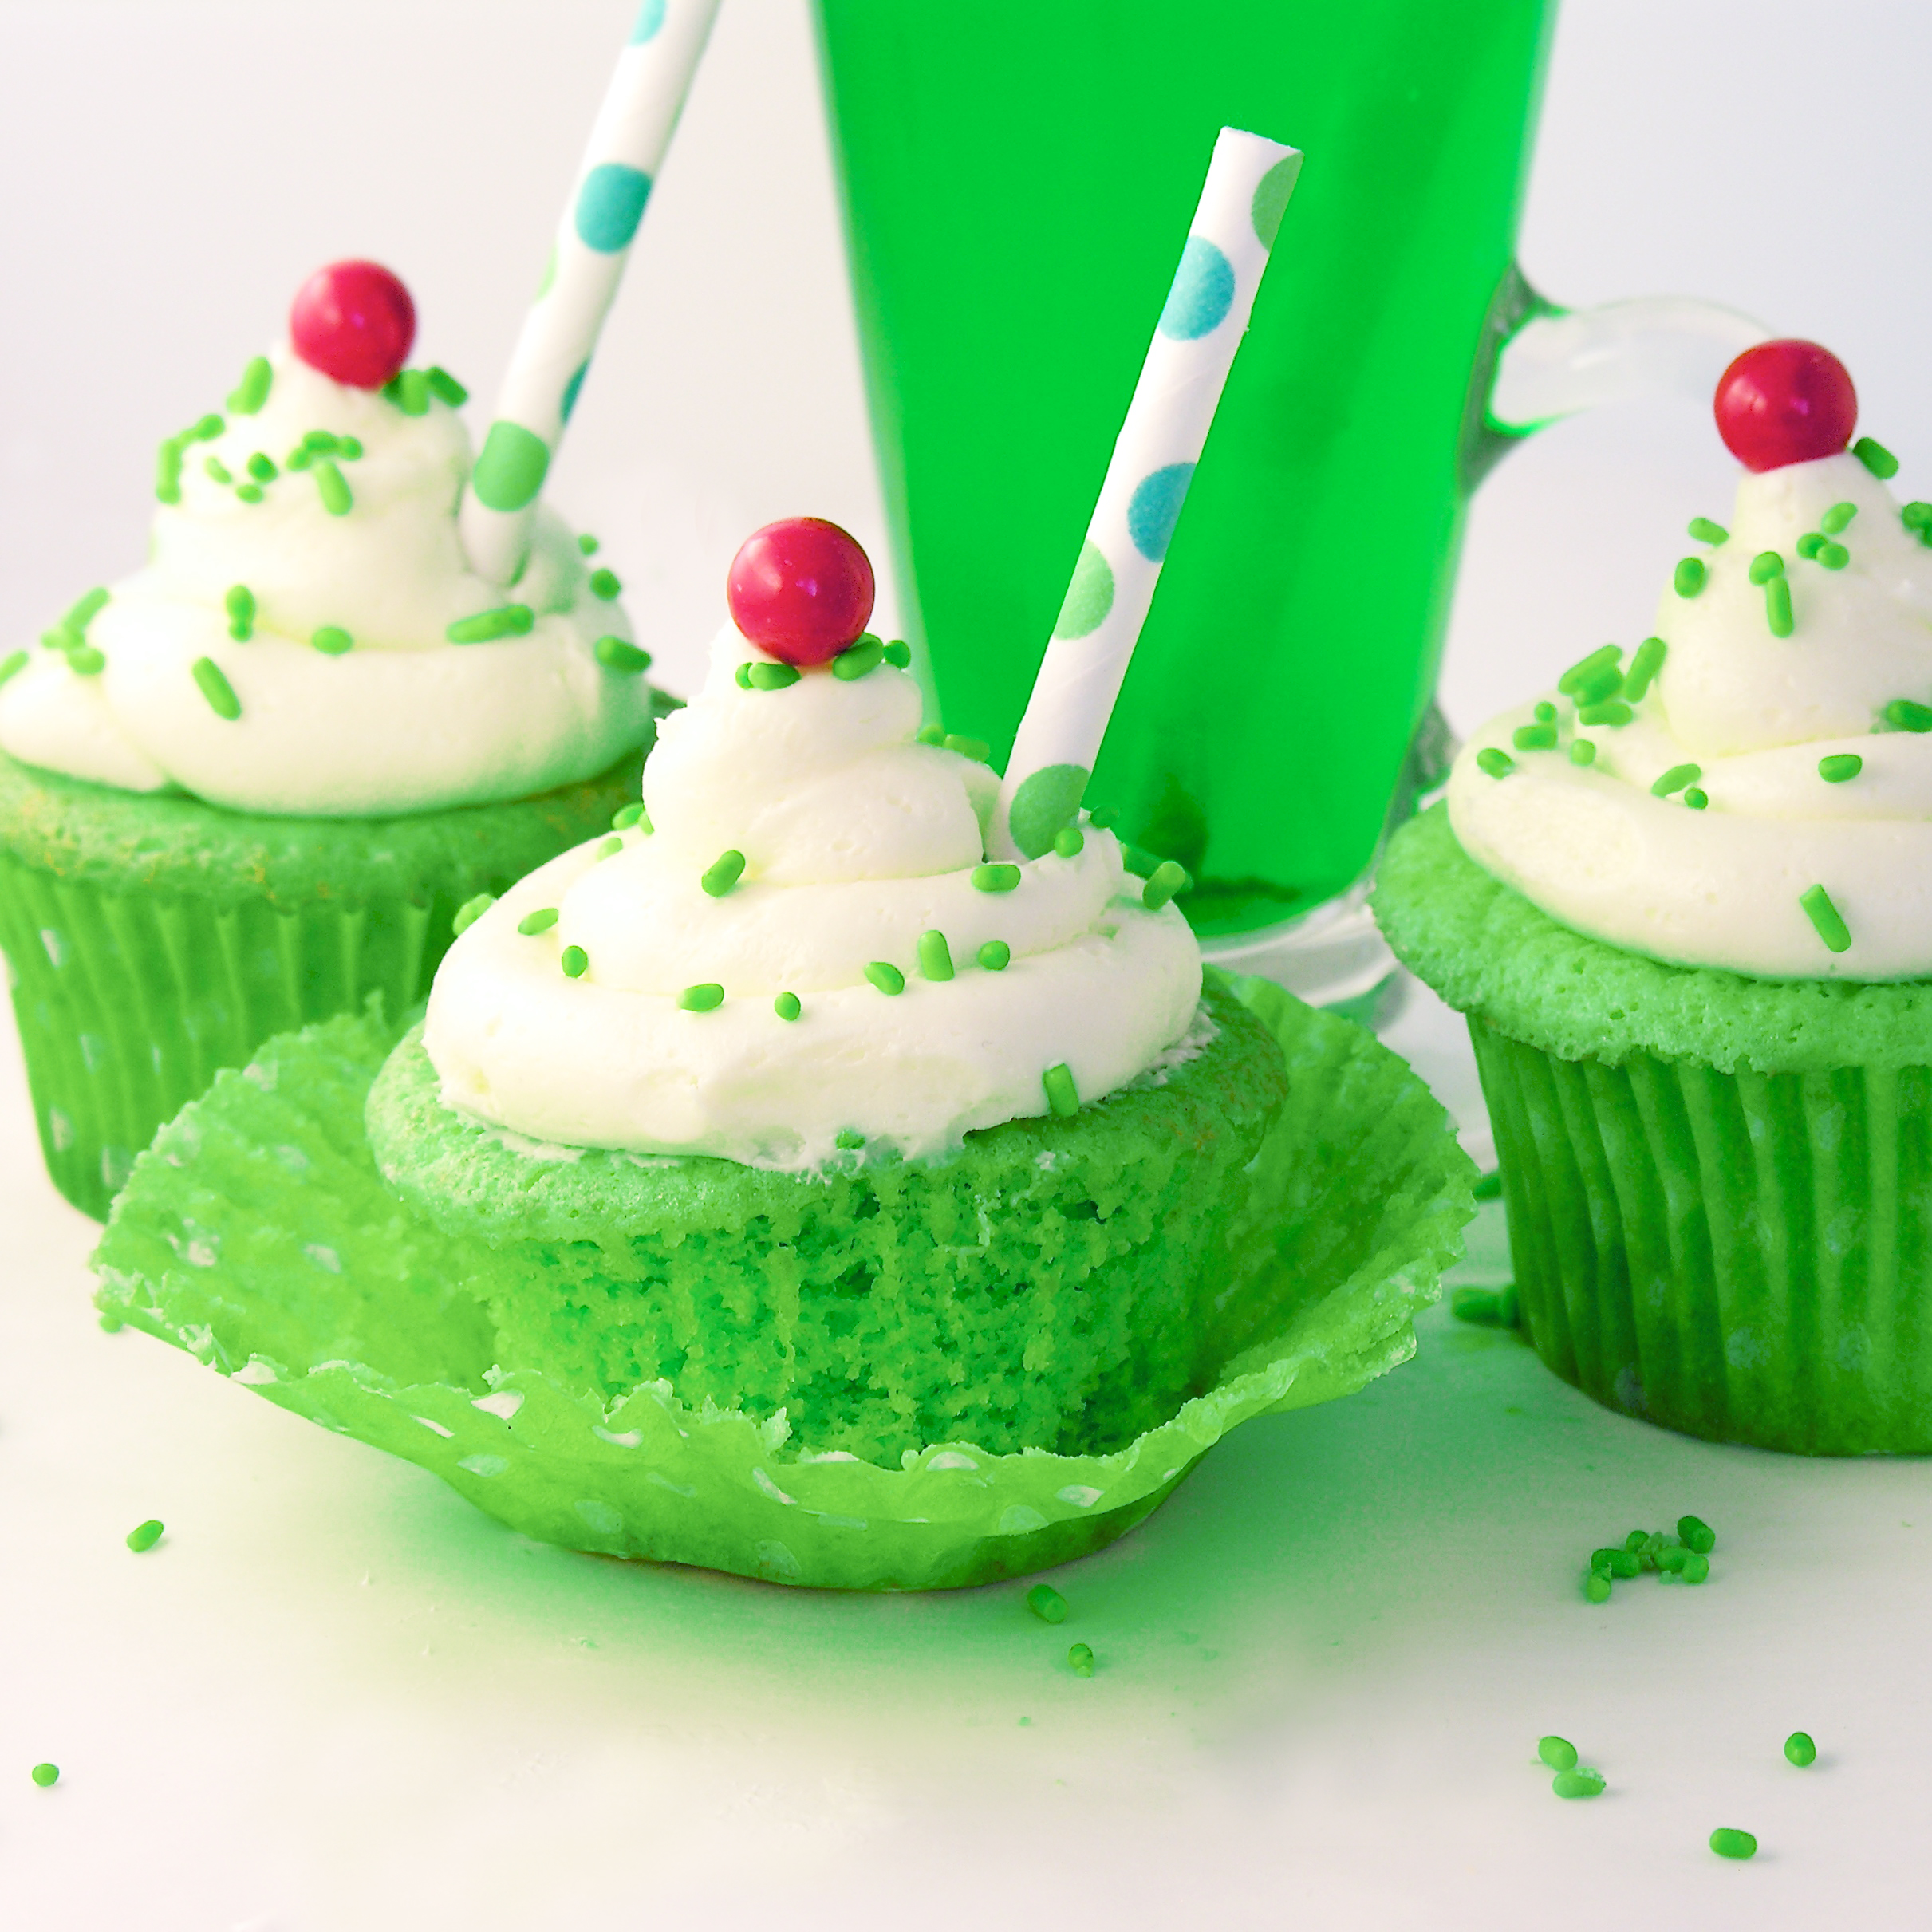
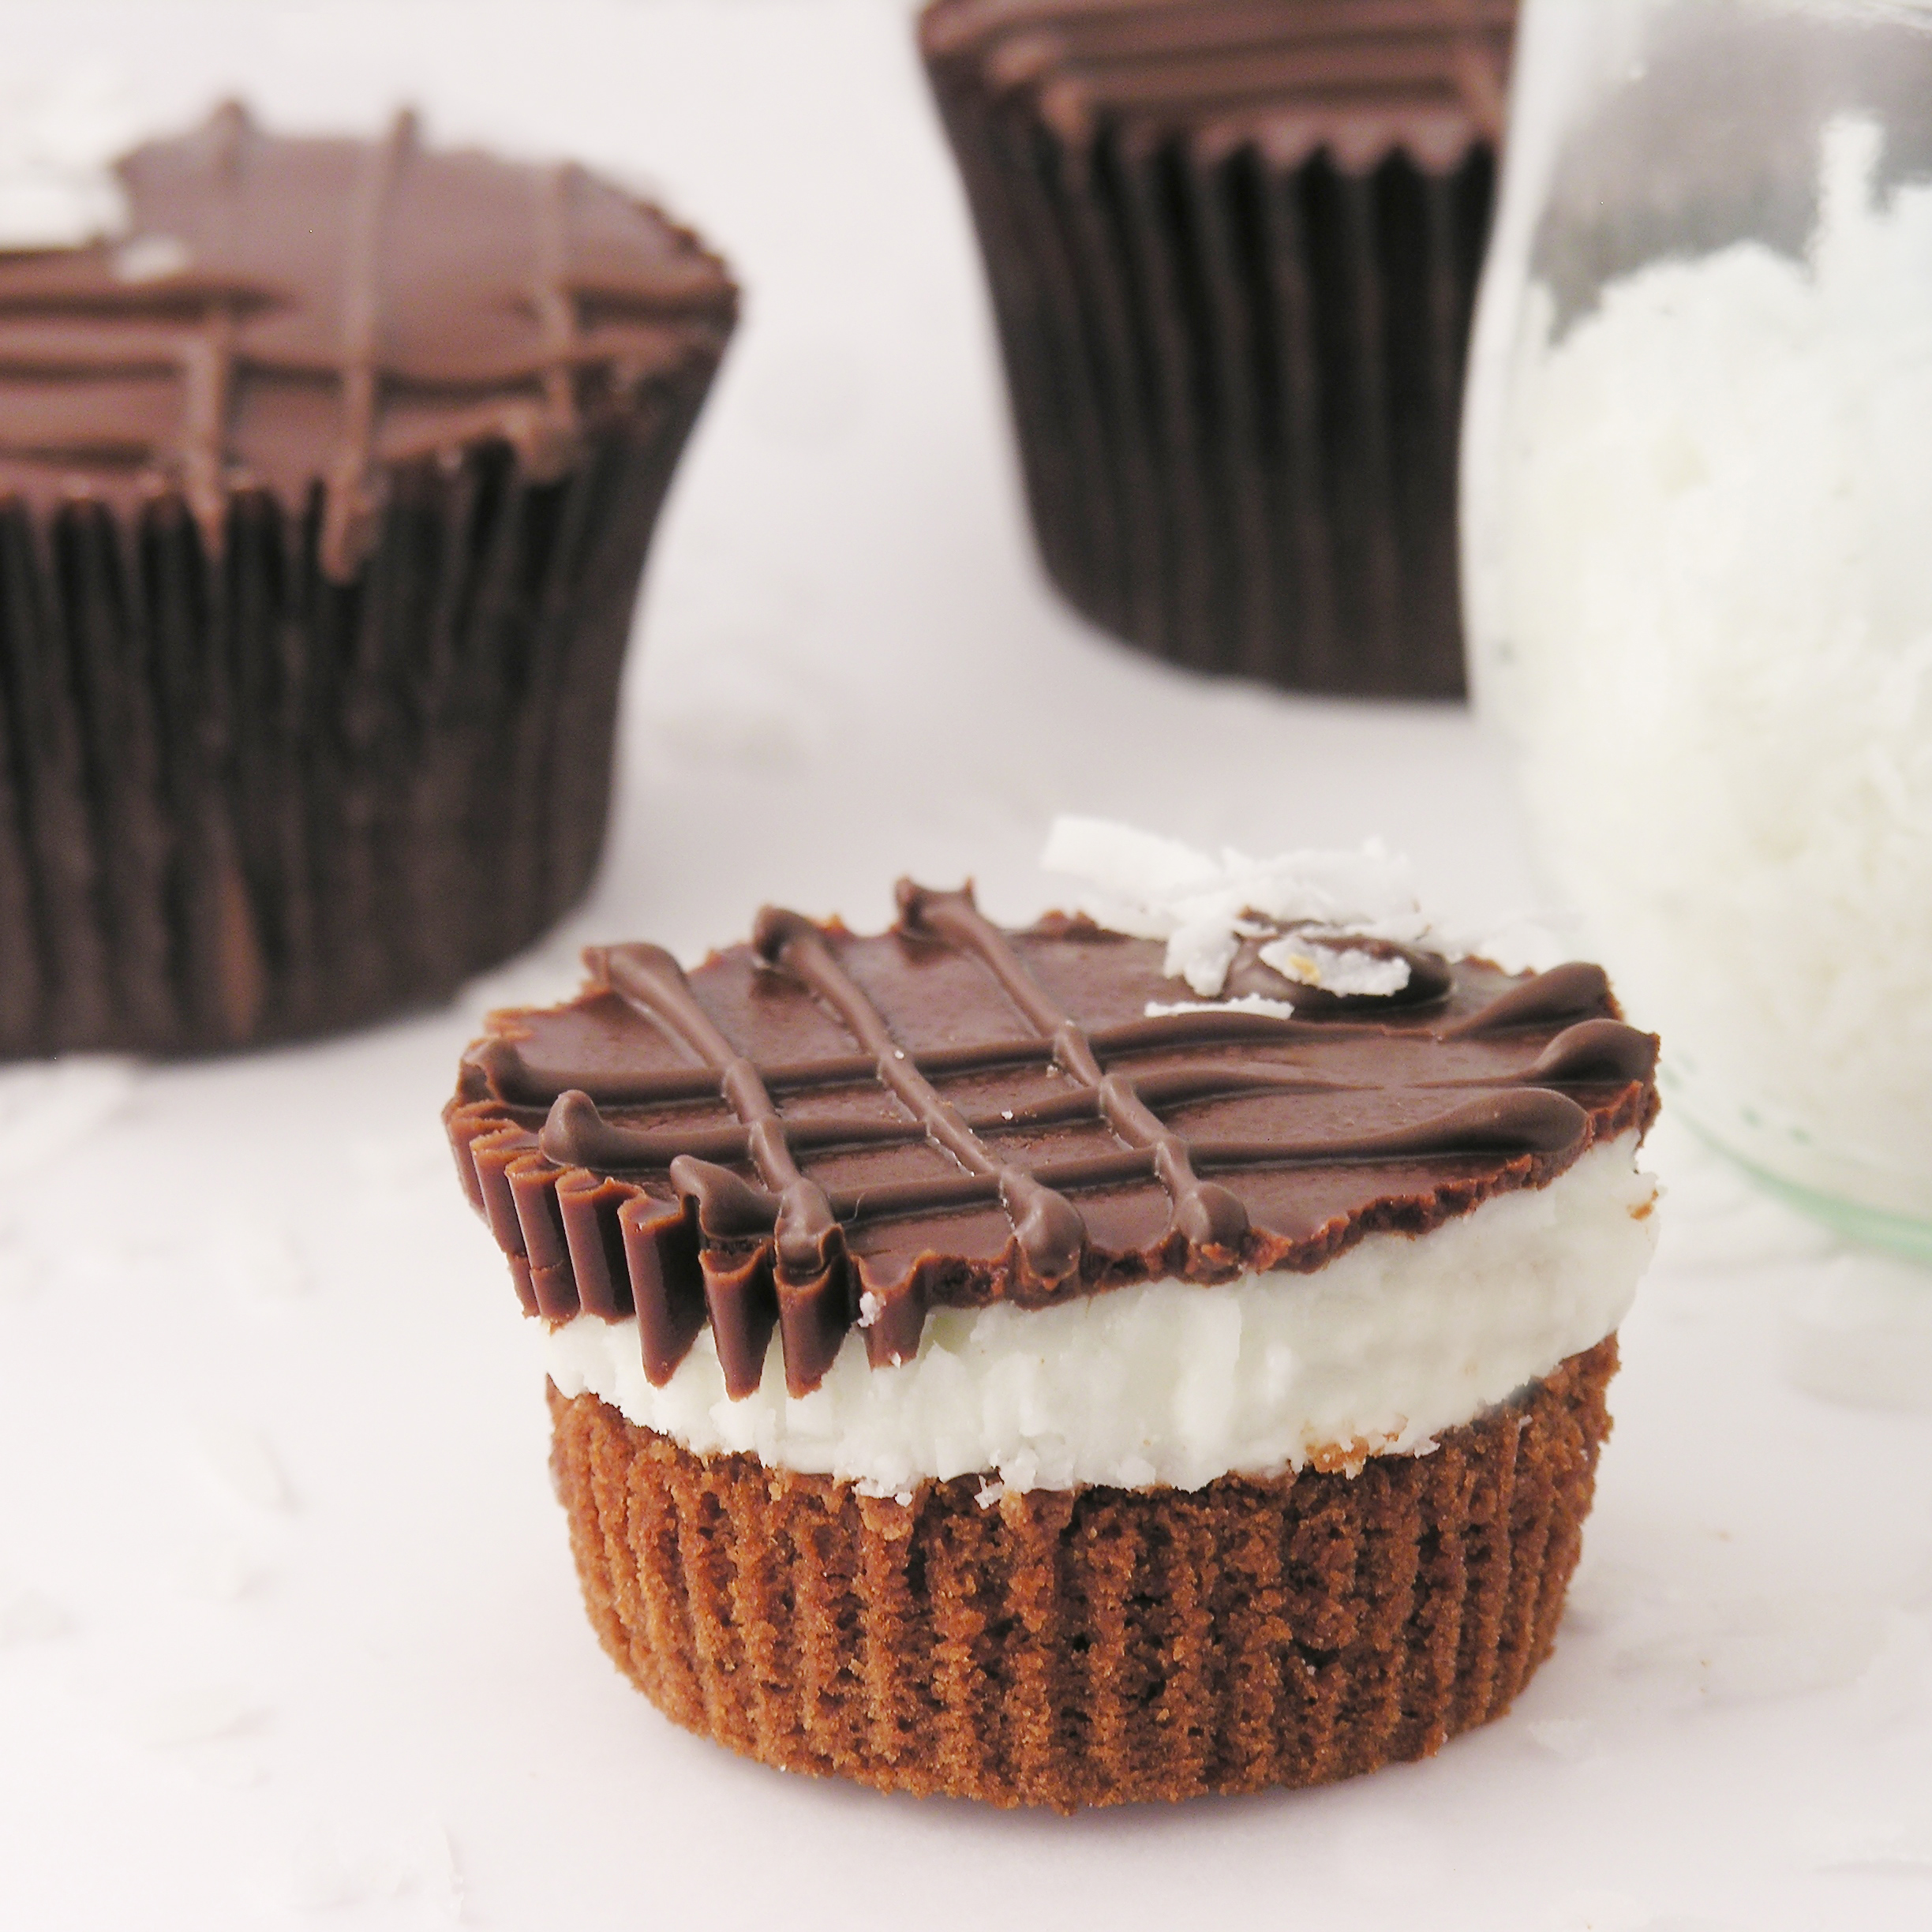
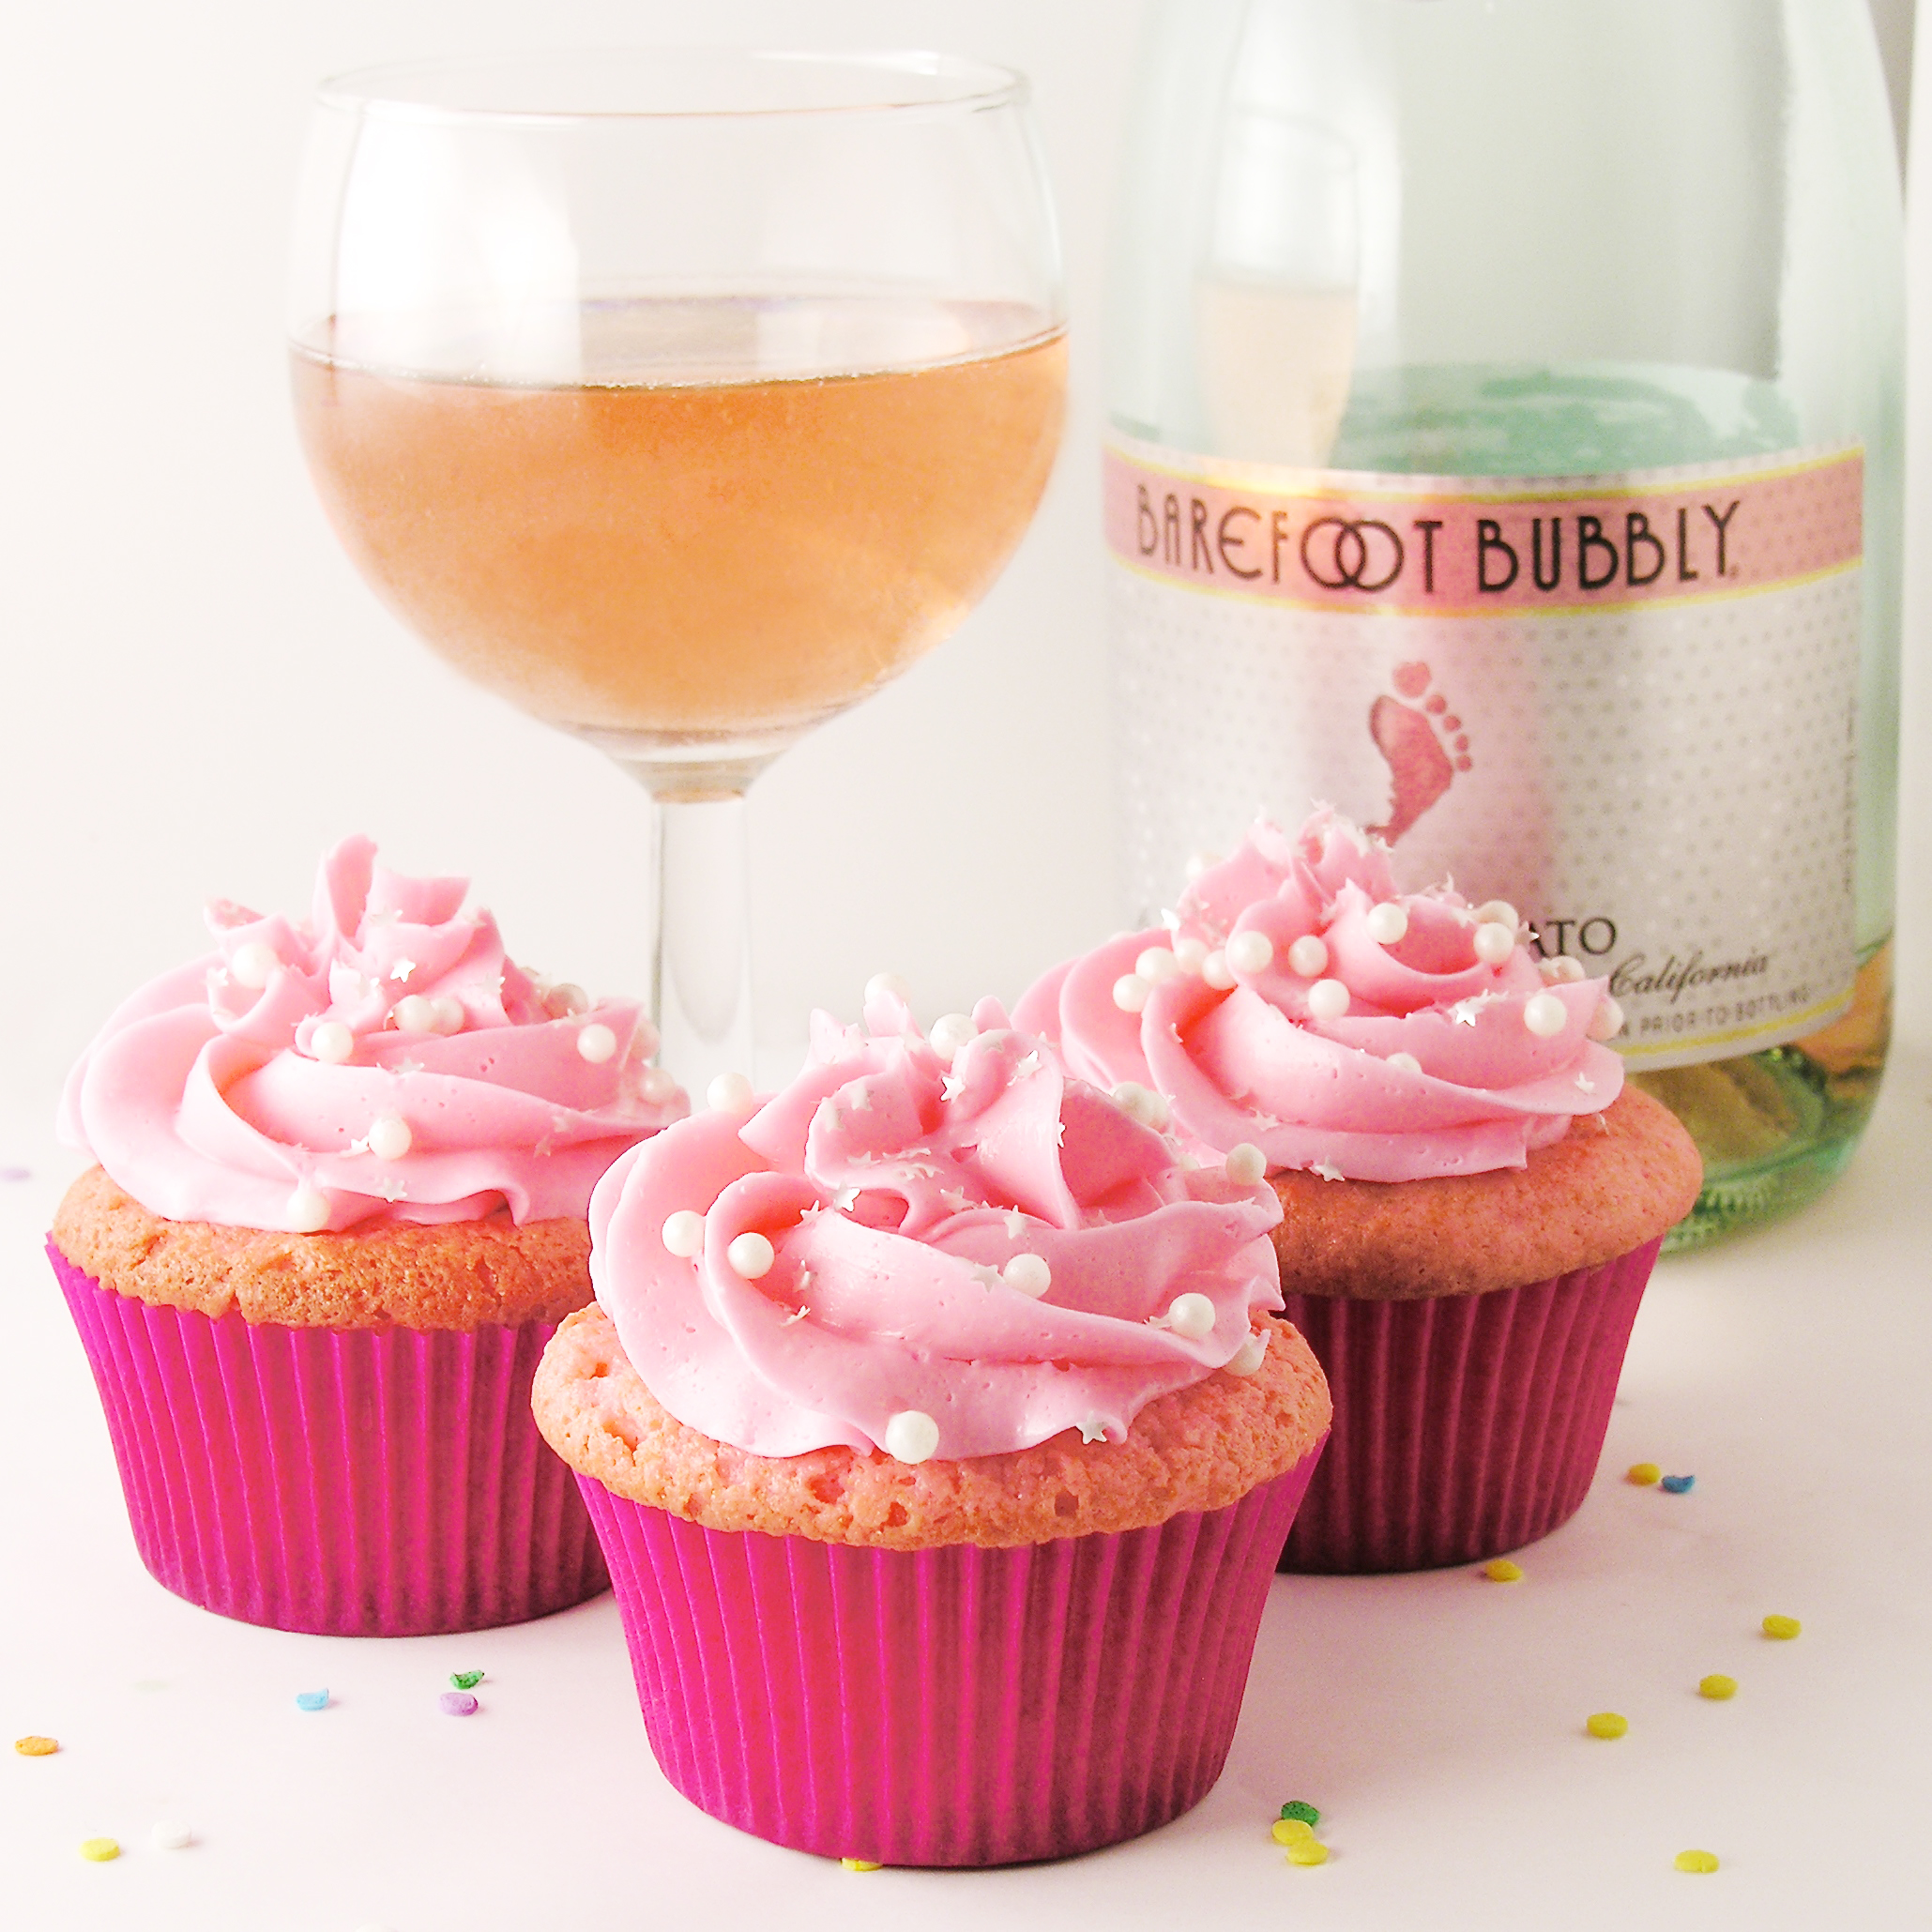
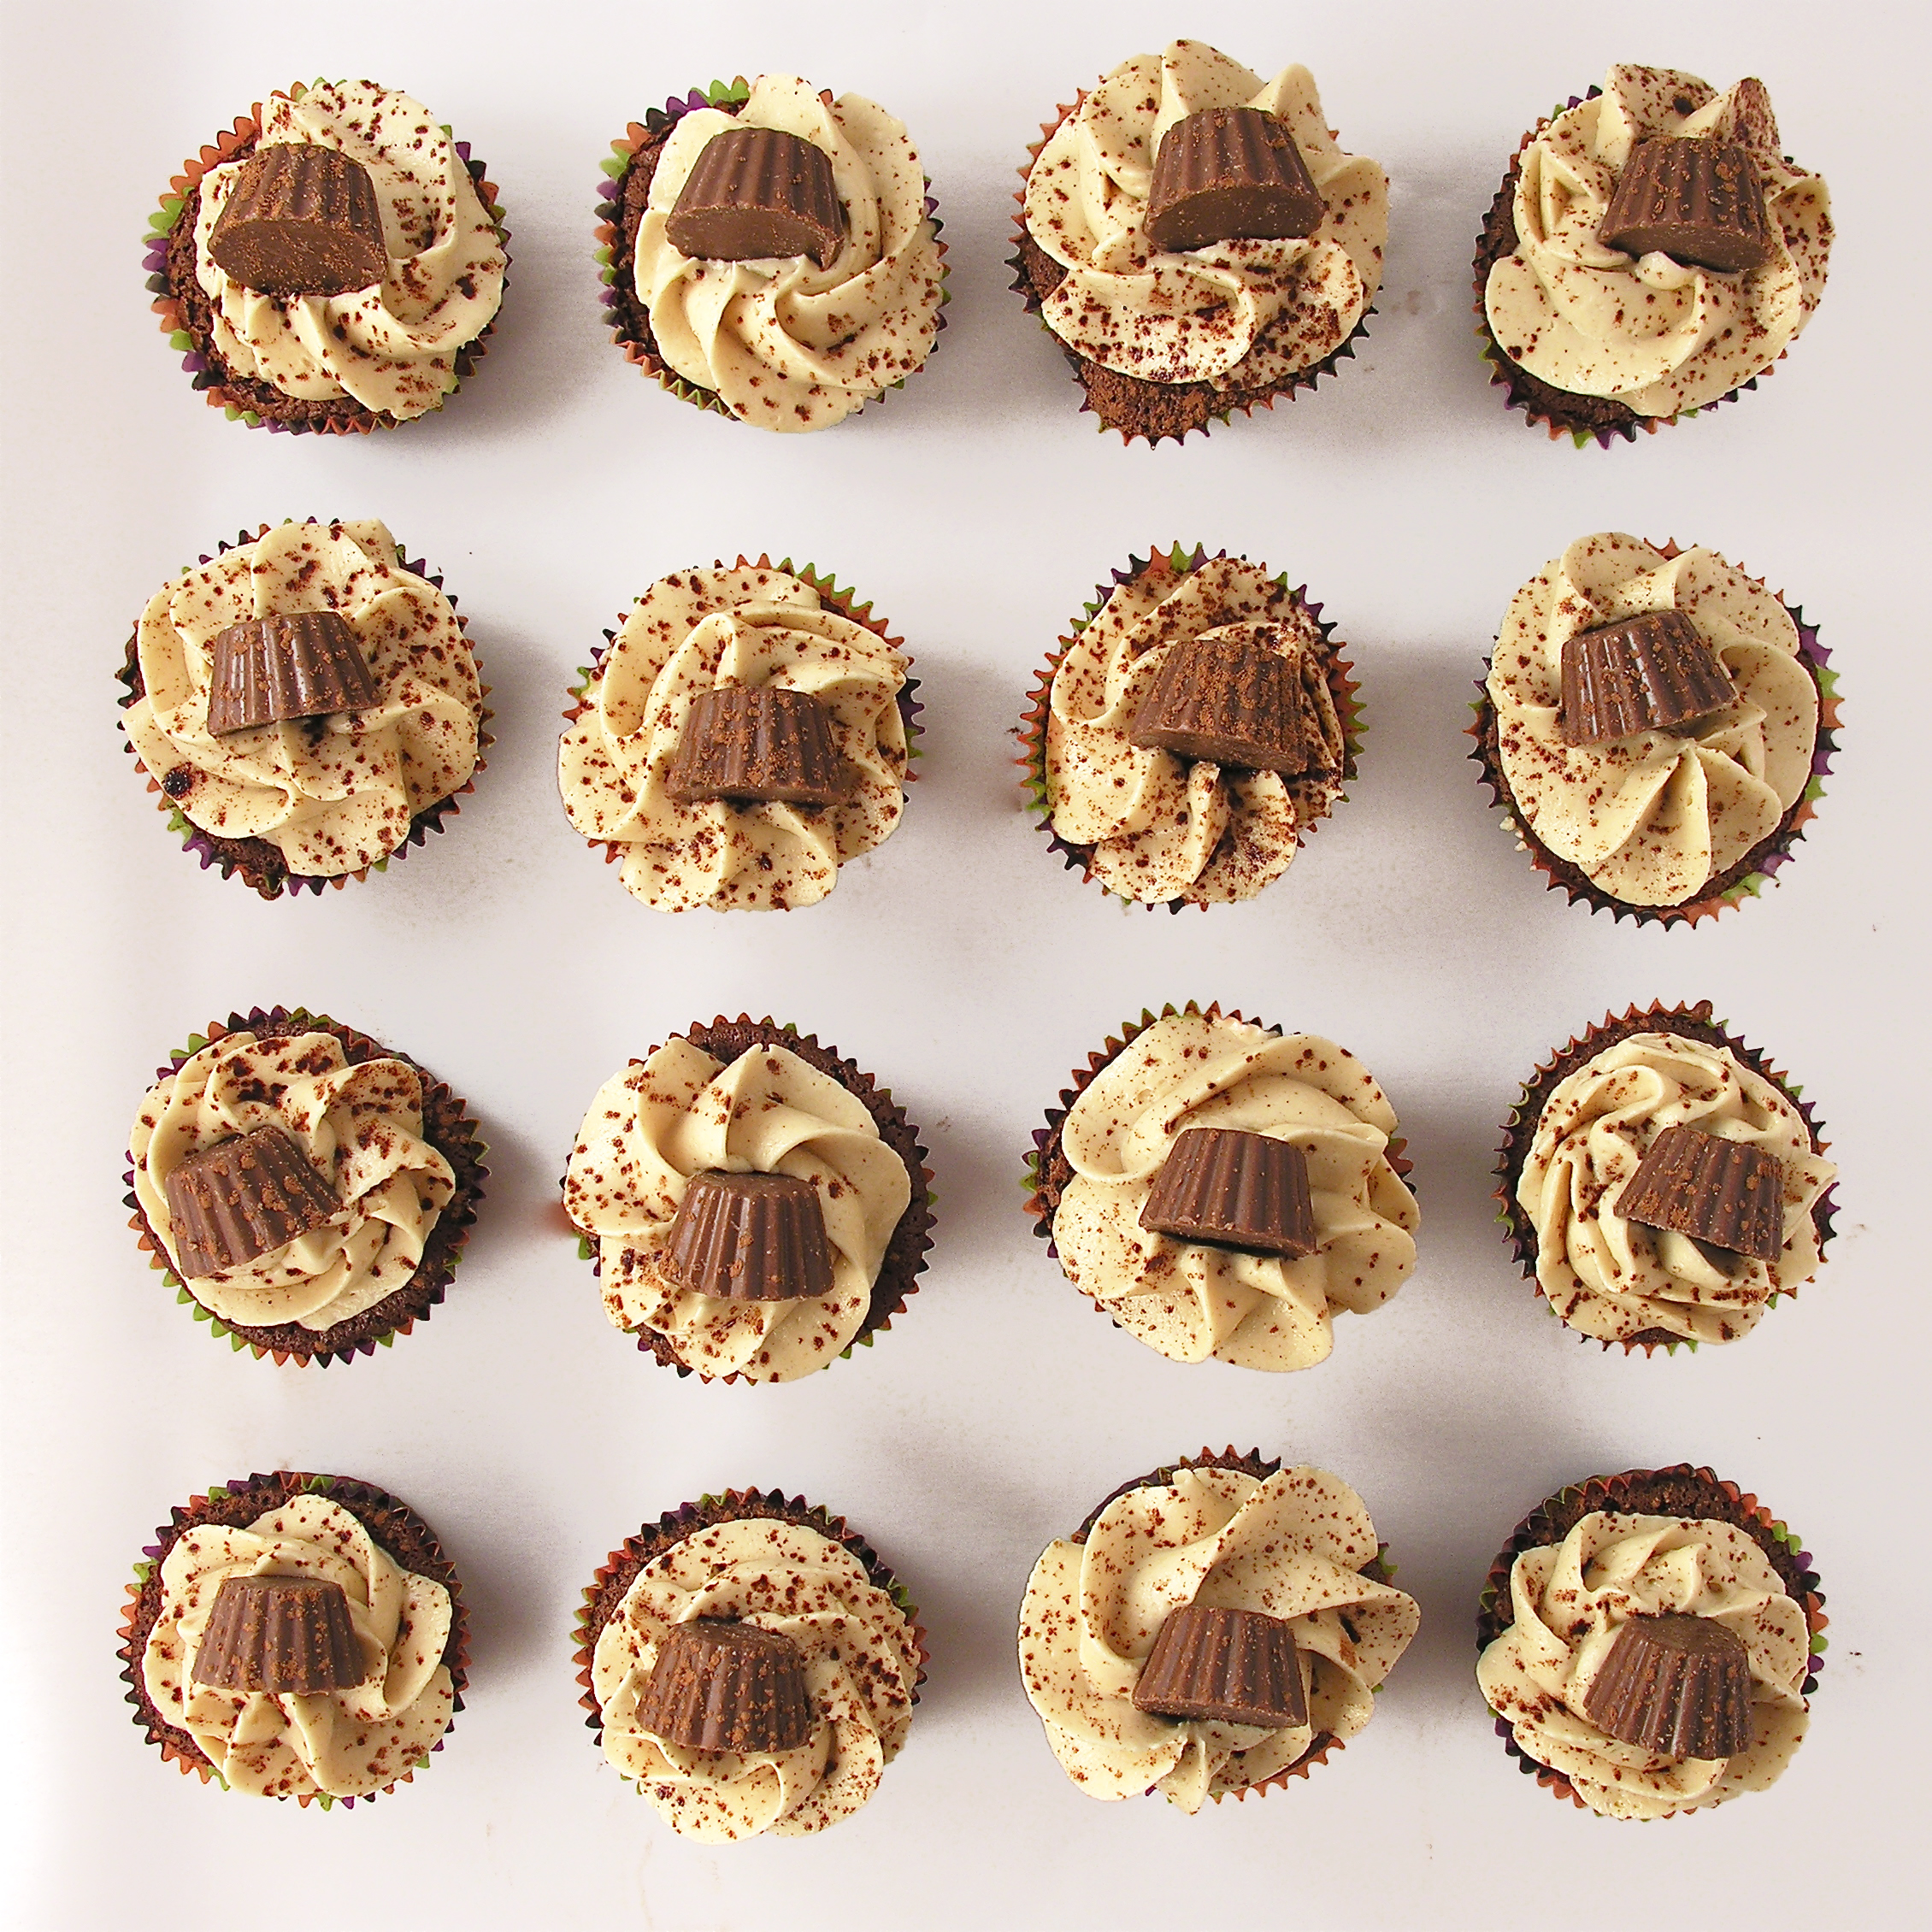
My thoughts:  These are one of my favorite go-to recipes.  I love how beautiful they are and I love the versatility of the flavors.  These are SO perfect for showers and parties.  You can even color the fillings to match school, team or wedding colors.  Very fun!  I hope you enjoy them!!!  ~r

Other fun and colorful recipes:
Rainbow Cake RollPolka Dot Cake!!!Tie-Dye Cake with Blue Raspberry Frosting!Confetti Cake Filled with Candy


Peanut Butter Cupcakes

Posted on

Peanut Butter Cupcakes!!!!!!Moist cupcakes filled with a creamy peanut butter cup and topped with peanut butter cream icing and a mini peanut butter cookie.  This is a peanut butter lover’s dream come true!

I was determined to get mini peanut butter cups into the center of these cupcakes.  I did some of them plain, and tossed some in flour 1st and all of them sank to the bottom.  Sad me.  I think the only alternative is to either eat them on the bottom (still yummy!!) or invest in one of those fun little pans that hold candy in the middle.  Have you seen them?  Click here if you want to check them out.  Now that I’m in the middle of the Navajo Nation, I seriously doubt I will be coming across one- lol!  Maybe I will order one once I have an address to send it to!!

Peanut Butter Cupcakes!!!!

These happy little cupcakes use melted frosting on the tops—I’m addicted to melting frosting now!!!  Make me stop!!!

Here’s the recipe (printable version)

INGREDIENTS:

  • One boxed yellow cake mix (plus water, oil and eggs to make according to directions)
  • 24 Mini Reese peanut butter cups
  • 1 tub of chocolate frosting
  • 3 sticks (1 1/2 cups) butter (softened to room temperature)
  • 1 cup of creamy peanut butter
  • 3 cups powdered sugar
  • 1 Tablespoon vanilla
  • 24 mini Nutter Butter cookies for decoration

DIRECTIONS:

  • Preheat oven to 350F degrees.
  • Make cake mix according to box directions and divide equally into 24 cupcake liners placed in tins.
  • Place a mini peanut butter cup on the top of each cup full of batter

Peanut Butter Cupcake3

  • Bake according to box directions, remove from oven and cool completely.
  • Spoon tub of chocolate frosting into a microwave-safe bowl and microwave for about 30 seconds.  Stir until well mixed.
  • Dip the top of each cupcake in the chocolate frosting and allow them to cool, and to harden a little.

Peanut Butter Cucpake2

  • Place remaining melted frosting in a small zip top bag and zip it closed.
  • To make peanut butter frosting, place butter, vanilla, and peanut butter into a large bowl and mix on high until smooth (about a minute)
  • Add powdered sugar and beat on low until combined and then on high until light and fluffy.
  • Place frosting in a zip-top bag fitted with a decorating tip and pipe on top of each cooled cupcake.
  • Clip a corner off of the bag filled with the melted chocolate frosting and drizzle over the top of each cupcake.
  • Top with a mini Nutter Butter cookie.

Peanut Butter Cupcakes!!!!

My thoughts:  YUM!  These are perfect if you love peanut butter.  I love the fudgy layer of melted frosting on the top– when I shared these with friends they all loved that part.  You could dip cupcakes into all sorts of melted frostings– so many flavor possibilities!!!! FUN!!!!   I hope you really enjoy these!!! ~r

Chocolate Peanut Butter Cupcakes6-13-14: Did you know, that this yummy recipe is available on adorable blank note cards?  With a picture of the cupcakes on the front, the recipe on the back, and plenty of room inside for a message, these make the PERFECT gift.  Why send just a card, when you can send the gift of a recipe instead??  Click here for more information and to order.

Peanut Butter Cupcakes!!

I usually give you other similar fun recipe to try on easybaked at this point, but my internet is so slow that I’m skipping it this week!!  🙂 The photo gallery is always a fun spot to shop for recipe ideas… since your internet is likely faster than mine this week, I will let you hunt for treasures on your own!!!  Have a good one!!!!! ~r

Pink Champagne and Raspberry Cupcakes!

Pink Champagne Cupcakes1
These cheery pink cupcakes are made like a 7-Up cake, but with sweet pink champagne instead! Topped with a raspberry buttercream, they are a perfect way to bring in the New Year!!!

INGREDIENTS: (printable recipe)

Cupcakes:

  • 3 1/4 cups flour
  • 1/2 teaspoon salt
  • 3/4 cup sweet champagne or bubbly wine (I used Barefoot Bubbly, and wished it had been sweeter)
  • 5 eggs
  • 1 teaspoon vanilla
  • 2 sticks (1 cup) butter, softened
  • 1/2 cup vegetable shortening
  • 3 cups granulated sugar

Frosting:

  • 2 sticks (1 cup) butter, softened
  • 1 1/2 cups powdered sugar
  • 2 tablespoons raspberry extract
  • pink food coloring gel (as desired for coloring both cupcakes and frosting)
  • fun sprinkles! (I used edible star glitter and pearls—love them!!!)

DIRECTIONS:

  • Preheat oven to 350F degrees
  • Place 24 cupcake liners into muffin tins
  • In a medium bowl, combine champagne, eggs, and vanilla
  • In a second medium bowl, mix together flour and salt
  • Use an electric mixer to beat together 2 sticks of softened butter, shortening and granulated sugar.
  • Beat until light and fluffy, about 2 minutes
  • With the mixer on low speed, add about 1/3 of the flour mixture, followed by 1/3 of the champagne mixture.
  • Alternate the flour and champagne, mixing until well combined.
  • Add a little bit of pink food coloring gel if you want a pink tint to your cupcakes and combine well.
  • Spoon batter evenly into cupcake liners
  • Bake at 350F degrees for 20-25 minutes, until a toothpick inserted into a cupcake comes out clean.
  • Allow cupcakes to cool completely.
  • When cupcakes are cool, you can add a little extra champagne taste by poking holes in the top of each cupcake with a toothpick and brushing the tops of each cupcake with champagne. 
  • Make frosting by combining all of the frosting ingredients in a large mixing bowl and beating on low until combined and then on high until light and very fluffy (about 2-3 minutes).
  • Pipe frosting on tops of cooled cupcakes and decorate with sprinkles as desired.
  • ENJOY!!

Pink Champagne Cupcakes2
My thoughts:  These are just fun little cupcakes.  Use the sweetest sparkling wine/champagne you can though.  For an alcohol-free treat use sparkling grape juice.  I made a valiant attempt at including the champagne in the frosting, but it was TERRIBLE.  Simple buttercream with a touch of raspberry flavor was perfect instead.

Happy New Year!!!!!

~r

Pink Champagne Cupcakes
Other fun New Years recipe ideas:

Raspberry Confetti KissesCheesecake Sundaes Strawberry Lemonade Cupcakes!!!!!Polka Dot Cake!!!

Cinnamon Upside Down Cakes

Cinnamon Upside Down Cakes!!
These little mini cinnamon cakes are the perfect make-ahead treat.  Perfect as dessert and such a sweet and yummy breakfast!  Dripping with sweet glaze, these will be a new family favorite, and the best part?  They use a cake mix and they are SO easy!!!

Ready to make these fun little cakes? Click here for the printable recipe.

INGREDIENTS:

  • 2 cups brown sugar (packed)
  • ½ cup butter (melted)
  • 2 tablespoons cinnamon
  • 36 pecan halves (optional)
  • One boxed yellow cake mix
  • Water, oil and eggs to make mix according to box
  • 1 cup of powdered sugar
  • 1 to 2 tablespoons of milk
  • ½ teaspoon of vanilla

DIRECTIONS:

  • Preheat oven to 350F degrees
  • Spray two muffin tins with non-stick cooking spray
  • Place brown sugar, cinnamon and melted butter into a small bowl and mix until well combined.
  • Spoon sugar mixture evenly into all 24 cups of the muffin tins.
  • Use a mini tart shaper or a wooden spoon to press sugar mixture flat into the bottom of each cup.
  • Place 3 pecans on top of sugar.
  • Make cake mix according to box instructions.
  • Scoop batter over the top of sugar and pecans.  Fill each cup about 2/3 full.

Cinnamon Upside Down Cakes!!Cinnamon Upside Down Cakes2

  • Bake at 350F degrees for 18-20 minutes.
  • Remove from oven and quickly run a small knife around the edge of each cup.
  • Using oven mitts, place a wire cake rack on top of the muffin tin and flip the pan and rack over so that cakes are upside down on the rack.
  • Gently lift the muffin tin up and allow the cakes to pop out. Some sugar will remain in the bottom of each cup, which is fine.
  • While cakes cool, make a glaze by mixing milk, vanilla and powdered sugar together in a small bowl.  Add extra milk or powdered sugar to make glaze a thick frosting consistency- not very runny.
  • Spoon glaze into a small zip-top bag and seal the top.
  • Clip a corner of the bag and drizzle glaze over the tops of each little cake.
  • ENJOY!

Cinnamon Upside Down Cakes!!
My thoughts: These are really easy little treats and they are gobbled up fast!  I’ve made them twice now and everyone asks for the recipe. I made my second batch without the pecans on half of them.  They were still wonderful and make this recipe yummy for even people who don’t like or can’t have nuts. Keep them covered up and they last a few days- a perfect make-ahead Christmas morning treat!  

Cinnamon Upside Down Cakes!!!
Other yummy ideas from easybaked:

Cinnamon Roll Cheesecake!!Cinnamon Roll Filling in a yummy cupcake!Brownie Oreo Cookie CupSpiced Mocha and Tim Tam Slams!

Toxic Slime-filled Cupcakes!

Posted on


Toxic Slime-filled Cupcakes!
Fudge cupcakes filled with toxic green slime!  Yummy white chocolate pudding makes the slime and fun buttercream and bones complete this mad-scientist dessert.  Print some free radioactive cupcake toppers and you have such a fun October treat!!

These cupcakes are delicious…..  I know the green slime might throw you off, but that slime is the creamiest pudding filling….oh my.  It is like a custard filled doughnut…but better.

I’m a scientist in my day job, so when thinking creepy I tend toward the blood and guts variety more than ghosts and monsters.  I knew I wanted green slime, so I looked up recipes for ideas (realistic slime….it needed to be realistic….)  and I came across an adorable blog with the idea of using plain old pudding with green food coloring– easy! Plus I loved her frosting “blob” technique, so a few parts of this recipe are borrowed from ideas on Make Bake Celebrate.

I also created some free printable “radioactive” cupcake toppers for you.  Just click here for the link, print 2 pages on card stock, cut them out and use double-sided tape to stick them back-to-back over a toothpick.    Easy-peasy and a perfect finish on these!  Aren’t they fun?!???

Radioactive Cupcakes3
Lets make these cute little cupcakes together!  (printable recipe)

INGREDIENTS:

  • One boxed cake mix (plus water, oil and eggs to make according to box)
  • One box (3.3 oz.) Jello Brand White Chocolate Pudding (instant)
  • Milk (to make pudding according to package)
  • Green food coloring gel
  • Purple food coloring gel
  • 2 sticks (1 cup) salted butter
  • 2 sticks (1 cup) unsalted butter
  • 1 teaspoon clear vanilla
  • 3 cups powdered sugar
  • Sprinkles/ decorations for tops of cupcakes  (I used Wilton Bones Sprinkles)

DIRECTIONS:

  • Preheat oven to 350F degrees.
  • Make cupcakes according to box and divide evenly into 24 cupcake liners placed in cupcake tins.
  • Bake according to times given on boxed mix.
  • Remove from oven and cool completely.
  • Make pudding according to package and at the end add green food color gel (I used Leaf green by WIlton ) until it looks like radioactive slime!!!  Carefully spoon into a zip-top bag.
  • Core your cooled cupcakes- you can use a paring knife to just remove a core, but a cupcake corer is much faster and more uniform.  I use the Chicago Metallic Cupcake Plunger and it is cheap and small and perfect for the job!
  • Carefully clip a corner of your green slime (pudding) bag and fill each cupcake cavity about half full of “slime”.
  • Trim a little off the bottom of the “core” you removed and place it back on top of the filling- like a little cupcake cork!

Filling Cupcakes with Slime!Filling cupcakes with slime!

  • Make frosting by combining butters, powdered sugar and vanilla in a large mixing bowl and beating it on high until light and fluffy.
  • Divide frosting in half and mix green into one half and purple into the other half until fully combined.
  • Place each color of frosting in a bag that has been fitted with a Wilton 2A round decorating tip.  Pipe round dots of frosting in alternating colors all over each cupcake top.

Frosting creepy cupcakes!

  • Add sprinkles, bones, skulls, eyeballs…. any cool and creepy decorations you want!
  • Top each cupcake with a free printable topper and ENJOY!!!!

Radioactive Cupcakes filled with SLIME!
My thoughts:  I would make these again in a heartbeat.  I might make them again this weekend.  Yes, they are super fun, but the pudding is really SO good inside!  I feel like every cupcake should have pudding inside…!  I always love to watch the reactions when people bite into things for the first time– and these don’t disappoint!!!  Lots of laughter and smiles at this yummy green slime!  Enjoy!!!!!! ~r

Radioactive Cupcakes!!!

Other fun Halloween treats to try!!

Sweet Tart and Pixie Stix CakePeanut Butter Caramel SauceHalloween Bundt CakeFall acorn cupcakes!

Creepy Broken Glass Cupcakes!

Posted on

Broken glass Cupcakes!!!
These delicious Red Velvet cupcakes with smooth cream cheese icing are topped with all the makings of a horror movie (or, according to my friend Ricky, a Stephen King novel!).  These are just in time for your creepy October festivities!!

[and if you aren’t a fan of the decorations, they are an amazing cupcake all by themselves!]

Ok.  These were really fun to make.  I’d seen SO many examples of these online– this is not an original idea.  However, I made it my goal to create these in the easiest possible way, with the fewest steps and NO candy thermometers!  Not original, but EASY!!!

Broken glass Cupcakes 2
Note:  I did a cake mix fix by swapping out the water and oil for milk and butter and adding one extra egg.  It was SO good!  (Thanks for the idea Rex!) Heavy and moist cupcakes with exceptional flavor.  I highly recommend it, but you can certainly make the mix as directed for these cupcakes.

Here’s how they are made: (printable recipe)

INGREDIENTS:

The cupcakes:

  • One boxed Red Velvet cake mix
  • Milk (in the same amount as the water required by the mix)
  • Eggs (in the same amount as required by the mix PLUS one extra egg)
  • Butter (twice the amount of oil required by mix- for example if the box calls for 1/2 cup of oil you would use 1 cup of butter).  Measure and then melt before adding to mix.

The icing:

  • 1 package (8 oz) cream cheese (softened)
  • 1/2 cup of butter (softened)
  • 1 teaspoon vanilla
  • dash of salt
  • 4 cups powdered sugar
  • 1 cup white chocolate chips (melted)

The glass candy:

  • 1 cup of granulated sugar
  • 1/2 cup of light corn syrup
  • 1 teaspoon of clear flavoring (I used raspberry)

The edible blood:

  • 1 (14 oz.) can of sweetened condensed milk
  • Red gel food coloring
  • Black gel food coloring
  • 1 teaspoon of clear flavoring (I used raspberry)

DIRECTIONS:

I recommend making the decorations 1st (the glass and “blood”) and keeping them until just before your party to decorate with.  They will both keep for several days, so you can make them ahead of time.

Candy Glass:

  • Cover a cookie sheet with wax paper and spray the wax paper liberally with non-stick spray.
  • Place granulated sugar and corn syrup into a microwave safe bowl and mix them together.
  • Cover bowl with plastic wrap.
  • Microwave on high for 3 minutes.
  • Remove from Microwave and CAREFULLY remove plastic  wrap (beware of hot steam!)
  • Stir well and re-cover with fresh plastic wrap.
  • Microwave on high for another 3 minutes, but watch mixture after about 2 minutes. Because microwaves vary, you need to watch it to make sure it doesn’t start to turn color.  If you cook it too long it will be an amber color instead of the nice clear glass you want.  My microwave was perfect at 2 and 1/2 minutes.
  • CAREFULLY remove from microwave and CAREFULLY remove plastic wrap.
  • This is soooo hot and sticky– using caution to not touch any of the hot candy, pour it out over the greased wax paper and allow it to sit and harden completely (at least a couple of hours)

Candy Glass How-To Pics

  • When candy glass is hard, tap a knife tip into glass to break it into sharp pieces.  
  • Carefully (the pieces are actually sharp!) push pieces up off of wax paper and onto a plate.
  • Candy glass can be kept in a zip top bag or an air tight container for about a week. Moisture (including the moisture from the frosting on the cupcakes) will eventually start to break the glass down.

Candy Glass How-To

Edible Blood:

  • Place sweetened condensed milk into a small bowl and mix in red food color gel and flavoring until you get a brilliant red color.  Add a TINY bit of black (use a toothpick- black goes a long way!).
  • Mix and adjust until you get a nice dark red color.
  • Spoon “blood” into a zip-top bag and seal TIGHTLY.  Keep refrigerated until use.

Edible Blood!Cupcakes:

  • Make cake mix according to box (swapping in cake mix “fix” ingredients if desired)
  • Divide equally into 24 cupcake liners in cupcake tins.
  • Bake at 350F degrees according to times on box.
  • Remove cupcakes from oven and cool completely.

Frosting:

  • On medium speed, beat together cream cheese, butter, vanilla, and salt until creamy.
  • Gradually add powdered sugar, beating until smooth.
  • Melt white chocolate chips in the microwave in 30 second increments, stirring between, until smooth.
  • Add melted white chocolate to icing and beat on low until completely combined.
  • Place in a zip-top bag fitted with a decorating tip and pipe frosting on top of cooled cupcakes.

Decorating:

  • Put parchment paper on a counter to protect it from all that red food coloring. 
  • [or- use a large platter or tray that you will serve the cupcakes on- blood splatter and all!]
  • Place frosted cupcakes on protected surface and press 2 to3 pieces of glass into the top of each.
  • Clip the corner on the bag of edible blood and drizzle over the top of the glass and the cupcakes, allowing it to drip down the sides of both.
  • Serve the same day after decorating.
  • Use care transporting and serve with plates and forks, or you will all have red fingers!!

Broken Glass Cupcakes3

My thoughts: These are such yummy cupcakes all by themselves.  But the decorating was SO much fun!  My friend Amber helped and we both were a little in awe of how realistic they looked…and how yummy they tasted!  I wasn’t sure how the sweetened condensed milk would taste on the cupcakes, but I added a little raspberry flavor and oh my…so good!

Setting up for photos was fun too…splattering fake blood everywhere and letting it drip off my cupcake stand was interesting…not my typical cupcake photo shoot!

I really hope you get a chance to try these– even if you just go for the yummy cupcake recipe minus the drama!

I will leave you with a little insiders look at my picture-taking experience:

Broken glass cupcakes-- food photography at its finest....lol!

So fun!!!

Here are some other fun “creepy” October recipes to try:

Mummy Oreo Pops!Spider Cupcakes!MISfortune cookies with caramel apple cupcakesHalloween Bundt Cake

Peanut Butter Fudge Cupcakes

Peanut Butter Fudge Cupcakes
These mini fudge cupcakes are topped with the creamiest peanut butter frosting ever!  If you like peanut butter and chocolate together you will LOVE this recipe!!

Ah peanut butter… I just crave it sometimes!  Add chocolate and you pretty much have achieved perfection in the dessert world (at least in my humble, not-allergic-to-peanuts, view).  These cupcakes are easy to make and they won’t last long!  Here’s how to make them: (printable recipe)

Peanut Butter Fudge Cupcakes!!!

INGREDIENTS: (makes about 40 mini cupcakes)

Cupcakes:

  • 1 1/2 cups of dark chocolate chips
  • 1 stick (4 oz.) salted butter
  • 2 T. cocoa powder
  • 4 egg yolks
  • 6 egg whites
  • pinch of salt
  • 1/2 c. sugar

Frosting:

  • 3 sticks (1 1/2 cups) butter (softened to room temperature)
  • 1 cup of creamy peanut butter
  • 3 cups powdered sugar
  • 1 Tablespoon vanilla 
  • One bag of mini Reese cups (optional for decoration)

DIRECTIONS:

  • Preheat oven to 350 degrees
  • In a microwave safe bowl, melt chocolate with butter in 30 second increments, stirring between until smooth and creamy.
  • Whisk cocoa powder into melted chocolate.
  • Add egg YOLKS and whisk until smooth.  Set aside.
  • Add a pinch of salt to the egg whites and whisk until foamy.
  • Add sugar gradually to egg whites while beating on high until medium peaks form.
  • Add 1/3 of egg whites to chocolate and mix well- until completely combined and smooth.
  • Add remainder of egg whites and fold in gently until completely incorporated.
  • Spoon batter into mini-cupcake liners in tins (fill about 3/4 full) and bake at 350 degrees for 10-12 minutes.
  • Remove from oven and cool completely.
  • To make frosting, place butter, vanilla, and peanut butter into a large bowl and mix on high until smooth (about a minute)
  • Add powdered sugar and beat on low until combined and then on high until light and fluffy.
  • Place frosting in a zip-top bag fitted with a decorating tip and pipe on top of each cooled cupcake.
  • Top each cupcake with a mini Reese Cup and a sprinkle of cocoa powder (as desired)
  • Enjoy!

Peanut Butter Fudge Cupcakes!!
My thoughts:  Yum….!  Yep, that pretty much sums up my thoughts…mmmmm….!  I hope you enjoy these as much as I am right now!!!

Other peanut butter-y recipes you will love:

Peanut Butter Cup Layer CakePeanut butter cup cheesecakePeanut butter Acorn Cookies!Peanut Butter Caramel Sauce

Coconut Cupcakes

Posted on

Coconut Cupcakes!!

These coconut cupcakes are infused with coconut cream and topped with smooth coconut buttercream frosting….YUM!!!

Coconut Cupcakes!!!

Coconut is one of my very favorite flavors.  So many people dislike it and I just can’t understand!!  Starbucks used to have the most amazing coconut mochas– discontinued due to lack of interest.  Recently, Cheesecake Factory discontinued my favorite cheesecake- coconut cream pie.  What is this world coming to?

If you like coconut, you will enjoy these cupcakes so much- they are positively bursting with coconut flavor.  Honestly, they are my new favorite cupcake, followed closely by cookie dough cupcakes.  If you don’t like coconut you should make cookie dough cupcakes.  You need cupcakes today.

Yum…..

Coconut Cupcakes!!!

Here’s how to make them: (printable recipe)

INGREDIENTS: (makes 12 cupcakes)

Cupcakes

  • 1 ¼ cups of cake flour
  • 1/2 cup of sugar
  • 2 teaspoons baking powder
  • ¼ teaspoon salt
  • 6 tablespoons unsalted butter at room temperature
  • 3 egg whites and ½ egg yolk at room temp
  • 1 teaspoon clear vanilla extract
  • 1 teaspoon coconut extract
  • 1/3 cup cream of coconut (plus a little to brush on top)
  • 2 teaspoon water

Coconut Buttercream Icing:

  • 2 sticks (1 cup) of butter at room temperature.
  • 2 cups powdered sugar
  • 3 teaspoons coconut extract
  • 1/2 cup shredded coconut
  • White food coloring gel.

DIRECTIONS:

Cupcakes:

  • Preheat oven to 325F
  • Add flour, sugar, baking powder and salt to a large mixing bowl and using an electric mixer combine these dry ingredients well.
  • Cut (room temp!) butter into 1 tbs pieces.
  • Add these pieces one at a time to dry ingredients while blending on low speed.
  • Mix until butter pieces are separated into small bits (no bigger than pea-sized)
  • In a smaller bowl, whisk together the rest of ingredients.
  • Slowly add half of liquid mixture to dry, while mixing on medium.  Mix until completely combined.
  • Slowly add the rest of the liquid and mix on high for about a minute until well combined.
  • Divide batter into 12 cupcake liners in a cupcake tin.
  • Bake for 15-18 minutes until a toothpick inserted into middle comes out clean.
  • Allow cupcakes to cool in pan for about 5 minutes before transferring to a wire rack to cool completely.
  • Poke holes into tops of each cupcake and use a pastry brush to brush coconut cream on top of each cupcake.
  • Allow coconut cream to soak in while you make icing.

Coconut cupcakes!!

Icing:

  • Add all ingredients except shredded coconut into a mixing bowl and combine with a mixer on low.  Then whip on high until light and fluffy.
  • Frosting will be an off-white color because of the butter.  To make it more “coconut” colored you can add white food coloring gel to your desired shade of white.
  • Add shredded coconut and blend well.
  • Scoop icing on top of each cupcake using a cookie scoop.  Evenly divide icing among the 12 cupcakes.
  • Press coconut on top and sides of entire scoop of frosting.
  • Enjoy!

Coconut Cupcakes!!!

My thoughts:  There are so many fun little cupcake stores out there.  I’ve been trying them out and picking my favorites.  I’ve come to the conclusion that made-from-scratch cupcakes have more potential than boxed mixes.  Potential for both good and bad.  I’ve had some terrible cupcakes and some absolutely heavenly ones.  I’ve decided that I need to be brave and venture into developing my own from-scratch recipes for cupcakes.  This was my 1st attempt and I was really excited they turned out well!  If you need a QUICK coconut cupcake recipe, use a white cake mix with some coconut flavoring and this coconut buttercream.  Here’s to new adventures in life!  Enjoy!!  ~r

Coconut Cupcakes!!!
Love cupcakes?  Try one of our four most-viewed recipes!

NFL Cupcakes!!!!!!!!!  Strawberry Lemonade Cupcakes!!!!Gender reveal cupcakesDark Chocolate Ganache Cupcakes