Tag Archives: best

Rocky Road Cupcakes!

Posted on

Rocky Road Cupcakes!!!!
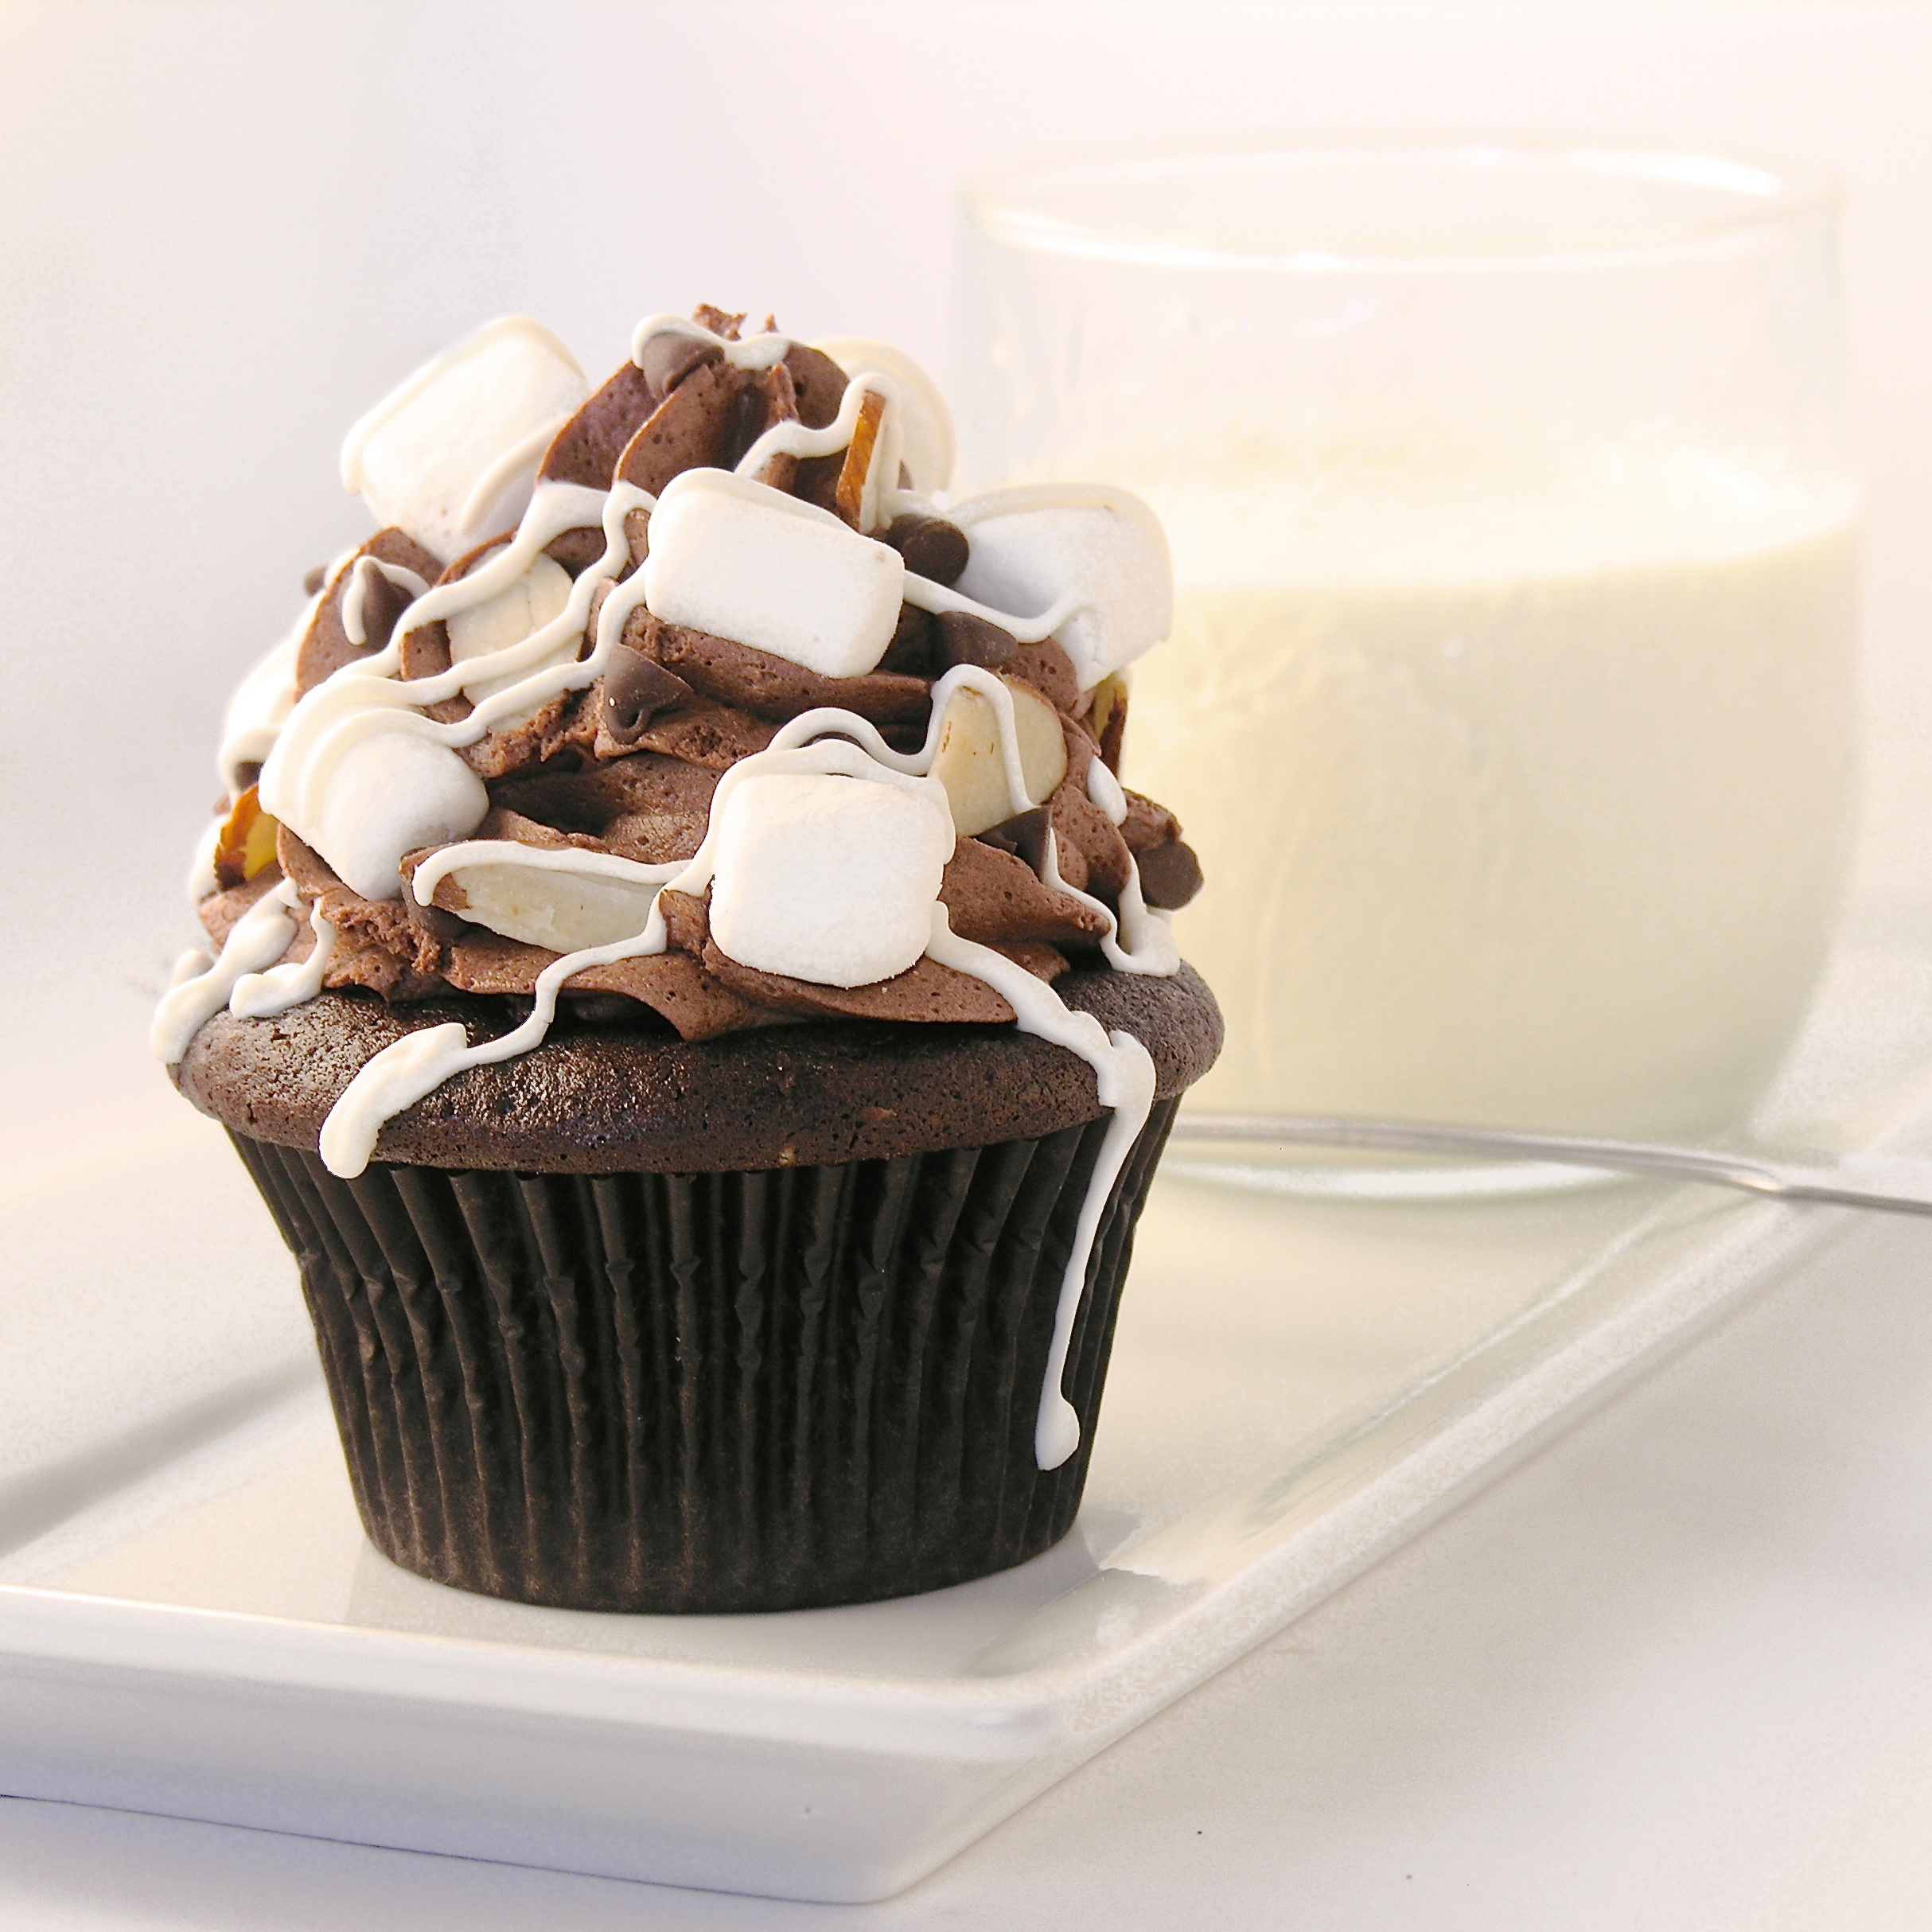
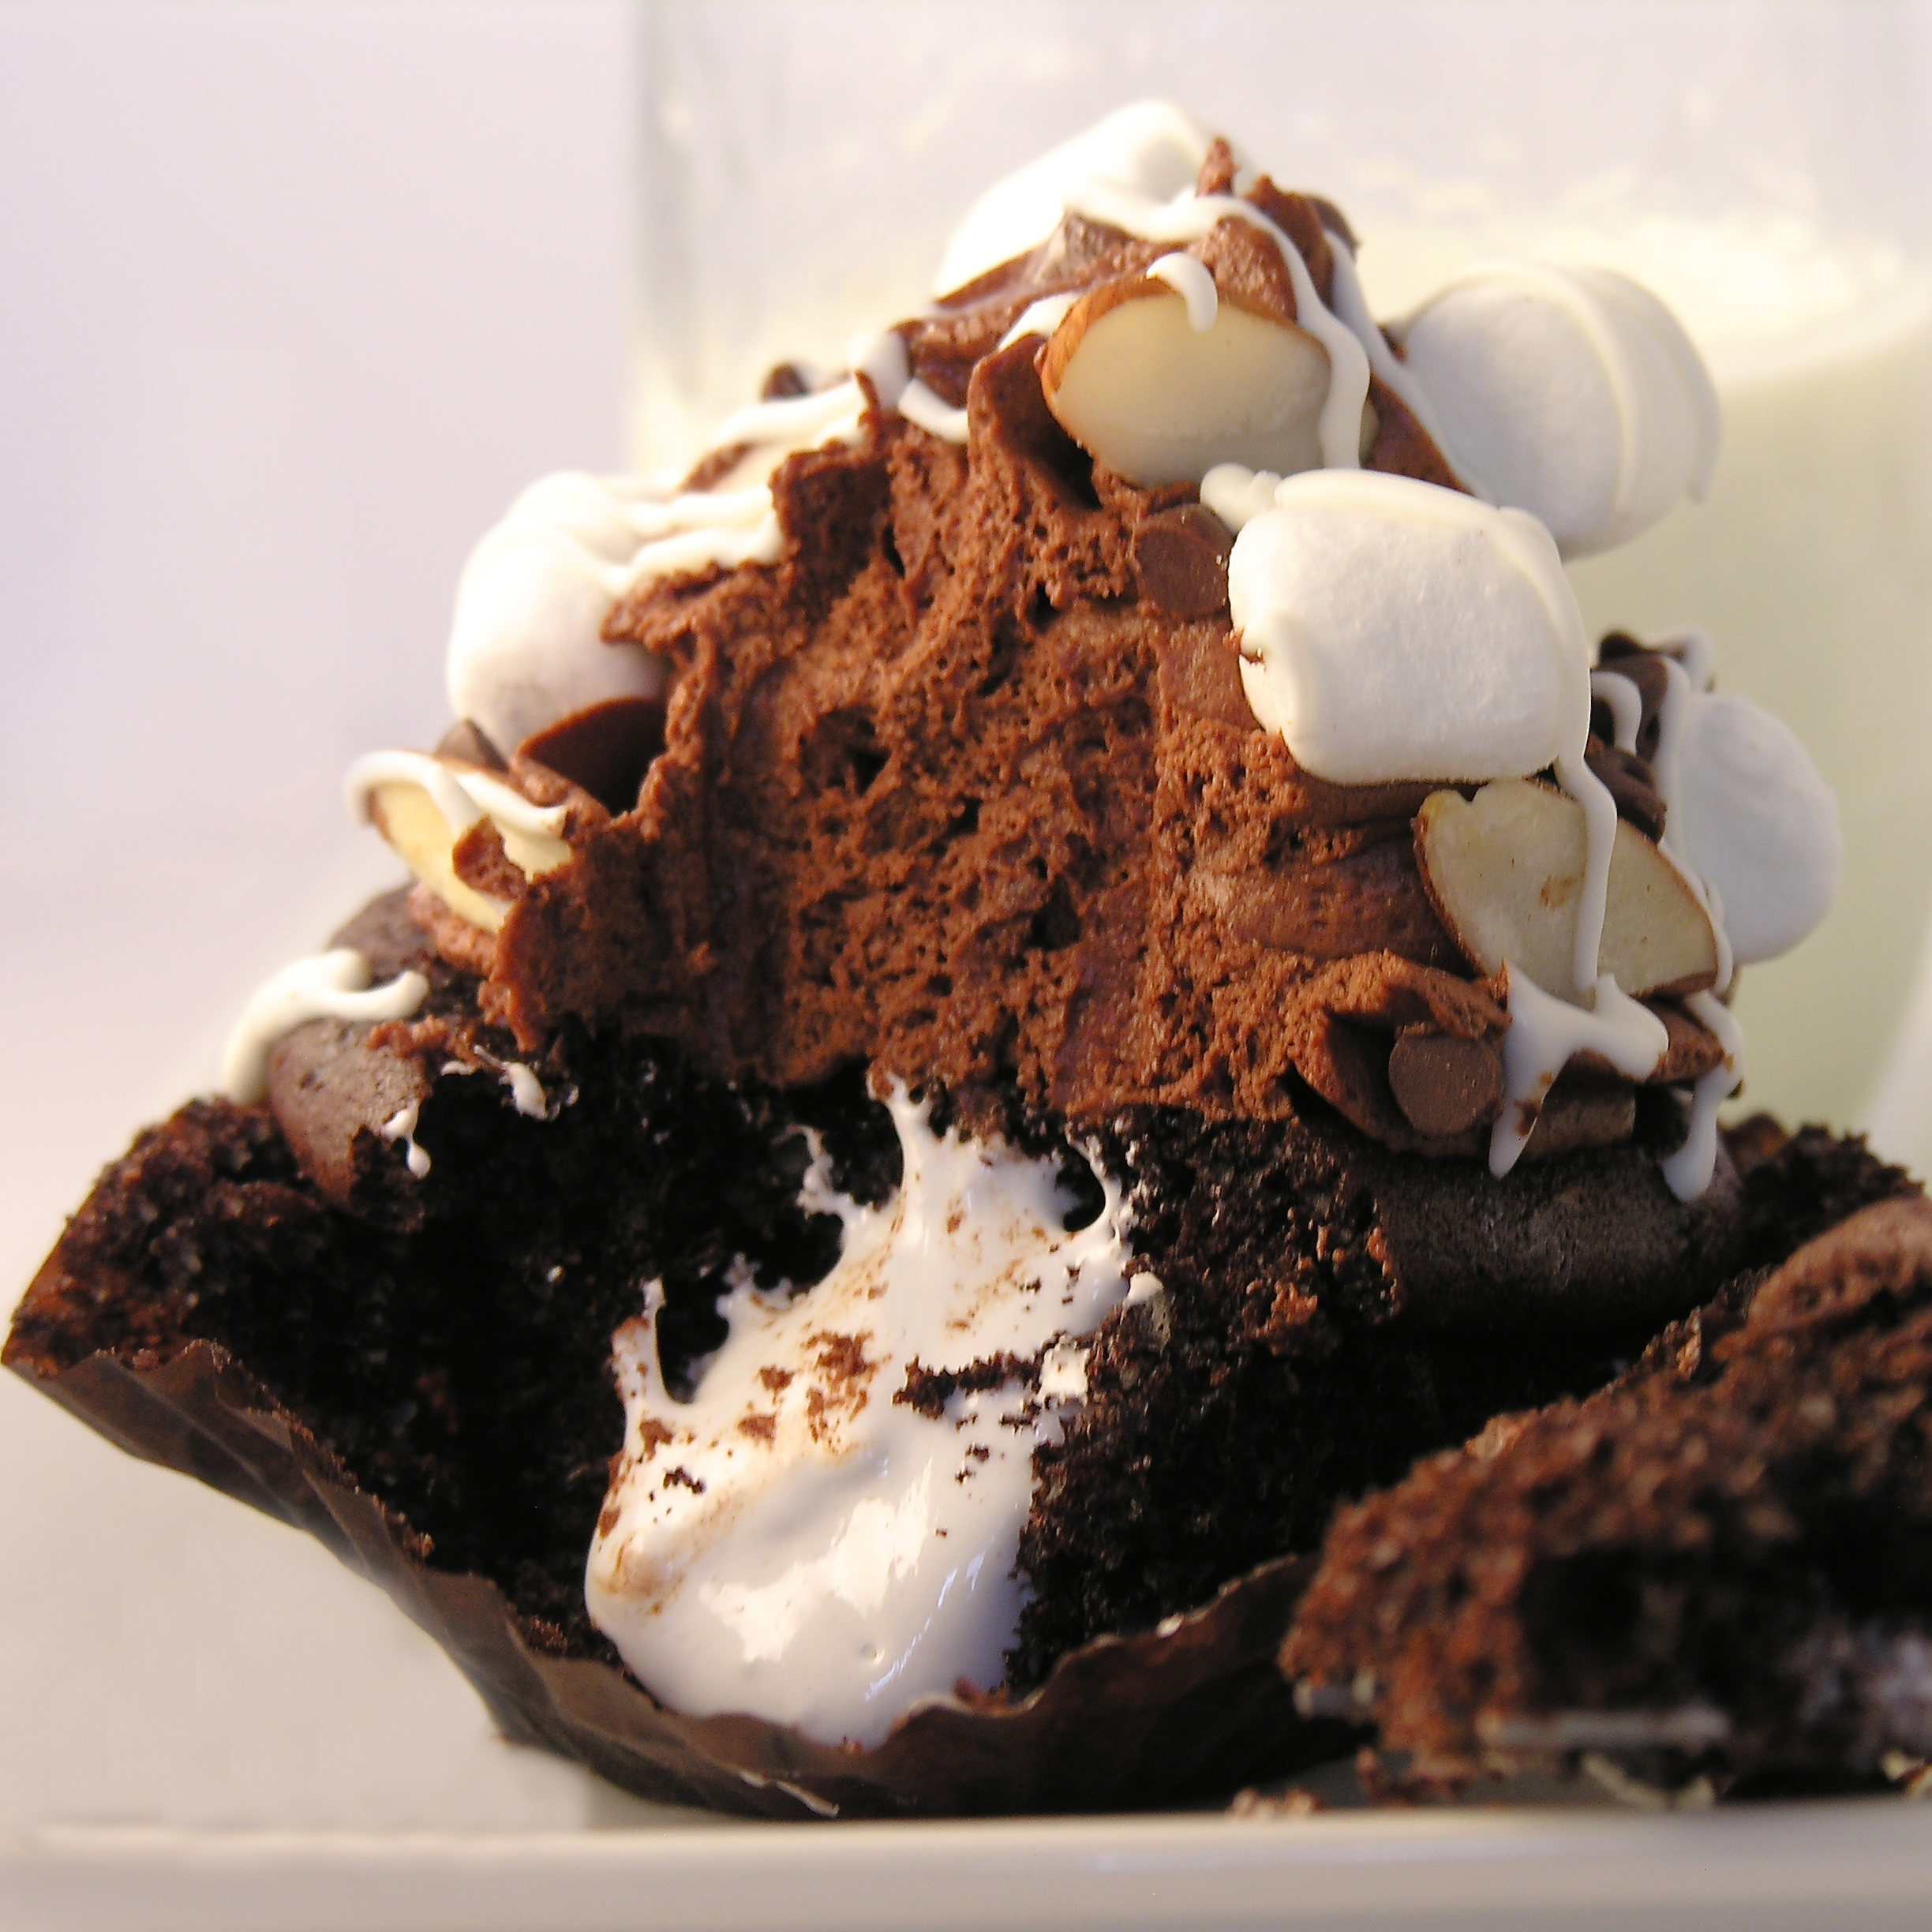
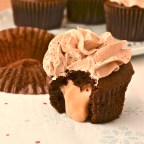
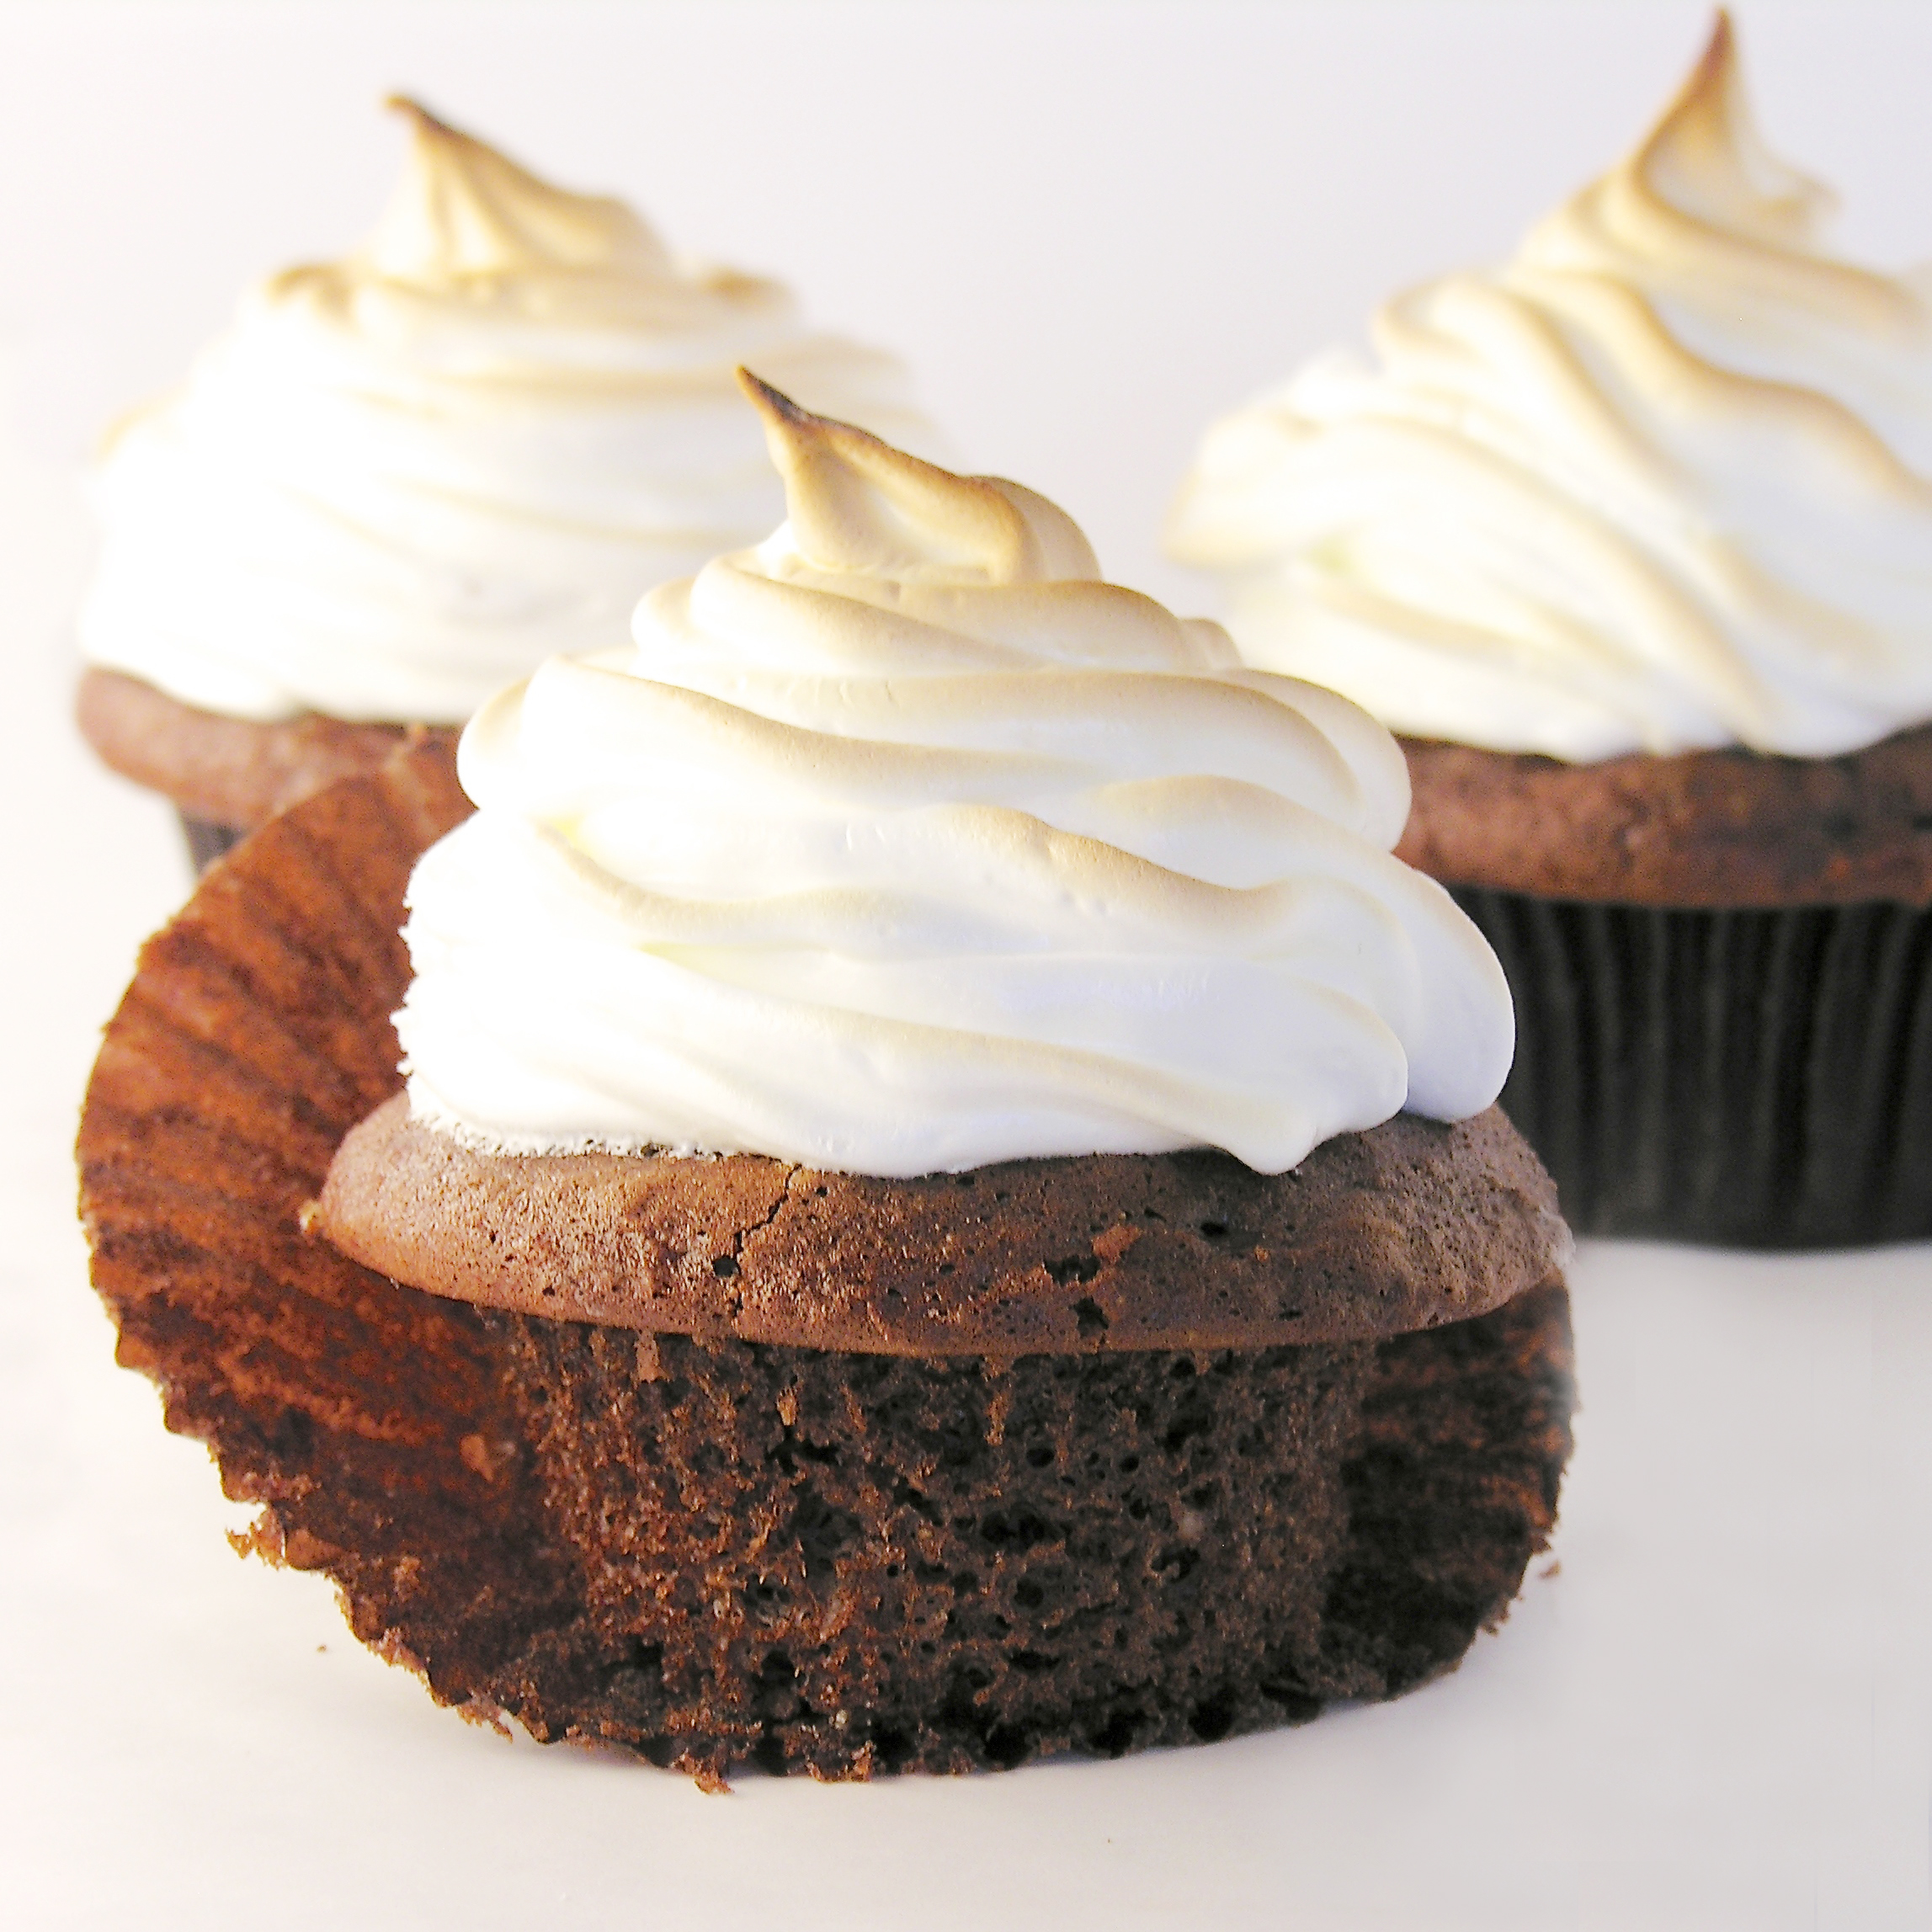
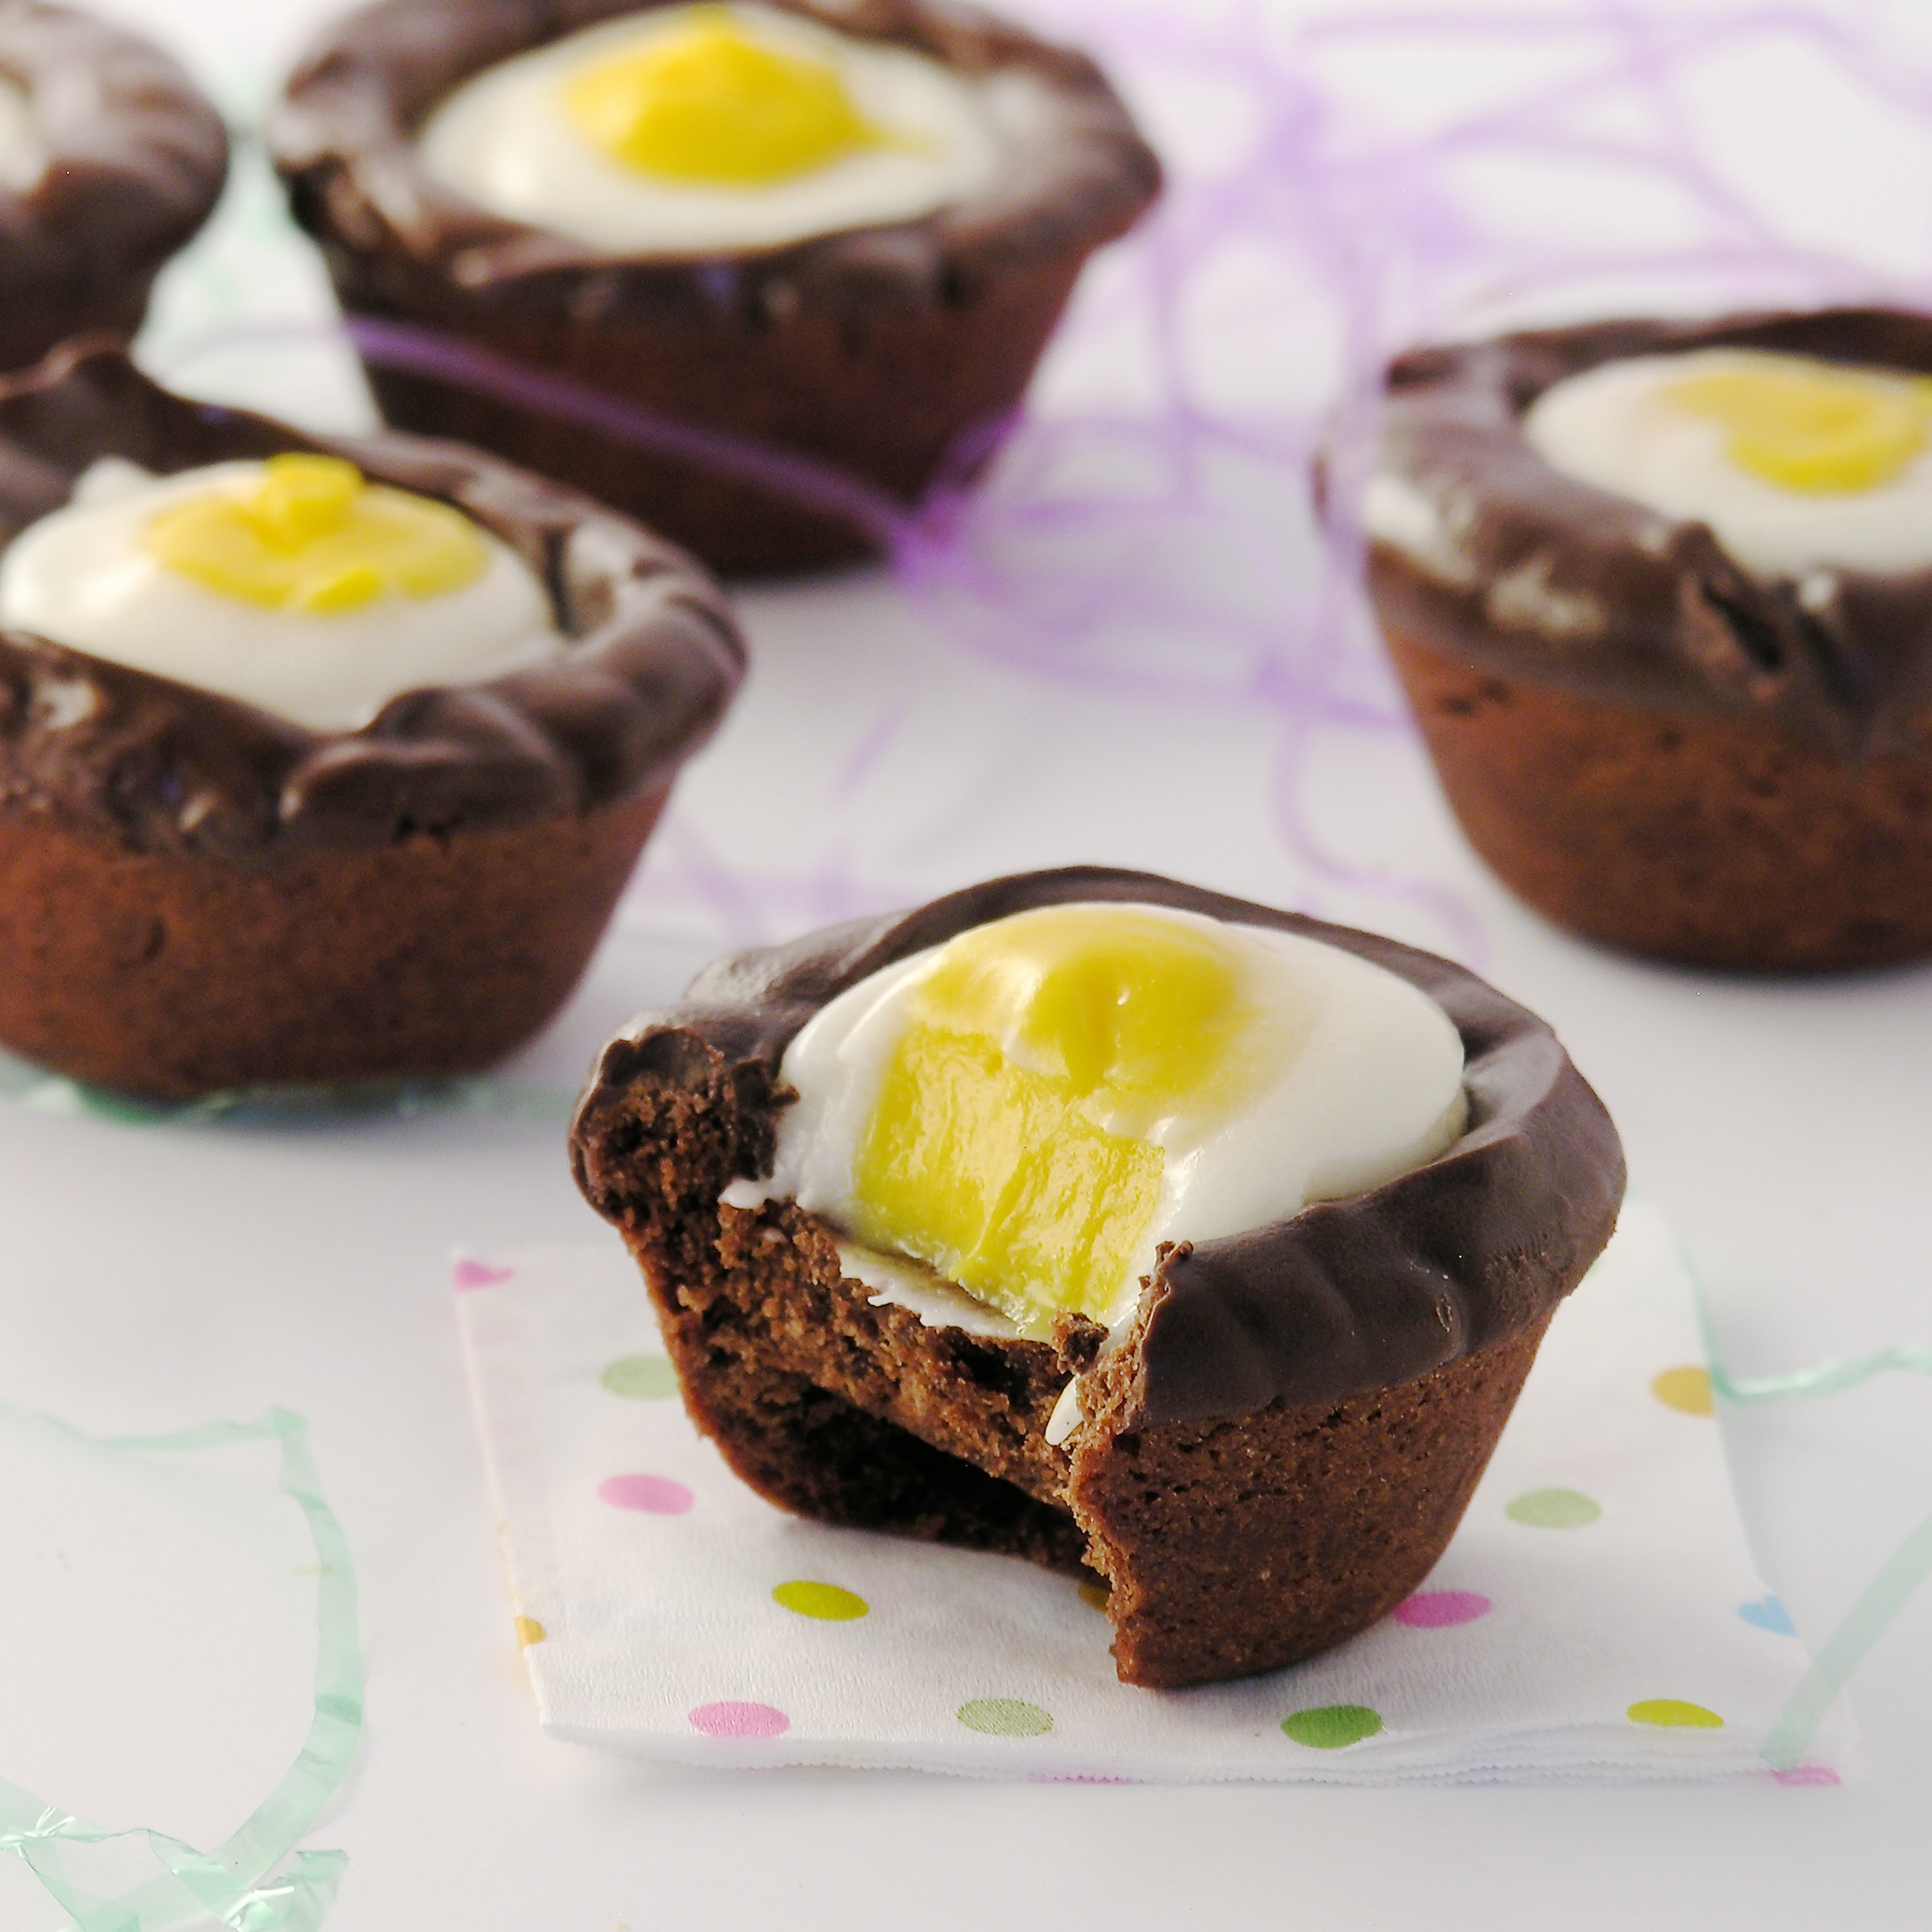
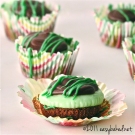
These chocolate cupcakes are filled with creamy marshmallow and topped with a rich ganache frosting, marshmallows and almonds! YUM!!!!!

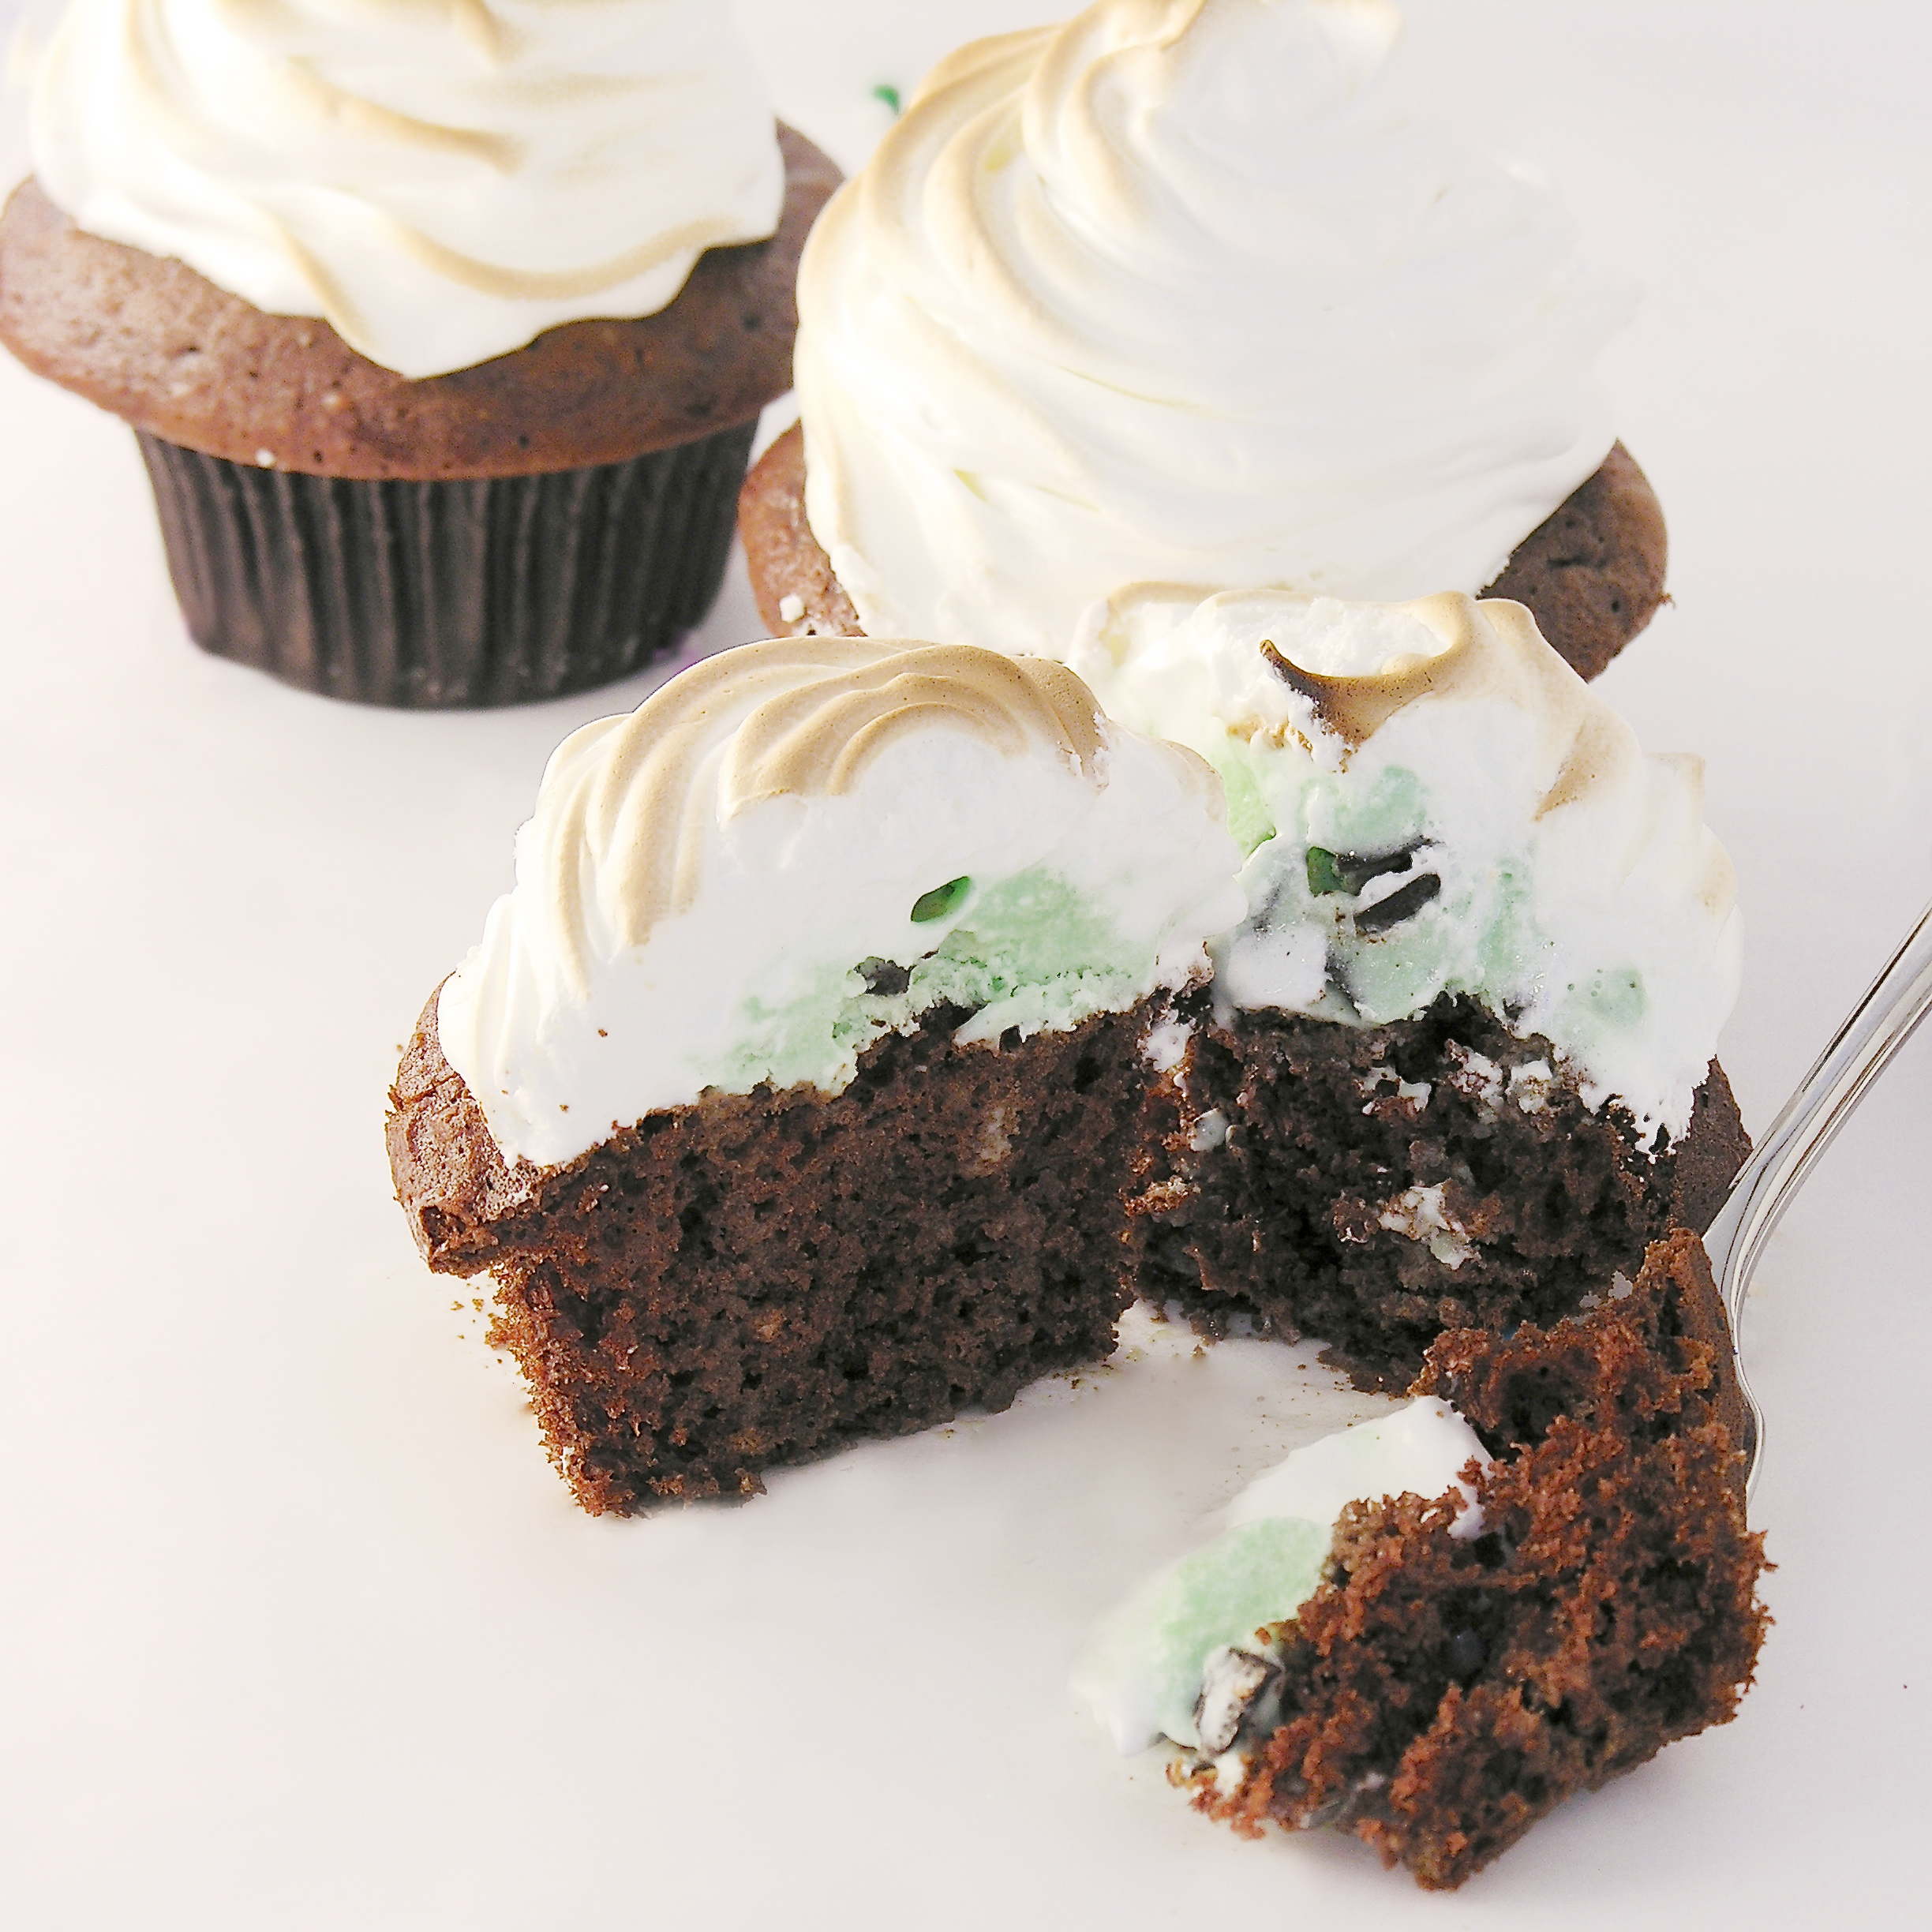
These are fork-eating cupcakes!  You’ll love that combination of rocky road flavors in these rich and messy-to-eat cupcakes.

Rocky Road Cupcakes4I absolutely love this frosting.  I have used ganache for many recipes, but I’d never taken the time to whip it up into a frosting.  Now that I’ve tried it, I will be back for more- this frosting is so rich and chocolatey!!! Ready for a recipe?

Here you go: (printable version)

INGREDIENTS:

  • One box of chocolate cake mix (with oil, water and eggs to make according to package)
  • One large jar (13 oz) of Jet-Puffed Marshmallow Creme
  • One bag of semi-sweet chocolate chips *
  • 1/2 cup of whipping cream *

(*double these two ingredients if you want to pile your frosting high like mine is)

  • One bag of mini-marshmallows
  • 1 cup of slivered or sliced almonds
  • a little white chocolate to drizzle on top, if desired

DIRECTIONS:

  • Start your frosting first, as it needs to chill before you beat it, and double the recipe if you want piles of frosting like mine.  I went a little overboard for fun pictures!! 🙂
  • Place 1/2 cup of whipping cream into a medium saucepan and heat it on the stove until the cream starts to bubble just a bit on the edges, stirring as it heats.  Turn off the heat, add the chocolate chips and cover for 5 minutes.
  • Stir melted chocolate and warm cream together until completely smooth (a “ganache”).  Put it in a medium bowl and refrigerate until it is a cool, spoonable consistency (30 minutes to an hour).
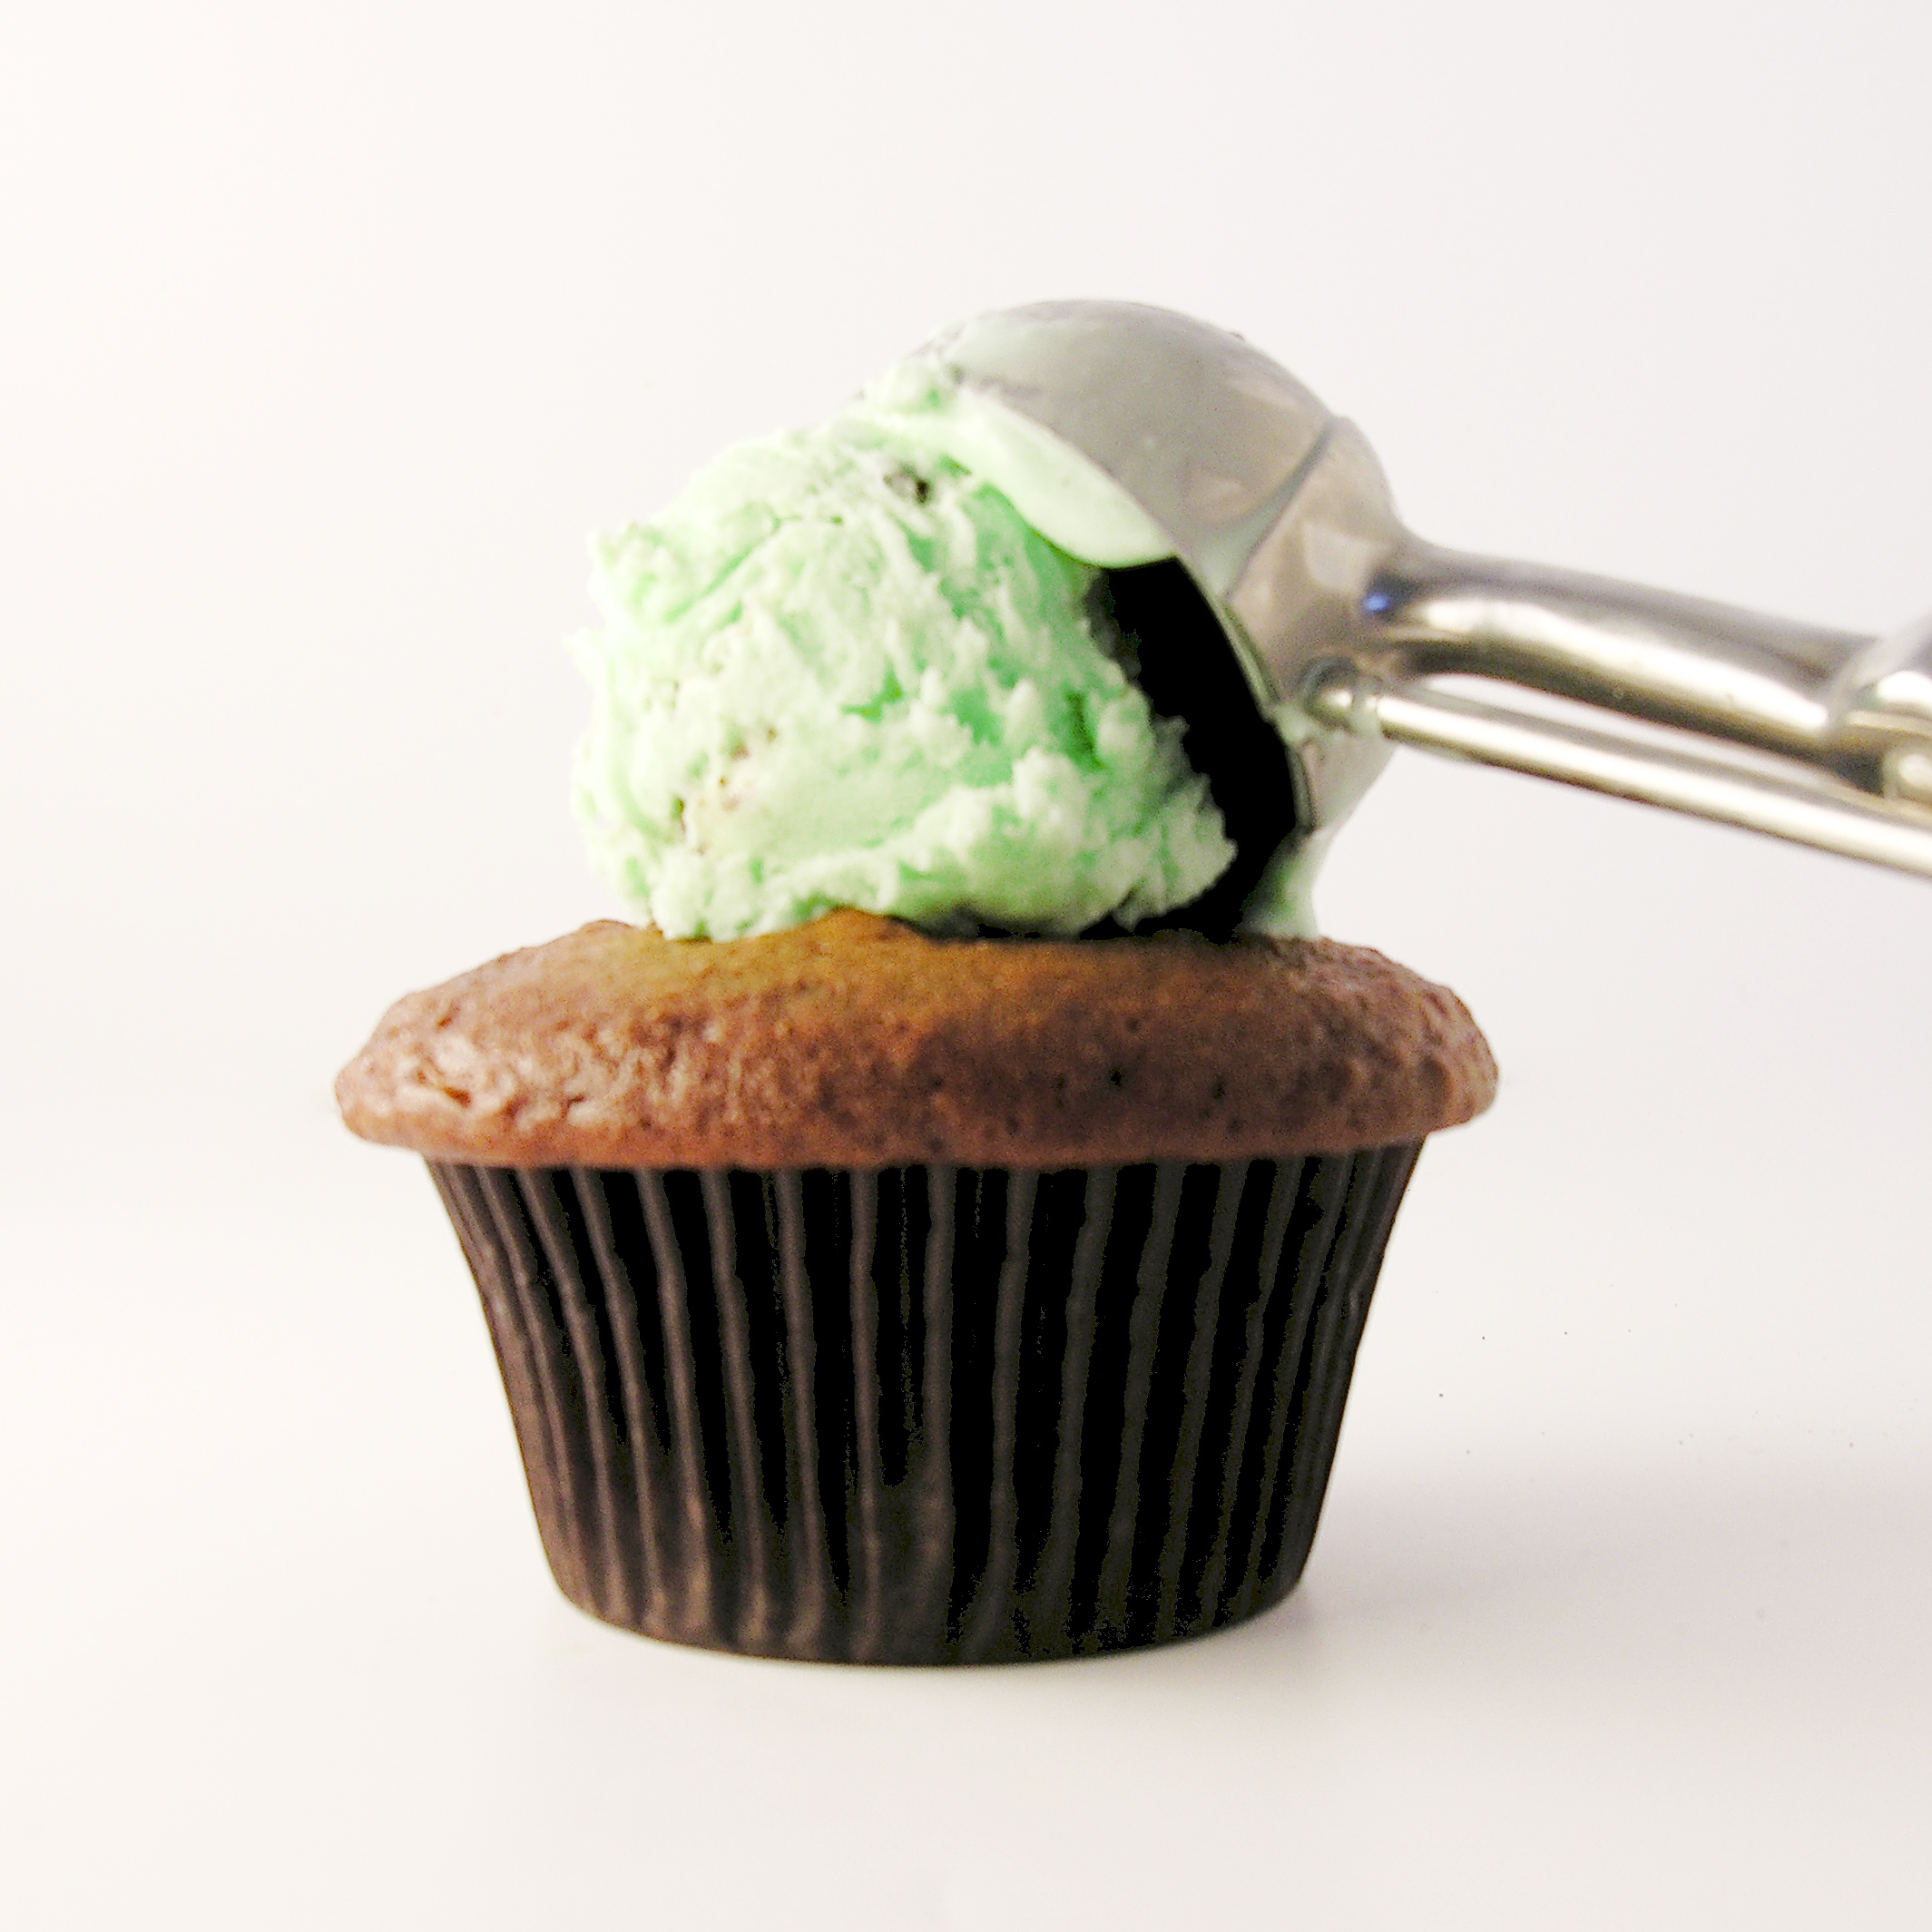
  • Make cake mix according to box, and divide equally into 24 cupcake lines placed in a muffin tin.
  • Bake as directed on box, and cool completely.
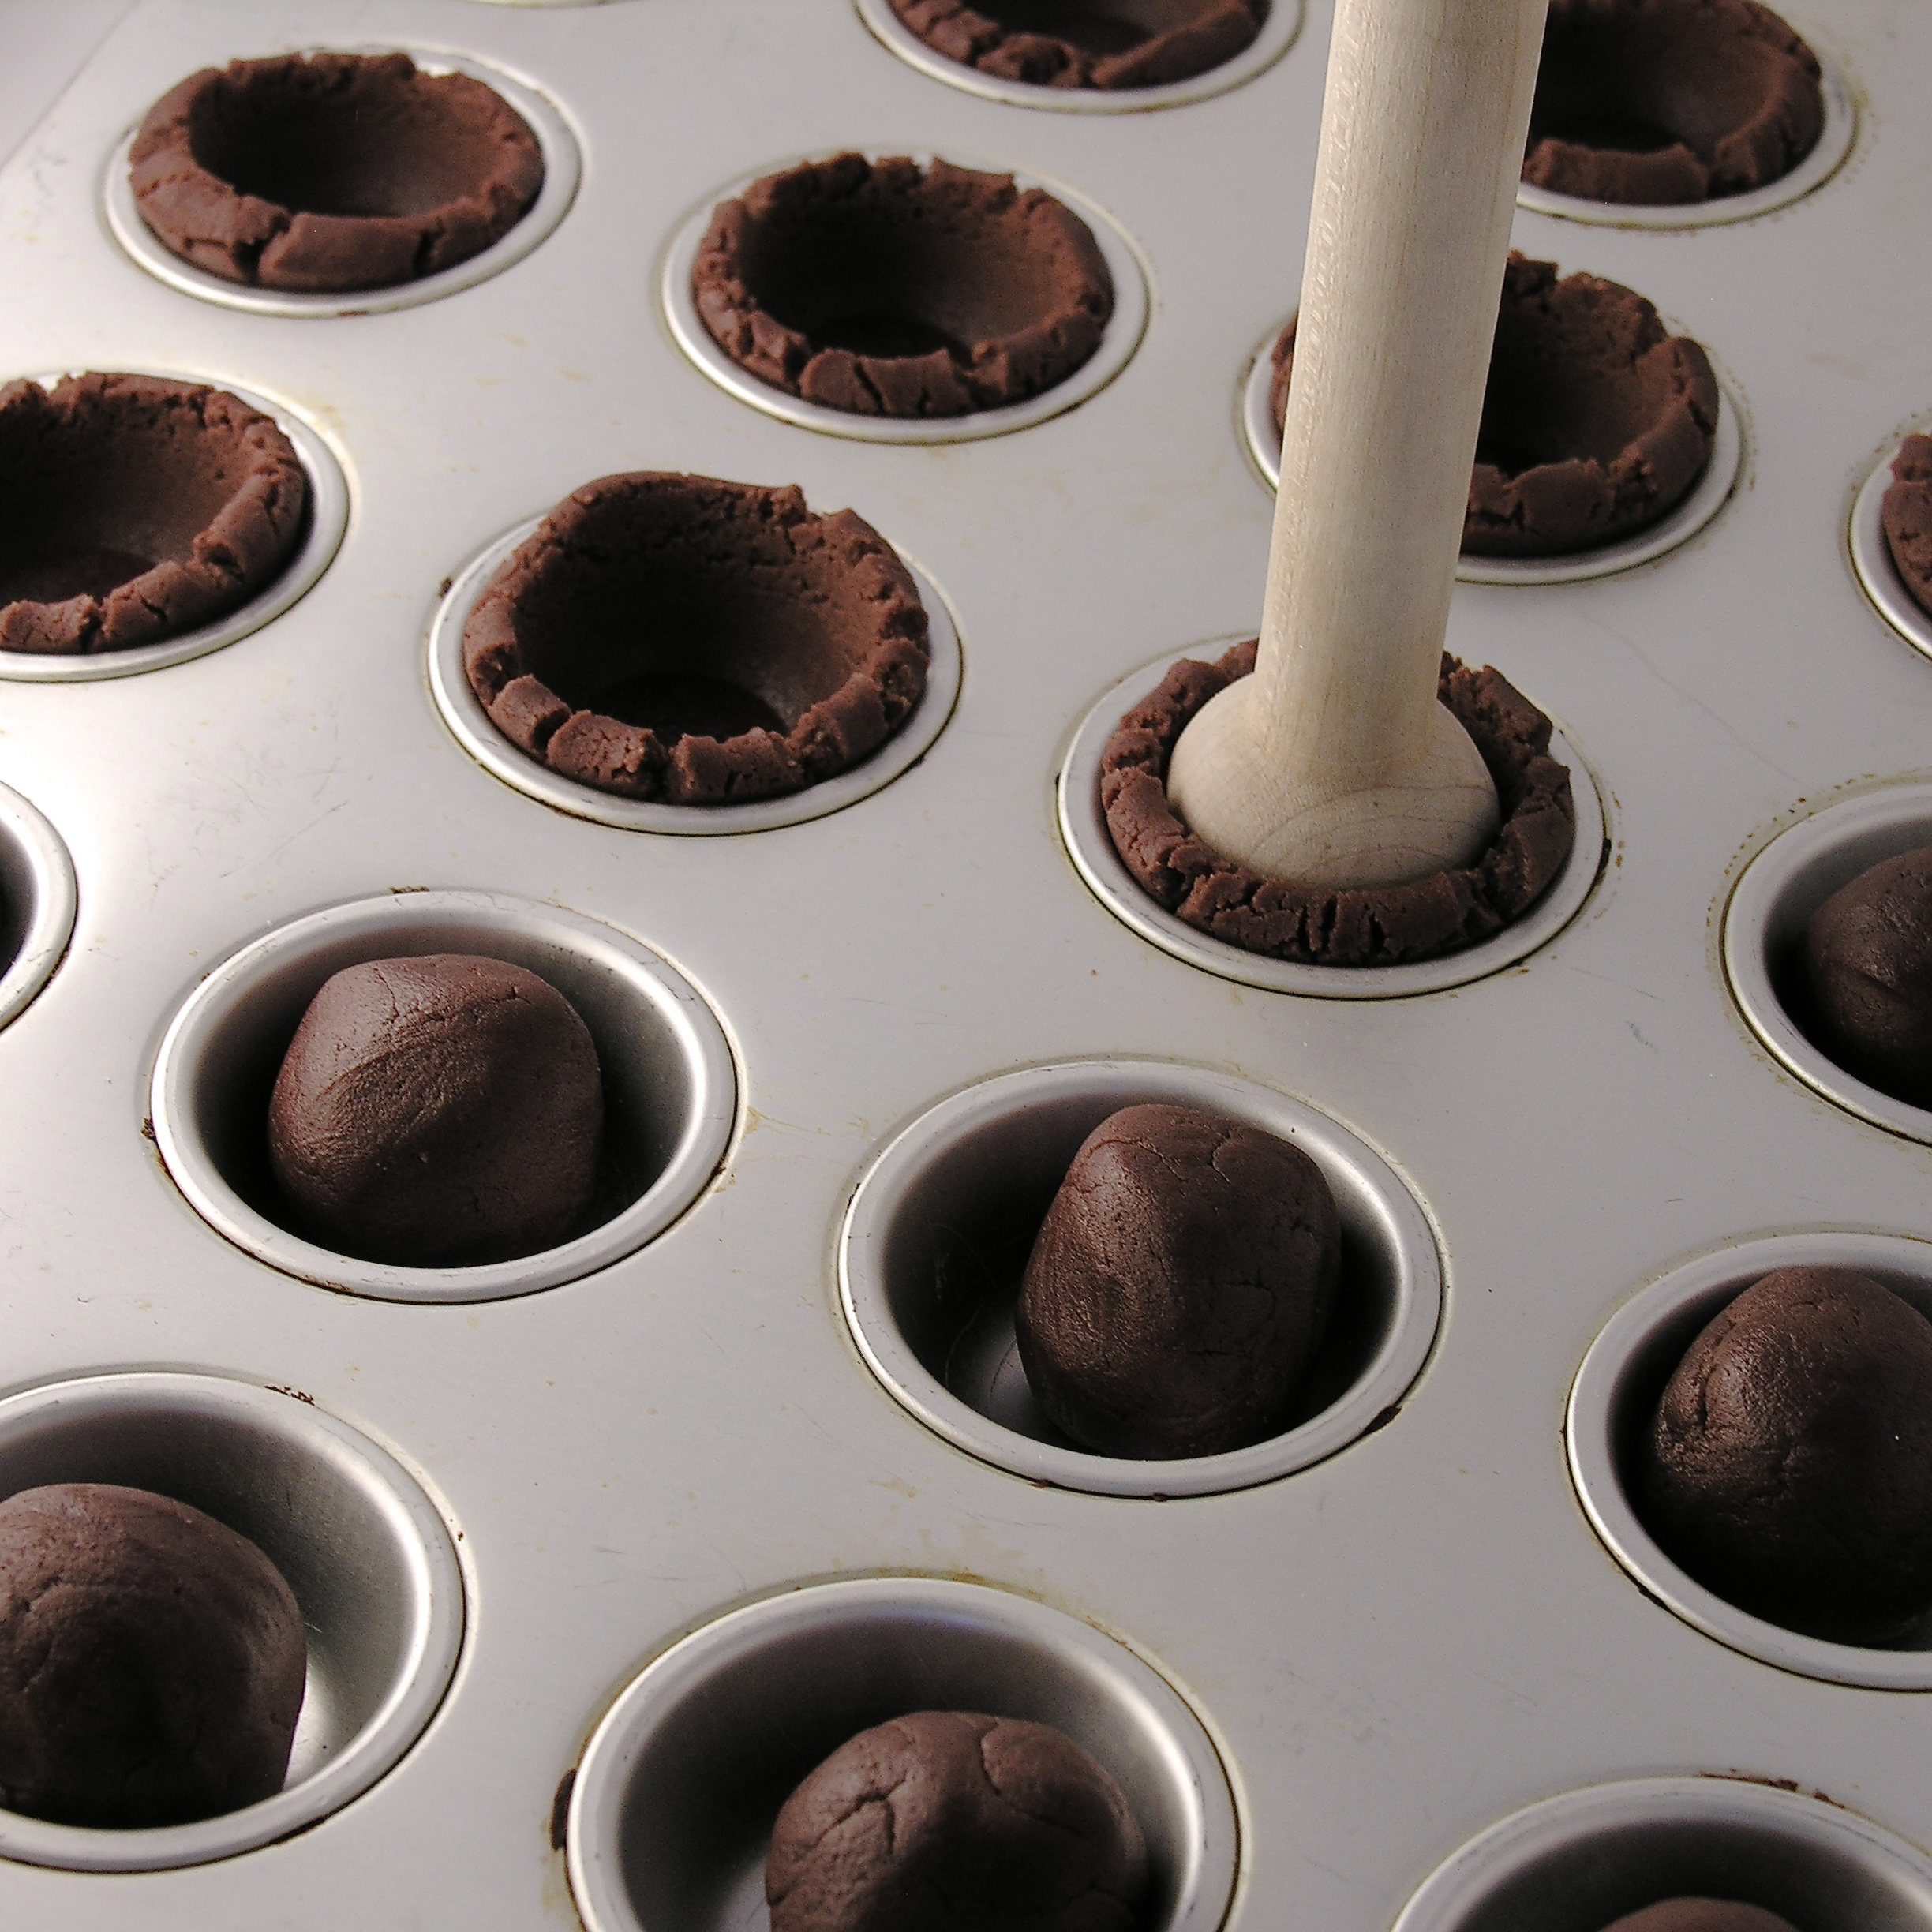
  • Core cupcakes using a small knife, or a cupcake corer.  I used the Chicago Metallics one, and for $4 there is just no reason to not get one- it makes filling cupcakes SOOOO easy!  Isn’t your birthday coming up???

So easy to core cupcakes!

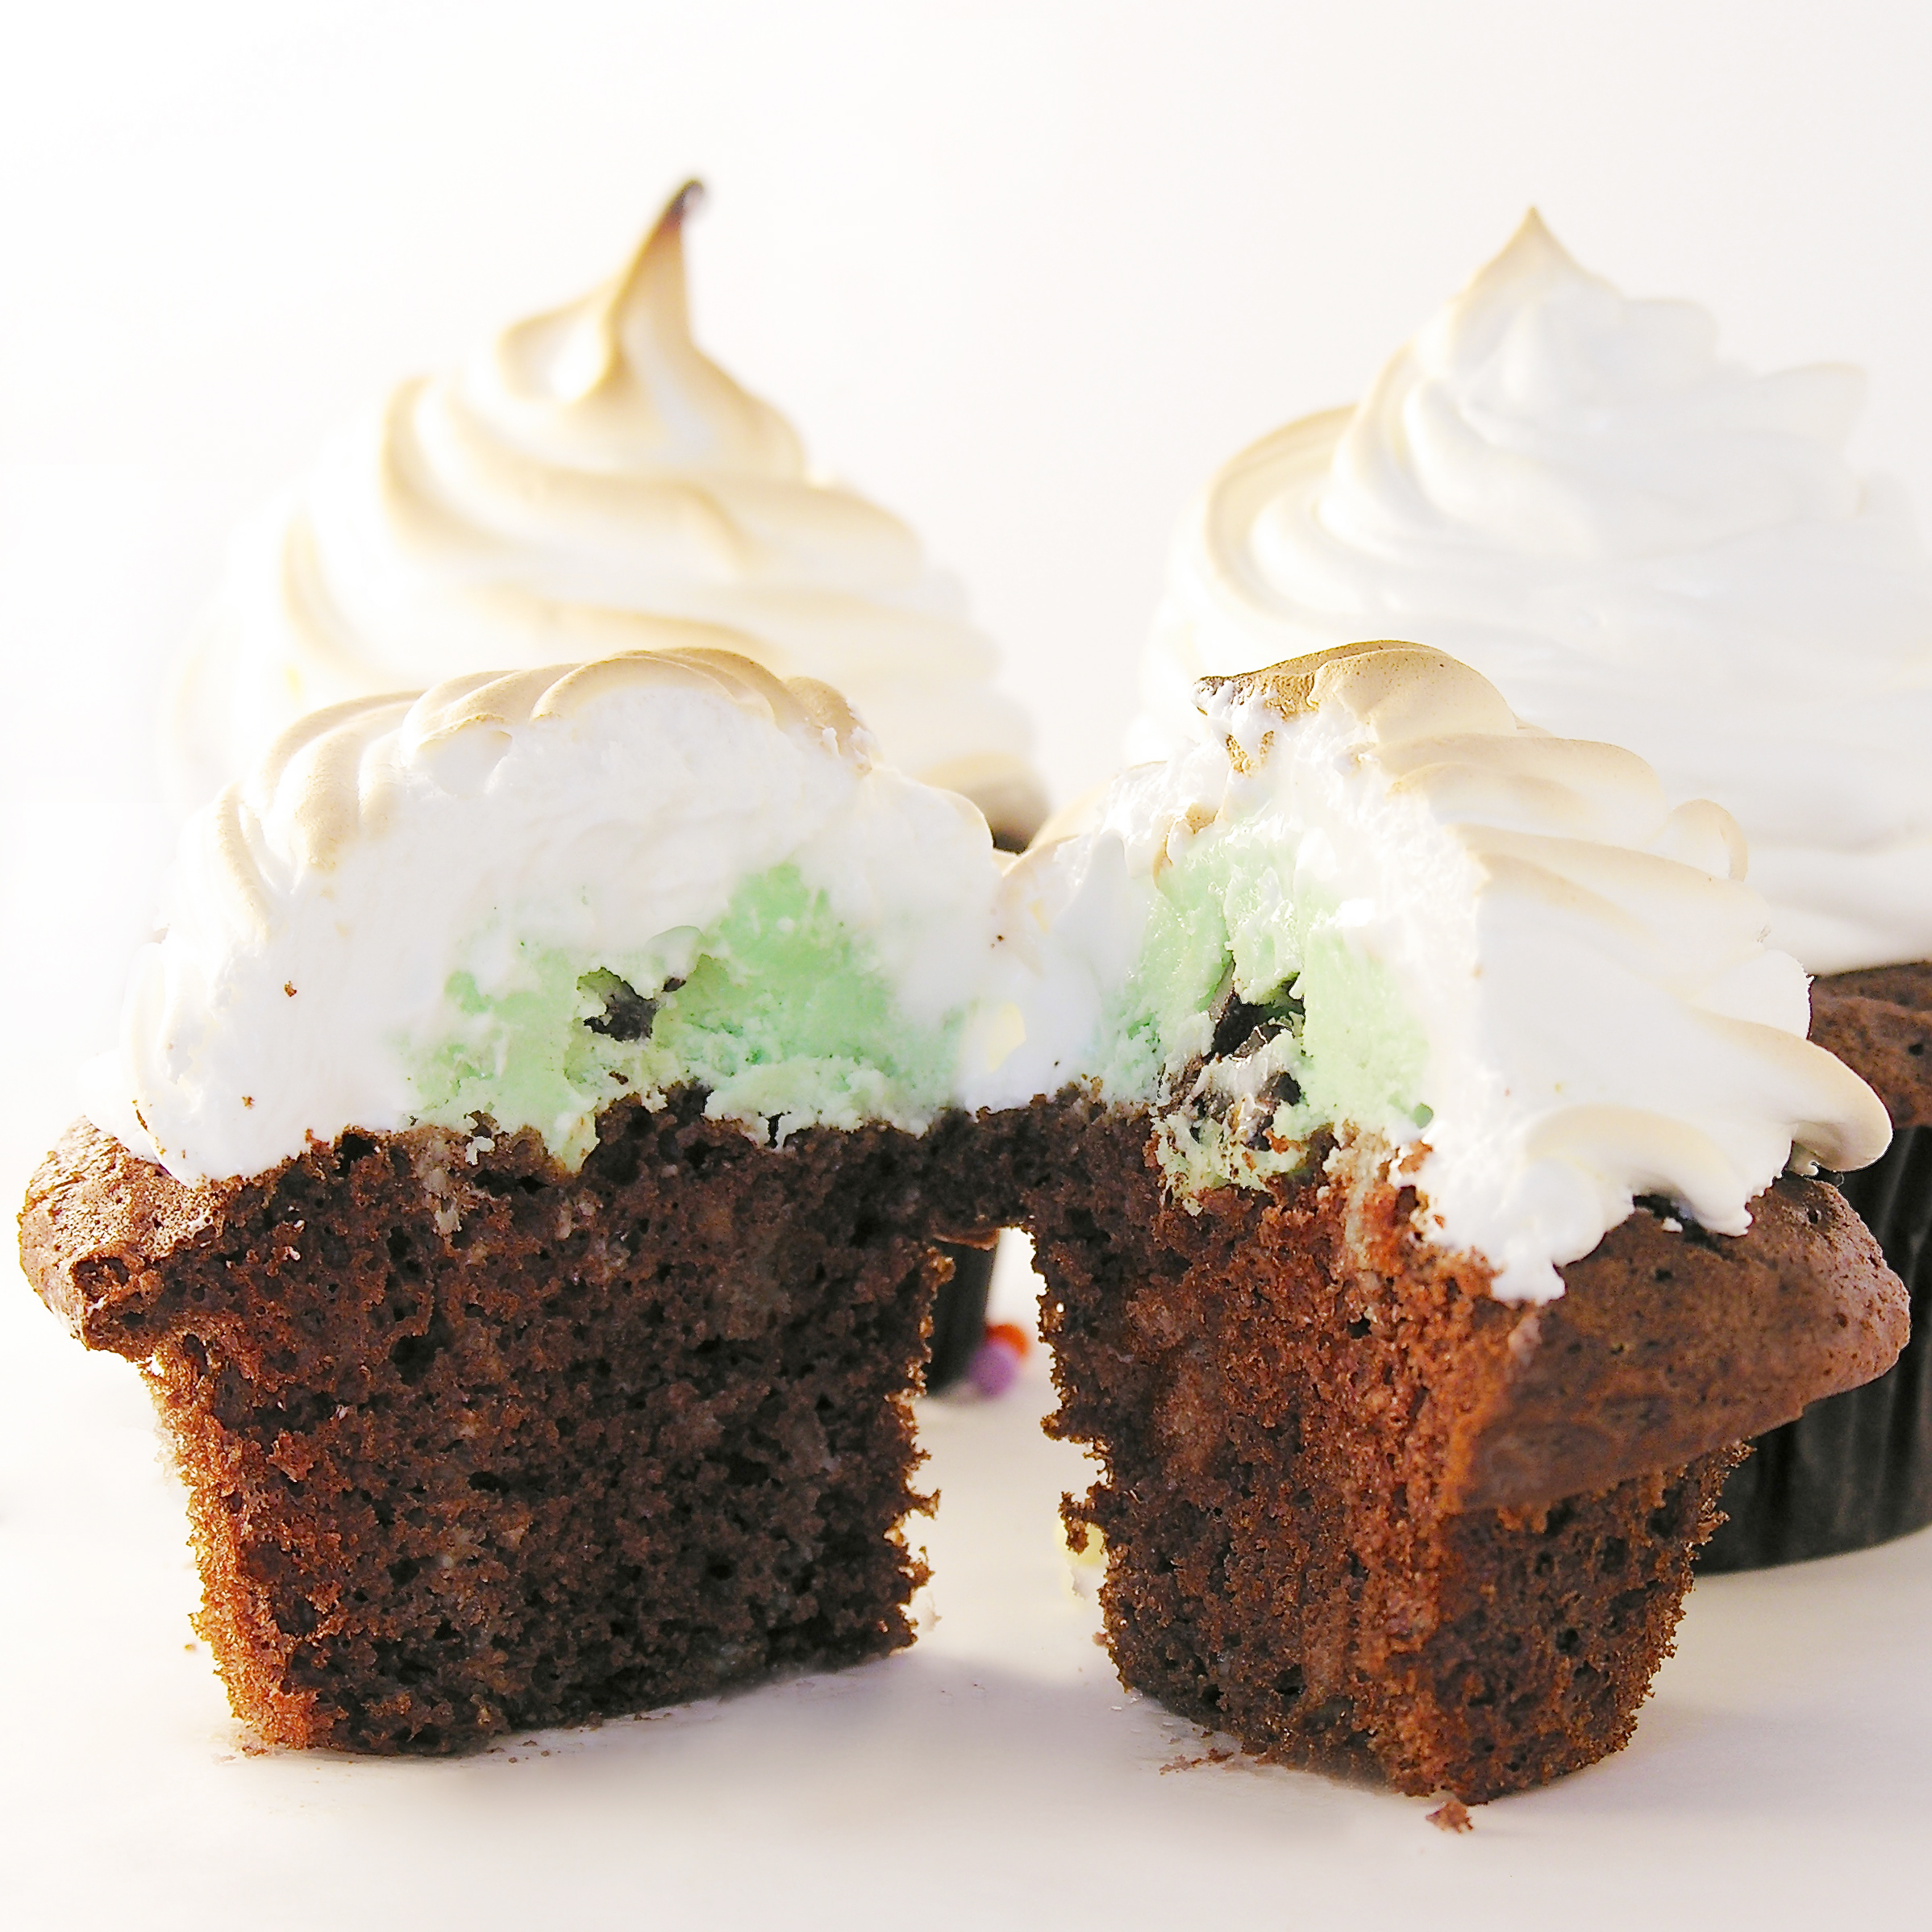
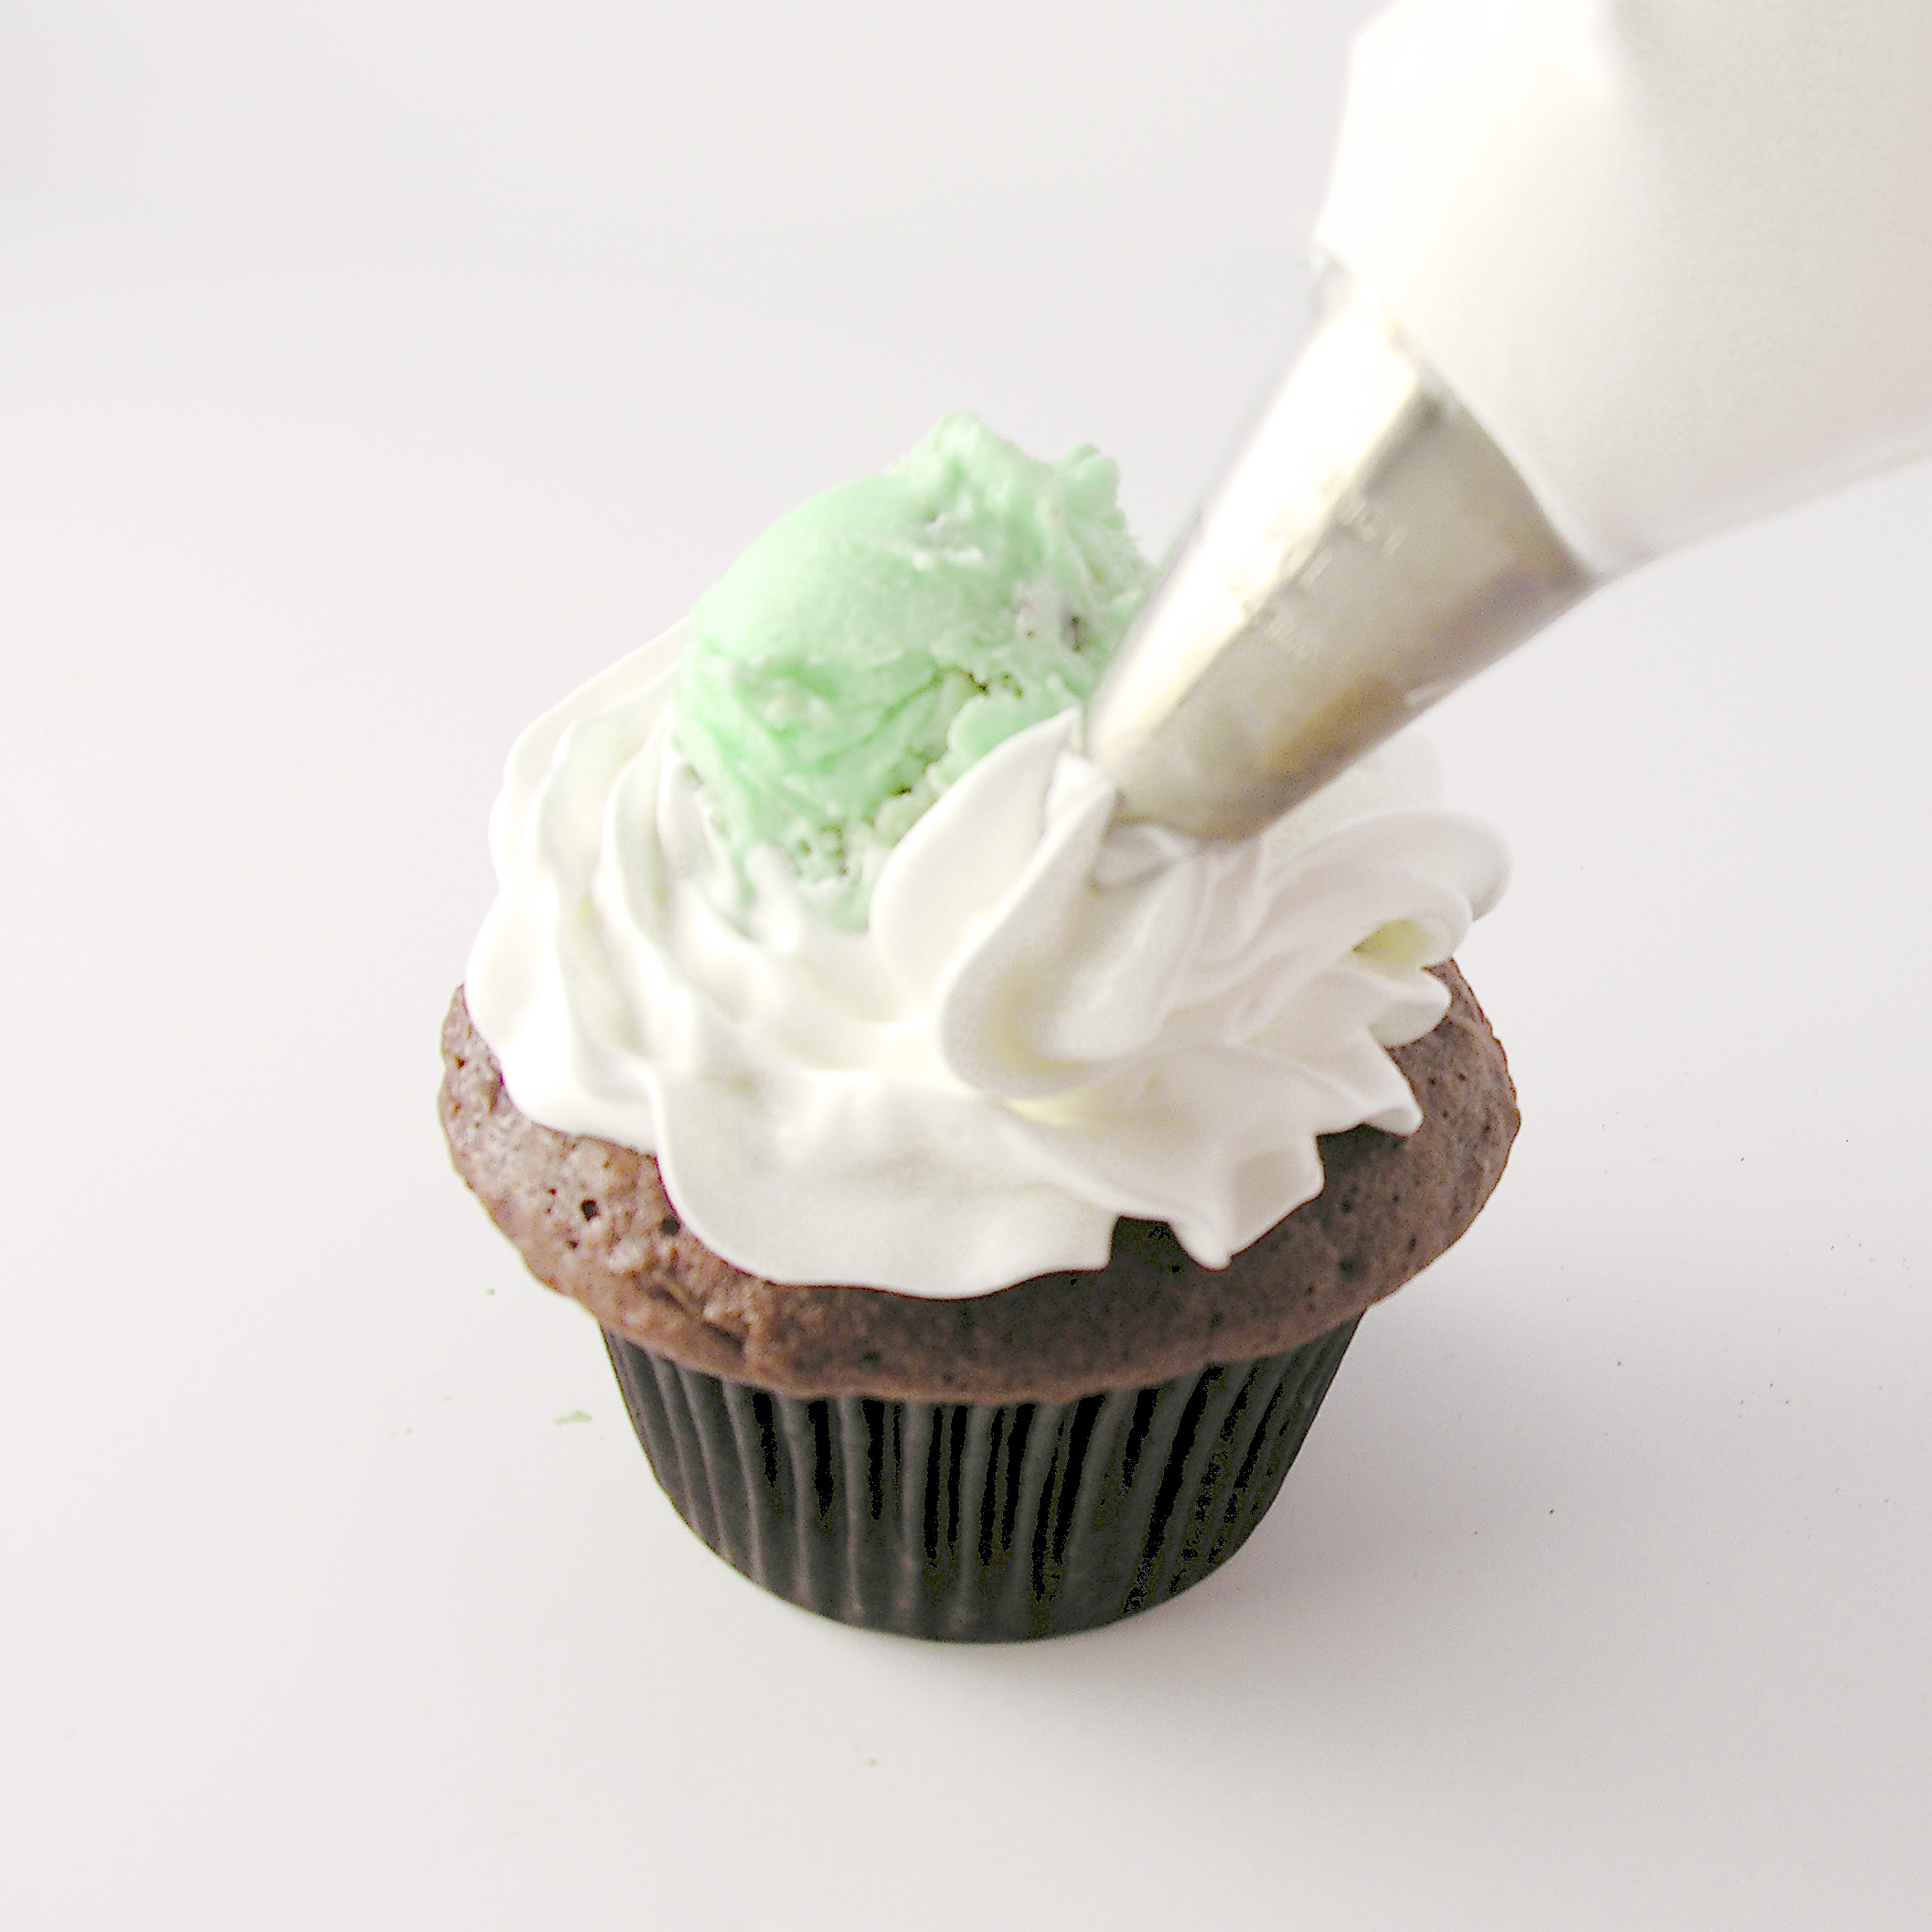
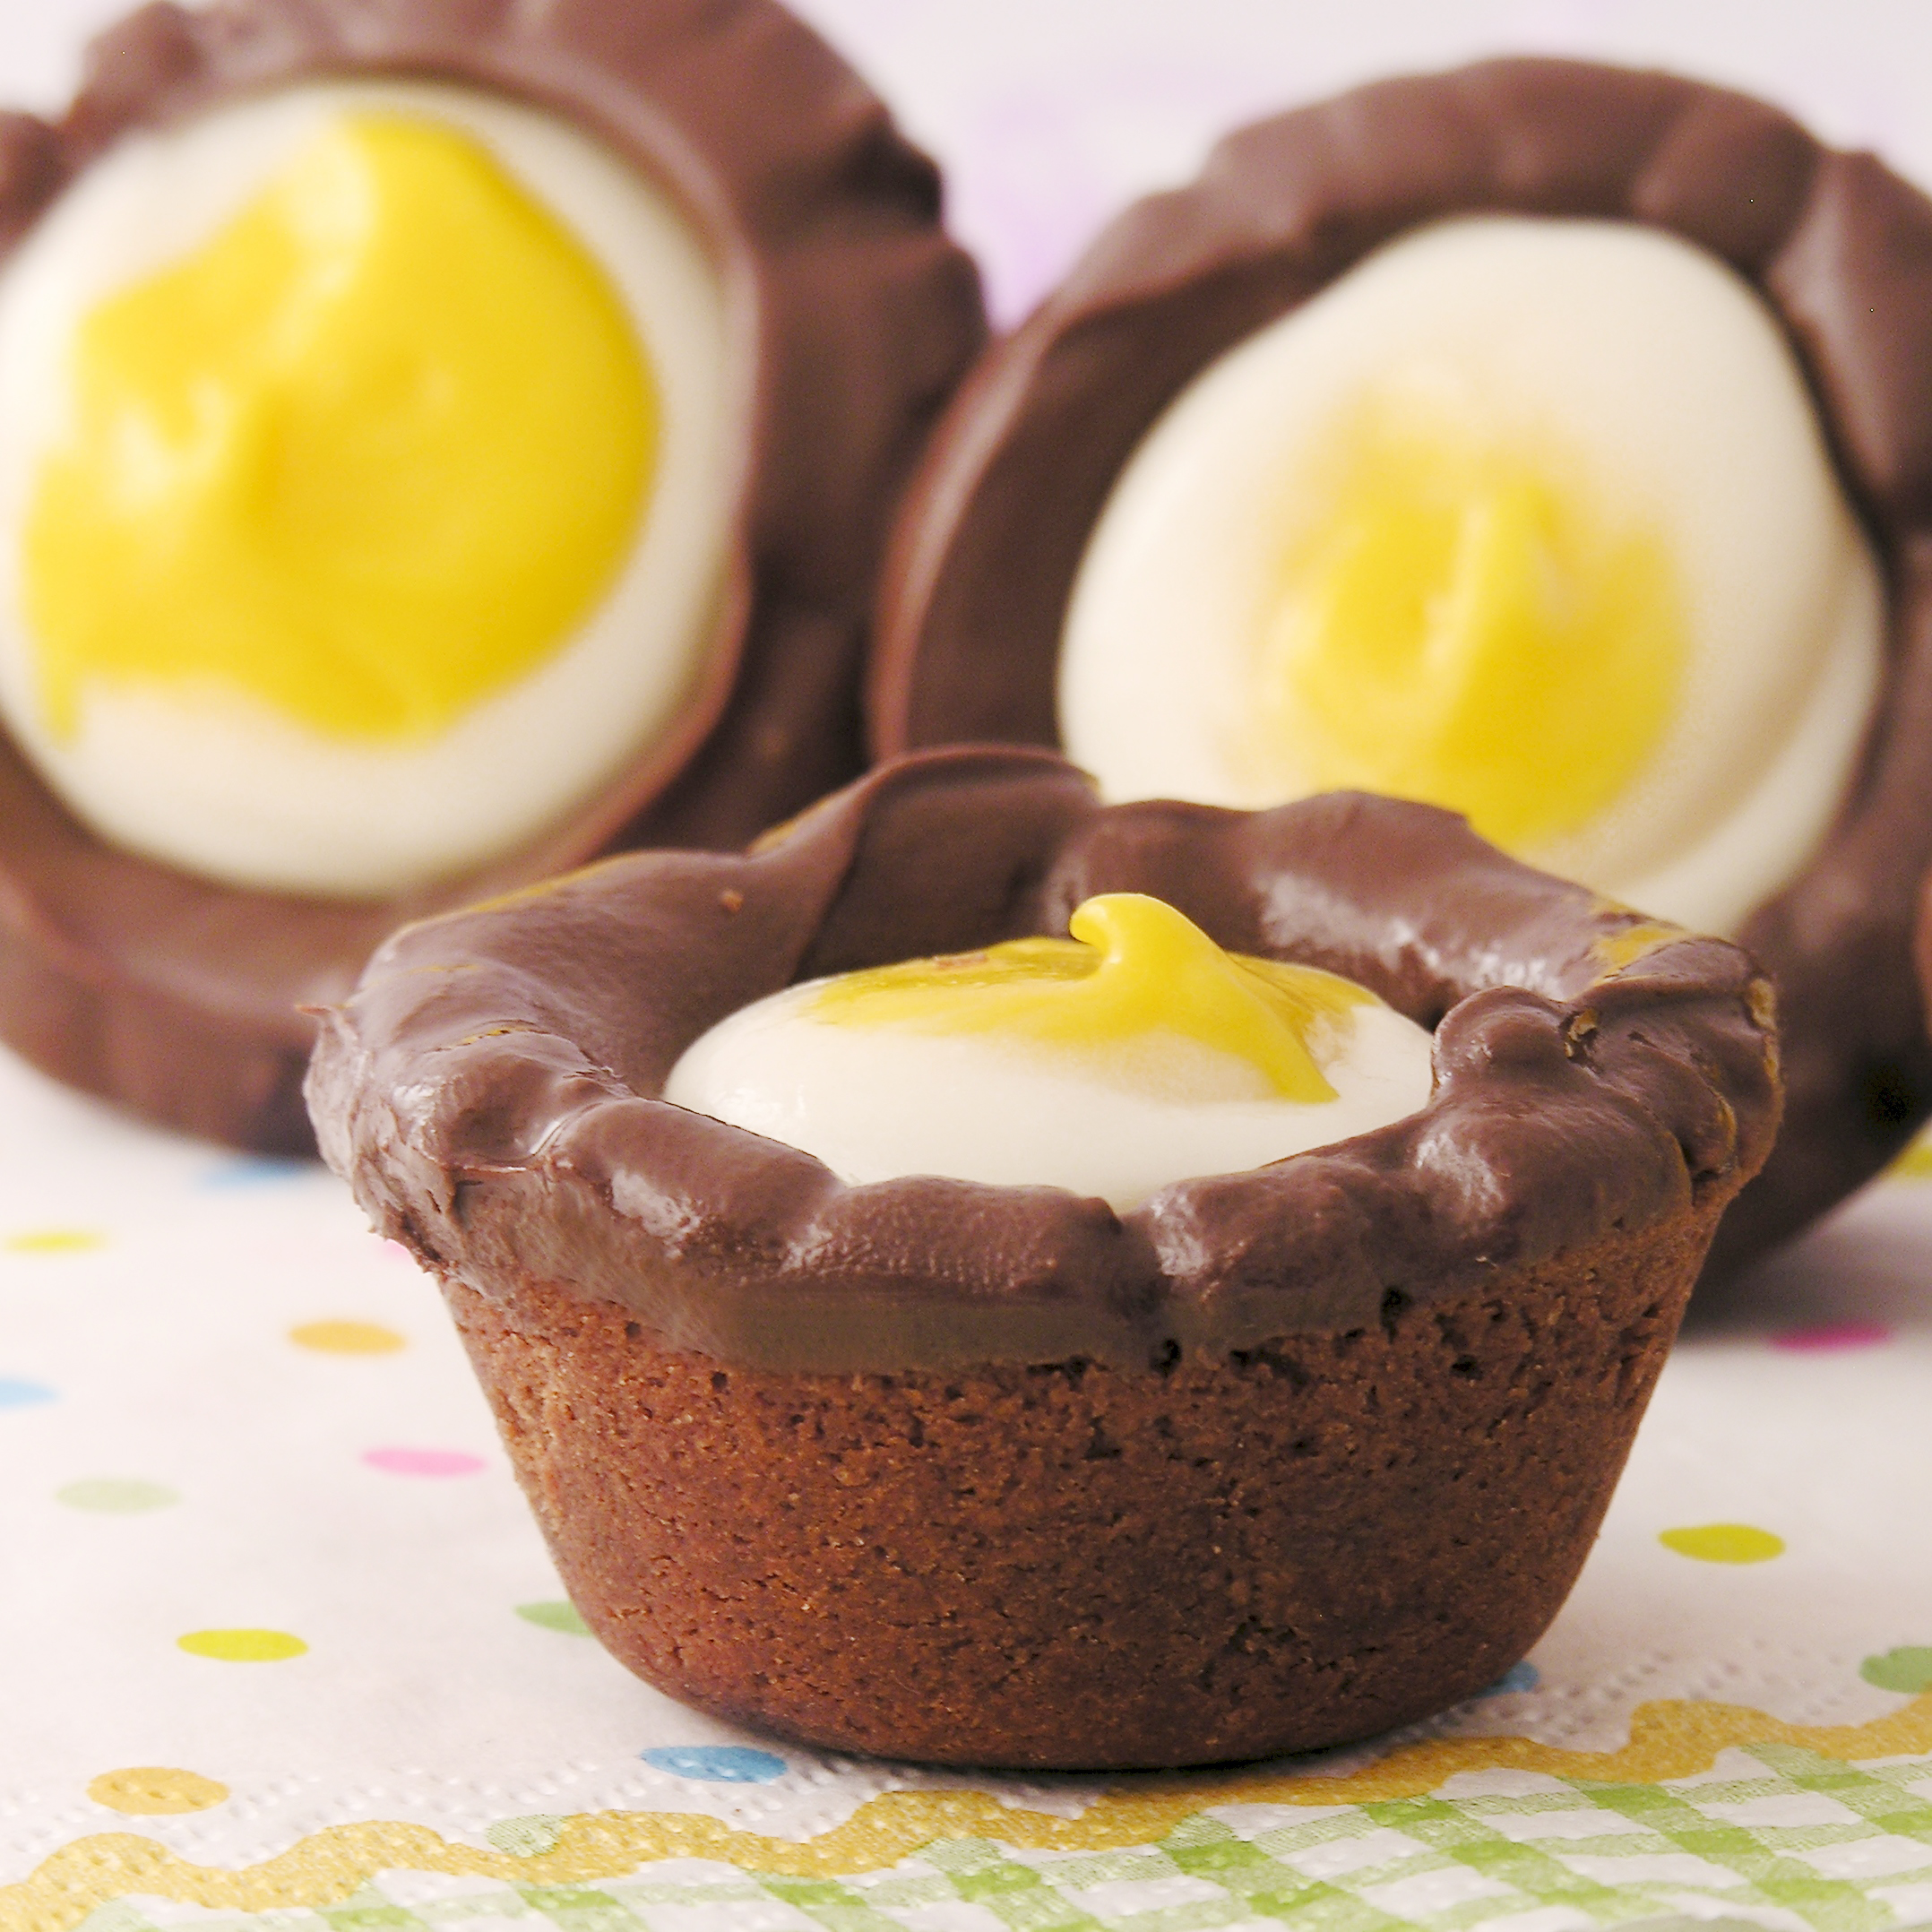
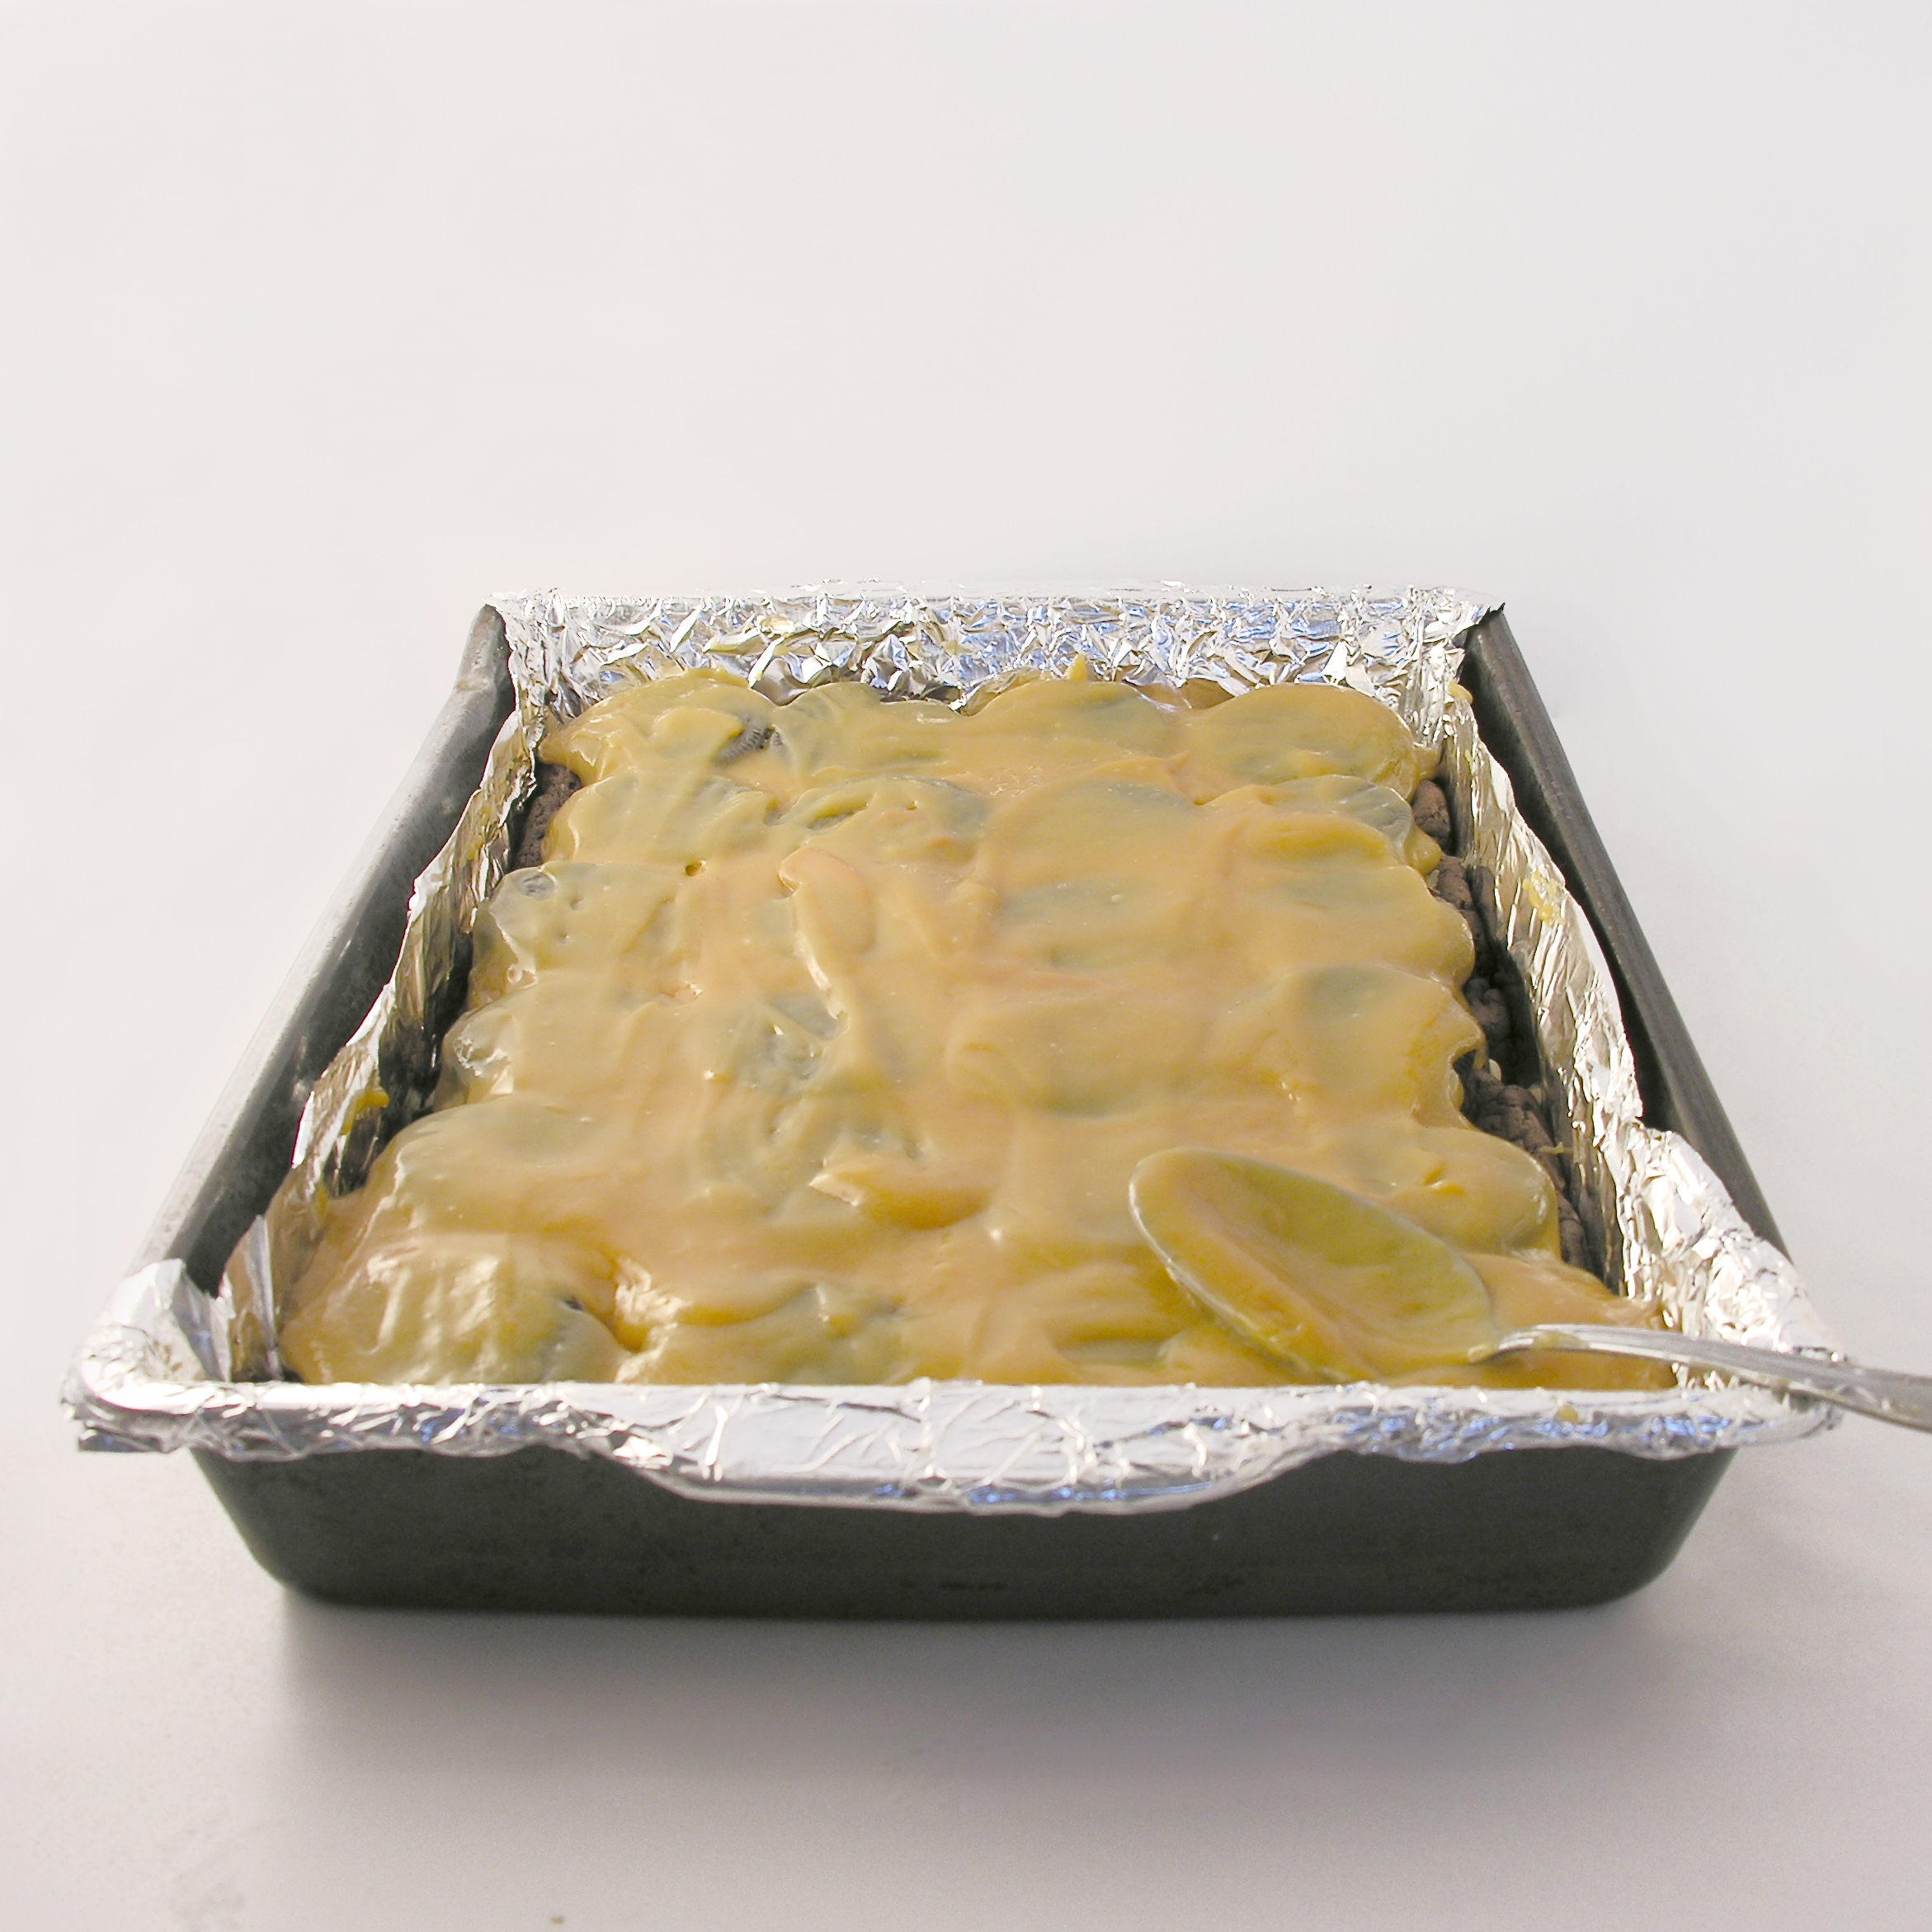
  • Spoon entire jar of marshmallow fluff into a gallon-size zip-top bag and clip a corner off with scissors.  Squeeze the marshmallow into the middle of each cupcake and then trim a little of the core you removed and place the “lid” back on top of the filling.
  • Remove cooled chocolate ganache from refrigerator and beat on high until light and fluffy.
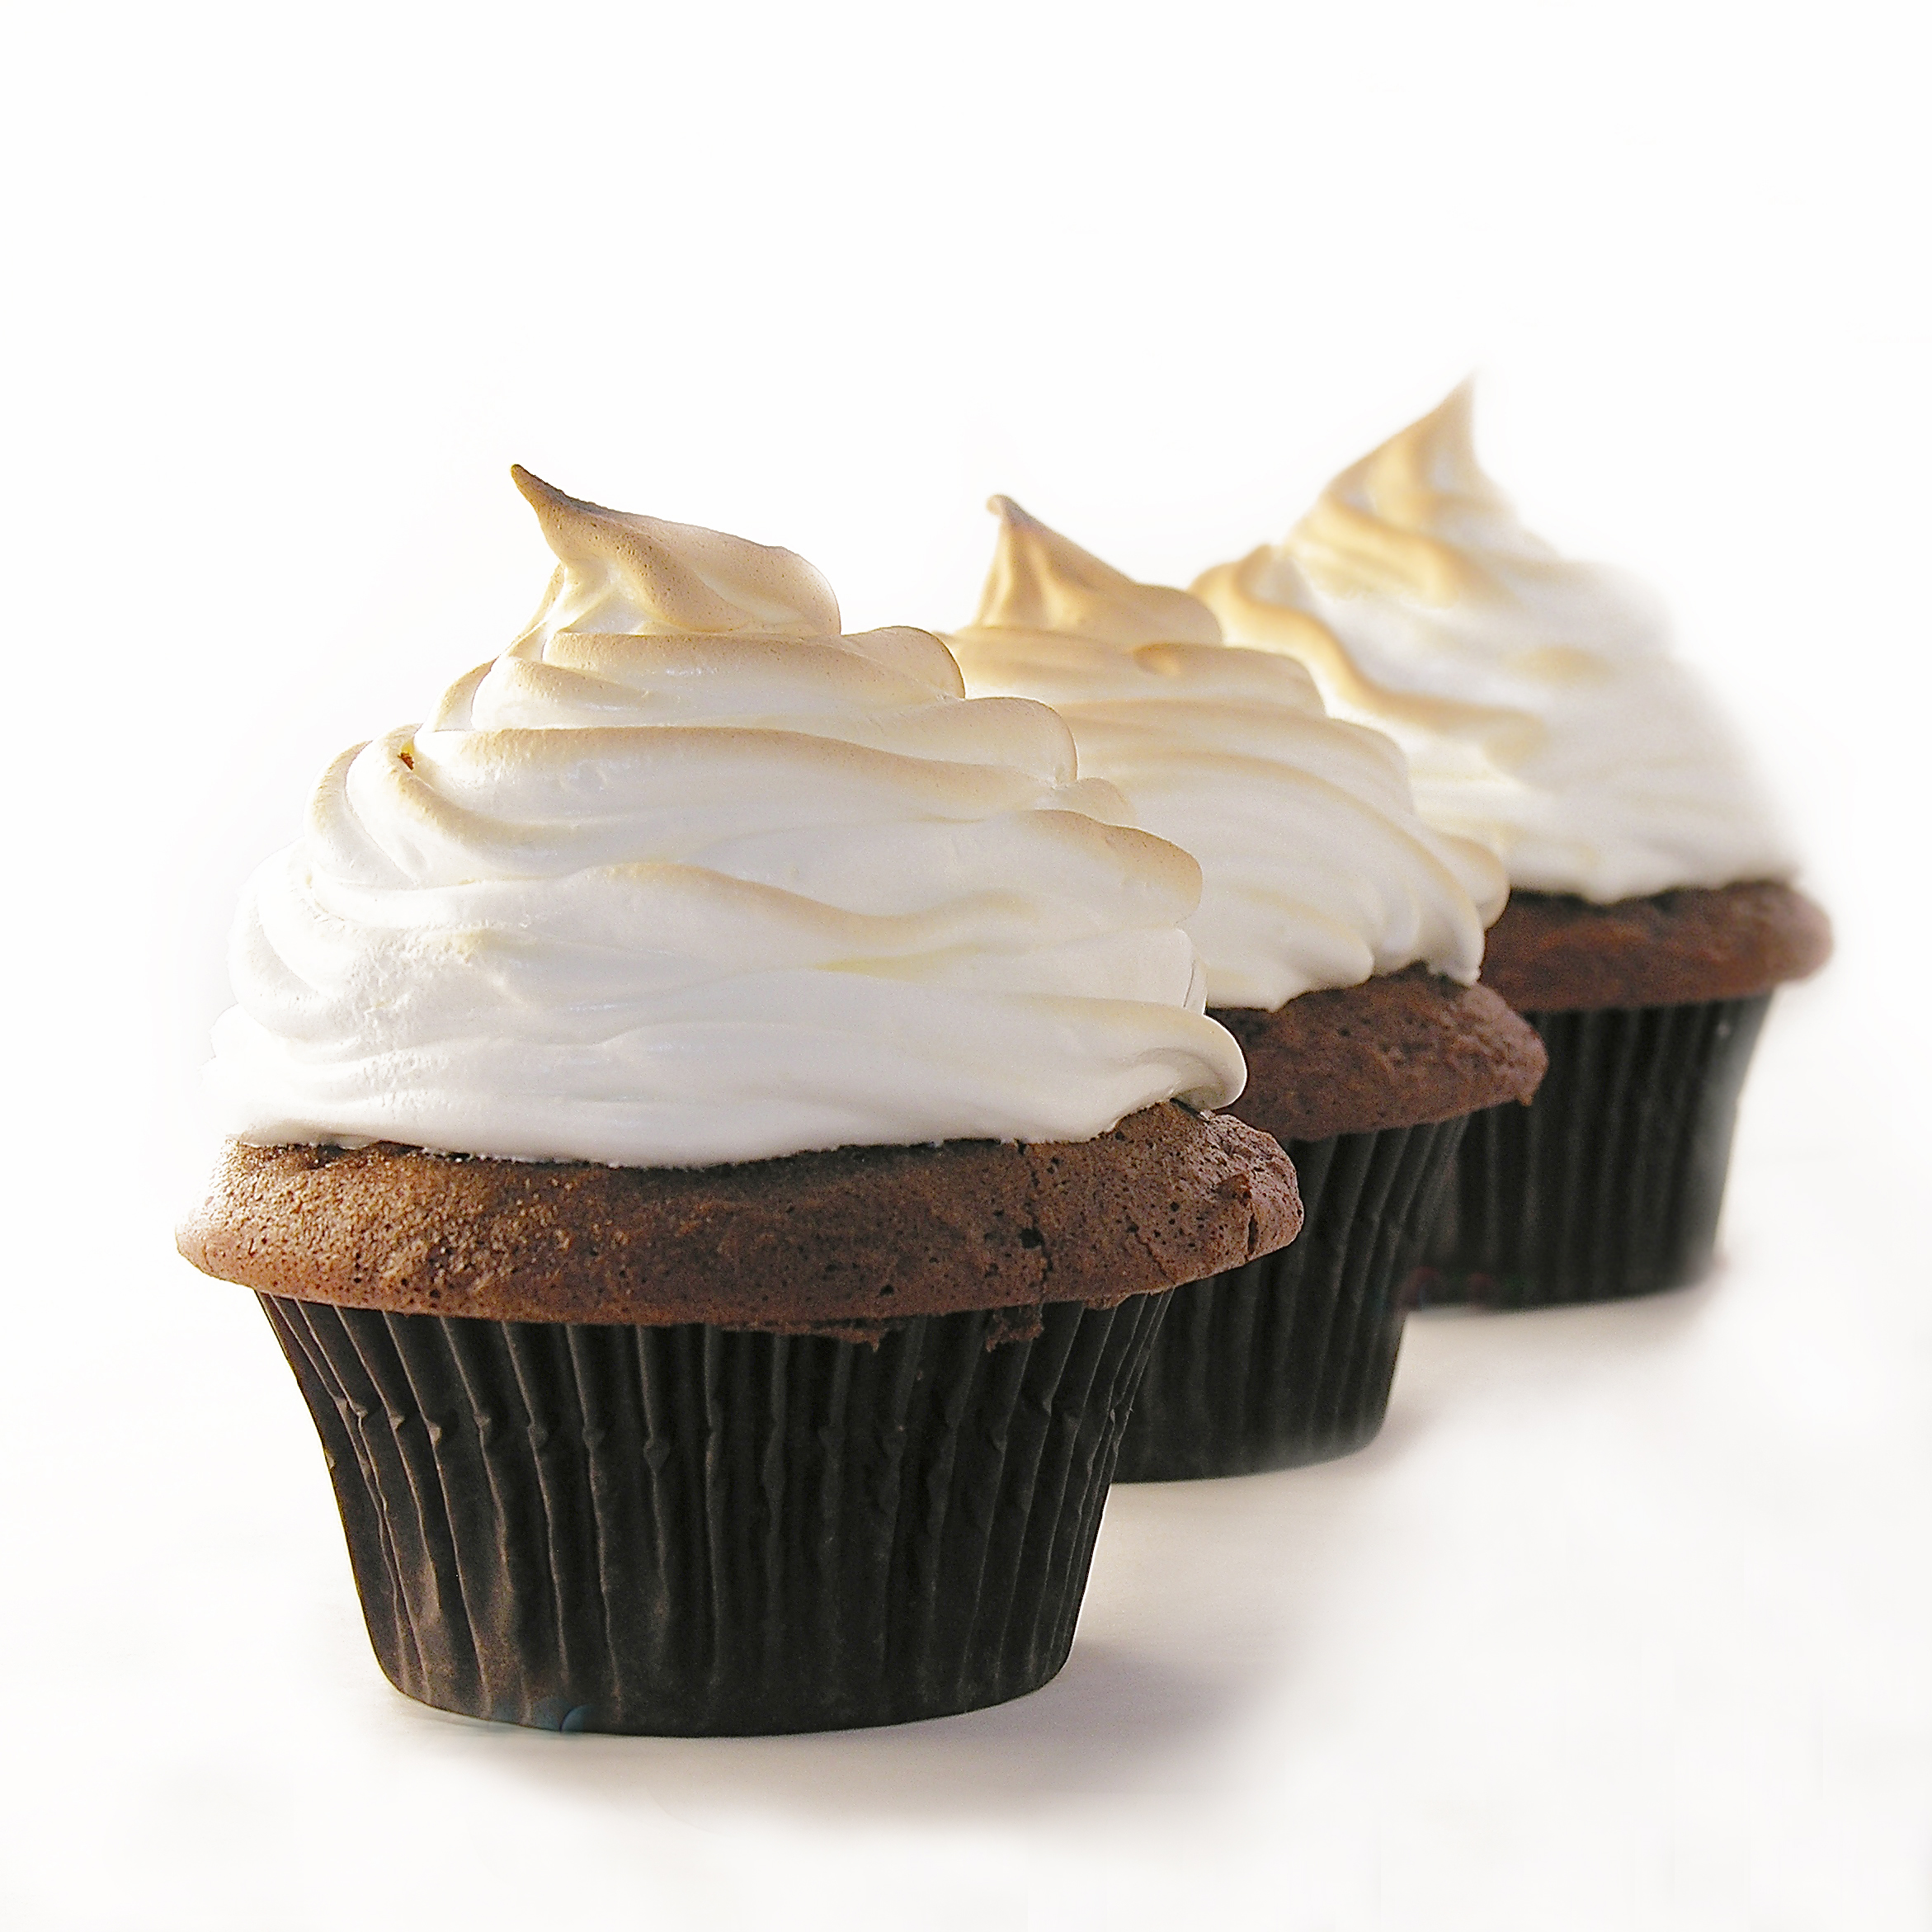
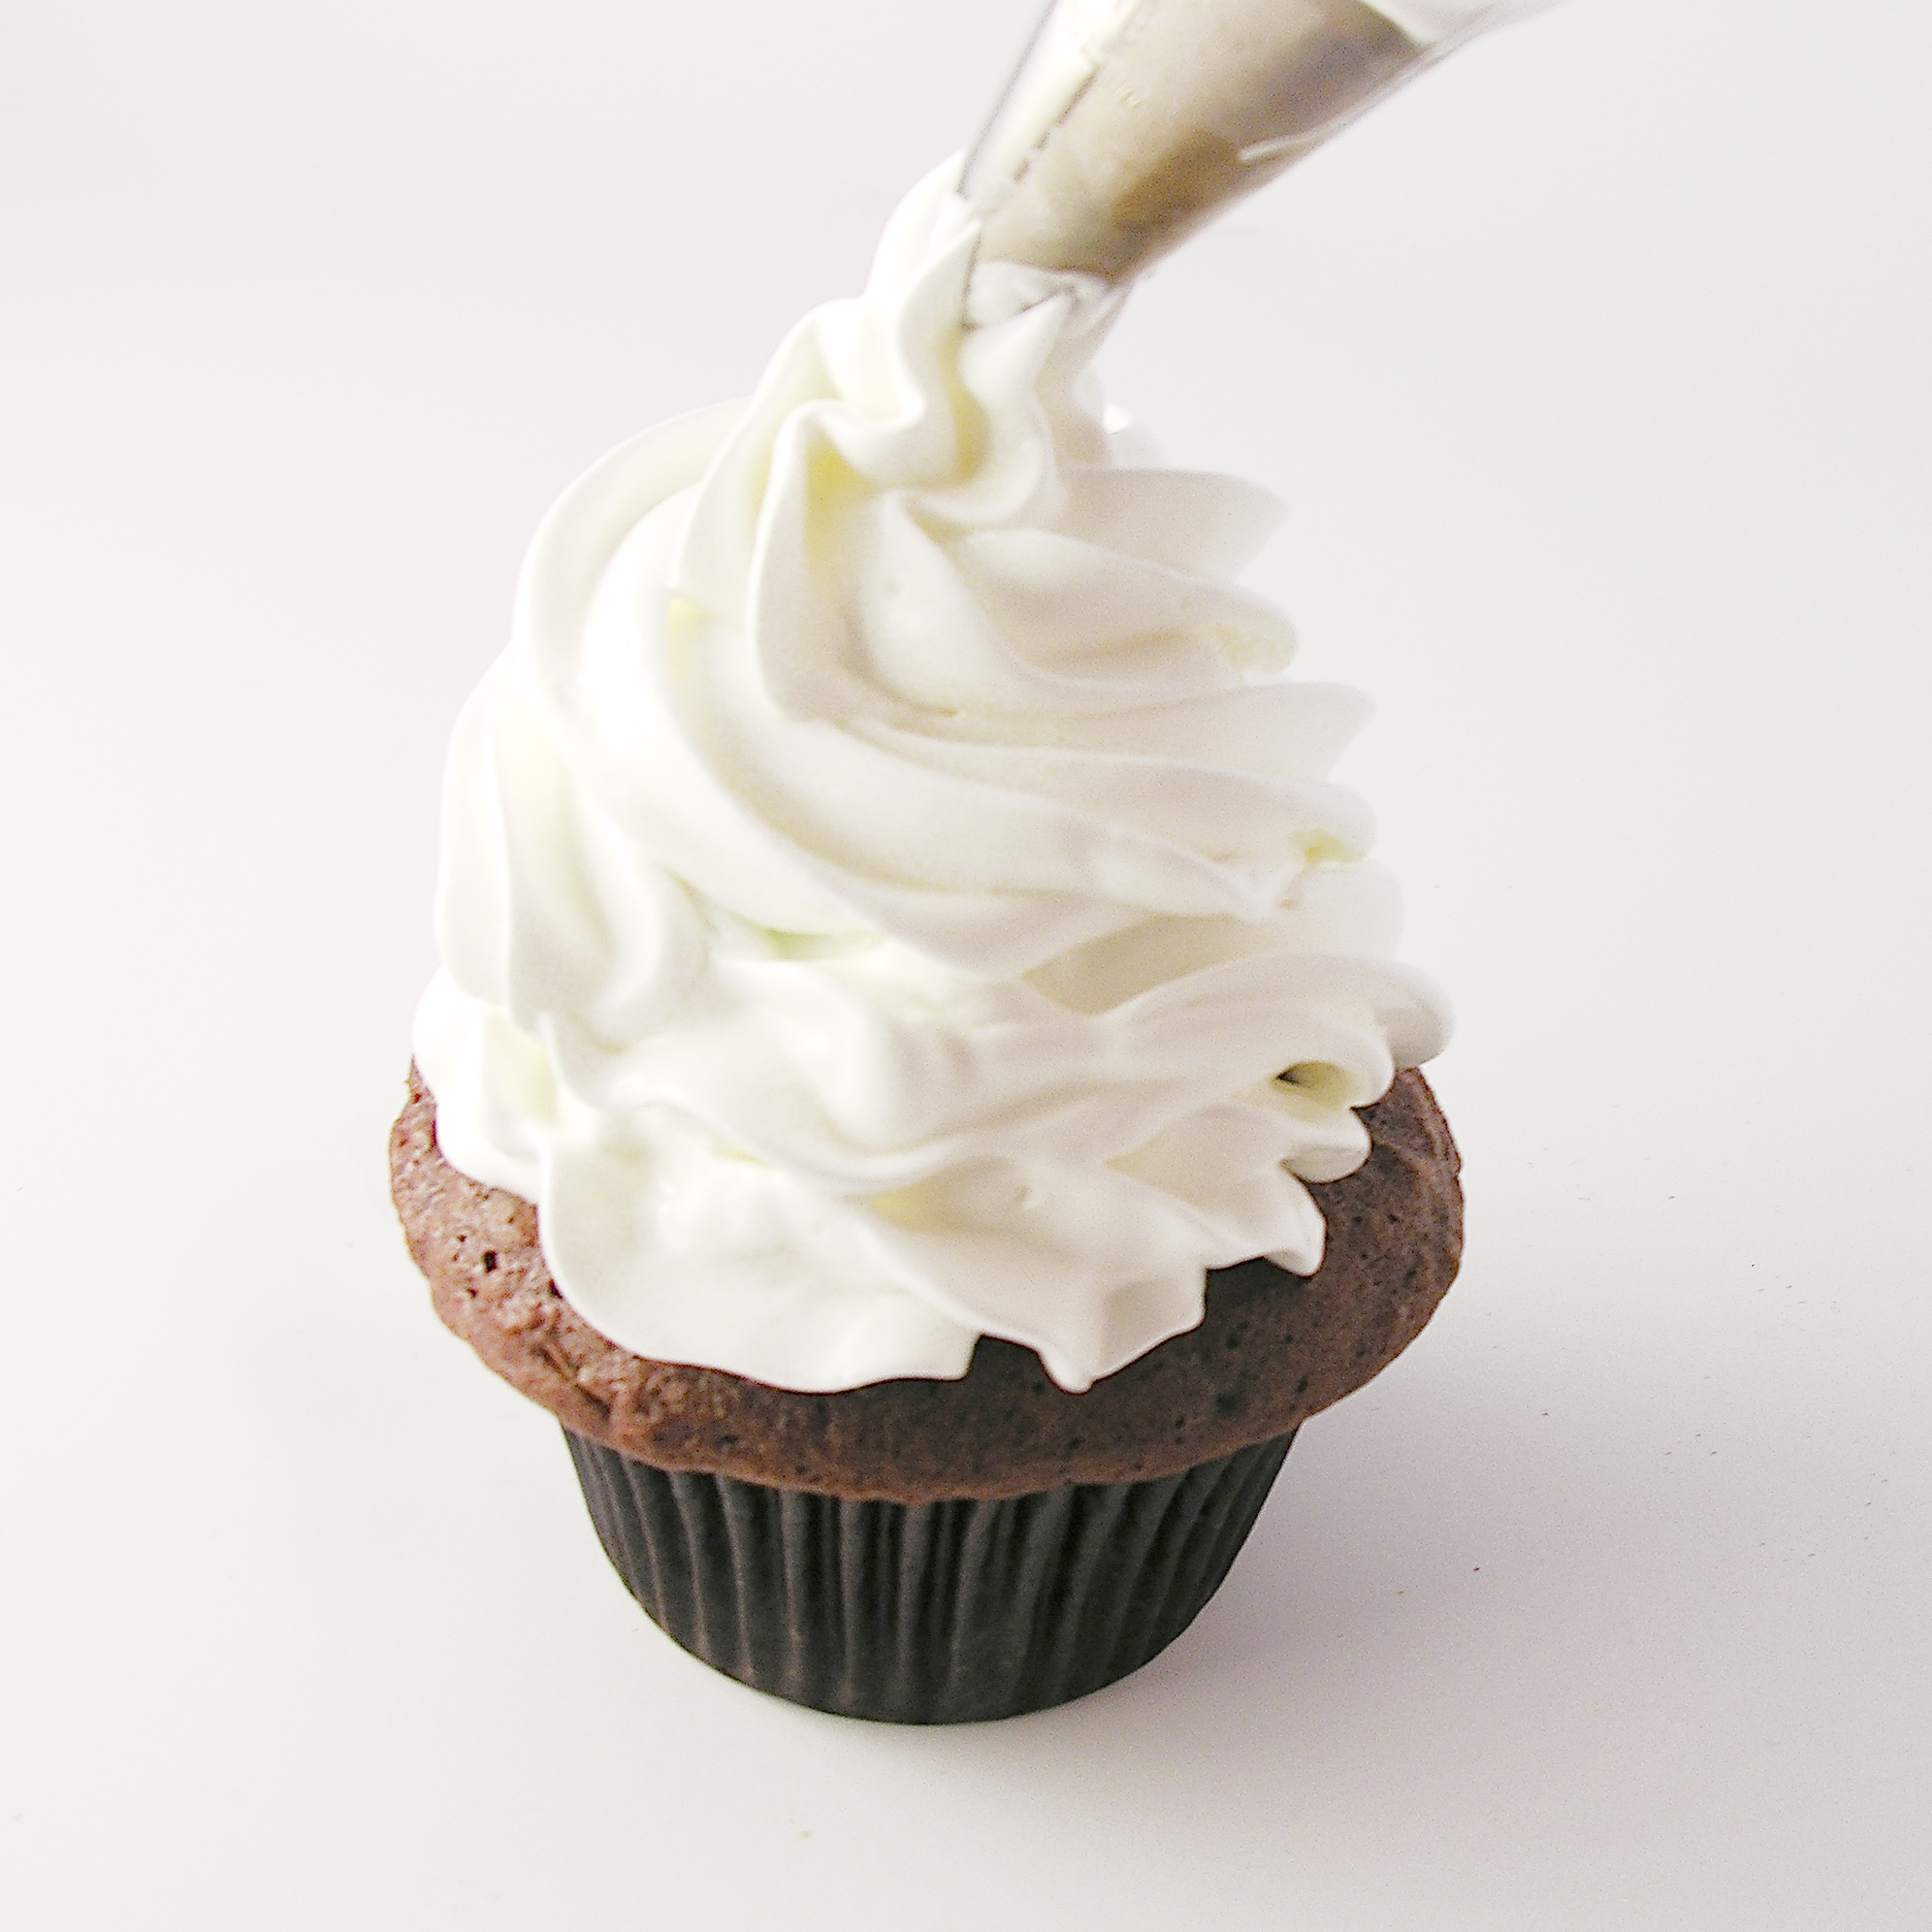
  • Place icing in a gallon size zip-top bag that has been fitted with a decorating tip in one corner, and pipe icing onto the cupcakes.
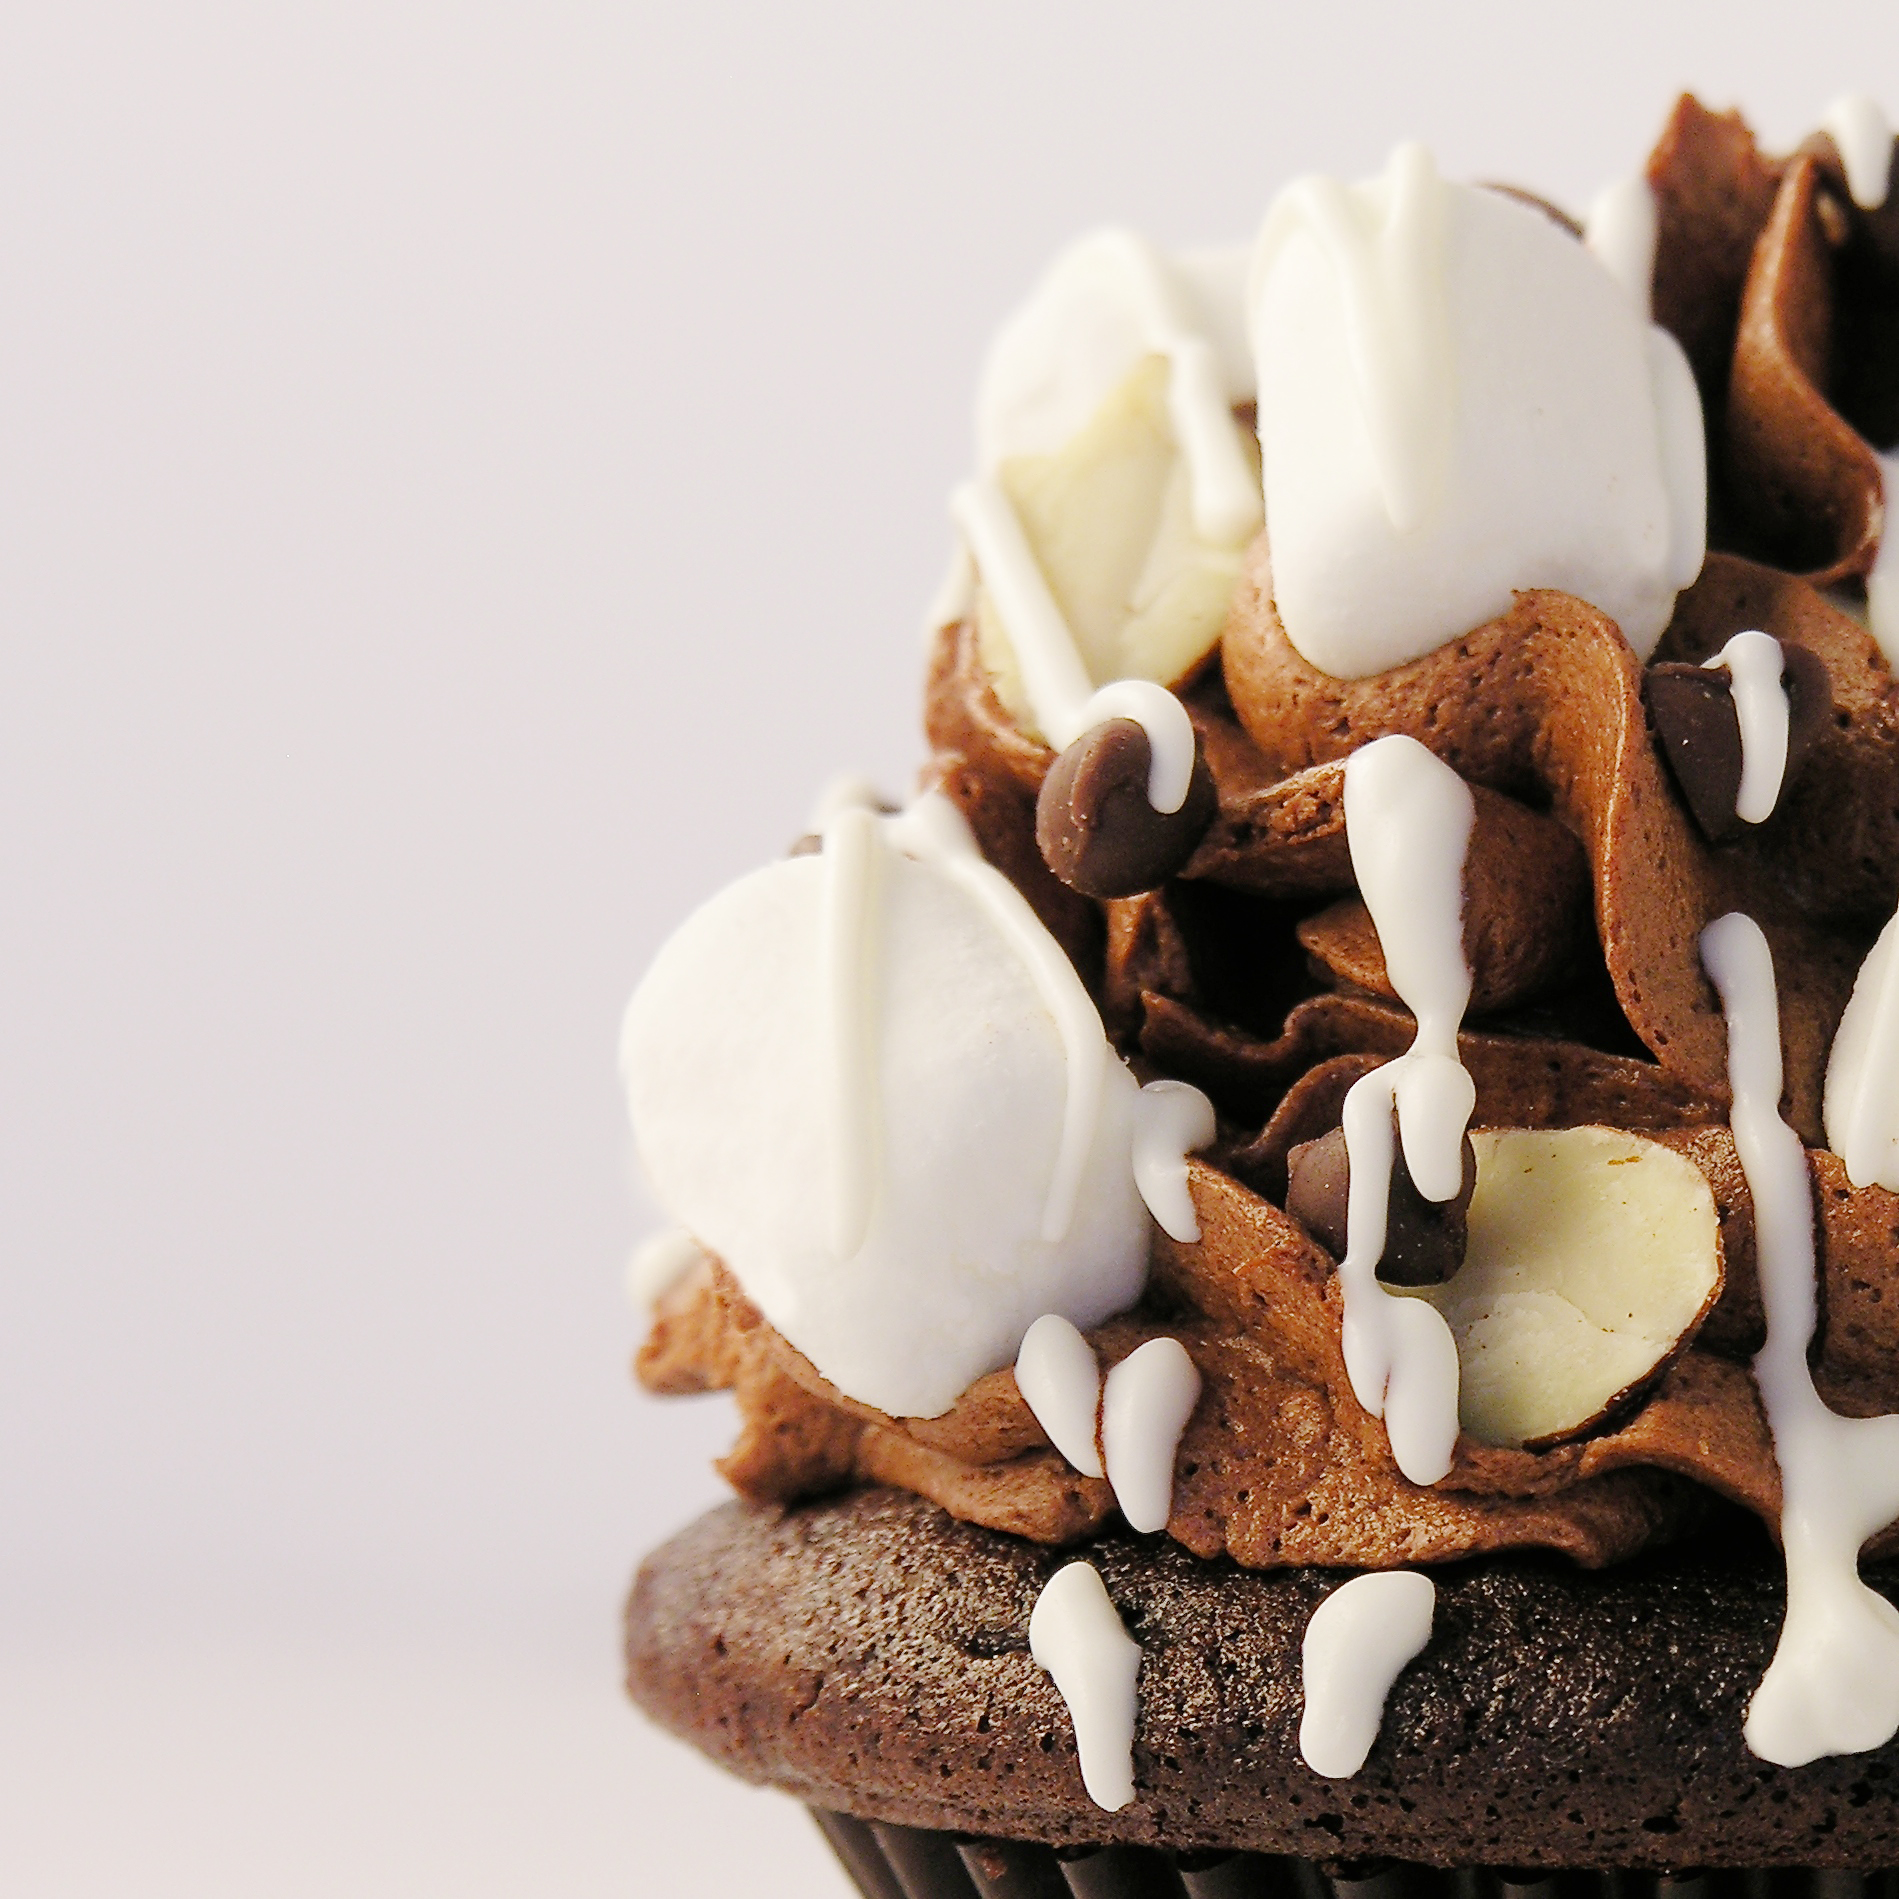
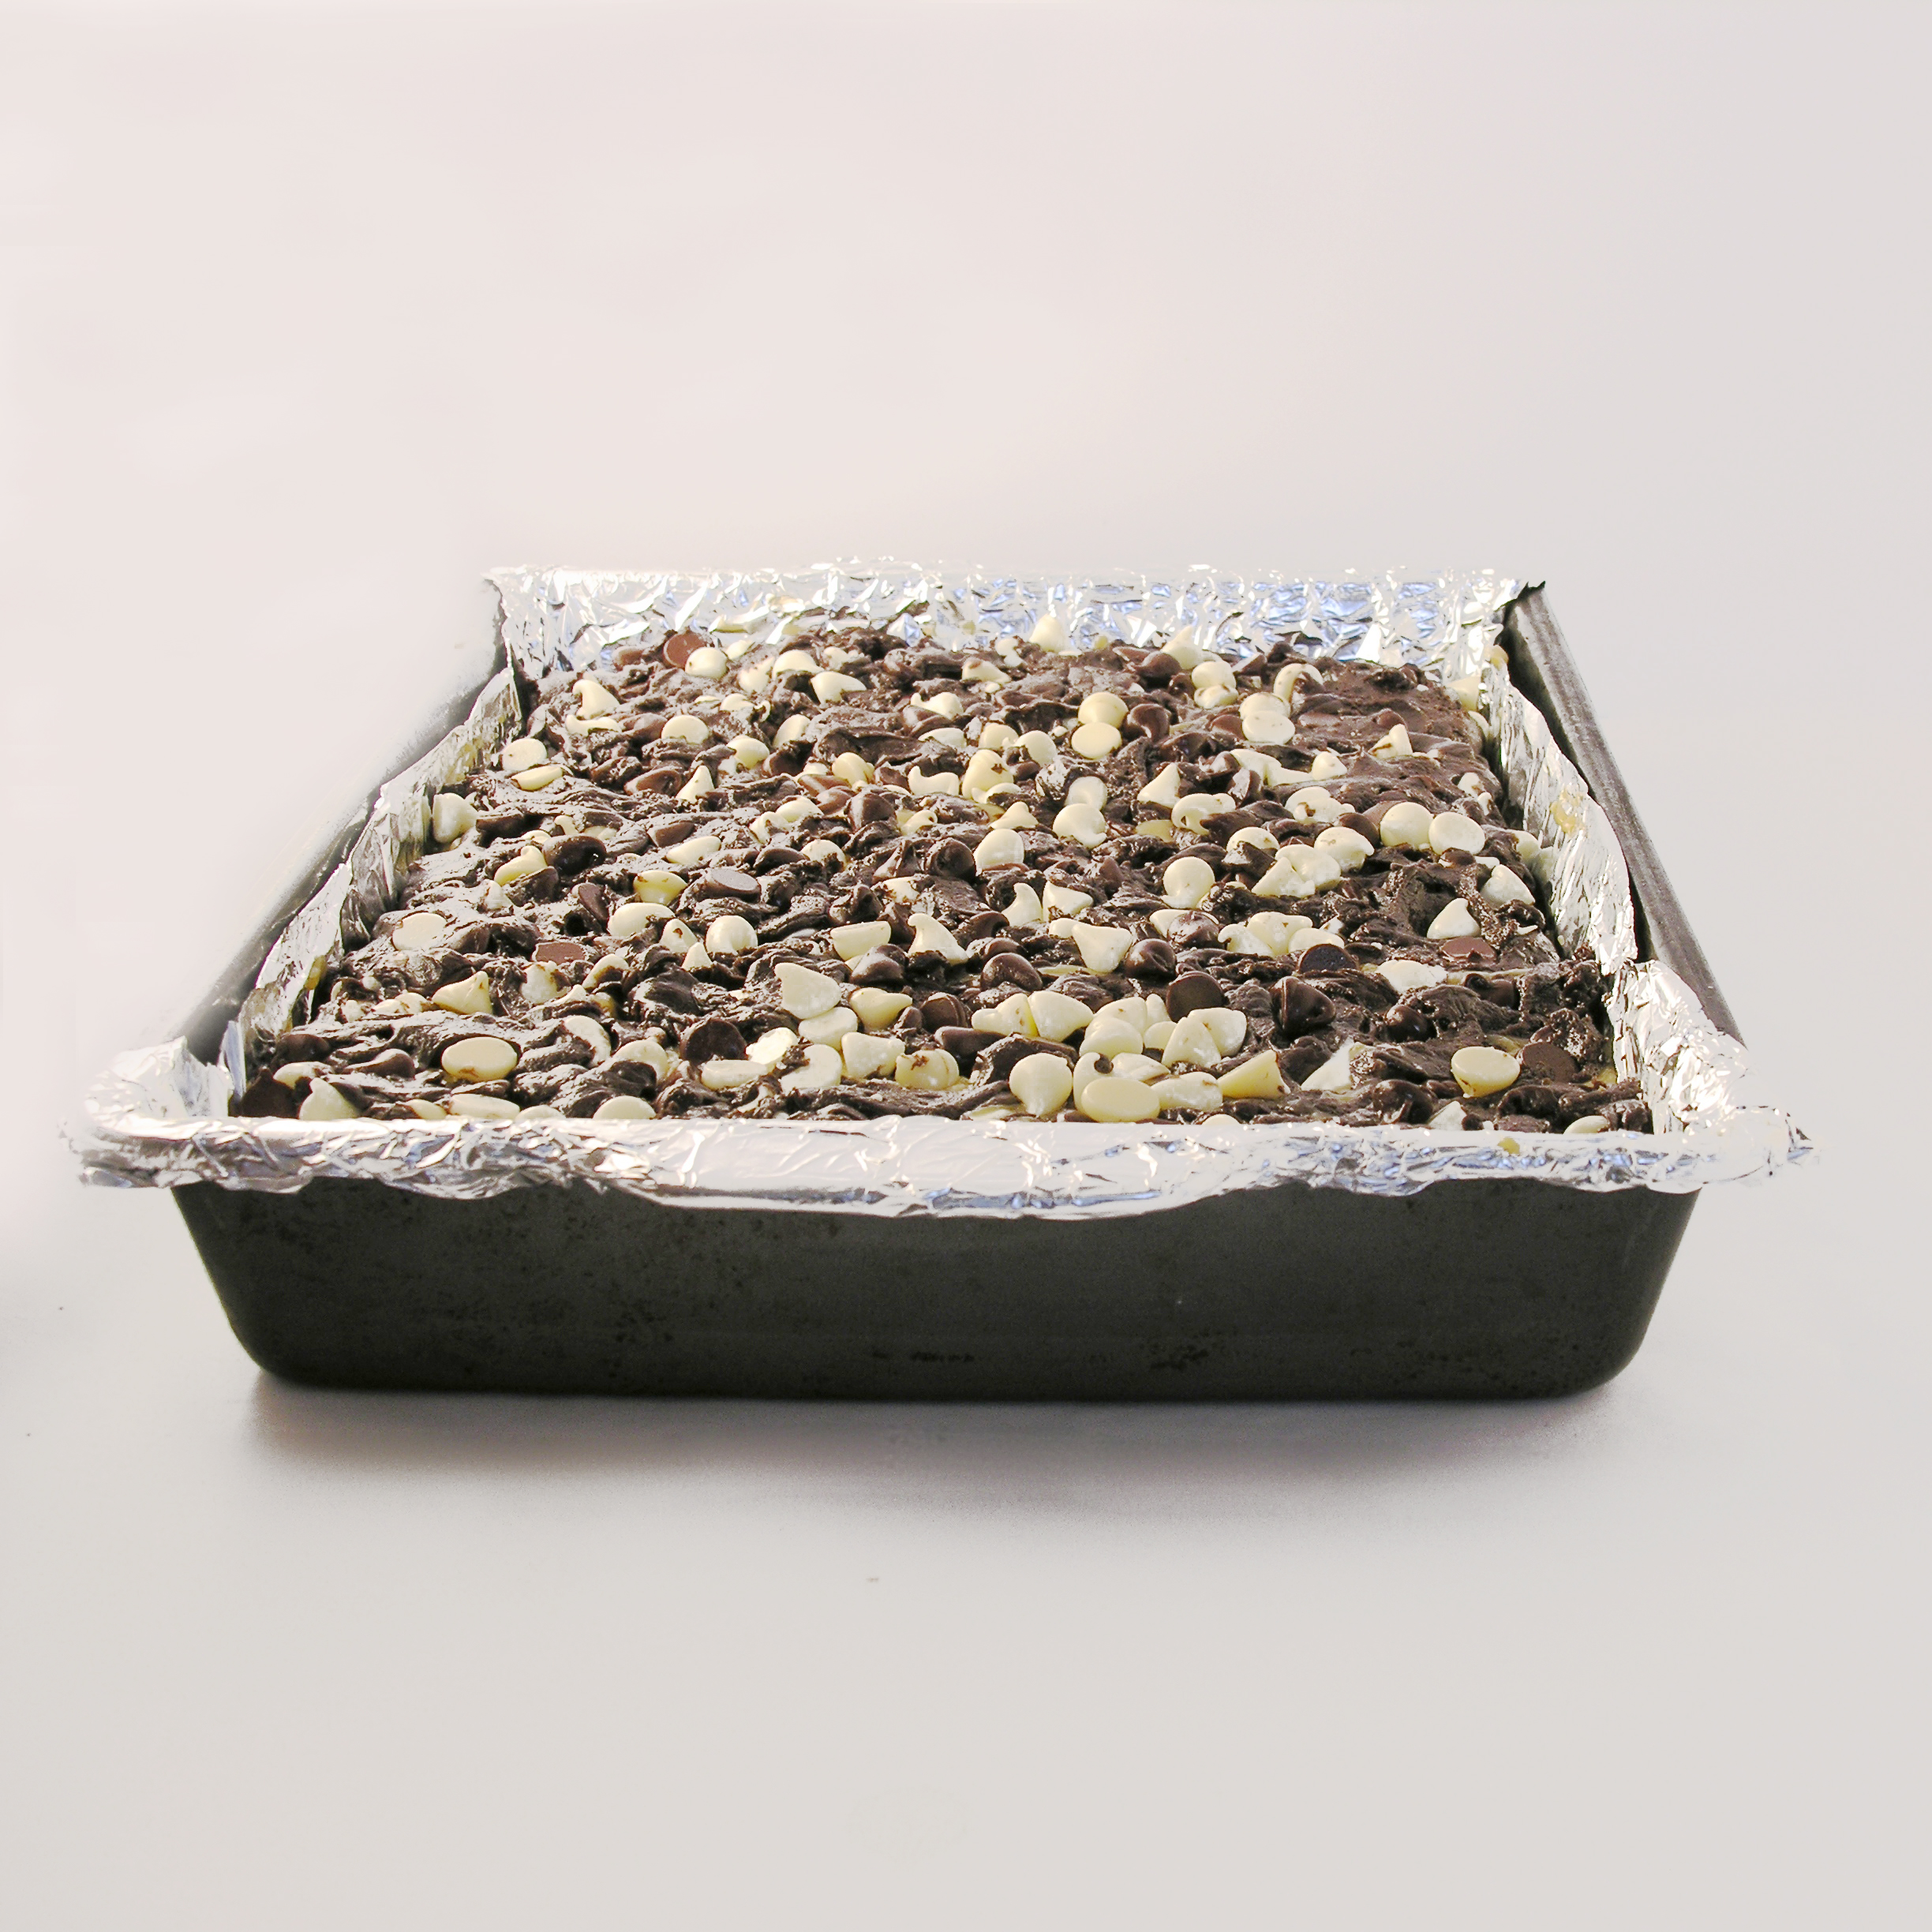
  • Decorate with almonds, and mini marshmallows.  I also added some mini chocolate chips (because I had some leftovers from another recipe) and I melted some white chocolate to drizzle on top.  Be creative and make these little marshmallow-y cupcakes irresistible!!!!


Rocky Road Cupcakes!!!!!


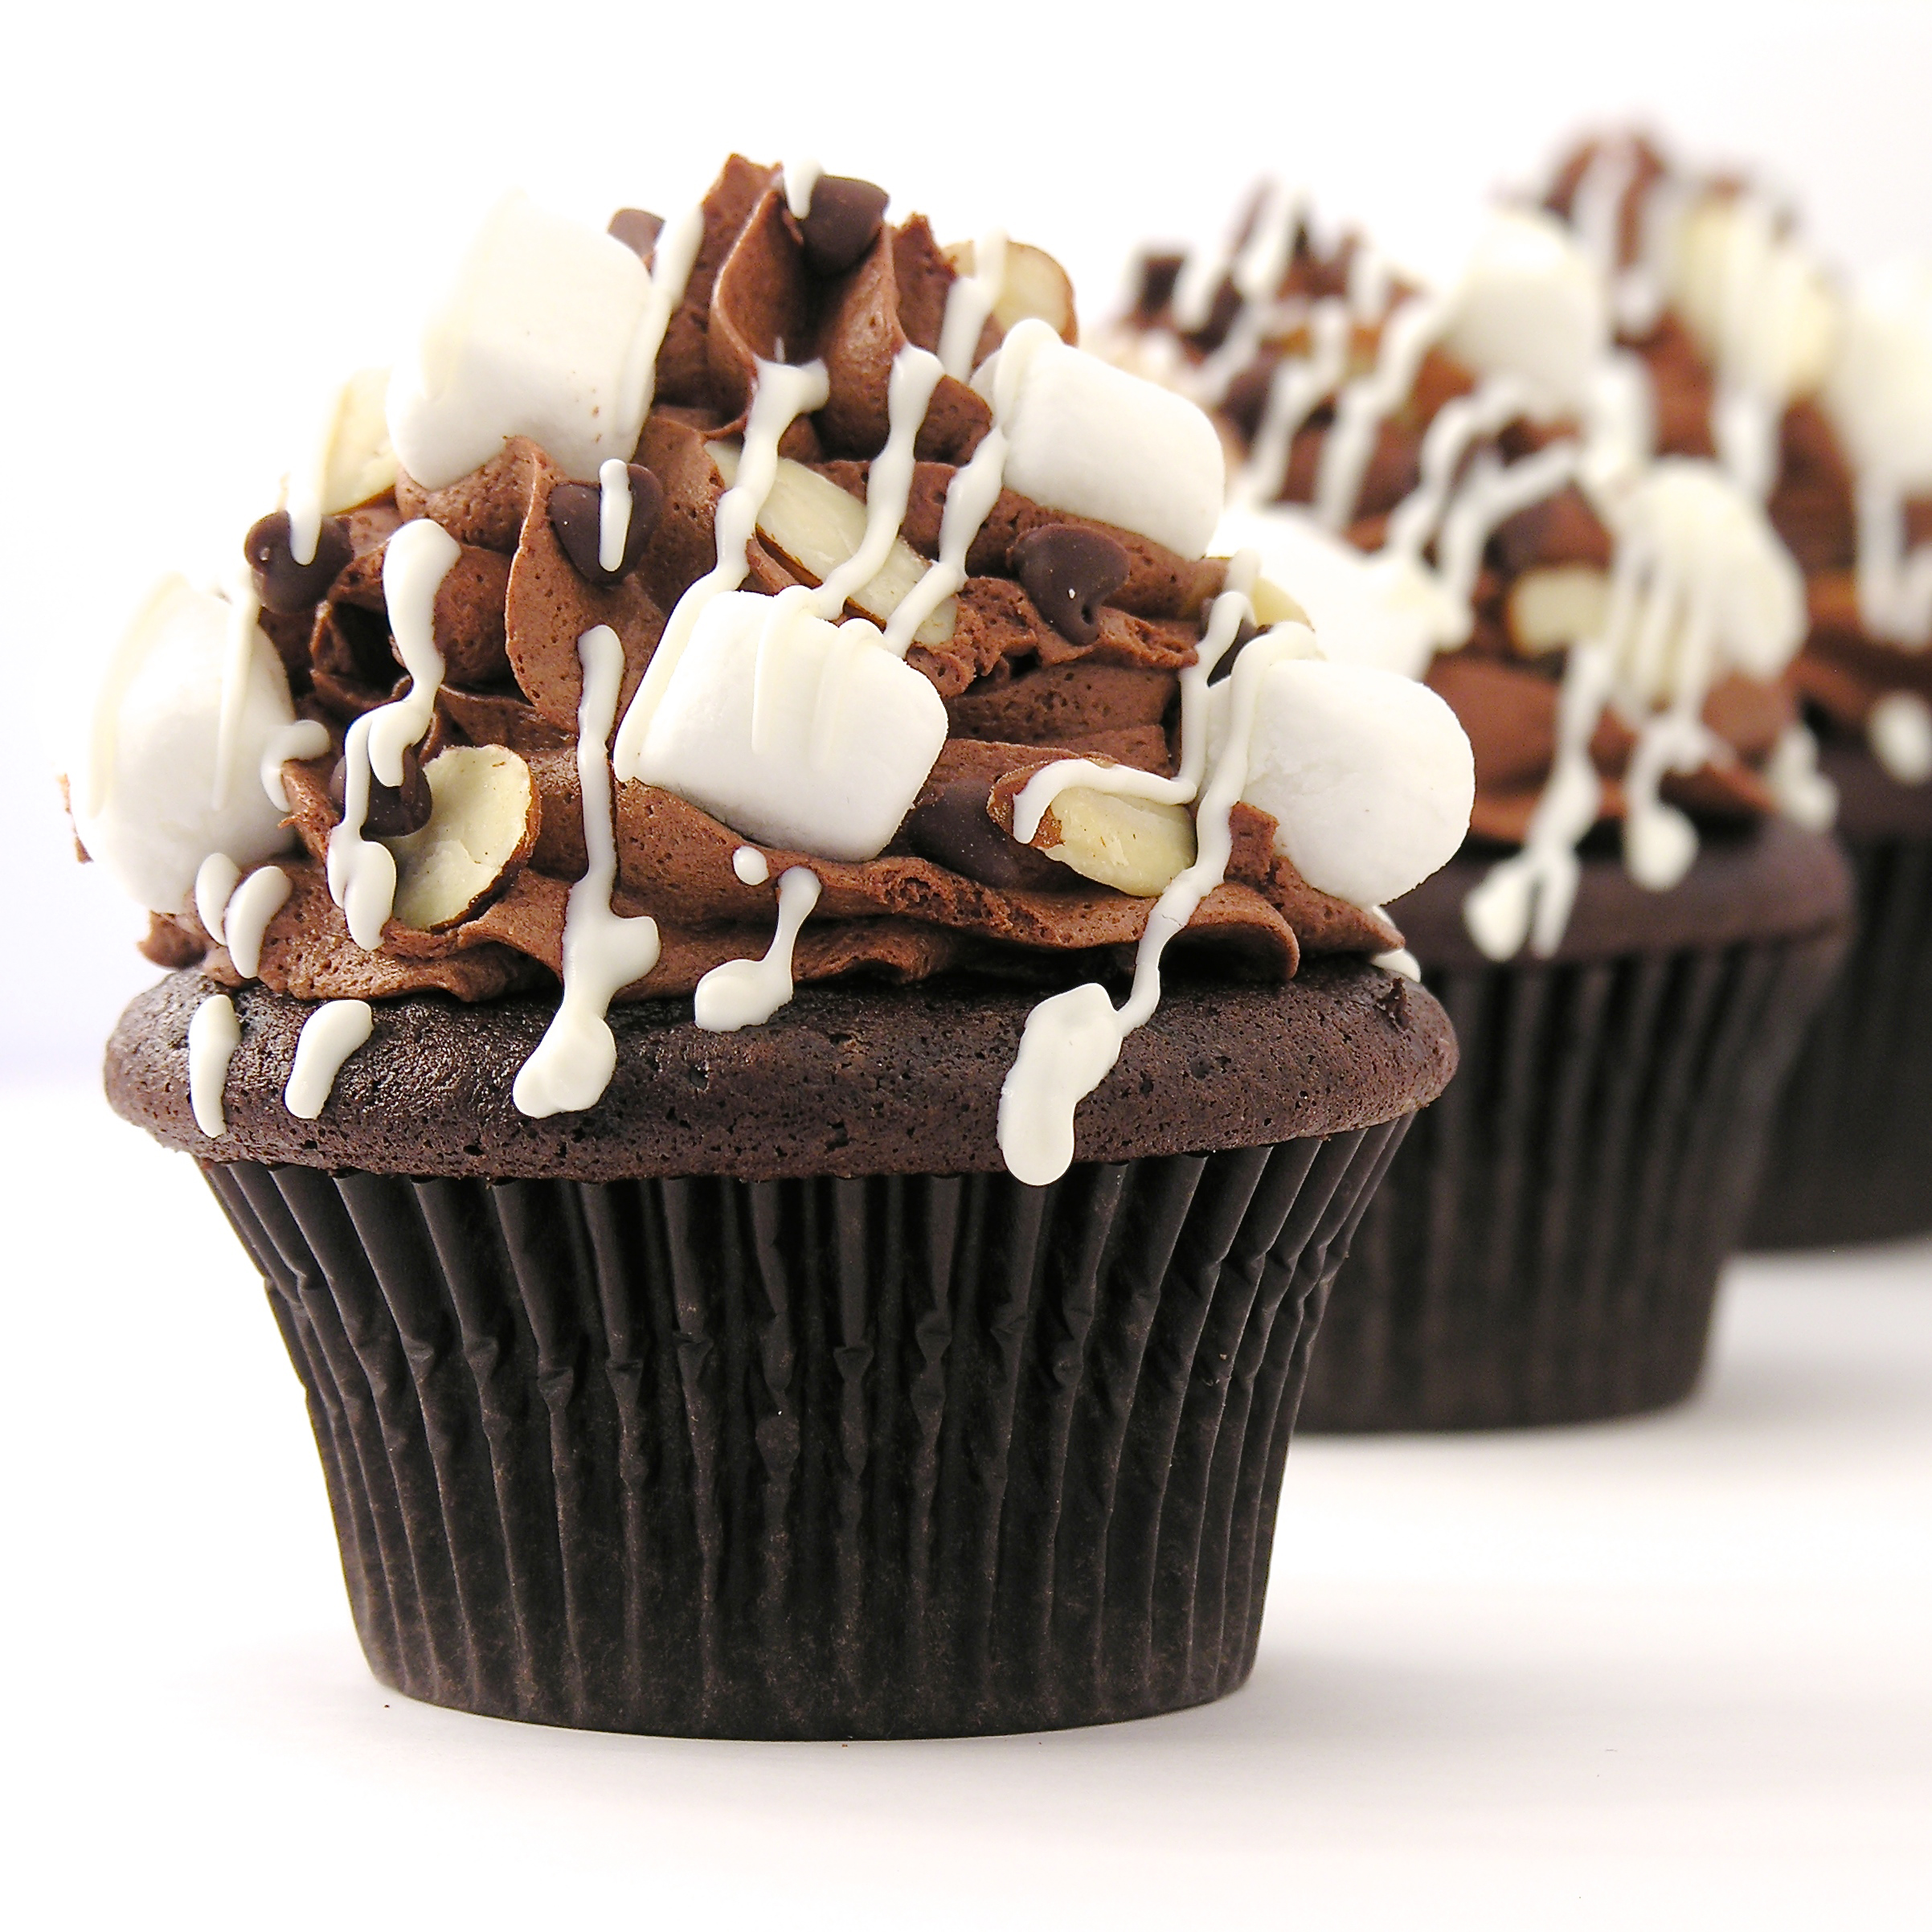
My thoughts:  These are FABULOUS cupcakes.  I love the gooey marshmallow creme surprise in the middle!  And that frosting….. oh my.  A few tips:  the frosting does harden up, so get those almonds and marshmallows placed in it as soon as you are done piping the frosting on.  This is good, because it holds all those yummy toppings in place!  Also, store these all sealed up.  You know what happens when you leave the bag of marshmallows open?  Yucky, rubbery, dried up marshmallows!  The same will happen if you just let these set out. 

I hope you love these little yummy desserts!!!!  ~r

Rocky Road Cupcakes with marshmallow filling!!!!
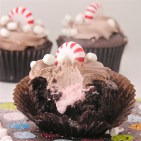
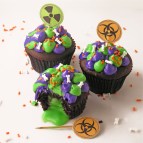
Want some other ideas for that new cupcake corer?  We love filled cupcakes here at Easybaked!  Here’s a few of our favorites:

Cinnamon Roll Filling in a yummy cupcake!Peppermint Hot Chocolate Cupcakes!!!Toxic Slime-filled Cupcakes!Mocha caramel filled cupcakes3

Baked Alaska Cupcakes

Posted on

Baked Alaska Cupcakes!!!!Rich chocolate cupcakes topped with a scoop of ice cream and a cloud of toasted marshmallow meringue. Best. Dessert. Ever!!!!!

Every year for Christmas our family goes out to an incredible restaurant near Marshall, MI called Win Schulers. They have the most amazing prime rib…oh my.  Anyway, within a week of Christmas it is my birthday, my mom’s birthday and my sister-in-law’s birthday.  Schuler’s gives you a Baked Alaska for your birthday….so it’s a feast of Baked Alaska and it is SO good.  About 2 weeks ago I was craving it and suddenly was struck by the idea of making it in cupcake form.  A.M.A.Z.I.N.G.  Just go and make these.  Use your favorite ice cream.  You will love them…!

Baked Alaska Cupcakes!

Here’s the recipe: (printable version)

INGREDIENTS:

  • One boxed chocolate cake mix (plus the oil, water and eggs to make according to package)
  • One quart of your favorite ice cream (I used mint chip)
  • 8 egg whites
  • 2 cups of granulated sugar
  • 1/4 teaspoon of cream of tartar

DIRECTIONS:

  • Make cake mix according to box directions and divide equally into 24 cupcake liners in cupcake tins.
  • Bake according to package.
  • Cool completely (I refrigerated mine to get them nice and cold before adding the ice cream)
  • While they are baking and cooling, make the marshmallow meringue (I got my recipe here)

(Don’t be afraid….I was afraid to try this, it sounded complicated, but it isn’t hard- it just takes time with a mixer in your hand if you are like me and not fortunate enough to have a stand mixer!  It is actually kind of fun!  Make sure your bowl and beaters are free of any oils.  I swiped mine with a little lemon juice 1st)

  • Place egg whites, sugar and cream of tartar in a medium heat-proof bowl that will set on the top of a sauce pan of boiling water without touching the water.  (I had to experiment a bit to find a good fit)
  • Bring water to a boil in the saucepan and set the bowl on top.
  • Whisk ingredients together for about 3-4 minutes.  Sugar will be dissolved and egg whites should be heated to 145F degrees.
  • Remove bowl from top of sauce pan and beat on low until the mixture thickens a little, then beat on high for about 10 minutes.  The meringue will become the most beautiful, white, glossy mixture.  It should form stiff peaks before you stop beating it.
  • Spoon all that wonderful marshmallow yumminess into a bag fitted with a decorating tip.
  • Assemble one cupcake at a time, and then pop it into the freezer immediately.
  • Take a cupcake, use a small cookie scoop or melon baller and place a scoop of ice cream in the center of the cupcake.  Pipe meringue all around it, being careful to seal up all the ice cream at the bottom and them working your way up to a swirled top!

Marshmallow Meringue!Marshmallow Meringue!Marshmallow Meringue!!

  • When all cupcakes are prepared and in the freezer, use a kitchen torch
    to toast the marshmallow just before serving.
  • These are best served within a couple of hours of making them.  

Since they are a fork-eating-cupcake anyway, I see no harm in adding hot fudge….

Baked Alaska Cupcakes!!My thoughts: I loved them.  They satisfied my craving for a baked Alaska plus they have the cute factor of a cupcake!  Fun, fun, FUN!!!!! Enjoy!!!  ~r

Baked Alaska Cupcakes!!!Other yummy cupcakes:

Peanut Butter Cupcakes!!Key Lime Cupcakes!Doughnut cupcakes!!Chocolate molten lava cupcakes

Easter Egg Cups!

Posted on

 Cadbury Egg Cookie Cups!!These rich chocolate cookie cups are dipped in chocolate and filled with a rich cream “egg”.  A perfect Easter treat!!!

Cadbury Egg Cookie Cups!!!!

Do you love Cadbury Eggs?  I’m addicted.  That’s why I decided that there simply must be a chocolate cookie cup filled with Cadbury-like cream.  I used my favorite recipe for chocolate cut-out cookies and they baked just beautifully into firm little cups.  I dipped the tops in melted chocolate and piped yummy cream filling inside.  Fun and delicious!

Cadbury Egg Cookie Cups!!!!

Here’s the recipe: (printable recipe)

INGREDIENTS:

Cookie Cup:

  • 2 sticks (1 cup) butter, softened
  • 1 1/2 cups sugar
  • 2 eggs
  • 1 teaspoon vanilla extract
  • 2/3 cup unsweetened cocoa powder
  • 3 cups flour
  • 1/2 teaspoon salt
  • 1/2 teaspoon baking powder
  • 1 bag of Wilton’s dark chocolate candy melts.

Filling:

  • 3/4 cup light Karo syrup
  • 12 tablespoons of butter (softened)
  • 2 tablespoons vanilla
  • 4 cups powdered sugar
  • 1 to 2 tablespoons of water (for consistency)

DIRECTIONS:

  • Preheat oven to 350F degrees.
  • Add butter, sugar, eggs, vanilla and cocoa together in  large mixing bowl.
  • Blend on medium speed with a mixer until smooth.
  • Gradually add dry ingredients and mix until smooth (use clean hands at the end, to knead into a soft ball of dough)
  • Divide dough into 24 balls of equal size, and place each one in a muffin cup.
  • Press an indentation into each ball using a tart shaping tool (or the end of a wooden spoon)
  • Bake at 350F degrees for 8-10 minutes.  Press Tart shaping tool into center again, to reshape cups.
  • Allow the cups to cool for about 5 minutes in pan, then run a small paring knife around edge to pop cup out of pan.
  • Cool completely on counter.
  • Melt Wilton’s candy melts in microwave in 30 second increments, stirring between until completely melted and smooth.  Dip tops of cups into melted chocolate and allow them to harden completely.

Making cookie cupsDipping tops of cookie cups in chocolate

  • Make filling by adding all of the filling ingredients together except for the water and sugar.
  • Beat these on high until smooth and creamy.
  • Add sugar and beat on high until creamy
  • Add water until it is a nice spreadable, but not runny, consistency.
  • Beat until very smooth.
  • Take about 1/4 out and color with yellow food color gel.
  • Pipe white filling into cups 1st and then add a fun yellow “yolk” on top.
  • Enjoy!!

Cadbury Egg Cookie Cups!!!!My thoughts:  These are so0000  yummy.  If you want to save time, skip the chocolate dip on the edges.  This cookie recipe is just so tasty- and so versatile.  I’ve used it for so many things now.  Your family will gobble these up (once you convince the kids they aren’t really eggs!)  I hope you enjoy them! ~r

Other fun spring recipe ideas:

Strawberry Cookies with Sweet Tart FrostingChocolate cut-out cookiesStrawberry Lemonade Birthday CakeBubble Gum Cupcakes!


Jelly Bean Cookies

Posted on

Jelly Bean Cookies!!!!These cookies deliver a big Easter surprise~ jelly beans in the middle!  Pretty on the outside and sweet surprises on the inside?  These are a must-try Easter treat!

These really are just the cutest thing…but fair warning: I brought these to church and overheard the following conversation between an 8 year old and a 6 year old:

“There’s jelly beans in the middle!”
“And the cookie tastes like Play-Doh!!”
“I want another one!”

So…maybe this is a bigger hit with the under 12 set…?

I thought they tasted ok.  The cookies are very dense and full of white chocolate, but colored like Play-Doh…I can see the connection.  I really don’t like jelly beans either…so I wasn’t a very objective taste-tester.  But they are super cute…

Jelly Bean5In any case, if you are up for an adventure and you have lots of kids to entertain with something new….here’s the recipe: (printable version)

INGREDIENTS: (makes about 36 cookies)

  • One bag of Nestle white chocolate morsels.
  • One can (14oz.) of sweetened condensed milk
  • 2 teaspoons of vanilla
  • 2 cups of flour
  • Food coloring gels
  • One bag of large jelly beans (I used Brach’s Classic Jelly Bird Eggs)
  • One bag of Wilton’s white chocolate candy melts
  • Sprinkles

DIRECTIONS:

  • Carefully melt Nestle morsels in the microwave in 30 second increments, stirring between until completely melted and smooth.
  • Add sweetened condensed milk and vanilla, mixing until well combined.
  • Add flour and mix, eventually using clean hands to knead dough into a ball.
  • Divide dough into parts and knead in food color gels until you get the colors you want.
  • *Note* This dough is very oily, because of all that white chocolate.  This is ok.  Just keep a paper towel handy to wipe your hands on during this process.
  • Preheat oven to 350F degrees.
  • Take about a tablespoon of dough and roll it into a ball.  Then press it flat, lay two jelly beans on it and pull dough up around the jelly beans to cover them.  Pinch cracks and seams closed and then roll into a ball again to make it smooth.

Making jelly bean cookiesMaking Jelly Bean cookiesMaking Jelly Bean CookiesMaking Jelly Bean Cookies

  • Place on a cookie sheet that has been covered in parchment paper.  These don’t spread, so you can place cookies very close together.
  • Bake at 350F degrees for 10-12 minutes.
  • Remove from oven and slide parchment paper (cookies and all!) off the sheet and onto a counter to cool.  There will be oil from the white chocolate on the paper- this is ok.
  • After cookies have cooled completely, melt white candy melts in the microwave in 30 second increments, stirring between until completely melted and smooth.
  • Lay a fresh sheet of parchment paper on the counter, and get a clean paper towel.
  • If needed, dab the bottom of each cookie on the paper towel to remove any excess oils. Then, dip the top of the cookie into the candy melts, set on the clean parchment paper and sprinkle with decorations before the chocolate hardens.
  • Enjoy!!!

Jelly Bean Cookies!!!!

My thoughts:  I’m not sure what to say about these…I asked for honest opinions from the adults that tried them and they all said they loved them.  Then I caught one person chucking his out the back door….so much for honesty…!  If you like jelly beans (and apparently Play-Doh…) you should give these a try.  They are a little time consuming, but not difficult at all.  Who knows?  It might be a new family Easter favorite?  Or maybe just a good laugh…?  Enjoy!!!! ~r

Jelly Bean Cookies!!!

Other Easter treats I would wholeheartedly recommend:

Coconut Cupcakes!!Easy Easter cut out cookiesChocolate Easter Eggs with Peanut Butter FillingRaspberry Lemonade Truffles

Caramel Oreo Brownie Bars

Posted on

Caramel Oreo Brownie BarRich and gooey, these brownies are filled with soft caramel and Oreo cookies.  Does dessert get any better than this?!?

Wow…this was an experiment, and I’m almost speechless about how good these are.  It is hard to describe the yumminess…You need to try these.  I need to make these again, because they are already gone.

Caramel Oreo Brownie Bars!I’ve shared this recipe before on Easybaked, a very long time ago.  It is a wonderful recipe I called caramel chip bars.  This was one of my very first recipes on this blog, and if you click on the link you can see the recipe AND my awful beginning photography!!!  Lol.

These are very versatile brownie bars.  I make them all the time with a variety of cake mix flavors and chips.  It is a perfect way to use up half-empty bags of chips.

Caramel Oreo Brownie Bars!!!This time….I added Oreos, and the result was too incredibly yummy to not share with you all.  So here you go: (printable recipe)

INGREDIENTS:

  • 1 box of chocolate cake mix
  • 1/3c. oil
  • 2 eggs
  • 1 bag of semi sweet chocolate chips
  • 1 bag of white chocolate chips
  • 1 box of Double Stuf Oreos
  • 1/2 cup of butter
  • 32 unwrapped Kraft caramels
  • 1 (14oz.) can of sweetened condensed milk

DIRECTIONS:

  • Preheat oven to 350 degrees.  
  • Line a 9×13″ cake pan with foil.  
  • Combine cake mix, oil and eggs.  
  • Blend well and stir in all of the chips (mixture will be very thick).  
  • Press a little less than half of the mixture into bottom of pan (it will press into a very thin layer and you might be able to see the bottom of the pan, but when it bakes it will fill in).  
  • Bake for 10 minutes.
  • While this is baking, in a medium saucepan, combine butter, caramels and condensed milk.  
  • Cook over low/medium heat until melted and smooth (stir constantly!)
  • When cake has baked for 10 minutes, remove from oven and place 24 Oreo cookies over the top of the partially baked cake.

Oreo Caramel BrowniesOreo Caramel Brownies

  • Spread caramel over Oreos.  
  • Top with remaining cake/chip mixture.
  • There is a technique to this- you cant just spoon the batter on top or it will just mix in with the melted caramel.  Instead, take a small ball of dough/chips and press it very flat between your hands. Lay this on top of the caramel and repeat the process, like a patchwork quilt, until the entire top is covered.  It is ok to have a few gaps.

Oreo Caramel BrowniesOreo Caramel Brownies

  • Bake an additional 25 to 30 minutes.  
  • Remove from oven and cool 20 minutes.  
  • Gently lift from pan and peel foil from edges.  
  • Cool completely before cutting. Makes about 24 bars.

Caramel Oreo Brownie Bars!!!

My thoughts:  You have to make these!!!!!!! YUM!!!!!

Caramel Oreo Brownie BarsLove caramel?  We do too!!!  Here’s a few more caramel- filled recipes from Easybaked:

Caramel Cheesecake!!Dulce de Leche caramel sauce form a canSalted Caramel Cookie Cups (2)Caramel Fudge Brownies!!

Shamrock Parfaits…the unplanned dessert.

Posted on

Shamrock Parfaits!!!!These lovely layered St. Patty’s Day treats were supposed to be a cake…but ended up even better!

I am in the middle of the Navajo Nation without a Bundt cake pan.  That is how this tale begins.  I am almost 3 hours from a store that sells Bundt pans.  In my mind, I wanted to make a lovely bundt cake full of swirls of various shades of green, topped with melted Key Lime frosting.  SO- I did what any enterprising blogging girl would do- I ordered a pan on ebay, with free shipping.  It took a week, but once I got it I was ready to go!  I divided my cake mix into 4 parts and colored each part an increasingly darker shade of green and swirled the colors together in the pan.  After it baked, I tipped it out on a cake rack and…..Bundt Cake disaster!

Sadness.

I let the disaster cool and re-thought my recipe.  I brought my favorite little Weck jars with me, and I had some heavy cream to whip… how about parfaits!!

Shamrock Parfaits!!!Here’s the recipe: (printable version)

INGREDIENTS: (makes 10-12 small parfaits)

  • One boxed white cake mix (Plus water, oil and eggs to make according to box)
  • Green food coloring gel
  • One tub of Pillsbury Key Lime Frosting
  • 2 cups heavy whipping cream
  • 3 Tablespoons of powdered sugar

DIRECTIONS:

  • Make cake according to boxed mix, adding green food color to make batter green (you can make several shades of green if you want, but you don’t have to).
  • Bake as directed in any cake pan you want (lol!)
  • Allow cake to cool completely.
  • Put heavy cream and powdered sugar in a large mixing bowl and beat on high until cream is whipped and light, holding stiff peaks.
  • Take the lid and foil wrap off the tub of frosting, and heat in the microwave for 20-30 seconds.  Stir until it is a nice smooth liquid.
  • Assemble your parfaits by spooning a bit of frosting into each glass, followed by a bit of crumbled cake, followed by a dollop of whipped cream.  Repeat these layers until you are at the top.
  • End with a swirl of whipped cream and some sprinkles.
  • Enjoy!

Shamrock Parfait!!!My thoughts:  These ended up being the yummiest dessert!  I had a family over to visit that night and they gobbled up every last bit of it and loved it.  That key lime frosting is the BOMB!  Yum!  Anyway, thanks for joining me on my latest Navajo kitchen adventure!  Happy St. Patricks Day!!  ~rShamrock Parfaits!!!!Usually I give you another four recipes related to this one.  But today I leave you with one. These are seriously some of the best cupcakes I’ve ever made, and they are perfect for St. Patrick’s Day….just click on the photo and you’ll be magically transported to the yummy recipe.  I present:  Bailey’s Irish Cream Cupcakes….Enjoy!!!! ~r

Baileys Irish Cream Cupcakes

Lime Soda Cupcakes!

Posted on

Lime Soda Cupcakes!!Sweet lime cupcakes topped with a swirl of marshmallow buttercream.
A perfect flavor combination!

A while back, I shared with you an impossibly difficult (but amazingly yummy!) candy recipe from my friend Gail.  It was a recipe for Opera Creams passed down to her from her grandmother.  We spent the entire day together, candy making. For lunch we ran up to a little soda fountain from the 50s that is still in business. (Arnolds Drive In, for you folks that live near Indiana)  They have burgers and fries— and yummy soda fountain drinks.  Gail recommended the “Ole Green River” and I got the most wonderful lime phosphate topped with marshmallow cream.  It was beautiful and as that marshmallow dissolved into the drink…?  Unbelievably good.  Here’s my Instagram record of it:

Ole' Green River at Arnold's Drive-InI’m not sure what brought it to mind the other day, but I decided to use those flavors to create a cupcake version of that yummy Ole Green River.  I think they turned out great.  Nice and green for St. Patricks Day!!!

Lime Soda Cupcakes!!

Here’s the recipe: (printable version)

INGREDIENTS (makes 24 cupcakes)

  • One boxed white cake mix, plus oil, water and eggs to make according to box.
  • One small packet of Lime Jell-O.
  • 4 sticks of salted butter (at room temperature)
  • 2 teaspoons of clear vanilla
  • 3 cups of powdered sugar
  • 2 jars (7 oz. each) of Jet-puffed marshmallow creme
  • White food coloring (optional- only if you want that bright white marshmallow color.)
  • Sprinkles and decorations as desired.

DIRECTIONS:

  • Make cake mix according to box, but add Jell-O along with other ingredients.
  • Divide batter evenly into 24 cupcake liners in muffin tins.
  • Bake according to box, a toothpick inserted into the center of one should come out clean.
  • Allow cupcakes to cool while you prepare frosting.
  • Combine (room temperature) butter, vanilla, and powdered sugar in a large mixing bowl and beat on low until combined.
  • Beat on high for several minutes until light and fluffy.
  • (optional) add white food coloring at this point, to whiten up all that butter- I did not have any, so you can see my icing is more of an ivory color.
  • Add marshmallow creme to frosting and beat until completely incorporated.
  • Spoon frosting into a large zip top bag that has been fitted with a decorating tip, and pipe frosting over cupcakes.
  • Decorate as desired (paper straws are fun!!!!!!)
  • Enjoy!

Lime Soda Cupcakes!!!!My thoughts: I really loved these flavors together.  Marshmallow and lime.  So yummy.  The cupcakes are very moist because of the Jell-O, so take care unwrapping them, they are a little more likely to fall apart than other cupcakes.  I experimented with the marshmallow butter cream, just adding the fluff to my usual buttercream recipe, and I thought it was fabulous.  The marshmallow flavor was not lost!  I hope you enjoy these little treats, and if you’re ever near a soda shop that has lime phosphates on the menu, ask for one with marshmallow cream on the top!  Enjoy!  ~r

Lime Soda Cupcakes!!Other fun St. Patrick’s Day treats you might want to try:

Grasshopper Mint CupcakesRainbow Cake RollMint Creme Brownie CupsBaileys Irish Cream Cupcakes

Rainbow Oreo Pops~ and a celebration of all things OREO!!!

Posted on

Rainbow Oreo Pops!!!!You’ll feel like you’ve struck gold when you bite into one of these fun rainbow Oreos.  A perfect way to celebrate St. Patrick’s day and SO easy to make!

Prepare yourself.

National Oreo Day is just two days away.  This year, the momentous occasion falls on Thursday, March 6th.  There isn’t a store-bought cookie that I like better than an Oreo. All the fun flavors (cookie dough, peanut butter, birthday cake, mint, marshmallow…) are great- but I like mine just plain double stuf (I just realized they left an “f” off of stuf last week!)  I’m not alone in my passion for this little cookie- over 362 billion cookies have been sold since it was first introduce in 1912!

This week I created these little rainbow Oreo pops in honor of the day (and to give you a head start on your St. Patrick’s Day ideas!)

Rainbow Oreo Pops!!!!They are incredibly easy to make.  Once your Oreo has been dipped, those rainbow stripes are just painted on with gel food coloring.

Painting Rainbows on Oreos!!!

Here’s the recipe: (for a printable recipe click here, for a picture tutorial click here)

INGREDIENTS:

  • One package of Double Stuf Oreos
  • 2 (12oz.) bags of Wilton White Candy Melts
  • 24 Lollipop sticks
  • Food color gels in purple, blue, green, yellow, orange and red -I used these

DIRECTIONS:

  • Carefully twist apart all of the Oreo cookies
  • Using one of the pop sticks, make an indentation in the white filling of each cookie.
  • Melt the Candy Melts in the microwave in 30 second increments, stirring until completely melted and smooth.
  • Dip the end of one stick into the melted white chocolate, drizzle a little in the center of the white cookie filling and then gently press it into the indentation made.
  • Place the top of the cookie back on and allow white chocolate to harden (10 minutes or so), cementing the cookie back together with a stick inside.
  • Holding the stick, lower the entire Oreo into the bowl of melted white chocolate, spooning it over the top and sides to cover it completely.
  • Allow the excess white chocolate to drain off and gently place covered Oreo on a piece of parchment paper to harden.
  • Allow white chocolate to harden and cool completely.
  • Using a small paint brush (you can get one specifically made for food that won’t shed bristles- like a Wilton 7-Piece Decorating Brush Set), start in the middle of the cookie using the yellow, and paint a stripe across. Paint a yellow stripe on all cookies.
  • Wash and dry your brush and paint the other colors, working from lightest colors to darkest.
  • Allow the “paint” to dry for several hours.
  • Eat and enjoy!!!

Aren’t they fun?????

Rainbow Oreo Pops!!!

My thoughts: You can see that I sprinkled a little bit of edible glitter on top when I was done.  You have to do this before the paint completely dries.  It makes them very fun and sparkly- more fun and sparkly than you can see in the pictures!  Just an option, if you want to add it.  You can also see that I didn’t agonize over painting perfect lines and not going over the edges.  I really liked the messy paintbrush look of these. Put on your artist hat and have some fun!!!

Rainbow Oreo Pops~ YUM!!!!!

Here’s a little collection of all things Oreo on Easybaked…as you can see, we love Oreos around here!  Just click on a photo to see the recipe!

Oreo Pops…so many possibilities!

Original Oreo pops!!!!!Patriotic Oreo Pops- yum!!!

Mummy Oreo Pops!Snowman Oreo PopsLadybug Oreo Pops!Reindeer Oreo Pops!!!

Nothing makes a crust like a crushed up Oreo cookie!!!

Creamy Coconut CheesecakeFrosty Almond Joy Cups!

Frosty Candy Corn Dessert!Ice Cream Cake

And my favorite Oreo dessert?

Brownie Oreo Cookie Cup2

These yummy Brownie Oreo Cookie Cups!!!!!!

Happy Oreo day to you!!!  I hope you have time to stop and enjoy some this week!!!! ~r

Chocolate Raspberry Cheesecake

Chocolate Raspberry Cheesecake!!Creamy chocolate cheesecake topped with a layer of raspberry and sour cream. Unbelievably yummy!!!

If you follow my blog on a regular basis, you will remember this cheesecake from last fall.  It is my Aunt’s recipe and it is literally the best cheesecake I’ve ever eaten.  It is so creamy and smooth…oh my.

I decided to add a few twists to the recipe by making it chocolate and adding raspberries to the topping.  It worked beautifully and added so much flavor!  It is really quite easy to make.  I hope you enjoy it as much as I did!!!!

Here’s the recipe (printable version):

INGREDIENTS:

Crust:
  • 1 1/4 cups Honeymaid graham cracker crumbs
  • 5 tablespoons butter, melted
  • 3 tablespoons sugar 
Filling: 
  • 3/4 cup sugar
  • 3 (8 oz.) Philadelphia cream cheese bars (must be the Philadelphia brand)~ softened to room temperature.
  • 2 eggs
  • 1 teaspoon vanilla
  • 1 teaspoon lemon juice
  • pinch of salt
  • 1 cup of semi-sweet chocolate chips
Topping: 
  • 1 pint (2 cups) sour cream
  • 1/2 cup sugar
  • 1 tsp. vanilla
  • pinch of salt
  • 1/3 cup of canned raspberry pie filling

DIRECTIONS:

  • Preheat oven to 350F degrees.
  • In a medium bowl, combine crust ingredients together until well combined.
  • Press into a 9″ spring form pan, pressing crumbs into bottom and about 1 1/2″ up sides of pan.    
  • For the filling, combine the sugar and softened cream cheese in a large mixing bowl and beat together until smooth.
  • Add the eggs, one at a time, beating between each addition.
  • Add the vanilla, lemon juice and salt and beat until smooth and creamy.
  • Melt the one cup of chocolate until smooth, and add to cheesecake mixture, beating until completely incorporated.
  • Pour into crust.
  • Bake at 350F degrees for 35-45 minutes.
  • While cheesecake is baking, make topping by simply mixing together all of the topping ingredients.
  • After 35-45 minutes of baking, remove cheesecake from oven and turn oven down to 325F degrees.
  • Pour topping over hot cheesecake, gently spreading to edges.
  • Return cheesecake to oven and bake for an additional 12-15 minutes.
  • Remove cheesecake from oven and leave sides on pan while allowing cheesecake to cool to room temperature.  
  • Refrigerate several hours (or overnight)
  • Run a small knife around the edges of the pan and remove them before serving.
  • Serve with extra raspberry pie filling– YUM!
  • Enjoy!!!!


Chocolate Raspberry Cheesecake!!
My thoughts:  You can see in my pictures that I added a cup of raspberry pie filling over the crust before I poured the cheesecake batter in.  It was really yummy, but made it hard to remove the bottom of the springform pan (which I always do before pictures).  If you don’t mind leaving the bottom on, this is a yummy addition to the recipe!  Just gently spread it out over your graham crust and pour the cheesecake over the top.
Chocolate Raspberry Cheesecake!!

We love raspberries here at Easybaked!  Check out our other yummy raspberry recipes!

Raspberry Lemon Cream Cups!!!Raspberry Confetti KissesRaspberry Truffle TartRaspberry Lemon drop Cakes!!!

Coconut Brownie Cups

Coconut Brownie CupsThese moist little brownie cups have a layer of creamy coconut and a yummy fudge topping.  Beautiful and easy to make, these are sure to impress!

I’m addicted to coconut.  I really do love it in everything.  Have you seen the coconut Oreos? The coconut M&Ms?  The coconut Hershey kisses?  Yeah….there’s no better flavor in my book!  That said, if you hate coconut (as many of my friends do), these little brownie cups can be made with other flavorings.  I’ve made them with mint, maple and raspberry flavorings and all of them are delicious!  You can add a little food coloring to make them pretty too.  This is a really fun, easy and versatile recipe- and I think you are going to love it!!Coconut Brownie Cups!!!

Here’s the recipe, it makes 24 cups: (printable version)

Brownie:

  • 1cup butter
  • 2 cup sugar
  • 3 eggs
  • 2 teaspoons vanilla
  • 2 cups flour
  • 1/2 cup cocoa
  • 1/2 teaspoon salt
  • 1 cup milk

Coconut filling:

  • 5 cups powdered sugar
  • 8 tablespoons melted butter
  • 2 teaspoons coconut extract
  • 1/2 cup shredded coconut

Chocolate Topping:

  • 12oz. semi-sweet chocolate chips
  • 12 tablespoons butter (do not substitute margarine here!)

DIRECTIONS:

Brownie:

  • Preheat oven to 350.
  • Cream butter and sugar together. 
  • Beat in eggs, cocoa, vanilla and salt.
  • Add flour and milk (alternating them and mixing well in between)
  • Spoon evenly into 24 cupcake liners in a cupcake tin.
  • Bake at 350 degrees for 10-12 minutes (don’t over bake- they will start to pull away from the liner)
  • Cool.  

Coconut Filling:

  • Add melted butter to sugar and extract.
  • Mix well, using water to bring it to a thick but spreadable consistency.
  • Add coconut and blend well.
  • Scoop filling into a large zip top bag fitting with a large round tip and pipe filling over the top of each brownie.
Coconut Cup Filling
Chocolate Topping:
  • Melt butter and chocolate together in the microwave in 30 second increments, stirring in between until completely melted and smooth.
  • Pipe over coconut filling and spread evenly over top
  • Chill until top layer is hard and use any extra topping to pipe fine lines on the top if desired~ be creative!!
  • Enjoy!!

Coconut Brownie Cup!
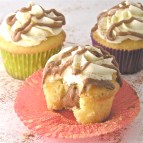
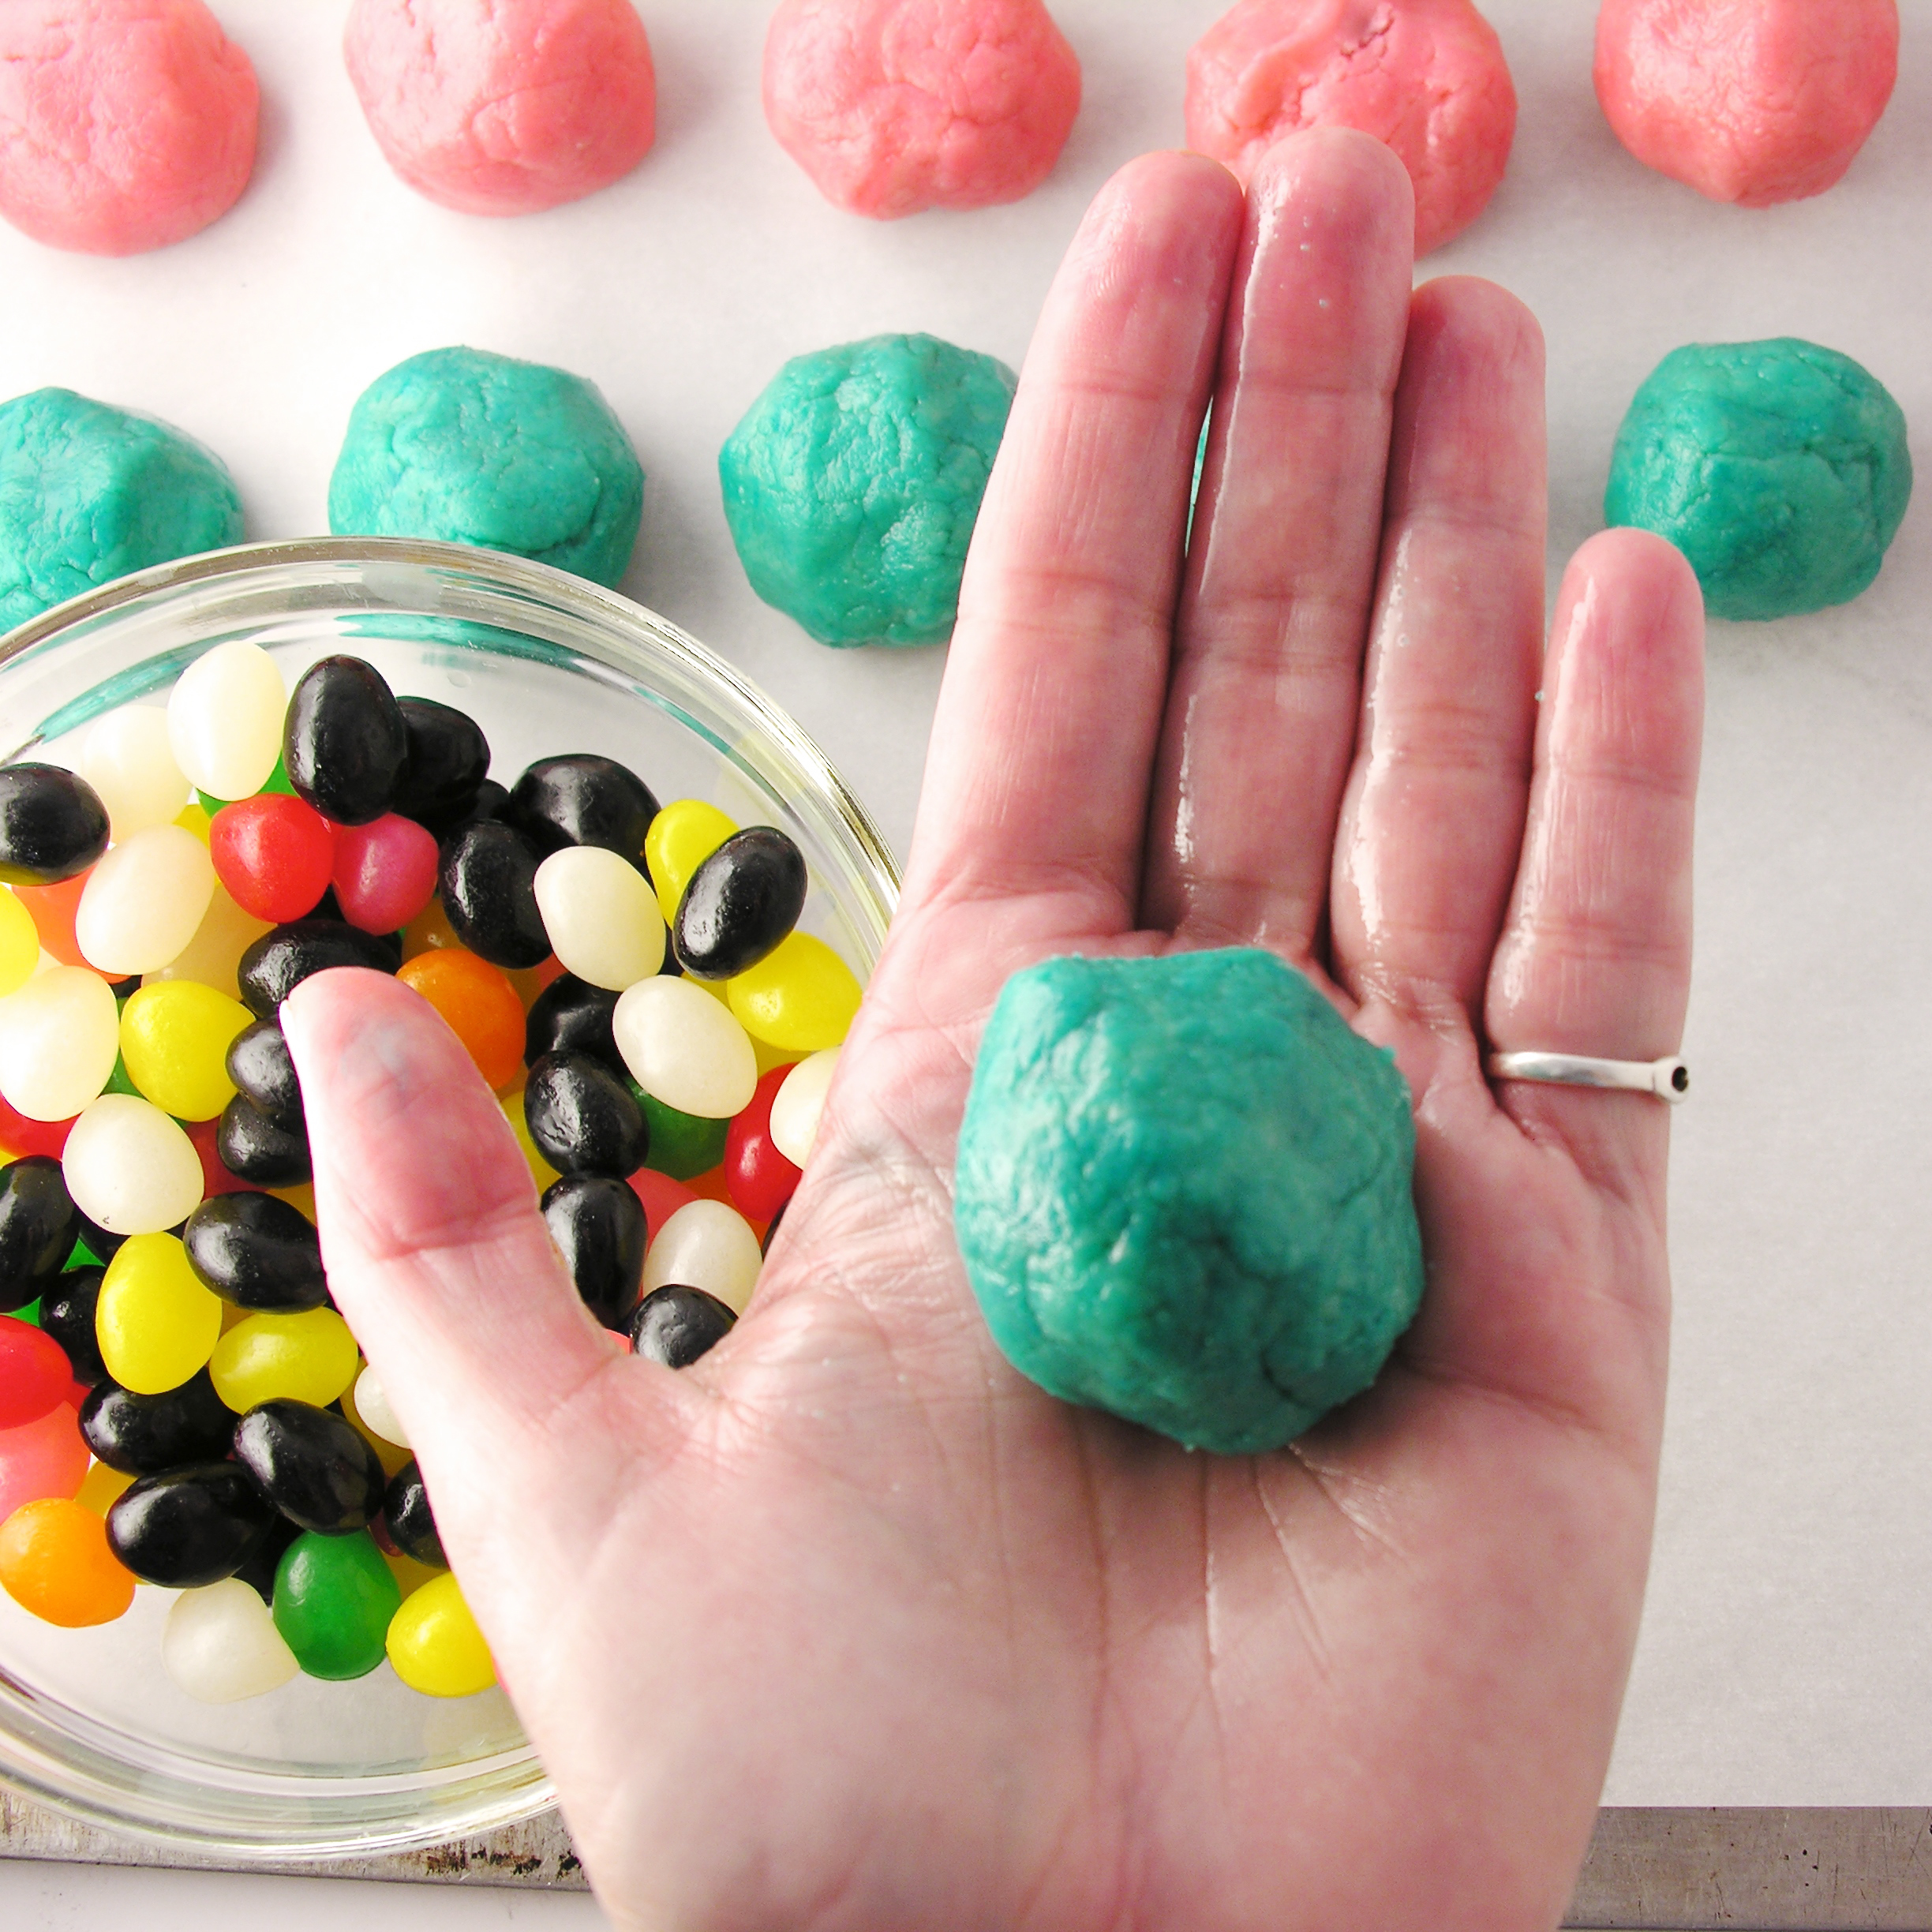
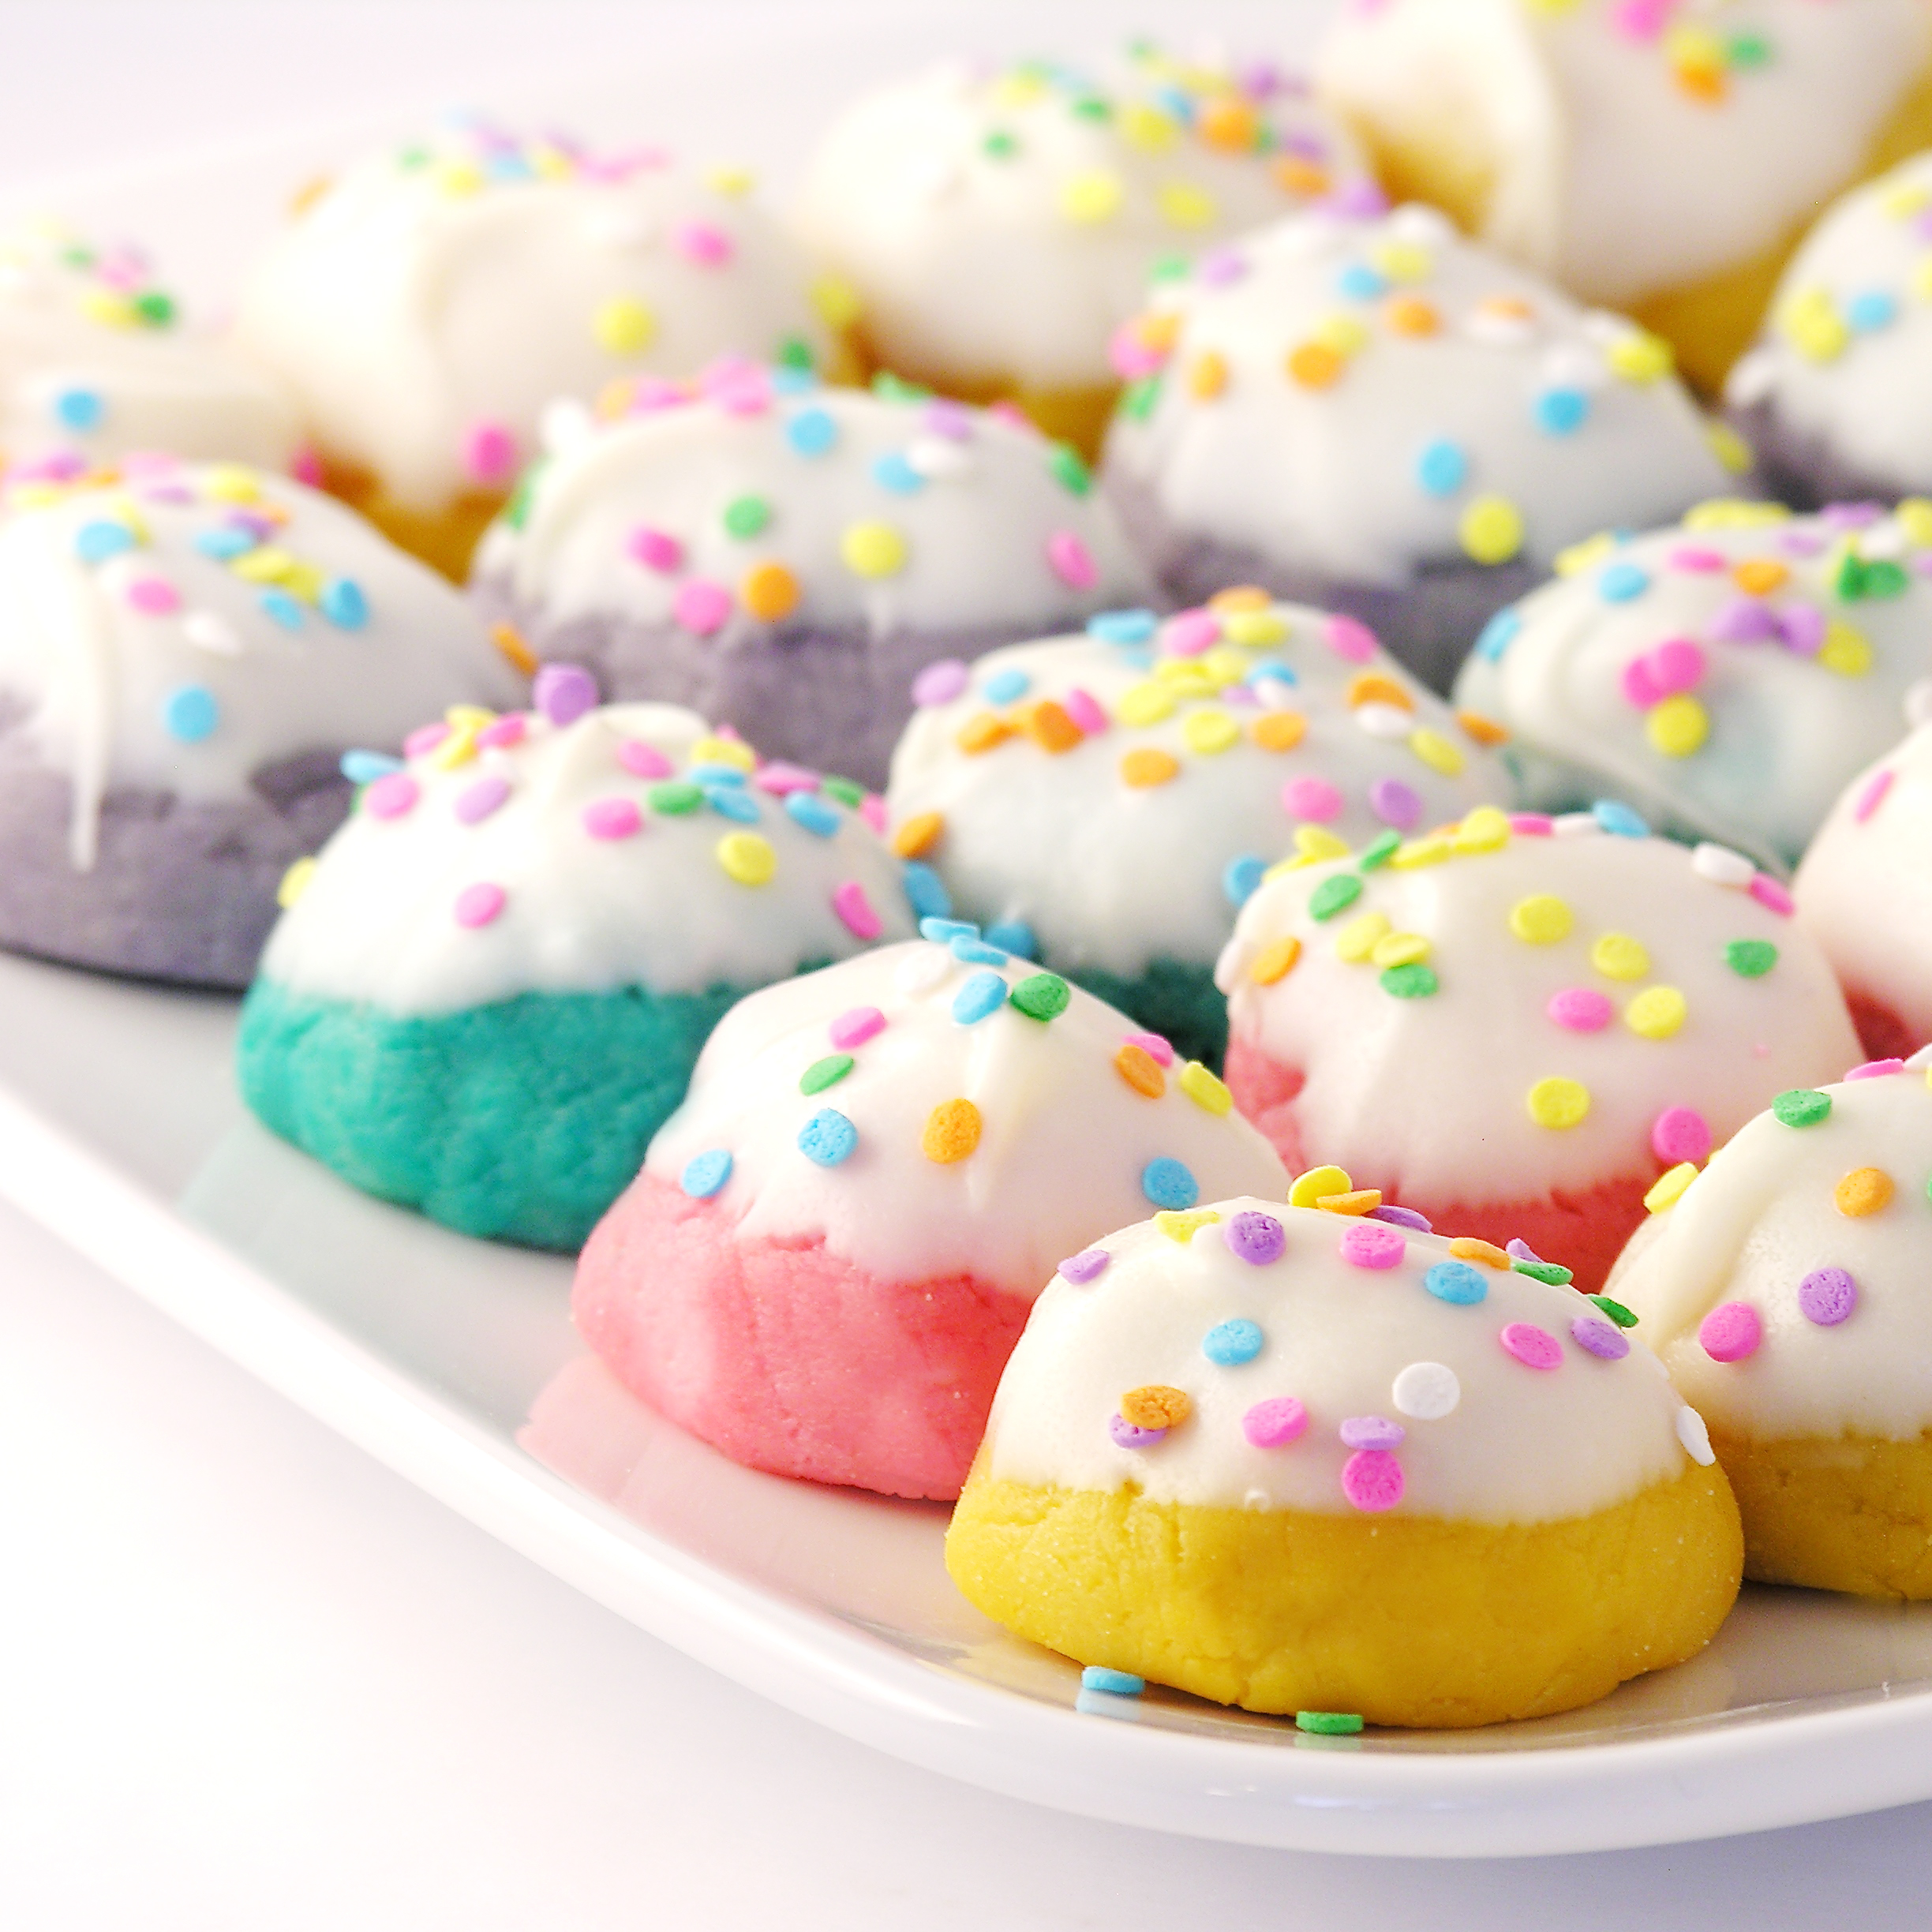
My thoughts:  These are one of my favorite go-to recipes.  I love how beautiful they are and I love the versatility of the flavors.  These are SO perfect for showers and parties.  You can even color the fillings to match school, team or wedding colors.  Very fun!  I hope you enjoy them!!!  ~r

Other fun and colorful recipes:
Rainbow Cake RollPolka Dot Cake!!!Tie-Dye Cake with Blue Raspberry Frosting!Confetti Cake Filled with Candy