This post is a mid-week collection of cupcake recipes and a celebration for my friend Josh who is a missionary in Slovakia. Those of you who have followed my blog for awhile will remember my lack of recipe posts for several weeks every summer because I travel to Slovakia to work with a mission organization called Josiah Venture. This organization helps local churches reach teenagers with the message of God’s love for them. Two of the ways they do this is through English camps (Americans going and teaching English–which is how I’ve been a part) and also through teaching music at camps. My friend Josh heads up the music portion of this ministry in Slovakia. After camps, he is able to go into schools and start clubs that teach music theory and also various instruments. Many of the kids he works with come from really difficult home situations and they call Fusion “family”.
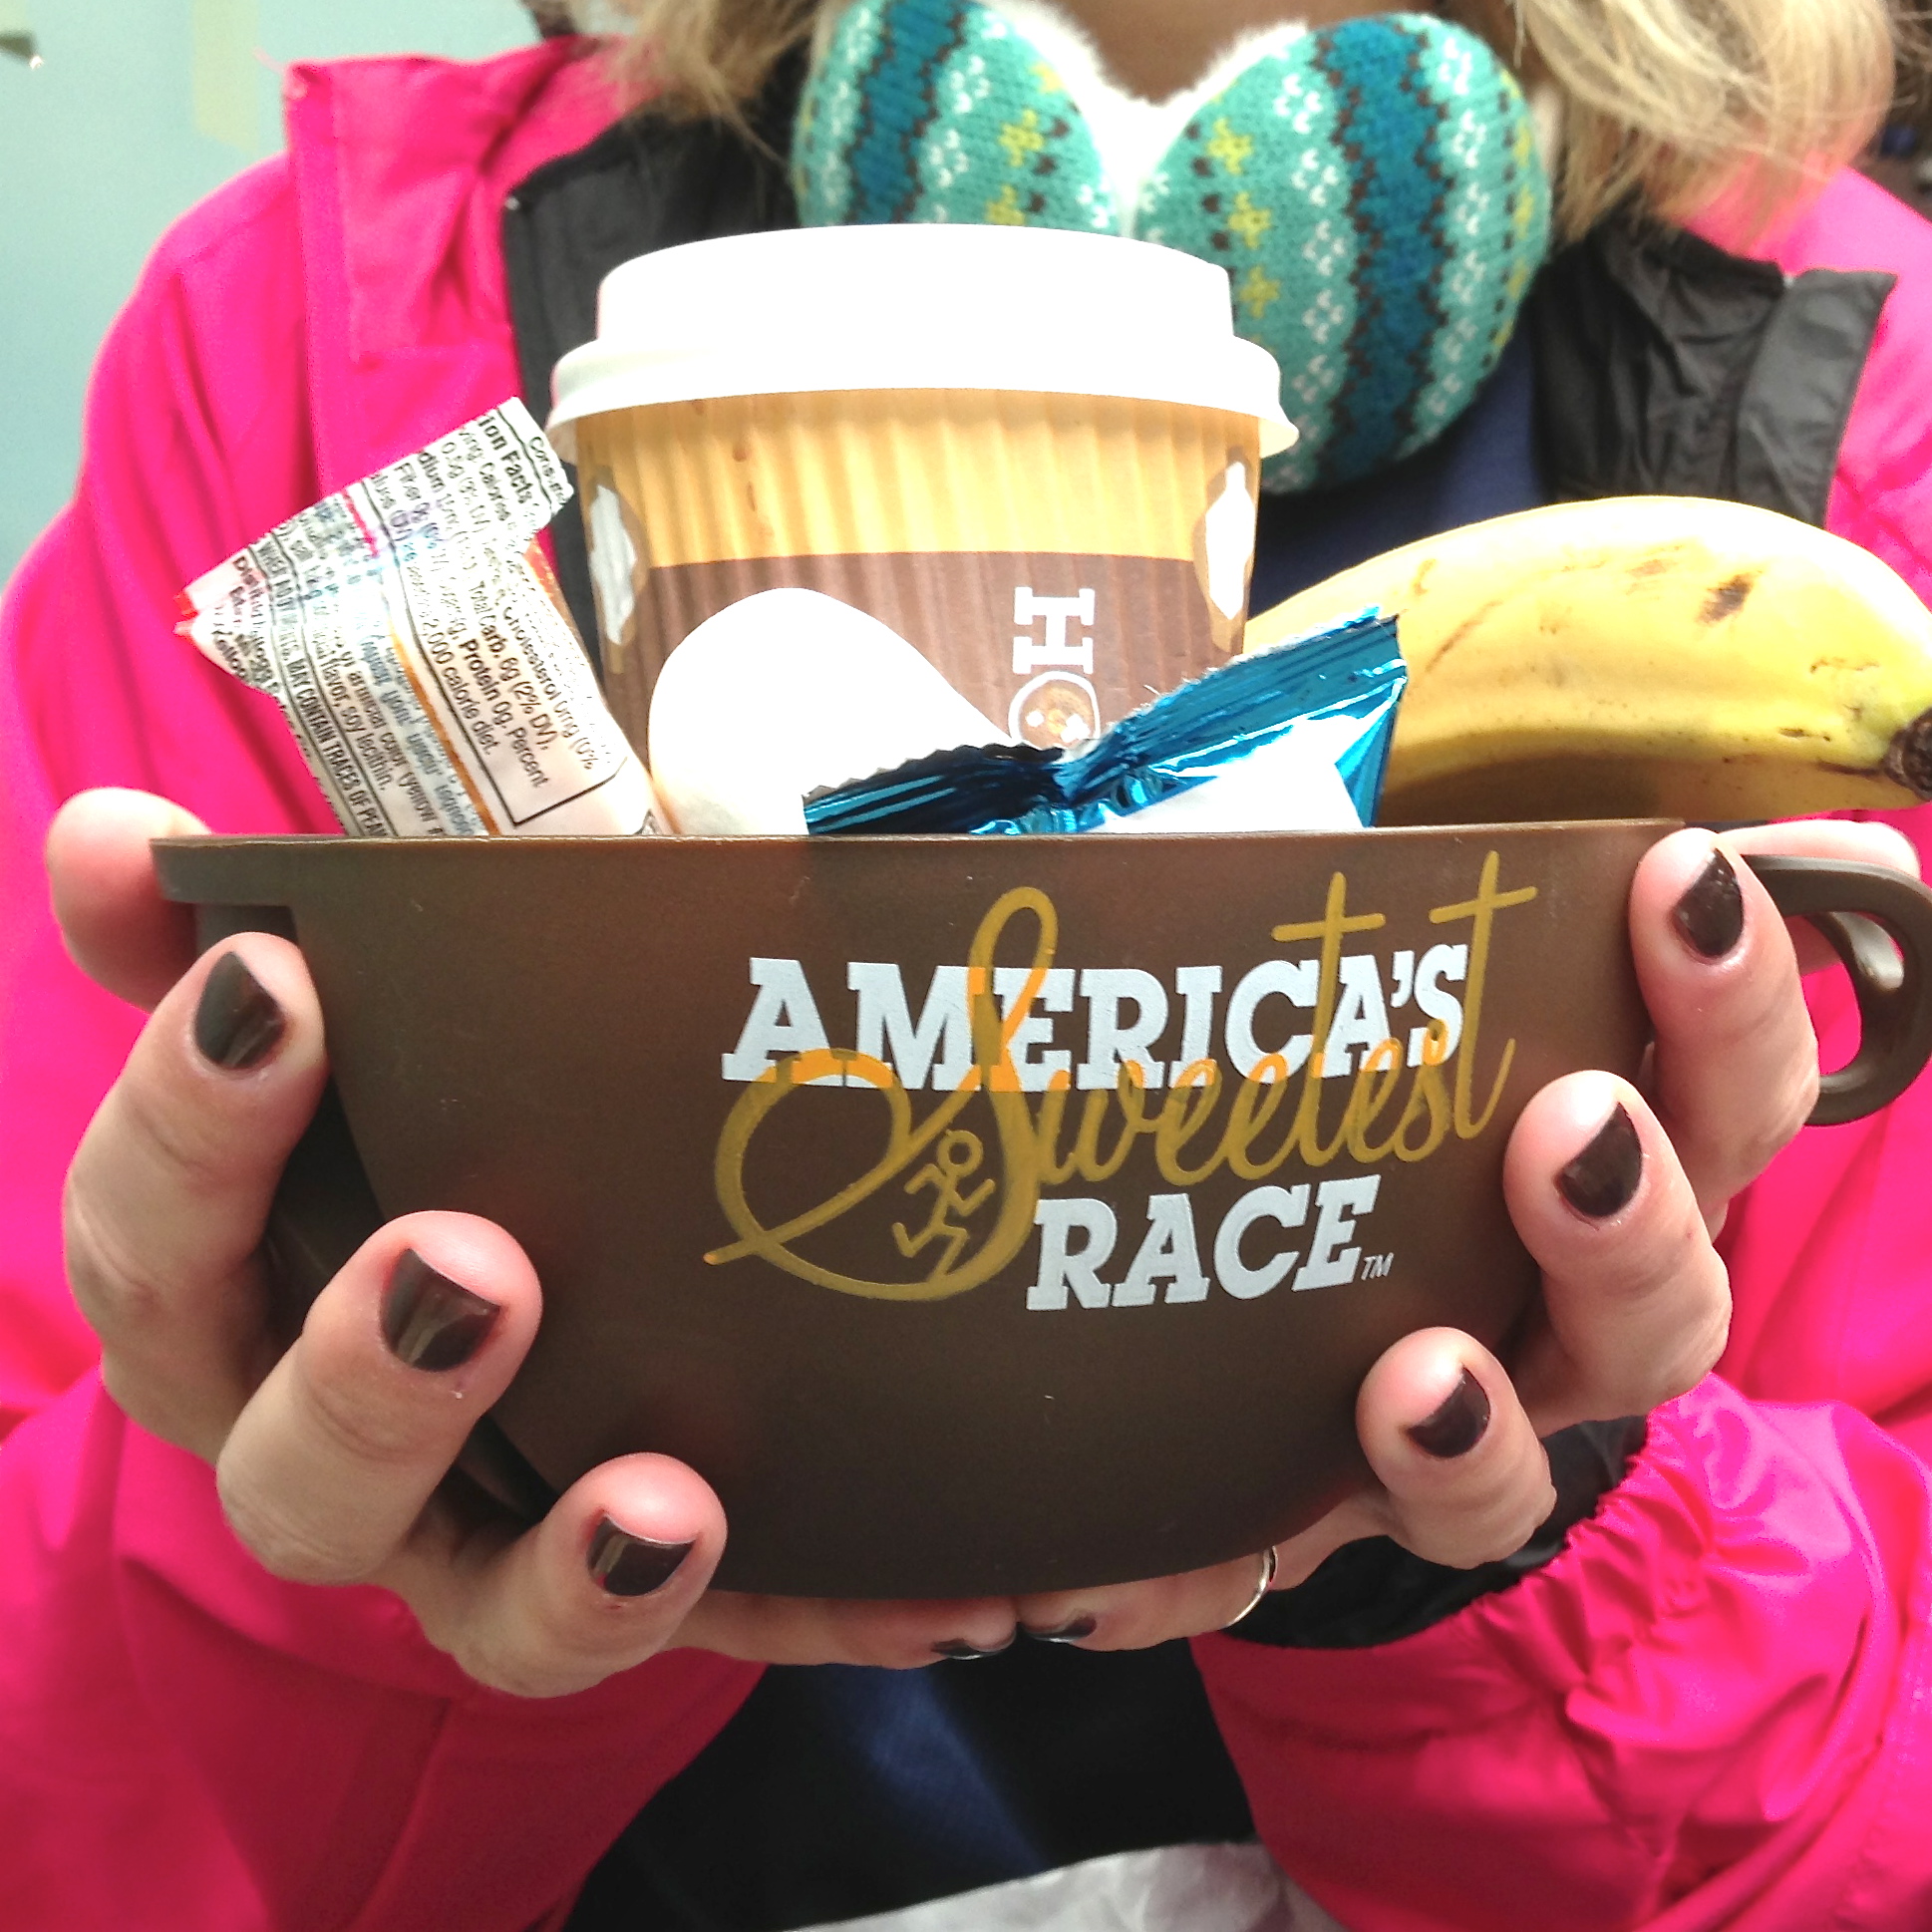
Easybaked was able to come alongside Josh for a fundraiser for Fusion this past weekend. He hosted a coffeehouse and we helped provide (800!) mini-cupcakes in 8 different flavors. It was such a great time to hear about what God is doing in Slovakia though Josh and Josiah Venture, and a lot of support was raised to help him in his work.
I rarely stray from simply sharing my recipes here, but I just had to give a shout-out to Josh and his hard work with these teens. If you’d like to know more about him just click here. You’ll be taken to his home page with Josiah Venture and also connected with his blog.
Thanks for giving your life here up to serve God far from home Josh!!!!!
Now cupcakes……
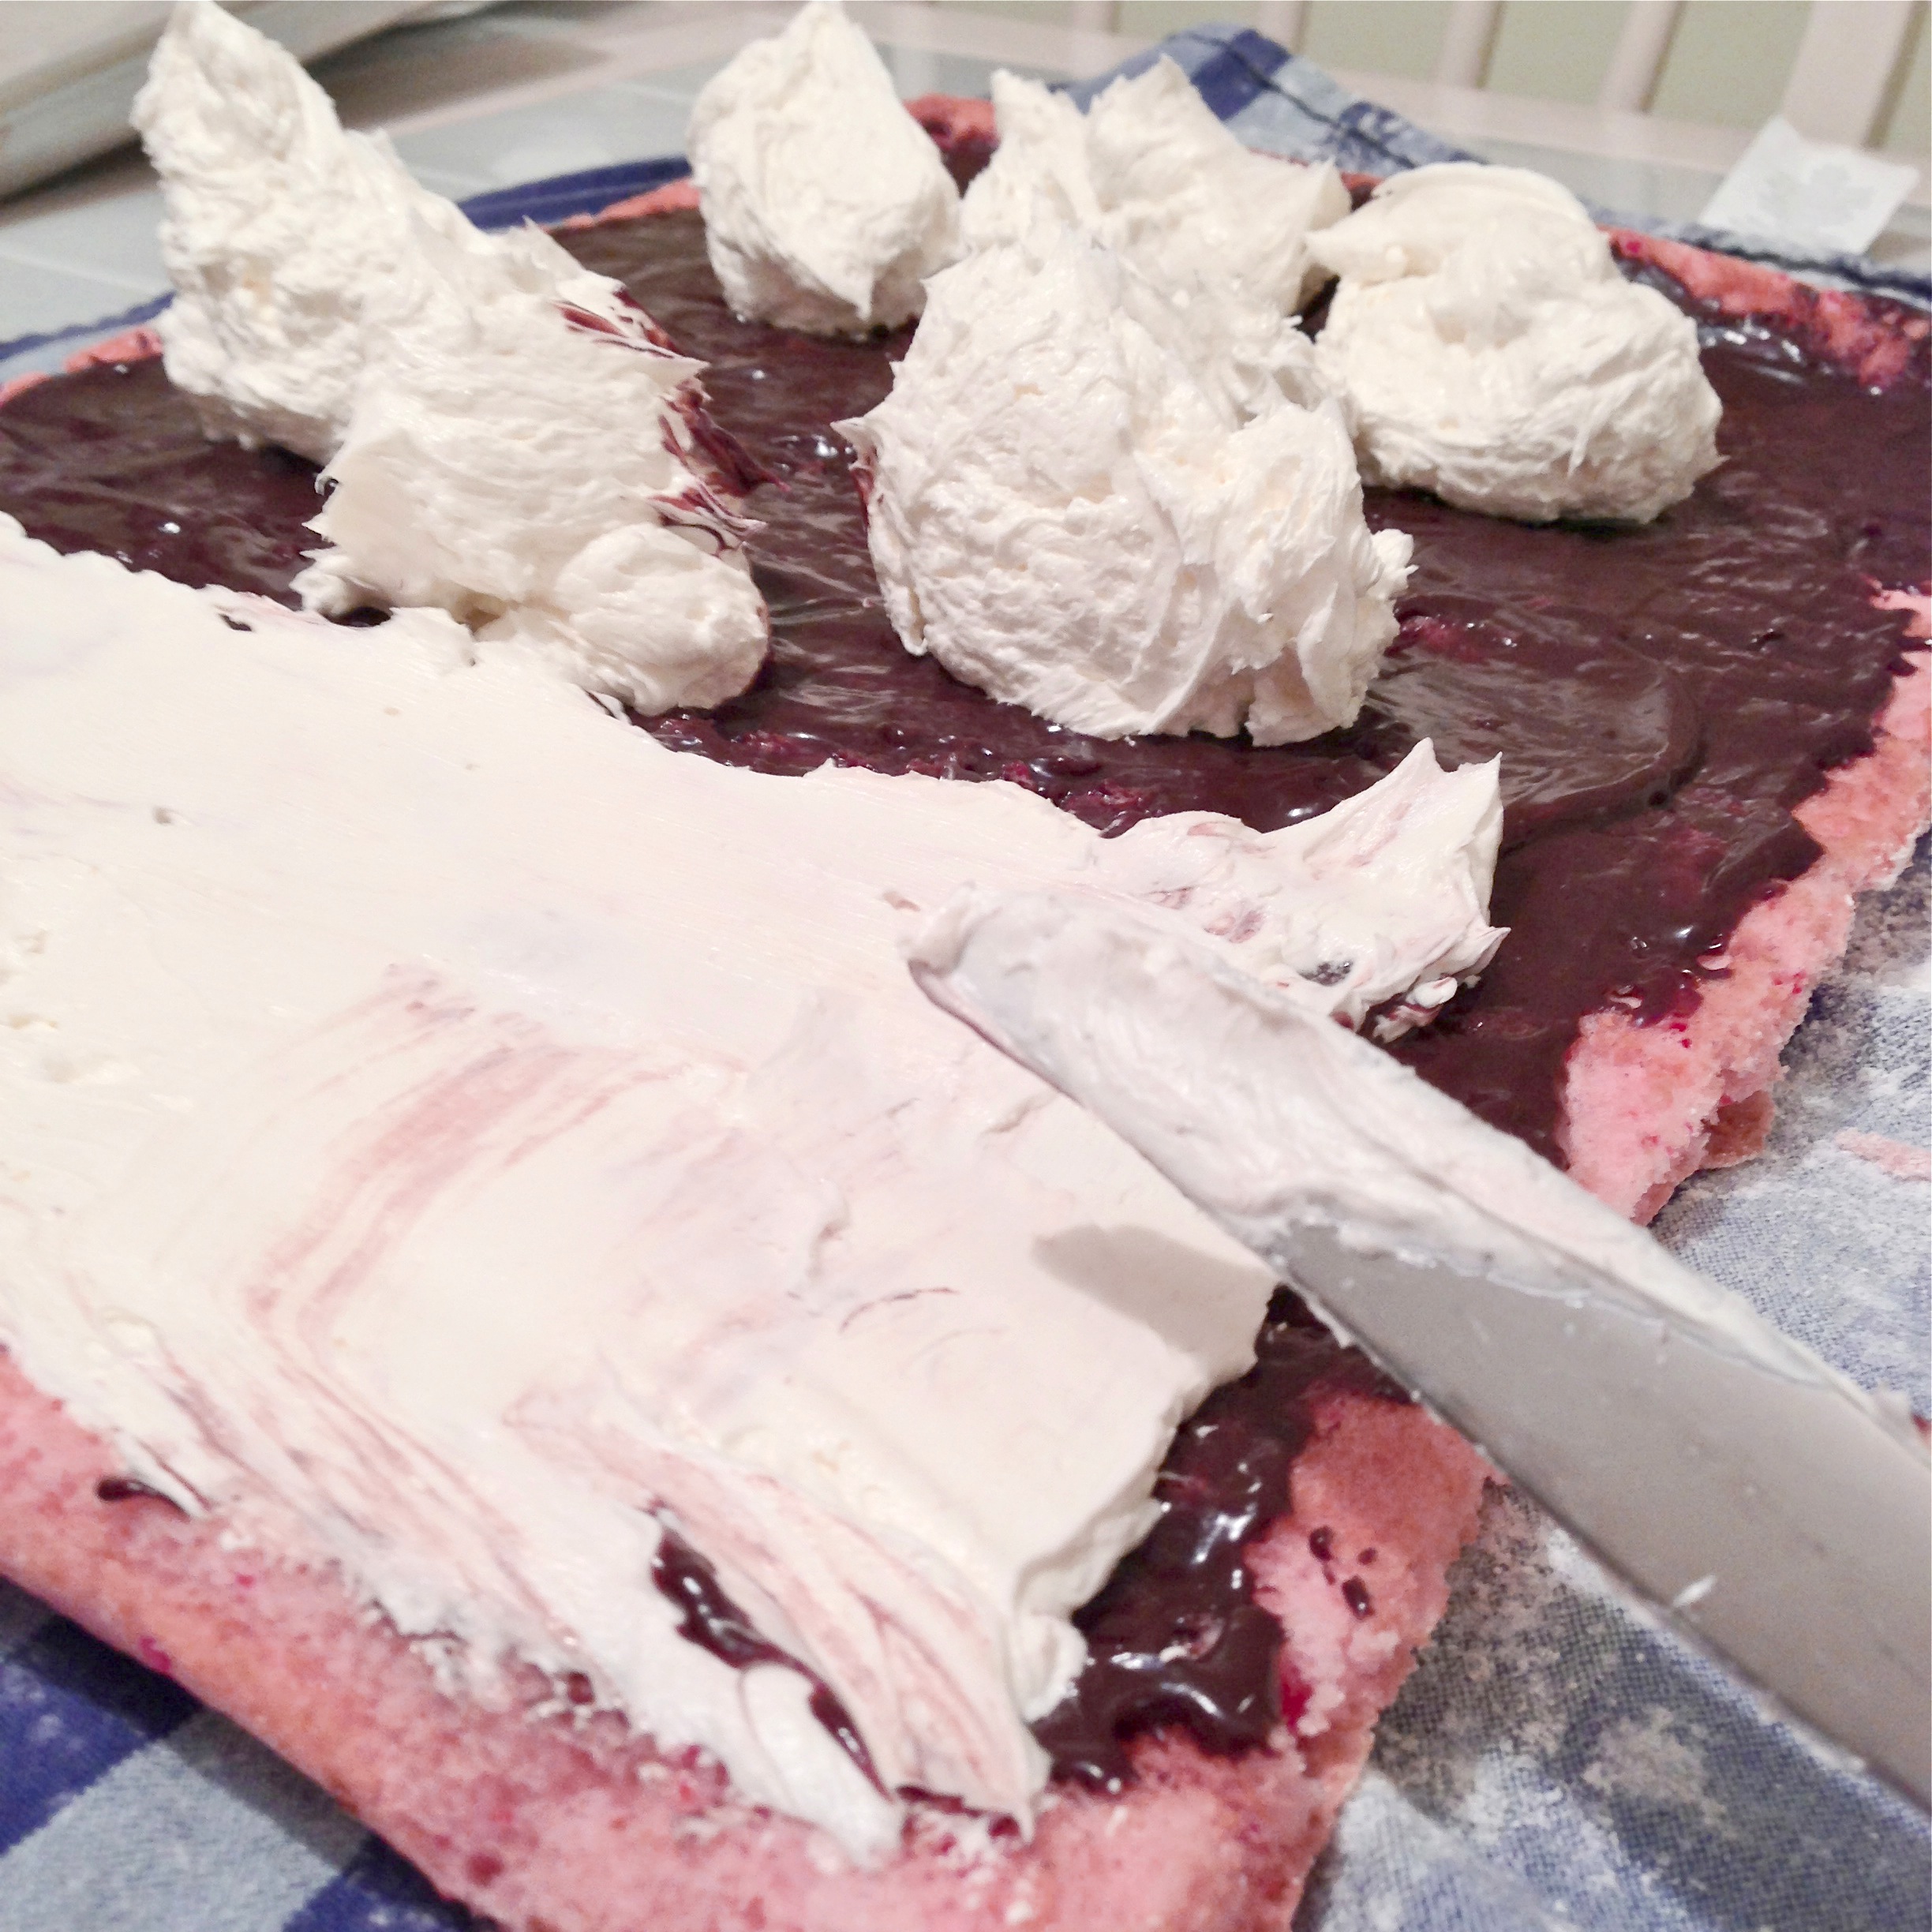
800 would have been impossible to do alone I think (how do bakeries manage?!?) So I enlisted 7 friends to help. We had a training session in making butter cream and piping it and WOW—they did such a great job!!!!


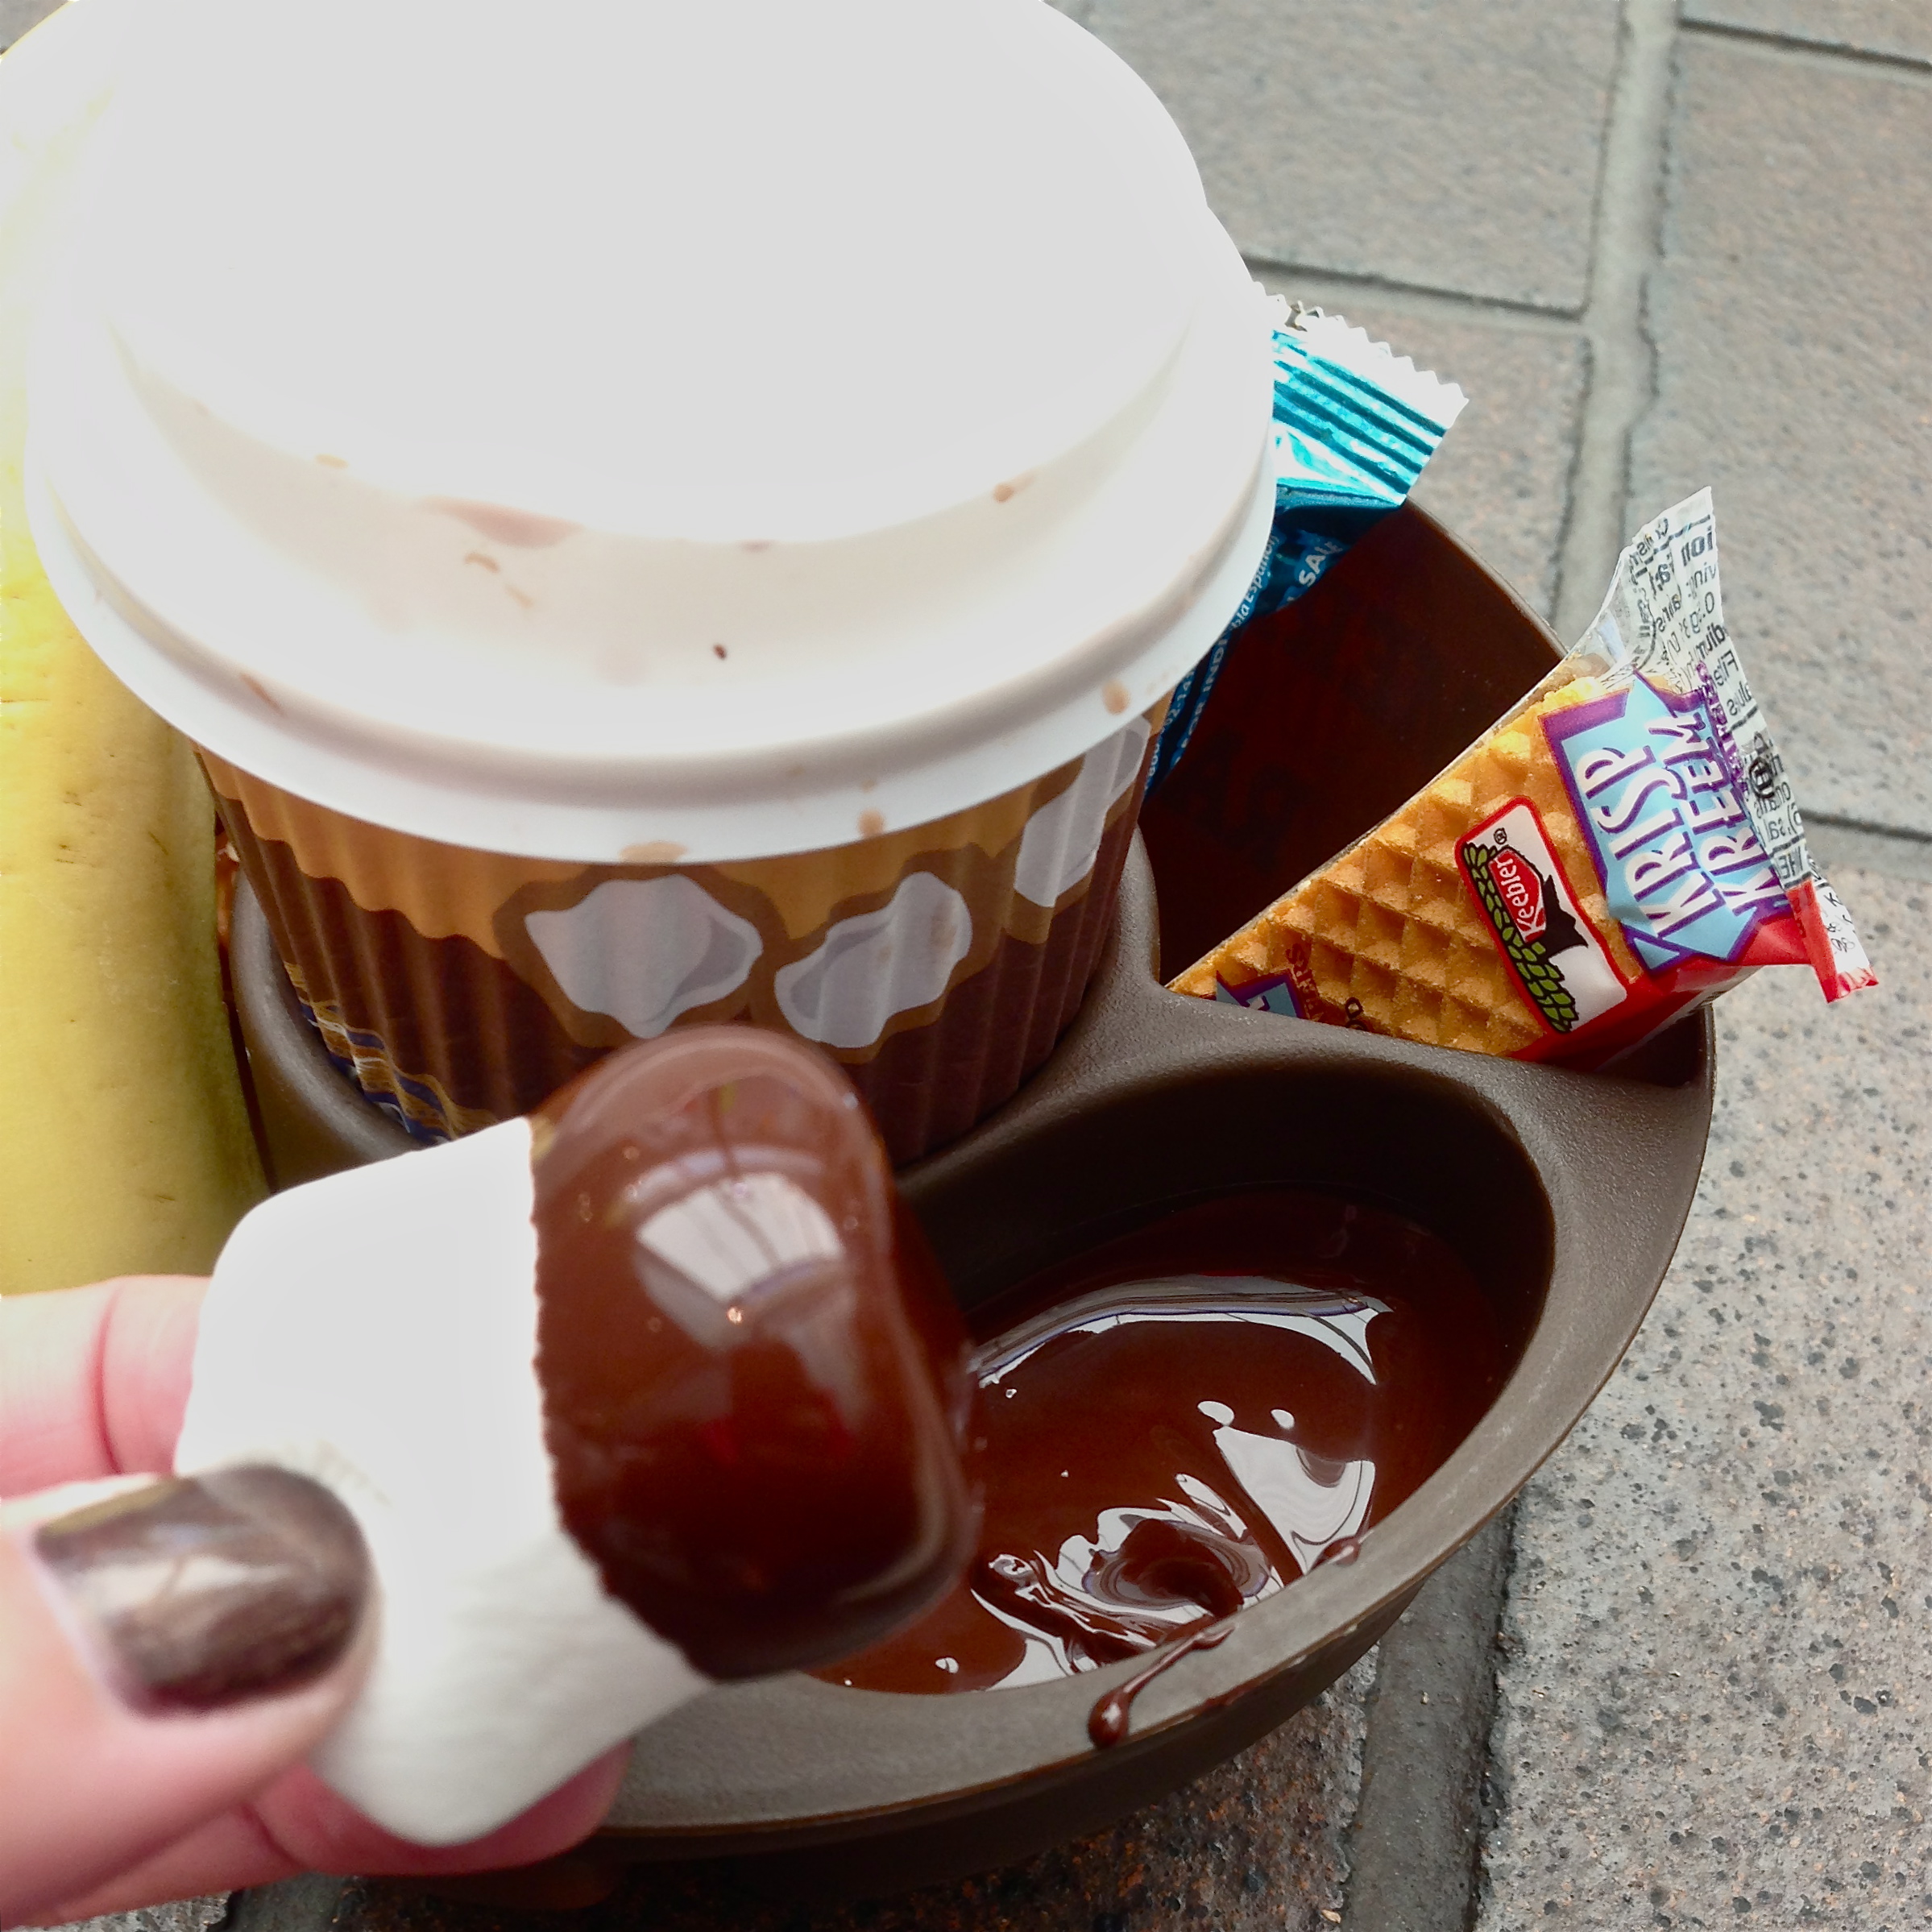
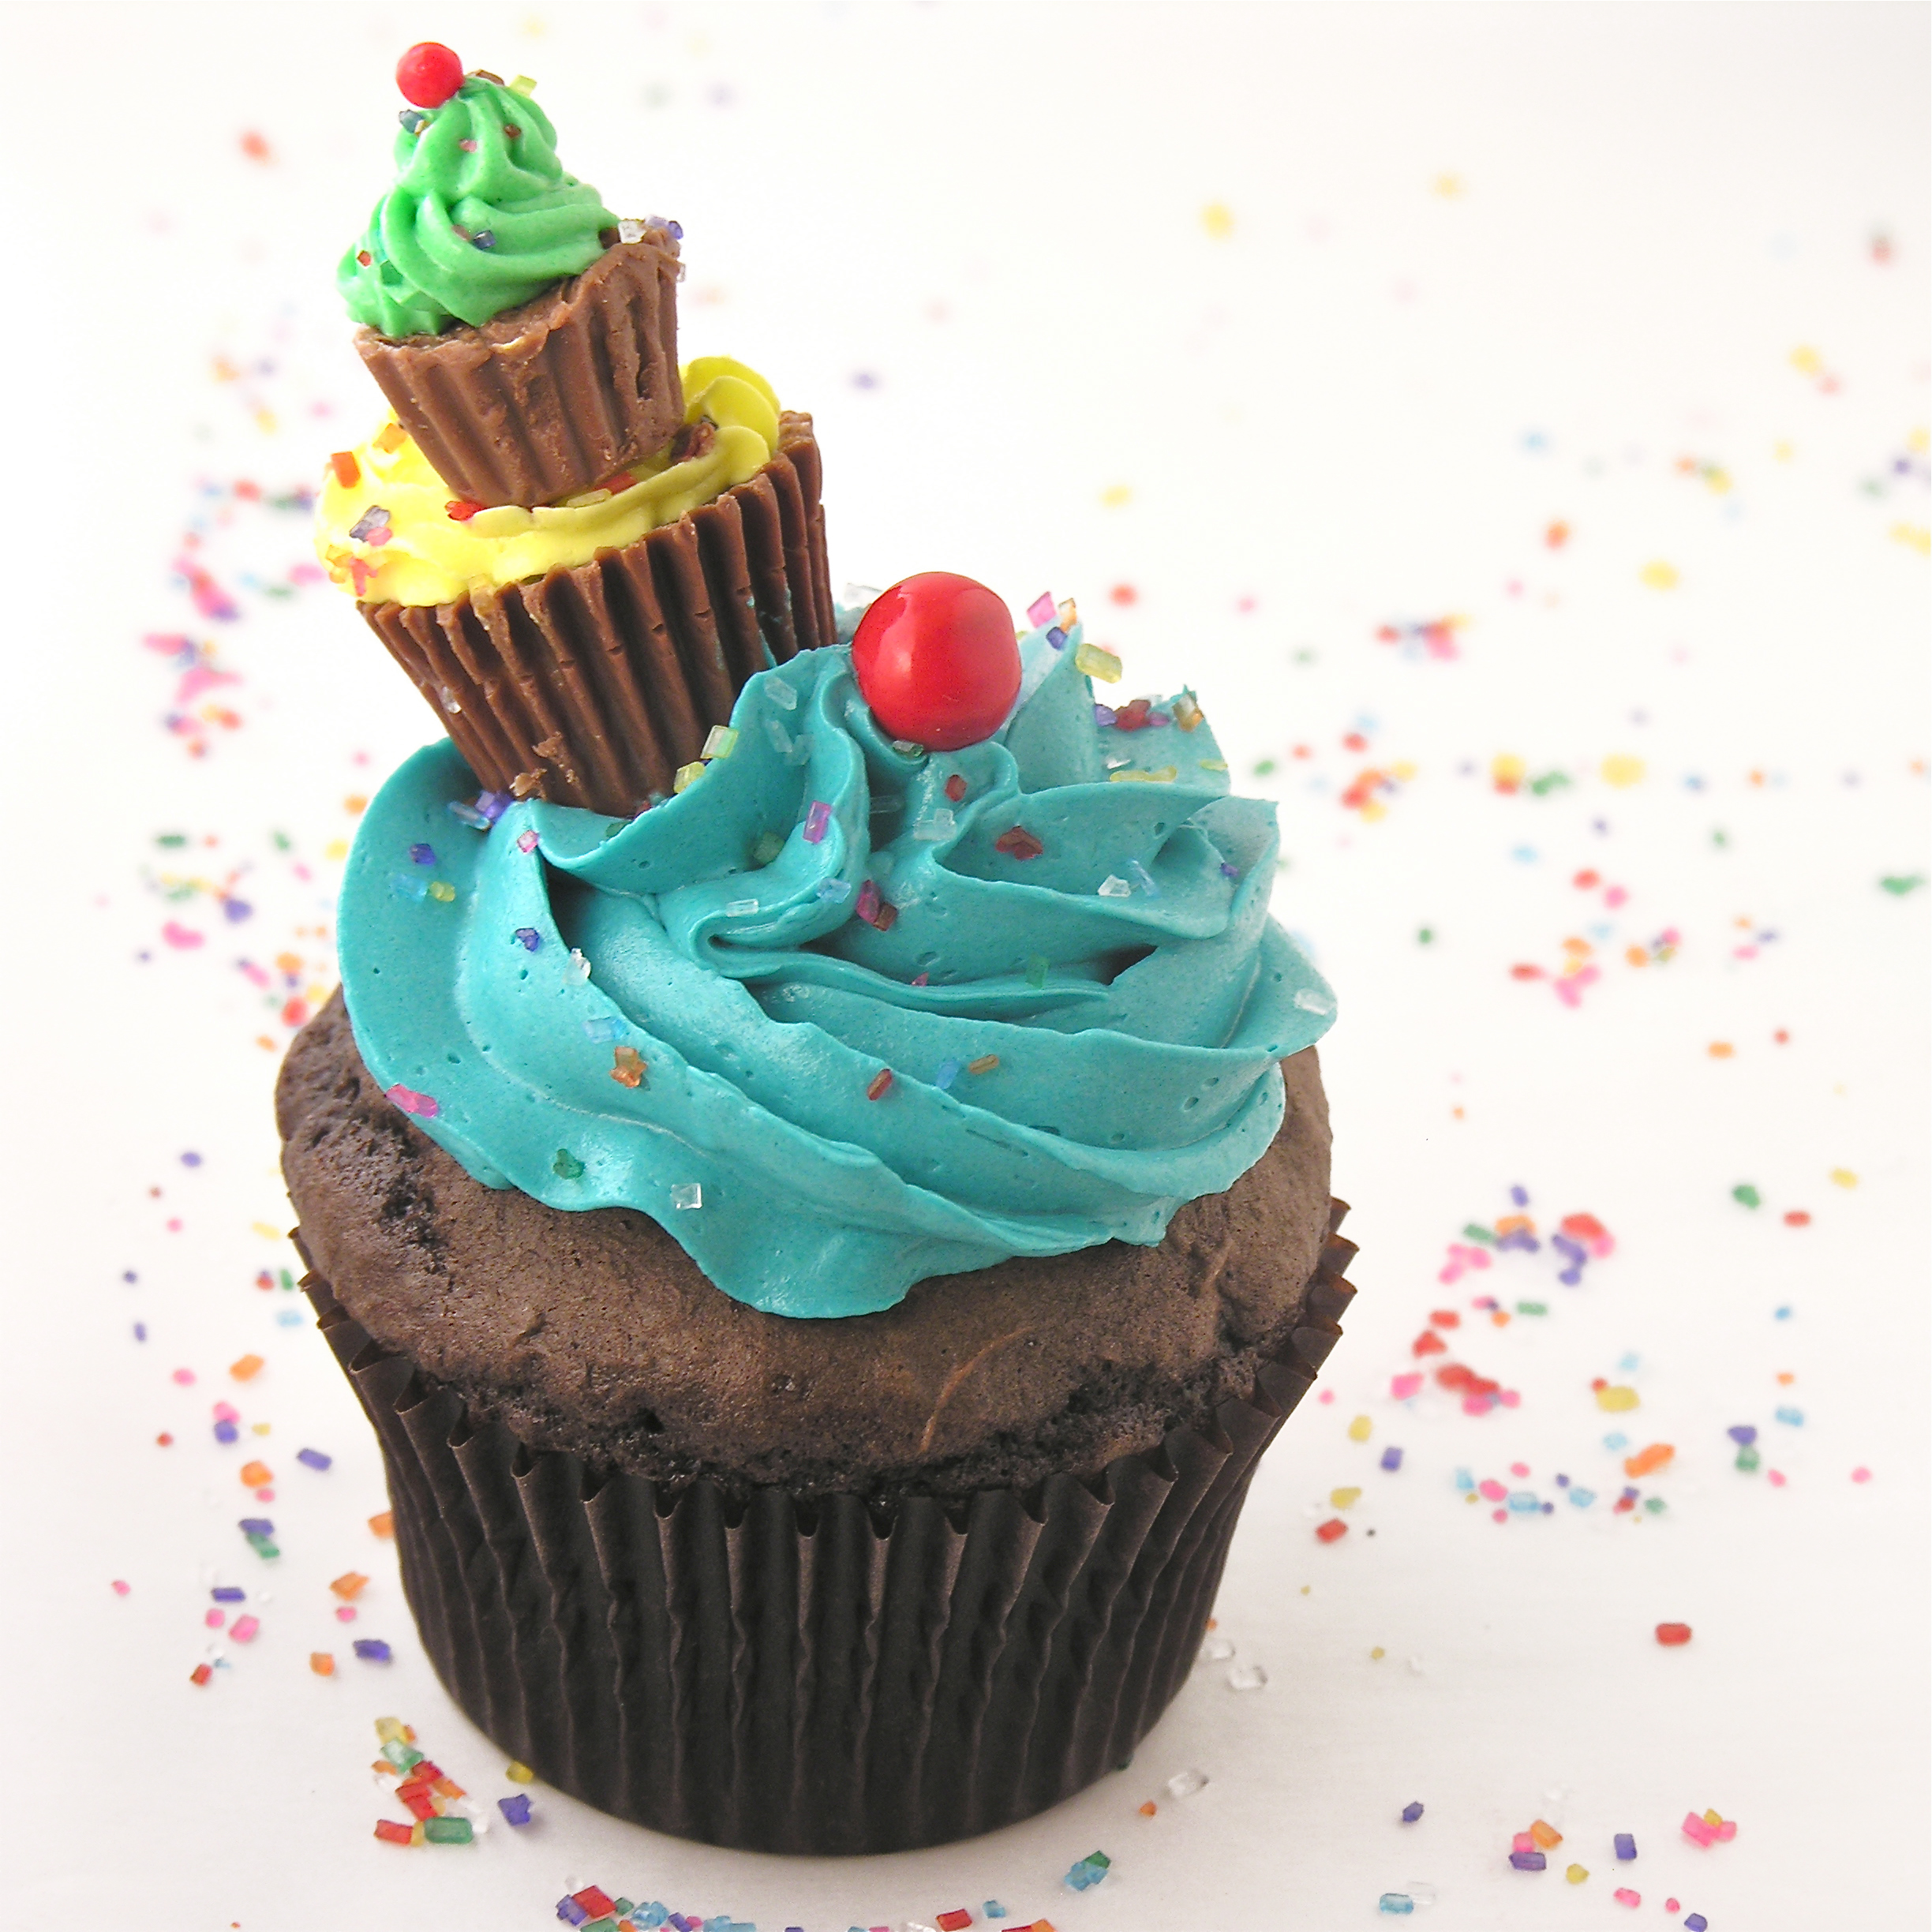
These were our practice cupcakes….which we promptly ate up!
The night of the event we brought all of our unfrosted cupcakes to the venue and piped and decorated there– it ended up being a lot of fun to do them all together:
!

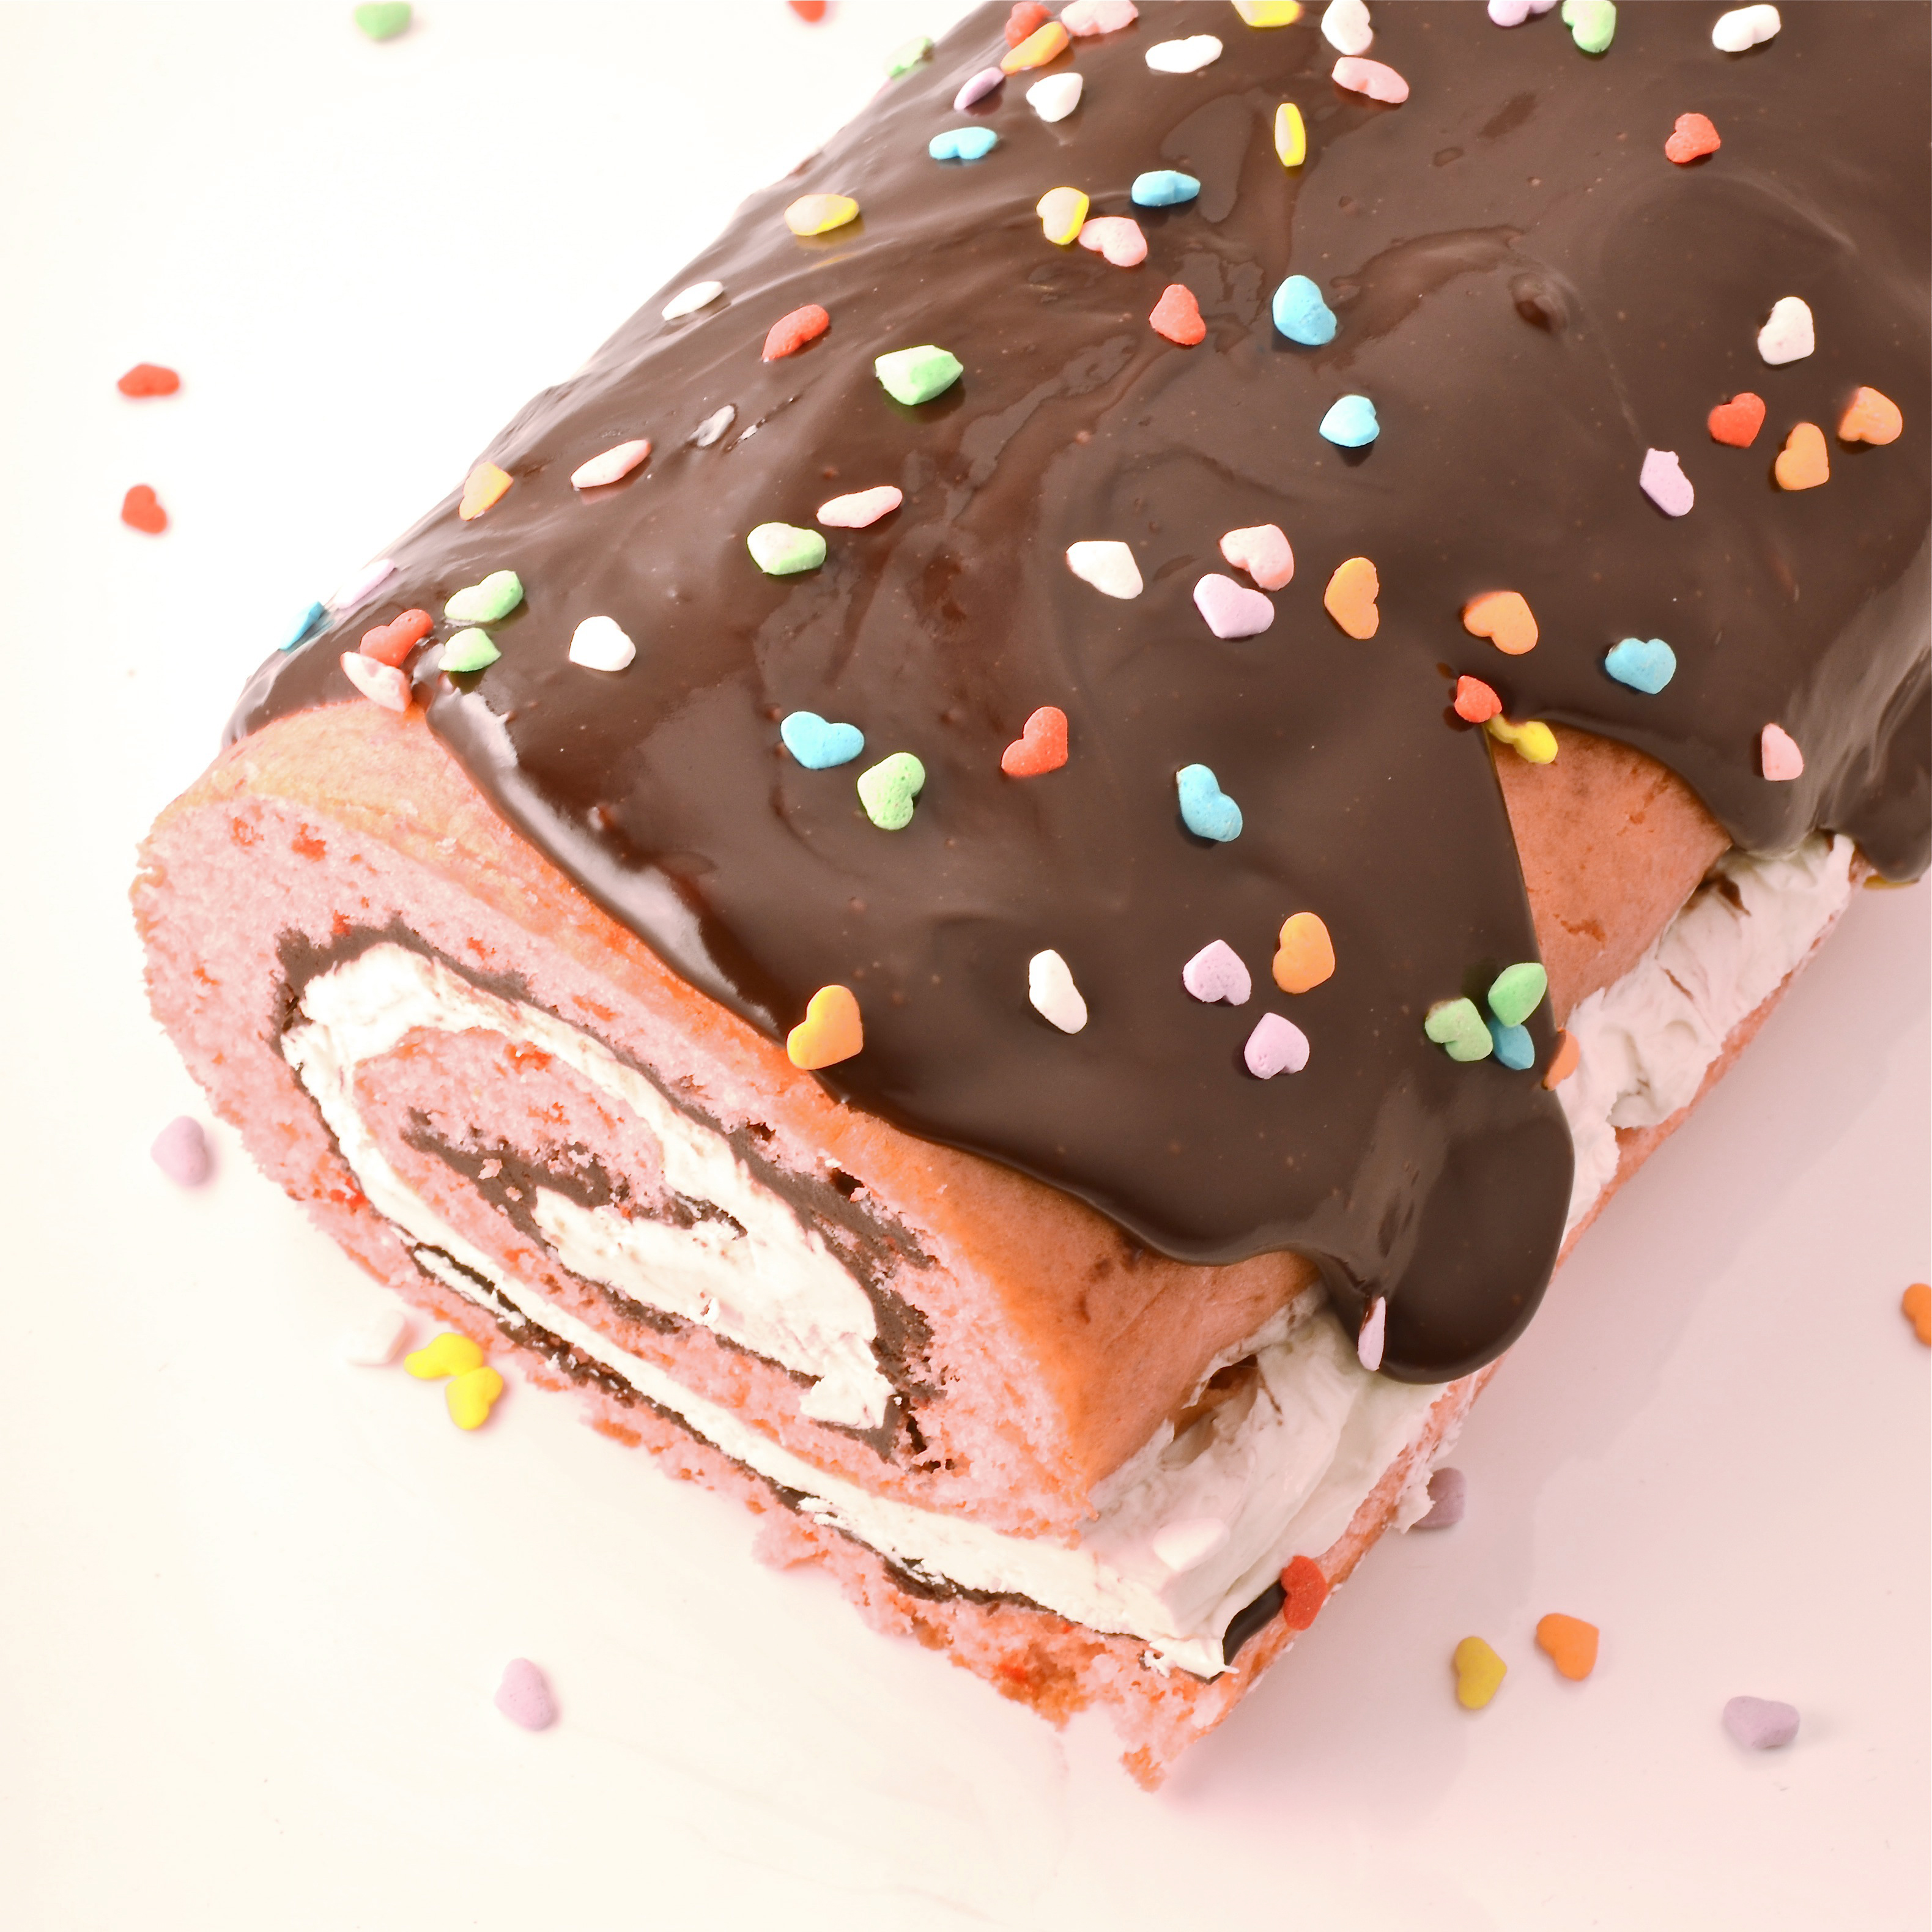
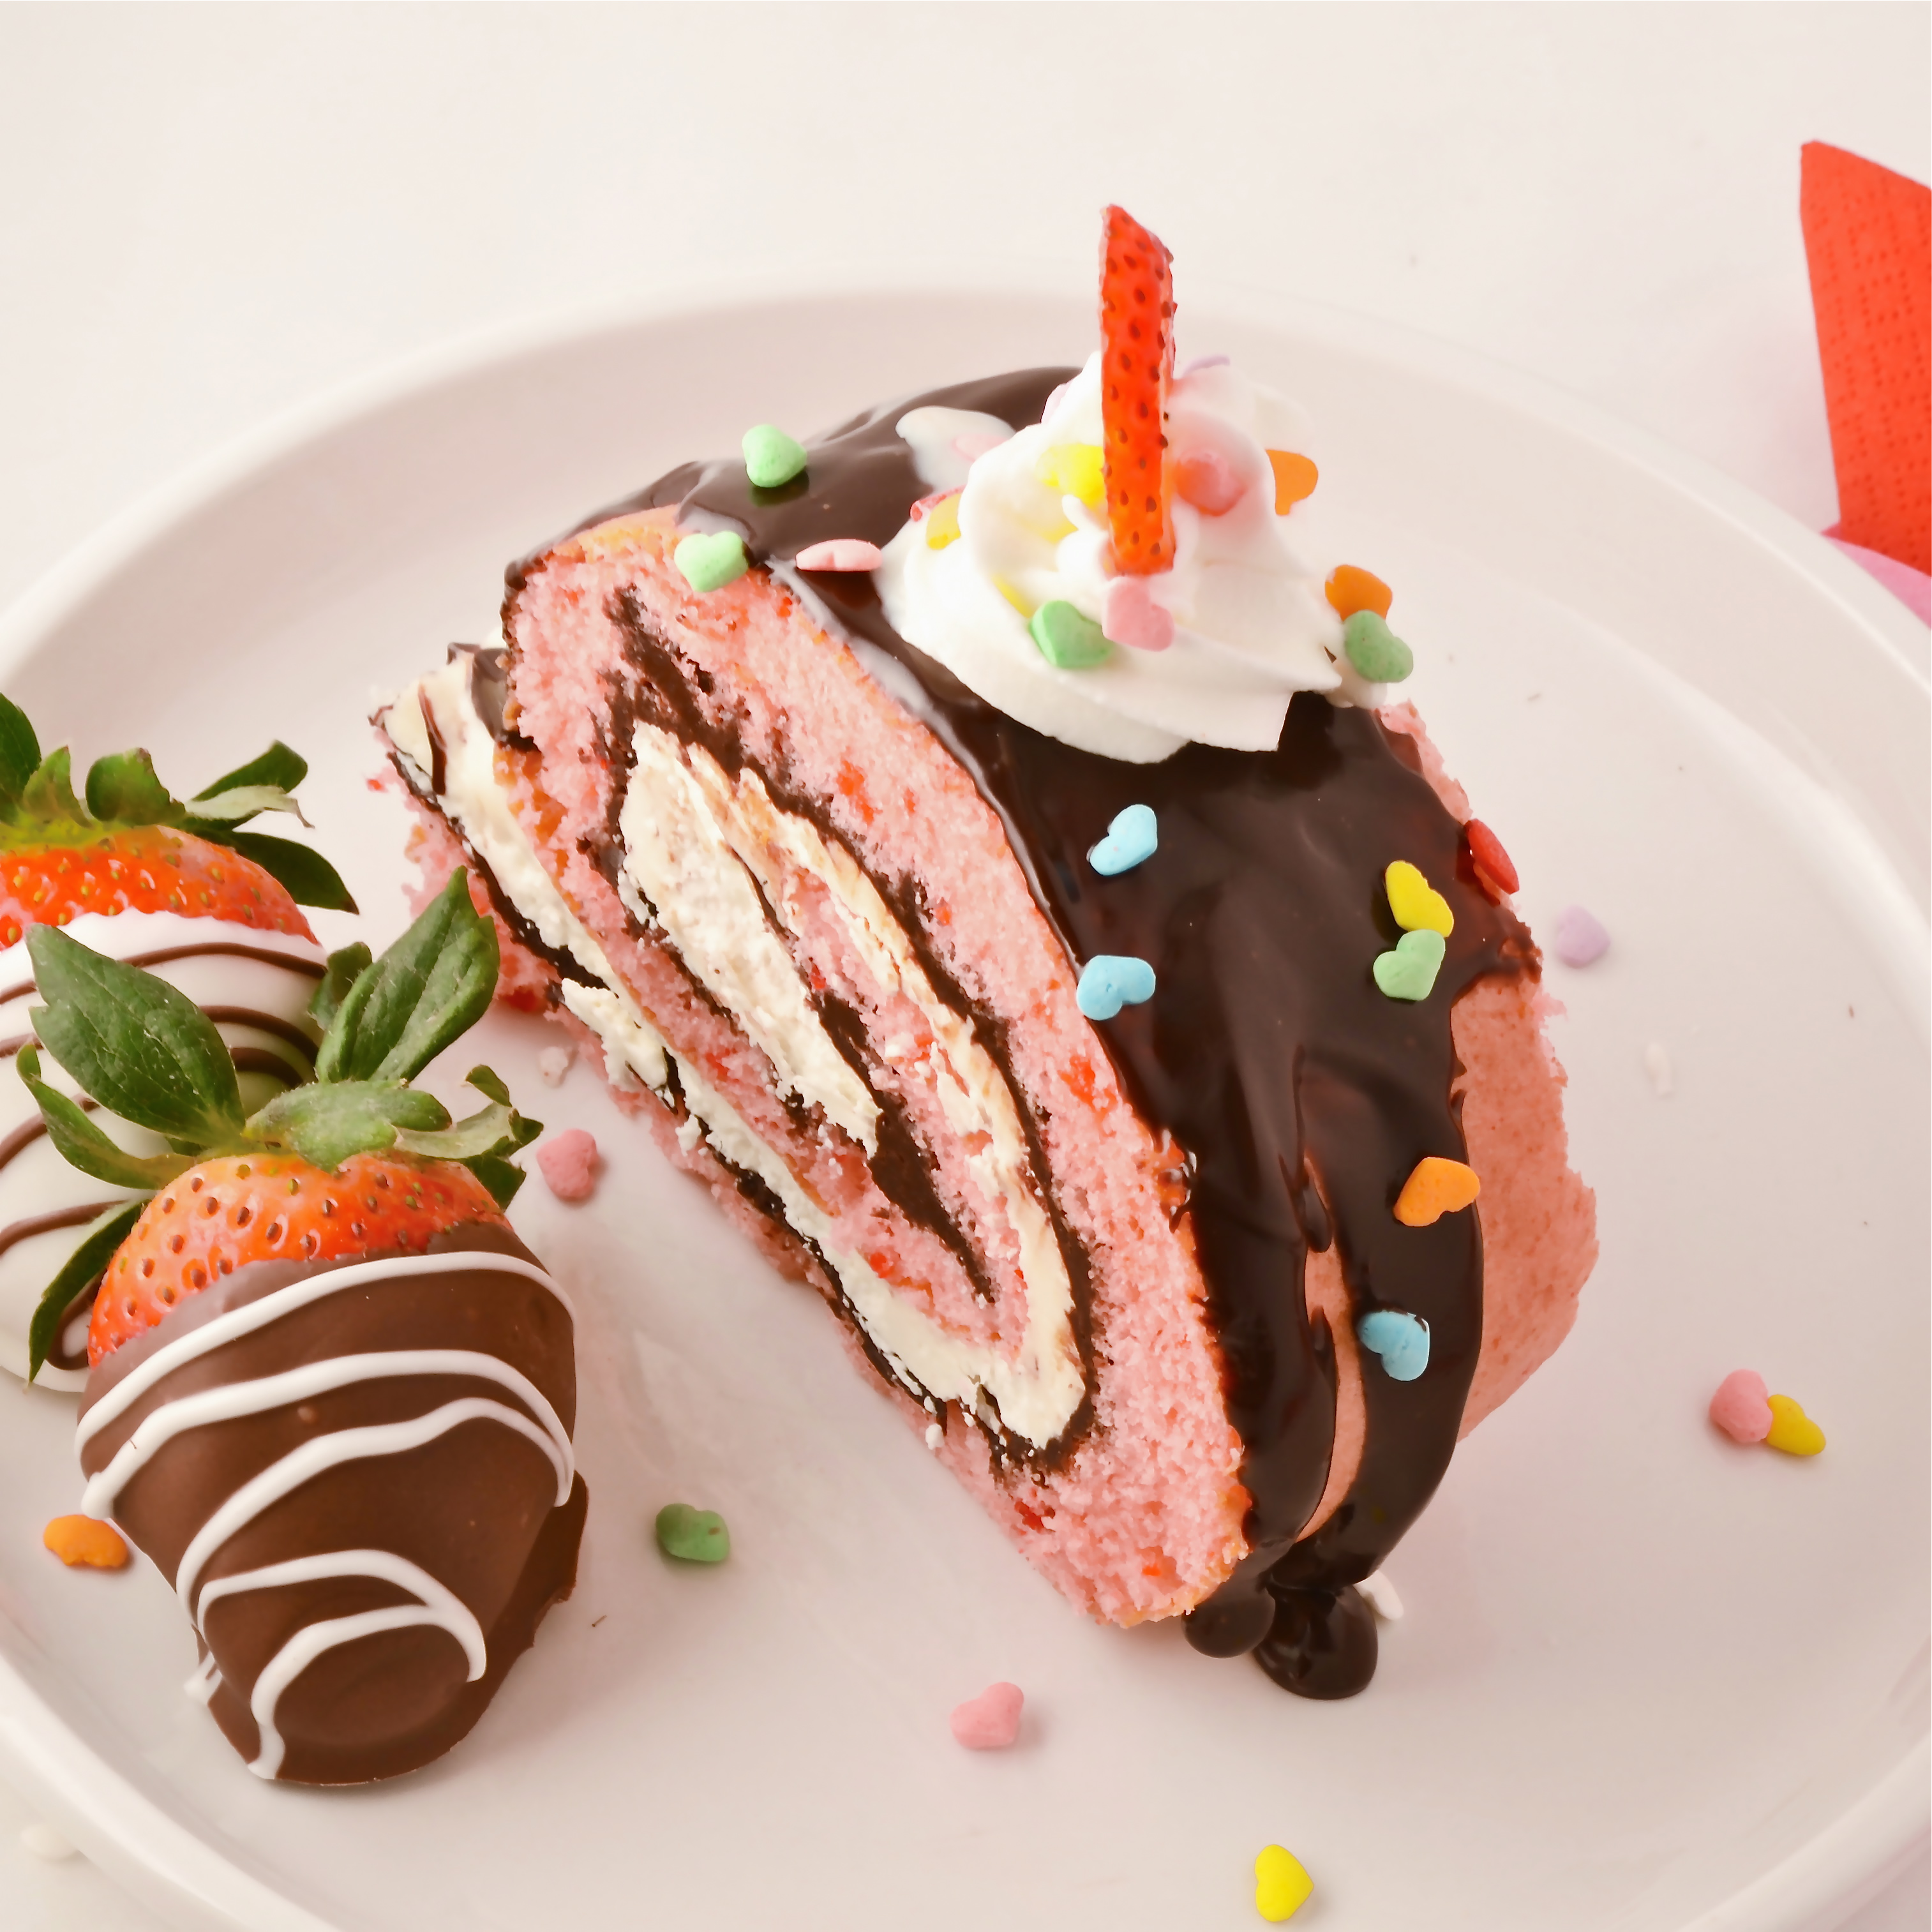
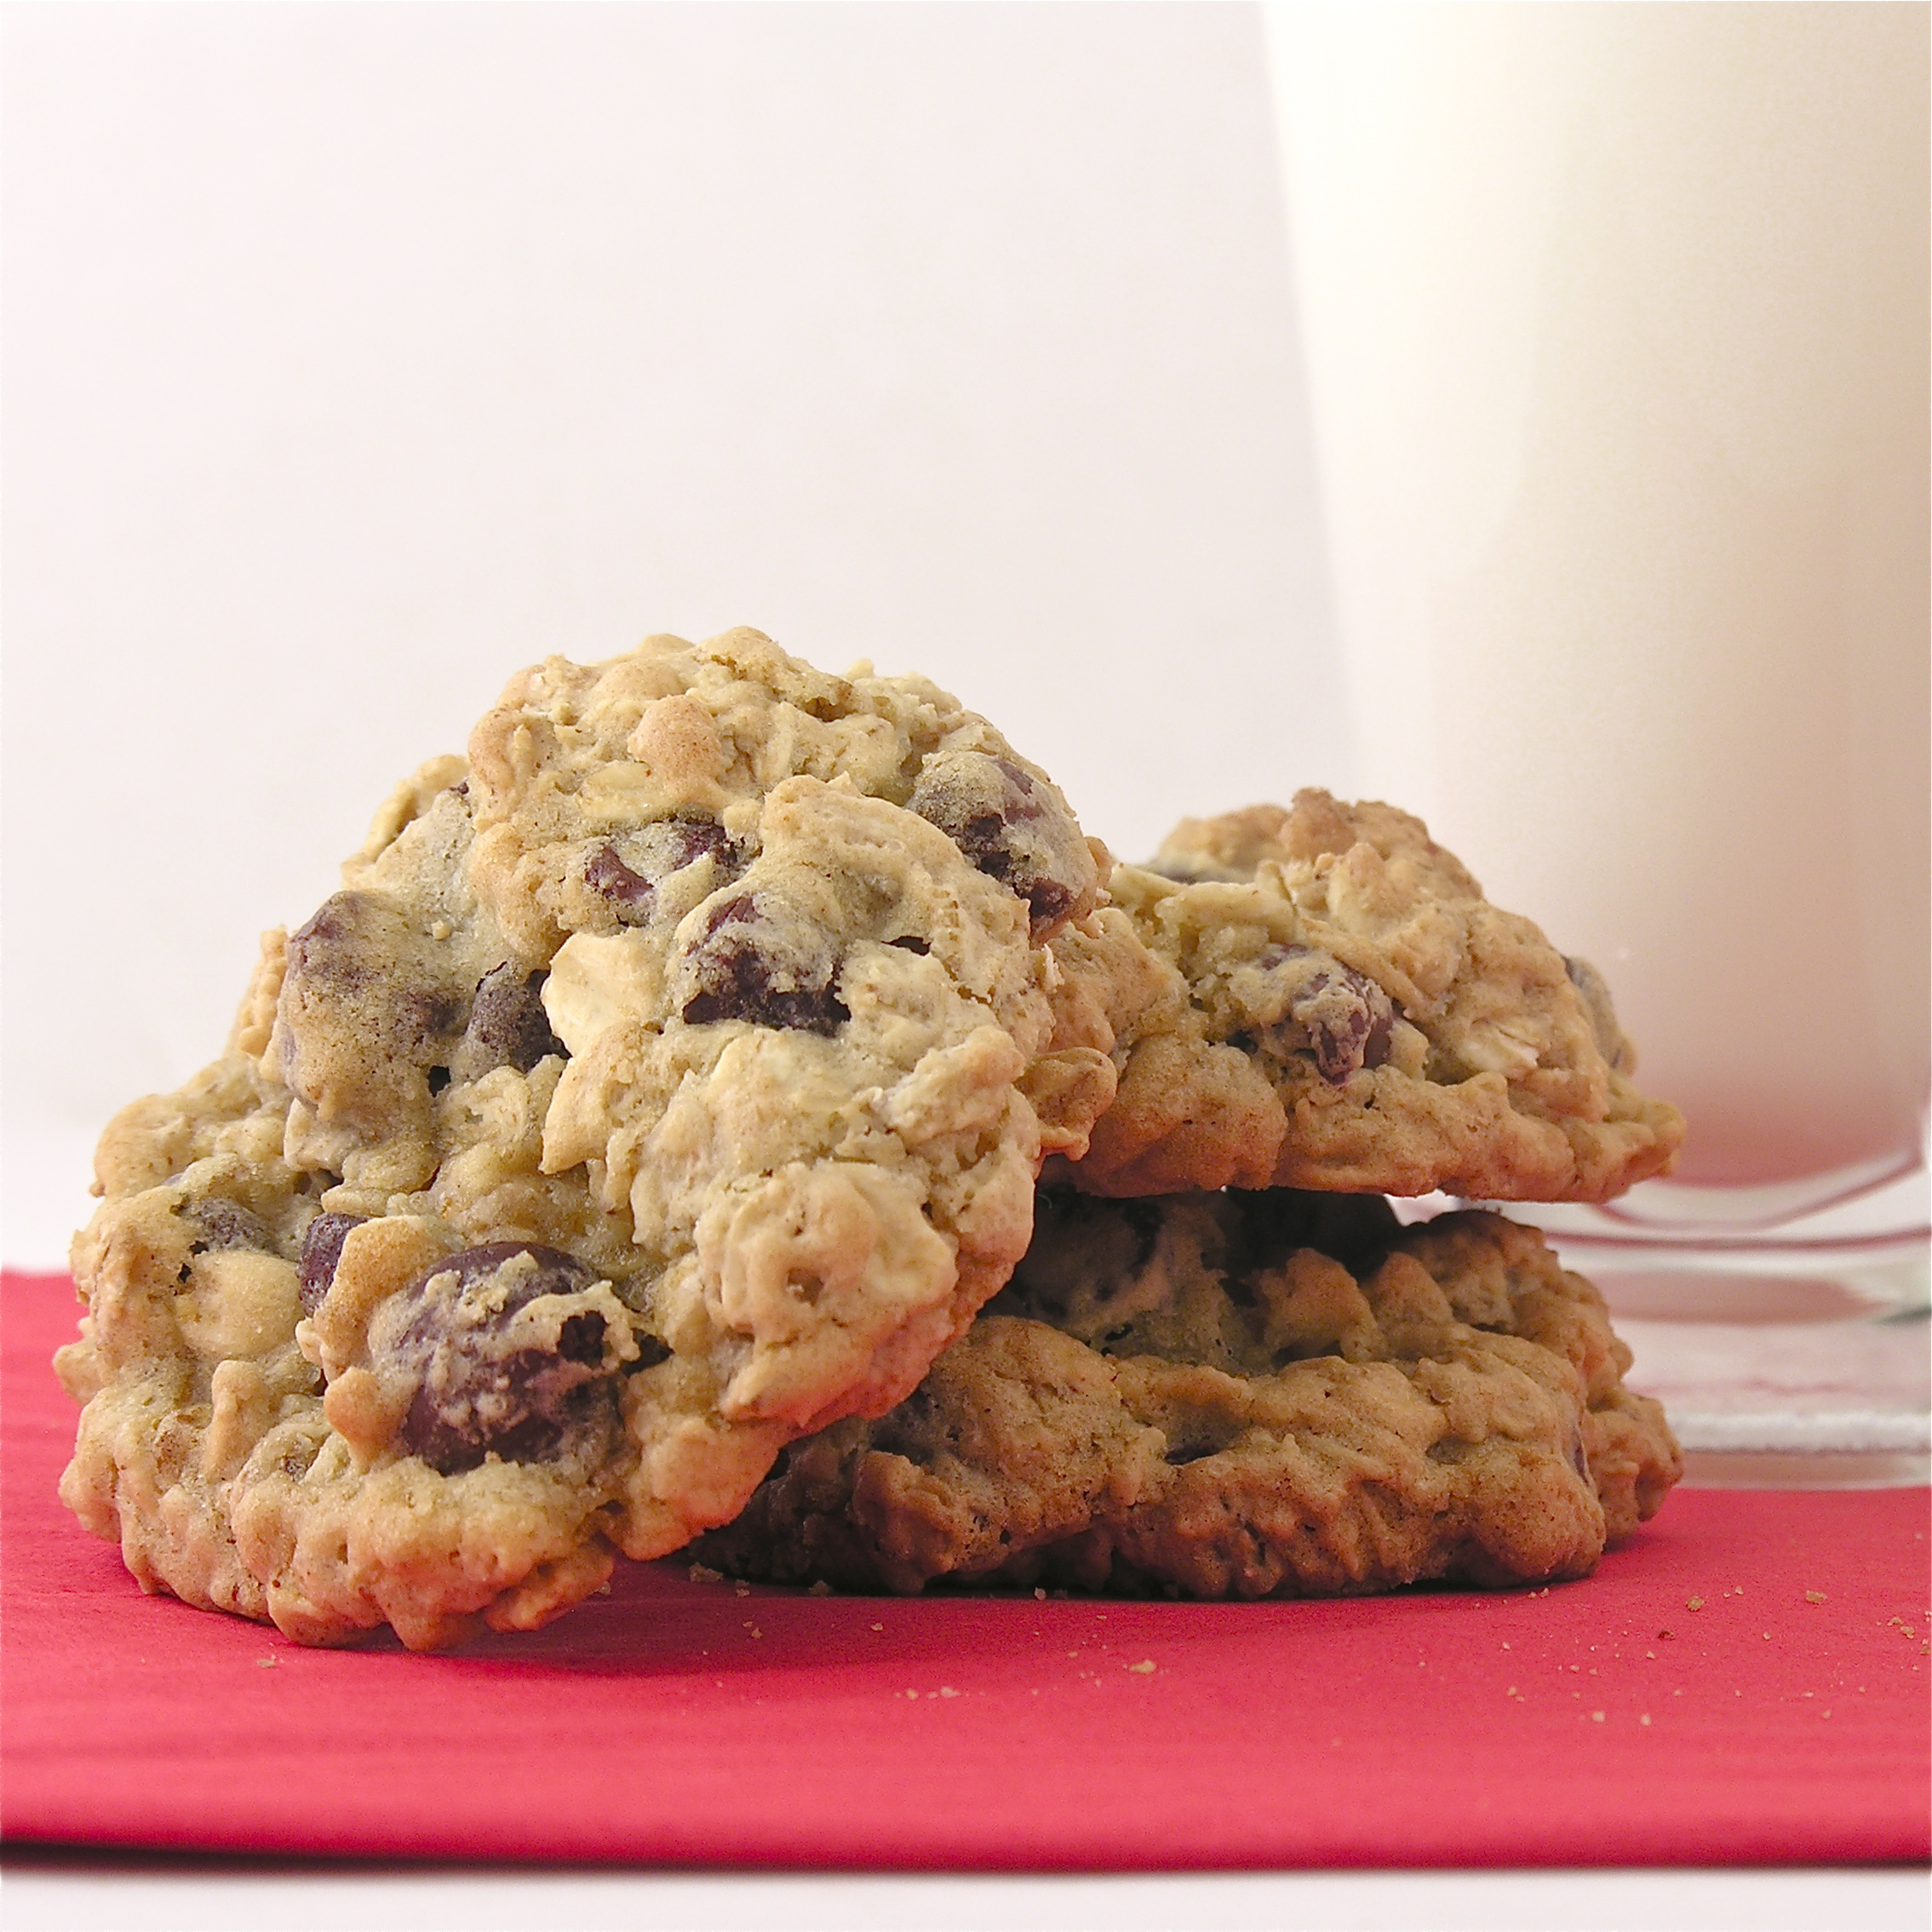
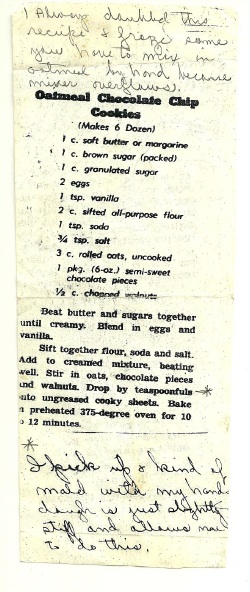
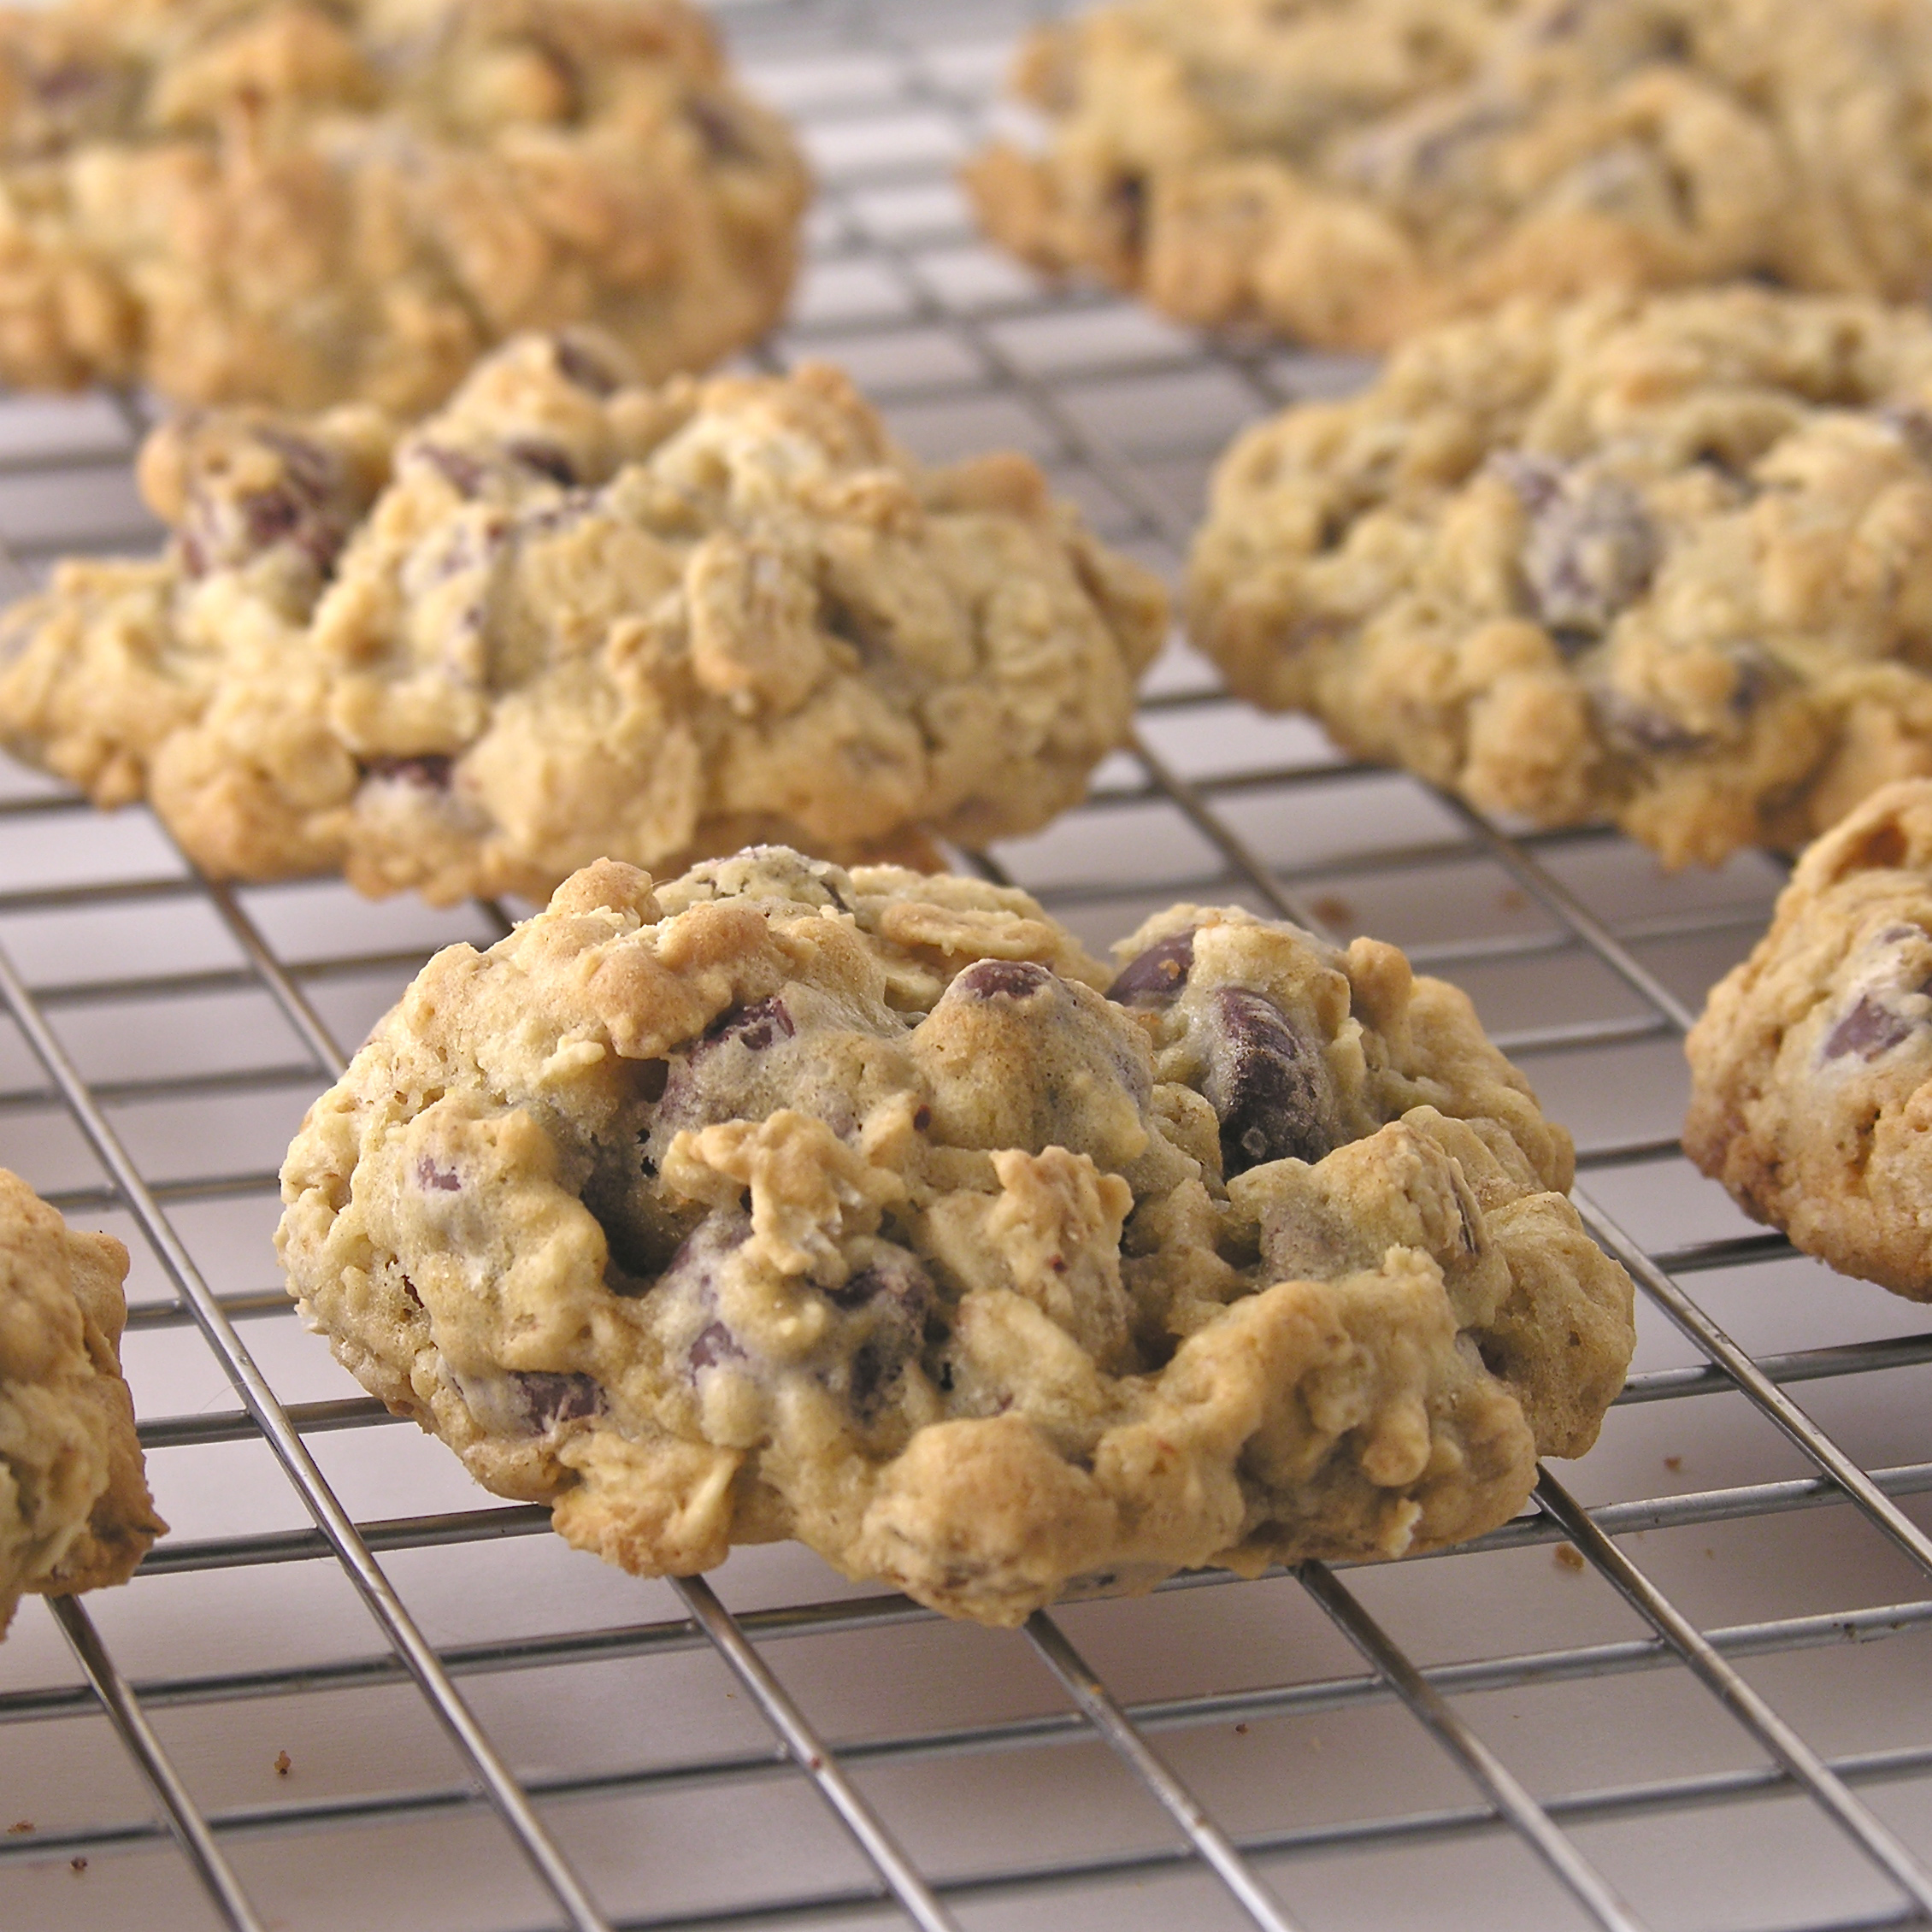
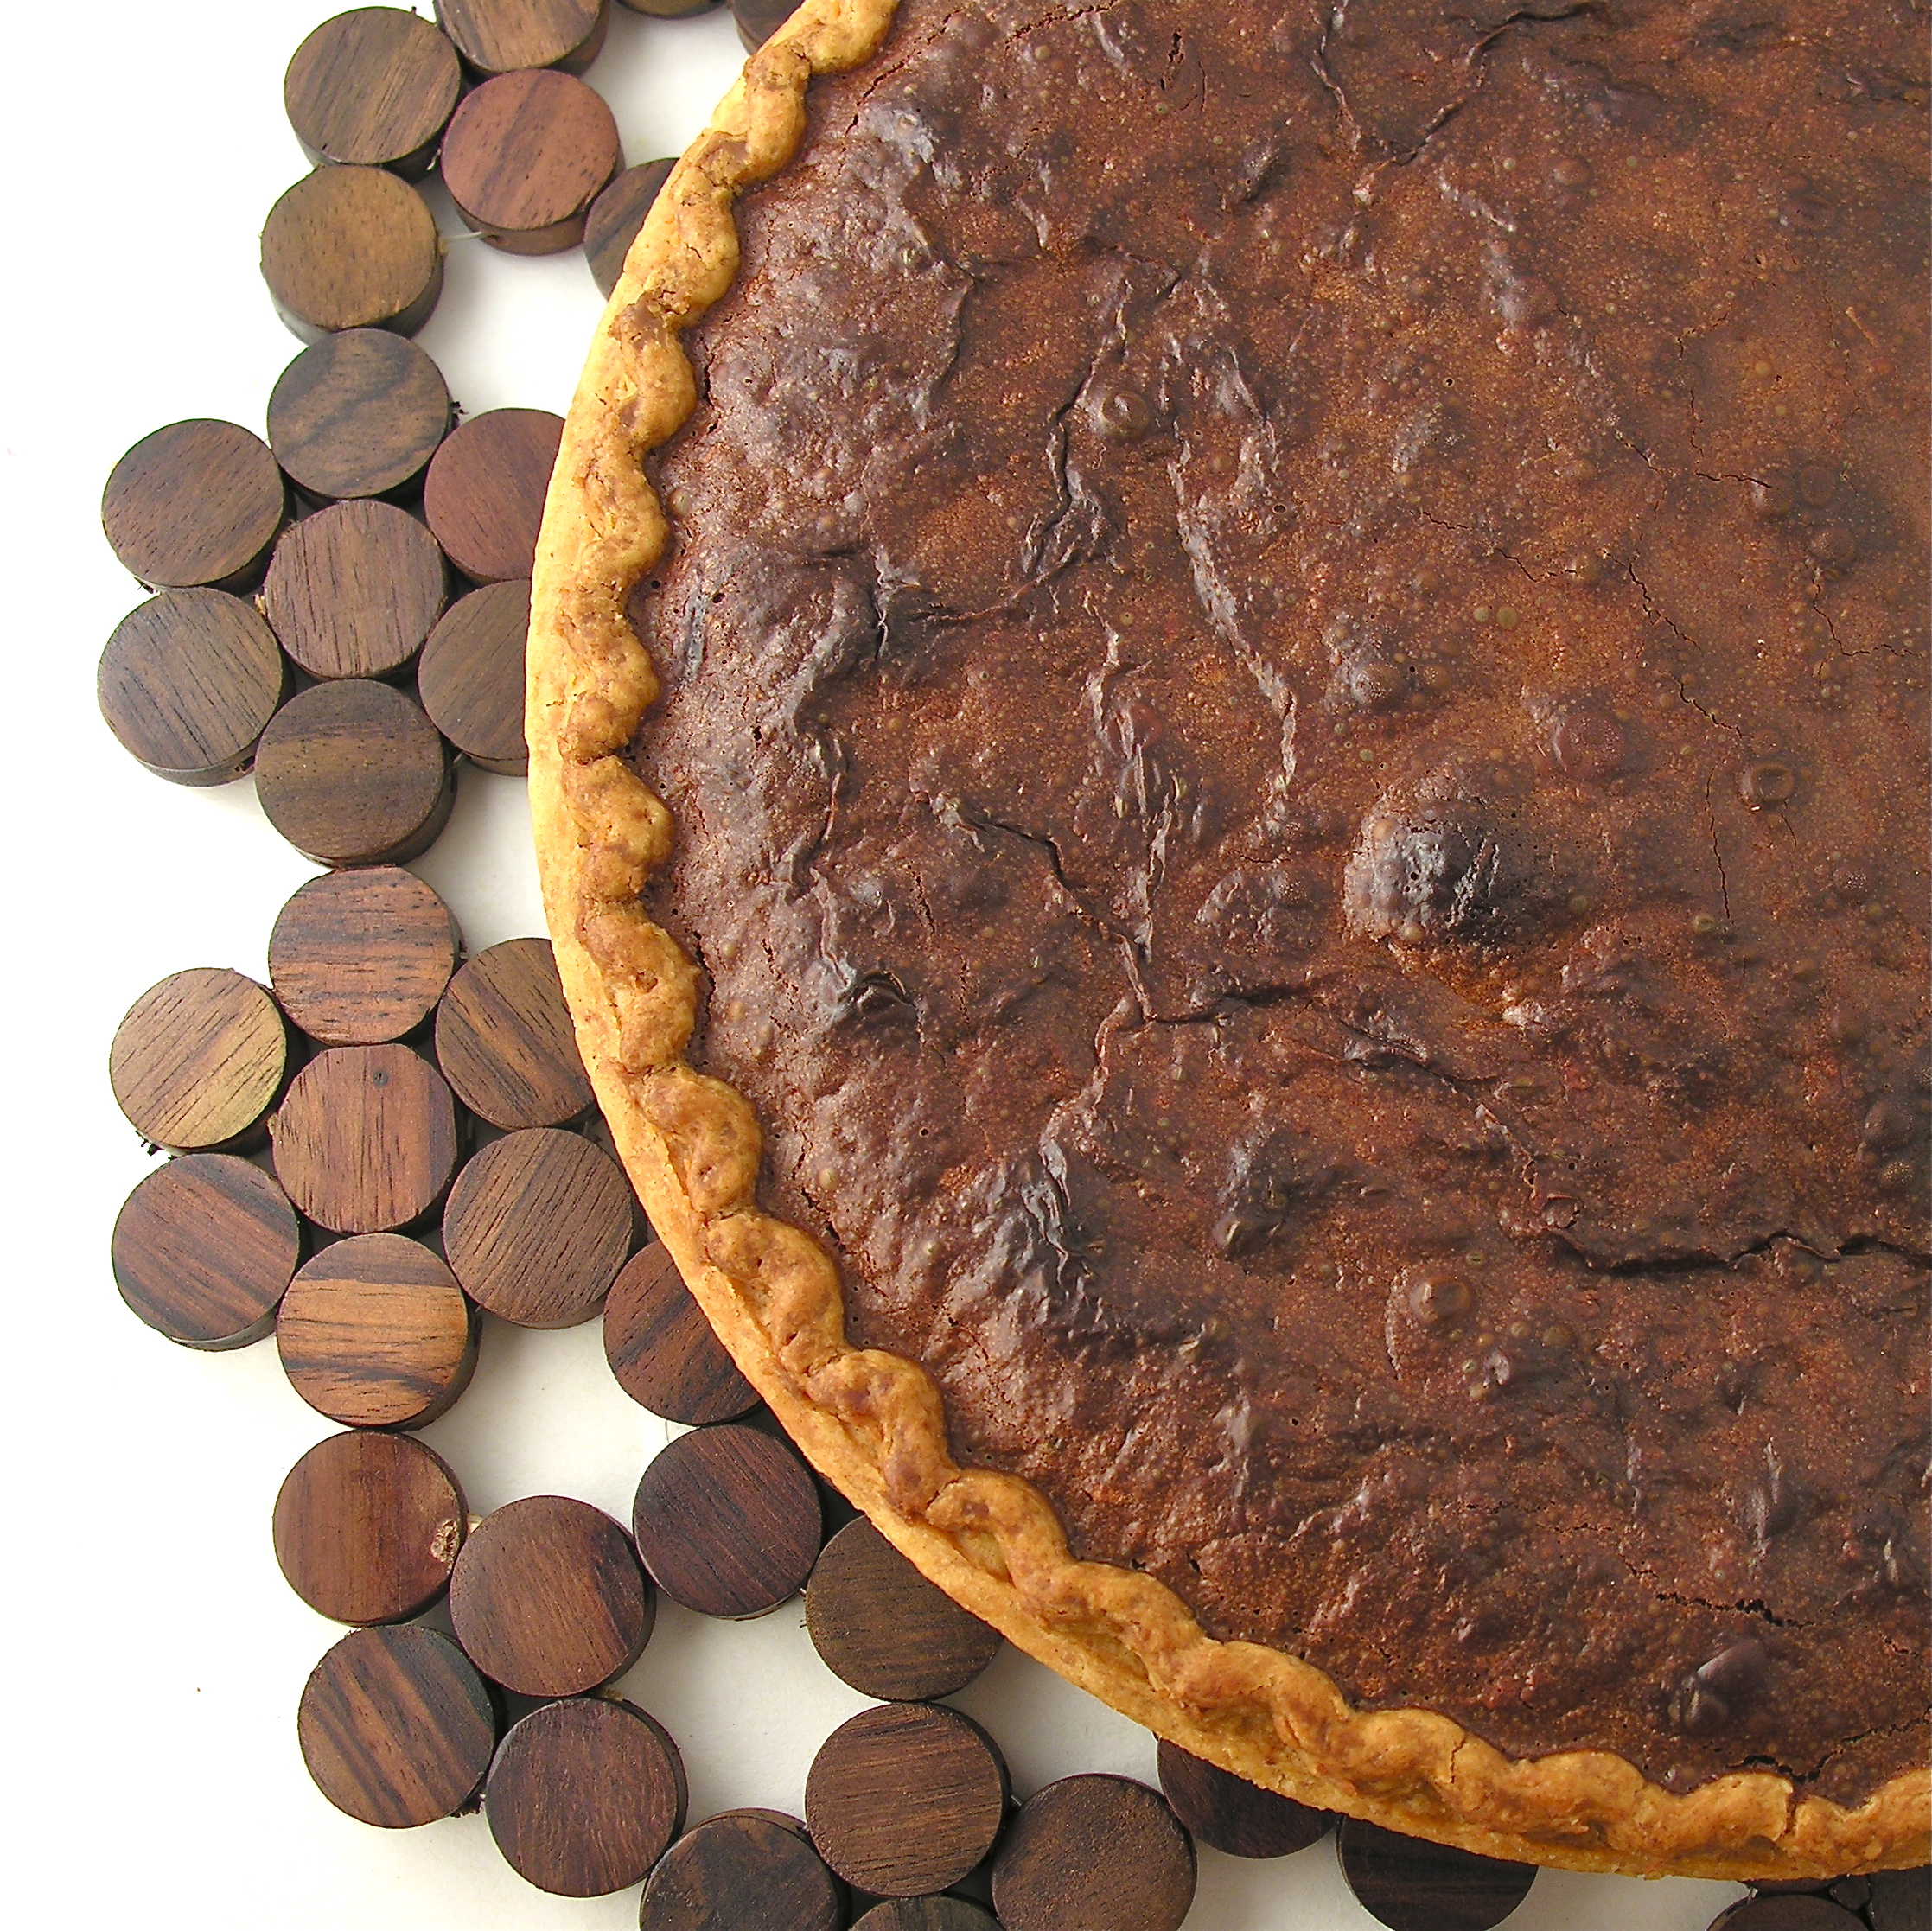
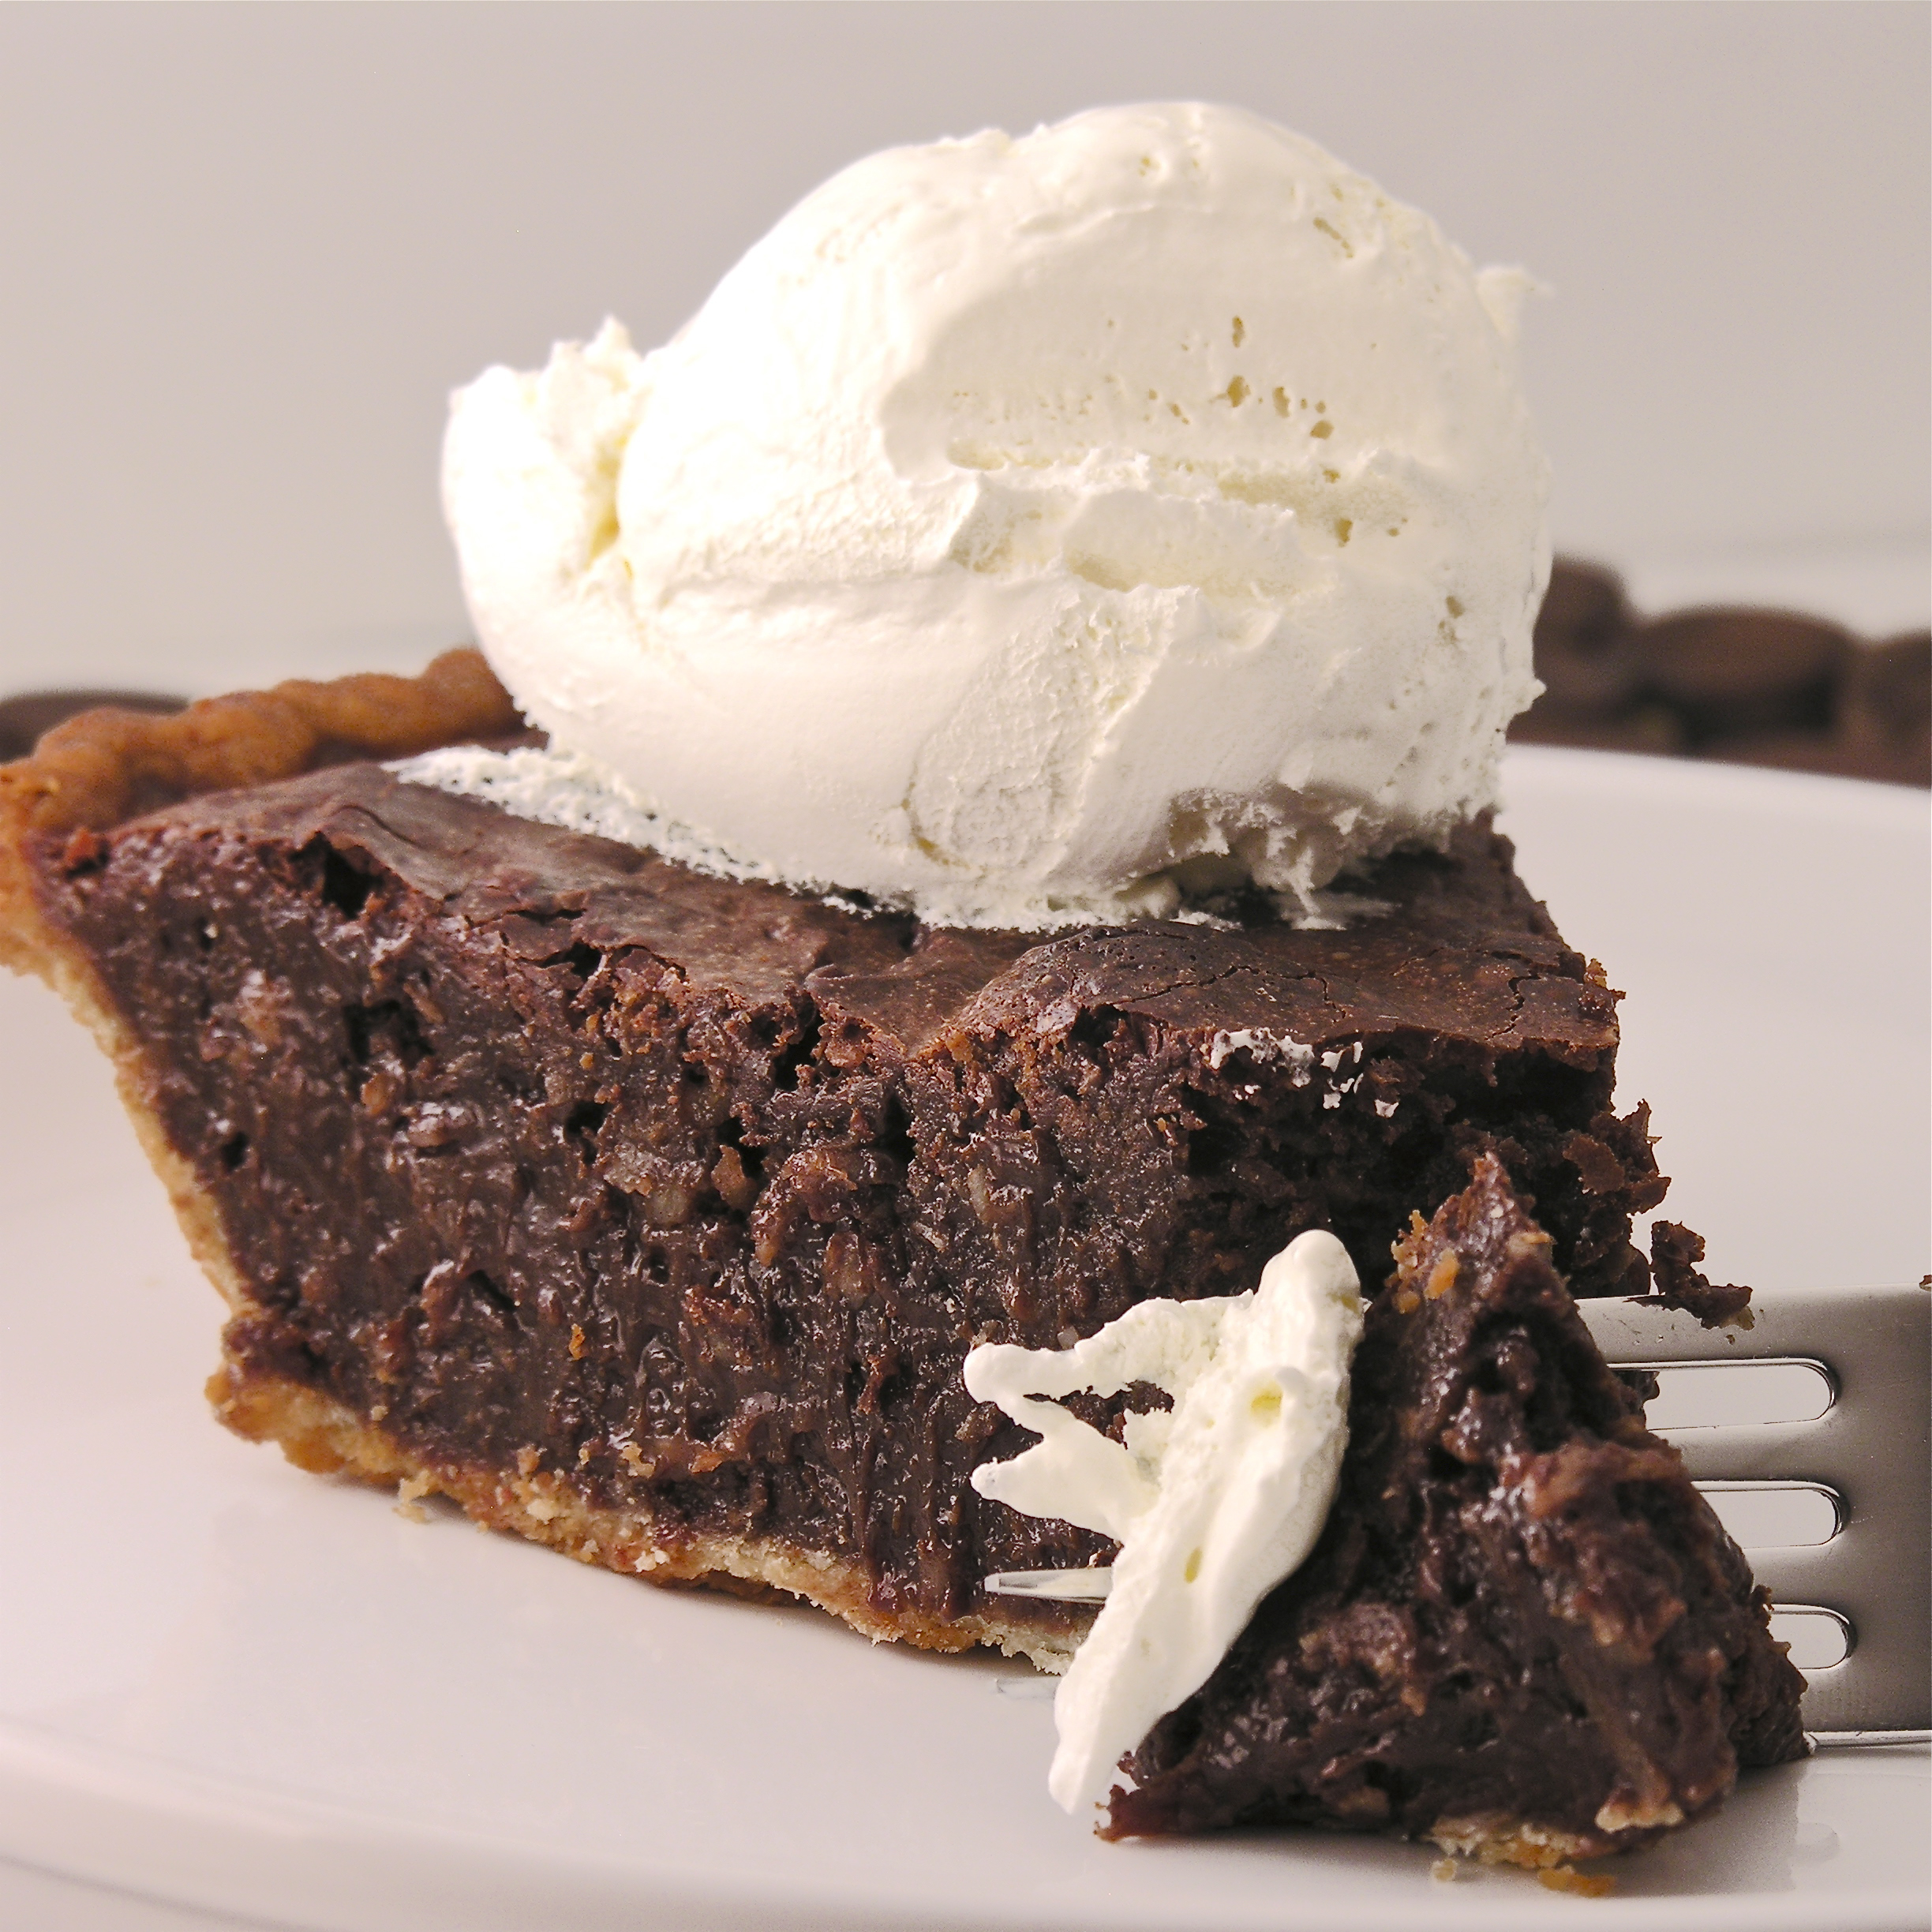
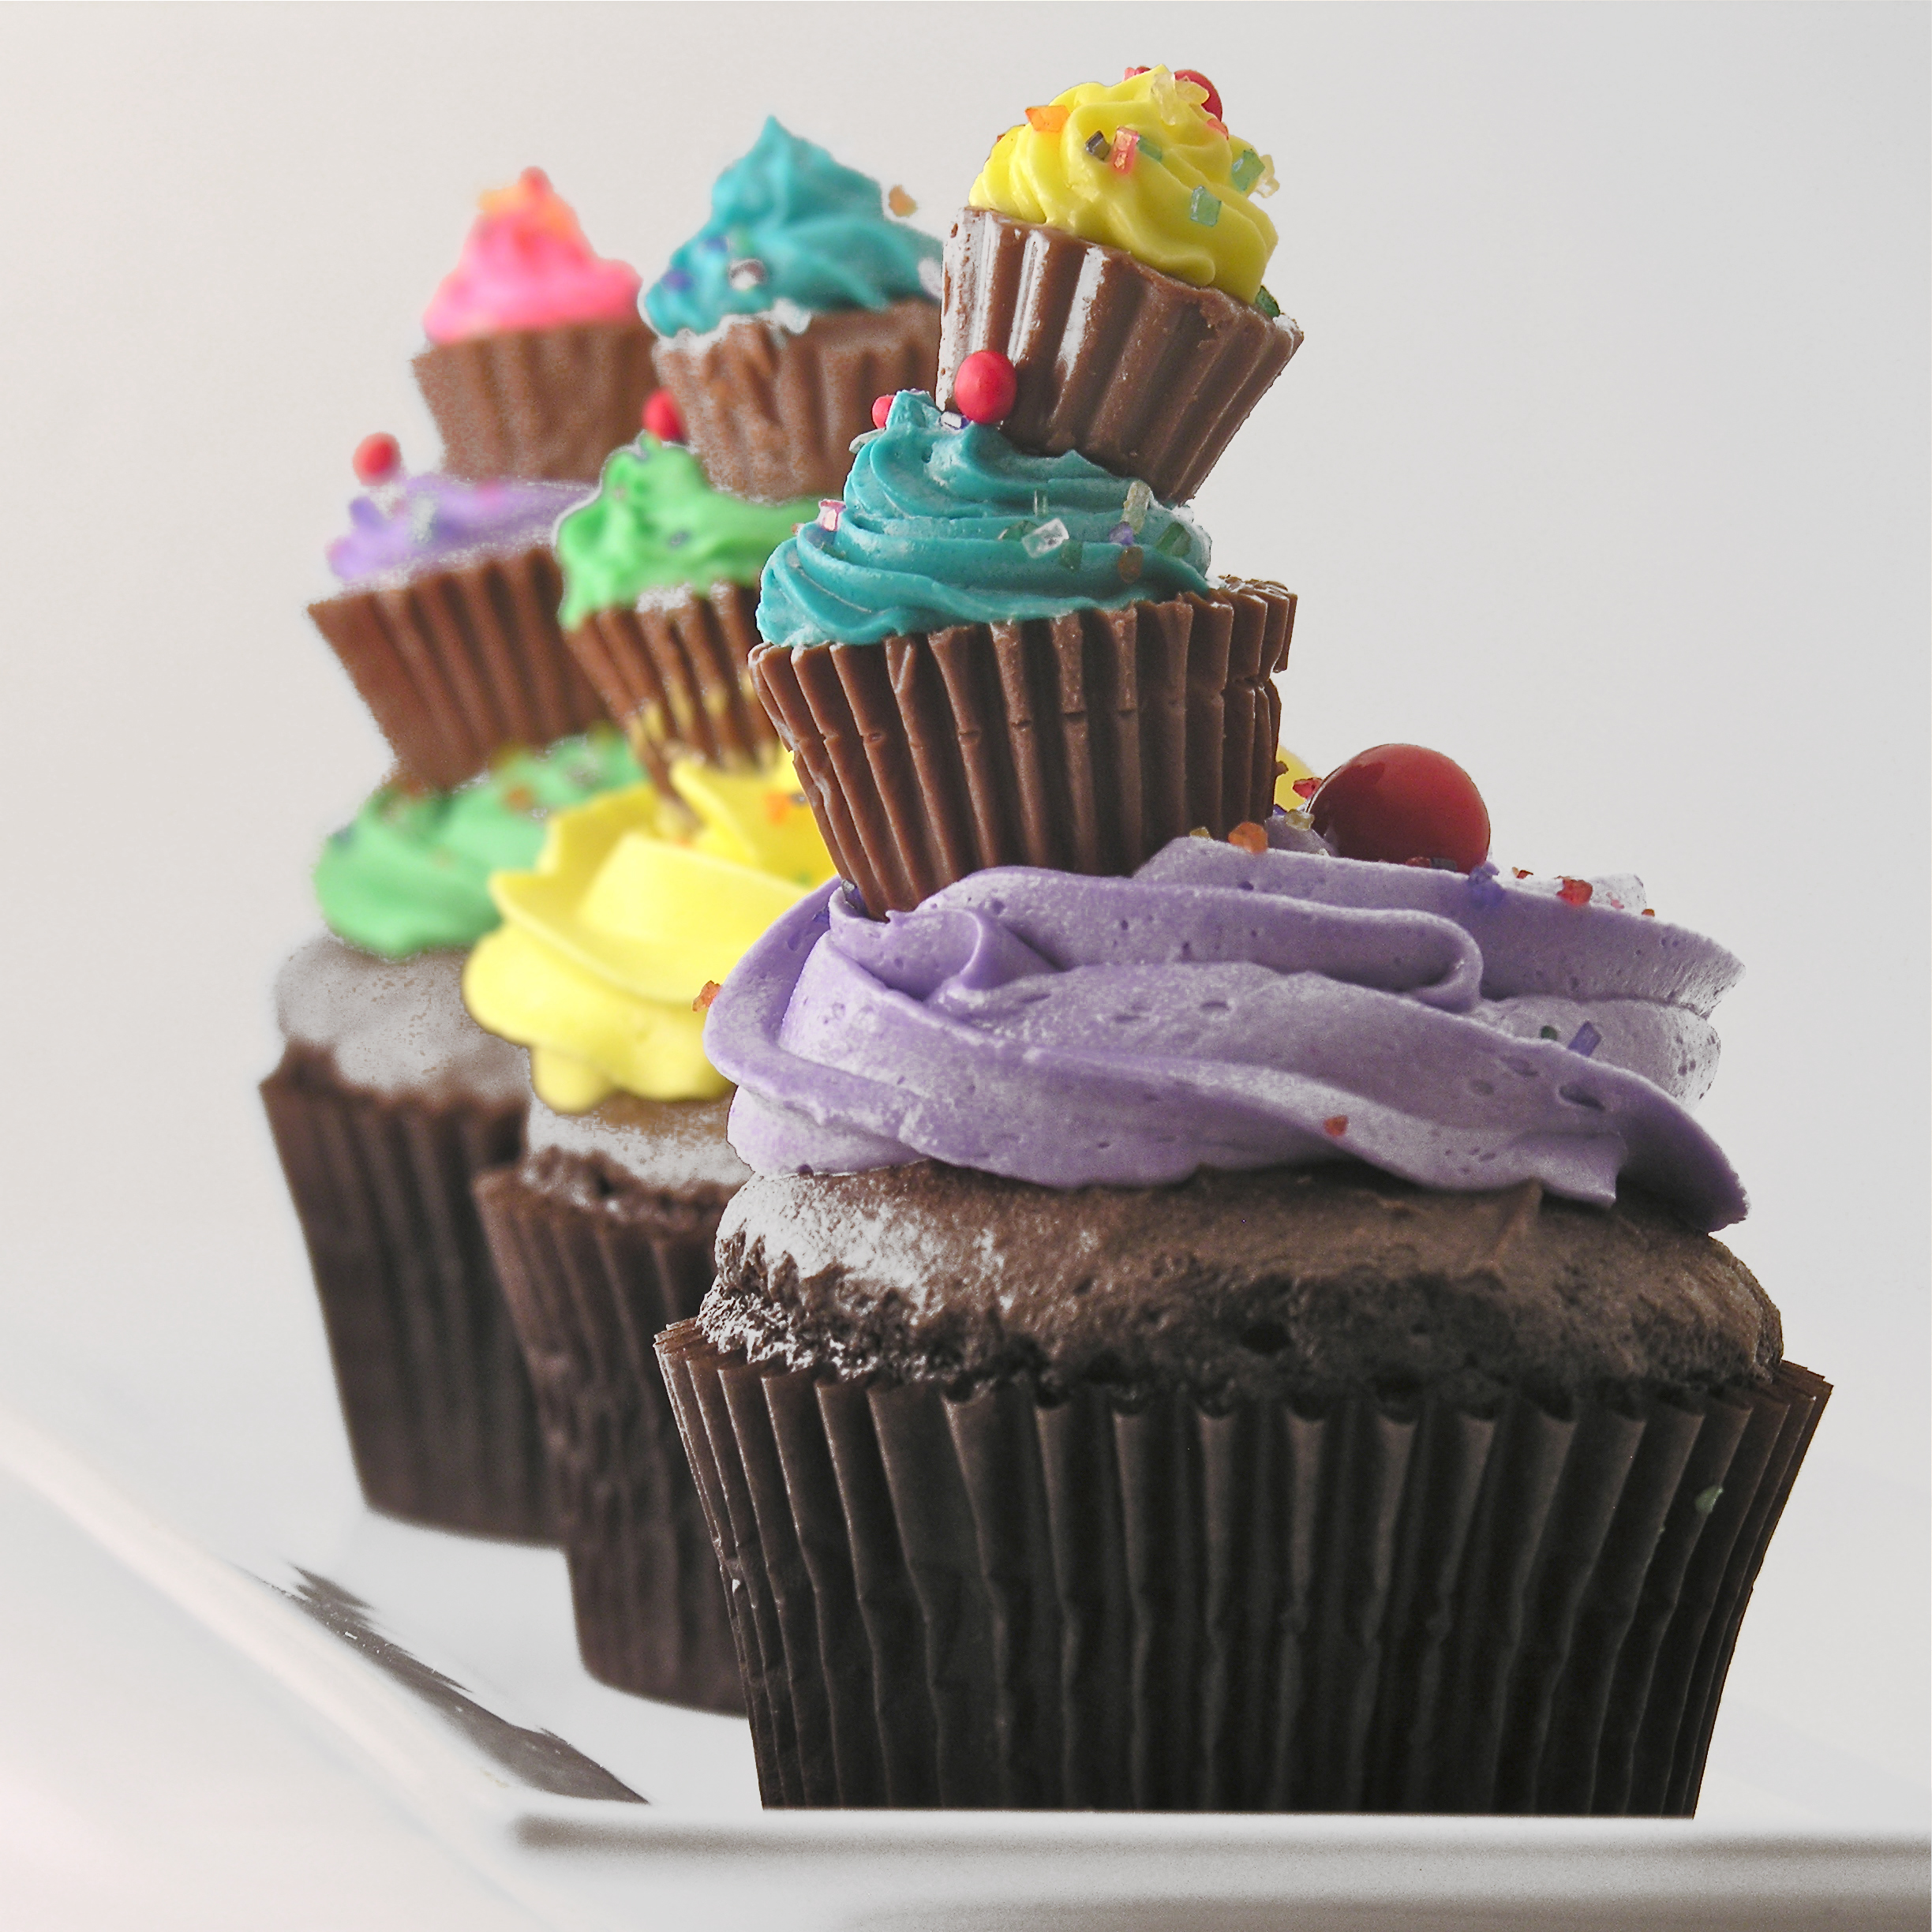
The eight flavors of cupcakes came either directly from the pages of easybaked- or they were inspired by a recipe here. Since we are racing toward the holiday season, I thought I’d share each of the recipes with you in a unique way– with free printable recipe cards. That way you can make them and share the recipe with your friends and family! Fun!!
Click on the photo to be taken directly to the easybaked recipe that inspired the mini-cupcake. Click on the words “recipe cards” under each photo to get a pdf that you can print and share.


Red Raspberry Minis — recipe card Andes Mint Minis — recipe card


Caramel Apple Minis — recipe card Cinnamon Roll Minis — recipe card


Strawberry Lemonade — recipe card Bubble Gum Minis– recipe card


Chocolate Ganache Minis–recipe card Wedding Cake Minis —recipe card
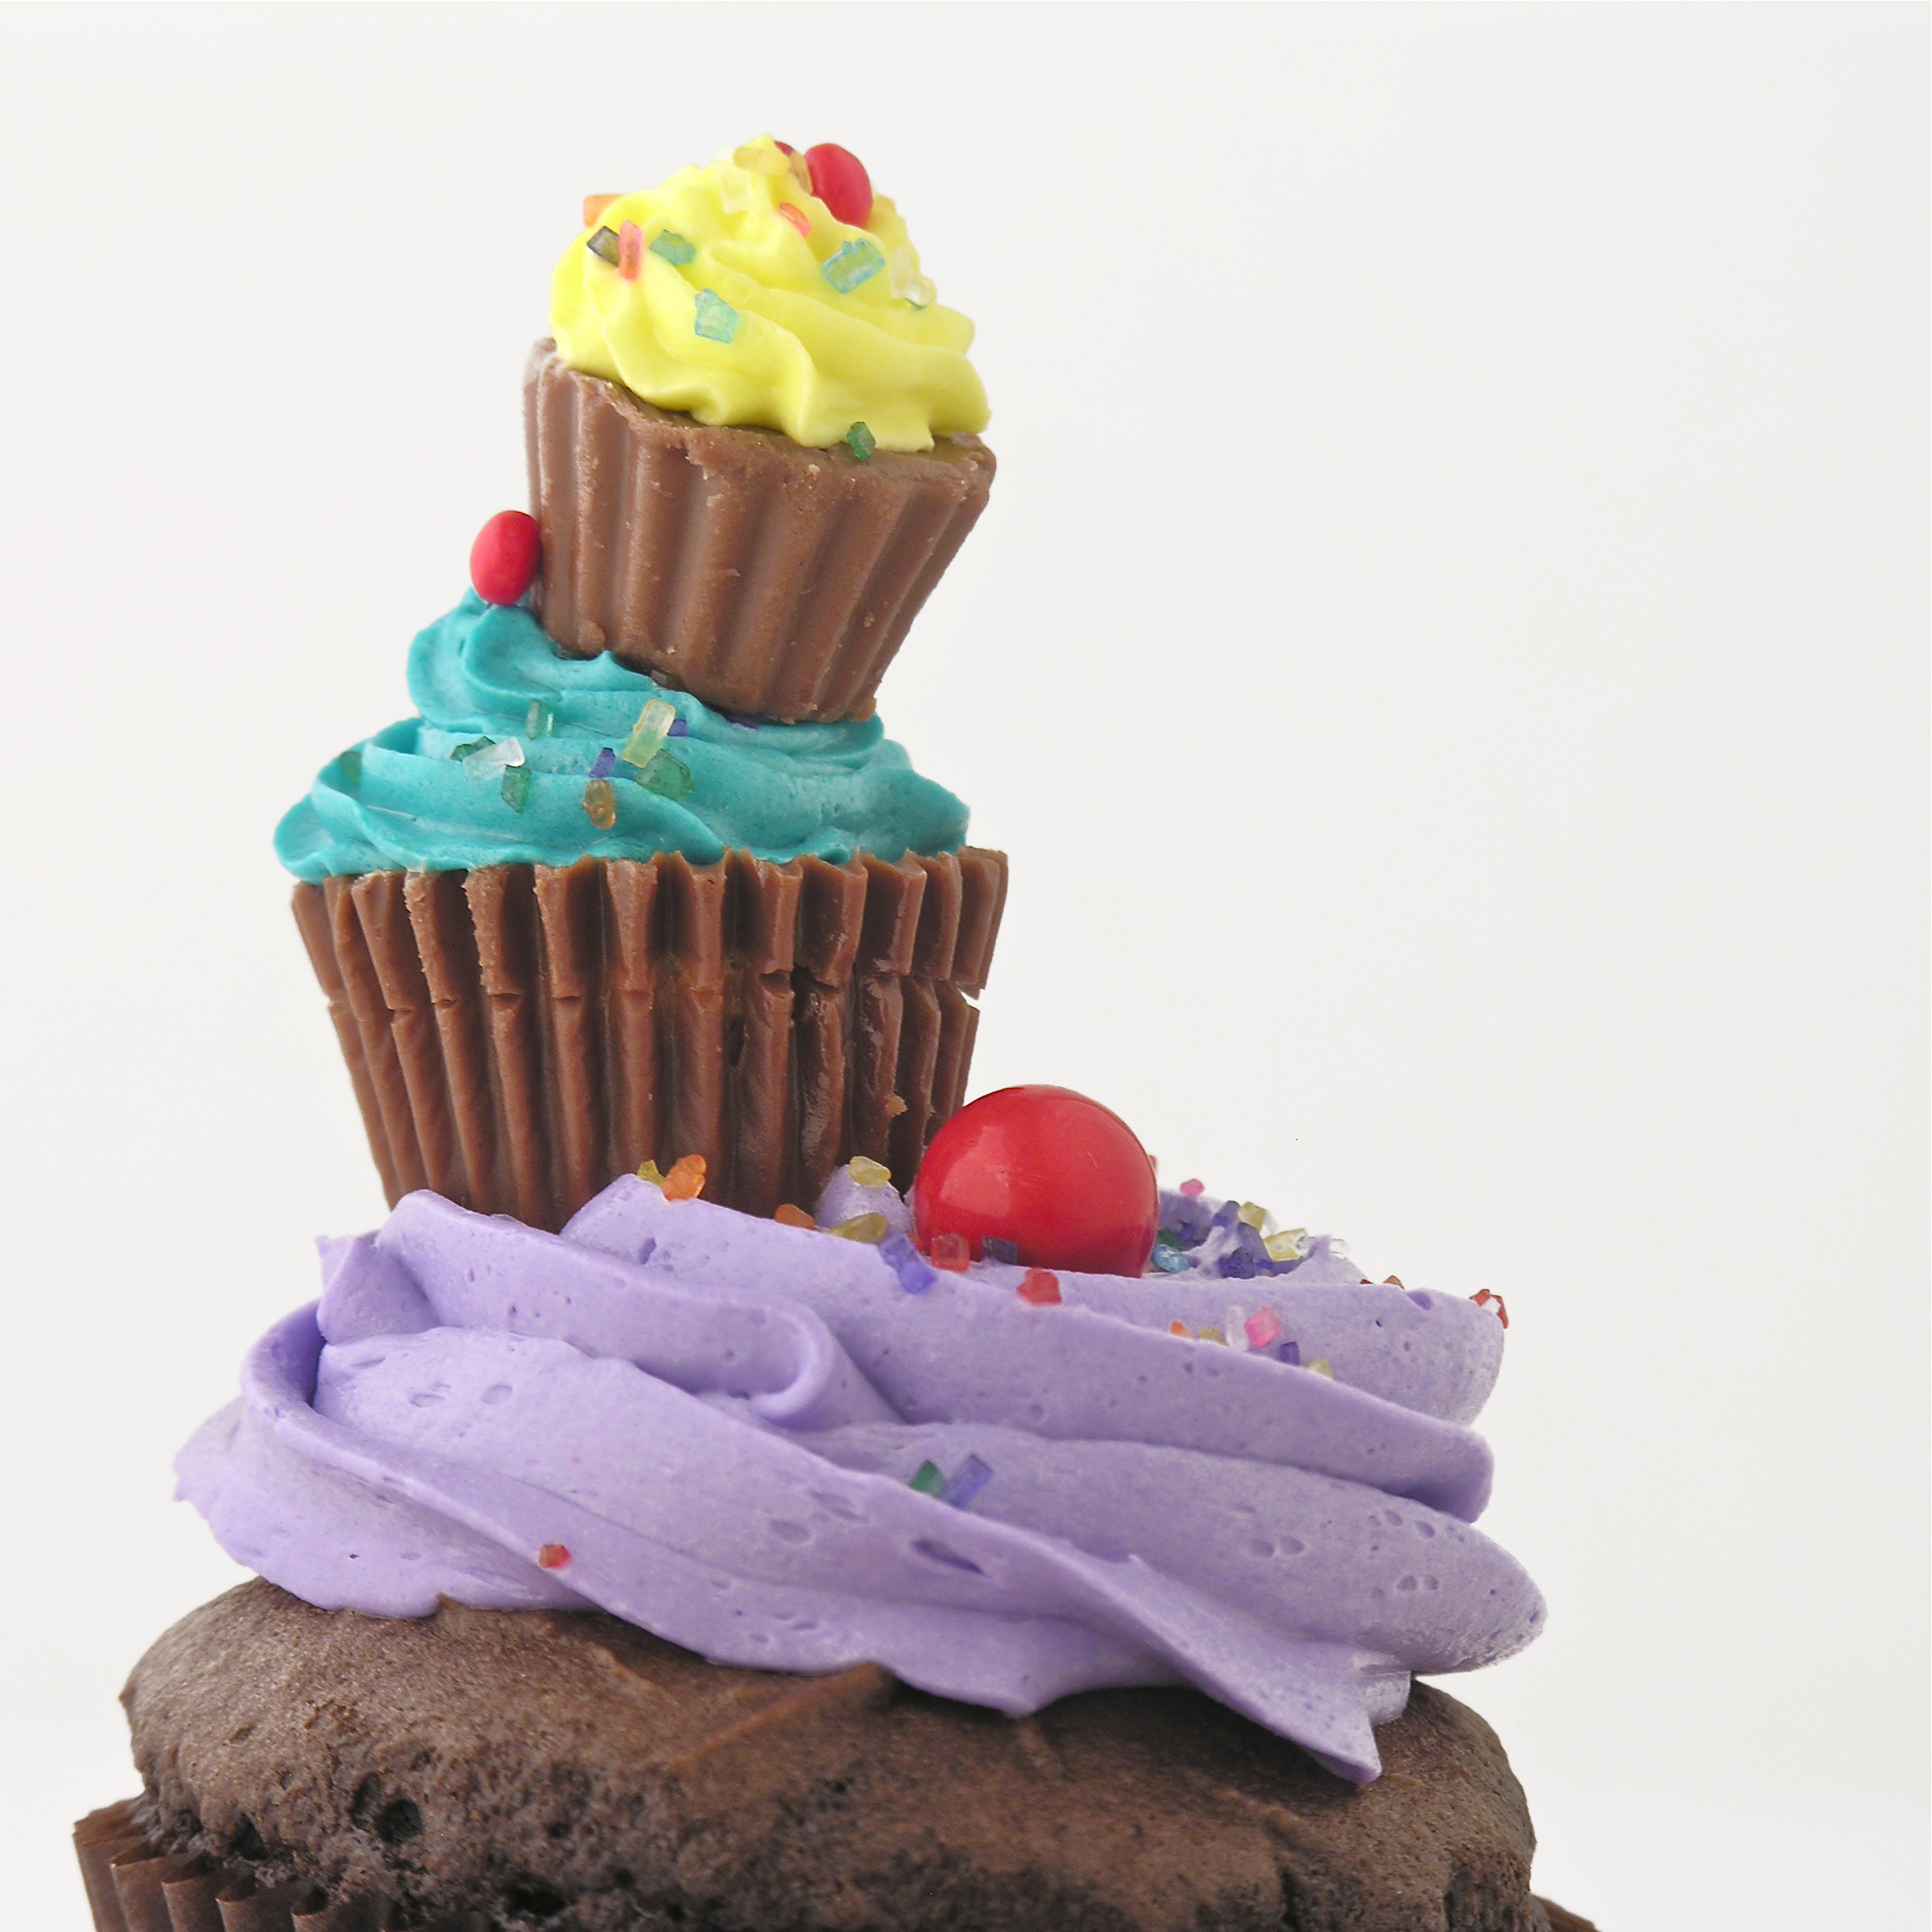
The very last recipe wasn’t inspired by any recipe in particular, so if you click on the photo you will simply get….a photo. Sorry about that! My apologies also for the photography ~ my iphone did all of the work on this post 🙂
I hope you enjoy this collection of cupcake recipes and cards~ and thank you for allowing me to share a little bit of my heart with you in this post! Back soon– in the meantime….enjoy! ~r


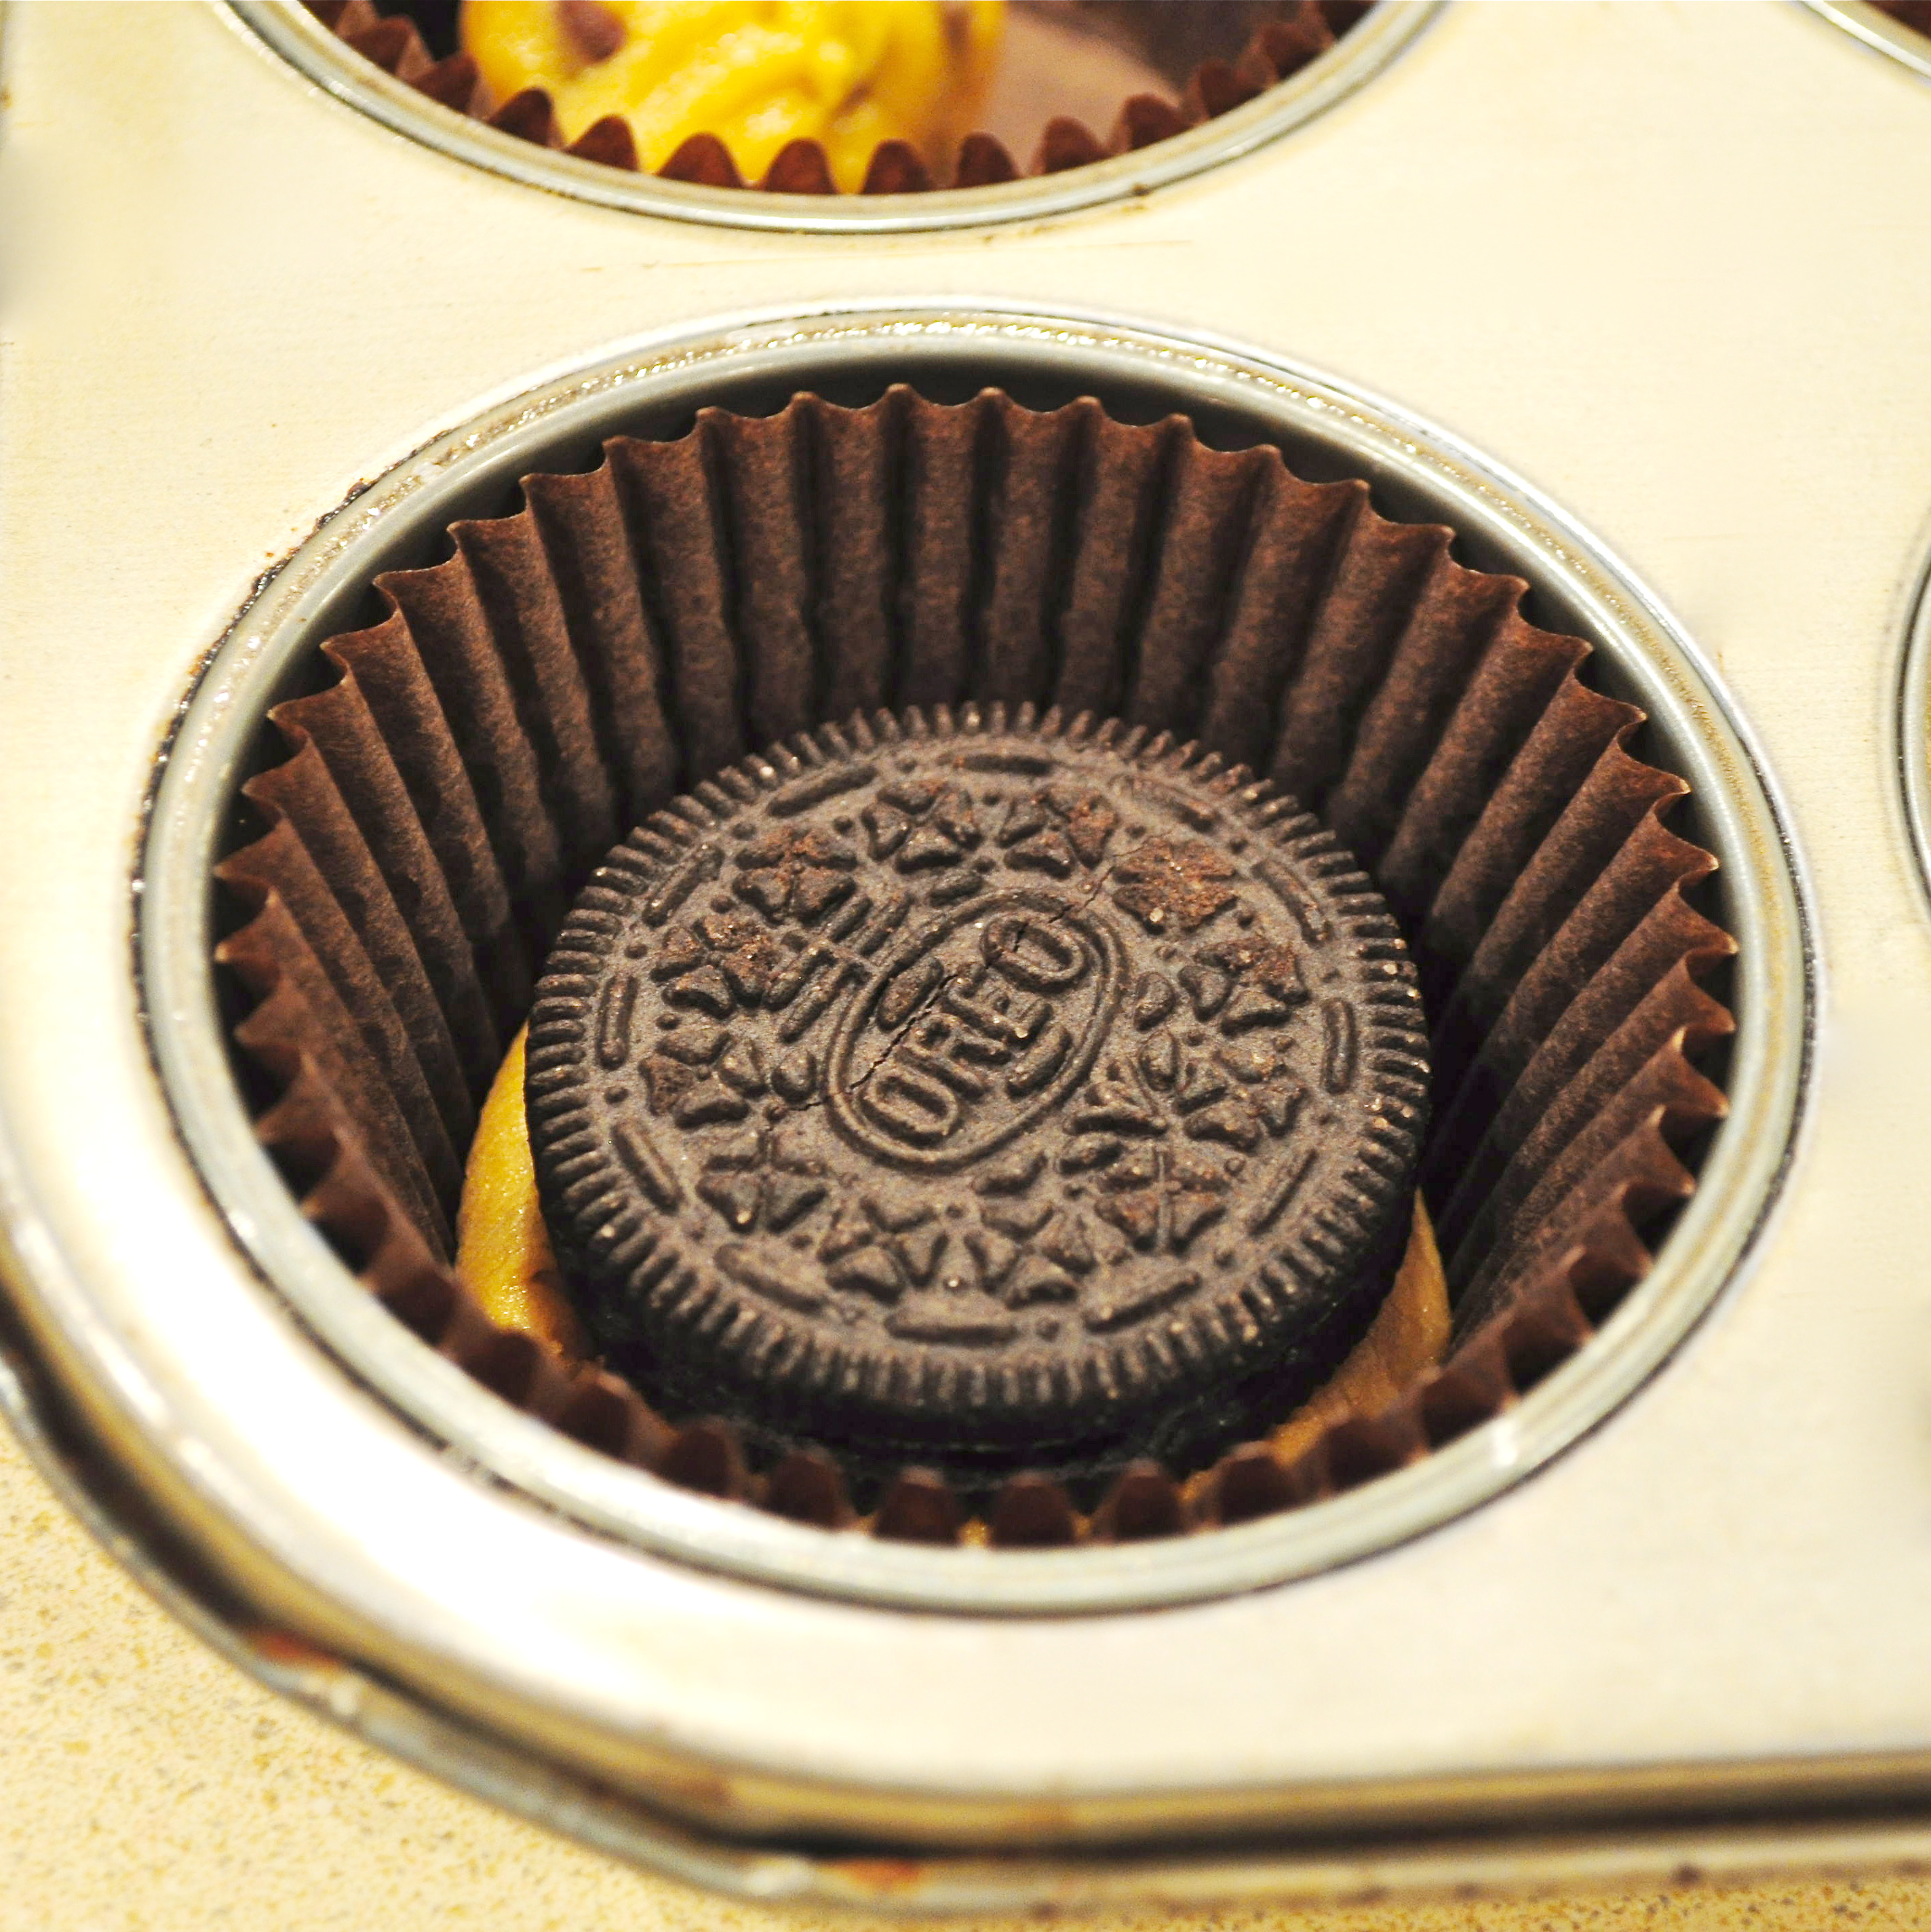
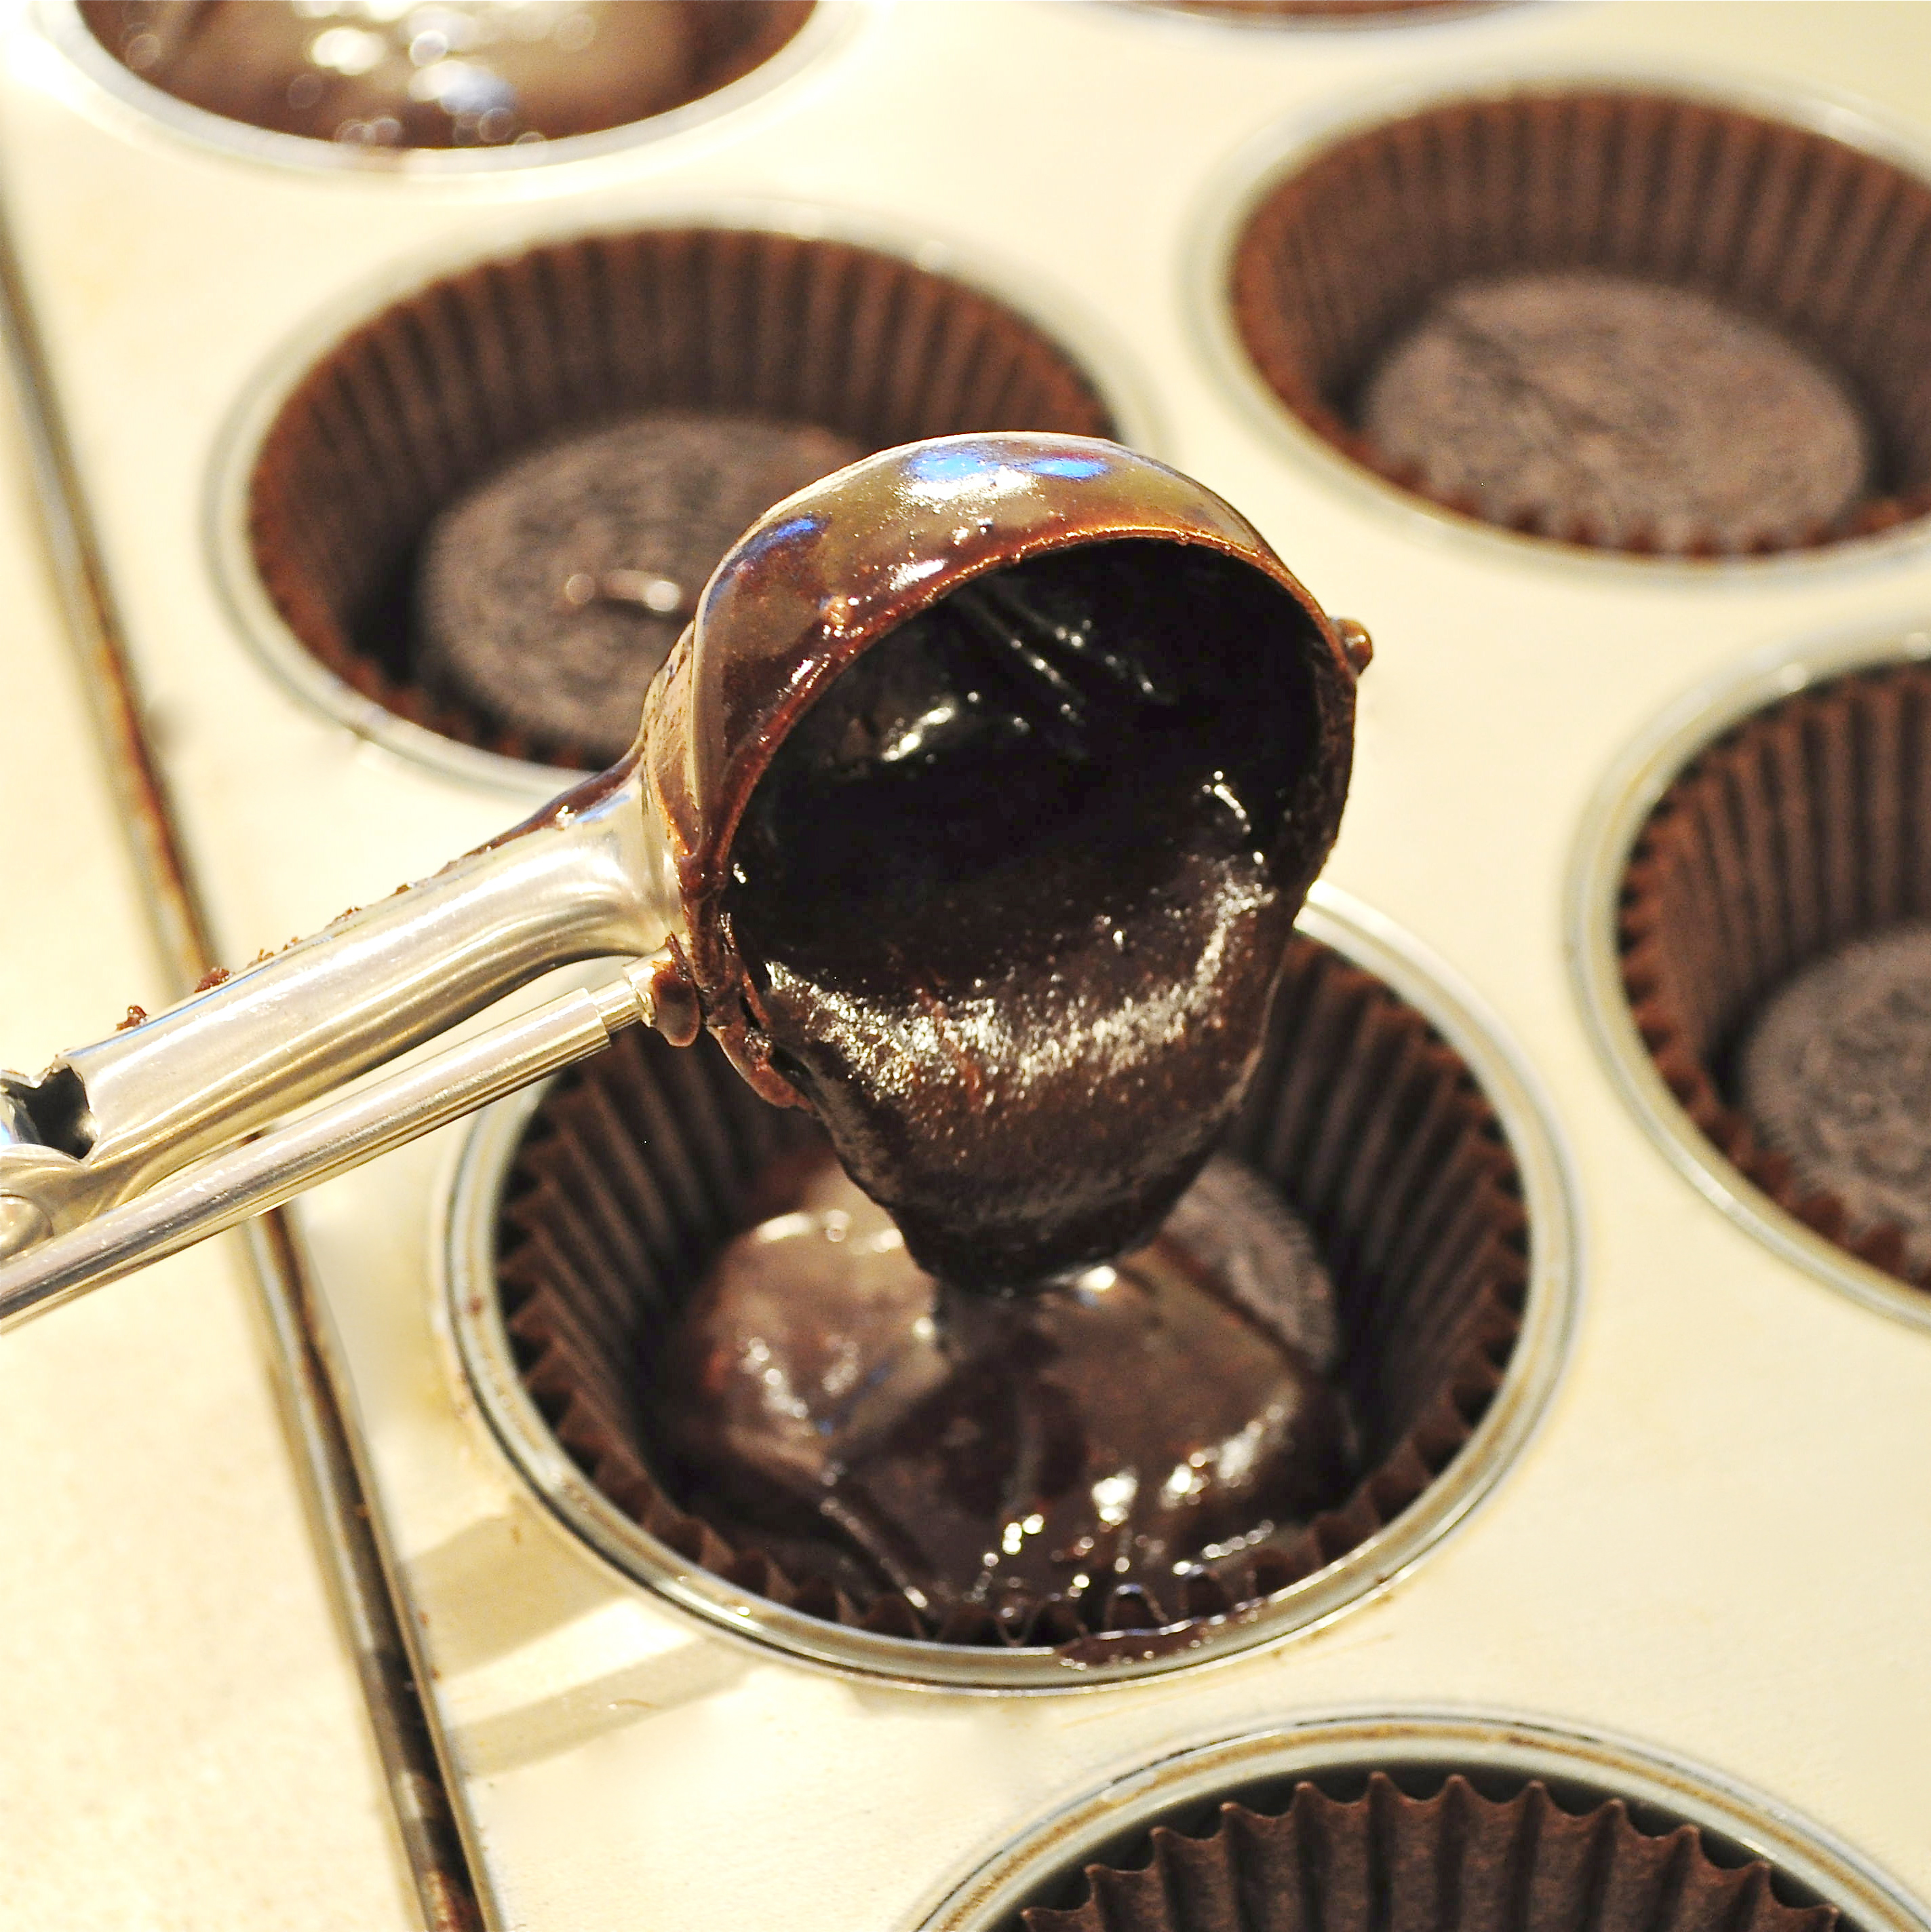
 Chocolate chip cookie dough topped with an Oreo cookie topped with a chewy brownie… does dessert get better than this? Plus they are just so cute- and fun to eat!
 They are so easy to put together:
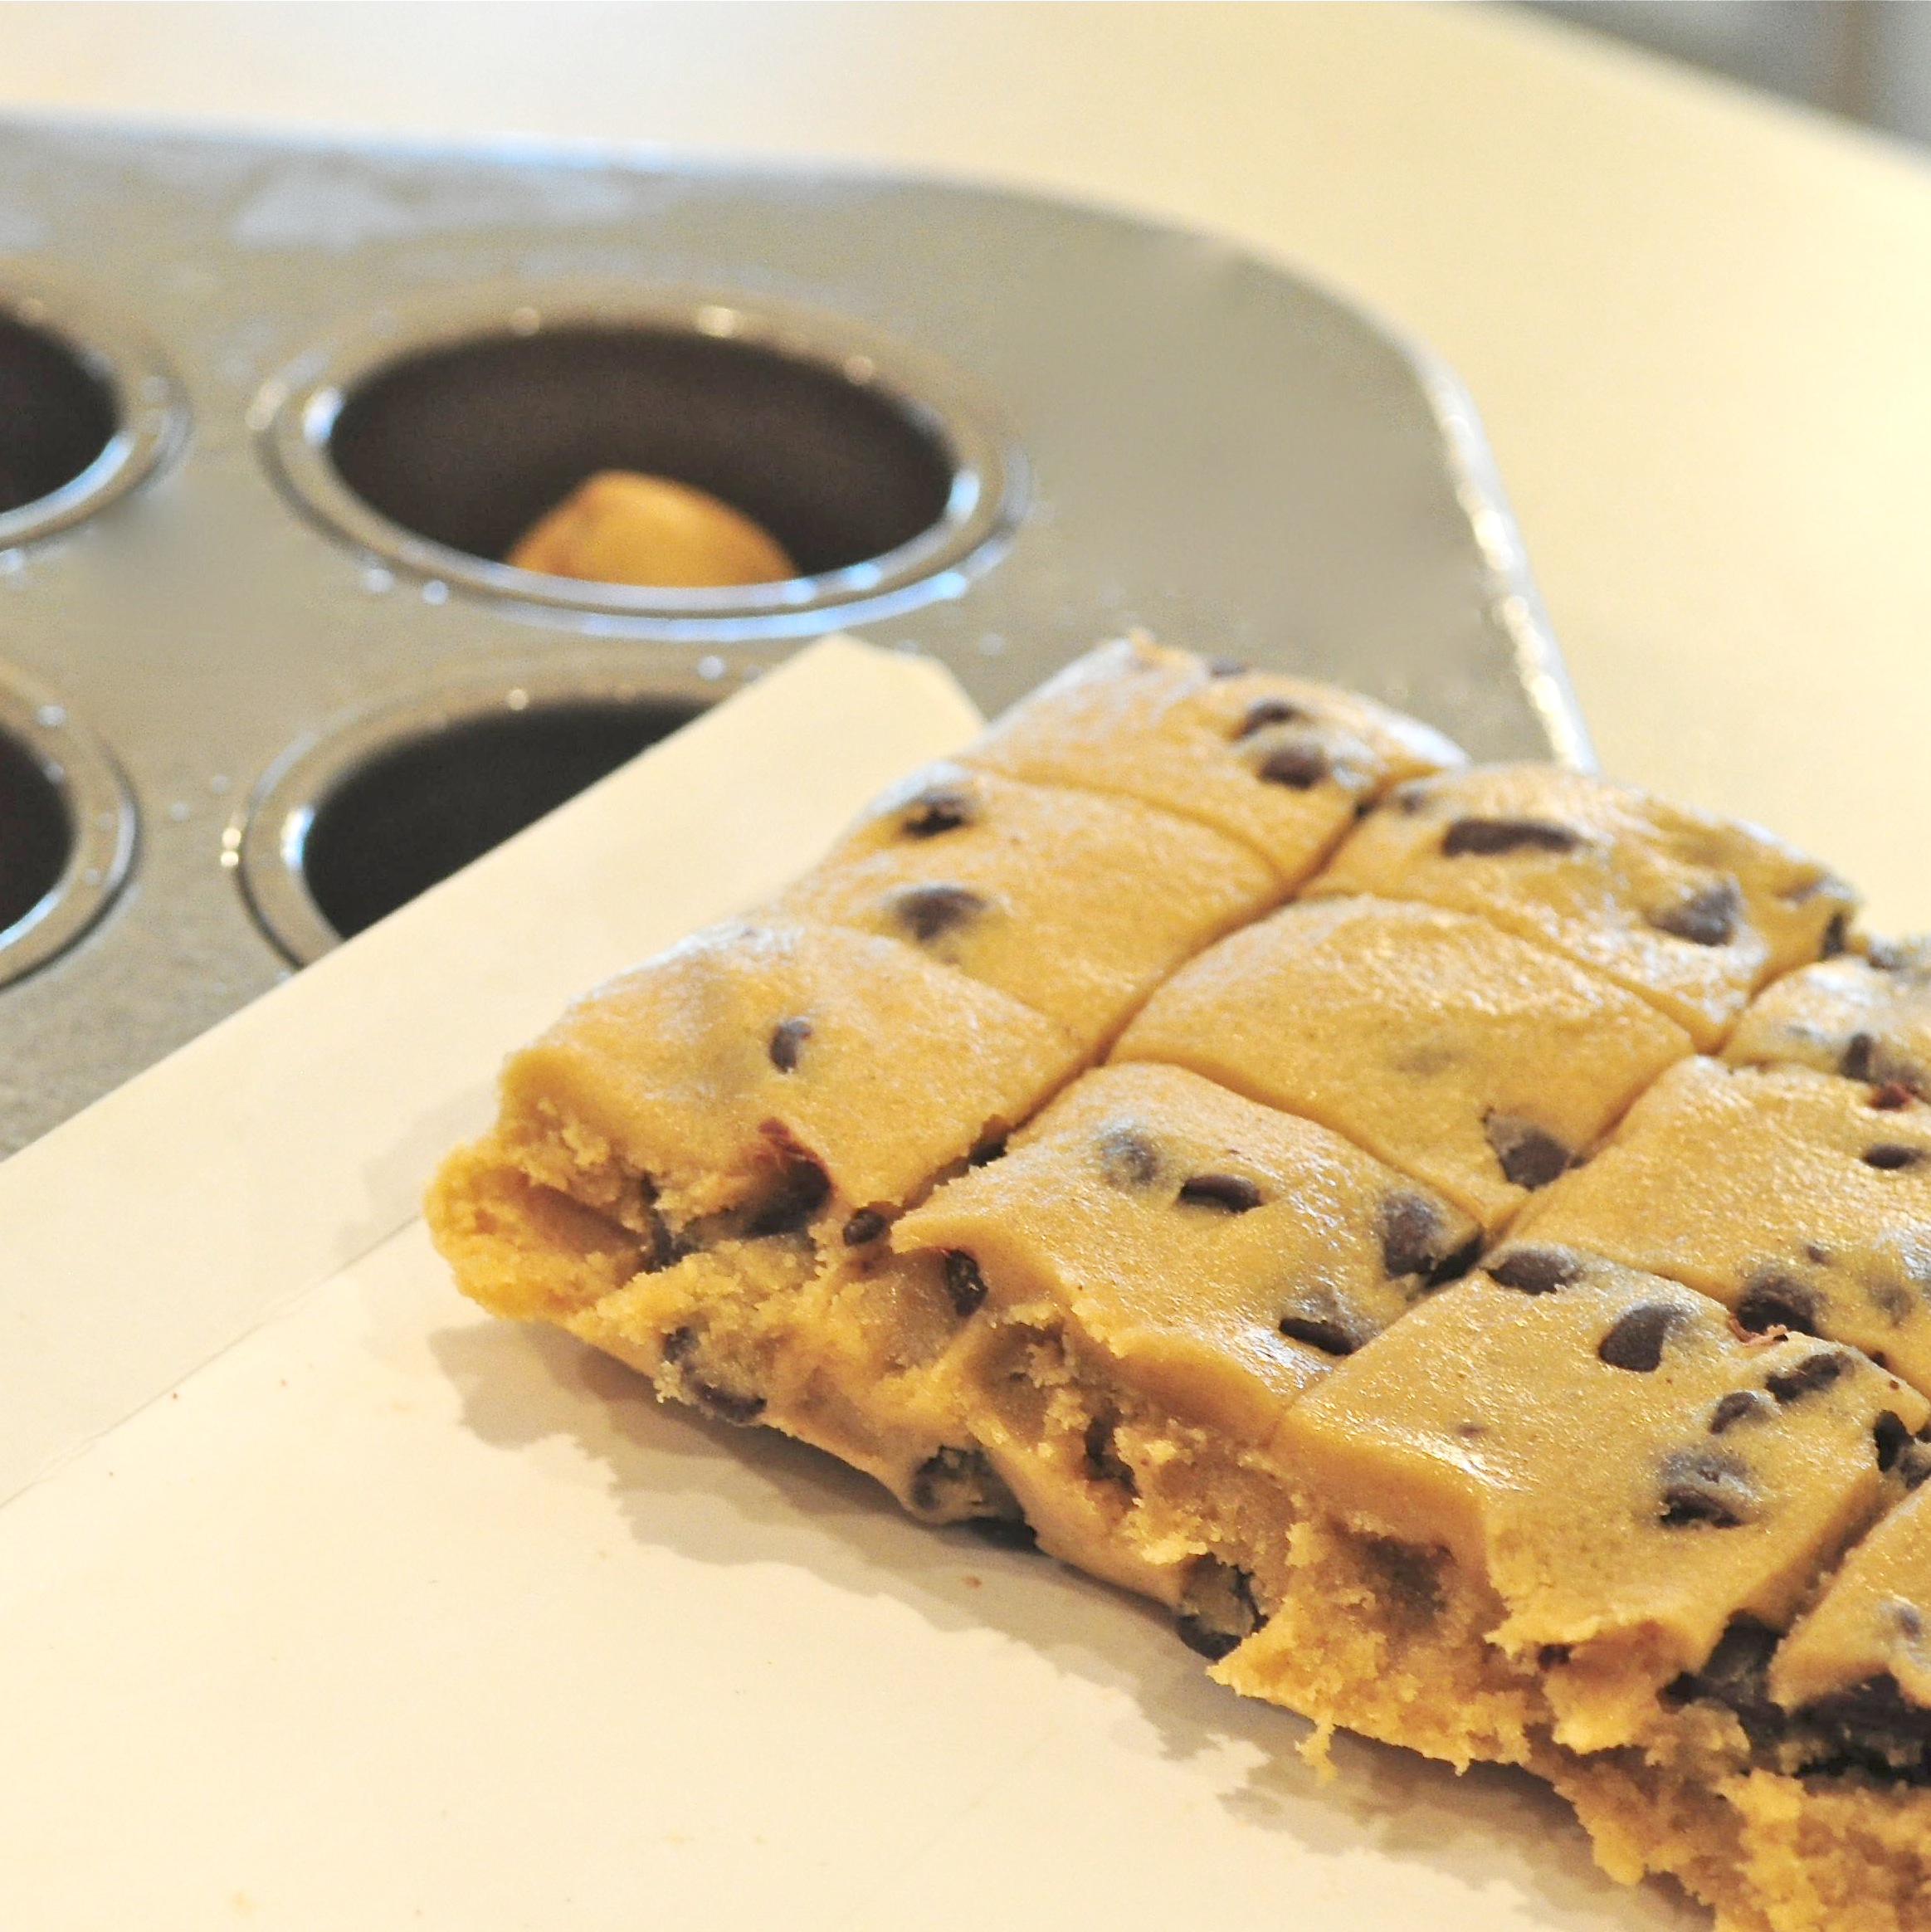


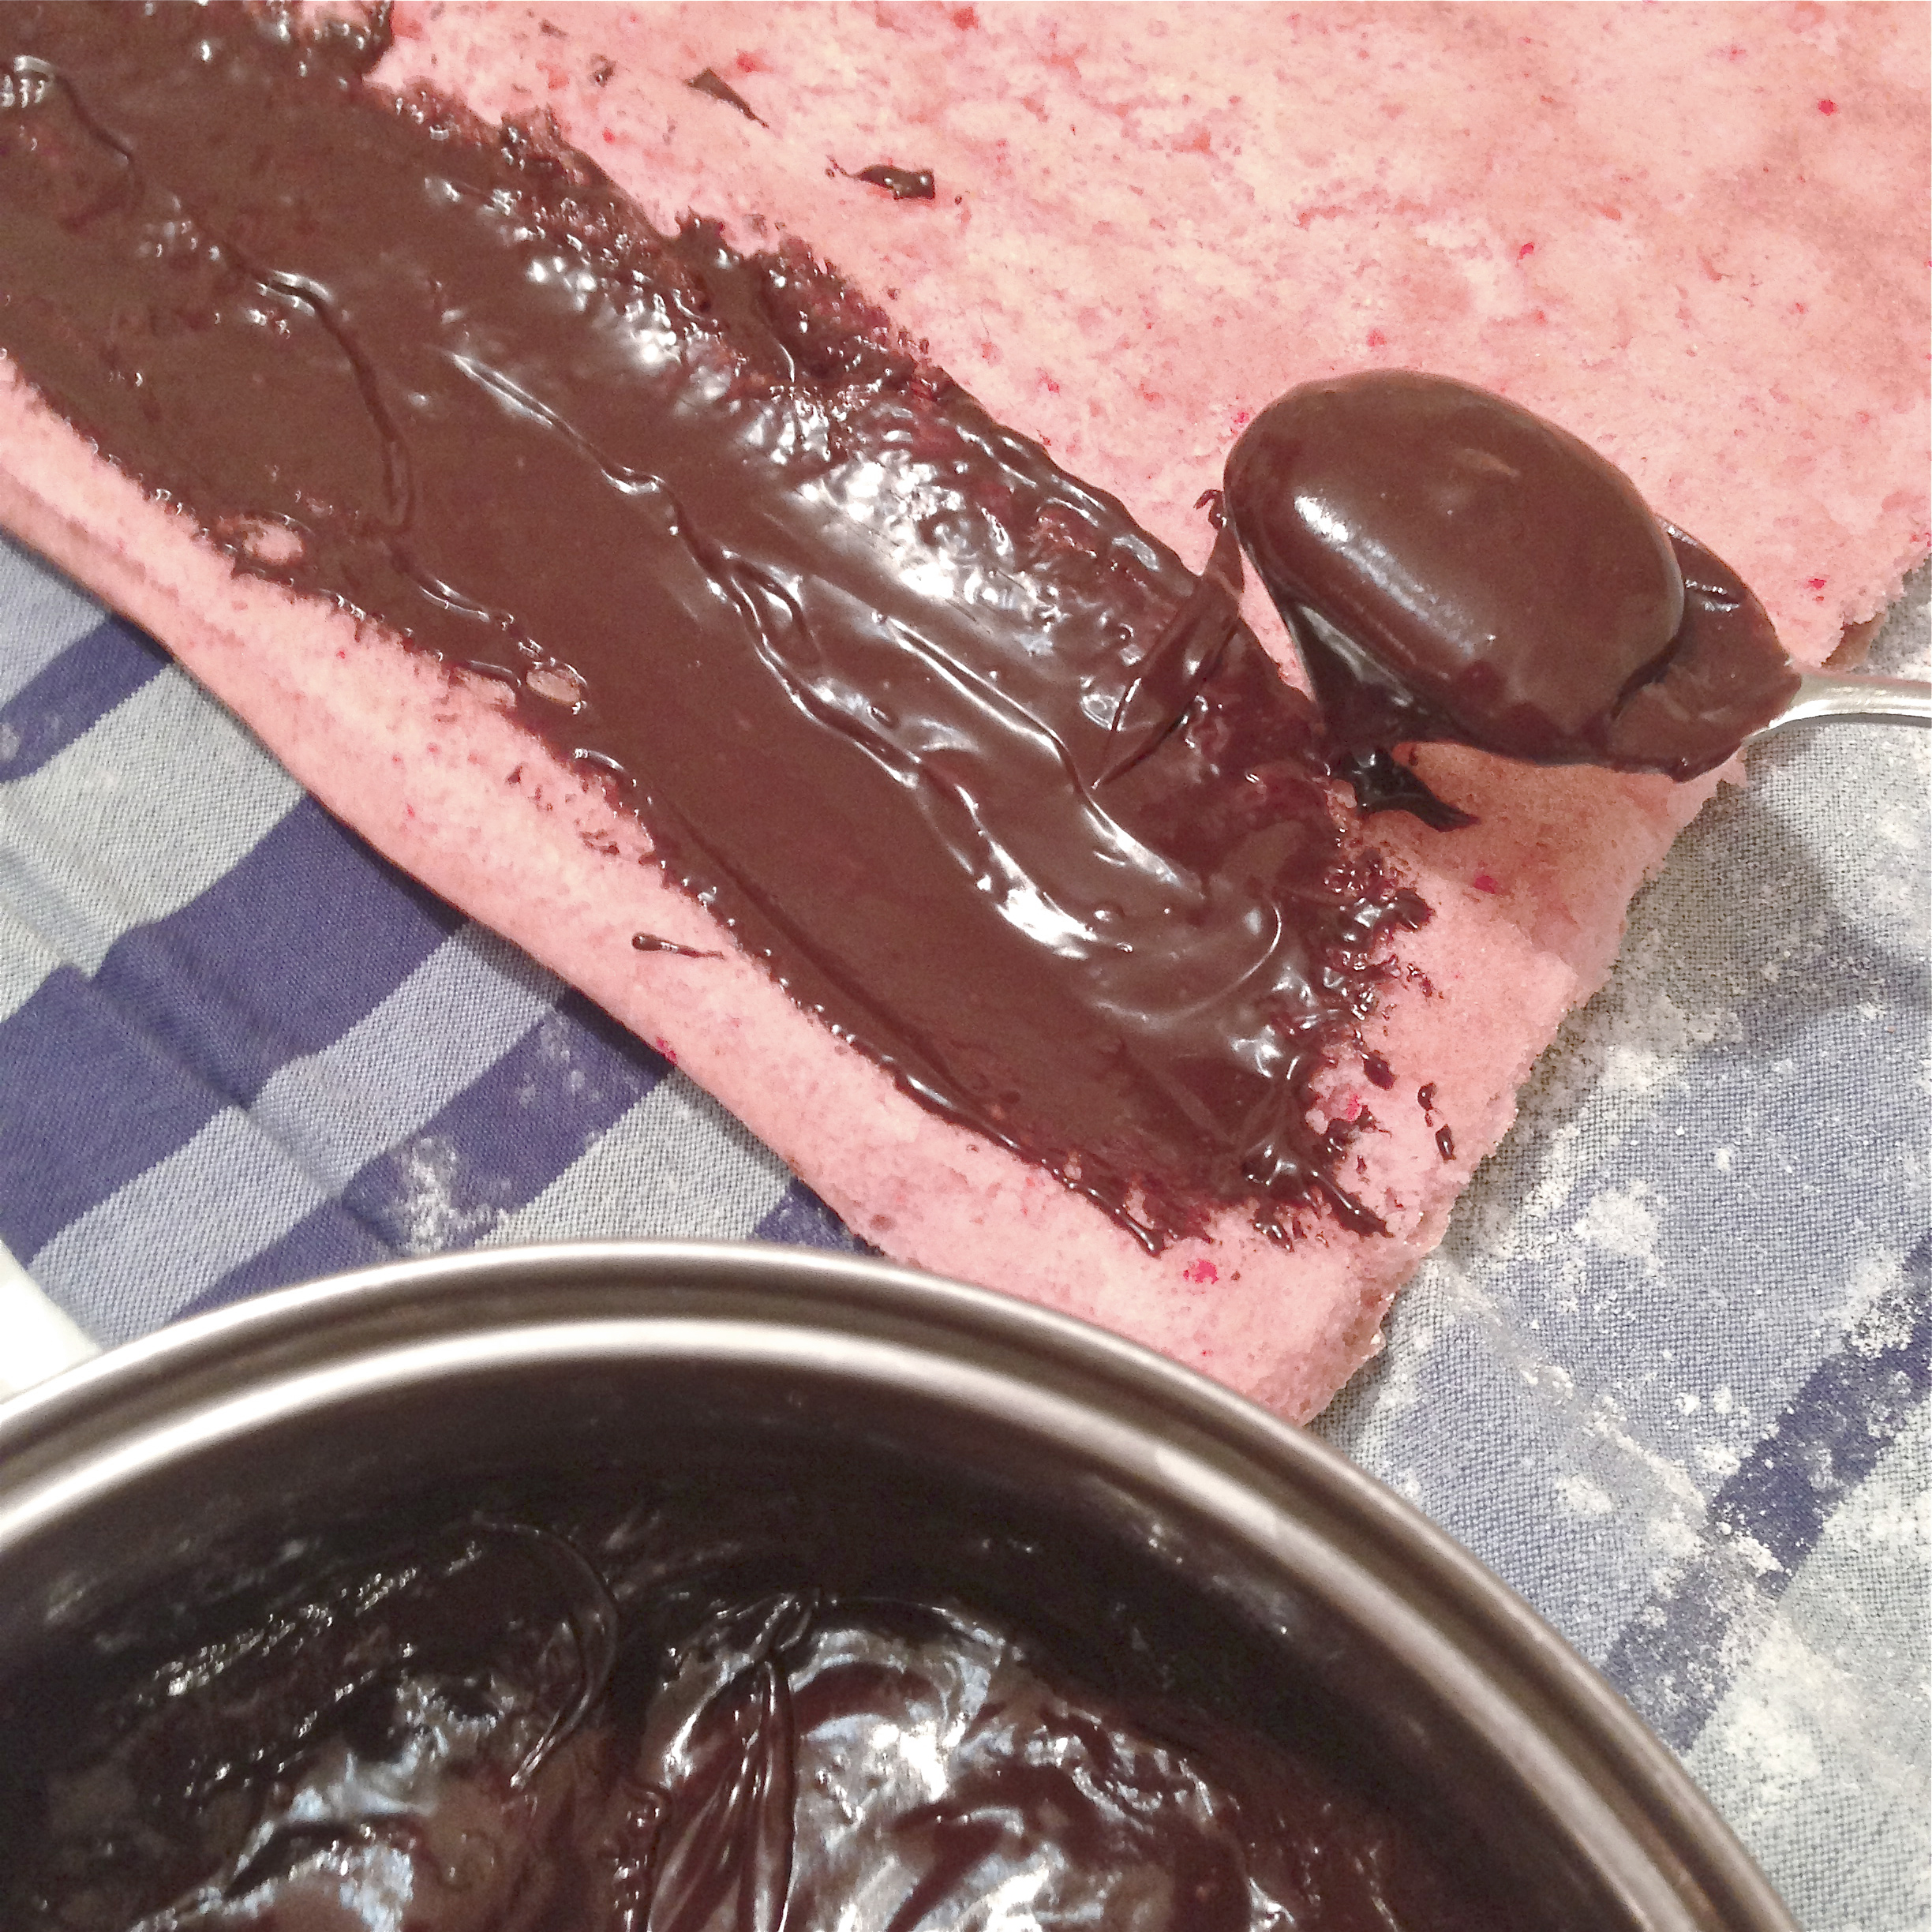


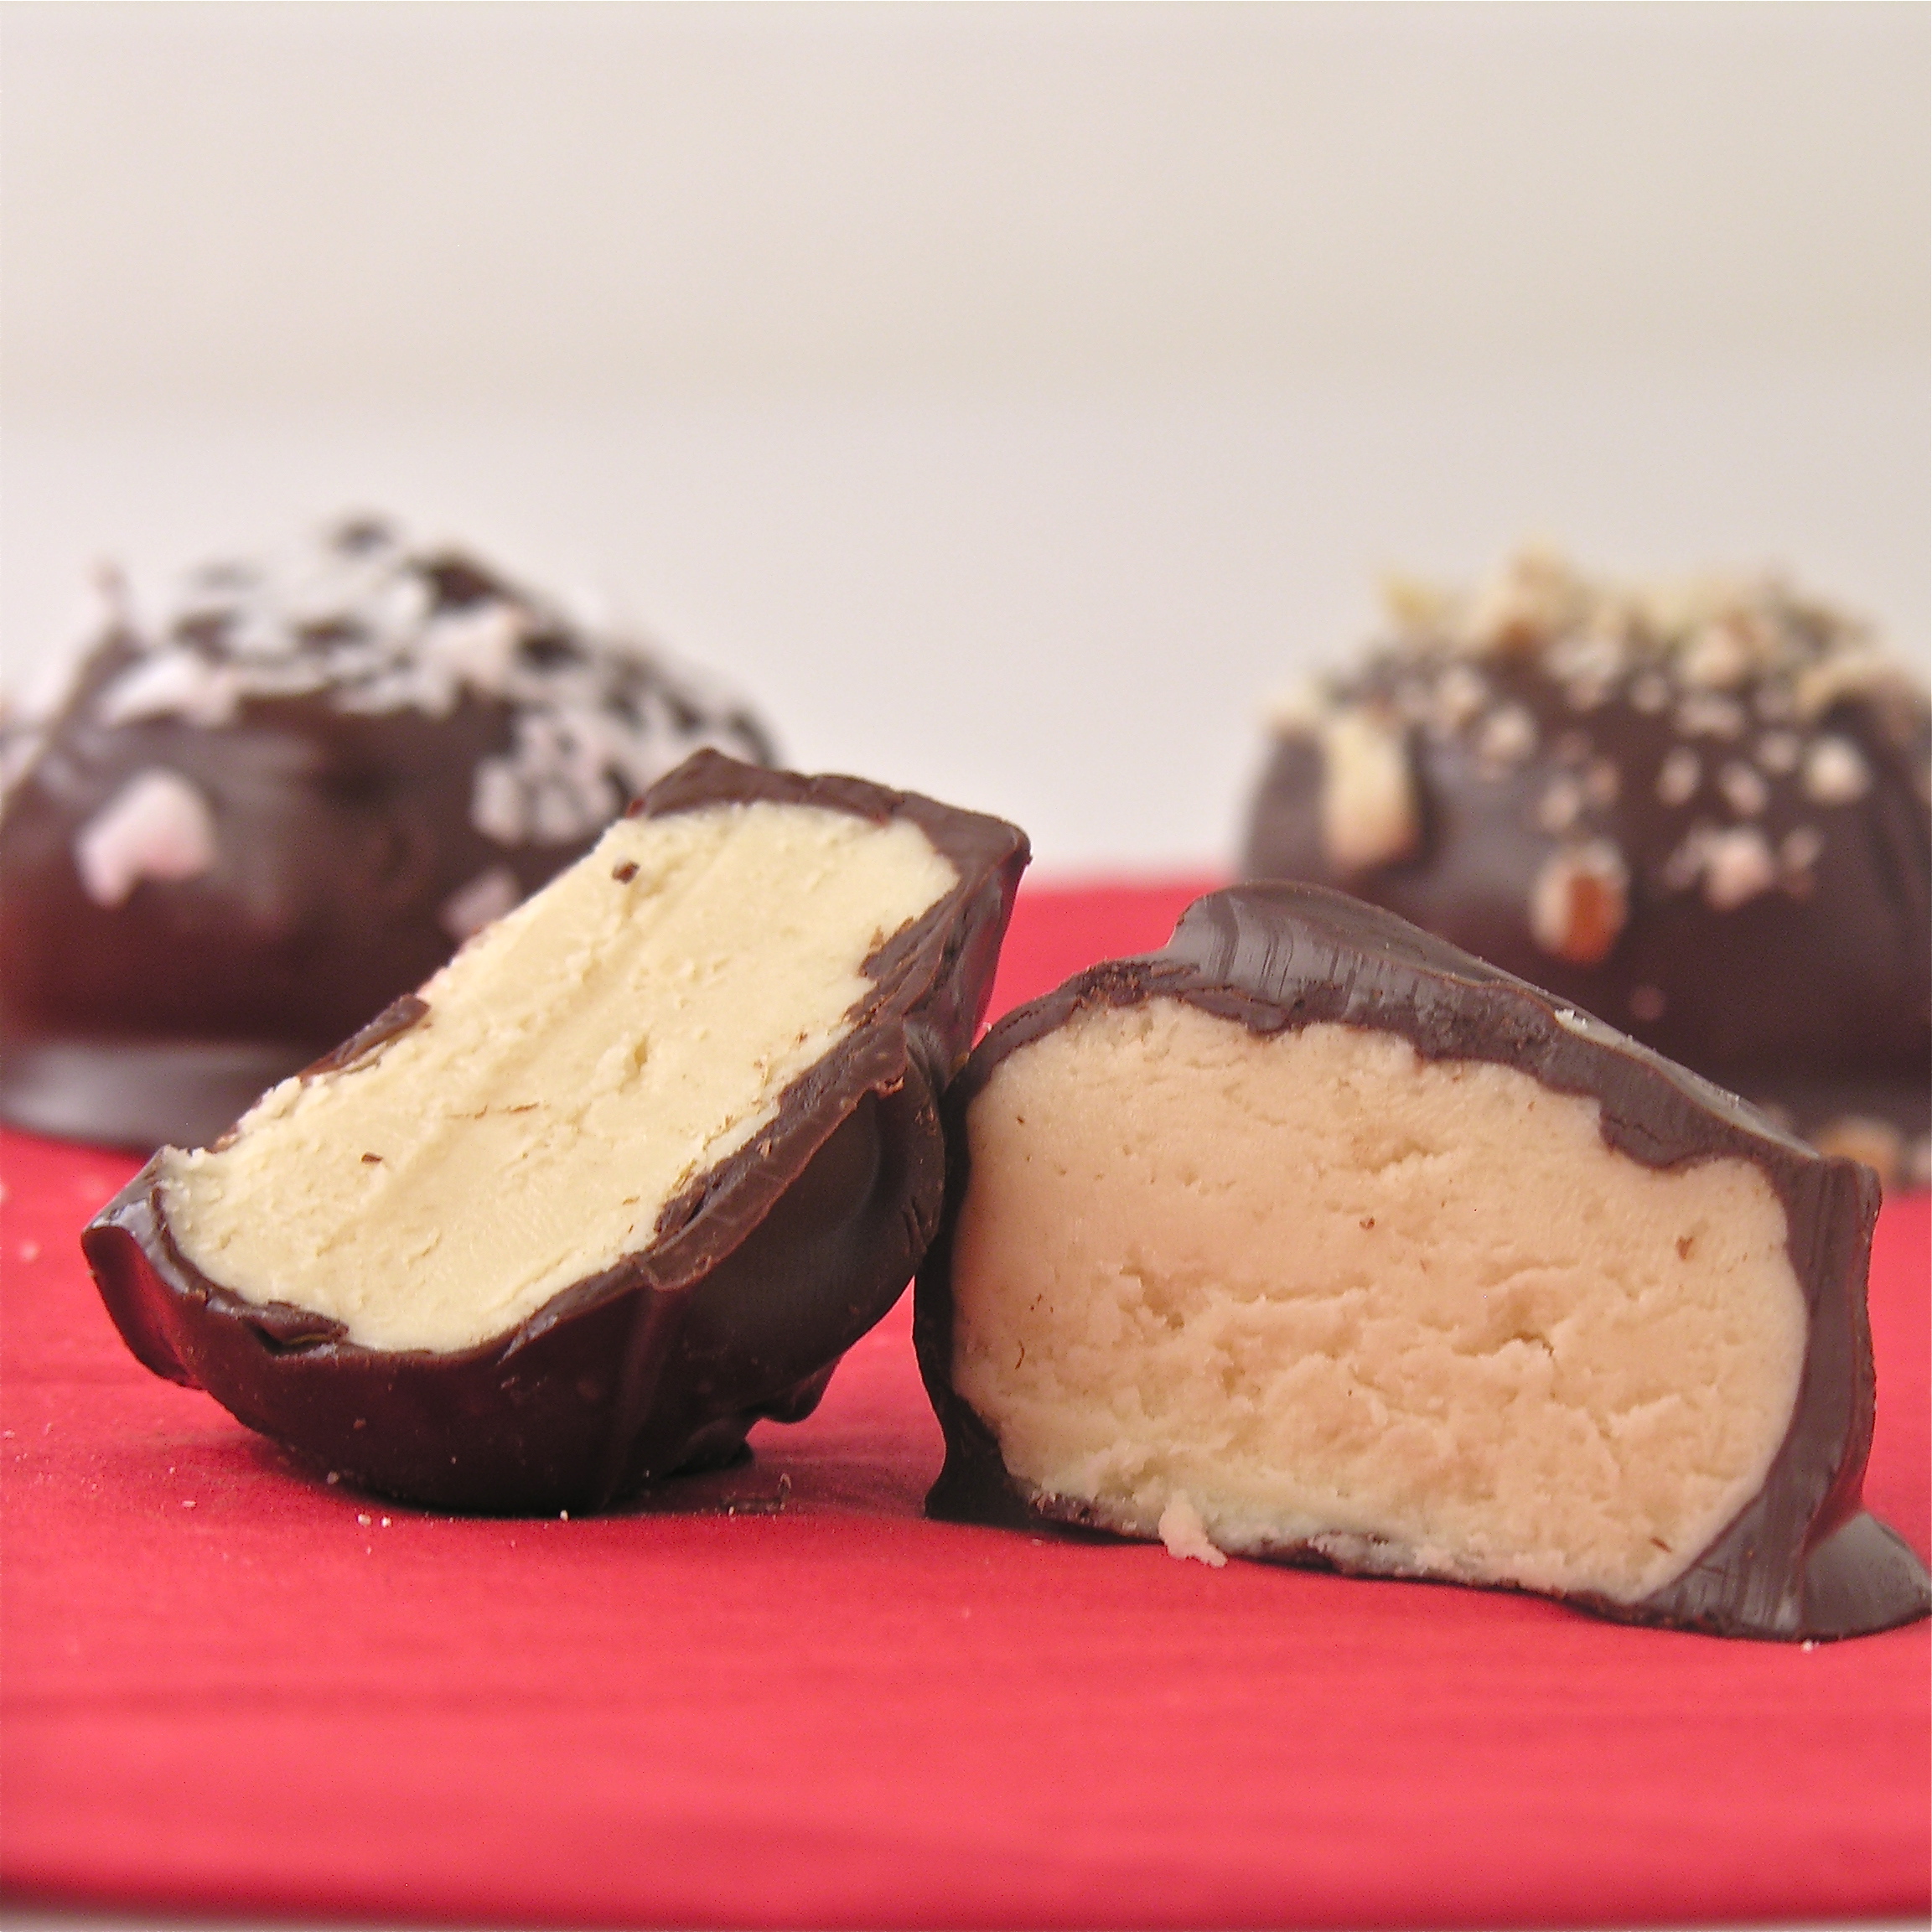
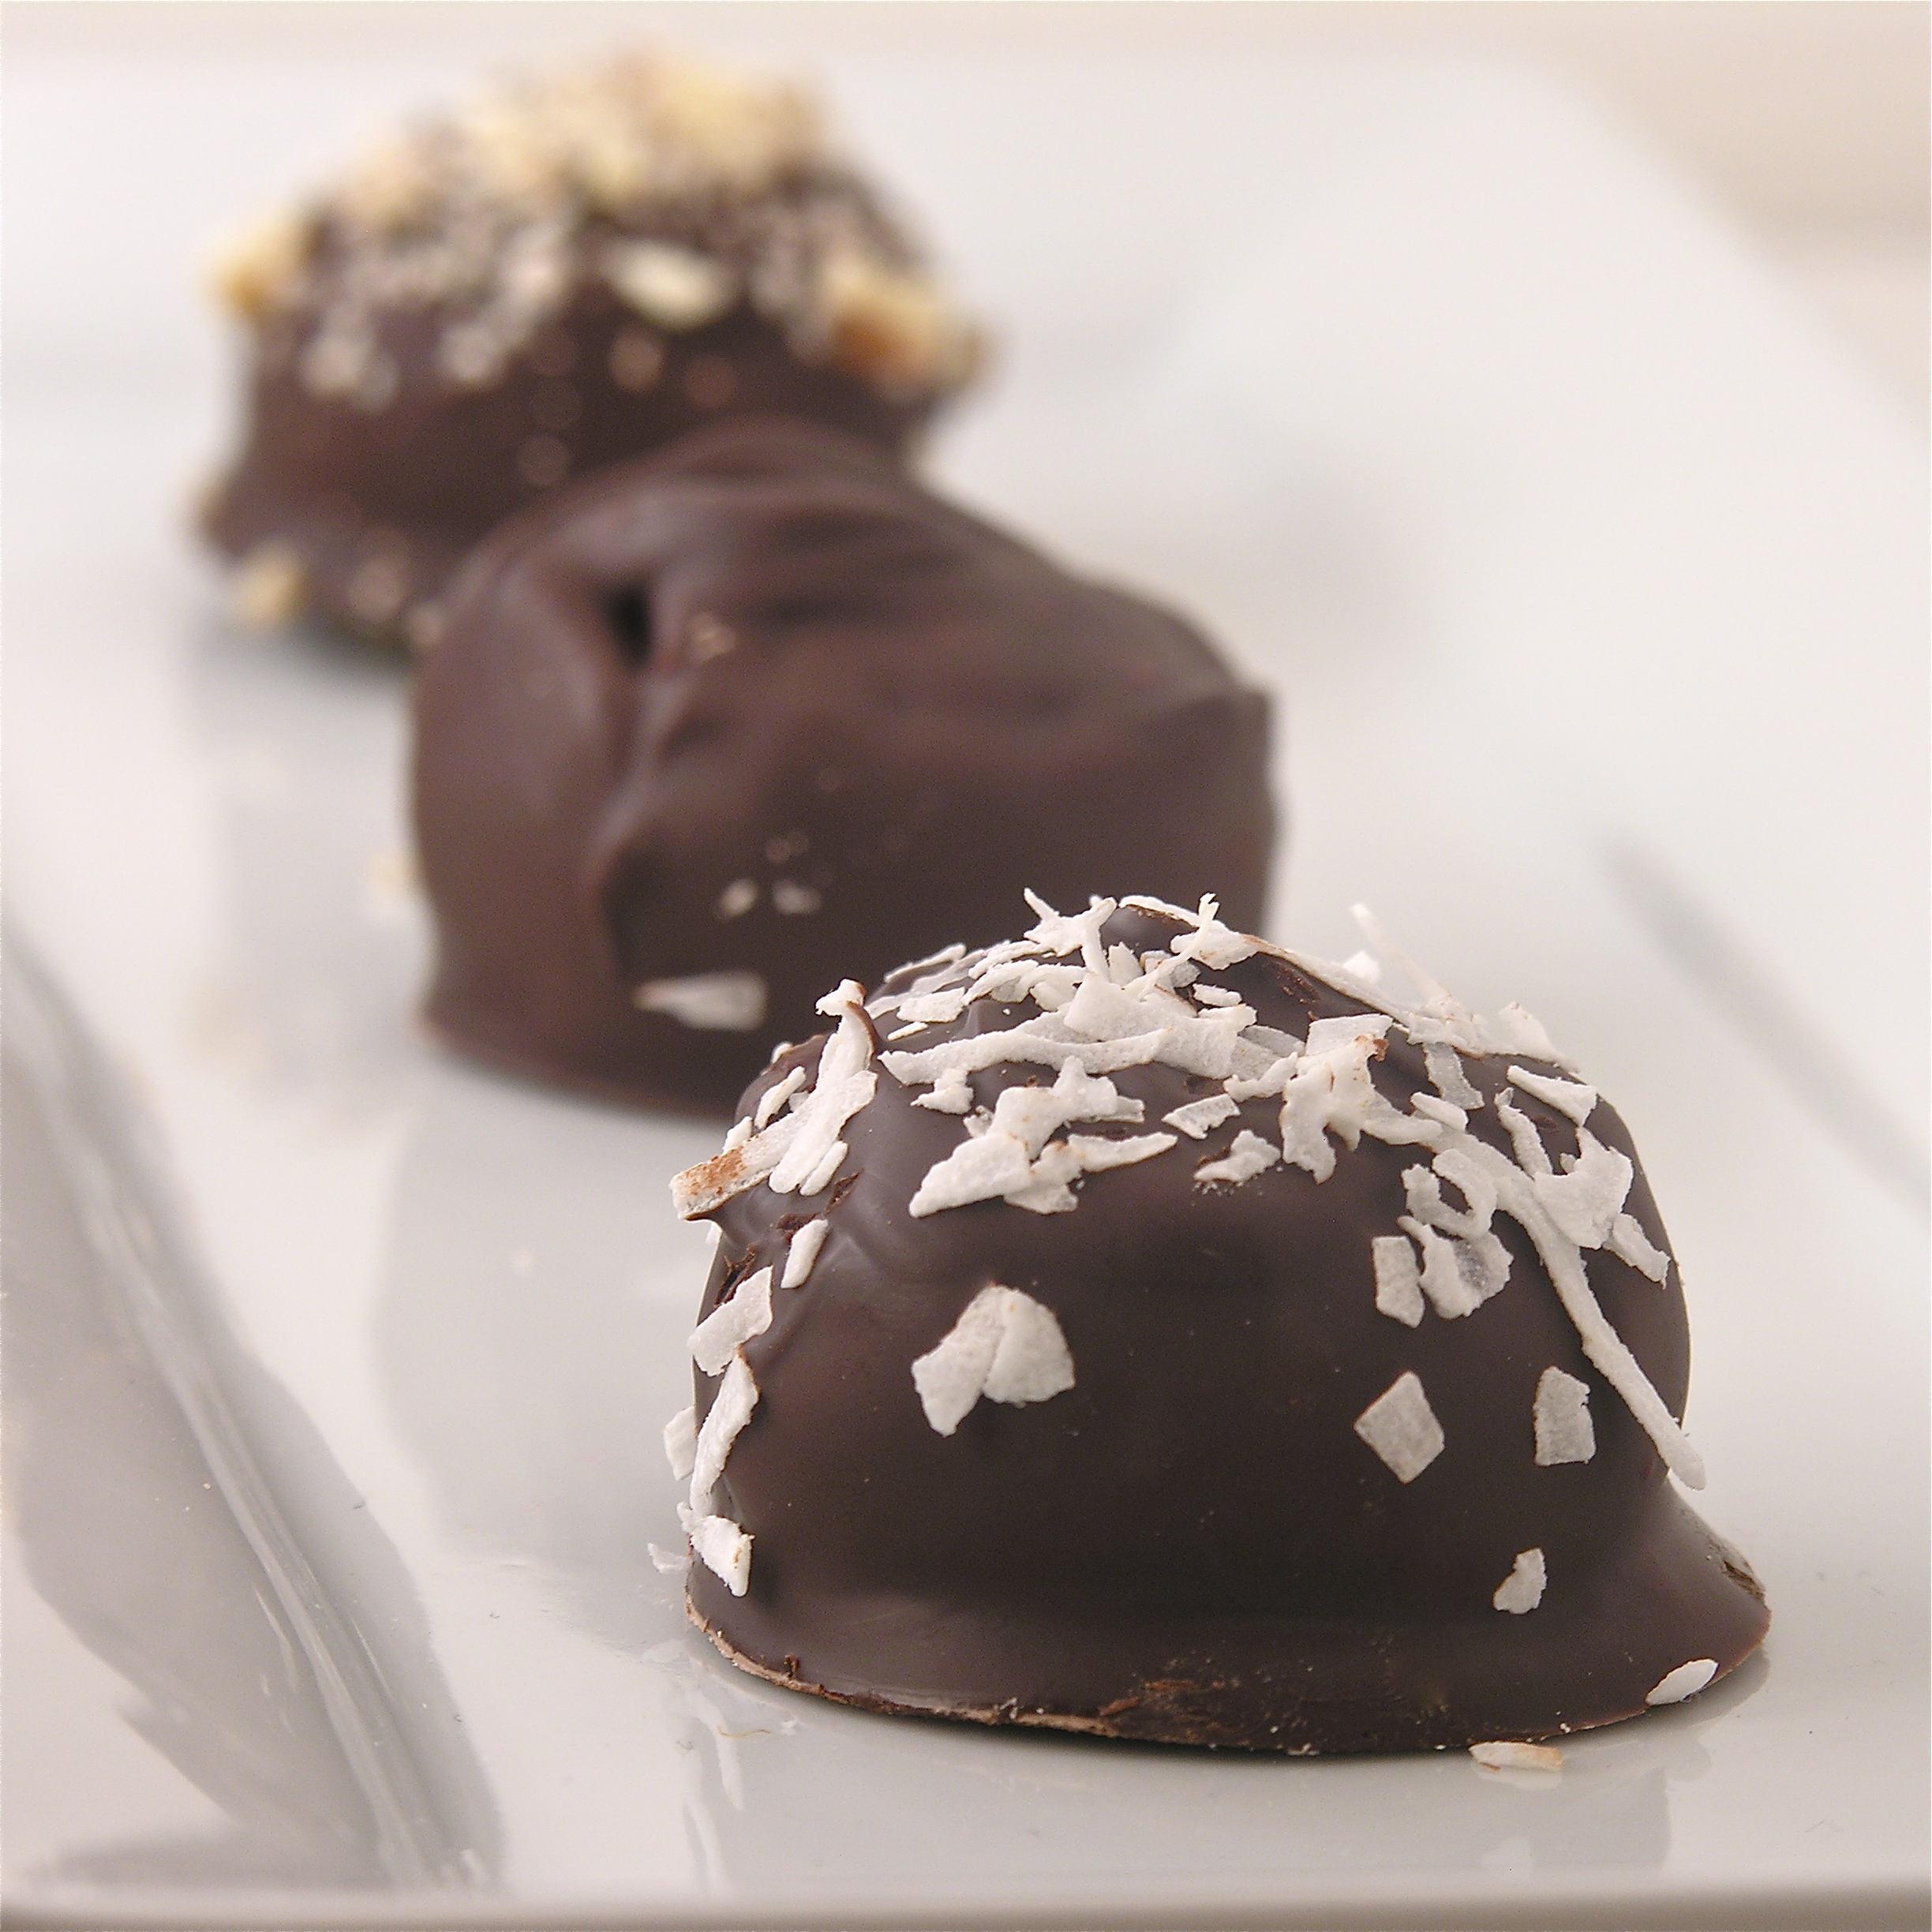
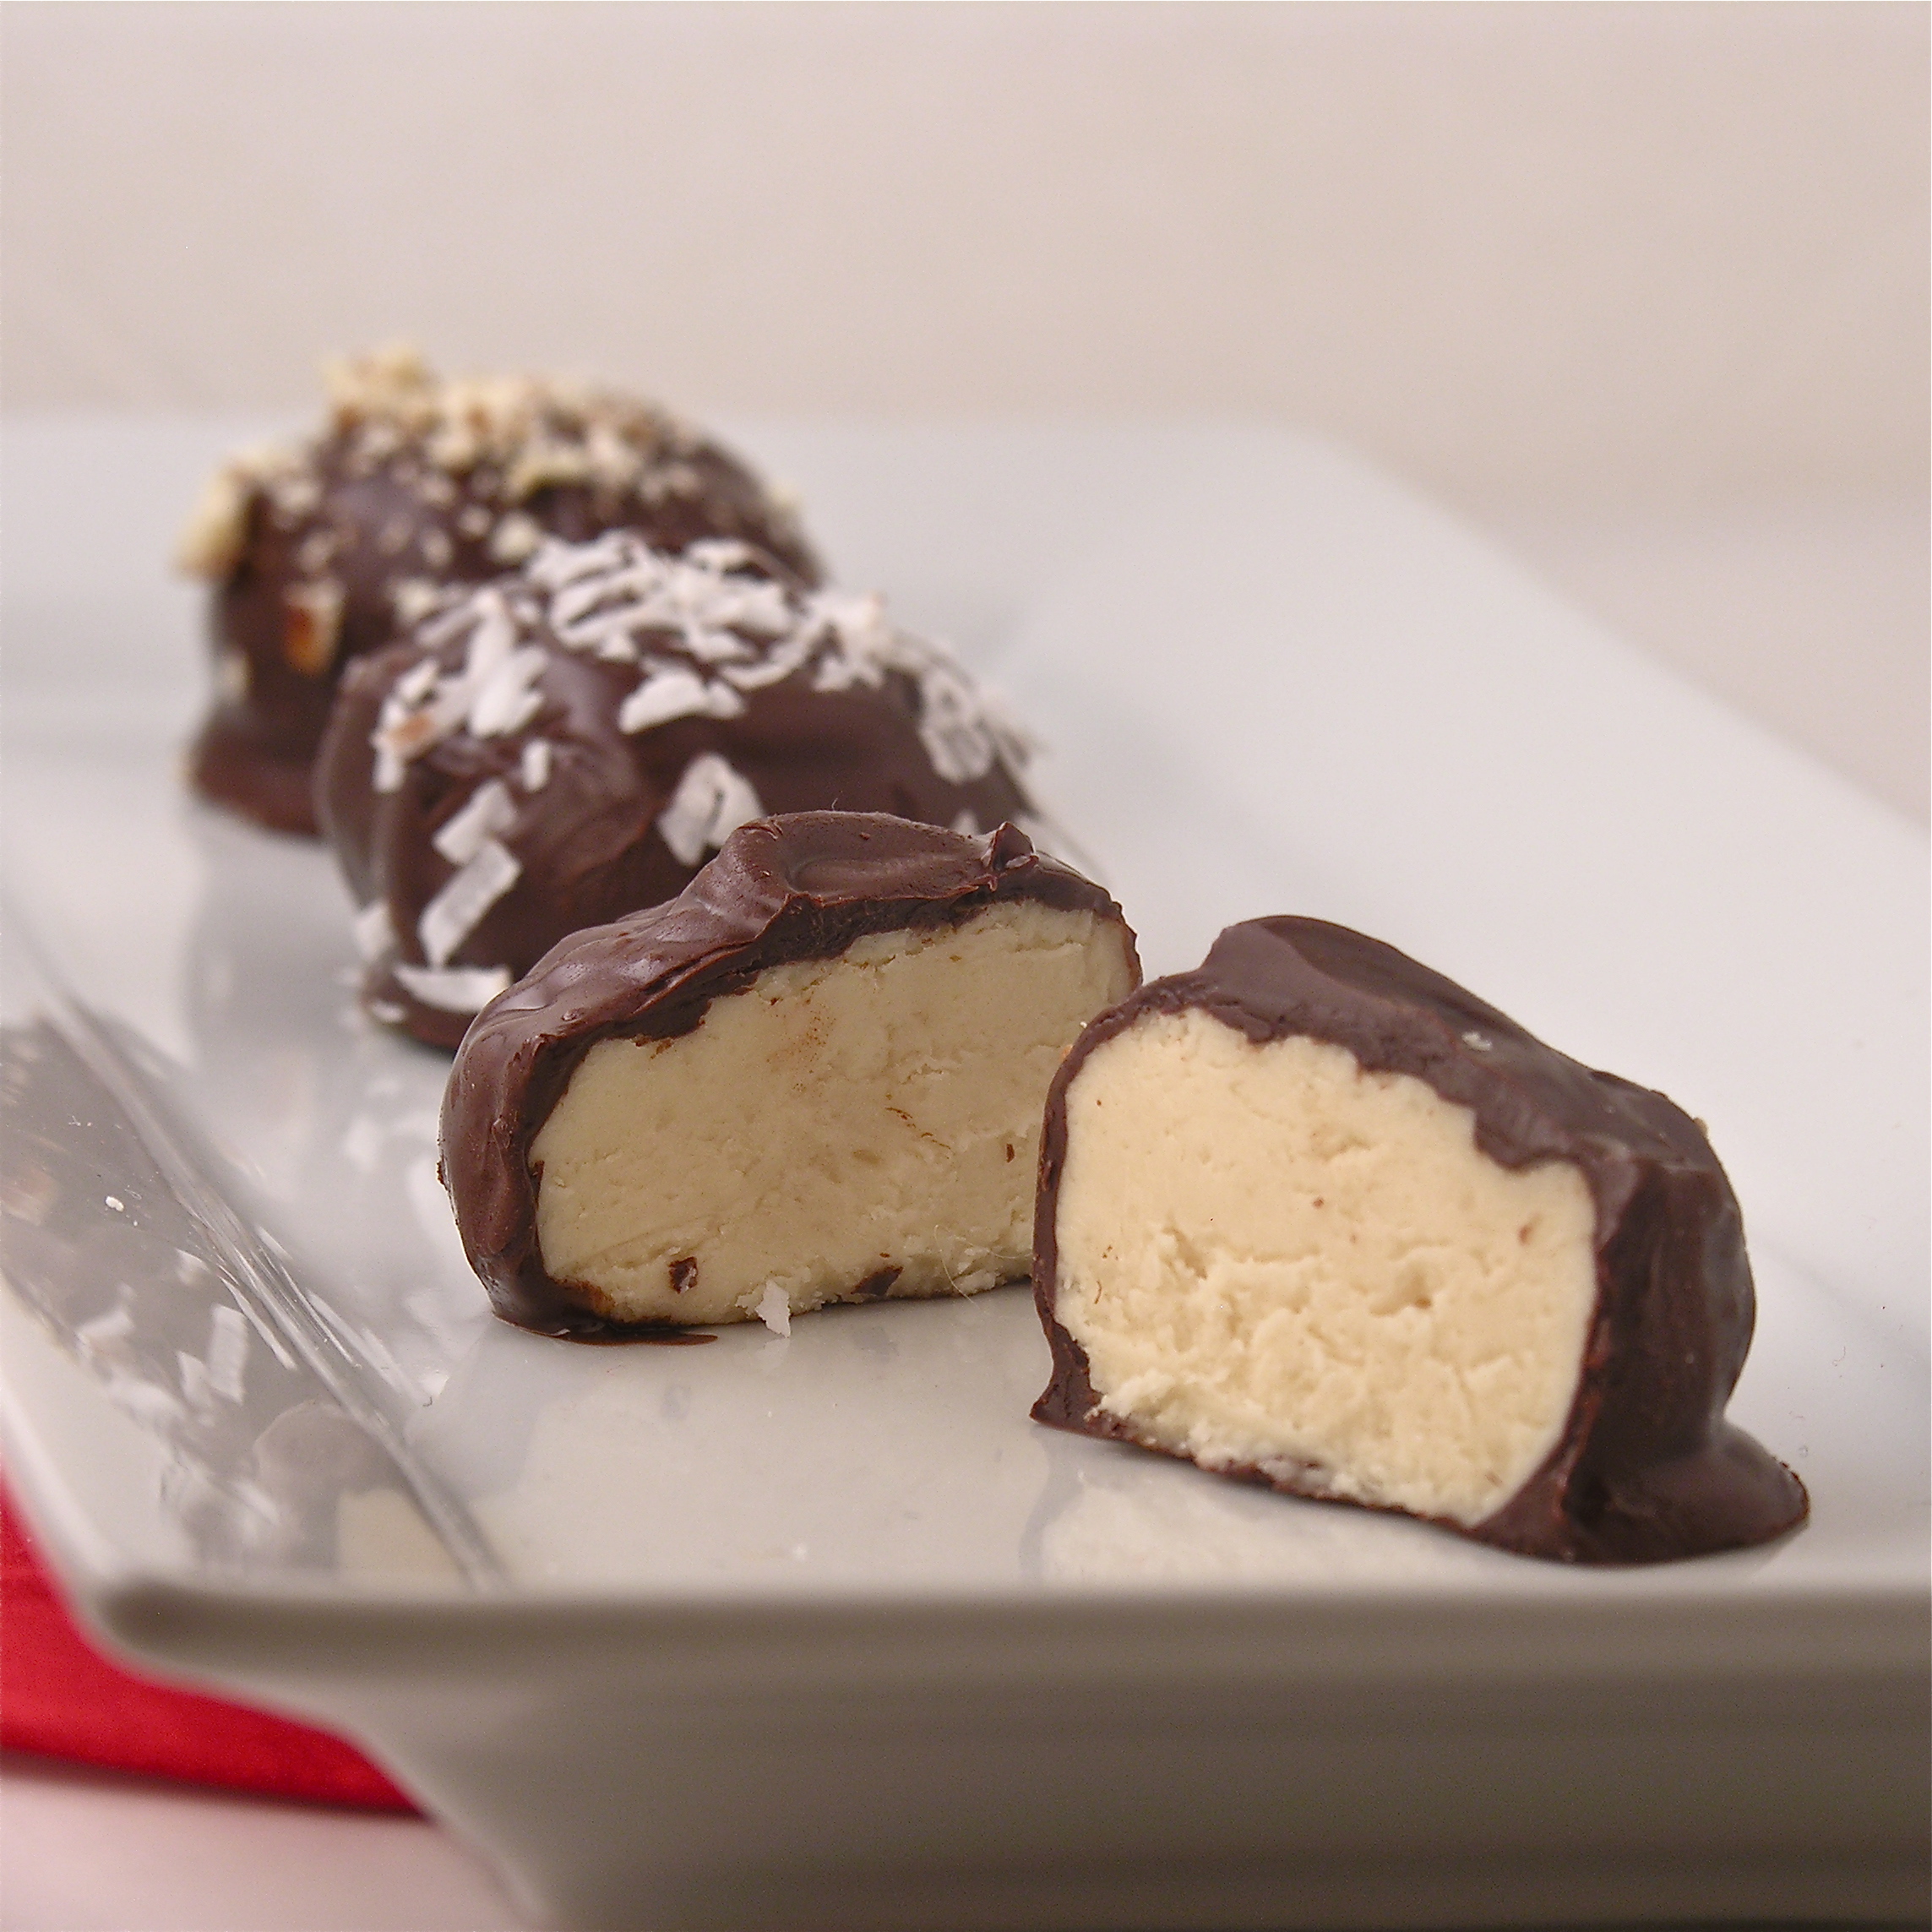
 These cream-filled chocolates are so smooth and rich you won’t be able to stop at just one!