RSS Feed

Tag Archives: party

Chocolate Football Cookies!

Chocolate Football Cookies!

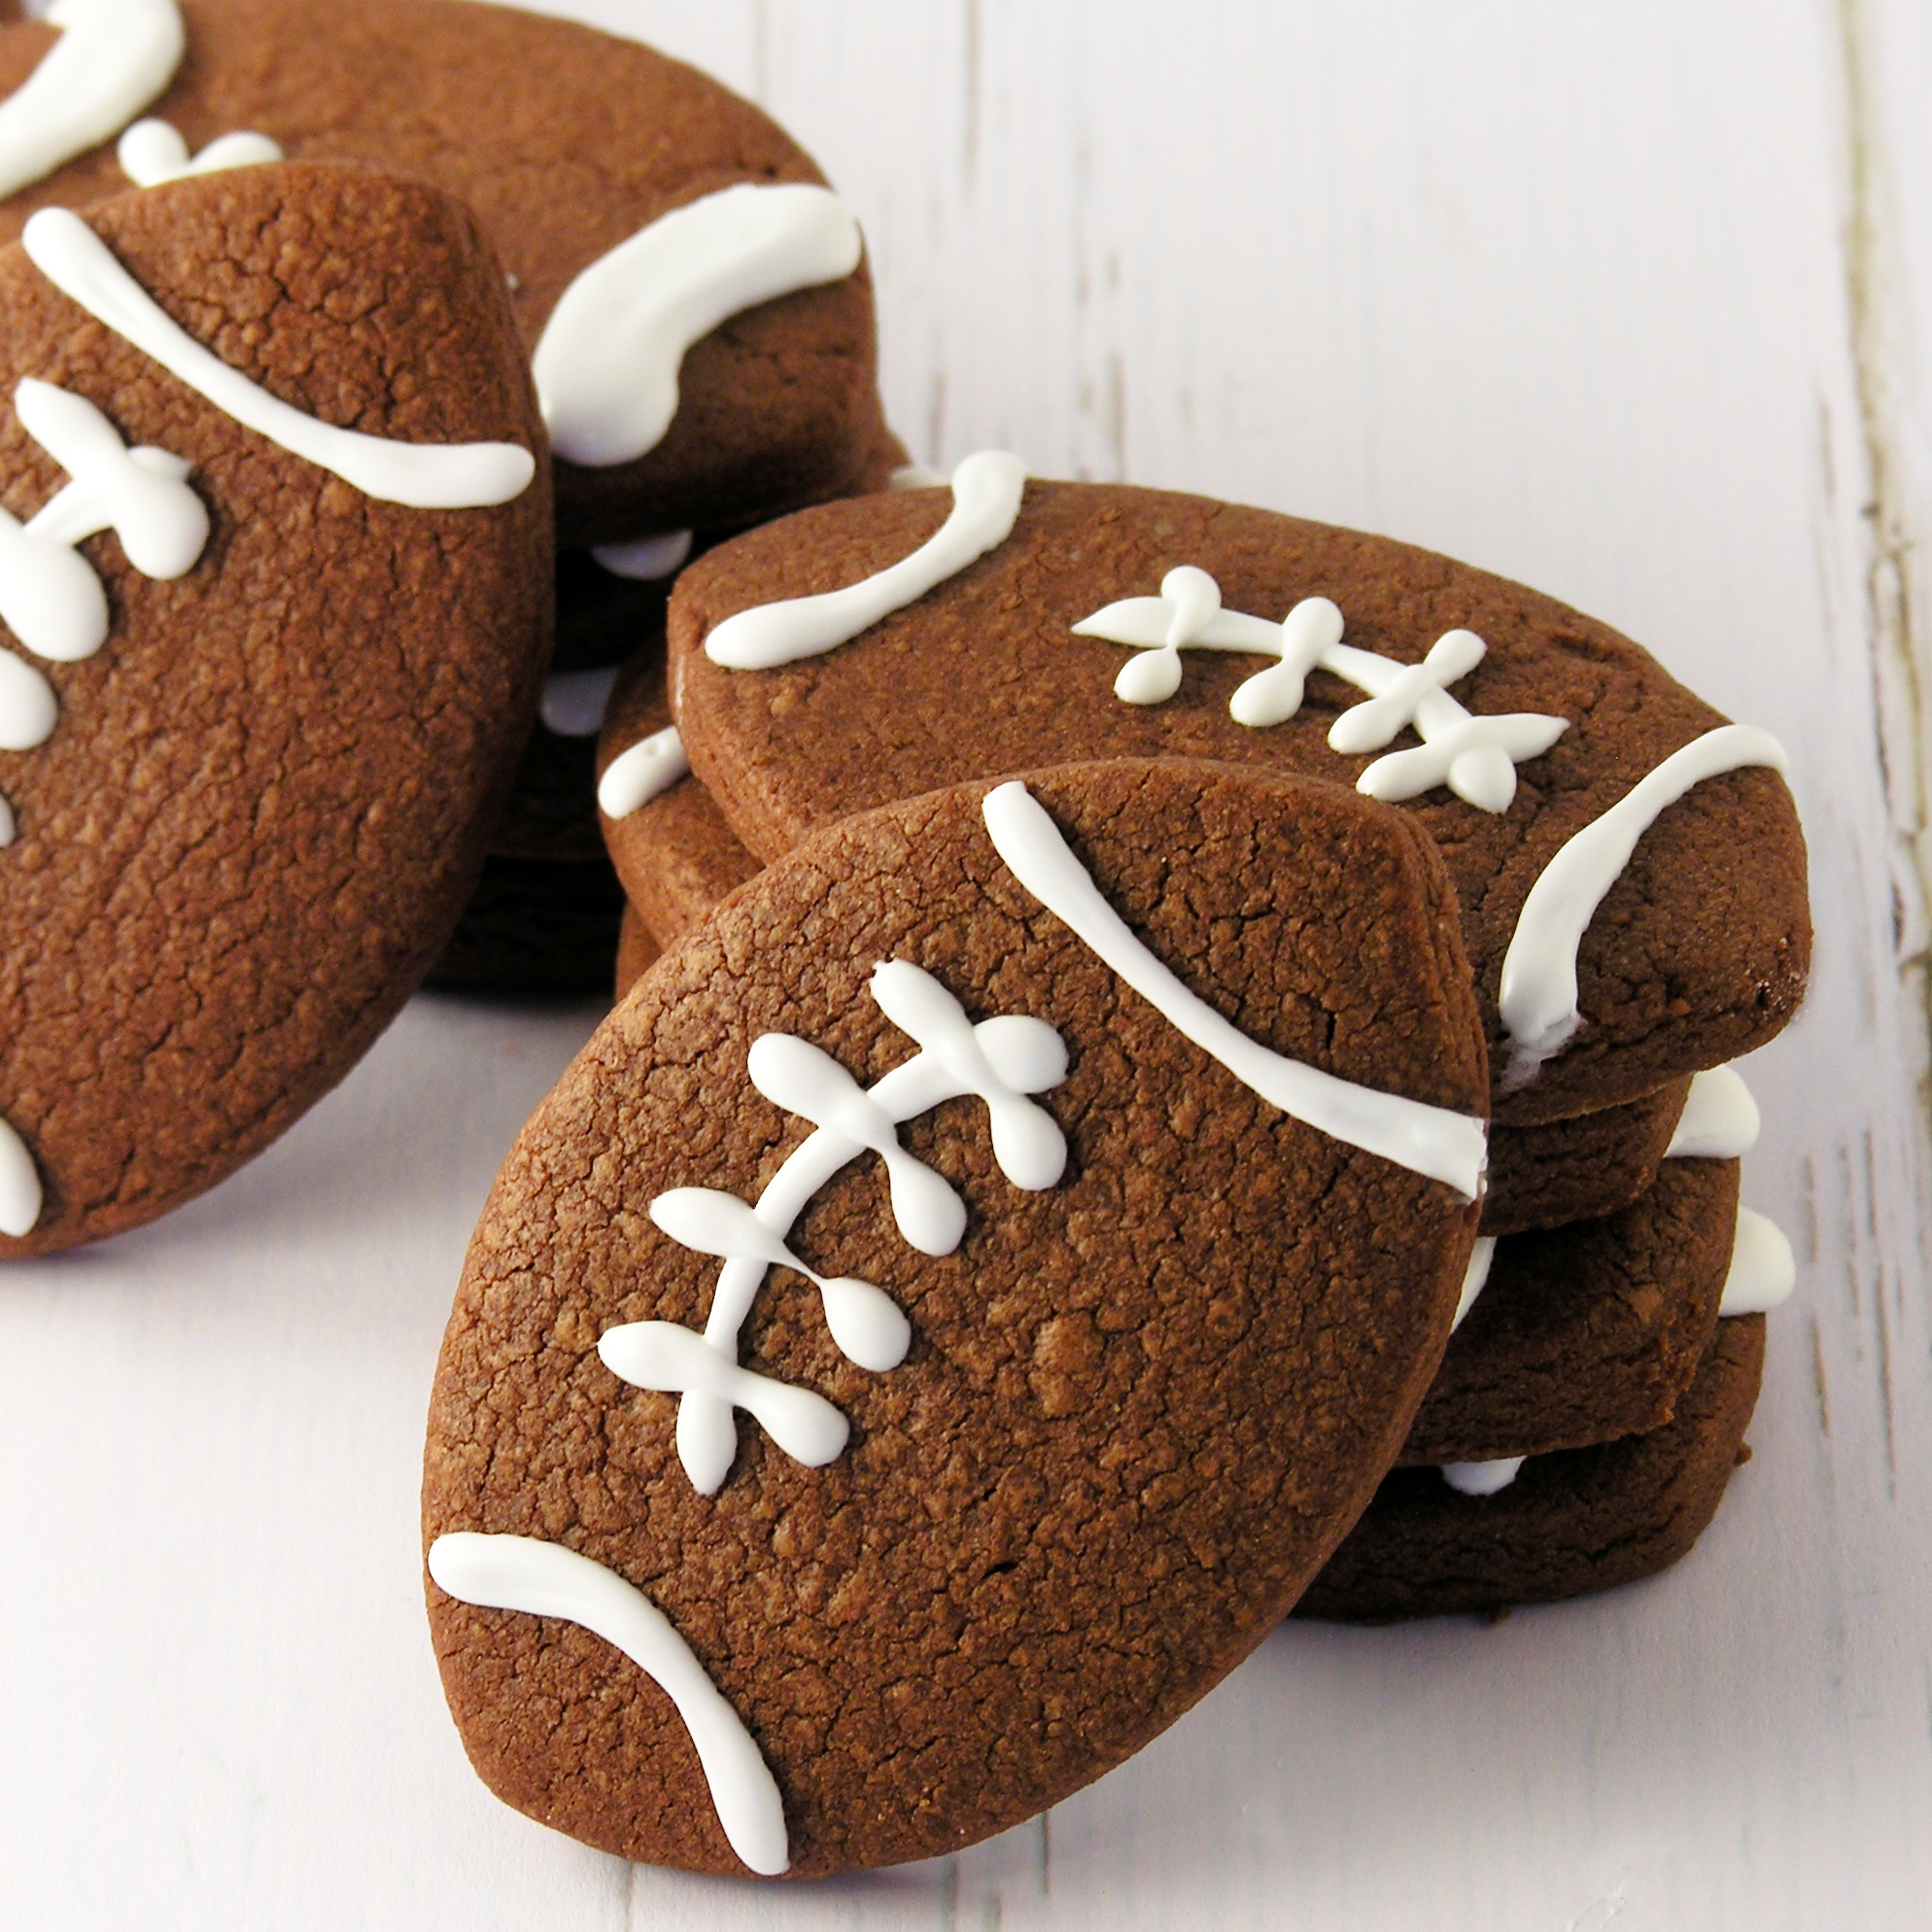
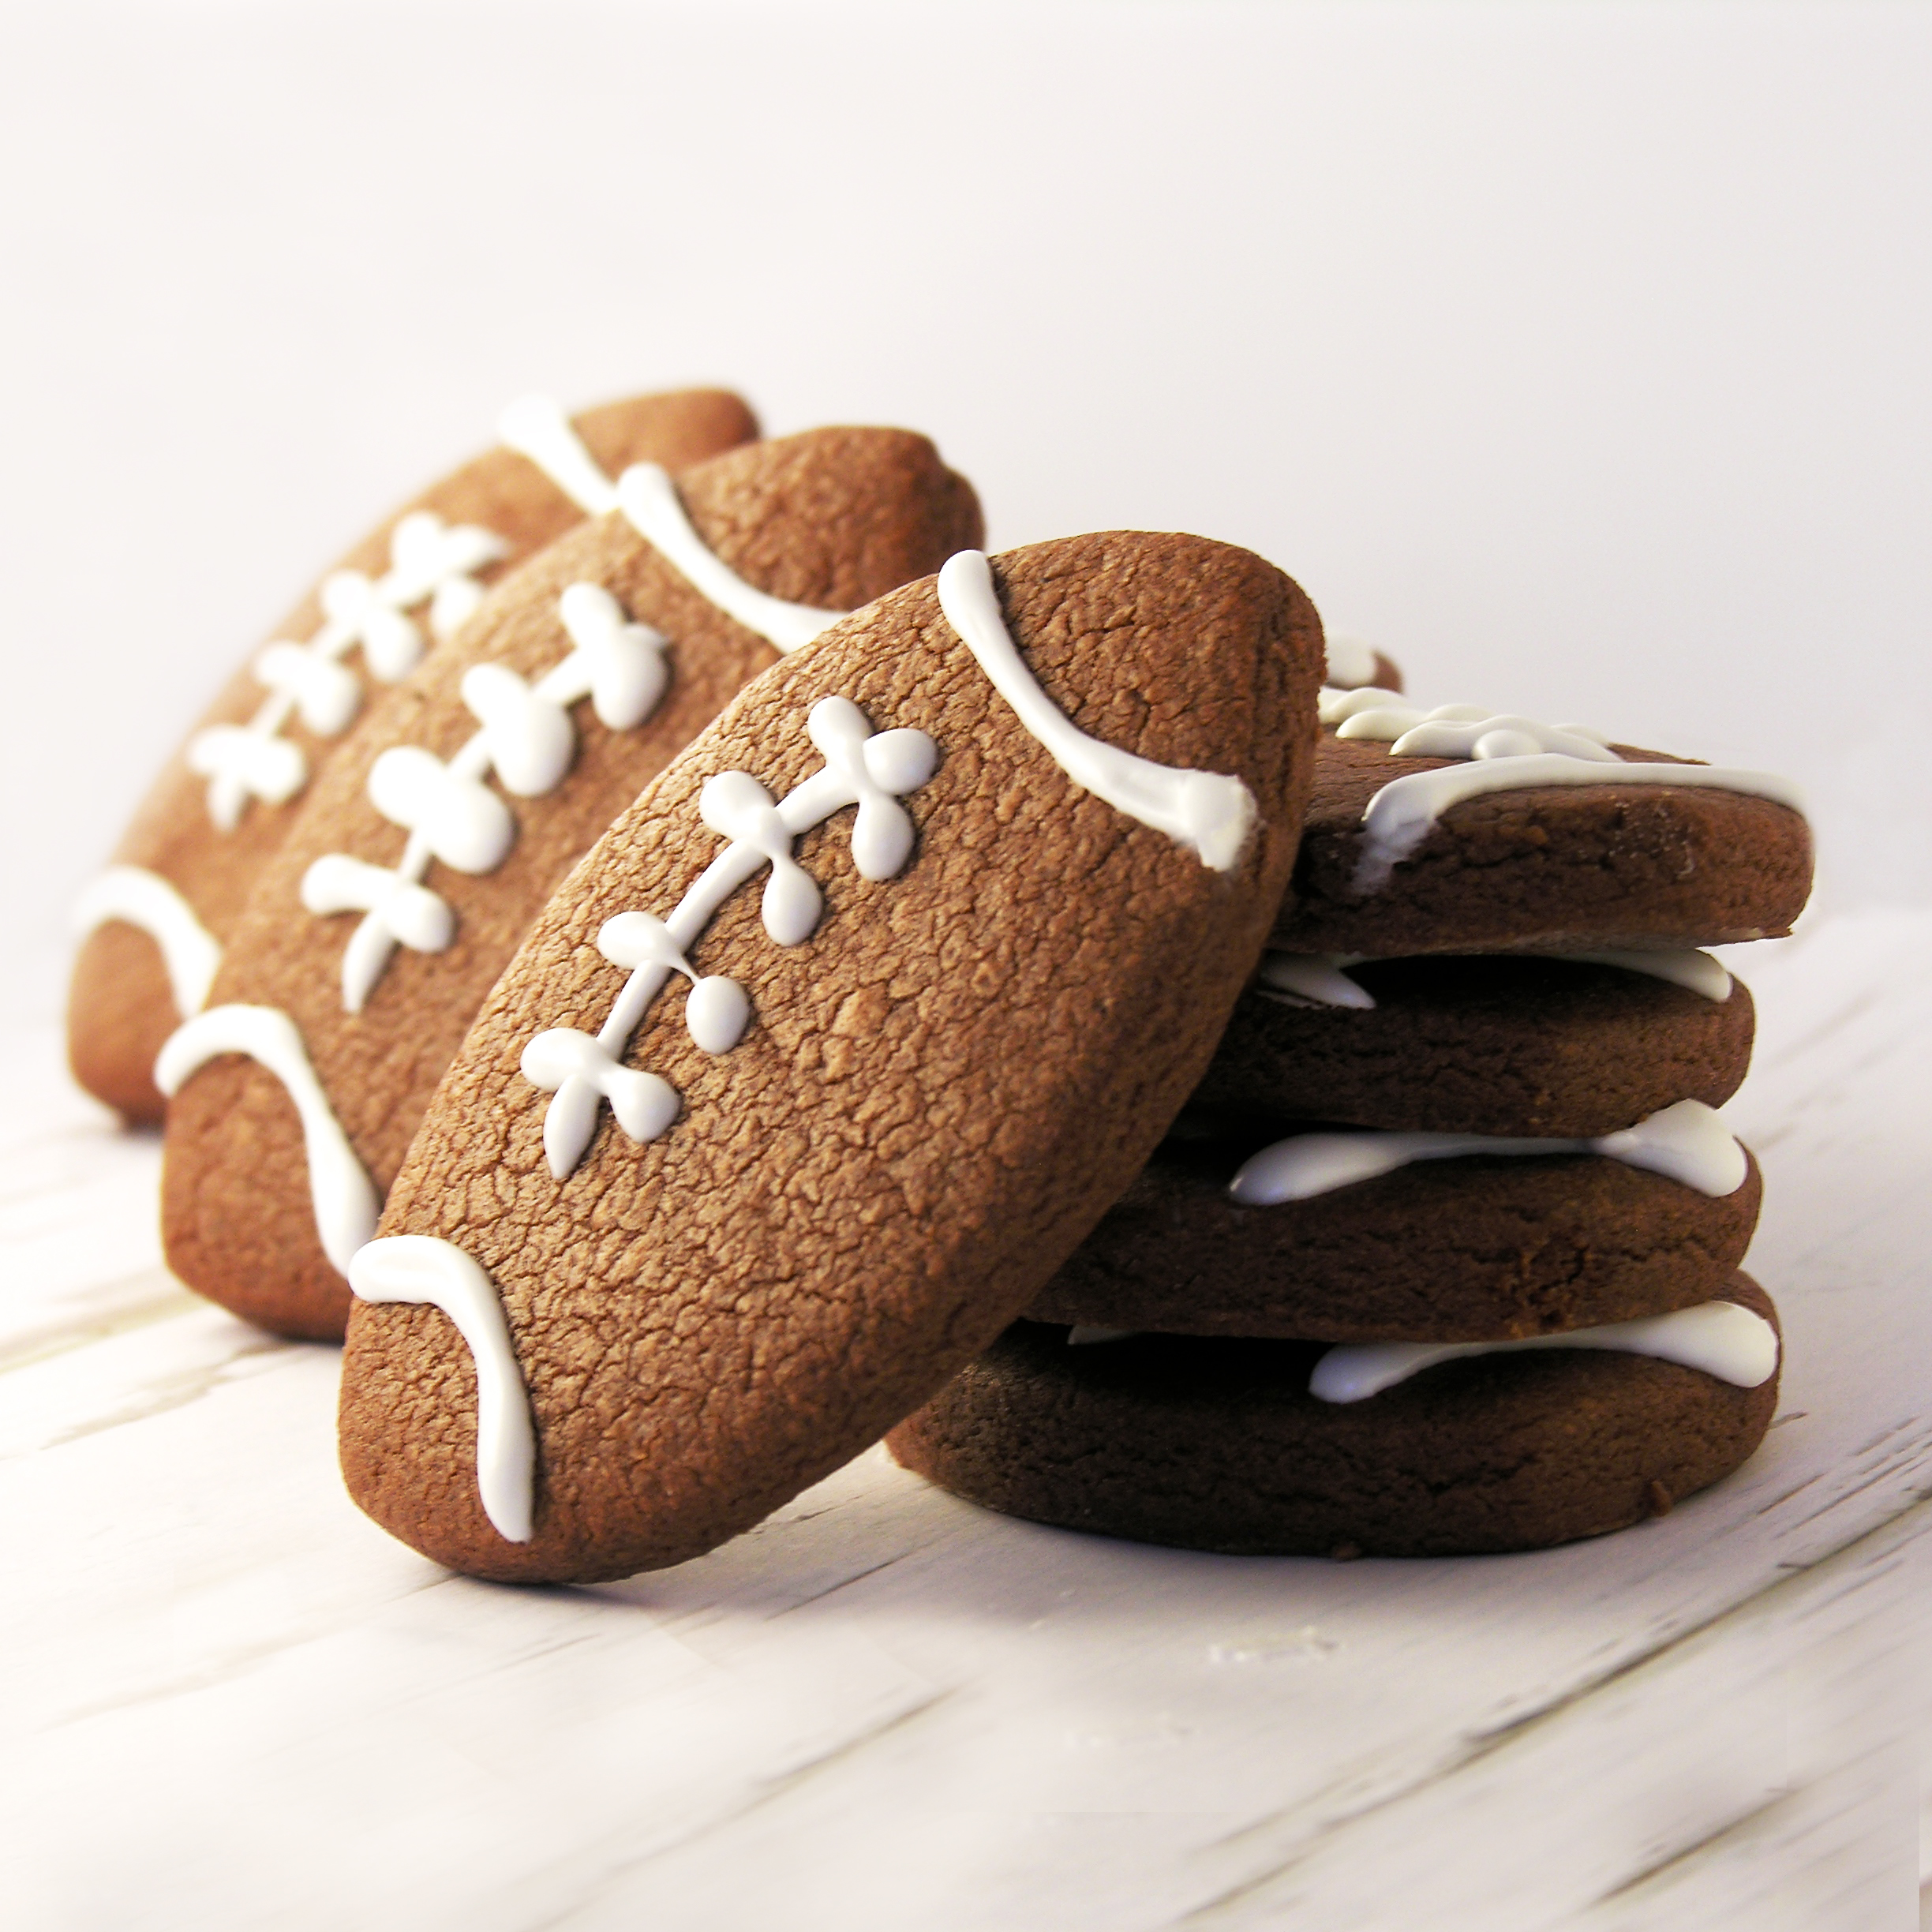
These soft and chewy chocolate cut-out cookies make the perfect little footballs!  Are you ready for the season to start?  Kick it off with these adorable treats!

NFL football starts this week with a Thursday night game against the Packers (GO PACK GO!!!!!!) and Seattle.  Let the season of fun tailgating and snacking begin!!!

These are seriously the yummiest chocolate cookies ever, and the PERFECT, not-sticky, dough for cookie cutters.  I’ve used this recipe SO many times here on easybaked.  When I thought about making football cookies I automatically defaulted to this wonderful family recipe. I promise, you will love it!!!

Here’s how they are made: (printable recipe)

INGREDIENTS:

  • 2 sticks (1 cup) butter, softened
  • 1 1/2 cups sugar
  • 2 eggs
  • 1 teaspoon vanilla extract
  • 2/3 cup unsweetened cocoa powder
  • 3 cups flour
  • 1/2 teaspoon salt
  • 1/2 teaspoon baking powder

DIRECTIONS:

  • Preheat oven to 350F degrees.
  • Add butter, sugar, eggs, vanilla and cocoa together in  large mixing bowl.
  • Blend on medium speed with a mixer until smooth.
  • Gradually add dry ingredients and mix until smooth (use clean hands at the end, to knead into a soft ball of dough)
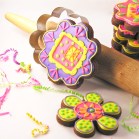
  • Roll out cookie dough on floured counter.  I roll mine thick, so I get nice and chewy cookies.
  • Cut into football shapes using a football cookie cutter and place on a parchment-lined baking sheet. Leave a little room for the cookies to spread.
  • Bake for 10 to 14 minutes until the edges are firm.
  • Gently slide parchment paper off of cookie sheet and onto a flat surface.  Cool completely before moving- this allows the cookie to “set”.  
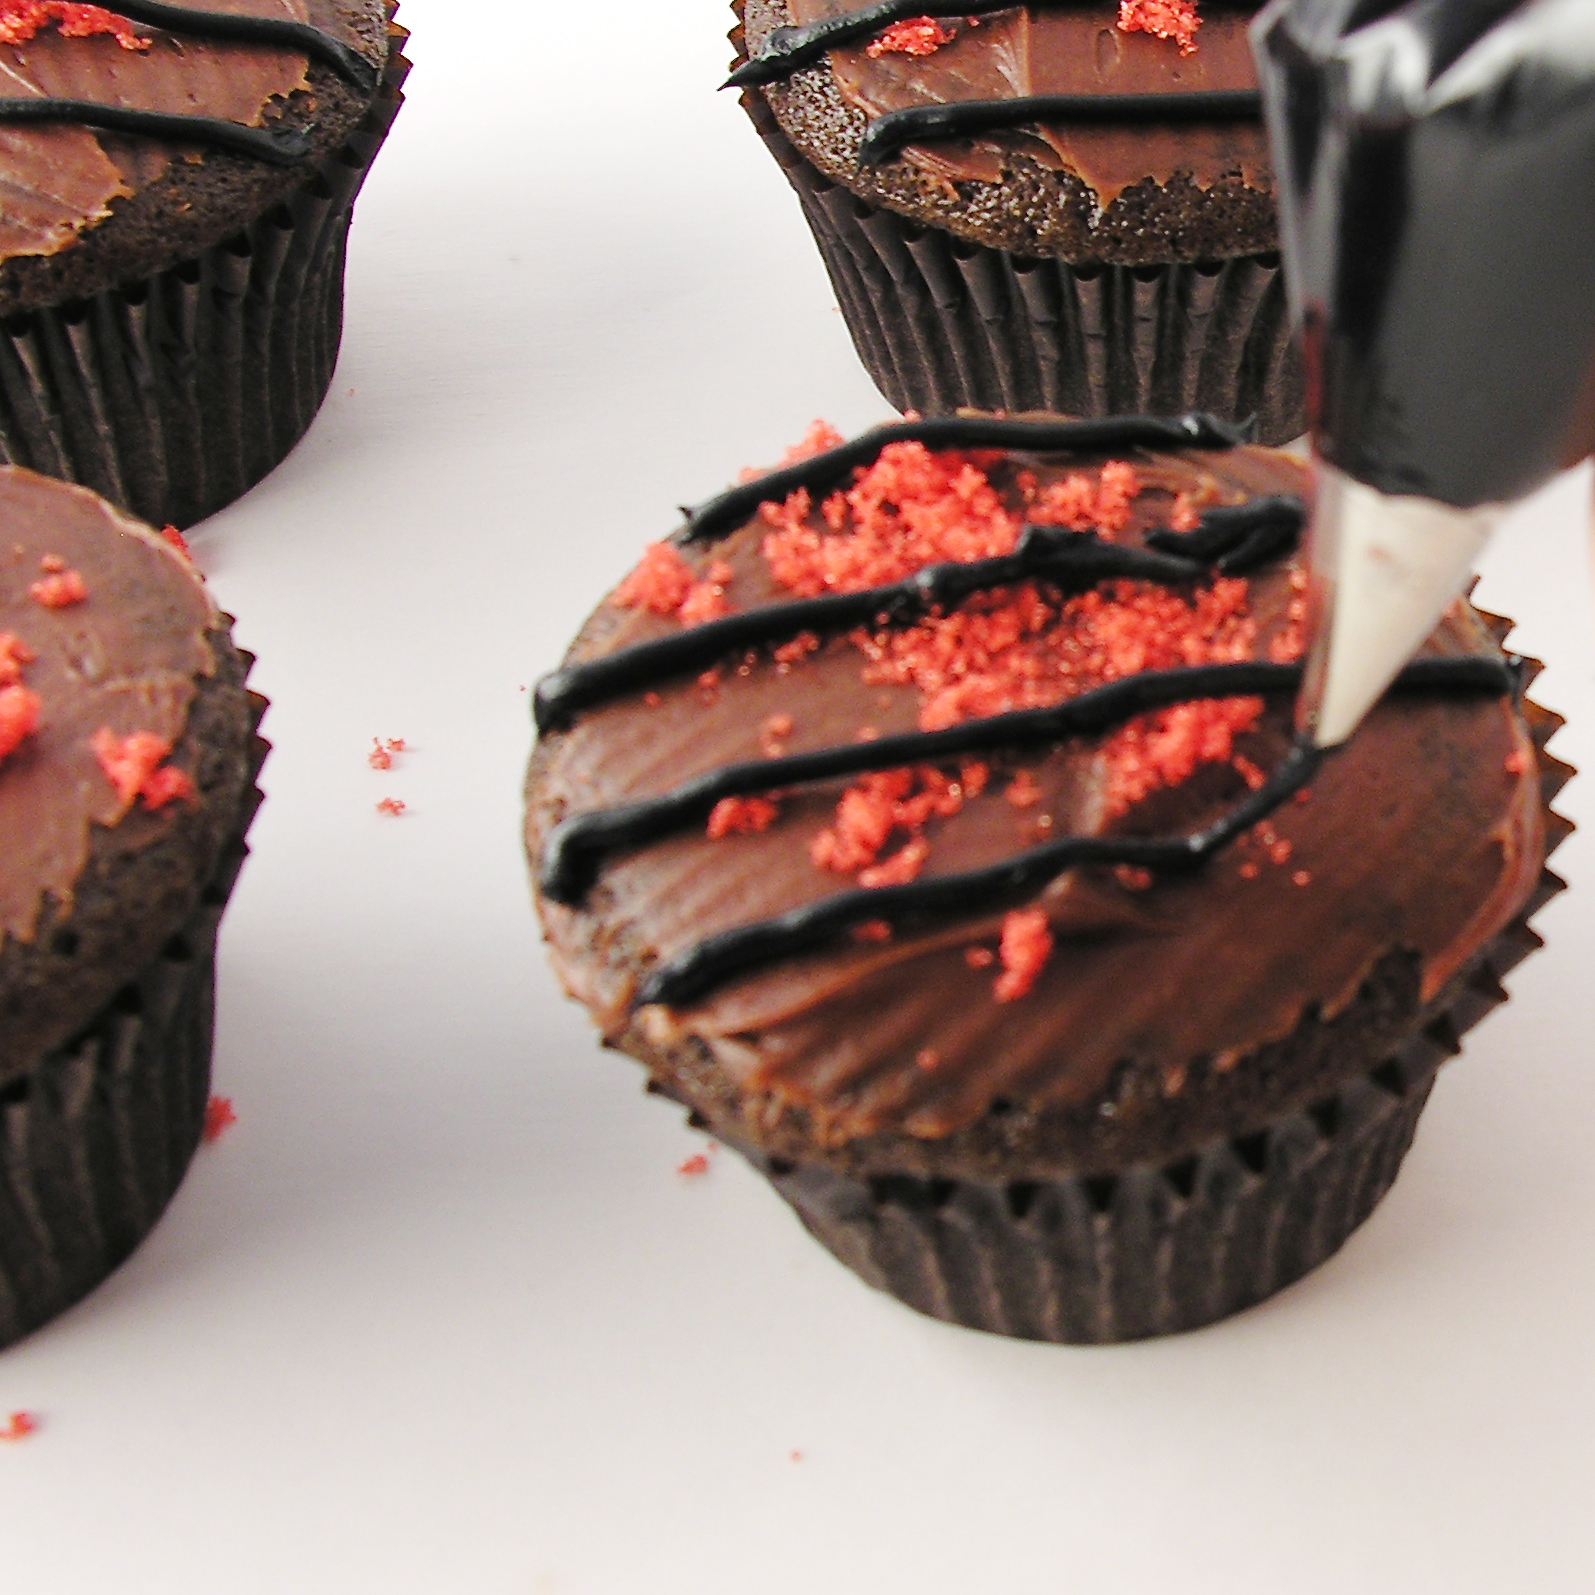
  • Frost as desired.  I used royal icing in a zip-top bag with a corner clipped off to decorate these.  You can click here for my royal icing recipe and instructions for use.  You could also use regular icing or even melted white chocolate.
  • Allow icing to harden up before stacking.

Football Cookies!!!

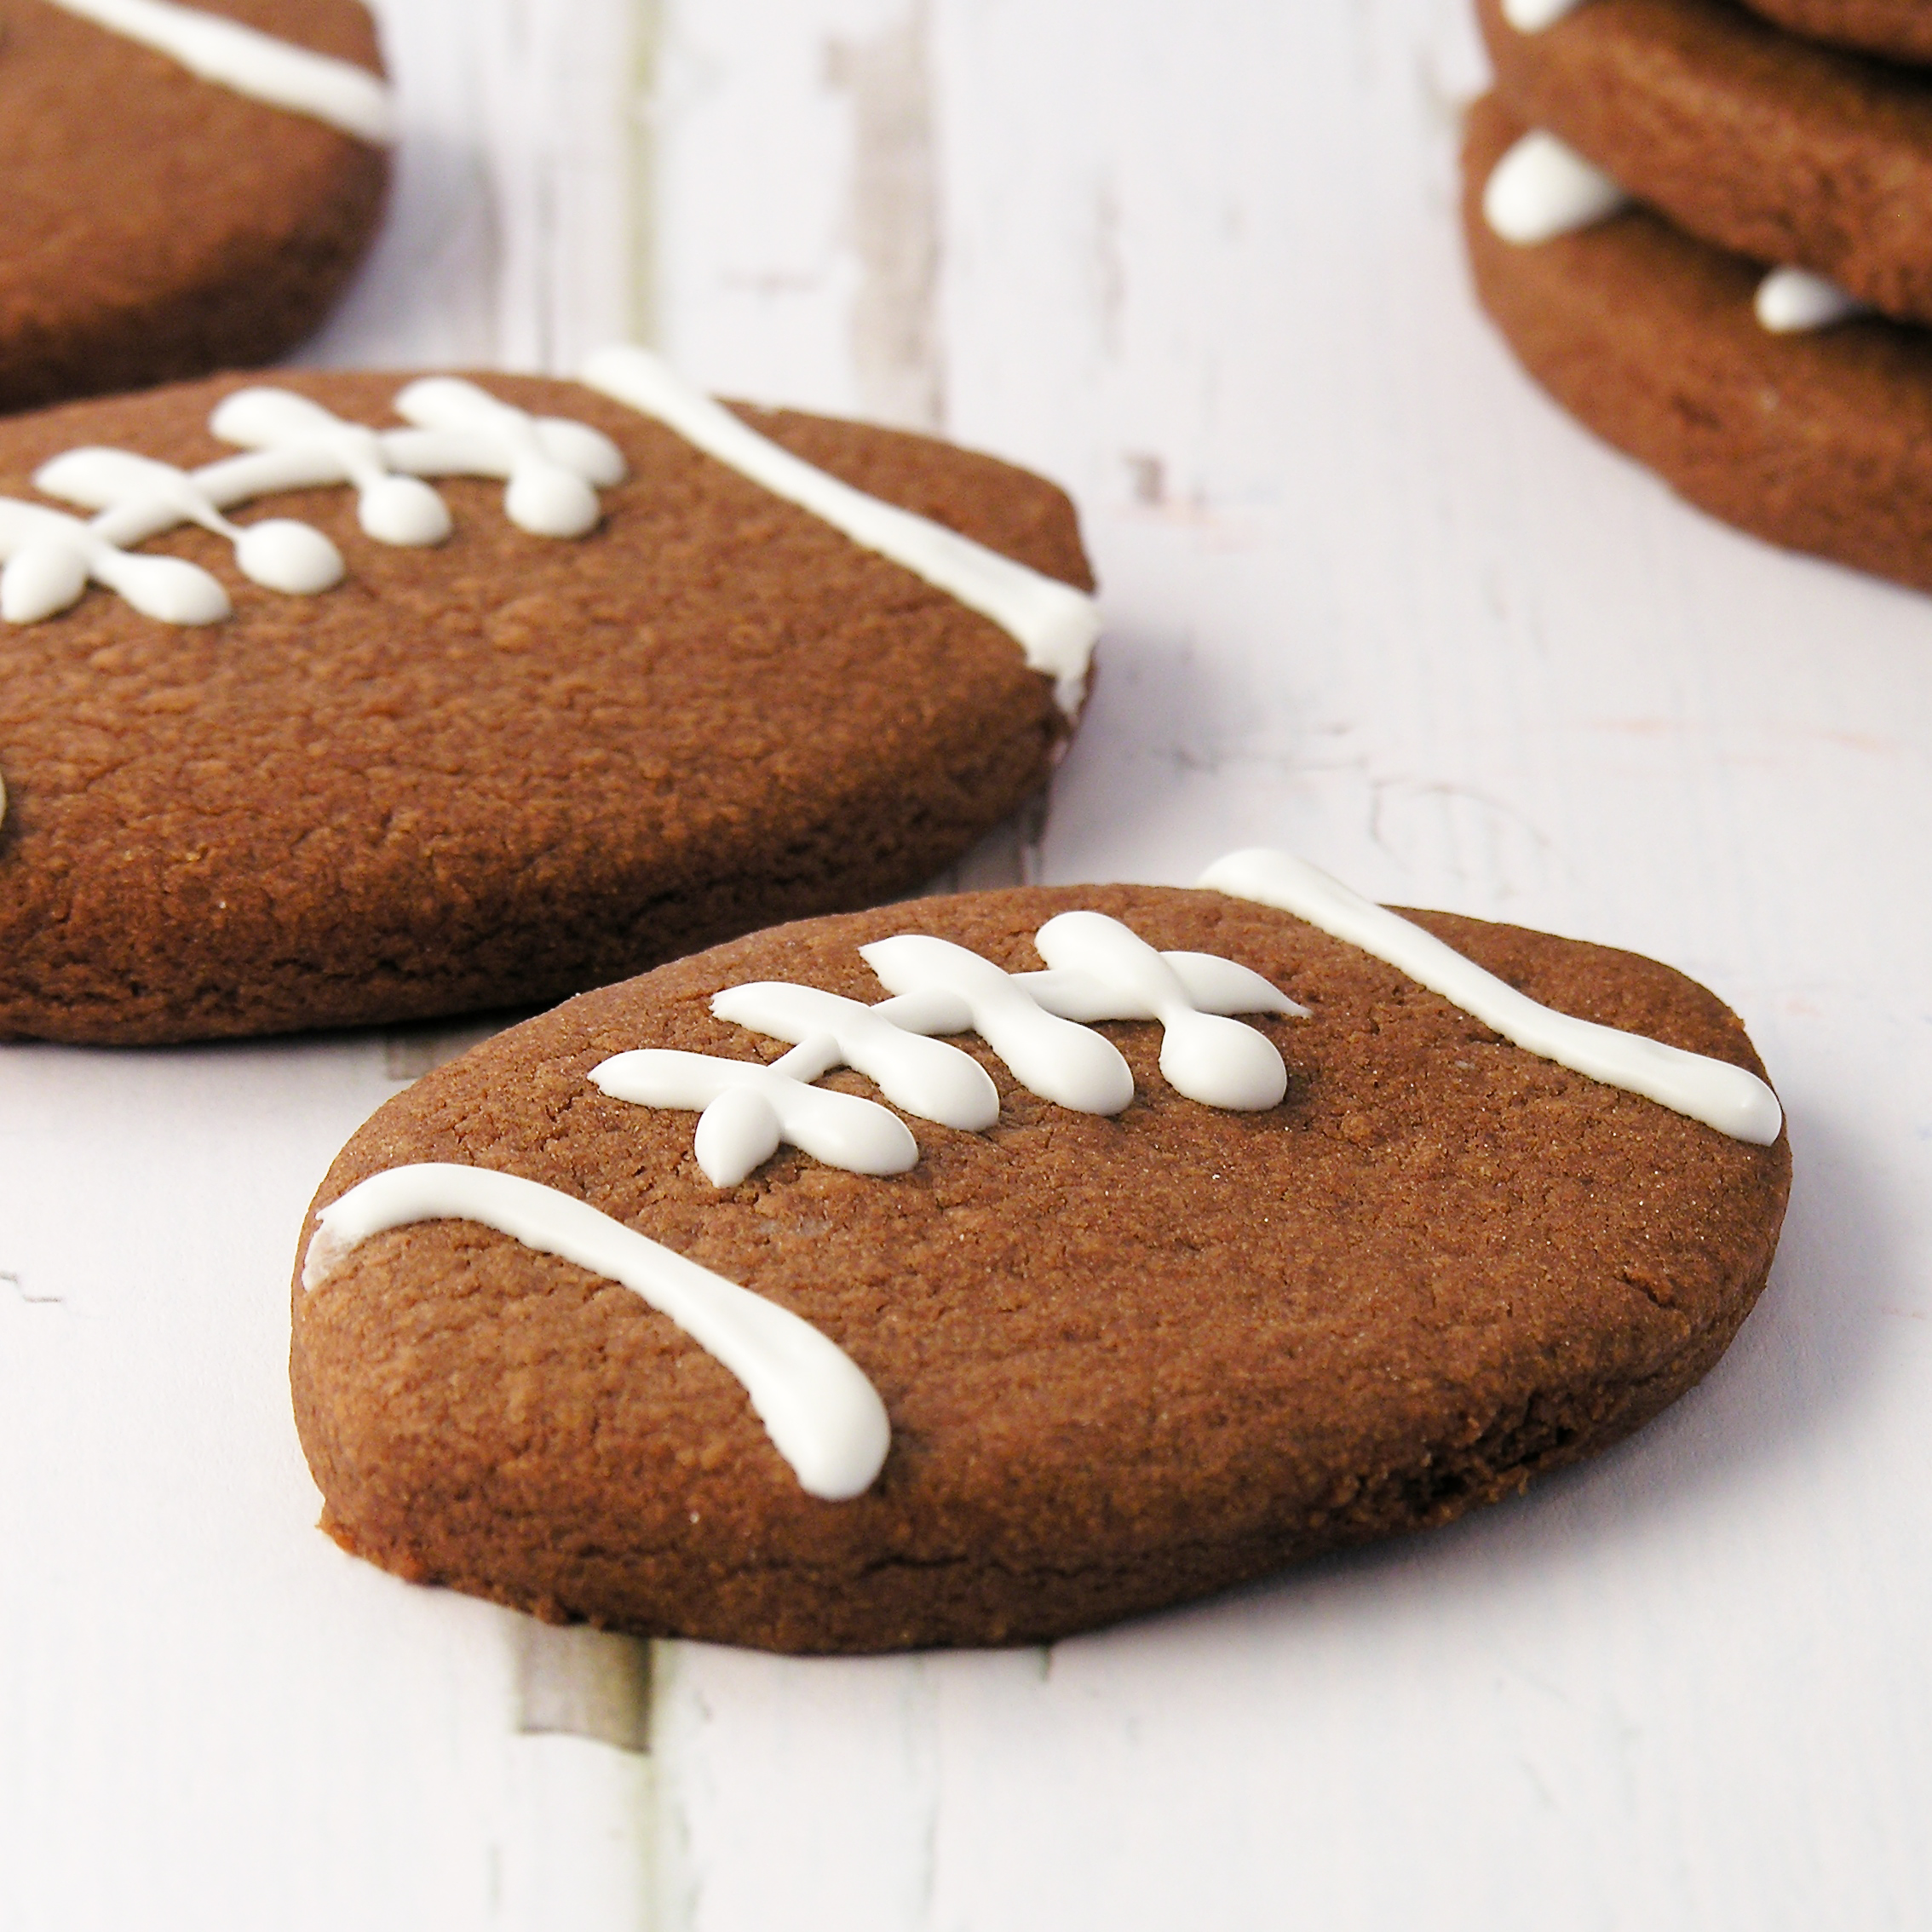
My thoughts: These are so cute, and so yummy that I kept wandering by the table just took look at them while they hardened up. I couldn’t help but smile every time….and eat one.  Which was bad, because I’ve eaten too much fry bread here on the Navajo Nation and I need to diet!  They are irresistibly good…so I quickly have given them all away!  Happy football season everyone!!!  Bring on the fun!!!!!  ~r

Football Cookies!!!!!
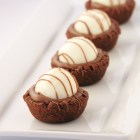
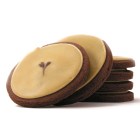
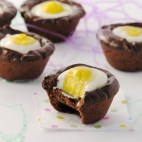
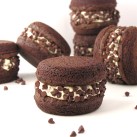
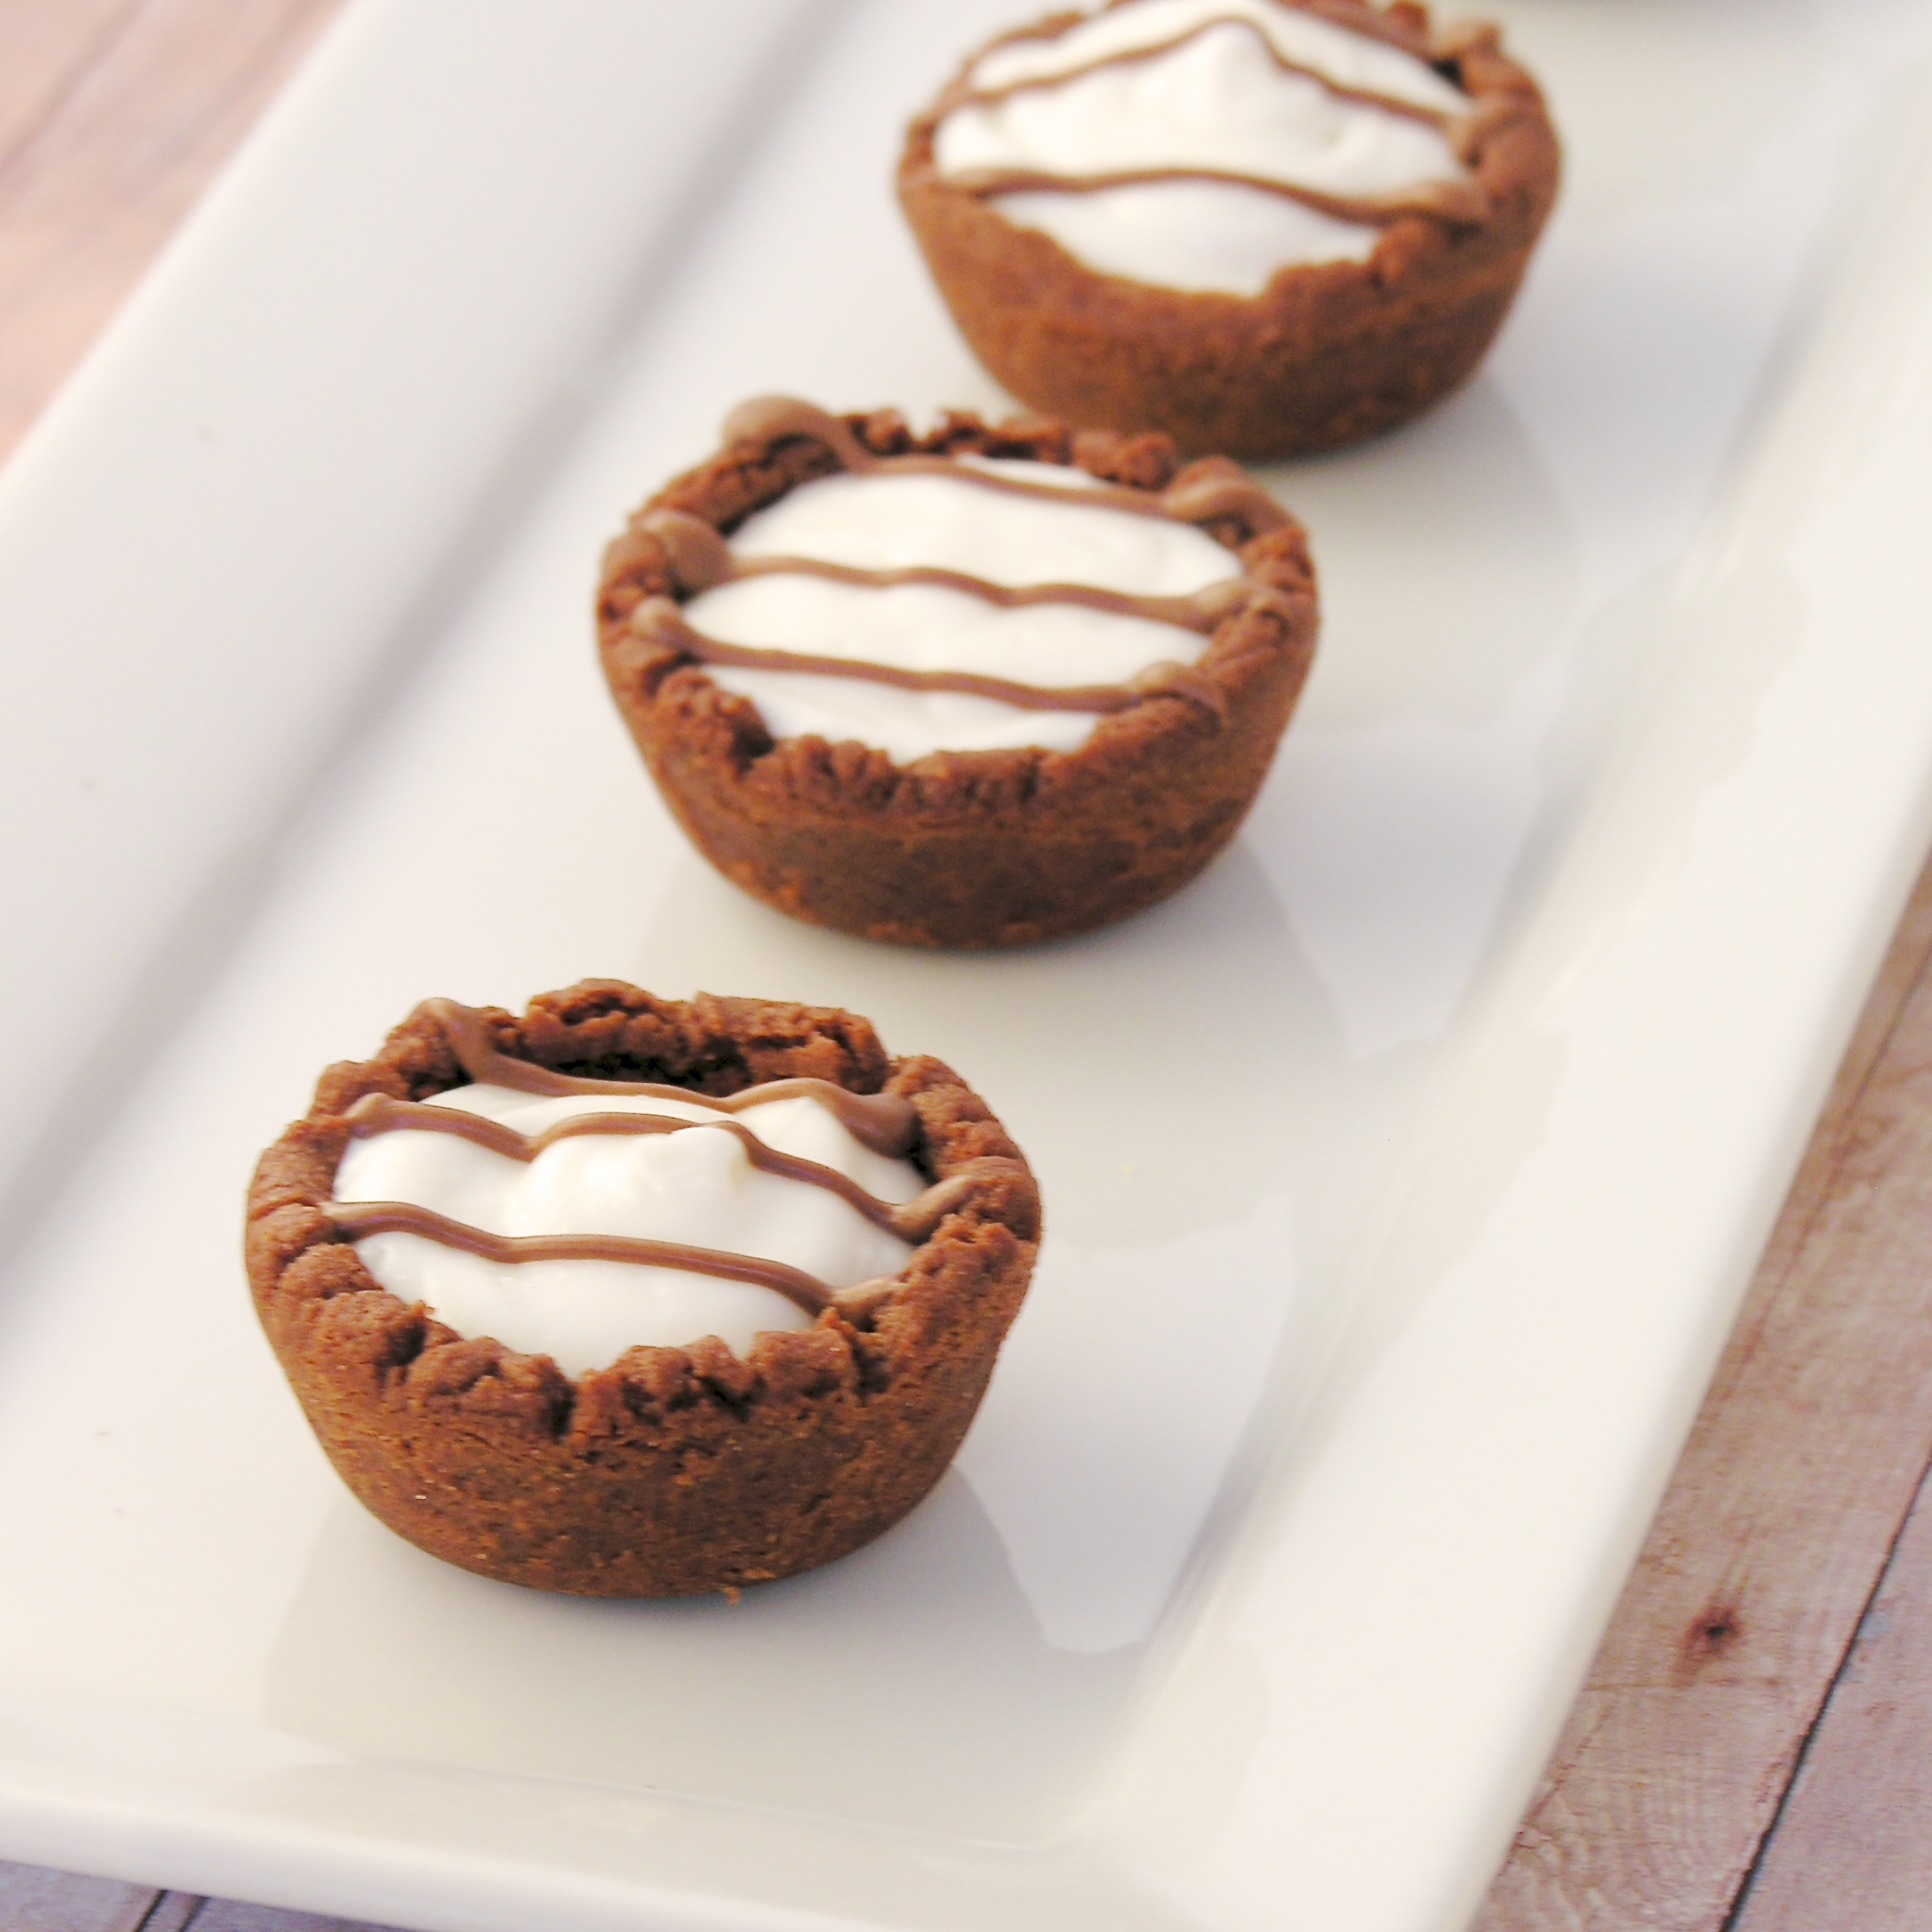
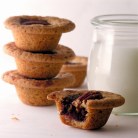
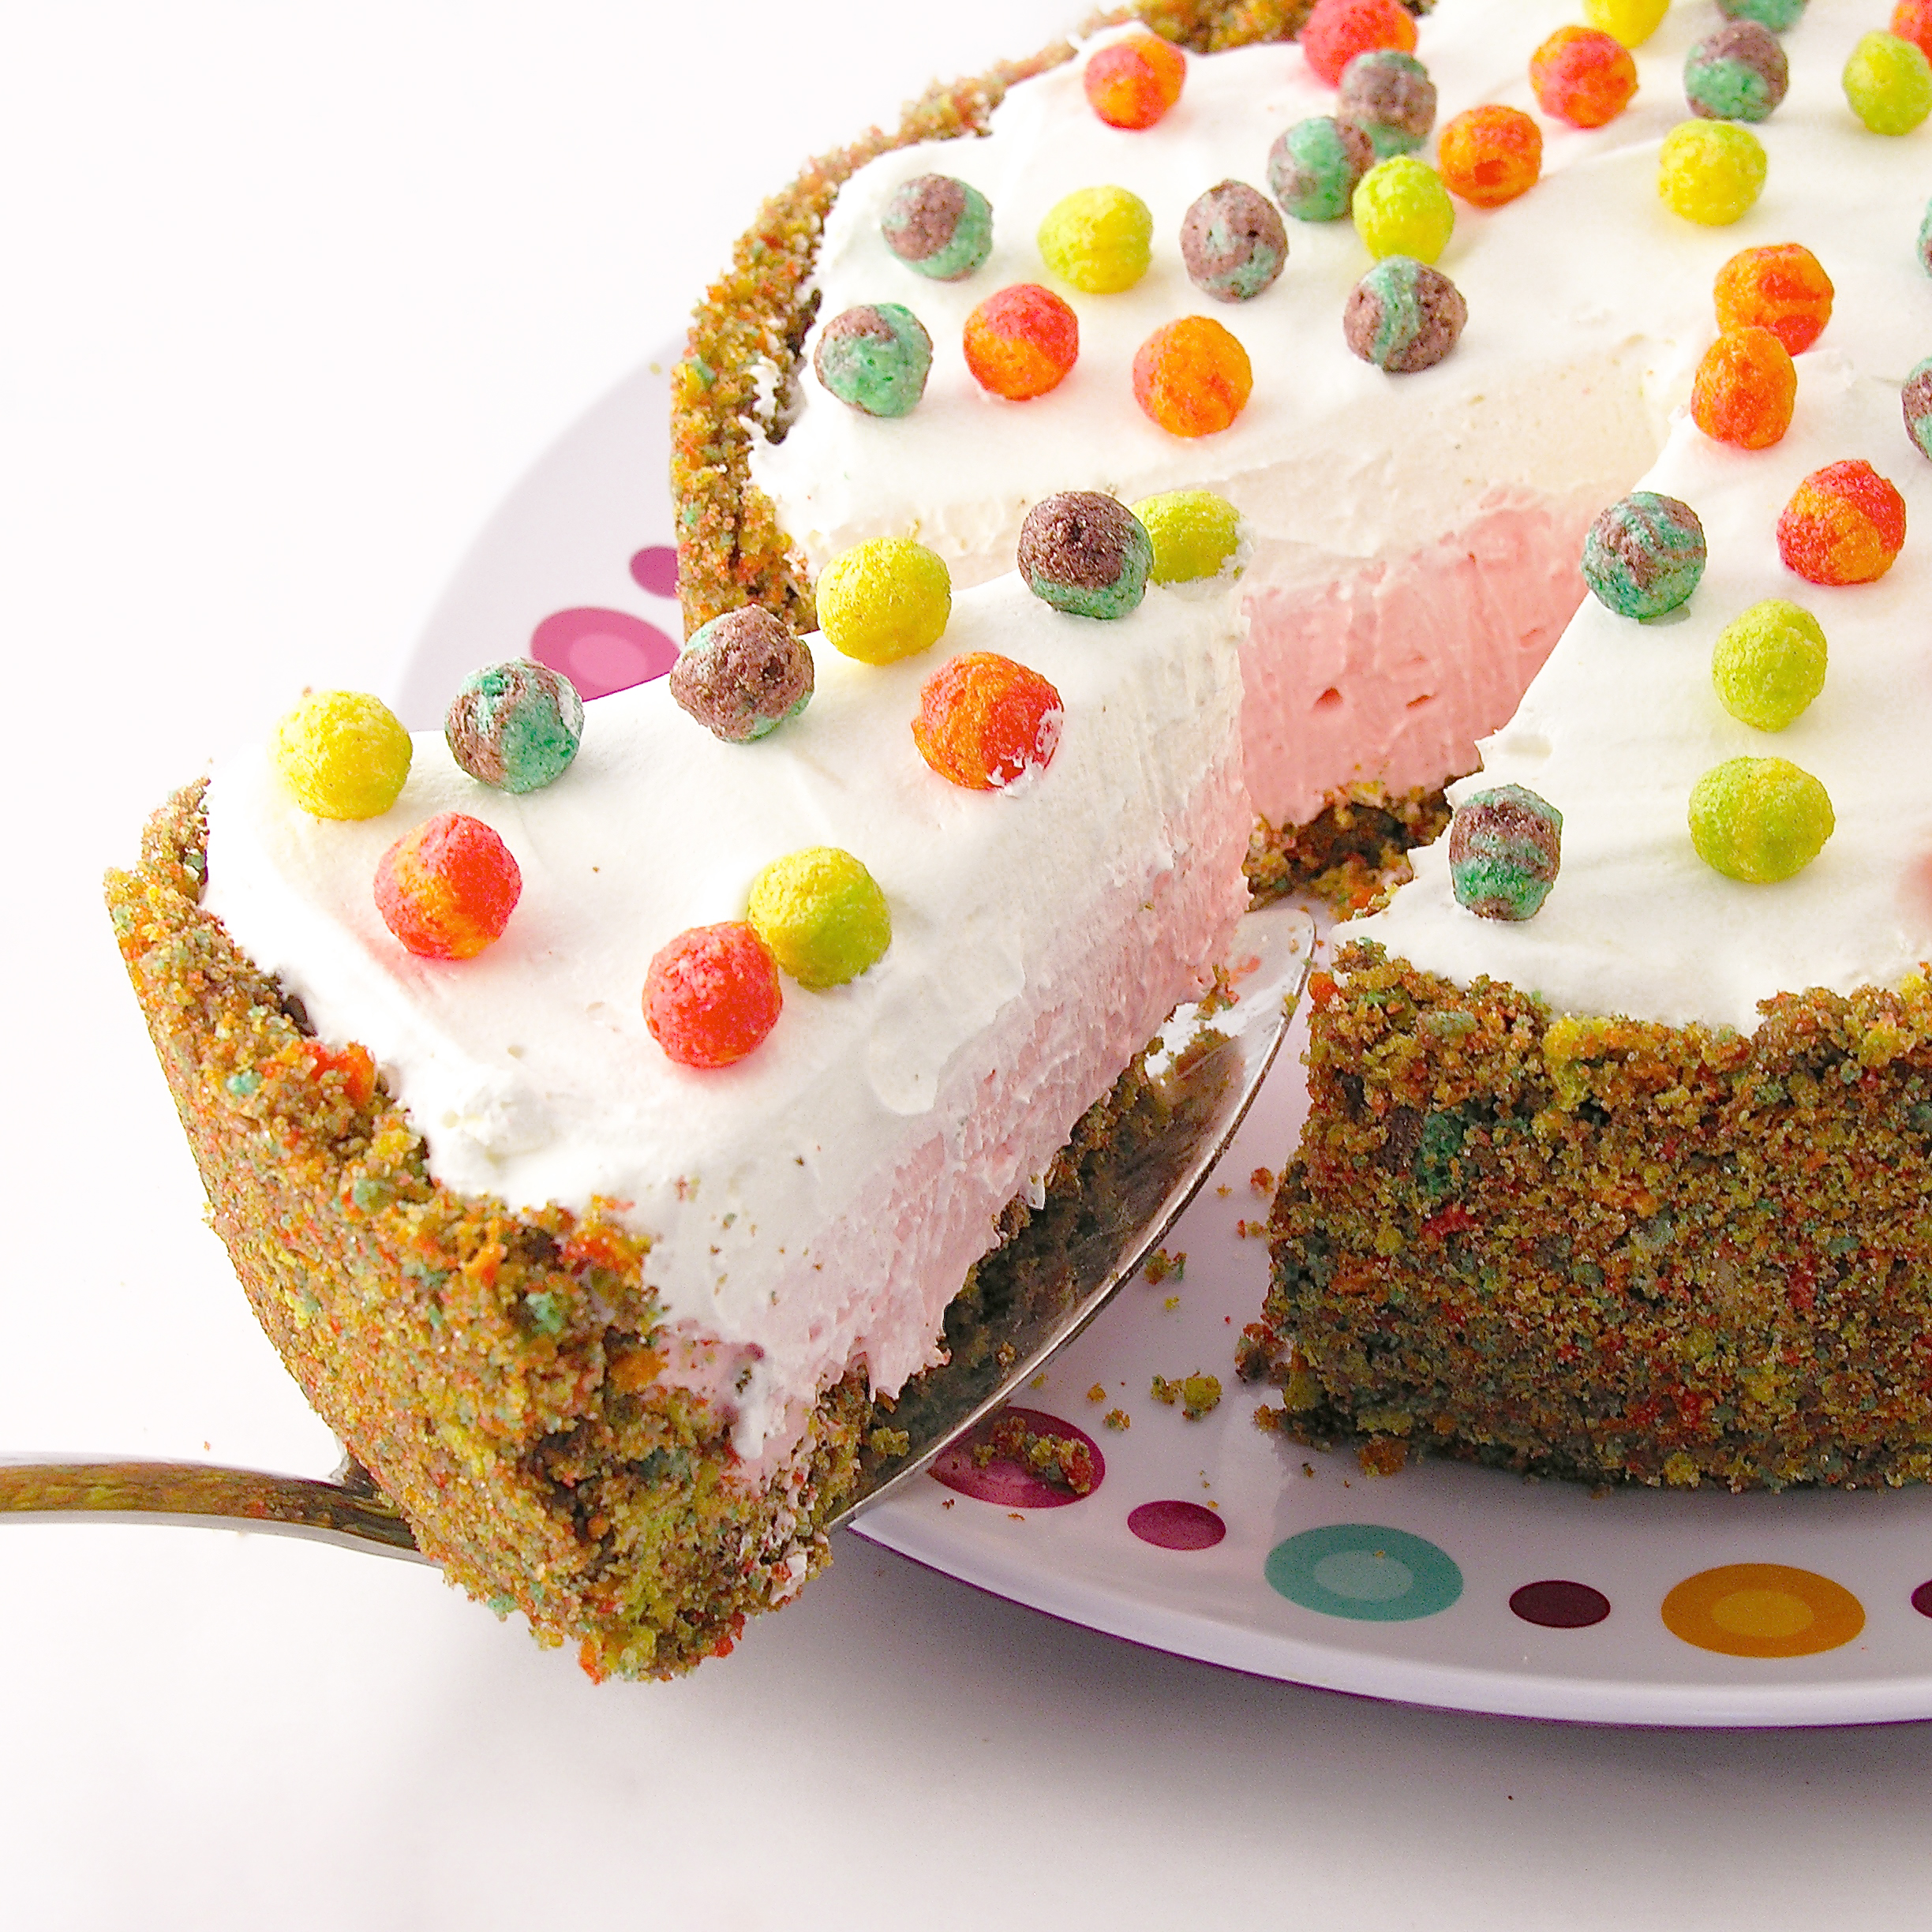
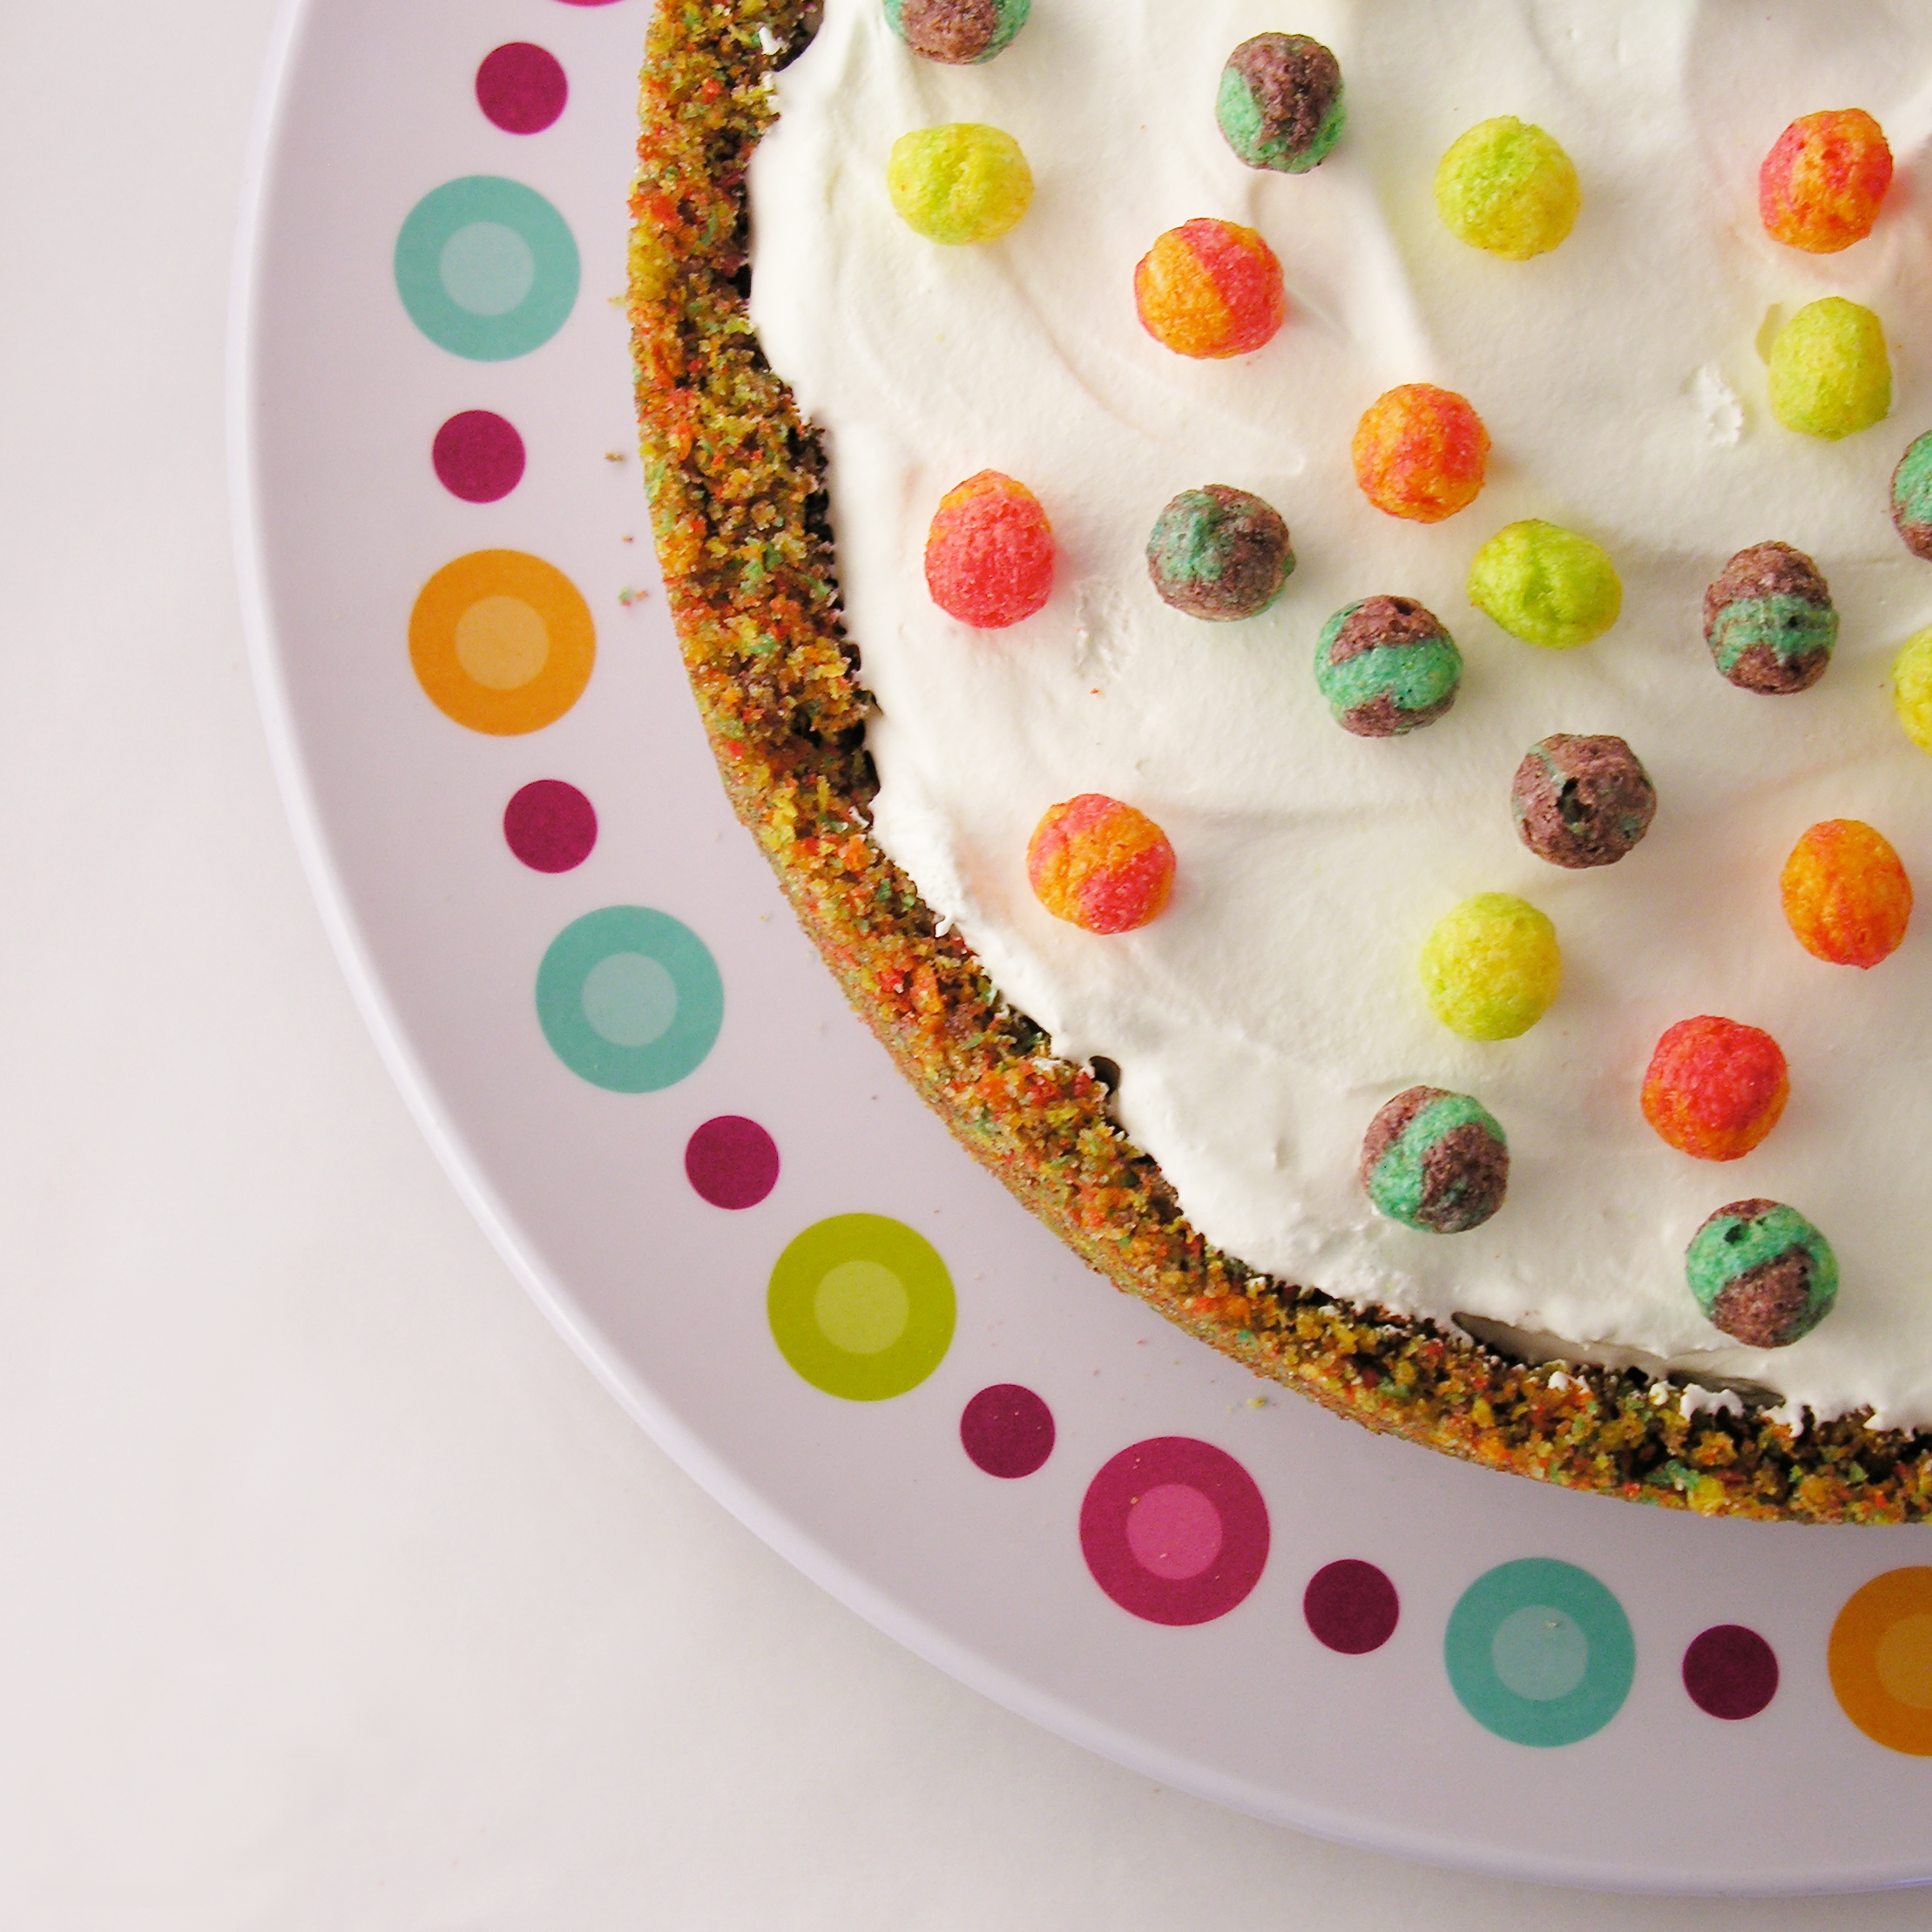
Other desserts that use this cookie recipe:

Chocolate cut-out cookiesTriple Chocolate Truffle CupsEspresso Cookies!!!Cadbury Egg Cookie Cups!!!!


Advertisement

Oreo Flower Pops!

Posted on


Oreo Flower Pops!These cheery little Oreo Pops are sure to brighten anyone’s day, and they are SO easy to put together!

I know…another Oreo Pop!!!  I can’t stop sharing them with you– they are just so fun!  I have another one in the works for a few weeks from now too!  I’m in love with these fun little treats!

If you’ve been a fan of Easybaked for any time at all, you have seen (and maybe tried!) lots of these little bits of happiness on a stick, but if you are new here, let me share with you a pdf that will help you make the perfect Oreo Pop:  How to make an Oreo Pop.

Flower Oreo Pop

Here (once again!) is the recipe: (printable version)

INGREDIENTS:

  • One box of Double Stuff Oreos
  • Two bags of Wilton’s candy melts in any colors you choose
  • M&Ms (I used the pastel kind- but any will work!)
  • Mini chewy Sweet Tarts (or any other small candy for the center of the flower)
  • 24 lollipop sticks

DIRECTIONS: 

  • Carefully twist apart all of the Oreo cookies
  • Using one of the lollipop sticks, make an indentation in the white filling of each cookie.
  • Melt the Candy Melts in the microwave in 30 second increments, stirring until completely melted and smooth.
  • Dip the end of one stick into the melted Candy Melts, drizzle a little in the center of the white cookie filling and then gently press it into the indentation made.
  • Place the top of the cookie back on and allow Candy Melts to harden (10 minutes or so), cementing the cookie back together with a stick inside.
  • Holding the stick, lower the entire Oreo into the bowl of melted Candy Melts, spooning it over the top and sides to cover it completely.
  • Allow the excess  to drain off and gently place covered Oreo on a piece of parchment paper.
  • Before the Candy Melts harden, place M&Ms and Sweet Tarts on top in a flower pattern.
  • Allow Oreo Pop to harden completely
  • Cover in a treat bag and tie with a ribbon
  • Enjoy!!

Flower Pot Oreo Pops

My thoughts: These are easy to make, beautiful to share, and yummy to eat!  Don’t they look cute in a bouquet?  Fall is almost here, celebrate the last bits of summer with these cheery little treats!  Enjoy! ~r

More fun recipes from easybaked:

Chocolate cut-out cookiesCookie Dough Whoopie Pies!Cinnamon Roll Cheesecake!!German Chocolate Pie

Fudge Stripe Cookie Cups

Posted on

Fudge Stripe Cookie cups

These dark chocolate cups have a surprise inside: a crunchy little fudge stripe cookie!

I just love those fudge stripe cookies.  Even when I am trying to watch my calorie intake, I get the little 100 calorie packs as a treat.  They are just soooo yummy!  Those little mini cookies were the inspiration for these cookie cups.  They fit perfectly inside, and make for a wonderful surprise when you bite into one!

Fudge Stripe Cookie Cups!

So much fun!  Best use of diet food  EVER!

Here’s how we made them: (for a printable recipe click here)

INGREDIENTS: (makes 44-48 mini cookie cups)

  • 1 stick (1/2 cup) butter, softened
  • 3/4 cup of granulated sugar
  • 1 egg
  • 1/2 teaspoon vanilla extract
  • 1/3 cup of unsweetened cocoa powder
  • 1 1/2 cups flour
  • 1/4 teaspoon salt
  • 1/4 teaspoon baking powder
  • One box of Keebler Mini Fudge Stripe cookies
  • One tub of vanilla frosting.
  • A little bit of melted chocolate to drizzle on top, if desired

DIRECTIONS:

  • Preheat oven to 350F degrees.
  • Make cookies by combining butter, sugar, egg, vanilla and cocoa powder and beating until completely combined.
  • Add other dry ingredients gradually, mixing with beaters until too heavy to beat. Use clean hands to knead dough into a soft ball.
  • Use a small cookie scoop (I used a scoop that holds 1/2 Tablespoon of batter) to portion out your dough into mini muffin tins that have been sprayed with non-stick spray.
  • Use a tart shaper or a wooden spoon to press the dough into a cup shape (really, the tart shaper works best for this and you will use it again- I use mine all the time!)

Making cookie cups

  • Bake at 350F degrees for 7 to 8 minutes and remove from oven.
  • Press centers in a second time with the tart shaper and allow them to cool for just a couple of minutes.
  • Use a small paring knife to pop each cup out and allow them to cool completely on the counter.
  • Place one mini Fudge Stripe Cookie to each cup
  • Spoon frosting into a small bowl and microwave for 20-30 seconds, until soft.  Stir until smooth.
  • Spoon frosting into a sturdy zip-top bag and clip a corner off.  Pipe frosting over cookie to the top of each cup

Fudge Stripe Cookie Cups!

  • Pipe chocolate stripes on top to decorate.
  • Allow frosting to firm up.
  • Enjoy!

Fudge Stripe Cookie Cups

My thoughts:  These are SO easy to make and such cute little desserts.  I’m addicted to desserts that surprise you when you bite into them- and these do just that!  I hope you enjoy making and sharing these fun little treats!  Enjoy!! ~r

Fudge Stripe Cookies1

Other cookie cup dessert recipes:

Salted Caramel Cookie Cup!!!Pecan Pie cookie cups with dark chocolateSeven Layer CupsMelted Smores cup


Kool Aid Pie!

Posted on

KoolAid PieWith a fruit cereal crust and sweet, creamy Kool Aid filling, this cake will have you and every child in your life asking for seconds!

This recipe is made in a springform pan- like a cheesecake. The crust is made of crushed Trix Cereal and I made my filling with watermelon Kool Aid.  It was perfect with the sweet crust and slightly tart filling.  The cool thing?  You can use ANY flavor of Kool Aid you want!  Blue Raspberry, Green Apple, Cherry, Grape, Strawberry….ANYTHING!

Kool Aid Cake!

So. Much. Fun!!!!!!!!!

Here’s how we made it: (for a printable recipe, click here)

INGREDIENTS:

  • 6 cups of Trix Cereal (crushed into about 3 cups)
  • 1 stick (1/2 cup) butter (melted)
  • 3 Tablespoons of sugar
  • 1 package (8 oz) of Philadelphia Cream Cheese (softened to room temperature)
  • 1 packet of Kool Aid drink mix (any flavor~ if you use a lemonade, add it to taste, as it will be more tart than the other flavors)
  • 1 (13 oz) jar of Jet-Puffed Marshmallow Creme
  • 1 tub (8 oz) of Cool Whip (thawed in refrigerator)

DIRECTIONS:

  • Preheat oven to 350F degrees
  • In a large mixing bowl, combine crushed cereal, sugar and melted butter. Mix until well- combined,
  • Press into an un-greased, 8″ springform pan, pressing crumbs up sides and into bottom.
  • Bake at 350F degrees for 15-18 minutes.
  • Leave sides on pan, and cool completely.

Crushed CerealKool Aid Pie Cereal Crust!!

  • Make filling by creaming together the cream cheese with the Kool Aid. Add Kool Aid according to how much flavor, color and tartness you enjoy.  I added the whole packet, and YUM!
  • Mix in the entire container of Marshmallow Creme and blend well.
  • Fold in 1/2 of the Cool Whip until well blended.
  • Carefully spoon filling into cooled cereal crust, and very gently (as to not pick up crumbs of cereal), spread it to the edges.
  • Spoon remaining Cool Whip on top.
  • Store chilled, and just before serving remove sides of pan, and sprinkle extra cereal on top.

Kool Aid Pie with Cereal Crust!

My thoughts:  The only thing even a tiny bit hard about this recipe is pressing that crust into a springform pan.  The rest is just mixing and pouring.  So easy- but such a pretty and fun dessert.  The watermelon version I made got RAVE reviews and it was gone in one evening.  Almost everyone had seconds!  I wasn’t sure how well the watermelon flavor would go over, but it was so refreshing!  I loved it!  I hope you get a chance to try this easy summer recipe!  Enjoy!!! ~r

Kool Aid Pie!!!

 More recipes that kids will love:

Hamburger Cookie!Toxic Slime-filled Cupcakes!Ladybug Oreo Pops!Confetti Cake Filled with Candy

Popsicle Punch!!!!

Posted on

Popsicle Punch

 Love popsicles?  Love a fruity, refreshing punch?  Try making popsicle punch!  Everyone can choose their own flavor!

Popsicle Punch!!

I was sitting in the sun, thinking about punch the other day.  I was thinking about how you never really get to have punch unless you make a ton of it in a big punch bowl~ which sends it into the “only at a big party” category of treats.  I started thinking about how much fun it would be if you could make a single-serving punch, and suddenly—POPSICLES!!!!!!  A little bit of Sprite, maybe a bit of pineapple juice and a POPSICLE!  Choose your flavor, pick your punch!

I had to run to the store and get popsicles to try this little experiment, and YUM!!!!!!  YUM! YUM! YUM!!!!!!

I loved the plain popsicles- beautiful colors and delicious fruity punch.

THEN, I tried the popsicles that have the ice cream filling… you know, these:

Popsicle Punch!

So much creamy, fruity happiness in one little mug…. well, two little mugs because I had to try a couple of flavors:

Popsicle Punch!

That orange punch?  Like a creamsicle in a cup….!  Unbelievably good!!!

Here’s how I did it:

INGREDIENTS:

  • Sprite (or another lemon-lime soda)
  • Pinapple (or another fruit) juice
  • Popsicles!

DIRECTIONS:

  • Fill a cup about 1/2 full of soda (leave room for the popsicle- the ice cream ones foam up a bit) 
  • Add juice to taste- I added about 1 part juice for 4 parts soda.
  • Place a popsicle into cup and stir to dissolve
  • ENJOY!

Popsicle Punch!!!

My thoughts:  You can make individual cups of punch, or make the base punch in a big punch bowl (just the soda and the juice) and set a cooler full of popsicles out for people to choose flavors from.  I just made a cup of punch with a frozen juice bar— oh my.  So yummy!  The possibilities are endless!!!!  Enjoy!  ~r

Cheers!!!!

Cheers!!!!

Other fun beverage (and beverage inspired!) recipes:

Spiced Mocha and Tim Tam Slams!Cotton Candy Fizz Mexican Chocolate MilkMalted Milkshake Cupcakes


Piña Colada Cupcakes!

Posted on

Pina Colada Cupcakes!

 These pineapple cupcakes are full of coconut and rum flavored happiness.  A perfect pool party treat!

Aren’t these just the cutest little things?  I love the flavor combination of coconut and pineapple, it is such a refreshing taste!  The light whipped frosting on these, combined with the crunch of toasted coconut makes them such a delicious summer treat!  I even added a cute little edible coconut drink topper that I found on Party Pinchers.  So. much. fun!!!!

Pina Colada Cupcakes!!

INGREDIENTS: (printable recipe here)

  • 1 boxed pineapple cake mix (I used Duncan Hines), plus water, oil and eggs to make according to box directions.
  • 5 cups of shredded, sweetened coconut
  • 3 teaspoons of rum flavoring (divided)
  • 2 teaspoons of coconut flavoring
  • 2 sticks (1 cup) salted butter (softened to room temperature)
  • 2 sticks (1 cup) of unsalted butter (softened to room temperature)
  • 3 cups of powdered sugar
  • Decorations (as desired)

DIRECTIONS:

  • Preheat oven to 325F degrees
  • Spread 5 cups of coconut out on a large baking sheet that has edges.
  • Toast in 5 minute increments, stirring with a big spoon to evenly toast (It usually takes me about 20 minutes)
  • Allow coconut to cool, then place in a large zip-top bag, and crush into smaller pieces.
  • Make cake mix according to directions on box, and after it is made, add one cup of crushed, toasted coconut and mix completely into batter.
  • Add 2 teaspoons of rum flavoring and stir completely into batter.
  • Divide batter evenly into 24 cupcake liners placed into tins.
  • Bake according to package directions and cool completely.
  • To make frosting, place butters, coconut flavoring, remaining rum flavoring, and powdered sugar into a large mixing bowl and beat on high for 3 or 4 minutes until very light and fluffy.  Add one cup of crushed, toasted coconut and stir until well blended.
  • Use a spoon or a cookie scoop to place a rounded scoop of frosting on the top of each cupcake.  
  • Place the rest of the crushed coconut into a small bowl, and turn each cupcake upside down into it, pressing coconut into the top and sides of each scoop of frosting.
  • Decorate as desired. I found these cute little edible “coconut cups” on a site called Party Pinching, and I couldn’t resist making them for my pina colada cupcakes!  You just cut the tops off of a Whoppers malted milk ball, put a dab of melted white chocolate and add little flower sprinkles and a bit of string licorice.  FUN!

Pina Colada Cupcakes!Pina Colada Cupcakes!

My thoughts: I really thought these captured the flavors of coconut and pineapple in a perfect combination.  I loved the little crunchy bits of coconut in the cake and frosting.  These are such a festive cupcake and make a perfect refreshing summer or vacation dessert for all ages! 
Pina Colada Cupcakes!Other fun cupcake recipes:

Malted Milkshake CupcakesKey Lime Cupcakes!Brownie Oreo Cookie CupButter beer cupcakes


Root Beer Float Cupcakes!

Posted on

Root Beer Float Cupcakes!!!!These cupcakes capture all the summer flavors of a root beer float~ all you need is a frosty mug!

People ask me a lot about if I would ever open a bakery, and I always say no.  I can’t imagine making hundreds of the same thing every day.  My favorite part of baking is the process of creating something new.

I thought about this recipe for a long time.  I wanted root beer in the cupcake and root beer in the frosting, but how to create that “scoop of ice cream” flavor without actually using ice cream?  I sometimes cheat in my photos by using scoops of frozen cool whip instead of ice cream.  It melts slower and keeps a scoop shape longer under the heat of my photography lights.  I decided to try Cool Whip as my scoop of ice cream for these cupcakes.

Oh my.  If I could jump up and down and point giant neon arrows toward this cupcake recipe I would.  These are so, sooooooooooo good. You need to make these!!!  They even use a cake mix, so they aren’t horribly complicated.  That Cool Whip…with the root beer buttercream…. perfect.

Root Beer Float Cupcakes!!!Here’s the recipe: (printable version)

INGREDIENTS: (makes 24-26 cupcakes)

  • One boxed white cake mix, plus water, oil and eggs to make according to package.
  • 1 cup of root beer
  • 5 teaspoons of root beer concentrate (divided)
  • 1 stick (1/2 cup) of salted butter (softened)
  • 1 stick (1/2 cup) of unsalted butter (softened)
  • 1 1/2 cups of powdered sugar
  • 2 tubs of Cool Whip (frozen)
  • Sprinkles and straws (optional)

DIRECTIONS:

  • Make white cake mix as directed on box.
  • After beating cake, add root beer and 3 teaspoons of root beer concentrate. Mix well until combined.
  • Place cupcake liners in muffin tins and fill each one only about 1/2 full (these cupcakes rise a bit higher than just a plain mix)
  • Bake according to package directions, remove from oven and cool completely.
  • Make buttercream by adding both butters, powdered sugar and 2 teaspoons of root beer concentrate to a mixing bowl and beating on high for 4-5 minutes until very light and fluffy.
  • Place frosting into a sturdy zip-top bag that has been fitted with a large round decorating tip in one corner.
  • Assemble cupcakes one at a time.
  • Use a medium cookie scoop and place a ball of frozen Cool Whip in the center of a cupcake.
  • Pipe round “bubbles” around it immediately, by squeezing the frosting out into a circle and then pulling straight out.

Root Beer Float CupcakesRoot Beer Float Cupcakes

  • Only have one container of Cool Whip out at a time, and if it starts to get soft, switch it back into the freezer to harden up.
  • Keep these chilled until you serve them.
  • Just before serving, add some sprinkles and a straw for a root beer float feel!
  • Enjoy!!

Root Beer Float Cupcakes!!My thoughts:  Such a fun summer dessert.  It is actually very light and not too sweet because a lot of the topping is just Cool Whip.  I was really happy with how this experiment came out and I can’t wait to make them again!  Enjoy!!!!!

Root Beer Float Cupcakes!!

Our very first cookbook is available for purchase this week!!!  Check it out in our new “Store” tab.  You can also find our greeting cards from Warner Press and our fun new recipe notecards distributed by Trifle Recipe Cards there.

These aren’t our first cupcakes that recreate a yummy beverage!  Try these other fun recipes:

Lime Soda Cupcakes!!!!Malted Milkshake CupcakesStrawberry Lemonade Cupcakes!!!!Baileys Irish Cream Cupcakes

BBQ Cupcakes!!!

Posted on

BBQ Grill Cupcakes!!These chocolate cupcakes are topped with all the fixings for a grill out!  A perfect treat for Father’s Day or even a tailgate party (and as a Packer fan, I have lots of experience with those fun events!!!)

My dad is the best at grilling things.  Some of my favorite times are our family cookouts with dad at the grill.  I guess that’s why I smiled when I saw these on Pinterest the other day.  There are a ton of variations on these- they are all over the web.  There are steaks and burgers made out of caramels and candy bars.  There are shish-kabobs made out of Dots candy and Starburst.  I even saw goldfish crackers on the “grill”!  LOVE IT!

I stayed with Hot Tamales as little hot dogs, and they make me smile.  These are easy and fun, fun, FUN!!

BBQ Grill Cupcakes!!!Want to know how to make them?  Here’s the recipe: (printable version)

INGREDIENTS:

  • 1 box of Hot Tamales candies (if you hate cinnamon, you can use Mike&Ikes candy, but you’ll have to pick out the cherry ones).
  • Black gel food coloring
  • 1 cake mix (plus water, oil and eggs needed to make it according to the package)
  • 1 tub of chocolate frosting
  • Red sugar crystals 

DIRECTIONS:

  • Make cake mix according to package and divide into 24 cupcake liners placed in muffin tins.
  • Bake according to package, remove from oven and cool completely.
  • While cake is baking, use a toothpick and black food color gel to draw grill lines on the hot tamales.  I placed them on a paper towel to dry, so they wouldn’t roll.
  • Take about 1/3 of frosting out of tub, place it in a separate bowl, and add black food coloring gel  to make the frosting black.  Place this frosting into a small zip-top bag fitted with a small round decorating tip.
  • Once cupcakes have cooled, use a knife to frost a thin, smooth layer of the chocolate icing onto each cupcake.
  • Sprinkle a little red sugar in the middle of the cupcake frosting.
  • Pipe black frosting on in even lines to make the grill.
  • Set Hot Tamales on the “grill” top.
  • Enjoy!

BBQ CupcakesBBQ Cupcakes!BBQ Hotdog Cupcakes!!!

My thoughts: These are SO easy to put together.  Adding other grill items would increase your time commitment, but with just hotdogs, these went together fast!  Of course, you can use your own favorite cupcake recipe and frosting recipe with these if you don’t want to go pre-made.  I was in a hurry this week, with lots of things on my plate: BIG NEWS coming soon!  So excited to tell you all what I’ve been up to!  In the meantime, make yourself (and your dad!) some little cupcake grills!  Enjoy!!!!  ~r

BBQ Grill Cupcakes!!!

You might also enjoy:

Hamburger Cookie!Malted Milk Cupcakes!!!New Zealand Chocolate cookiesChocolate molten lava cupcakes


Chocolate Raspberry Cheesecake

Chocolate Raspberry Cheesecake!!Creamy chocolate cheesecake topped with a layer of raspberry and sour cream. Unbelievably yummy!!!

If you follow my blog on a regular basis, you will remember this cheesecake from last fall.  It is my Aunt’s recipe and it is literally the best cheesecake I’ve ever eaten.  It is so creamy and smooth…oh my.

I decided to add a few twists to the recipe by making it chocolate and adding raspberries to the topping.  It worked beautifully and added so much flavor!  It is really quite easy to make.  I hope you enjoy it as much as I did!!!!

Here’s the recipe (printable version):

INGREDIENTS:

Crust:
  • 1 1/4 cups Honeymaid graham cracker crumbs
  • 5 tablespoons butter, melted
  • 3 tablespoons sugar 
Filling: 
  • 3/4 cup sugar
  • 3 (8 oz.) Philadelphia cream cheese bars (must be the Philadelphia brand)~ softened to room temperature.
  • 2 eggs
  • 1 teaspoon vanilla
  • 1 teaspoon lemon juice
  • pinch of salt
  • 1 cup of semi-sweet chocolate chips
Topping: 
  • 1 pint (2 cups) sour cream
  • 1/2 cup sugar
  • 1 tsp. vanilla
  • pinch of salt
  • 1/3 cup of canned raspberry pie filling

DIRECTIONS:

  • Preheat oven to 350F degrees.
  • In a medium bowl, combine crust ingredients together until well combined.
  • Press into a 9″ spring form pan, pressing crumbs into bottom and about 1 1/2″ up sides of pan.    
  • For the filling, combine the sugar and softened cream cheese in a large mixing bowl and beat together until smooth.
  • Add the eggs, one at a time, beating between each addition.
  • Add the vanilla, lemon juice and salt and beat until smooth and creamy.
  • Melt the one cup of chocolate until smooth, and add to cheesecake mixture, beating until completely incorporated.
  • Pour into crust.
  • Bake at 350F degrees for 35-45 minutes.
  • While cheesecake is baking, make topping by simply mixing together all of the topping ingredients.
  • After 35-45 minutes of baking, remove cheesecake from oven and turn oven down to 325F degrees.
  • Pour topping over hot cheesecake, gently spreading to edges.
  • Return cheesecake to oven and bake for an additional 12-15 minutes.
  • Remove cheesecake from oven and leave sides on pan while allowing cheesecake to cool to room temperature.  
  • Refrigerate several hours (or overnight)
  • Run a small knife around the edges of the pan and remove them before serving.
  • Serve with extra raspberry pie filling– YUM!
  • Enjoy!!!!


Chocolate Raspberry Cheesecake!!
My thoughts:  You can see in my pictures that I added a cup of raspberry pie filling over the crust before I poured the cheesecake batter in.  It was really yummy, but made it hard to remove the bottom of the springform pan (which I always do before pictures).  If you don’t mind leaving the bottom on, this is a yummy addition to the recipe!  Just gently spread it out over your graham crust and pour the cheesecake over the top.
Chocolate Raspberry Cheesecake!!

We love raspberries here at Easybaked!  Check out our other yummy raspberry recipes!

Raspberry Lemon Cream Cups!!!Raspberry Confetti KissesRaspberry Truffle TartRaspberry Lemon drop Cakes!!!

Andes Mint Layer Cake

Posted on

Andes Mint Layer Cake!

This rich chocolate cake has a huge layer of Andes Mint whipped filling and is drizzled with fudge topping.  The perfect chocolate dessert!

Tah Dah!!!  One last melted frosting recipe…for now…This one has yummy melted chocolate frosting inside and poured all over the top.  YUM!!!!!!

I love making this cake in various forms.  It is SO quick and easy to put together and everyone loves it! This time I added Andes mint candies for a refreshing mint twist to this recipe.  I think you will love it!! Andes Mint Cake!!

Here’s the recipe:  (printable version)

INGREDIENTS:

  • 1 boxed chocolate cake mix (with oil/eggs/water to make according to directions)
  • 2 packets of Dream Whip  (found near the jello/pudding boxes at the grocery)
  • 3/4 cup milk
  • 1 teaspoon vanilla
  • 3 tablespoons cocoa powder
  • 3 tablespoons powdered sugar
  • Andes Baking Chips 10 oz
  • One container of pre-made chocolate frosting

DIRECTIONS:

  • Make cake mix according to box and bake in 2 – 8 or 9 inch round pans (I cut parchment paper to fit, spray the pan with non-stick spray, and place it in the bottom of each pan so that the cake comes out easier).
  • Cool cakes completely on a wire rack and while they are cooling make your whipped filling:
  • Put Dream Whip, milk, vanilla, cocoa powder and powdered sugar into a mixing bowl and blend together.
  • Using a mixer, beat until stiff peaks form (3-4 minutes)
  • Fold in Andes mint baking chips, saving aside a few for topping.
  • Scoop chocolate frosting into a microwave safe bowl and heat for only about 20-30 seconds in the microwave.  Heat until frosting is melted into a hot fudge consistency.
  • Use a large serrated knife to level your two cakes.
  • Place 1st cake on serving plate, leveled edge up.
  • Pour about 1/4 of melted frosting on top of cake and spread to cover (I put this layer in the fridge for about a minute just to cool the warm frosting down before adding the mousse layer)
  • Spoon all of the mousse on top of the cake and spread it ALMOST to the edges.
  • Top with second cake– put the leveled edge against the mousse…this keeps all the crumbs in the middle and leaves a nice flat surface on the top of your cake. Gently press top layer down to squeeze the mousse all the way to the edges.
  • Pour the rest of the melted frosting over the entire cake and let it drip over the edges.
  • Sprinkle the remaining Andes Mint bits on top.
  • Refrigerate until serving, this will make the middle layer firm and easy to cut.

Andes Mint Cake!!!!

My thoughts:  I love this cake.  It is a beautiful dessert that is just so quick and easy to put together!

That creamy mint filling….oh my. I hope you get a chance to try it!  Enjoy!  ~r

Andes Mint cake!!!!

Other yummy chocolate treats here on easybaked:

Brownie Oreo Cookie CupGerman Chocolate PieRich Chocolate Ganache Mini CupcakesCaramel Fudge Brownies!!

%d bloggers like this: