Tag Archives: chocolate

Coconut Brownie Cups

Coconut Brownie Cups
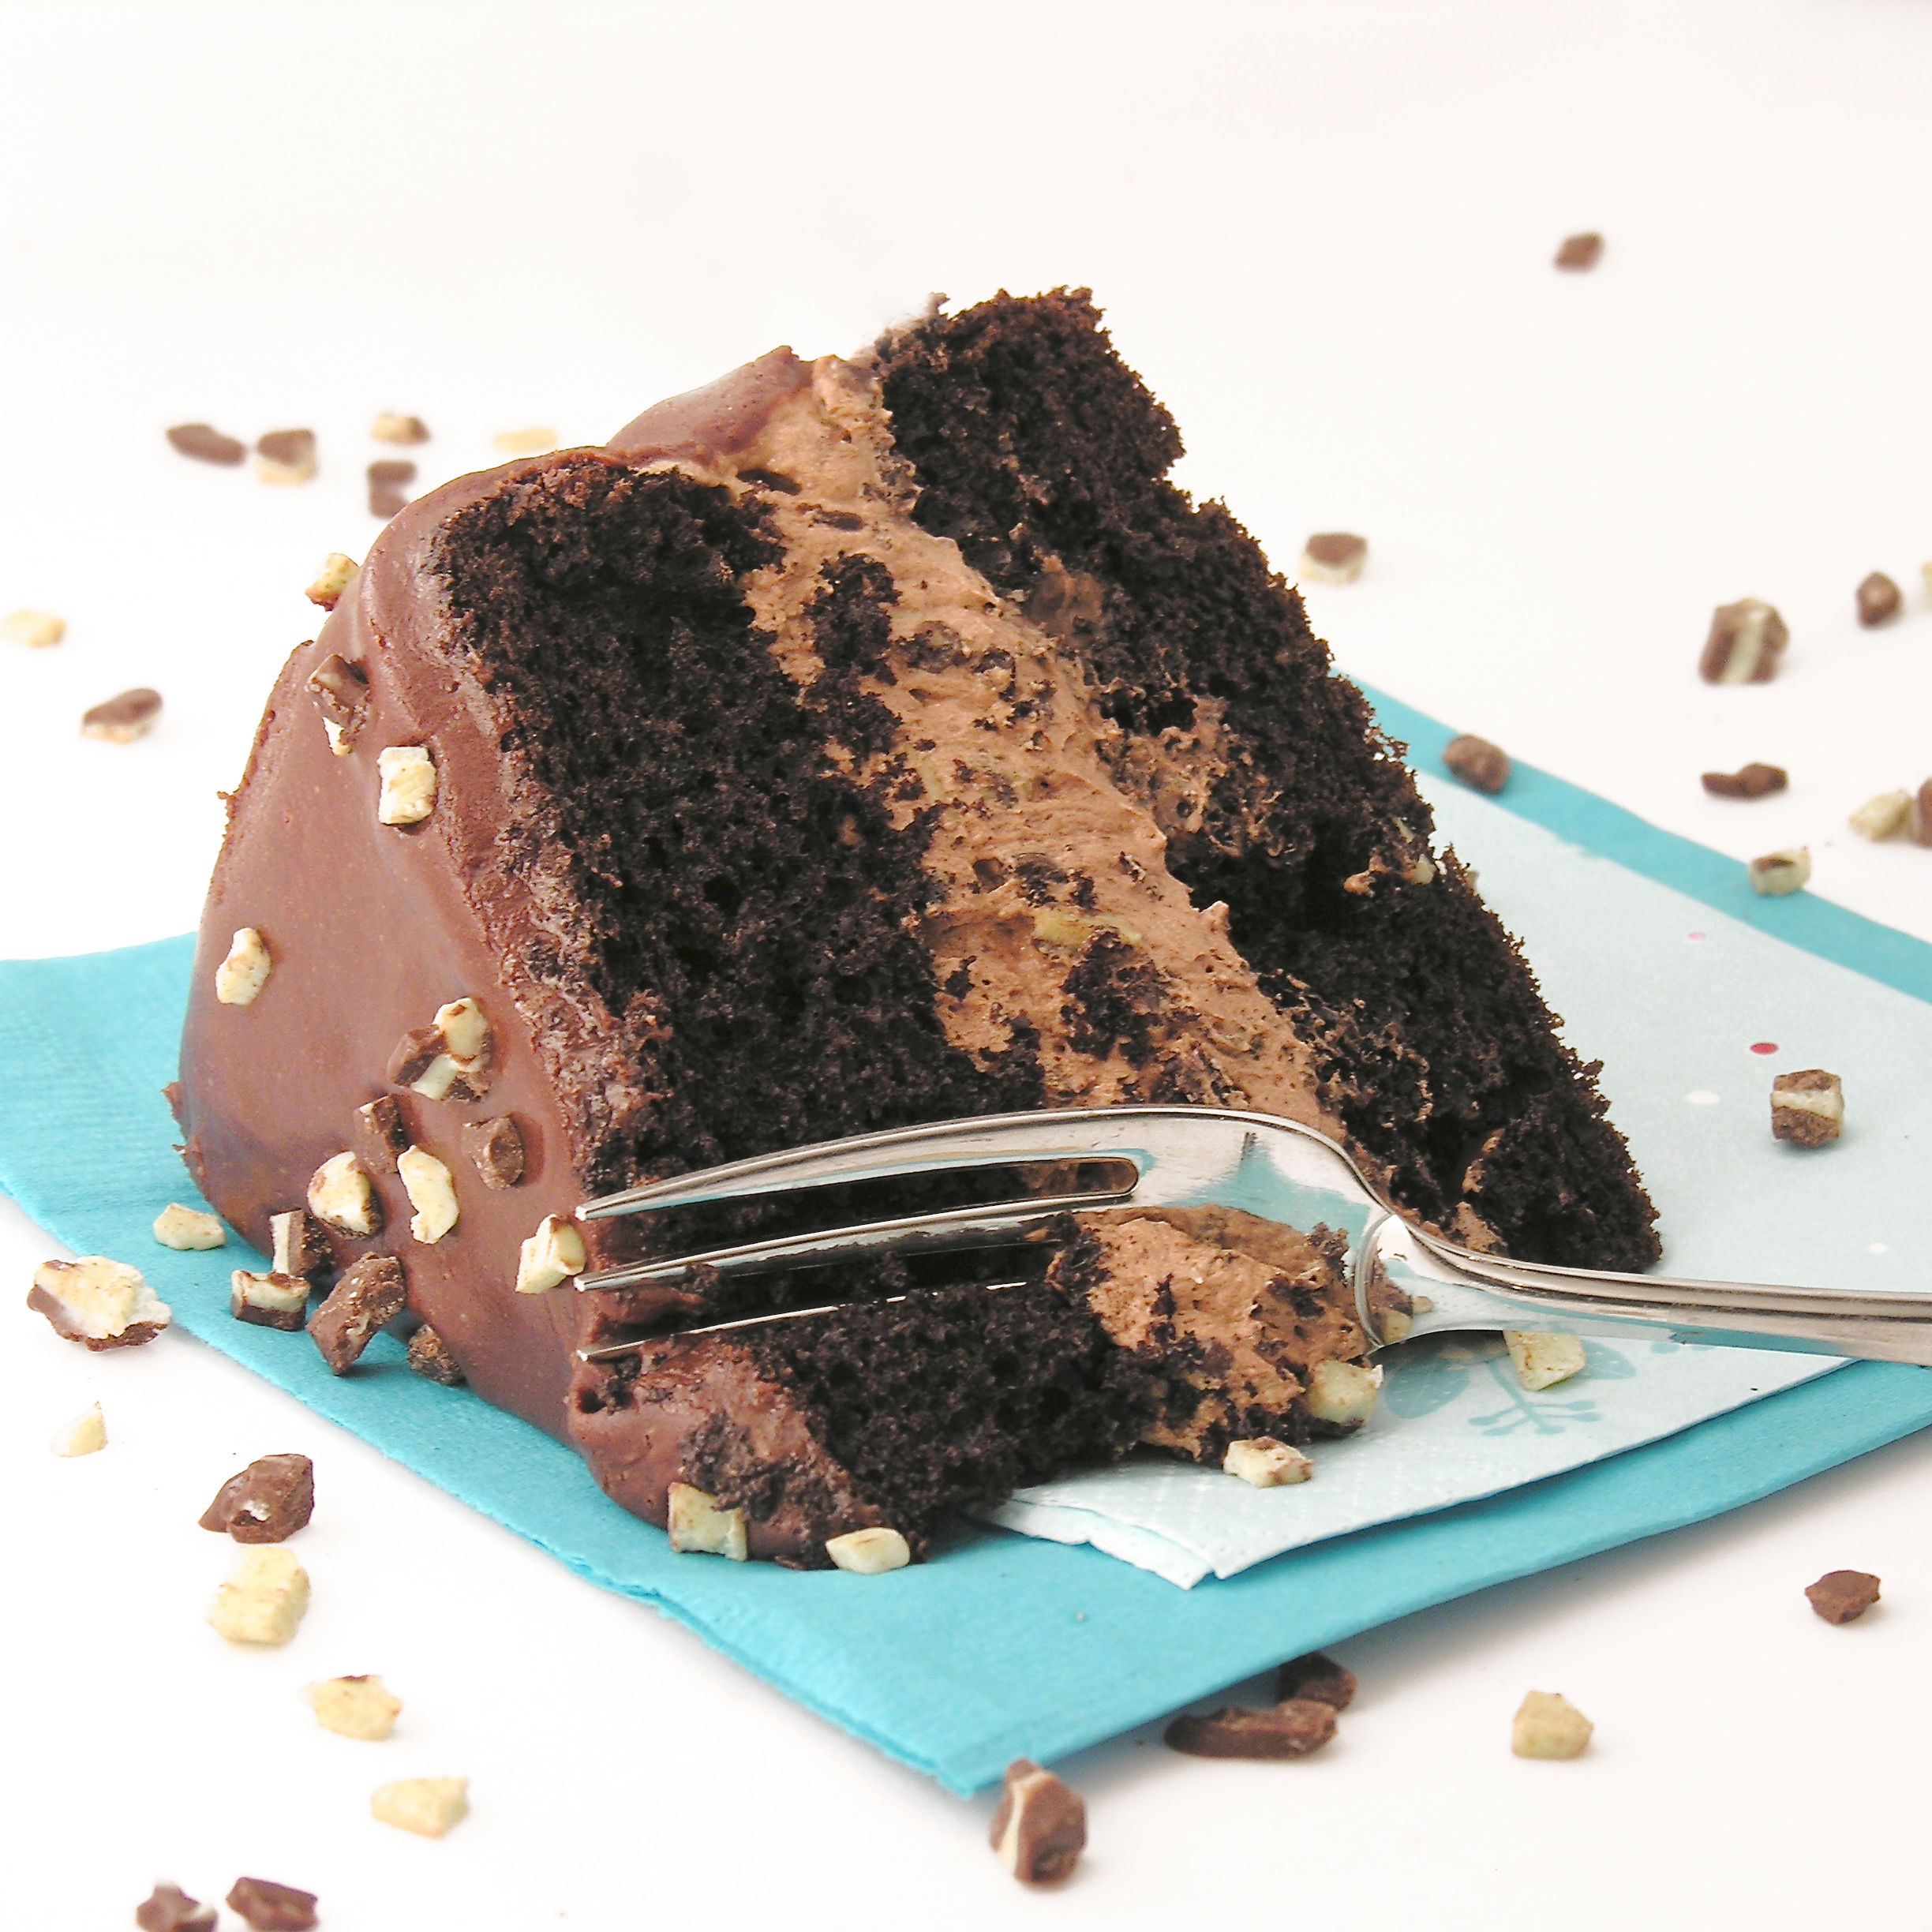
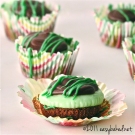
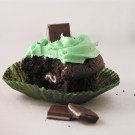
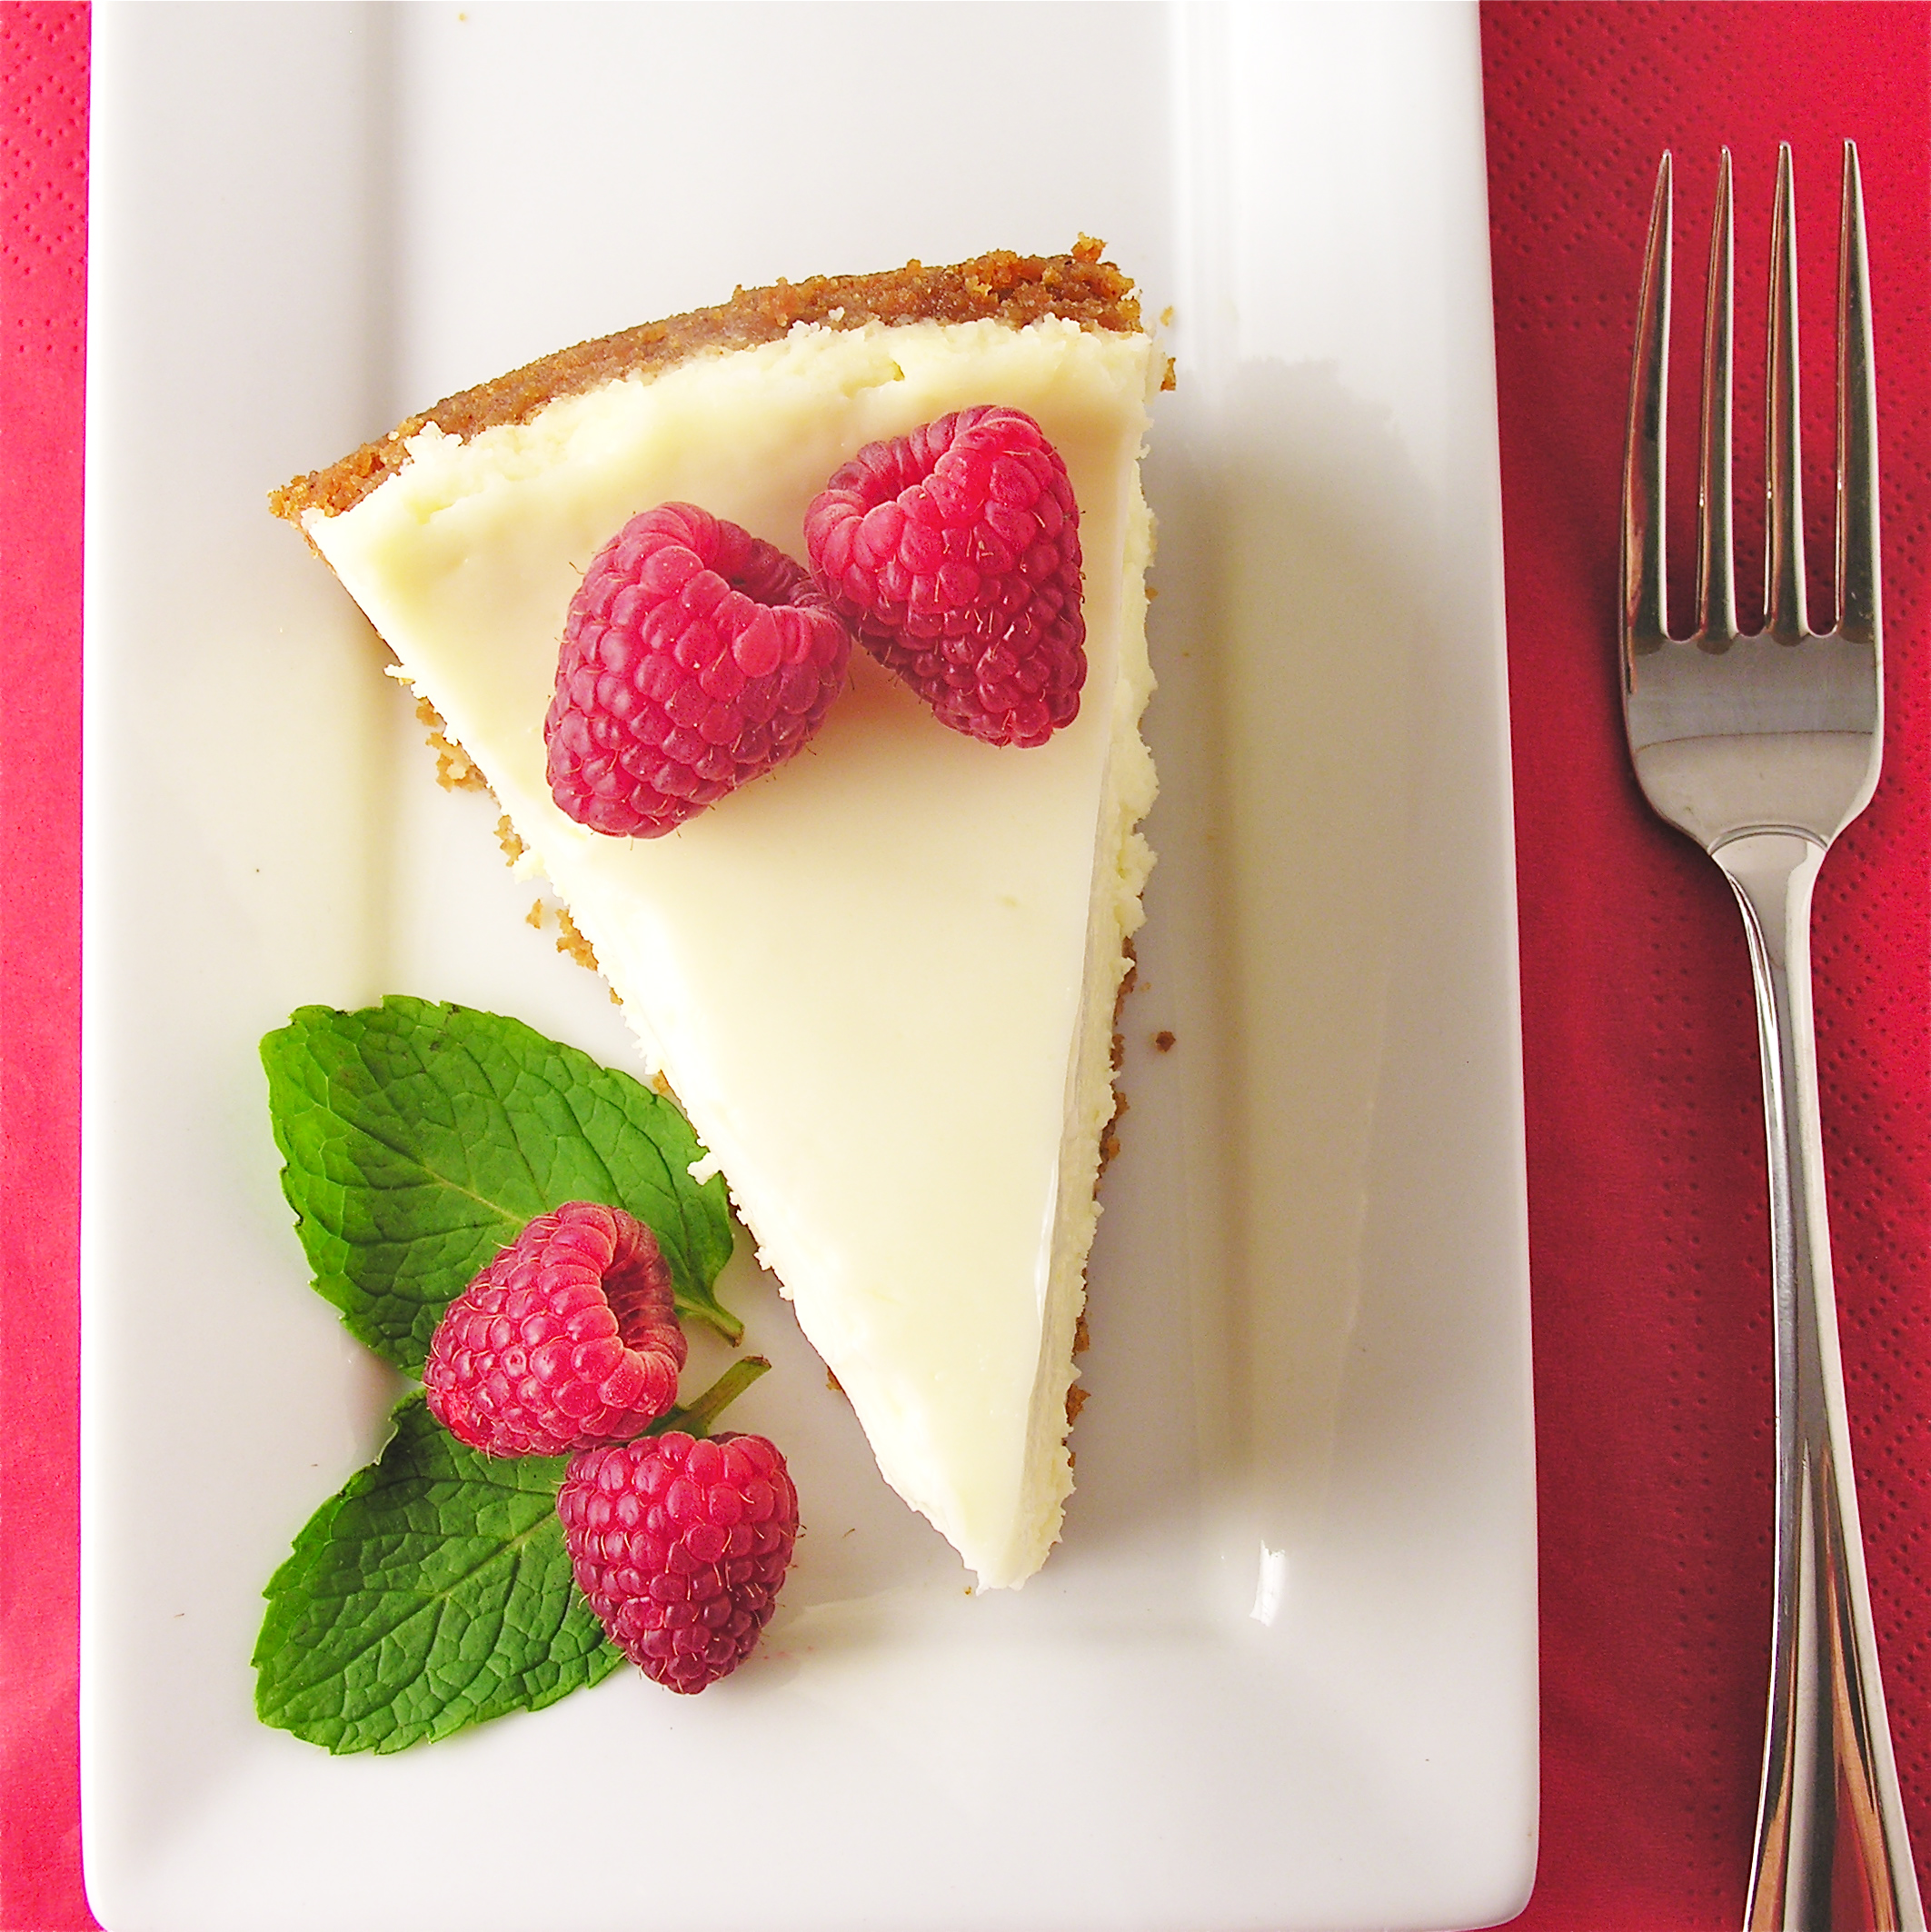
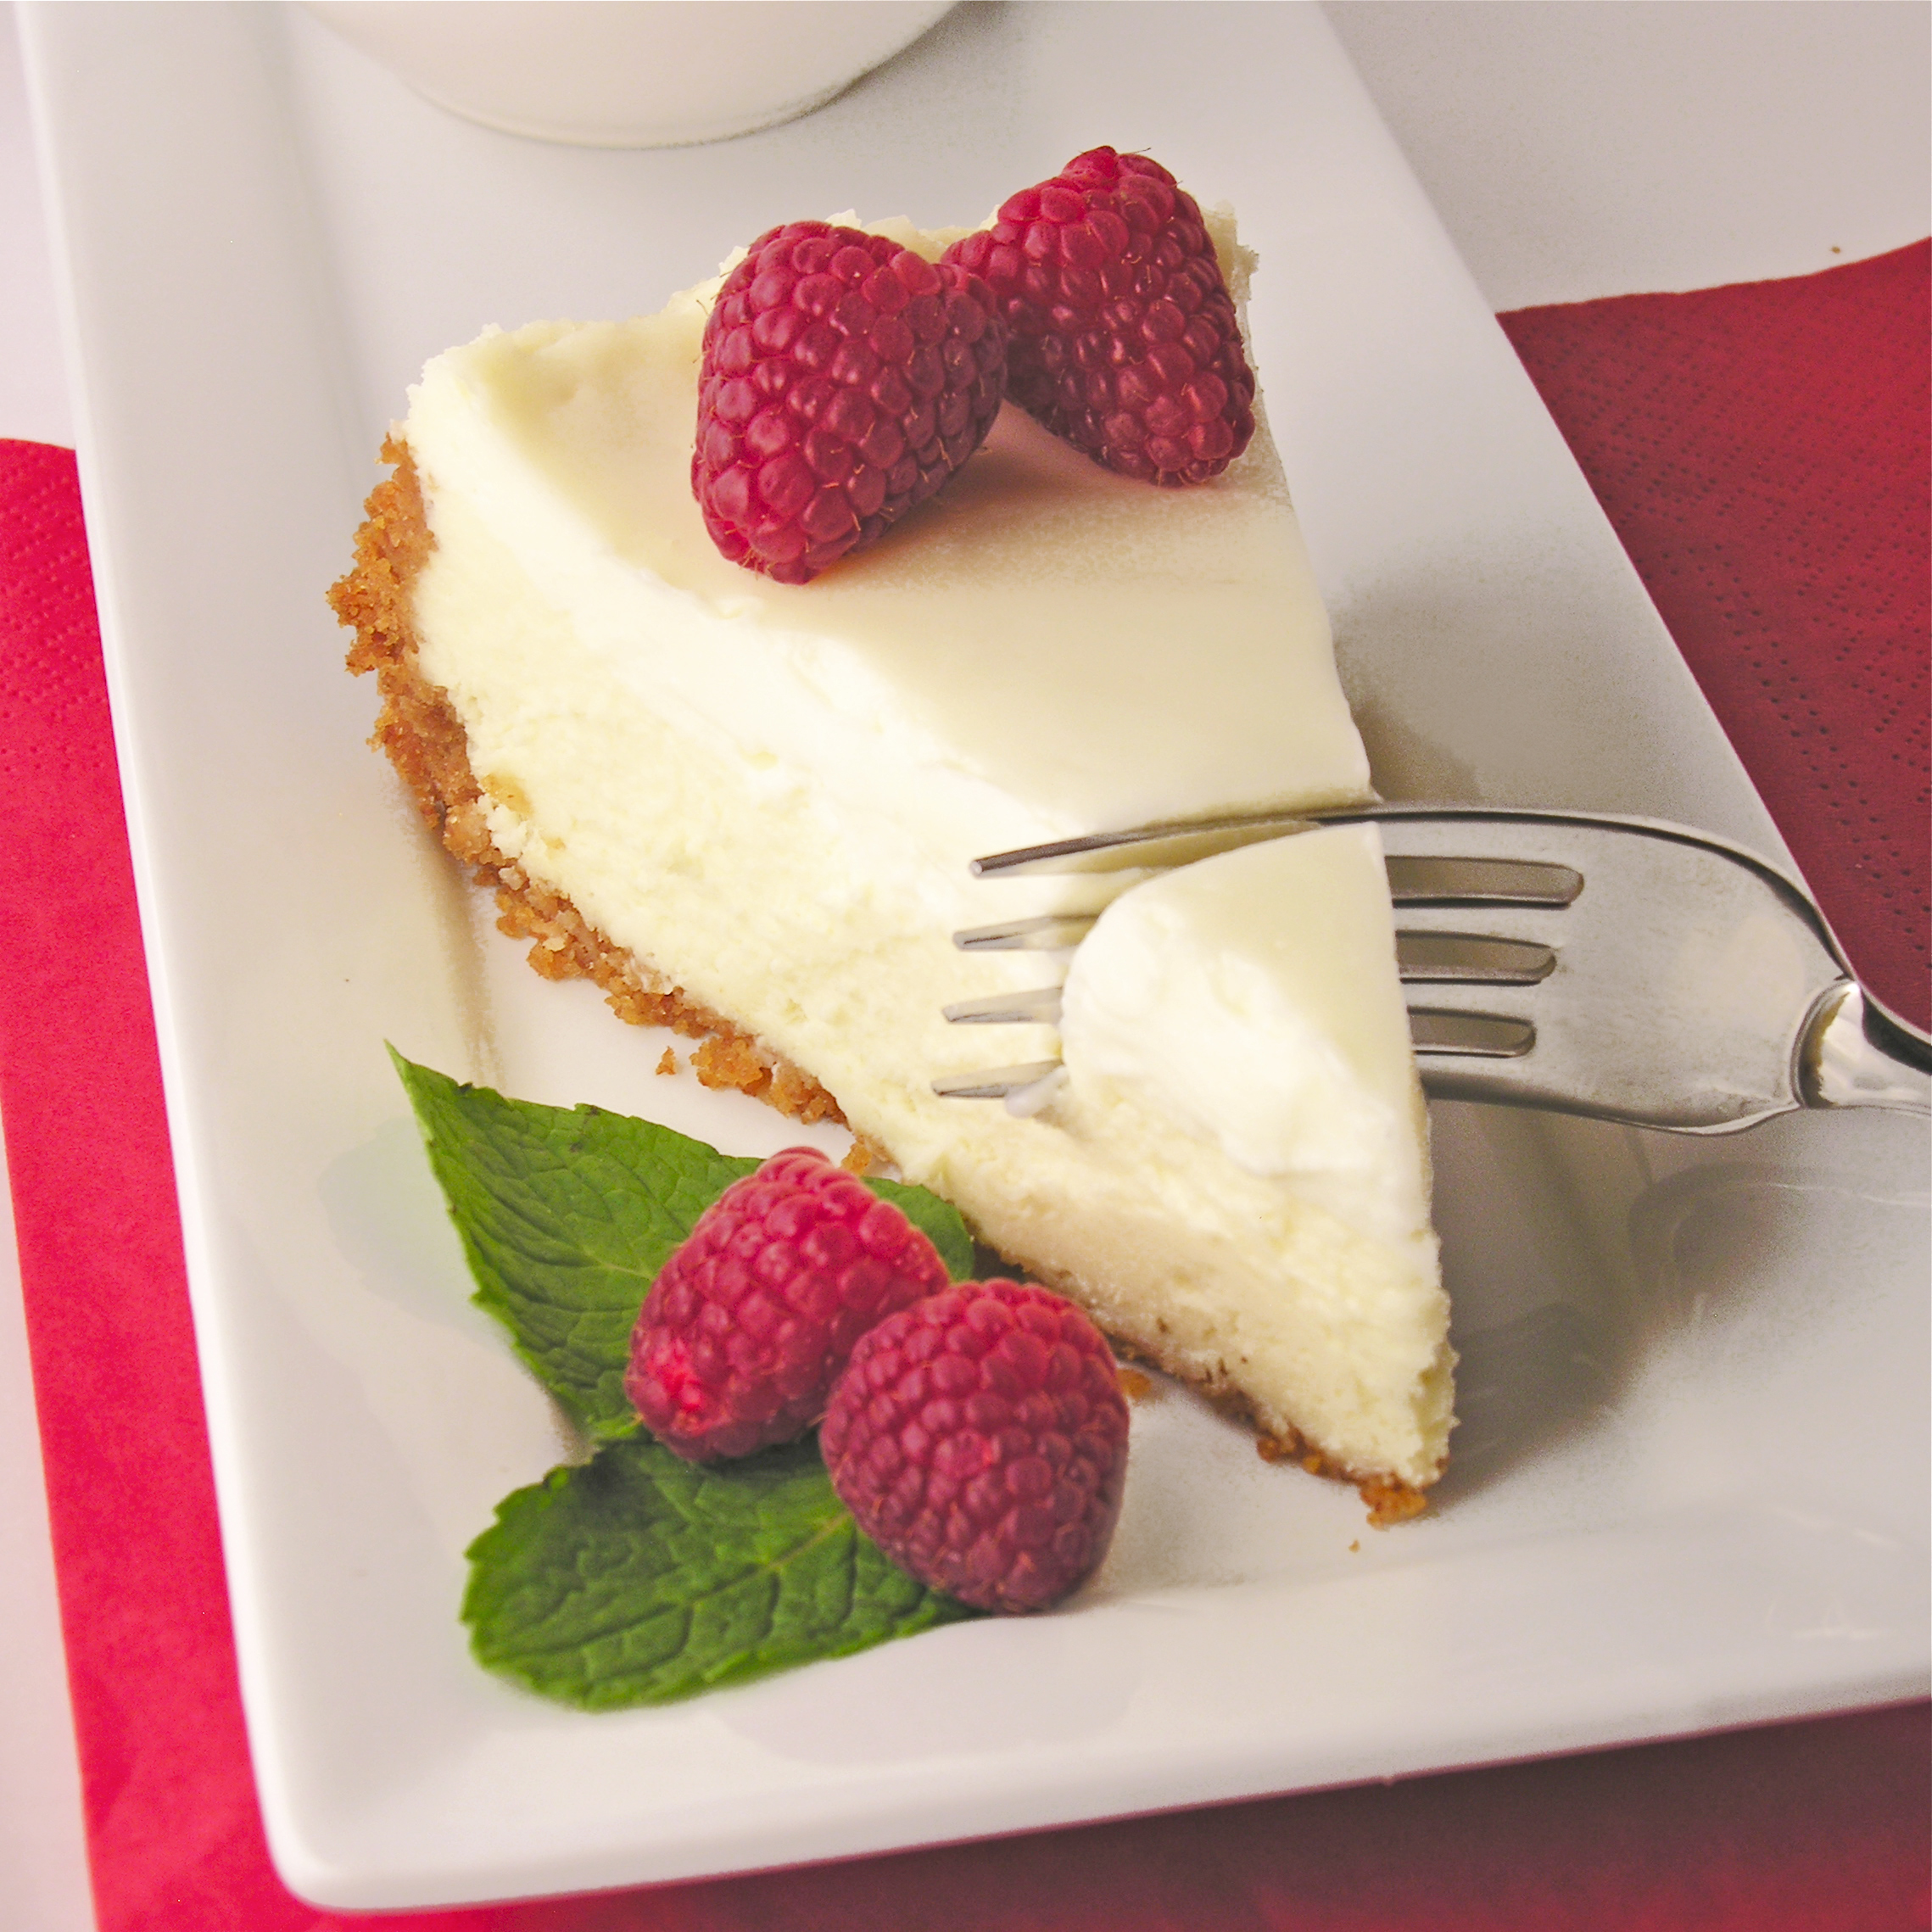
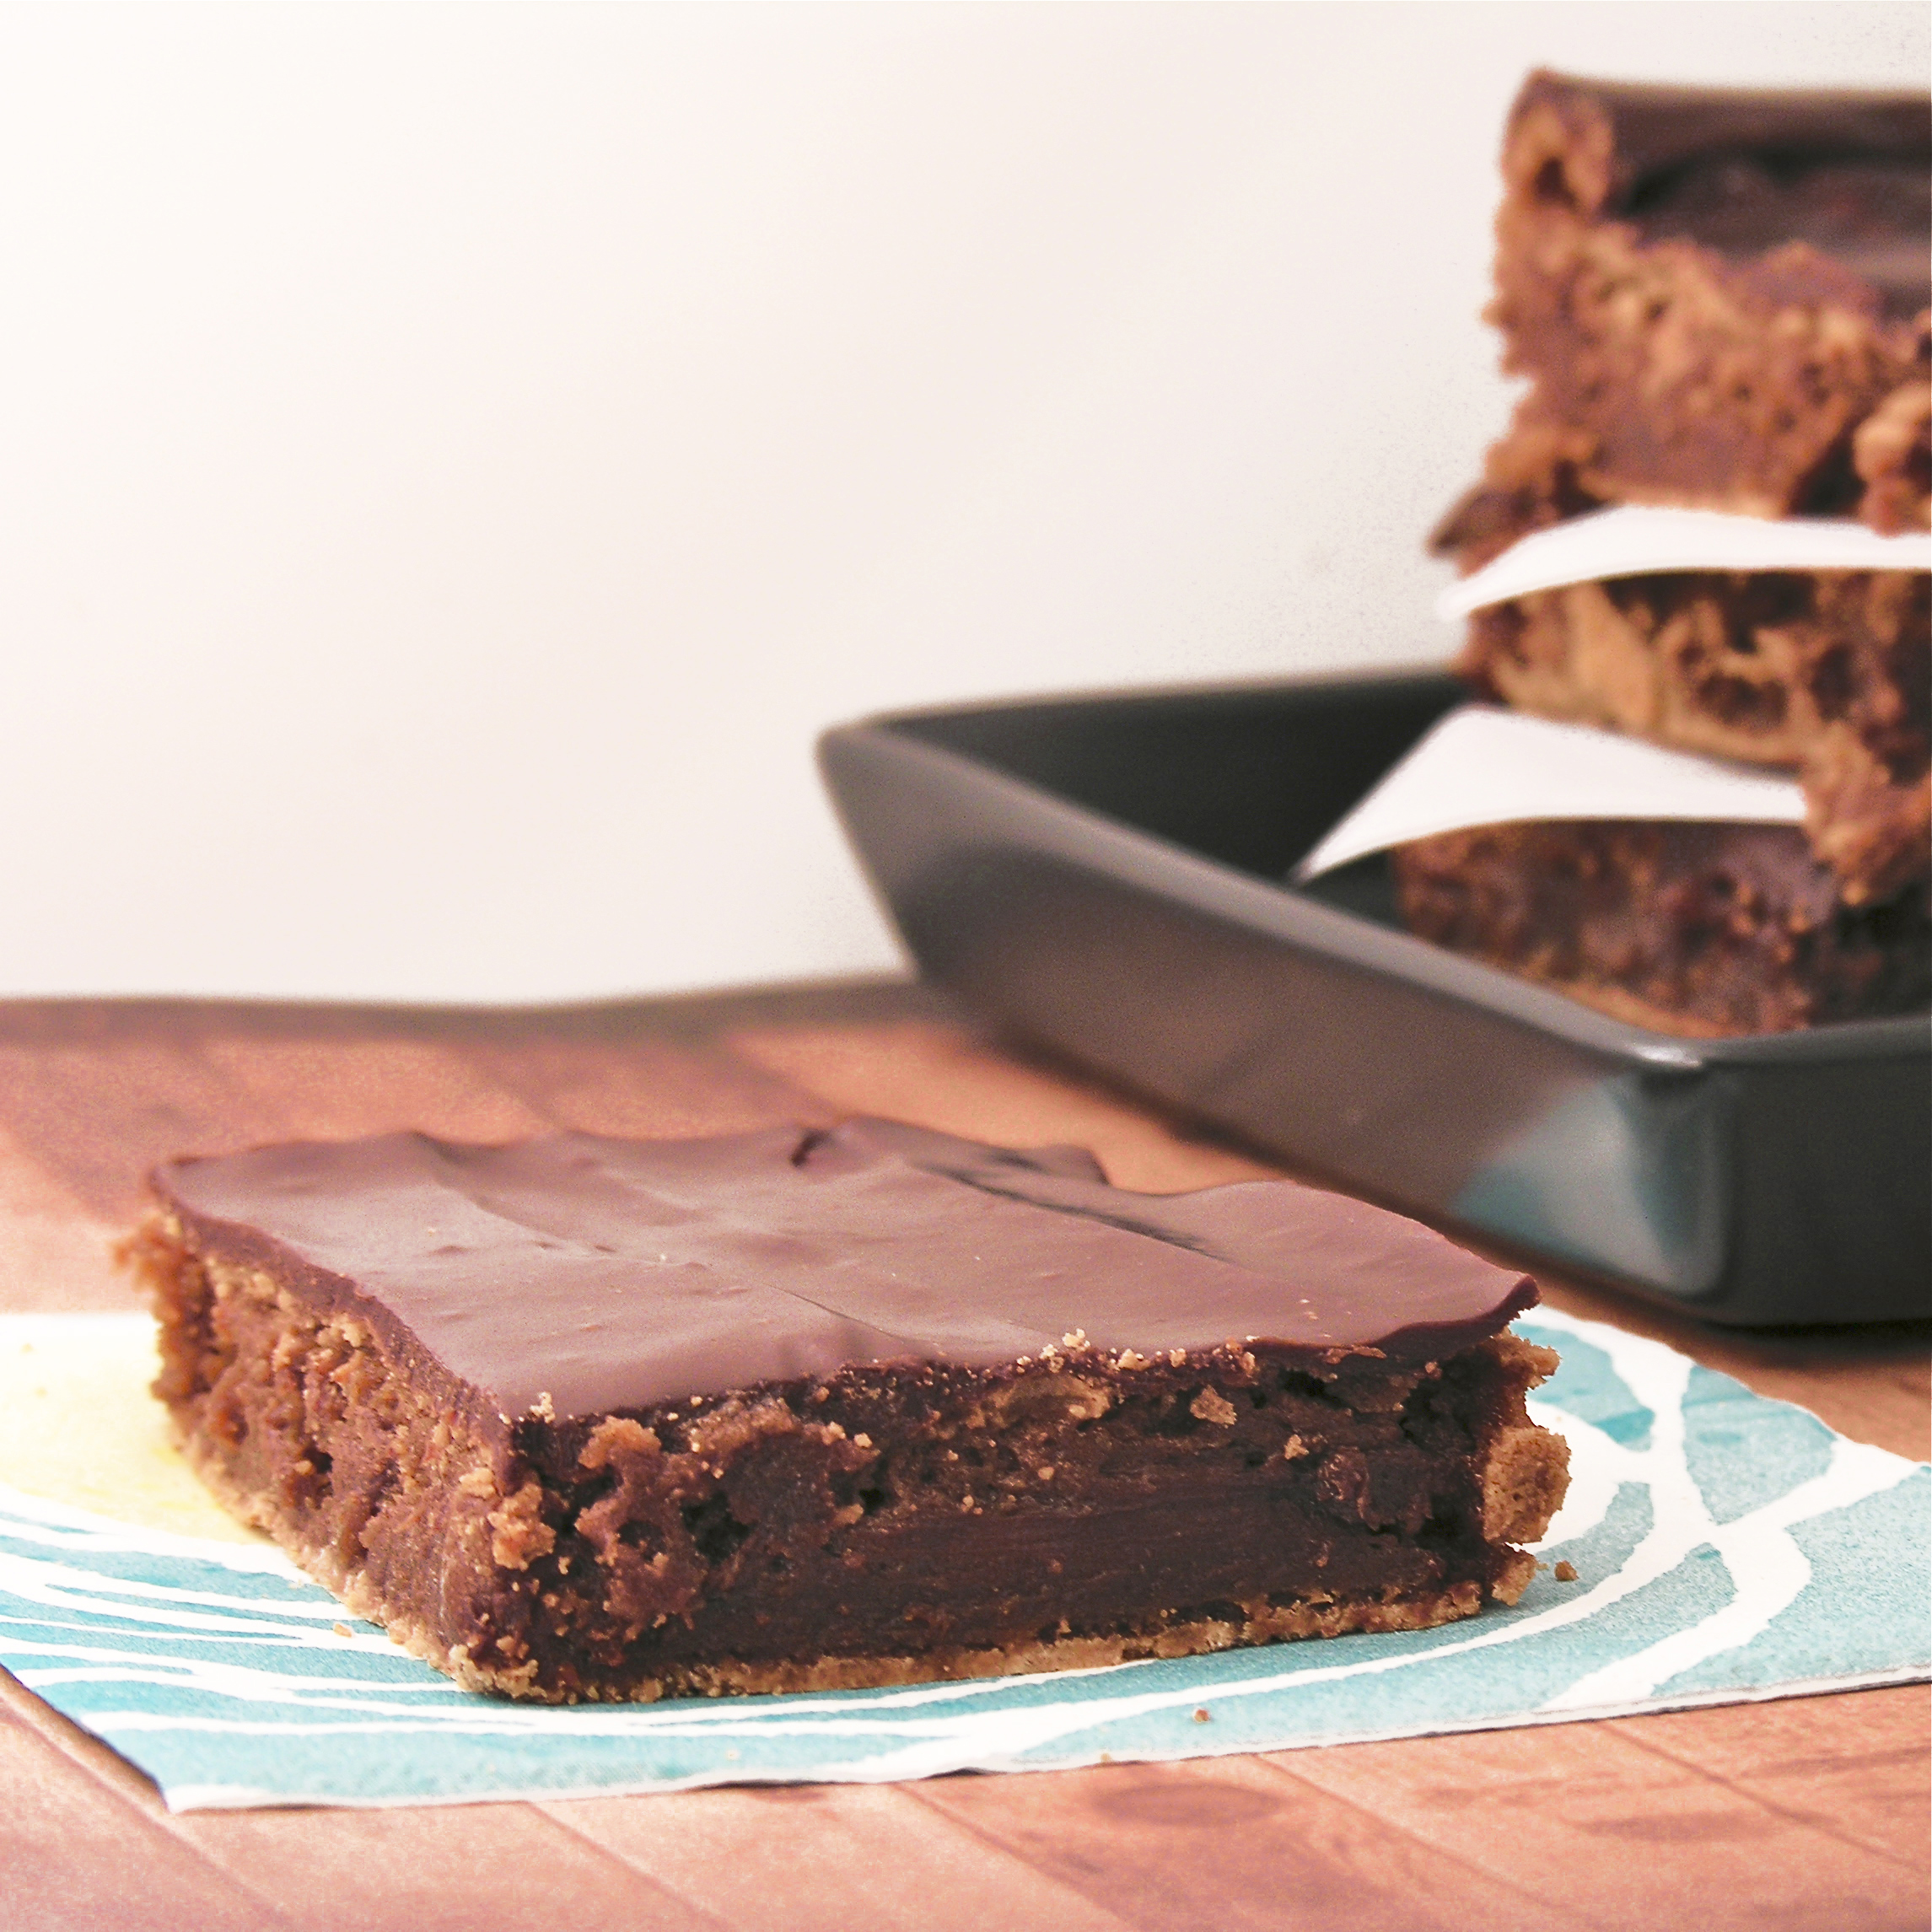
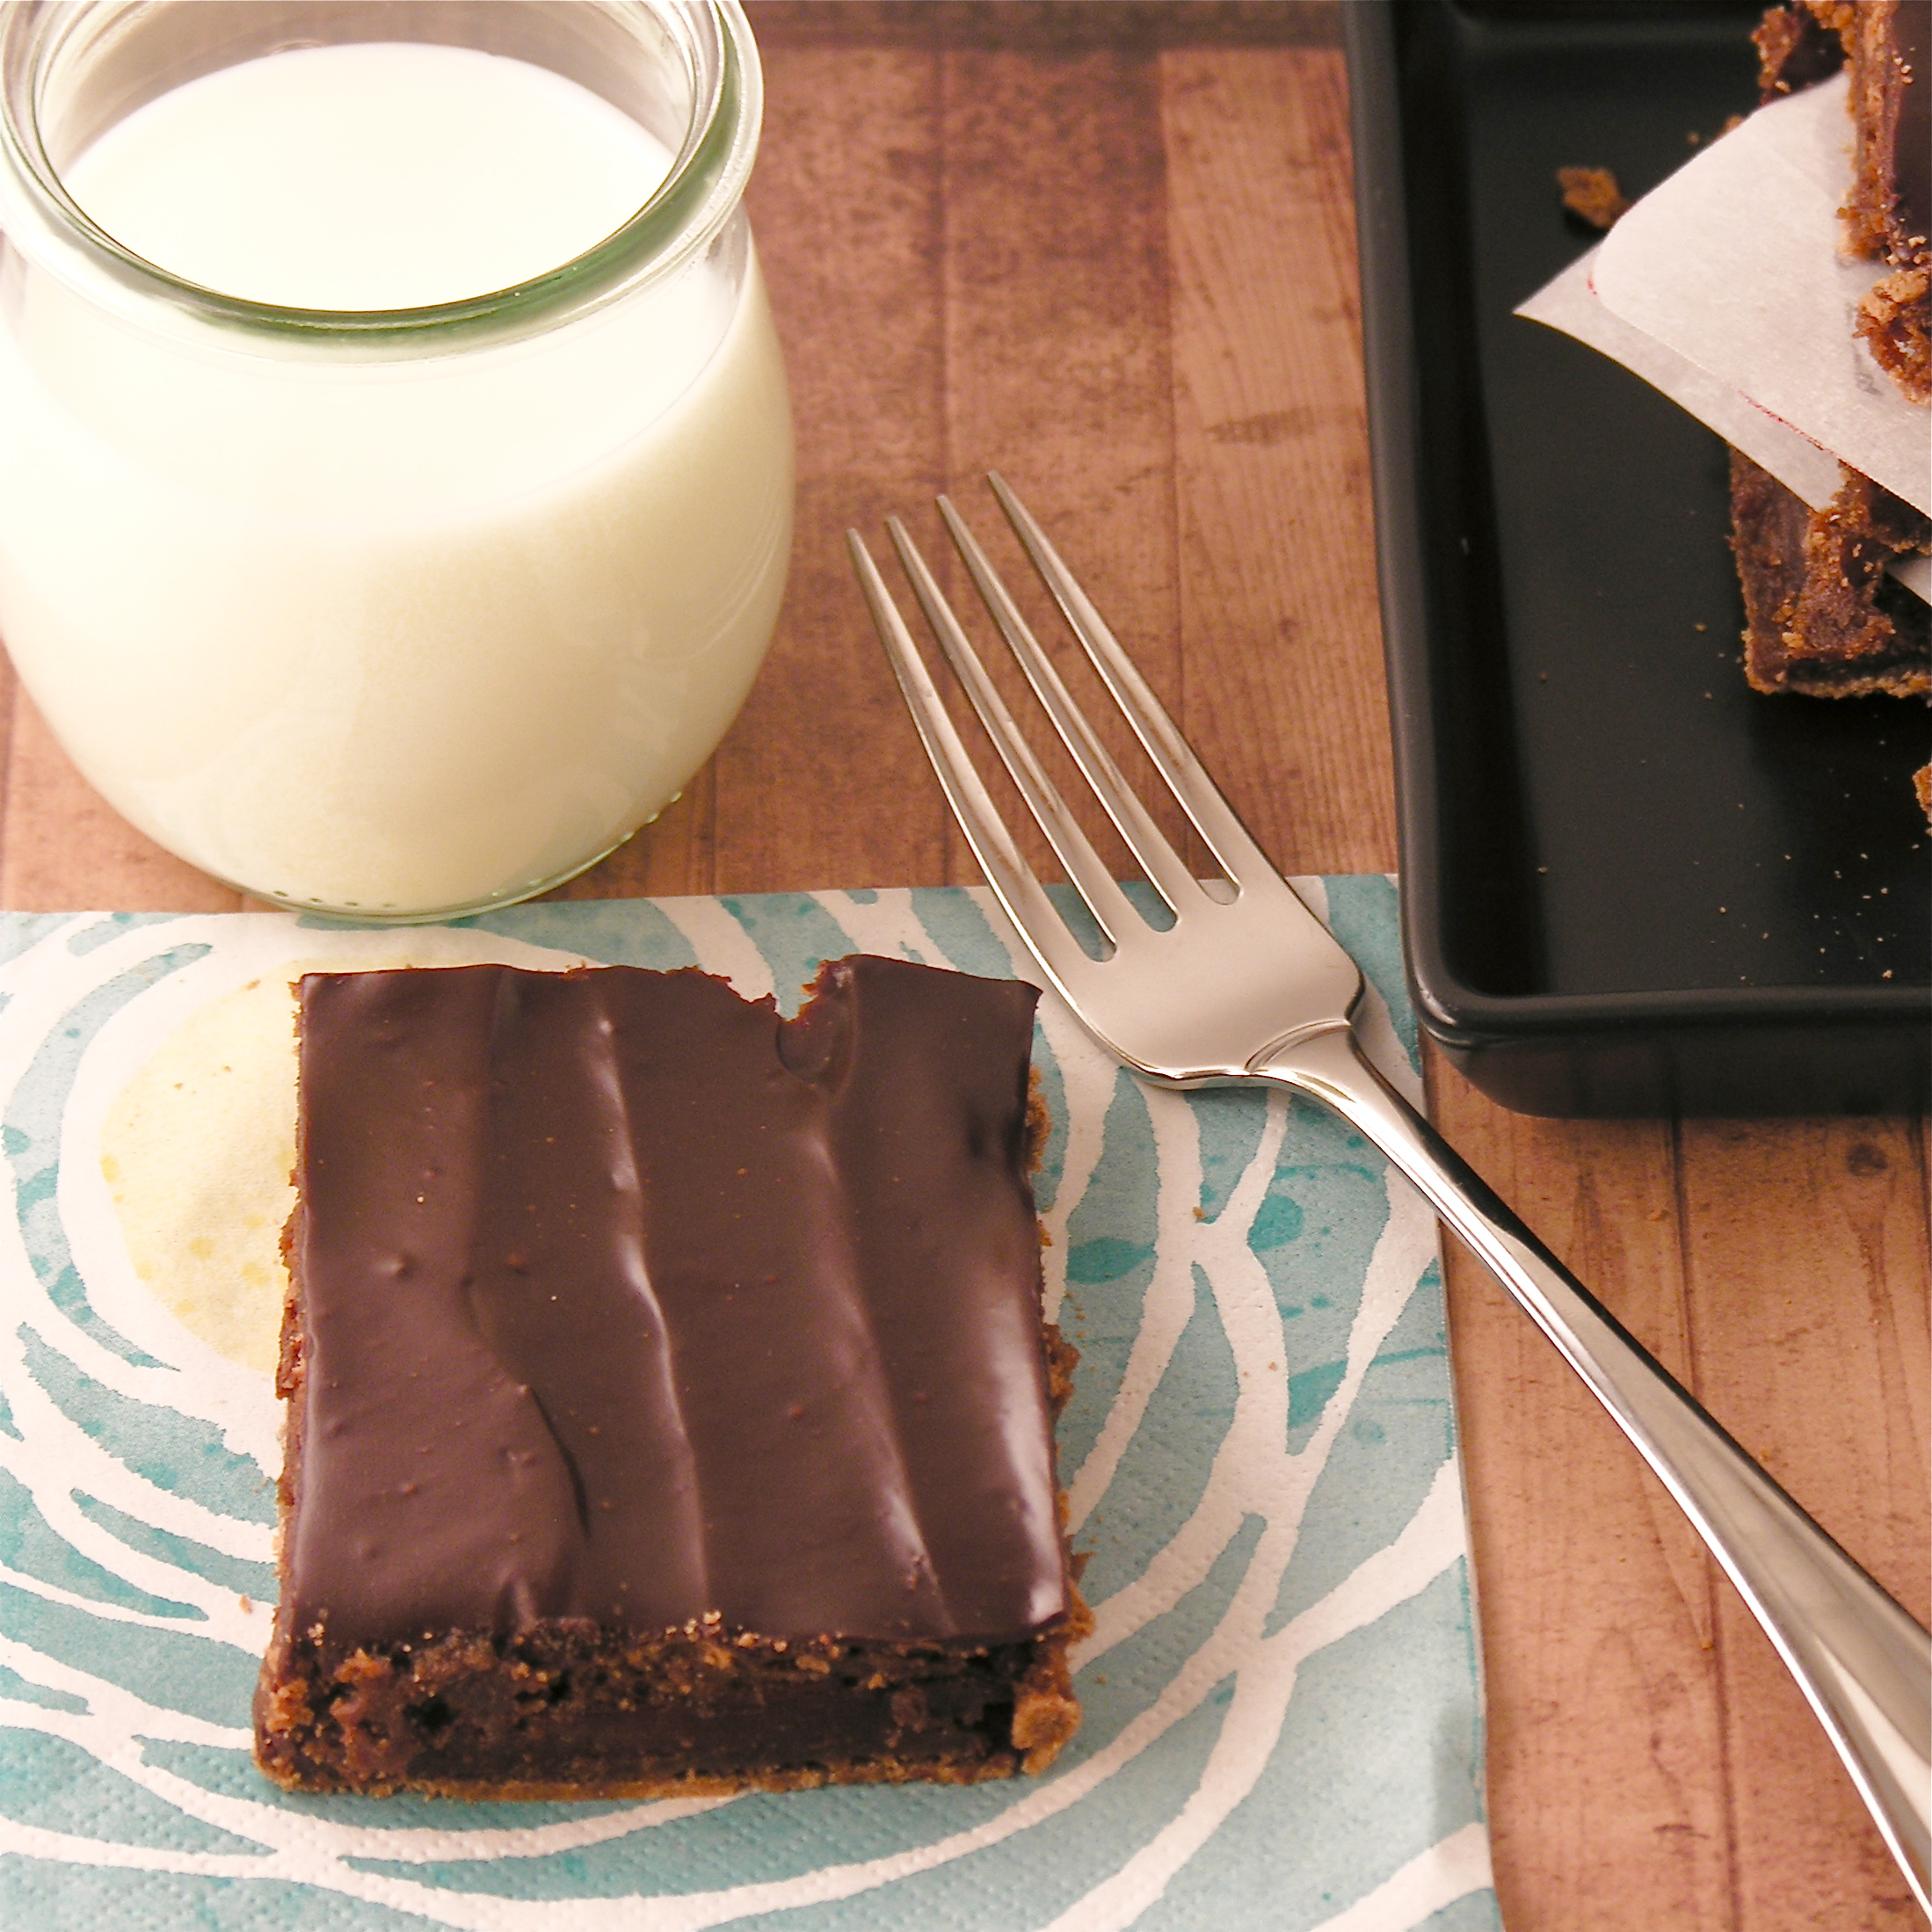
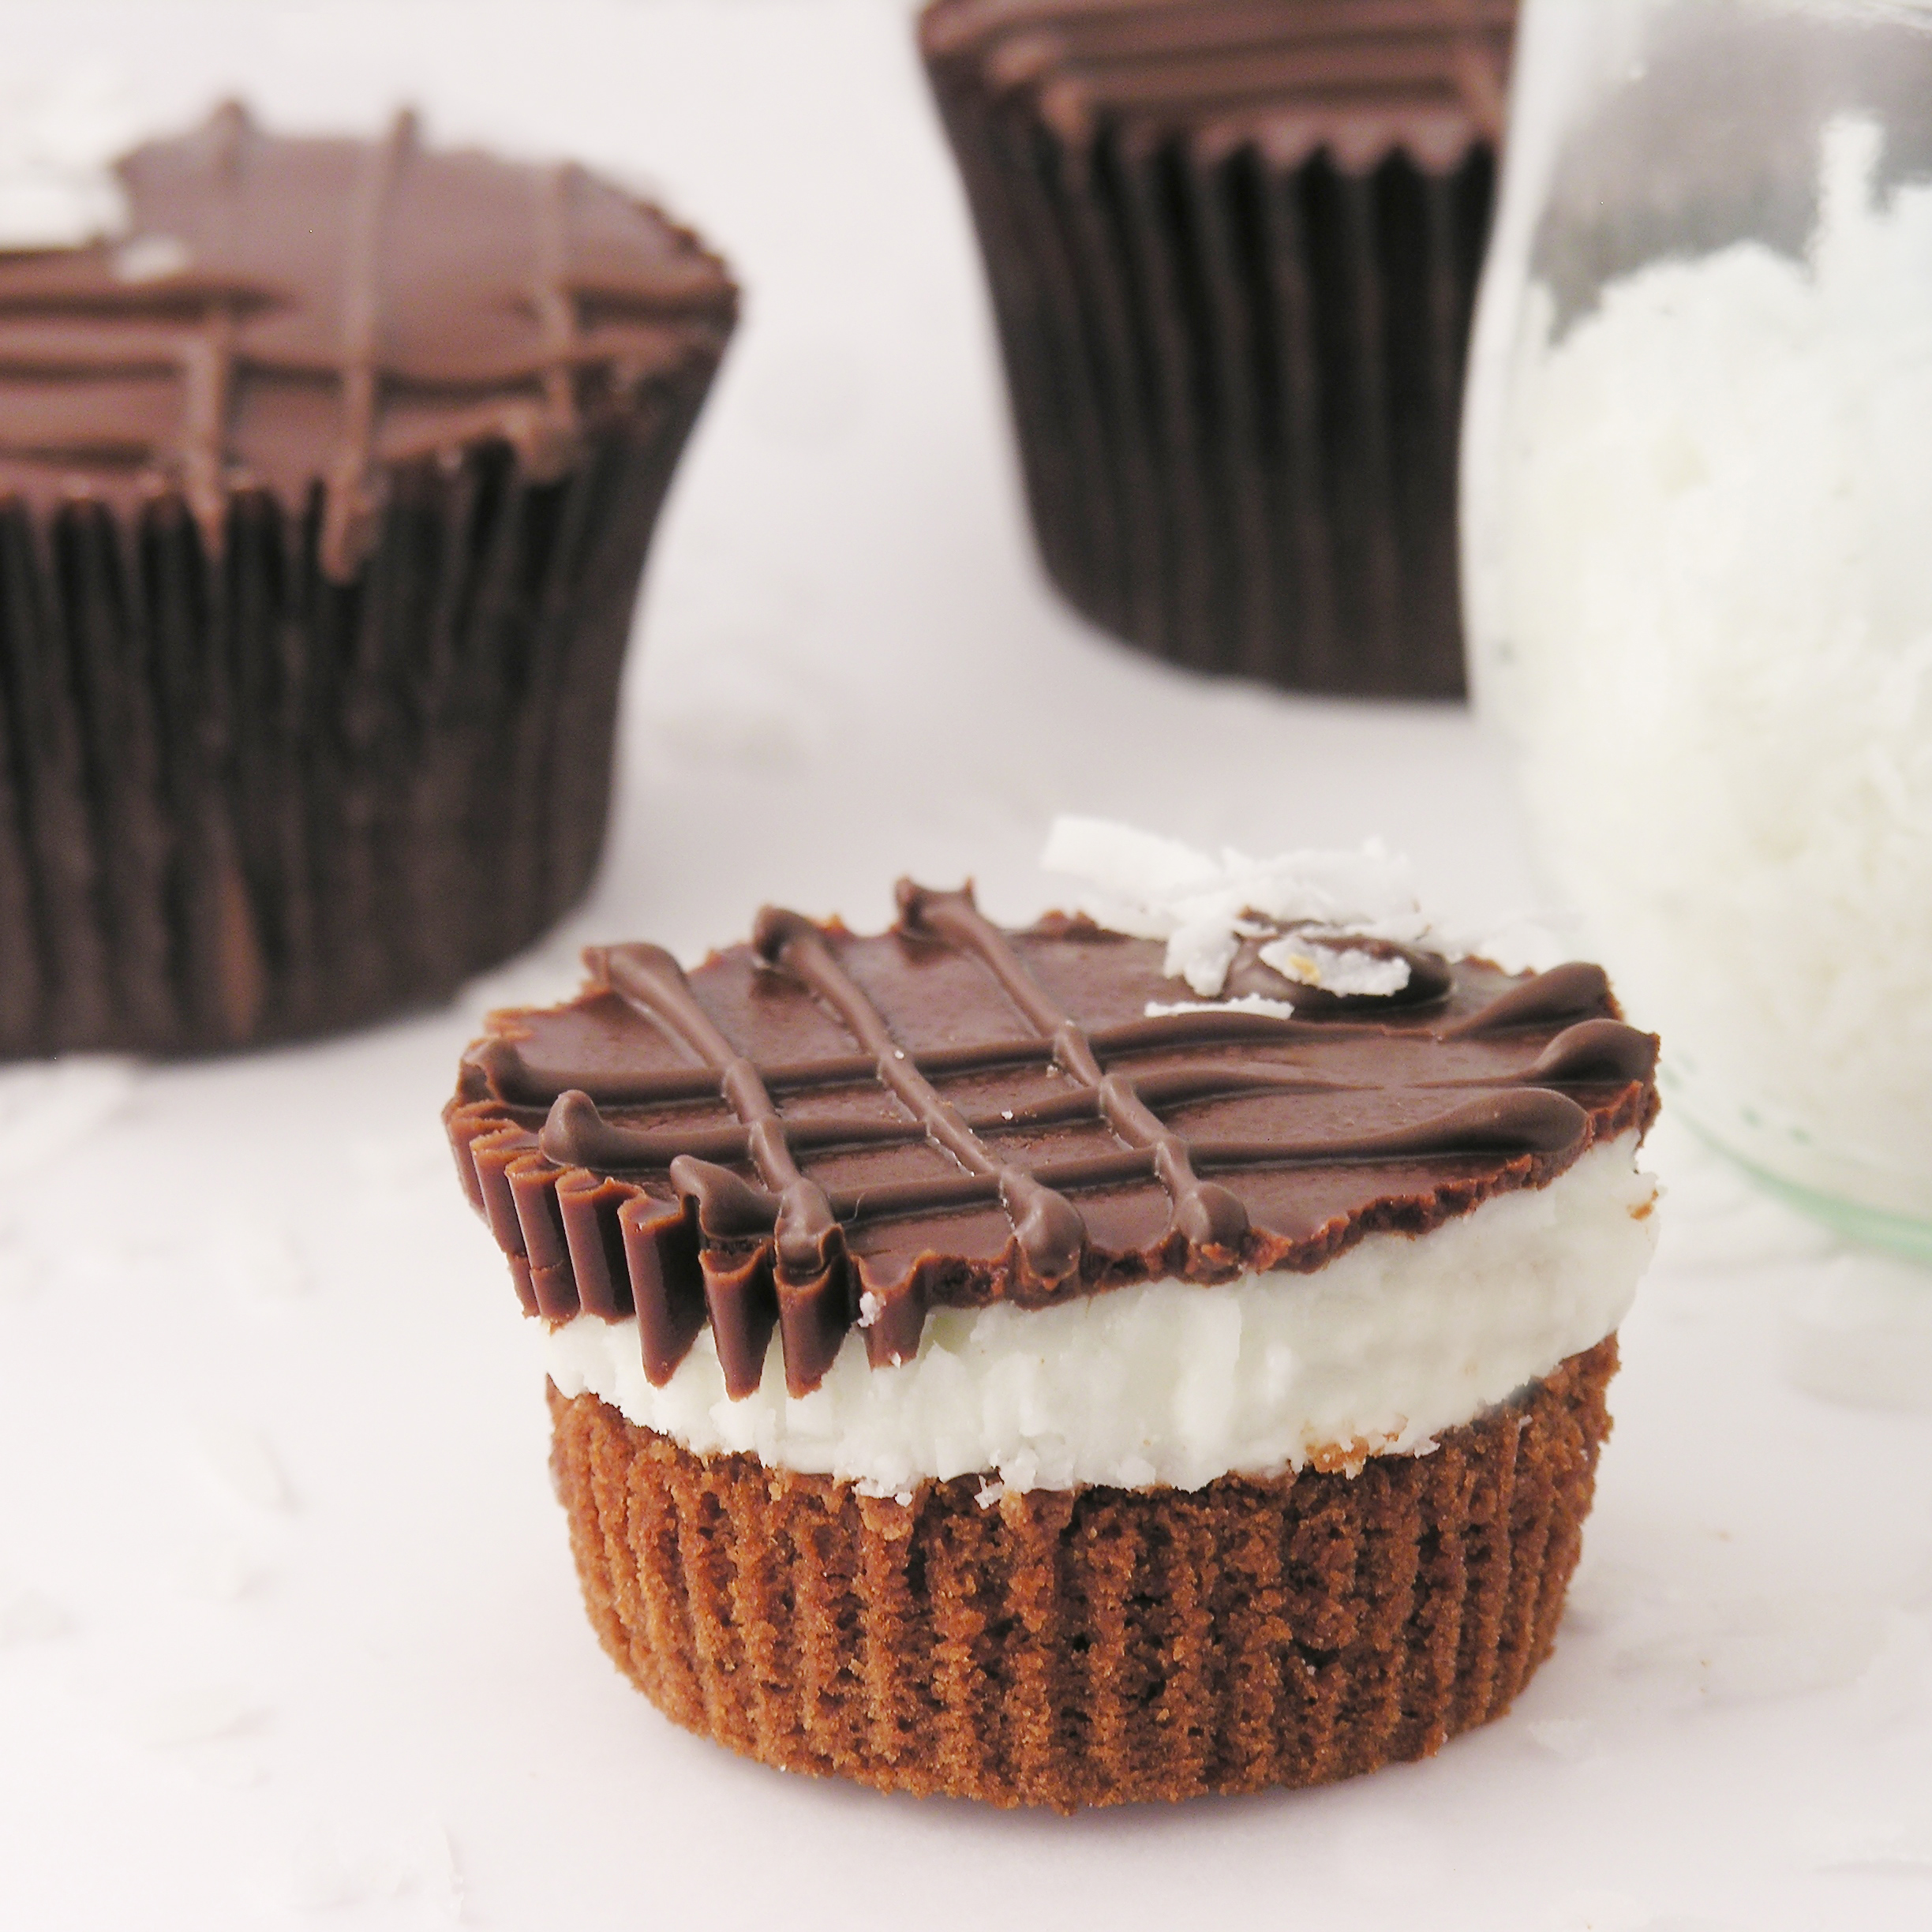
These moist little brownie cups have a layer of creamy coconut and a yummy fudge topping.  Beautiful and easy to make, these are sure to impress!

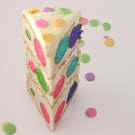
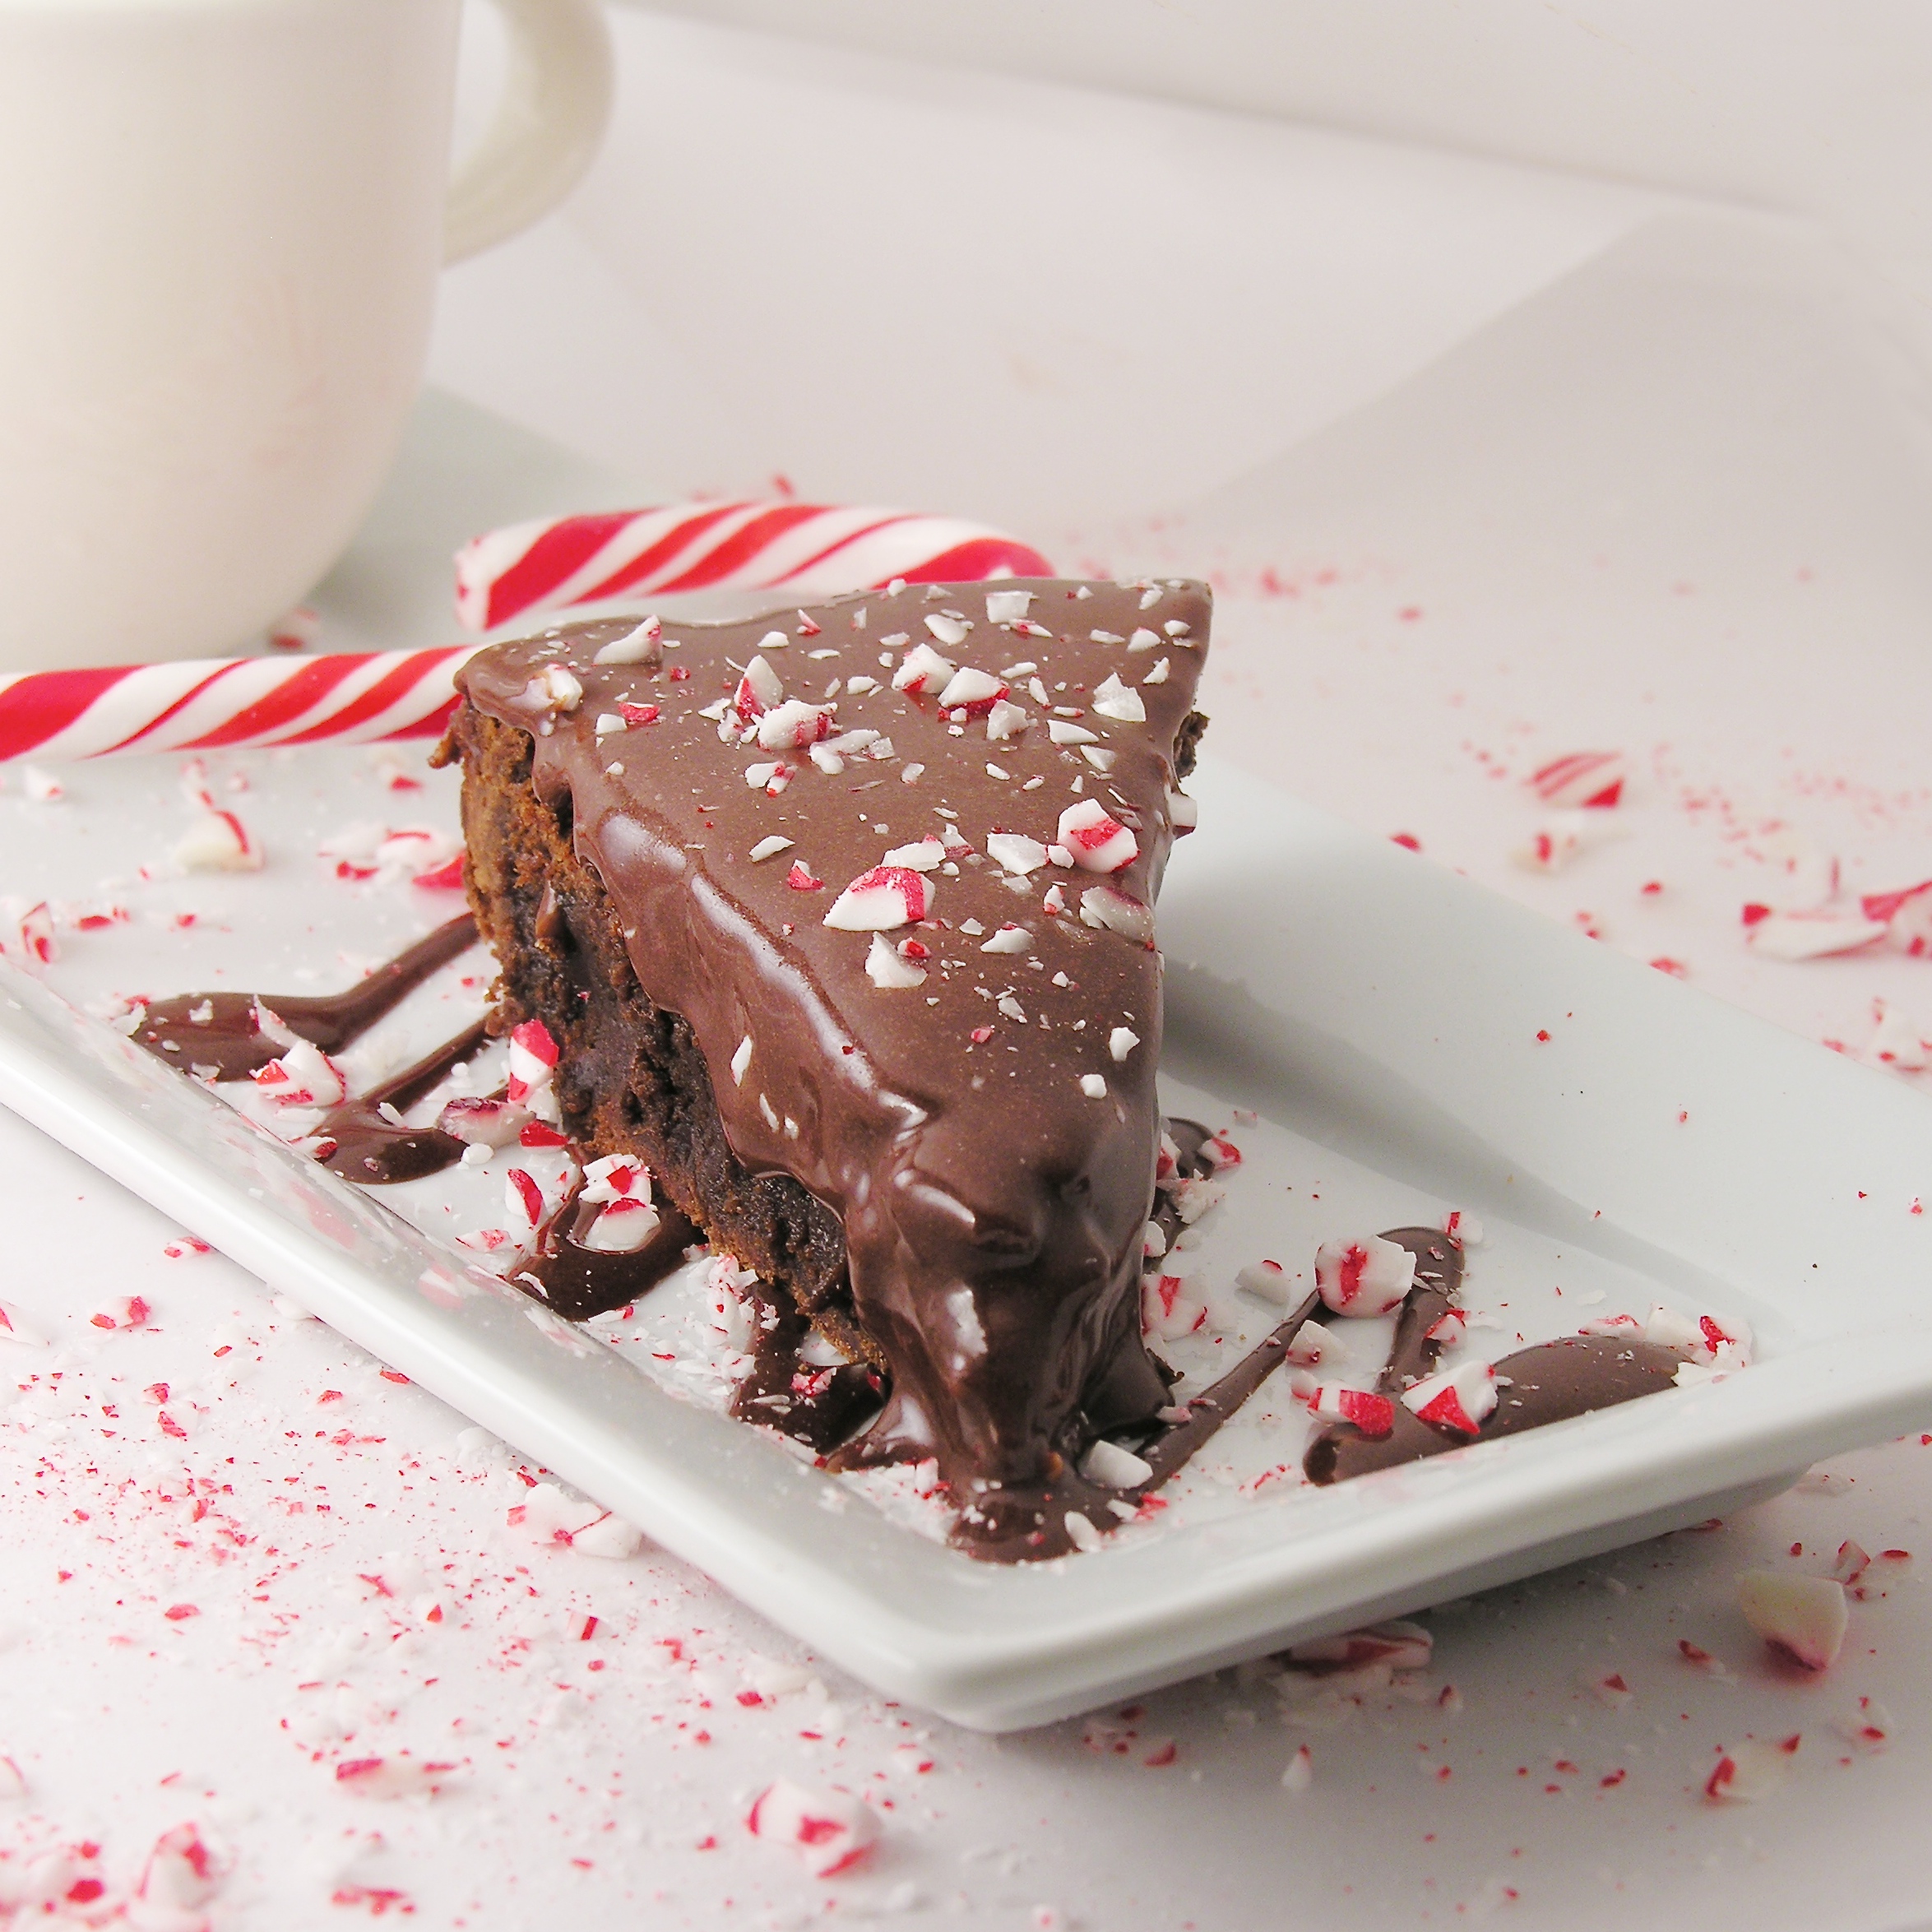
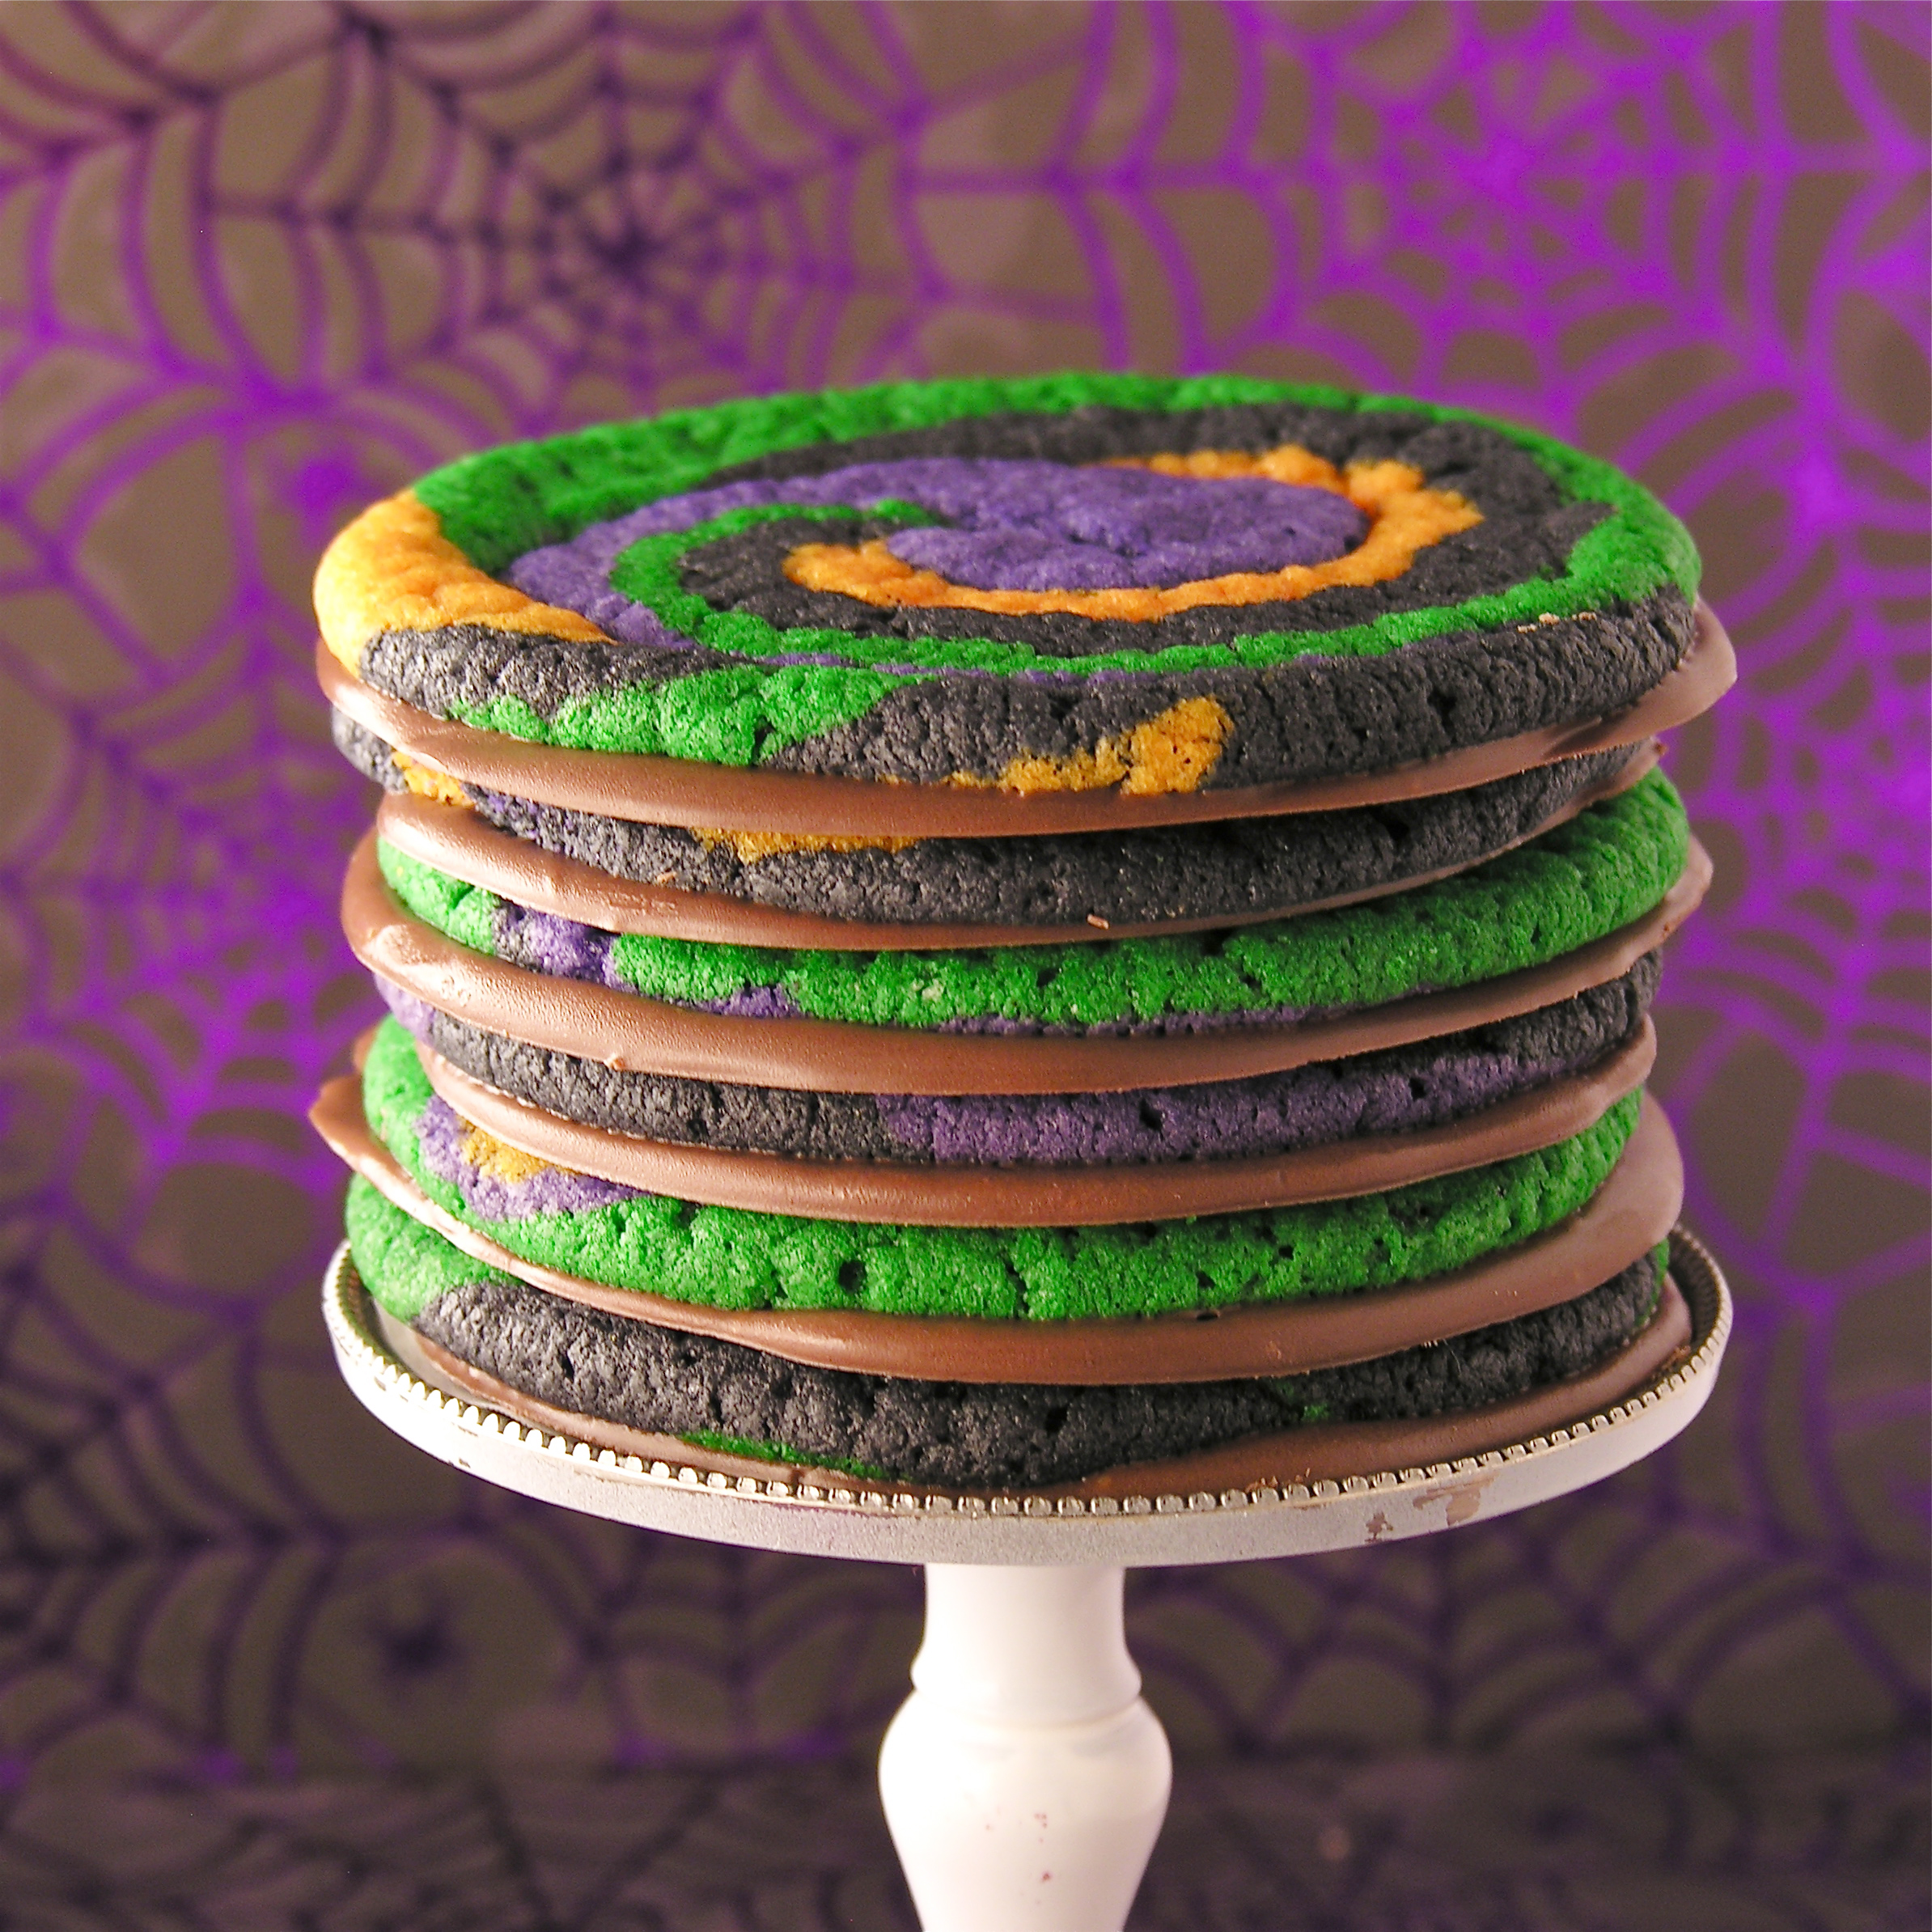
I’m addicted to coconut.  I really do love it in everything.  Have you seen the coconut Oreos? The coconut M&Ms?  The coconut Hershey kisses?  Yeah….there’s no better flavor in my book!  That said, if you hate coconut (as many of my friends do), these little brownie cups can be made with other flavorings.  I’ve made them with mint, maple and raspberry flavorings and all of them are delicious!  You can add a little food coloring to make them pretty too.  This is a really fun, easy and versatile recipe- and I think you are going to love it!!Coconut Brownie Cups!!!

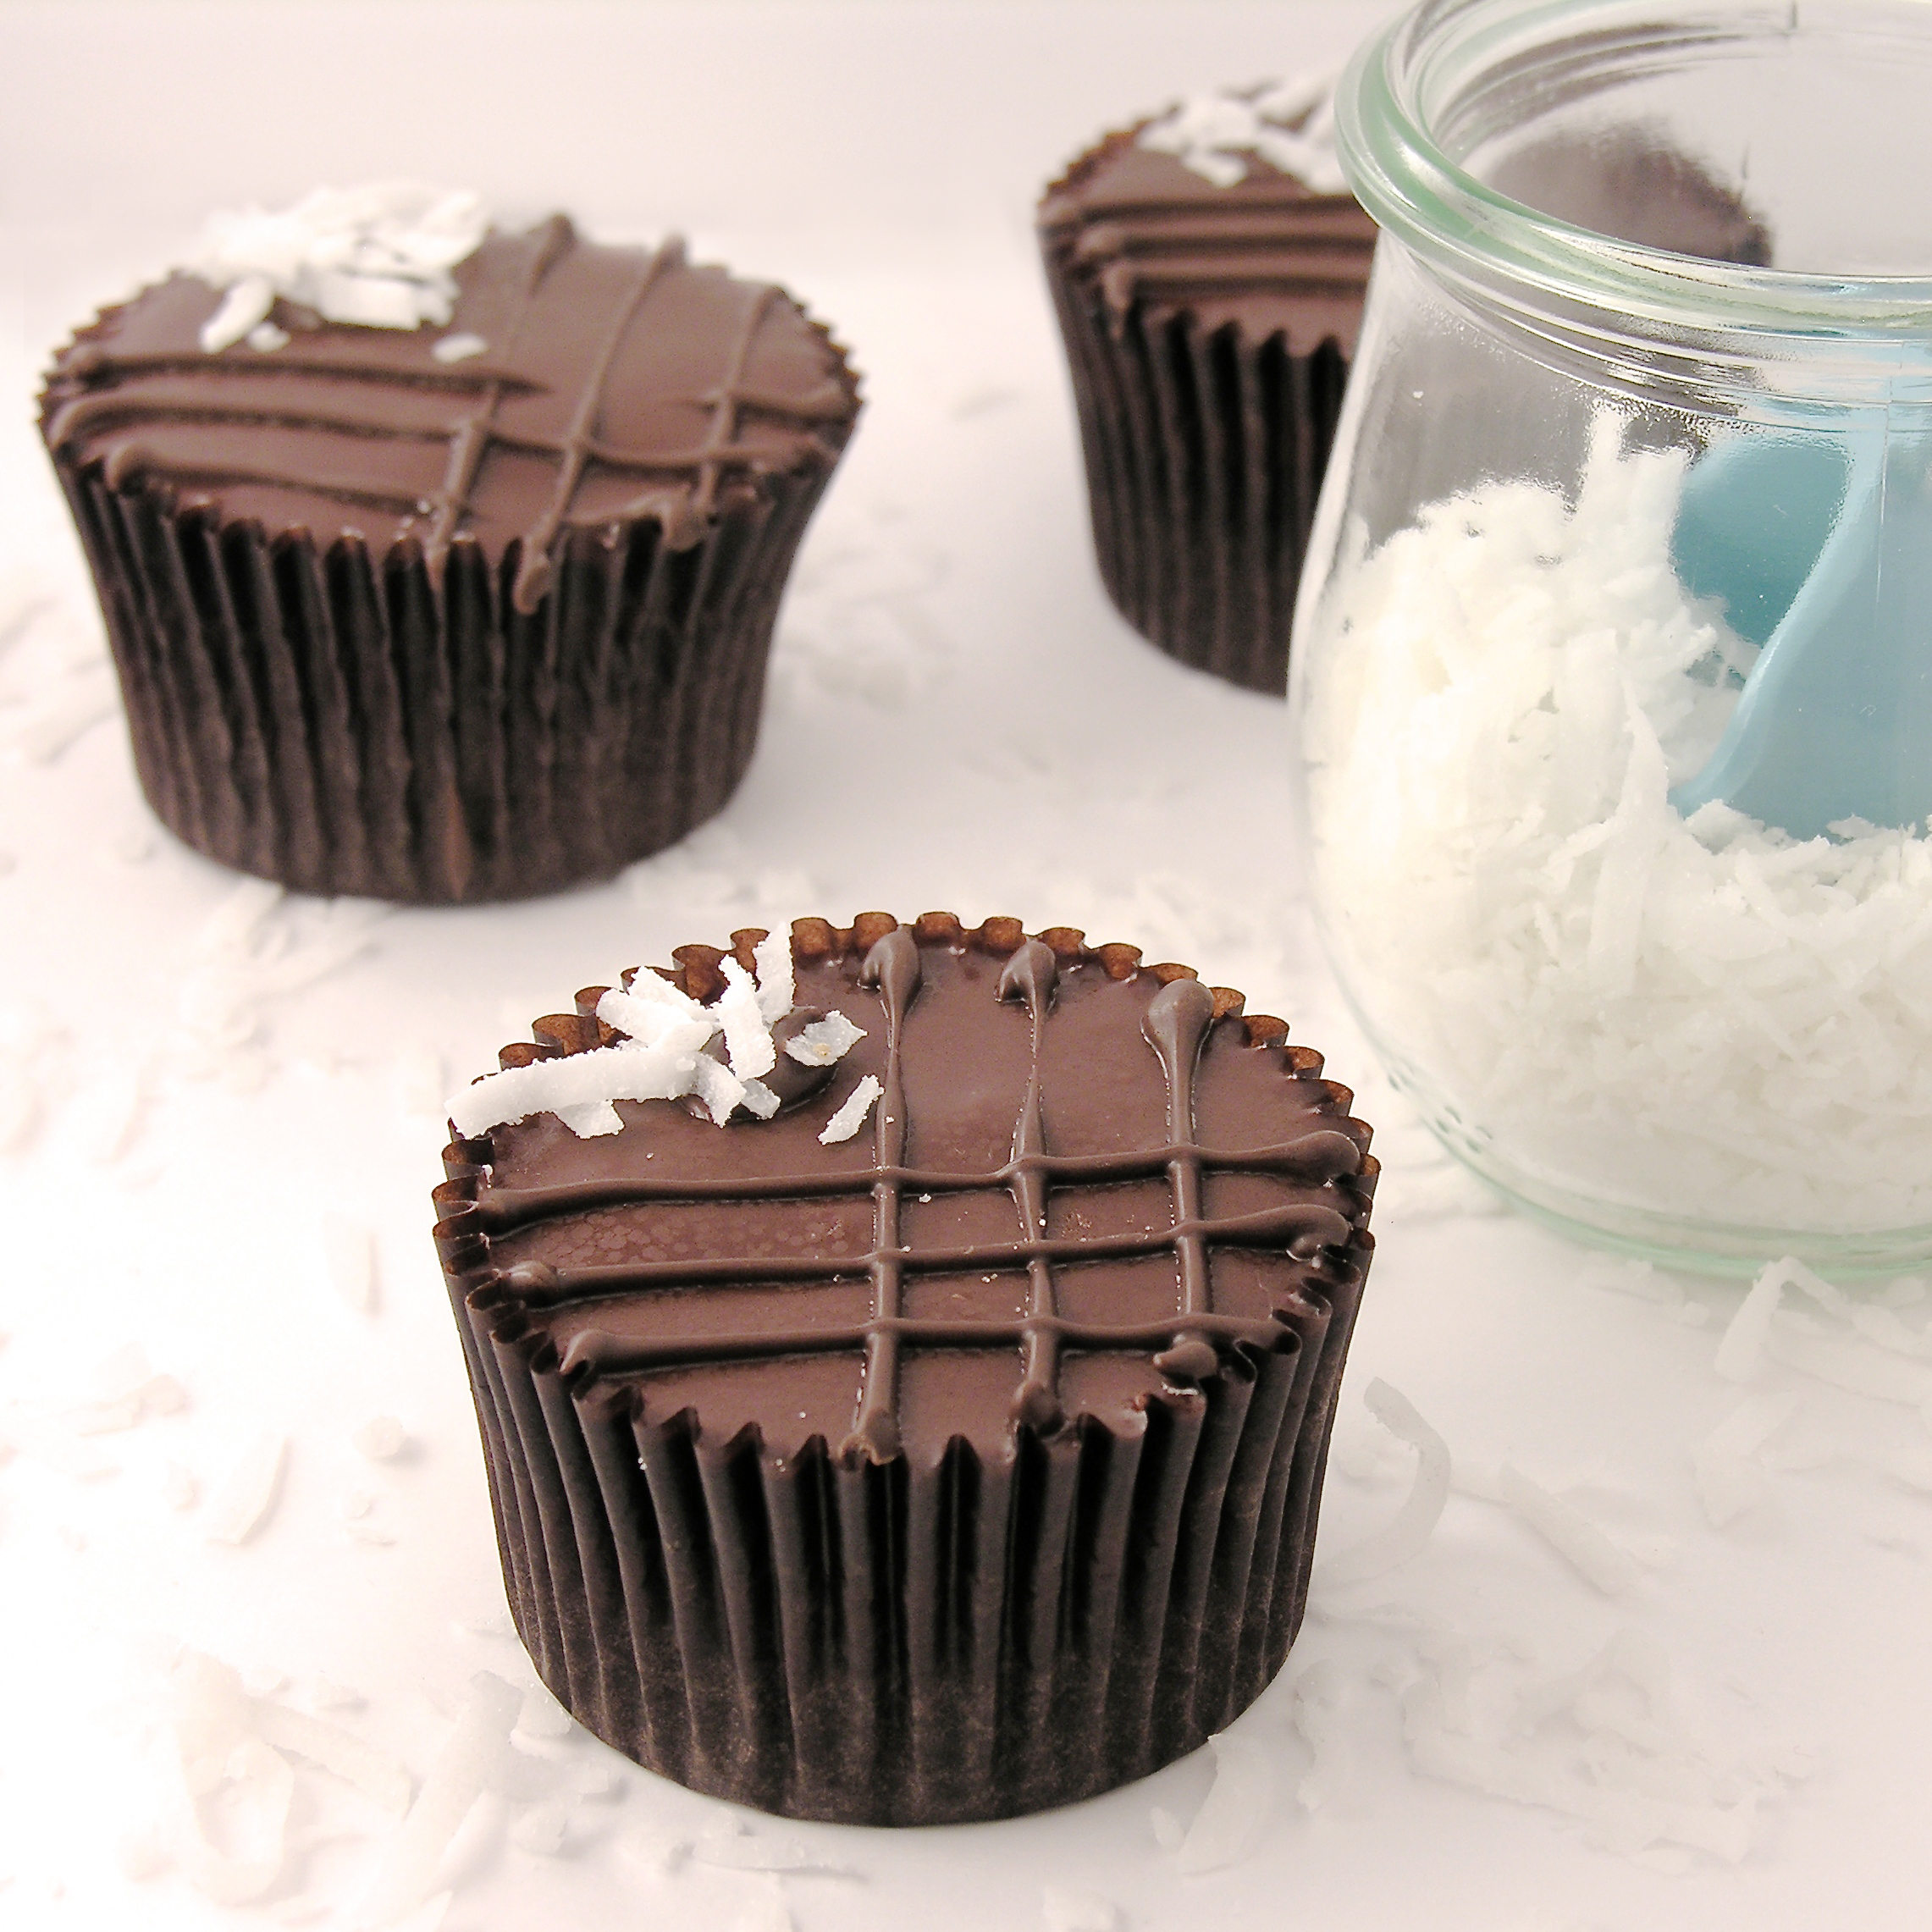
Here’s the recipe, it makes 24 cups: (printable version)

Brownie:

  • 1cup butter
  • 2 cup sugar
  • 3 eggs
  • 2 teaspoons vanilla
  • 2 cups flour
  • 1/2 cup cocoa
  • 1/2 teaspoon salt
  • 1 cup milk

Coconut filling:

  • 5 cups powdered sugar
  • 8 tablespoons melted butter
  • 2 teaspoons coconut extract
  • 1/2 cup shredded coconut

Chocolate Topping:

  • 12oz. semi-sweet chocolate chips
  • 12 tablespoons butter (do not substitute margarine here!)

DIRECTIONS:

Brownie:

  • Preheat oven to 350.
  • Cream butter and sugar together. 
  • Beat in eggs, cocoa, vanilla and salt.
  • Add flour and milk (alternating them and mixing well in between)
  • Spoon evenly into 24 cupcake liners in a cupcake tin.
  • Bake at 350 degrees for 10-12 minutes (don’t over bake- they will start to pull away from the liner)
  • Cool.  

Coconut Filling:

  • Add melted butter to sugar and extract.
  • Mix well, using water to bring it to a thick but spreadable consistency.
  • Add coconut and blend well.
  • Scoop filling into a large zip top bag fitting with a large round tip and pipe filling over the top of each brownie.
Coconut Cup Filling
Chocolate Topping:
  • Melt butter and chocolate together in the microwave in 30 second increments, stirring in between until completely melted and smooth.
  • Pipe over coconut filling and spread evenly over top
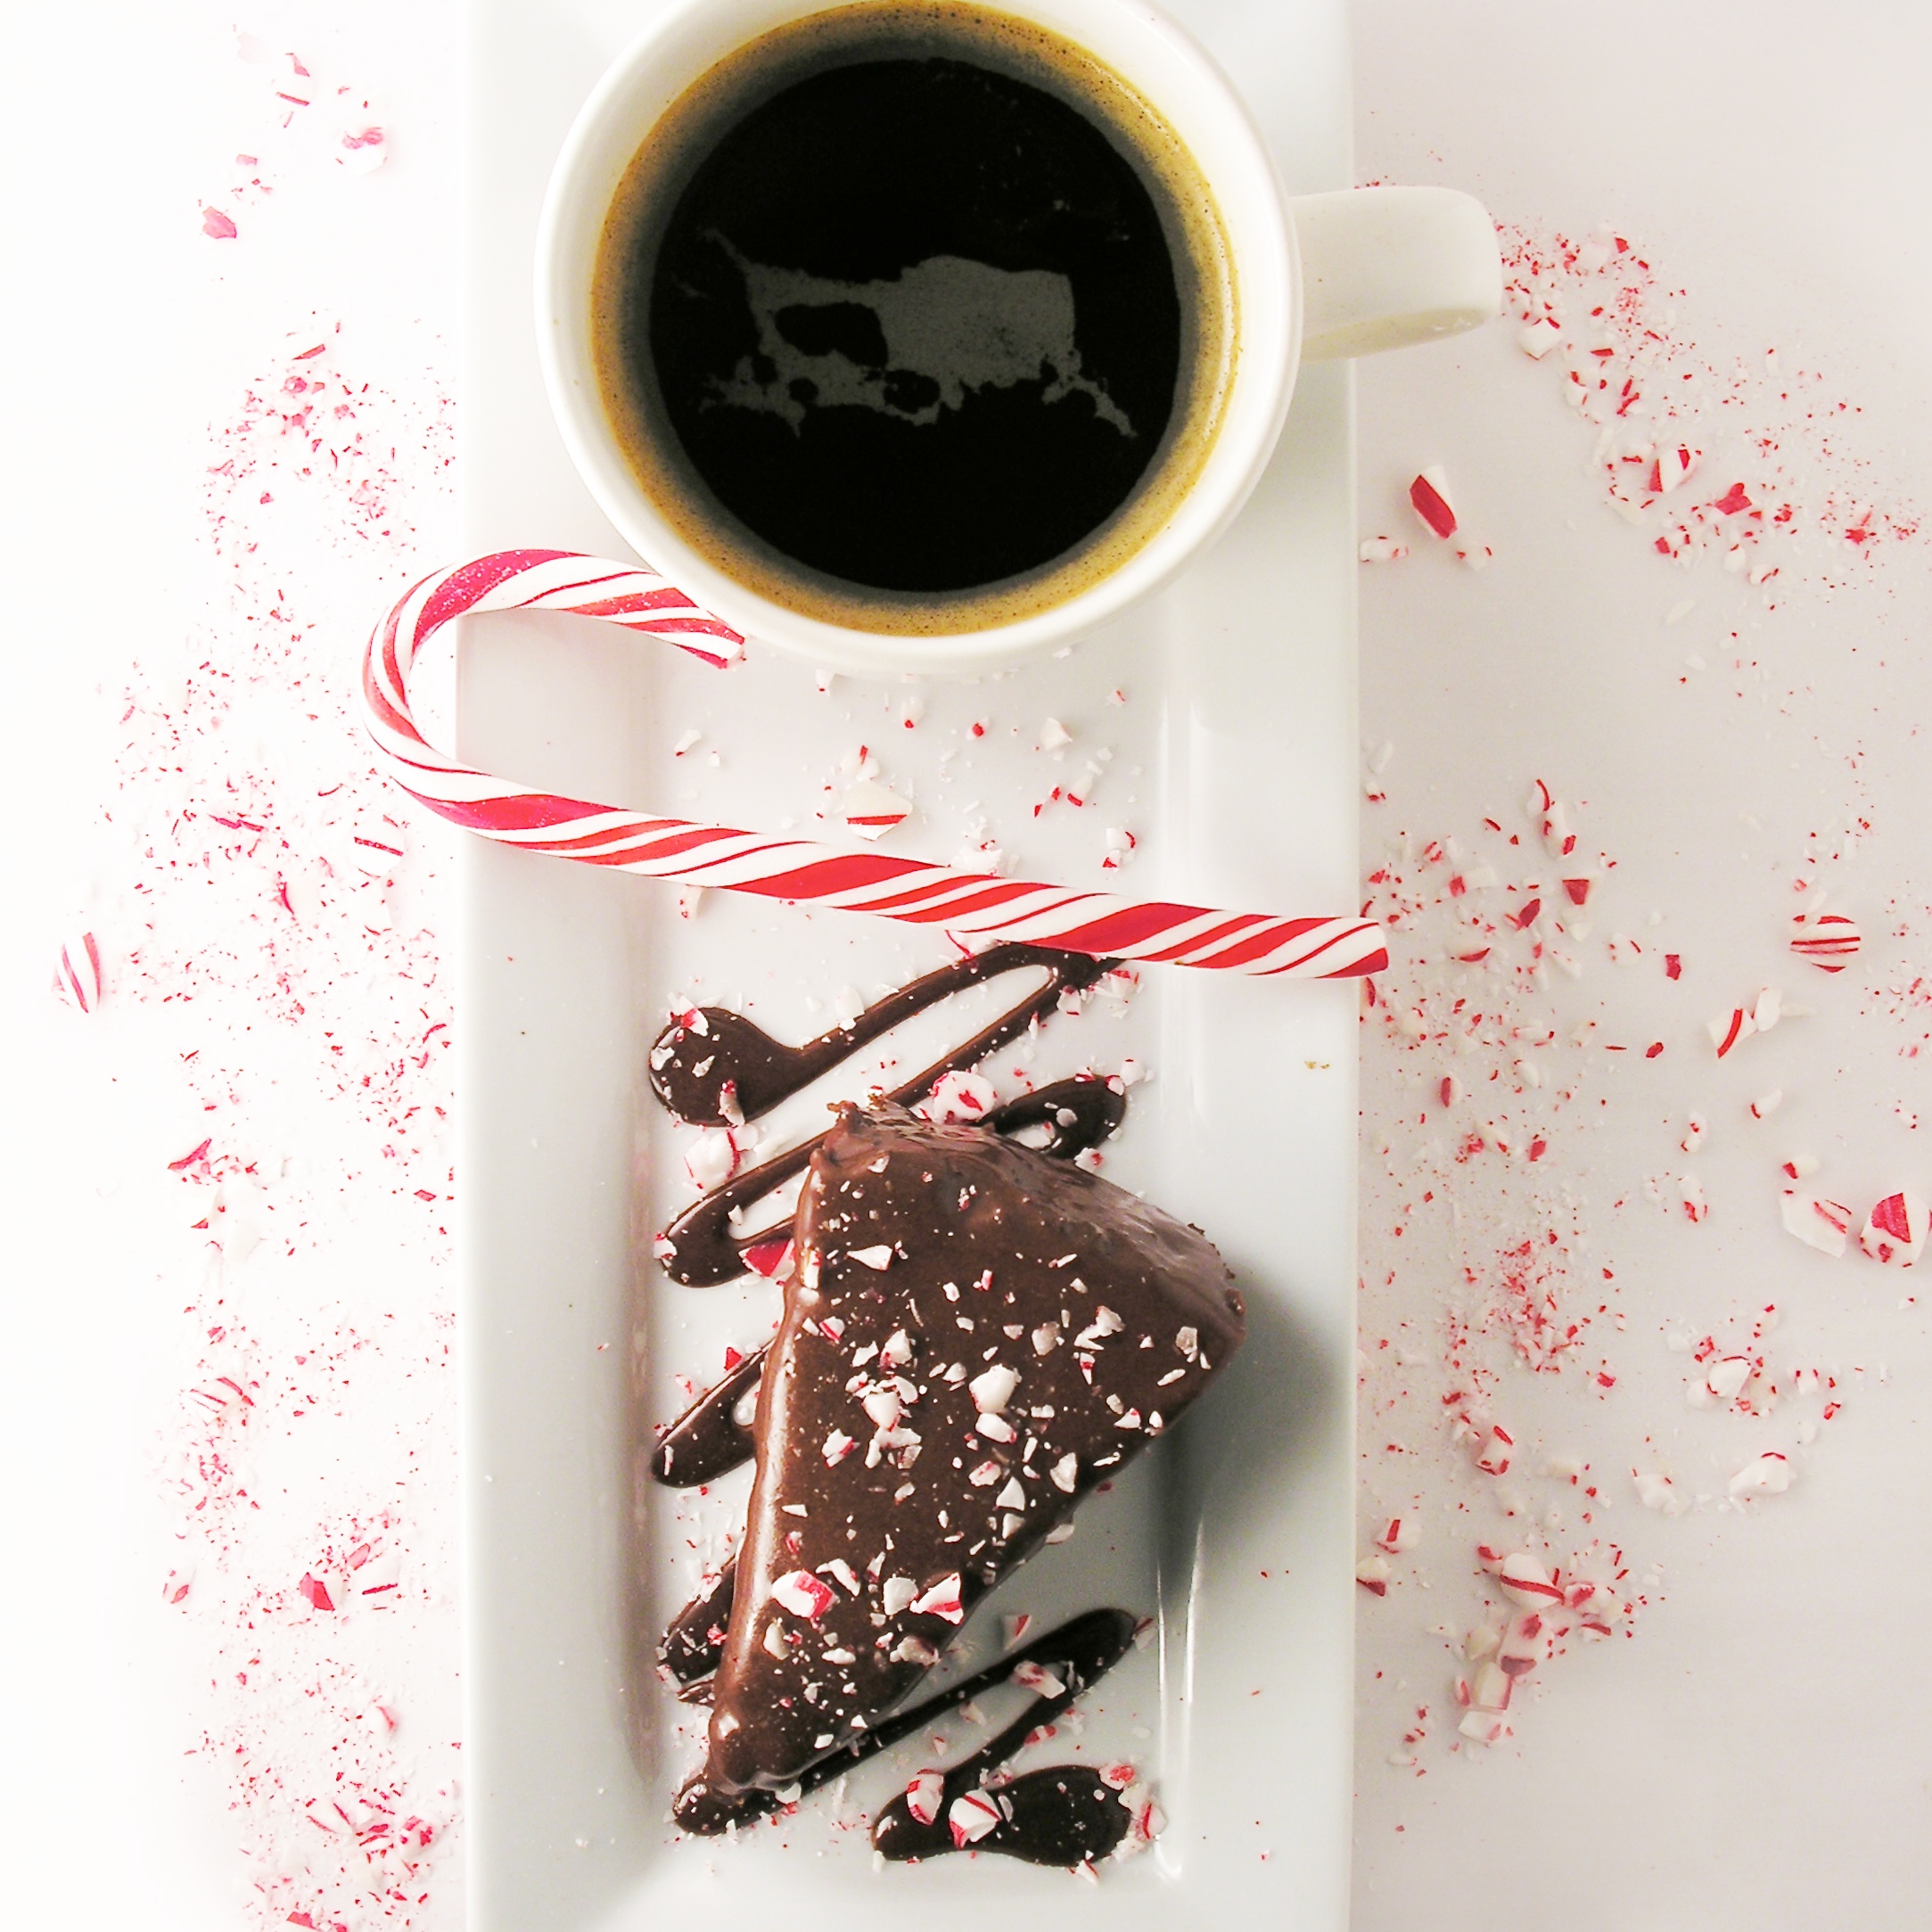
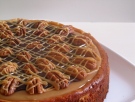
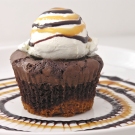
  • Chill until top layer is hard and use any extra topping to pipe fine lines on the top if desired~ be creative!!
  • Enjoy!!

Coconut Brownie Cup!My thoughts:  These are one of my favorite go-to recipes.  I love how beautiful they are and I love the versatility of the flavors.  These are SO perfect for showers and parties.  You can even color the fillings to match school, team or wedding colors.  Very fun!  I hope you enjoy them!!!  ~r

Other fun and colorful recipes:
Rainbow Cake RollPolka Dot Cake!!!Tie-Dye Cake with Blue Raspberry Frosting!Confetti Cake Filled with Candy


Andes Mint Layer Cake

Posted on

Andes Mint Layer Cake!

This rich chocolate cake has a huge layer of Andes Mint whipped filling and is drizzled with fudge topping.  The perfect chocolate dessert!

Tah Dah!!!  One last melted frosting recipe…for now…This one has yummy melted chocolate frosting inside and poured all over the top.  YUM!!!!!!

I love making this cake in various forms.  It is SO quick and easy to put together and everyone loves it! This time I added Andes mint candies for a refreshing mint twist to this recipe.  I think you will love it!! Andes Mint Cake!!

Here’s the recipe:  (printable version)

INGREDIENTS:

  • 1 boxed chocolate cake mix (with oil/eggs/water to make according to directions)
  • 2 packets of Dream Whip  (found near the jello/pudding boxes at the grocery)
  • 3/4 cup milk
  • 1 teaspoon vanilla
  • 3 tablespoons cocoa powder
  • 3 tablespoons powdered sugar
  • Andes Baking Chips 10 oz
  • One container of pre-made chocolate frosting

DIRECTIONS:

  • Make cake mix according to box and bake in 2 – 8 or 9 inch round pans (I cut parchment paper to fit, spray the pan with non-stick spray, and place it in the bottom of each pan so that the cake comes out easier).
  • Cool cakes completely on a wire rack and while they are cooling make your whipped filling:
  • Put Dream Whip, milk, vanilla, cocoa powder and powdered sugar into a mixing bowl and blend together.
  • Using a mixer, beat until stiff peaks form (3-4 minutes)
  • Fold in Andes mint baking chips, saving aside a few for topping.
  • Scoop chocolate frosting into a microwave safe bowl and heat for only about 20-30 seconds in the microwave.  Heat until frosting is melted into a hot fudge consistency.
  • Use a large serrated knife to level your two cakes.
  • Place 1st cake on serving plate, leveled edge up.
  • Pour about 1/4 of melted frosting on top of cake and spread to cover (I put this layer in the fridge for about a minute just to cool the warm frosting down before adding the mousse layer)
  • Spoon all of the mousse on top of the cake and spread it ALMOST to the edges.
  • Top with second cake– put the leveled edge against the mousse…this keeps all the crumbs in the middle and leaves a nice flat surface on the top of your cake. Gently press top layer down to squeeze the mousse all the way to the edges.
  • Pour the rest of the melted frosting over the entire cake and let it drip over the edges.
  • Sprinkle the remaining Andes Mint bits on top.
  • Refrigerate until serving, this will make the middle layer firm and easy to cut.

Andes Mint Cake!!!!

My thoughts:  I love this cake.  It is a beautiful dessert that is just so quick and easy to put together!

That creamy mint filling….oh my. I hope you get a chance to try it!  Enjoy!  ~r

Andes Mint cake!!!!

Other yummy chocolate treats here on easybaked:

Brownie Oreo Cookie CupGerman Chocolate PieRich Chocolate Ganache Mini CupcakesCaramel Fudge Brownies!!

Peppermint Brownie Cake

Posted on

Peppermint Brownie Cake
This dense chocolate cake is more like a brownie, and full of chopped peppermint patties!  This will satisfy your biggest chocolate craving!

This recipe is the perfect solution to the January candy candy dilemma.  Although there are no candy canes in this cake (there are gooey York Peppermint patties instead!), this cake is just beautiful decorated with your leftovers from Christmas.

Peppermint Brownie Cake
This cake also showcases my theme for the month of January—–melted frosting! I’ve become addicted to melting tubs of ready-made frosting to use in and on various dessert recipes.  It changes the consistency of the frosting- turning it into a fudge-like topping or filling and its SO easy– just melt and pour.  I can’t wait to show you some of my other melted frosting ideas!

Ok- so you probably want the recipe!  Here you go: (click here for a printable version)

INGREDIENTS:

  • 1/2 cup butter
  • 4 oz. unsweetened baking chocolate
  • 1 1/4 cups flour
  • 3/4 teaspoons baking powder
  • 1/2 teaspoon salt
  • 3 eggs
  • 1 1/3 cups granulated sugar
  • 1 teaspoon vanilla
  • 1 1/4 cups of peppermint patties (quartered)
  • 1 tub of pre-made chocolate frosting
  • 3-4 candy canes to decorate with as desired.

DIRECTIONS:

  • Preheat oven to 325F degrees
  • Cut parchment paper to fit in the bottom of a 9-inch round cake pan.
  • Liberally grease bottom and sides of pan, and place parchment paper in bottom.
  • Melt butter and unsweetened chocolate in a small bowl using the microwave in 30 second increments and stirring in between.
  • Allow this to cool slightly while you prepare other ingredients.
  • In a medium bowl, stir the flour, baking powder and salt together.
  • Cut peppermint patties into quarters,
  • In a large bowl, beat eggs, sugar and vanilla together for about one minute.
  • Add melted chocolate and beat on low until well combined.
  • Beat in the flour mixture.
  • Stir peppermint patties in using a spoon.
  • Pour batter into pan, smoothing the top, and bake for 30-35 minutes.
  • Be careful to not over-bake.  
  • Remove from oven and allow cake to cool for about 10 minutes, this will allow the peppermint patties to harden up a little.
  • Run a small knife around the edge of the pan and tip cake over onto a cake rack.
  • Remove parchment paper and allow cake to cool completely.
  • Spoon tub of frosting into a small bowl and melt in microwave for 20-30 seconds. 
  • Stir and pour over cooled cake.  Do this while the cake is still on the cake rack, with a plate underneath to catch the drips.  You will not need to use the entire tub of frosting to cover the cake.  I placed my leftovers in a zip top bag, clipped a corner and made fun zig zags on the plates I used to serve the cake.  You could also dip graham crackers or apple slices in it…for a little post-cake-making snack!!!  YUM!
  • Sprinkle with crushed candy canes and ENJOY!!!

Peppermint Brownie Cake!!
My thoughts:  This is an old recipe for me- I’ve been making it for years with a terribly complicated glaze recipe over the top.  Honestly, this melted frosting is better- and SO much easier!  One note:  I was in a rush to take my pictures, so I took them right away.  Once this sets and cools, the glaze will harden into a fudge like consistency, and it won’t run like it is in my pictures.   
Peppermint Brownie Cake!!!

OR you could just eat it up before it cools and enjoy all the gooey warm minty happiness!  Enjoy!!!~r Peppermint Brownie Cake!!
Other minty desserts here on easybaked:

Mint Creme Brownie CupsHot chocolate Pops!Peppermint Chocolate CookiesAndes Mint Cupcakes

Ladybug Cake!

Posted on

Ladybug Cake!!
It’s my Birthday today!  Yay!  Birthdays were always a huge celebration as I was growing up.  My mom had a big yellow box of recipe cards from Betty Crocker that had tons of fun ideas.  One of the categories was “Children’s Parties” and it was full of card-after-card of fun cakes.

Every year, mom would tell my brother and I that we could pick ANY cake out and she would make it for our birthday party (this, I believe, is where my great love of beautiful desserts began!)  I had all sorts of cakes- a Panda bear, an Igloo….and one year, a giant ladybug.  I loved it!

So, this year we are taking a trip down memory lane, back to the mid-70’s, for this retro recipe that made me smile then and now.

ThenNow

Betty Crocker 70's recipe card- Lady Bug Cake!

The Original Betty Crocker Recipe Card

INGREDIENTS: (original Betty Crocker recipe can be found here)

  • 1 box of cake mix, any flavor, plus water, oil and eggs to make according to package.
  • 2 sticks (1 cup) of salted butter
  • 2 sticks (1 cup) of unsalted butter
  • 3 cups of powdered sugar
  • 2 teaspoons of clear vanilla flavoring
  • Red food coloring gel
  • York Peppermint Patties
  • Wilton candy melts in red and dark chocolate (just a few!)
  • Mini M&MS

DIRECTIONS:

  • Preheat oven to 350F degrees
  • Generously grease and flour a 2 quart oven-proof bowl.
  • Make cake mix according to package, and pour into prepared bowl.
  • Bake at 350F degrees for 50-55 minutes, or until a toothpick inserted in the center comes out clean.
  • Allow cake to cool for a few minutes and then run a knife around edges and tip upside down on a cake rack to cool completely.
  • Make icing by combining butters, powdered sugar and vanilla and beating on high until light and fluffy, about 2-3 minutes.
  • Place cake on serving plate and spread a smooth layer of frosting over entire dome of cake.
  • Refrigerate about 10-15 minutes to harden 1st layer of frosting.
  • Use red food coloring gel to color about 2/3 of remaining frosting.
  • Frost over 1st layer with white over the front 1/3 of cake and red over the back 1/3.
  • Decorate with peppermint patties, icing and M&Ms.  You can use licorice for the antennae, nose and mouth, but I just piped colored candy melts into the shapes I wanted.
  • Enjoy!!

Ladybug Cake2
My thoughts:You really can use any items you want to decorate this cake.  You can see that Betty Crocker used gummy candies and black string licorice.  Making this cake brought back great memories of being a kid.  Many thanks to my wonderful mom for making childhood so much fun!  

One of my favorite parts of this site is being able to give you creative recipes to surprise your family with on their special days!  Here’s to many Happy Birthdays for you and yours in this coming year!  Enjoy! ~r

Ladybug cake!!!!!
Other fun birthday recipe ideas:

Polka Dot Cake!!!!!!Cookie Dough CupcakesPile of Cupcakes!Tie-Dye Cake with Blue Raspberry Frosting!

Reindeer Oreo Pops!

Posted on

Reindeer Oreo Pops!!!
These chocolate covered Oreos are so full of holiday cheer!  Wrap them in little cello bags for a quick and fun Holiday gift!

I confess.  I am addicted to making Oreo pops.  I can’t stop.  They are so easy and fun.  They give me an excuse to buy a package of my favorite cookies.  They make people smile.

Original Oreo pops!!!!!Mummy Oreo Pops!Snowman Oreo PopsLadybug Oreo Pops!

I have the art of “stick-placing” and “dipping” Oreos to coat them in chocolate down.

Click here for a printable sheet that takes you through the basic process step by step.

INGREDIENTS:

  • 1 package of Double Stuff Oreos
  • 2 bags (12oz each) of milk chocolate candy melts (I use Wilton’s)
  • 24 lollipop sticks
  • 1 small bag of mini-pretzels
  • Candy eyes
  • Mini M&Ms

DIRECTIONS:

  • Gently twist apart Oreos.  Some will break.  No stress.  Eat them.
  • Break apart pretzels by using a sharp knife to carefully cut them top to bottom through the center.  Then cut the round tops off, leaving a “Y” shape.
  • Put eyes and red mini M&Ms into small bowls, ready to use.
  • Place candy melts into a bowl.
  • Melt candy melts in the microwave in 30 second increments, stirring between, until completely melted and smooth.
  • Press a lollipop stick into white filling, making an indentation.
  • Dip stick into melted chocolate and spread chocolate on top of white filling.
  • Place stick into indentation and set top of cookie back on, cementing the cookie back together around the stick.
  • Allow chocolate to harden.  If you set cookies on a large plate as you put them together, you can place the entire plate into the fridge to speed the hardening process up.
  • Once hardened, pick the cookie up using the lollipop stick and set into melted chocolate.
  • Spoon melted chocolate over the Oreo to coat it.
  • Gently tap the stick on the bowl’s edge to allow excess chocolate to drip off.
  • Slide bottom of cookie along edge of bowl to remove excess chocolate.
  • Set cookie on parchment or waxed paper.
  • Put pretzel “antlers” into the top of the Oreo, and set two eyes and a nose on the front of the Oreo.
  • Allow chocolate to harden completely.
  • Serve as-is, or tie up in cello treat bags to give as gifts!

Reindeer Oreo Pops!!!
My thoughts:  What to do you get when you combine an Oreo with melted chocolate and salty pretzels?  Deliciousness!!!!!!  Use them as place settings on each plate for Christmas! Make reindeer, snowmen and red/green sprinkle Oreo pops and create a bouquet of pops in a cute Christmas planter for your Christmas celebration!  Use them as stocking stuffers or teacher gifts….the possibilities are endlessly fun!  Enjoy!  ~r


Reindeer Oreo Pops

Heath Bar Ice Cream Dessert

Heath Bar Ice cream Dessert2
This recipe is a classic family favorite.  It is one of my grandma’s recipes, and I say “one of” because my grandma is a treasure trove of recipes (especially desserts!)  My cousins and I joke about how many desserts show up at family gatherings.  The conversations go something like this:

“Oh no, we only have 8 desserts today…this could be a disaster.”

“There are 24 of us here…that means we can each only have 1/3 of a dessert.”

“I want to try a little of everything.”

“I get a third of that chocolate cake”

“There’s ice cream?  Does that count as a ninth dessert?”

This is nearly always one of the desserts at our family dinners.  It’s fabulous. Creamy and light and butterscotch-y…oh my.  You’ve got to try this one out with your family!

Heath Bar Dessert!!

Ready for the recipe?  Here you go: (printable version)

INGREDIENTS:

  • 1 stick (1/2 cup) butter, melted
  • 1 package (10 oz) Lorna Doone cookies, crushed (if you can’t get these specific cookies, use 2 cups of another brand of shortbread cookies)
  • 3 packages (3.4 oz) INSTANT vanilla pudding
  • 2 and 3/4 cups milk
  • 1 quart of butter pecan ice cream (softened)
  • 1 (8oz). Cool Whip
  • One bag of Heath Milk Chocolate Toffee Bits (or several crushed Heath bars)

DIRECTIONS:

Crust:

  • Combine  melted butter with crushed shortbread cookies and press into a 9″ by 13″ cake pan (I use glass)

Filling:

  • In a large bowl, combine milk and pudding and beat on high for about two minutes, until pudding becomes thick.
  • Add softened ice cream to pudding and stir by hand until well combined.
  • Pour over crust in pan.

Topping: 

  • Spread Cool Whip topping over the entire dessert.
  • Top this with desired amount of Heath Milk Chocolate Toffee Bits (I used the whole bag!!)
  • Cover dessert tightly with plastic wrap and freeze until serving.  Allow dessert to warm for several hours before serving.
  • Enjoy!

Heath Bar Ice Cream Dessert3
My thoughts: I love toffee and pecans and butterscotch and ice cream…this dessert just makes me smile.  It reminds me of family meals and laughter and love.  You can’t argue with a dessert that does that!  I hope you have a chance to try this recipe with your family!  Thanks for sharing your recipe grandma!  Love you!  ~r

Other yummy treats for your family:

German Chocolate Pie!Chocolate lava cupcakes!Peanut Butter Cup Layer CakePumpkin Roll

Creamy Chocolate Pie

Creamy Chocolate Pie
This is a new take on a chocolate pudding pie.  So incredibly rich in chocolate flavor that you will never go back to just plain pudding!

This week’s family recipe comes to us from Florida…or Yellowstone…or Peru….or wherever my wonderful adventurous Aunt Paula might be.  She and my Uncle Jim have literally travelled the world and done the most interesting things.  They are great story tellers and a family meal with them is a treasure.

4769_1062312648969_4724662_n

I had never tried this recipe before, but Paula and Jim submitted it to our family cookbook and titled it “The Best Chocolate Pie in the World”.  How can you resist trying a pie with a name like that?!??

Paulas Pie 4
The chocolate flavor in this pie filling is extraordinarily good.  Very rich and dark.  I’m really not a pie person (check the rest of this blog….not too many pies…) but this one is worth trying, it’s very yummy!

Here’s is the recipe: (printable version)

INGREDIENTS:

  • 1 1/2 cups sugar
  • 2 tablespoons cornstarch
  • 5 tablespoons of cocoa
  • 3 egg yolks, beaten
  • 2 cups hot milk
  • 1 stick (1/2 cup) butter. melted
  • 1 1/2 teaspoons of vanilla

DIRECTIONS:

  • Prepare a graham cracker or a plain baked pie crust.  Since I rarely make pie, I just used a refrigerated pie crust and baked it according to the package.  If you have a favorite crust recipe, now’s the time.
  • In a large, heavy saucepan, combine dry ingredients together.
  • Heat milk over stove or in the microwave and add it gradually to the dry ingredients, stirring as you add.

Not-so-homemade pie crustAdd hot milk slowly...

  • Add butter and egg yolks and mix well.
  • Cook on stove over low heat until thickened, stirring constantly. (I did not allow mine to cook long enough the first time I made this and it didn’t firm up very well.  Cook it until it is a very thick custard like consistency.  Mine actually boiled before it thickened enough.)
  • Remove from heat
  • Mix in vanilla.
  • Pour into prepared pie crust and chill several hours or overnight.
  • Enjoy!

Creamy Chocolate Pie!


My thoughts: Such an easy way to get your chocolate fix!  This pie is  soooo good with a cup of coffee and a little whipped cream on top…YUM!  Thank you for sharing your wonderful dessert with us Aunt Paula!  Enjoy your latest Caribbean adventure!! ~r  

The other lonely (yet yummy!) pie recipes of Easybaked:

Fruit Loop Pie!German Chocolate PiePecan and chocolate pieRaspberry Truffle Tart

Classic Cheesecake with Sour Cream Topping

Posted on

Classic Cheesecake with Sour Cream Topping
Creamy classic vanilla cheesecake with a sweet and light sour cream topping.

This is the best cheesecake I’ve ever made.  That’s saying a lot because I’ve made many, many cheesecakes.

In case you missed last week’s post, Easybaked is featuring family “tried and true” recipes during the month of November.  This week our star baker is my Aunt Vonda.  She is the queen of desserts in our family and literally everything she makes is scrumptious!  This cheesecake is one of my very favorite family desserts.  I’ve wanted the recipe for years and once I finally got to make it for myself I was even more impressed.  Not only is is delicious….it is actually easier to make than most cheesecakes I’ve tried….and oh, SO good.

Vonda's Cheesecake3
This is the cheesecake for a cheesecake purist.  No crazy toppings or fillings- just plain cheesecake.  Usually I’m not a huge fan of plain cheesecake, but the flavor and texture of this one is incredible.

Vonda's Cheesecake5
Want the recipe?

Here you go: (printable version)

INGREDIENTS:

Crust:
  • 1 1/4 cups Honeymaid graham cracker crumbs
  • 5 tablespoons butter, melted
  • 3 tablespoons sugar 
Filling: 
  • 3/4 cup sugar
  • 3 (8 oz.) Philadelphia cream cheese bars (must be the Philadelphia brand)~ softened to room temperature.
  • 2 eggs
  • 1 teaspoon vanilla
  • 1 teaspoon lemon juice
  • pinch of salt
Topping: 
  • 1 pint (2 cups) sour cream
  • 1/2 cup sugar
  • 1 tsp. vanilla
  • pinch of salt
DIRECTIONS:
  • Preheat oven to 350F degrees.
  • In a medium bowl, combine crust ingredients together until well combined.
  • Press into a 9″ spring form pan, pressing crumbs into bottom and about 1 1/2″ up sides of pan.    
  • For the filling, combine the sugar and softened cream cheese in a large mixing bowl and beat together until smooth.
  • Add the eggs, one at a time, beating between each addition.
  • Add the vanilla, lemon juice and salt and beat until smooth and creamy.
  • Pour into crust.
  • Bake at 350F degrees for 35-45 minutes.
  • While cheesecake is baking, make topping by simply mixing together all of the topping ingredients.
  • After 35-45 minutes of baking, remove cheesecake from oven and turn oven down to 325F degrees.
  • Pour topping over hot cheesecake, gently spreading to edges.
  • Return cheesecake to oven and bake for an additional 12-15 minutes.
  • Remove cheesecake from oven and leave sides on pan while allowing cheesecake to cool to room temperature.  
  • Refrigerate several hours (or overnight)
  • Remove edges of spring form pan before serving and serve with fresh fruit, pie filling or a chocolate or caramel sauce.
  • Enjoy!!!!

Creamy classic cheesecake
My thoughts:  Well, you already know how much I love this cheesecake because I’ve gone on and on about it.  This is a must-try recipe.  You will love it.  A huge thanks to my Aunt Vonda for sharing her recipe with us!!!  Yum!!!  ~r

Creamy cheesecake with sour cream topping
Other cheesecake recipes we love here at Easybaked:
Cinnamon Roll Cheesecake!!Triple Chocolate Cheesecake 3Peanut butter cup cheesecakeTurtle Cheesecake

Chocolate Ganache Brownies

Posted on

Ganache Brownies
These dense chocolate brownies are topped with a rich chocolate ganache.  You won’t be able to eat just one!!

It’s November.  Time for turkey and thankfulness.  One of the things I am incredibly thankful for is my wonderful family.  We are spread over many states and have many interests, but one thing we all love:  dessert.  This month I am going to feature some of our family’s best dessert recipes– just to get you all ready to bring some mouthwatering treats to your Thanksgiving feast!

This brownie recipe is from my Aunt Sara.  She’s known in our family for her wonderful layered salad, but since this is a blog about sweets, that recipe will have to wait for another day.

Aunt Sarah and her granddaughter Sierra

Aunt Sarah and her granddaughter Sierra

Several years ago I asked everyone in our family to submit recipes to compile into a family cookbook.  SO many wonderful things (with the exception of “Feline Delight”, submitted by my Uncle Keith and my dad, involving a stew made from the family pet…. a joke, of course!)  My Aunt Sara turned in this brownie recipe and I’ve always wanted to try it but just hadn’t taken the time until right now.

The verdict:  AMAZING.  These are the most fudge- like brownies I’ve ever had.  If you prefer cake-like brownies just stop reading right here….because these are rich, heavy, delicious bits of chocolate joy.

Ganache Brownies
So, lets get you the recipe so you can try these yummy treats! (printable version)

INGREDIENTS:

Brownie:

  • 1 stick (1/2 cup) butter
  • 2/3 cup chocolate (I used Nestle’ dark chocolate chips)
  • 4 eggs
  • 1/4 teaspoon salt
  • 2 cups granulated sugar
  • 1 teaspoon vanilla
  • 1 cup flour
  • 1 cup chopped nuts (optional)

Frosting:

  • 1/2 cup whipping cream
  • 1 cup chocolate (Aunt Sara uses Ghiradelli, I just used the rest of the Nestle’ dark chips)

DIRECTIONS:

Brownie:

  • Preheat oven to 325F degrees
  • Place butter and chocolate into a microwave safe bowl and melt in 30 second increments, stirring between, until melted and smooth.
  • Beat eggs and salt until they turn a light yellow color.
  • Add sugar to egg mixture gradually, and then beat until thick and creamy (about 15 minutes).
  • Fold in melted chocolate/butter mixture.
  • Add flour and vanilla and beat until smooth.
  • Fold in nuts.
  • Lightly spray a 9×13 pan with cooking spray and pour batter in.
  • Bake at 325F degrees for 25-30 minutes.  Toothpick should not come out clean- if you over-bake them they will be dry.

Frosting:

  • Place chocolate (either chips, or chopped up) into a bowl.
  • Bring whipping cream to a boil over the stove.
  • Pour hot cream over chocolate and whisk until smooth.
  • Refrigerate about 20 minutes, until thick enough to spread, but not completely set.
  • Spread over brownies and enjoy!!!

Ganache Brownies
My thoughts:  These are wonderfully gooey and rich- my perfect kind of brownie!  The only downside of these is having to beat the eggs for 15 minutes.  If you have a stand mixer you won’t mind it, but I have a hand mixer…seemed like an eternity!  Once I tasted them, it was worth every second though!  Thanks for the wonderful recipe Aunt Sara!!  Love you!  ~r

Other brownie recipes to fill your November with yummy goodness:

Caramel Fudge Brownies!!Fudge Brownie!Mint Creme Brownie CupsBrownie Oreo Cookie Cup

Halloween Cookie Swirls!

Posted on

Halloween Swirl Cookies!!!
These festive, fun cookies are made with refrigerated cookie dough, and are SO easy!  A little chocolate on the bottom and you have not only cute cookies, but really yummy ones as well!!!!

I keep seeing these swirled cookies online and I decided I simply had to try them in halloween colors this year.  They were a little time consuming, simply because you need to color your cookie dough and then blend the colors together.  Not hard at all– but set aside a little prep time.

Want to see how to put these together?  Here’s the recipe: (printable version)

INGREDIENTS:

  • 1 tube refrigerated cookie dough (I used Pillsbury)
  • Gel food coloring in the colors you desire
  • 1 bag of Wiltons dark chocolate candy melts.

DIRECTIONS:

  • Divide cookie dough into 4 equal parts and color each part using food color gels. (I recommend wearing food-prep gloves to save your hands from being colored along with the dough!   Also, start with the lightest color 1st)
  • Starting with the lightest color, divide each part of dough into small balls (about the size of a small grape)
  • Take one ball of each color in your hand, and gently squeeze it into a 4-color ball.

Halloween Cookies How-to2Halloween Cookies How-to3

  • Roll each ball out into a long strip and then gently coil it together into a cookie.  Tuck end under cookie and gently place on parchment paper on a cookie sheet.

Halloween Cookies How-to4Halloween Cookies How-to6

  • Bake at 350F degrees for time recommended on cookie dough tube.
  • Remove from oven by sliding parchment paper off cookie sheet and on to a flat surface.
  • Cool cookies completely
  • Melt Wiltons candy melts in 30 second increments in the microwave, stirring between until smooth.
  • Spoon a bit of melted chocolate on a clean piece of parchment paper- make it about the size of one cookie.
  • Gently press a cookie on top of the chocolate until you can see it around the edges.
  • Allow chocolate to cool and harden.
  • Peel away parchment paper and ENJOY your cute cookies!!!!

Halloween Swirl Cookies!!!
My thoughts:  These were a fun Halloween baking project.  I really enjoyed how each cookie looked so unique and I learned as I went how to swirl them most effectively (so that all the colors can be seen on top).  I loved using the pre-made cookie dough, that saved a lot of time!  I hope you get a chance to try these!!!  Enjoy!!  ~r


Halloween Swirl Cookies!!!!Halloween Swirl Cookie!!!!
Other fun Halloween ideas from Easybaked:

Halloween Bundt CakeGinger Maple CookiesSpider Cupcakes!Pumpkin Roll