Tag Archives: dessert

Lime Soda Cupcakes!

Posted on

Lime Soda Cupcakes!!
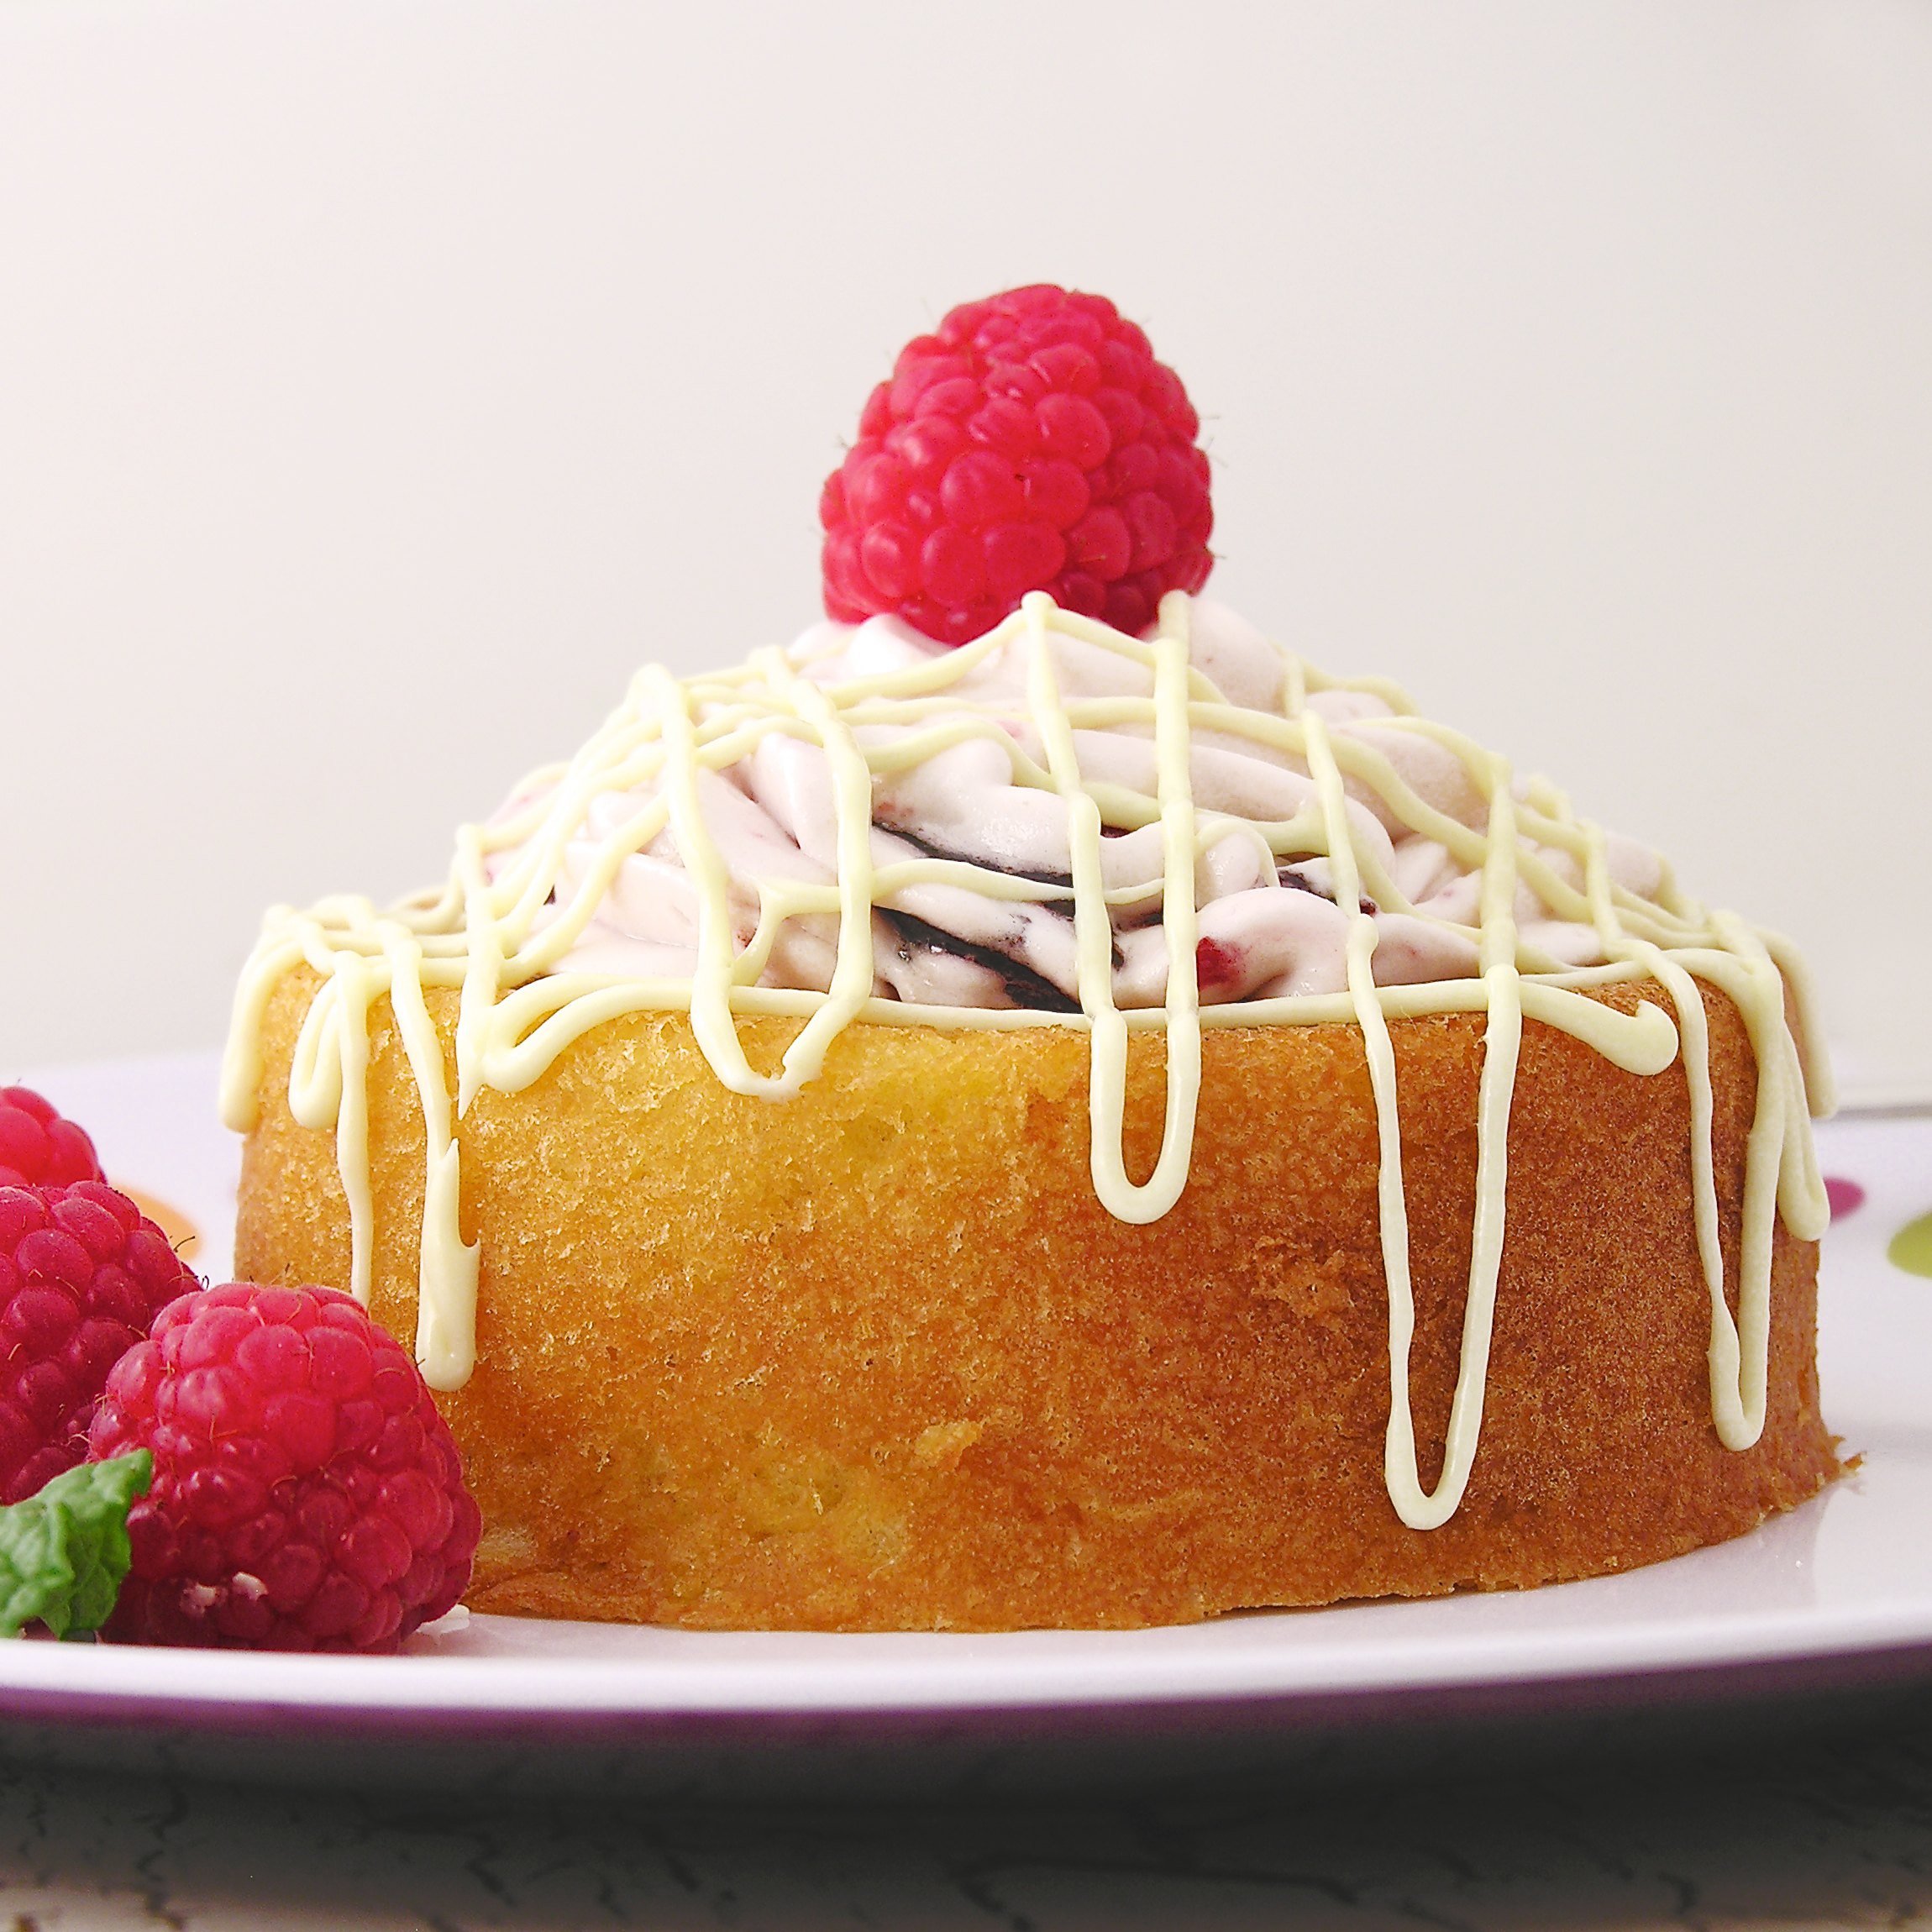
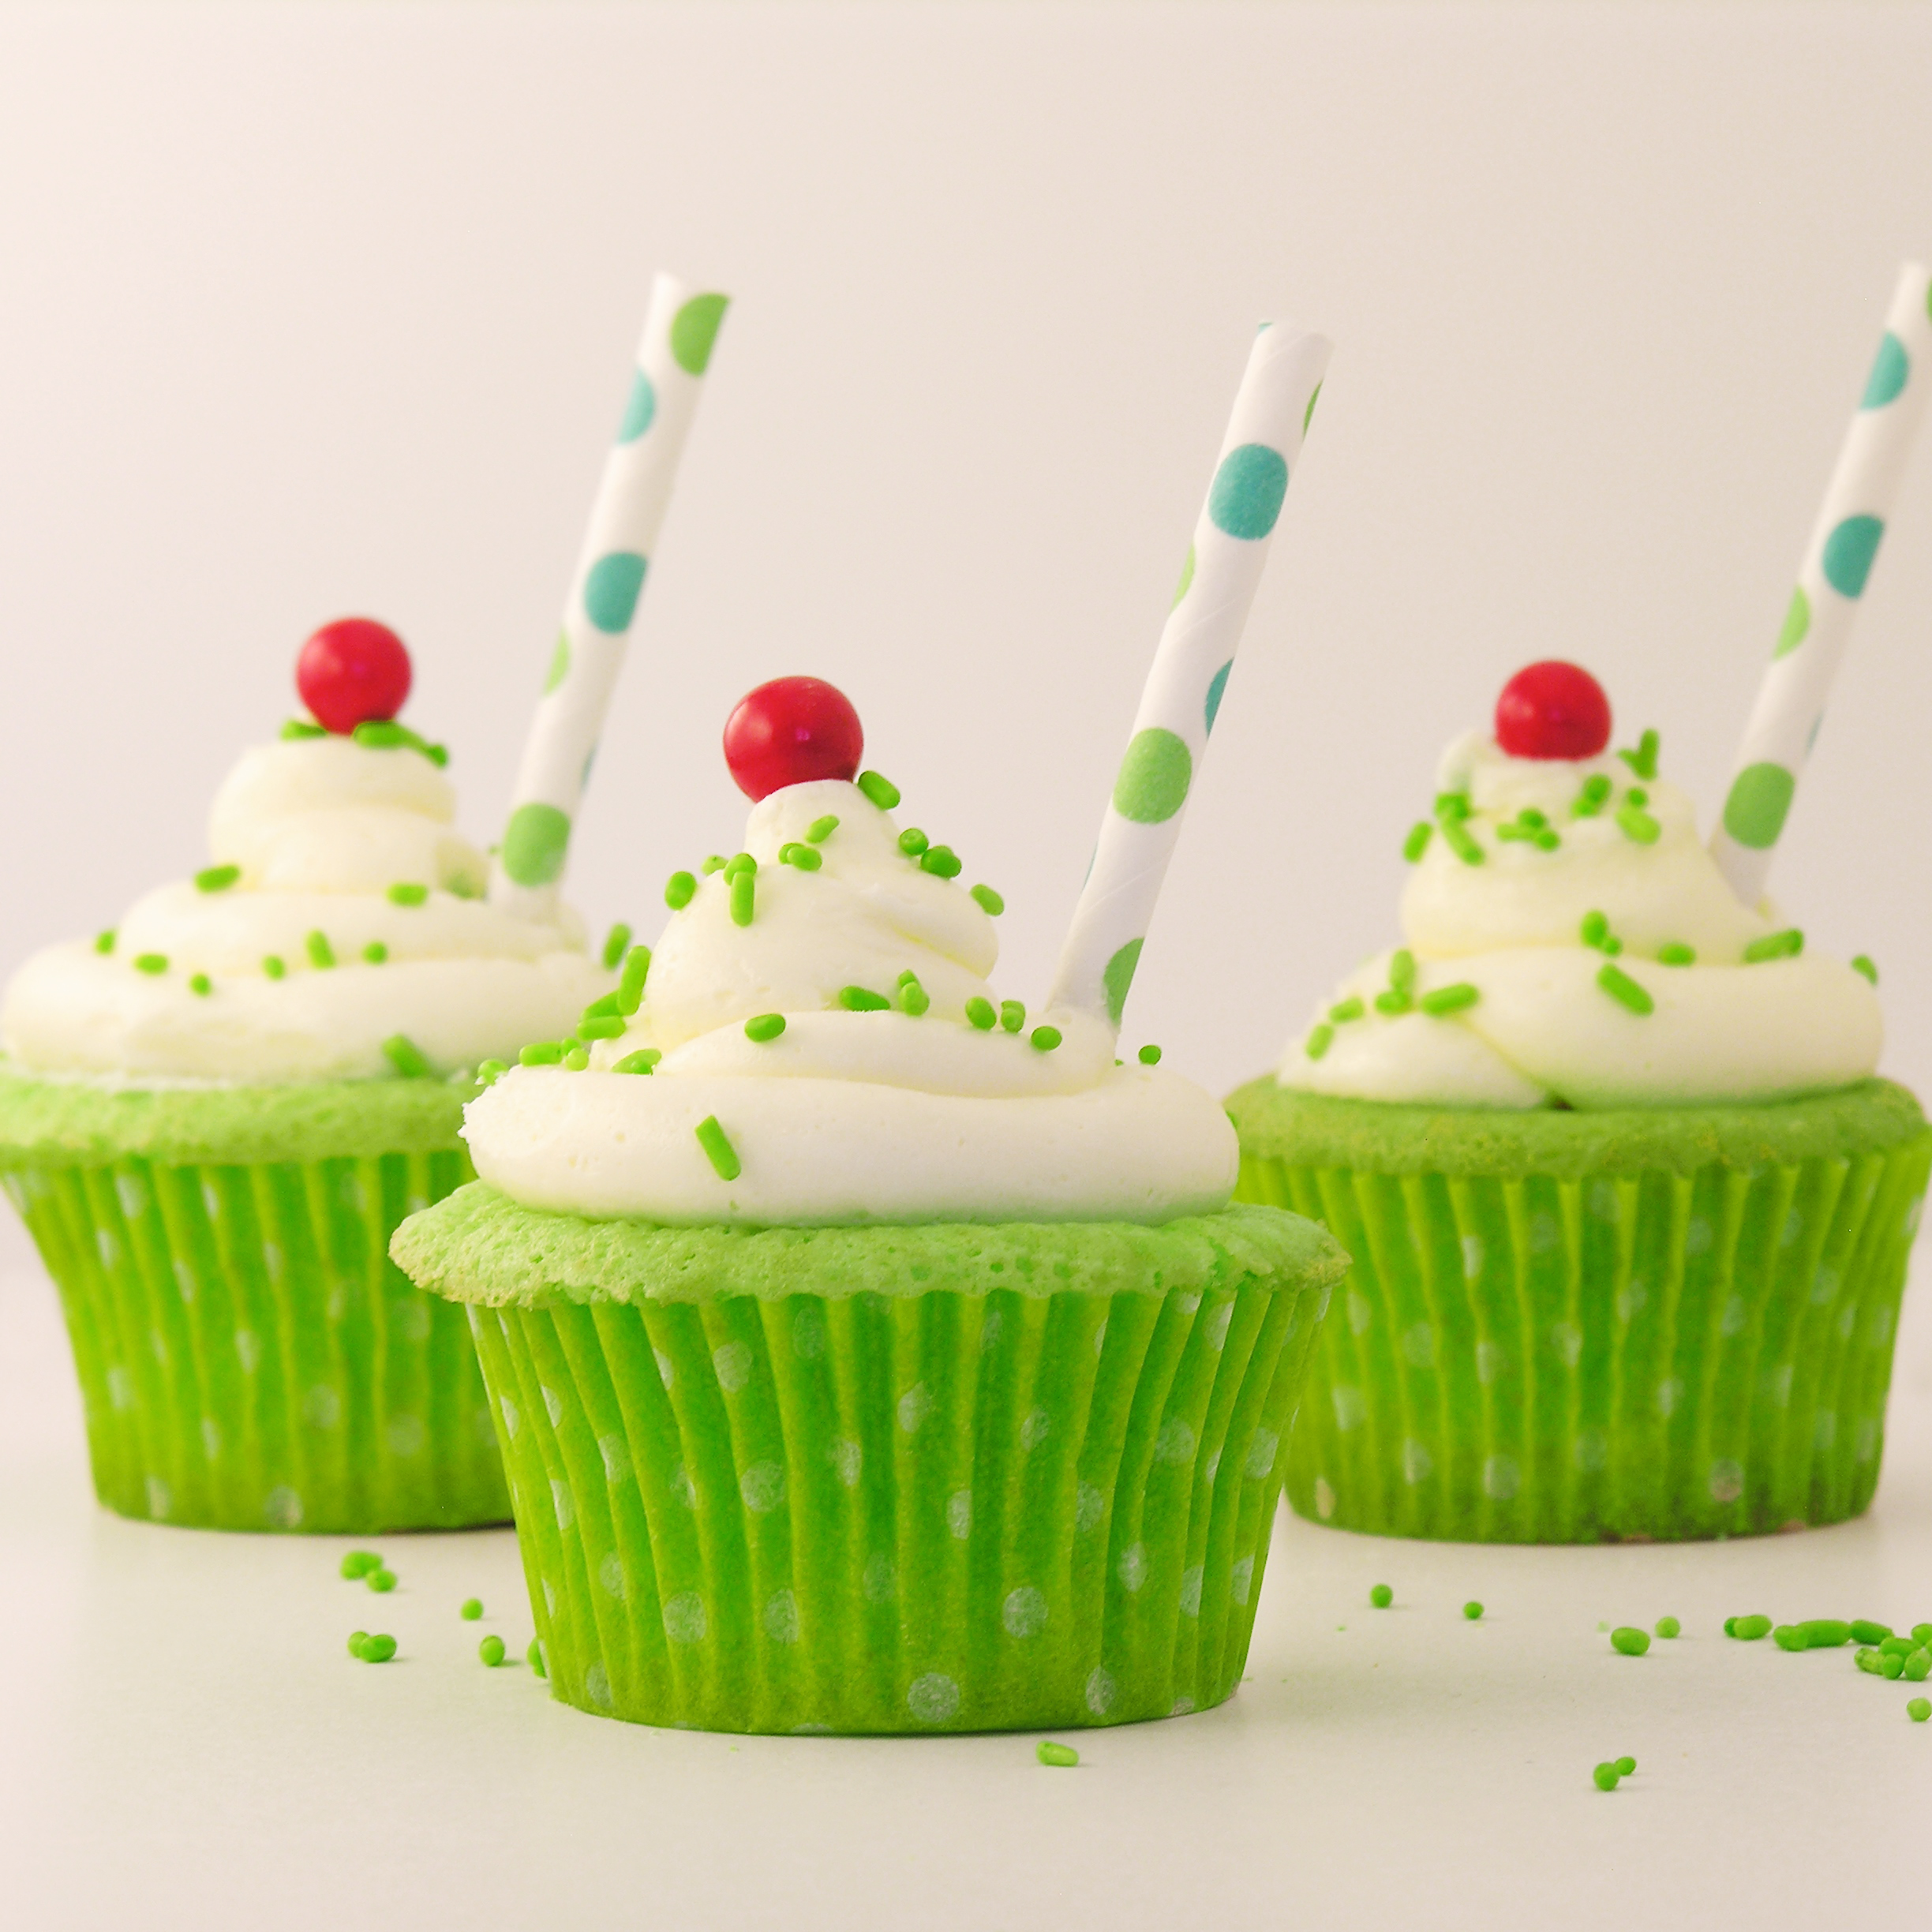
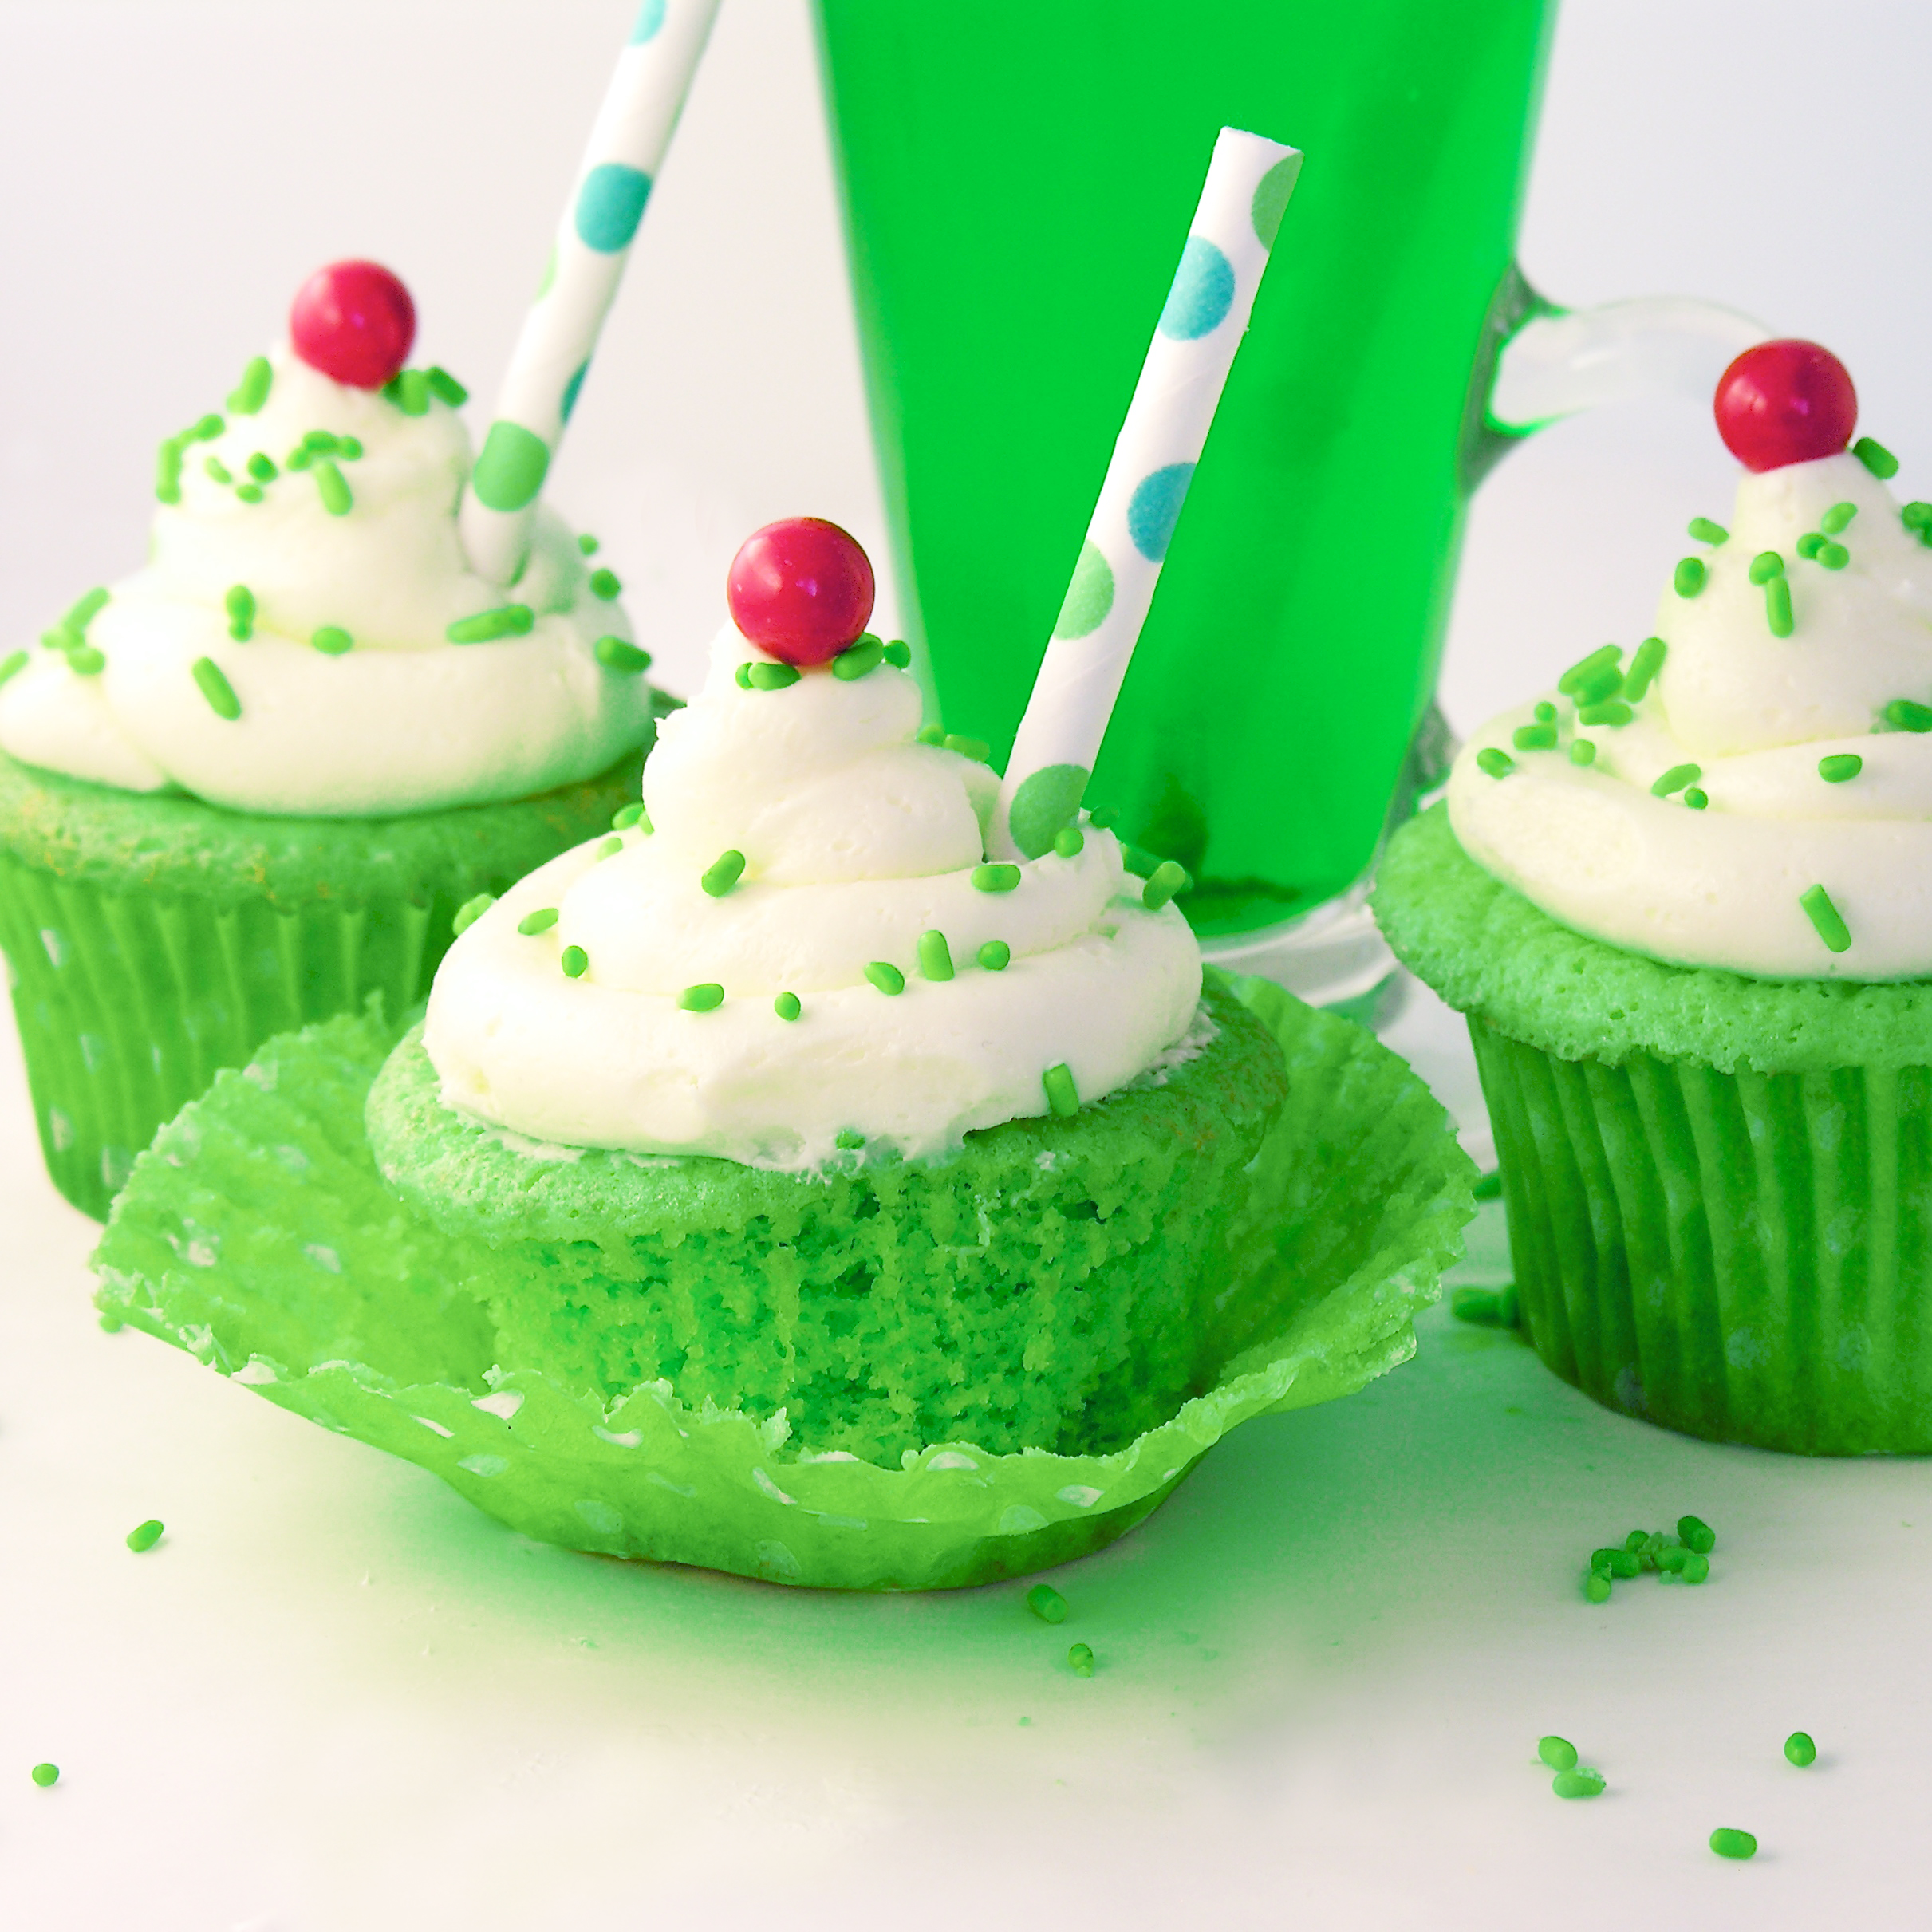
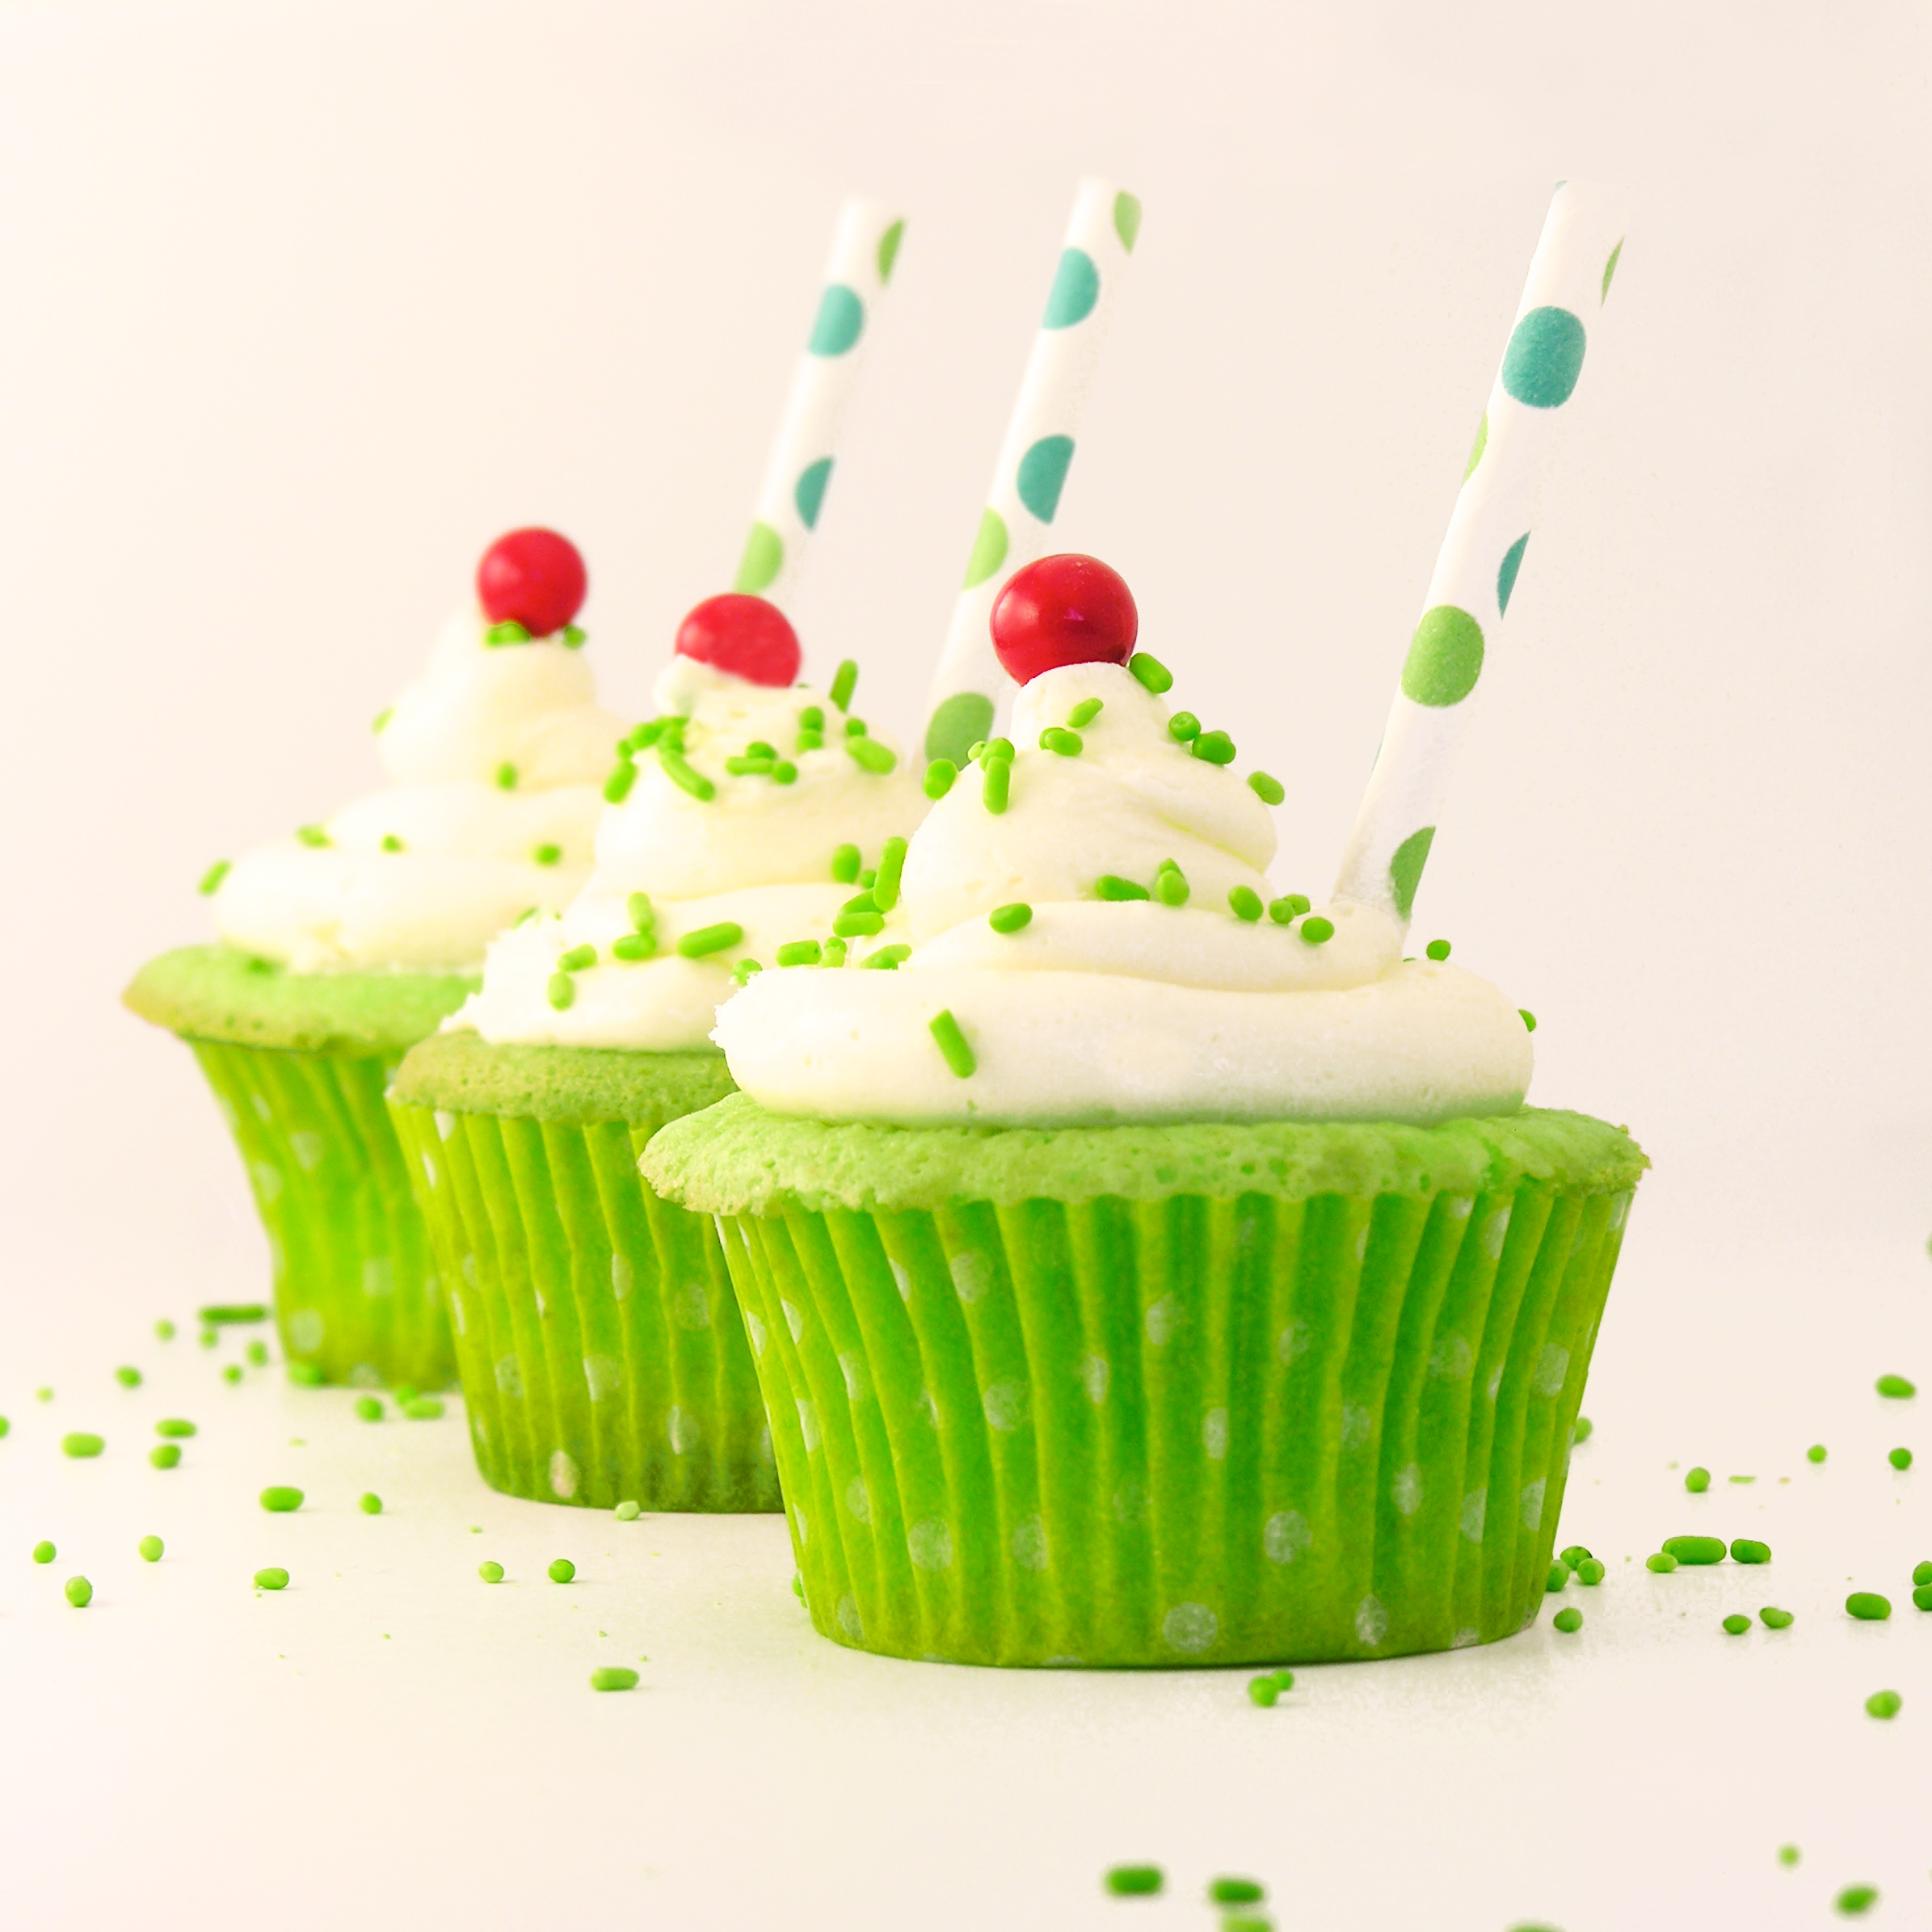
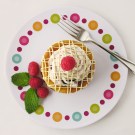
Sweet lime cupcakes topped with a swirl of marshmallow buttercream.
A perfect flavor combination!

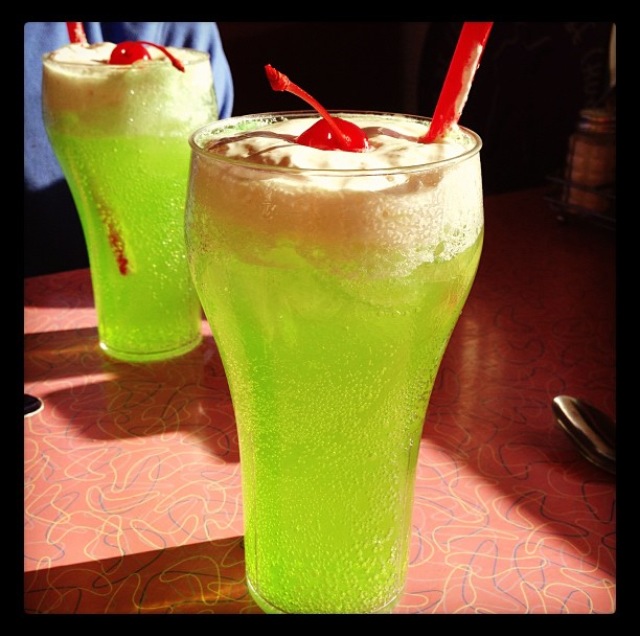
A while back, I shared with you an impossibly difficult (but amazingly yummy!) candy recipe from my friend Gail.  It was a recipe for Opera Creams passed down to her from her grandmother.  We spent the entire day together, candy making. For lunch we ran up to a little soda fountain from the 50s that is still in business. (Arnolds Drive In, for you folks that live near Indiana)  They have burgers and fries— and yummy soda fountain drinks.  Gail recommended the “Ole Green River” and I got the most wonderful lime phosphate topped with marshmallow cream.  It was beautiful and as that marshmallow dissolved into the drink…?  Unbelievably good.  Here’s my Instagram record of it:

Ole' Green River at Arnold's Drive-In
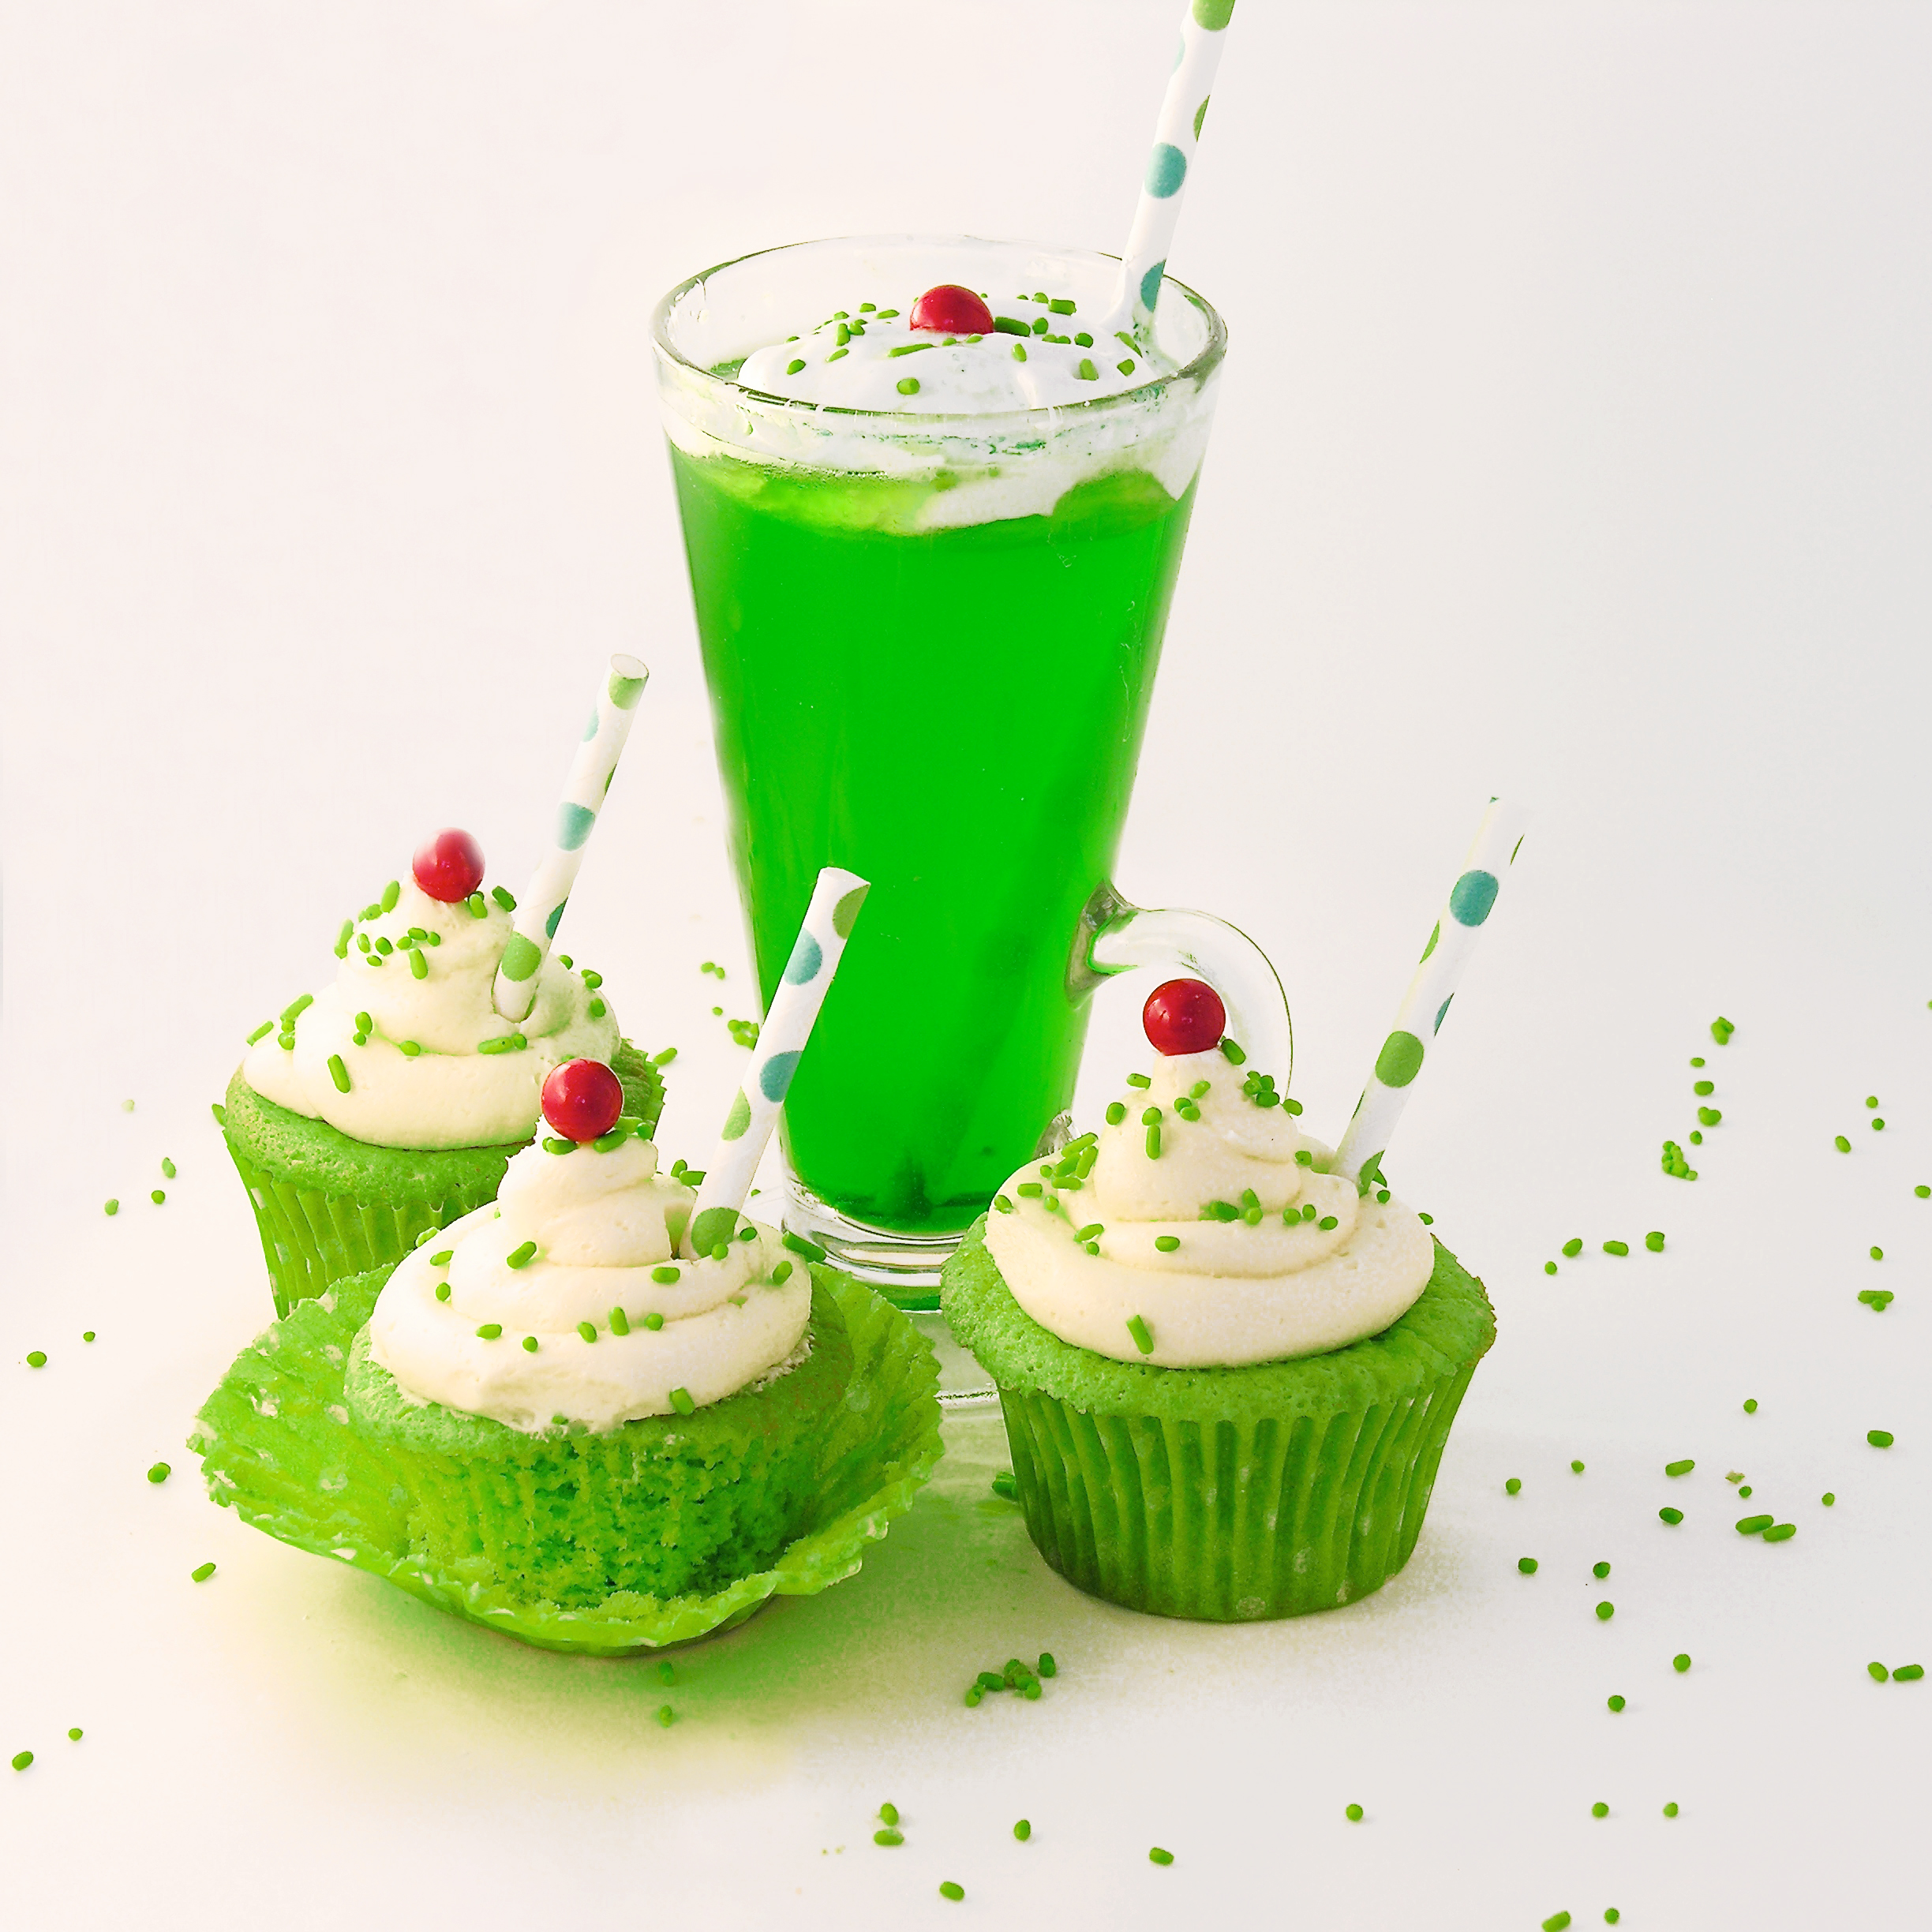
I’m not sure what brought it to mind the other day, but I decided to use those flavors to create a cupcake version of that yummy Ole Green River.  I think they turned out great.  Nice and green for St. Patricks Day!!!

Lime Soda Cupcakes!!

Here’s the recipe: (printable version)

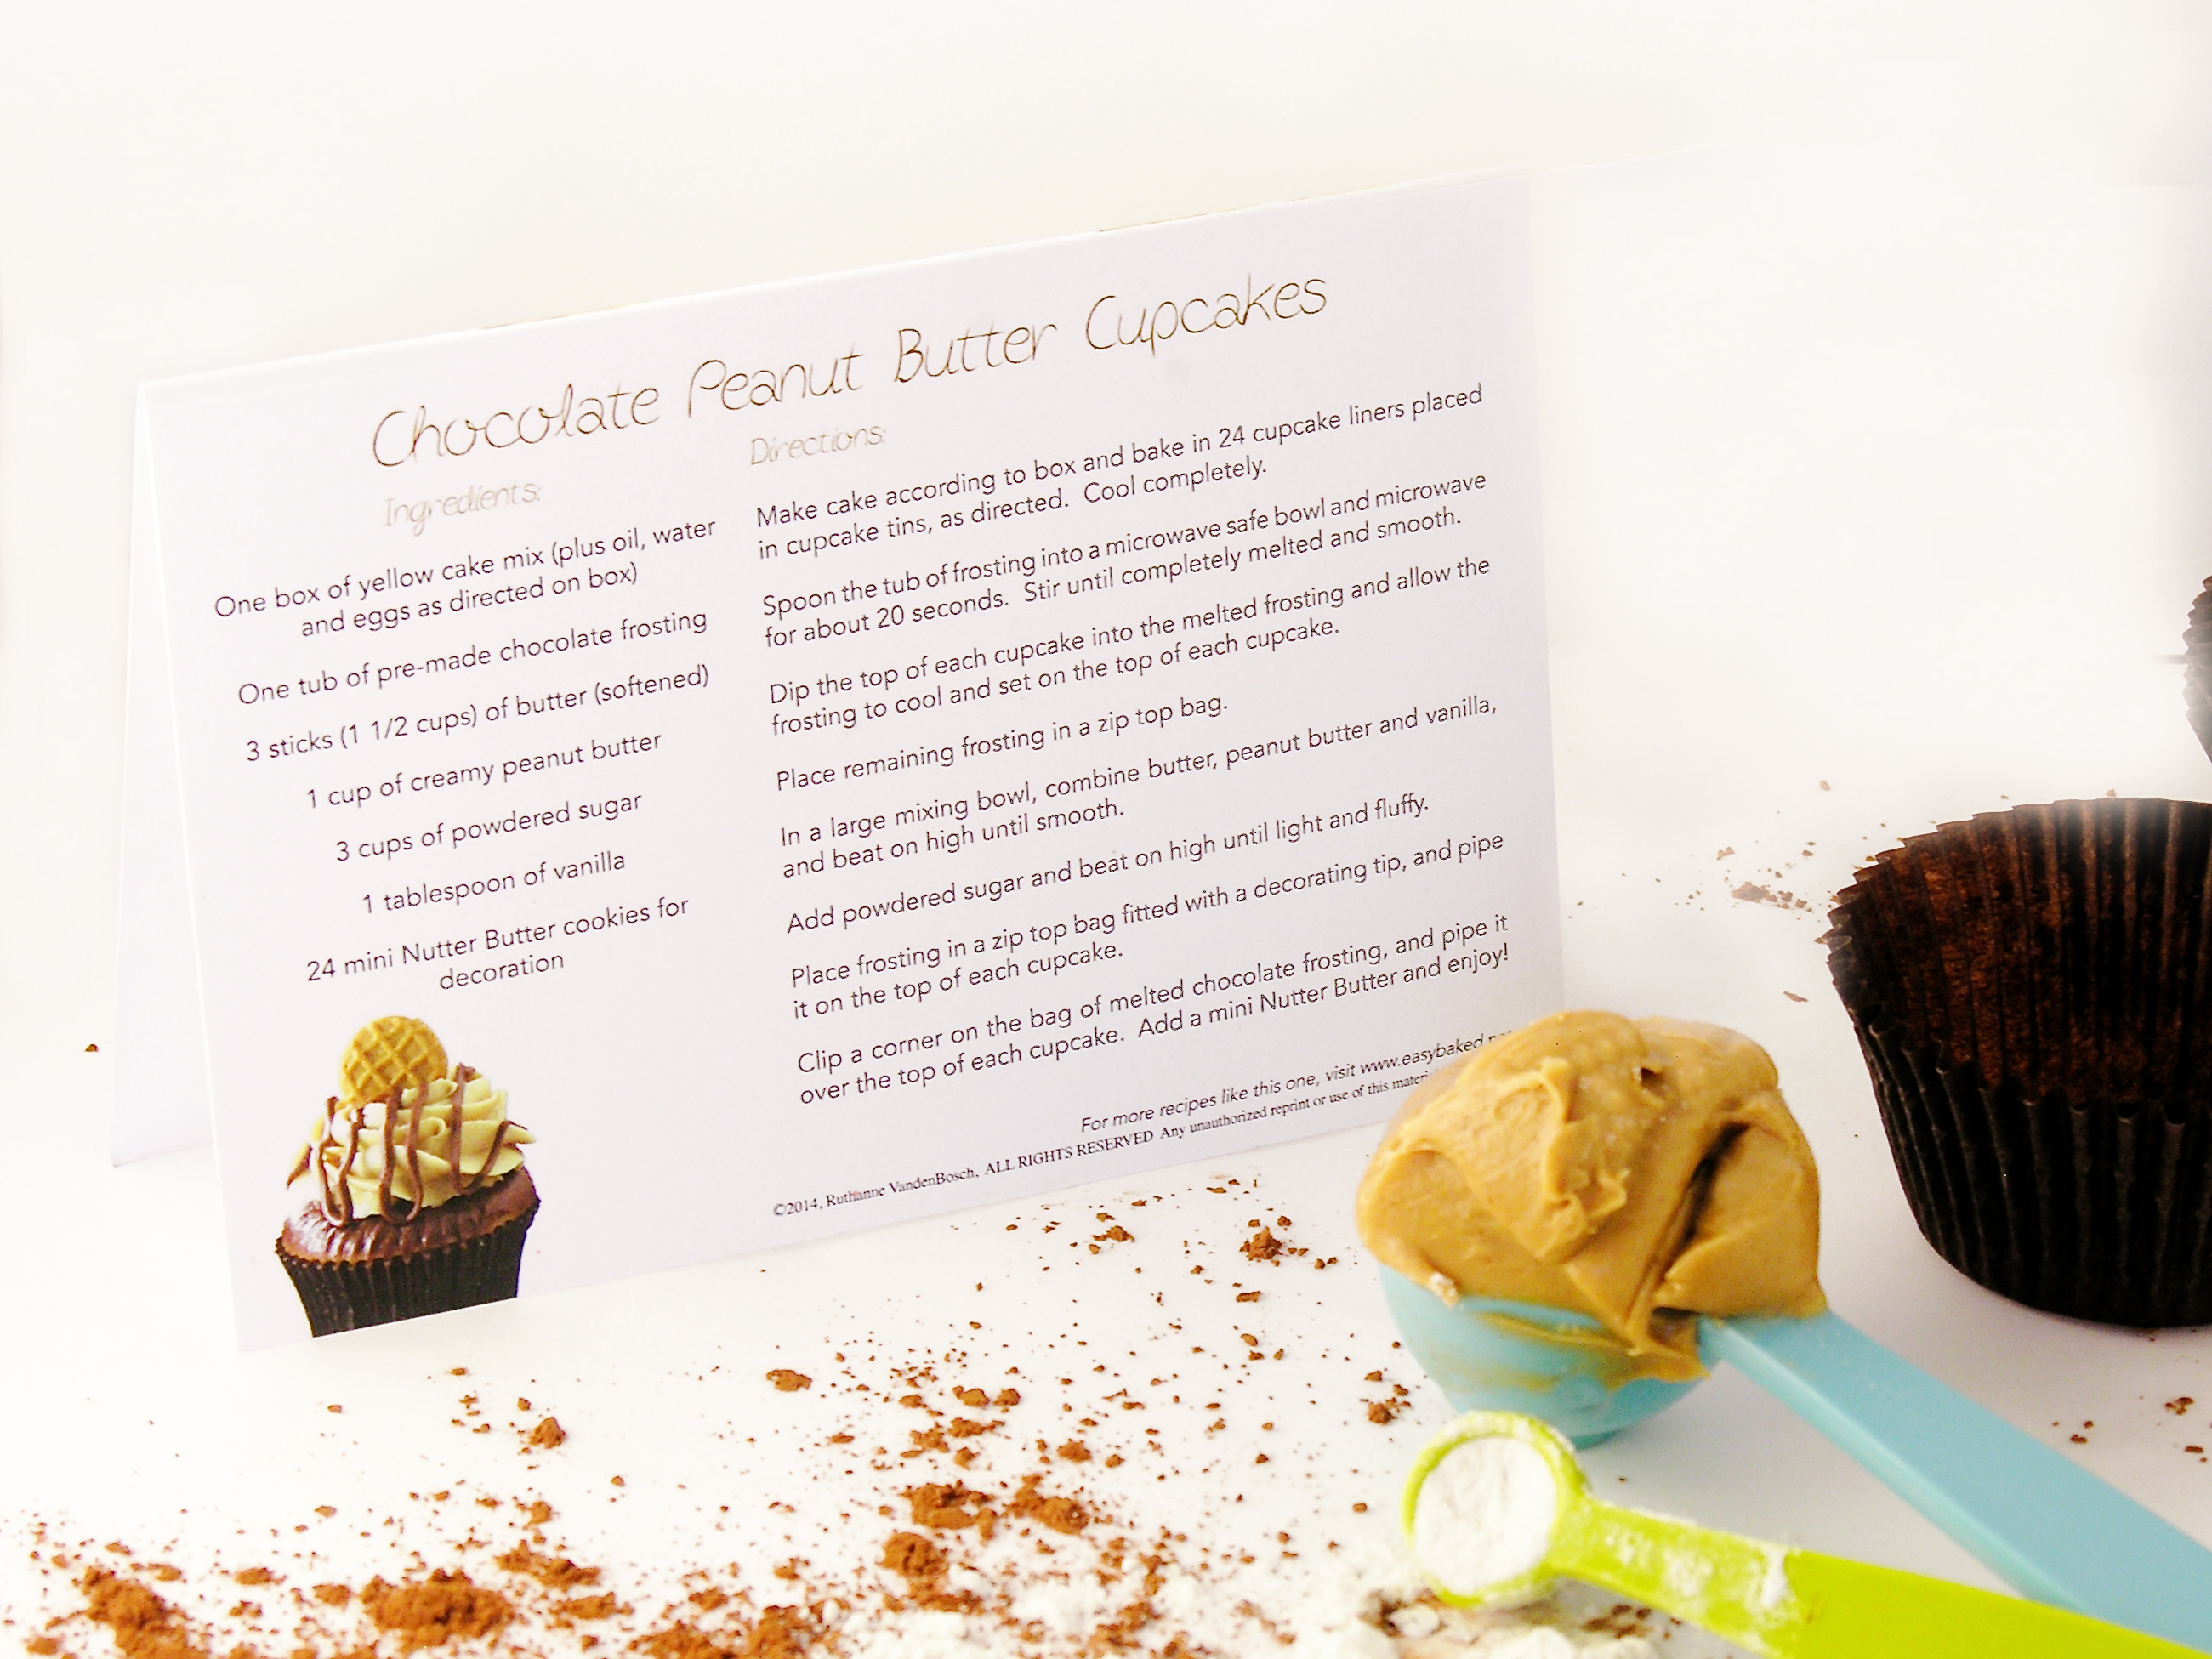
INGREDIENTS (makes 24 cupcakes)

  • One boxed white cake mix, plus oil, water and eggs to make according to box.
  • One small packet of Lime Jell-O.
  • 4 sticks of salted butter (at room temperature)
  • 2 teaspoons of clear vanilla
  • 3 cups of powdered sugar
  • 2 jars (7 oz. each) of Jet-puffed marshmallow creme
  • White food coloring (optional- only if you want that bright white marshmallow color.)
  • Sprinkles and decorations as desired.

DIRECTIONS:

  • Make cake mix according to box, but add Jell-O along with other ingredients.
  • Divide batter evenly into 24 cupcake liners in muffin tins.
  • Bake according to box, a toothpick inserted into the center of one should come out clean.
  • Allow cupcakes to cool while you prepare frosting.
  • Combine (room temperature) butter, vanilla, and powdered sugar in a large mixing bowl and beat on low until combined.
  • Beat on high for several minutes until light and fluffy.
  • (optional) add white food coloring at this point, to whiten up all that butter- I did not have any, so you can see my icing is more of an ivory color.
  • Add marshmallow creme to frosting and beat until completely incorporated.
  • Spoon frosting into a large zip top bag that has been fitted with a decorating tip, and pipe frosting over cupcakes.
  • Decorate as desired (paper straws are fun!!!!!!)
  • Enjoy!

Lime Soda Cupcakes!!!!
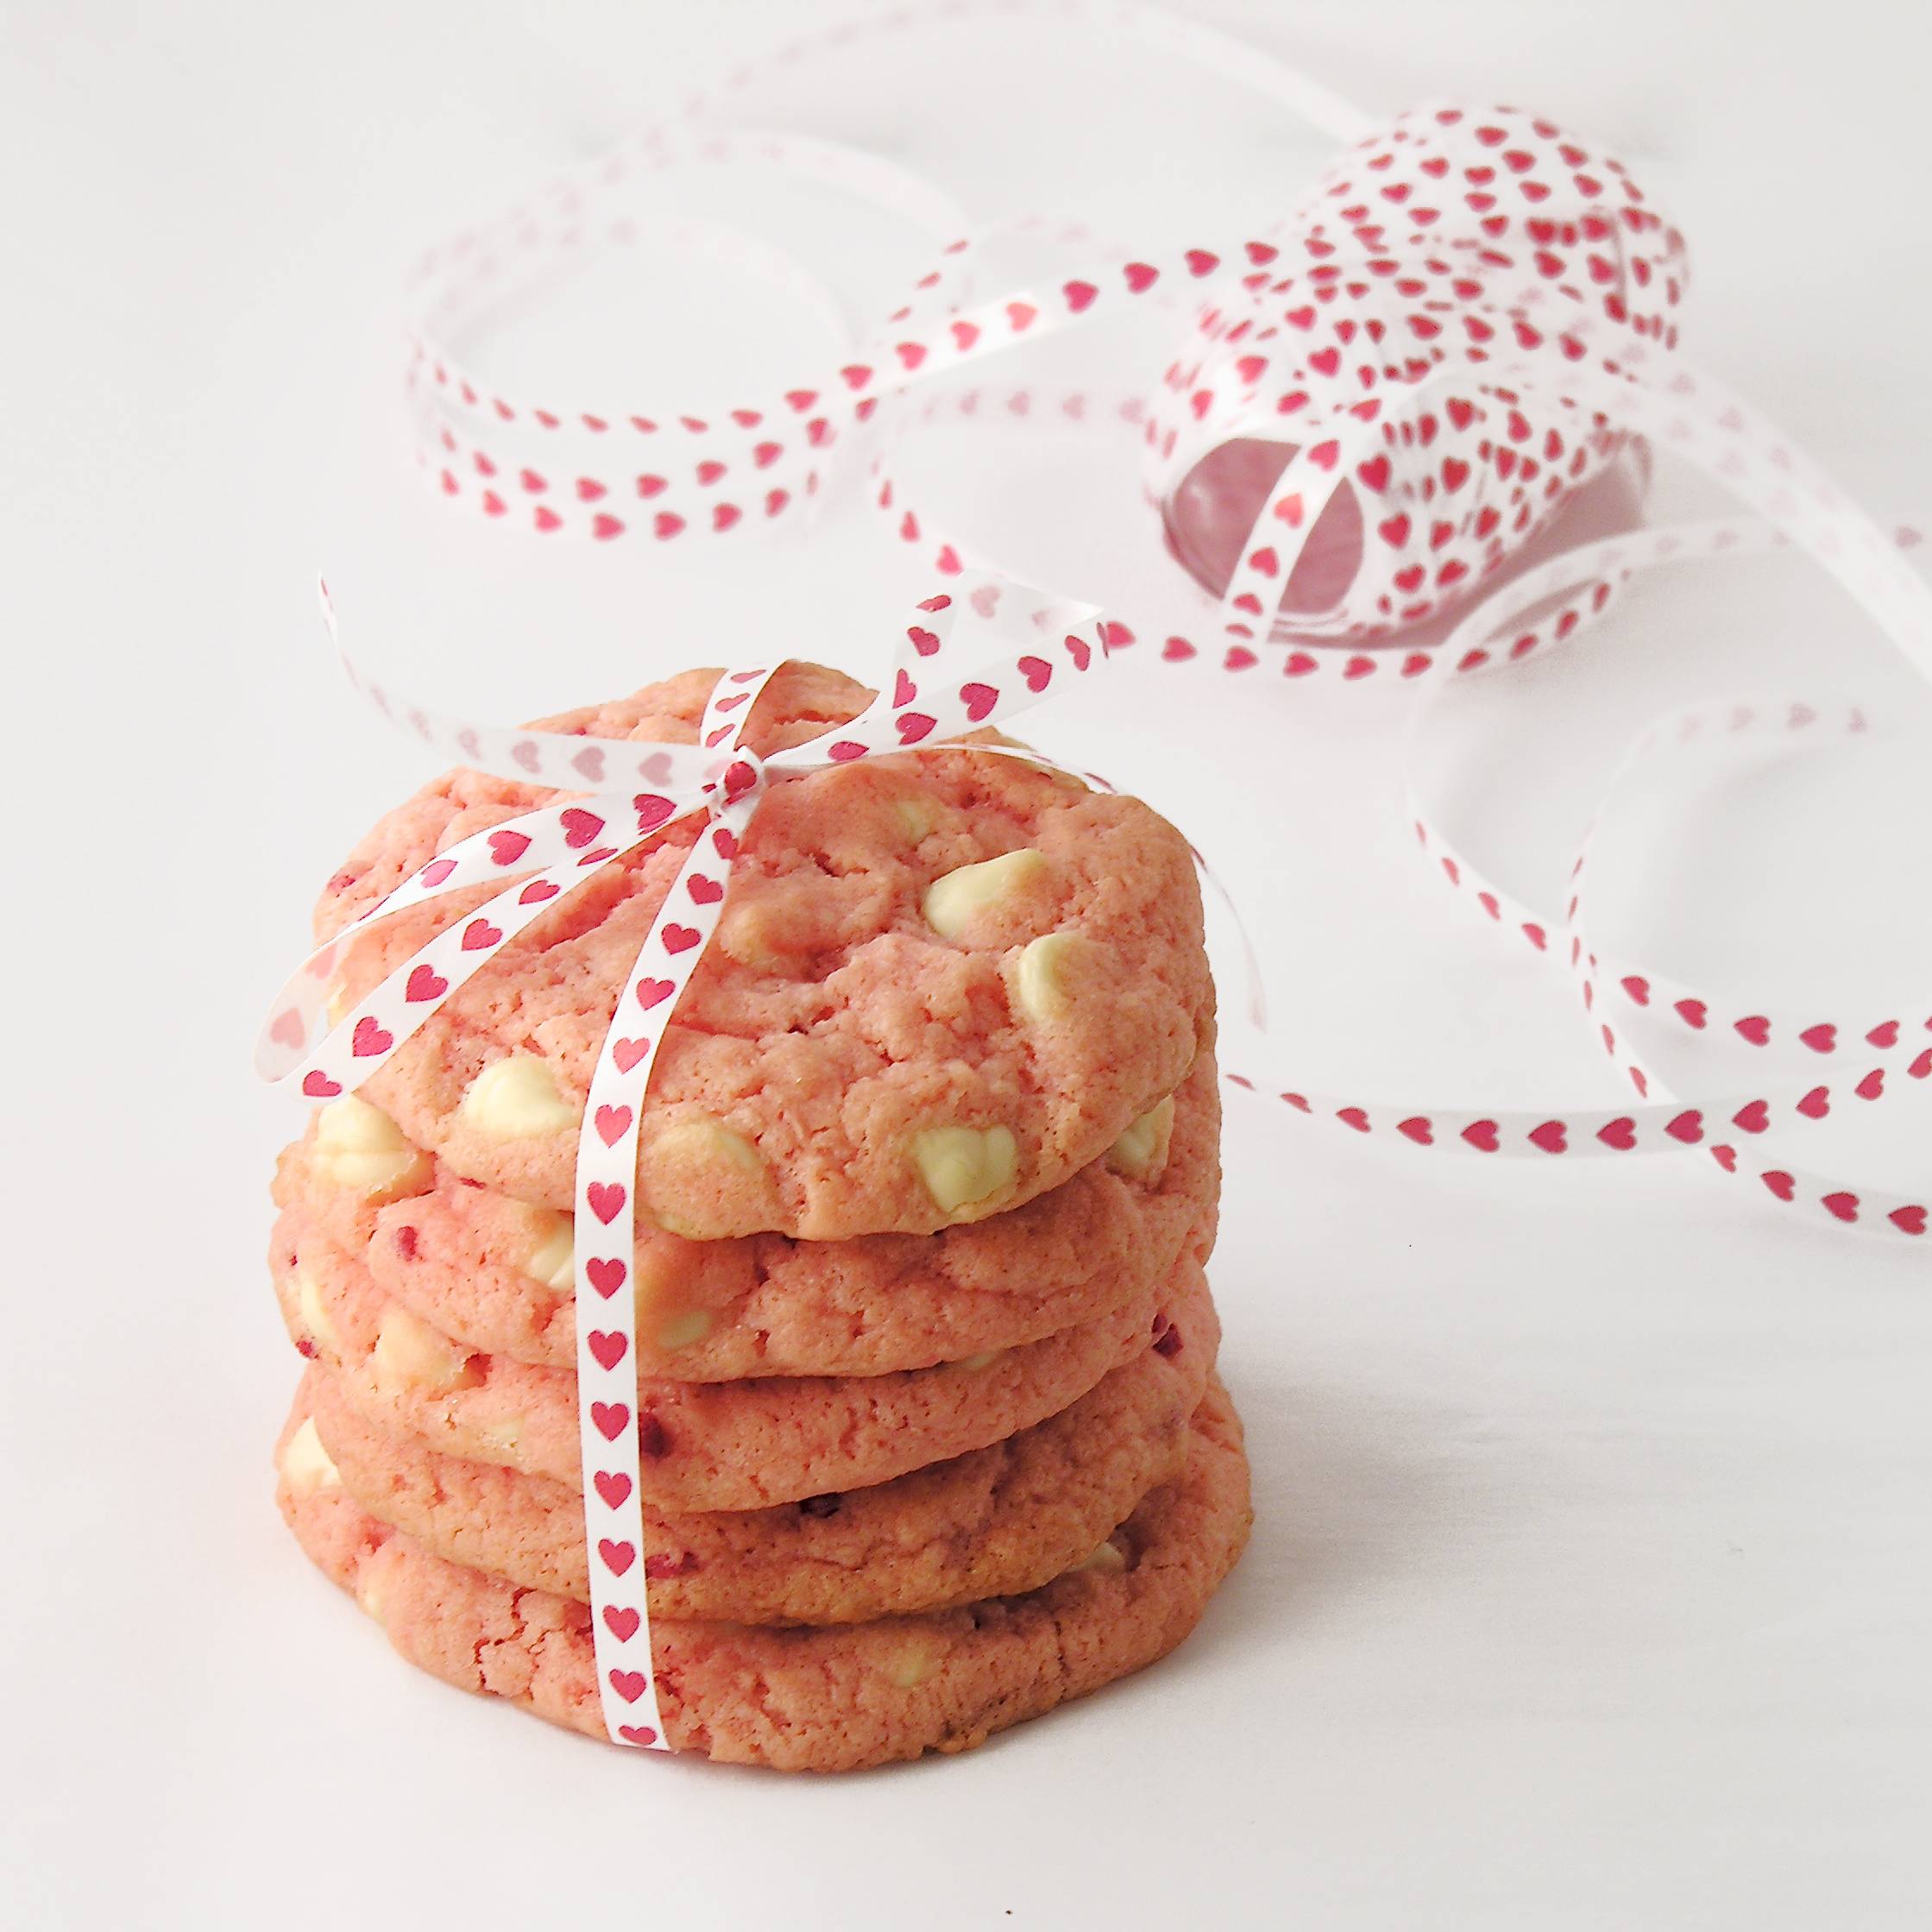
My thoughts: I really loved these flavors together.  Marshmallow and lime.  So yummy.  The cupcakes are very moist because of the Jell-O, so take care unwrapping them, they are a little more likely to fall apart than other cupcakes.  I experimented with the marshmallow butter cream, just adding the fluff to my usual buttercream recipe, and I thought it was fabulous.  The marshmallow flavor was not lost!  I hope you enjoy these little treats, and if you’re ever near a soda shop that has lime phosphates on the menu, ask for one with marshmallow cream on the top!  Enjoy!  ~r

Lime Soda Cupcakes!!
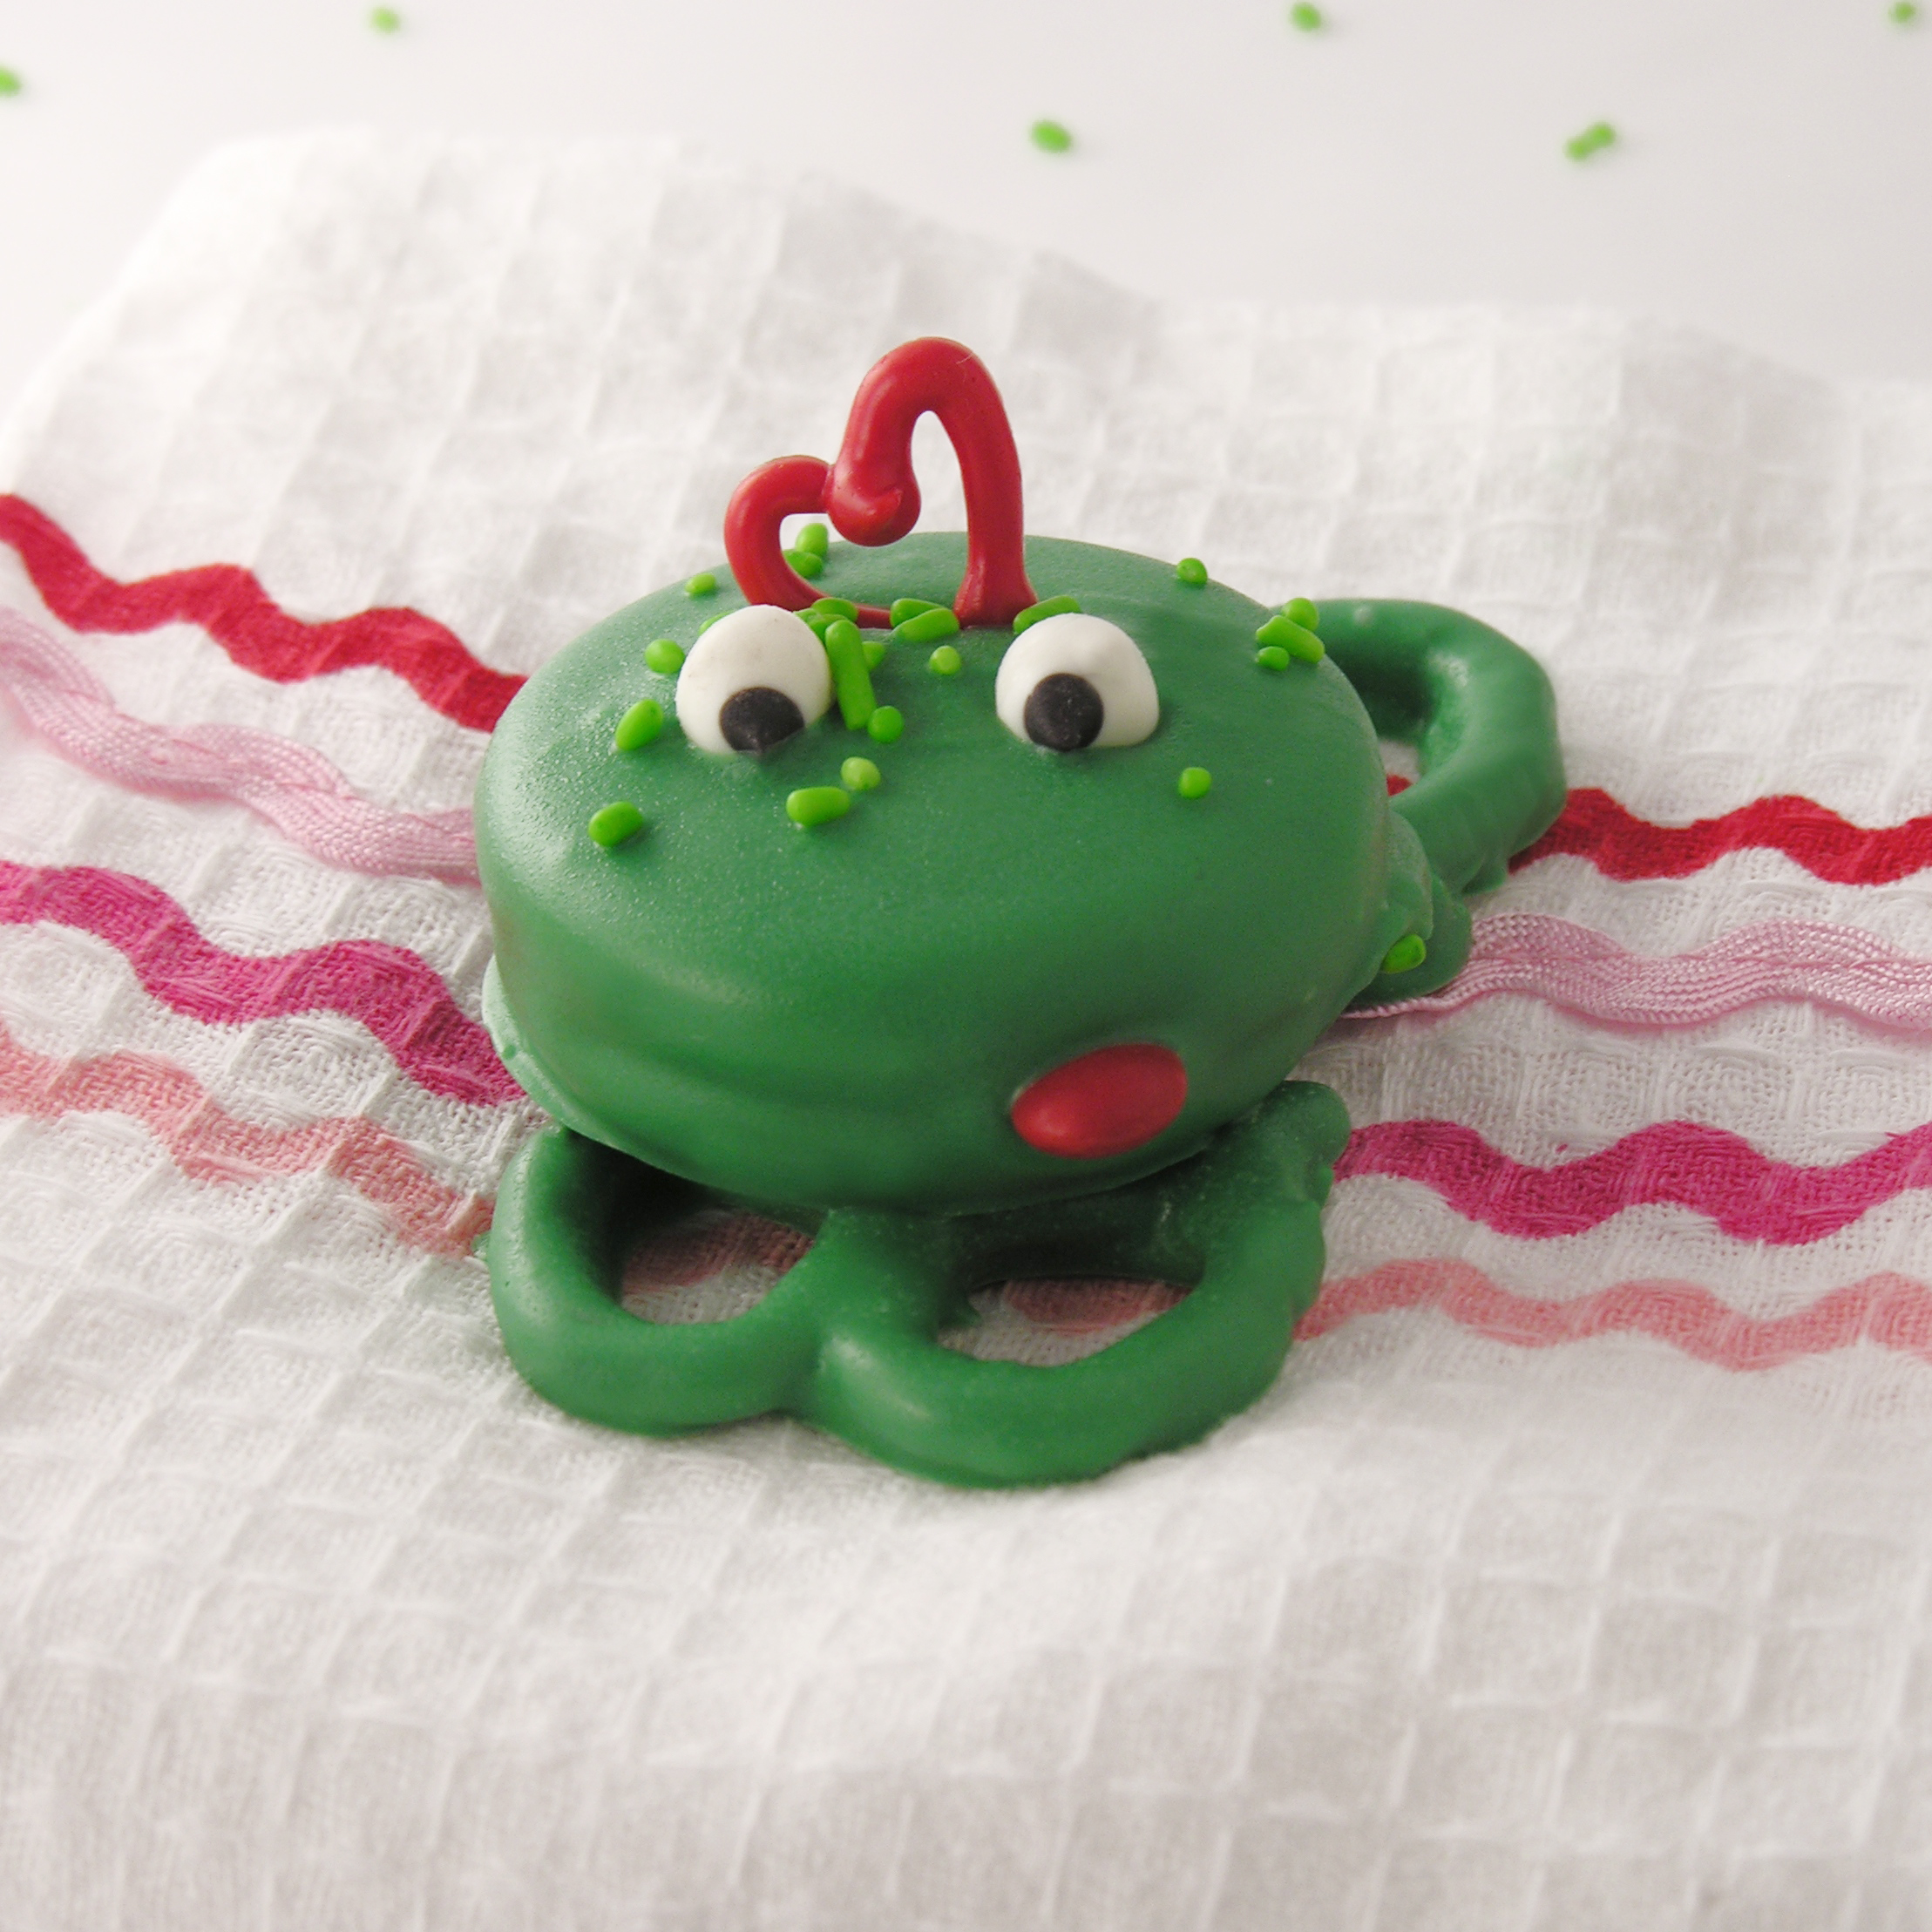
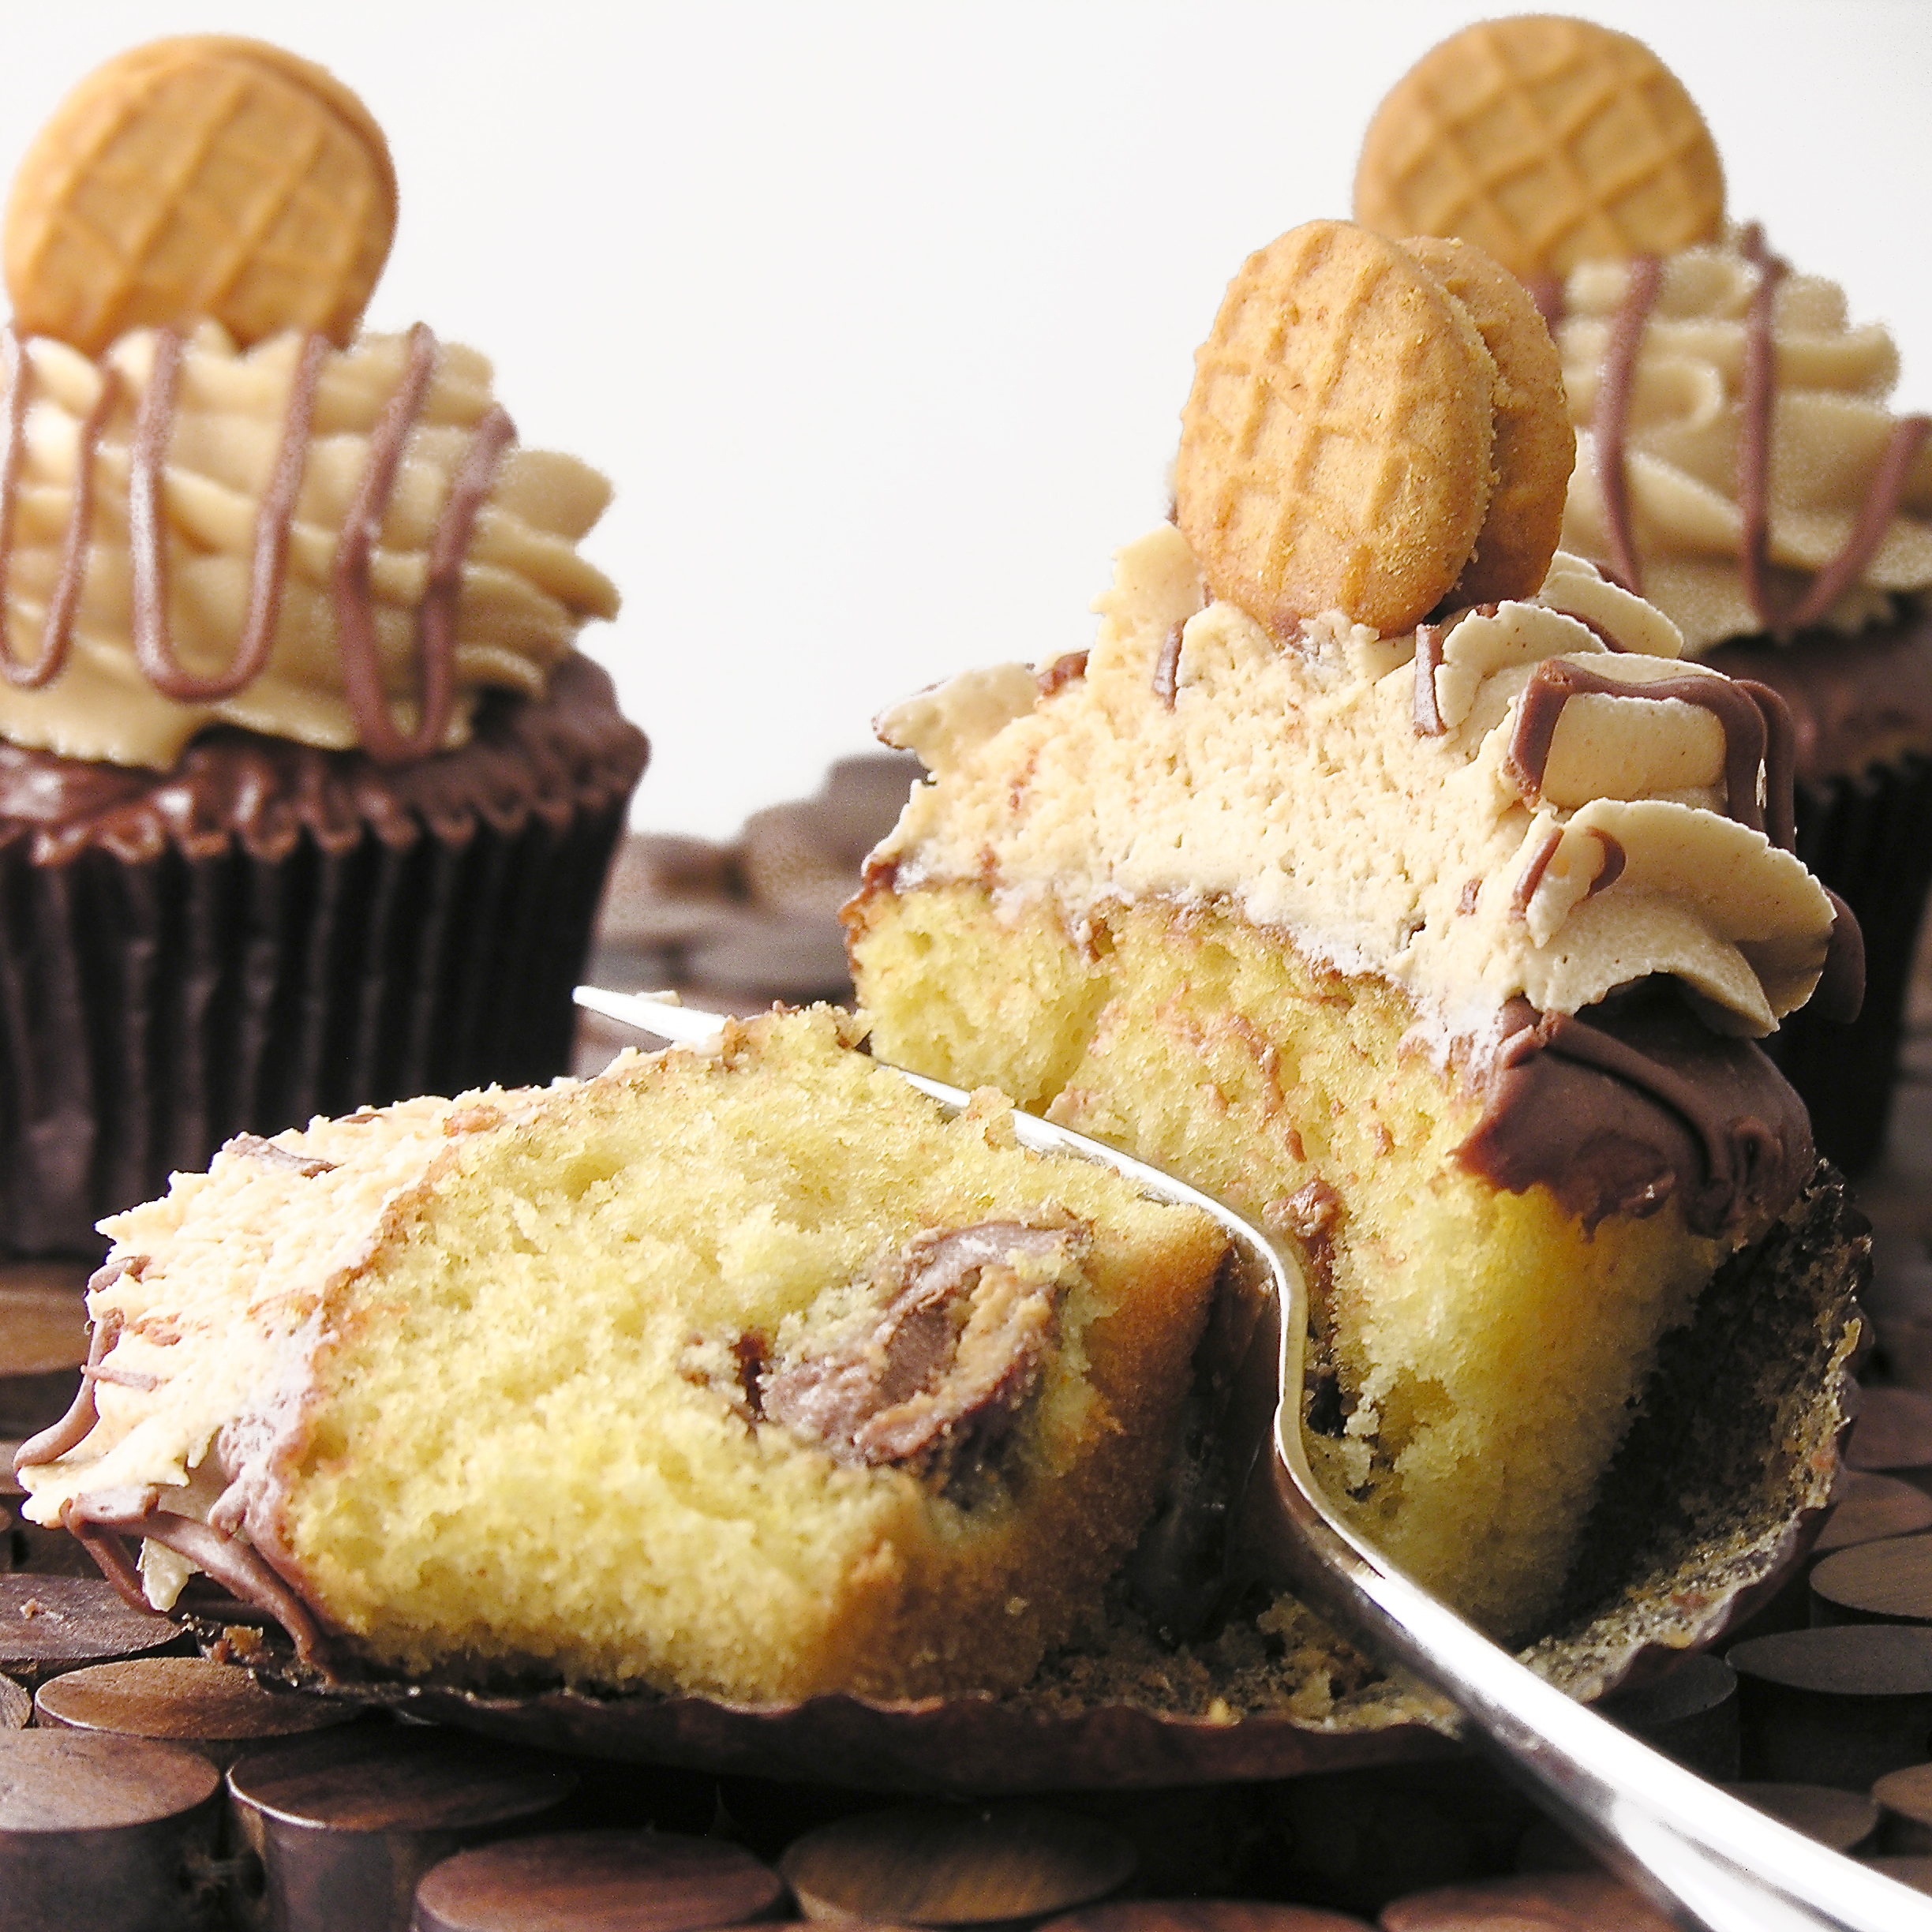
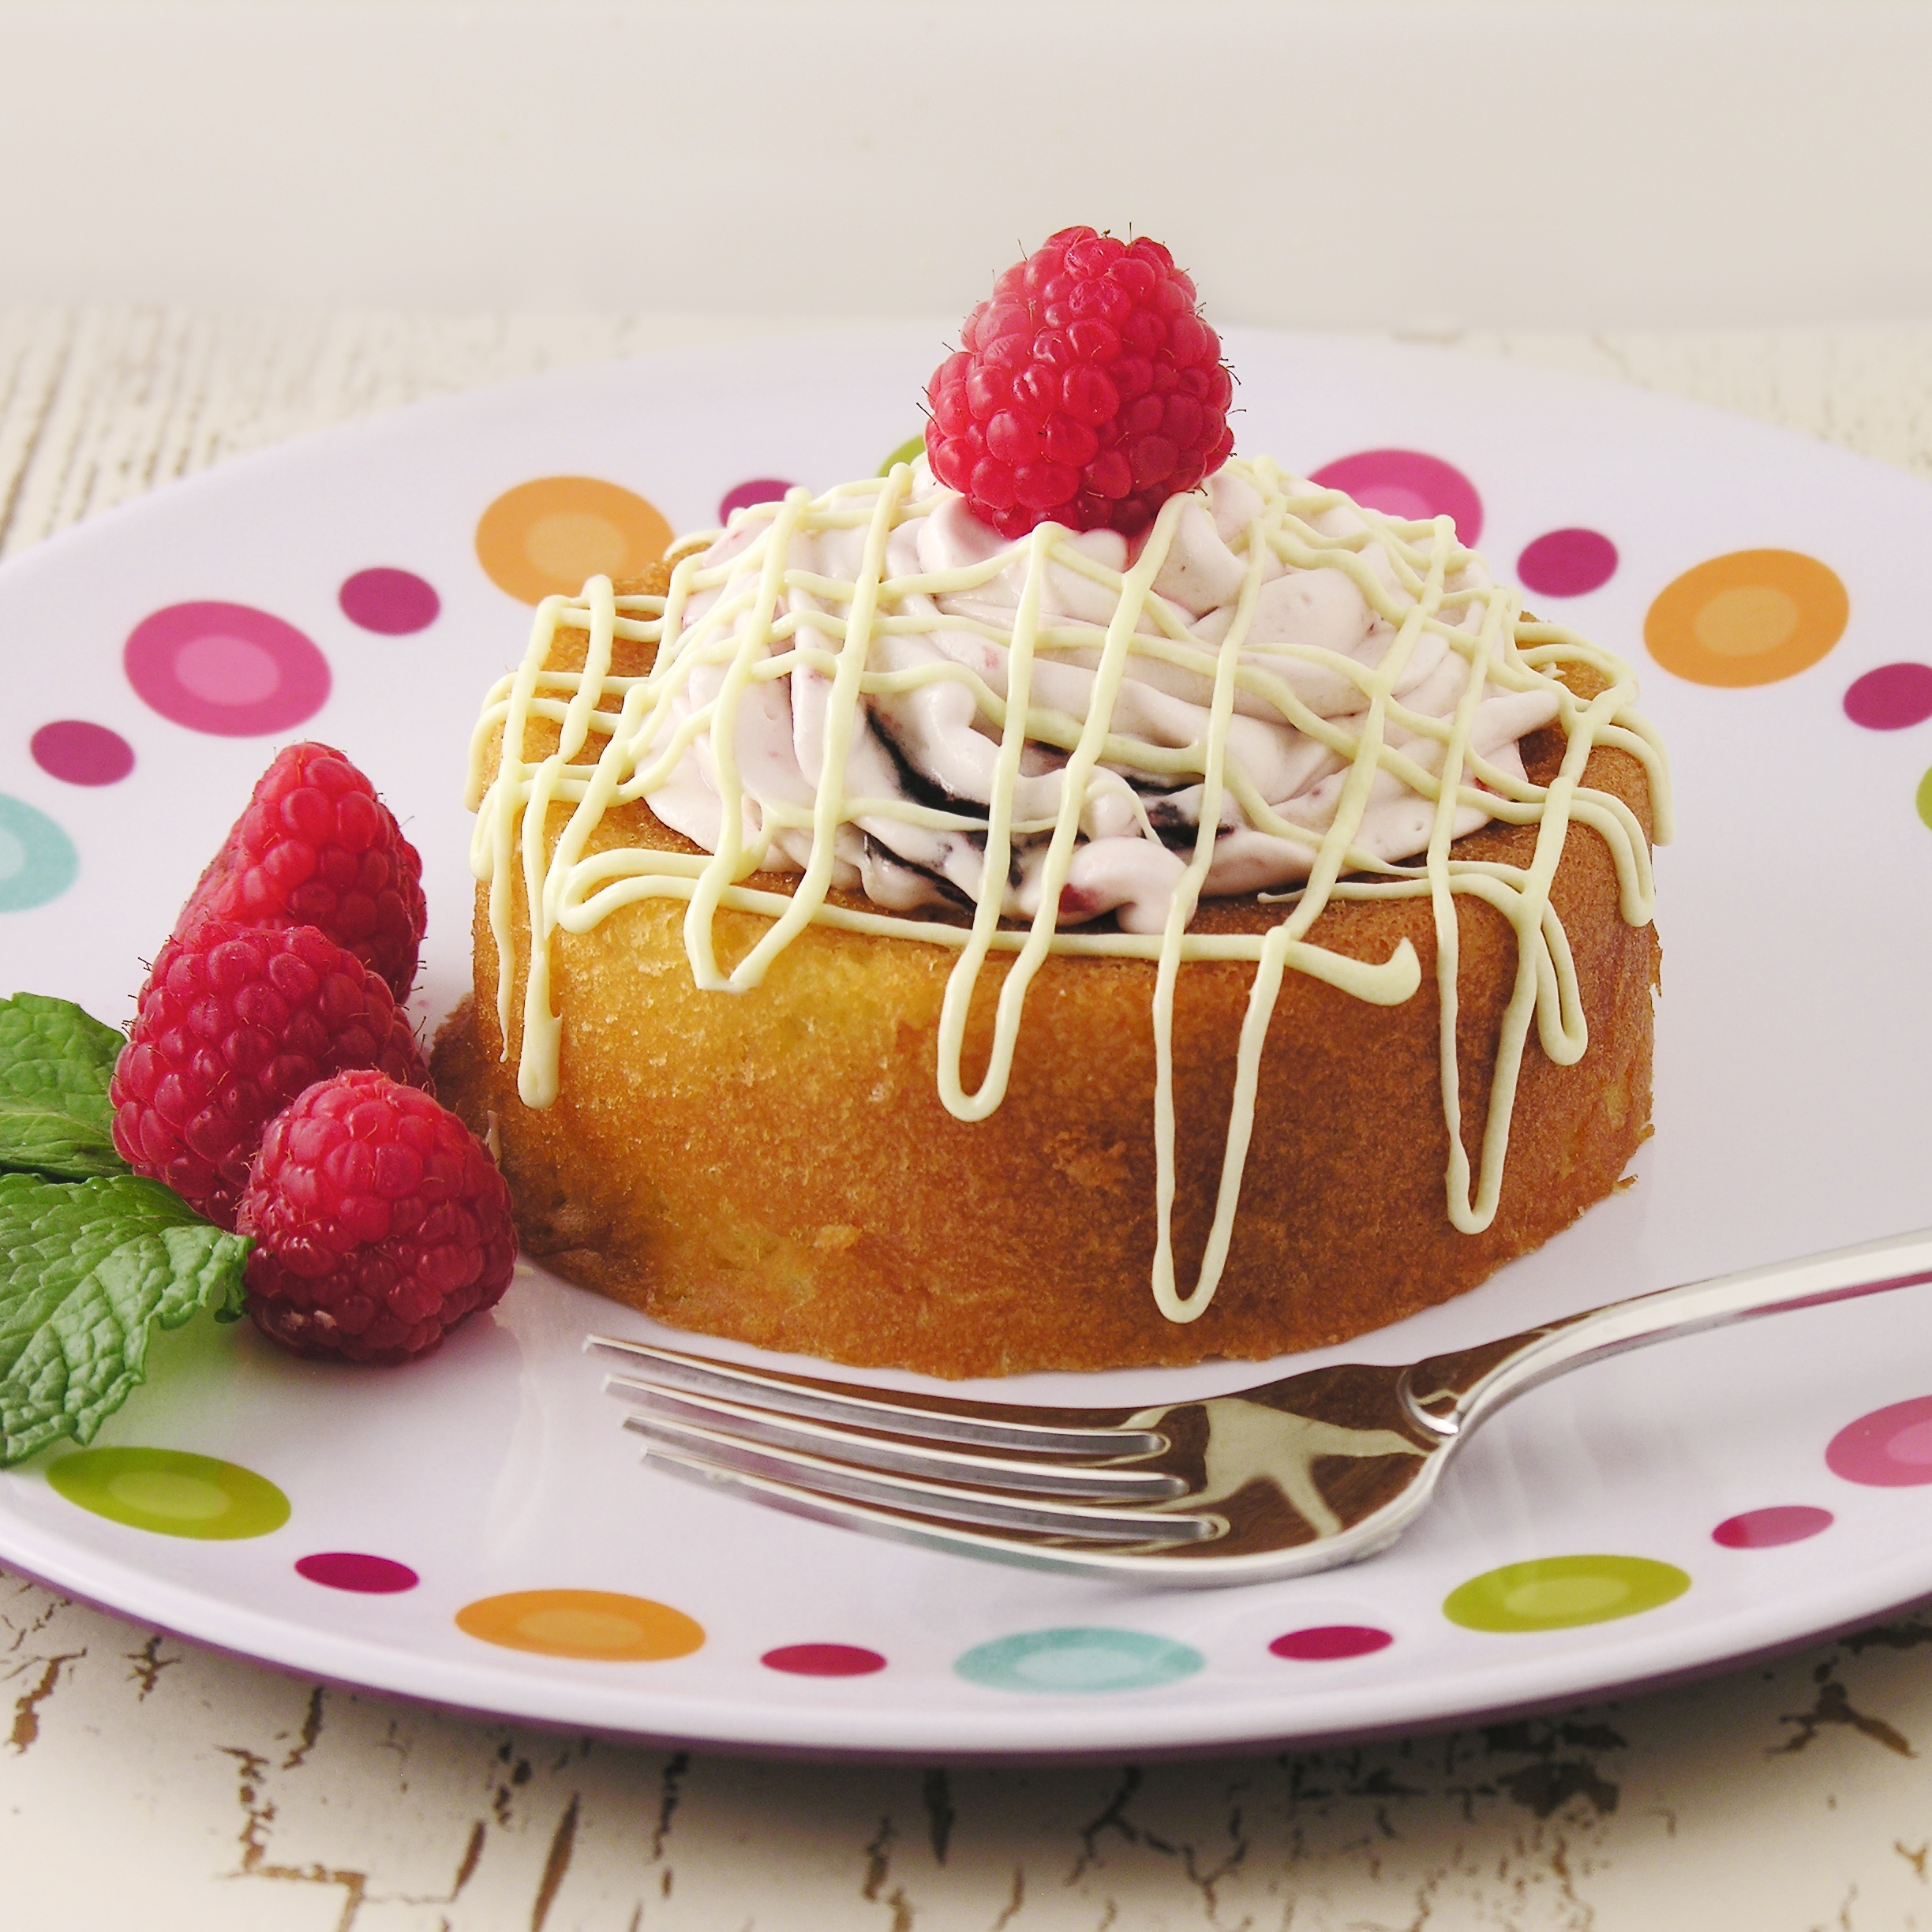
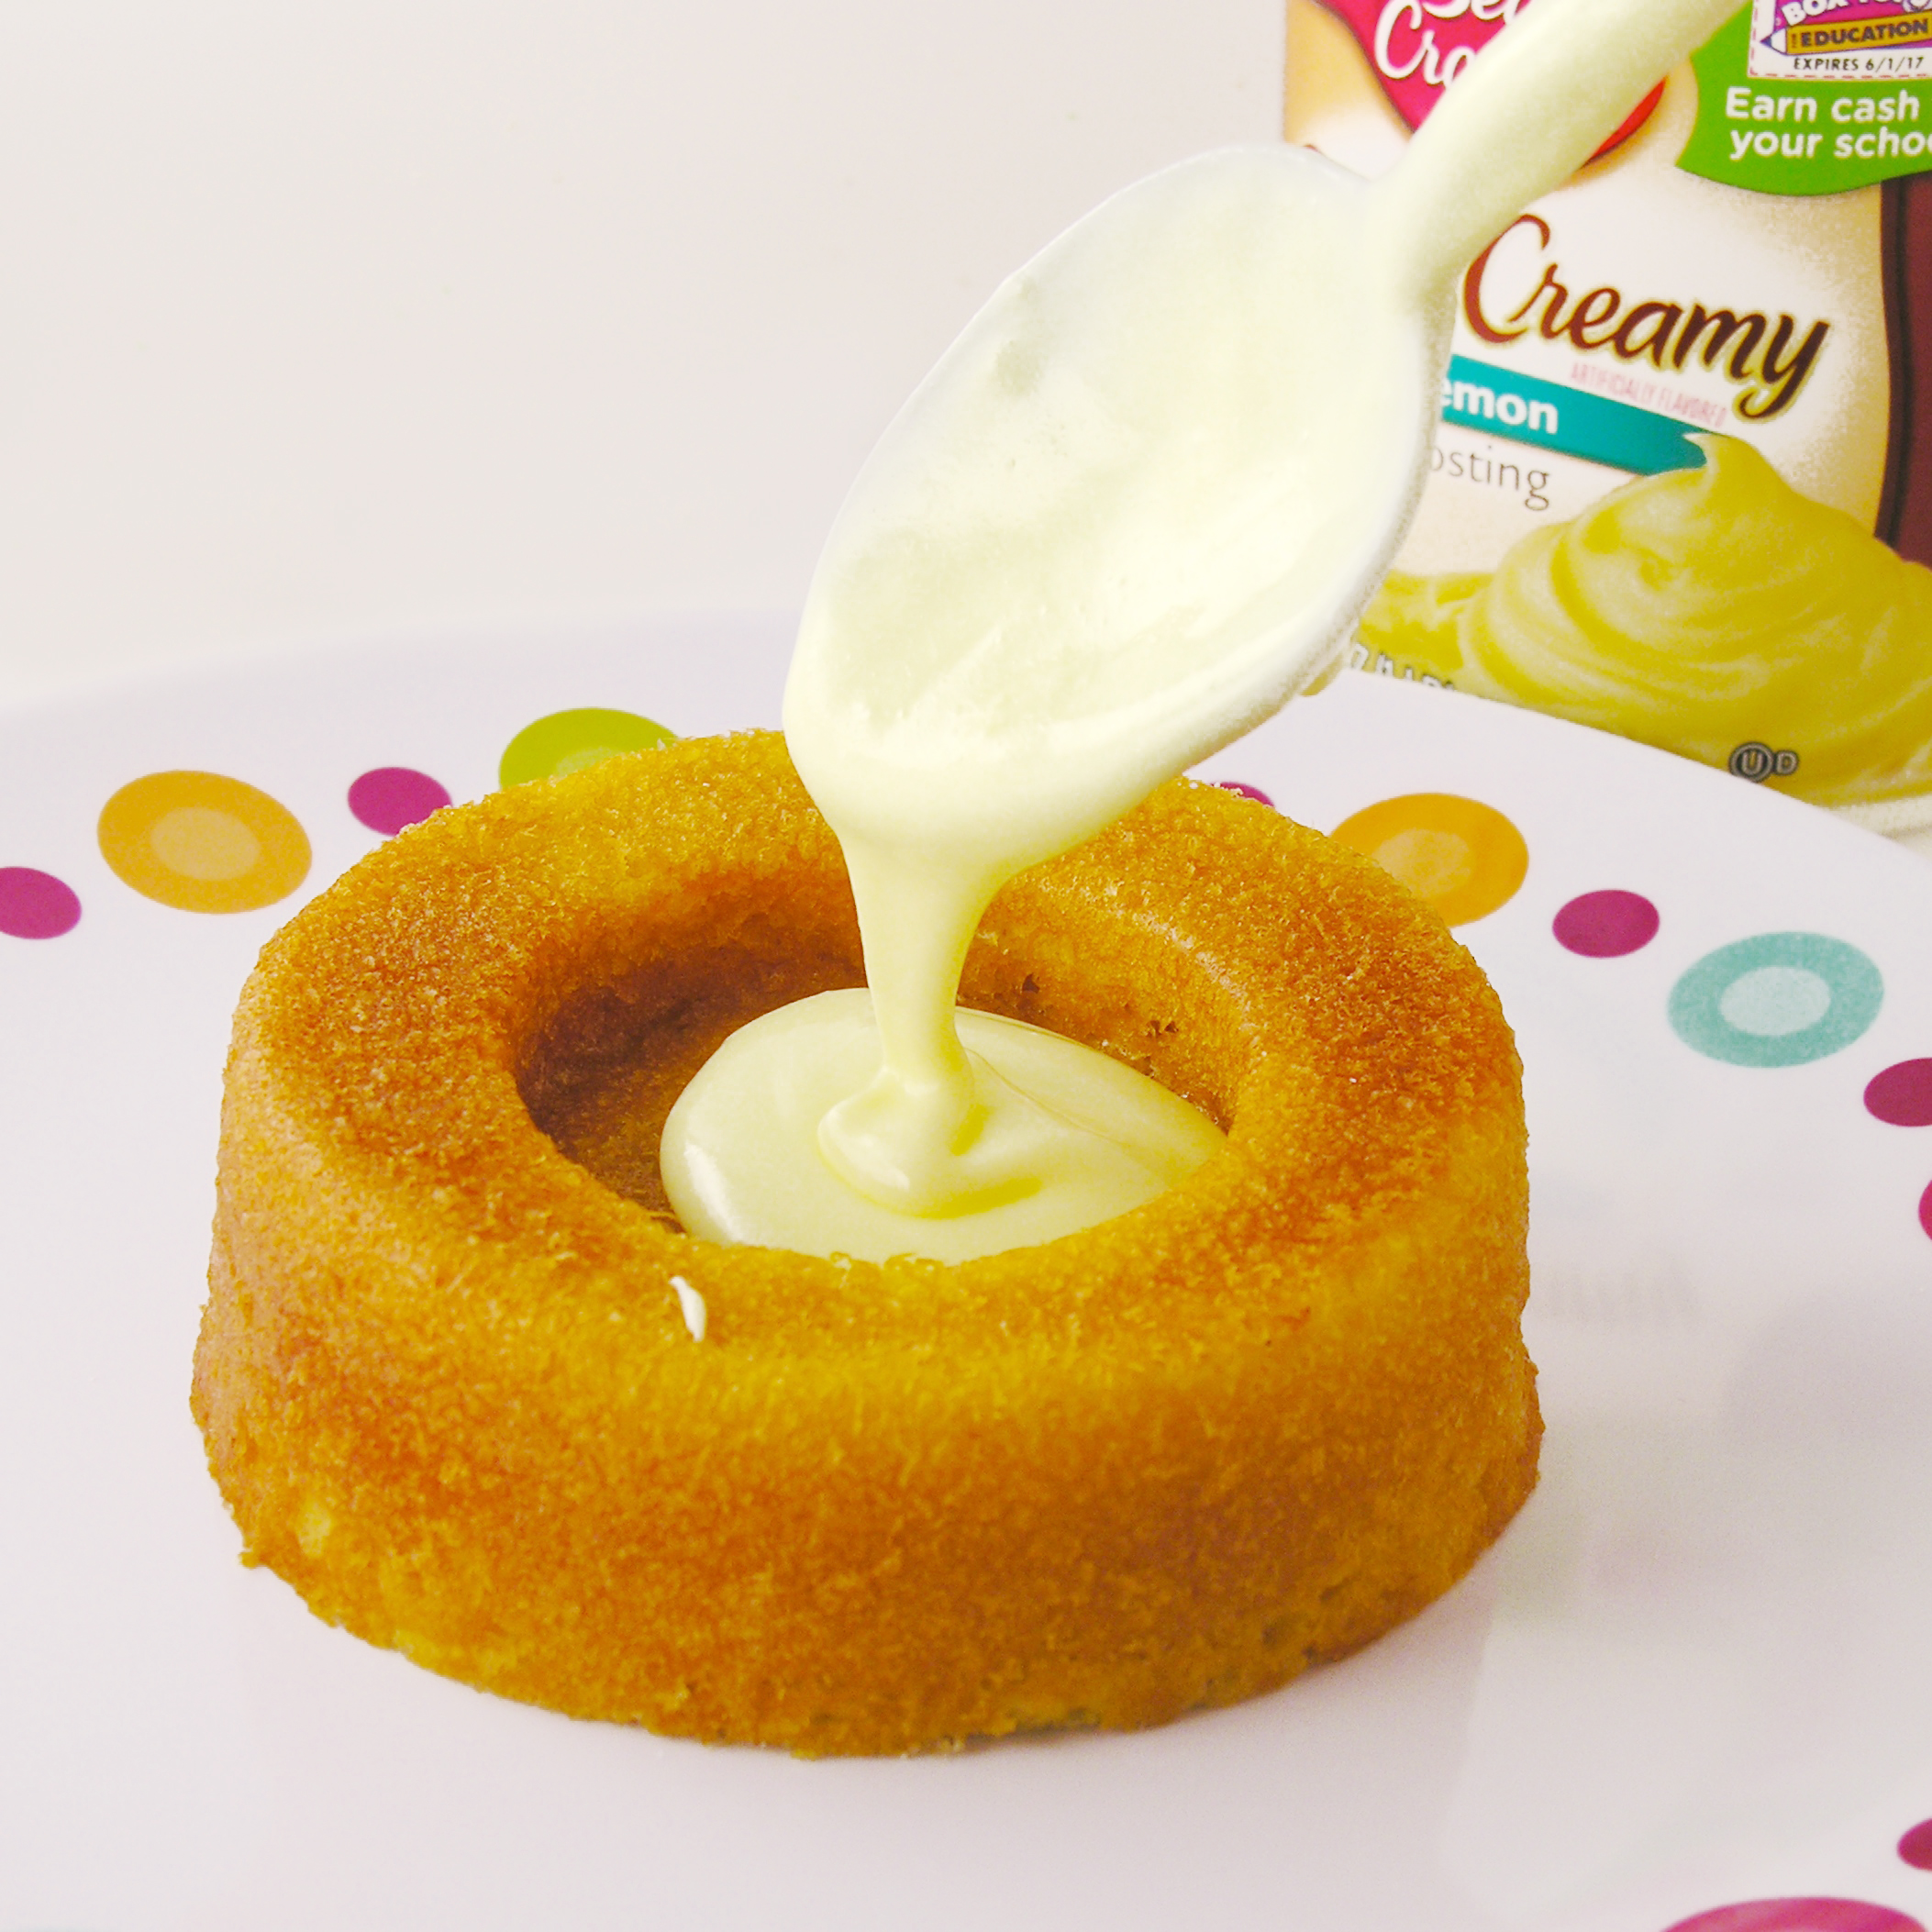
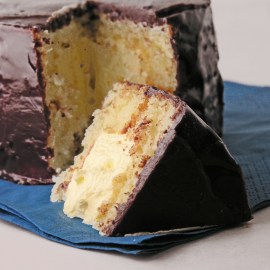
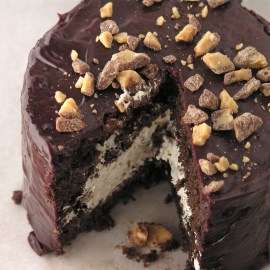
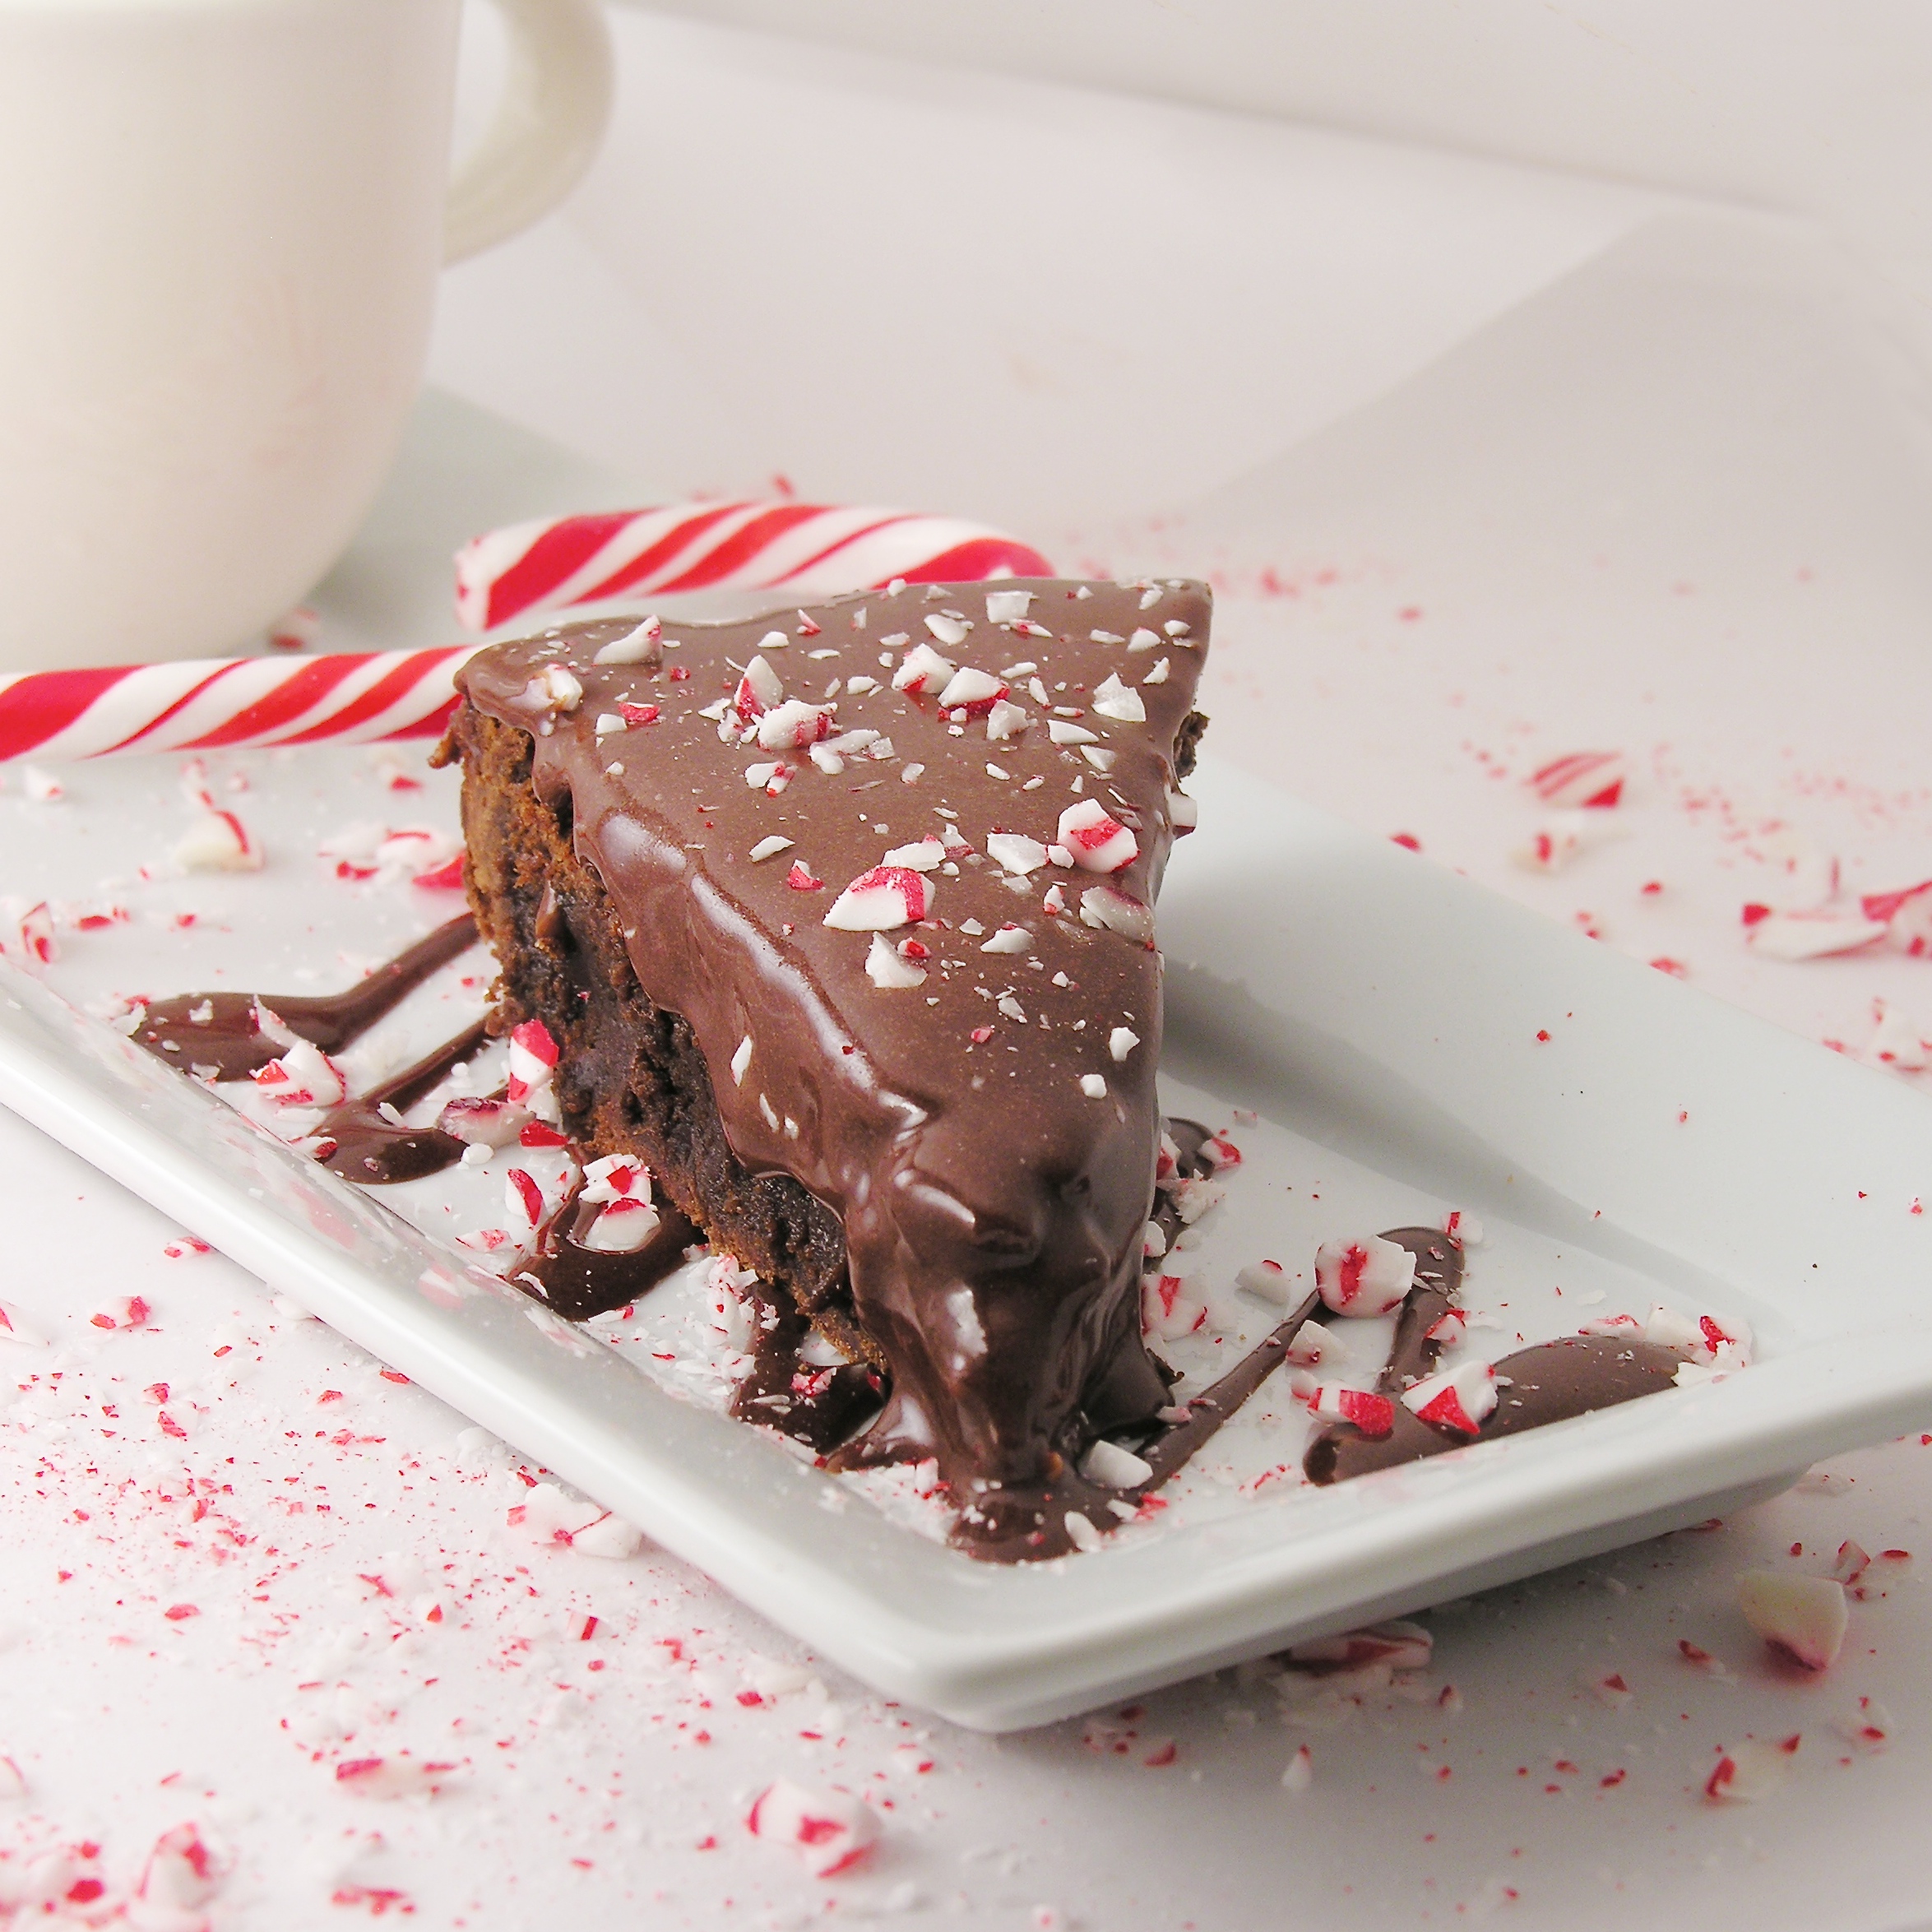
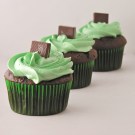
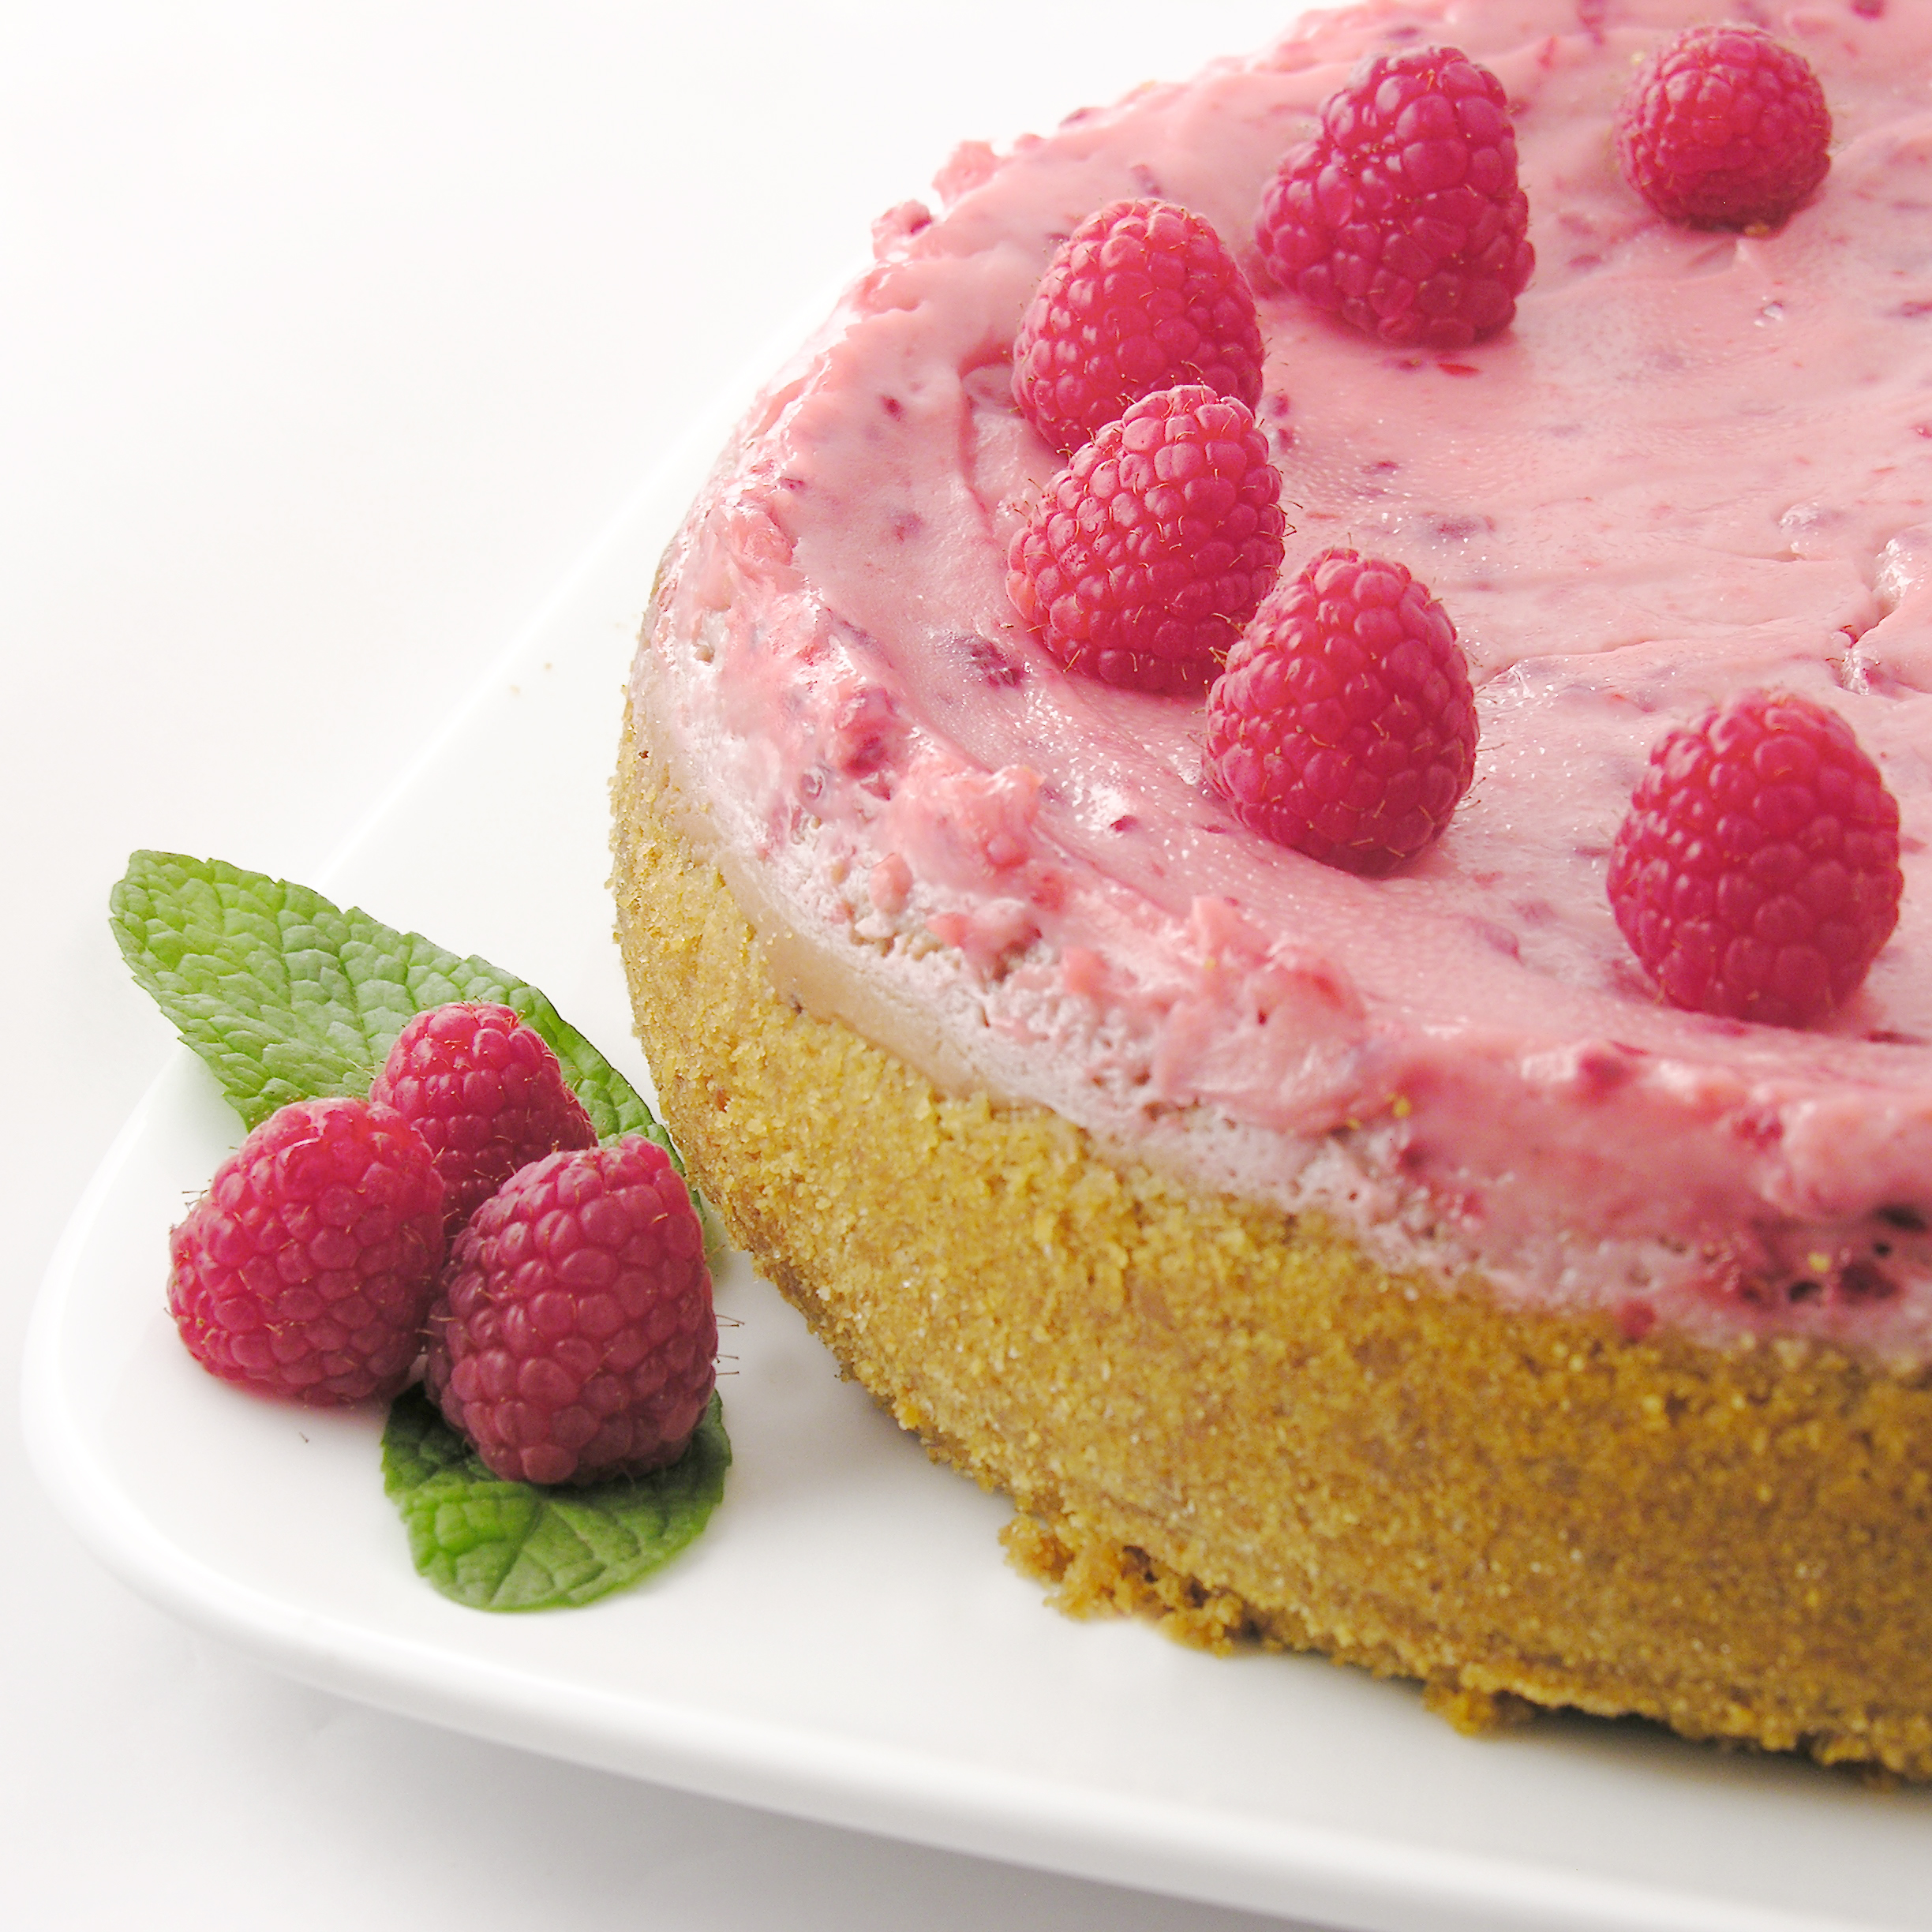
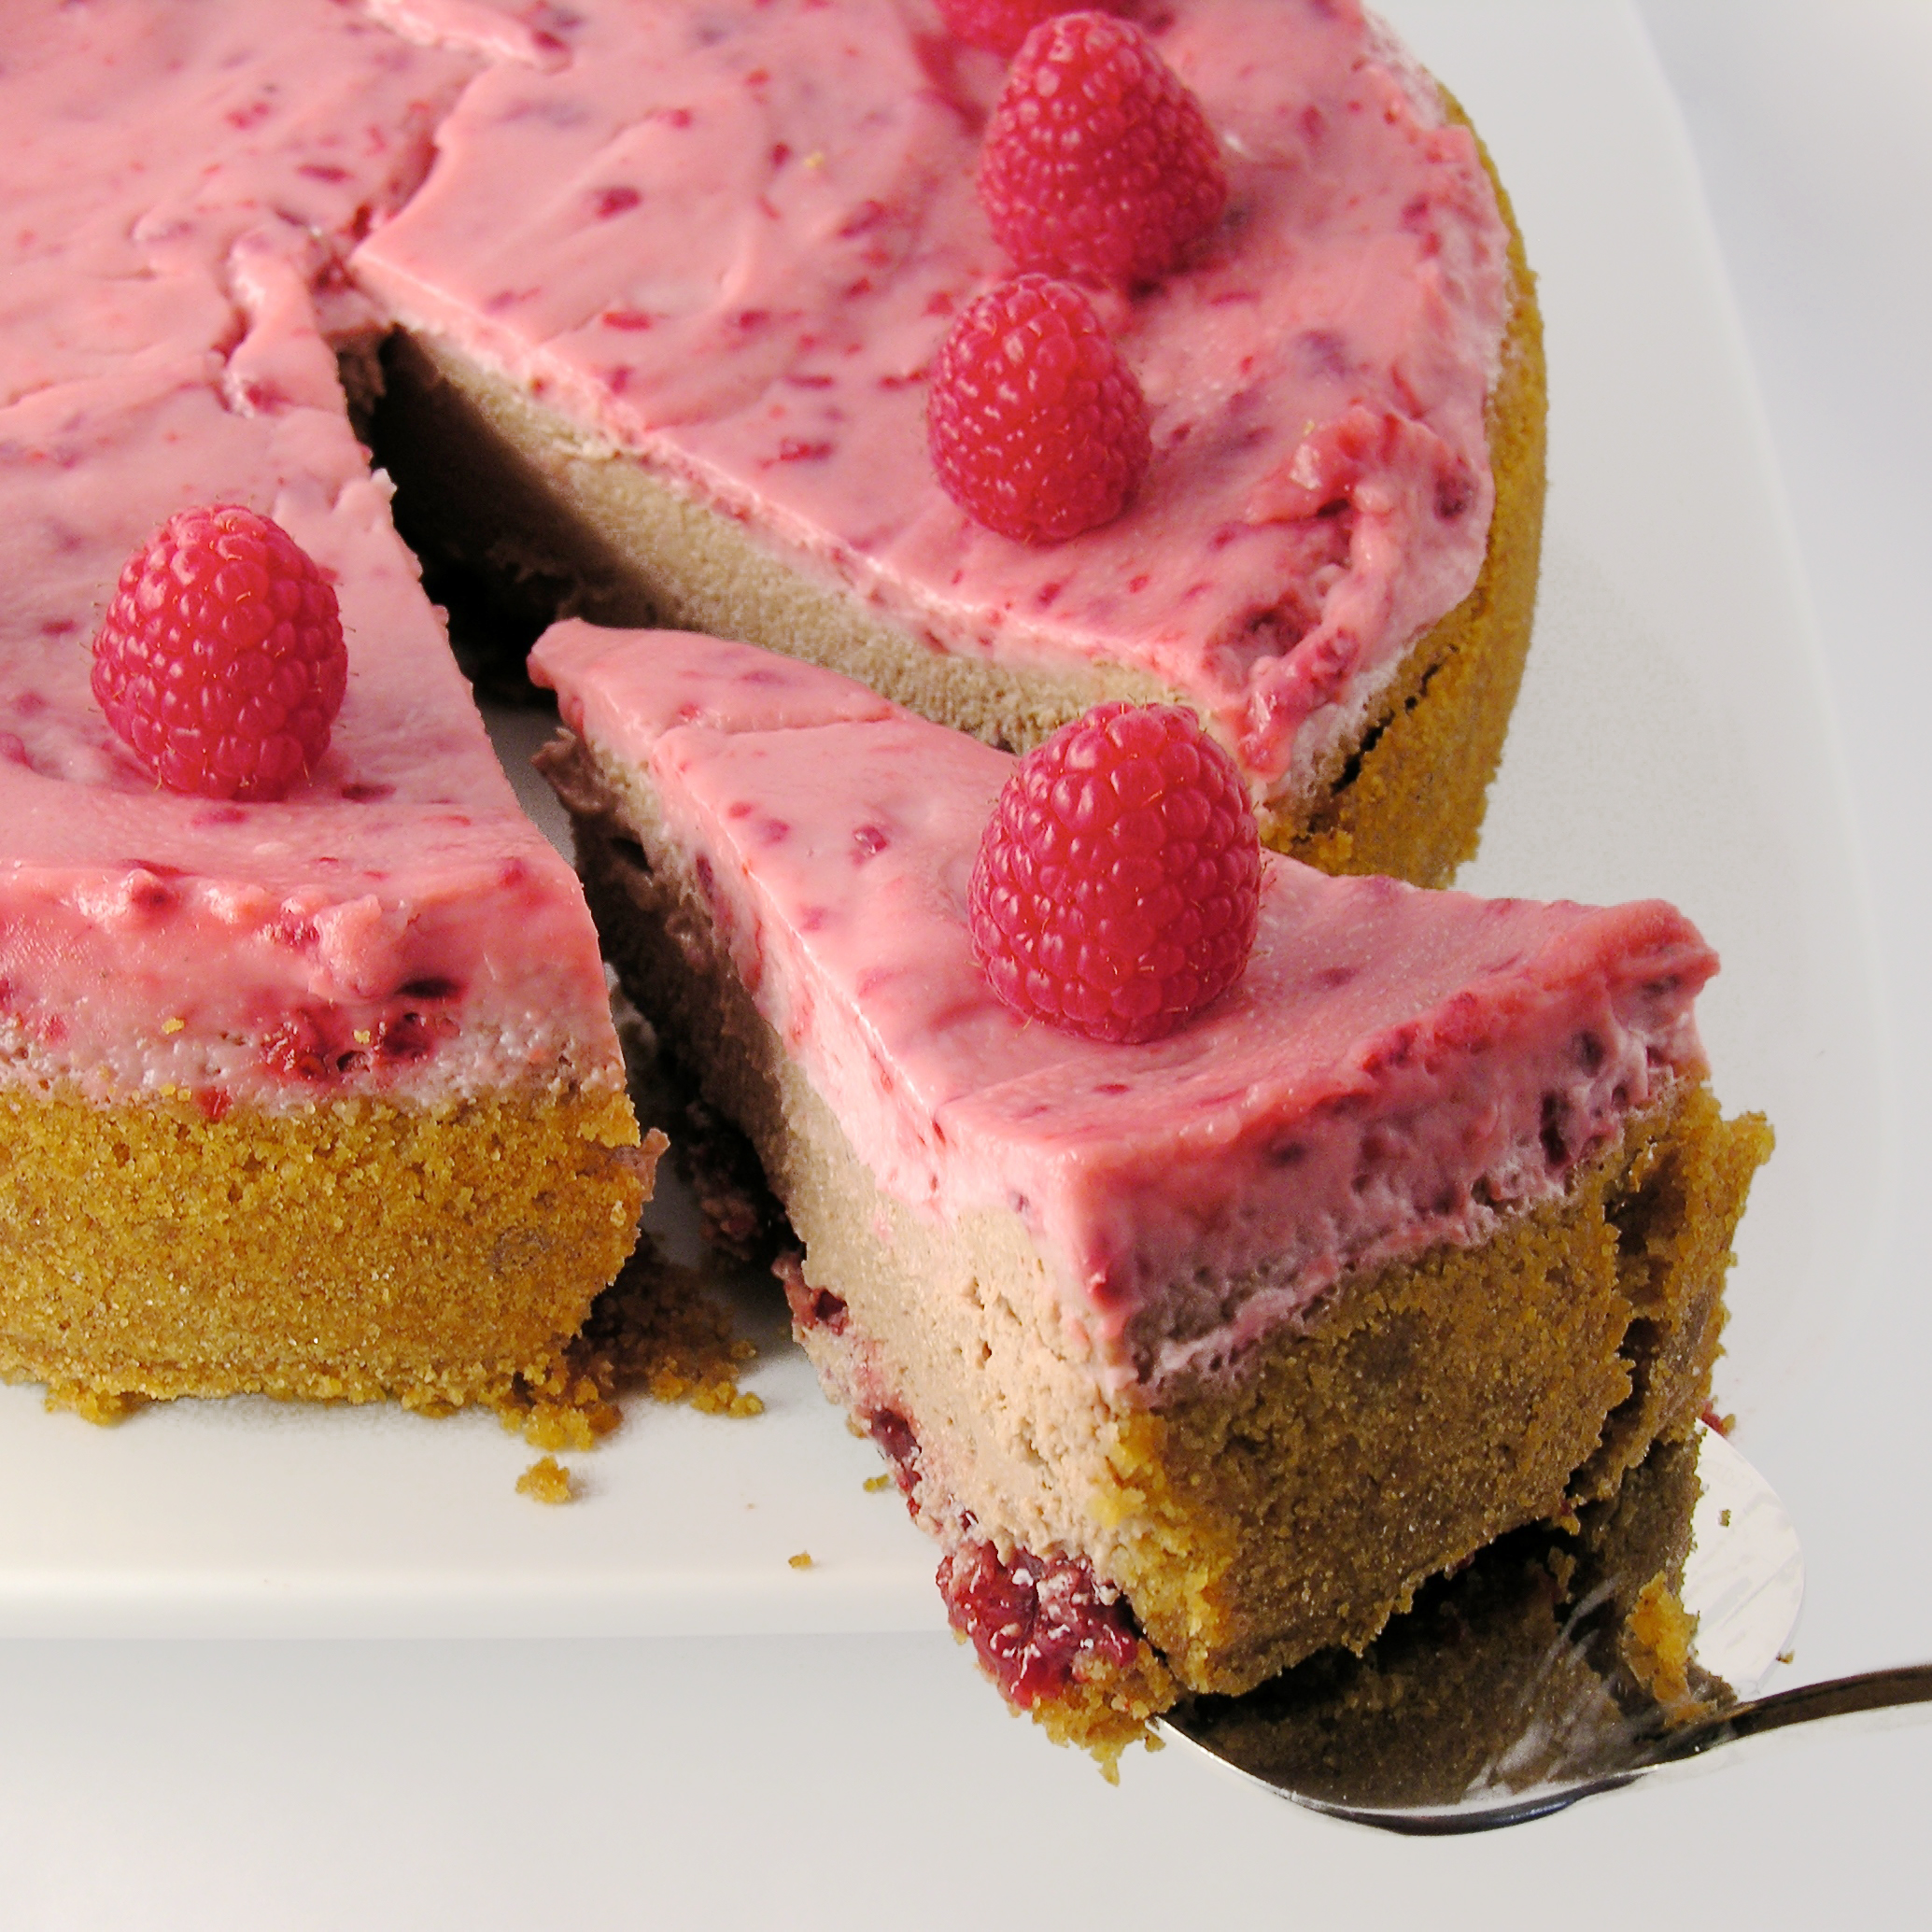
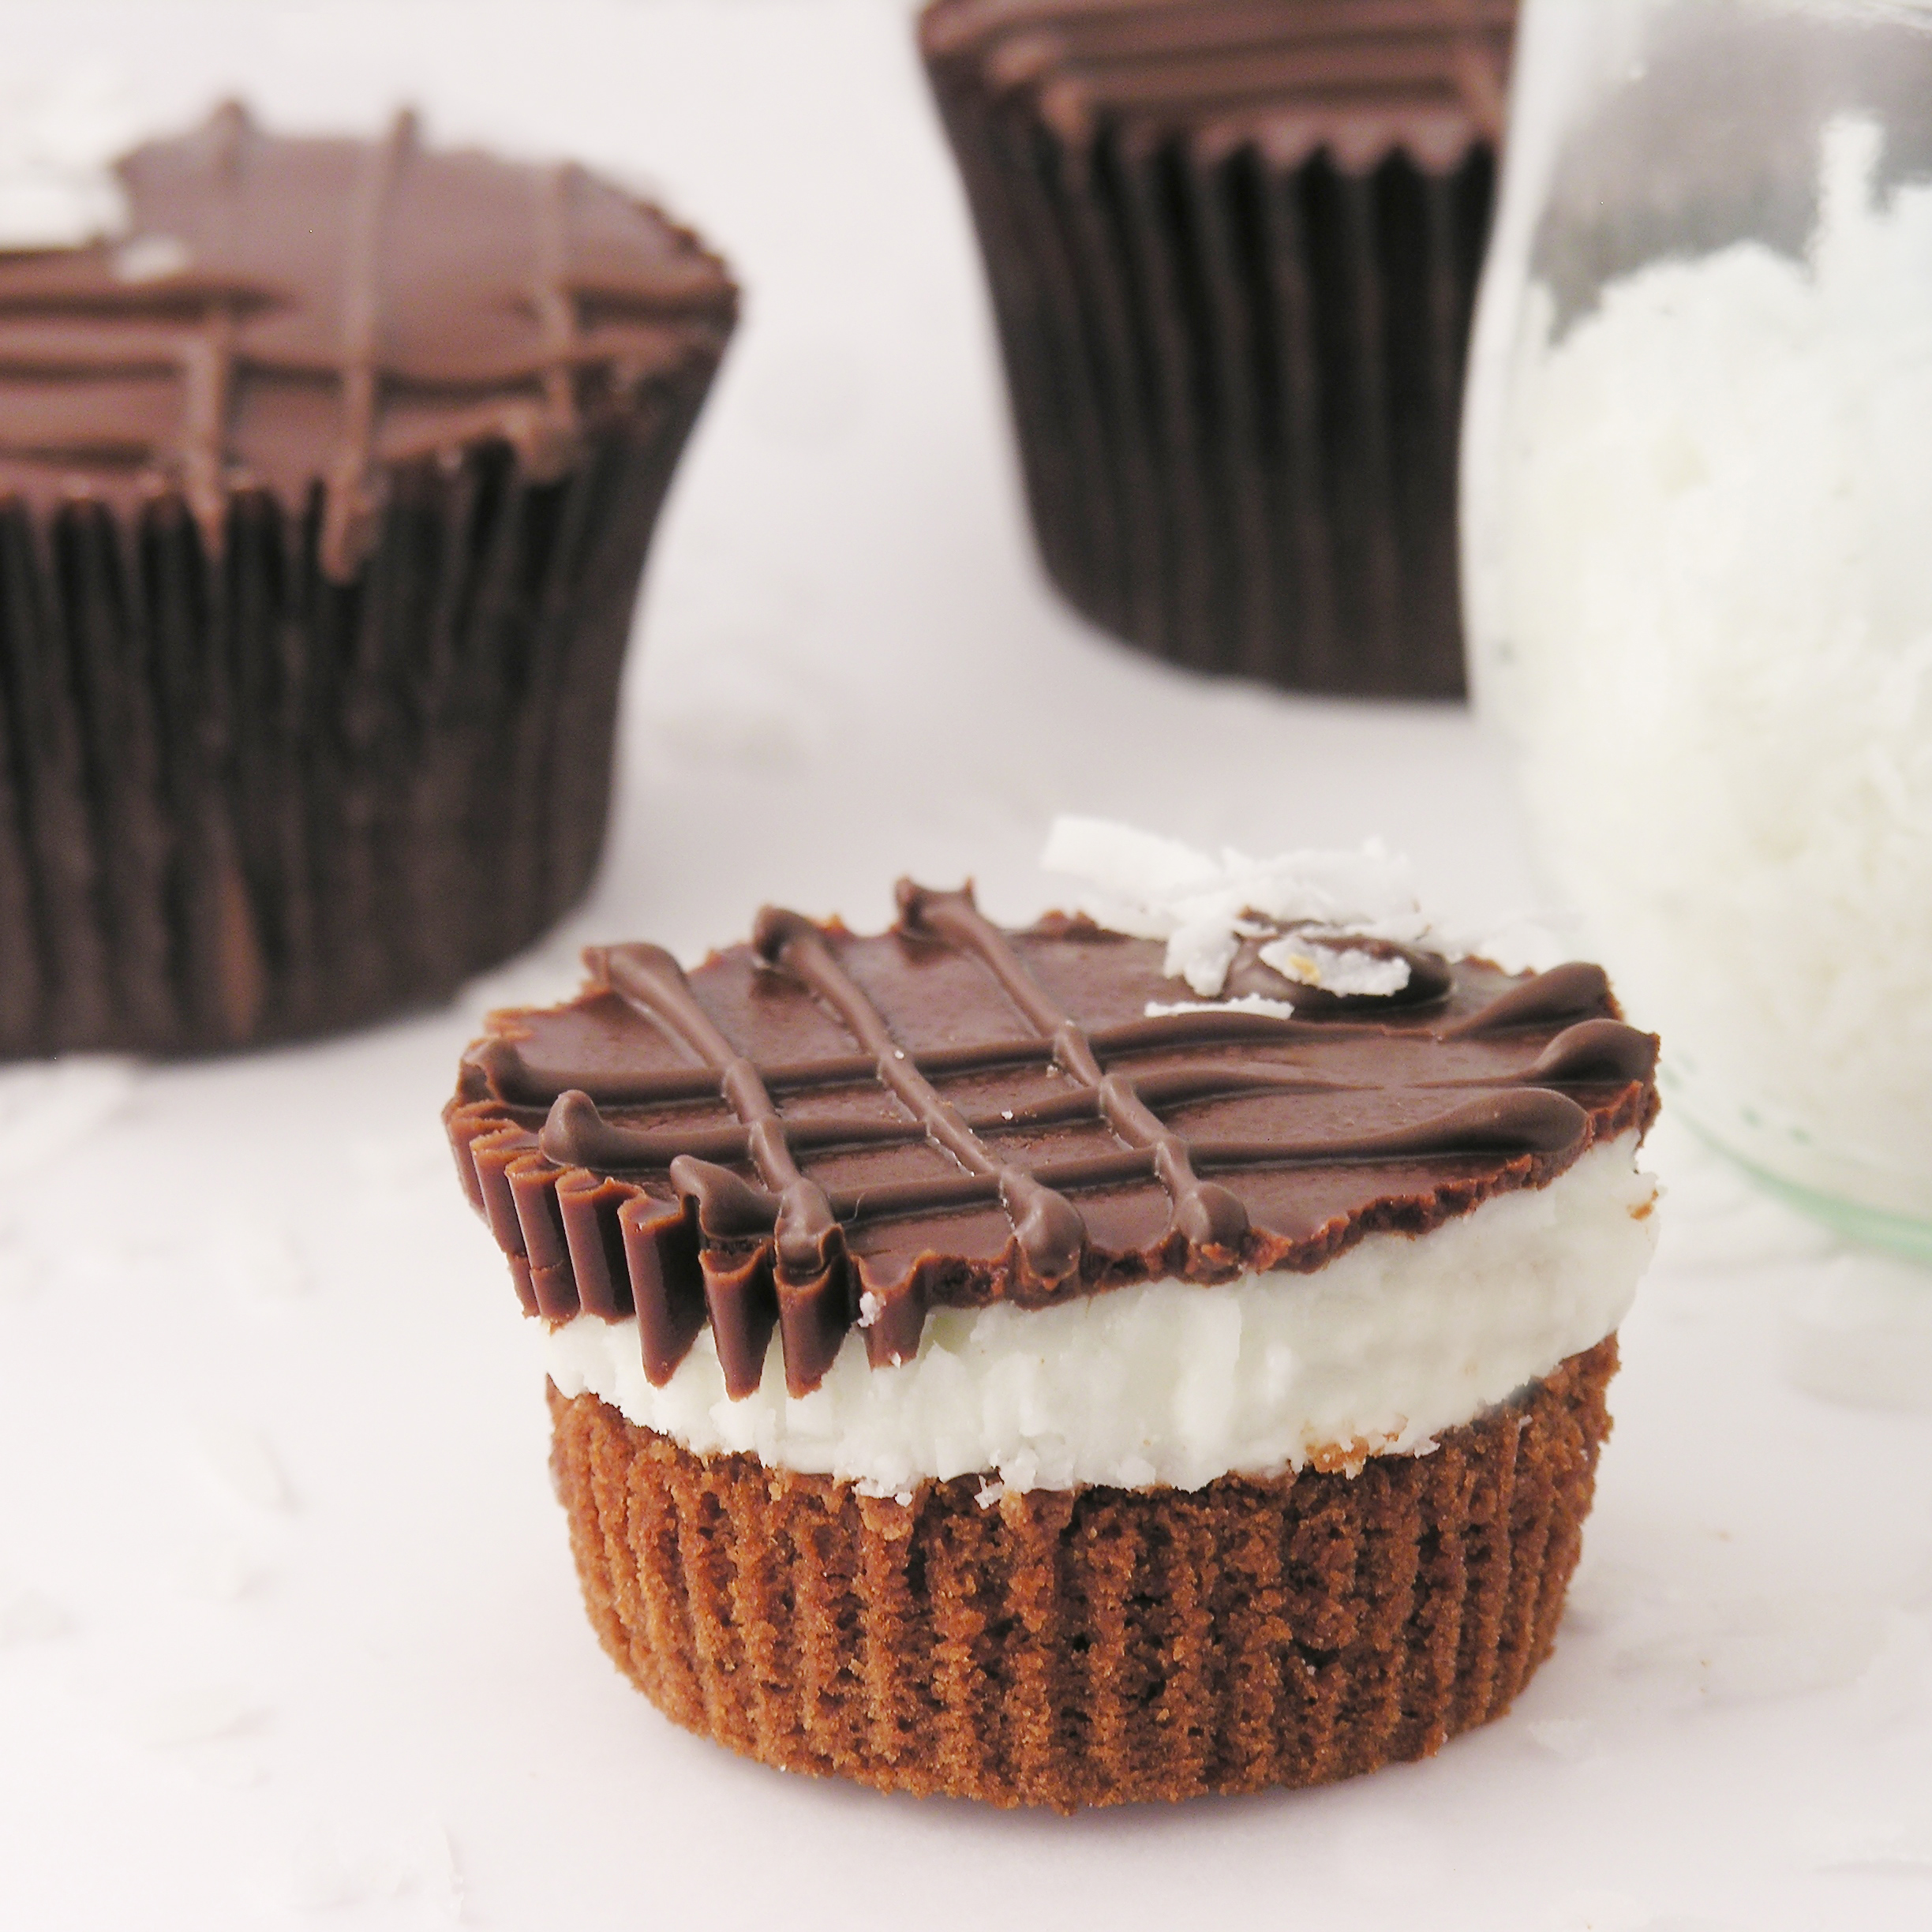
Other fun St. Patrick’s Day treats you might want to try:

Grasshopper Mint CupcakesRainbow Cake RollMint Creme Brownie CupsBaileys Irish Cream Cupcakes

Rainbow Oreo Pops~ and a celebration of all things OREO!!!

Posted on

Rainbow Oreo Pops!!!!You’ll feel like you’ve struck gold when you bite into one of these fun rainbow Oreos.  A perfect way to celebrate St. Patrick’s day and SO easy to make!

Prepare yourself.

National Oreo Day is just two days away.  This year, the momentous occasion falls on Thursday, March 6th.  There isn’t a store-bought cookie that I like better than an Oreo. All the fun flavors (cookie dough, peanut butter, birthday cake, mint, marshmallow…) are great- but I like mine just plain double stuf (I just realized they left an “f” off of stuf last week!)  I’m not alone in my passion for this little cookie- over 362 billion cookies have been sold since it was first introduce in 1912!

This week I created these little rainbow Oreo pops in honor of the day (and to give you a head start on your St. Patrick’s Day ideas!)

Rainbow Oreo Pops!!!!They are incredibly easy to make.  Once your Oreo has been dipped, those rainbow stripes are just painted on with gel food coloring.

Painting Rainbows on Oreos!!!

Here’s the recipe: (for a printable recipe click here, for a picture tutorial click here)

INGREDIENTS:

  • One package of Double Stuf Oreos
  • 2 (12oz.) bags of Wilton White Candy Melts
  • 24 Lollipop sticks
  • Food color gels in purple, blue, green, yellow, orange and red -I used these

DIRECTIONS:

  • Carefully twist apart all of the Oreo cookies
  • Using one of the pop sticks, make an indentation in the white filling of each cookie.
  • Melt the Candy Melts in the microwave in 30 second increments, stirring until completely melted and smooth.
  • Dip the end of one stick into the melted white chocolate, drizzle a little in the center of the white cookie filling and then gently press it into the indentation made.
  • Place the top of the cookie back on and allow white chocolate to harden (10 minutes or so), cementing the cookie back together with a stick inside.
  • Holding the stick, lower the entire Oreo into the bowl of melted white chocolate, spooning it over the top and sides to cover it completely.
  • Allow the excess white chocolate to drain off and gently place covered Oreo on a piece of parchment paper to harden.
  • Allow white chocolate to harden and cool completely.
  • Using a small paint brush (you can get one specifically made for food that won’t shed bristles- like a Wilton 7-Piece Decorating Brush Set), start in the middle of the cookie using the yellow, and paint a stripe across. Paint a yellow stripe on all cookies.
  • Wash and dry your brush and paint the other colors, working from lightest colors to darkest.
  • Allow the “paint” to dry for several hours.
  • Eat and enjoy!!!

Aren’t they fun?????

Rainbow Oreo Pops!!!

My thoughts: You can see that I sprinkled a little bit of edible glitter on top when I was done.  You have to do this before the paint completely dries.  It makes them very fun and sparkly- more fun and sparkly than you can see in the pictures!  Just an option, if you want to add it.  You can also see that I didn’t agonize over painting perfect lines and not going over the edges.  I really liked the messy paintbrush look of these. Put on your artist hat and have some fun!!!

Rainbow Oreo Pops~ YUM!!!!!

Here’s a little collection of all things Oreo on Easybaked…as you can see, we love Oreos around here!  Just click on a photo to see the recipe!

Oreo Pops…so many possibilities!

Original Oreo pops!!!!!Patriotic Oreo Pops- yum!!!

Mummy Oreo Pops!Snowman Oreo PopsLadybug Oreo Pops!Reindeer Oreo Pops!!!

Nothing makes a crust like a crushed up Oreo cookie!!!

Creamy Coconut CheesecakeFrosty Almond Joy Cups!

Frosty Candy Corn Dessert!Ice Cream Cake

And my favorite Oreo dessert?

Brownie Oreo Cookie Cup2

These yummy Brownie Oreo Cookie Cups!!!!!!

Happy Oreo day to you!!!  I hope you have time to stop and enjoy some this week!!!! ~r

Chocolate Raspberry Cheesecake

Chocolate Raspberry Cheesecake!!Creamy chocolate cheesecake topped with a layer of raspberry and sour cream. Unbelievably yummy!!!

If you follow my blog on a regular basis, you will remember this cheesecake from last fall.  It is my Aunt’s recipe and it is literally the best cheesecake I’ve ever eaten.  It is so creamy and smooth…oh my.

I decided to add a few twists to the recipe by making it chocolate and adding raspberries to the topping.  It worked beautifully and added so much flavor!  It is really quite easy to make.  I hope you enjoy it as much as I did!!!!

Here’s the recipe (printable version):

INGREDIENTS:

Crust:
  • 1 1/4 cups Honeymaid graham cracker crumbs
  • 5 tablespoons butter, melted
  • 3 tablespoons sugar 
Filling: 
  • 3/4 cup sugar
  • 3 (8 oz.) Philadelphia cream cheese bars (must be the Philadelphia brand)~ softened to room temperature.
  • 2 eggs
  • 1 teaspoon vanilla
  • 1 teaspoon lemon juice
  • pinch of salt
  • 1 cup of semi-sweet chocolate chips
Topping: 
  • 1 pint (2 cups) sour cream
  • 1/2 cup sugar
  • 1 tsp. vanilla
  • pinch of salt
  • 1/3 cup of canned raspberry pie filling

DIRECTIONS:

  • Preheat oven to 350F degrees.
  • In a medium bowl, combine crust ingredients together until well combined.
  • Press into a 9″ spring form pan, pressing crumbs into bottom and about 1 1/2″ up sides of pan.    
  • For the filling, combine the sugar and softened cream cheese in a large mixing bowl and beat together until smooth.
  • Add the eggs, one at a time, beating between each addition.
  • Add the vanilla, lemon juice and salt and beat until smooth and creamy.
  • Melt the one cup of chocolate until smooth, and add to cheesecake mixture, beating until completely incorporated.
  • Pour into crust.
  • Bake at 350F degrees for 35-45 minutes.
  • While cheesecake is baking, make topping by simply mixing together all of the topping ingredients.
  • After 35-45 minutes of baking, remove cheesecake from oven and turn oven down to 325F degrees.
  • Pour topping over hot cheesecake, gently spreading to edges.
  • Return cheesecake to oven and bake for an additional 12-15 minutes.
  • Remove cheesecake from oven and leave sides on pan while allowing cheesecake to cool to room temperature.  
  • Refrigerate several hours (or overnight)
  • Run a small knife around the edges of the pan and remove them before serving.
  • Serve with extra raspberry pie filling– YUM!
  • Enjoy!!!!


Chocolate Raspberry Cheesecake!!
My thoughts:  You can see in my pictures that I added a cup of raspberry pie filling over the crust before I poured the cheesecake batter in.  It was really yummy, but made it hard to remove the bottom of the springform pan (which I always do before pictures).  If you don’t mind leaving the bottom on, this is a yummy addition to the recipe!  Just gently spread it out over your graham crust and pour the cheesecake over the top.
Chocolate Raspberry Cheesecake!!

We love raspberries here at Easybaked!  Check out our other yummy raspberry recipes!

Raspberry Lemon Cream Cups!!!Raspberry Confetti KissesRaspberry Truffle TartRaspberry Lemon drop Cakes!!!

Coconut Brownie Cups

Coconut Brownie CupsThese moist little brownie cups have a layer of creamy coconut and a yummy fudge topping.  Beautiful and easy to make, these are sure to impress!

I’m addicted to coconut.  I really do love it in everything.  Have you seen the coconut Oreos? The coconut M&Ms?  The coconut Hershey kisses?  Yeah….there’s no better flavor in my book!  That said, if you hate coconut (as many of my friends do), these little brownie cups can be made with other flavorings.  I’ve made them with mint, maple and raspberry flavorings and all of them are delicious!  You can add a little food coloring to make them pretty too.  This is a really fun, easy and versatile recipe- and I think you are going to love it!!Coconut Brownie Cups!!!

Here’s the recipe, it makes 24 cups: (printable version)

Brownie:

  • 1cup butter
  • 2 cup sugar
  • 3 eggs
  • 2 teaspoons vanilla
  • 2 cups flour
  • 1/2 cup cocoa
  • 1/2 teaspoon salt
  • 1 cup milk

Coconut filling:

  • 5 cups powdered sugar
  • 8 tablespoons melted butter
  • 2 teaspoons coconut extract
  • 1/2 cup shredded coconut

Chocolate Topping:

  • 12oz. semi-sweet chocolate chips
  • 12 tablespoons butter (do not substitute margarine here!)

DIRECTIONS:

Brownie:

  • Preheat oven to 350.
  • Cream butter and sugar together. 
  • Beat in eggs, cocoa, vanilla and salt.
  • Add flour and milk (alternating them and mixing well in between)
  • Spoon evenly into 24 cupcake liners in a cupcake tin.
  • Bake at 350 degrees for 10-12 minutes (don’t over bake- they will start to pull away from the liner)
  • Cool.  

Coconut Filling:

  • Add melted butter to sugar and extract.
  • Mix well, using water to bring it to a thick but spreadable consistency.
  • Add coconut and blend well.
  • Scoop filling into a large zip top bag fitting with a large round tip and pipe filling over the top of each brownie.
Coconut Cup Filling
Chocolate Topping:
  • Melt butter and chocolate together in the microwave in 30 second increments, stirring in between until completely melted and smooth.
  • Pipe over coconut filling and spread evenly over top
  • Chill until top layer is hard and use any extra topping to pipe fine lines on the top if desired~ be creative!!
  • Enjoy!!

Coconut Brownie Cup!
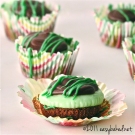
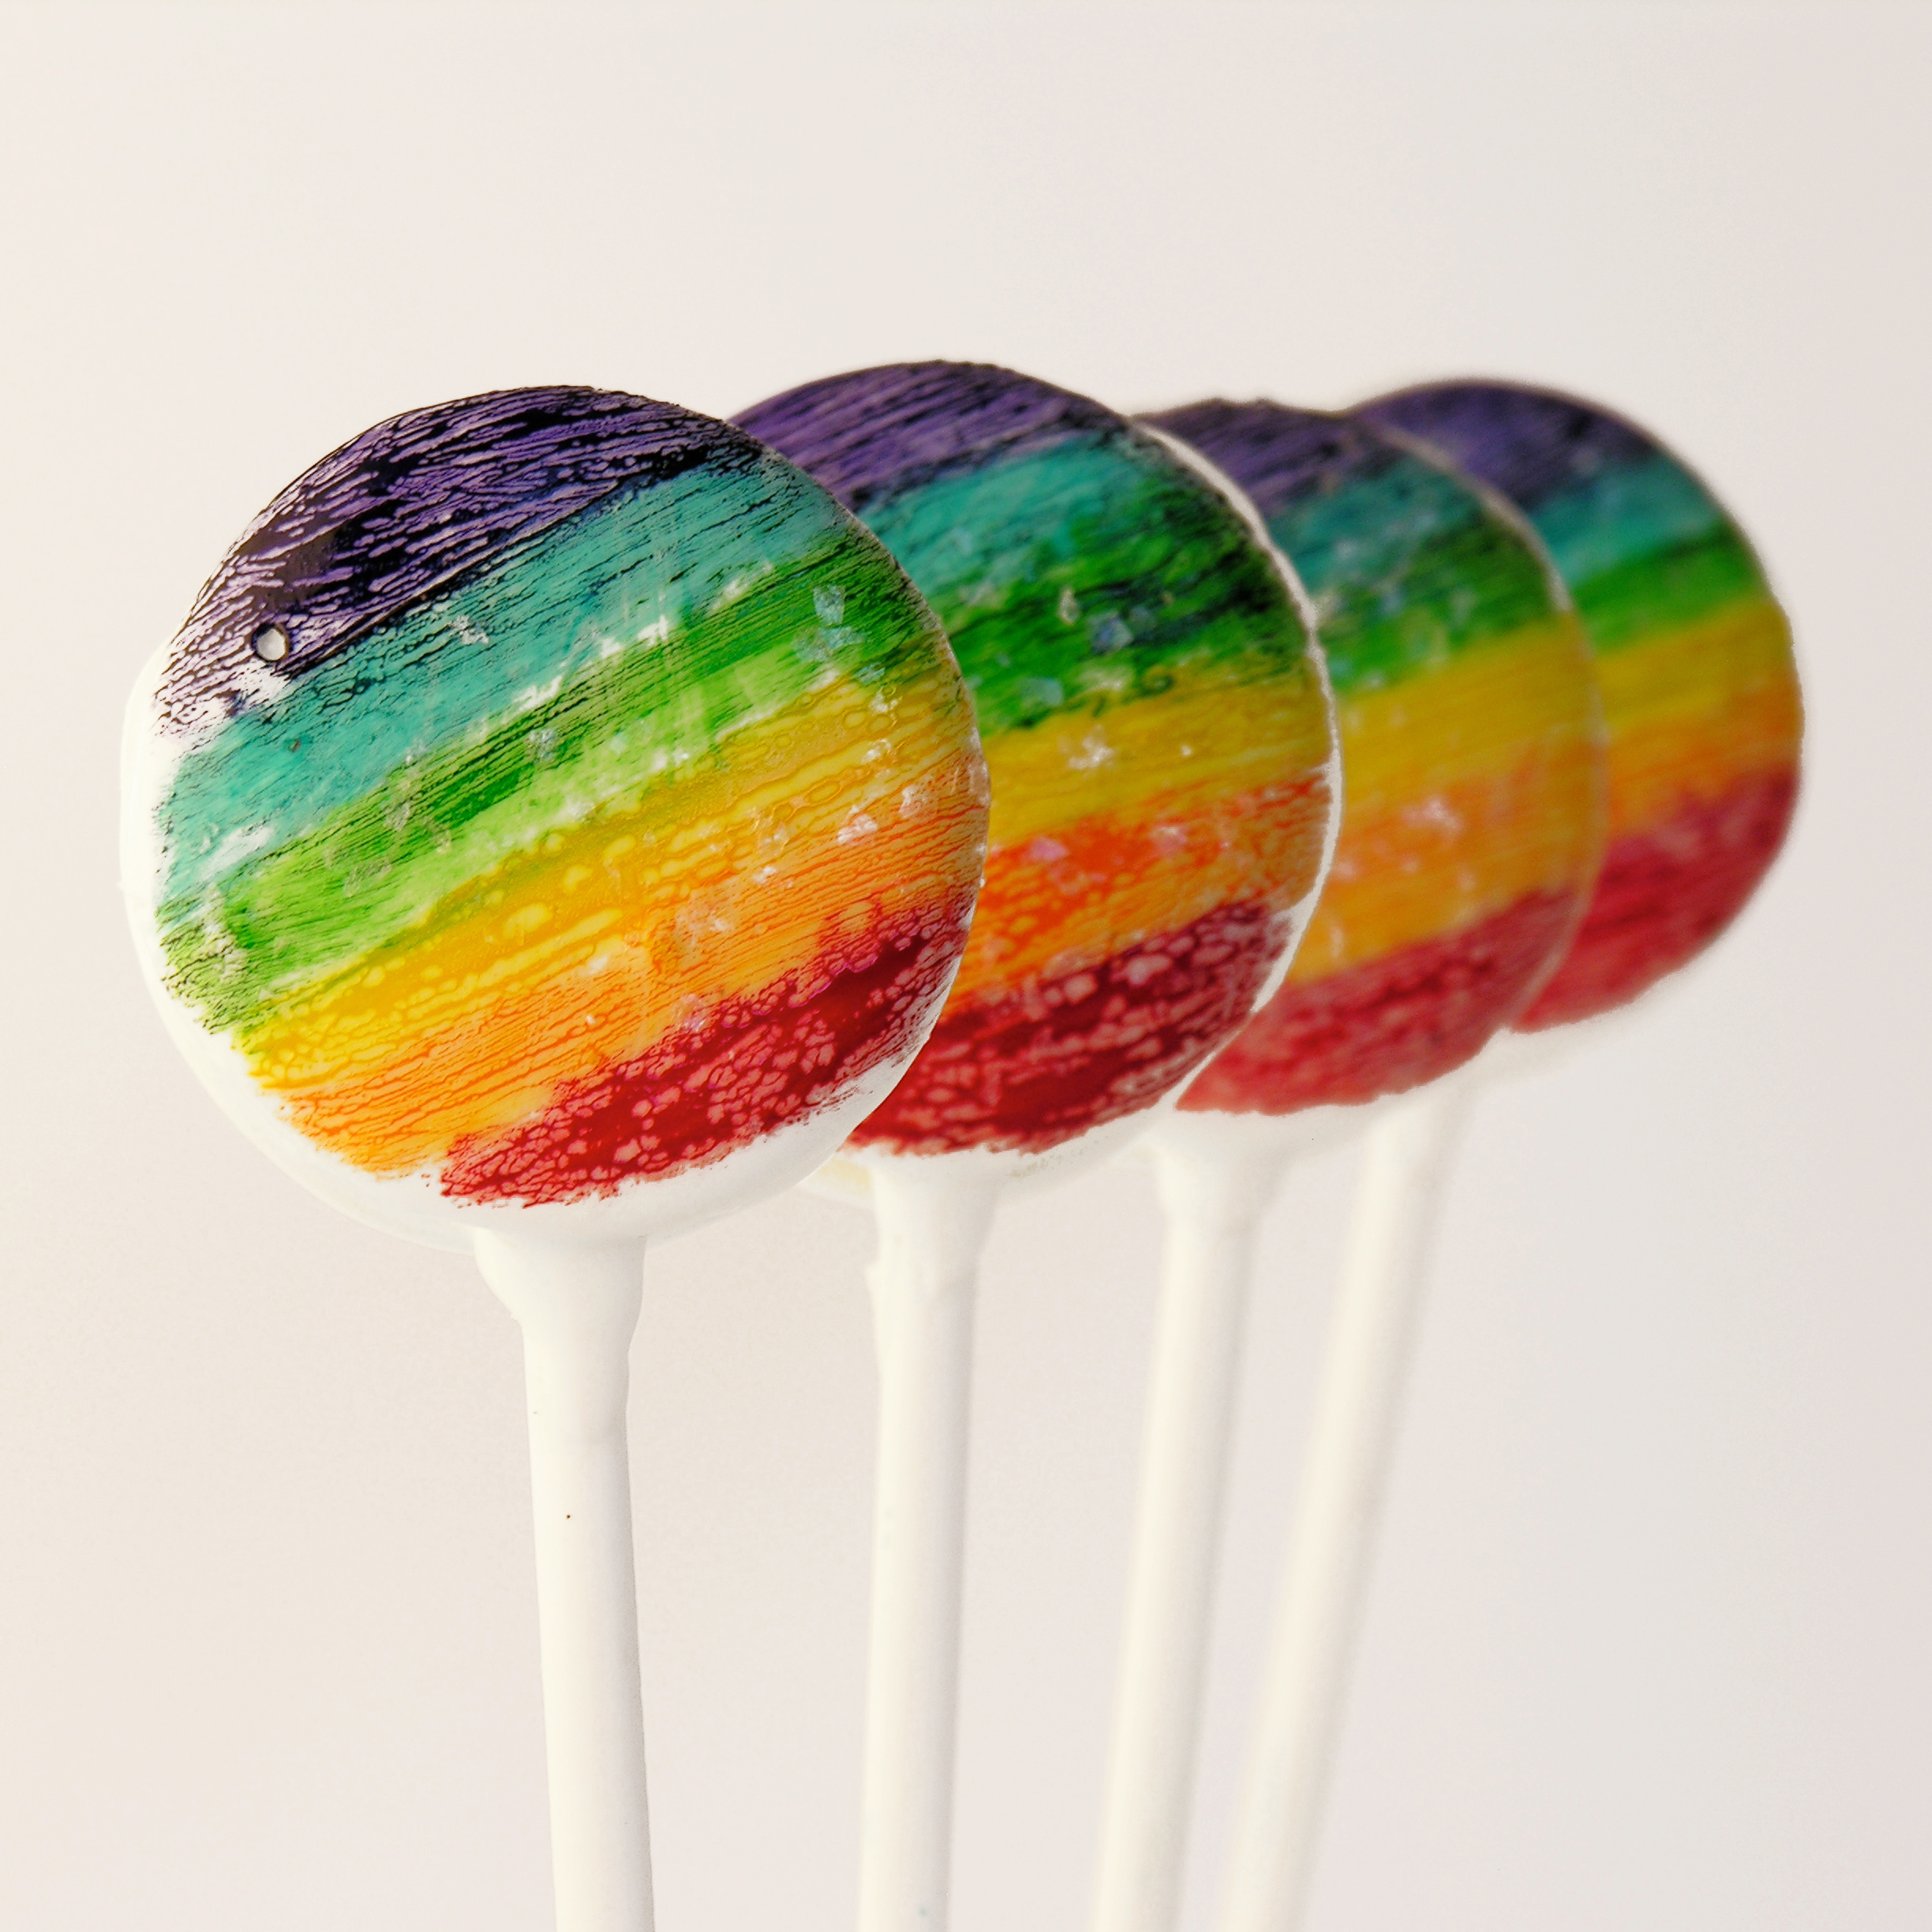
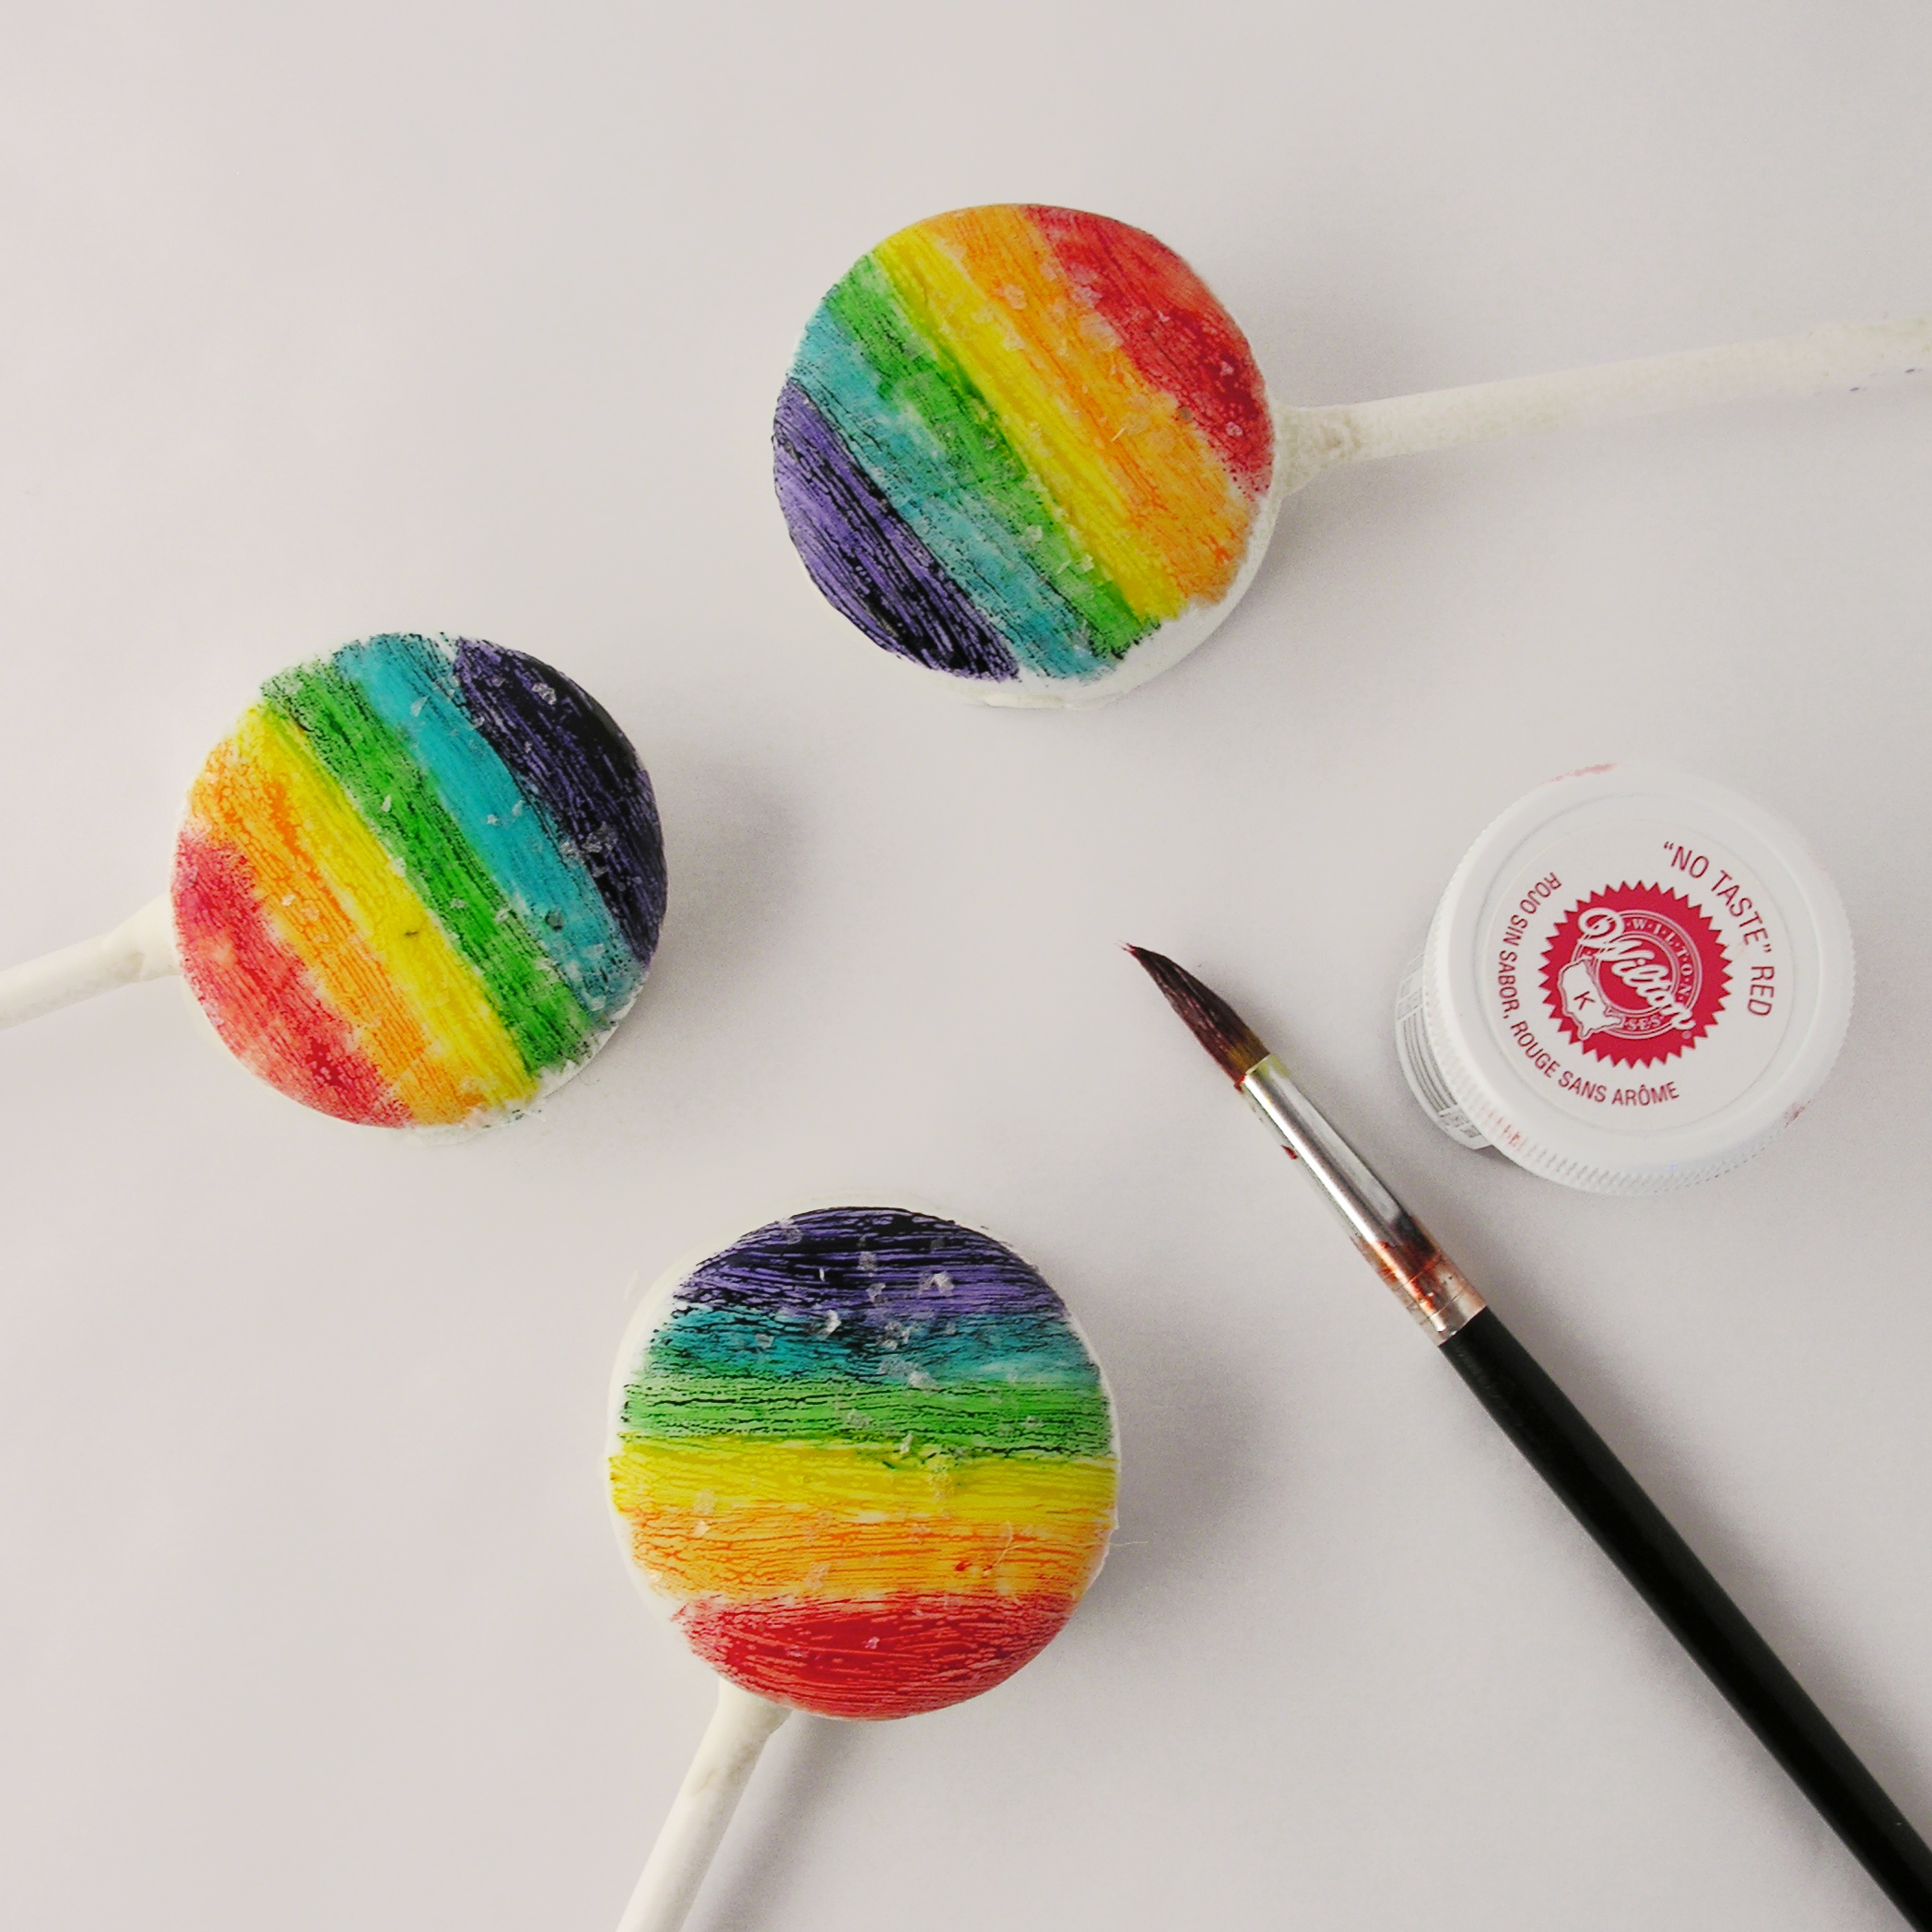
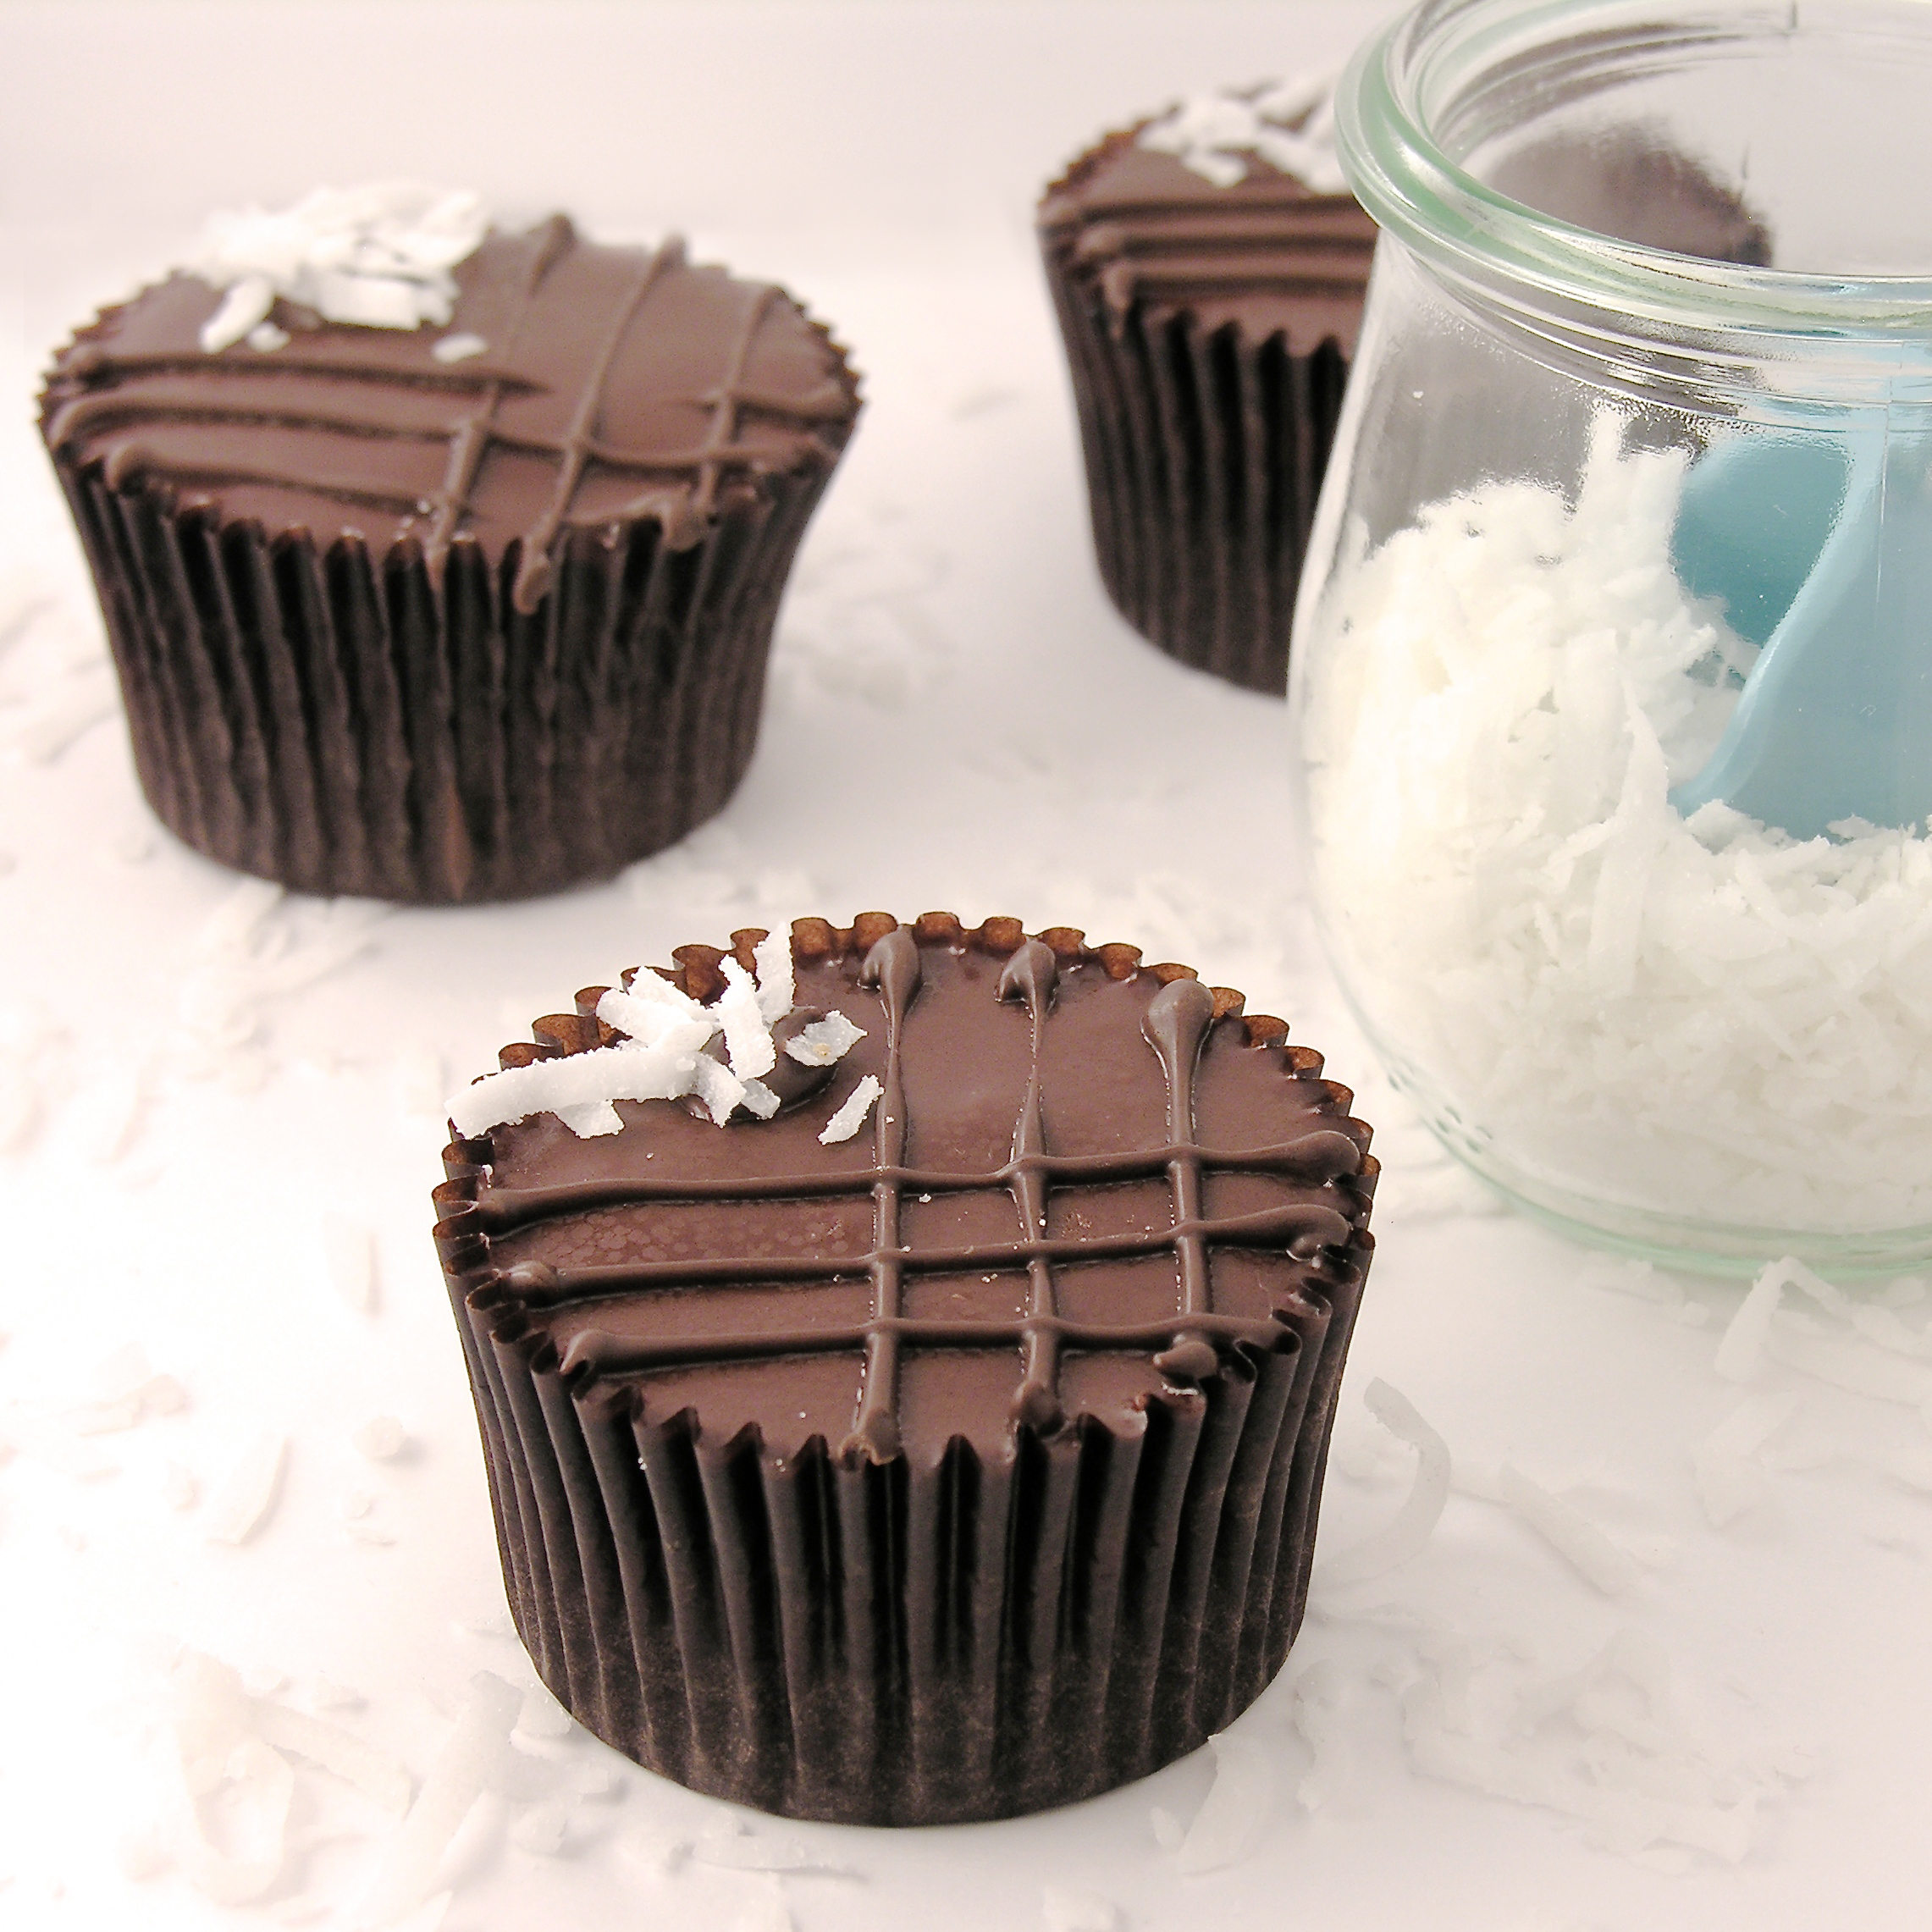
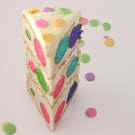
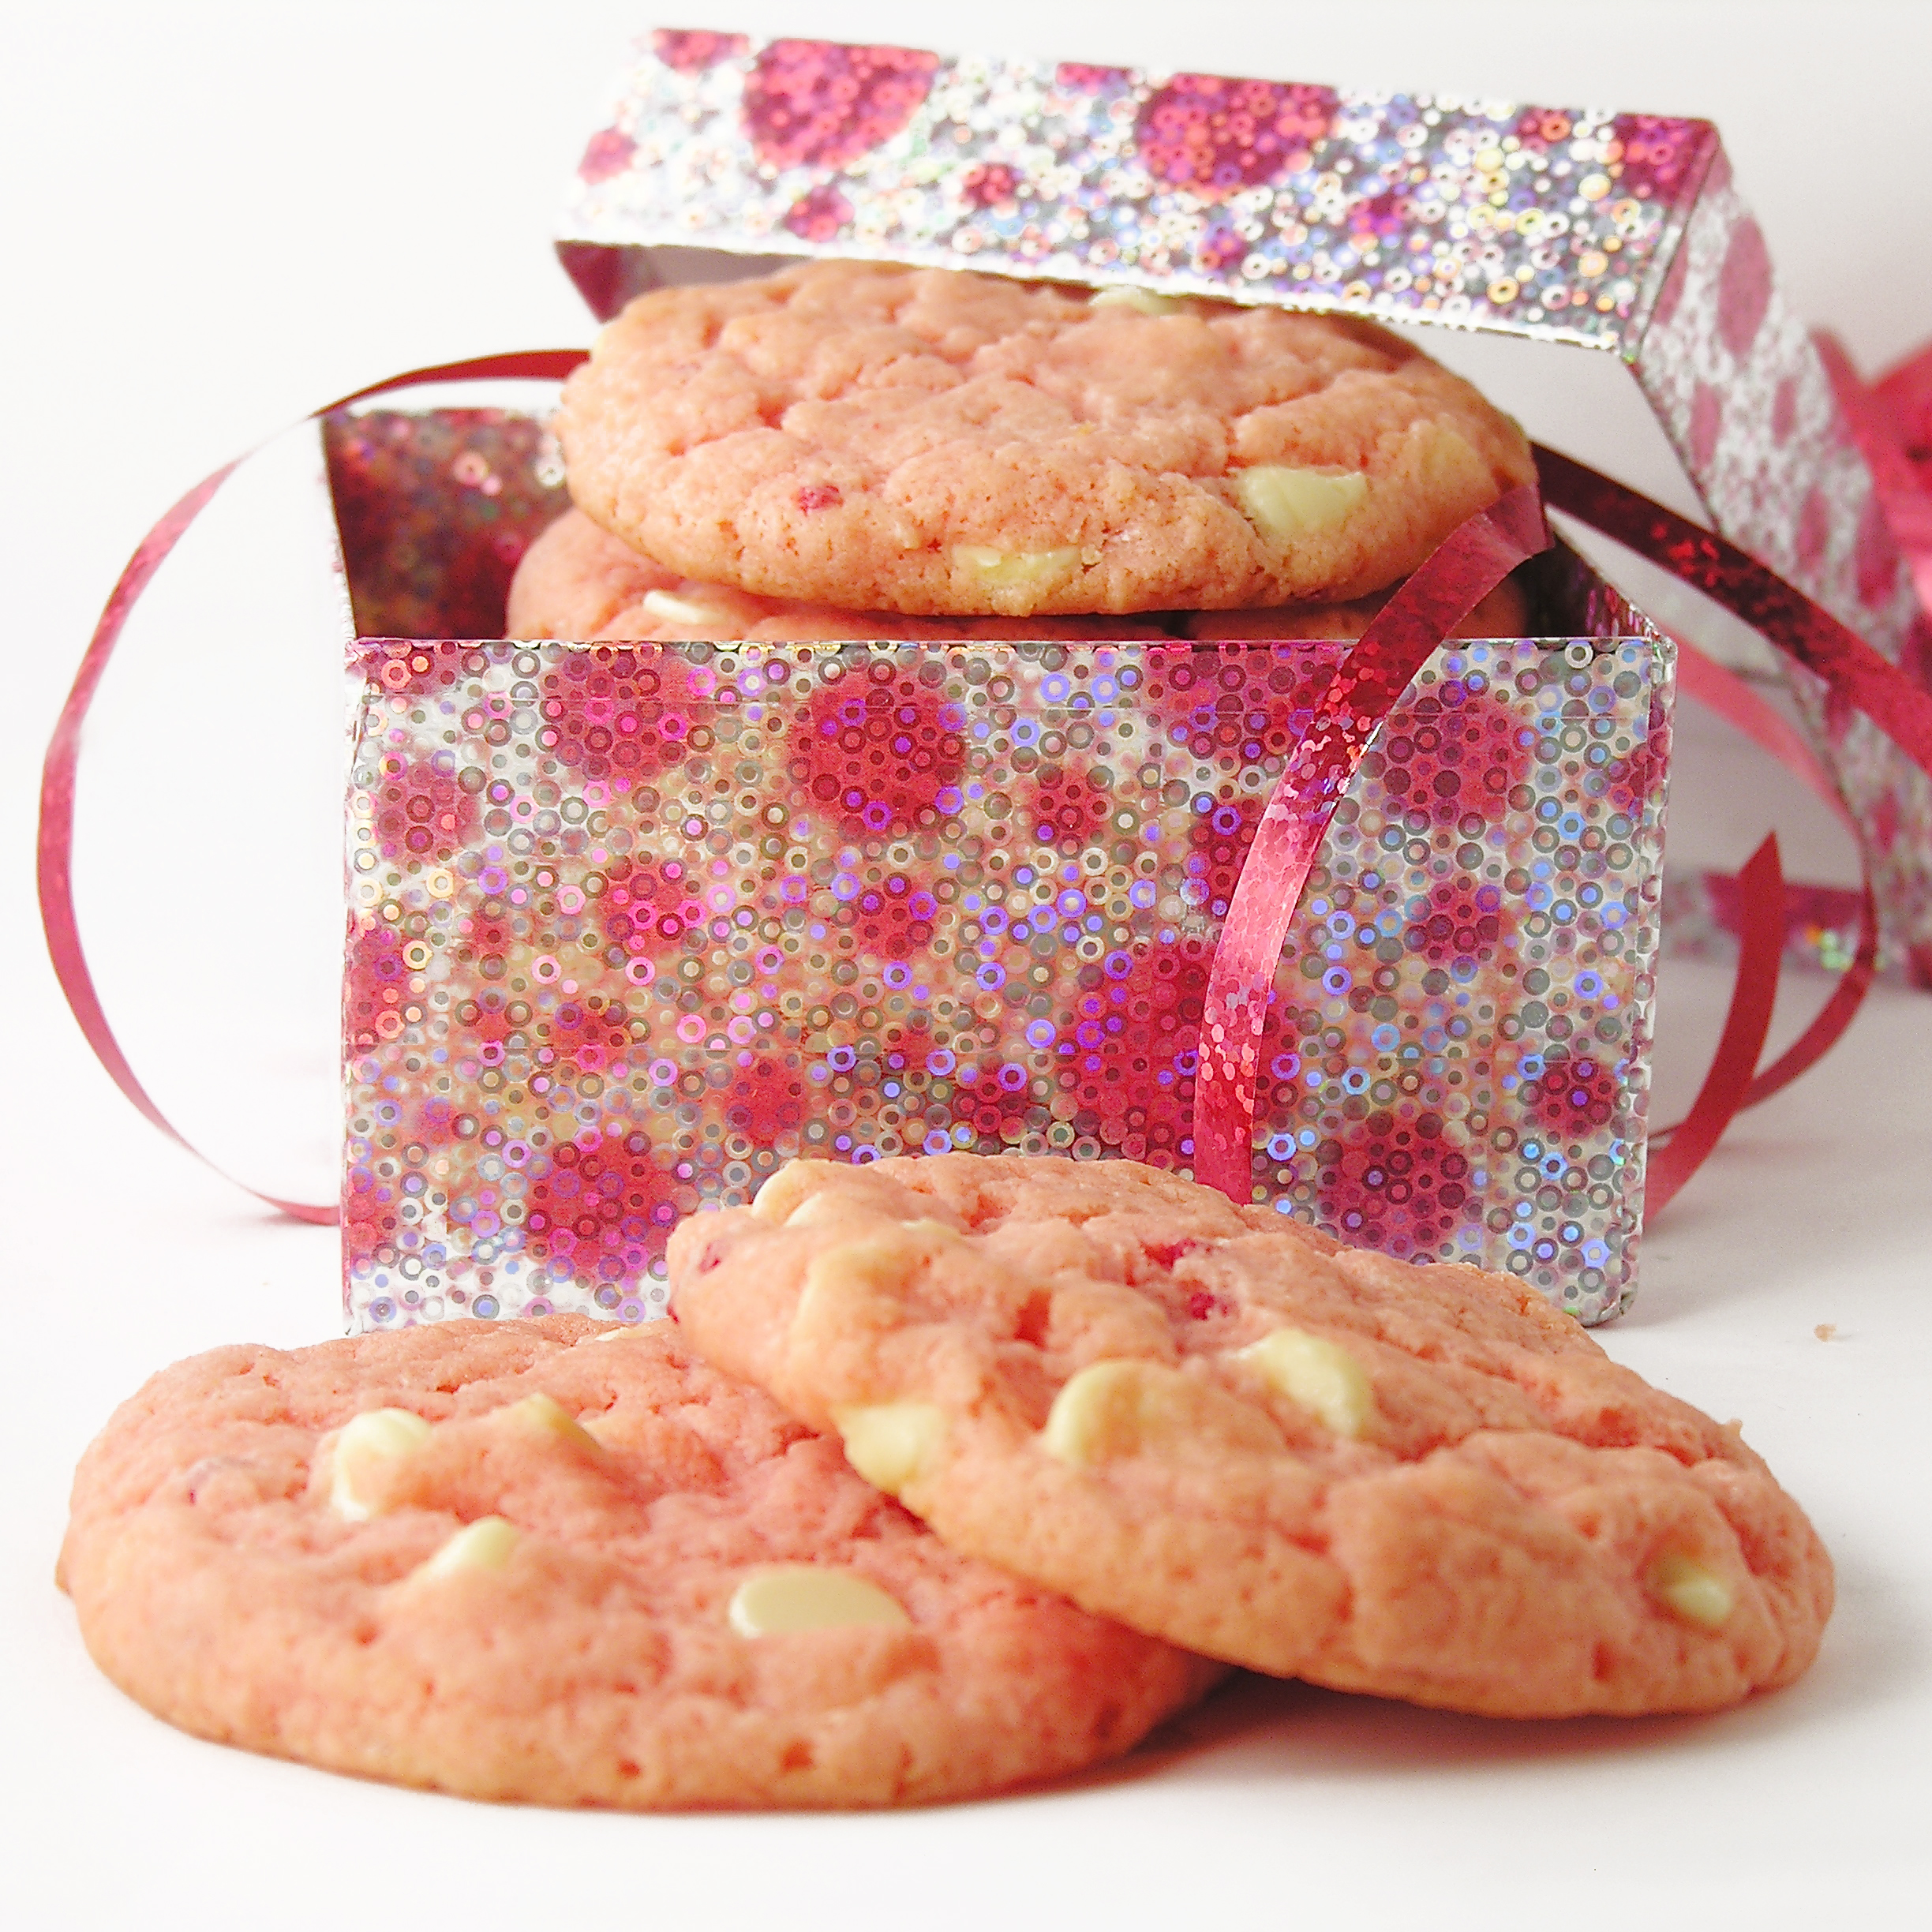
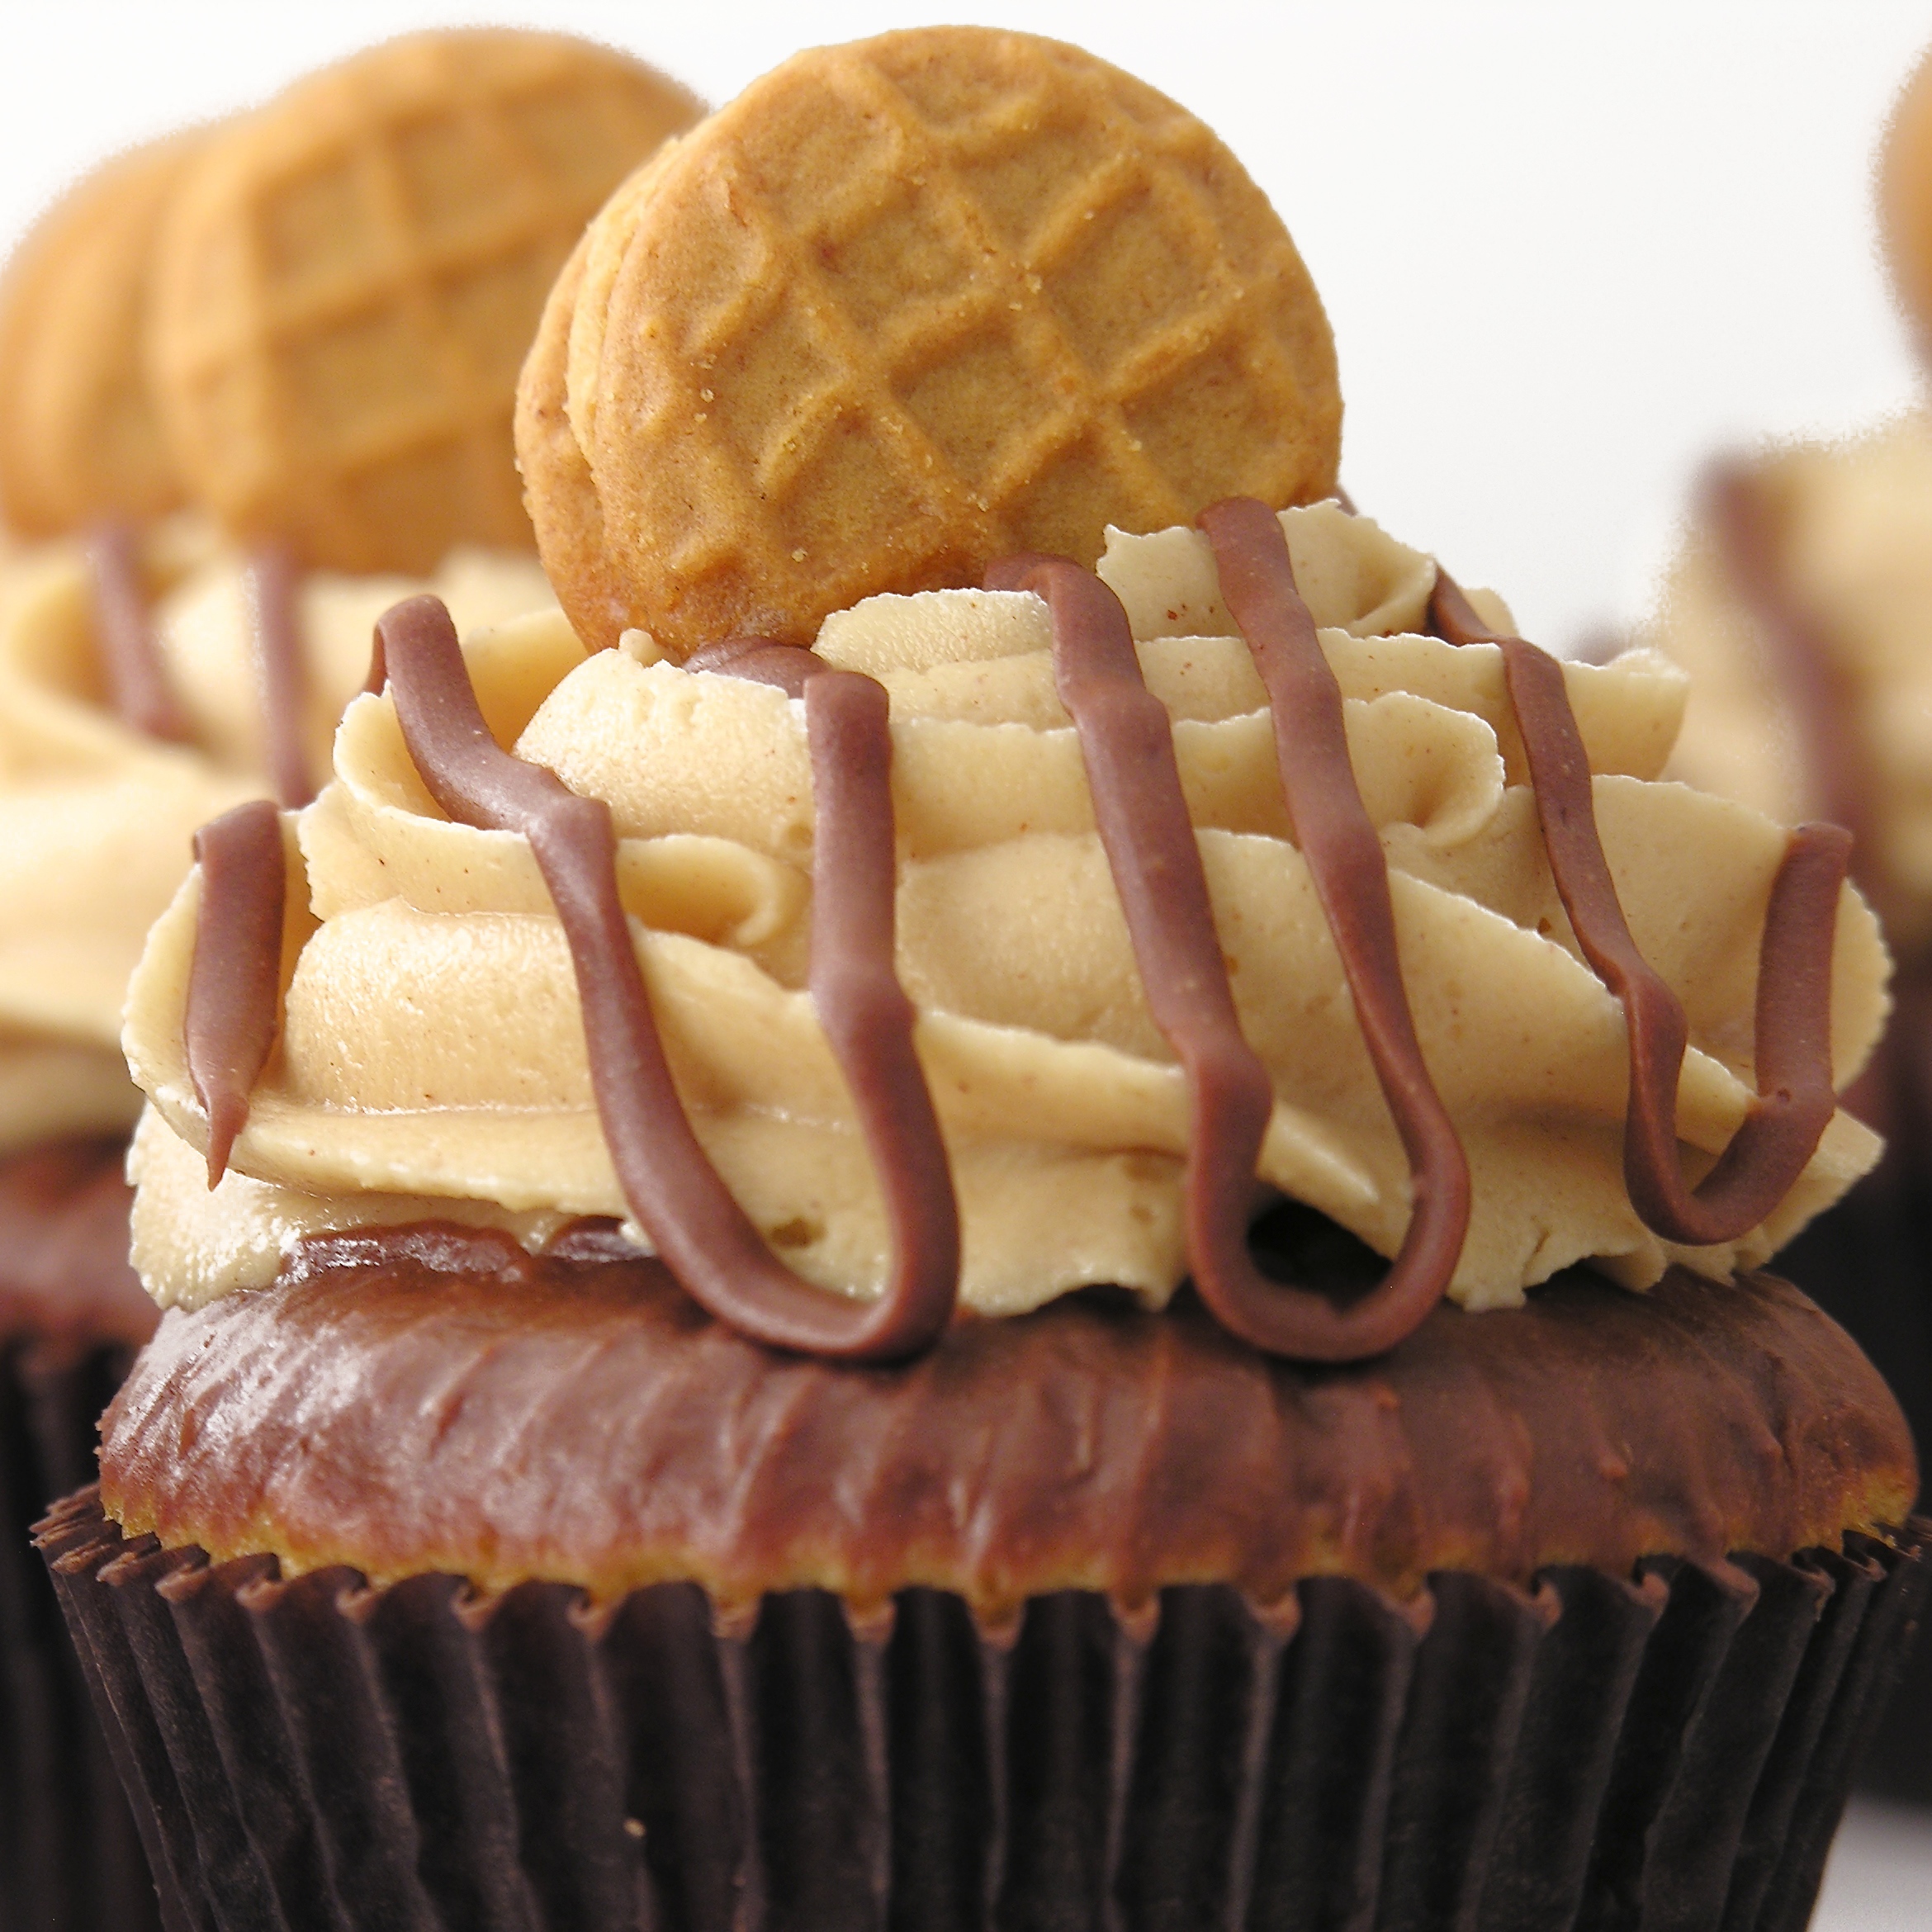
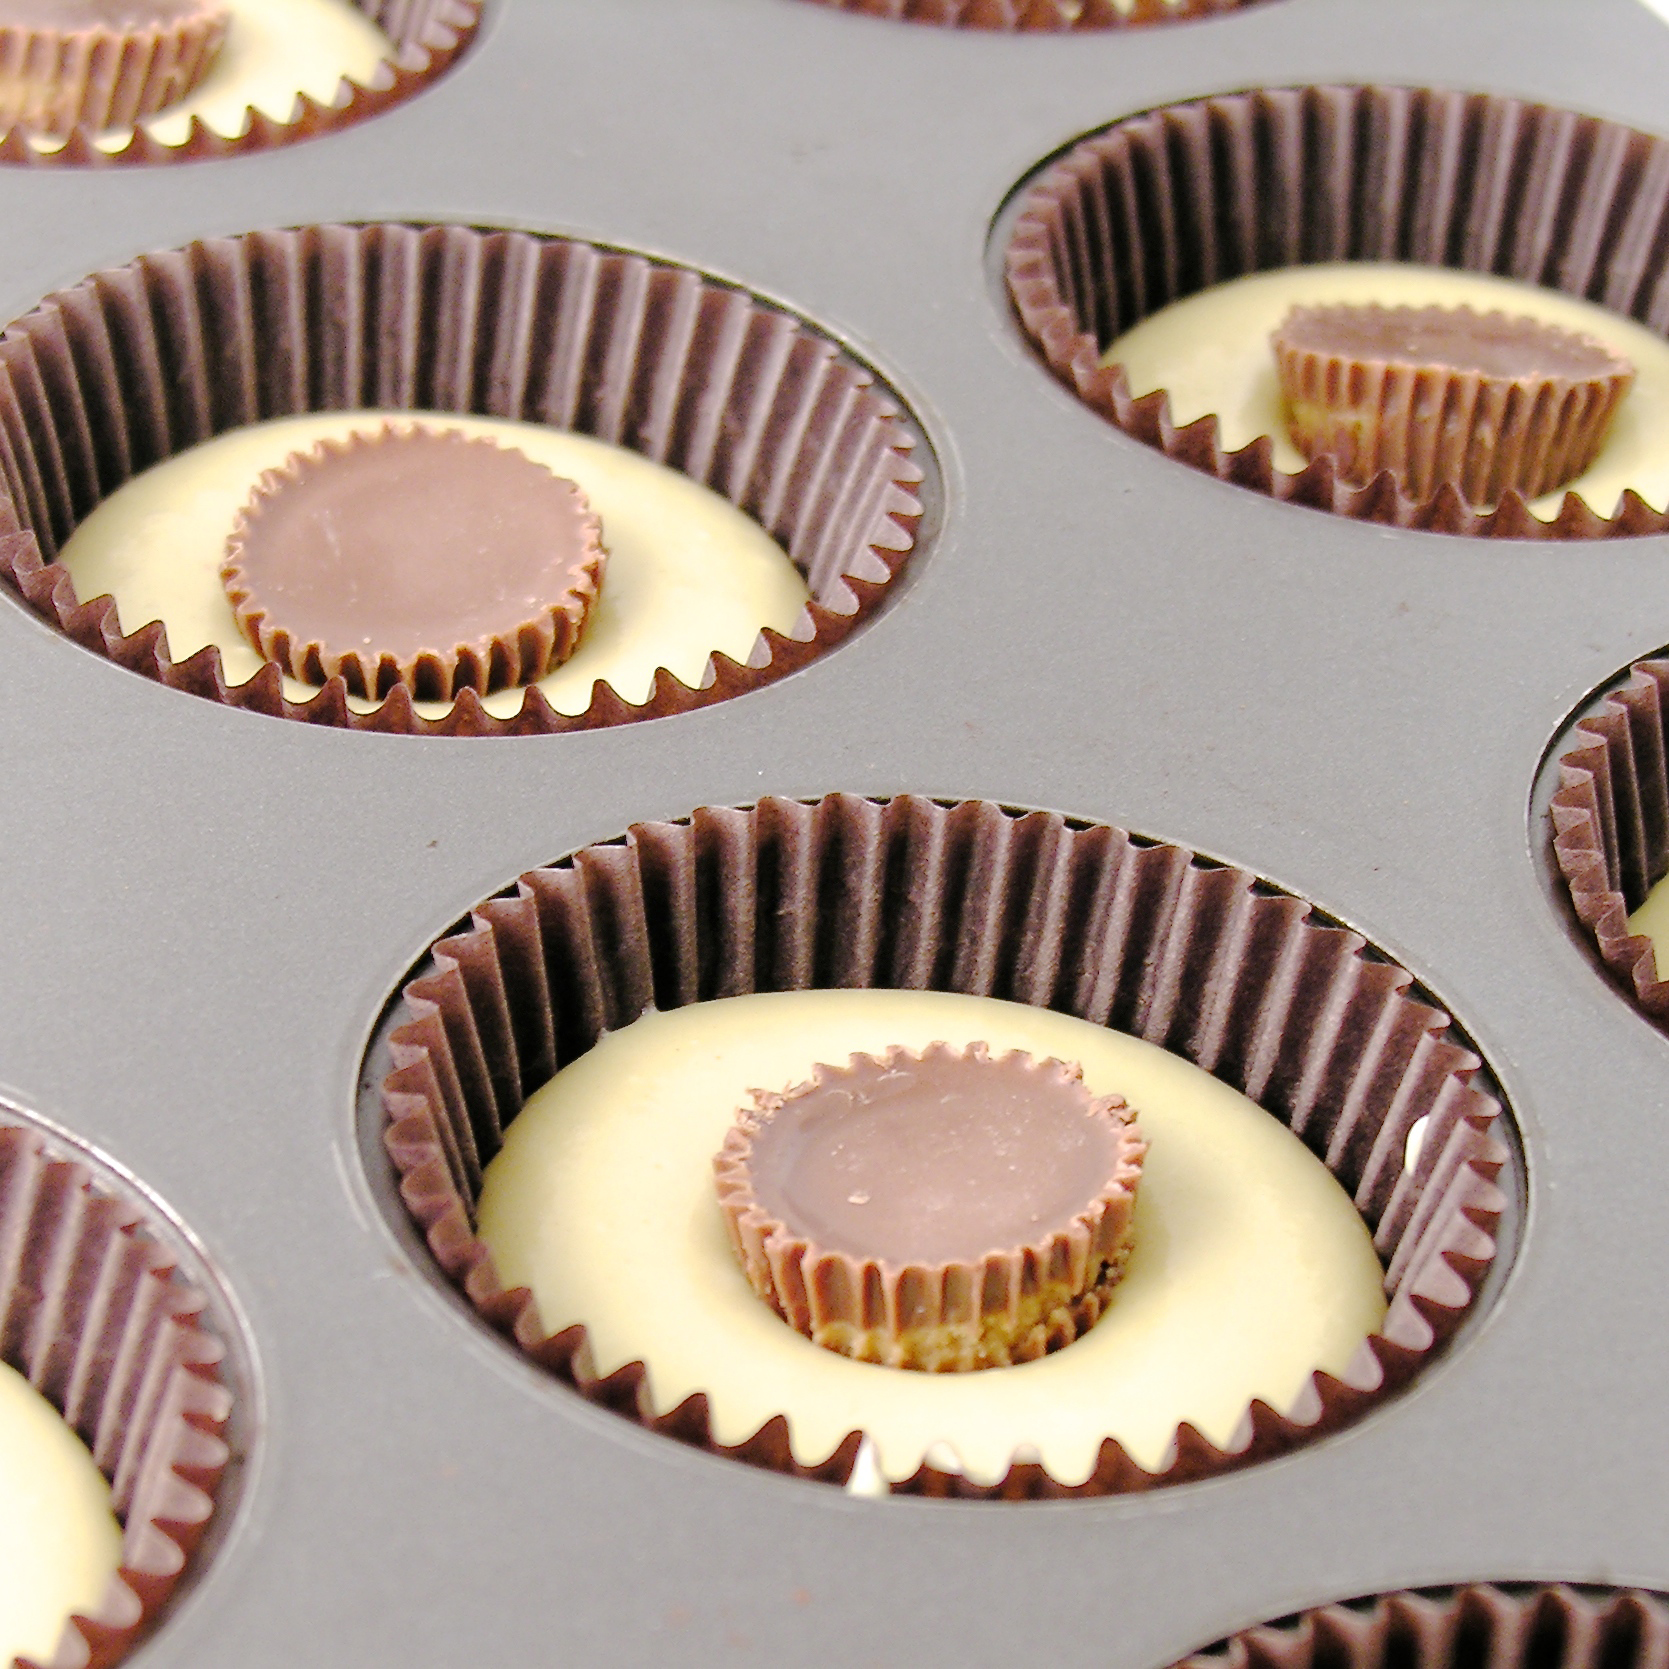
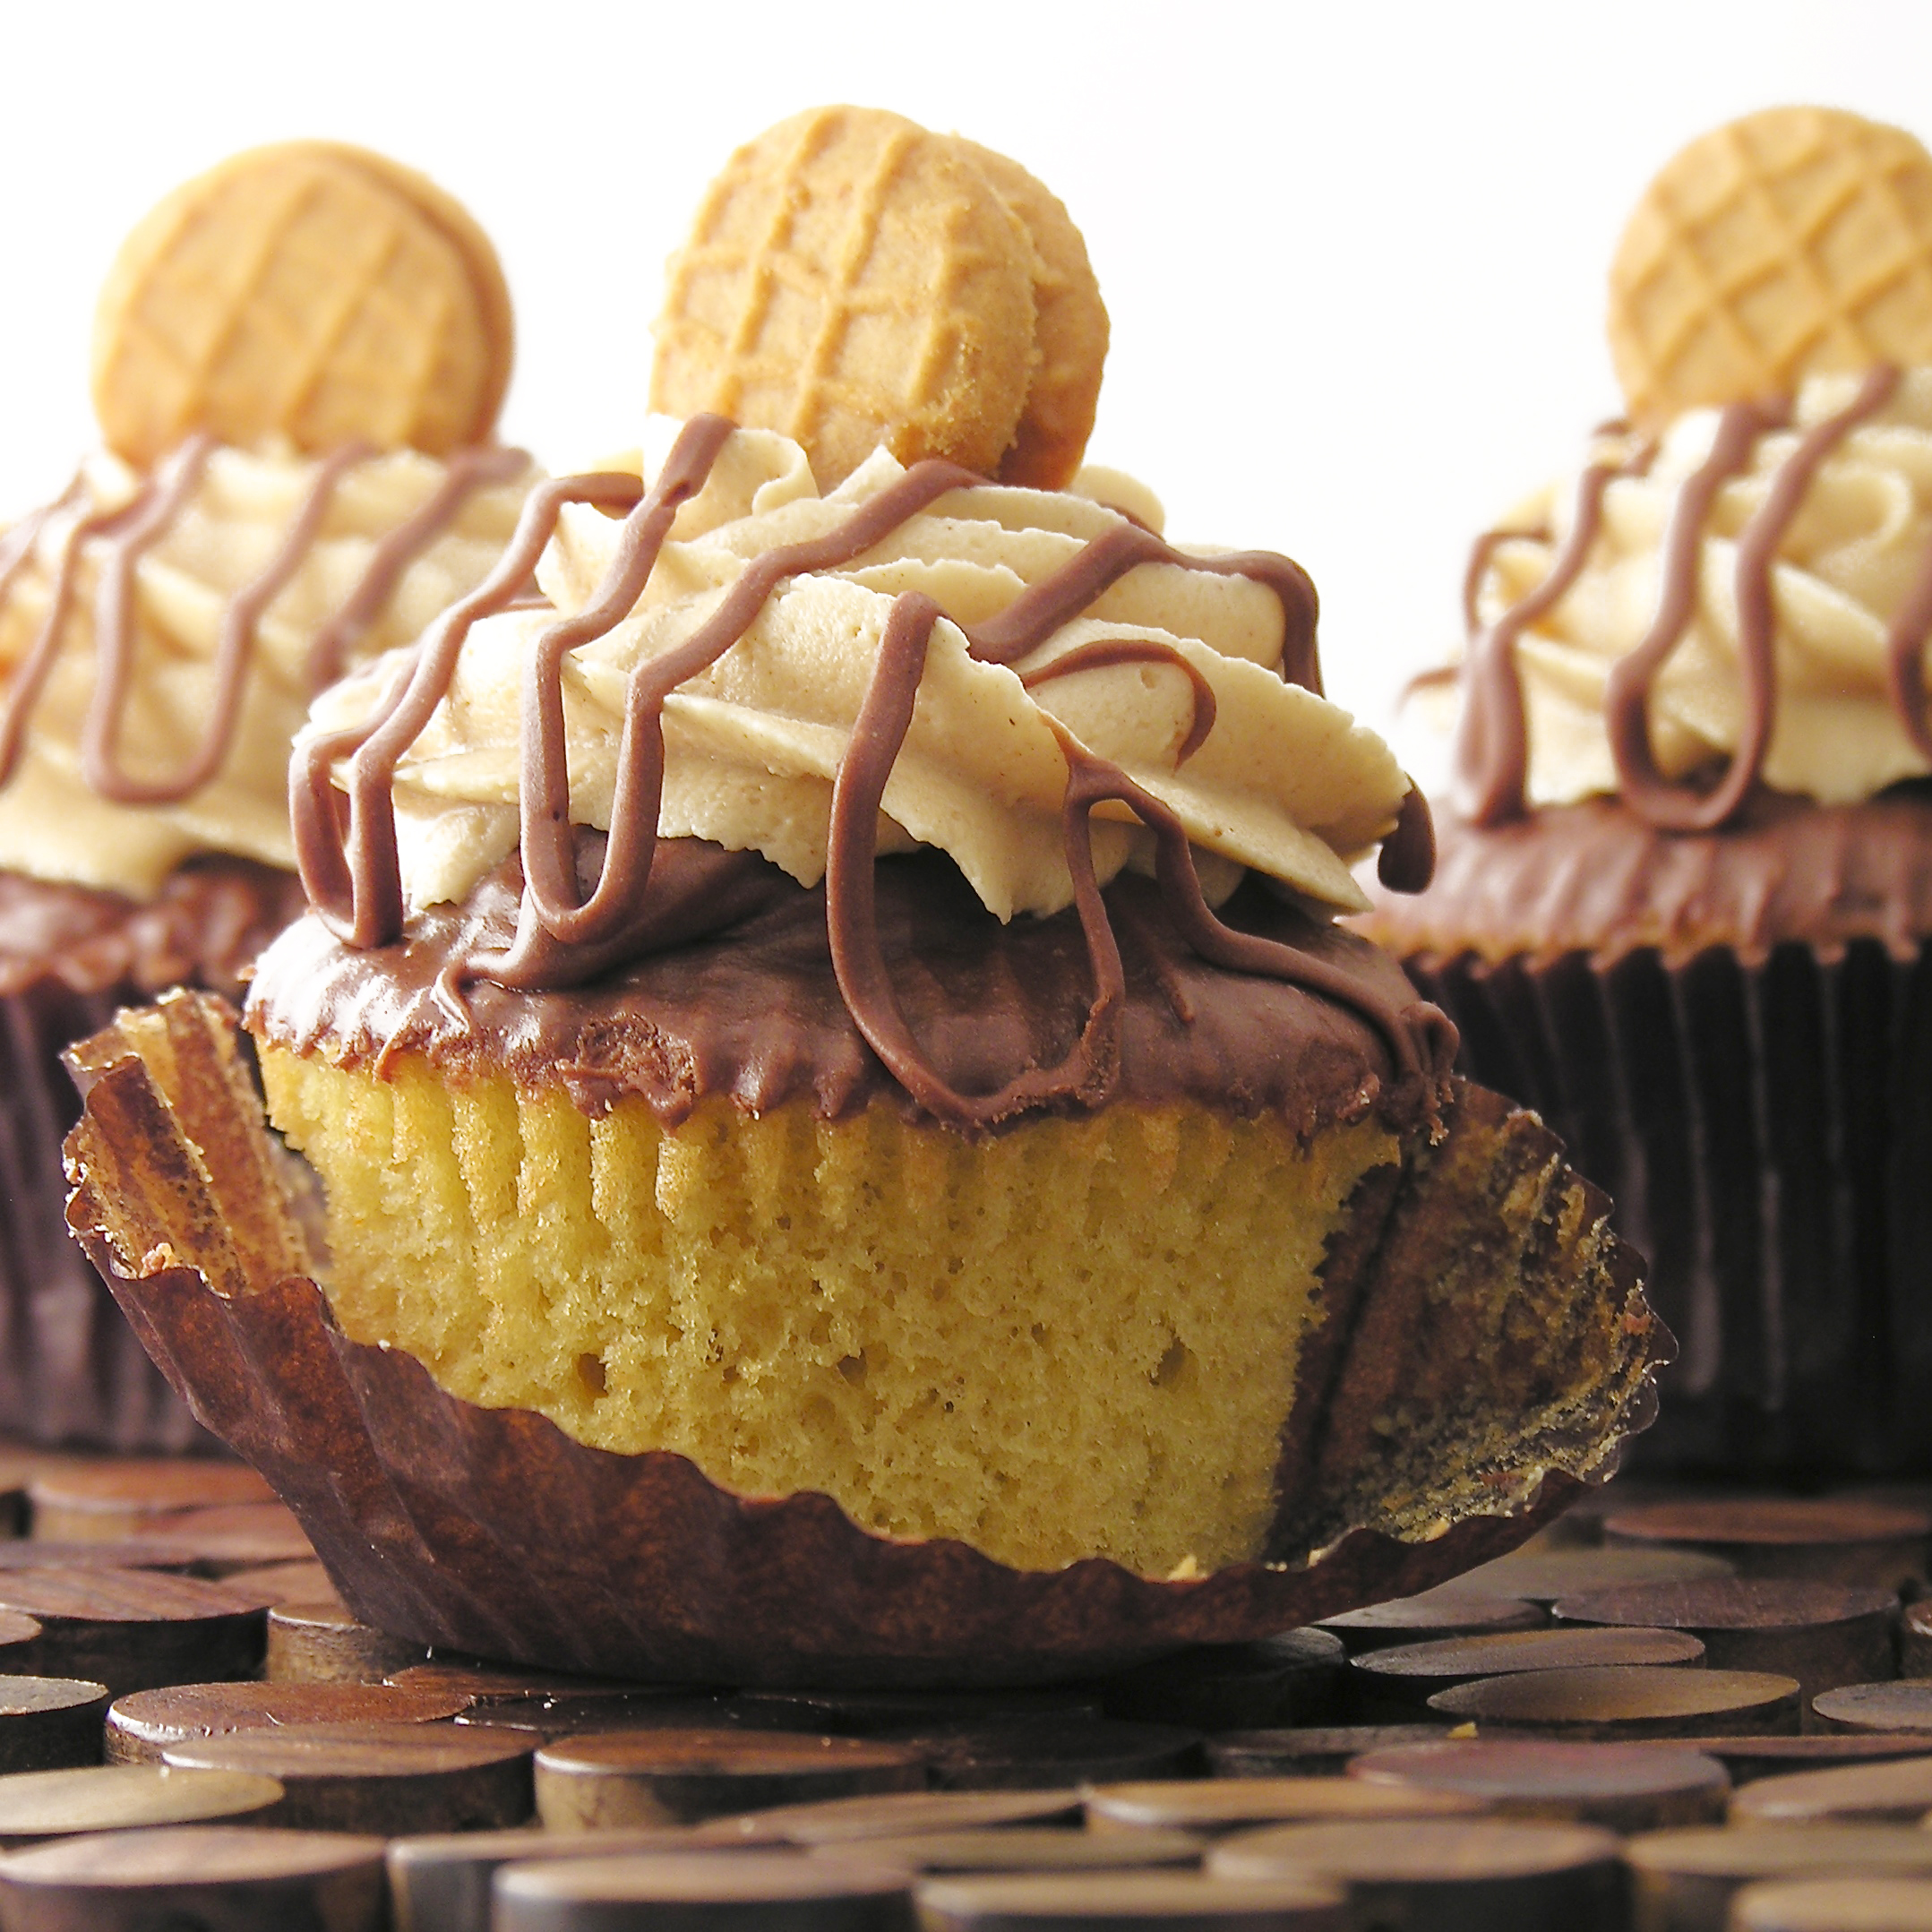
My thoughts:  These are one of my favorite go-to recipes.  I love how beautiful they are and I love the versatility of the flavors.  These are SO perfect for showers and parties.  You can even color the fillings to match school, team or wedding colors.  Very fun!  I hope you enjoy them!!!  ~r

Other fun and colorful recipes:
Rainbow Cake RollPolka Dot Cake!!!Tie-Dye Cake with Blue Raspberry Frosting!Confetti Cake Filled with Candy


White Chocolate Strawberry Cookies

White Chocolate Strawberry Cookies!!Just in time for Valentines Day- these pretty pink strawberry cookies are made using a cake mix and full of creamy white chocolate chips.

These are such easy and pretty little cookies!  They are chewy and moist and flavorful- I really think you are going to love them!

Here’s the recipe: (printable version)

INGREDIENTS:

  • 1 box of Duncan Hines Strawberry cake mix
  • 1/3c. margarine (soft, at room temperature)
  • 1/2 box (4 ounces) of Philadelphia cream cheese (soft, at room temperature)
  • 1 bag of white chocolate chips
  • 1 egg

DIRECTIONS:

  • Preheat oven to 350 degrees.
  • Cover 2 cookies sheets with parchment paper.
  • Cream together margarine and cream cheese until smooth.
  • Add egg, stirring until smooth.
  • Melt 1/3 cup of white chocolate chips and stir in.
  • Add cake mix  and stir until combined.  Use clean hands to knead mixture into a heavy cookie dough.
  • Add remaining white chocolate chips and combine well.
  • Make evenly- sized small balls of dough using a spoon or a cookie scoop.

Strawberry Cookies!!!

  • Place on a parchment paper- covered cookie sheet, leaving room for cookies to spread as they bake.
  • Bake at 350 degrees for 12-14 minutes.
  • Remove from oven, slide parchment paper (cookies and all!) onto a clean counter, and cool.

White Chocolate Strawberry Cookies!!

My thoughts:  I really love these cookies.  The white chocolate chips are SO yummy.  I like them best warm out of the oven and all gooey!  These are an easy recipe to make with kids, and a perfect treat to give for Valentines Day!

White Chocolate Strawberry Cookies!!

Other fun Valentines treats on easybaked:

Strawberry Lemonade Cupcakes!!!!Strawberry layer cakeChocolate covered Strawberry cake roll-- all fixed!!!Rich Chocolate Ganache Mini Cupcakes

Frog Prince Oreos

Posted on

Frog Oreos!!

These adorable edible frogs are made with Oreo cookies and pretzels- cute and soooo yummy!

“You have to kiss a lot of frogs before you meet your prince…..!”

Someone posted a picture of frogs made with Oreos on Facebook last week and I came across it just after spending time on the phone with a friend who’s just been “dumped” by her boyfriend.  When I saw the picture I immediately thought of all the “frogs” I’ve dated and knew I had to make us some frogs for Valentine’s Day!

I’ve only occasionally been in love on Valentine’s Day, and usually I watch horror movies with my other single friends to celebrate the day. Can you relate?  If so, these frogs are for you!!

Frog Oreos!

I am 2 1/2 hours from a Hobby Lobby.  It is (as far as I know) the only place I can get candy melts and other fun decorative things for food blogging.  When I packed up my car to move here for 8 months I remember packing the candy eyes.  I can see myself thinking, “Well, I’m sure the Navajo will not have a store that sells candy eyes…I better bring those!”

I didn’t bring them.  Or I lost them….?

So today I found myself standing in the kitchen with every ingredient I needed for these…except eyes.

I melted white and black candy melts and piped little eyes.  Don’t do that.  Go and buy the Candy Eyes.  They are super cheap and really cute.  My eyes are a little crazy looking….but then again, they remind me a little of some guys I’ve dated, so I guess it all worked out in the long run for me.

Frog Oreos!!

Ready for this recipe?  Here you go! (Printable Recipe)

INGREDIENTS:

  • One package of Oreo cookies
  • One bag of small pretzels
  • Two bags of Wilton candy melts in green
  •  Candy Eyes
  • Mini M&Ms (you’ll only need the red, so you can eat the rest!!)
  • Green jimmies (for the warts!)
  • Candy hearts (I piped mine with red candy melts, but I’d have used candy hearts if I’d had them!)

DIRECTIONS:

  • Melt the green candy melts in a microwave safe bowl in 30 second increments, stirring in between until completely melted and smooth.
  • Spread a sheet of parchment paper over the counter you will be working on.
  • Dip Oreos, one at a time, in the green candy melts, spooning the candy over the top and sides and then lifting with a fork and tapping excess away.  
  • Gently slide the covered Oreo against the edge of the bowl to remove excess candy melt from the bottom, and then slide off fork on to parchment paper.
  • Place two eyes on the top, an M&M in the front for a tongue, sprinkle with jimmies and place a heart candy on top.
  • Allow Oreos to completely harden.
  • Reheat candy melts if needed (they might harden up while the Oreos cool).
  • Dip pretzels into candy melts, using the same technique as the Oreos.  
  • Place two pretzels bottom to bottom on a clean sheet of parchment paper and while they are still melted, set a decorated Oreo on top and allow this to harden together.

My thoughts:  If you’ve never dipped things in chocolate or candy melts before, it will take you a little while to get the technique down.  The biggest tip I have is to tap off as much as you can before you set it on the parchment paper.  If you leave too much of the candy melts on the Oreo or pretzel it will drain off into a big puddle around it when you set it on the parchment paper.  It is also nice to have a clean set of tweezers handy to place the eyes and M&M with.  I had so much fun decorating mine…I think they got more cross-eyed and dumb looking the longer I thought about some of the guys my friends and I have dated.  I actually laughed out loud a few times.  I’m easily entertained!! 🙂

Frog6

If you are celebrating the holiday because you have found your prince, here are some ideas for YOU 😉

Raspberry Confetti KissesRaspberry Lemon Cream Cups!!!Baileys Irish Cream CupcakesRed velvet cookies with cream cheese icing!!

Candy EyesEditorial note:  I stopped at the local grocery to get milk today and wandered through the baking aisle.  They have candy eyes! I underestimated the Navajo Nation.  All of my new friends here are asking where to get the supplies to make these. Lavina and Kathy: they have candy eyes at Basha’s 🙂  Yay for us!!!

Andes Mint Layer Cake

Posted on

Andes Mint Layer Cake!

This rich chocolate cake has a huge layer of Andes Mint whipped filling and is drizzled with fudge topping.  The perfect chocolate dessert!

Tah Dah!!!  One last melted frosting recipe…for now…This one has yummy melted chocolate frosting inside and poured all over the top.  YUM!!!!!!

I love making this cake in various forms.  It is SO quick and easy to put together and everyone loves it! This time I added Andes mint candies for a refreshing mint twist to this recipe.  I think you will love it!! Andes Mint Cake!!

Here’s the recipe:  (printable version)

INGREDIENTS:

  • 1 boxed chocolate cake mix (with oil/eggs/water to make according to directions)
  • 2 packets of Dream Whip  (found near the jello/pudding boxes at the grocery)
  • 3/4 cup milk
  • 1 teaspoon vanilla
  • 3 tablespoons cocoa powder
  • 3 tablespoons powdered sugar
  • Andes Baking Chips 10 oz
  • One container of pre-made chocolate frosting

DIRECTIONS:

  • Make cake mix according to box and bake in 2 – 8 or 9 inch round pans (I cut parchment paper to fit, spray the pan with non-stick spray, and place it in the bottom of each pan so that the cake comes out easier).
  • Cool cakes completely on a wire rack and while they are cooling make your whipped filling:
  • Put Dream Whip, milk, vanilla, cocoa powder and powdered sugar into a mixing bowl and blend together.
  • Using a mixer, beat until stiff peaks form (3-4 minutes)
  • Fold in Andes mint baking chips, saving aside a few for topping.
  • Scoop chocolate frosting into a microwave safe bowl and heat for only about 20-30 seconds in the microwave.  Heat until frosting is melted into a hot fudge consistency.
  • Use a large serrated knife to level your two cakes.
  • Place 1st cake on serving plate, leveled edge up.
  • Pour about 1/4 of melted frosting on top of cake and spread to cover (I put this layer in the fridge for about a minute just to cool the warm frosting down before adding the mousse layer)
  • Spoon all of the mousse on top of the cake and spread it ALMOST to the edges.
  • Top with second cake– put the leveled edge against the mousse…this keeps all the crumbs in the middle and leaves a nice flat surface on the top of your cake. Gently press top layer down to squeeze the mousse all the way to the edges.
  • Pour the rest of the melted frosting over the entire cake and let it drip over the edges.
  • Sprinkle the remaining Andes Mint bits on top.
  • Refrigerate until serving, this will make the middle layer firm and easy to cut.

Andes Mint Cake!!!!

My thoughts:  I love this cake.  It is a beautiful dessert that is just so quick and easy to put together!

That creamy mint filling….oh my. I hope you get a chance to try it!  Enjoy!  ~r

Andes Mint cake!!!!

Other yummy chocolate treats here on easybaked:

Brownie Oreo Cookie CupGerman Chocolate PieRich Chocolate Ganache Mini CupcakesCaramel Fudge Brownies!!

Peanut Butter Cupcakes

Posted on

Peanut Butter Cupcakes!!!!!!Moist cupcakes filled with a creamy peanut butter cup and topped with peanut butter cream icing and a mini peanut butter cookie.  This is a peanut butter lover’s dream come true!

I was determined to get mini peanut butter cups into the center of these cupcakes.  I did some of them plain, and tossed some in flour 1st and all of them sank to the bottom.  Sad me.  I think the only alternative is to either eat them on the bottom (still yummy!!) or invest in one of those fun little pans that hold candy in the middle.  Have you seen them?  Click here if you want to check them out.  Now that I’m in the middle of the Navajo Nation, I seriously doubt I will be coming across one- lol!  Maybe I will order one once I have an address to send it to!!

Peanut Butter Cupcakes!!!!

These happy little cupcakes use melted frosting on the tops—I’m addicted to melting frosting now!!!  Make me stop!!!

Here’s the recipe (printable version)

INGREDIENTS:

  • One boxed yellow cake mix (plus water, oil and eggs to make according to directions)
  • 24 Mini Reese peanut butter cups
  • 1 tub of chocolate frosting
  • 3 sticks (1 1/2 cups) butter (softened to room temperature)
  • 1 cup of creamy peanut butter
  • 3 cups powdered sugar
  • 1 Tablespoon vanilla
  • 24 mini Nutter Butter cookies for decoration

DIRECTIONS:

  • Preheat oven to 350F degrees.
  • Make cake mix according to box directions and divide equally into 24 cupcake liners placed in tins.
  • Place a mini peanut butter cup on the top of each cup full of batter

Peanut Butter Cupcake3

  • Bake according to box directions, remove from oven and cool completely.
  • Spoon tub of chocolate frosting into a microwave-safe bowl and microwave for about 30 seconds.  Stir until well mixed.
  • Dip the top of each cupcake in the chocolate frosting and allow them to cool, and to harden a little.

Peanut Butter Cucpake2

  • Place remaining melted frosting in a small zip top bag and zip it closed.
  • To make peanut butter frosting, place butter, vanilla, and peanut butter into a large bowl and mix on high until smooth (about a minute)
  • Add powdered sugar and beat on low until combined and then on high until light and fluffy.
  • Place frosting in a zip-top bag fitted with a decorating tip and pipe on top of each cooled cupcake.
  • Clip a corner off of the bag filled with the melted chocolate frosting and drizzle over the top of each cupcake.
  • Top with a mini Nutter Butter cookie.

Peanut Butter Cupcakes!!!!

My thoughts:  YUM!  These are perfect if you love peanut butter.  I love the fudgy layer of melted frosting on the top– when I shared these with friends they all loved that part.  You could dip cupcakes into all sorts of melted frostings– so many flavor possibilities!!!! FUN!!!!   I hope you really enjoy these!!! ~r

Chocolate Peanut Butter Cupcakes6-13-14: Did you know, that this yummy recipe is available on adorable blank note cards?  With a picture of the cupcakes on the front, the recipe on the back, and plenty of room inside for a message, these make the PERFECT gift.  Why send just a card, when you can send the gift of a recipe instead??  Click here for more information and to order.

Peanut Butter Cupcakes!!

I usually give you other similar fun recipe to try on easybaked at this point, but my internet is so slow that I’m skipping it this week!!  🙂 The photo gallery is always a fun spot to shop for recipe ideas… since your internet is likely faster than mine this week, I will let you hunt for treasures on your own!!!  Have a good one!!!!! ~r

Raspberry Lemon Drop Cakes

Posted on

Raspberry Lemon Drop Cakes!!
Moist yellow cake bowls filled with lemon and topped with whipped raspberry cream.  These are such a unique and flavorful dessert- you are going to love them!

This is recipe #2 in my tribute to melted frosting.  Last week we used a chocolate frosting and this week- lemon frosting.  The plan for this recipe was chocolate cake bowls with chocolate filling and raspberry cream.  I caught myself half-way through making a yellow cake mix before I remembered I wanted to do chocolate though.

I have a lot on my mind these days!

SO, I sat down and thought about what flavors are good with yellow cake mix and I already had a tub of lemon frosting…and here we go! It was a fortunate mistake, because these are delicious.  One of my new favorites!  I even ate one for breakfast, and with a cup of coffee?  Perfection!

Here’s the recipe:  (printable version)

INGREDIENTS:

  • 1 box of yellow cake mix (plus oil, water and eggs to make according to package)
  • 1 tub of lemon frosting
  • 1 packet of Dream Whip
  • 1/3 cup cold milk
  • 1 tablespoon of powdered sugar
  • 1 teaspoon vanilla
  • 1/4 cup of raspberry preserves (more or less, to taste)

DIRECTIONS:

  • Preheat oven to 350F degrees.
  • Make yellow cake mix according to package.
  • Grease 4 Wilton fillable mini cake pans, and fill each one about 2/3 full.  This will use about 1/2 of the batter- so you will fill these pans again once the 1st set is through baking.
  • Bake at 350F degrees for 20-30 minutes, until a toothpick inserted comes out clean.
  • Tip cakes onto a cake rack to cool.  Trim bottoms flat, if needed.
  • Spoon tub of frosting into a microwave safe bowl and heat in microwave for about 30 seconds.  Stir.
  • Spoon melted lemon frosting into each cake “cup”, filling each to the top.

Raspberry Lemondrop Cakes1

  • Place remaining frosting into a small zip top bag.
  • Place Dream Whip, milk, powered sugar and vanilla into a large mixing bowl and beat on high for about 2 minutes, until a thick, whipped consistency.
  • Fold raspberry preserves in, and place into a zip top bag that has been fitted with a decorator tip.
  • Pipe whipped topping on top of each cake.
  • Clip a small corner off the bag of remaining frosting and drizzle liberally over the top of each cake. 
  • Top with a fresh raspberry if desired.
  • Keep these chilled until serving- and ENJOY!!! 

Raspberry Lemondrop Cakes4c

My thoughts: I’m not kidding you– these are amazing!  If you don’t want to use the pans (they are a really fun addition to your kitchen though!) you could do a layer cake:  2 round cakes with lemon icing and whipped topping in the middle and lemon icing poured over the top- see my Chocolate Mousse Cake for how to assemble.  These are a must-try recipe!!!  SO easy with that melted frosting– love it!!!
Raspberry Lemon drop cakes!!

One more picture:

Raspberry Lemon drop cakes!!!!
Want some other ideas for those cute little pans?  Here’s a couple- just click on the picture to see the recipe!

Mini Filled Boston Cream Pies!Heath Bar crunch filled mini cake

Ruthanne news:  I don’t often post about my personal life here, because my goal is to just get yummy recipes to you without a ton of personal commentary.  When I really want to just see a recipe, I hate scrolling through 3 pages of of kids and dog stories first, so I promised myself that this site would be more about recipes than about me!!!

I have a few really exciting things going on that I wanted to share with you though~

First, Warner Press Publishing contacted me about making a boxed set of greeting cards from my recipes and photos.  These are available now in many Christian bookstores or on their site.  Click here to check them out!

Second, I have a cookbook for kids coming out this summer!  I’m so excited about this project- there’s nothing better than time in the kitchen with your kids!  Details to follow on this!

Third, I lost my job in genetics.  Our hospital can “no longer invest in expensive cutting edge technology due to the affordable care act”.  Thats a quote.  I struggled with what comes next and eventually (after much soul searching and prayer!) decided to move out to Arizona for the next 8 months to work alongside a church in the Navajo Nation.  I’m writing this blog from the comfort of a motel in Tucumcari, New Mexico.  I’ve driven about 1200 miles from home and I’m about 6 hours from my new home in Rough Rock Arizona.  My car is literally packed to the ceiling with things- about half of those things are supplies for baking, blogging and photography!  I’m hoping to continue creating and posting for all of you!

Many thanks to each of you for being a part of the easybaked community!  I’m incredibly glad you are along for this journey!  ~r

Sunset over New Mexico

Sunset over New Mexico

Peppermint Brownie Cake

Posted on

Peppermint Brownie Cake
This dense chocolate cake is more like a brownie, and full of chopped peppermint patties!  This will satisfy your biggest chocolate craving!

This recipe is the perfect solution to the January candy candy dilemma.  Although there are no candy canes in this cake (there are gooey York Peppermint patties instead!), this cake is just beautiful decorated with your leftovers from Christmas.

Peppermint Brownie Cake
This cake also showcases my theme for the month of January—–melted frosting! I’ve become addicted to melting tubs of ready-made frosting to use in and on various dessert recipes.  It changes the consistency of the frosting- turning it into a fudge-like topping or filling and its SO easy– just melt and pour.  I can’t wait to show you some of my other melted frosting ideas!

Ok- so you probably want the recipe!  Here you go: (click here for a printable version)

INGREDIENTS:

  • 1/2 cup butter
  • 4 oz. unsweetened baking chocolate
  • 1 1/4 cups flour
  • 3/4 teaspoons baking powder
  • 1/2 teaspoon salt
  • 3 eggs
  • 1 1/3 cups granulated sugar
  • 1 teaspoon vanilla
  • 1 1/4 cups of peppermint patties (quartered)
  • 1 tub of pre-made chocolate frosting
  • 3-4 candy canes to decorate with as desired.

DIRECTIONS:

  • Preheat oven to 325F degrees
  • Cut parchment paper to fit in the bottom of a 9-inch round cake pan.
  • Liberally grease bottom and sides of pan, and place parchment paper in bottom.
  • Melt butter and unsweetened chocolate in a small bowl using the microwave in 30 second increments and stirring in between.
  • Allow this to cool slightly while you prepare other ingredients.
  • In a medium bowl, stir the flour, baking powder and salt together.
  • Cut peppermint patties into quarters,
  • In a large bowl, beat eggs, sugar and vanilla together for about one minute.
  • Add melted chocolate and beat on low until well combined.
  • Beat in the flour mixture.
  • Stir peppermint patties in using a spoon.
  • Pour batter into pan, smoothing the top, and bake for 30-35 minutes.
  • Be careful to not over-bake.  
  • Remove from oven and allow cake to cool for about 10 minutes, this will allow the peppermint patties to harden up a little.
  • Run a small knife around the edge of the pan and tip cake over onto a cake rack.
  • Remove parchment paper and allow cake to cool completely.
  • Spoon tub of frosting into a small bowl and melt in microwave for 20-30 seconds. 
  • Stir and pour over cooled cake.  Do this while the cake is still on the cake rack, with a plate underneath to catch the drips.  You will not need to use the entire tub of frosting to cover the cake.  I placed my leftovers in a zip top bag, clipped a corner and made fun zig zags on the plates I used to serve the cake.  You could also dip graham crackers or apple slices in it…for a little post-cake-making snack!!!  YUM!
  • Sprinkle with crushed candy canes and ENJOY!!!

Peppermint Brownie Cake!!
My thoughts:  This is an old recipe for me- I’ve been making it for years with a terribly complicated glaze recipe over the top.  Honestly, this melted frosting is better- and SO much easier!  One note:  I was in a rush to take my pictures, so I took them right away.  Once this sets and cools, the glaze will harden into a fudge like consistency, and it won’t run like it is in my pictures.   
Peppermint Brownie Cake!!!

OR you could just eat it up before it cools and enjoy all the gooey warm minty happiness!  Enjoy!!!~r Peppermint Brownie Cake!!
Other minty desserts here on easybaked:

Mint Creme Brownie CupsHot chocolate Pops!Peppermint Chocolate CookiesAndes Mint Cupcakes